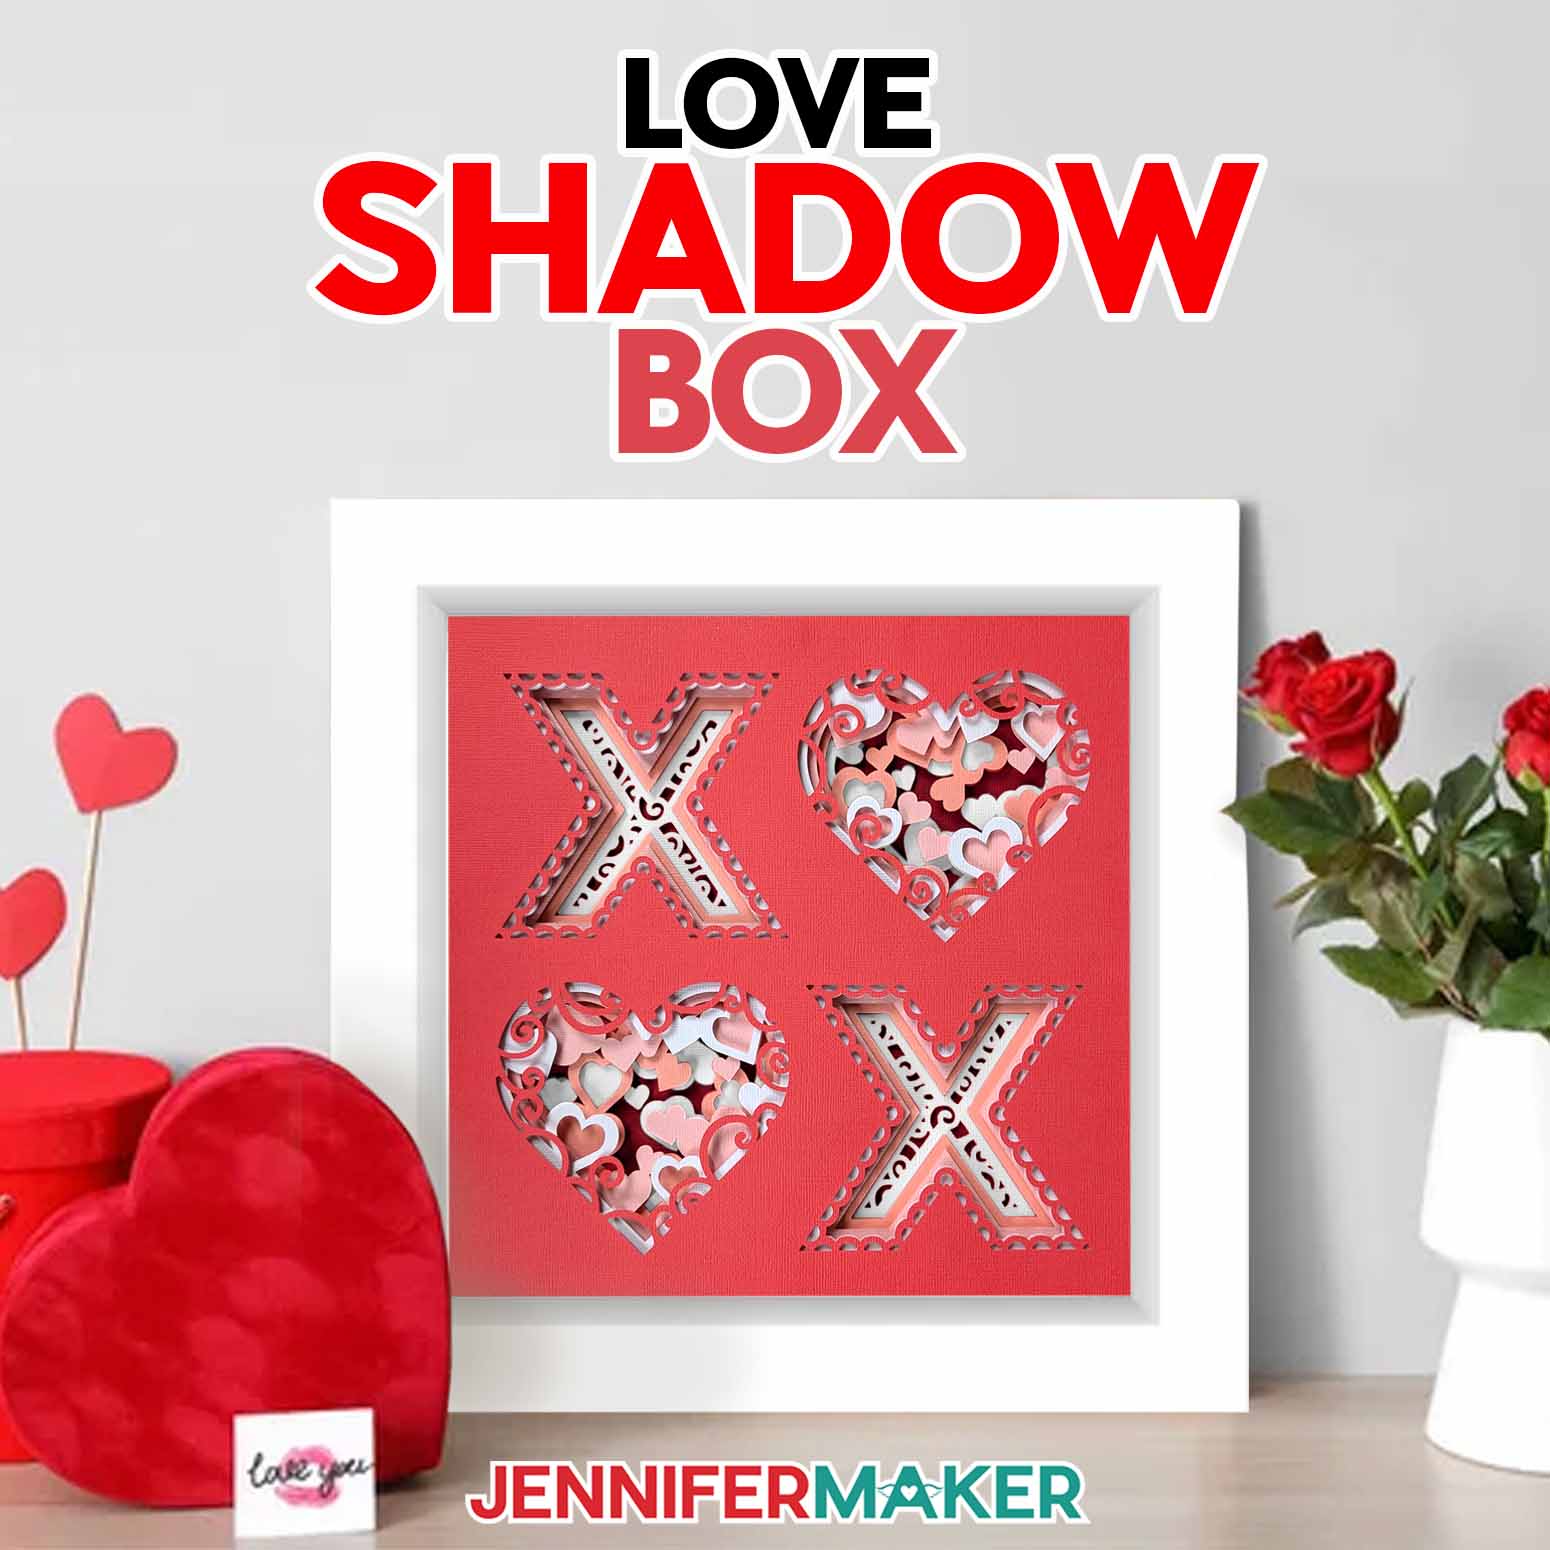
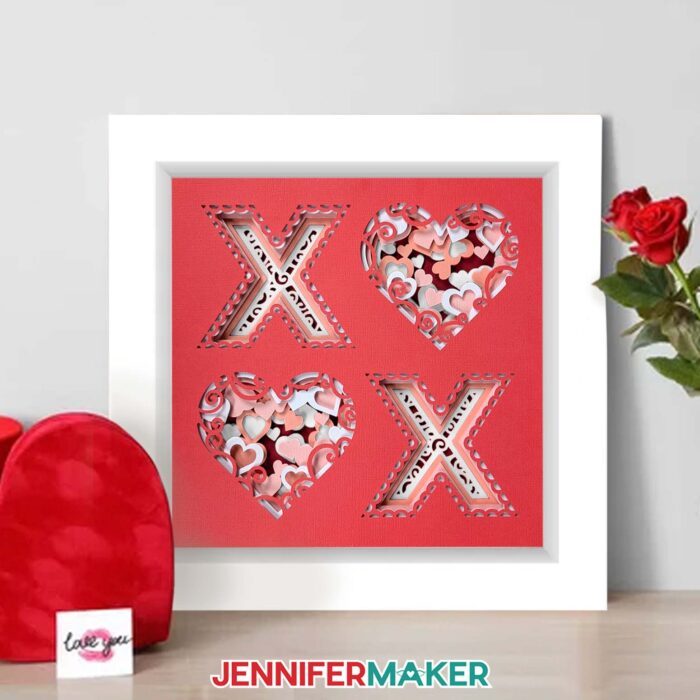
Learn how to make a layered paper XO/OX Love Shadow Box to hang on your wall!
Need the perfect gift for your valentine this year? Handmade gifts are always a lovely way to show how much you care. My Love Shadow Box has stacked layers of pretty cardstock and tons of hearts, making it a foolproof way to give that one special person lots of warm, fuzzy feelings! Send it along with a glittery shaker card or a heart-shaped box full of candy or chocolates for a truly unforgettable gift that will make your valentine swoon! Just want to celebrate the holiday? No problem! This heart-adorned shadow box frame looks great hanging on your own wall, too!
Want to save this project? Enter your email address below and we’ll send the project straight to your inbox.
Watch the full step-by-step paper craft home decor tutorial to learn how to make this design:

I really love how easy it is to capture a full scene in a shadow box display case. With just a few intricately cut layers, you can tell an entire story. It can be especially fun to go overboard on Valentine’s Day, but sometimes all you need is a few simple X’s and O’s to get your message across. As they say, less is more! This love shadow box combines both simple and elegant for the perfect romantic wall hanging.
I’ve created this new layered paper craft home decor design just in time for Valentine’s Day so you can share the love. Whether you give it as a gift or keep it for yourself, it’s a beautiful way to celebrate the season of love. And it comes together so easily! I’m so excited to show you how just a few sheets of cardstock in a shadow box can create an amazing 3 D effect!
To get started, you’ll need some basic paper crafting supplies and tools. You can use either 65 lb. or 85 lb. colored cardstock, just make sure it’s high quality! I suggest going for solid core cardstock since the color goes all the way through the paper and you won’t see white along your cut lines. Pink and reds are the perfect color for Valentine’s Day vibes, but you can use any colors you like. You’ll only need six sheets of cardstock for this design!
To cut your cardstock layers, I recommend a cutting machine for precise cuts. I’ll use my Cricut Maker 3 for this new design, but you can also use a Maker like I did for the original. A Cricut Explore series machine or Cricut Venture will also get the job done. If you want to cut your layers using a Joy or Joy Xtra, you can scale the design to fit a smaller custom size. Just don’t go too small, or you might lose important details!
You’ll also want to use your fine-point blade, a scraper tool, a brayer, and a weeding tool. A blue LightGrip machine mat works well for this project, or you can go with a used, less-sticky green StandardGrip machine mat. And for crystal clear viewing, remember to wipe down your shadow box’s glass with isopropyl alcohol and a lint-free cloth!
Once your cardstock layers are cut, I’ll show you how to layer them in a 12″ x 12″ shadow box using double-sided foam tape. It’s that simple! Your design will be ready to hang or gift in a matter of minutes.
My love shadow box is a great way to shoot all the right arrows at the object of your affection–no need for Cupid to step in! The X’s and O’s make for lovely Valentine’s Day decor, and can add a romantic touch to your home year round. Wherever or whenever you decide to display this shadow box, may your home always be filled with love and warmth!
Let me show you how easy it is to make a love shadow box! This post contains some affiliate links for your convenience (which means if you make a purchase after clicking a link I will earn a small commission but it won’t cost you a penny more)! Read my full disclosure policy.
Materials to Make a Love Shadow Box
View my Amazon shopping list with the items I used.
- Several Sheets of 12″ x 12″ 65-80 lb. cardstock in different colors – number of sheets depends on which design you make
- 12″ x 12″ Shadow Box – helps you put the layers in the right place, too!
- Double-sided 3D adhesive foam squares or circles (you can also use 3D Zots or adhesive foam tape)
- Cricut Blue LightGrip Machine Mat, 12″ x 12″ -OR-
- Cricut Green StandardGrip Machine Mat, 12″ x 12″ – an older green mat can stick about the same as a fresh blue one!
- XL Scraper
- Brayer
- Weeding Tool
- Isopropyl Alcohol and a lint-free cloth (or shop cloths!) to clean the frame
- A method to cut your cardstock – I used the amazing Cricut Maker 3 but you can also use the original Cricut Maker, a Cricut Explore, a Cricut Explore Air 2, a Cricut Explore 3, or a Cricut Joy Design #708 (My free SVG/DXF/PDF design files are available in my free resource library – get the password by filling out the form at the bottom of this page)
How to Make a Love Shadow Box
Paper Craft Home Decor
Make a colorful, layered paper design to add to your home decor!
Materials
Tools
- A method to cut your cardstock — I used the amazing Cricut Maker but you can also use the Cricut Maker 3, an Explore series machine, or a Joy after resizing
- Cricut Blue LightGrip Machine Mat, 12" x 12" -OR-
- Cricut Green StandardGrip Machine Mat, 12" x 12"
- Cricut XL Scraper
- Cricut Weeding Tool
- Brayer
- Isopropyl Alcohol
- Lint-Free Cloth
Instructions
STEP 1: GET MY FREE PAPER CRAFT HOME DECOR DESIGN FILES
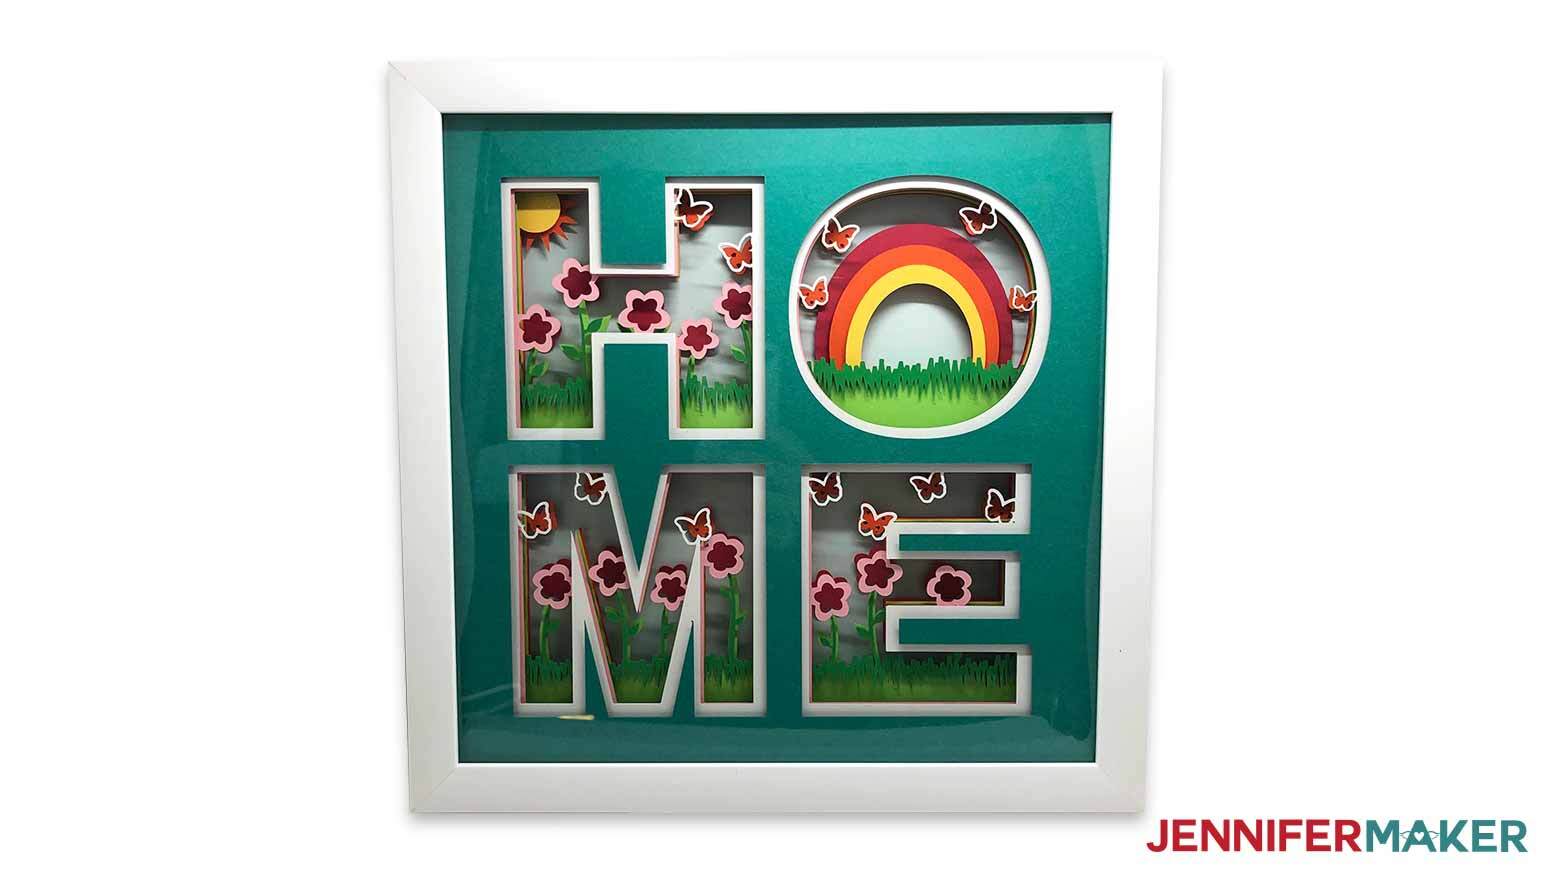
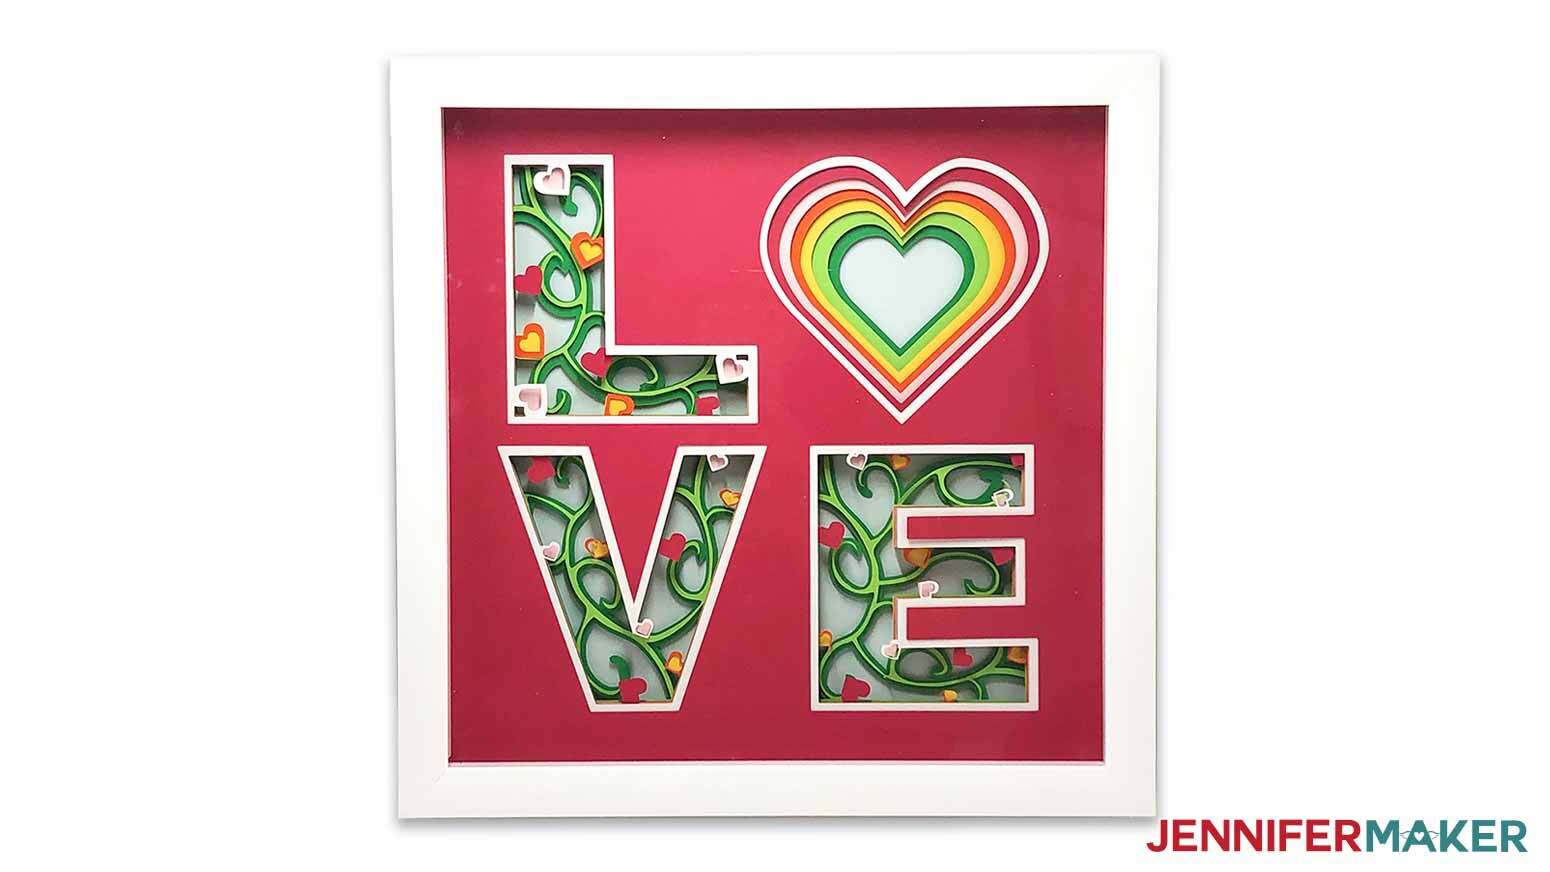
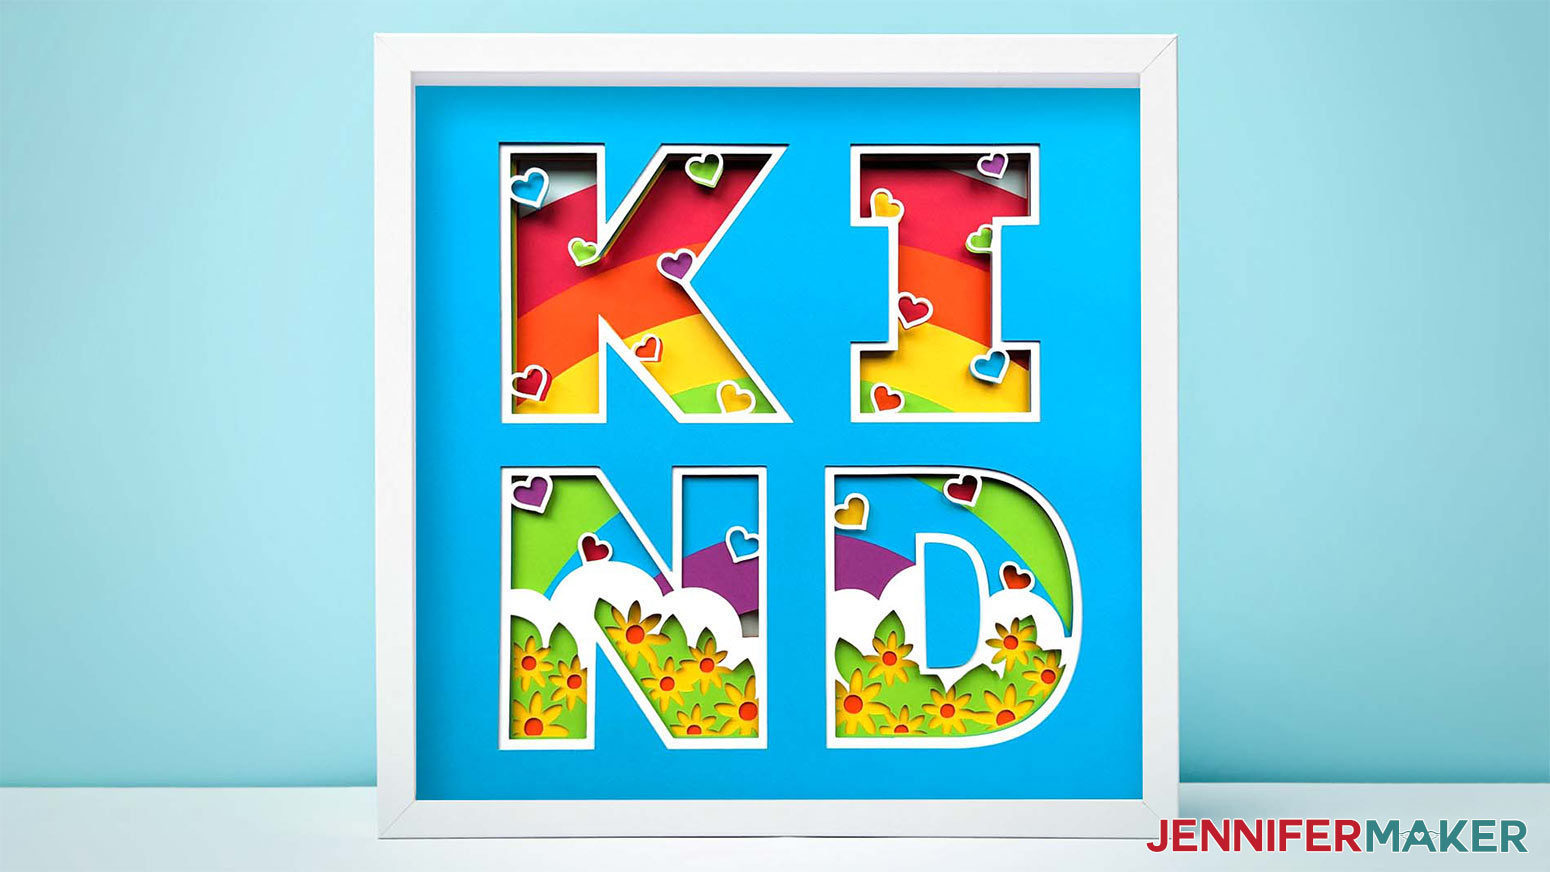
First, download my free Paper Craft Home Decor SVG/DXF/PDF files, Design #341, from my free resource library. There are four different designs – two "HOME," one "LOVE," and one "KIND." These pieces of art fit in a 12” x 12” shadow box and are perfect for decorating your home!
You can cut these layered designs by hand with the printable PDF, or cut them on a cutting machine with the SVG cut files. Let me show you how to cut these on a Cricut cutting machine.
First, upload the SVG cut file of your choice to your design software. If you're not sure how to upload an SVG cut file to Cricut Design Space, watch this helpful video SVGs Made Simple training series I made.
If you're on an iPhone or iPad, here's how to download and upload SVG files to the Cricut Design Space app.
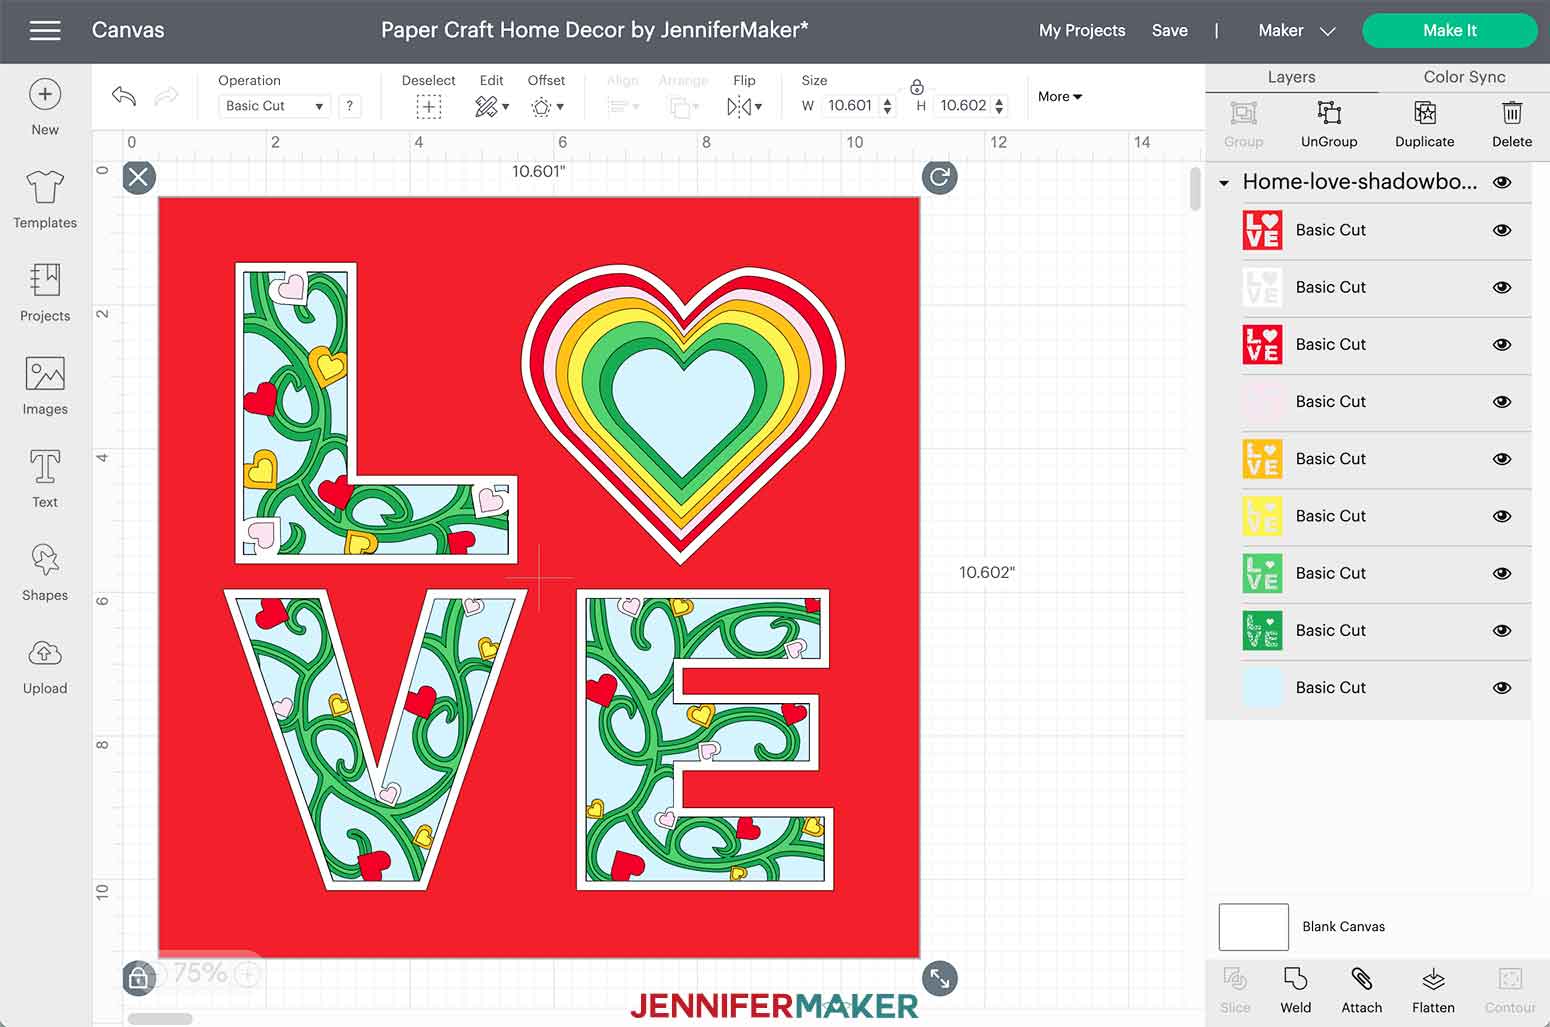
This is what the Paper Craft Home Decor SVG cut files look like in Design Space when you import them to Cricut Design Space.
The Home designs have 10 layers. The Love and Kind designs have 9 layers.
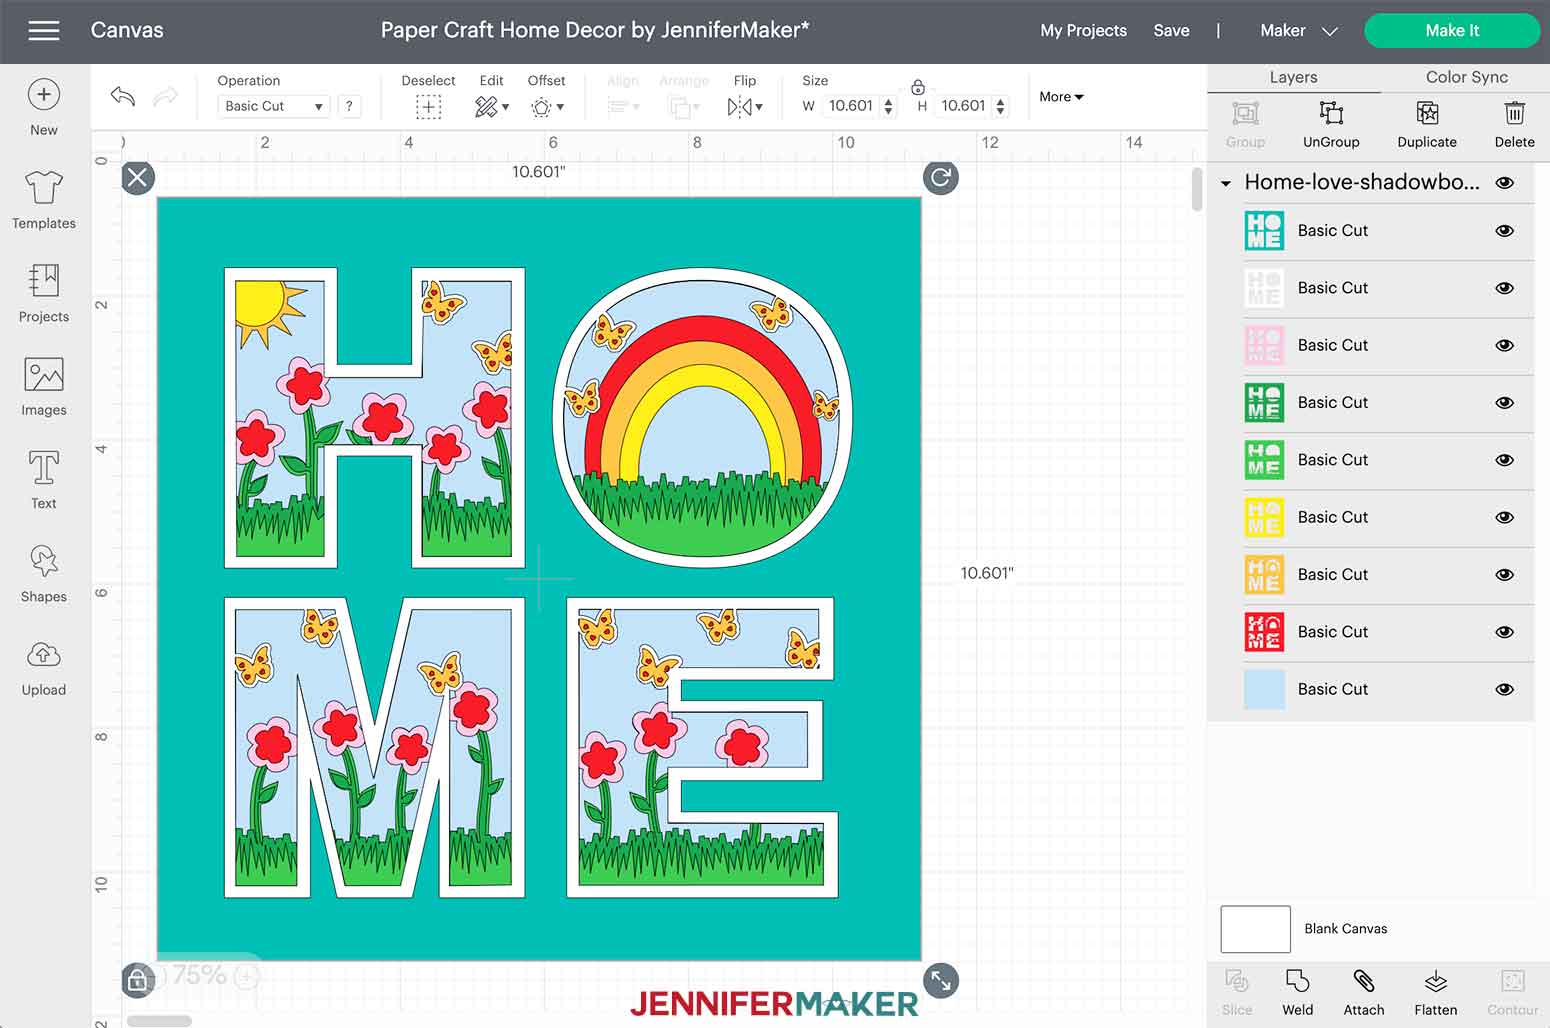
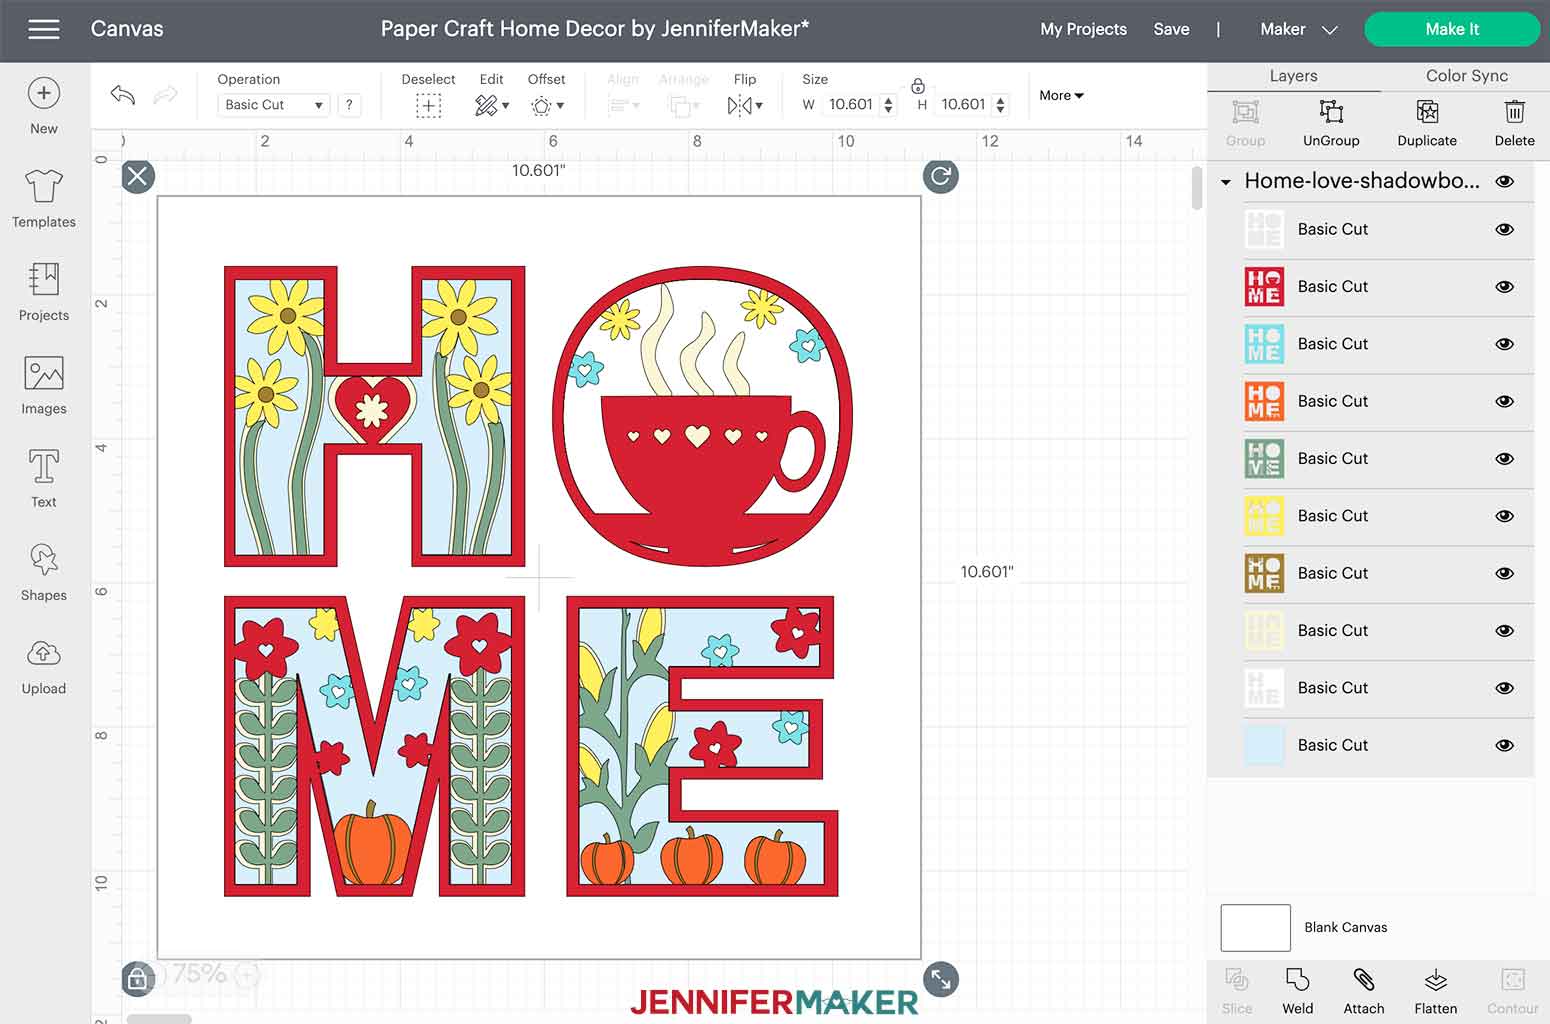

All four designs are sized to fit perfectly in these 12" x 12" shadow boxes. If you are using a different shadow box, make sure to measure the inside of the display area to ensure your design shows as intended.
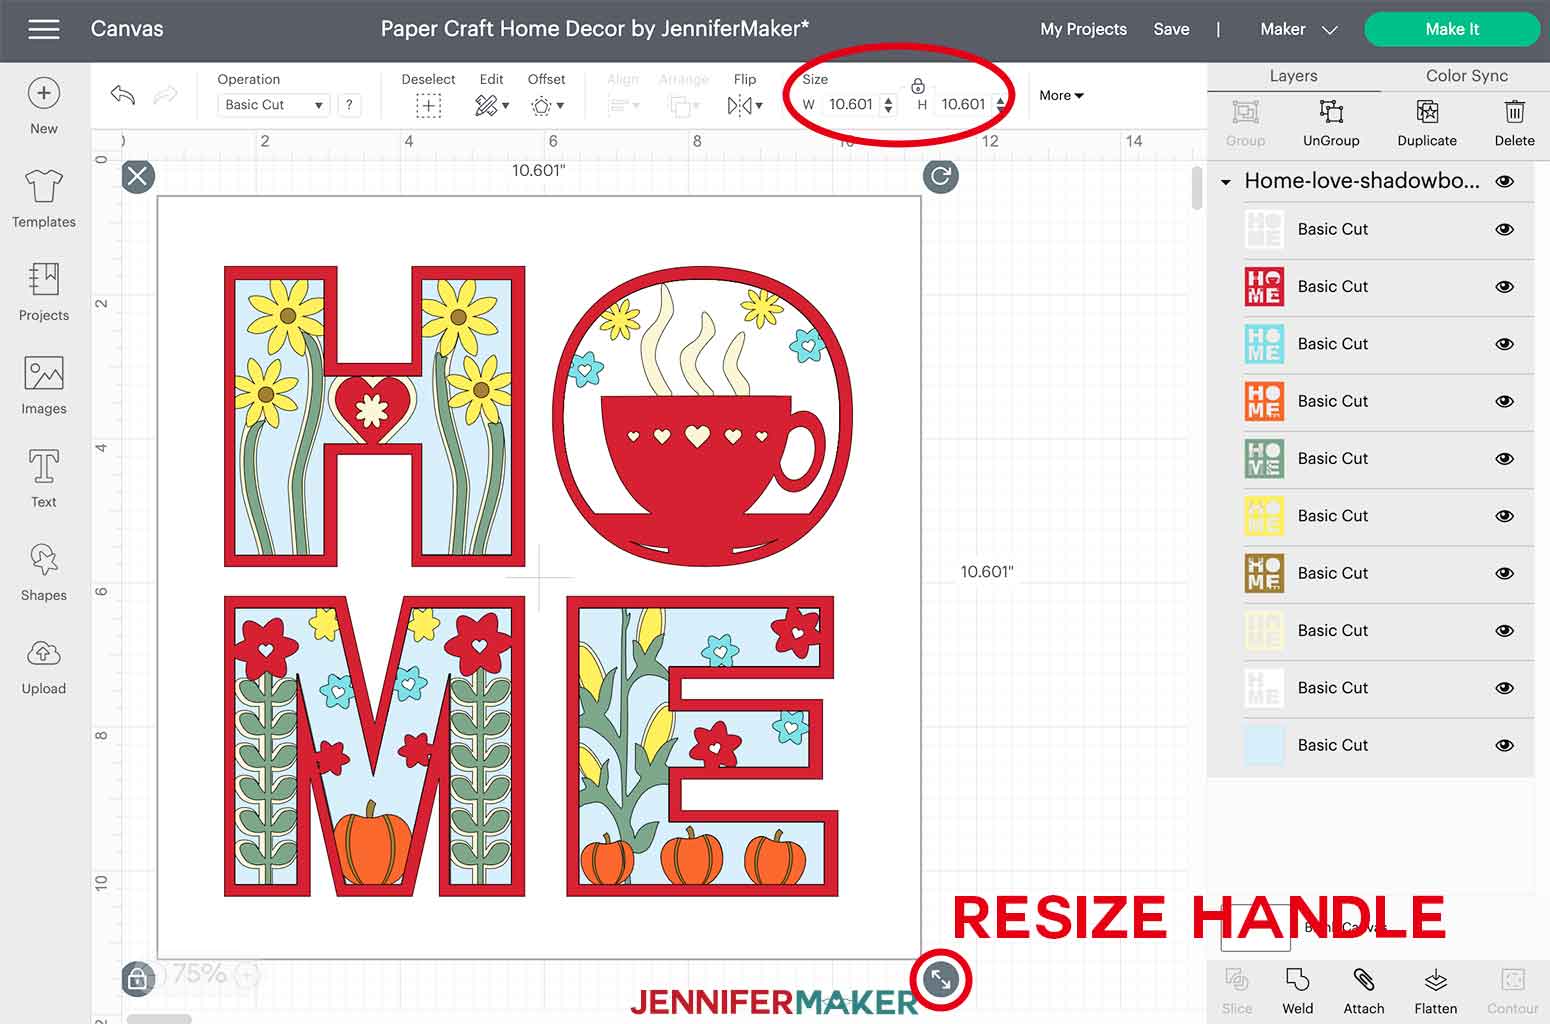
TIP: To change the size, click on the design on the canvas and then click and drag the arrows on the bottom right side until everything is the size you want. You can also change the measurements in the size fields at the top of the canvas. In order to maintain the correct proportions, make sure the padlock remains locked, otherwise the image will become distorted.
STEP 2: CUT THE LAYERED HOME OR LOVE DESIGNS
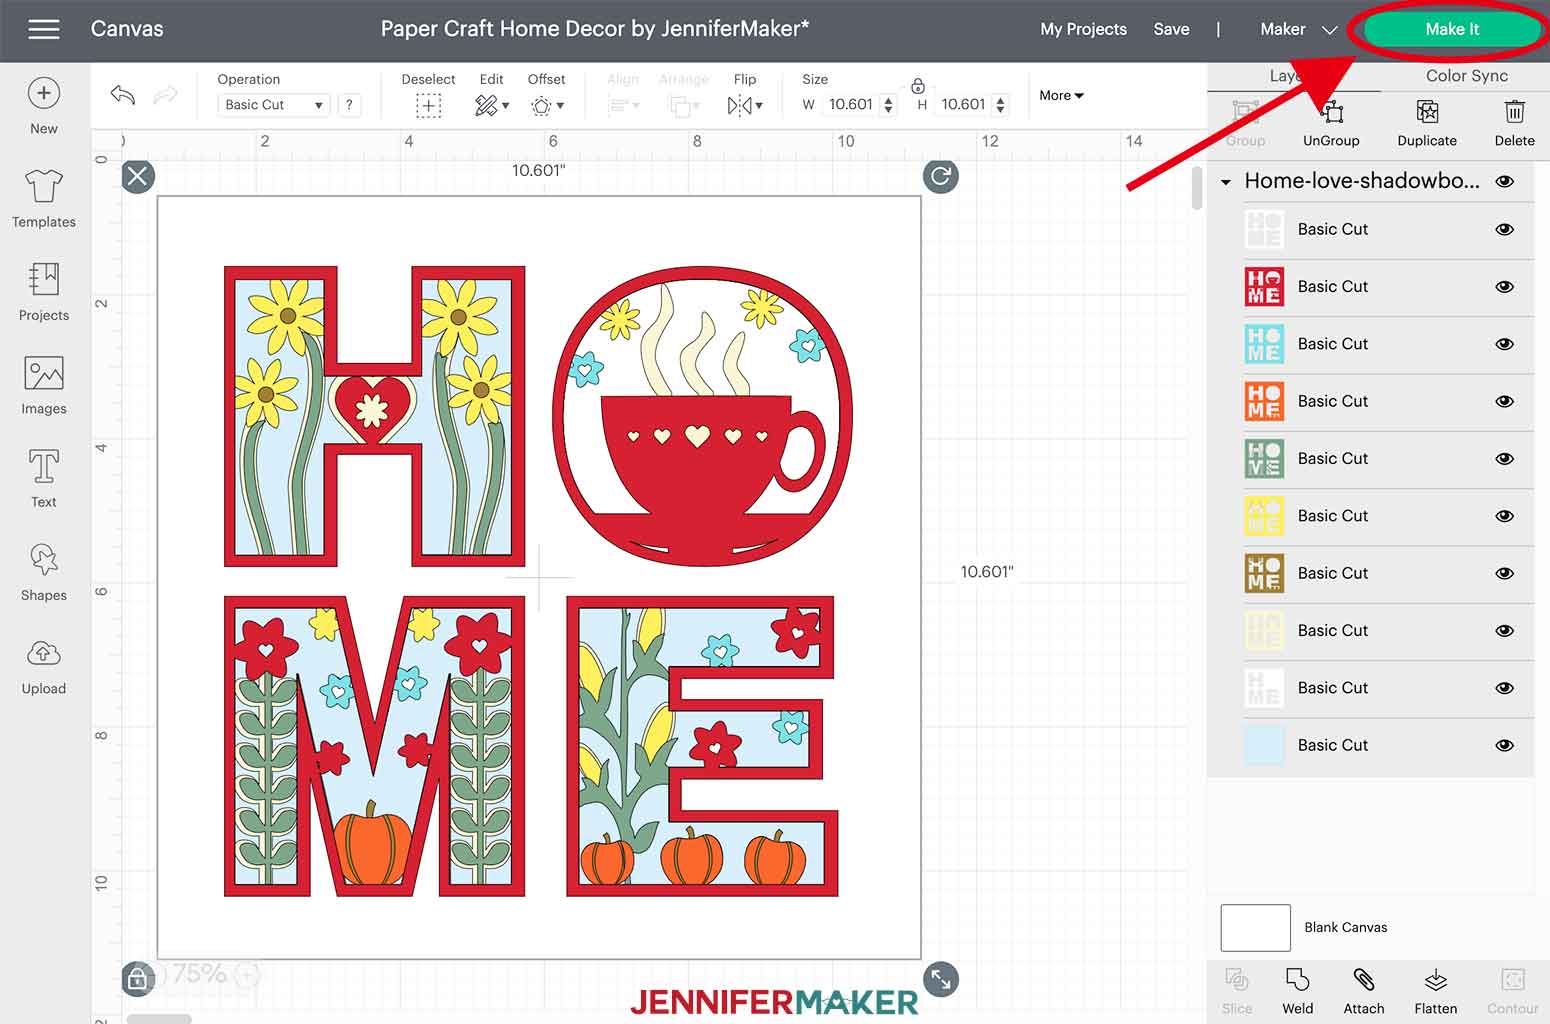
Once your size is set, click "Make It" in the upper right corner.
There is nothing to change on the Prepare screen but Cricut Design Space will display the color order in which the cuts will happen. This can be helpful so you know how to organize your cardstock to prepare for cutting.
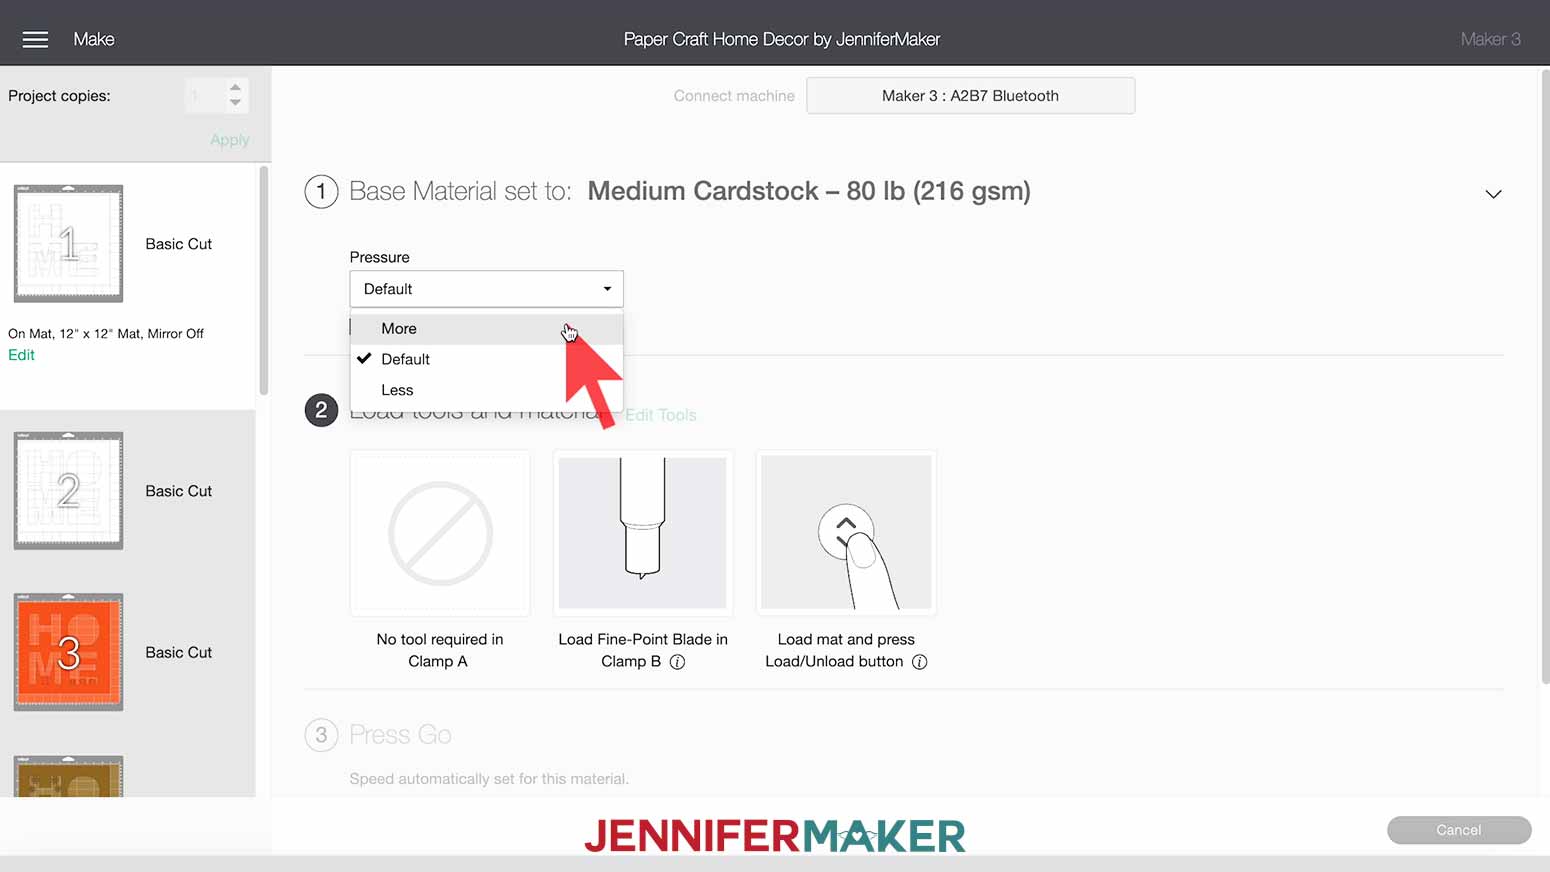
I set my material setting to Medium Cardstock with "More" pressure for a clean cut.
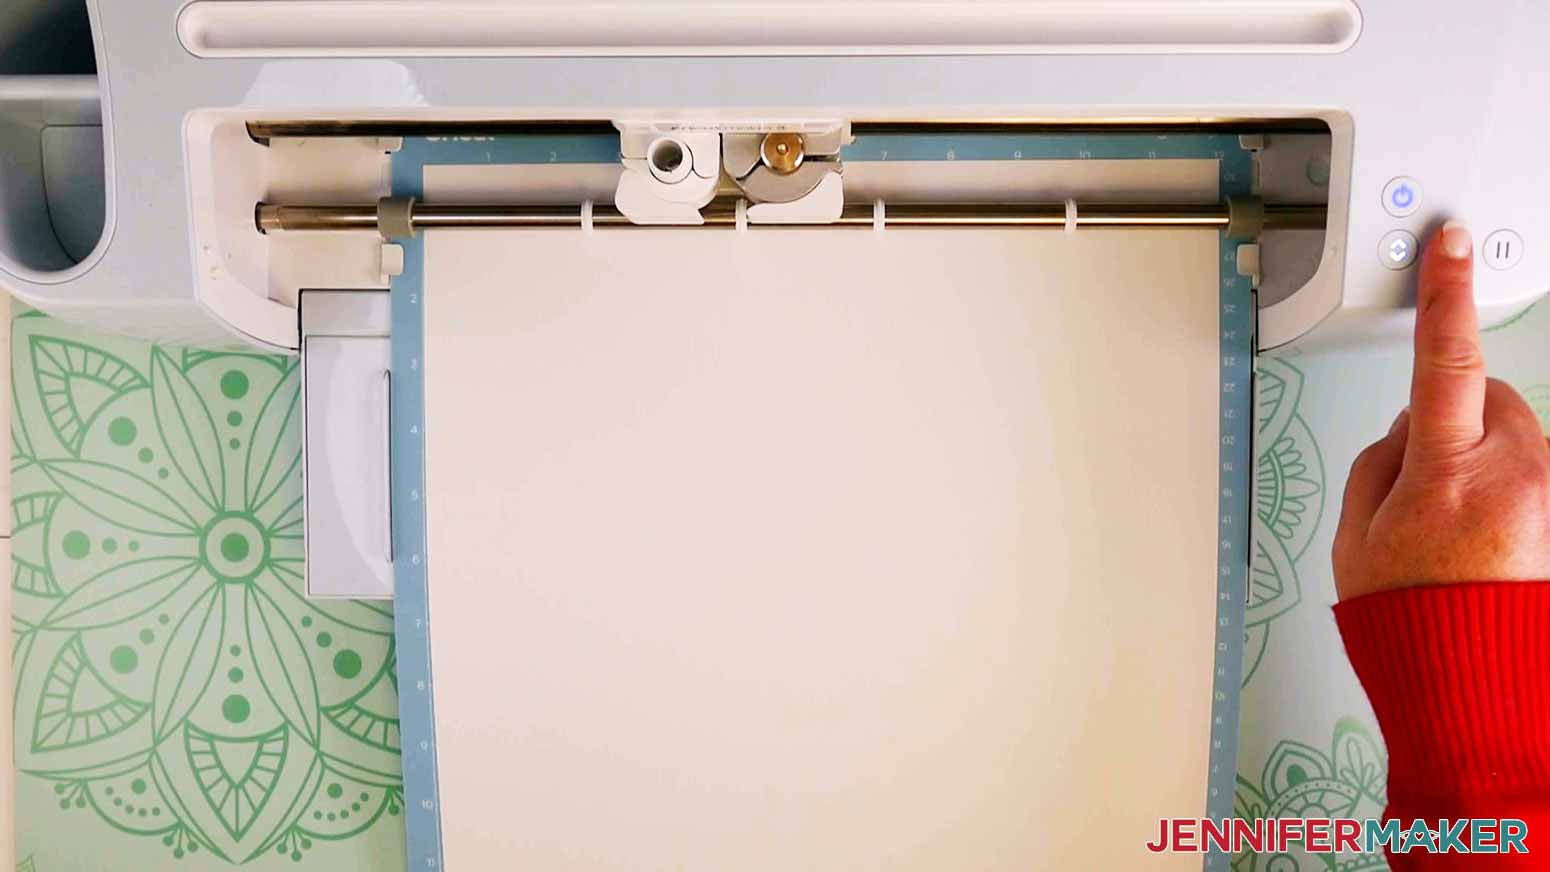
Place your first mat's cardstock face up on a clean blue LightGrip machine mat and use a brayer to make sure it's fully adhered. Make sure the Fine-Point Blade is loaded in Clamp B, then load your mat into your machine and press the Go button.
TIP: If you have any issues cutting, check out my Cutting Problems Guide. It contains all the tips I use to get clean cuts consistently.
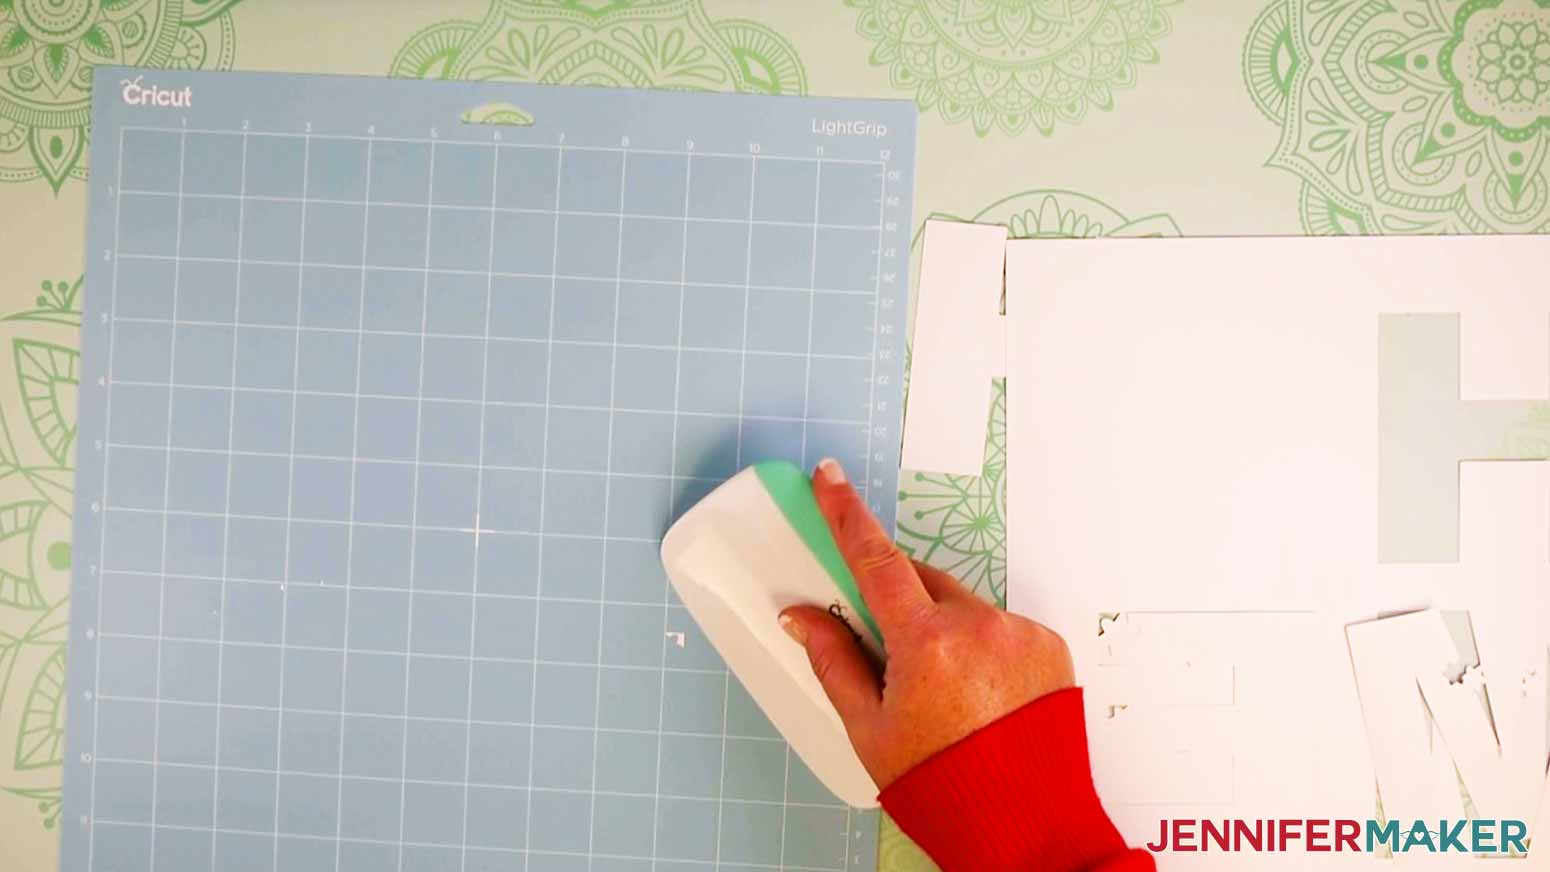
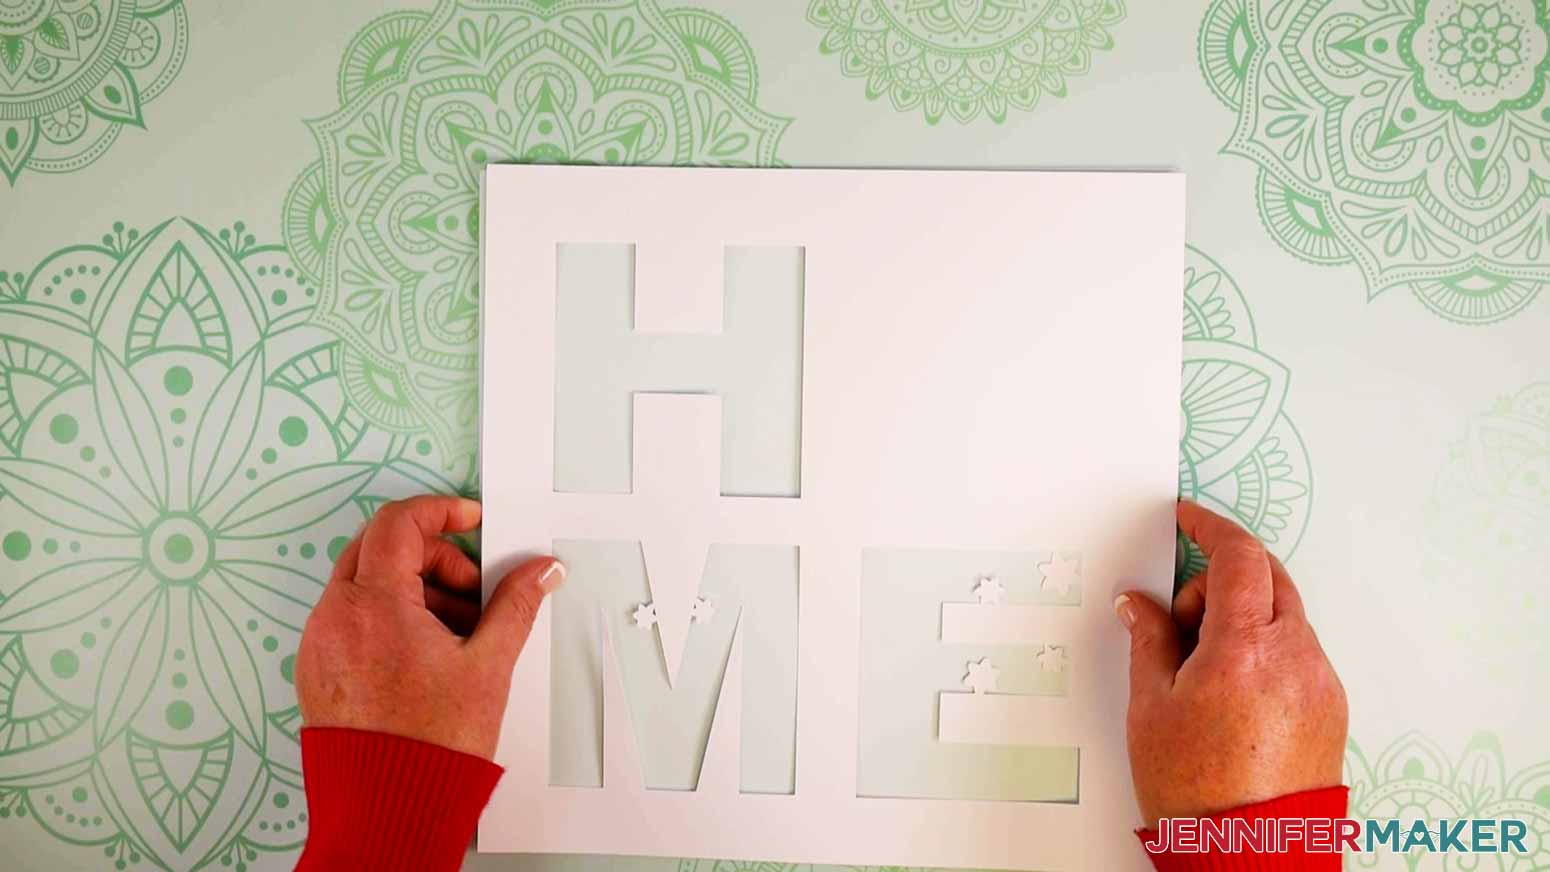
When your Cricut is done cutting the first layer, unload the mat and flip it over. Gently peel the mat away from the cardstock. (Take a look at this tip if you're having issues with your cardstock curling or ripping).
TIP: As you cut your layers, each design will leave behind cut-out pieces on your mat. I carefully peeled them off using my fingers and also used my Cricut XL Scraper tool to easily remove those pieces from the mat.
You will be prompted to load your second mat. Repeat the steps above until all of your layers are cut.
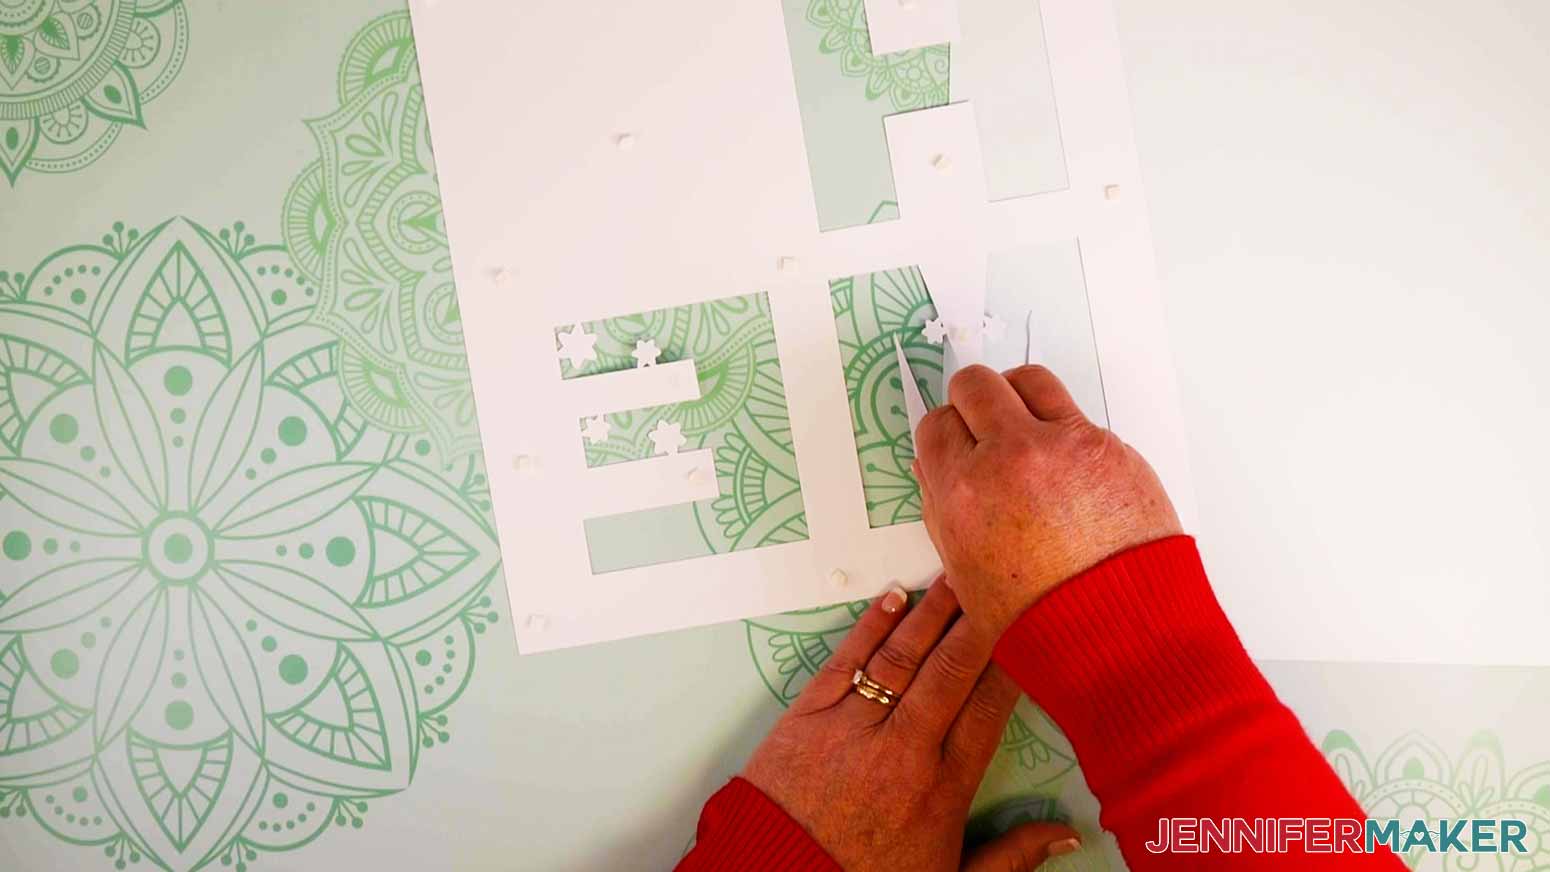
TIP: As you remove each layer of cardstock from the mat you may find that some pieces didn’t cut all the way through, if that happens I find it helpful to use the weeding tool to pop those pieces out.
STEP 3: ASSEMBLE YOUR PAPER CRAFT HOME DECOR
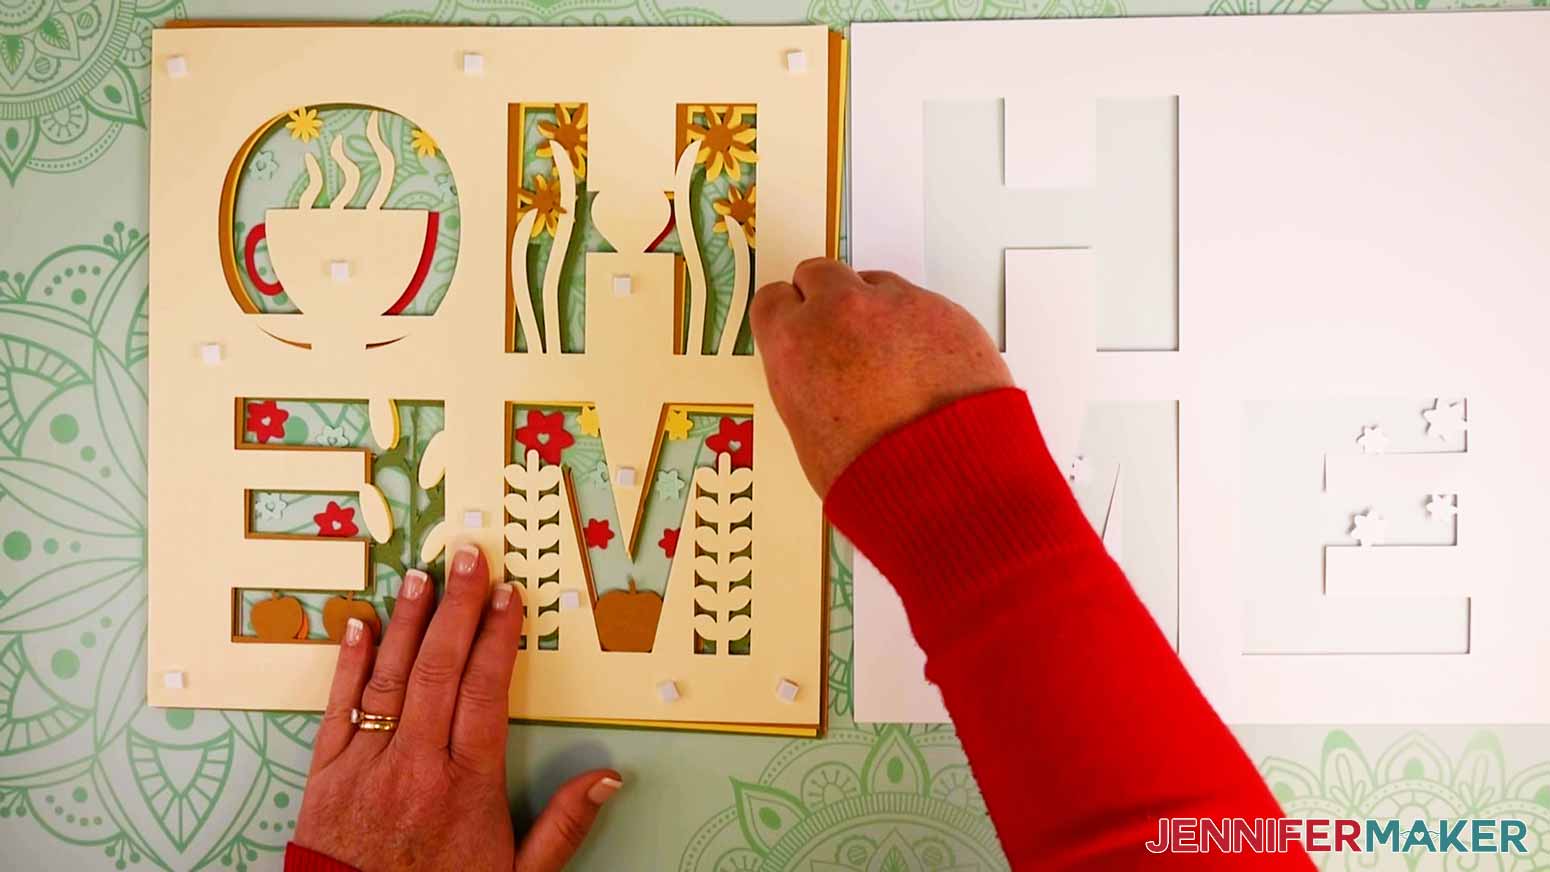
Once you have your pieces cut, I recommend you refer back to your canvas to review the order of layers. It will be helpful to organize your cut cardstock in the correct order to help you stay organized during assembly. Apply double-sided foam adhesive squares to the backside of all the layers. We will work from the bottom layer up to the top.
Center and place your second-to-last layer on your bottom blue layer.
TIP: As you place each layer on top of each other, lay them down lightly so you can adjust your placement if needed, then press to the underlying layer.
Now take the next bottommost layer and add the foam adhesive to the back.
Gently place it on the second-to-last layer.
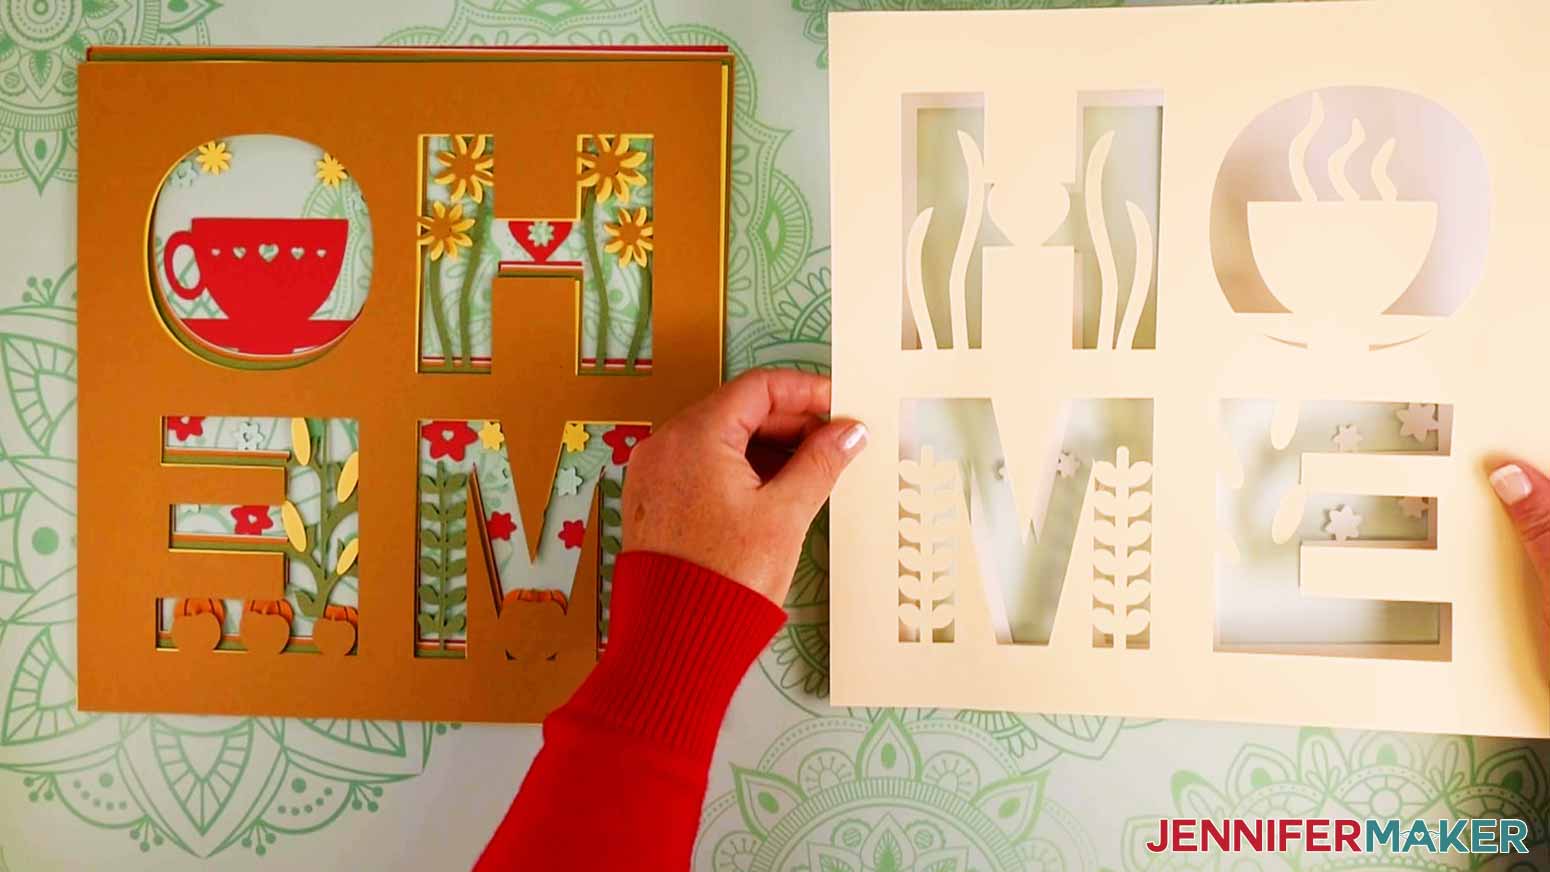
Continue the process by applying foam adhesive squares to the back of the next bottommost layer and then placing it on the below layer.

The process is the same as you work your way to the top. Once your top layer is applied, it is time to frame your beautiful artwork!
STEP 4: ASSEMBLING THE SHADOW BOX
First, let’s get our shadow box ready. I always like to clean the glass with a lint-free cloth and isopropyl alcohol. I clean both the inside and out, so I’m sure my design will look its very best once I give it a home.
Next, turn over your design and apply adhesive foam to the back of your layered design.
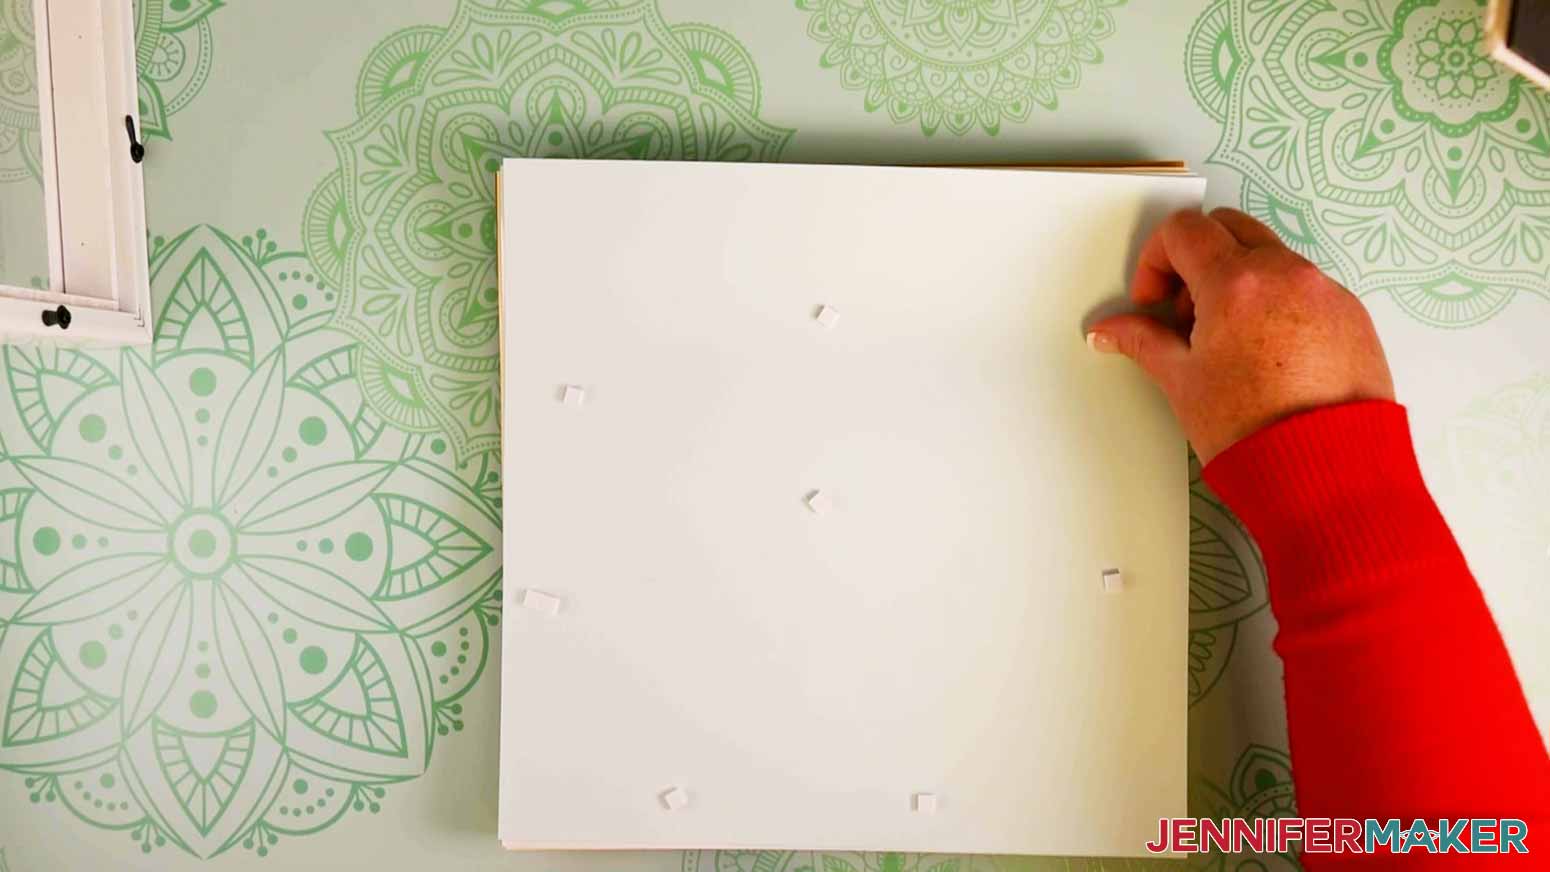
Press your design onto the the back board piece of your shadow box.
NOTE: You can use hot glue instead of foam tape for this part if you’re worried about it staying put.
Assemble the frame and close the tabs on the back.
STEP 5: SHOW IT OFF
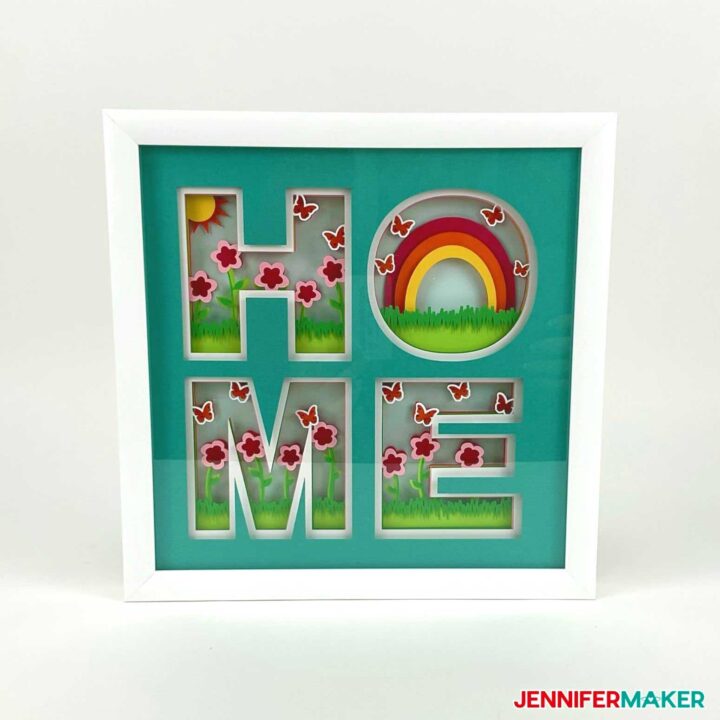
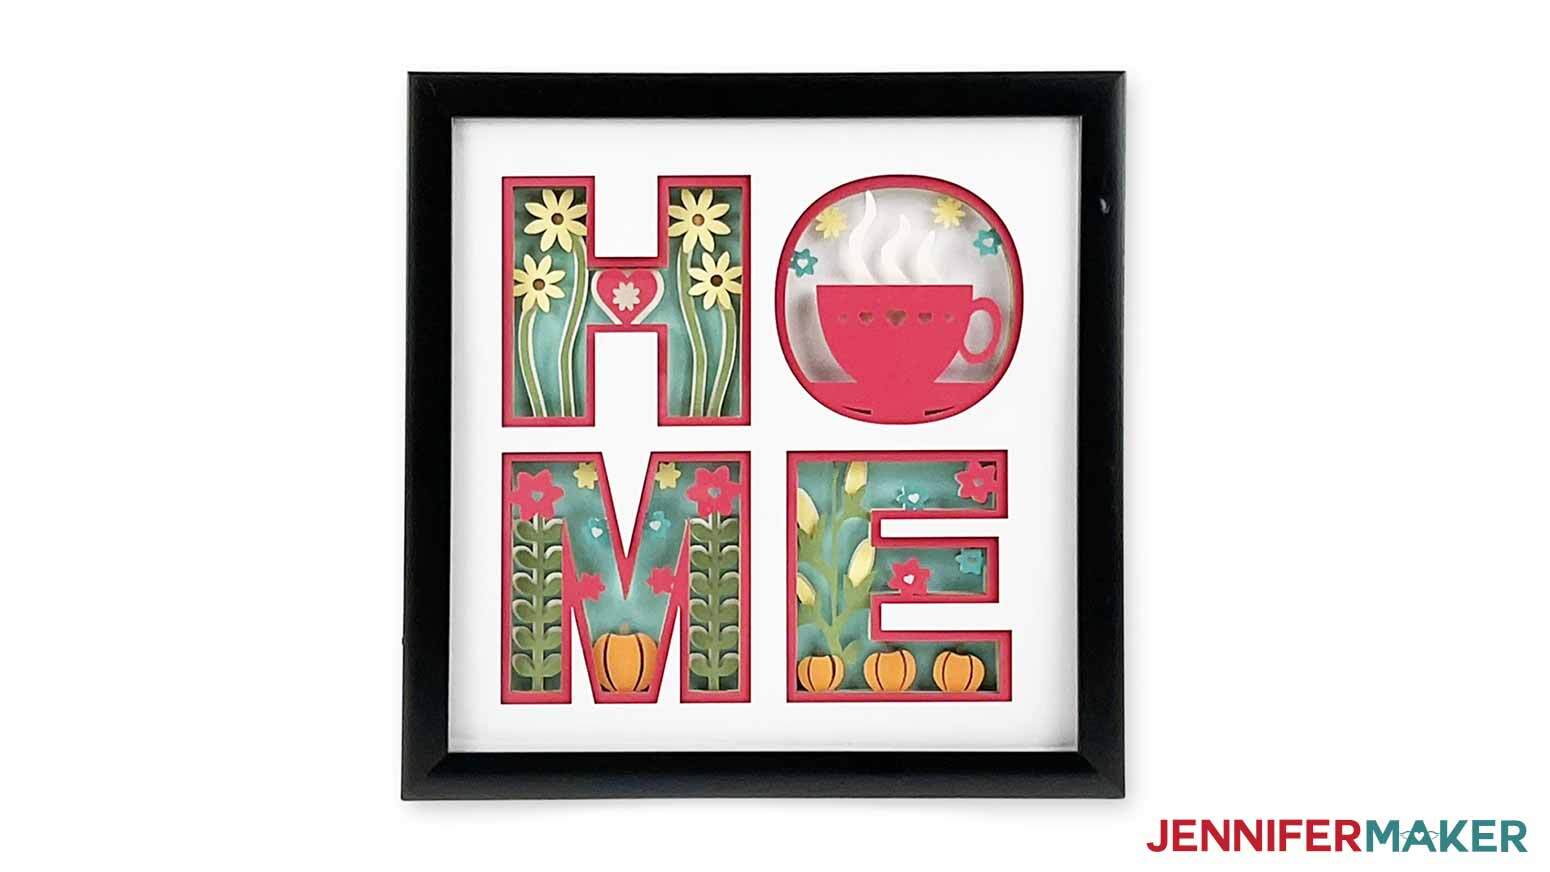
This is what my Paper Craft Home Decor HOME signs look like when finished!
This is what my Paper Craft Home Decor LOVE sign looks like when finished!
This is what my Paper Craft Home Decor KIND sign looks like when finished!
Recommended Products
As an Amazon Associate and member of other affiliate programs, I earn from qualifying purchases.

Answers to Your Questions About Making a Love Shadow Box
Q: Help! My Cricut Design Space screen looks different from yours!
A: If you’re using the latest version of Cricut Design Space, your screen may have slight variations than the screen you see on the video tutorial. Good news: All of the same functions are there, they may just be in different spots or have new icons. Pause the video if you need, or follow along with the written tutorial. If you get stuck, ask for expert support in our Facebook group. Our group has become not just a help center, but also a vibrant community of real people and crafters! Plus, you can catch the latest news on JenniferMaker tutorials and more.
Q: Where can I find the supplies and tools to make a love shadow box?
A: My love shadow box SVG files can be made with simple supplies you may already have in your crafting stash. I like to shop on Amazon for their free shipping and quick delivery time with my Amazon Prime membership (just make sure to look for sellers with 5-star reviews, carefully review product information, and check out the product preview). You can also find most, if not all of the supplies and tools at your local craft store.
Q: Can I make and sell these love shadow box designs?
A: I love supporting creative entrepreneurs! If you want to use my designs and projects for commercial use, please familiarize yourself with my important licensing information before selling your crafts.
I do not permit sale of my digital items, but you can sell the creative goods you make with them — as long as you follow my licensing requirements. That means you cannot sell the love shadow box SVG files, but you can sell custom size shadow boxes that you made with the files within the guidelines linked above.
Q: How do I know if my design is the right size?
A: Not sure if your design is uploading at the correct size? If you are using a mobile device or Cricut Design Space Beta for Desktop, try switching to the Live version as this has worked in our testing. Here are the dimensions you should see for each design on your Canvas:
-
love-shadow-box-jennifermaker-SVG: 10.6” x 10.6”
If you need help resizing your design, open my Resizing Guide.
Q: Do you have other shadow box designs I can make?
A: Shadow boxes are some of my favorite projects, so I have designs for almost every occasion! Check out these free shadow box designs:
- Tutorial with step-by-step directions: Photo Gallery Shadow Box
- More Designs: Heart-Shaped, LED Photo, Pumpkin, Paper Flower, Gnome, Flower Beard Gnome, Hot Chocolate, Layered Cardinal, Light-Up Stars
- Backlit Shadow Boxes: Flowers & Butterflies, Snowflake & Poinsettia, Sunflower & Pumpkin
Get my free SVG/DXF/PDF files to make your own love shadow box!
(If you do not see the signup form above, click here.)
I love seeing what you make with my designs and how you use them! Inspire others and share a photo of your love shadow box in our Facebook group or tag me on social media with #jennifermaker.
Love,

Want to remember this? Save this Love Shadow Box Tutorial to your favorite Pinterest Board!