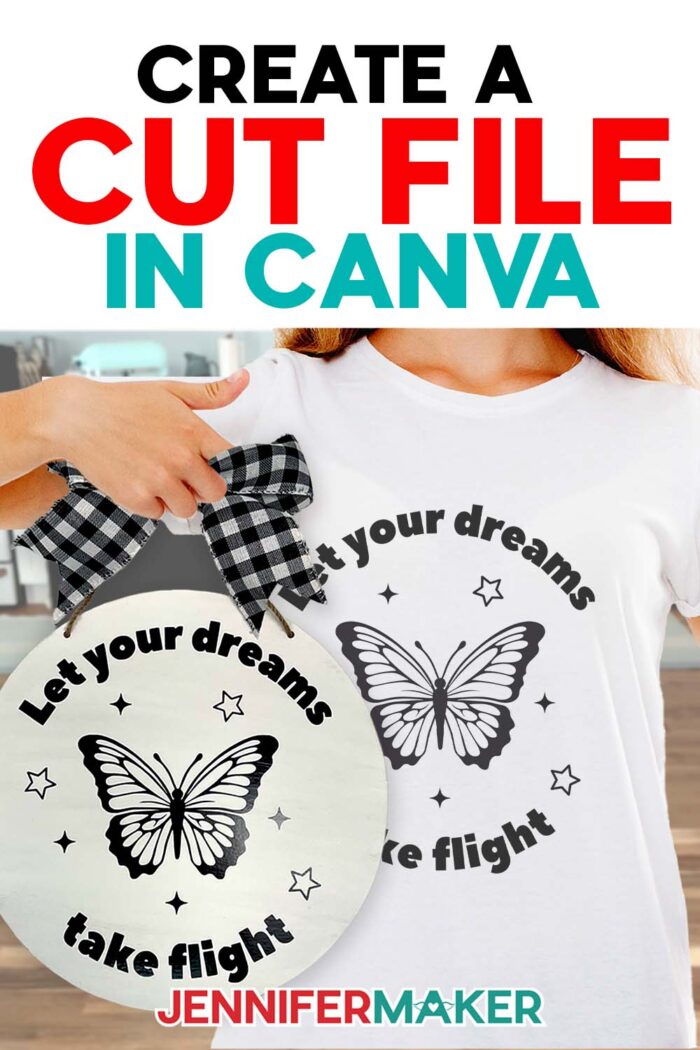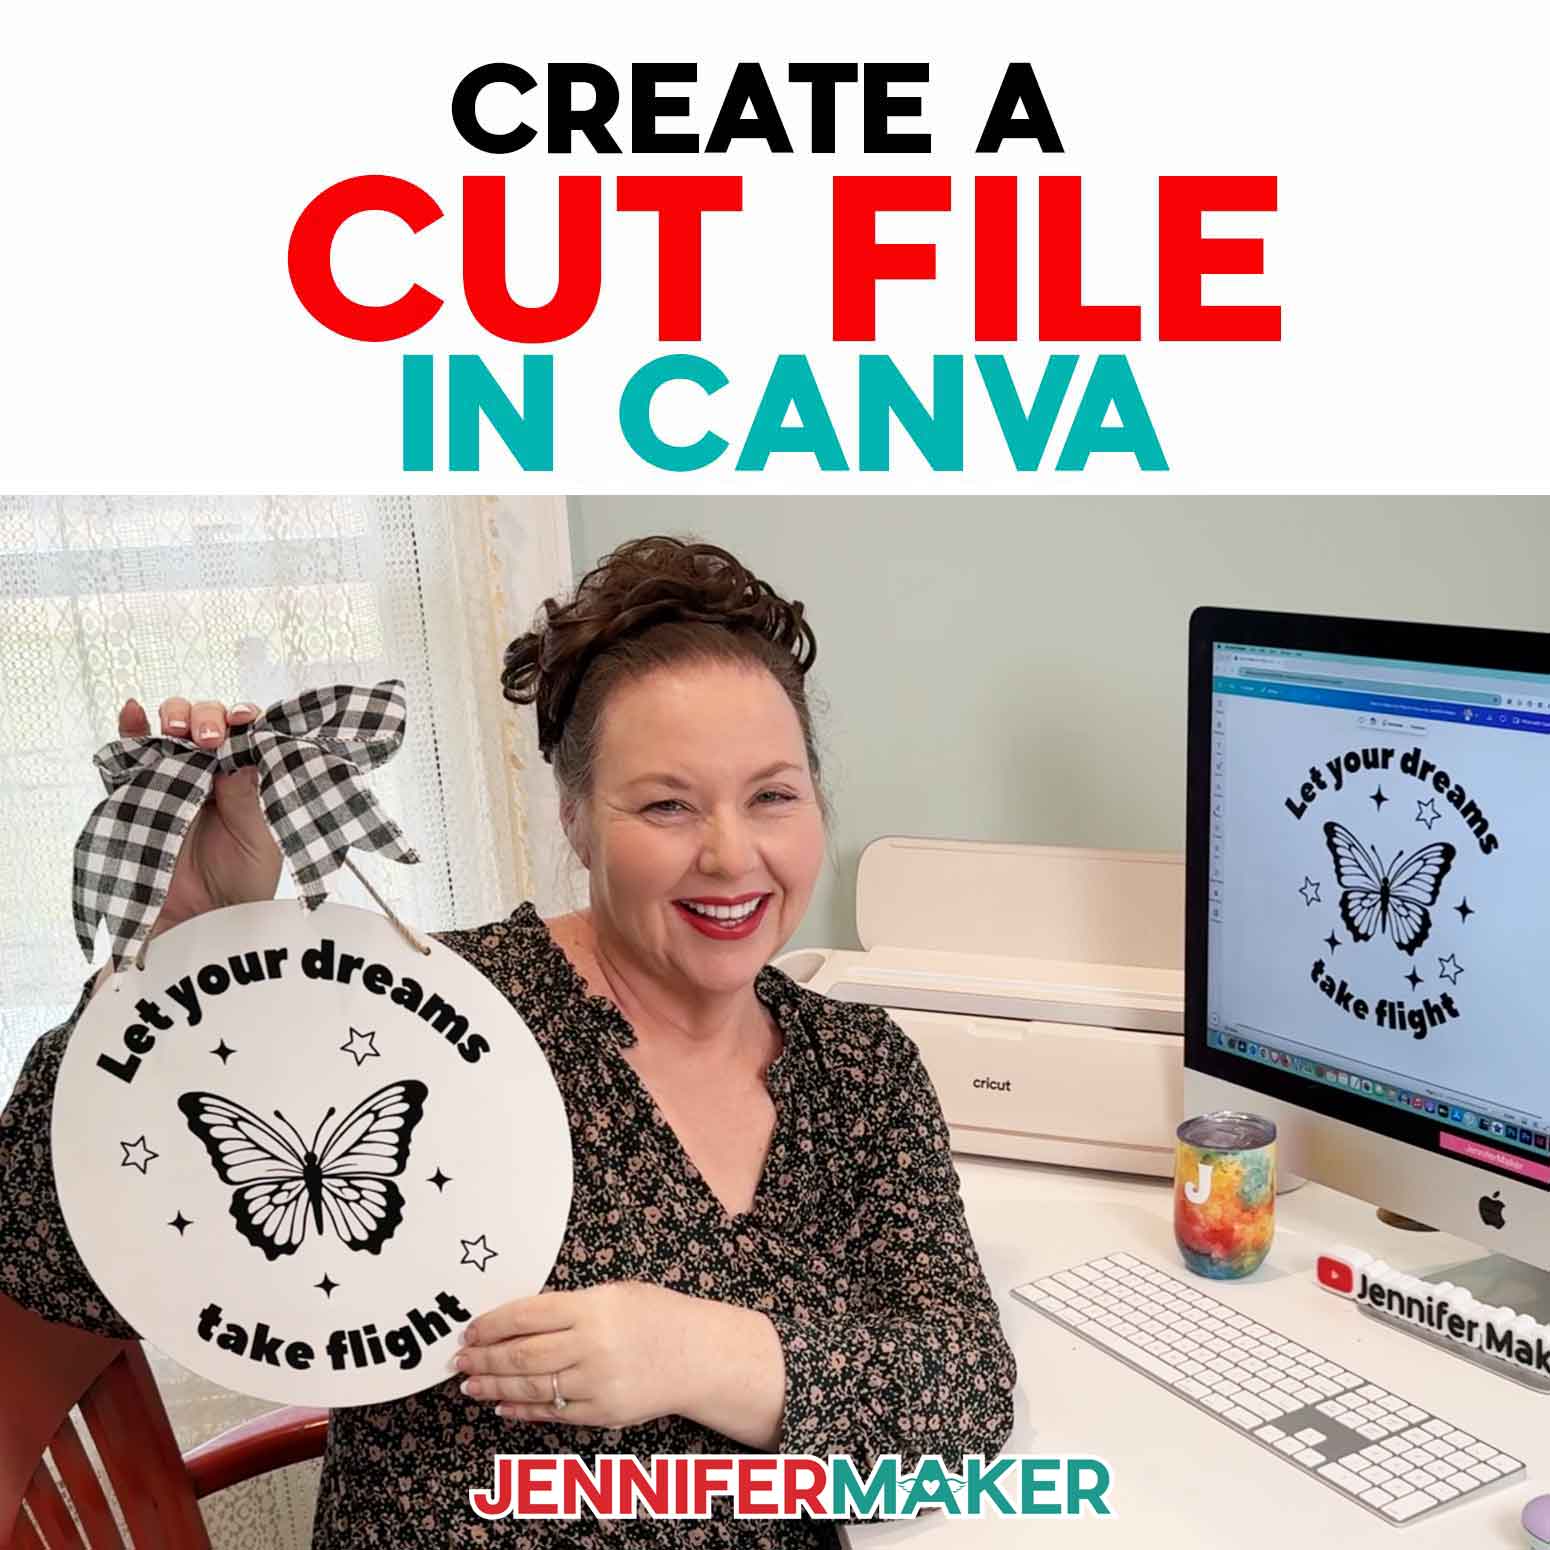
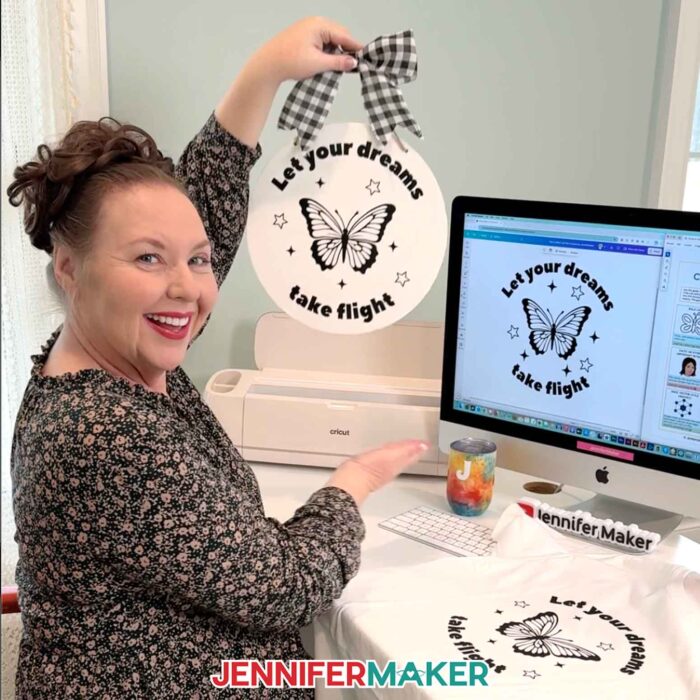
Learn how to create a cut file in Canva to design your own vinyl decals & T-shirts!
Ever had an awesome design idea but got stuck because you didn’t have the skills to pull it off? I know the feeling! When I first started crafting, I relied on free designs from talented makers, but I longed for more creative freedom to make the things I was imagining in my head. I started teaching myself how to design my own cut files, and something magic happened. My skills grew, and suddenly the ideas in my imagination could take shape as real, tangible projects! And now, I’m able to teach you how to create a cut file in Canva with a free account, Cricut Design Space, and a Cricut machine!
See the full step-by-step video tutorial on how to create a cut file in Canva:

In crafting, a “cut file” usually refers to a special type of SVG file that can be cut with a cutting machine like a Cricut. While this process doesn’t create a SVG, I’ll teach you how to create your own cut file for vinyl crafting projects. Vinyl crafting with your own unique designs is a fantastic way to personalize everyday items – whether you’re decorating a cute sign, customizing T-shirts and tote bags, or adding flair to things you use often.
I’ve done the research and testing to find the easiest and most accessible method available to make easy cut files with Canva, and I can’t wait to share it with you.
To start, we’ll use Canva, an amazing free design tool. There is a paid account with extended features, but I’ll walk you through creating a custom vinyl design using the free version with free Canva elements and text. We’ll cover a few important tips, too, like how you cannot change the size of your canvas once it’s set with a free account, so be sure to choose a custom size for your project that is larger than you’ll need. Then, we’ll use the search bar to browse thousands of graphics, and choose one without a crown icon – that means it’s free to use without a paid account.
Will any Canva element work for a cut file design? Canva offers a wide variety of design elements, but not all of them work well for vinyl projects. Simple shapes with clean lines and solid colors make the best cut files, and we’ll explore how to choose the perfect elements for a successful vinyl project. I’ve also included a free cheat sheet in the download file with photos and helpful guidance for choosing graphics with the right attributes. The Canva To Cuttables sheet is a super helpful reference when you’re trying to choose elements that are cut-friendly!

Once you’re happy with your new design, I’ll guide you through removing unnecessary areas. Creating a transparent background is another paid feature in Canva, so I’ll show you how to prepare your PNG file for easier use in Cricut Design Space. Then I’ll show you how to save it for use as a cut file, so you can cut the design from adhesive or iron-on vinyl!
A list of everything you’ll need to create a vinyl-decorated sign or T-shirt is available in my materials list below, with links where to find them. You can follow the steps in my How To Use Transfer Tape with Cricut Vinyl Decals tutorial to learn how to cut, prepare, and apply a permanent vinyl decal. If you cut your design from HTV, use my How to Avoid (Or Fix) Common HTV Mistakes tutorial to learn how to apply iron-on vinyl to a cotton T-shirt.
With just a little practice, you’ll be creating custom designs like a graphic designer, almost like making your own SVG files! It’s so much fun to make unique gifts, personalize your home decor, and create one-of-a-kind crafts using your own images that you made yourself! Learning to design your own cut files opens up a huge world of creative possibilities, and I can’t wait to see what you make with your new skills!
Would you like to customize your own multicolored vinyl design? I have a workshop just for you in my ADVANCE program. Learn more about ADVANCE with JenniferMaker here!
Let me show you how to create a cut file in Canva! This post contains some affiliate links for your convenience (which means if you make a purchase after clicking a link I will earn a small commission but it won’t cost you a penny more, there is no additional cost)! Read my full disclosure policy.
Materials to Make a Vinyl Decal
View my Amazon shopping list with the exact items I used.
For either project:
- A way to cut your materials – I’m using the Cricut Maker 4, but you can also use a Cricut Maker series, a Cricut Explore Series machine, the Cricut Venture, the Cricut Joy, or the Cricut Joy Xtra
- Cricut Green StandardGrip Machine Mat 12″ x 12”
- Weeding Tool
- Scissors
- Brayer
- Measuring Tape
For permanent vinyl sign:
- 12″ Round Unfinished Wood Sign Blank
- Cricut Permanent Vinyl (I used black)
- Cricut StandardGrip Transfer Tape
- Scraper
For iron-on vinyl T-shirt:
- T-Shirt (I like this White Cotton Adult Unisex Crew Neck T-Shirt or White Cotton Ladies Crew Neck T-Shirt)
- Iron-On Vinyl – I used Cricut Value Iron-On Vinyl in black
- Cricut EasyPress
- Cricut Pressing Mat
- Lint Roller

How to Create a Cut File in Canva for Cricut Vinyl Crafts!

Create A Cut File In Canva
Learn how to create a cut file in Canva and design your own vinyl decal using the easiest, most accessible options available!
Materials
- 12” Round Unfinished Wood Sign Blank -AND-
- Cricut Permanent Vinyl - Black
- Cricut StandardGrip Transfer Tape
- OPTIONAL: T-shirt – I like this White Cotton Adult Unisex Crew Neck T-Shirt -OR-
- White Cotton Ladies Crew Neck T-Shirt -AND-
- OPTIONAL: Iron-On Vinyl – I used Cricut Value Iron-On Vinyl in Black (for HTV T-shirt project)
- Design #739 (My cheat sheet and free “Butterfly Dream” PNG design file are available in my free resource library - get the password by filling out the form at the bottom of this page)
Tools
- A way to cut your vinyl - I’m using the Cricut Maker 4, but you can also use a Cricut Maker Series machine, a Cricut Explore Series machine, the Cricut Venture, the Cricut Joy, or the Cricut Joy Xtra
- Cricut Green StandardGrip Machine Mat 12" x 12"
- Brayer
- Scraper
- Weeding Tool
- Scissors
- Tweezers
- OPTIONAL: Cricut EasyPress (for HTV T-shirt project) -AND-
- OPTIONAL: Cricut Pressing Mat (for HTV T-shirt project) -AND-
- OPTIONAL: Lint Roller (for HTV T-shirt project)
Instructions
STEP 1: GET MY FREE CHEAT SHEET, CHECKLIST, AND PNG DESIGN
First, download my Butterfly Dream design, cheat sheet, and checklist from my free library – look for Design #739. Alternatively, you can use the Save This Project form near the top of this post and the design link will be emailed to you. In the PDF folder, there’s a cheat sheet of things to keep in mind when choosing Canva elements for vinyl decals. If you want to skip the Canva portion of this tutorial and just learn how to convert a PNG to a cut file, there’s a copy of my Butterfly Dream design in the PNG folder you can use in Cricut Design Space starting with Step 3. TIP: If you’re not sure how to download zip files, go to jennifermaker.com/svgs because the steps are similar for PNGs and Canva.
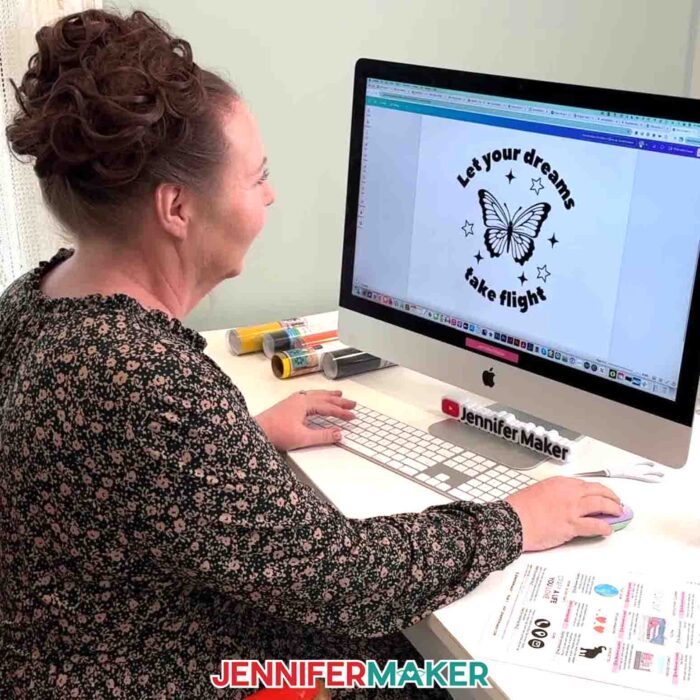
STEP 2: CREATE A CUT FILE DESIGN IN CANVA
If you already have a PNG design you’d like to convert into a cut file, skip to “STEP 3: CONVERT YOUR PNG INTO A CUT FILE.”
- On your desktop or laptop in Google Chrome, go to jennifermaker.com/canva. TIP: I recommend working on a computer instead of using the phone or tablet apps until you’re more comfortable. NOTE: The screen might look a little different depending on your device and when you are reading this tutorial.
- Log in to your account or follow the prompts on the screen to sign up for a free account. NOTE: Canva does offer paid subscriptions, but I’ll show you how to do everything with the free account, so you can skip upgrading for now.
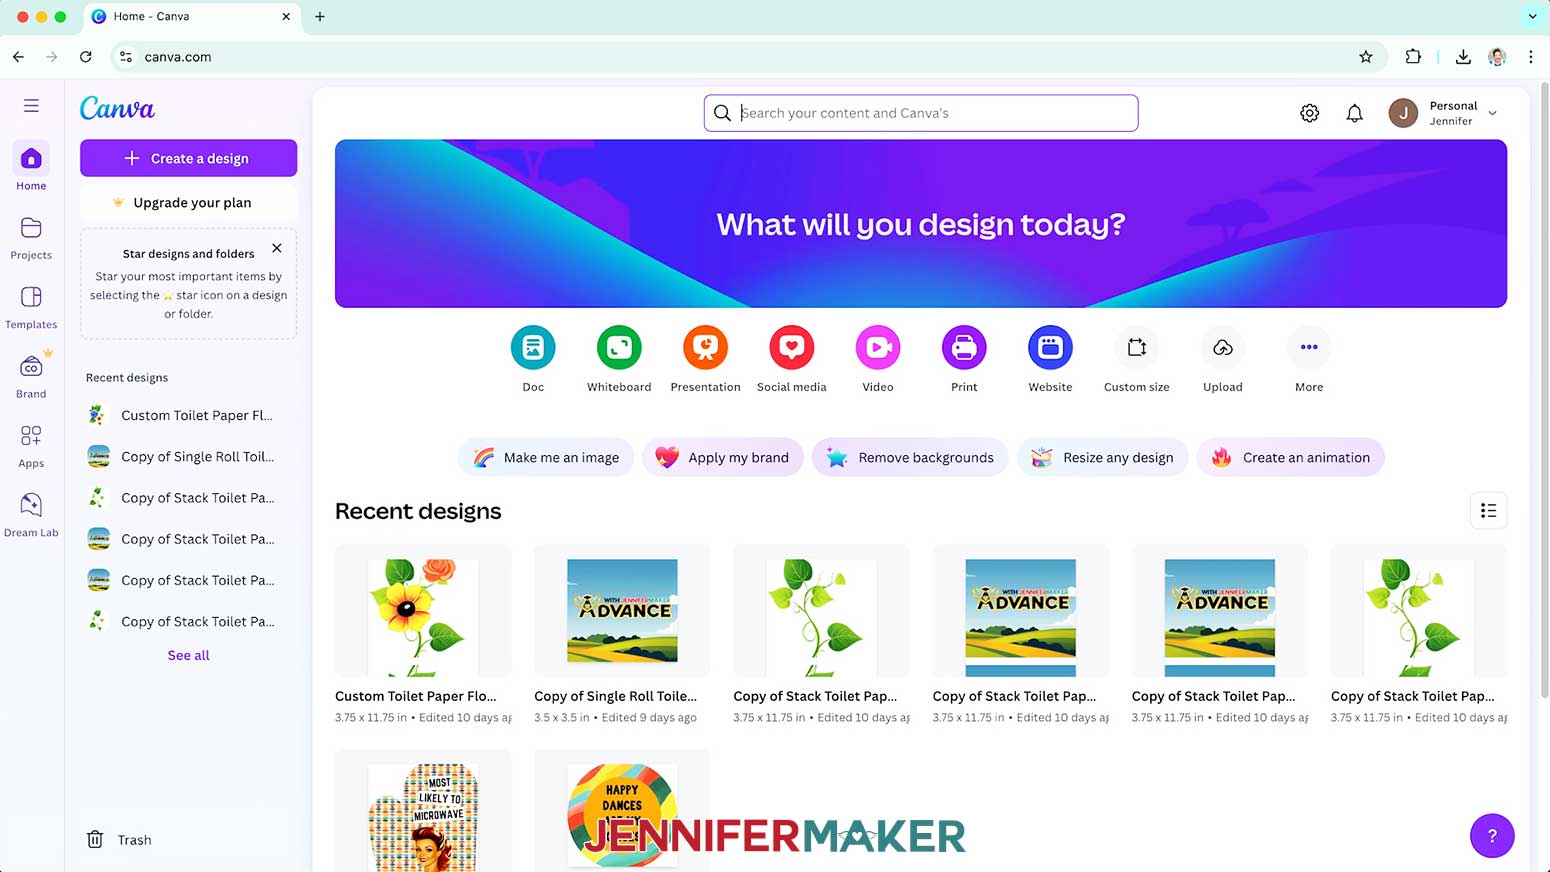
- Once you’re logged in, you’ll see the Canva Home screen.
TIP: If you ever get lost, click the house icon to come back.

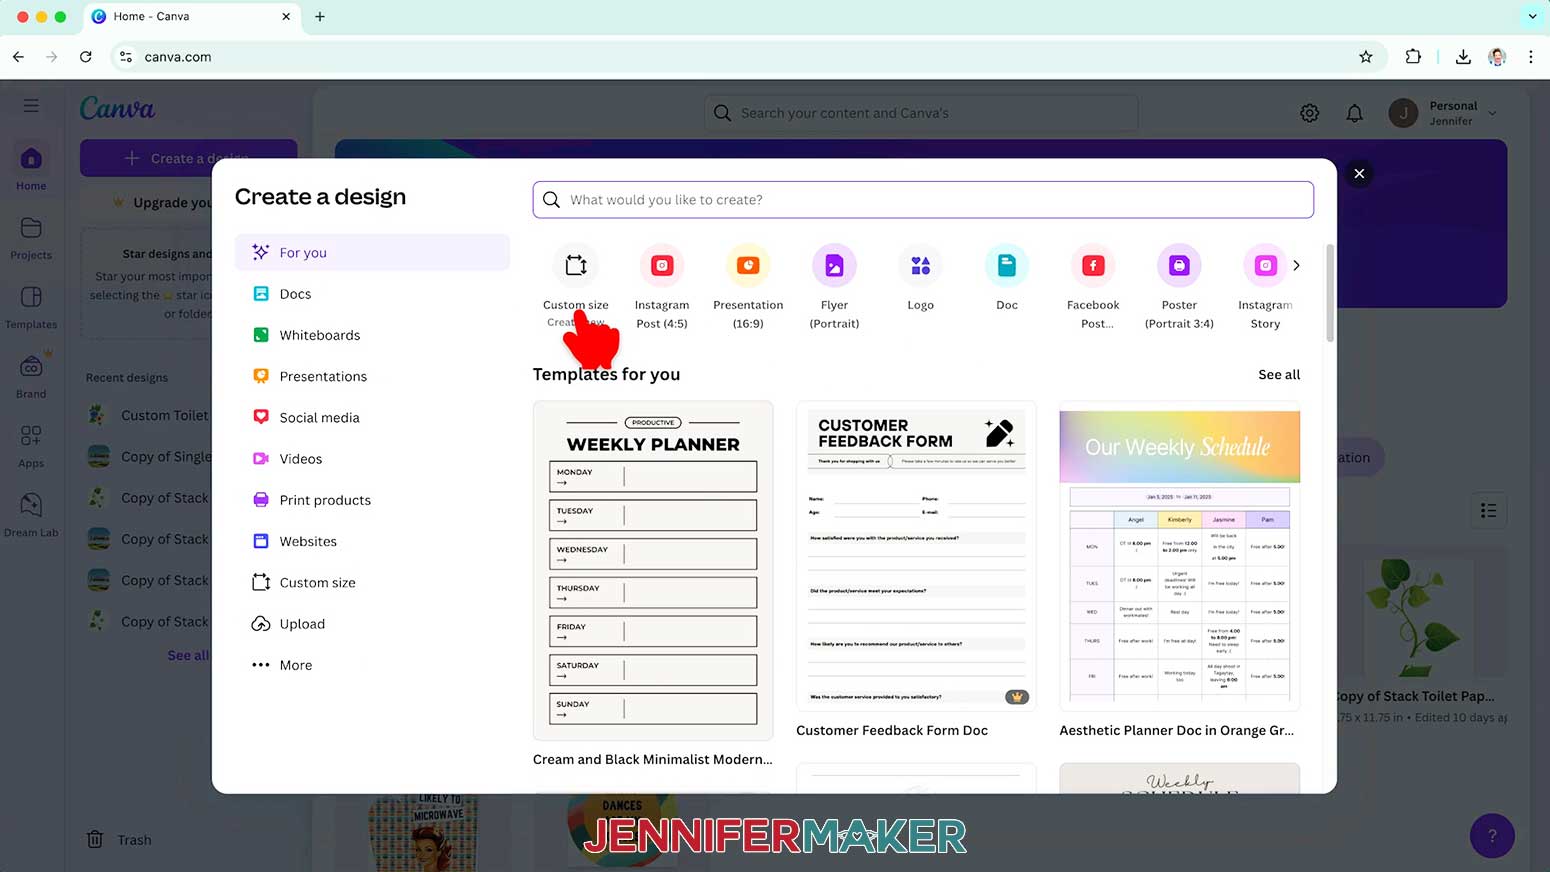
- On the Home screen, click “Create a design” and then “Custom size” from the options.
TIP: For crafting projects in Design Space, I recommend starting with a custom-sized canvas to match your final design.
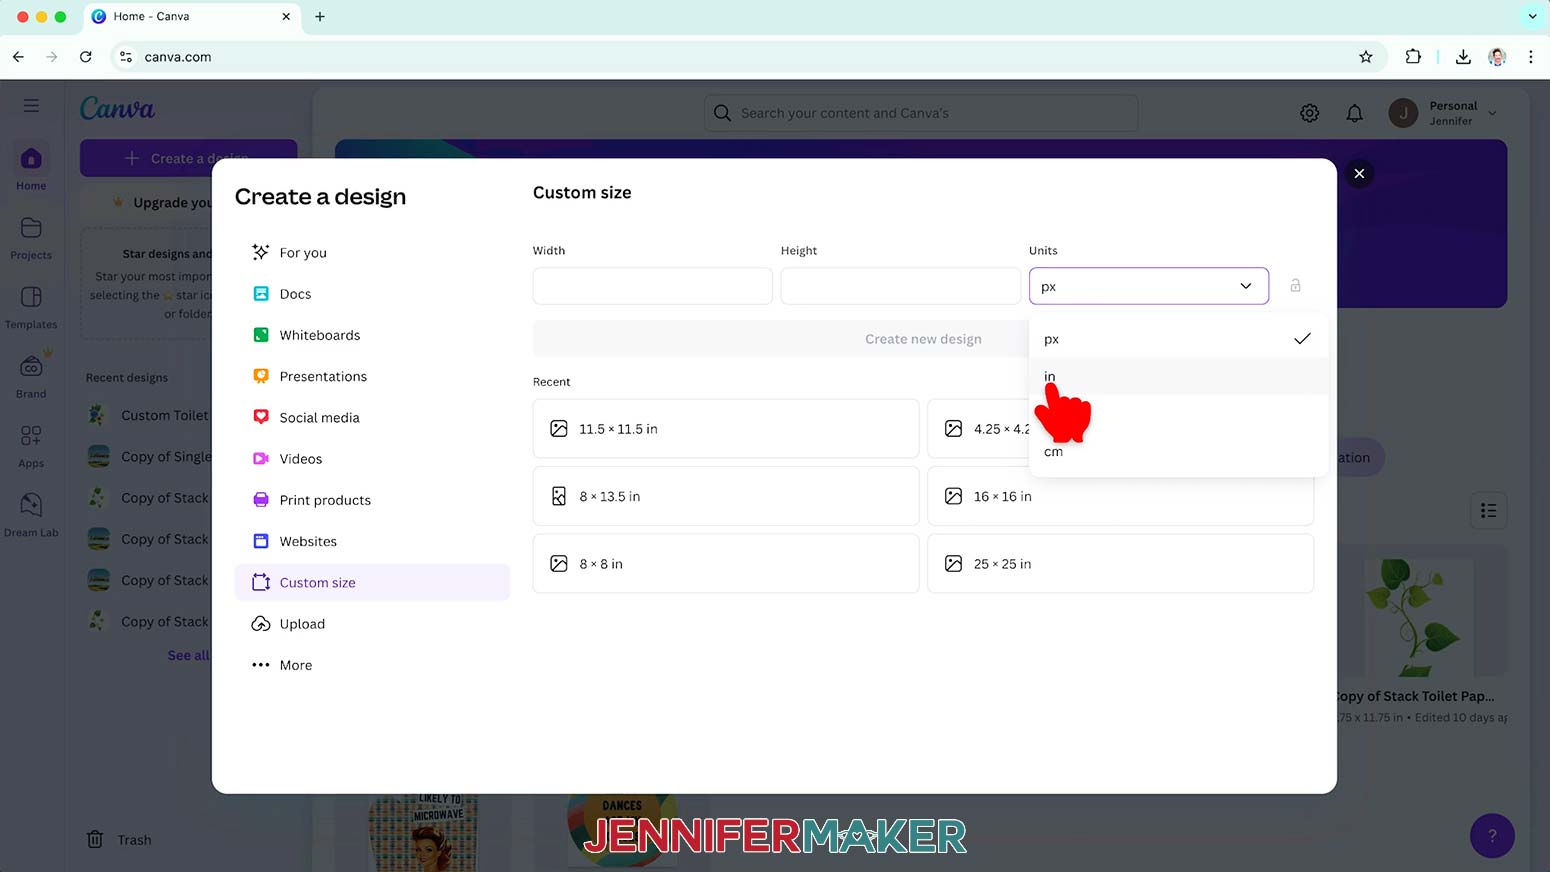
- Change the Units from “px” for pixels to “in” for inches.
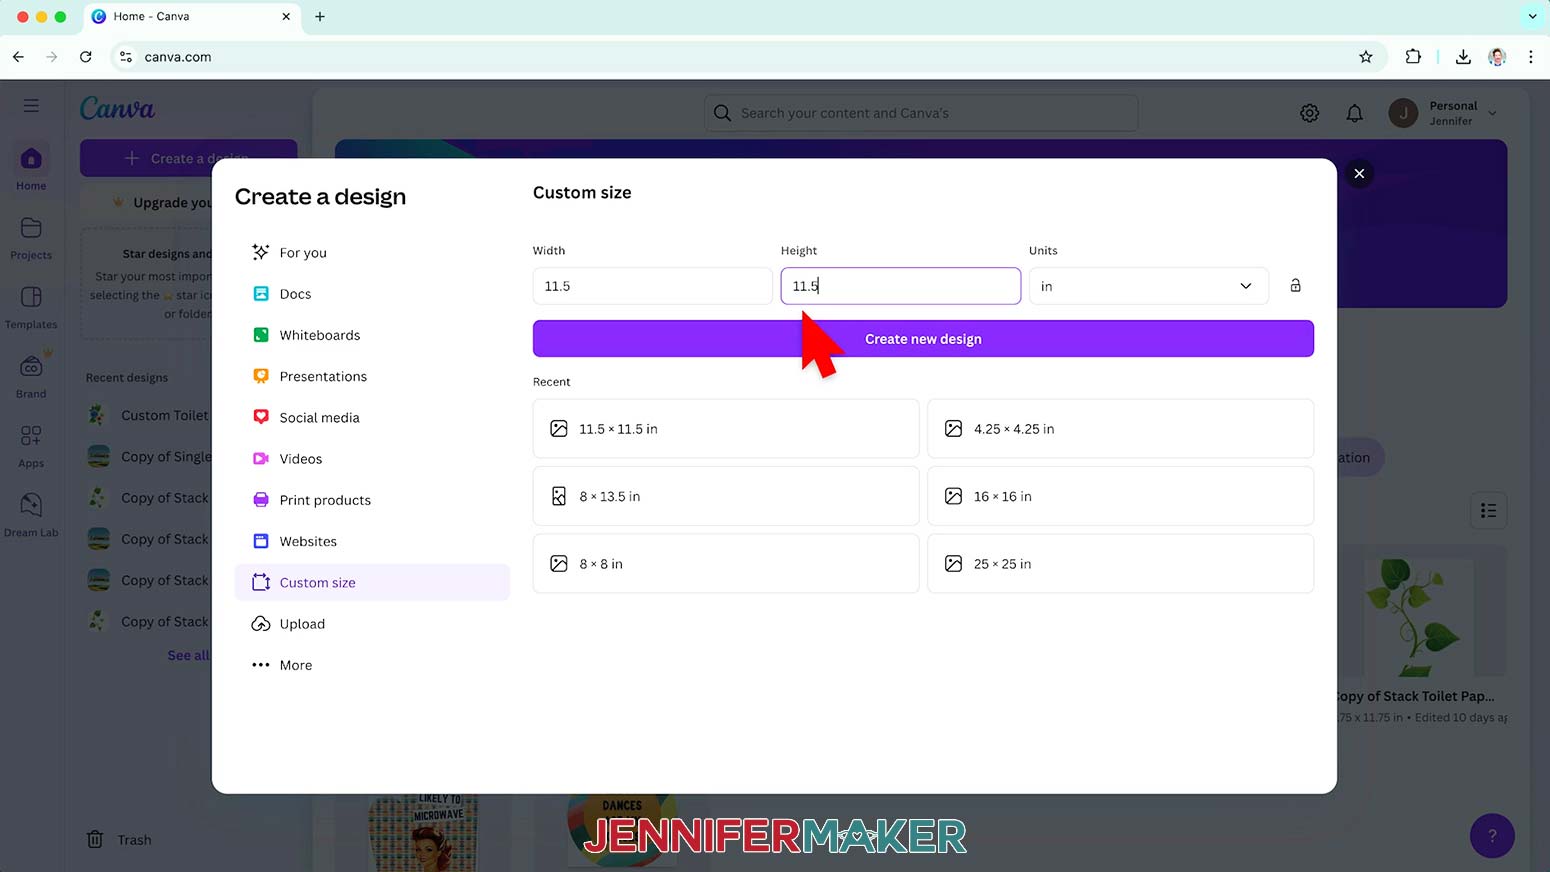
- Set your canvas’s width and height using the largest dimensions you might need for your project. Note that Canva’s free options won’t let you resize your design area after you’ve created it.
NOTE: The maximum size my Cricut Maker can cut is 11.5 by 11.5 inches, so I’ll set my design to that.
- Click “Create new design.” The new screen is your designing canvas.
- Click the “Elements” icon in the left panel.
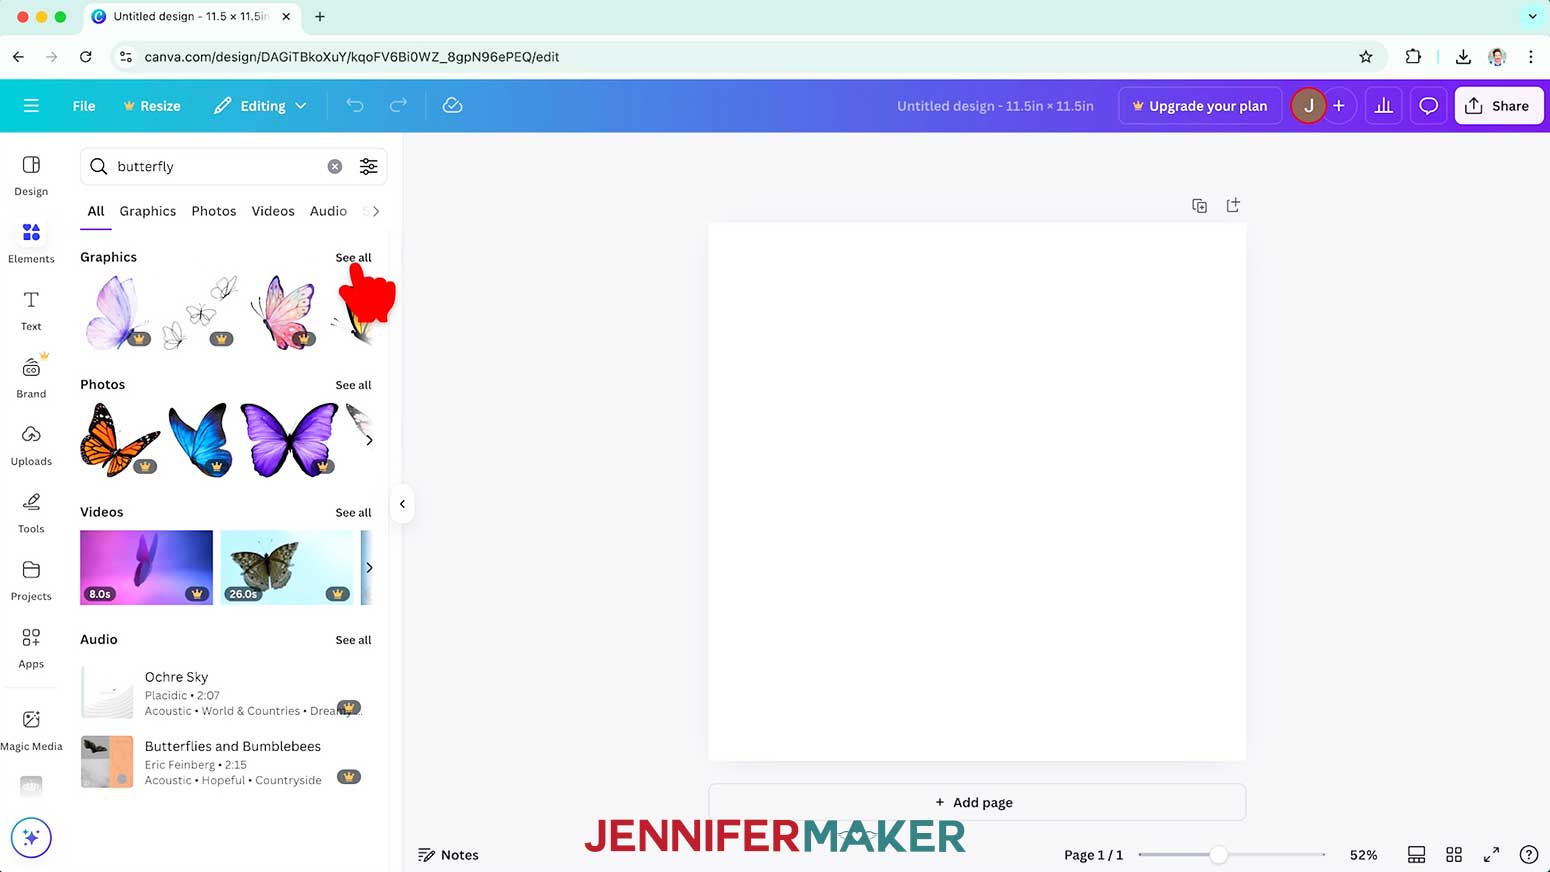
- In the search bar, search for the subject of your design. I searched for “butterfly.”
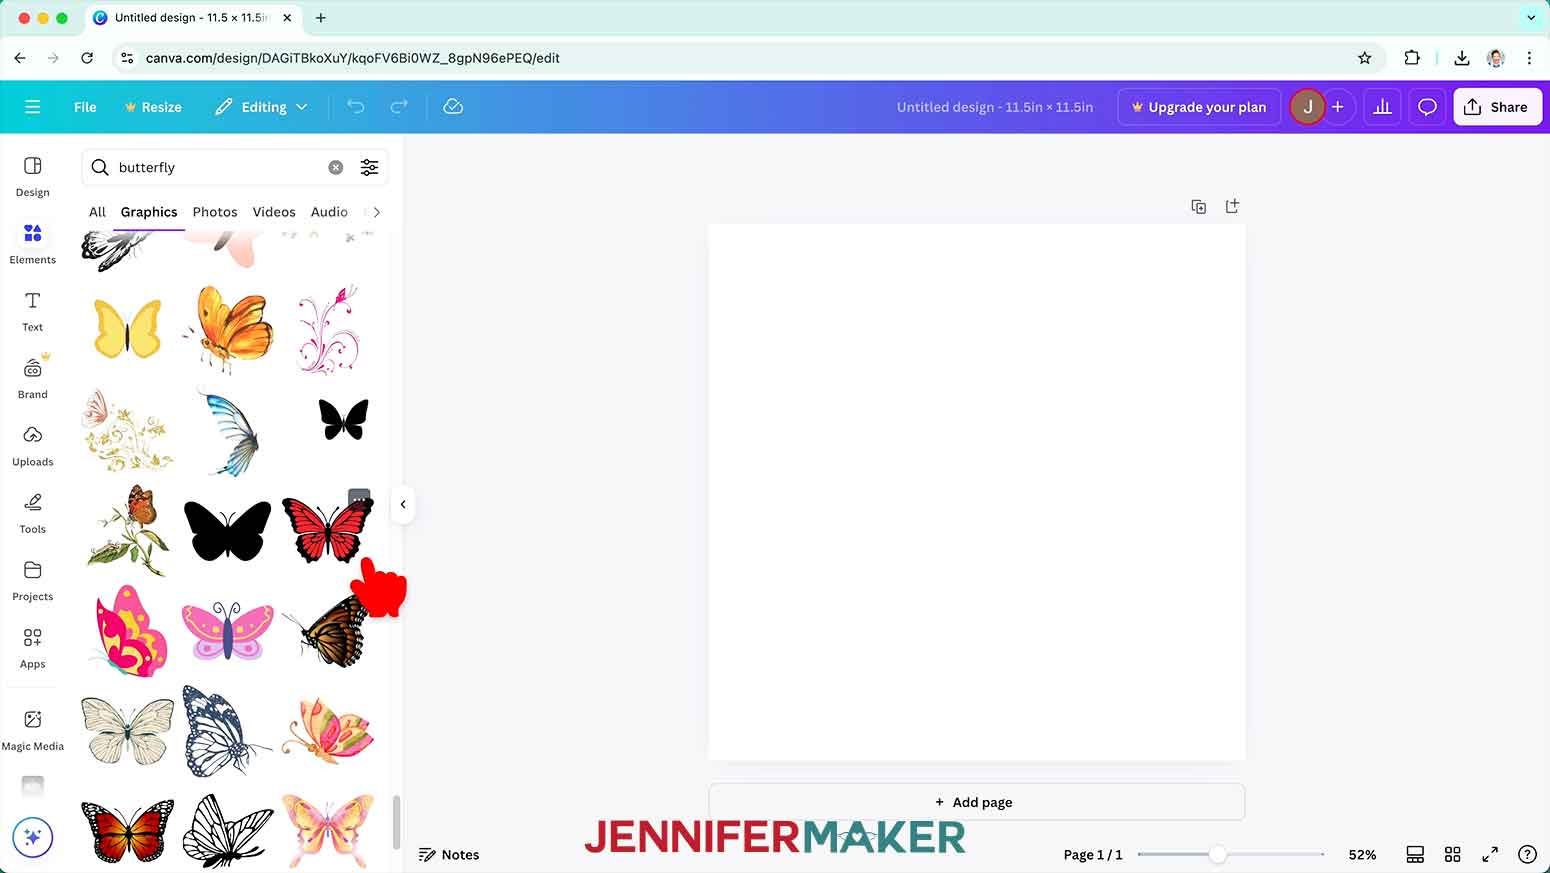
- Next to “Graphics,” click “See all.”
- Using the “Canva to Cuttables” cheat sheet PDF as a guide, browse the graphics options and select a simple design. Thicker, less delicate designs with very few colors, no blended colors or gradients, no motion, and smooth edges and outlines will work best.
TIP: Small crown icons mean those elements require a paid account, but we’ll stick to the free options today. If you have a paid Canva account, you can click the Filter icon in the search bar, and under “Price,” check the box next to “Free” to only show free graphics.
 TIP: If you find a graphic you like but it’s not quite right, click it to add it to your canvas. A “Magic Recommendations” option will appear in the Elements menu. Click “See all” to see more graphics that are similar to it, which may include better options for cutting.
 - With the graphic selected, check the toolbar above it to see if the color(s) in the design are represented in circles. If they’re not, that means you can’t control the colors, so select a different graphic. If they are, click each color circle and change it to either black or white, depending on how you’d like the graphic to look.
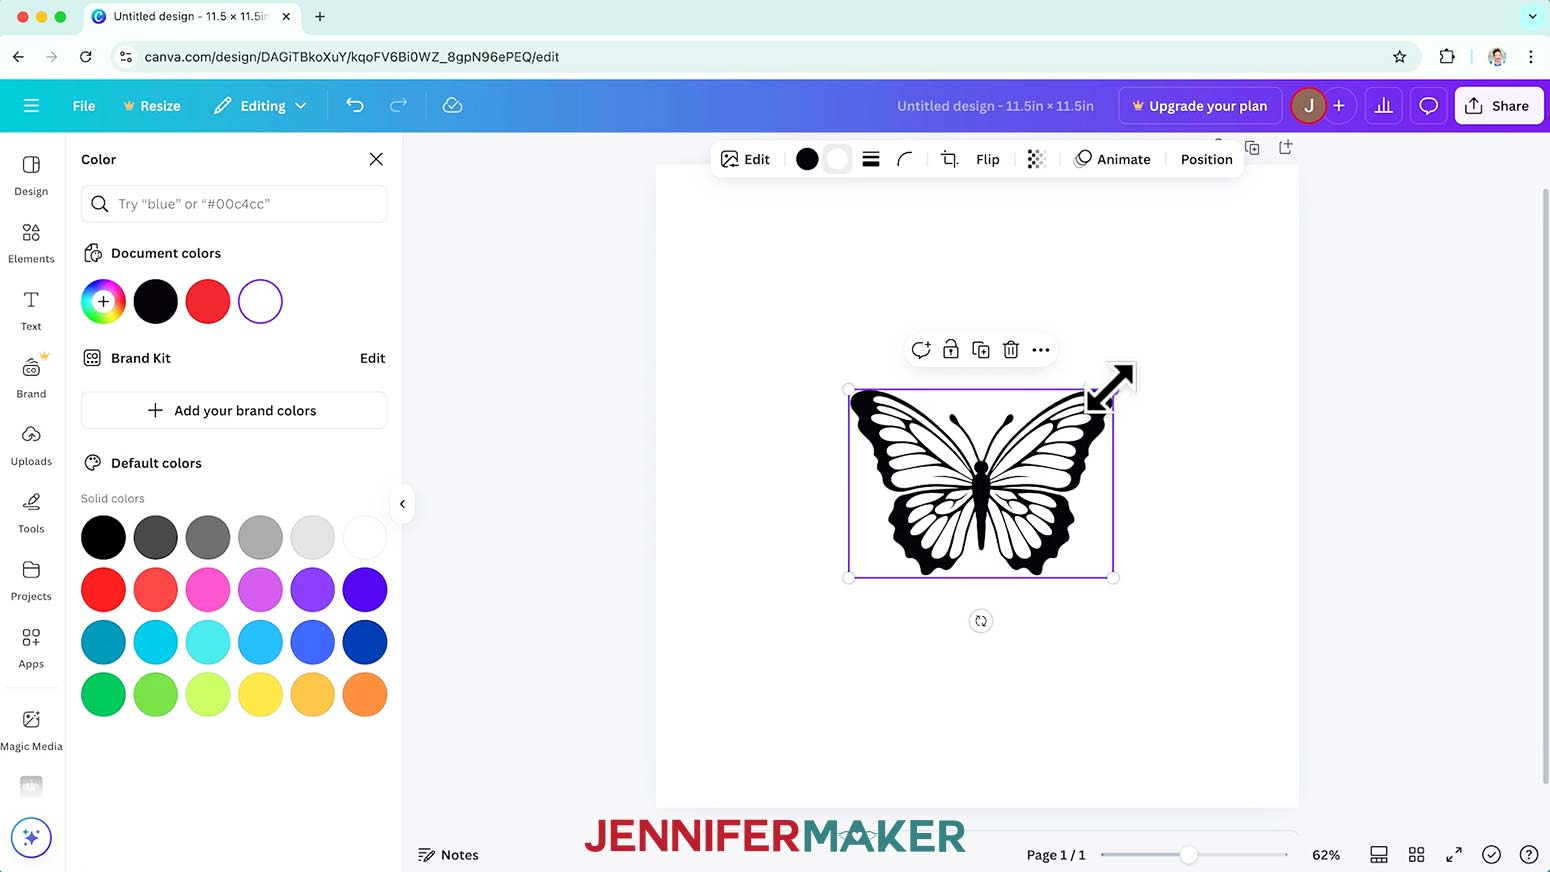
- To resize the graphic, select it, then click and drag the corner handles in or out.
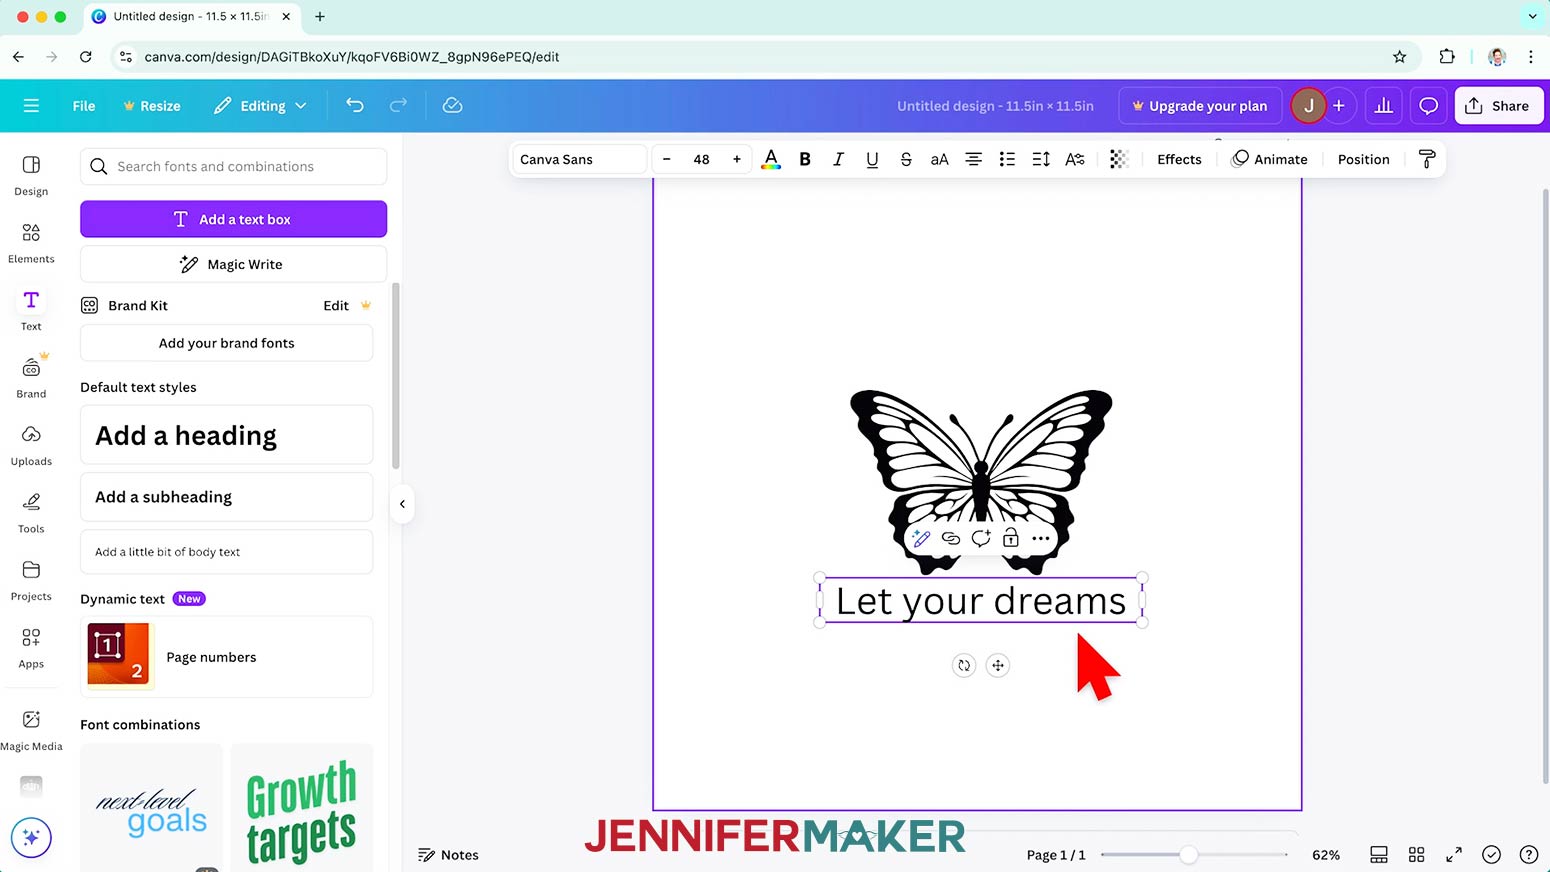
- To add words, click the Text icon on the left side of the canvas.
- First, let’s create the text on the top of the design. Click the “Add a text box” button.
- Type your desired phrase or sentiment into the text box. I typed “Let your dreams” for the top of the design.
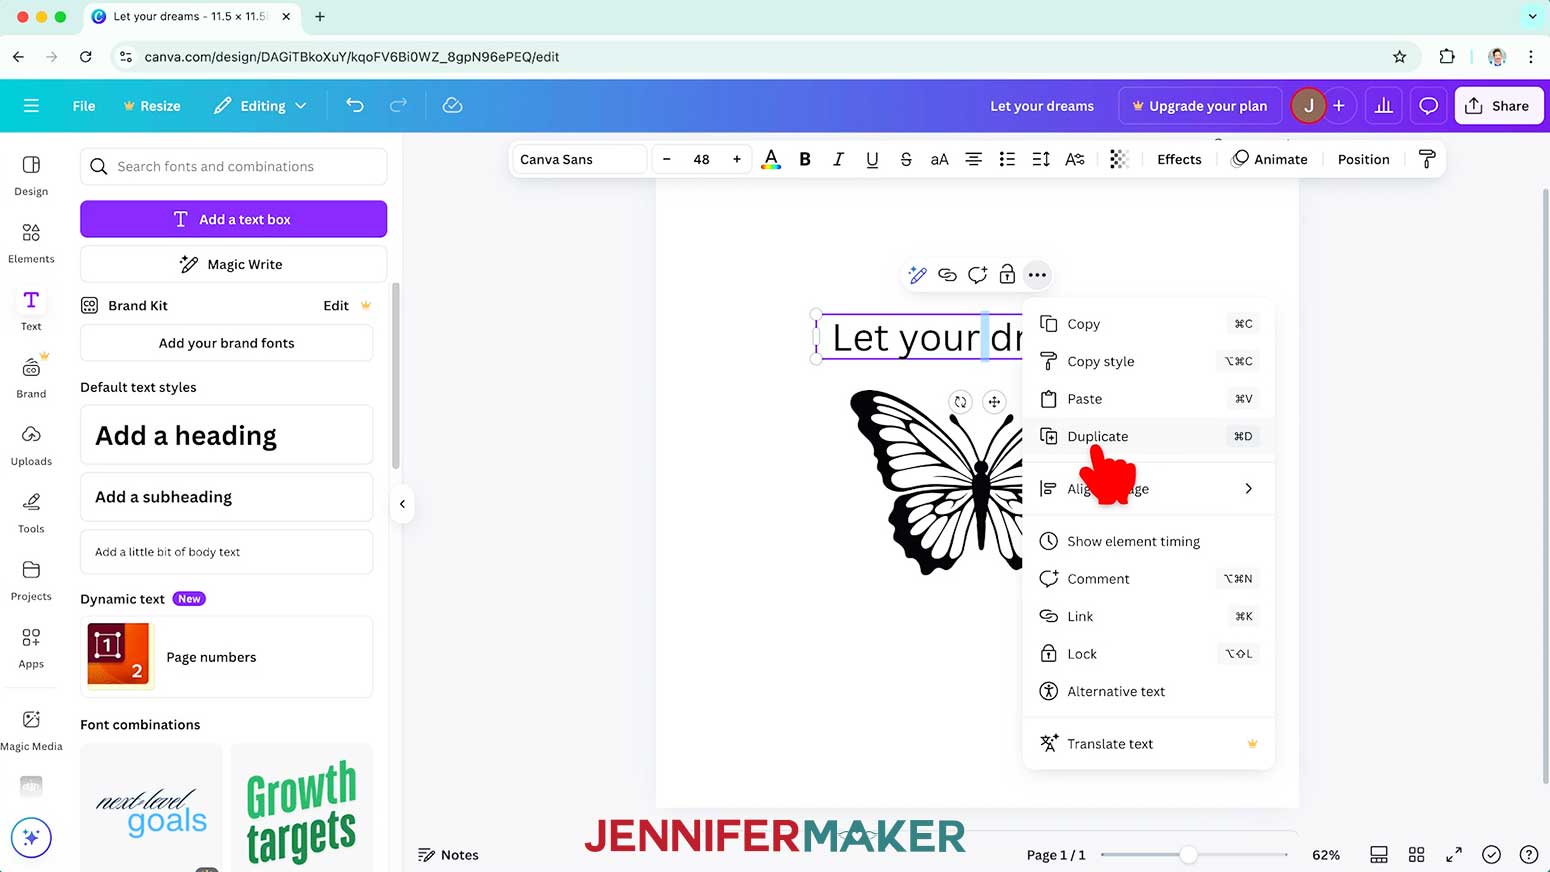
- With the text selected, click the three dots in the small bar above, then click the Duplicate icon (the two squares with a plus sign) to duplicate the text.
- In the new text box, type the text you’d like at the bottom of your design. I typed “take flight” for the second line.
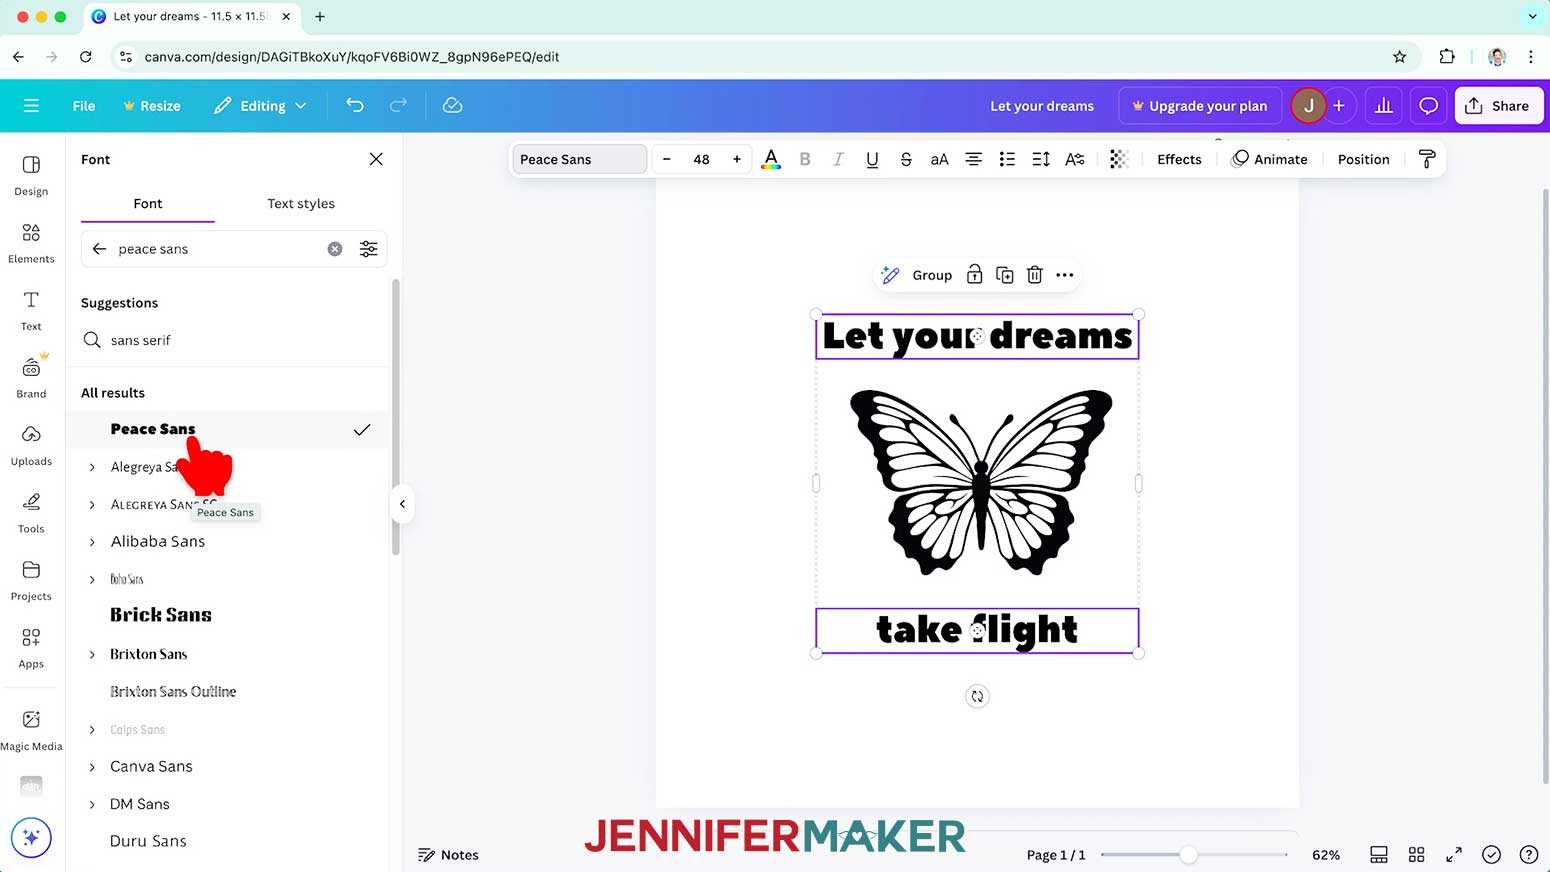
- With your text boxes selected, in the bar at the top, select a font from the dropdown menu.
TIP: Select a font with thicker, less delicate shapes for the best results when weeding and transferring your vinyl decal. I used a free font in Canva called “Peace Sans.”
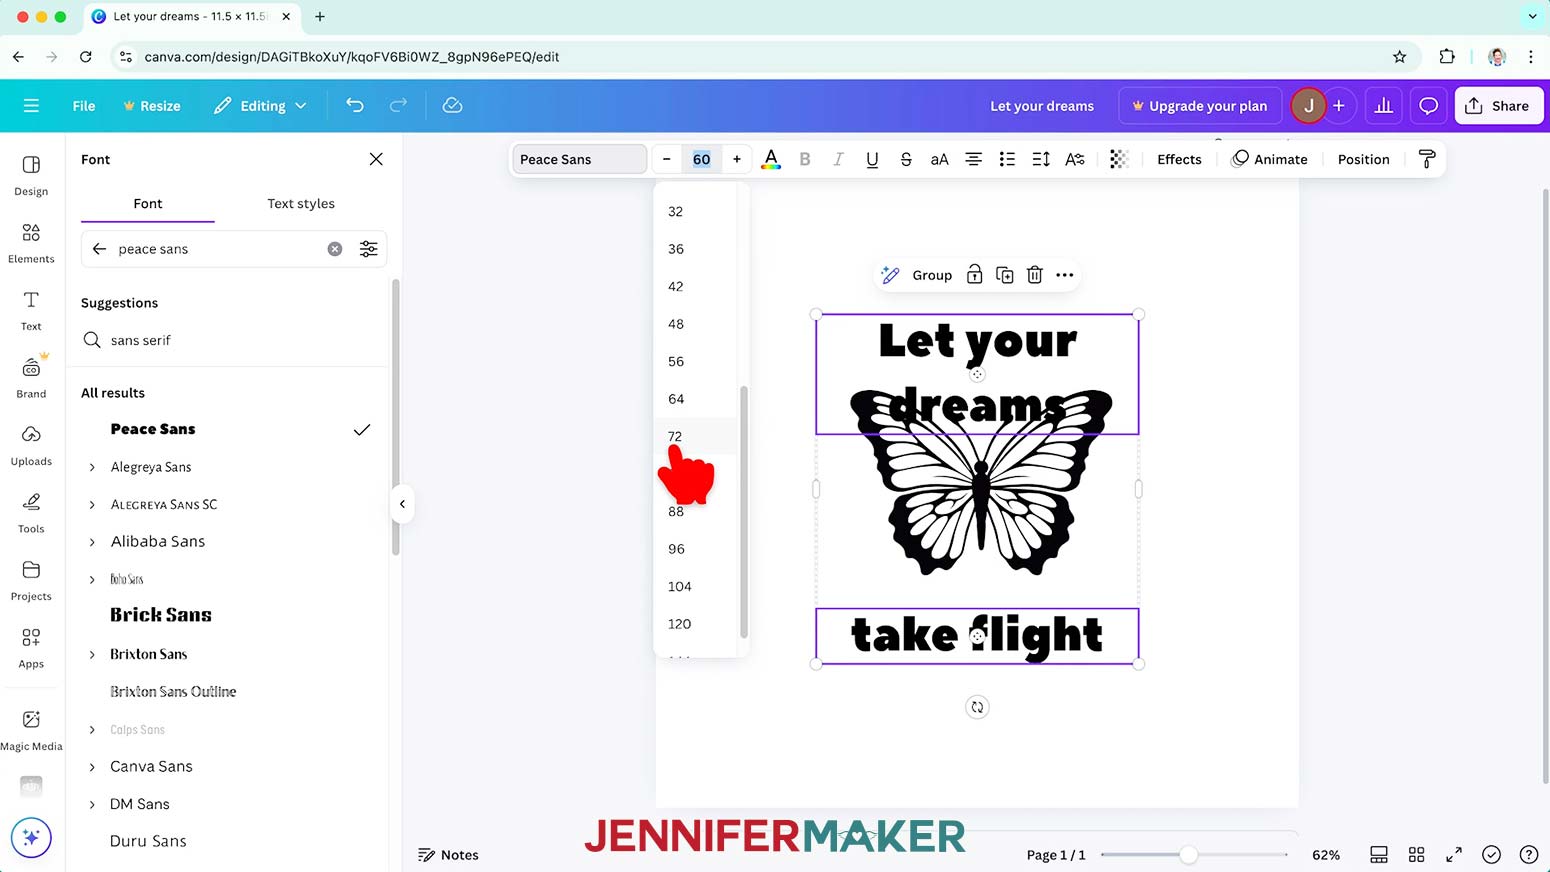
- Hold the Shift key on your keyboard and select both pieces of text, then in the bar at the top, click the plus (+) or minus (-) sign or click the dropdown menu to resize the text to your desired size.
NOTE: I sized my text to 72 pt.
- Click and drag each piece of text to position them where you want. TIP: If a text section becomes two lines when you enlarge it and you’d rather it be on one line, click and drag the end of the text box to make it longer.
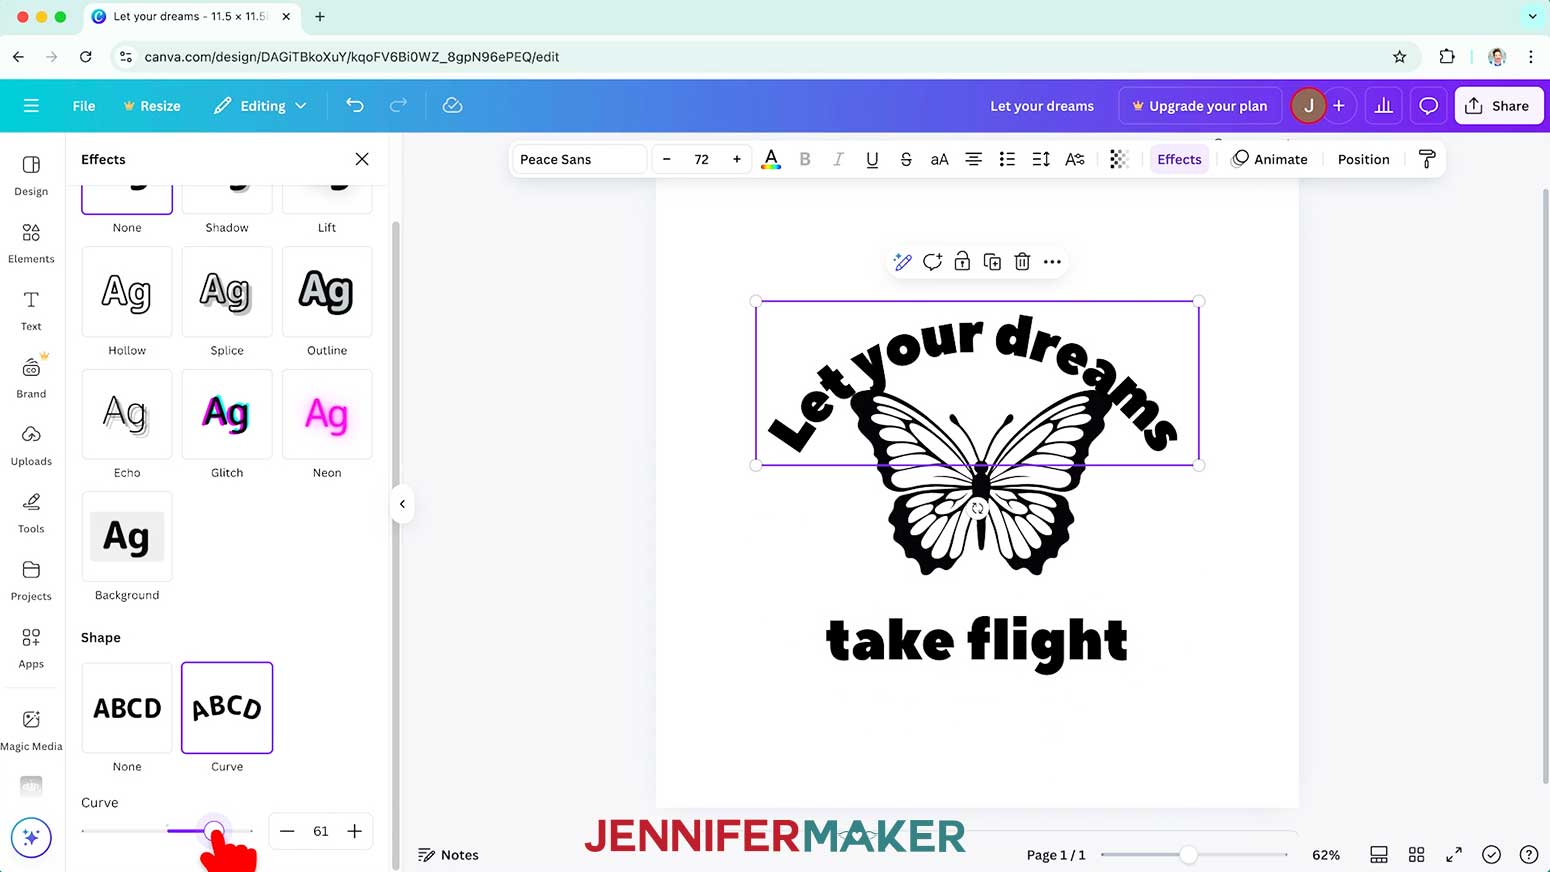
- Select just the top text, and click “Effects” in the bar at the top of the canvas.
- Under “Shape,” select “Curve.”
- Click and drag the slider to adjust the curve of the text.
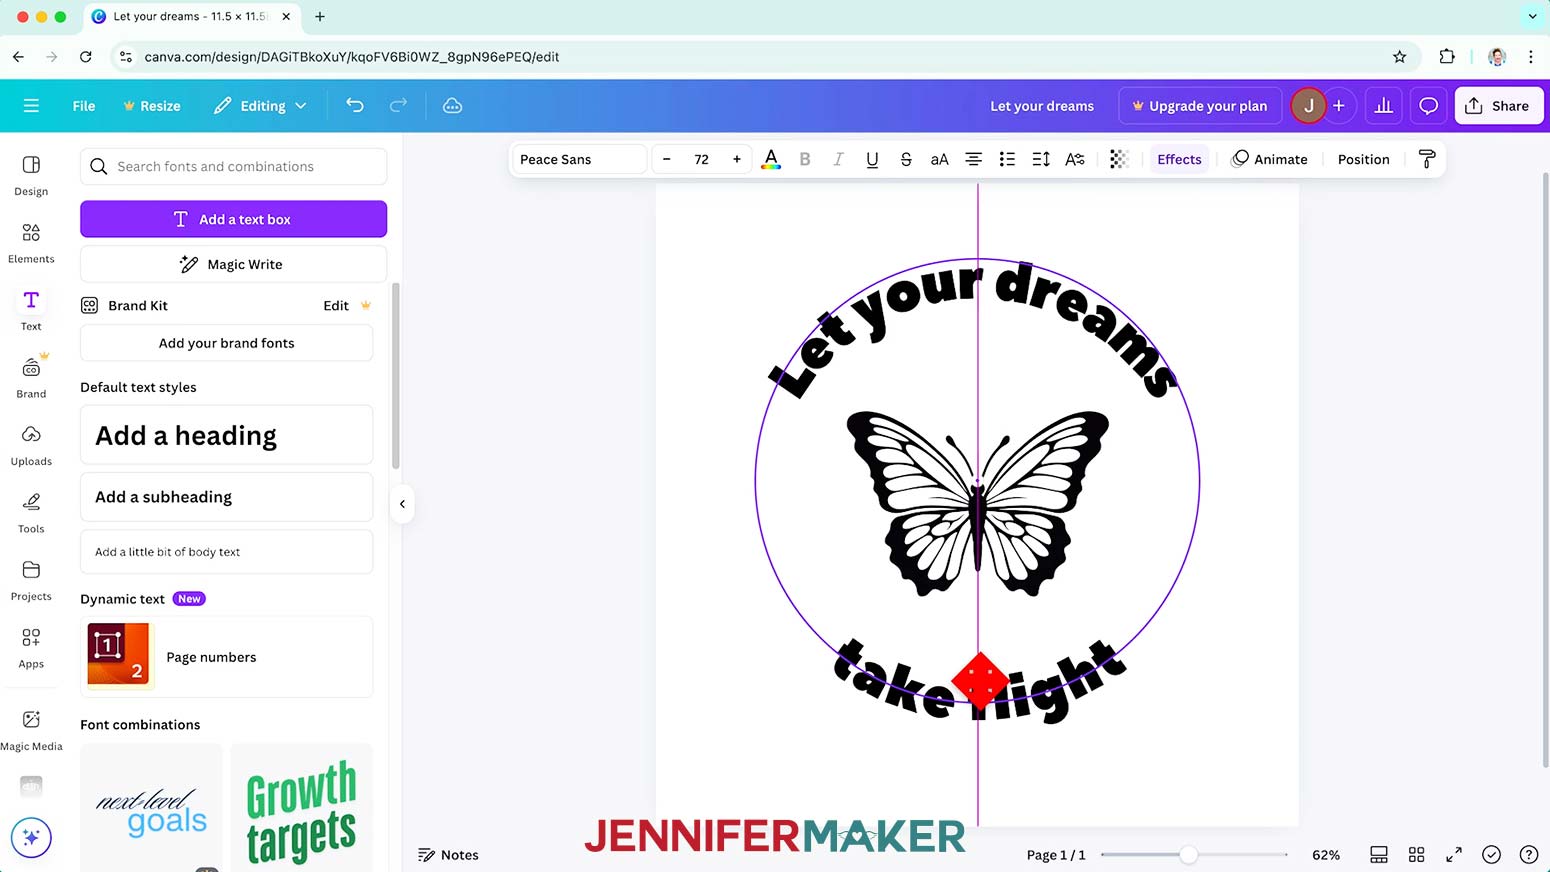
- Repeat steps 22-24 with the bottom text. NOTE: I set my top text’s curve to 61 and my bottom text’s curve to -61 so they would mirror each other.
- Click and drag the text and graphic to position them exactly where you want. Use the center guide lines and curved text circle guides to align everything.
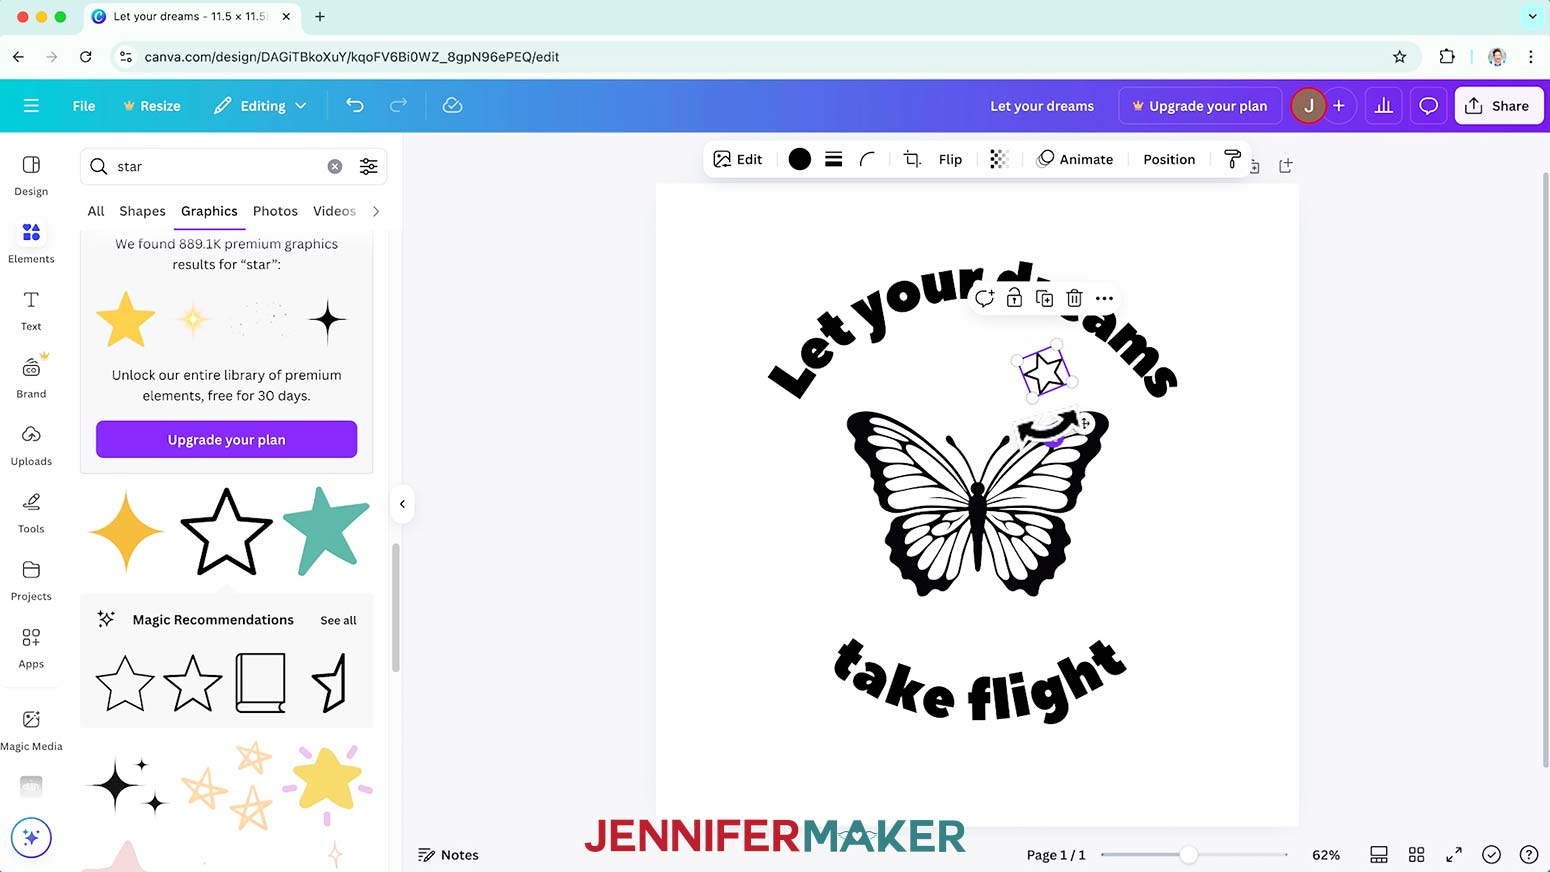
- Now that the main components of the design are in place, add any extra graphics you like. Remember to use solid color graphics or graphics with lines thick enough to be easily cut and weeded from vinyl. NOTE: I searched for “outline star” and used a free black five-pointed star outline, then I searched for “star silhouette” and used a free four-pointed solid black star.
- To rotate a graphic, select it, then click and drag the symbol with two curved arrows that appears underneath.
- Click onto the canvas to exit the graphic editing mode.
- Click the file name at the top of the menu and enter a name for your design.
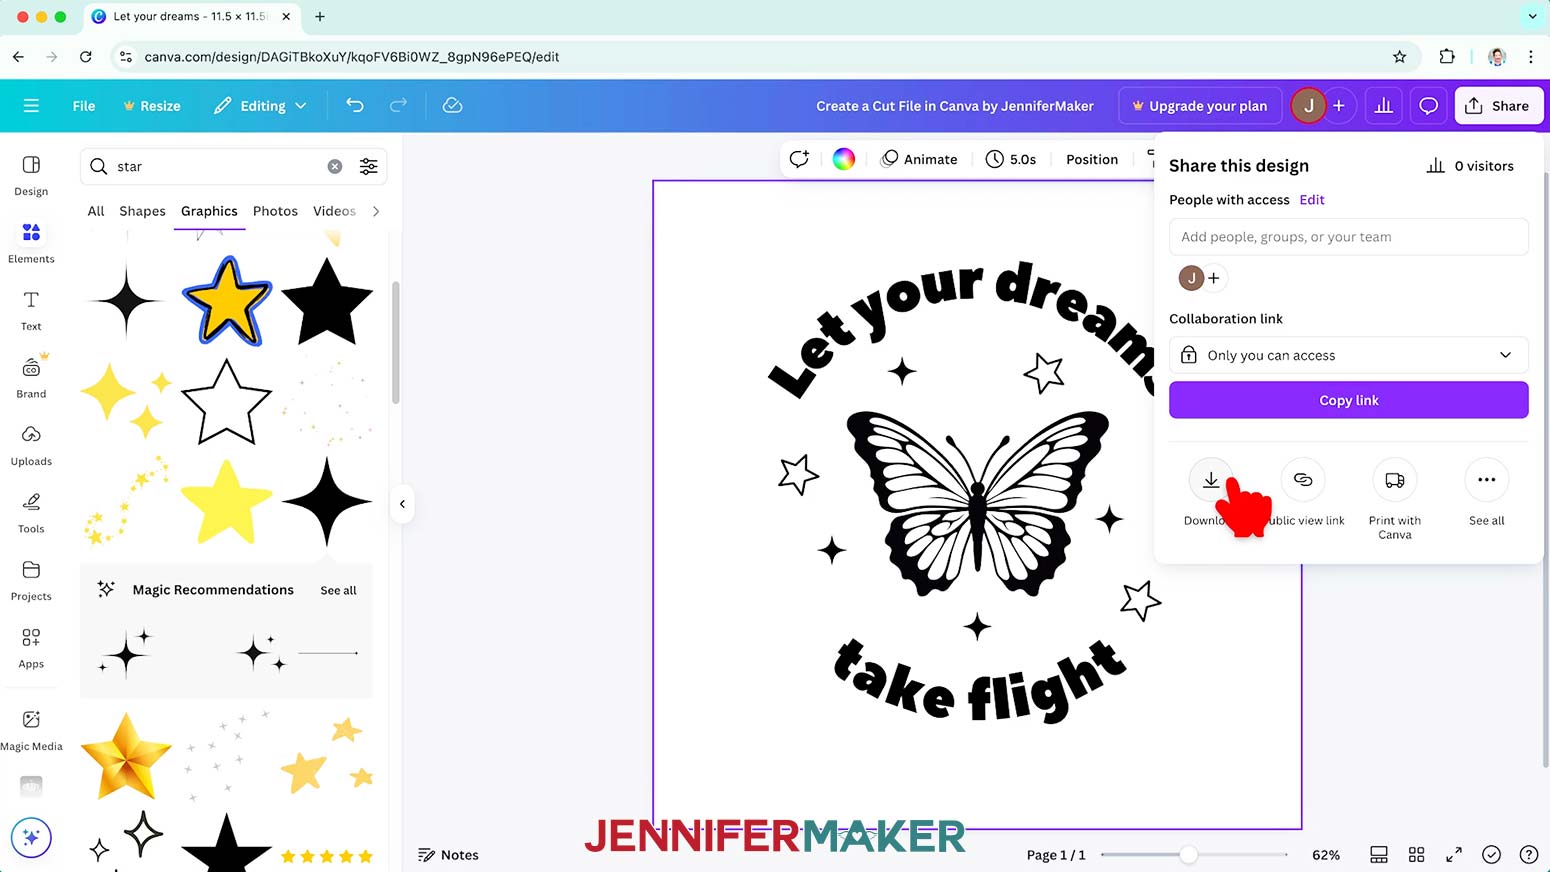
- When you’re happy with your design, click “Share” at the top right of your screen.
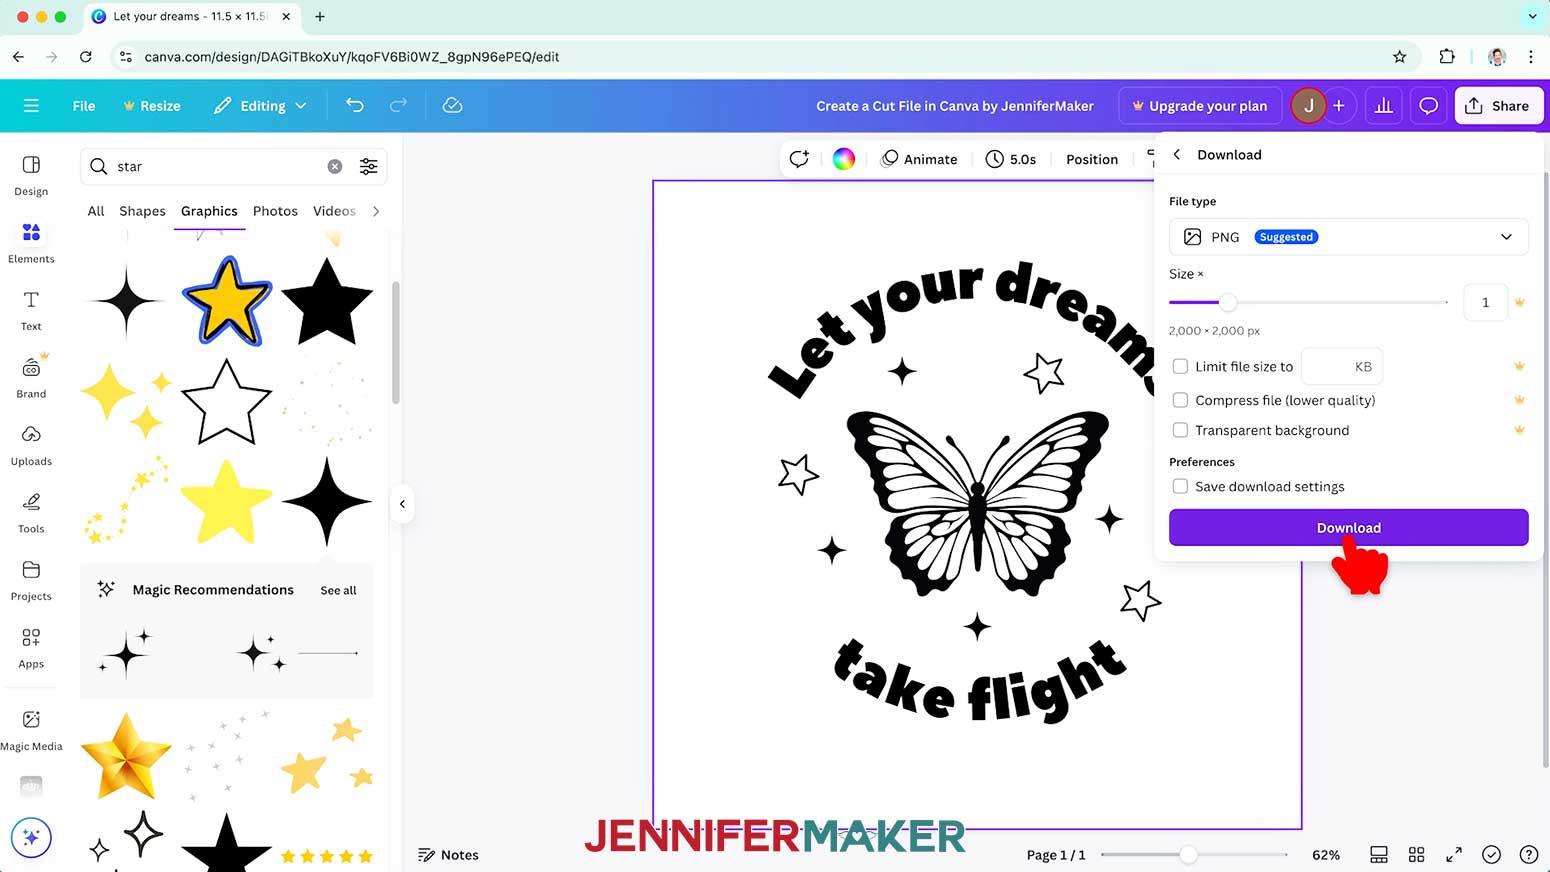
- In the box that appears, click “Download.”
- Leave the File type as a PNG. NOTE: If you have the paid Canva Pro membership, you can save files like this as an SVG directly from Canva.
- Click “Download.”
 TIP: If you find a graphic you like but it’s not quite right, click it to add it to your canvas. A “Magic Recommendations” option will appear in the Elements menu. Click “See all” to see more graphics that are similar to it, which may include better options for cutting.
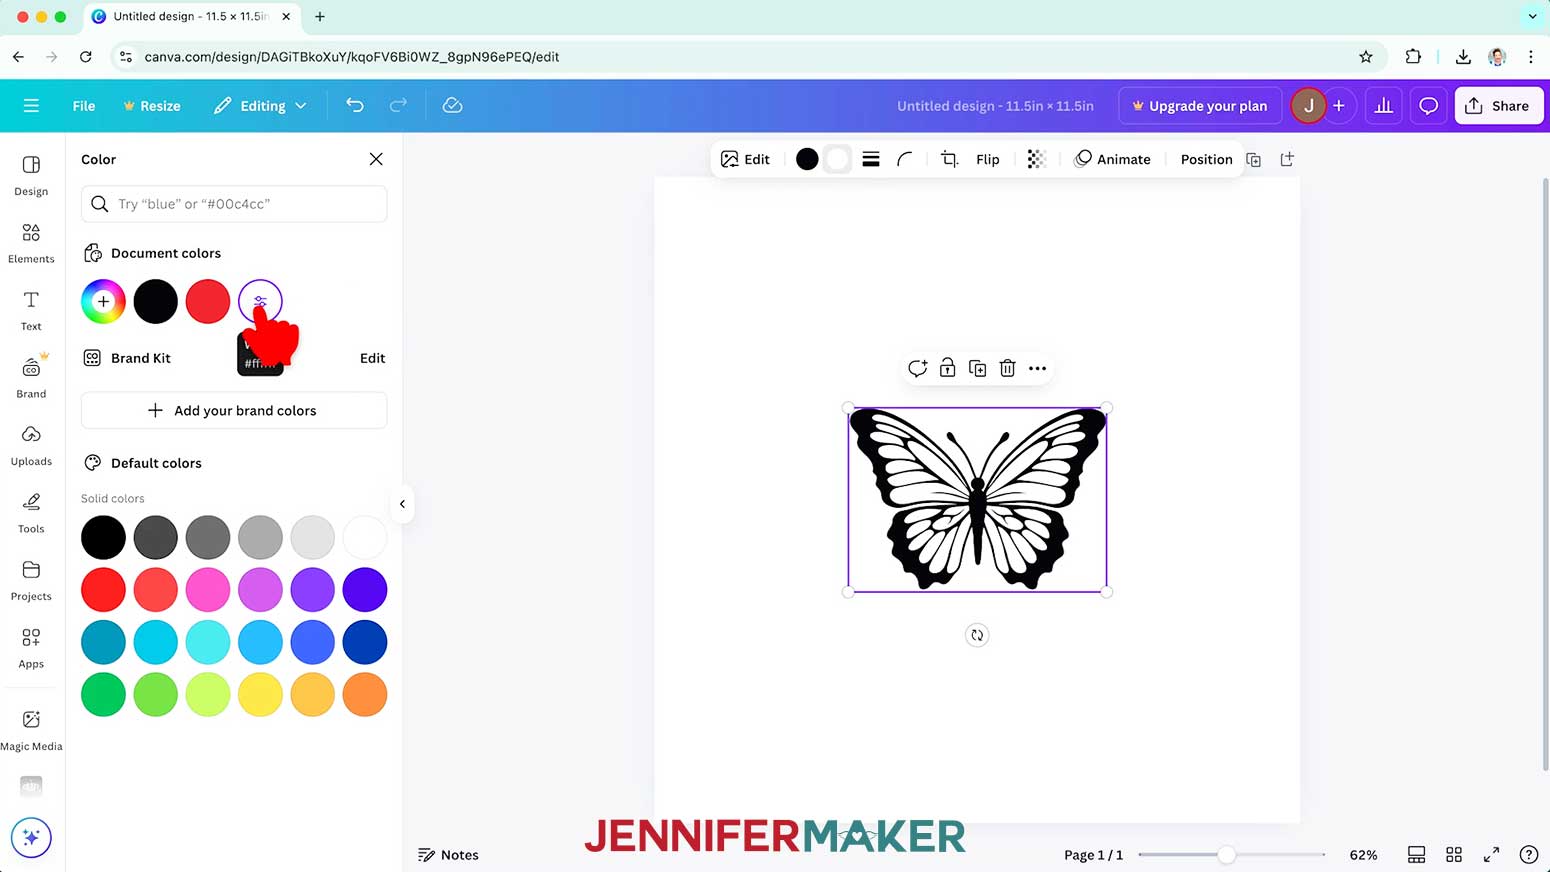

STEP 3: CONVERT YOUR PNG INTO A CUT FILE
First, use a ruler or measuring tape to measure your blank. My round wood sign is just under 12" at the widest and tallest points, so I’ll use that dimension to size my design. CRICUT DESIGN SPACE
- In Cricut Design Space, open a blank Canvas. NOTE: If you’re new to using Cricut Design Space, go to cricutkickoff.com for my introductory tutorial on Design Space basics.
- Click “Upload” and then “Upload Image.”
- Click “Browse.”
- Select the PNG file you’d like to convert into a cut file. If you created your own PNG in STEP 2, select the file you downloaded from Canva.
- Click “Open,” and then “Continue.”
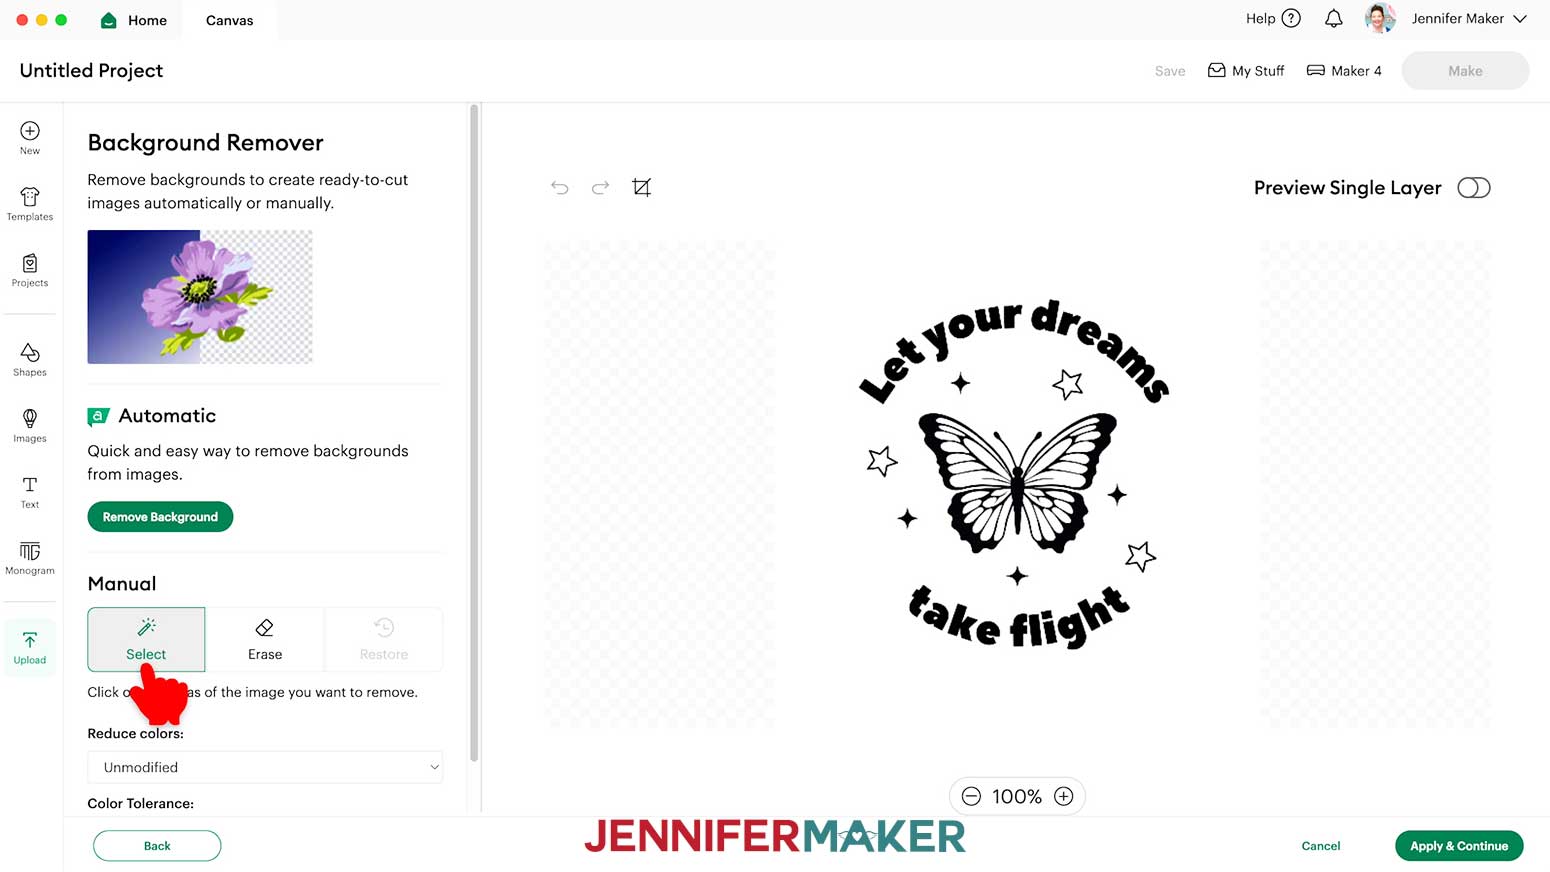
- On the Background Remover screen, under “Manual,” make sure “Select” is selected.
NOTE: If you’re a Cricut Access member, you’ll have an Automatic background remover option. When I tried it, it removed parts of my design I wanted to keep. The manual background remover worked much better.
- Click the white space on the design to remove the large background area.
NOTE: You’ll know the background is removed when you see the gray and white checkered pattern behind your design.
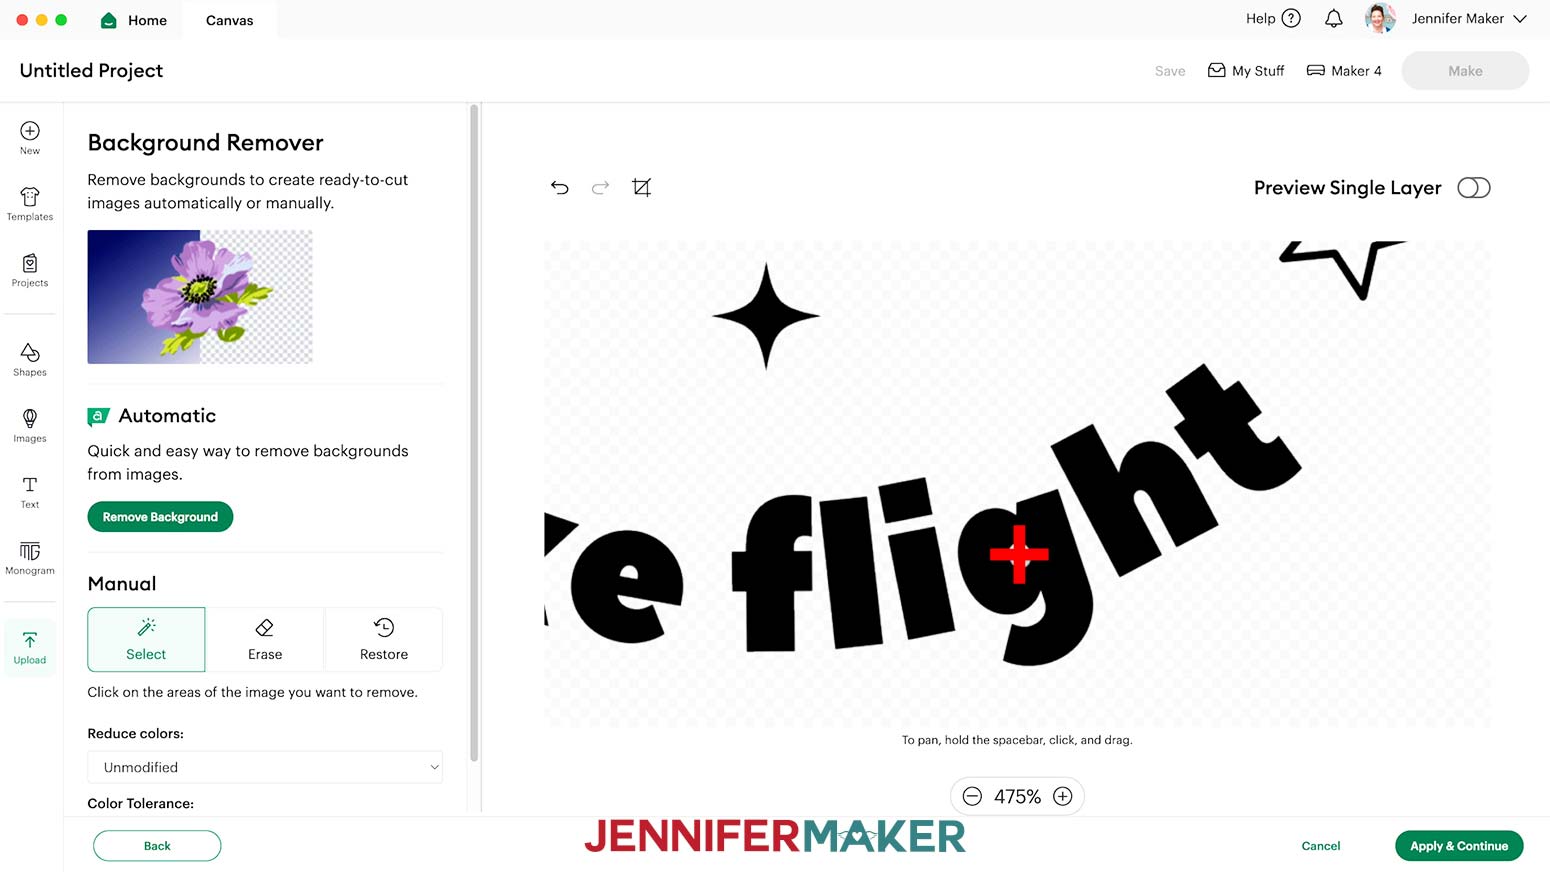
- Click the plus (+) sign at the bottom to zoom in to your design.
- Click areas that still have a white background to remove them.
NOTE: Be sure to remove the background within the stars, wings, and inside the letters of the design.
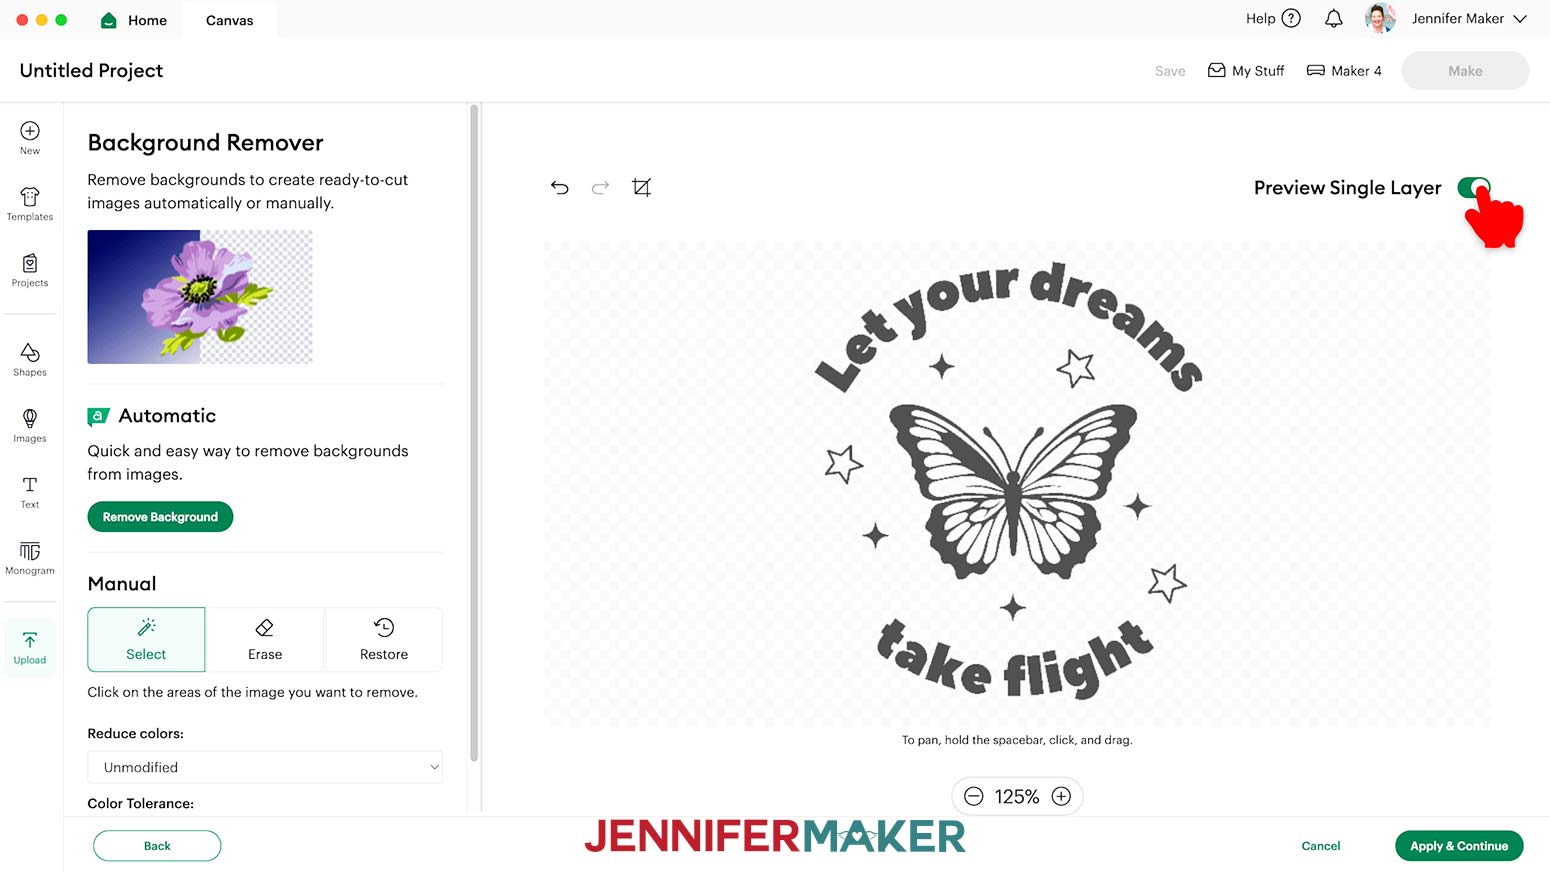
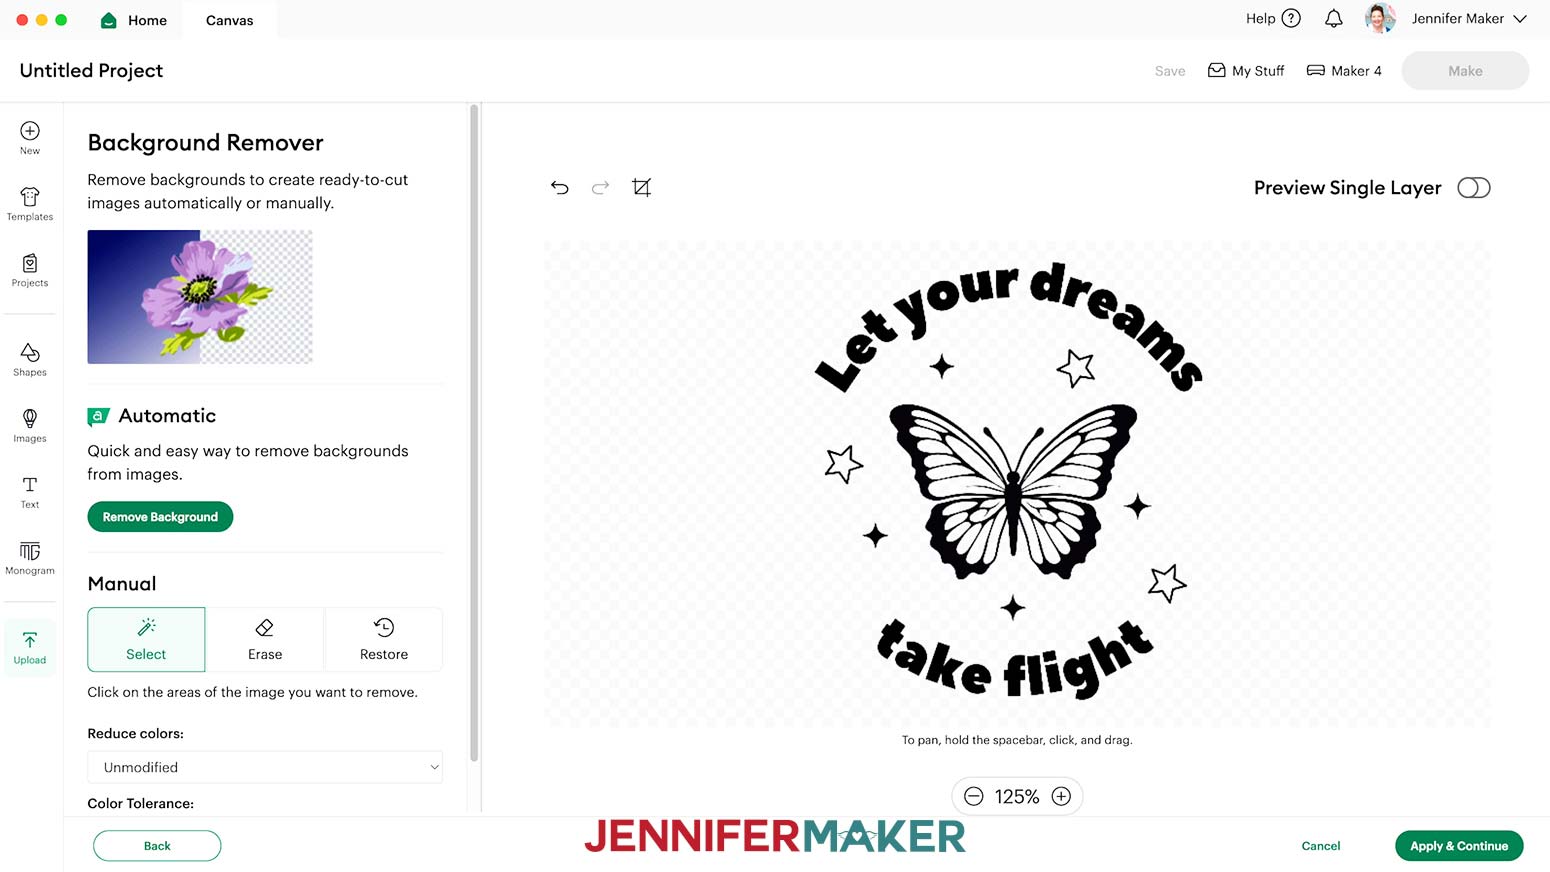
- Click the toggle next to “Preview Single Layer” to see what your design would look like cut from vinyl, and check for areas where the background should be removed. If there are any areas that are filled in and shouldn’t be, click the toggle again to turn it off, then remove the background from those areas. If there are any parts removed by accident, use the Restore brush to click and restore those areas.
- Once your design looks the way you want, click “Apply & Continue.”
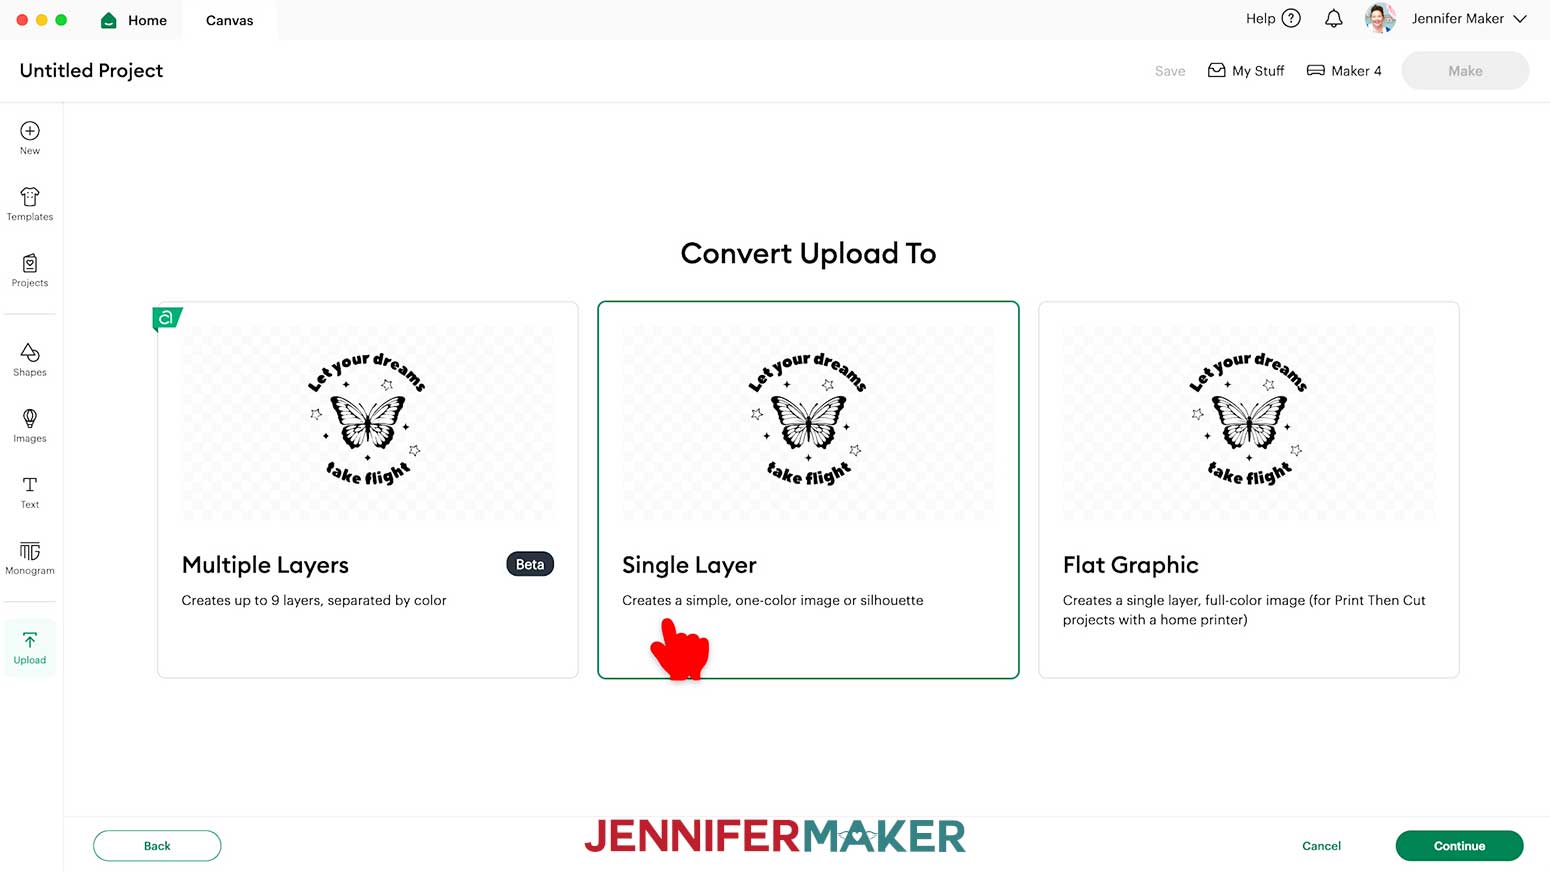
- On the “Convert Upload To” screen, select “Single Layer.”
- Click “Continue.”
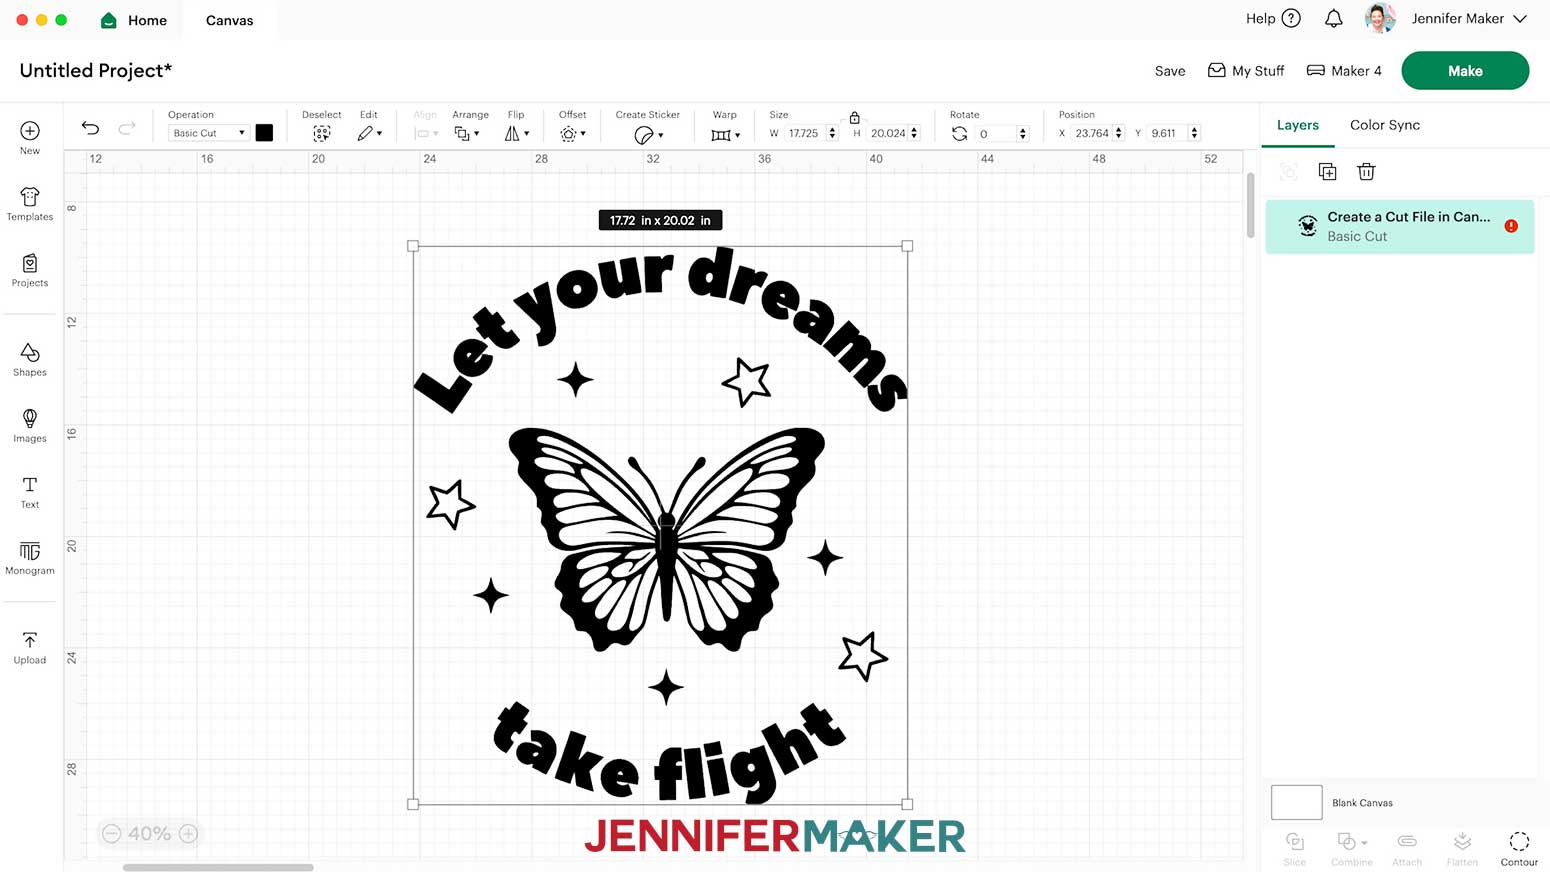
- Click “Upload” to add the design to your Canvas.
- Click “Save” and give your project a name.
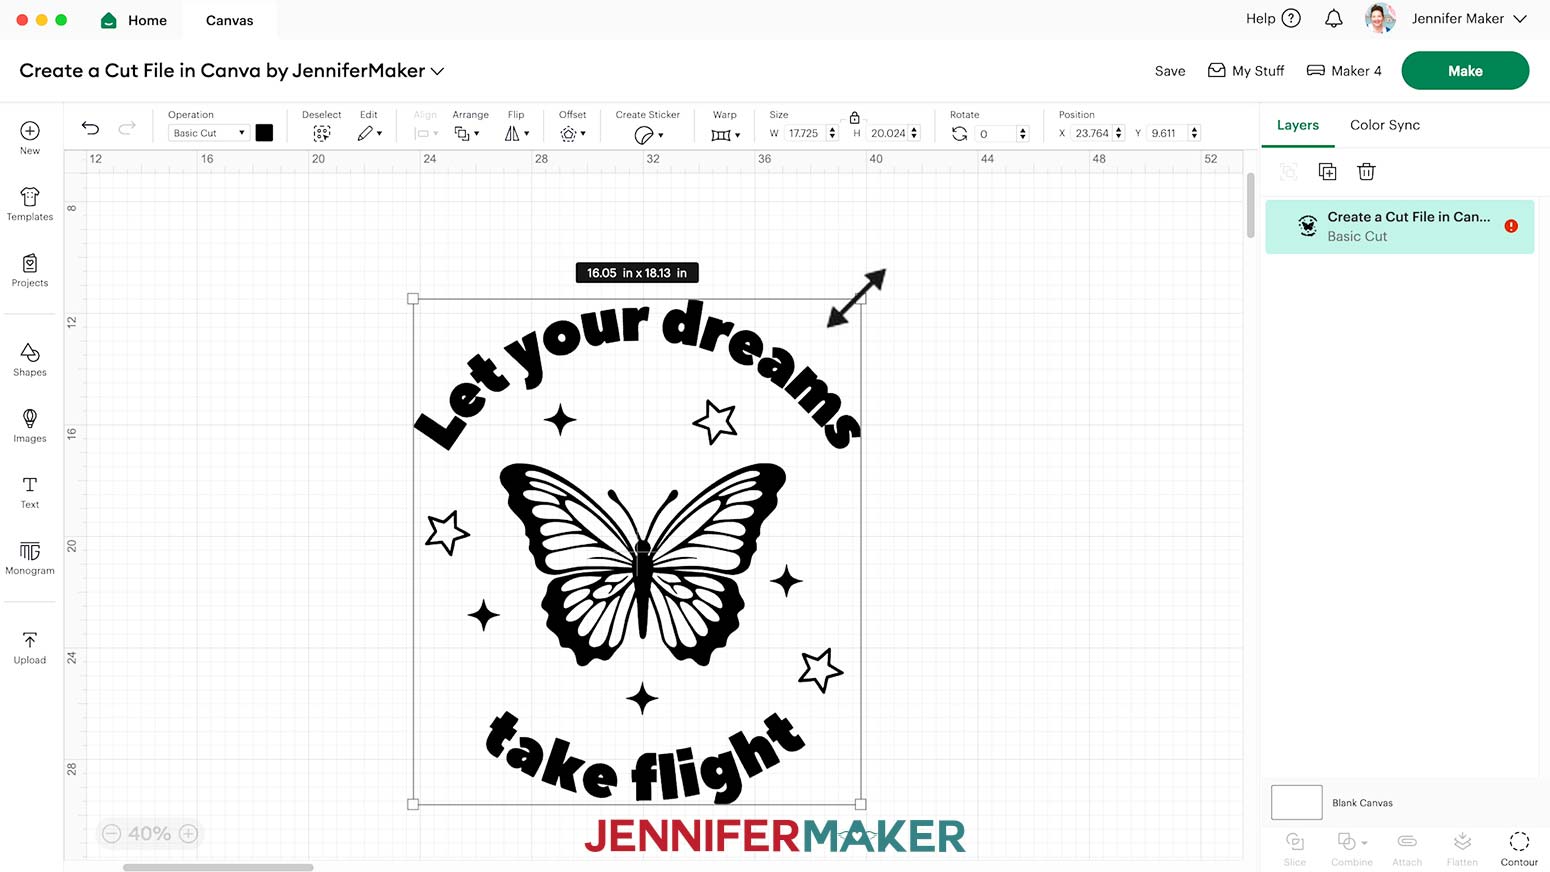
- The design may upload very large. With the design selected, click and drag the corner handle to resize it to your desired size, or type in your desired size into the field at the top. I resized my design to 10” high and 8.591” wide to fit in the center of my 12” round wood blank.
TIP: If you’re making a T-shirt decal, check out my sizing guide in my T-Shirt Ruler Guide tutorial to pick the right size for your design.
- And now your decal is ready to cut!
 NOTE: If you’re a
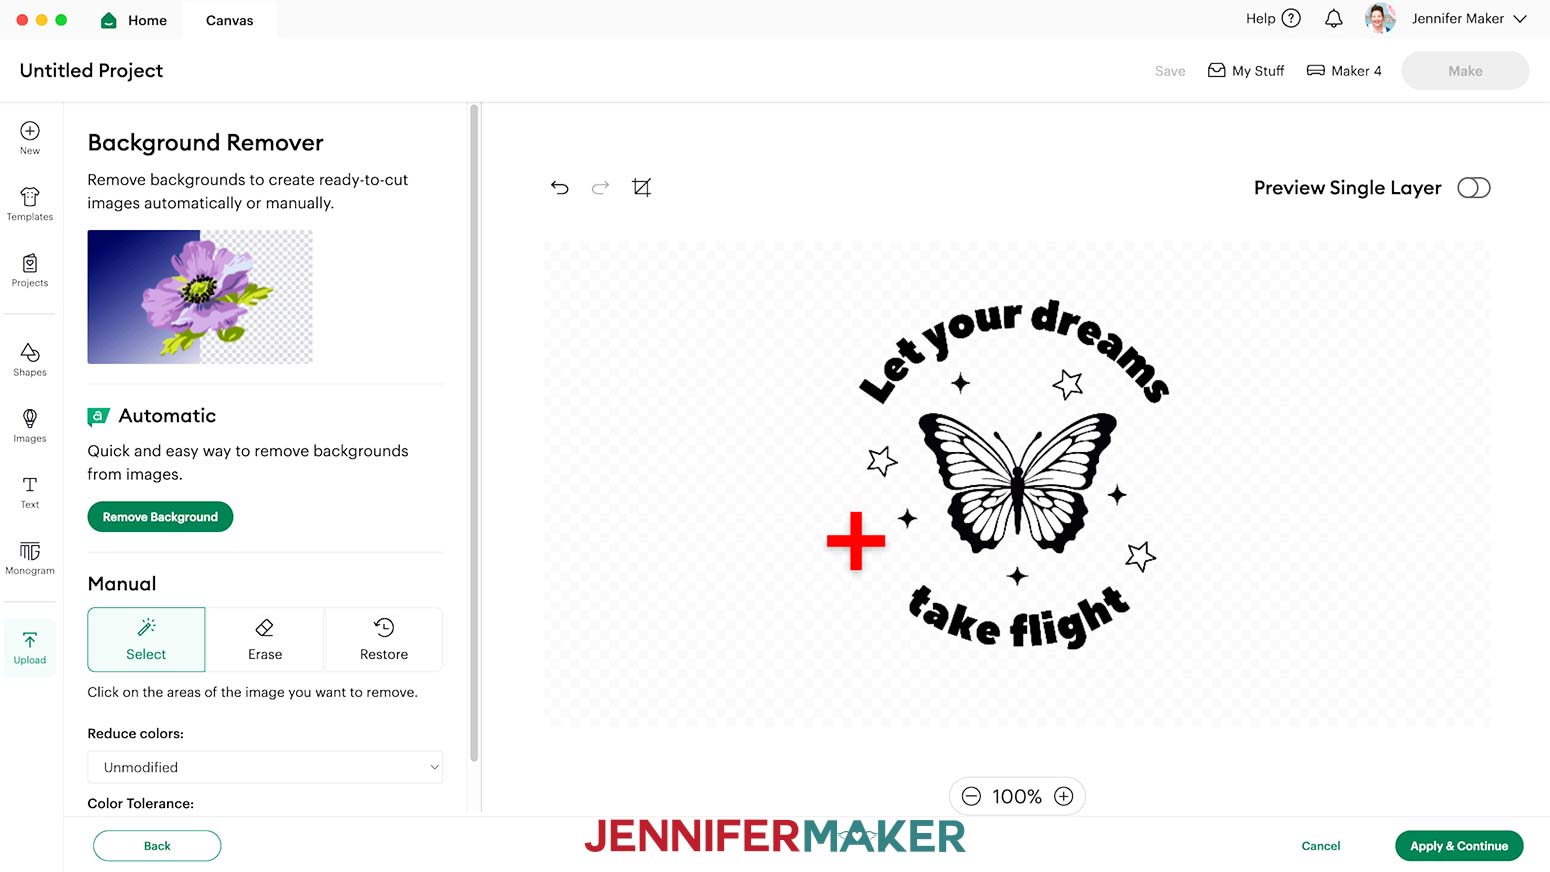
 TIP: If you’re making a T-shirt decal, check out my sizing guide in my
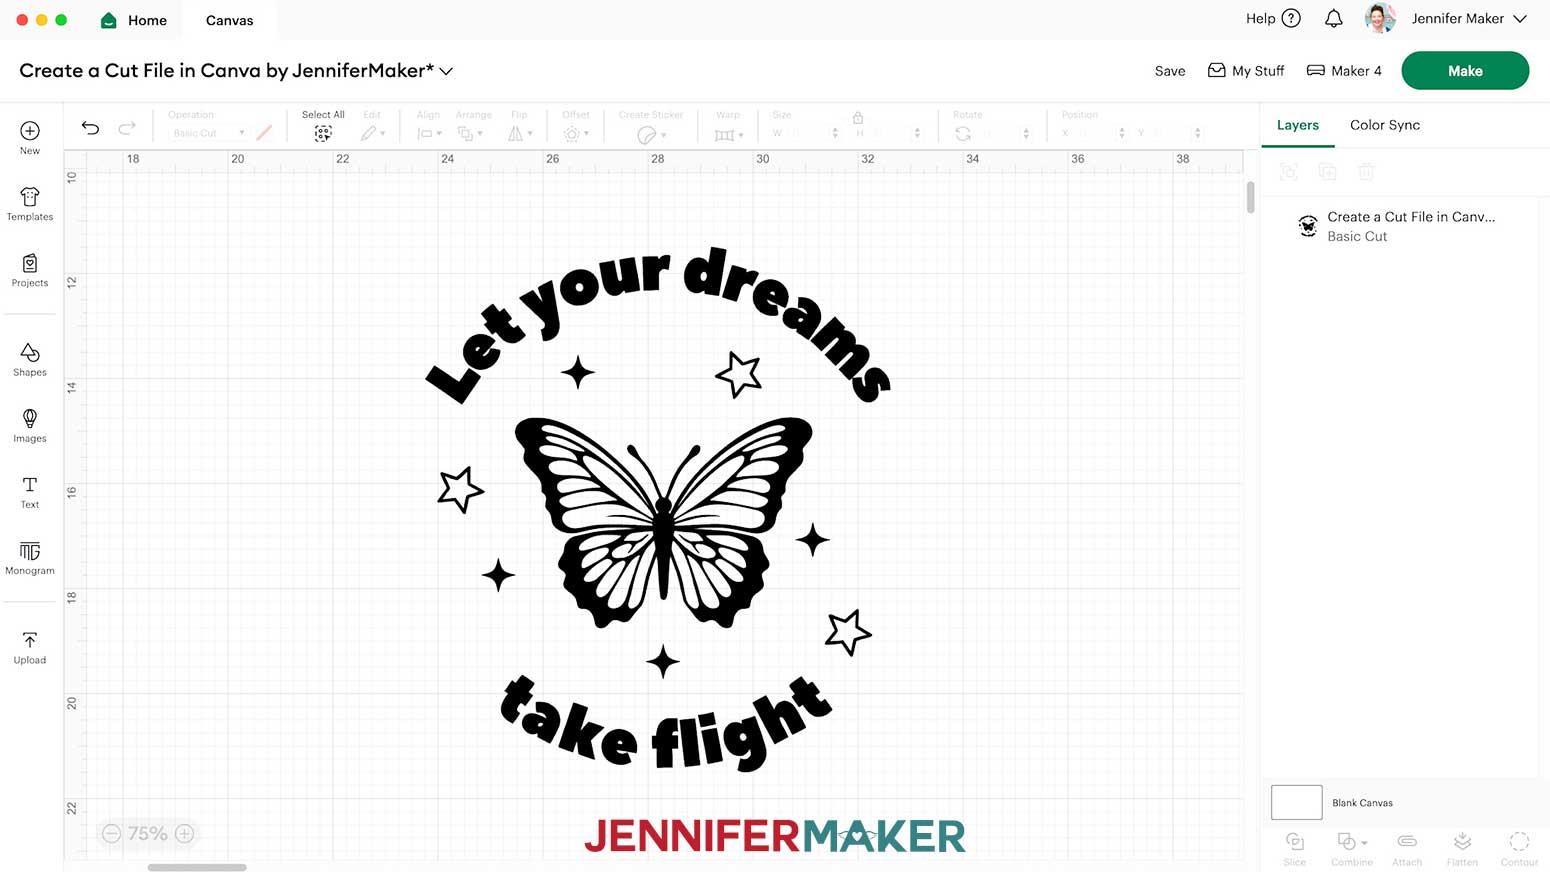
STEP 4: CUT YOUR DECAL & APPLY IT TO A SURFACE
- Follow the steps in my How To Use Transfer Tape with Cricut Vinyl Decals tutorial to learn how to cut, prepare, and apply your decal.
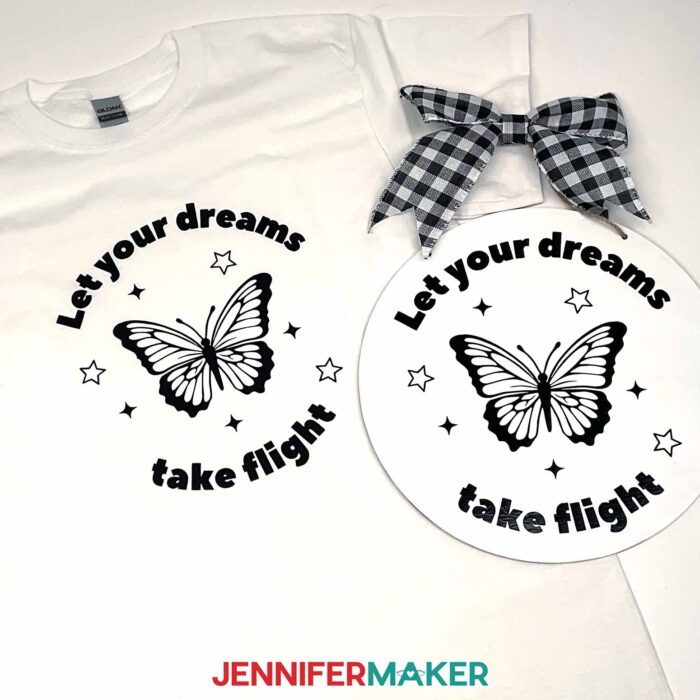
STEP 5: SHOW IT OFF
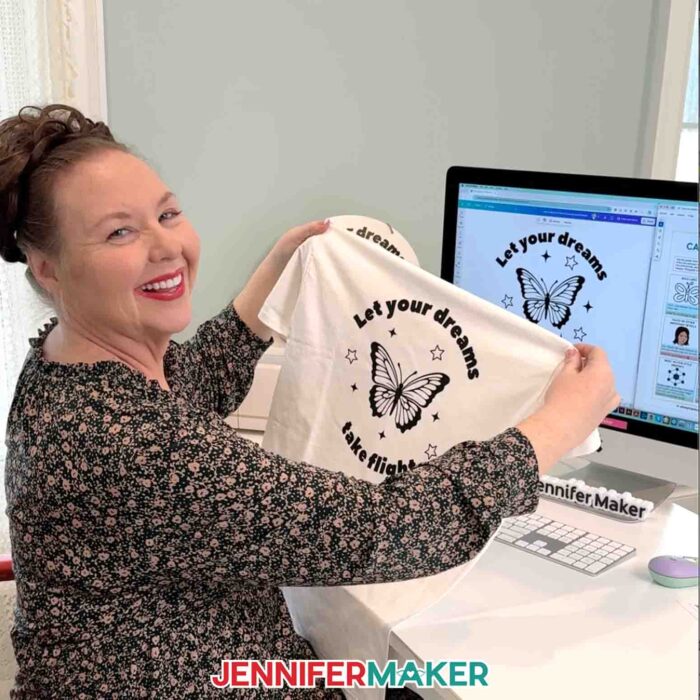
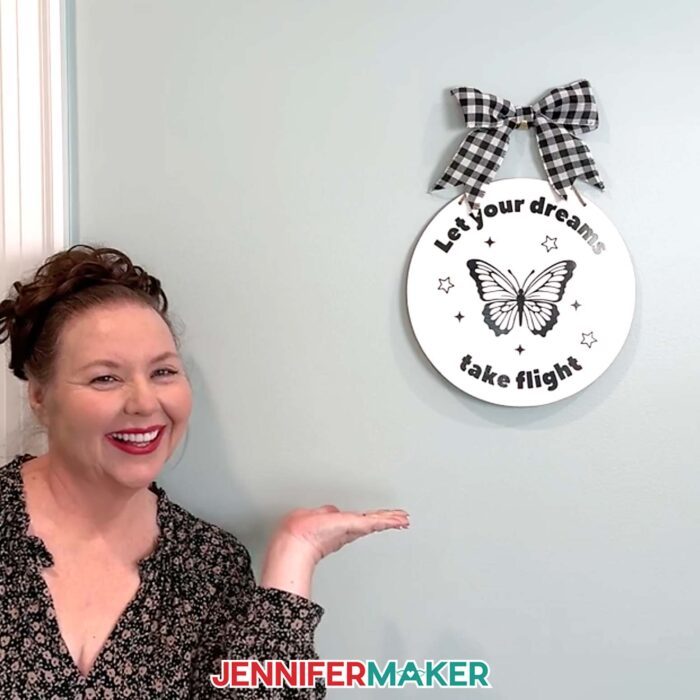
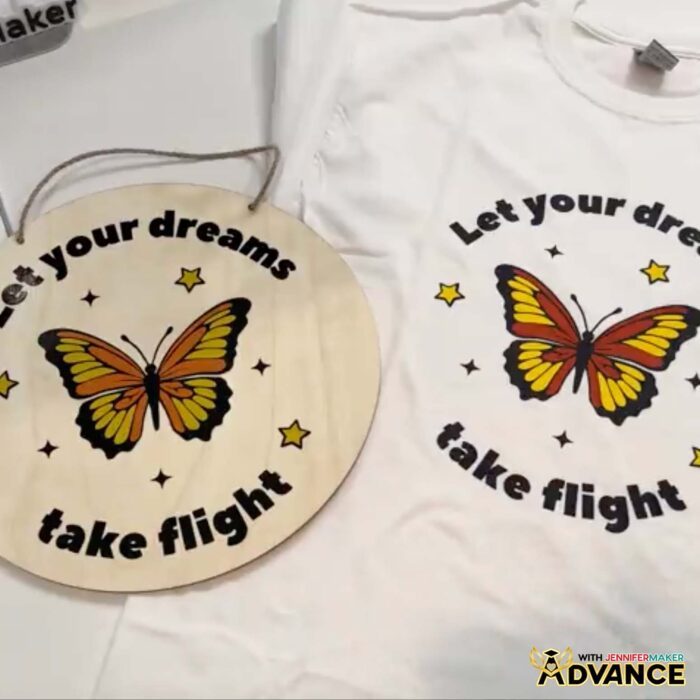
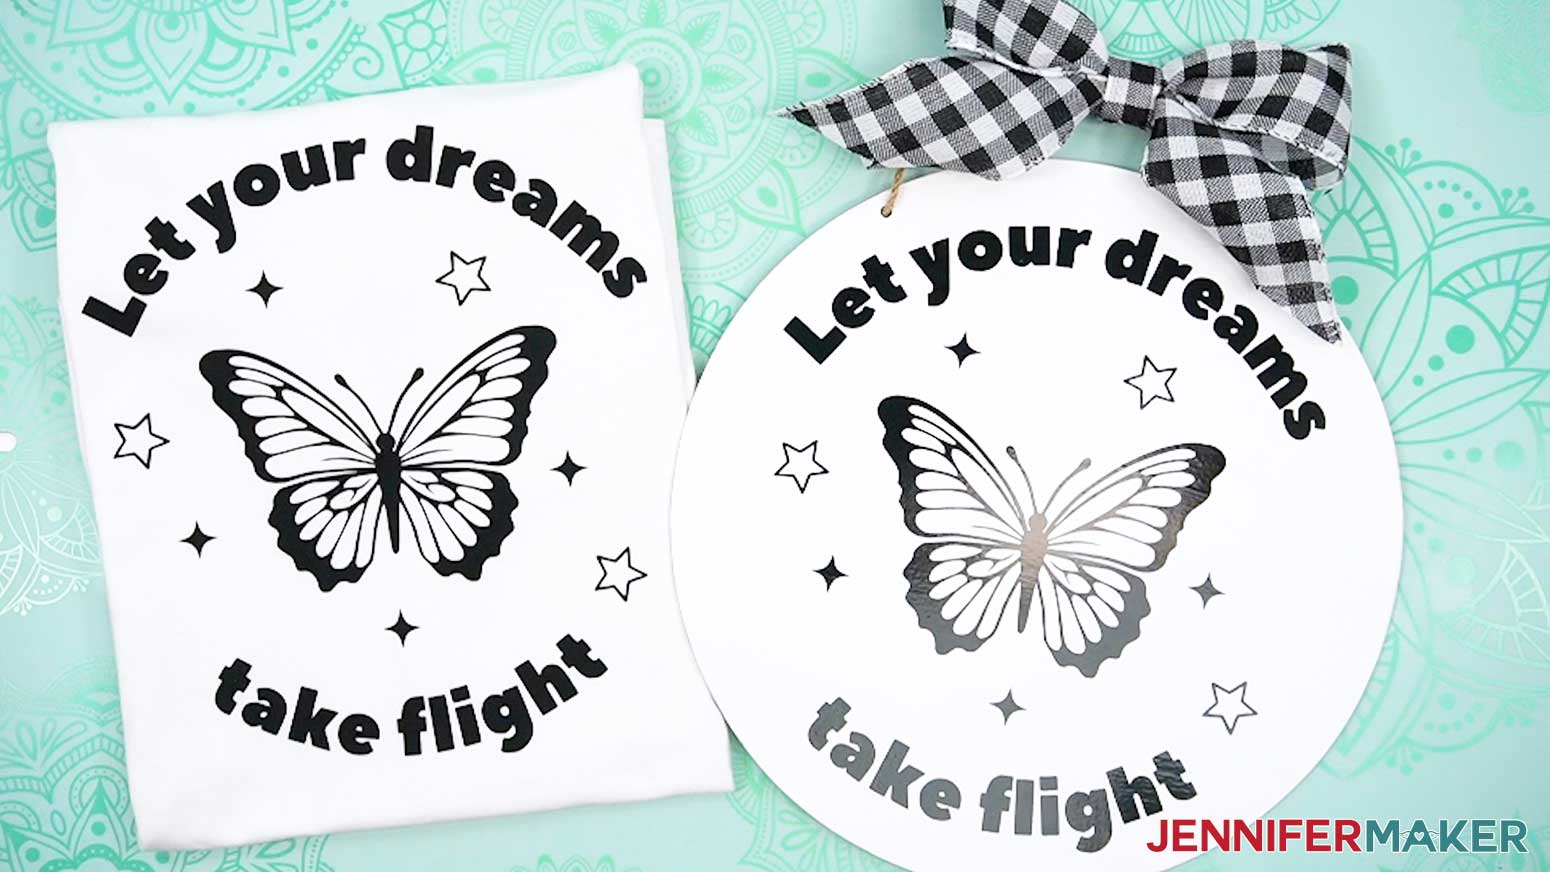
Here is what my completed vinyl decals look like!
Notes
Free Canva Font: Peace Sans Assembled Sizes: Decal: 10” H x 8.852" W Sign: Approximately 11.75” to 12” round Care Instructions: For Permanent Vinyl Decals: Gently wipe clean with a dry or damp lint-free cloth as needed. For HTV T-Shirts: Let the vinyl sit for at least 24 hours. Then, wash your shirt inside out in cold water with a mild detergent. Hang to dry or keep the shirt inside out and tumble dry low. Do not use bleach.
Answers to Your Questions About How to Create a Cut File in Canva
Q: I want to customize a cut file with multiple different colors. How do I do that?
A: You can learn how to design a custom layered cut file in my ADVANCE program. Learn more about ADVANCE here!

Q: What is a cut file?
A: A cut file is a simple image file that can be cut from a material like vinyl or paper using a cutting machine like a Cricut. In this tutorial, I show you how to create a design that can be used as a cut file intended to be cut from adhesive or iron-on vinyl.
Q: Can you show me how to make a SVG cut file? Can I create an SVG file in Canva?
A: In this tutorial, I’ll show you how to create a cut file for vinyl projects using a free Canva account along with Cricut Design Space. The result isn’t a SVG file, but I’ll show you how to use it like one in Design Space.
Q: What is the best free SVG converter?
A: I tried out the free options available and if you’re a Cricut user, the Canva and Cricut Design Space method I teach you in this tutorial is the best free way I’ve found to use PNG files like SVGs. The process doesn’t convert PNG files to SVGs, but you don’t need to do that to make a cut file.
Q: What does SVG stand for?
A: SVG stands for “Scalable Vector Graphic.”
Q: What is the difference between PNG and SVG?
A: SVG and PNG are both image file types, but they work differently! SVG files are image files that can grow or shrink without getting blurry. PNG (which stands for “Potable Network Graphics”) are image files that are made of tiny pixels which can look fuzzy if resized too large. SVG files can be cut from vinyl, but the details in PNG files cannot. Unless, that is, you follow these steps!
Q: Help! My Cricut Design Space screen looks different than yours!
A: If you’re using the latest version of Cricut Design Space, your screen may have slight variations than the screen you see on the video tutorial. Good news: All of the same functions are there, they may just be in different spots or have new icons. Pause the video if you need, or follow along with the written tutorial. If you get stuck, ask for expert support in our Facebook group. Our group is a fun and friendly place to share your projects, ask questions, and find inspiration! Plus, you can catch the latest news on JenniferMaker projects, files, tutorials and more.
Q: Can I make and sell my own vinyl decals or vinyl-decorated designs?
A: I love supporting creative entrepreneurs! If you want to use my designs and projects for commercial use, please familiarize yourself with my important licensing information before selling your crafts.
I do not permit sale of my digital items, but you can sell the creative goods you make with them — as long as you follow my licensing requirements. That means you cannot sell my “Canva To Cuttables” cheat sheet PDF file or my “Butterfly Dream” PNG files, but you can sell items that you made with the files within the guidelines linked above.
Get my free “Canva To Cuttables” Cheat Sheet PDF file and my free PNG file to make a “Butterfly Dream” Vinyl Decal!
(If you do not see the signup form above, click here.)
I love seeing what you make with my designs and how you use them! Please share a photo of your cut file design projects in our Facebook group or tag me on social media with #jennifermaker.
Love,

Want to remember this? Save this How to Create a Cut File in Canva tutorial to your favorite Pinterest Board!