
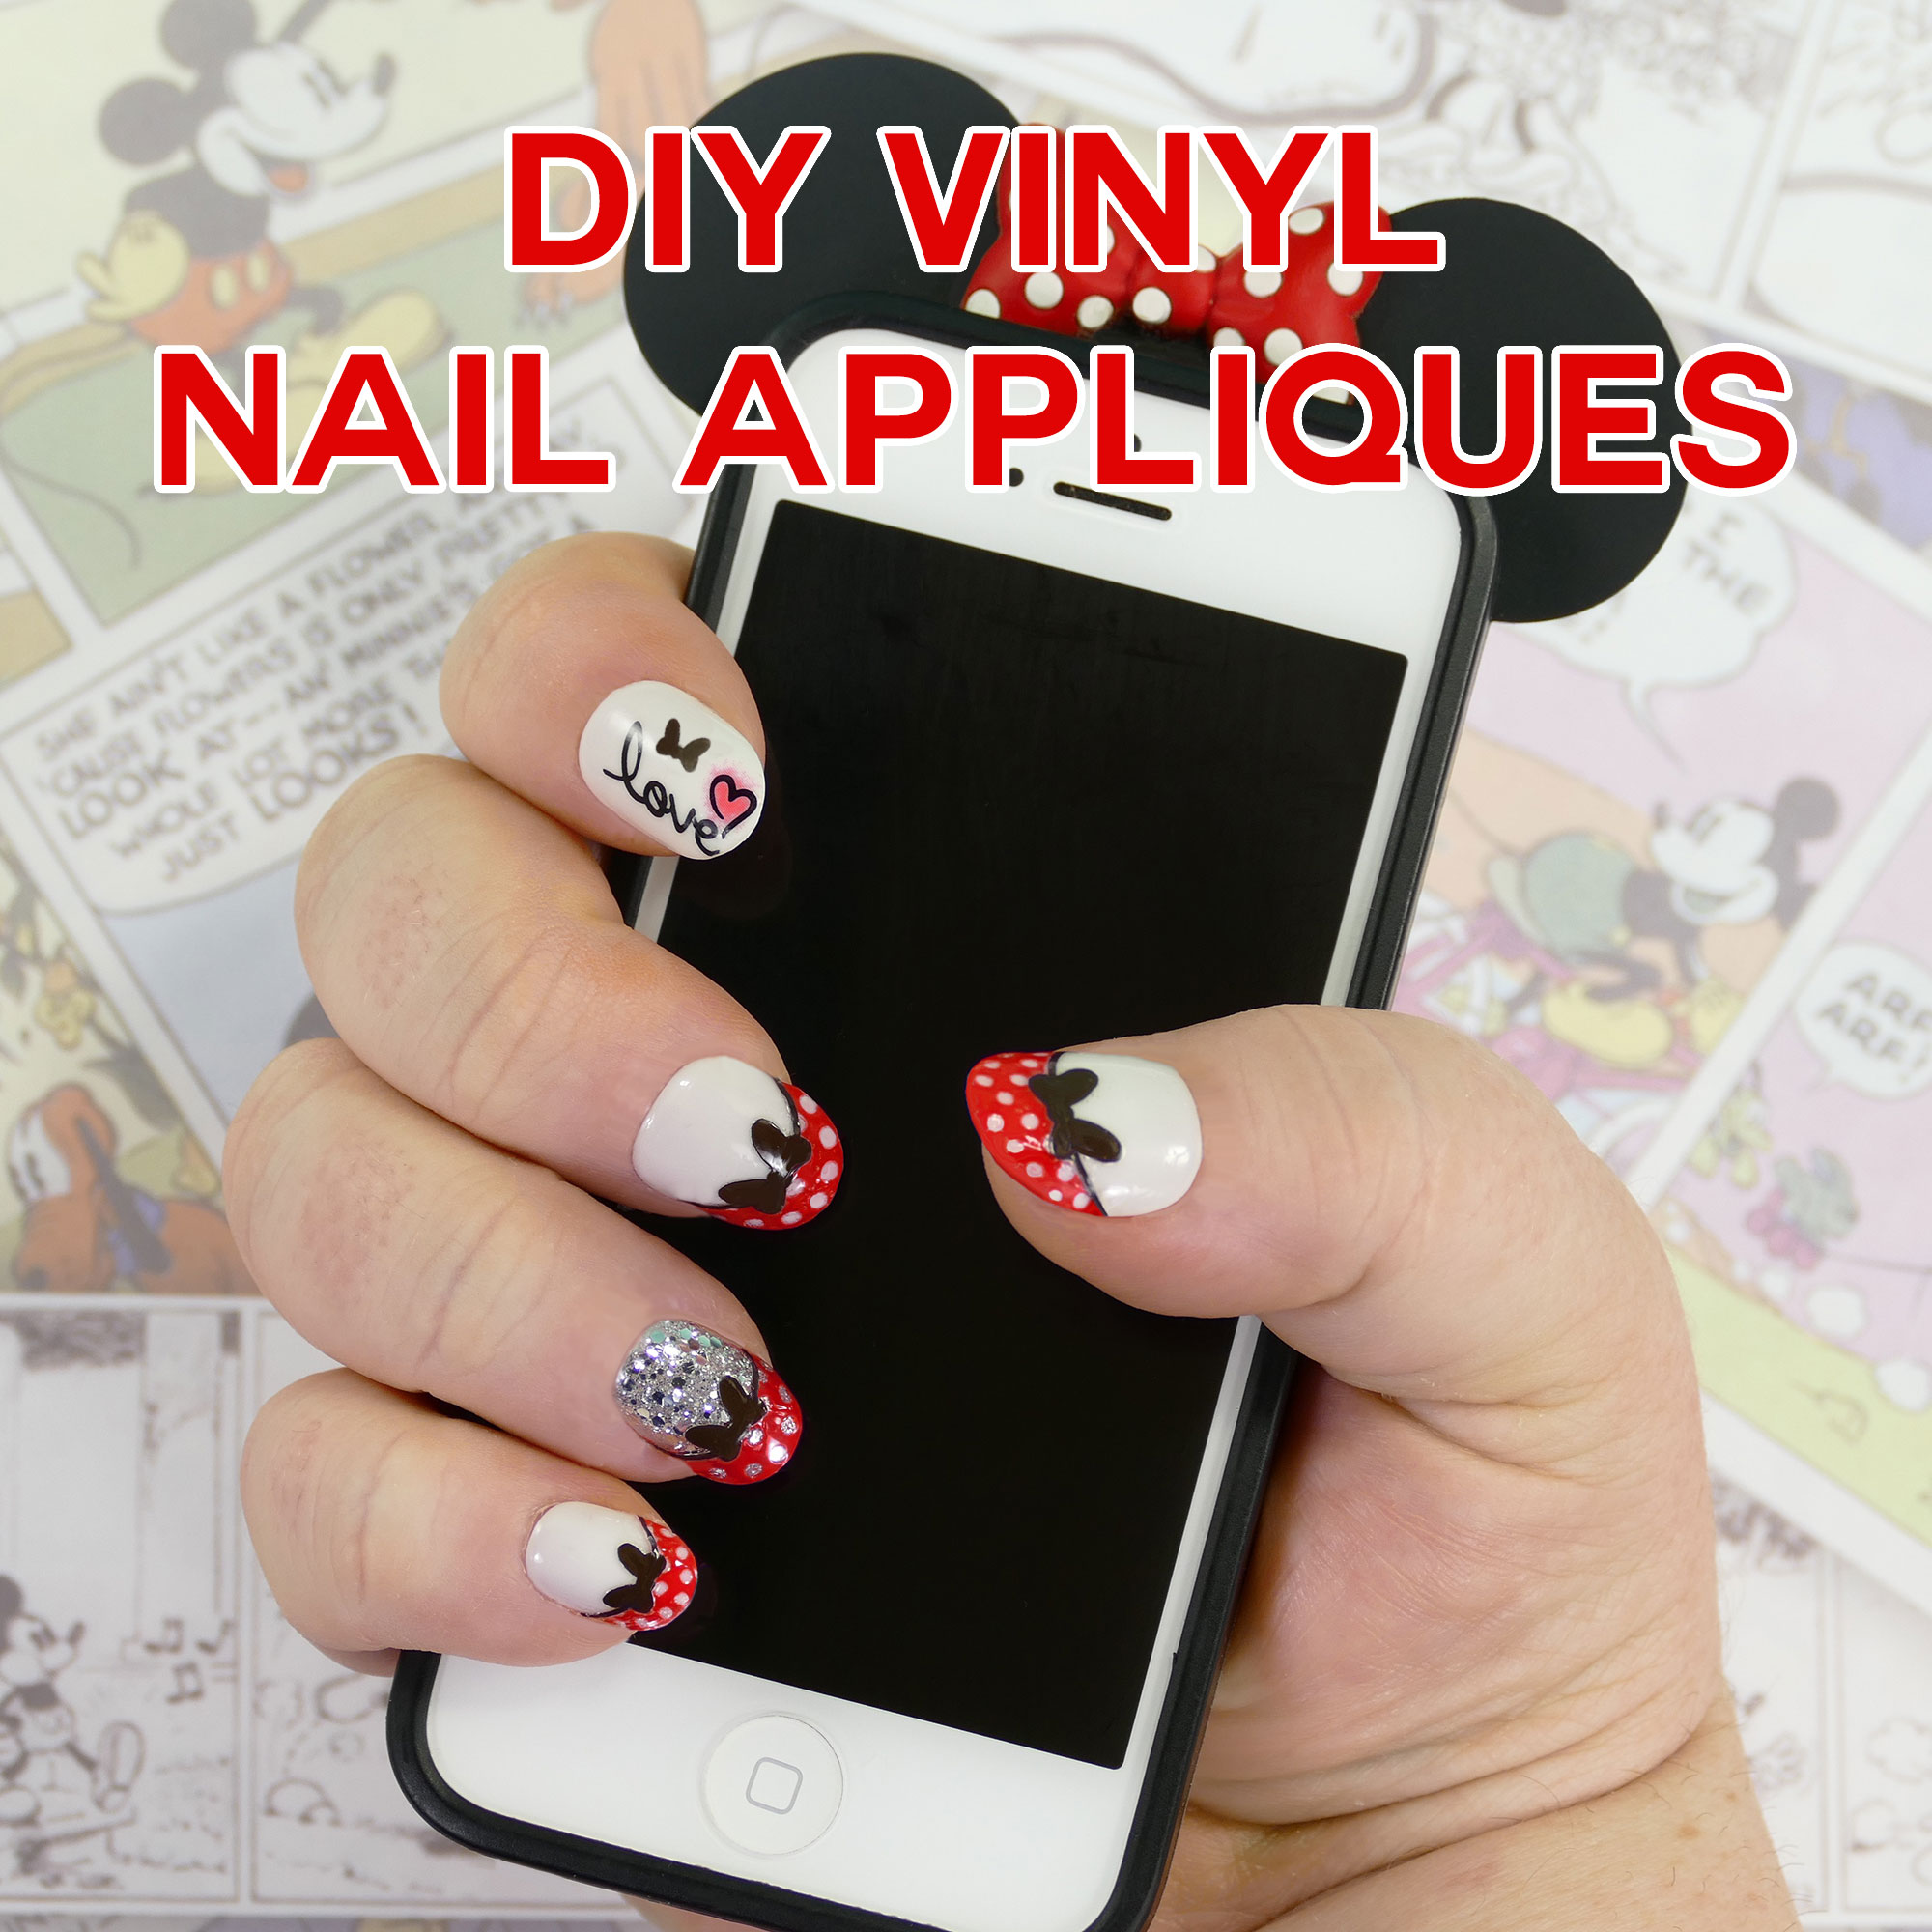
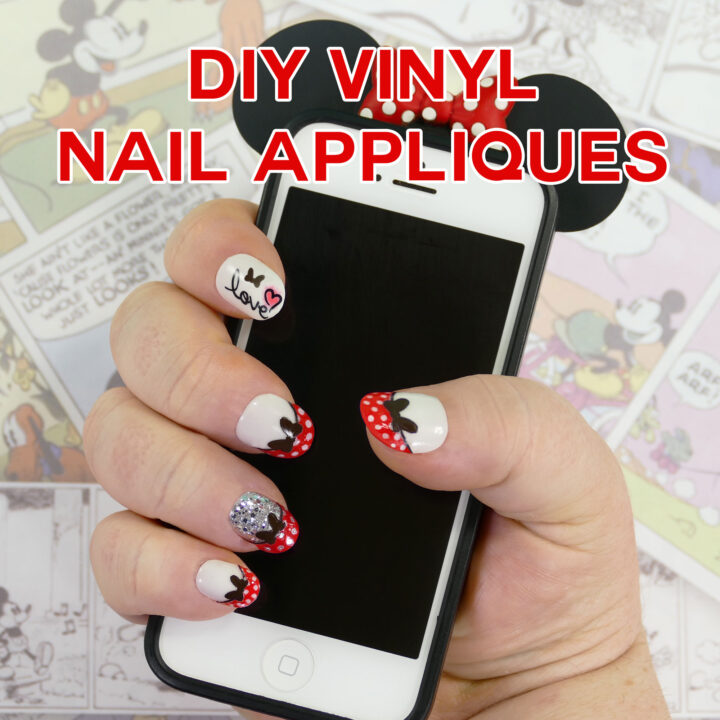
Learn how to make your own vinyl nail tip appliques using a Cricut cutting machine!
Recently a reader asked me to include some Disney crafts on my blog. And I am happy to oblige! I am preparing tutorials on how to make Mickey Ears, Pixie Dust Jars, and some Disney Cruise gifts. But I realized that I needed Disney nails for my photos and videos because … it’s fun! So I got to thinking… could I use my Cricut cutting machine to cut out some Disney-themed vinyl appliqués? It turns out I can! So I designed some French tips that look like Minnie’s polka dot dress and her cute little bow. I am so pleased with how they turned out, and now I can make cute nail designs for any occasion!
This post contains some affiliate links for your convenience (which means if you make a purchase after clicking a link I will earn a small commission but it won’t cost you a penny more)! Read my full disclosure policy.
DIY Minnie Mouse French Tip Materials
Would you like to make these too? I thought so! Here’s what you need:
 <
<
- Red permanent adhesive vinyl (651 permanent adhesive backed vinyl works best)
- Black permanent adhesive vinyl (651 permanent adhesive backed vinyl works best)
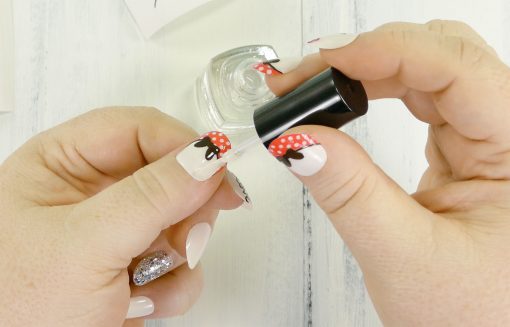
- Clear topcoat
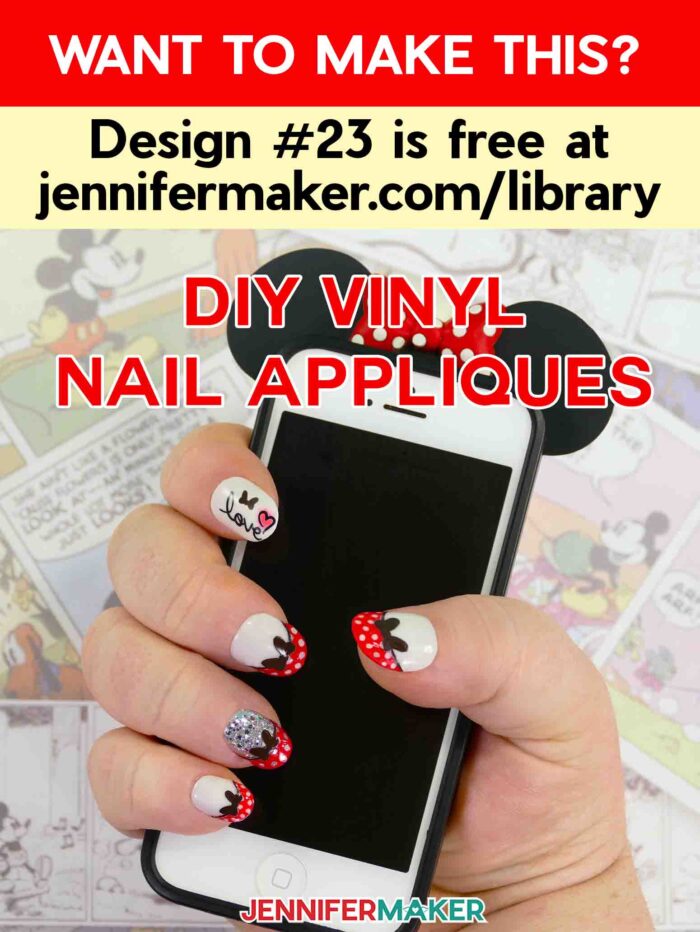
- Design #23 – SVG files to upload to Cricut Design Space (the files are free in my resource library — you can get the password free by filling out the form at the very bottom of this page)
- Tweezers or Cricut’s weeding tool is handy but optional
- A nail file
Note: You’ll want to have either a white and/or glitter base coat already on your nails and dry before you begin. Alternately, you can do what I did and use imPRESS Gel Nails — I like these because they look better than any nail polish job I can do, and the camera gets VERY close at times. I used the Flash Mob style for my nails here.)
Get the free cut files for my vinyl nail appliques!

Subscribe (free!) to get access to my resource library with all my free cut files, printables, and patterns! Subscribing gets you my weekly newsletter with details about my new free files, too!
DIY Minnie Mouse Nail Tips - Vinyl Appliques Made on the Cricut
Instructions

DIY Minnie Mouse Nail Tips Step-by-Step Photo Tutorial
Step 1: Prepare your nails by either giving them a white or glitter base coat, or using the imPRESS nails. Note that you’ll want to file your nails to the same length for the best results, and that you’ll want to shape your nails to a similar curve as mine (you can also file your nails after you apply the appliqué).
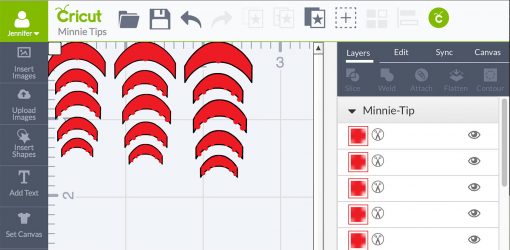
Step 2: Cut out your vinyl on your Cricut or another cutting machine that accepts SVG (such as a Silhouette). Note that the appliqués are sized to my nails, so you may want to print several sizes so you can find just the right size for your nail. To do this, simply place another copy of the file in Cricut Design Space and make it smaller or larger as necessary, then Select All and click Attach. Do this with both the Minnie-Tips file and the Lines-and-Bows file.
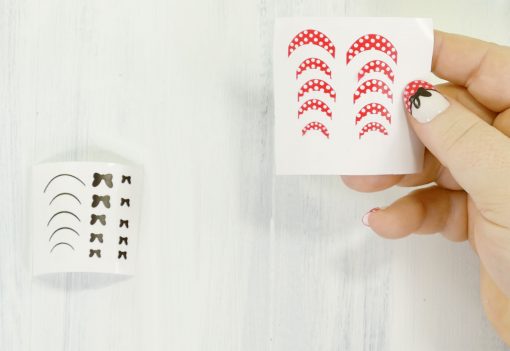
Step 3: Once you’ve cut the vinyl, pull the excess vinyl off (it’ll come off in one big sheet). Then remove all the little circles from the tips. I found it worked best if I used the sticky side of the vinyl and pressed it lightly against the appliqué, but you could also use tape, the weeder tool, or an Xacto knife. Here’s what my appliqués looked like when I was done.
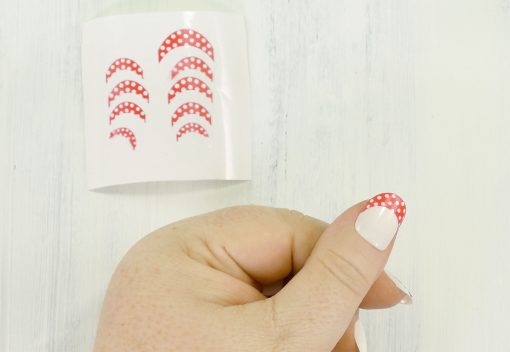
Step 4: Remove the top (thumb) nail tip appliqué and put it on your thumb nail, doing your best to line the top and side edges up with your nail. If the nail curve doesn’t fit, file your nail so it matches the curve of the appliqué. Press down well.
Step 5: Remove the top curved line from the black vinyl sheet and carefully place it just below the tip. This is a little tricky to line up perfectly — just be patient. Press down well.

Step 6: Remove the top black bow and place it in the center of the black curved line. Press down well.
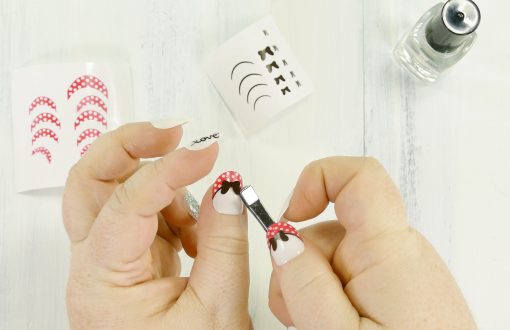
Step 7. Press down everything on the nail well then apply the topcoat. I did two coats just to be on the safe side.
Step 8: Repeat this for all your nails!
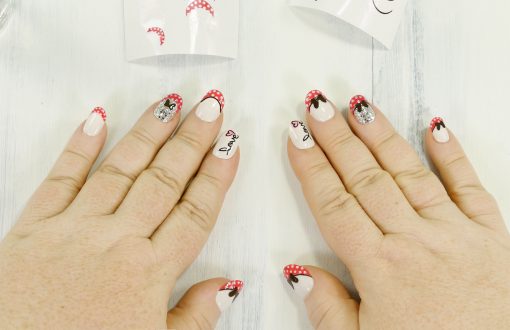
DIY Minnie Mouse Nail Tips
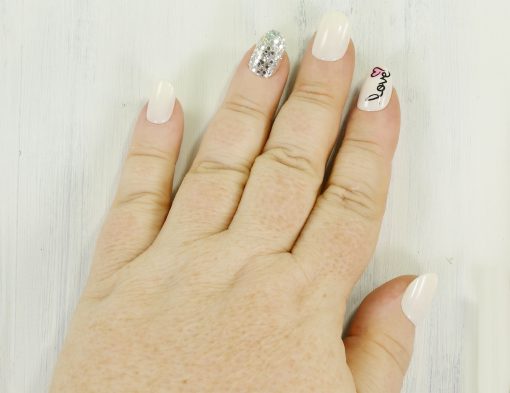
You don’t have to just do the lines and bows. I did one hand that way, bur the other hand I tried different things so you can see what I mean.
I’ve had these nails for 48 hours now and they are holding up well. I did notice one line peeking up along the nail edge this morning, and I simply glued it down again with some topcoat polish under and over it, and it’s fine now.
I am really looking forward to what new designs I can make in the future! The sky is pretty much the limit thanks to the Cricut! I am happy to share future designs, so come back and visit my blog again!
Love,

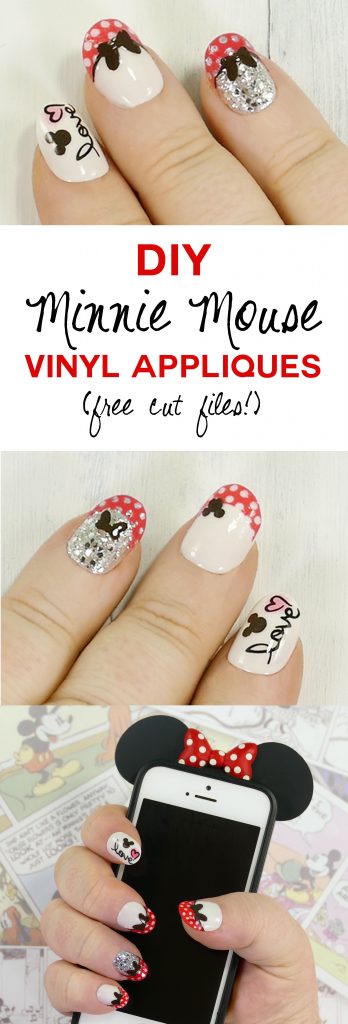
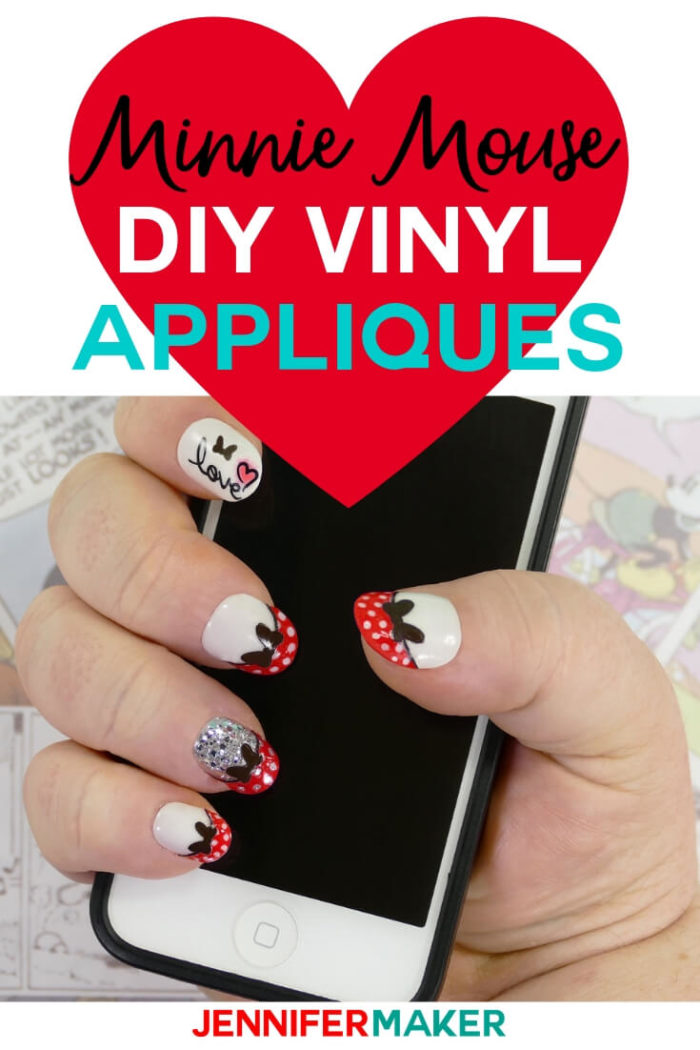
Like this tutorial? Please pin this post!


so cute
Thank you so much, Linda!
I really would love to have these svg file. It looks amazing
Thanks, Katherine! You can get the SVG files (two of them) in my resource library at https://jennifermaker.com/library (get the password by filling out the form at the very bottom of this page).
Great idea, thanks for sharing
Thank you, Wanda!
Great Nails
Thank you, Darlene! Much appreciated. 🙂
Can I get the svg? Thanks
Hi, Vicki! Yes, the SVG files are in my Resource Library at https://jennifermaker.com/library. You get the password to it by subscribing, which is free to do. Here’s the link to subscribe: https://app.convertkit.com/landing_pages/194097?v=6
These are the cutest Disney nails! I’m going to have to try them and maybe adapt them for my little girls. Thanks for sharing Jennifer.
Happy to hear you like them, Kristin!
Jennifer,
That is pretty cool. You truly inspire me.
Thank you, Kim!
Have you tried 631 rather than 651? If you’re putting a top coat over them, would it matter that much? I ask because I have 631. 🙂 Also, how did you measure your nails – especially the curve? So cute!
Thank you for shared, I tried today, is not perfect like yours nails, but I will keep trying until get better results, It will be great if you do a video of how to do it.
Thank you. These are so cute!
What are the svgs called
Melissa, they are file number 23 in the resource library.