You can make simple DIY Thanksgiving & Christmas place cards to adorn your table this year. I even show you how you can use a pen in your Cricut to write the names and decorate the place cards!
It’s the time of year for holiday meals and special get-togethers! And I think one of the simplest things you can do to make your holiday table nicer is add place cards — they’re easy to make and personalized, two things people love! So I’ve designed some holiday-themed place cards for you to use at your tables this season. There are 12 different place card designs, so use the ones that work best for you and your get-together. And use your Cricut to cut them faster! I made both DIY Thanksgiving and Christmas Place Cards, but you could really use these for a variety of holidays if you change the cardstock you use!


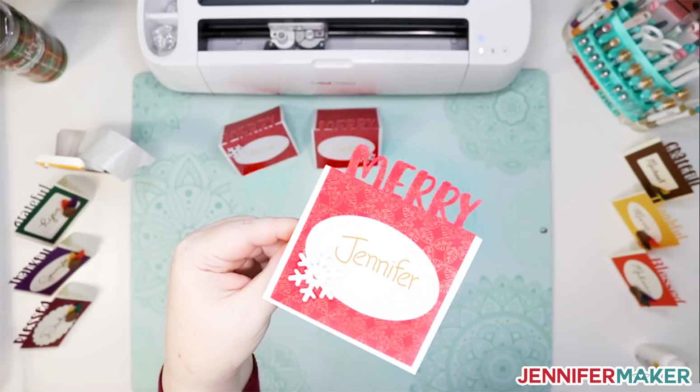
This is a perfect Cricut project, because it does most of the hard work. You can even put a pen in your adapter and let it write out all the place cards for you, which is exactly what I did on the Merry card photo above! I will show you exactly how you can do that in this tutorial.

Ready to put your Cricut to work this holiday season? Let’s DIY some pretty holiday place cards! This post contains some affiliate links for your convenience (which means if you make a purchase after clicking a link I will earn a small commission but it won’t cost you a penny more)! Read my full disclosure policy.
Materials for DIY Thanksgiving & Christmas Place Cards
- Cardstock (65 lb. or 80 lb.) in whatever colors you like — I used fall and winter colors along with an off-white cardstock where I wrote the names
- (Optional) A Cricut pen to write the names — I used a gold pen
- Tacky glue
- A way to cut your cardstock (I used the amazing Cricut)
- Design #165 – My free SVG/DXF/PDF cut files/patterns for the DIY place cards(available in my free resource library—get the password at the bottom of this post)
How to Make DIY Thanksgiving & Christmas Place Cards
Step 1: Get my free holiday place card designs (Design #165) from my free resource library (get the password to the library in the form at the bottom of this post).
Step 2: Prepare your place cards for cutting and drawing.
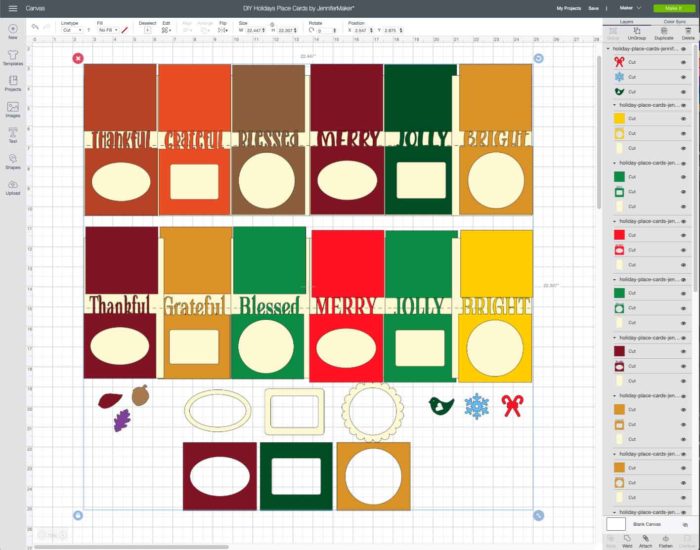
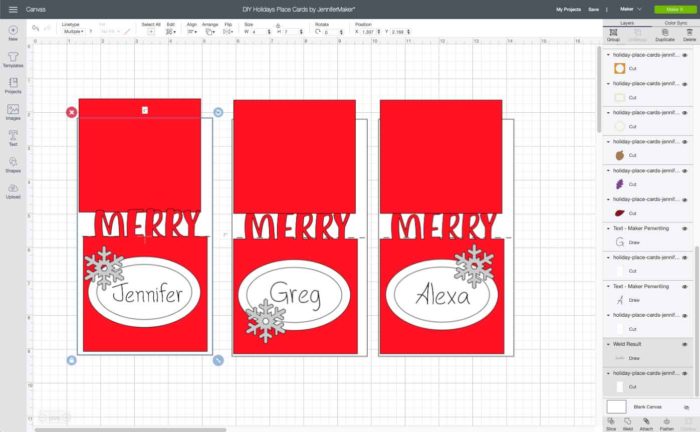
Here’s what the DIY Thanksgiving & Christmas Place Cards SVG file looks like uploaded to Cricut Design Space:
If you’re not sure how to upload an SVG cut file to Cricut Design Space, watch this helpful video training series I made. If you’re on an iPhone or iPad, here’s how to download and upload SVG files to the Cricut Design Space app.
Once the file is uploaded, decide which of the designs you want to use and hide or delete the rest. To do this, first click Ungroup, then click and delete or hide the layers you do not want to cut. For example, if you want to make just the JOLLY place card, it would look like this:
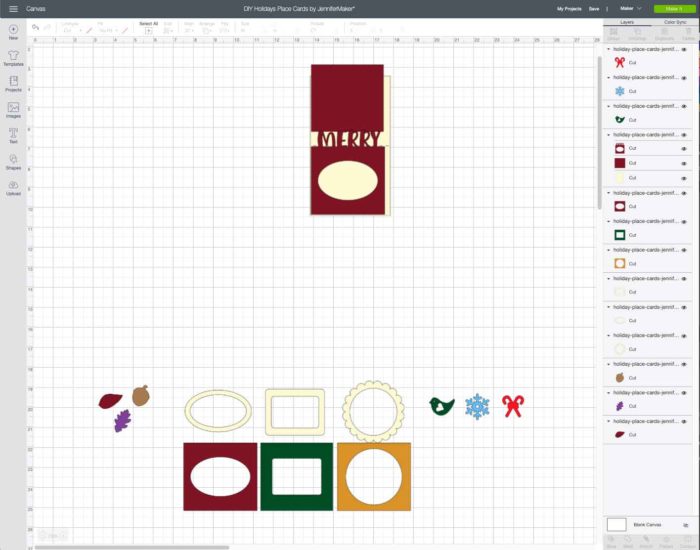
Now you’ll note there are two versions of the Merry place card — I’m going to just keep the top one. Then I’m going to duplicate it enough times as needed (to duplicate, right click and select Duplicate from the menu).
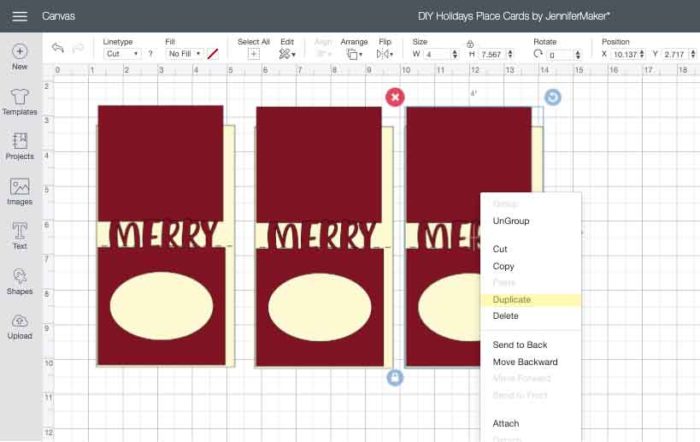
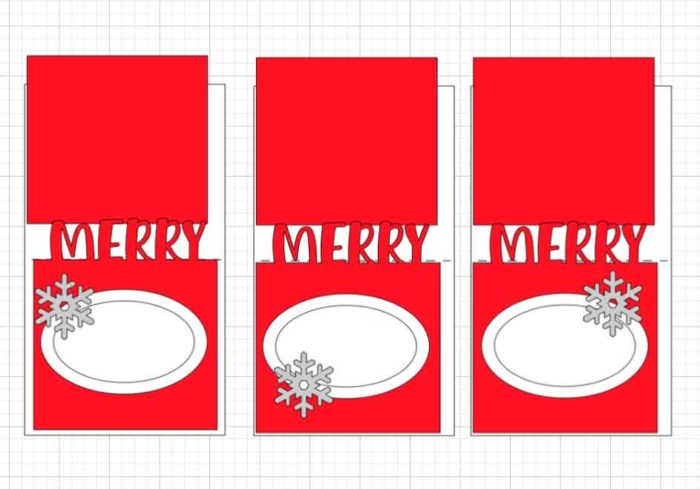
If you want to decorate your place cards with a little frame or seasonal ornaments, move and duplicate the extra designs at the bottom and position them on your place cards. Feel free to change colors now, too!
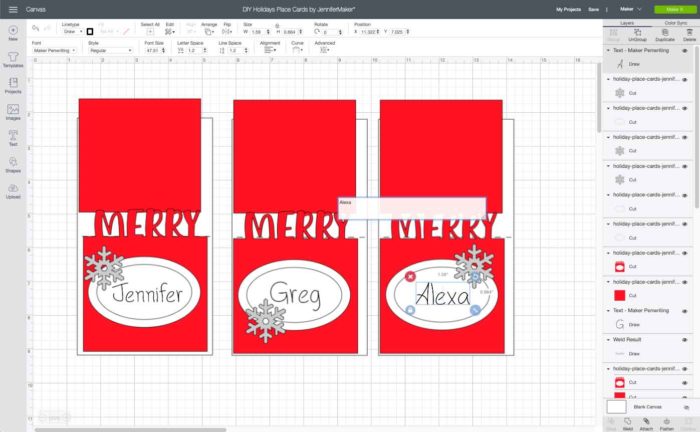
And now if you want your Cricut to write the names, click on Text, type out the name, and choose a writing font. You will likely have to resize and play with the letter spacing to get it to look good. Here I’m using my own Maker Penwriting font (get it free in my resource library):
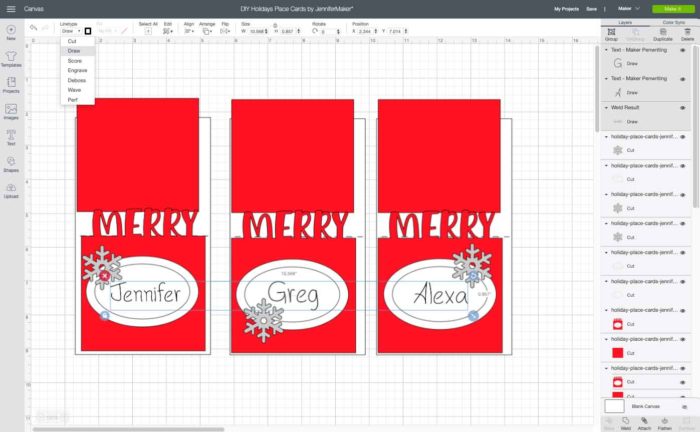
Now the next two steps are SUPER IMPORTANT or this will not work right. First, you need to select each of those names and change them from Cut (the default) to Draw in the Linetype menu, like this:
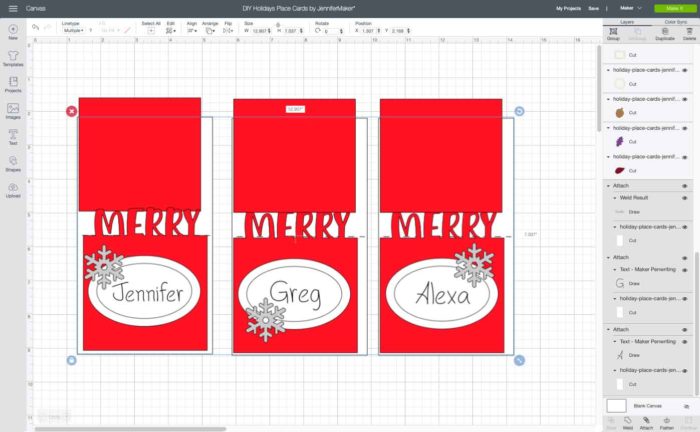
Next you need to ATTACH the draw layer to the layer it gets drawn onto. To do this, select each name and select the BASE CARD underneath, in my case that’s the white rectangle, then click Attach. The only trick here is that you have to select only the base card, not the top card with “Merry” on it. The two are grouped, so ungroup them first, or then select the layers you need from the layers panel. In this screenshot, you can see I’ve selected just the word “Jennifer” and just the white card beneath it, and I’m about to click Attach.
And here’s what it looks like after I’ve attached all the draw layers to their respective cut layers (base cards):
Now click Make It to see if you did it write — you should see that your draw layer (with the names) is on the same mat as your base cards layer like this:
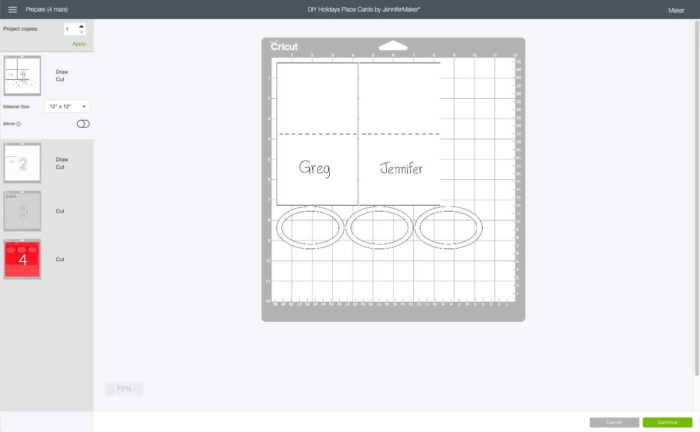
If you don’t see something like this, go back and attach things properly following my directions above. If you do, then you’re ready to proceed!
Step 3: Cut out your DIY place cards.
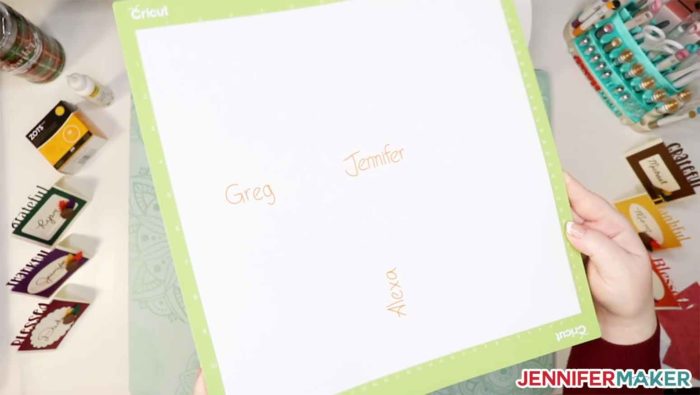
Load your fine-point blade and your Cricut pen (if you opted to have your Cricut write the names) and cut your cardstock (I use Medium Cardstock in my Custom Material Settings in Cricut Design Space). If you have any issues cutting the intricate letters, be sure to read my Cricut Cutting Problems guide for ideas.
Here’s what my cardstock looks like after my Cricut cut and wrote our names on it!
Step 4: Fold your DIY place cards.
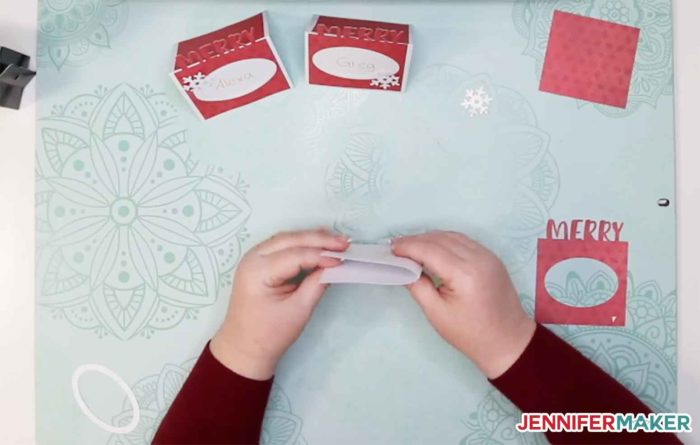
Fold the base card in half on the dashed line and press in half, like this:
Step 5: Glue your DIY place cards.
Glue the front panel on the front of your place card with the letters resting above the crease in the base card.
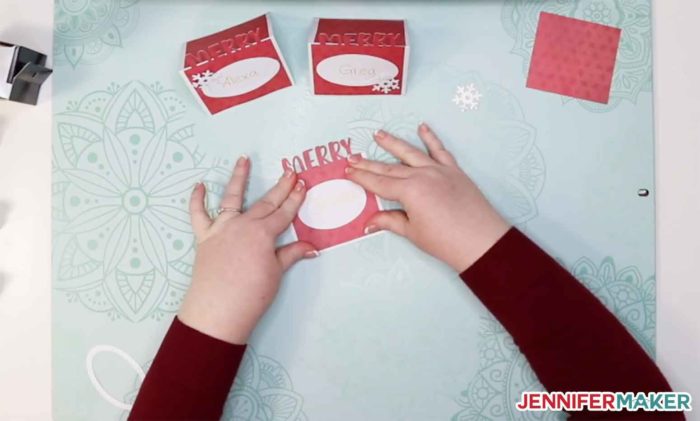
Glue the corresponding color shape onto the back of the card with the top of the shape meeting the crease in the base card.
Glue the frame on the front of the card or the frame can be left off.
Write the name on the place card if you didn’t have your Cricut write it for you.
Add any extra embellishments you cut. To give the embellishments extra dimension, you can crease or fold them or use Adhesive Foam Dots so they stand up from the place card.
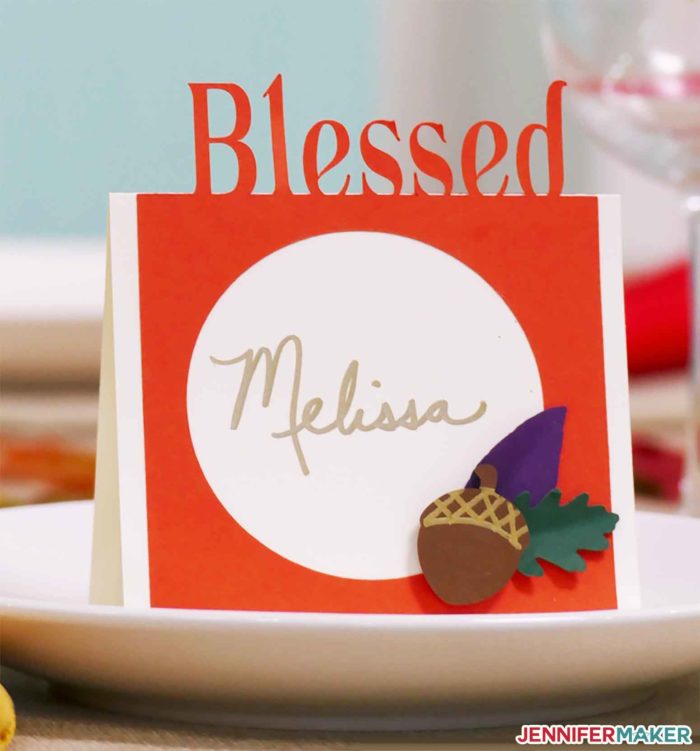
And that’s it! Really very easy. How do they look? 🙂
Get my free SVG cut files for the DIY Thanksgiving & Christmas Place Cards
You can get my free DIY Thanksgiving, Christmas and holiday place cards in my free resource library!
If you make your own DIY Thanksgiving or Christmas place cards, please share a photo in our Awesome Cricut Facebook group, email it to me at [email protected], or tag me on social media with #makershowandtell.
Love,

Want to remember this? Save the DIY Holiday Place Card Tutorial to Your Favorite DIY Pinterest Board!