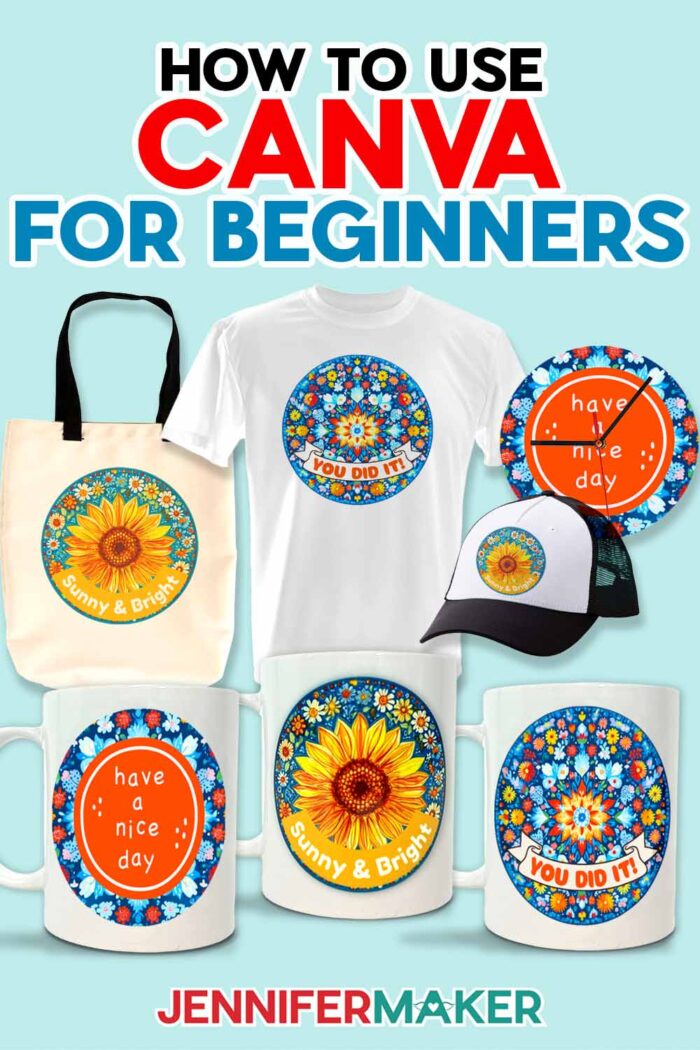
Learn how to use Canva to create professional-looking designs for endless projects!
If you’re new to Canva and not sure where to start, you’re in the right place.
I’ll show you how to use Canva step by step so you can create your first project, even if you’ve never used a design tool before. Just create a free account at Canva.com and follow along.
The first time I opened Canva, I remember thinking, “Okay… what do I actually do first?” Sound familiar? That’s ok!.
Since then, I’ve used Canva for Cricut, sublimation, and printables for years, so I’ll share what works (and what to watch out for) so you can get to the fun part faster. Let’s make your first design together.
Quick Answer: How Do You Use Canva?
Here’s what using Canva usually looks like:
- Open Canva
- Choose a size or type of project
- Start a design
- Add some text and graphics
- Move things around until it looks right
- Download your design
That’s the basic flow, but there can be several steps in each section depending on your idea and the tools you want to use. I’ll teach you all the details in my real Canva projects below!
Want Help Starting Your First Canva Project?
When I was learning Canva, I realized getting started the right way was confusing. There are so many options! So I made a free “Starting a Project in Canva” cheat sheet to help you, covering:
- How to open Canva and navigate the home screen
- How to start a design the right way
- How to choose your size or project type
- How to pick between a template or a blank canvas
- Where to click to begin building your design on the canvas
If you want the help, grab it below. If not, you can keep going. I’ll walk you through everything here, too.
What Is Canva?
Now that you know where to start, let’s talk about what Canva actually is.
Canva is a free, online design tool that lets you create graphics and other projects by clicking and dragging elements into place.
In real life, it means you can take an idea (like a sticker concept, a mug design, or a printable sheet) and turn it into something you can actually use.
You don’t need to know everything, you just need to start. And once you see how simple Canva is, it becomes a lot easier to actually use it.
What Is Canva Used For?
You can use Canva to create things like:
- digital planners
- stickers
- social media graphics
- printable worksheets
- sublimation transfer designs
Once you learn the basics, you can start connecting Canva with other tools like Cricut for cut files and sublimation prints for shirts, which is where things really open up.
What You’ll See (and Shouldn’t Try) When You Open Canva
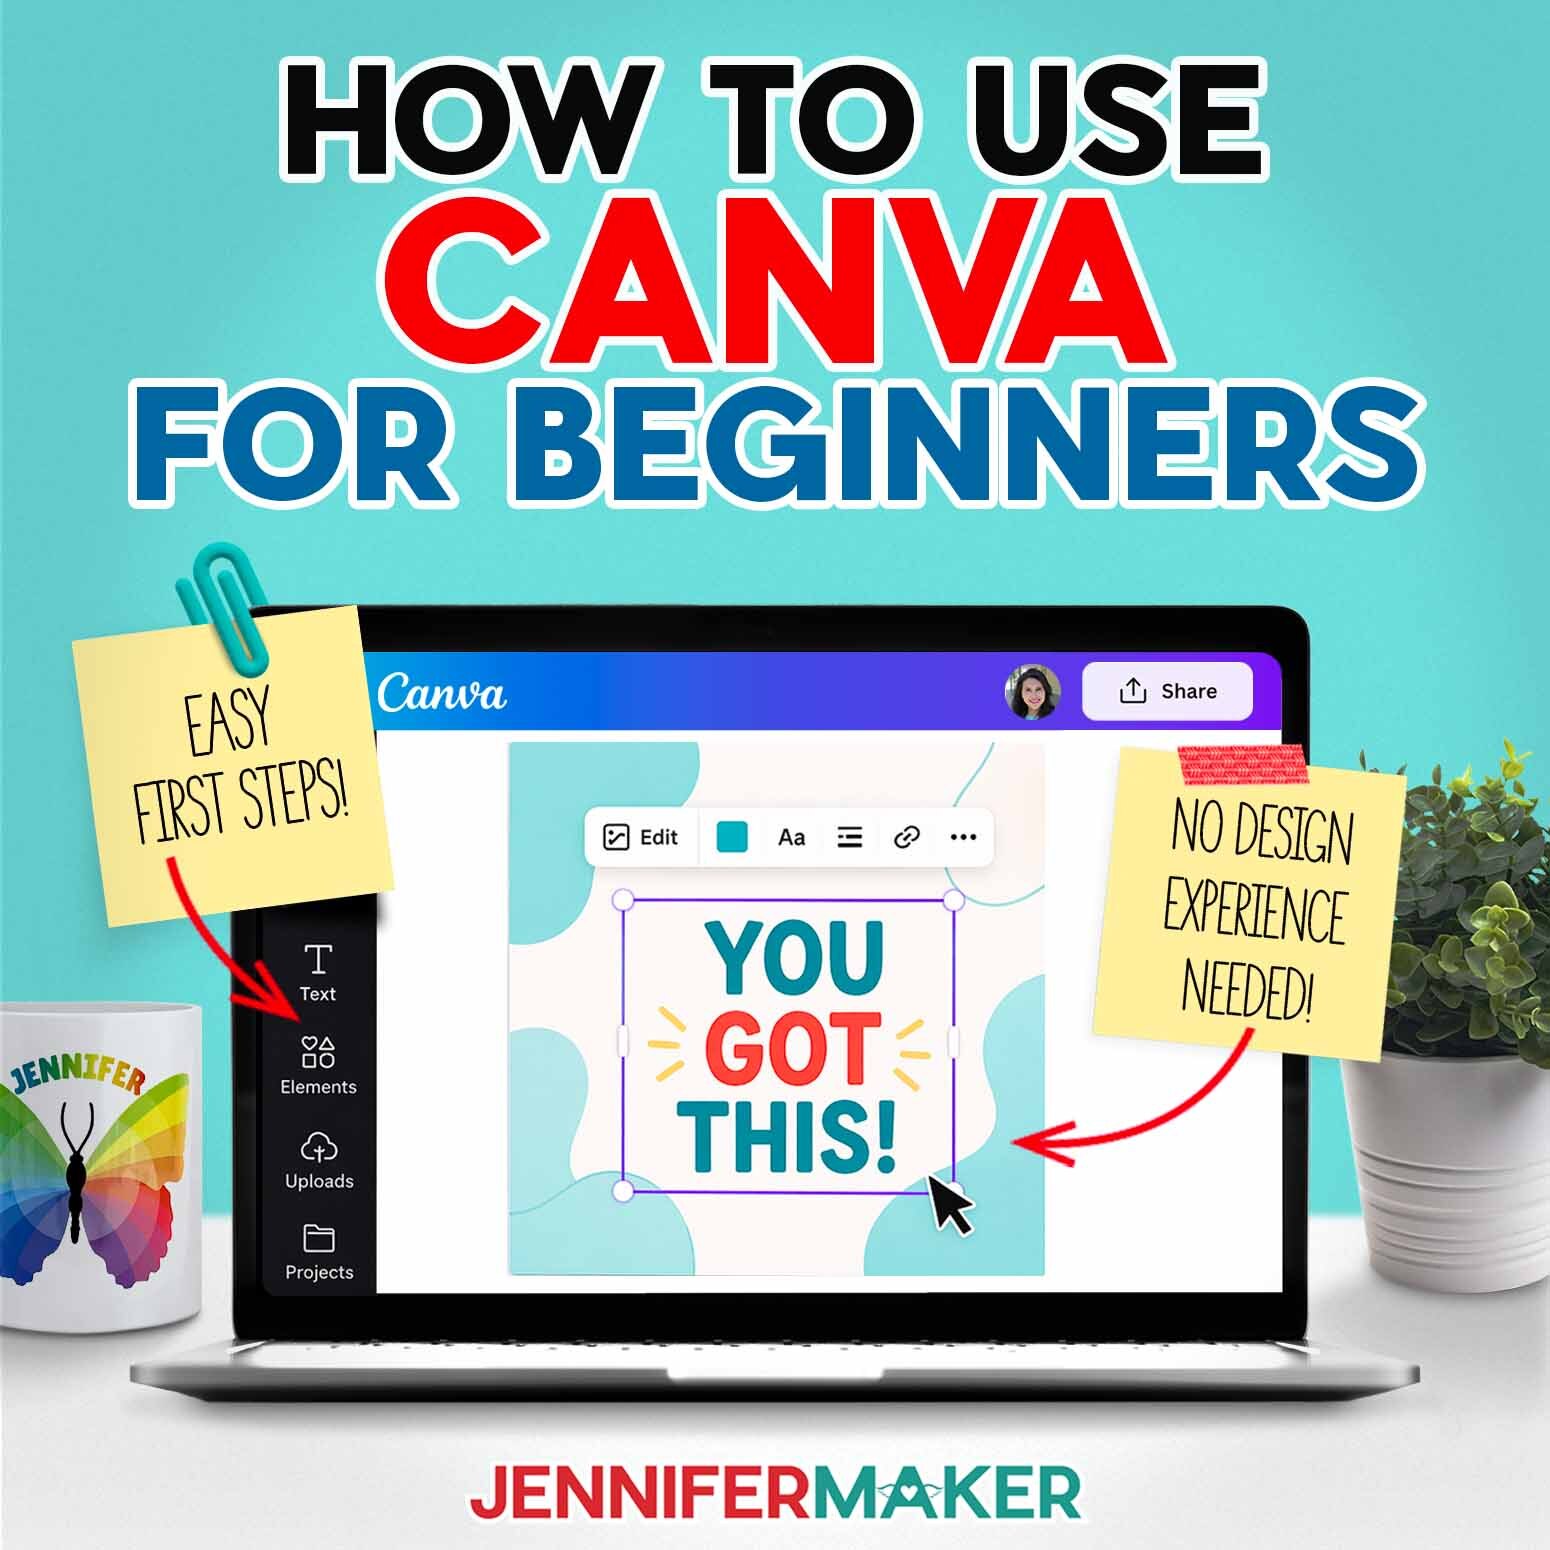
When you open a design in the Canva editor, you’ll notice a few main areas:
- a blank canvas in the center (this is where your design goes) with editing tools at the top
- a left toolbar with tools, images, apps, and elements
- a top menu for saving and sharing your design

At first, it’s really tempting to click everything and try to learn all the tools at once.
I’ve tried, and it just makes things feel harder.
Instead, start small with a word of text and a graphic to play with. That’s enough to get going.
Another common mistake is trying to make perfect designs right away. You don’t need to do that yet, you’re just getting comfortable! Just explore with me to see what the tools are before aiming for perfection. Then, once you’ve made that first simple design, the next step is turning it into something you can actually make.
Why I Use Canva for Craft Projects
But how do all those tools help with creativity and crafting?
I use Canva all the time when I’m planning projects, especially before I cut, print, or press anything. For example, I’ve used it to:
- Design sticker sheets for Cricut’s Print Then Cut tool
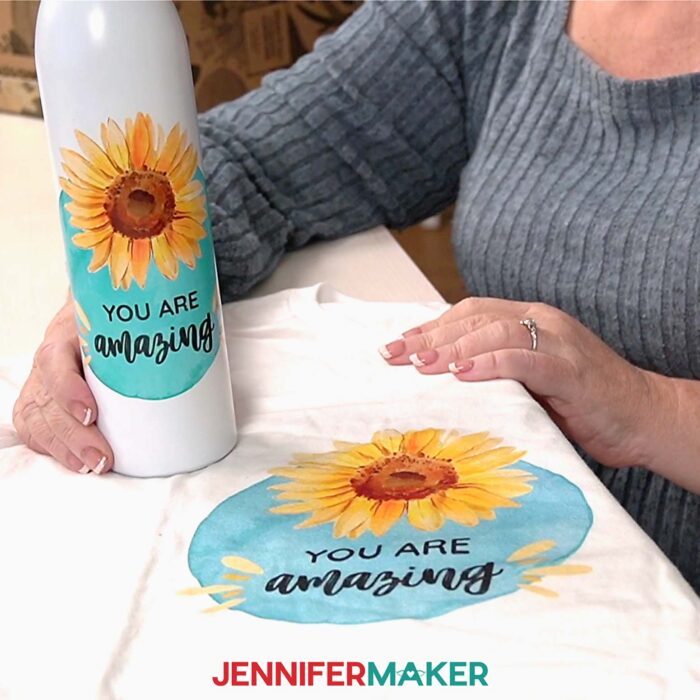
- Create mug and tumbler designs for sublimation
- Make printable cards and wall art
I love Canva because I can try things out before I use materials. If something doesn’t look right, I can fix it in seconds instead of wasting paper, vinyl, or a blank mug.
Spacing is a common challenge I use Canva to address. If things are too close together, they won’t cut well, like on stickers. Don’t worry if you have trouble at first, it’s a common problem! We’ll walk through that together in the tutorial below.
If you run into other tight spots, my Canva Survival Guide is a simple, problem-based troubleshooting guide that answers real-life Canva questions!
What You Need to Get Started with Canva
You don’t need much to get started in Canva, which is one of the reasons I love it. You’ll want:
- A free Canva account
- A computer or tablet (a computer is easier when you’re learning)
- An idea of what you want to make (even a simple one is fine)
If you’re planning to turn your design into a project like stickers or mugs, I’ll walk you through the extra materials in the tutorial below.
Let’s Make Something Together
Now that you know how Canva works, let’s try it together. I’ll show you exactly where to click and when in the tutorial below. Plus, I’ll show you the materials, settings, and steps to turn your Canva design into stickers, mugs, and more.
Watch The Full Canva For Beginners Tutorial
Watch the full step-by-step video tutorial on how to use Canva for beginners:
Let me show you how to use Canva for beginners! This post contains some affiliate links for your convenience (which means if you make a purchase after clicking a link I will earn a small commission but it won’t cost you a penny more, there is no additional cost)! Read my full disclosure policy.
Materials to Make Stickers & Mugs with Canva Designs
View my Amazon shopping list for the exact items I used!
For stickers:
- Cricut Sticker Paper
- Color Printer
- A way to cut your stickers – I’m using a Cricut Maker 3, but you can also use any other Cricut Maker series machine, any Cricut Explore series machine, the Cricut Venture, or even the Cricut Joy Xtra
- Cricut Green StandardGrip Mat
- Brayer
For mug:
- Cricut 15oz Mug
- White Butcher Paper
- Sublimation Printer or Printer Converted for Sublimation -AND-
- Sublimation Ink
- 8.5″ x 11″ 125g Sublimation Paper
- Cricut Mug Press
- Heat Resistant Tape
- Fan (for ventilation)
- Lint Roller
- Scraper
- Scissors
- Isopropyl Alcohol -AND-
- Lint-Free Cloth (for cleaning mug)
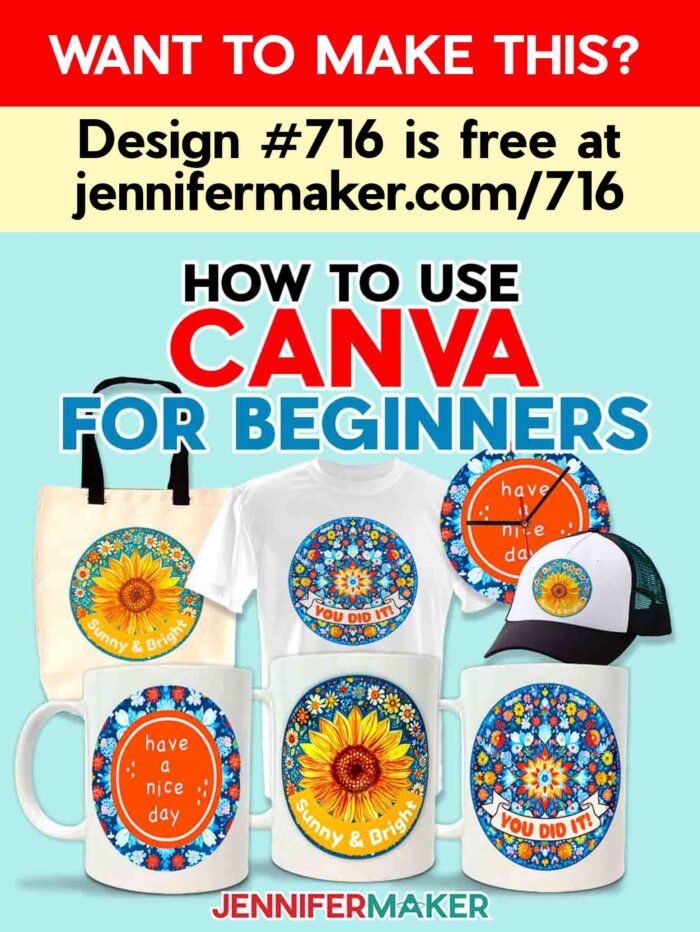
- Design #716 (My free PNG/PDF design files are available in my free resource library – get the password by filling out the form at the bottom of this page
How to Use Canva For Beginners
How To Use Canva For Beginners
Learn how to use Canva for beginners to design your own projects!
Materials
Tools
- A way to cut your stickers - I’m using the Cricut Maker, but you can also a Cricut Explore Series machine, the Cricut Venture, or even the Cricut Joy Xtra
- Color Printer for Stickers
- Cricut Green StandardGrip Mat for Stickers
- Brayer for Stickers
- Sublimation Printer or Printer Converted for Sublimation
- Sublimation Ink
- Cricut Mug Press
- Heat Resistant Tape
- Fan for Ventilation
- Lint Roller
- Scraper
- Scissors
- Isopropyl Alcohol -AND-
- Lint-Free Cloth for Cleaning Mug
Instructions
STEP 1: GET MY COLORFUL CIRCLE DESIGNS
First, download my Colorful Circle designs from my free library – look for Design #716. Alternatively, you can use the Save This Project form near the top of this post and the design link will be emailed to you.
In the PNG folder, there are six designs you can use in Canva to create sublimation or printable projects. I made these using an AI art generator and image editing tools.
TIP: If you’re not sure how to download zip files, go to jennifermaker.com/svgs because the steps are similar for PNGs and Canva.
STEP 2: SIGN IN TO CANVA
- On your desktop or laptop in Google Chrome, go to jennifermaker.com/canva.
NOTE: The screen might look a little different depending on your device and when you are watching.
TIP: I recommend starting on a computer instead of using the phone or tablet apps until you’re more comfortable. - Log in to your account or follow the prompts on the screen to sign up for a free account.
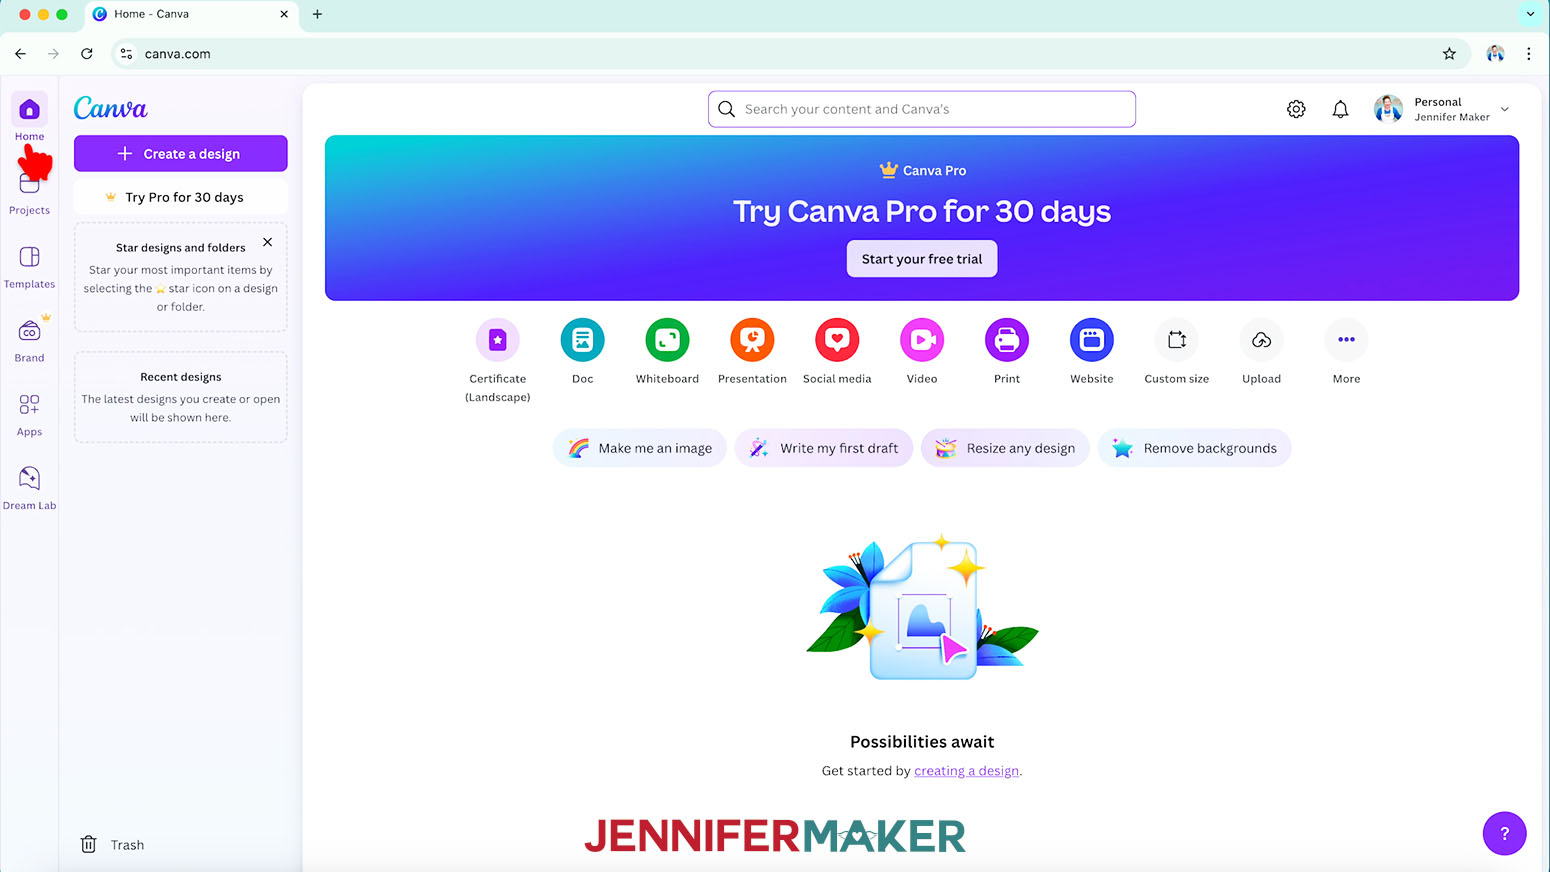
NOTE: Canva does offer paid subscriptions, but I’ll show you how to do everything with the free account, so you can skip upgrading for now. - Once you’re logged in, you’ll see the Canva Home screen.
TIP: If you ever get lost, click the house icon to come back.
- On the left-hand side, you’ll see the main navigation menu including icons for:
Home, or your starting point.
Projects: Where to find all your saved designs.
Templates: Options if you don’t want to start from scratch.
Brand: Where you can set standards to create cohesive designs with consistent colors and fonts.
Apps: Canva’s integrations with other companies and tools by other creators.
And Dream Lab: These are Canva’s AI tools.
STEP 3: SET UP YOUR CANVAS
- On the Home screen, click “Create a Design” and then “Custom size” from the options.
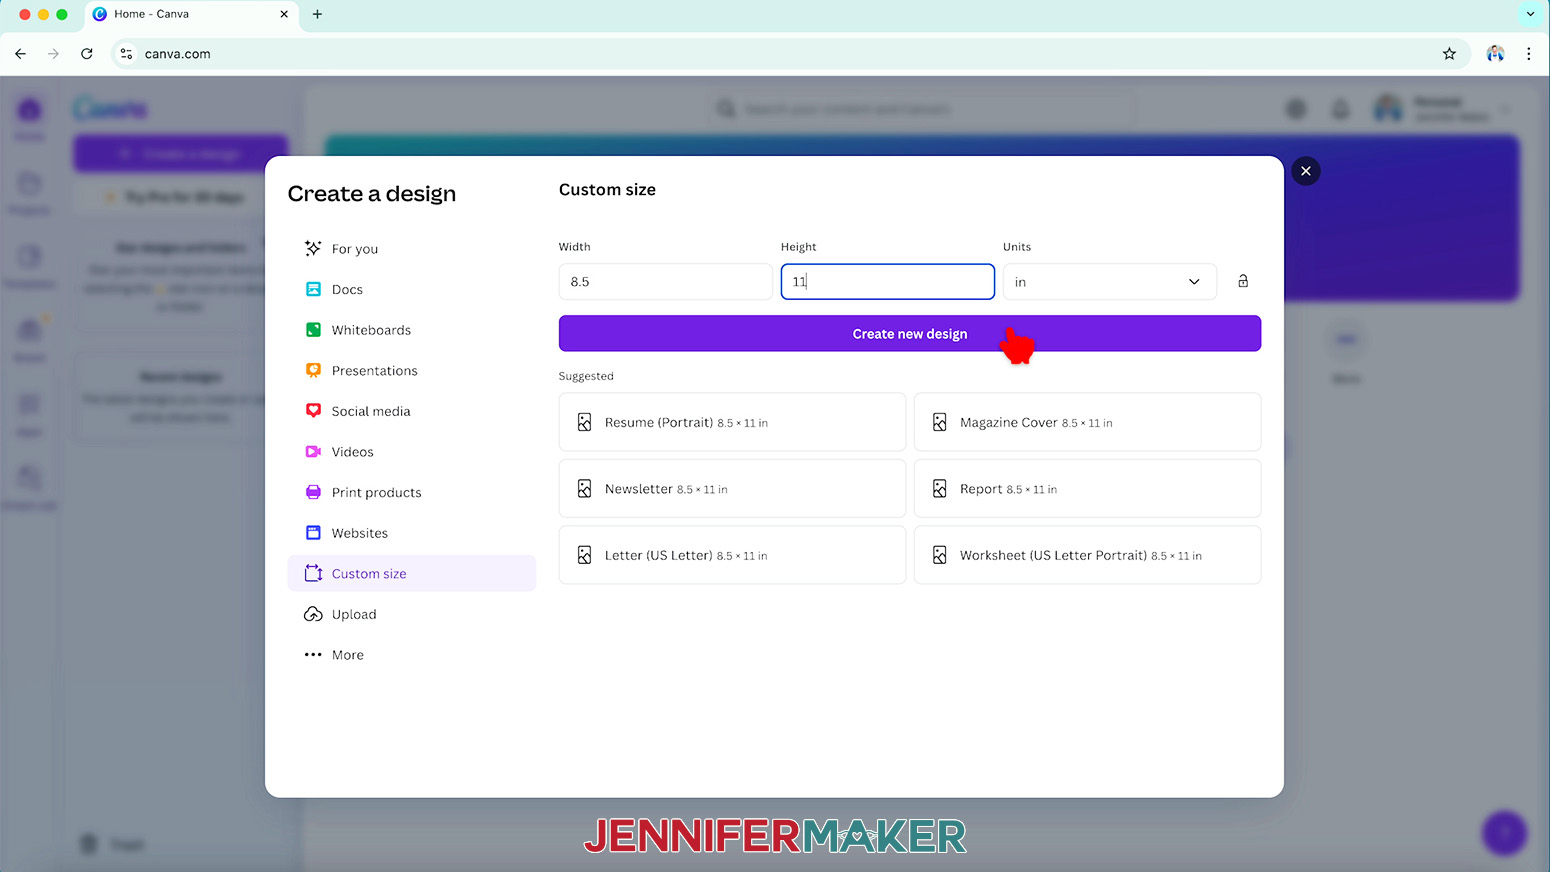
TIP: For crafting projects like stickers or sublimation designs, I recommend starting with a custom-sized canvas. - Change the Units from “px” for pixels to “in” for inches.
- Set your Canvas’s width and height using the largest dimensions you might need for your project. Note that Canva’s free options won’t let you resize your design area after you’ve created it.
NOTE: I don’t want to go larger than my printer paper, so I’ll make it 8.5” wide and 11” tall to match letter size paper. - Click “Create new design.”
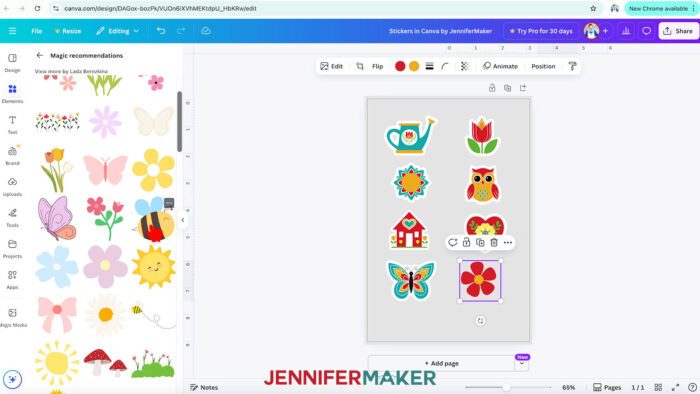
STEP 4: EXPLORE CANVA’S TOOLS AND ELEMENT LIBRARY
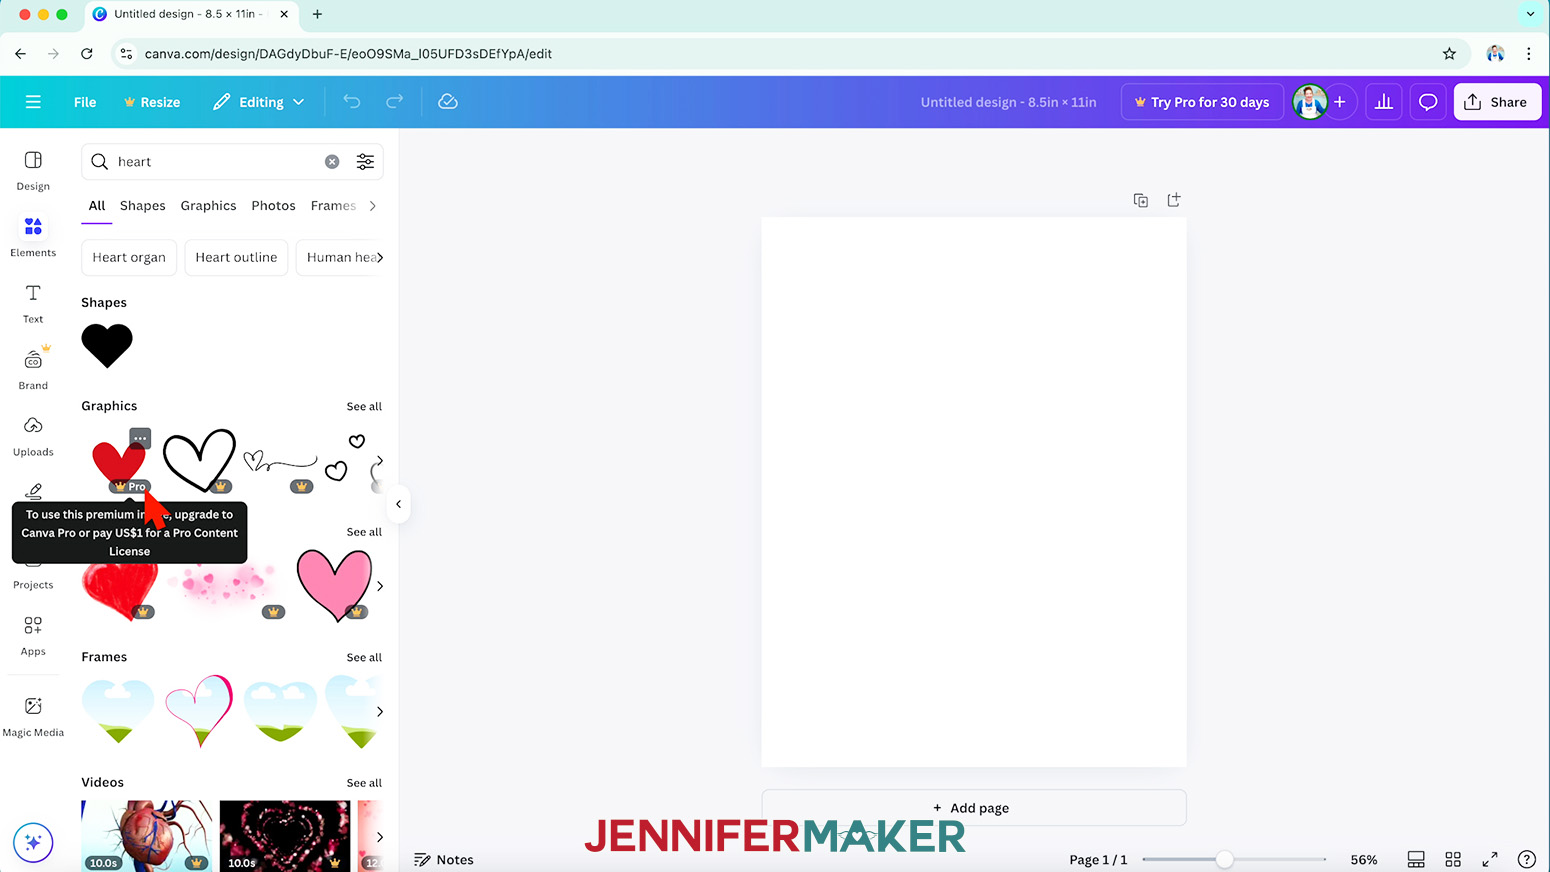
- The new screen is your designing Canvas.
- The left column has everything you need to get started, but we’ll look at the important tools.
Elements: This is where you’ll find shapes, graphics, photos, and more from Canva’s impressive library. You can search for a subject to see what they have in the different categories.
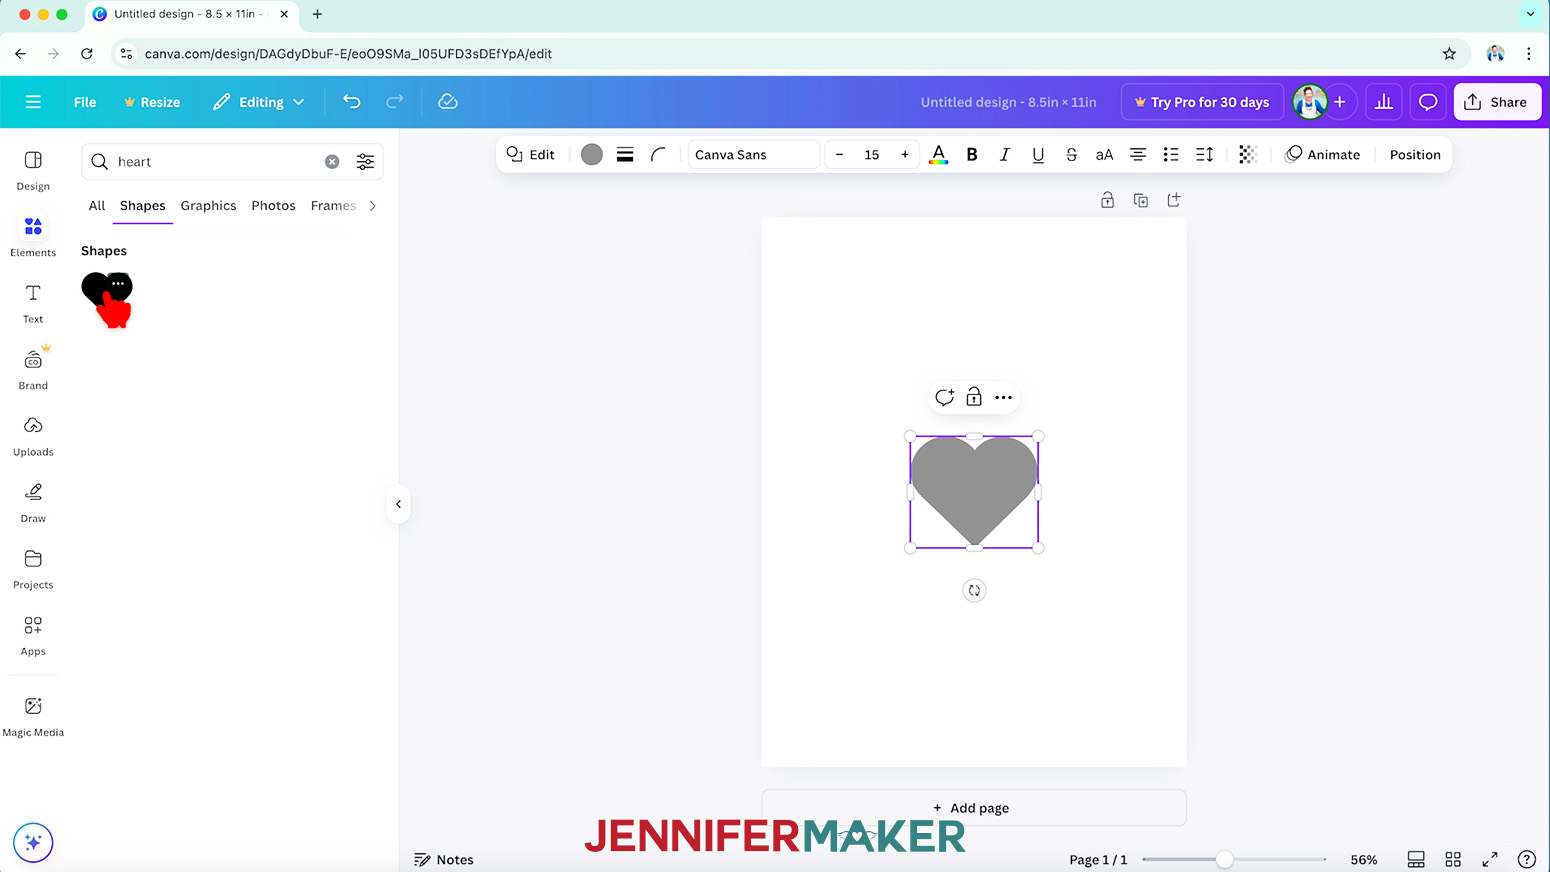
TIP: Small crown icons mean those elements require a paid account, but we’ll stick to the free options today. - Select a category like “Shapes,” click “See all,” and then you can search for and click on a shape to add it to the Canvas.
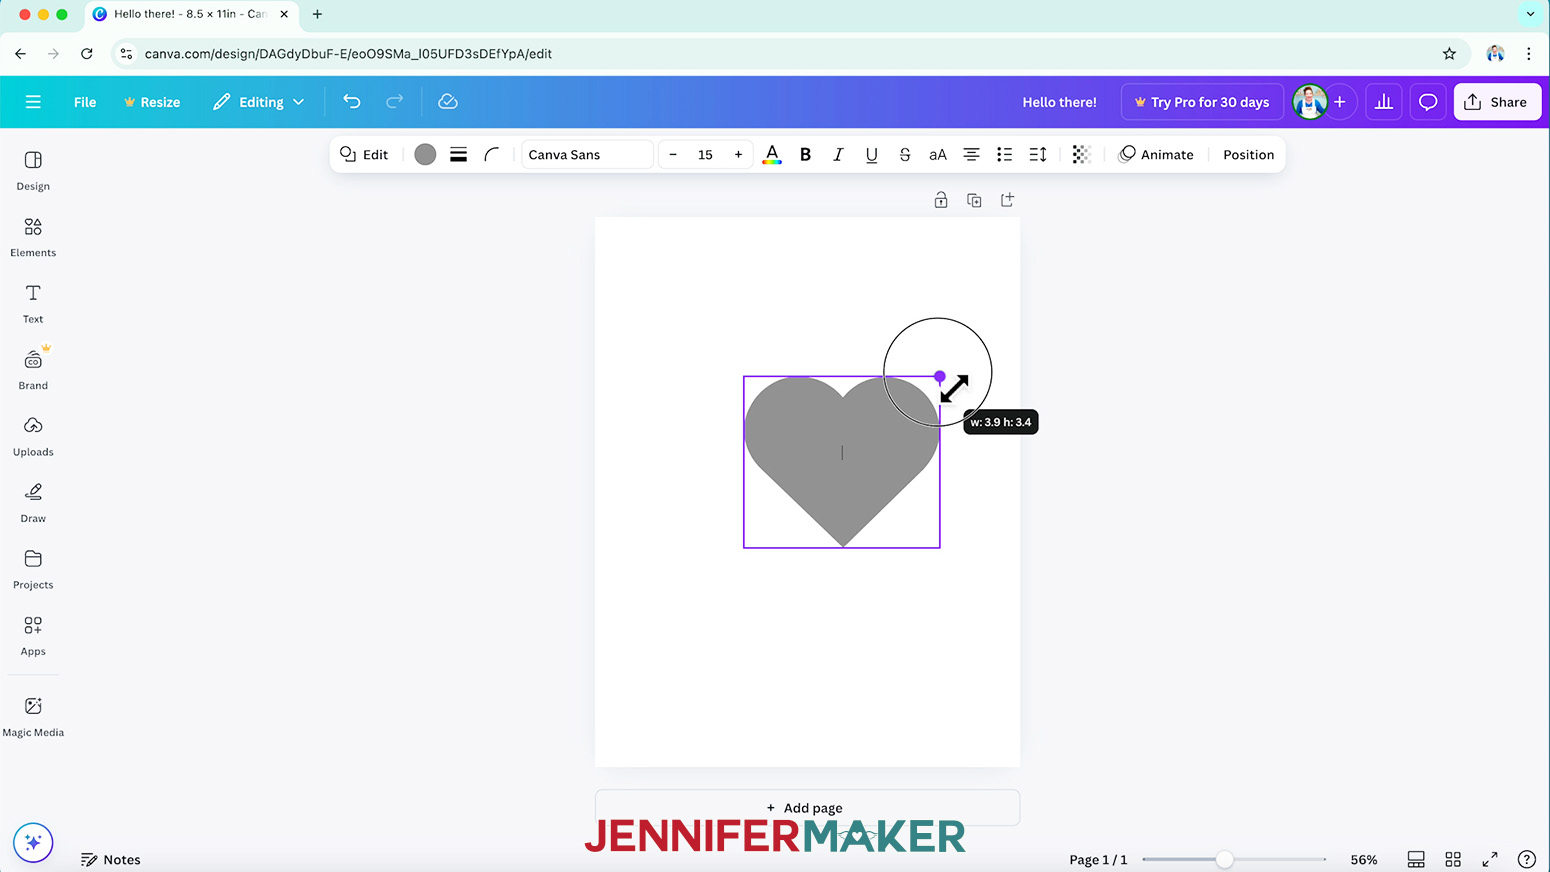
- You can resize the Shape by clicking and dragging from a corner or side of its bounding box.
- You can adjust the color by clicking the color swatch in the “Edit” bar that appears when the shape is selected. New color options will appear in the left column.
- You can easily Delete anything with the Trash Can icon above the shape.
- Clear the search term and then you can go back to Elements.
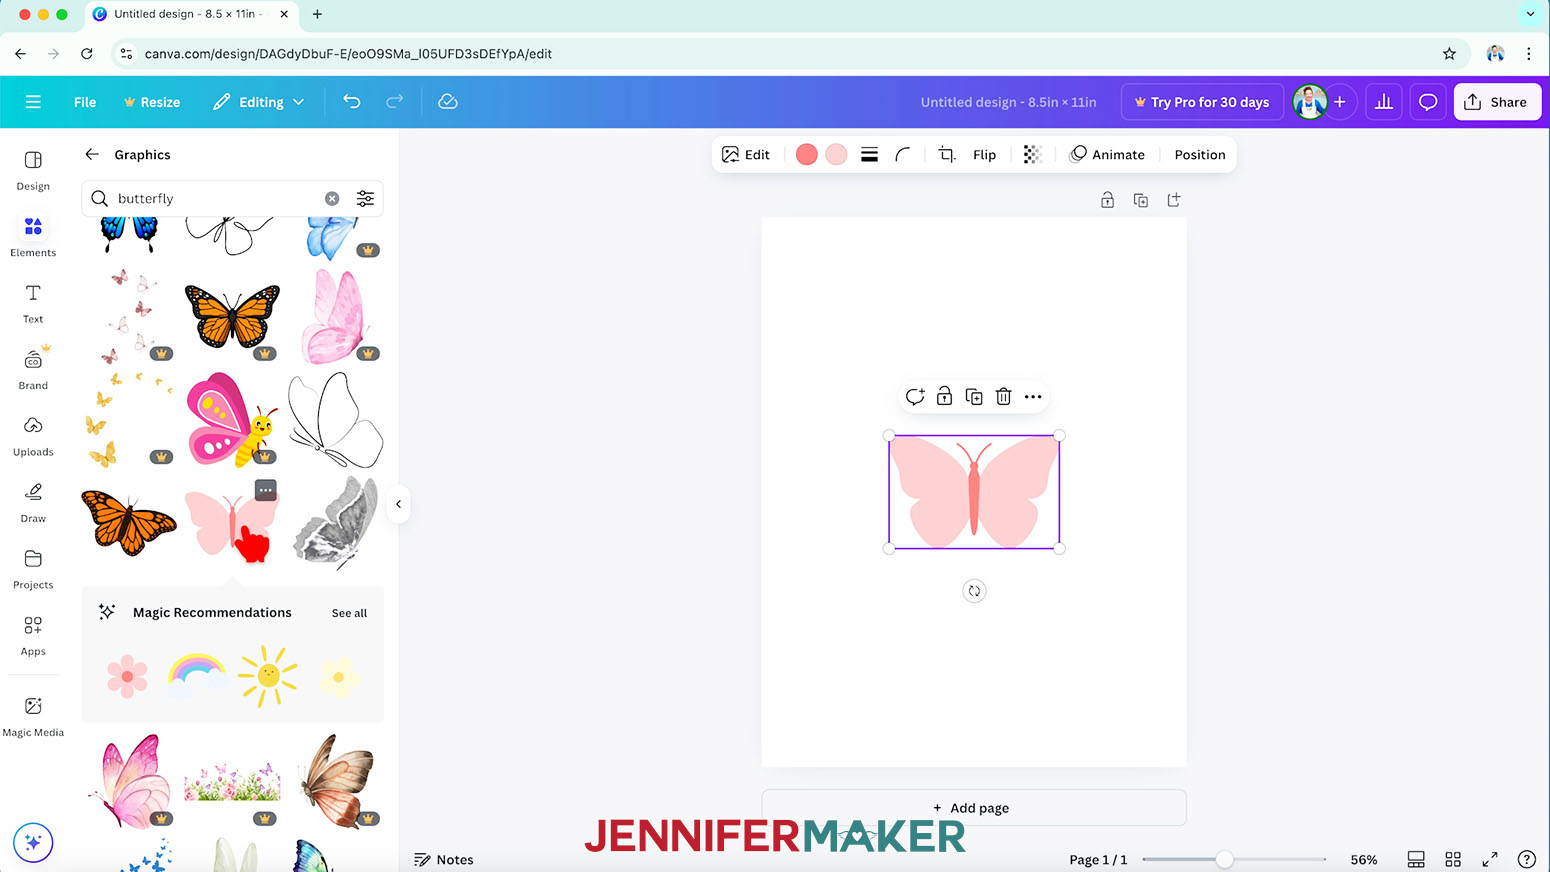
- Back in the Elements view, you can also see Graphics, which are more like digital illustrations.
- Click “See all” to show all the options.
NOTE: You can use the search bar to find what you want, like a butterfly, and add one to the canvas. - Simple graphics with color swatches in the Edit bar can be customized like Shapes with different colors.
NOTE: Some Graphics are more complex and you might not have as much control, so they won’t show color swatches in the Edit bar. - You can also click “Edit” to adjust a Graphic with Filters and Effects.
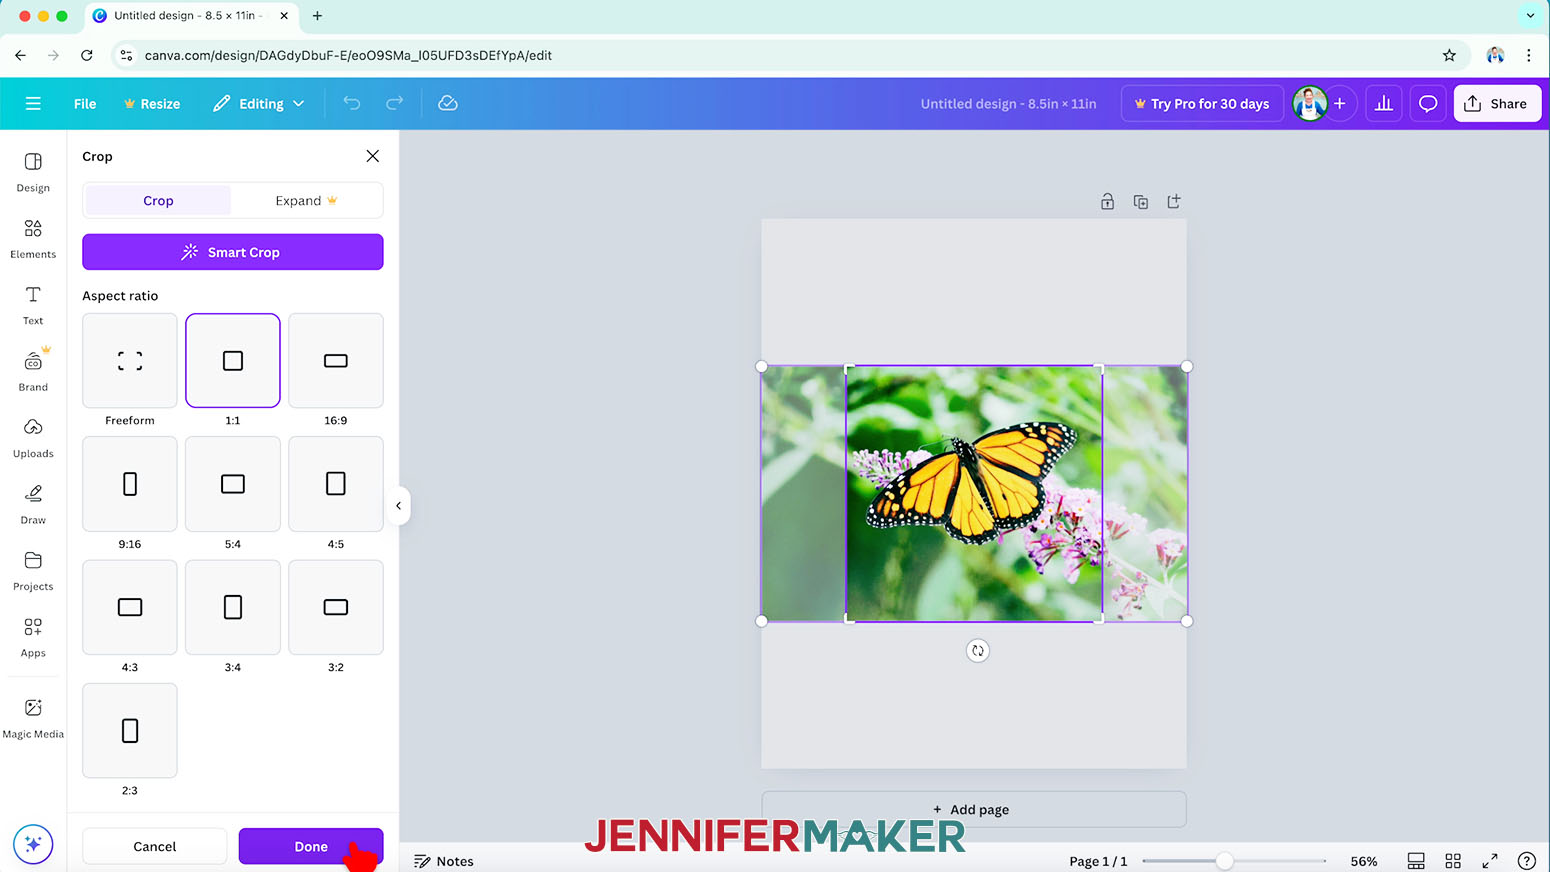
- Photos are images of real items, like a butterfly, or maybe a photograph of a painted one. You can adjust them similarly to complex Graphics using Effects and Filters.
- If you only want part of a Photo to show, you can use the “Crop” icon in the Edit bar to adjust what’s visible.
- Click “Done” to apply the changes.
- The “Text” menu in the left column lets you add names and words to your Canvas. You can use their preset styles or create your own from hundreds of options.
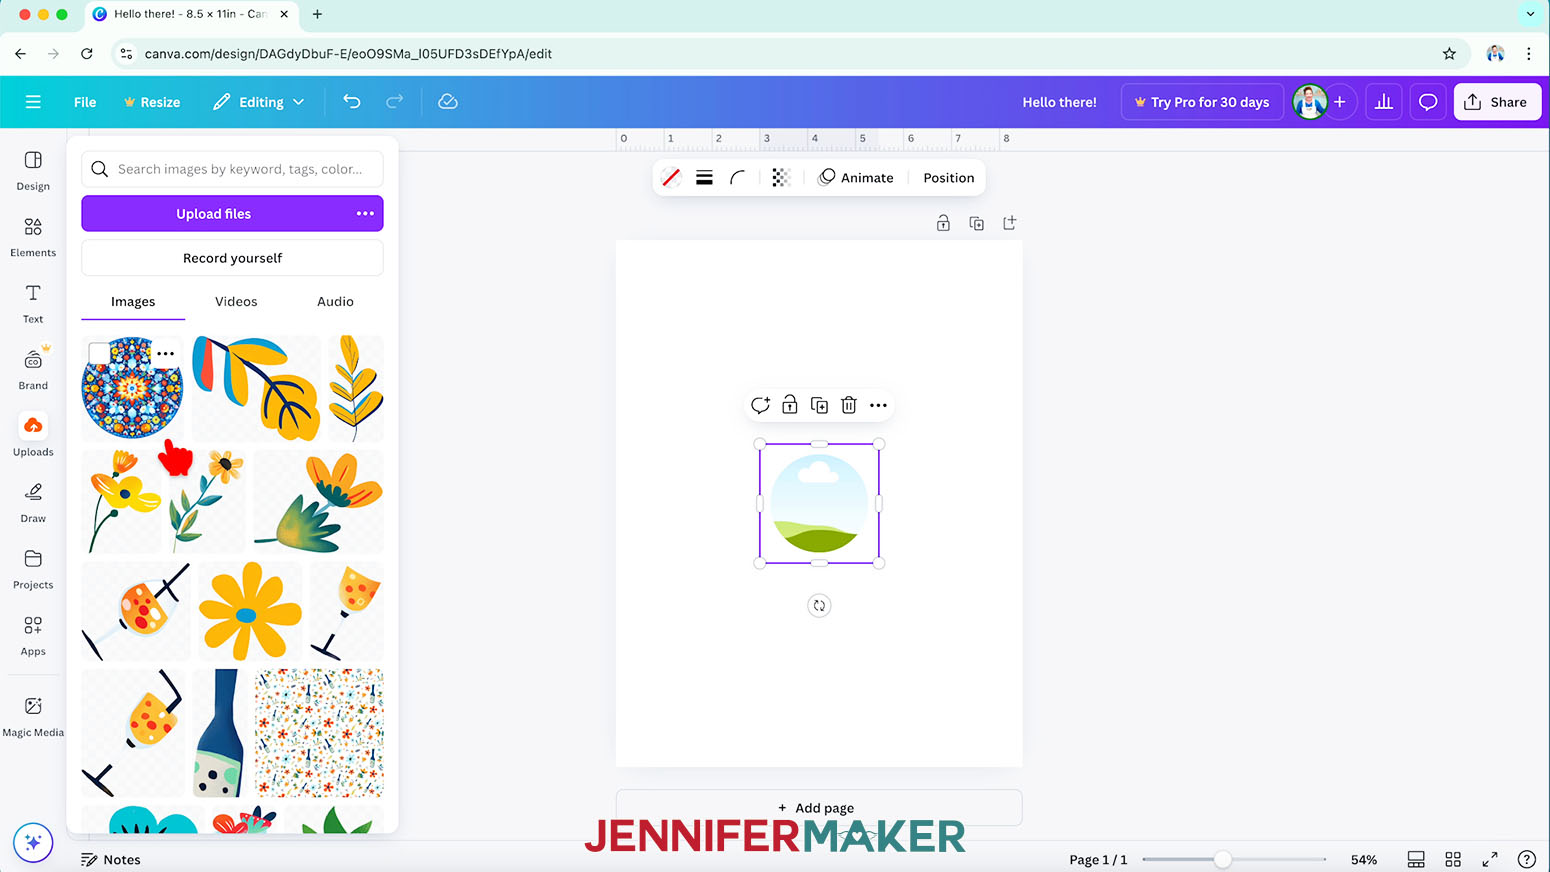
- If you want to use your own images, like my Colorful Circle PNGs, you’ll use the “Uploads” menu.
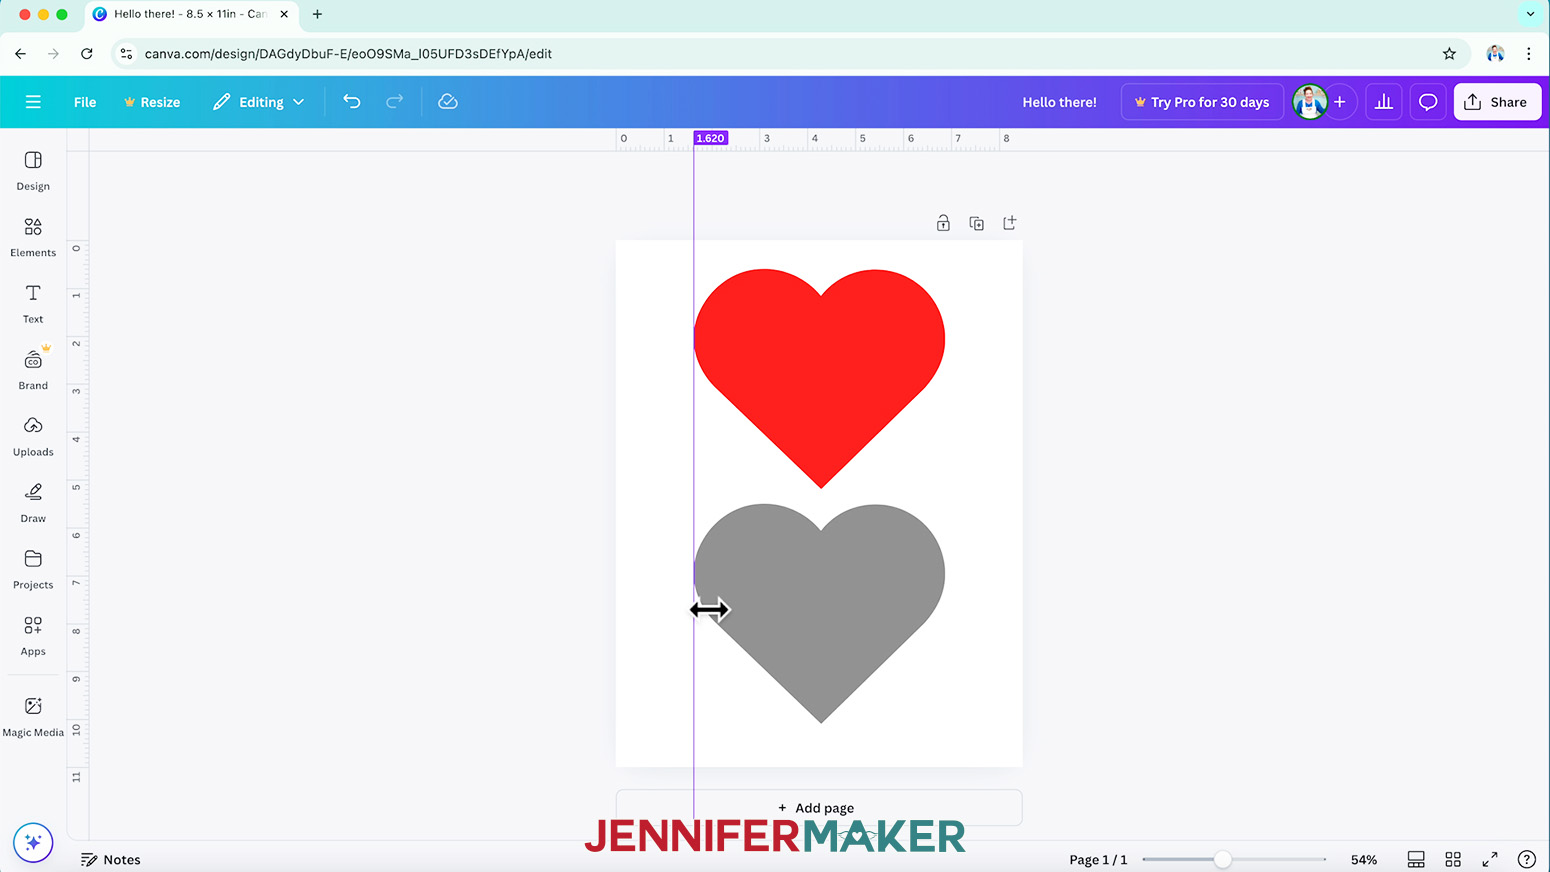
TIP: You can upload JPEGs, PNGS, and other common image types and they’ll stay in your Uploads section. - Once you have an Element on the Canvas, you can use different tools to adjust it to your design. You can Duplicate with the “+” icon above the element, rotate with the curved arrows under the element, resize using the bounding box handles, or use the Color Swatch (if available in the Edit bar) to change the color.
TIP: The Edit bar adapts to the Element you have selected. - We can change the color of the Heart Shape by clicking the color swatch and selecting a new option.
- For help laying out your elements on the Canvas, go to “File,” “Settings,” and “Show Rulers and Guides.”
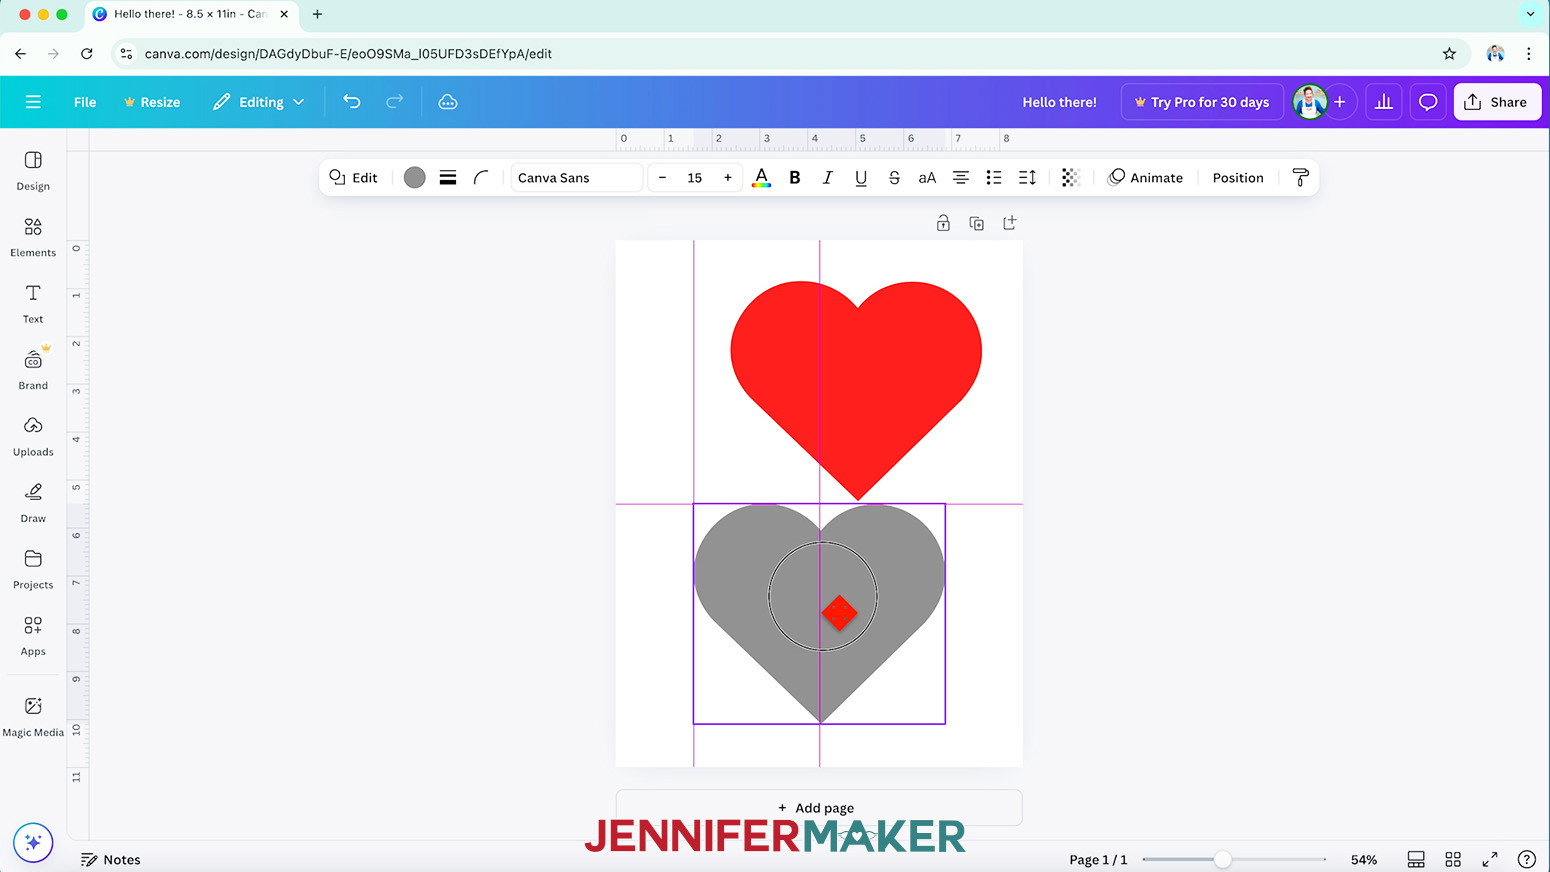
- Then, you can drag a Guide out from one of the rulers to make a line to position your elements along.
- As you move Elements around, you’ll see pink lines appear and disappear on the Canvas. Those are showing where the Element is on the overall Canvas. Dashed lines show the relationship between the Elements.
- If you don’t want the Guide, you can just click and drag it off of the Canvas.
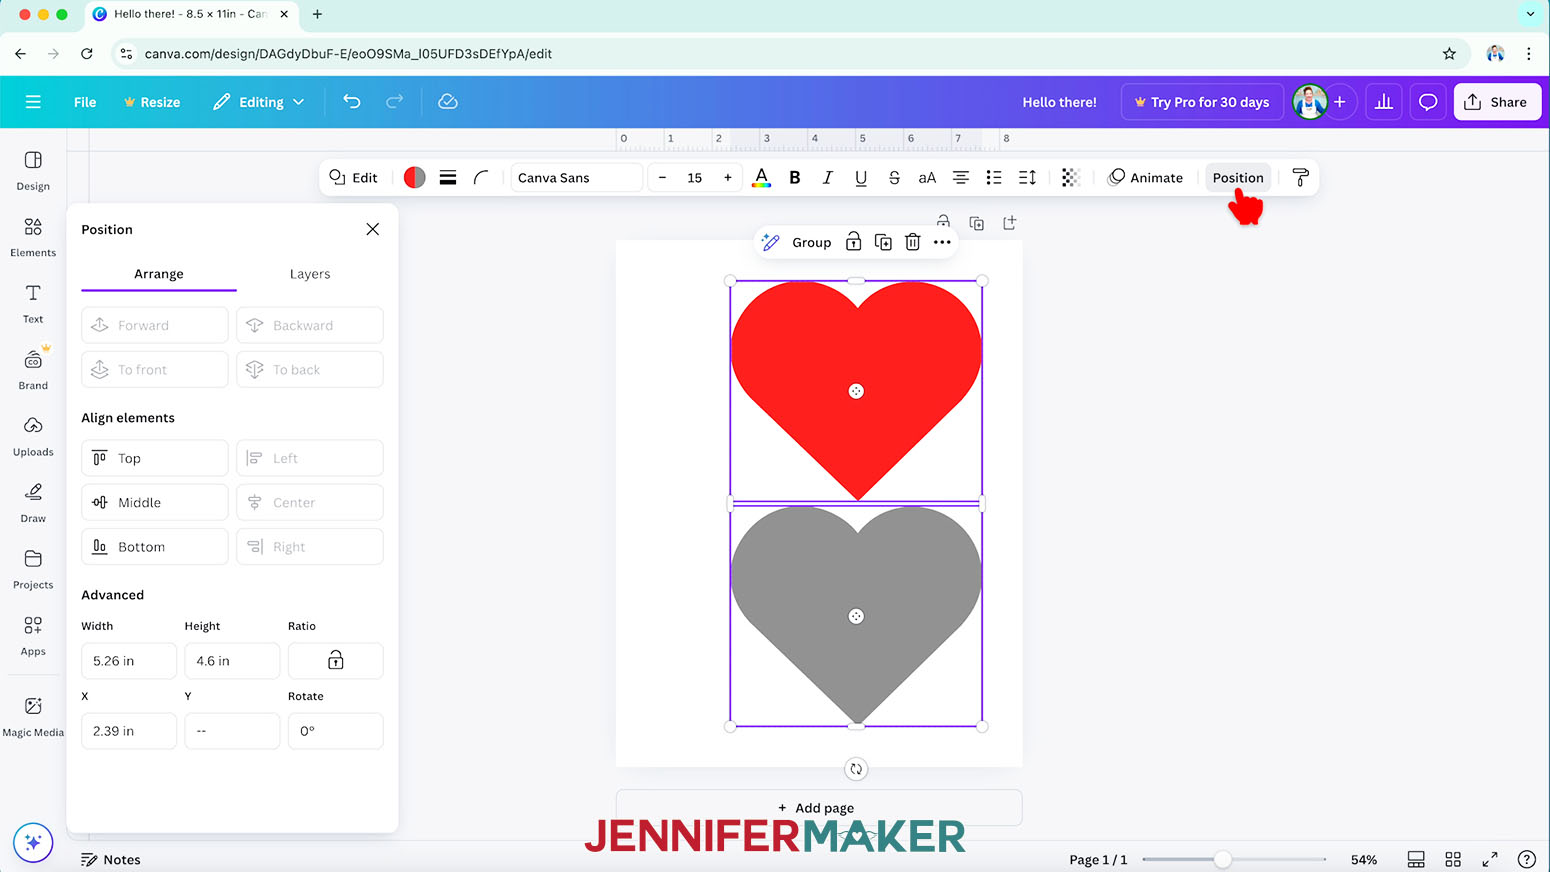
TIP: Canva deletes anything you move to the gray area. - You can also adjust your Layout by selecting all the elements, then clicking “Position.” The “Arrange” section lets you space out the Elements evenly or Align them for different compositions.


STEP 5: MAKE A SUBLIMATION OR PRINT THEN CUT DESIGN IN CANVA
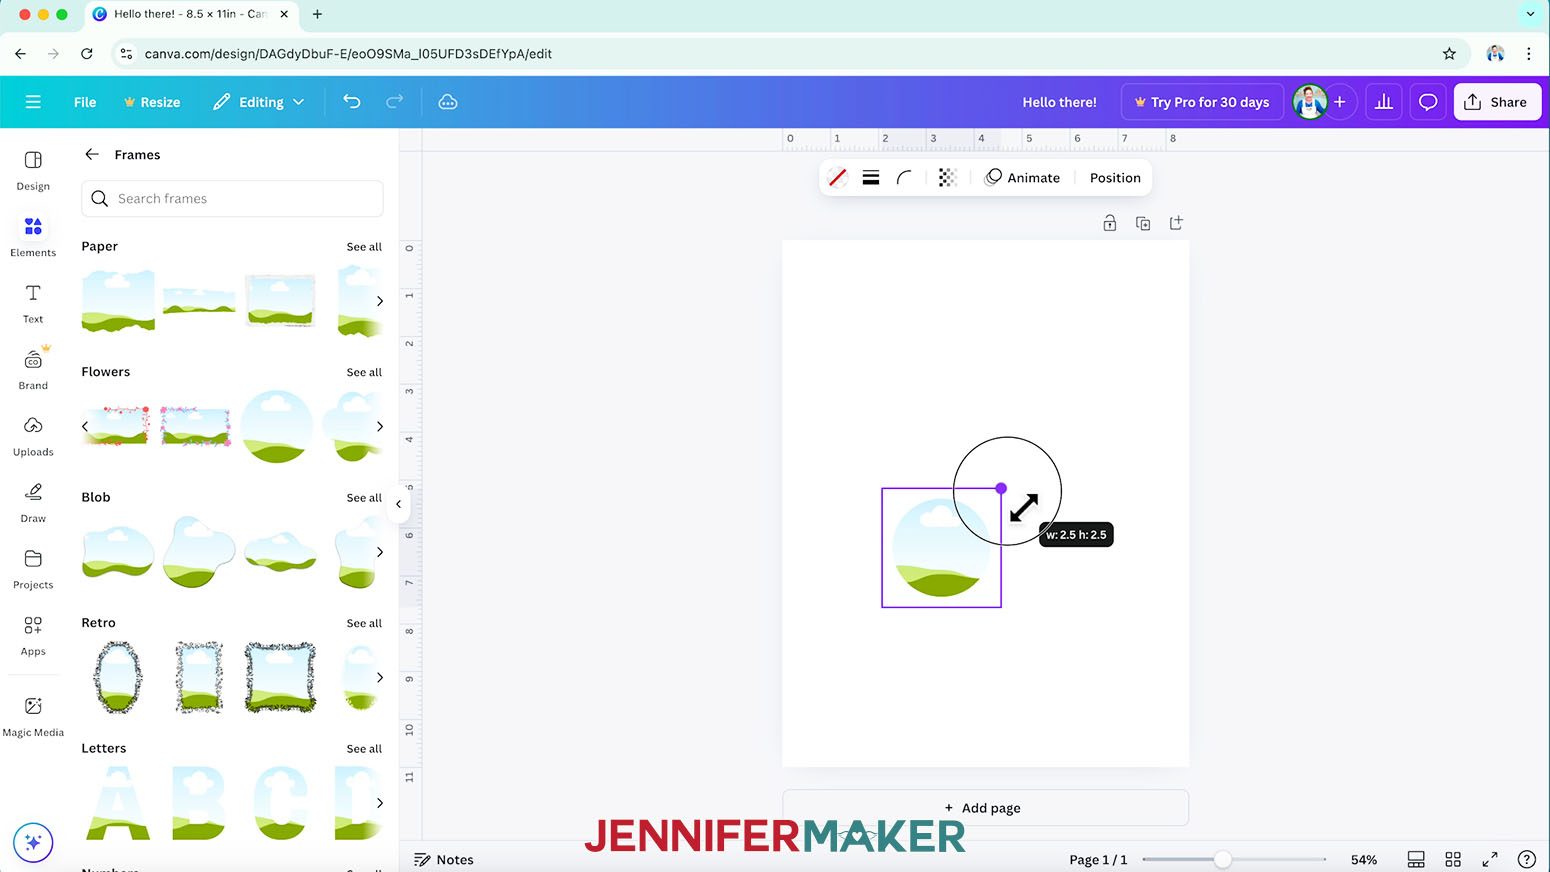
- To make a round design with solid edges suitable for a Print Then Cut Cricut sticker or sublimation project, click “Elements” in the left column, then scroll down to the “Frames” category and click “See all.”
TIP: Frame elements show the same illustration in different shapes. - Click the Frame you want to add to the Canvas. You can Resize and Rotate Frames like other Elements.
- To fill a Frame, find the Element or uploaded Image you want, like one of my colorful circle designs.
- Drag the Element or Image into the Frame to fill the space.
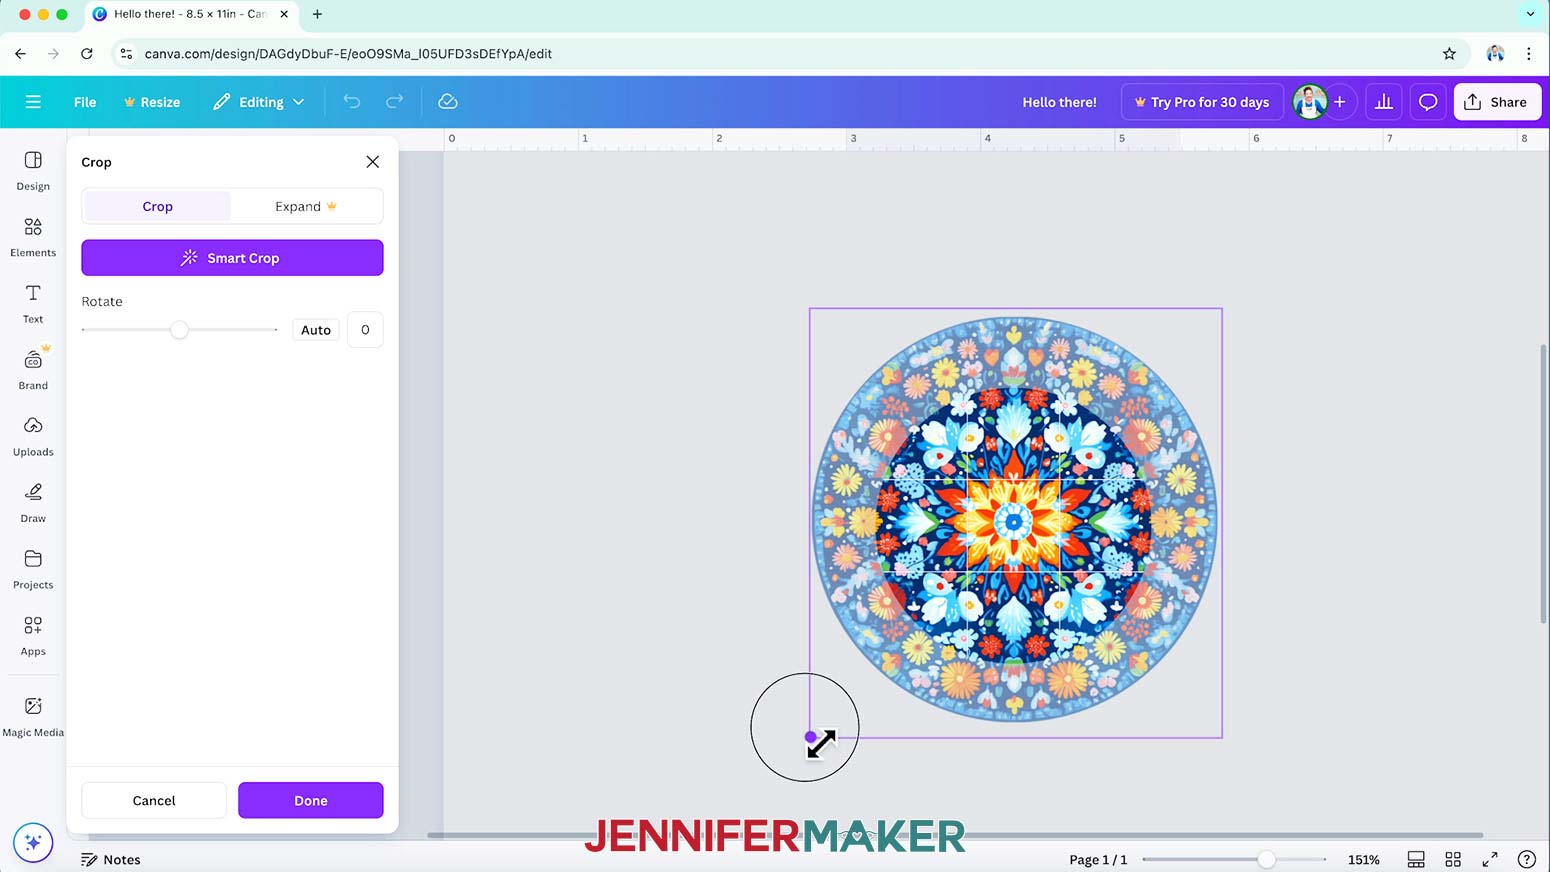
TIP: If the Frame doesn’t fill automatically, move your cursor closer to the top left corner to trigger the action. - You can adjust the result by double-clicking on the Frame.
- To show less of the design in the Frame, make it bigger and any design outside the Frame won’t be included.
TIP: The slider below the Canvas helps you zoom in to see better. - Click “Done” to see the result.
- You can also adjust how the framed Element looks by clicking “Edit” to find editing tools under “Adjust,” Filters, and Effects. For example, “Adjust” lets you change the image itself, like if you want to increase the contrast or other settings.
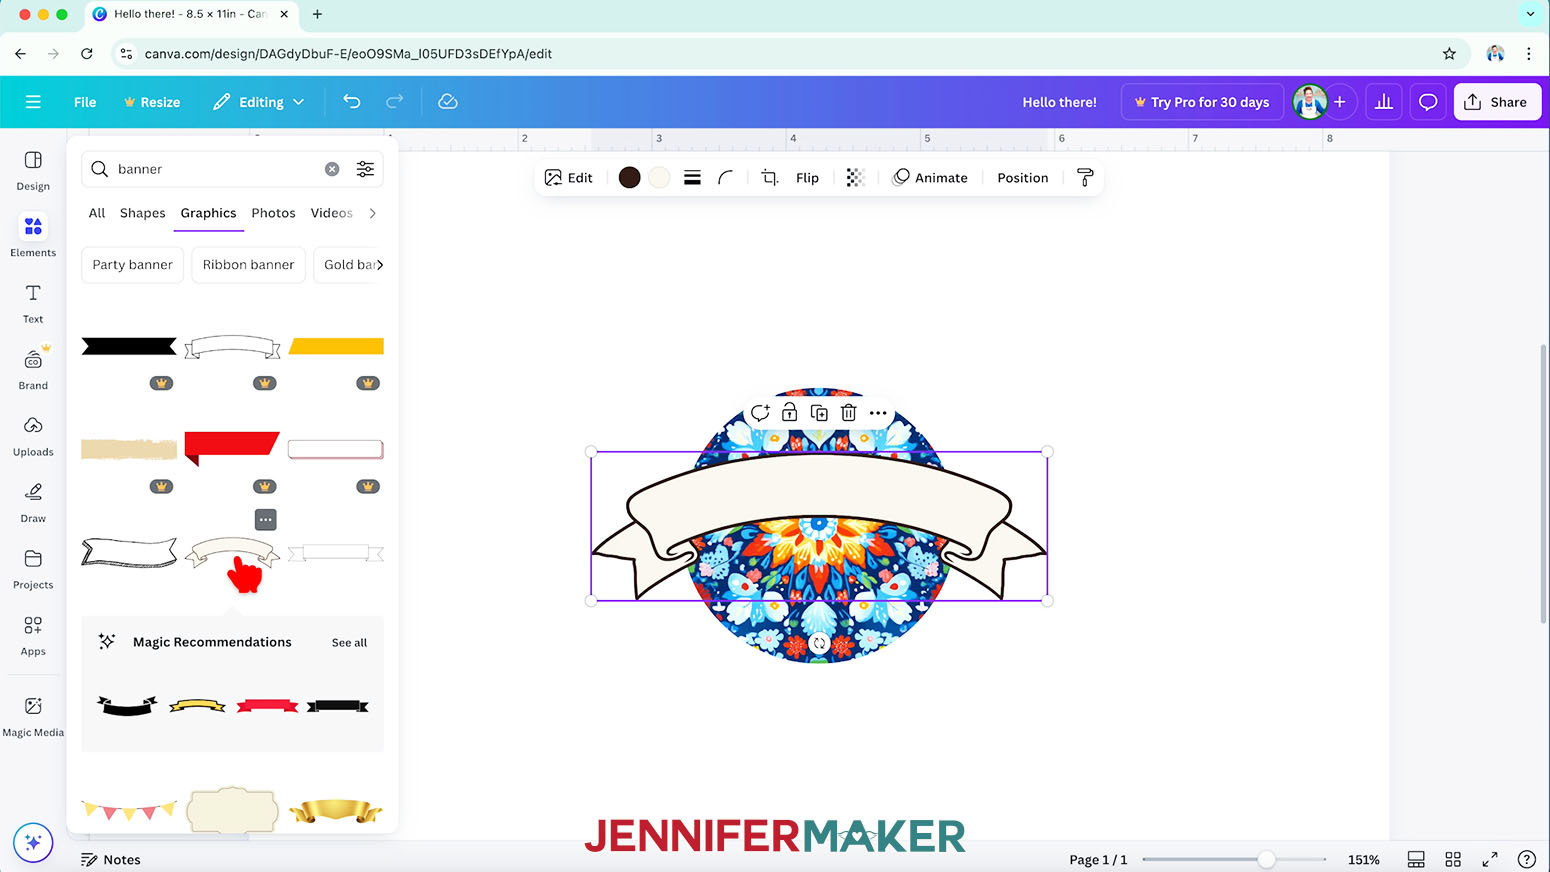
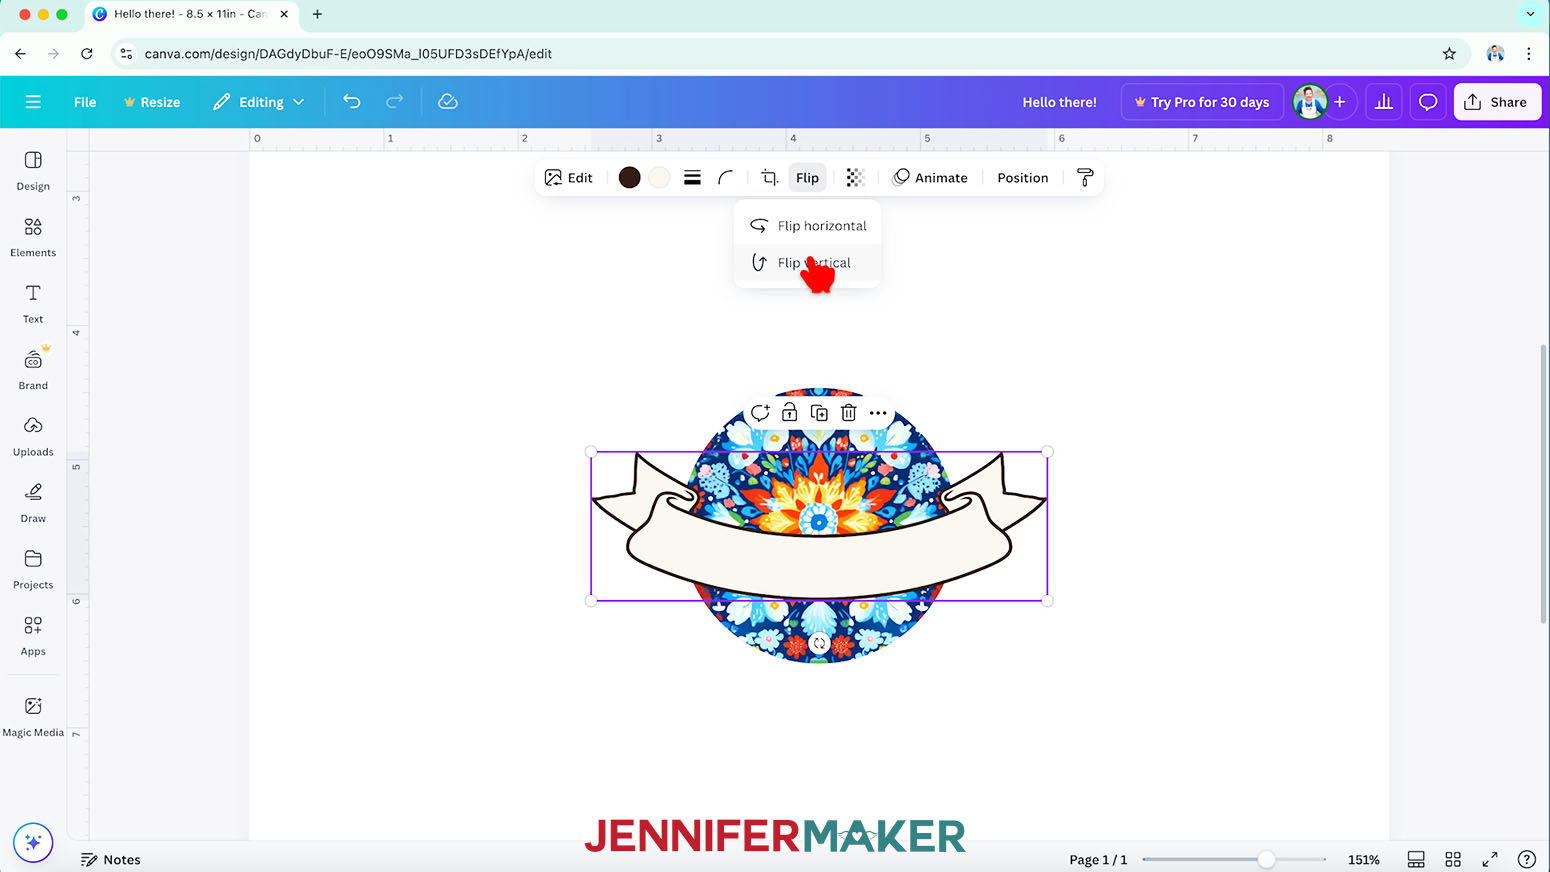
- To add a message to the sticker, you might need to use an Element to make a plain spot so the words will stand out from the background design. Canva has many “banner” Graphics, which are helpful for text-based designs, so search for and click one you like to add it to the Canvas.
- To curve the banner the other way, Click “Flip” in the “Edit” bar and select “Flip Vertical.” Then resize it to fit in the circle.
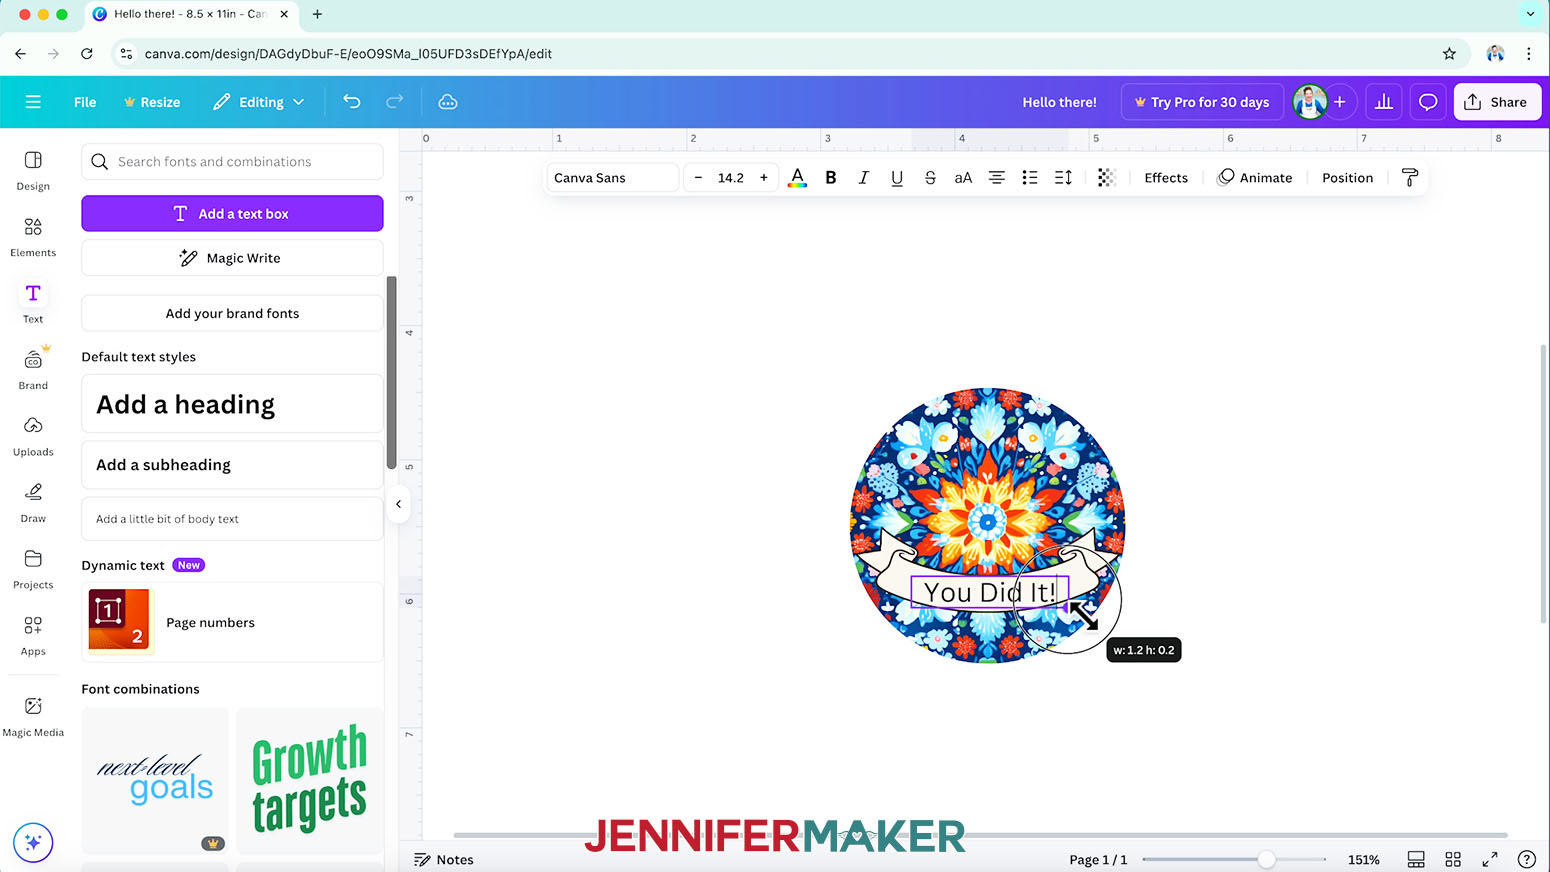
- Click the “Text” icon in the left column.
- Canva shows lots of options, but start simple by clicking “Add a text box” to put one on your Canvas. Then double-click the text box and type what you want.
NOTE: I’ll add “You Did It!” - Use the crossed arrows icon below the text box to drag the text over the banner, then drag a corner of its bounding box until the words are a little smaller than the main section.
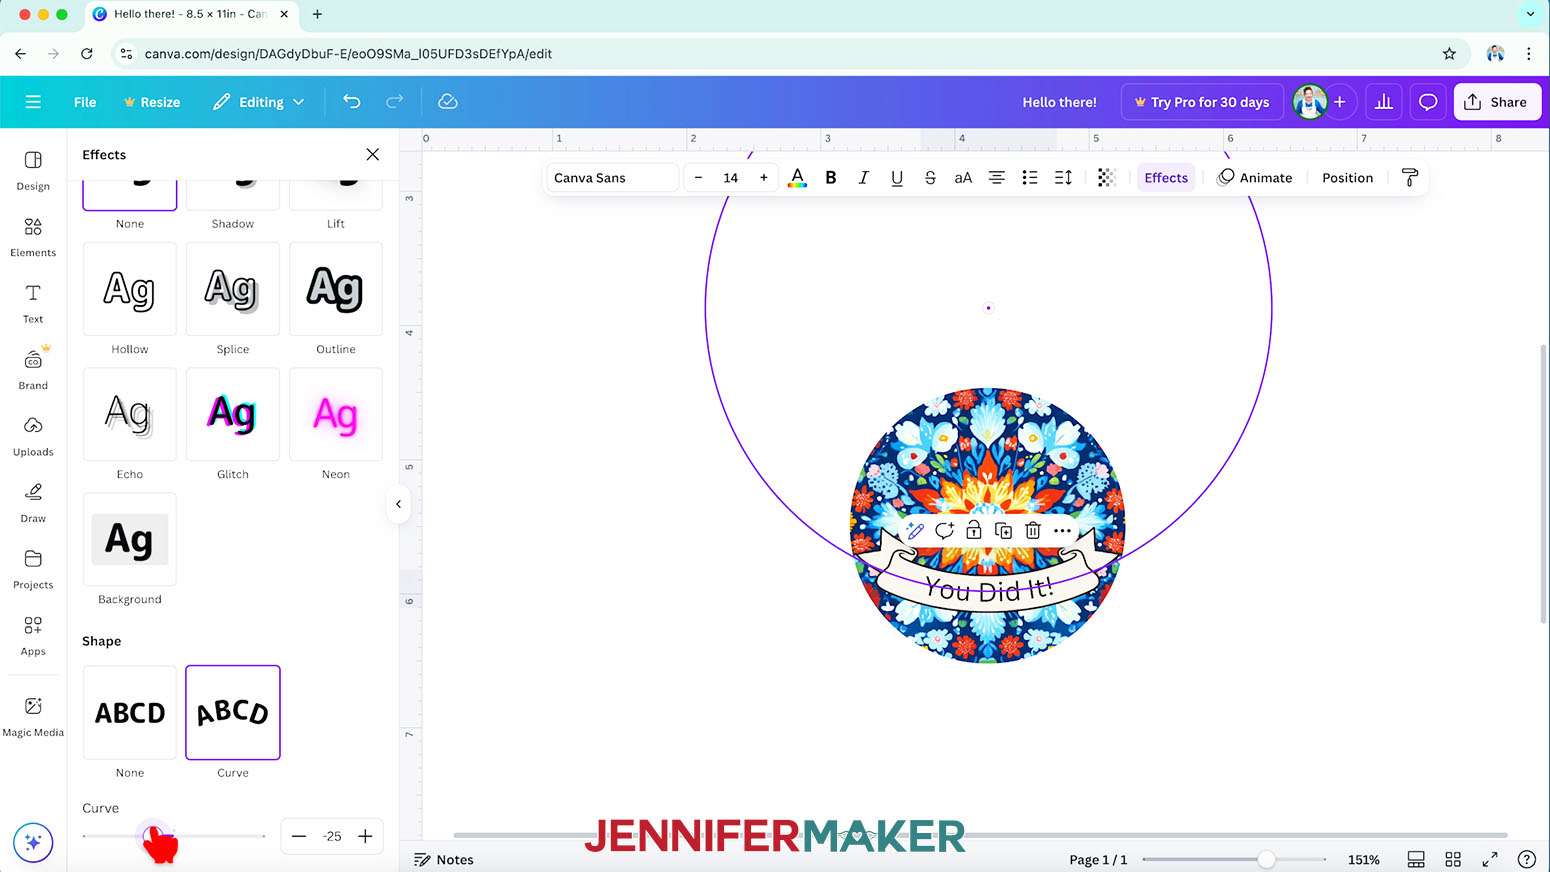
- To make the text match the banner’s arc, click “Effects” at the top to pull the Effects menu up in the left-hand menu.
- Find “Shape” and select “Curve.”
- Drag the slider until the words match the banner’s shape.
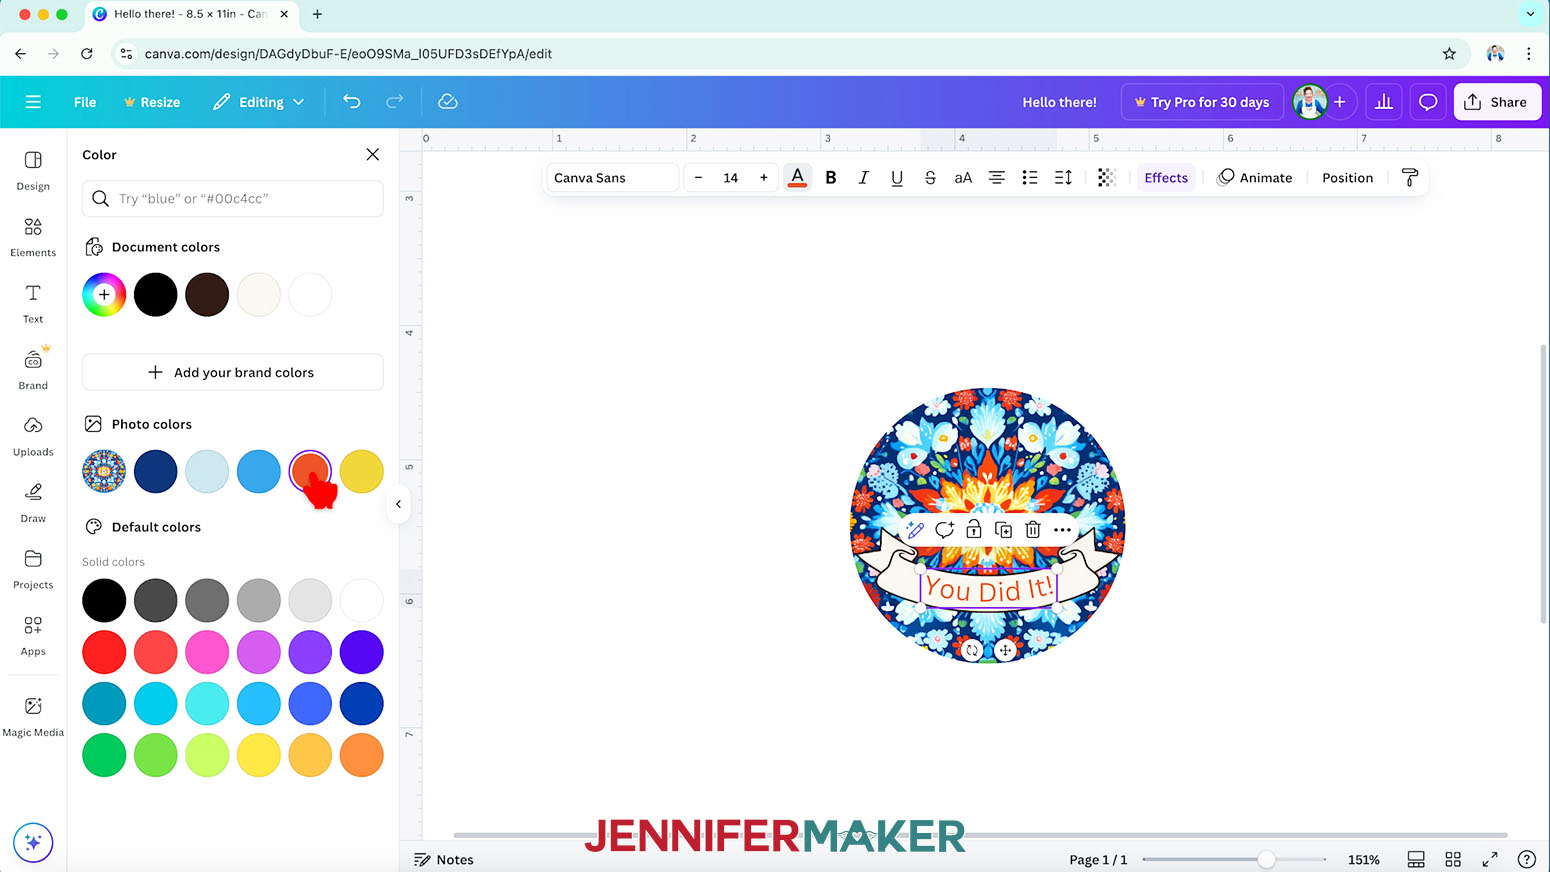
- If you want to change the color of your text, make sure your text box is selected and Click the “A” with a color bar. Canva pulls some color ideas right from the elements you’re using!
- Look under “Photo colors” to see your background image, and you can click one of its most prominent colors to recolor the text to match.
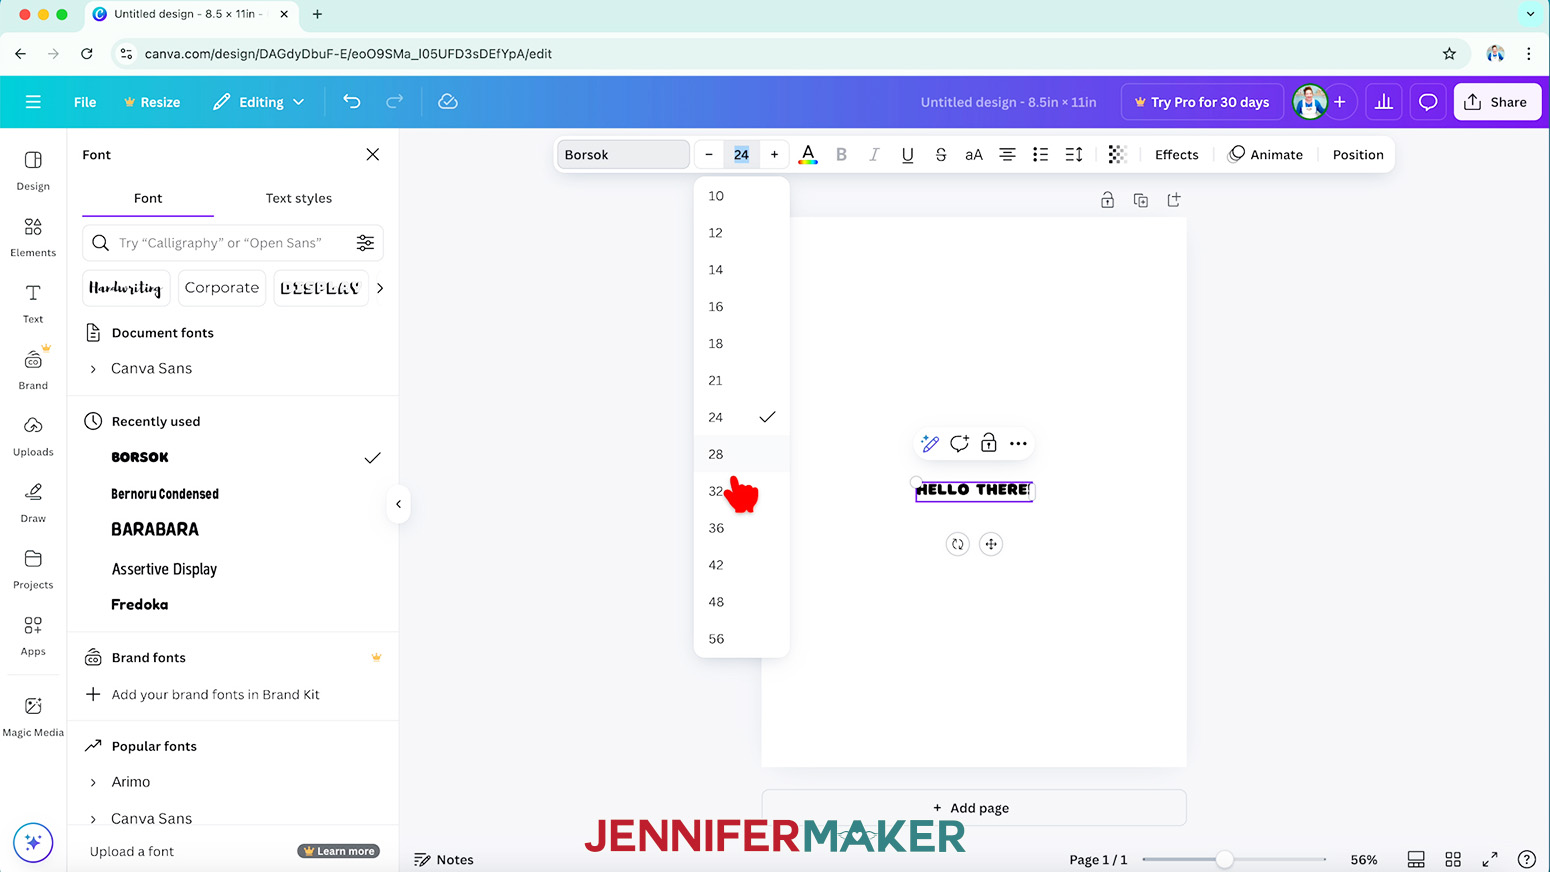
- To use a different typeface, select the text box and click the toolbar box that says “Canva Sans,” which is the default font option. Search by name, style, or scroll until you find a good one!
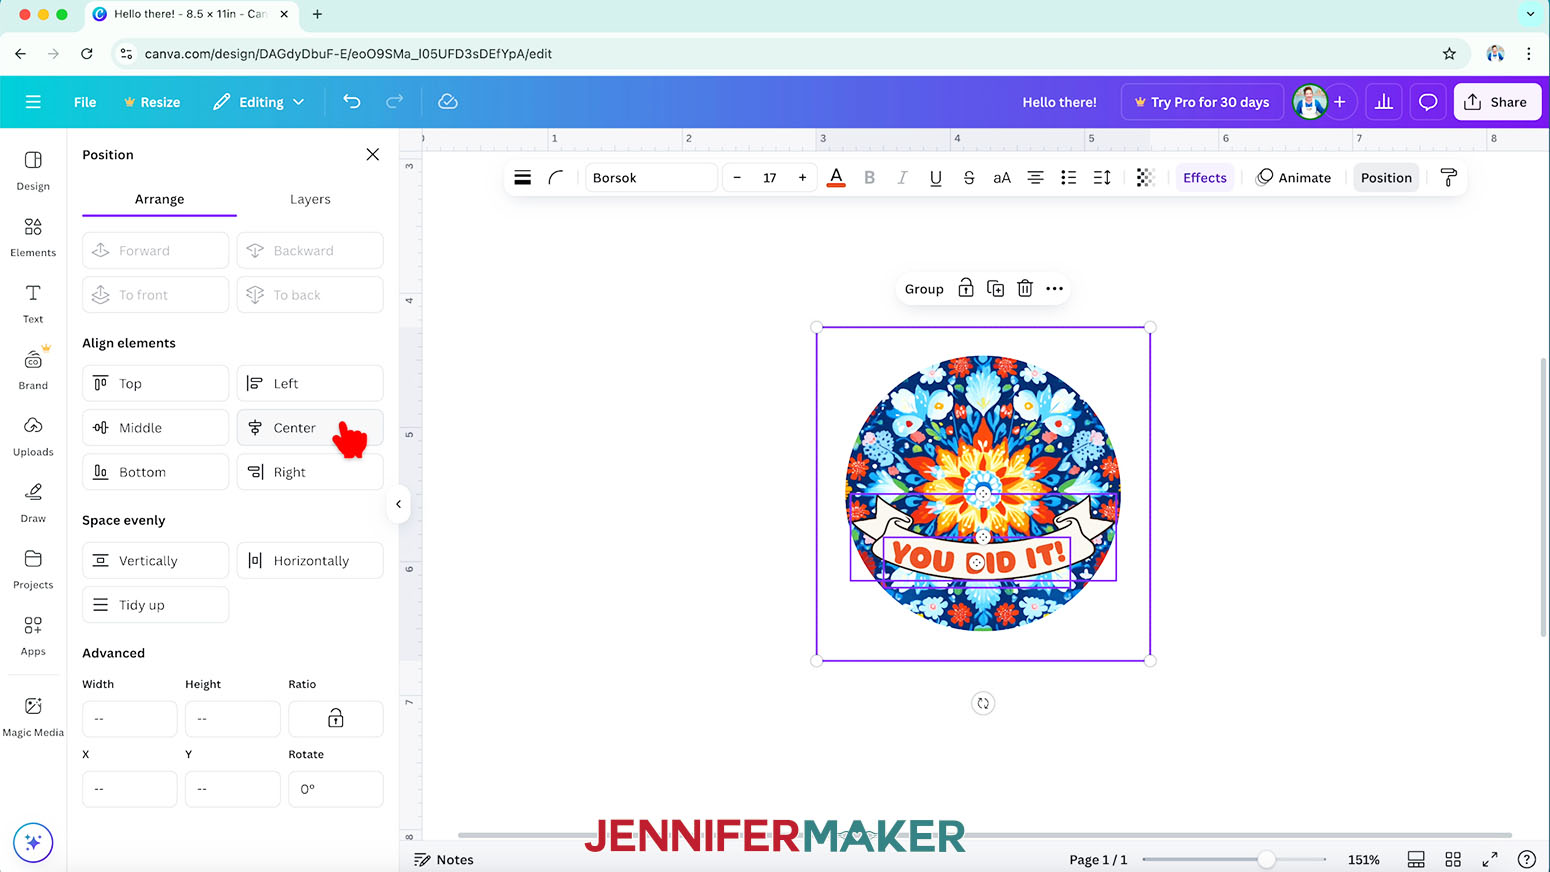
TIP: After changing the typeface, you might have to adjust the text’s size or shape to fit the banner. - To center everything, select the entire design, then click “Position” in the Edit bar.
- Select “Arrange” and then click “Center.”
- You might have to adjust the elements a little by hand to fit your vision. Just click them one at a time and move them as needed.

STEP 6: DOWNLOAD YOUR CANVA DESIGN
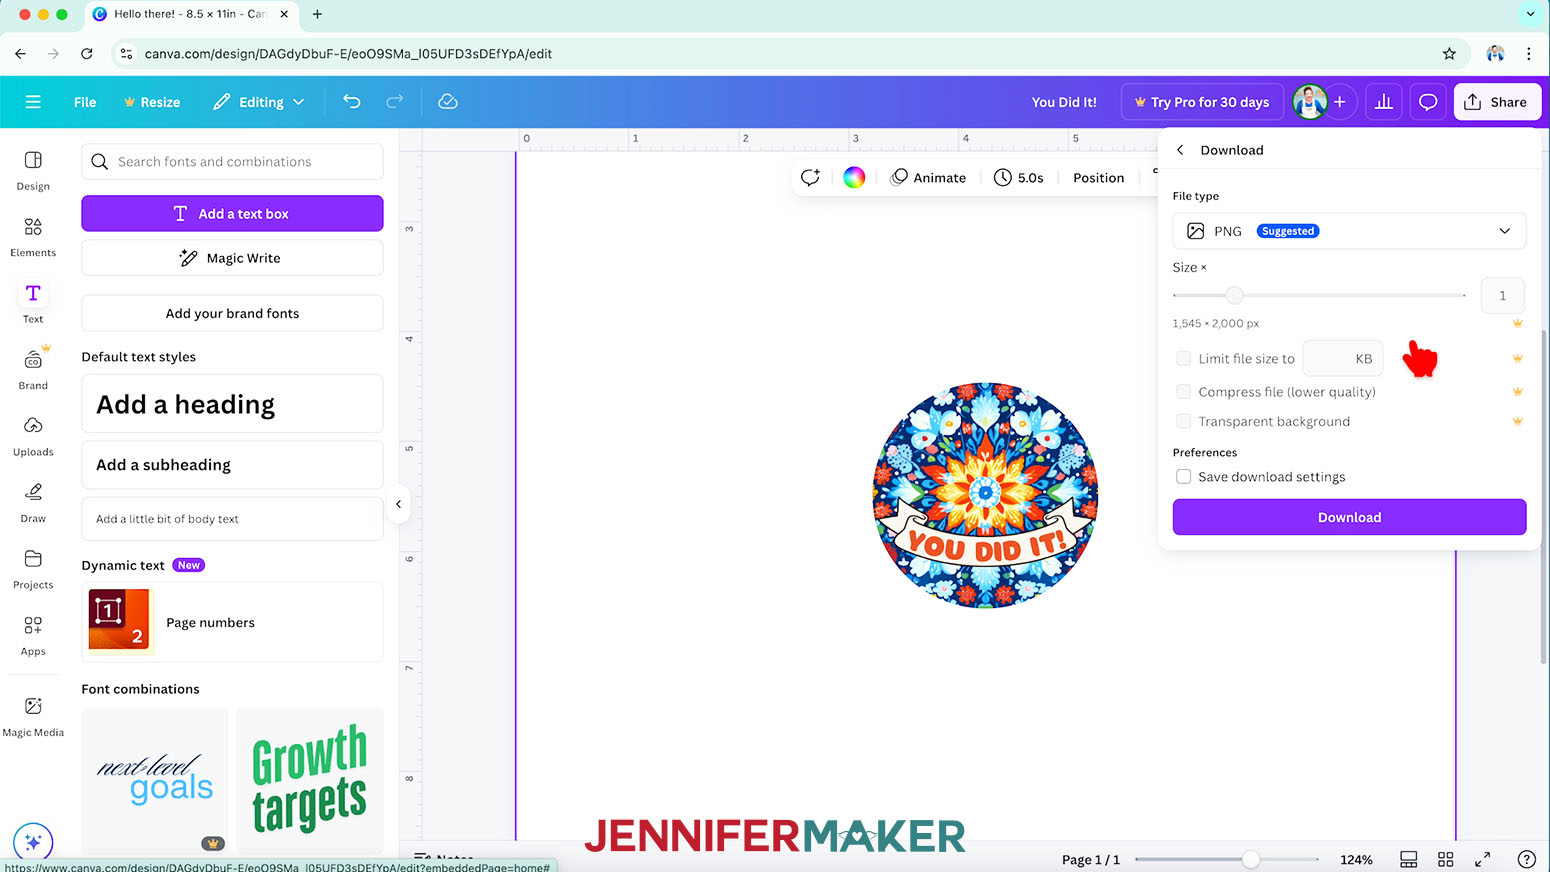
- Once you have the design you want, you’ll need to download the work to print it through another program.
- If you haven’t already, rename the project in the top bar.
- Click the “Share” button in the top right, then select “Download” and choose your file type.
TIP: I recommend the “PNG” option with the default settings for both Cricut Print Then Cut stickers and sublimation transfer designs. - Click “Download.”
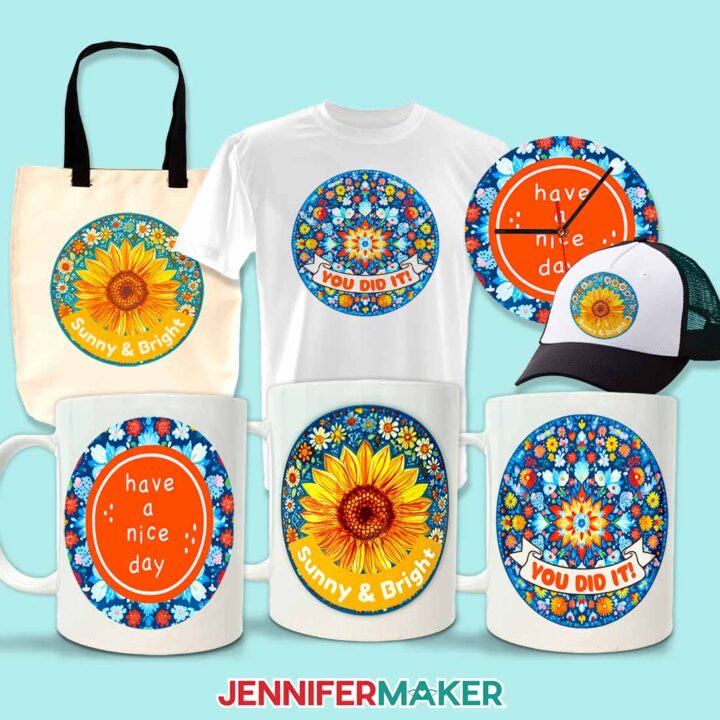
- Then, use the PNG file in your crafting projects with my matching tutorials! I followed the steps from my Cricut stickers tutorial to make stickers, and my sublimation mug tutorial to make a cup!
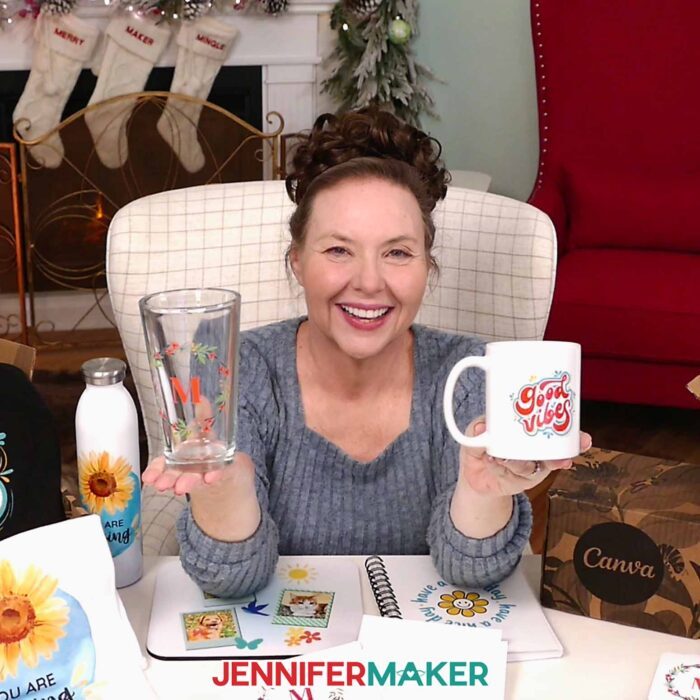
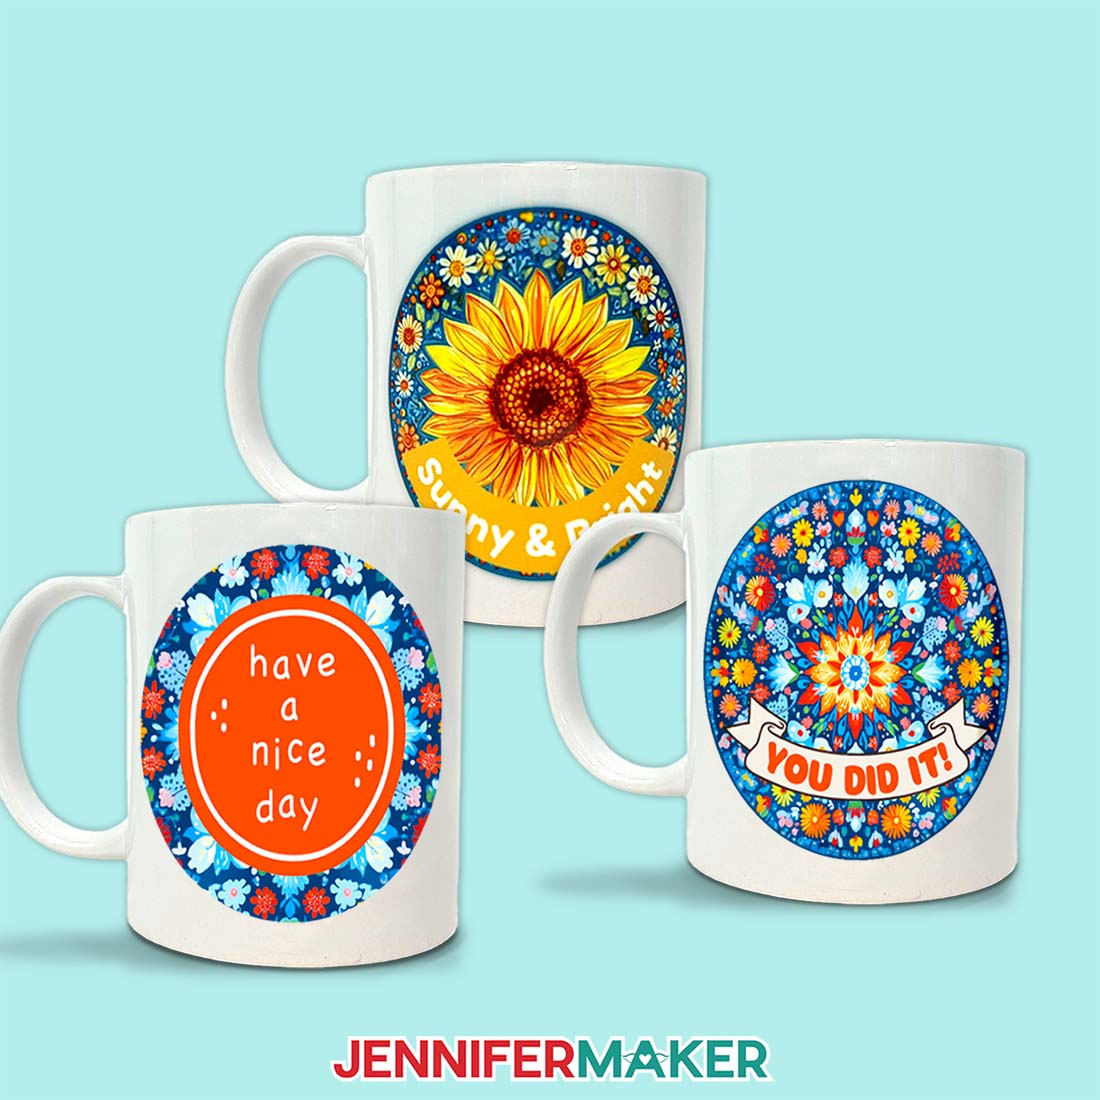
STEP 7: SHOW IT OFF
Here are my finished projects!
Answers to Your Questions About Using Canva For Beginners
Q: I want to use more free Canva templates. How do I do that?
A: You can get access to my free Canva templates in my ADVANCE program. Learn more about ADVANCE here!
Q: Is Canva easy for beginners?
A: YES! Canva is an easy-to-use, web-based graphic editor that lets you create amazing designs using graphic elements, photos, text, and a whole host of editing capabilities. It’s so easy to use, you’ll be able to design your own stickers by the end of this short tutorial!
Q: How do you use Canva step by step?
A: Scroll up to see my step-by-step instructions for using Canva’s basic free tools, or follow along with my tutorial video above.
Q: What is Canva primarily used for?
A: Canva is used for a whole host of applications! Many businesses use it for social media content like graphics for social media platforms, social media posts, social media marketing, Facebook post and Instagram post graphics, print marketing materials, educational material, and utilize their pre-made templates like YouTube thumbnail layouts, There are countless other templates, too, everything from planner pages to resumés, ebooks to T-shirt designs, and tons more in between.
Q: Is Canva actually free?
A: Everything I teach you in this tutorial uses Canva’s free tools. Most of your basic design needs will be met with Canva’s free features, but the paid Canva Pro membership has some super neat functions you can try, too!
Q: How do I print off of Canva?
A: You can print directly from Canva, but I usually save the design to my computer, then use other programs to print. To use your design in a Print Then Cut project, you’ll use Cricut Design Space. The best way to print sublimation images is through Google Docs.
Q: Can I sell something I made on Canva? How do I legally use Canva?
A: Canva allows you to design and sell content from Canva Free and Canva Pro on items like mugs, T-shirts, stickers, and more. Be sure to read Canva’s Content License Agreement to be sure you’re using the content within Canva’s requirements.
Q: My Canva screen looks different than yours, what happened?
A: Canva (and other software, websites, and applications) sometimes update the layout or look of their tools, so my video might look a little different than your screen depending on when you’re watching it. If that happens, try to use my video as a guide and look around on your screen to find the same buttons, tools, or settings I mention. In Canva, the important buttons usually have purple backgrounds, so look for those if you get lost!
Get my free PNG/PDF files to create designs in Canva!
(If you do not see the signup form above, click here.)
I love seeing what you make with my designs and how you use them! Please share a photo of your designs you created in Canva (and the projects you made with them!) in our Facebook group or tag me on social media with #jennifermaker.
Love,

Want to remember this? Save this How to Use Canva for Beginners Tutorial to your favorite Pinterest Board!