Learn about my favorite FREE sublimation software for Epson printers!
Diving into the world of sublimation crafting can mean quite the investment. Whether you’re a small business owner looking for cost-effective methods or a hobby crafter eager to expand your skills on a budget, there are free software and tools you can utilize to help cut costs! The best free sublimation software for Epson printers also happens to be my favorite, so let’s talk about its ease of use, getting the right size for your designs, and creating vibrant sublimation crafts!
Watch the full step-by-step video tutorial on using sublimation software for Epson printers:

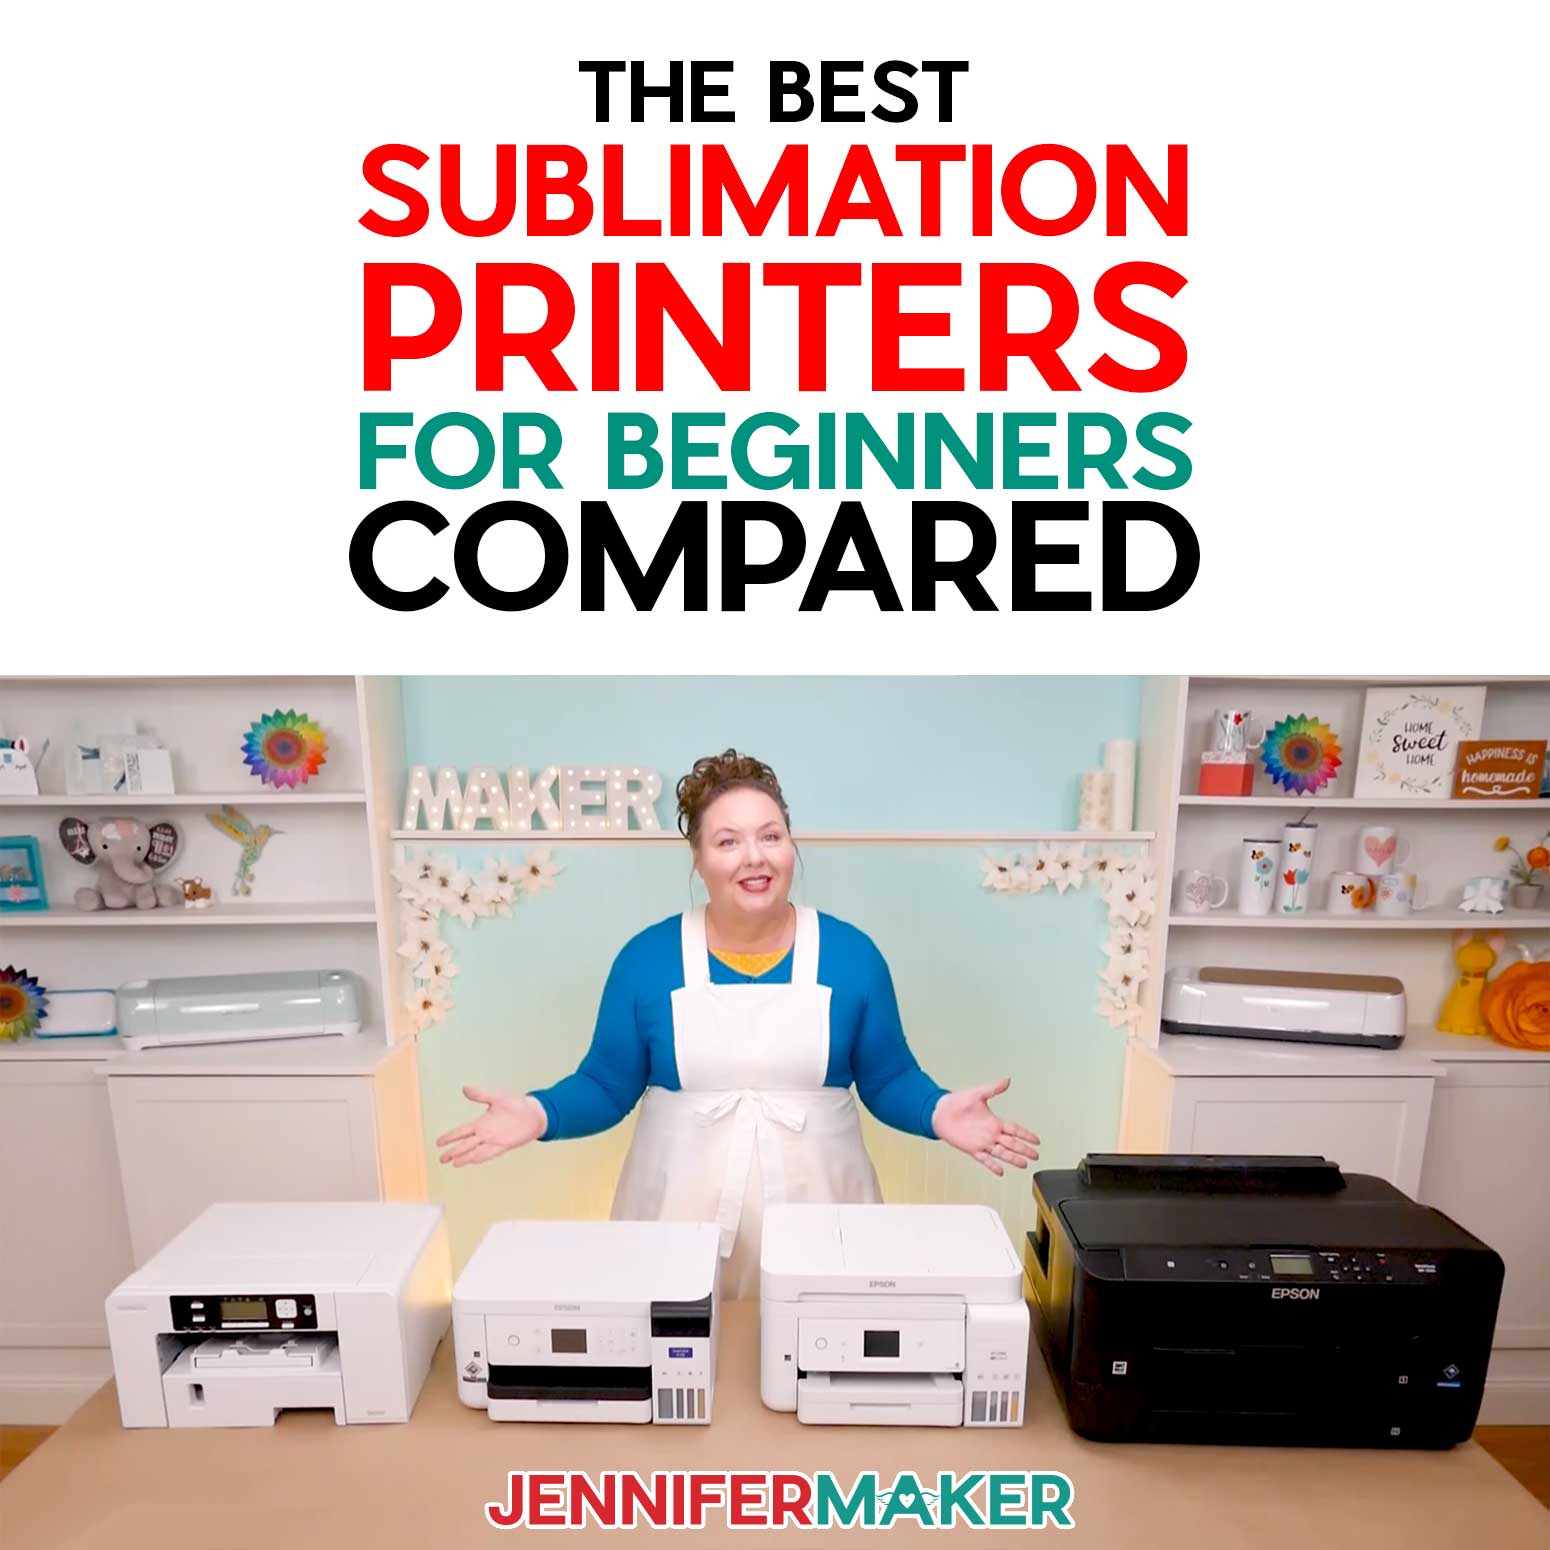
My sublimation journey has been fun and exciting, and I’ve discovered so many possibilities for creating beautiful items — and ways to save money along the way. In this tutorial, I’ll show you how to use free software to print sublimation designs on a converted Epson EcoTank printer – my favorite low-cost, high-quality inkjet printer line. Compared to purpose-built sublimation printers, the Epson EcoTank is a lower cost solution that rivals more expensive setups. Then we’ll learn to sublimate lens cloths, puzzles, or aluminum photo blanks!
But wait — a converted sublimation printer? What’s that? Epson EcoTank inkjet printers are able to print sublimation prints if (and only if) they have never been used with Epson ink or another inkjet ink. Filling the printer with compatible sublimation ink instead turns it into a low cost sublimation printer. It’s actually the one I use most often! Check out my Epson EcoTank sublimation conversion tutorial to learn how to convert an Epson EcoTank yourself.

But aren’t there different models of Epson EcoTank? Which one works for sublimation? Each of the Epson EcoTank printers has similar features, with really the only difference across models being fax or scanning capabilities. That means that yes, even the least expensive model will work for sublimation!
So, if the Epson EcoTanks aren’t designed specifically for sublimation, where does the free software come from? I’ll tell you! It’s Google Docs.
You might be wondering, “Why Google Docs?” After all, there are plenty of fancy software programs out there, right? Well, here’s the good news: Google Docs is free, super accessible, and works surprisingly well for basic sublimation printing tasks. If you’re looking for an easy, no-fuss way to print your own sublimation transfers, Google Docs might just be the best tool for the job.
Using Google Docs is especially handy when you’re pressing simple sublimation designs onto smaller items like lens cloths, puzzles, or aluminum photo blanks. You don’t need to mess around with too many settings for a basic print, and it’s available on both Mac OS and Windows. Easy peasy! However, while mobile apps are nice, it’s a good idea to print from a desktop computer for more control and the best results.
Sublimation blanks come in all types, shapes, and sizes. The first thing you’ll want to do is measure your blank to determine the right size for your design. Making sure the design fits the surface of your blank is key. If your blank has an irregular shape, measure the largest sections to ensure full coverage.
Once you’ve got your measurements, you can hop into Google Docs to size your design. It’s super simple! I’ll show you how to size your images just right in Google Docs, how to position them on the page so they print flawlessly, then choose the right printer settings for a perfect result.
Before you jump into printing from Google Docs, though, you’ll need to make sure your converted Epson EcoTank model is ready to go. You’ve probably already switched it over to use compatible ink like Hiipoo sublimation ink, but have you heard about ICC profiles? When I first started sublimation crafting, I researched the ICC profile to get the most vibrant colors from my printer and ink combination. After a few years of testing, I don’t see much of a difference so recommend leaving them alone.
Along with using sublimation paper like A-SUB, make sure you’re printing with the correct settings.
The printing process might look a little different depending on your operating system. On Mac OS, the print settings window might be tucked behind other windows, so just look out for that. Once you find it, select your converted Epson EcoTank printer from the list of available printers. Choose the highest quality matte paper option, and don’t forget — your design should be flipped into a mirror image before printing in order to transfer correctly onto your blank. I’ll show you how to do that in the tutorial, too. Mirroring your design correctly can be different on Windows computers, especially since there are many variables to keep track of. I’ll show you how I set the orientation correctly in Google Docs.
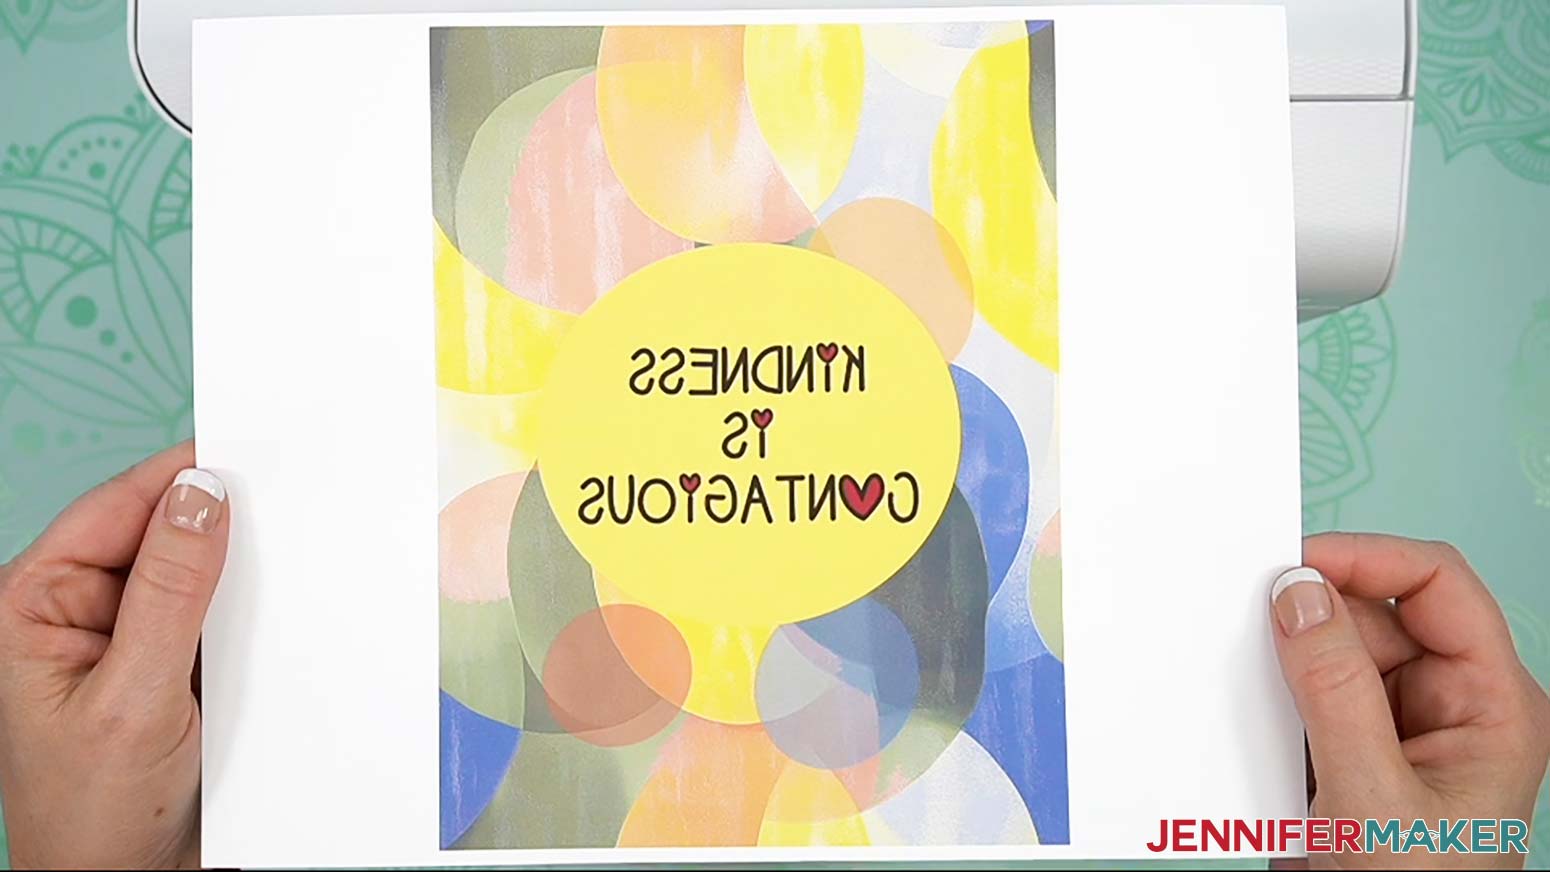
The print quality on your sublimation print may look dull, and that’s because of the type of ink used. Sublimation prints look dull after they’re printed, but appear full-color once they’re pressed onto their blank.
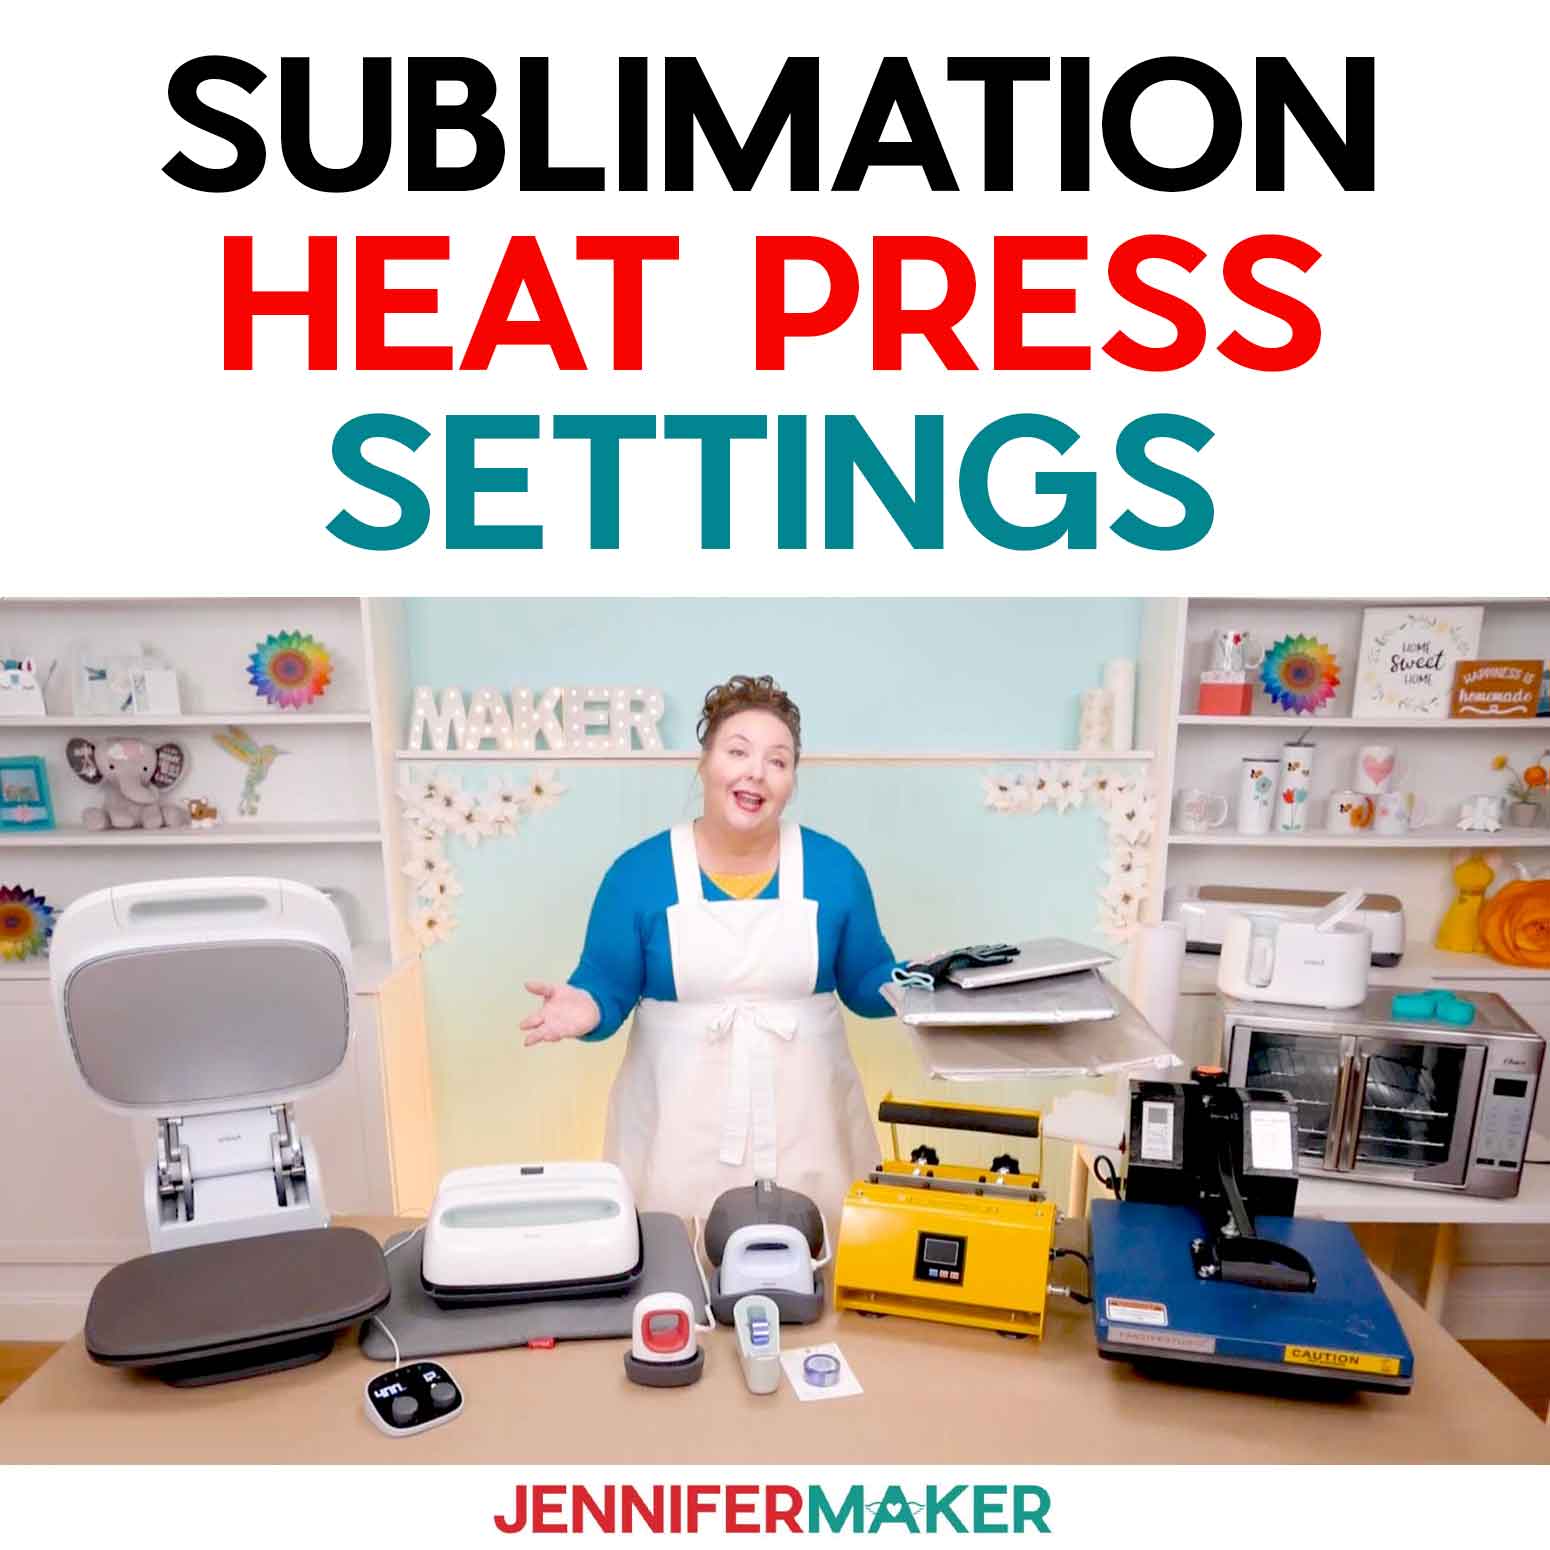
Finally, I’ll show you the best part — pressing your designs onto your sublimation blanks! I most often use a Cricut EasyPress with a pressing mat, some white cardstock, and white, uncoated butcher paper for flat projects. Before you get started, it’s important to reference my Sublimation Cookbook or this tutorial to make sure you have the right temperature and time settings for each type of blank. Each blank may require a slightly different pressing temperature, time, or process, so a quick check will save you from any mishaps.
So grab your blank, size your design, and fire up your sublimation printer with the best software for free sublimation printing! Whether you’re printing a heartfelt message on a lens cloth or crafting a unique puzzle for a friend, the process is fun, simple, and super rewarding with the best sublimation software — that just happens to be free. Happy sublimating!
Let me show you how to make lens cloths, puzzles, and aluminum signs using free sublimation software for Epson printers! This post contains some affiliate links for your convenience (which means if you make a purchase after clicking a link I will earn a small commission but it won’t cost you a penny more, there is no additional cost)! Read my full disclosure policy.
Materials to Make Quick Sublimation Projects
View my Amazon shopping list for the exact items I used!
- Aluminum Photo Blanks – 8″ x 10″ -OR-
- Eye Glass Cleaning Cloth – 6″ x 7″ -OR-
- Puzzle – 7.9″ x 5.9″
- Sublimation Printer – I used a converted Epson EcoTank ET-2800 -AND-
- Sublimation Ink
- 8.5″ x 11″ A-SUB 125g Sublimation Paper
- 12″ x 12″ White Cardstock
- Uncoated White Butcher Paper
- Heat-Resistant Tape
- Paper Trimmer -OR-
- Scissors
- Heat Press – I used the Cricut EasyPress 2 – 12″ x 10″
- Cricut EasyPress Mat
- Heat-Resistant Gloves (for aluminum photo blanks)
- Fan (for ventilation)
- Lint Roller
- Tape Measure (for measuring blanks)

How to Use Sublimation Software for Epson Printers & Make Sublimation Projects!
Quick Sublimation Projects And Epson Printer Process
Learn how to use free printing software with your Epson sublimation printer and make quick projects!
Materials
- 6” x 7” White Microfiber Eye Glass Cleaning Cloth -OR-
- 7.9" x 5.9" Rectangular Puzzle Blank -OR-
- 8” x 10” Aluminum Photo Blanks
- 8.5” x 11” A-Sub Sublimation Paper 125g
- 12" x 12" Pieces of White Cardstock
- White Uncoated Butcher Paper
- Design #689 (My free PNG/PDF design files are available in my free resource library - get the password by filling out the form at the bottom of this page)
Tools
- Sublimation Printer - I used a converted Epson EcoTank ET-2800 Inkjet Printer
- Sublimation Ink
- Scissors -OR-
- Paper Trimmer
- Heat Press - I used the 12” x 10” Cricut EasyPress 2
- Cricut EasyPress Mat
- Fan for Ventilation
- Heat Resistant Gloves
- Heat Resistant Tape
- Ruler or Measuring Tape
- Lint Roller
Instructions
STEP 1: GET MY QUICK SUBLIMATION DESIGNS
First, download my Quick Sublimation designs from my free library – look for Design #689. Alternatively, you can use the Save This Project form near the top of this post and the design link will be emailed to you.
I used an AI art generator to create the designs, then made them even more fantastic with image editing software. If you want to learn more about the process, check out my workshop on creating and using AI-generated art in your crafts.
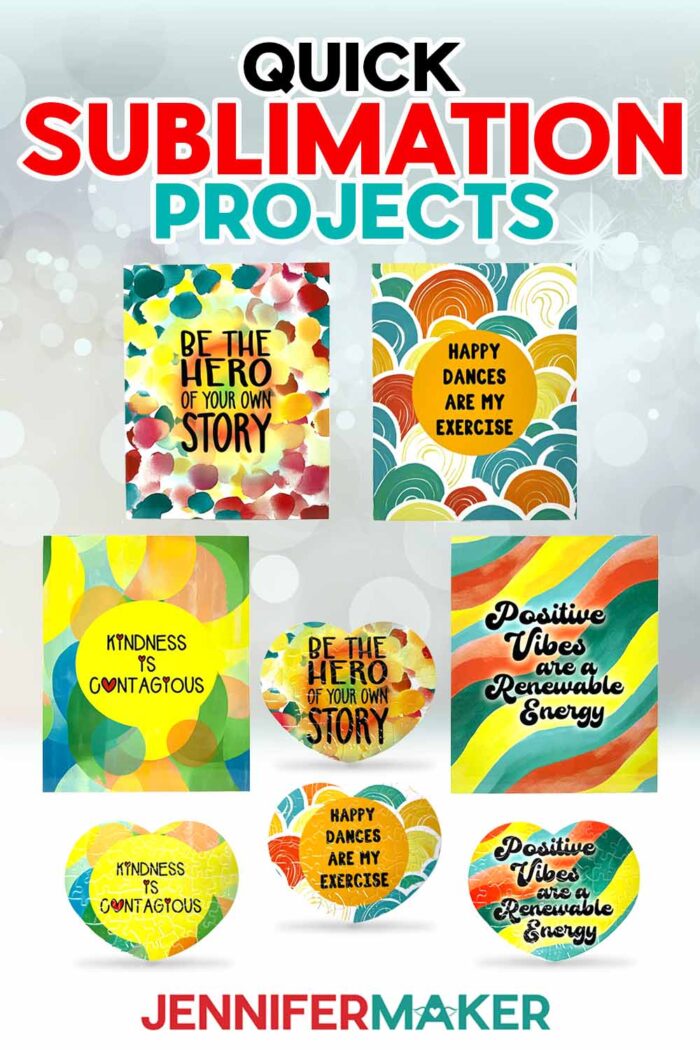
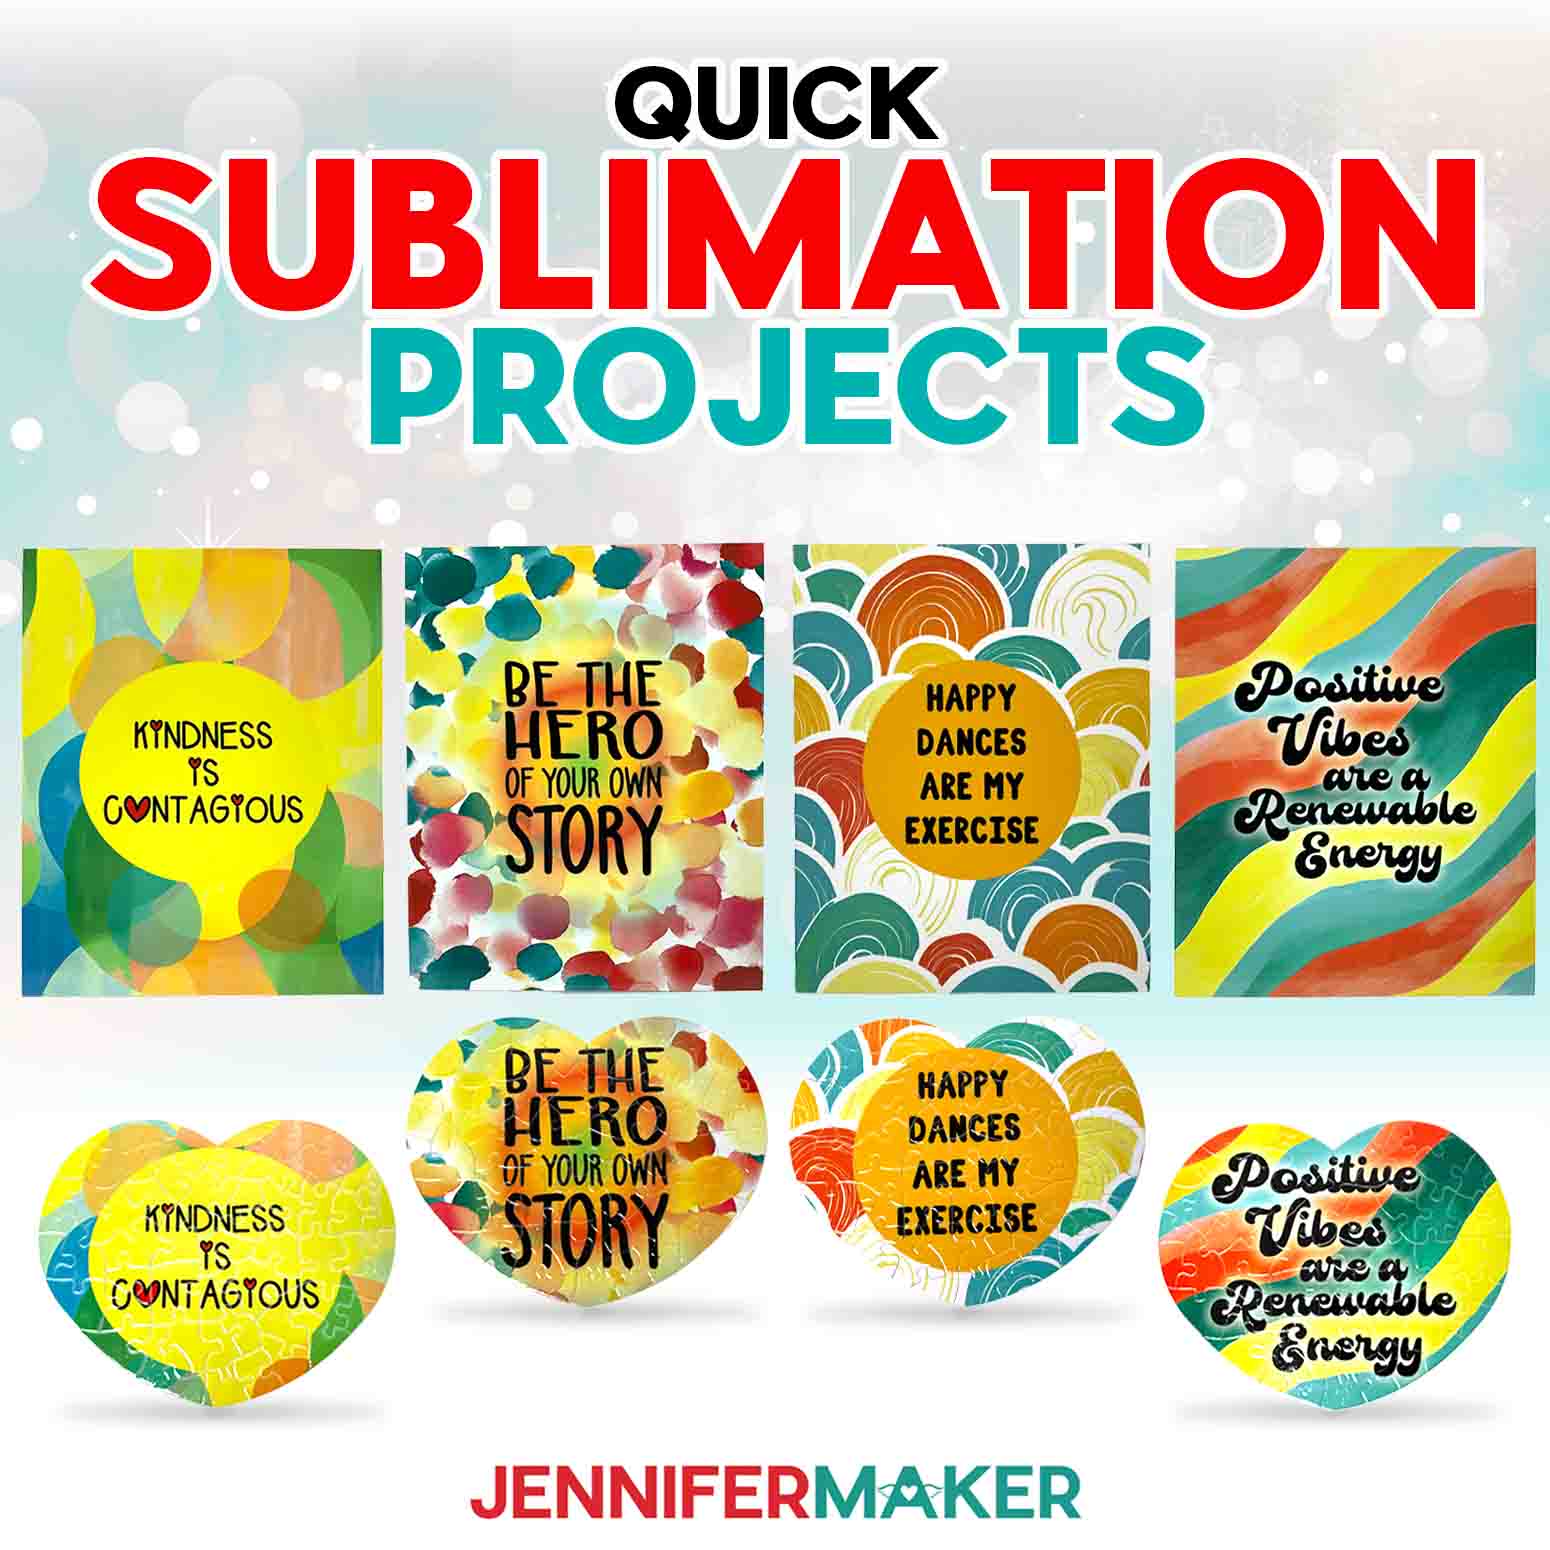
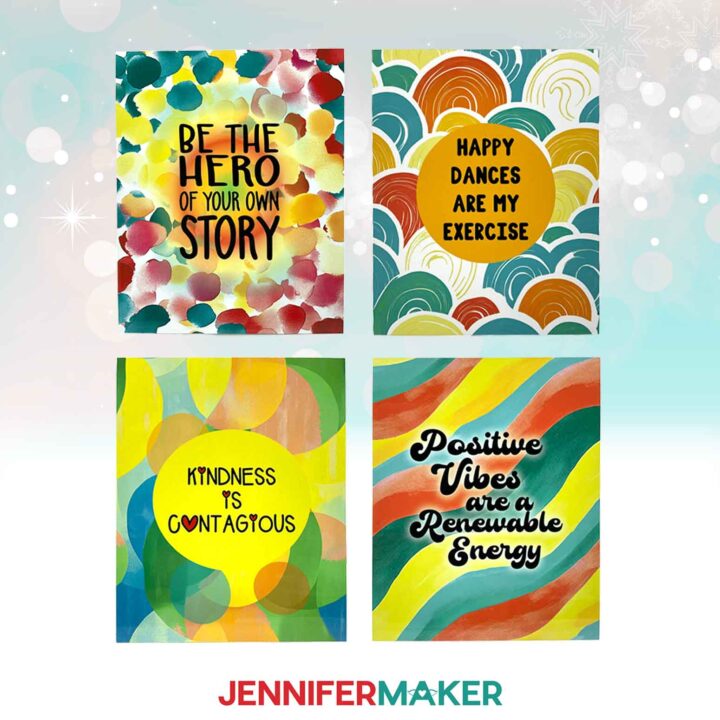
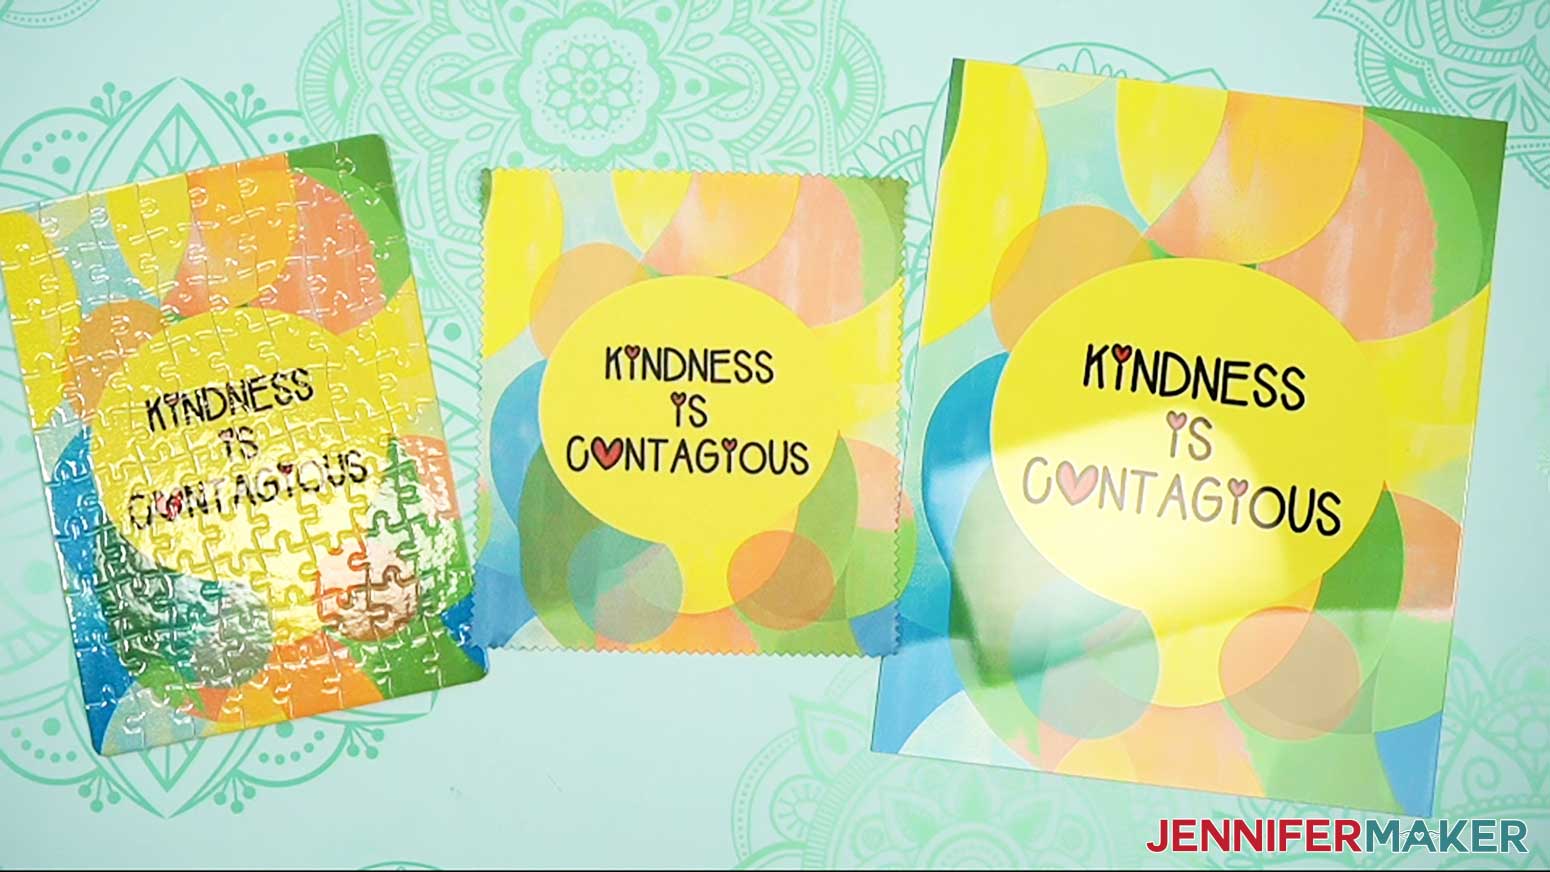
In the PNG folder, you’ll find four designs for print sublimation with abstract backgrounds and affirming messages:
“Happy dances are my exercise”
“Be the hero of your own story”
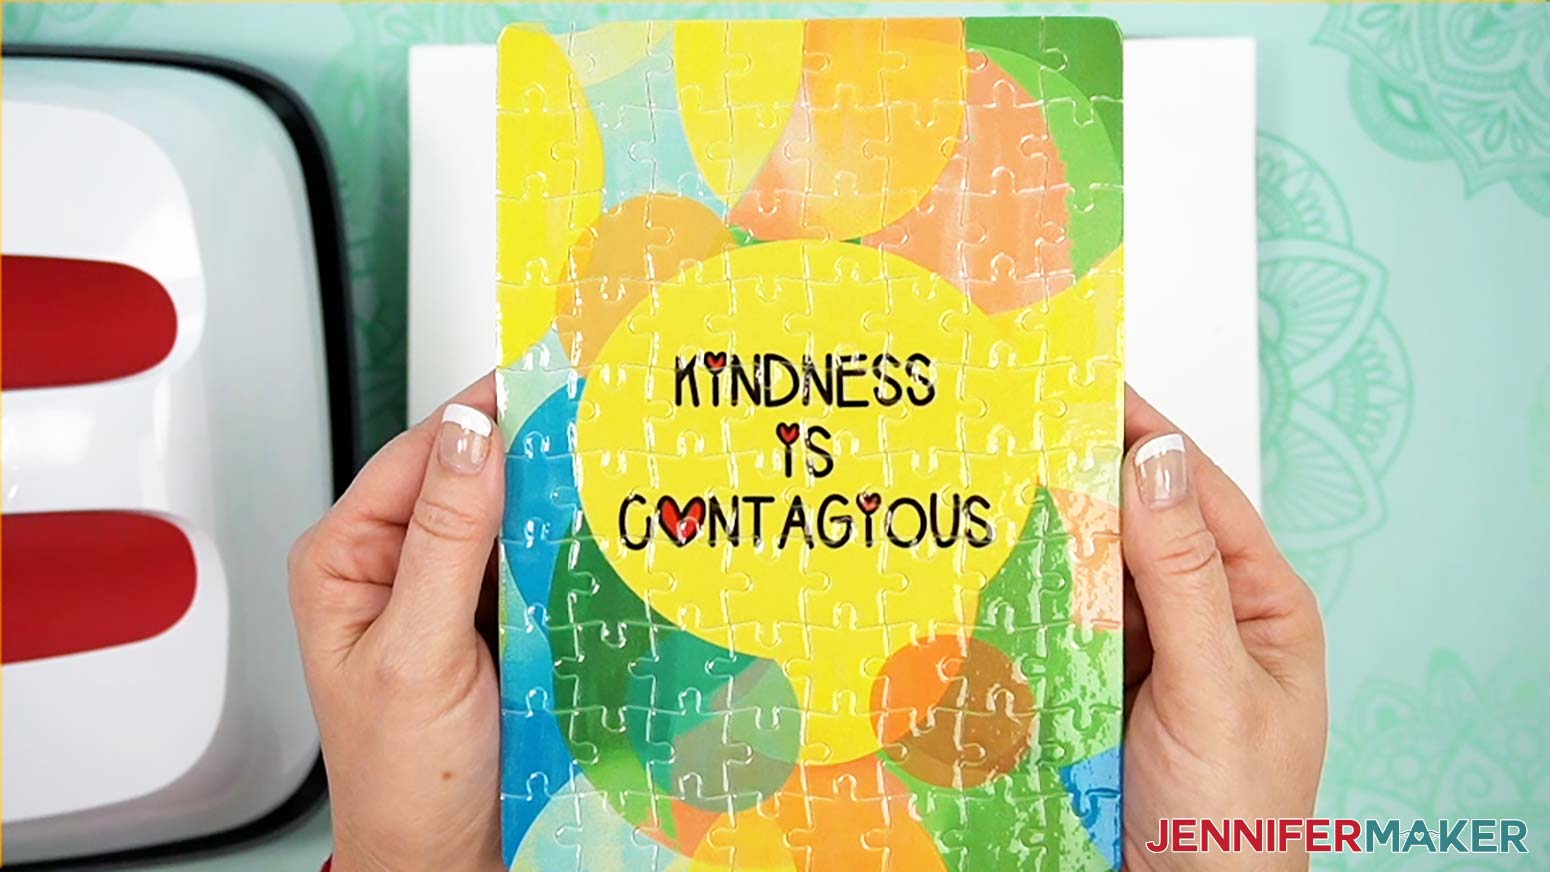
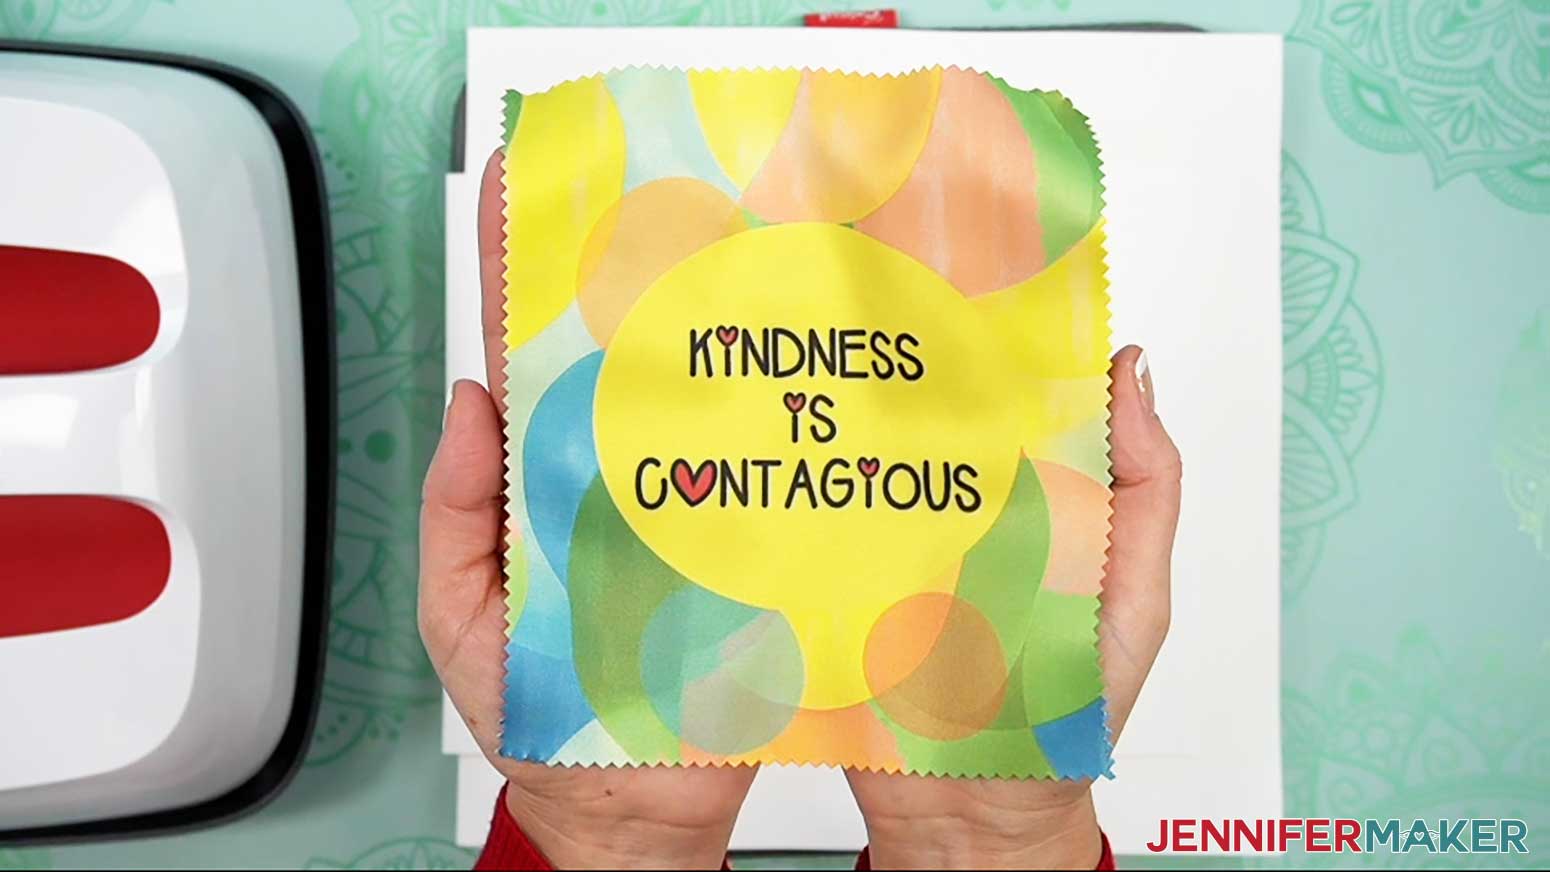
"Kindness is contagious”
“Positive vibes are a renewable energy”
TIP: If you’re not sure how to download zip files and upload designs, go to jennifermaker.com/svgs. The steps are similar for PNGs and Google Docs.
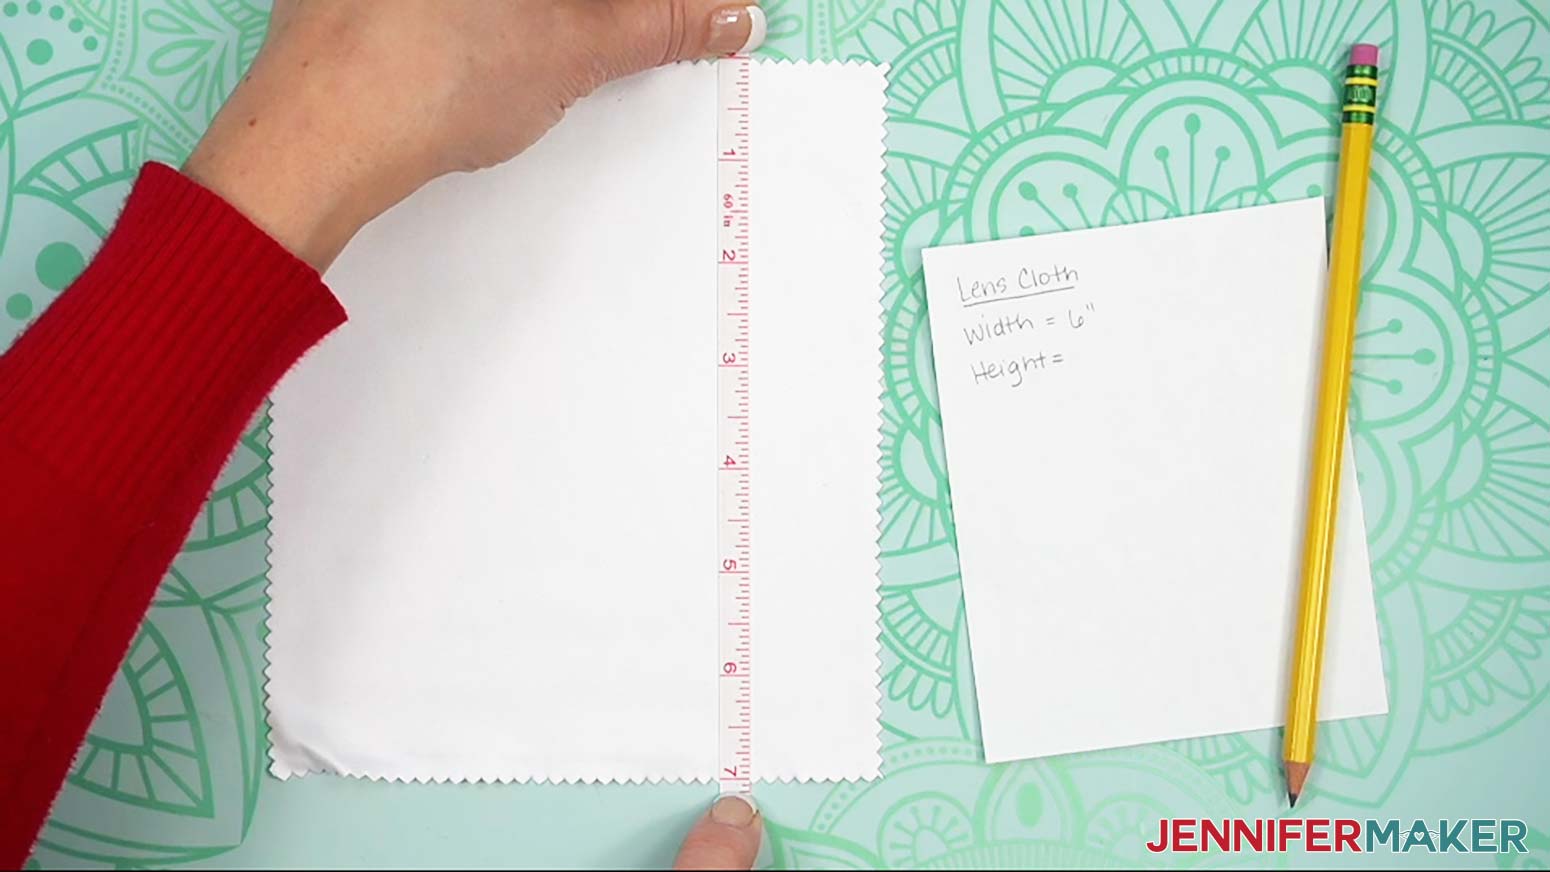
STEP 2: MEASURE YOUR SUBLIMATION BLANK
- Lay your blank flat on your work surface.
- With a ruler, measure the width from left edge to right edge, then the height from the top to bottom.
NOTE: My Eye Glass Cleaning Cloth is 6” x 7,” my Rectangular Puzzle Blank is 7.9" x 5.9," and my Aluminum Photo Blank is 8” x 10.” Your sizing might be different even if you use the blank I recommend, so always be sure to measure.
TIP: To ensure an accurate measurement, make sure your ruler is at the widest part of the shape, and that it goes through the center of your blank. Most sublimation designs should completely cover the blank, even if you need to make the file cover more than its shape to fill all the white space. - Record your measurements, and set aside your notes for now.
STEP 3: PREPARE AND PRINT YOUR SUBLIMATION DESIGN
NOTE: As you follow these instructions, resize the image to be slightly larger than your blank. Here is how I sized designs for each of my quick projects:
Eye Glass Cleaning Cloth is 6” x 7” so I printed designs at 6.25” x 7.25”
Rectangular Puzzle Blank is 7.9" x 5.9" so I printed designs at 8.25” x 6.25”
Aluminum Photo Blank is a little smaller than the stated 8” x 10” dimensions, so I printed designs at 8” x 10.5”
GOOGLE DOCS ON AN APPLE COMPUTER
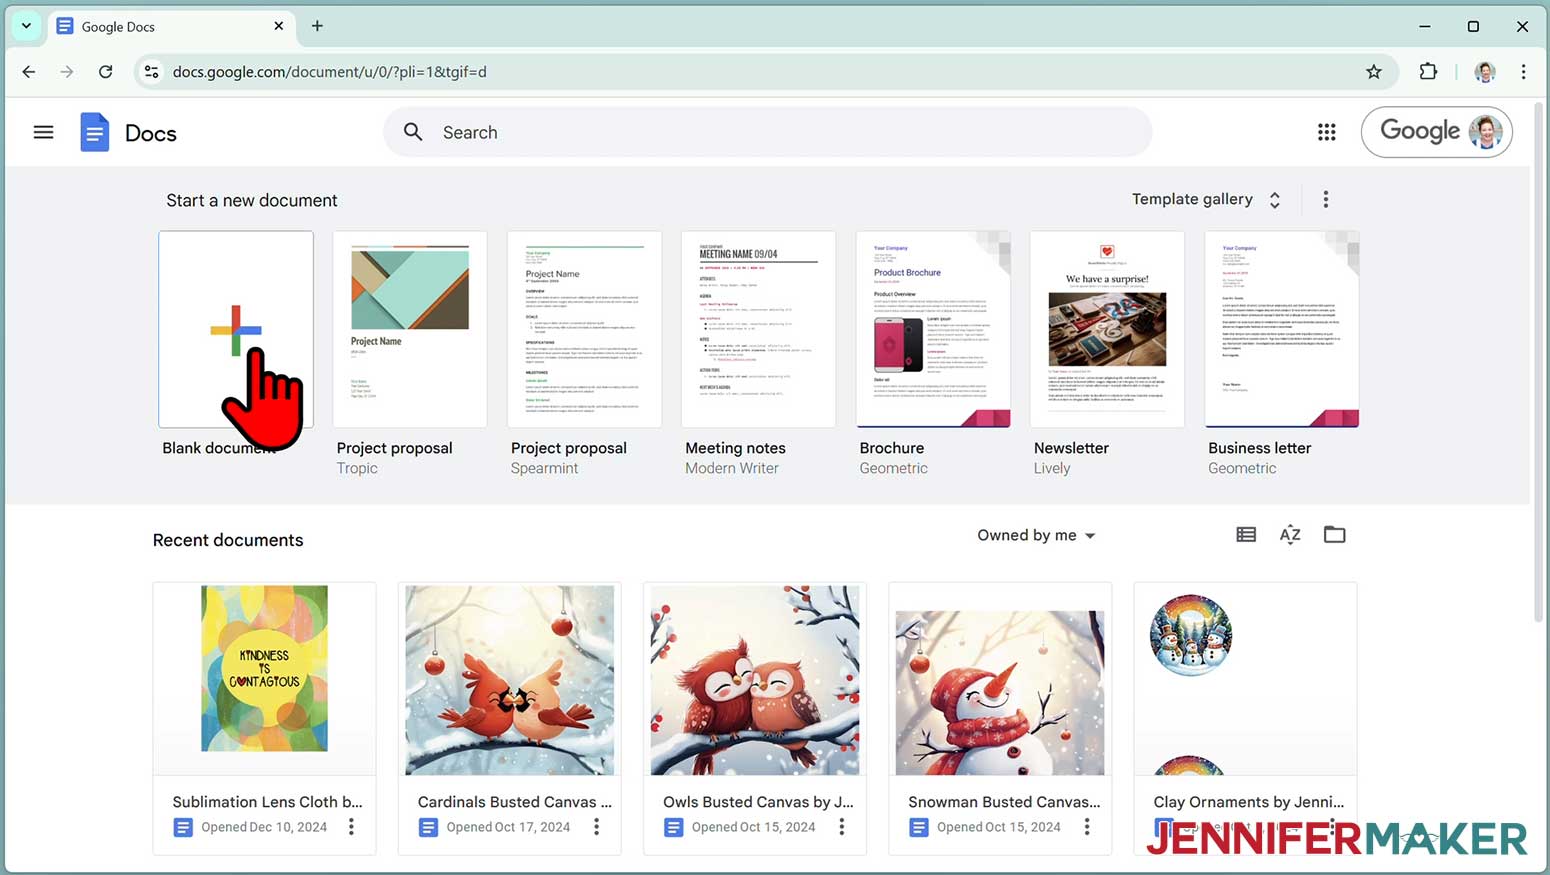
- Open Google Docs in the Google Chrome web browser on your computer.
NOTE: You will need a free Google account to use the free Google Docs software.
TIP: You can also download and open the Google Docs app, but you will have limited access to features, so I do not recommend it on a mobile device. - Click “Blank document” at the top left to open a new document.
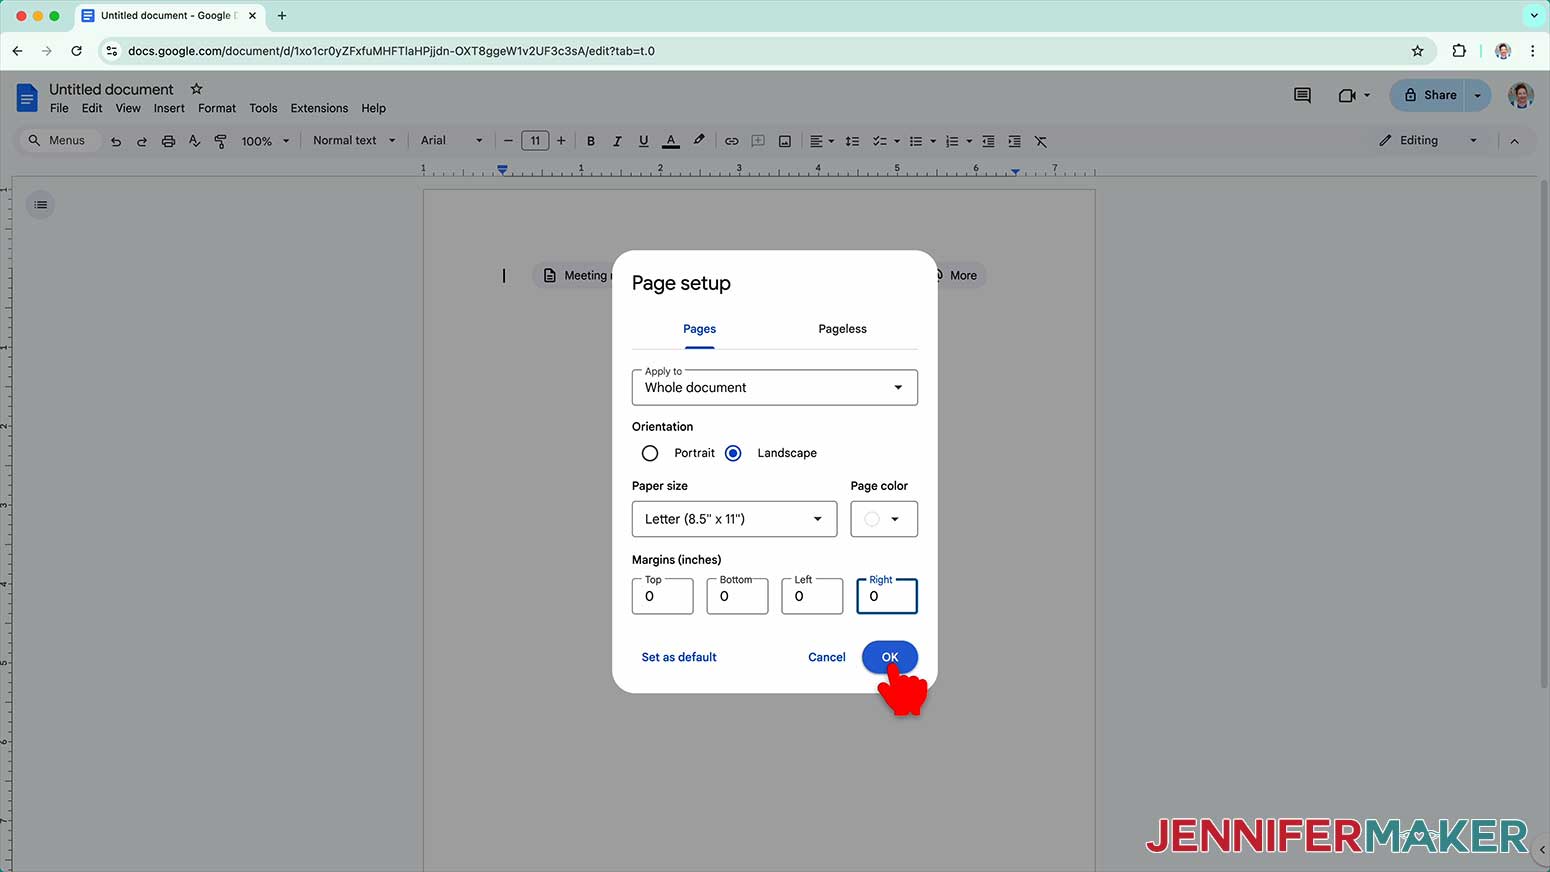
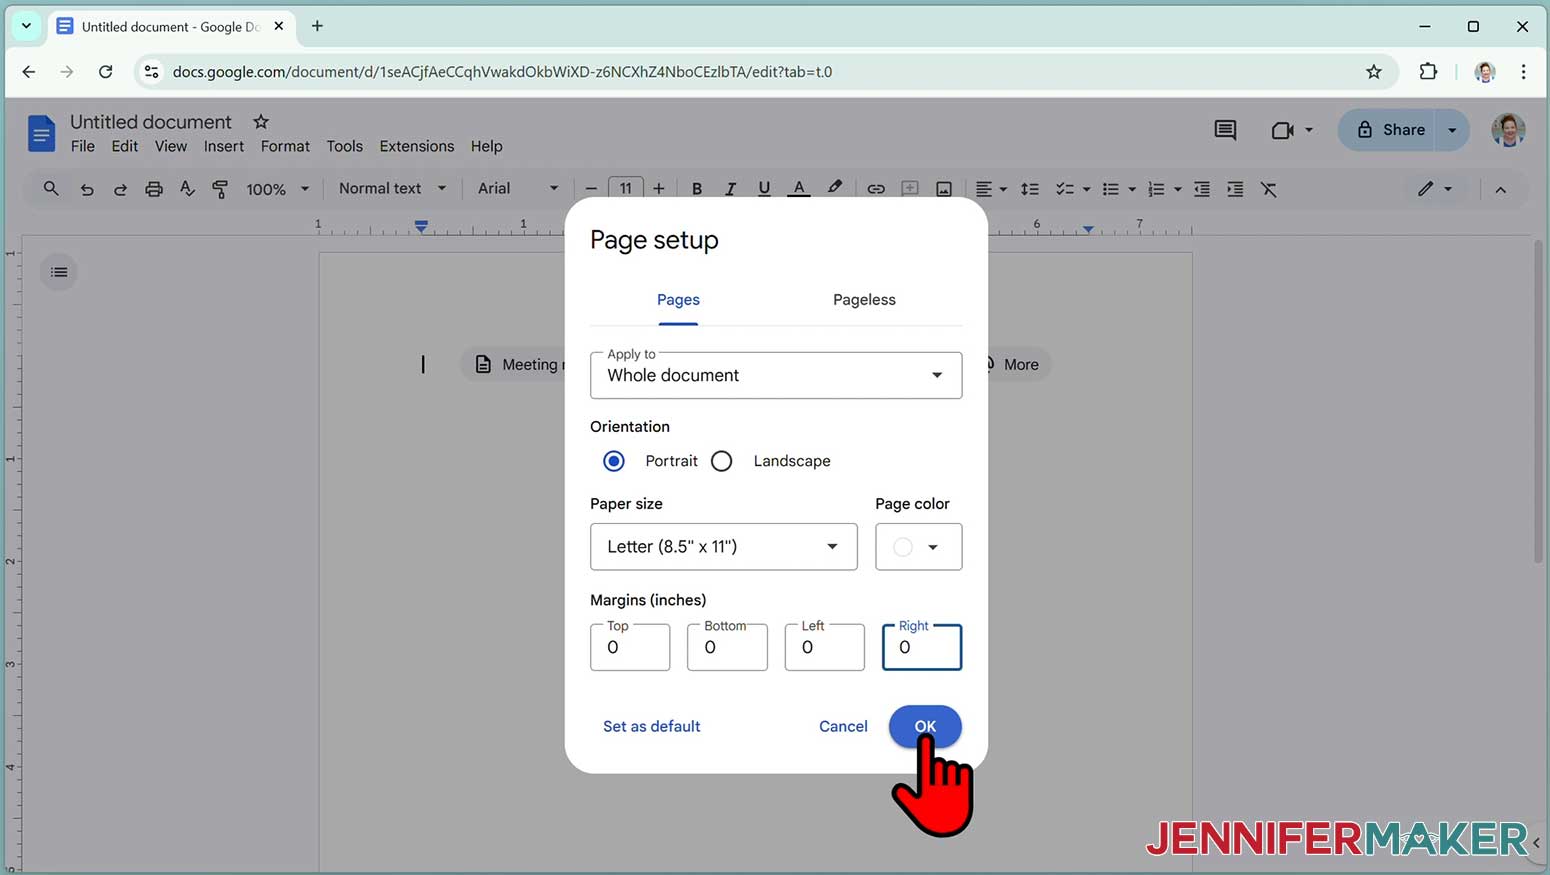
- Go to the File menu and select “Page setup.”
- Check the box next to “Landscape.”
- Change your margins to “0” to use more of the page.
- Make sure your Paper Size matches your sublimation paper size. I’m using 8.5” x 11” or letter-size paper.
- Click “OK” to apply the settings.
- Click the area that says “Untitled document” at the top and type a name for the file.
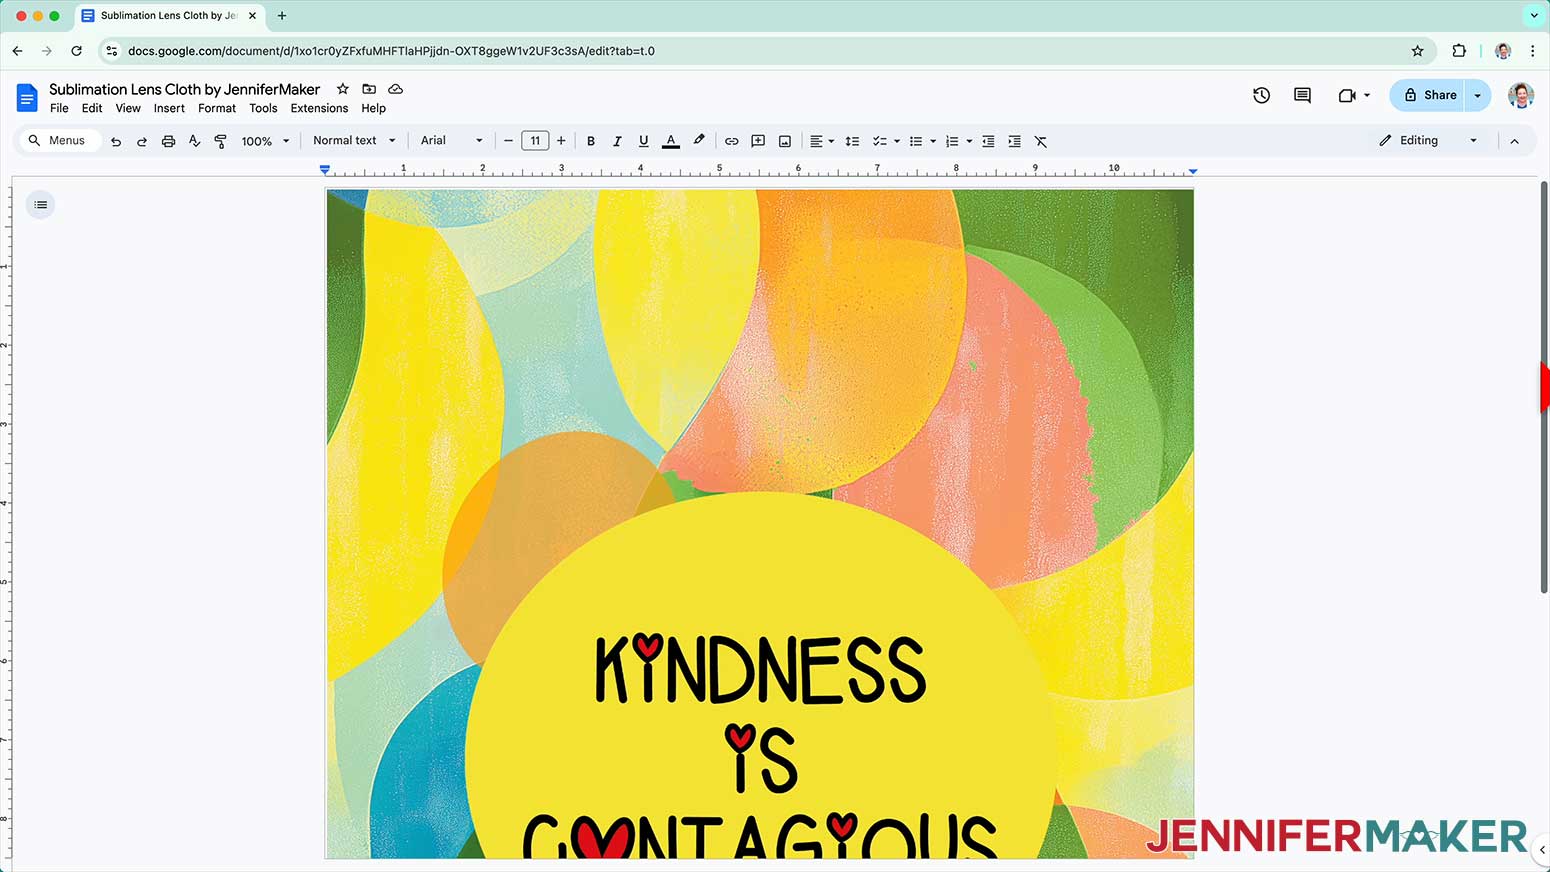
- Go to the Insert menu, select “Image,” and select “Upload from Computer.”
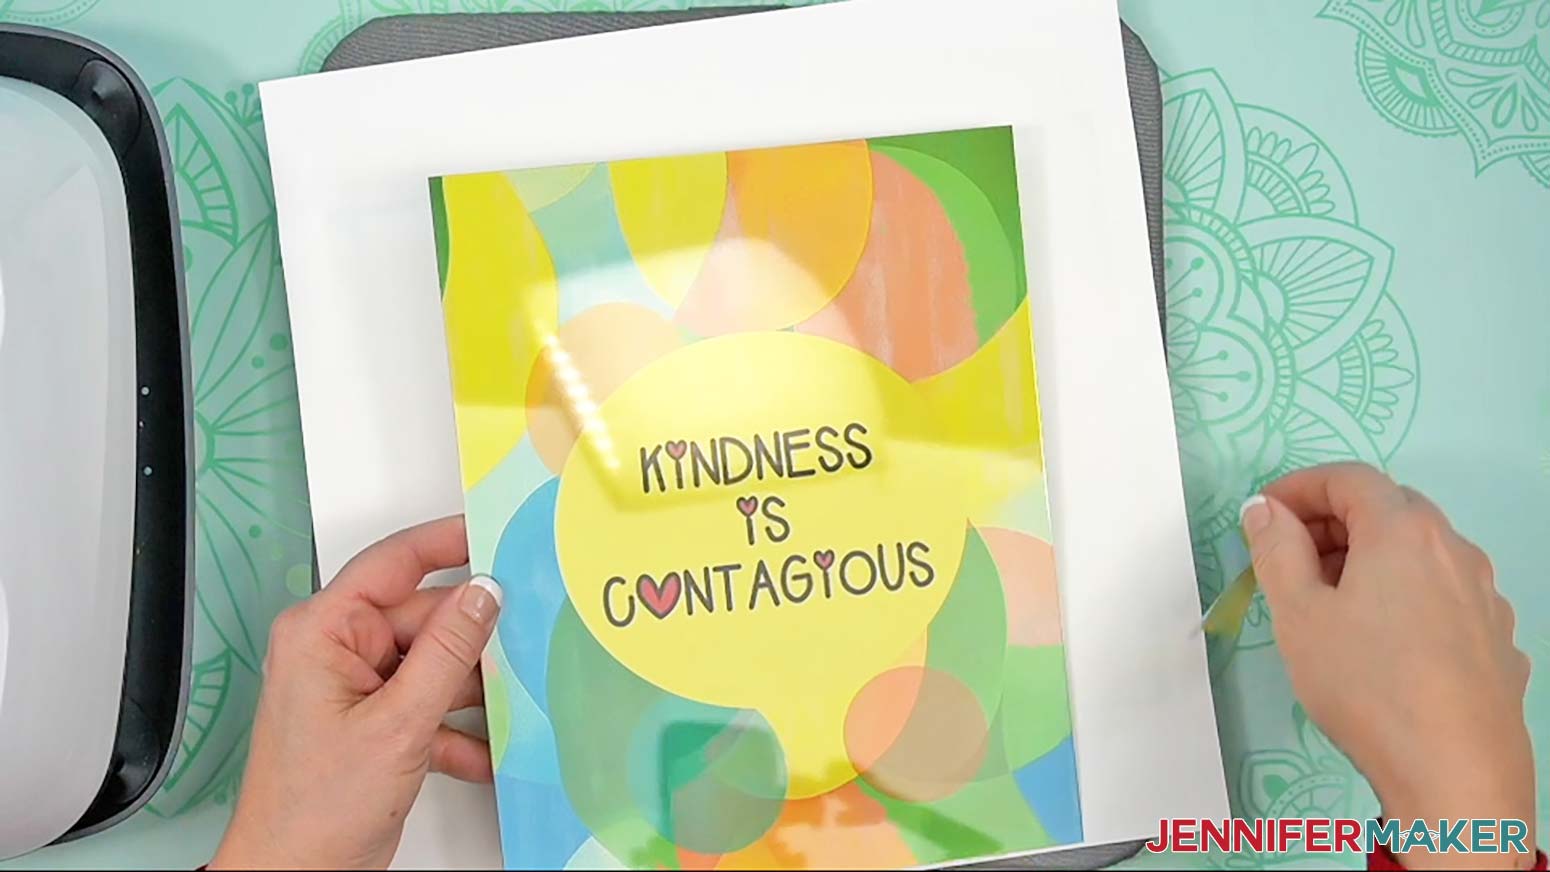
- Select the sublimation design you want to use. I’ll demonstrate with the Kindness design.
TIP: You’ll most likely find it in your Downloads folder. - Click “Open.”
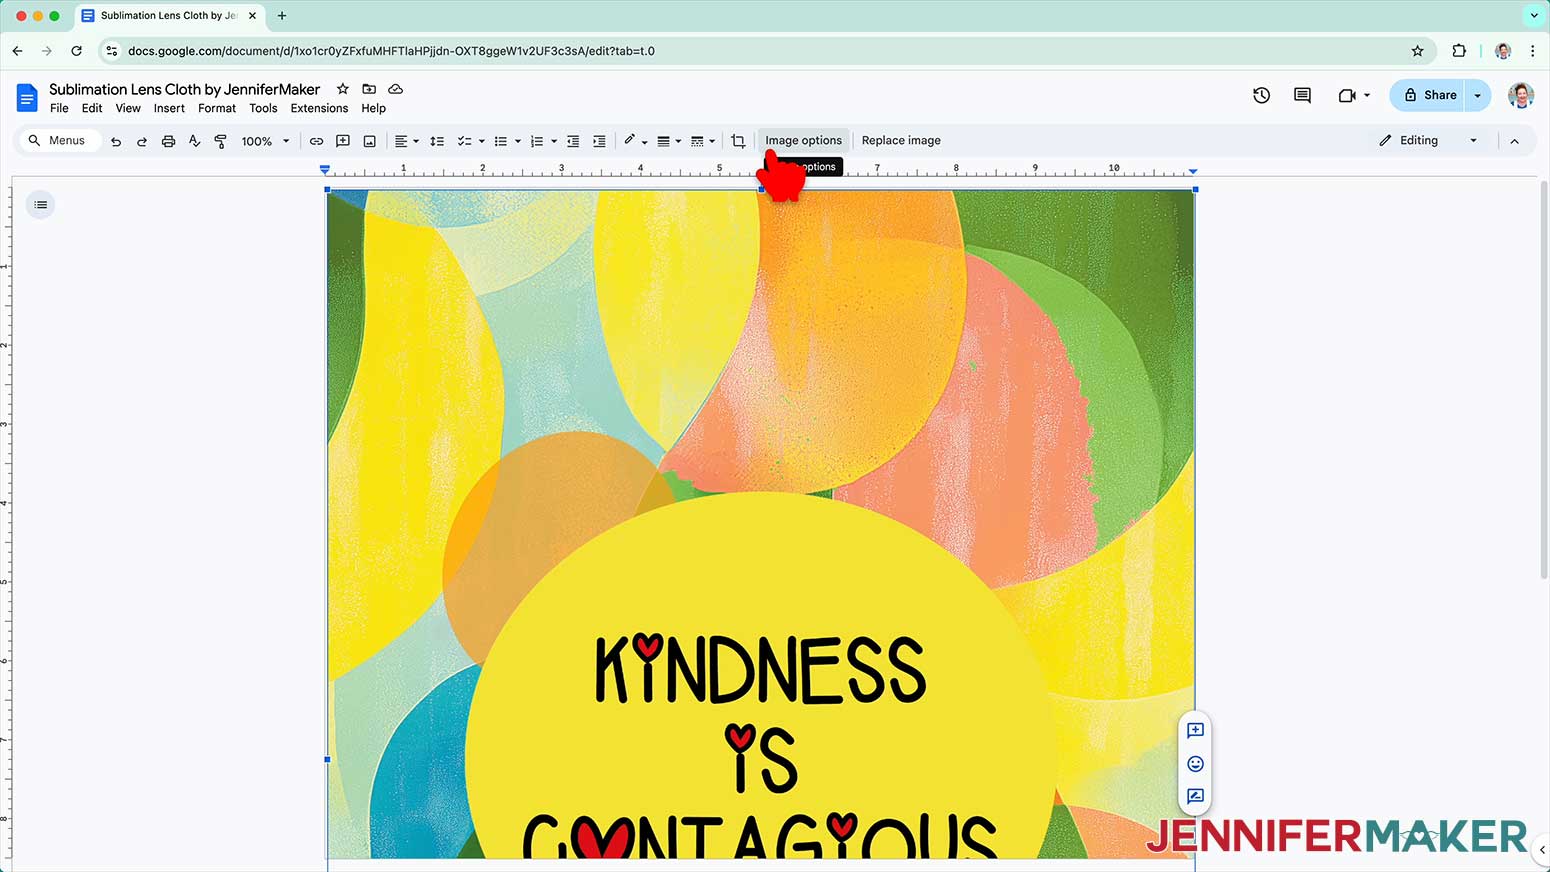
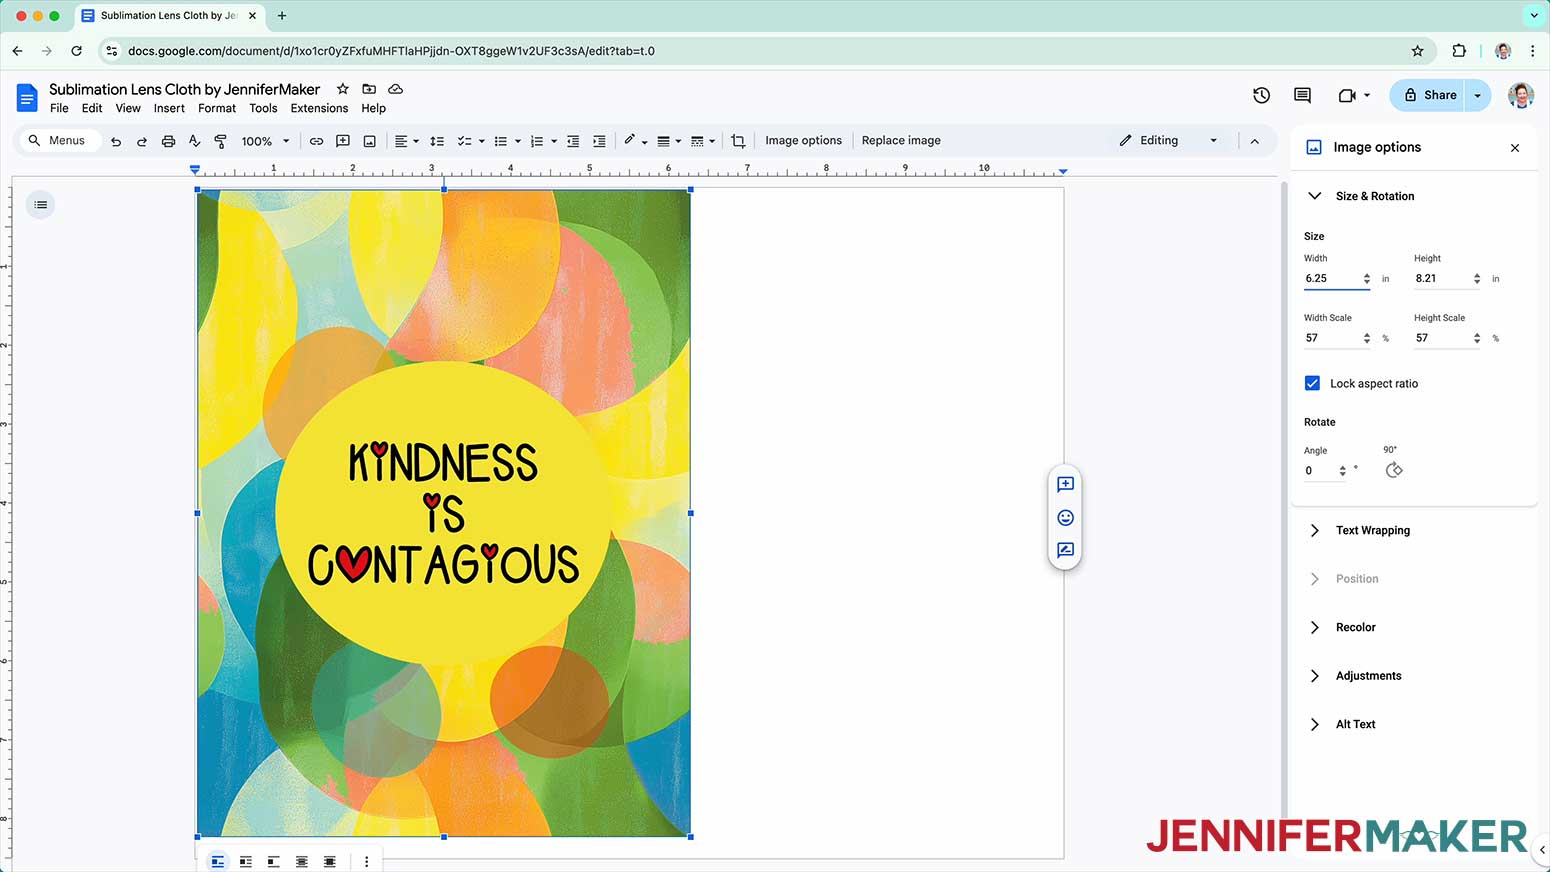
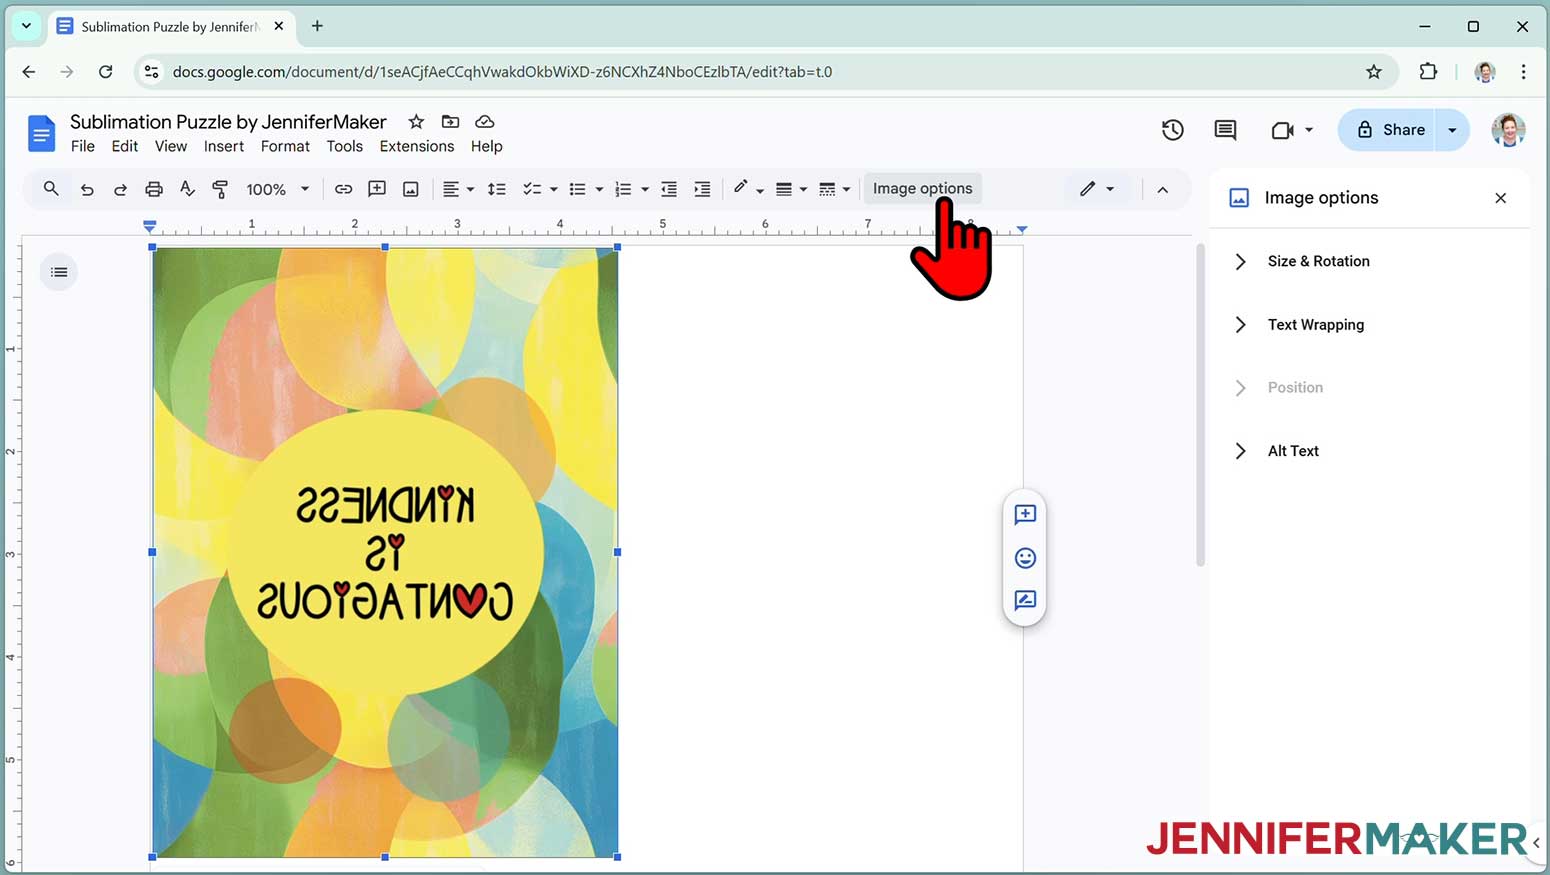
- Click “Image Options” at the top of the canvas.
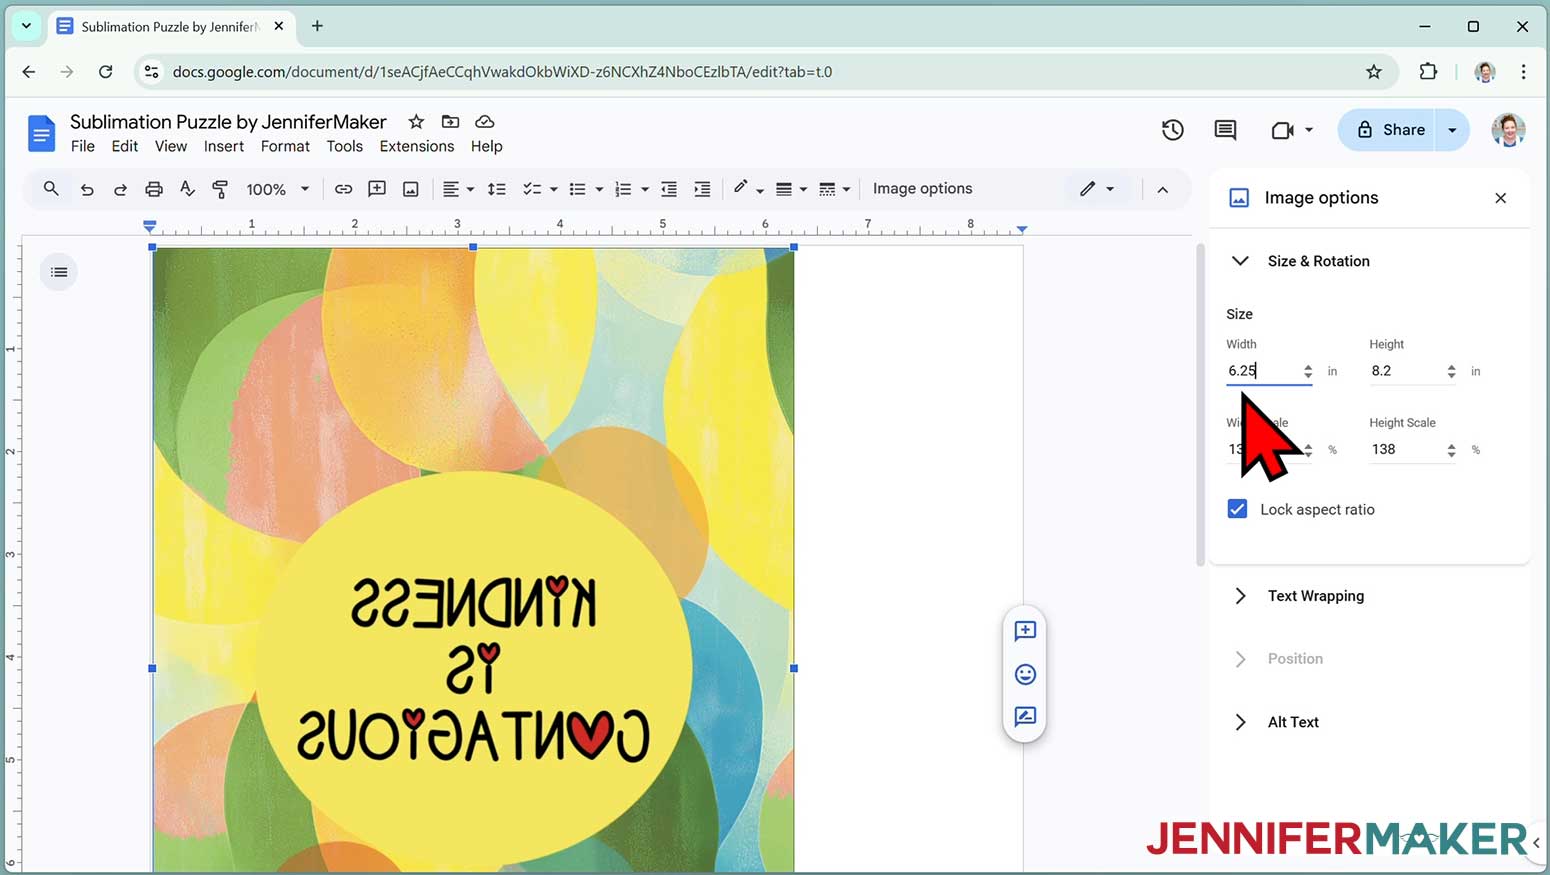
NOTE: You can also open the menu by going to “Format,” “Image,” and “Image Options.” - Select “Size & Rotation.”
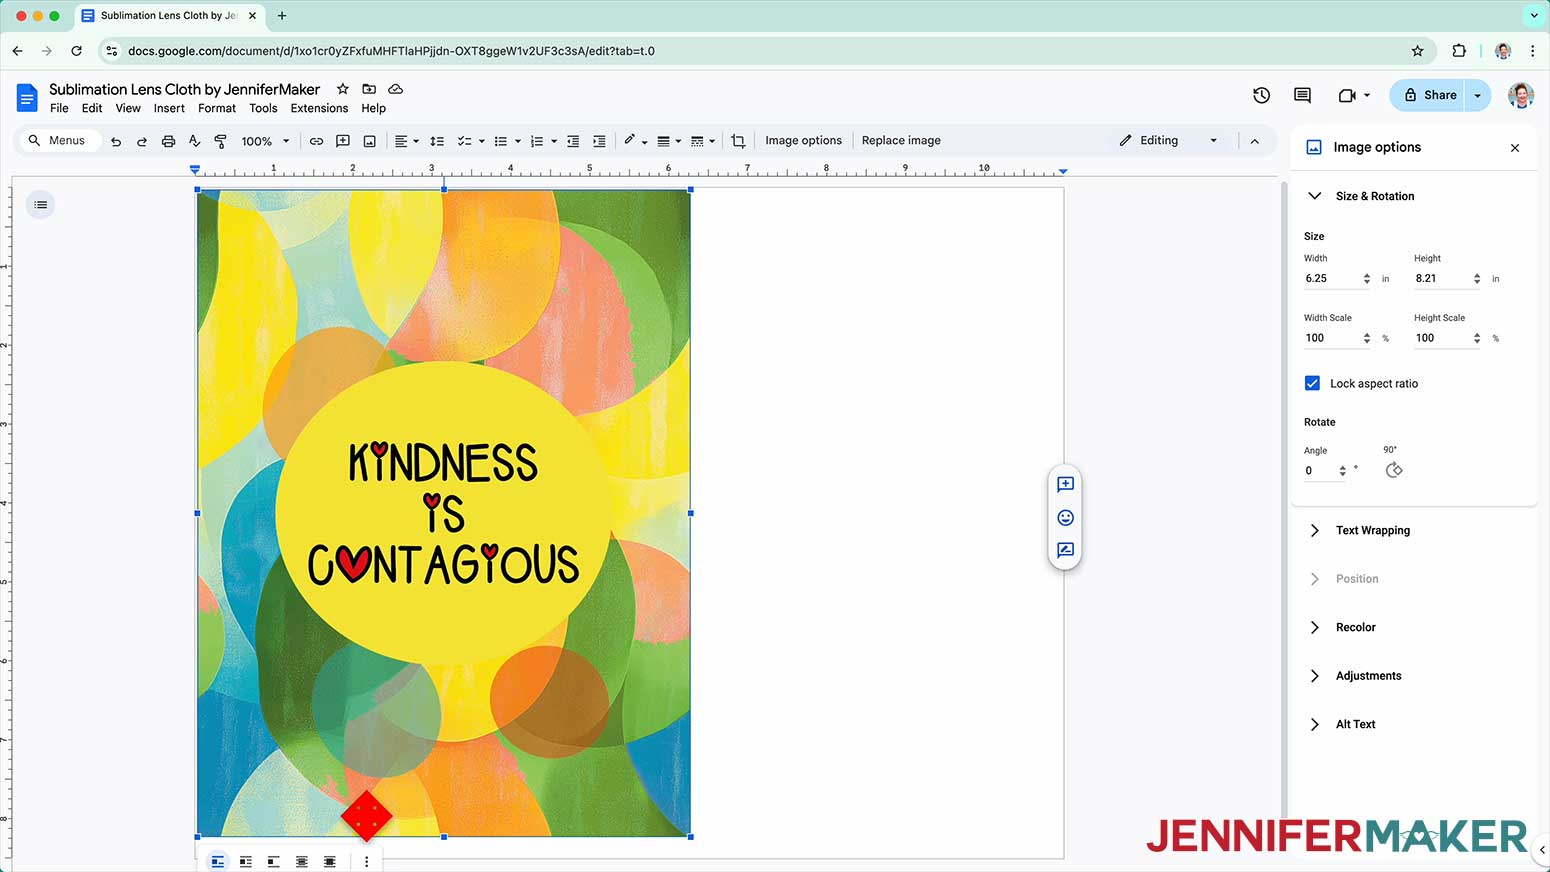
- Keep the “Lock aspect ratio” box checked to maintain the design’s proportions.
- Change the “Width” field to be slightly larger than the width you recorded earlier. Since my blank is 5 7/8", I’ll make my design 6.25” wide.
NOTE: It is best to make the print a little larger than the blank. This also makes it easier to tape the blank in position.
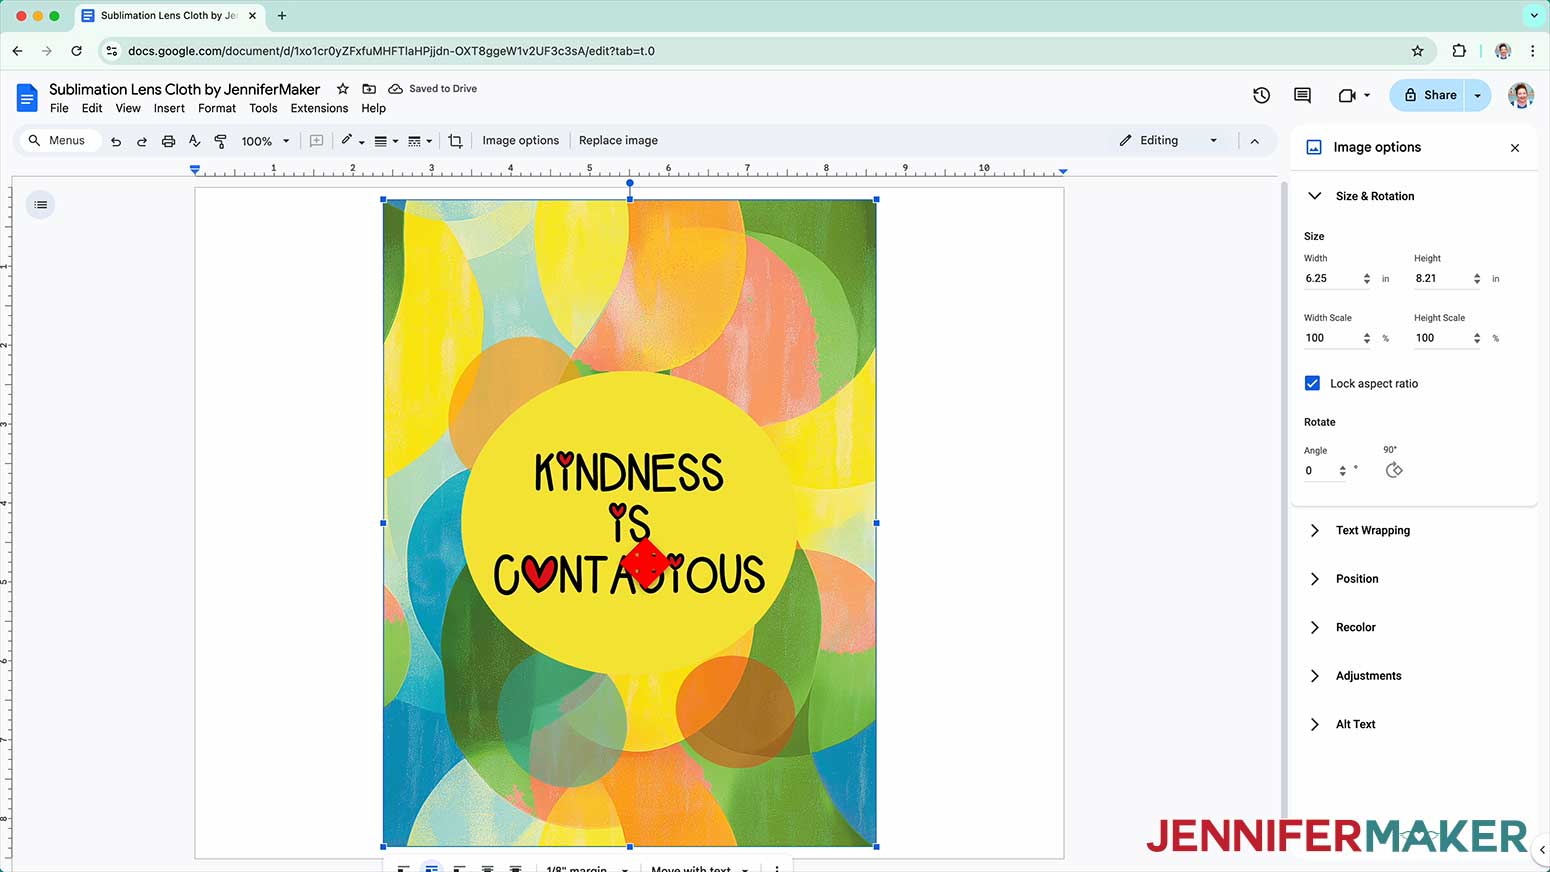
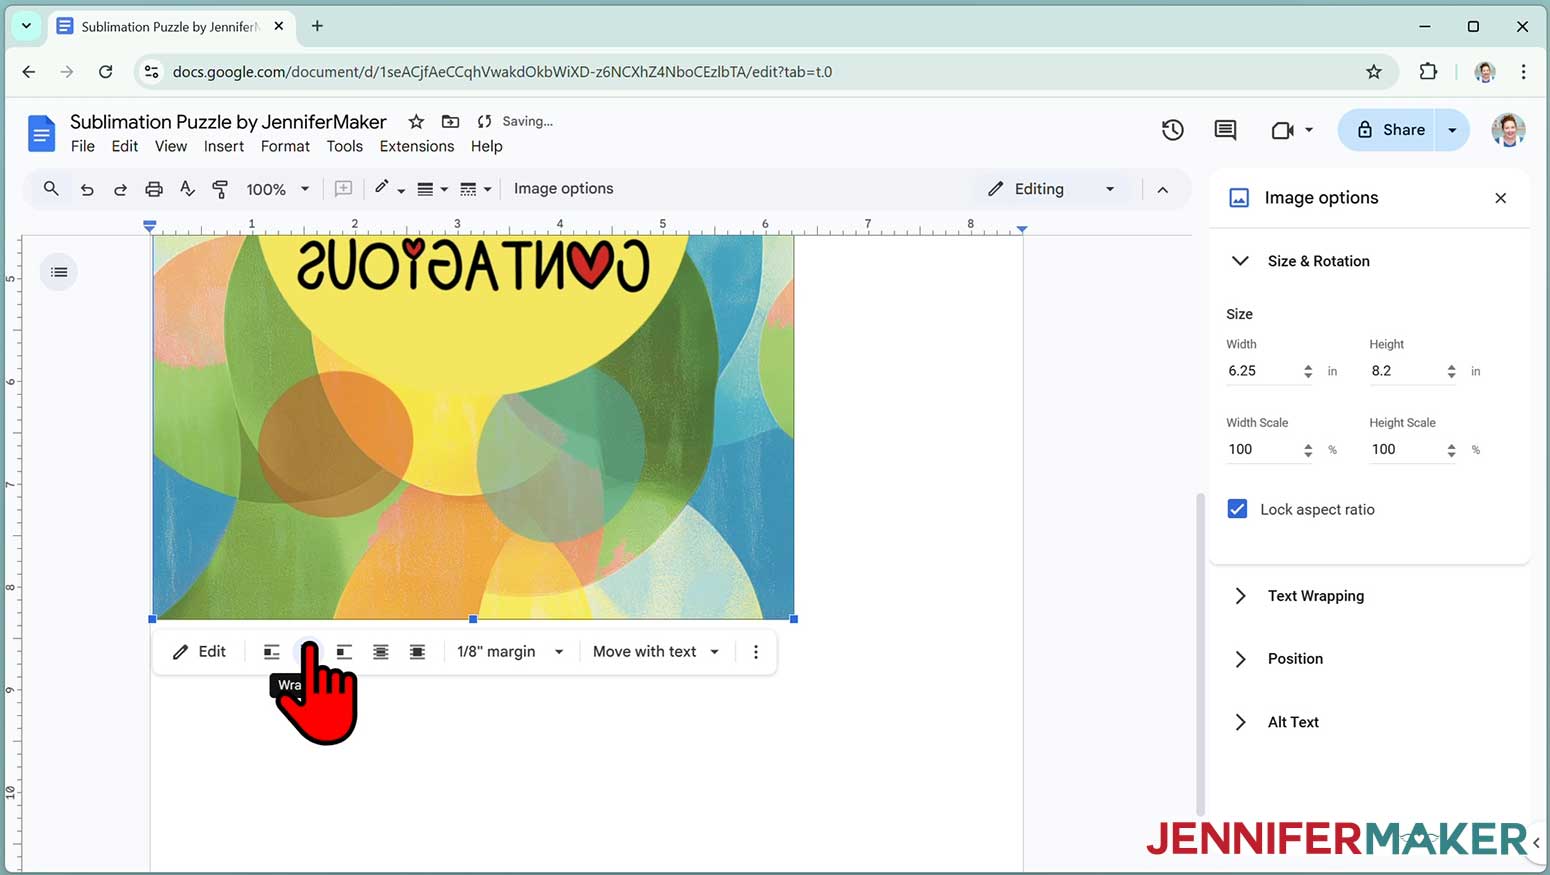
TIP: The “Height” field will automatically adjust proportionately. - Click the image and select the “Wrap text” icon from the menu that appears below it.
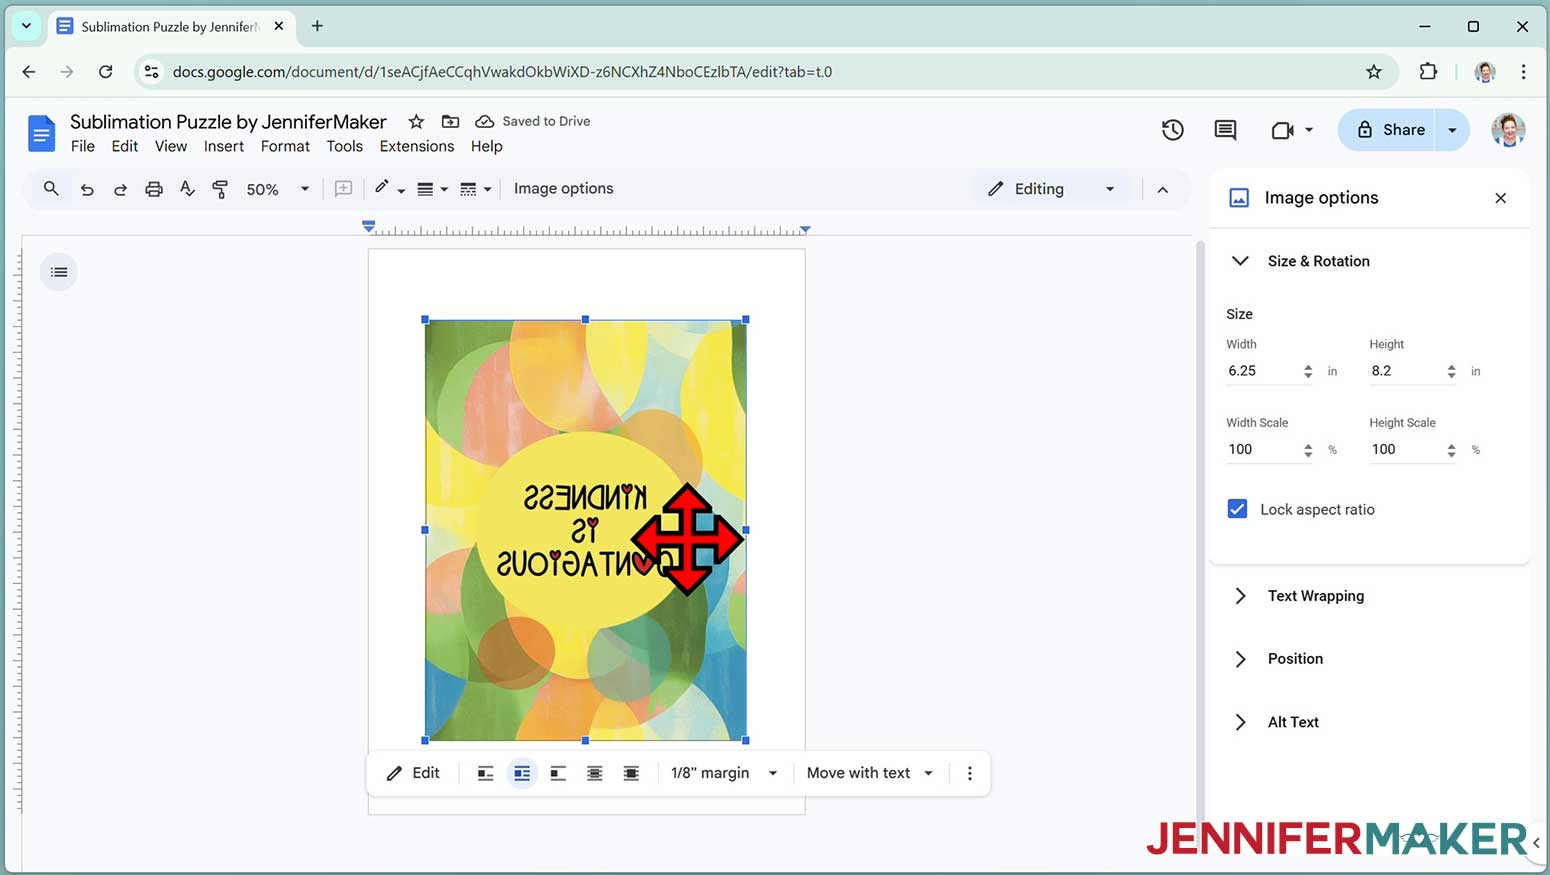
NOTE: This setting lets you move the design anywhere on the page. - Click and drag the image to the center of your page, as that ensures it won’t get cut off at the edges.
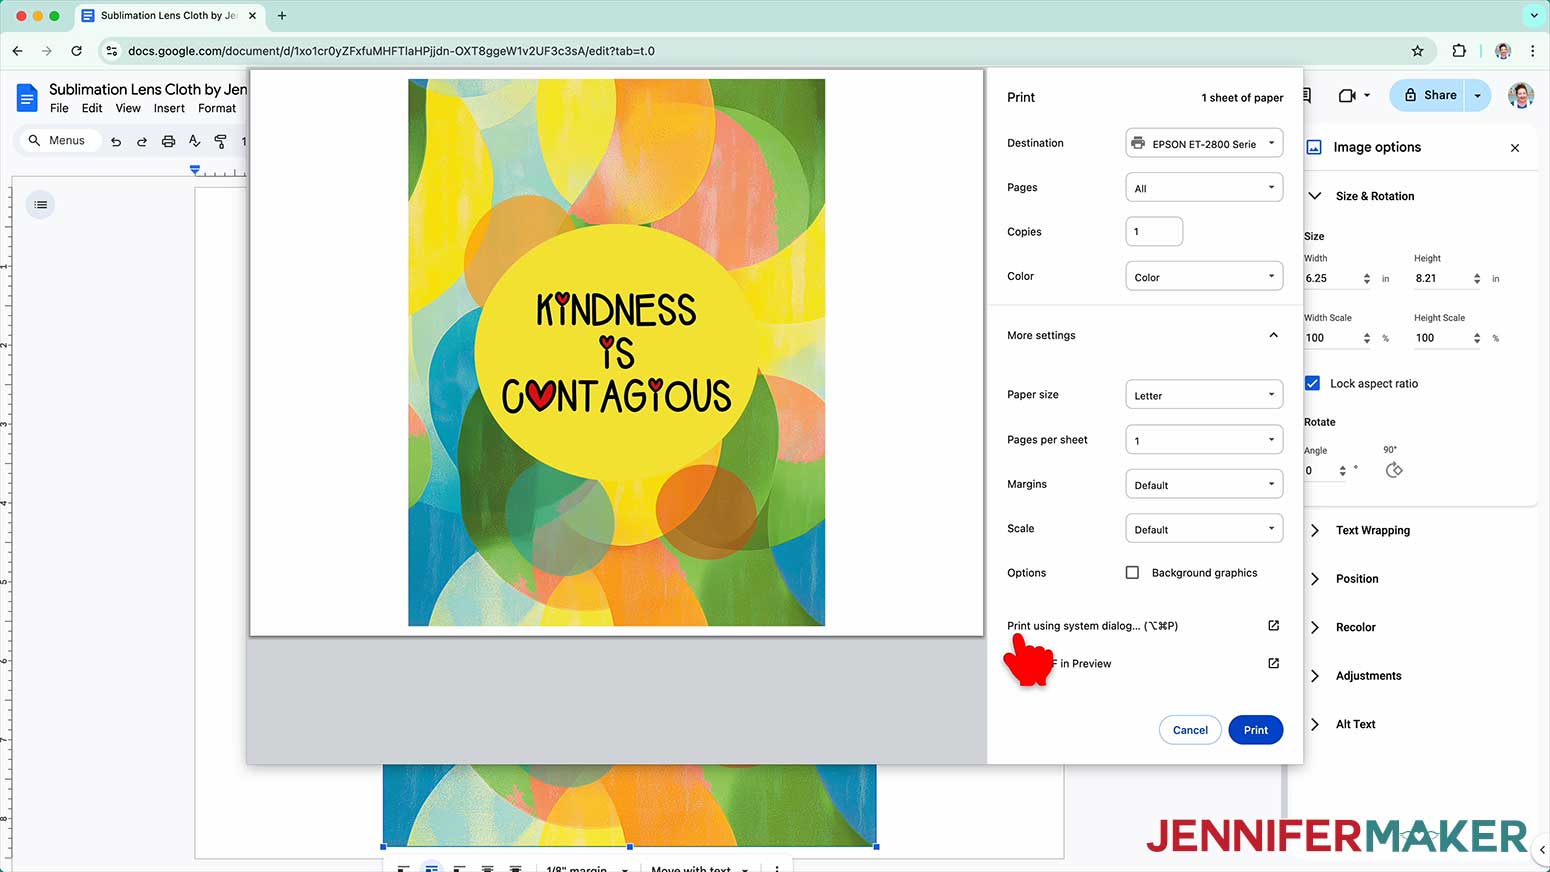
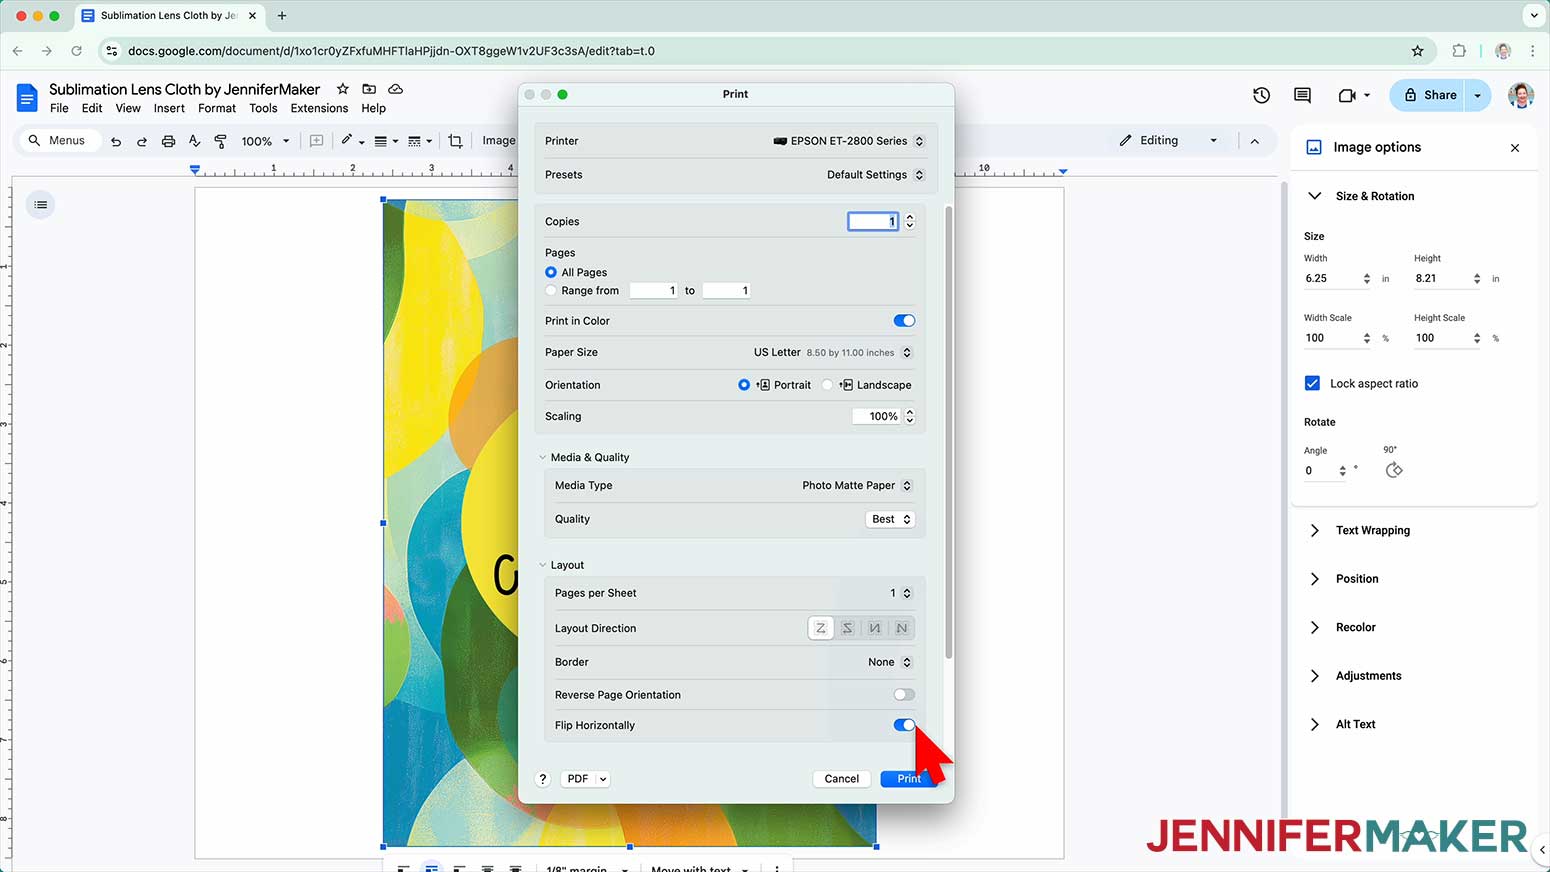
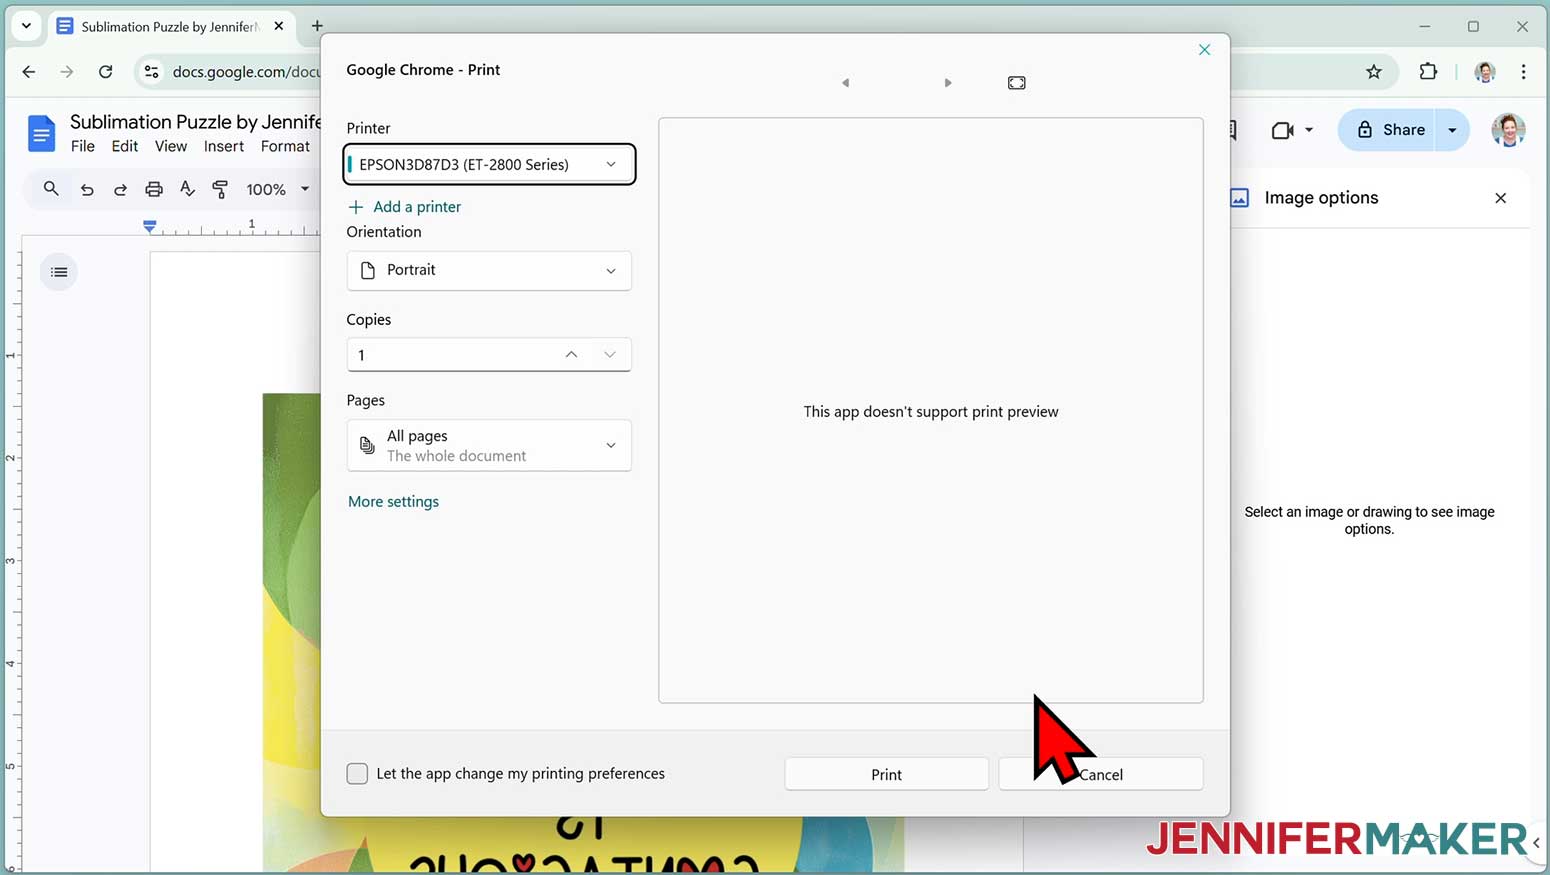
- Go to the File menu and choose “Print.”
- Select your sublimation printer under “Destination.”
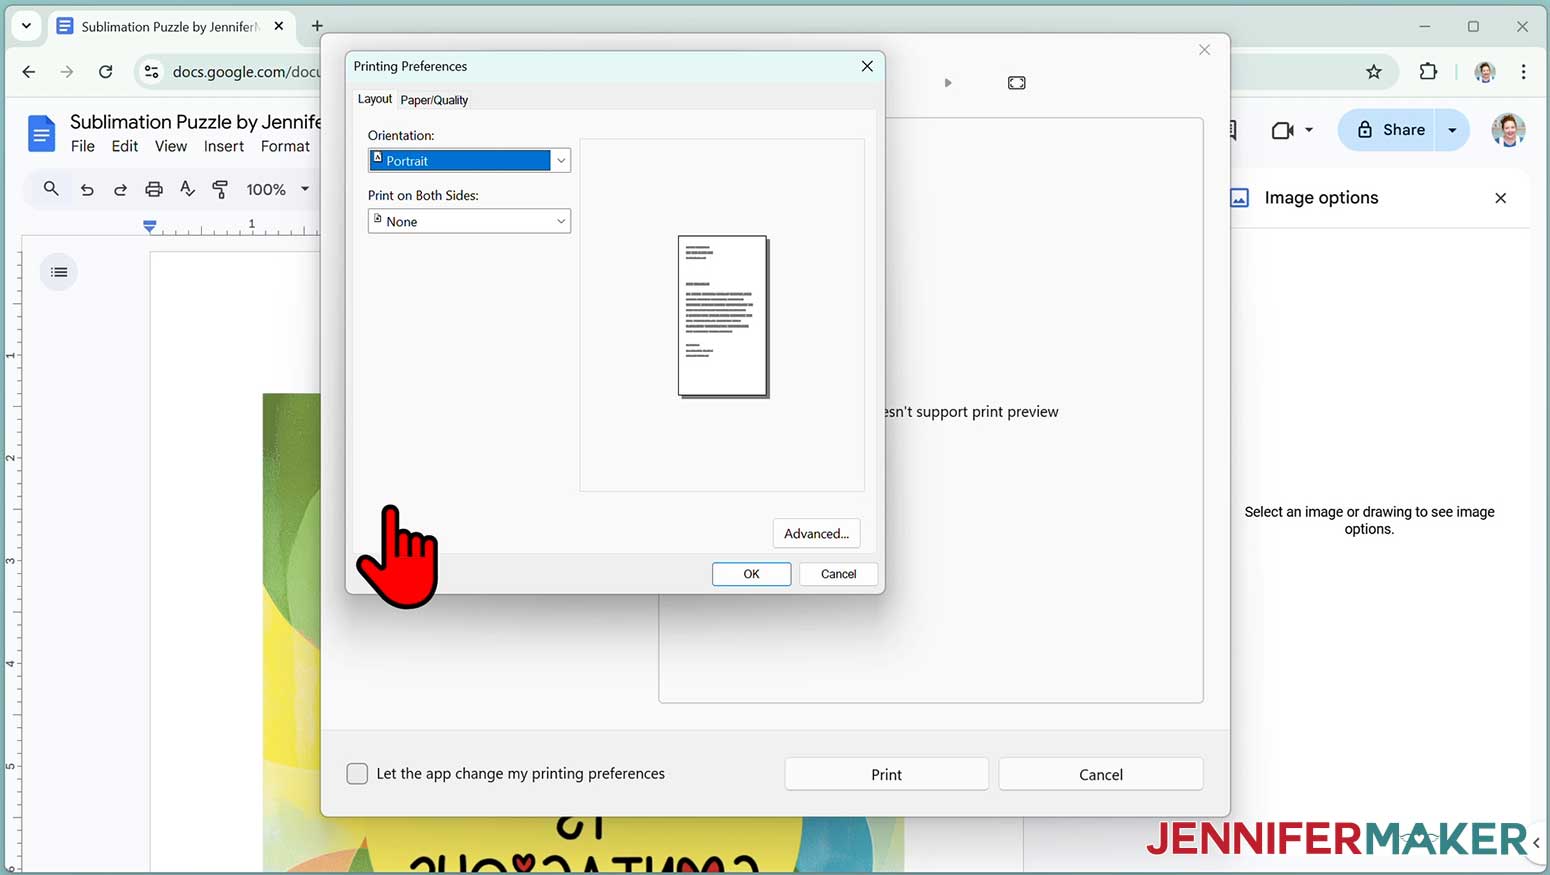
- Click the arrow beside “More Settings” to select “Print Using System Dialog.”
- Your print menu may look different - just make sure the sublimation printer is selected, that you “flip horizontally,” and select the highest quality matte paper setting.
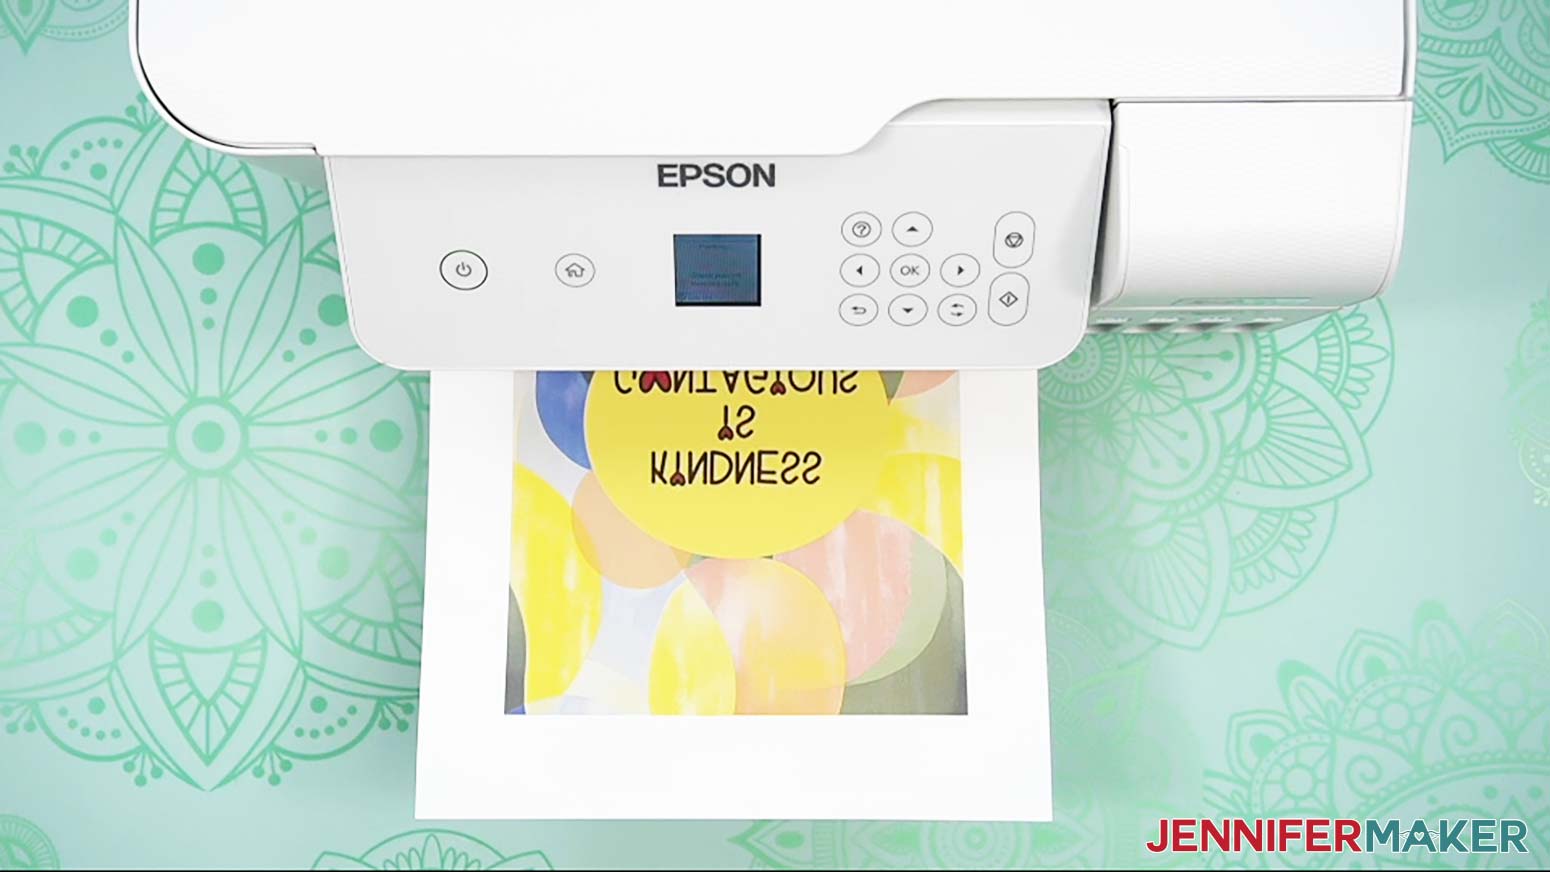
- Load sublimation paper correctly into your sublimation printer.
NOTE: Check the packaging for information on how to load the paper. - Click “Print.”
- Allow the print to dry before handling it, as the ink can smear.
NOTE: The printed design will appear lighter before pressing. - Your project is ready to press!
GOOGLE DOCS ON A WINDOWS COMPUTER
- Open Google Docs in the Google Chrome web browser on your computer.
NOTE: You will need a free Google account to use the free Google Docs software.
TIP: You can also download and open the Google Docs app, but you’ll have limited access to features, so I do not recommend it on a mobile device. - Click “Blank document” at the top left to open a new document.

- Go to the File menu and select “Page setup.”
- Check the box next to “Portrait.”
- Change your margins to “0” to use more of the page.
- Make sure your Paper Size matches your sublimation paper size. I’m using 8.5” x 11” or letter-size paper.
- Click “OK” to apply the settings.
- Click the area that says “Untitled document” at the top and type a name for the file.
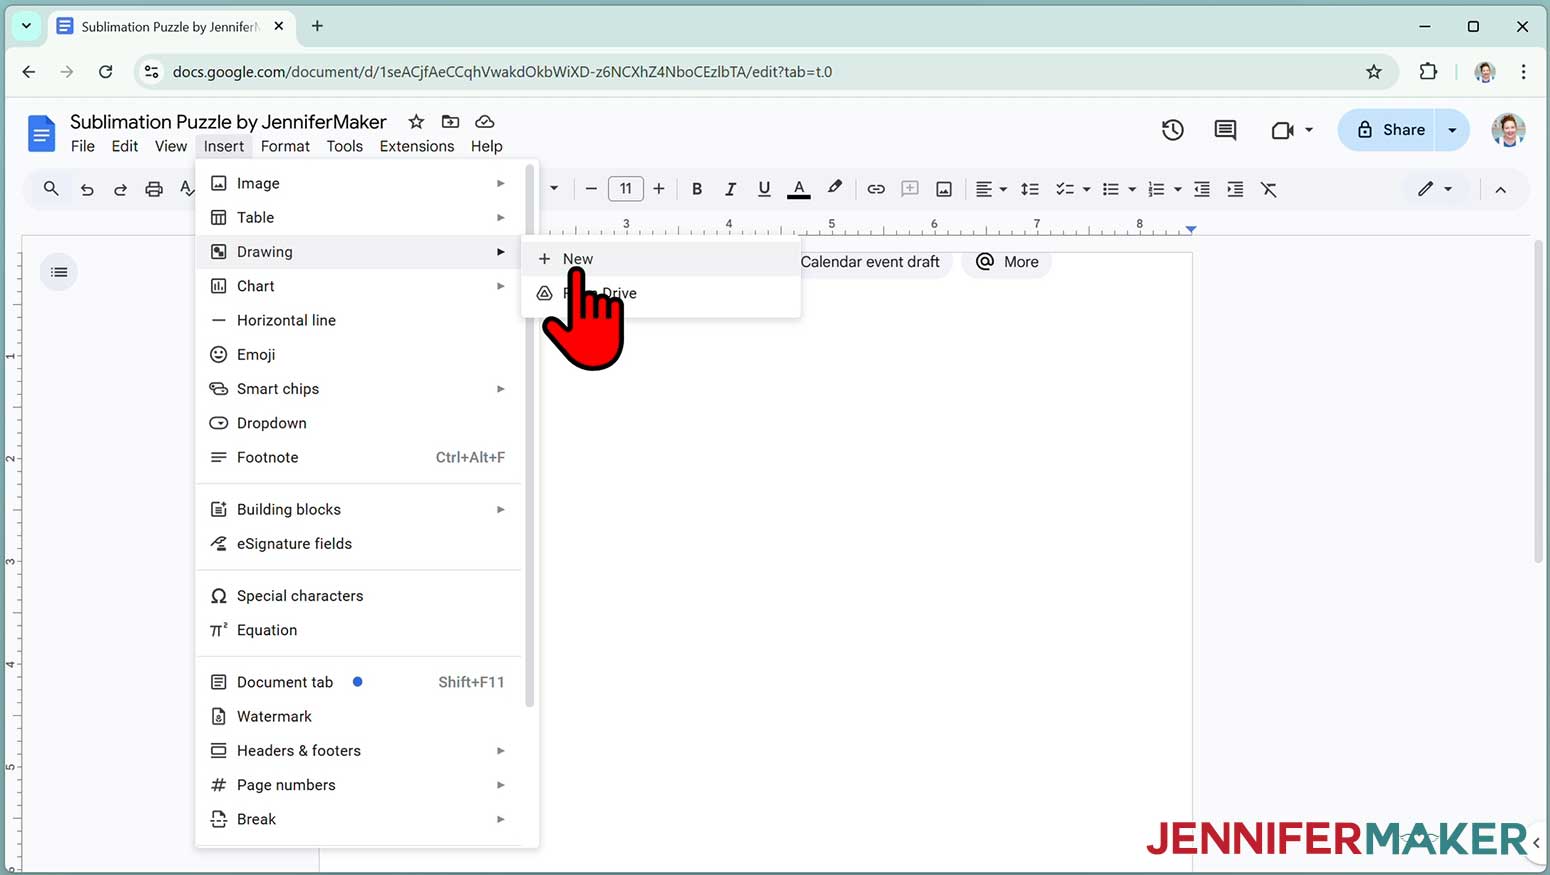
- Go to the Insert menu, select “Drawing,” and then “New.”
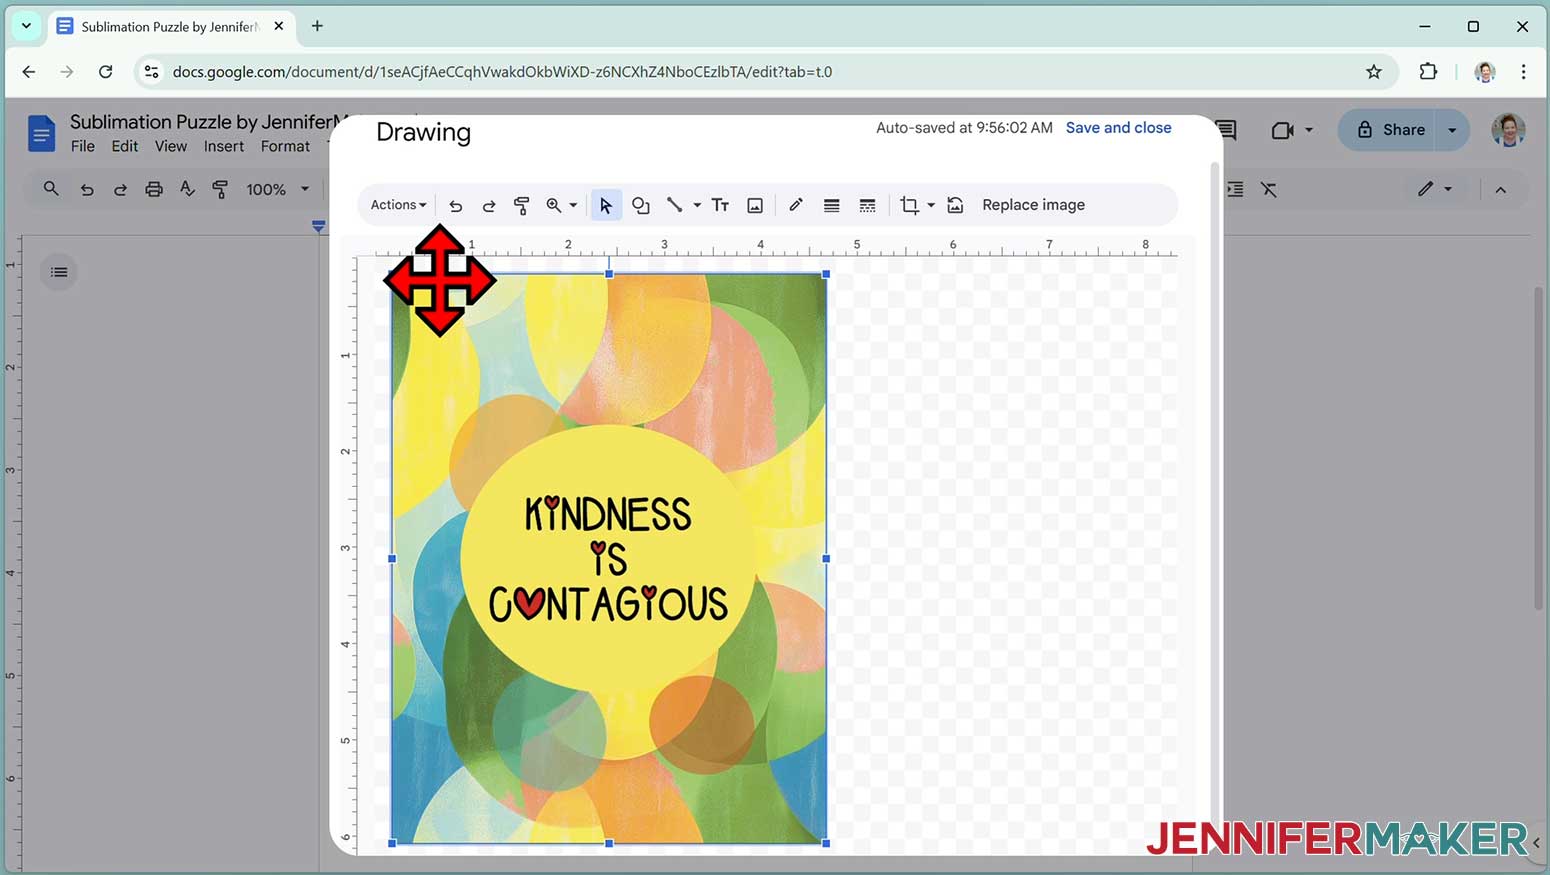
NOTE: This is an important step that is different from the Mac process and will let us mirror the image, which isn’t an option later in the printer settings. - In the Drawing pop up, click the image icon in the top toolbar.
- Click “Browse” and select the sublimation design you want to use. I’ll demonstrate with the Kindness design.
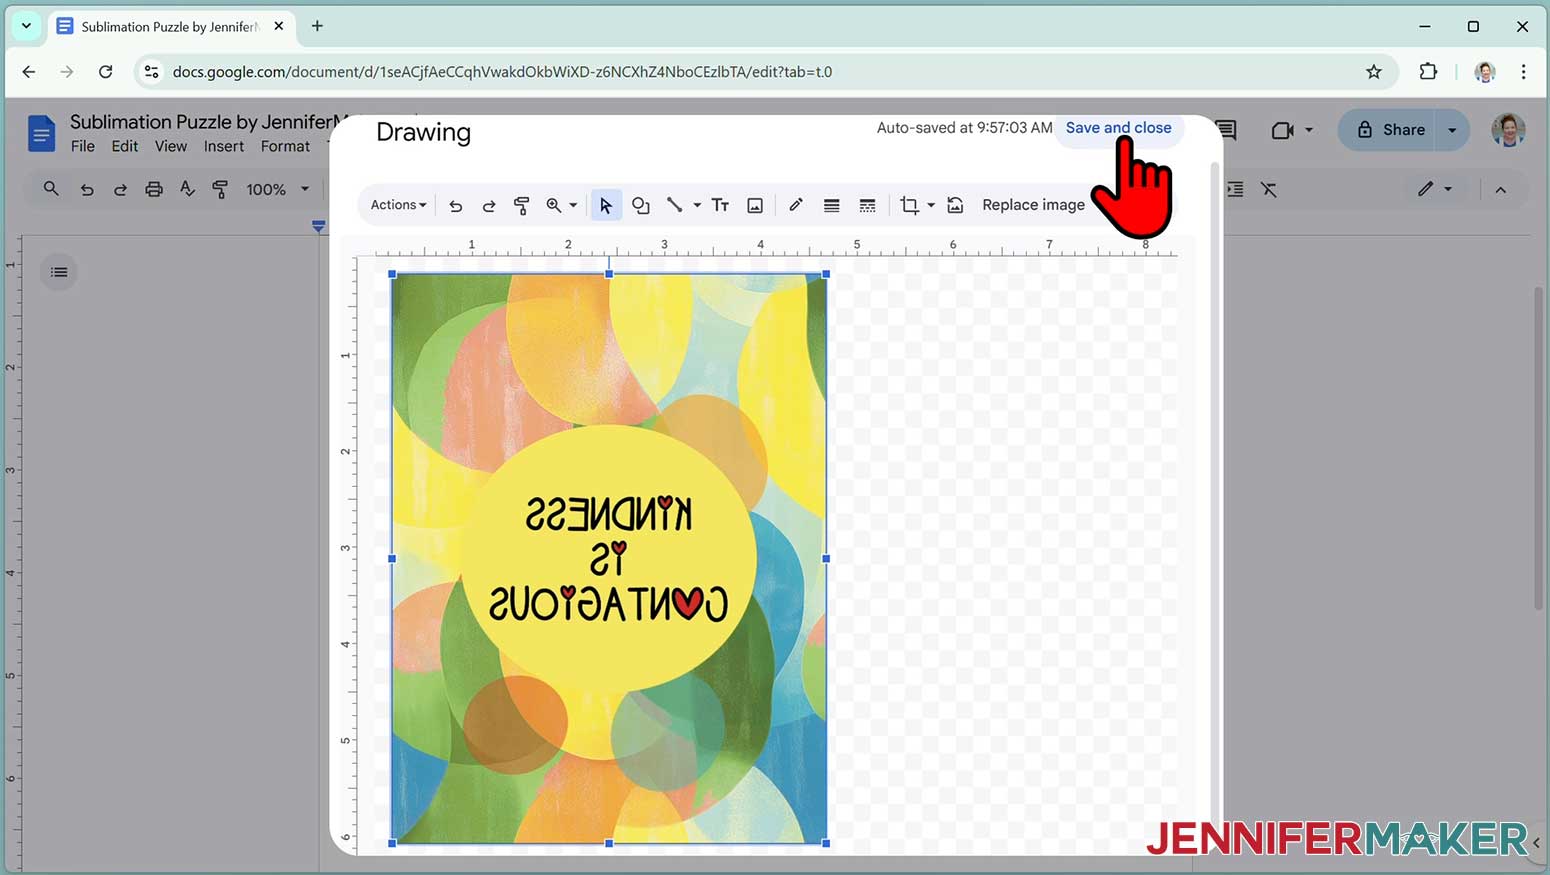
TIP: You’ll most likely find it in your Downloads folder. - Click “Actions” to pick “Rotate” and “Flip Horizontally” in the menu.
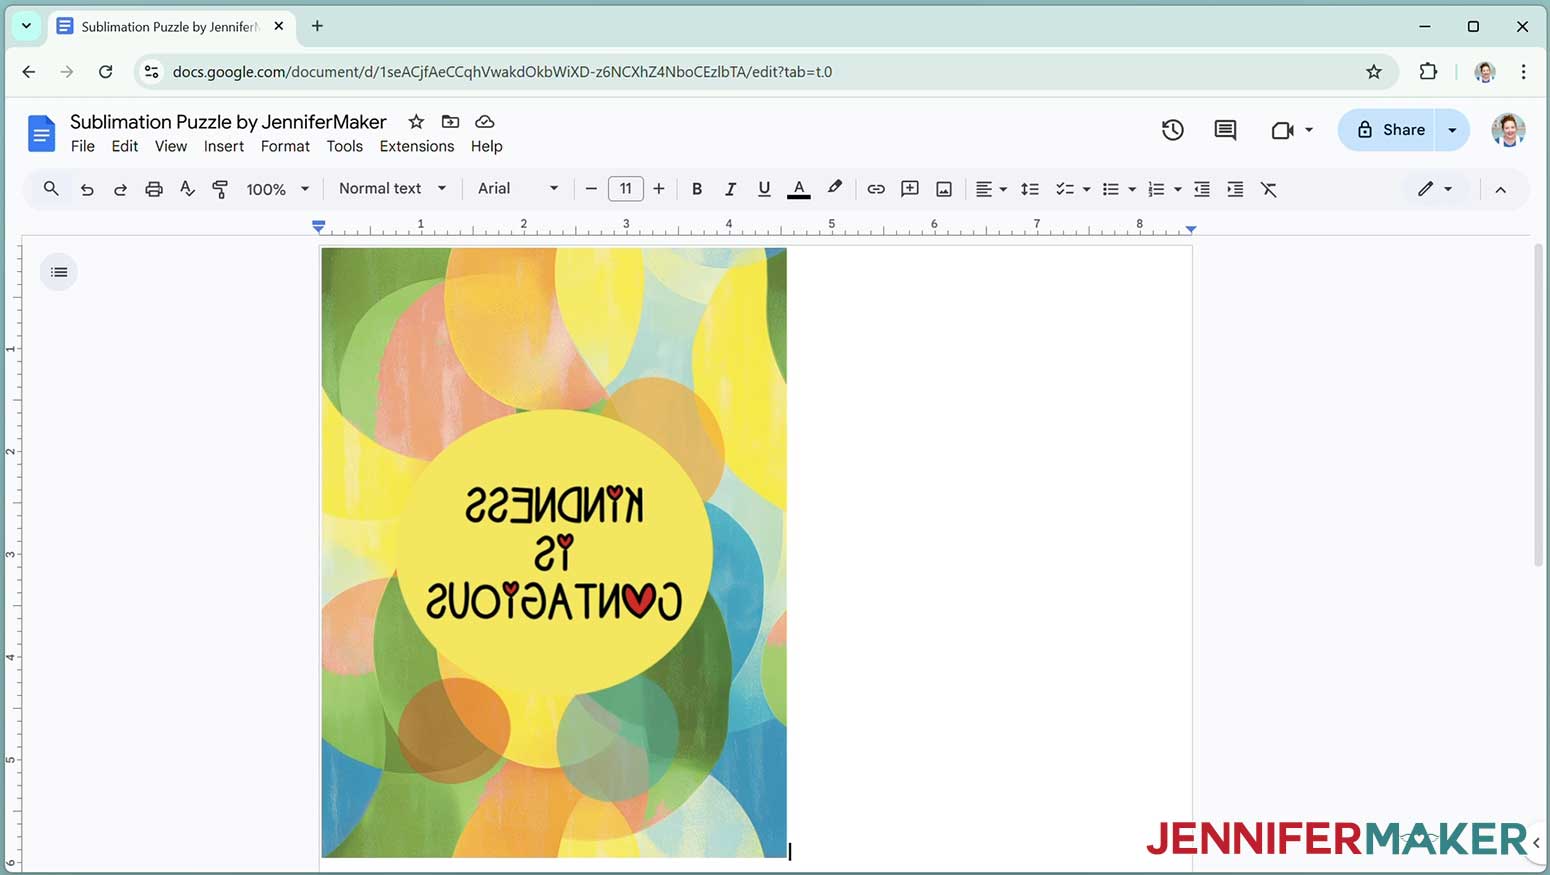
NOTE: You don’t have to worry about sizing at this point. - Once the image looks mirrored, click “Save and close” to close the Drawing pop up.
- The mirrored image will be placed on the Google Docs Canvas.
- Click “Image Options” at the top of the canvas.
NOTE: You can also open the menu by going to “Format,” “Image,” and “Image Options.” - Select “Size & Rotation.”
- Keep the “Lock aspect ratio” box checked to maintain the design’s proportions.
- Change the “Width” field to be slightly larger than the width you recorded earlier. Since my blank is 5 7/8", I’ll make my design 6.25” wide.
NOTE: It is best to make the print a little larger than the blank. This also makes it easier to tape the blank in position, depending on the preparation technique. - The “Height” field will automatically adjust proportionately.
- Click the image and select the “Wrap text” icon from the menu that appears below it.
NOTE: This setting lets you move the design anywhere on the page. - Click and drag the image to the center of your page, as that ensures it won’t get cut off at the edges.
- Go to the File menu and choose “Print.”
- Select your sublimation printer under “Destination.”
- Click the arrow beside “More Settings” to select “Print Using System Dialog.”
- Your print menu may look different - just make sure the sublimation printer is selected and select the highest quality matte paper setting.
NOTE: Remember, we already flipped the image horizontally so it’s ready to be transferred with heat. - Load your sublimation paper correctly into your sublimation printer.
NOTE: Check the packaging for information on how to load the paper. - Click “Print.”
- Allow the print to dry before handling it, as the ink can smear.
NOTE: The printed design will appear lighter before pressing.

STEP 4: PREPARE YOUR QUICK SUBLIMATION PROJECTS
IMPORTANT: As with all sublimation projects, turn on a fan and open a window to improve your ventilation before beginning.
QUICK SUBLIMATION PUZZLE
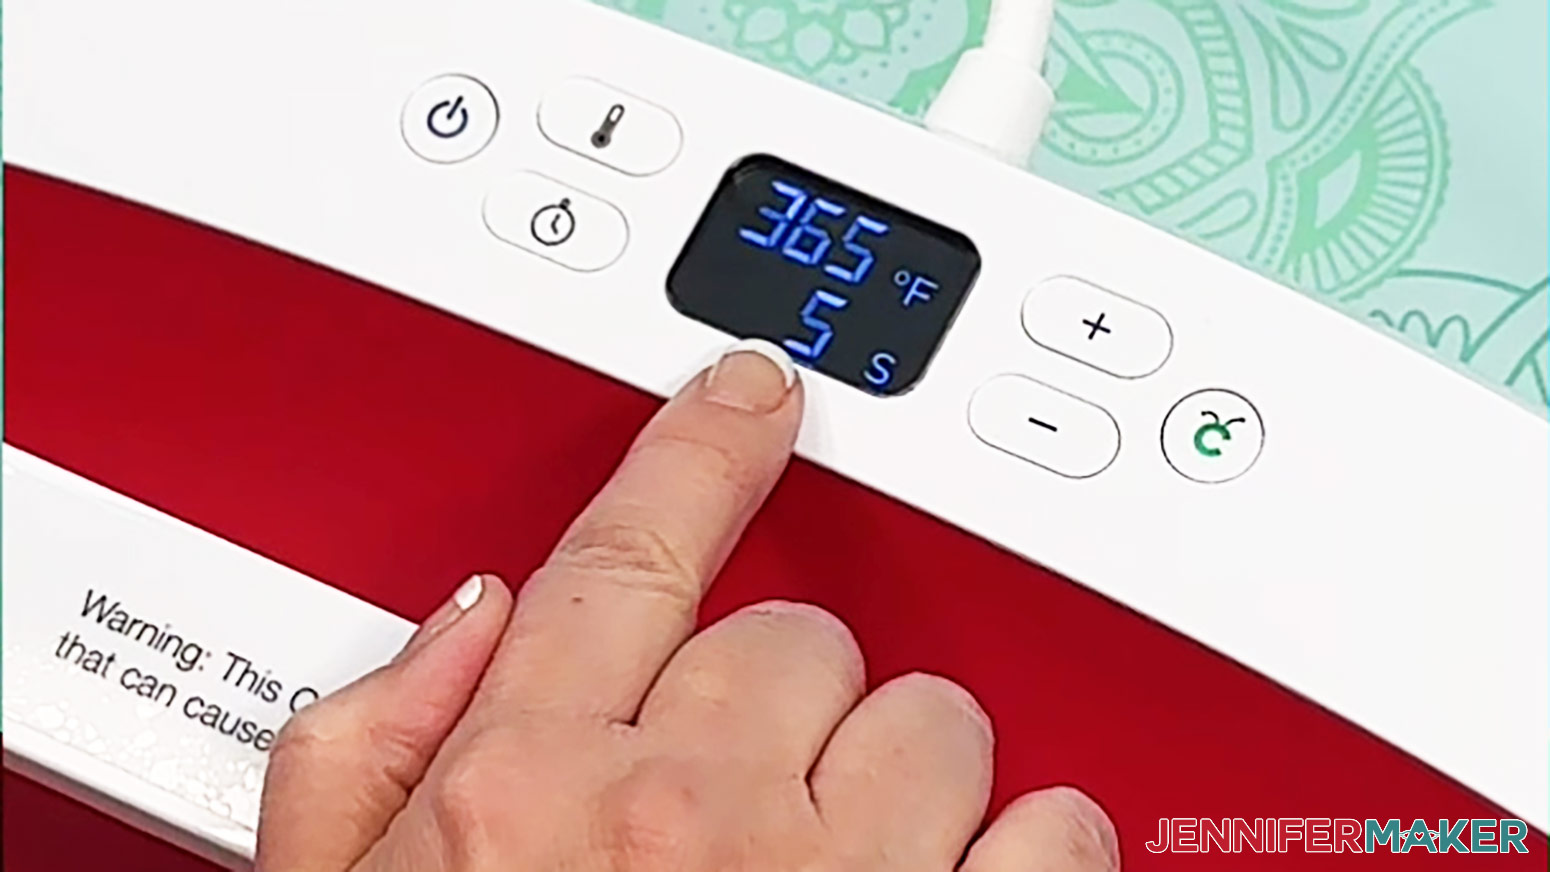
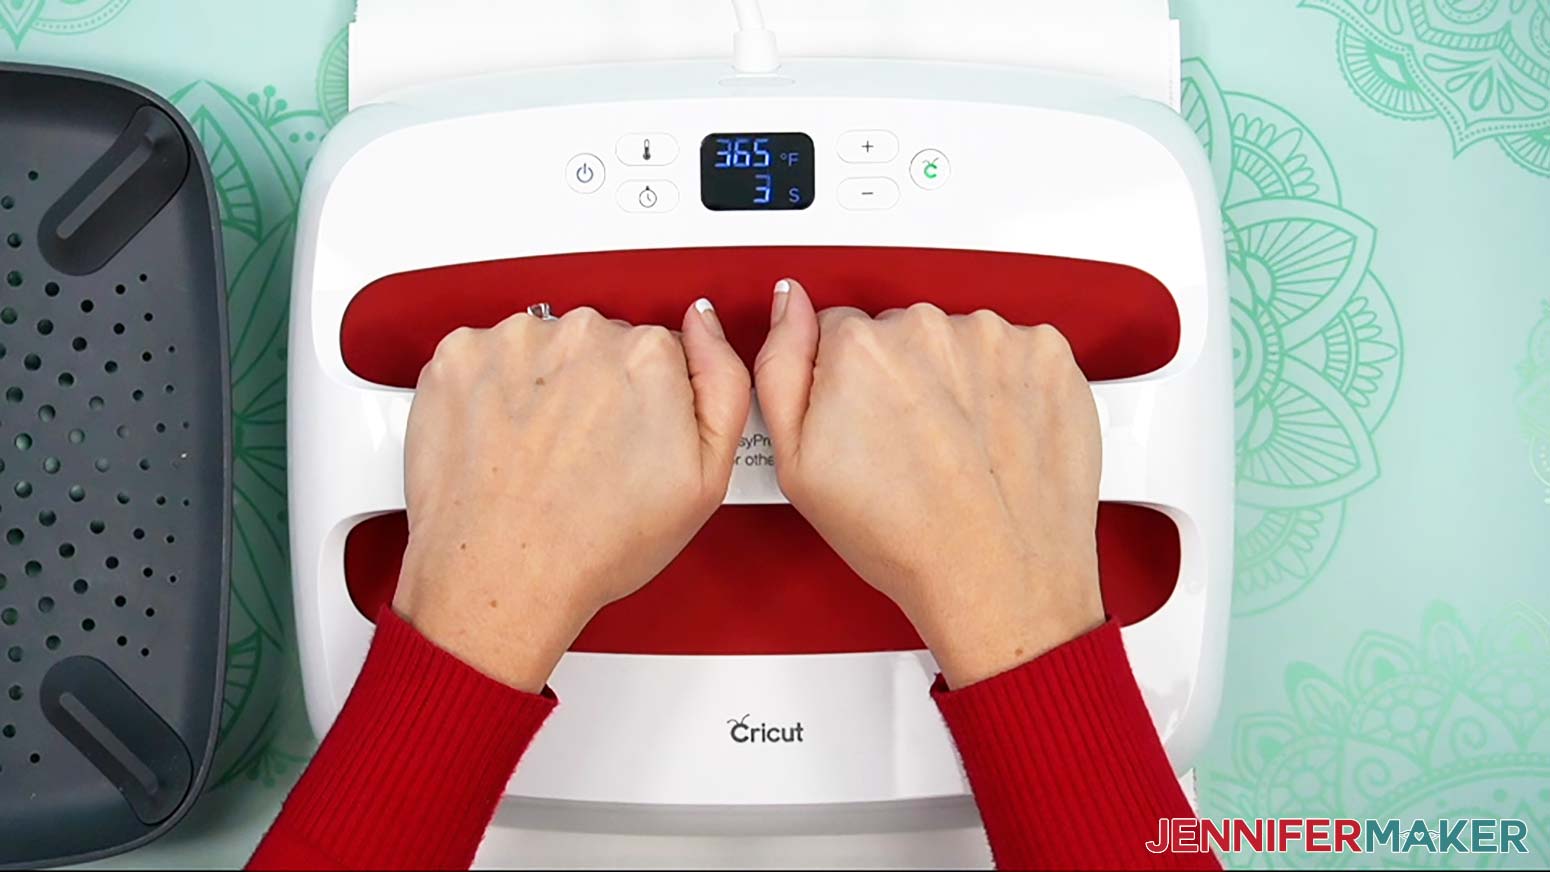
- Set your heat press to the correct temperature and time. According to my Sublimation Cookbook, the EasyPress 2 needs to be set at 365° F (185° C) and 5 seconds to preheat these MDF puzzles.
- Place your pressing mat on your work surface with a piece of white cardstock on top of the pressing mat to protect it..
- Use a lint roller to remove debris from the puzzle, which can interfere with the design.
- Place the puzzle on the pressing mat with white uncoated butcher paper on top to protect it from the direct heat.
- Press the puzzle for 5 seconds to remove any moisture, which can also interfere with the design's transfer.
- Set it aside to cool in a clean area.
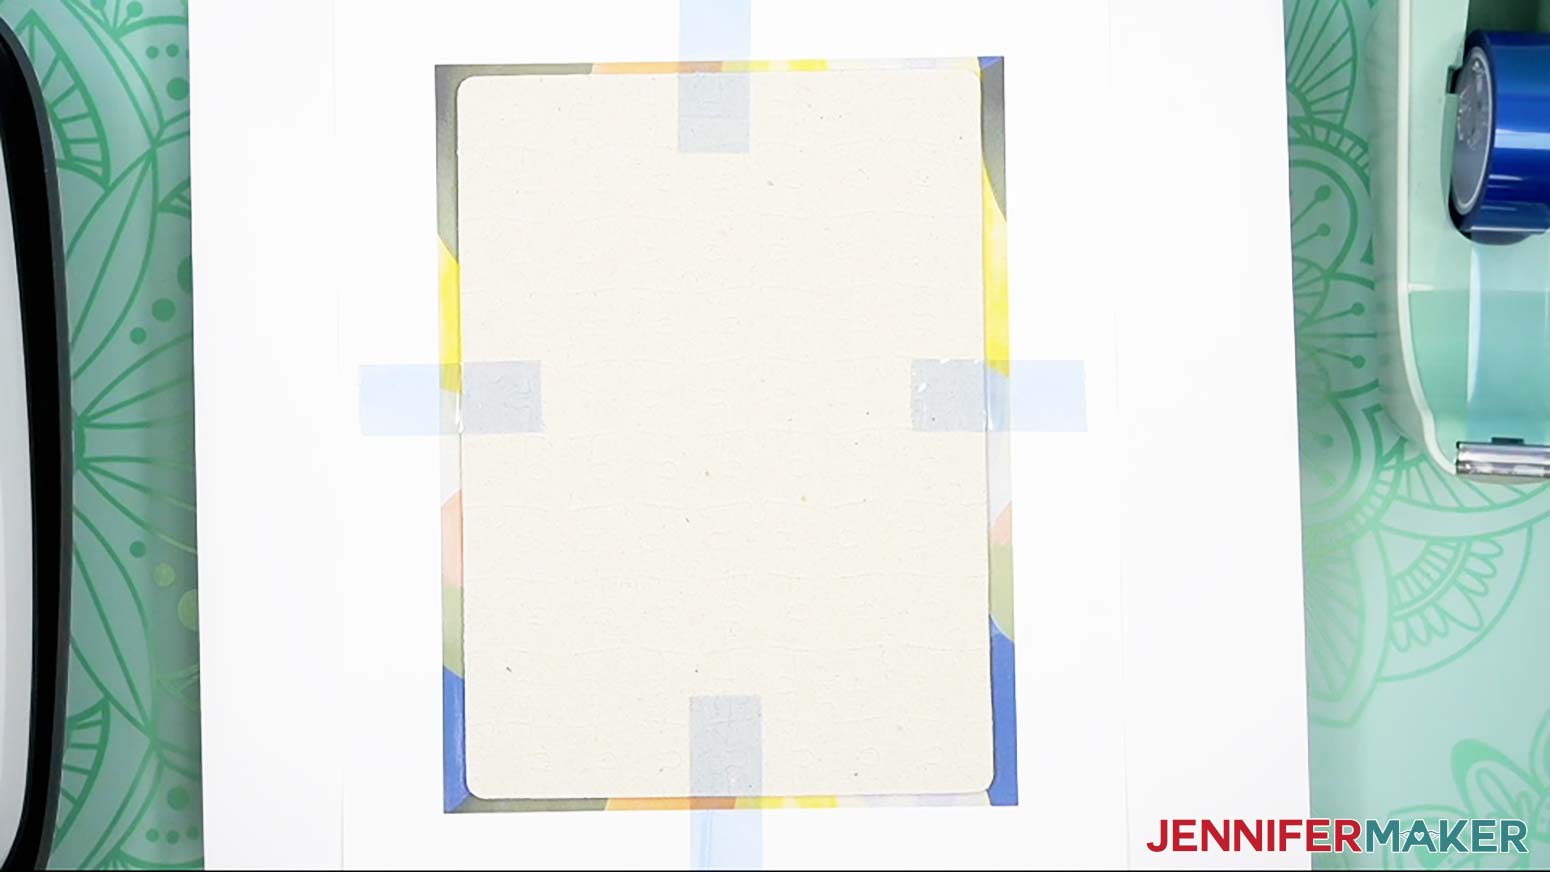
- Put the printed design face up on the cardstock.
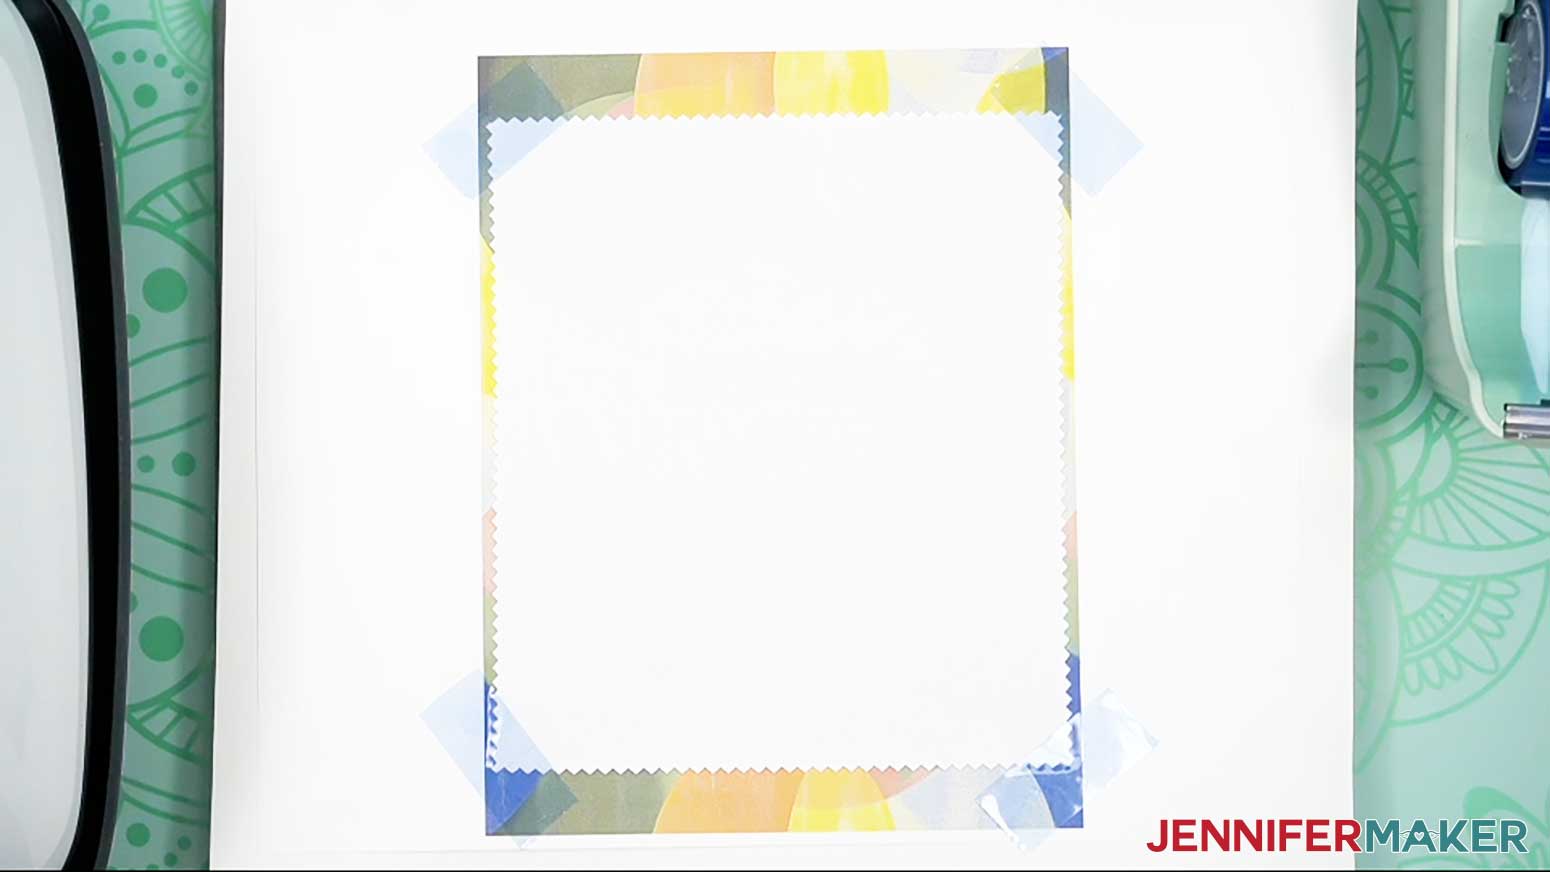
- Place the puzzle face down on the print and center it so there is an even border of color around the edges.
- Use heat-resistant tape to secure its edges to the paper so it won't shift.
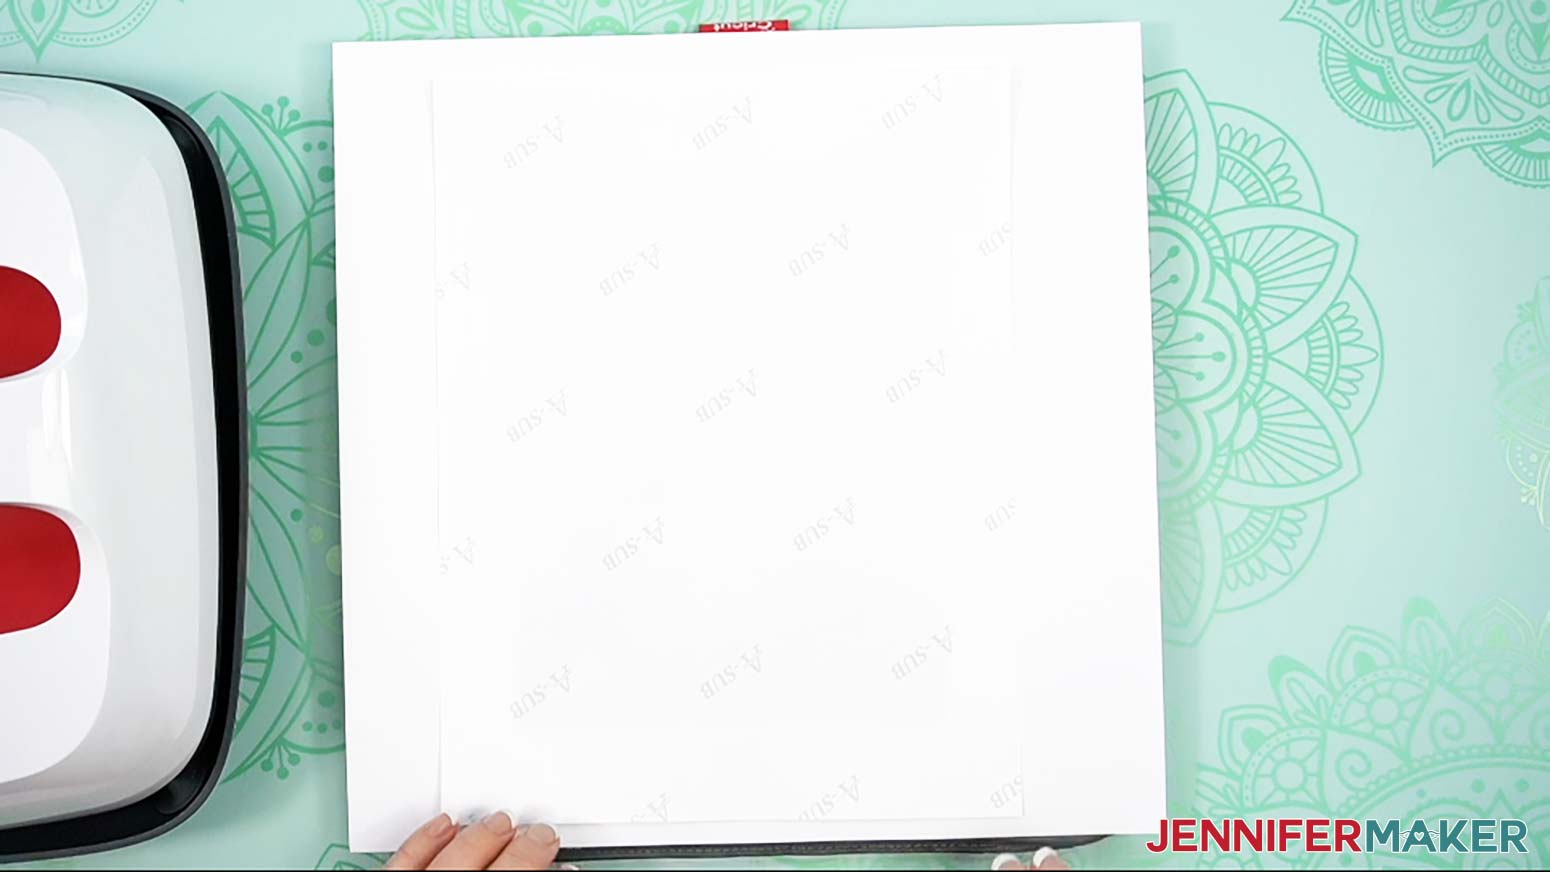
- Turn the taped print and puzzle over and place them on the cardstock.
- Add white uncoated butcher paper on top of the design to protect your press.
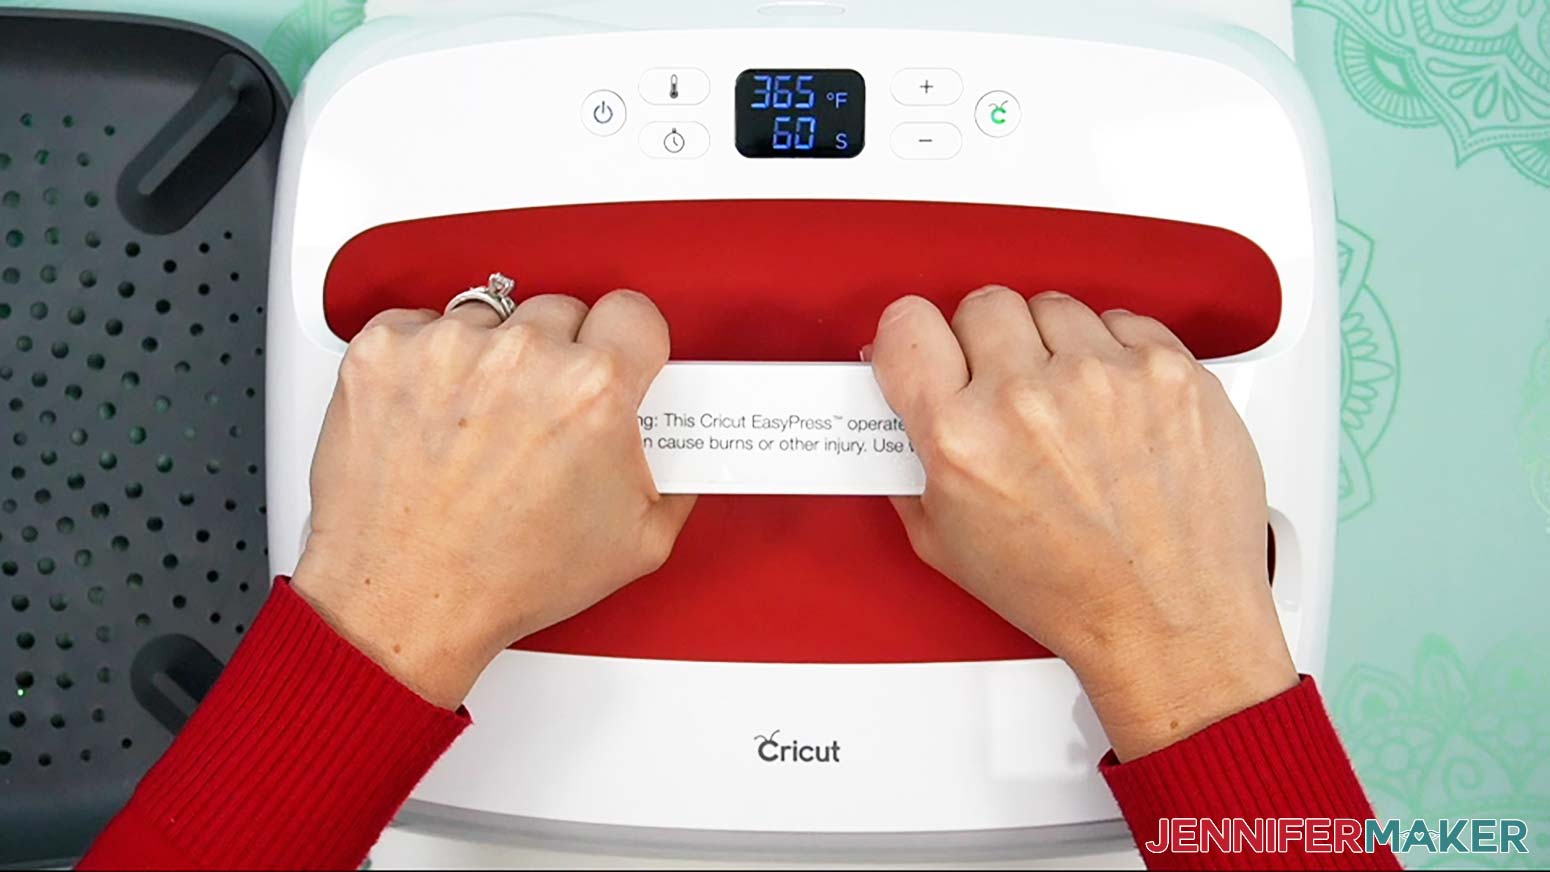
- Keep the press at 365° F (185° C) and set it for 60 seconds.
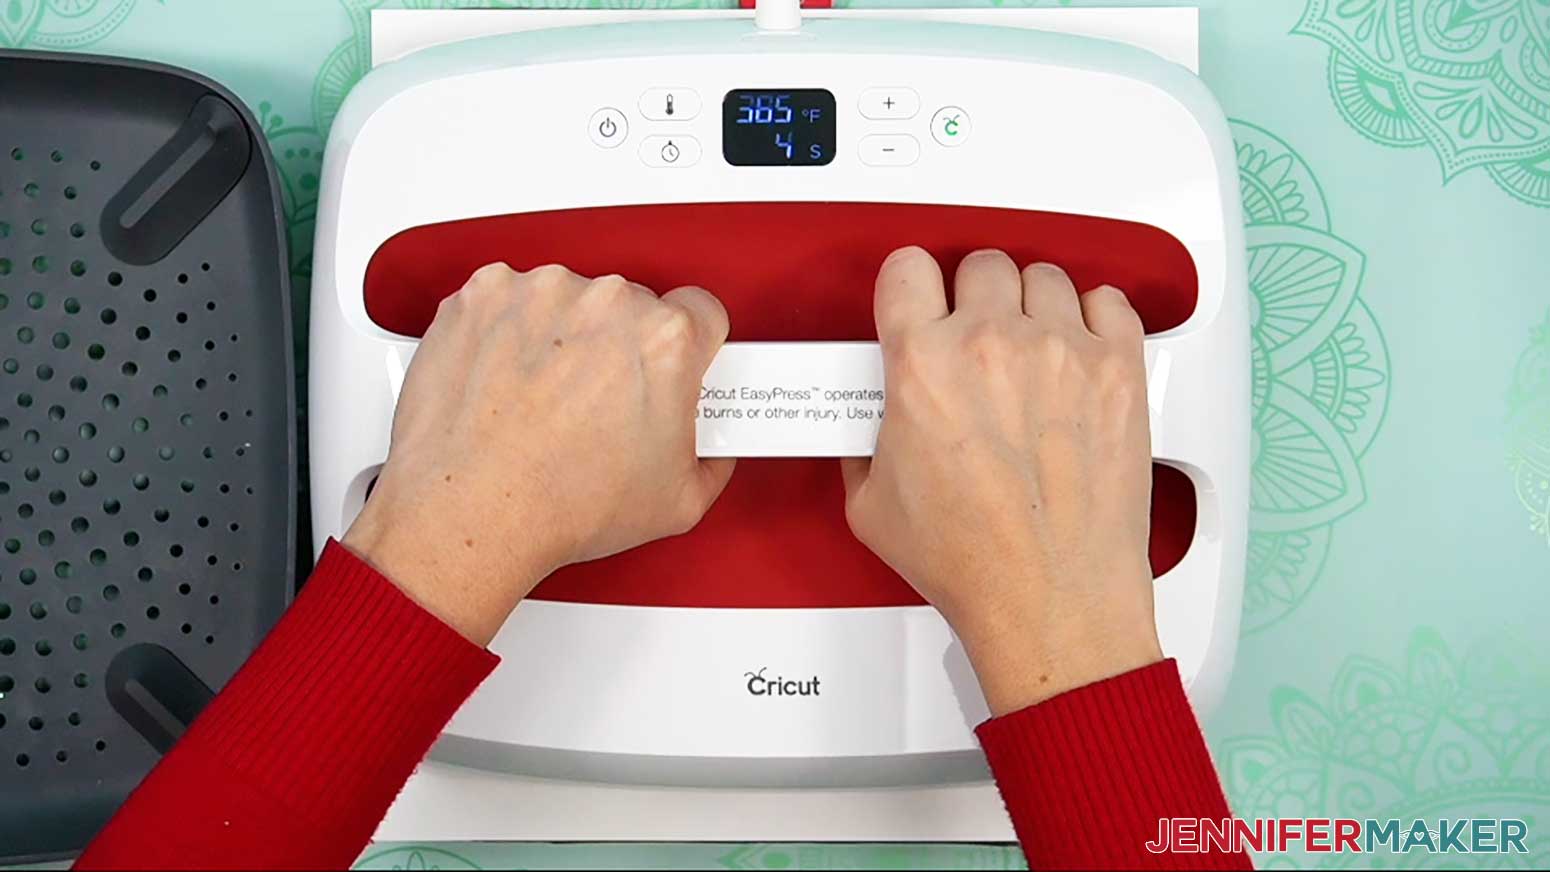
- Lower the press straight down on the design and heat it for 60 seconds with light pressure.
- When the time is up, lift the press straight up to avoid blurring the design by shifting the materials while the ink is still sublimating.
- Remove the butcher paper and let the project cool for about 10 seconds.
- Then flip over the project and remove the design to see your results!
LENS CLOTH
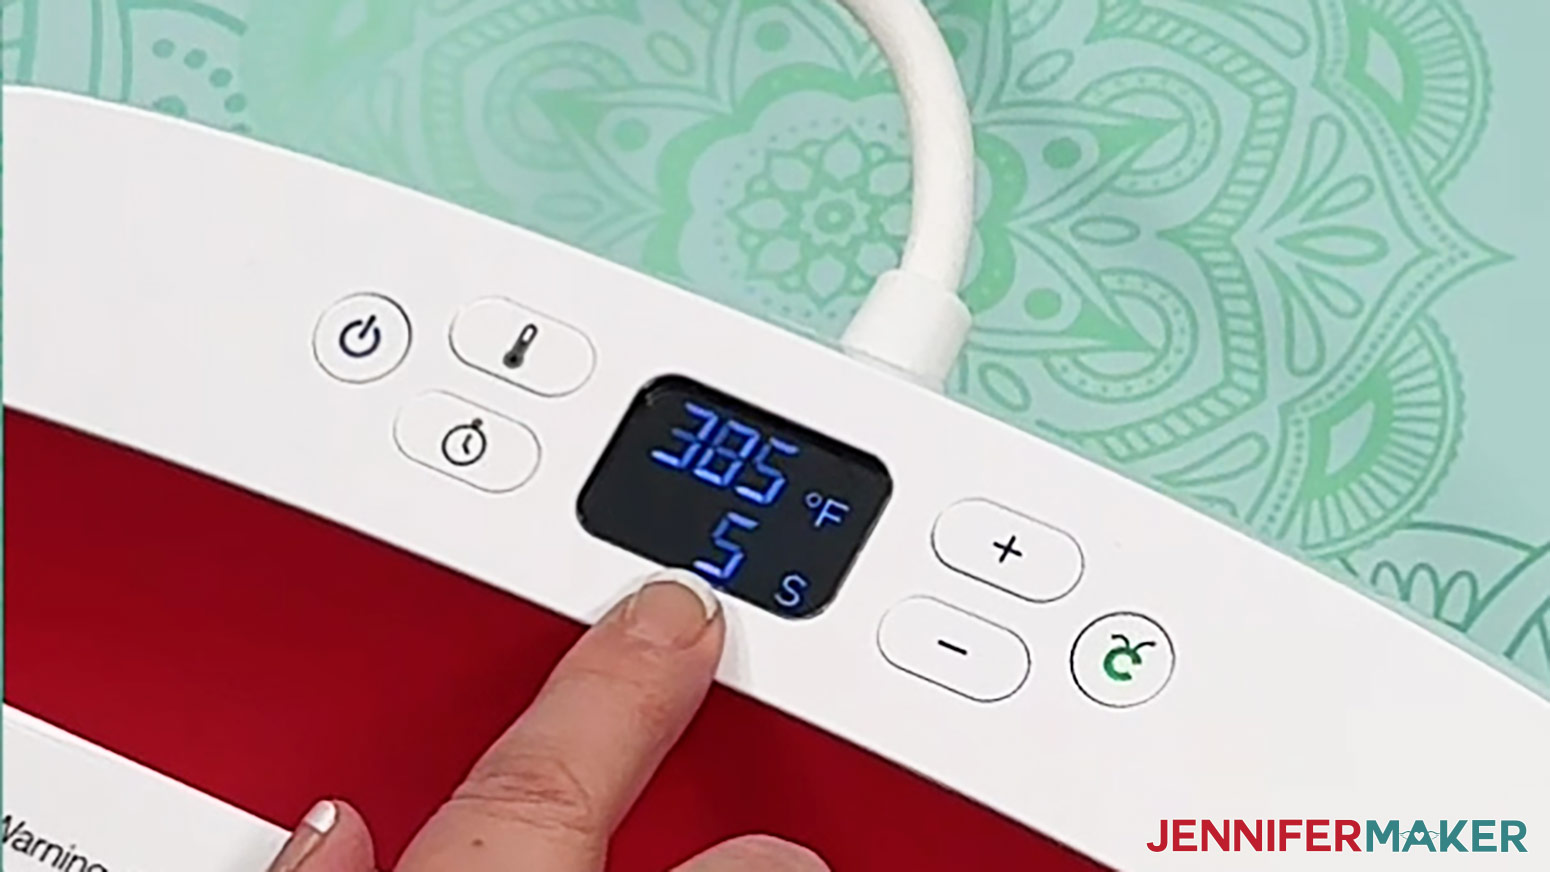
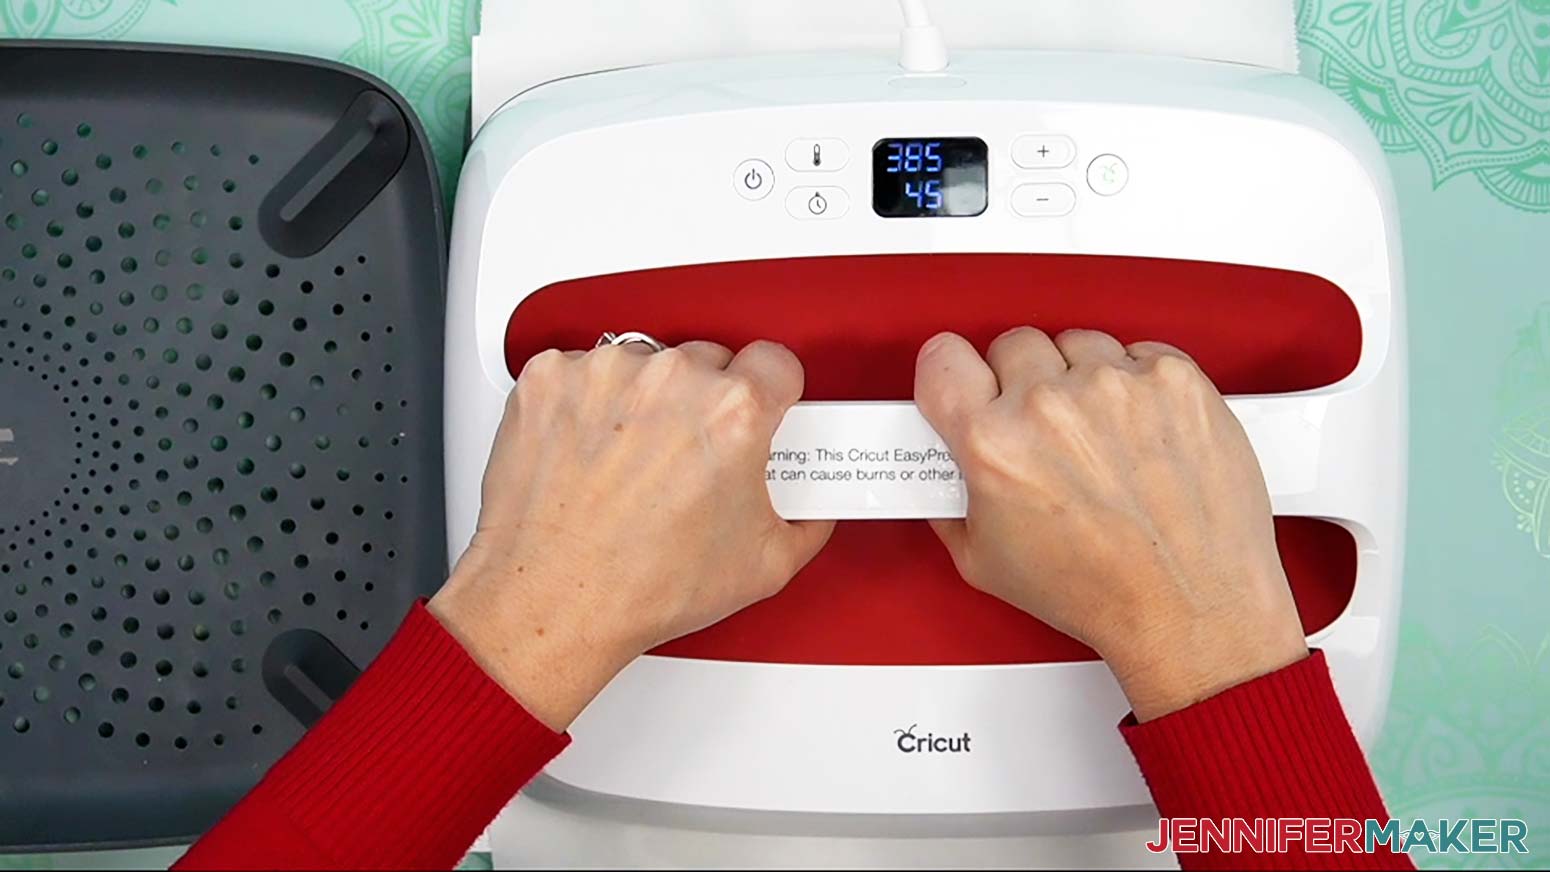
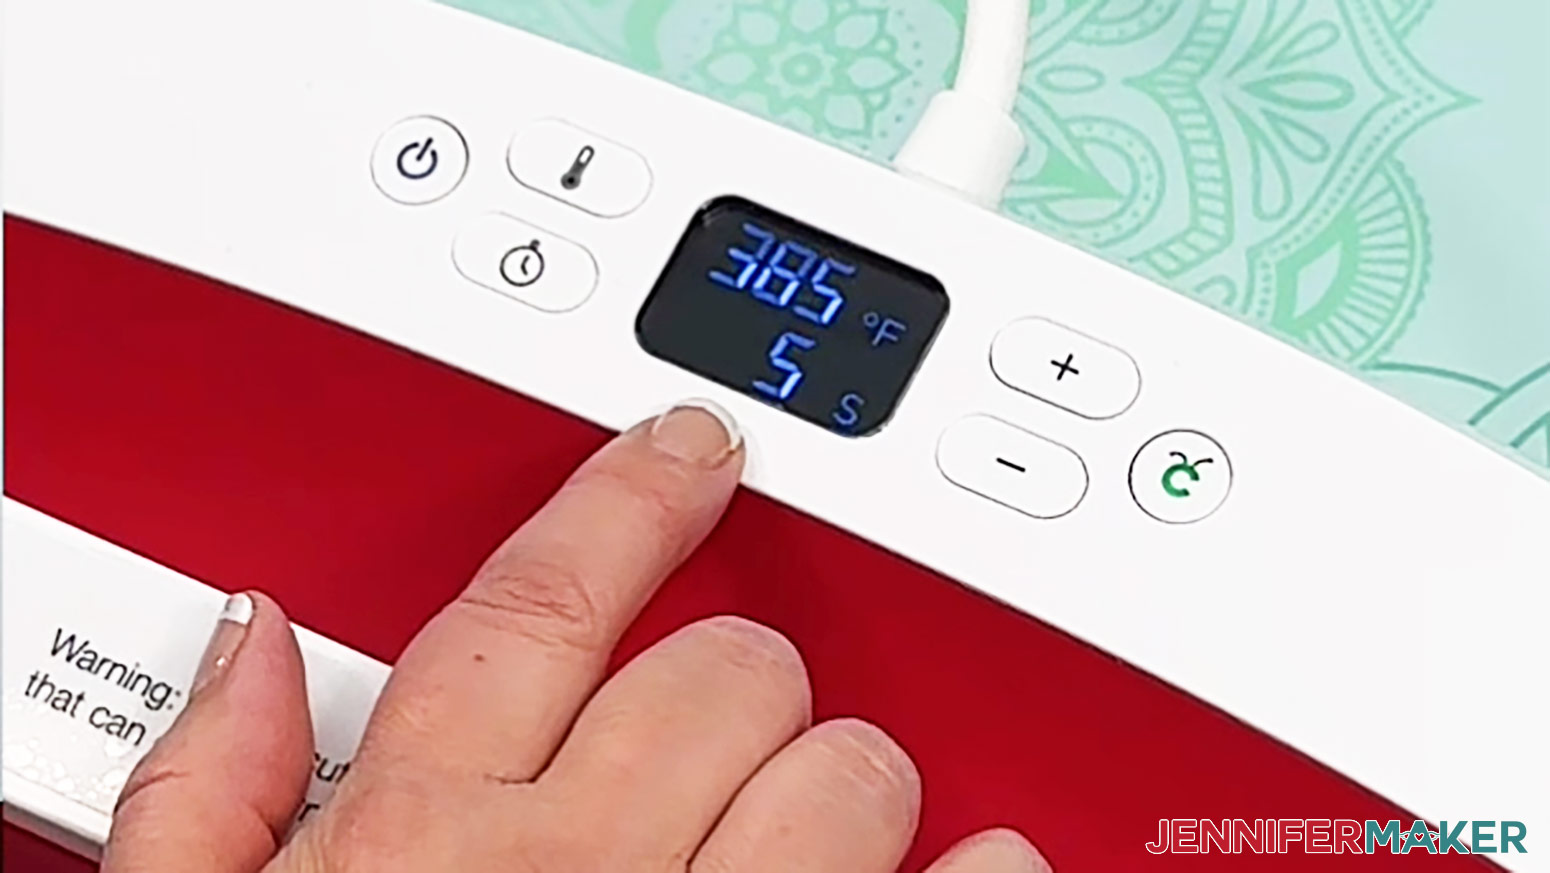
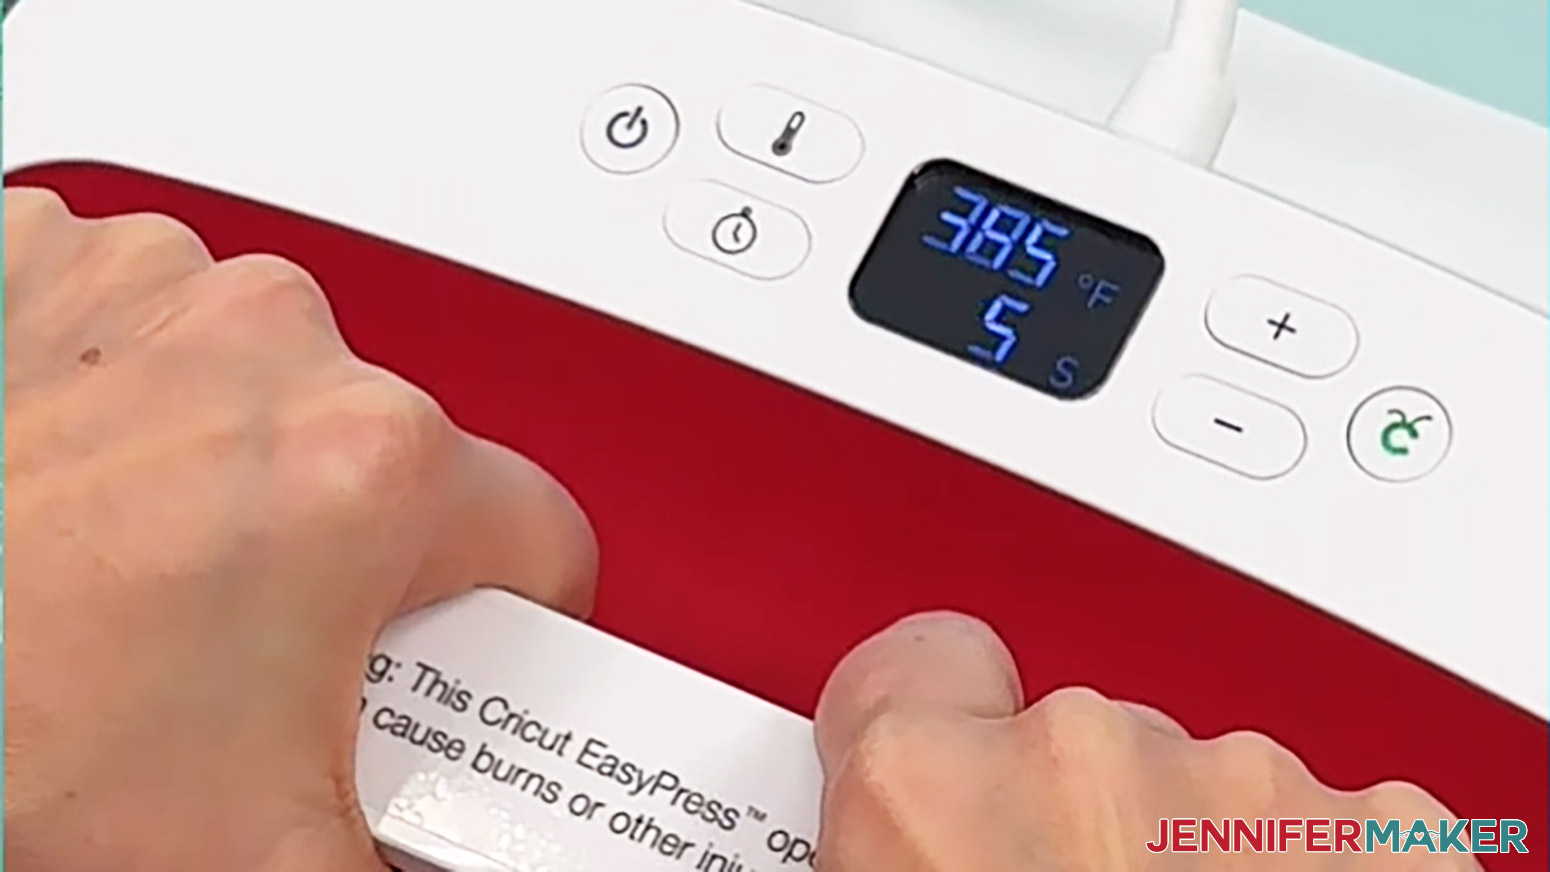
- Set your heat press to the correct temperature and time. According to my Sublimation Cookbook, the EasyPress 2 needs to be set at 385° F (196° C) and 5 seconds to preheat polyester fabric.
- Place your pressing mat on your work surface.
- Place a piece of white cardstock on top of the pressing mat to protect it.
- Use a lint roller to remove debris from the cleaning cloth, which can interfere with the design.
- Place the cloth on the protected pressing mat and make sure there are no wrinkles.
- Press the cloth for 5 seconds to remove any wrinkles or moisture, which can also interfere with the design's transfer.
- Set it aside to cool in a clean area.
- Put the printed design face up on the cardstock.
- Place the cleaning cloth face down on the print and center it so there is ink around all of the fabric’s edges.
NOTE: The amount of ink showing on each side will depend on the design’s proportions. - Use heat-resistant tape to secure its edges to the paper so it won't shift.
- Turn the taped print and cloth over and place them on the cardstock. Make sure there are no wrinkles.
- Add a sheet of white uncoated butcher paper on top of the design to protect your press.
- Keep the press at 385° F (196° C) and set it for 45 seconds.
- Lower the press straight down on the design and heat it for 45 seconds with light pressure.
- When the time is up, lift the press straight up to avoid blurring the design by shifting the materials while the ink is still sublimating.
- Remove the butcher paper and let the project cool for about 10 seconds.
- Then flip over the cloth and remove the design to see your results!
ALUMINUM PHOTO BLANK
- Set your heat press to the correct temperature and time. According to my Sublimation Cookbook, the EasyPress 2 needs to be set at 385° F (196° C) and 5 seconds to preheat aluminum sublimation blanks.

- Place your pressing mat on your work surface with a piece of white cardstock on top to protect it.
- If your photo blank has a protective film, remove it from both sides.
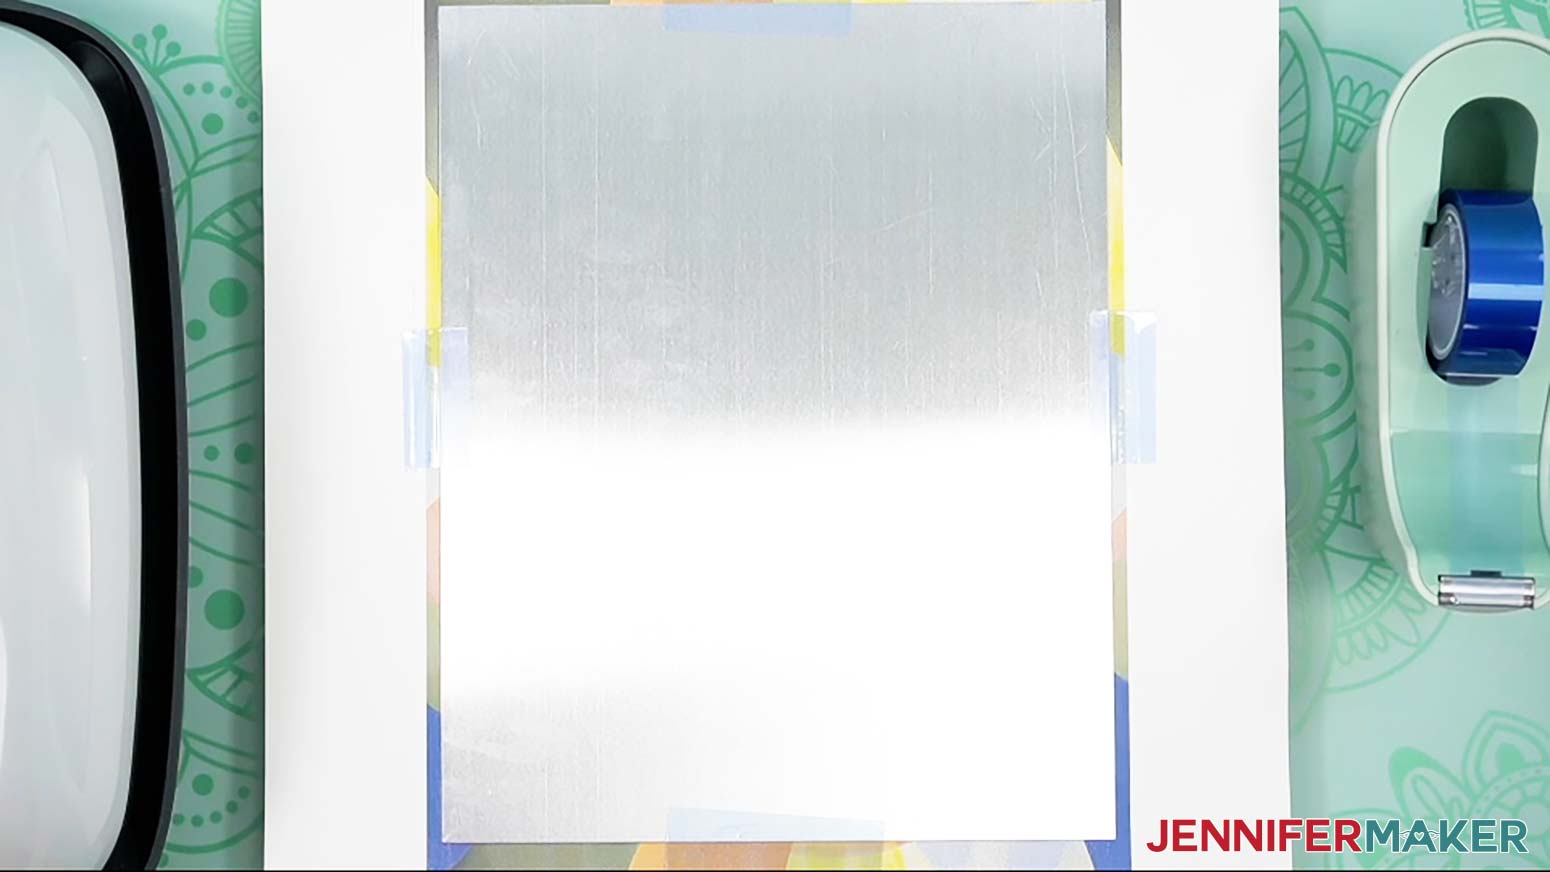
- Place the blank with the white sublimation surface face up on the protected pressing mat and put uncoated white butcher paper on top to keep it from getting too hot.
- Preheat the metal for 5 seconds in case there is any moisture on it.
- With your heat-resistant gloves on, set it aside to cool in a clean area.
- Put the printed design face up on the cardstock.
- Place the metal blank face down on the print and center it so there is ink around all the edges.
NOTE: The amount of ink showing on each side will depend on the design’s proportions. - Use heat-resistant tape to secure its edges to the paper so it won't shift.
- Add a sheet of white uncoated butcher paper on top of the design to protect your press from excess ink.
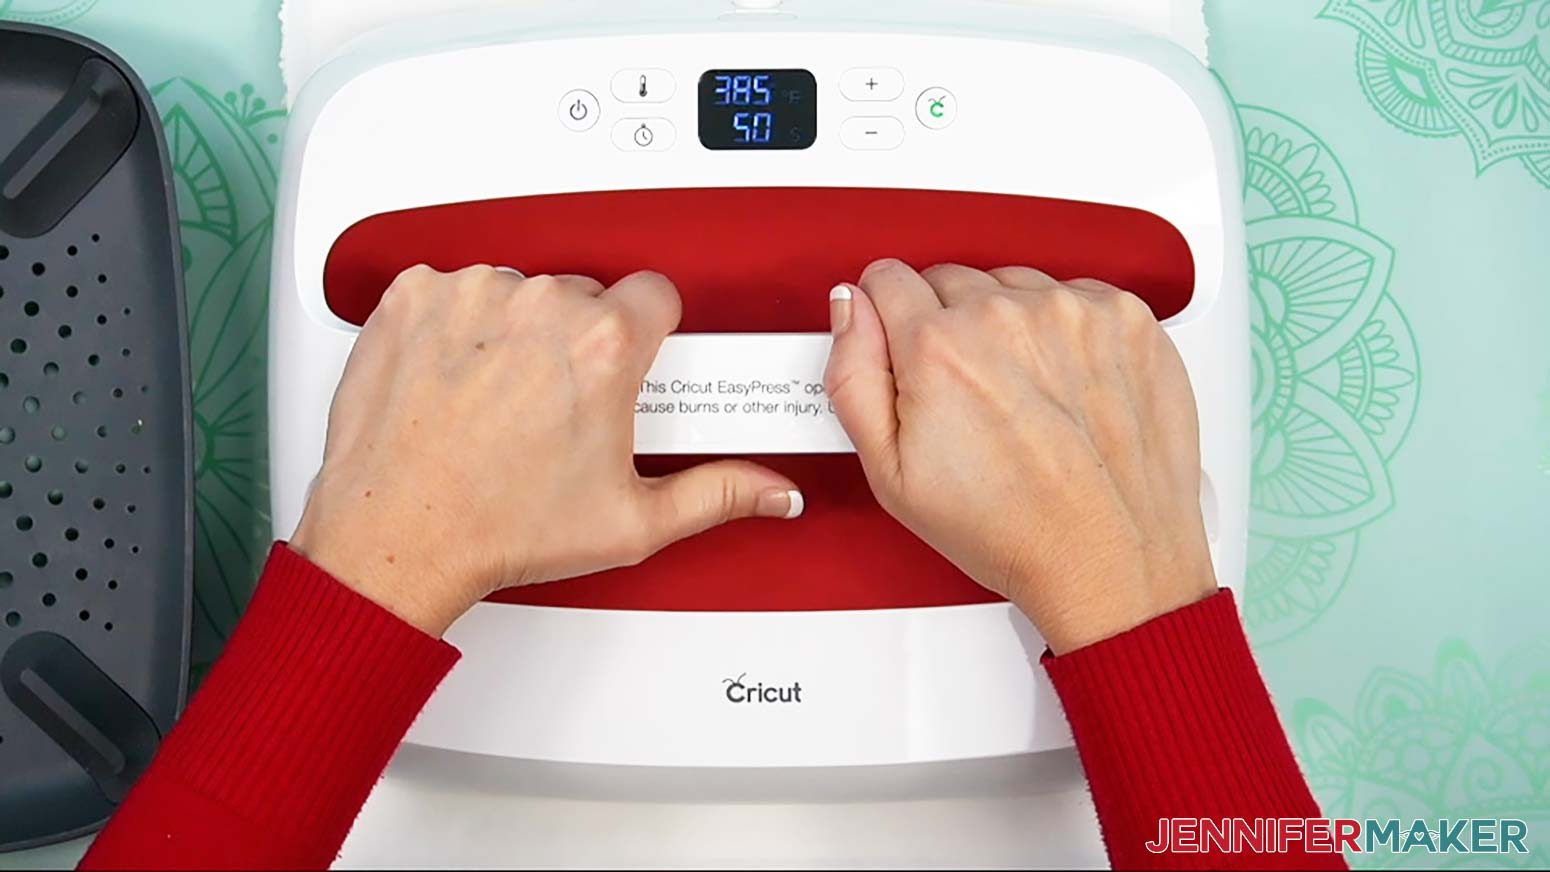
- Keep the press at 385° F (196° C) and set it for 50 seconds.
- Lower the press straight down on the design and heat it for 50 seconds with light pressure.
- When the time is up, lift the press straight up to avoid blurring the design by shifting the materials while the ink is still sublimating.
- Remove the butcher paper and let the project cool for a few minutes until it’s safe to touch.
- Then remove the design to see your results!
STEP 5: SHOW IT OFF
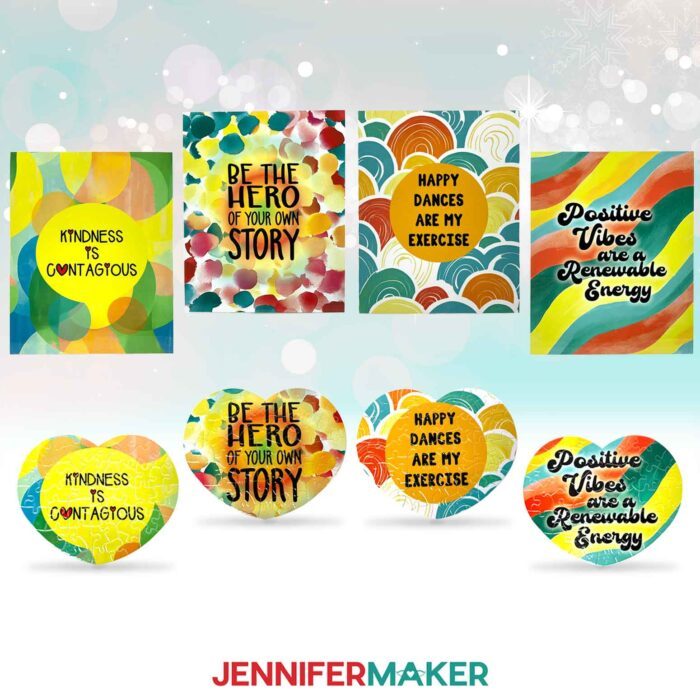
Here are the finished quick sublimation projects!
Notes
Finished Sizes:
Finished Lens Cloth Size: 6" x 7"
Finished Puzzle Size: 8” x 6”
Finished Aluminum Photo Print Size: 8” x 10”
Care Instructions:
Puzzle: Wipe assembled puzzle clean with a lint free cloth
Lens Cloth: Machine wash in cold water with mild detergent
Aluminum Photo Blank: Wipe clean with a lint free cloth
Typefaces Used:
JM Block Caps
JM Sweet
Brenson Charlotte free alternative: Retrovert
JM Merry
Recommended Products
As an Amazon Associate and member of other affiliate programs, I earn from qualifying purchases.
Answers to Your Questions About Making Quick Sublimation Projects with Sublimation Software for Epson Printers
Q: I want to sublimate a different shaped blank. How do I modify these designs to fit?
A: You can learn how to create a custom shaped sublimation transfer using Canva in my ADVANCE program. Learn more about ADVANCE here!
Q: How do I know what software to use for sublimation printing?
A: There are different sublimation printing software options out there, but I prefer Google Docs. This tutorial shows you how to use free Google Docs software to prepare and print your sublimation transfers quick and easy.
Q: Can I turn my Epson printer into a sublimation printer?
A: Epson EcoTank series inkjet printers can be converted for sublimation if they have never been filled with inkjet ink. Check out my tutorial here to learn how!
Q: Can you use Cricut Design Space to print sublimation prints?
A: Cricut Design Space can be helpful for Print Then Cut projects for sublimation like my Waterproof Stickers project, but it’s not ideal for other projects due to the restricted print size. I love the simplicity and ease of Google Docs, instead.
Q: Where can I find the supplies and tools to sublimate easy projects like these?
A: I like to shop on Amazon for their free shipping with my Amazon Prime membership (just make sure to look for sellers with 5-star reviews). You can also find most, if not all of the supplies and tools at your local craft store.
Q: Why does my sublimation print look dull?
A: Your printed sublimation transfer will look dull or faded after it’s printed. That’s normal! When pressed with heat onto your blank, the sublimated results will be vibrant and saturated.
Q: What fonts did you use?
A: JM Block Caps, JM Sweet, Brenson (free alternative Retrovert), JM Merry
Q: Can I make and sell these PNG sublimation designs?
A: I love supporting creative entrepreneurs! If you want to use my designs and projects for commercial use, please familiarize yourself with my important licensing information before selling your crafts.
I do not permit sale of my digital items, but you can sell the creative goods you make with them — as long as you follow my licensing requirements. That means you cannot sell the quick sublimation project SVG files, but you can sell finished projects that you made with the files within the guidelines linked above.
Get my free PNG files to make Quick Sublimation Projects!
(If you do not see the signup form above, click here.)
I love seeing what you make with my designs and how you use them! Please share a photo of your sublimated lens cloth, aluminum sign, or puzzle in our Facebook group or tag me on social media with #jennifermaker.
Love,

Want to remember this? Save this Quick Sublimation Projects tutorial to your favorite Pinterest Board!