
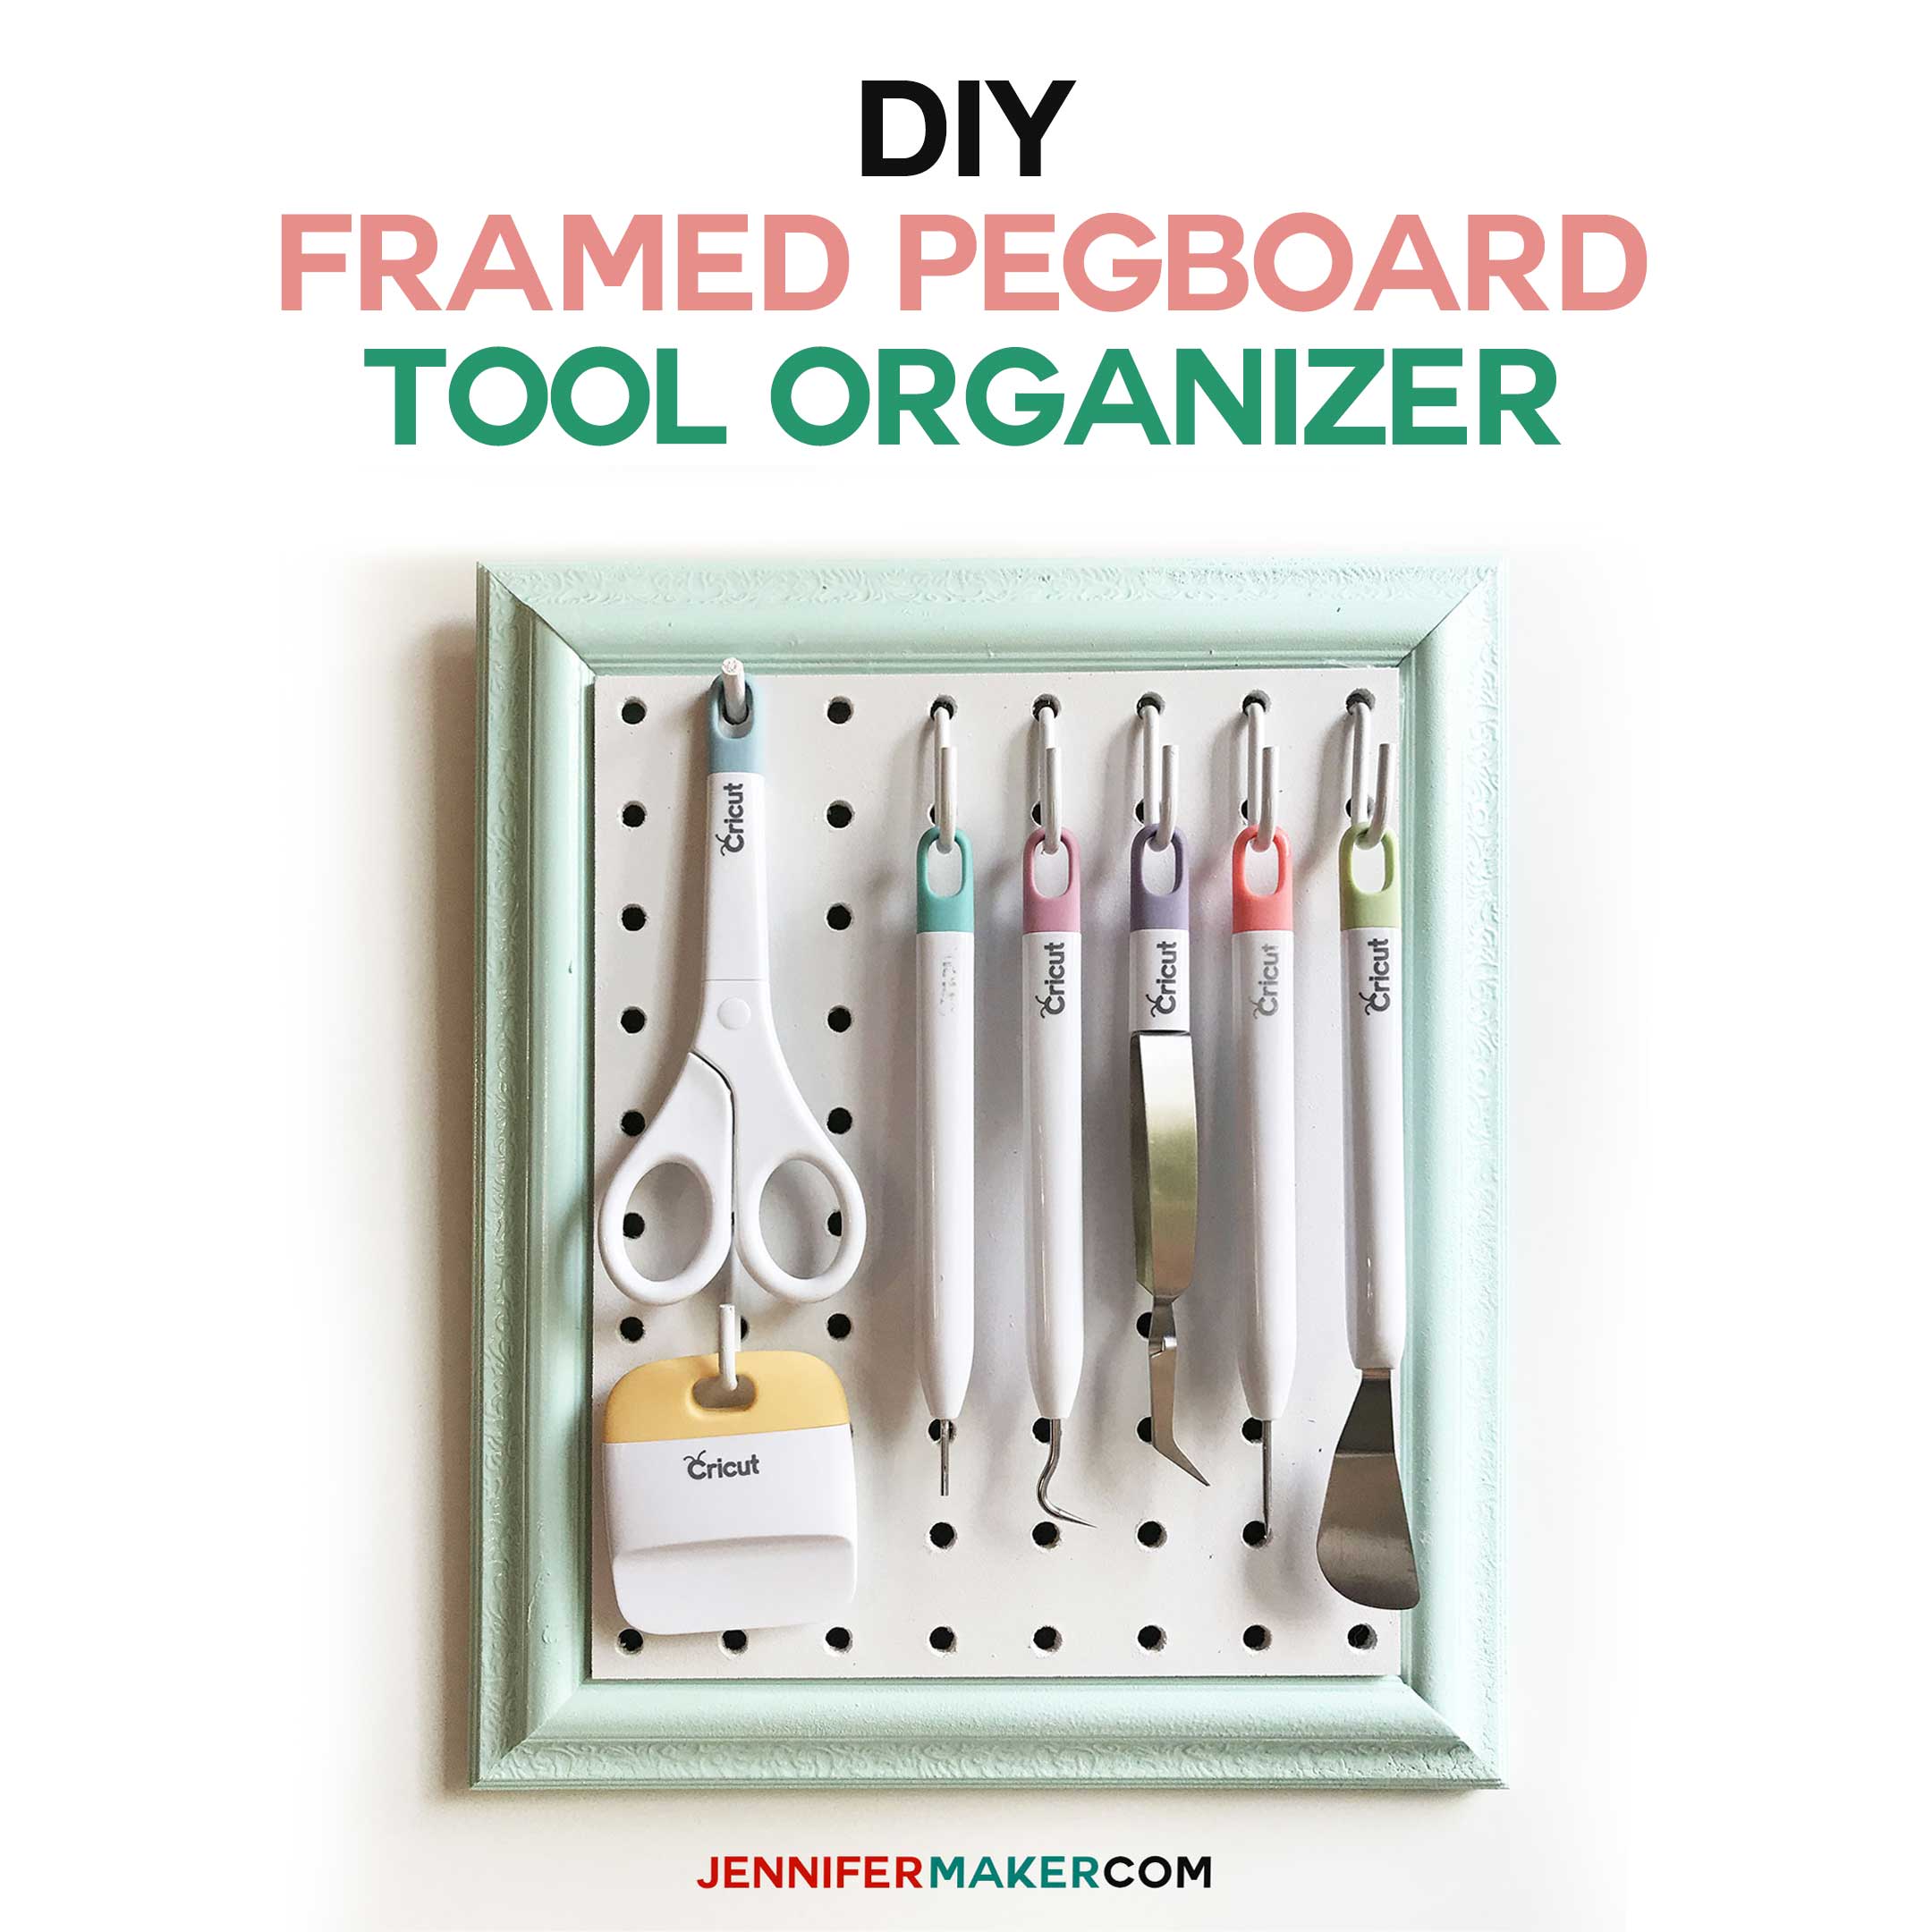
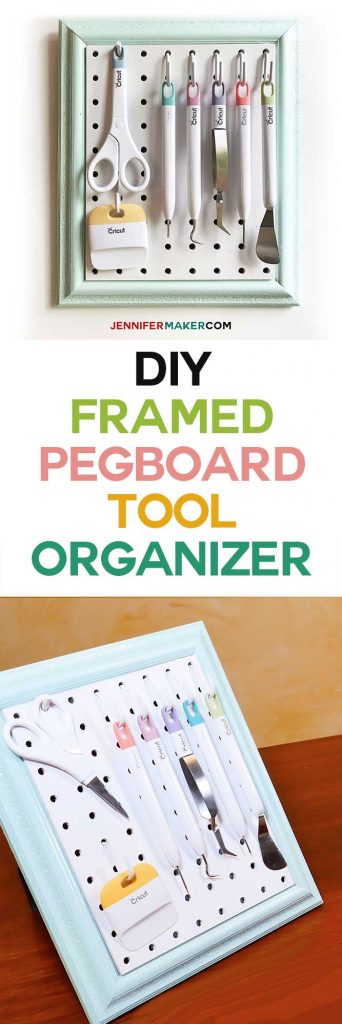
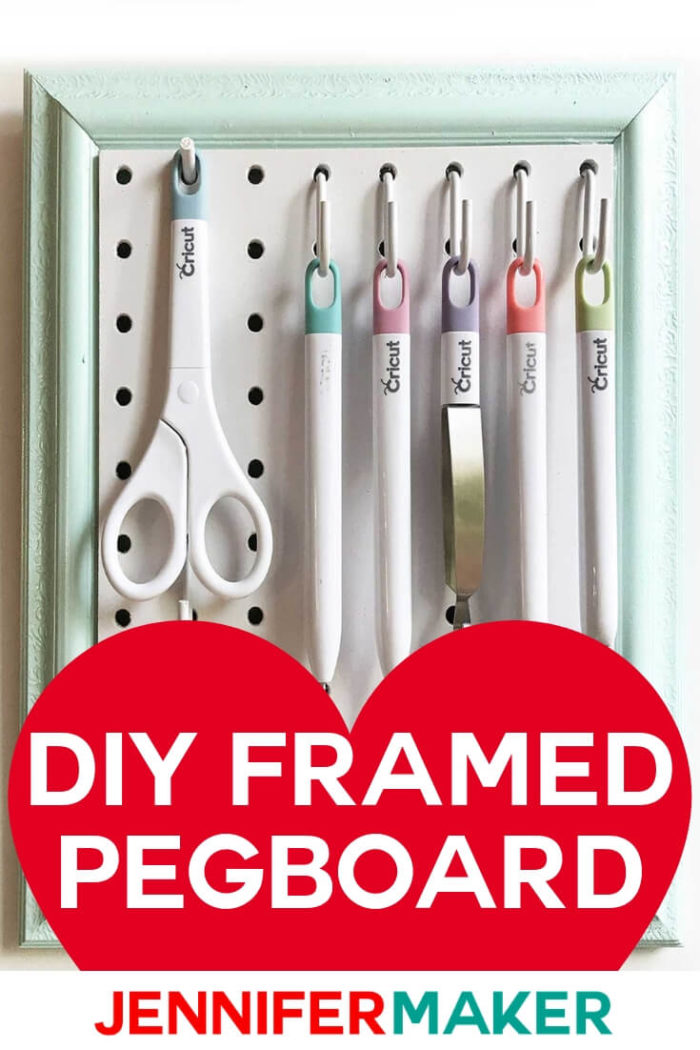
Tools need to be organized in order to find them when you need them. Pegboards are great for organizing tools, but what do you do when you want those transport those tools? For example, I use my Cricut craft tools (which are REALLY cute, by the way) very frequently. I move between my craft room (where I do most craft projects) to my studio (where I keep my sewing machine and crafts that require more space). So I needed a good way to organize and transport my tools. I came up with a framed pegboard craft organizer that I can both hang on a wall AND take off to move around with me as a I craft.
The best thing about my framed pegboard craft organizer is the frame! Not only does it look pretty (and fit in well with my future craft room plans), but it already had a frame stand on the back. So when I move the pegboard around, it will stand up on its own. I made it about a month ago and I use it constantly — it’s working great! And I’ve been a lot better about putting my tools away because it looks cuter when it’s all filled up.
Another great thing about the framed pegboards is how easy they are to make! Let me show you how I did it. This post contains some affiliate links for your convenience (which means if you make a purchase after clicking a link I will earn a small commission but it won’t cost you a penny more)! Read my full disclosure policy.
Framed Pegboard Craft Organizer Materials
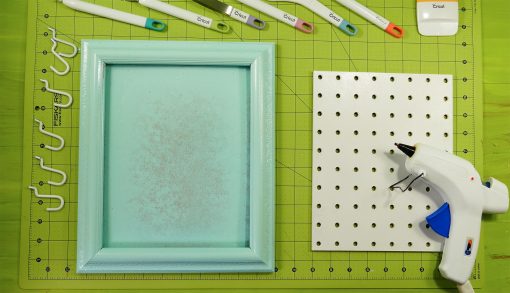
- An 8″ x 10″ frame with an easel stand in the back (I used an old frame I had already, but one like this would work well)
- A piece of white pegboard sized to fit just over the inside frame lip, about 7 3/4″ x 9 3/4″ (I’ll explain how I got this dimension later)
- Spray paint (optional, to color your frame)
- Pegs (the kind coated with white plastic are best) and/or a wooden dowel/chopsticks
- Glue gun and glue sticks
DIY Framed Pegboard Tutorial
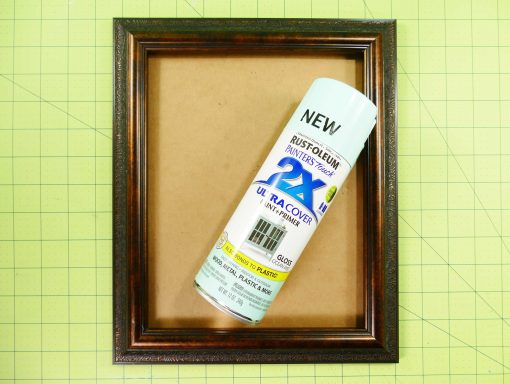
First, open your frame and remove the glass and any paper or cardboard behind it.

Paint your frame, if you wish. I used spray paint and just painted the whole thing — super easy. Allow to dry.
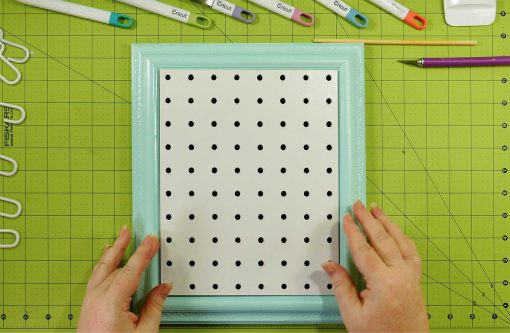
Now measure the interior width and height of the frame, and add about 1/4″ to both measurements. You are going to want to glue your pegboard on TOP of the inside edge of the frame, so that there is space behind it for the backs of your pegs. The ornate frame I’m using (and this one) work well for this because of the fancy frame edges.
Cut your pegboard to the exact measurements you obtained in the previous step. You may be able to have your local home improvement store do this for you if they have the equipment (a panel saw). Check out this article on how to get great cuts from home improvement stores. (In this photo, I’m getting a different panel cut — shelves for my paper organizing tower, which I’ll be sharing with you soon — but it’s the same equipment!)

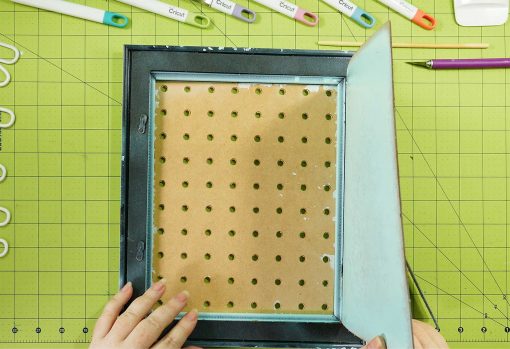
Place your pegboard on top of your frame, make sure it all looks straight and there are no gaps anywhere.
Holding the pegboard in place (or you could be safe and tape it together with some painter’s tape), turn it all over and open up the door in the back.
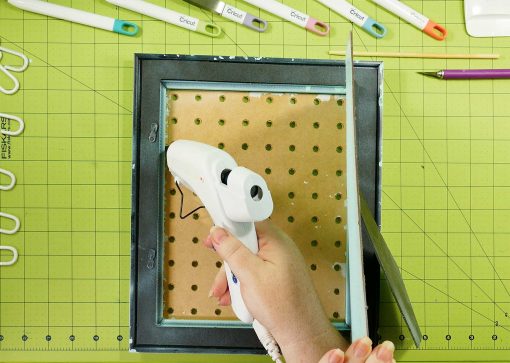
Put a thick line of hot glue around the outer edge of the back of your pegboard, right at the join between the pegboard and the frame itself. Glue all four sides of the pegboard to the frame.
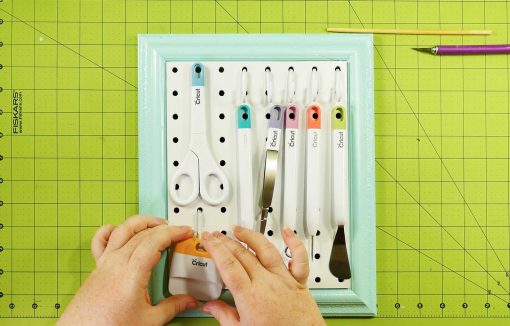
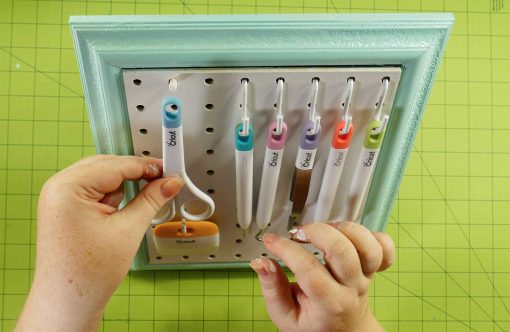
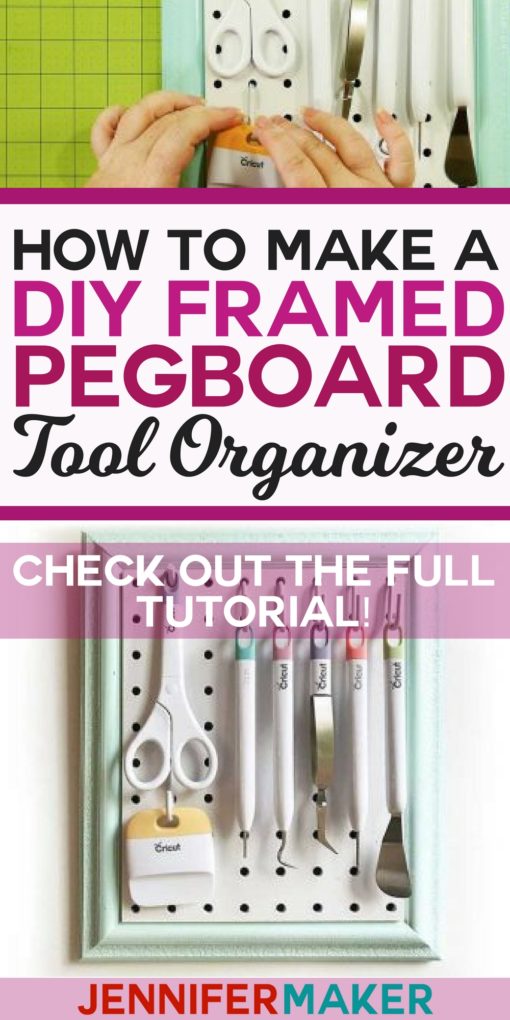
Arrange your tools as you want them to hang on your pegboard, then put in the pegs as appropriate.
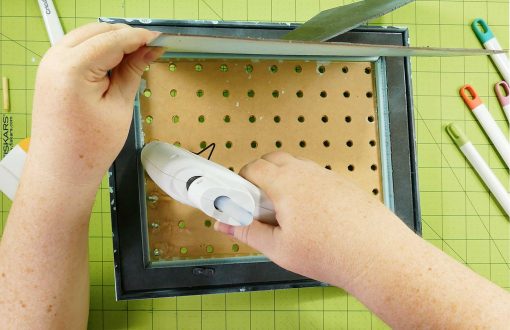
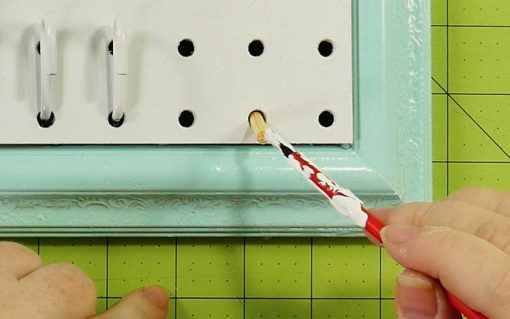
Hot glue your pegs in place on the BACK of the pegboard to make sure they don’t wobble about when you move your framed pegboard around.
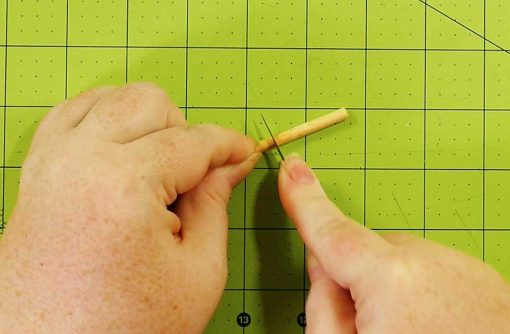
If you want to use wood dowels or chopsticks instead, cut off a 1 1/2″ piece length using an X-acto knife.
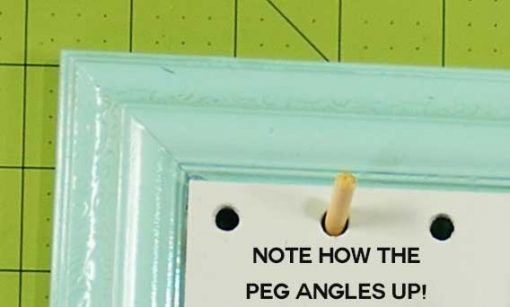
Set the wooden peg in at an angle so that the part protruding from the back of the pegboard is lower than the part on the front. This will help keep any items on the peg from slipping off. Glue it in place from the back.
Feel free to paint it white to match!
Enjoy your new framed pegboard craft organizer!
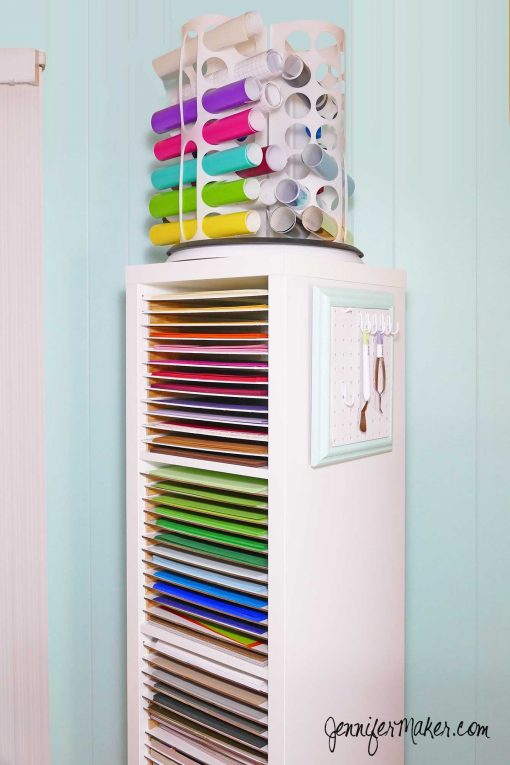
Here’s a look at the organizer hanging on my DIY paper storage organizer tower (I put in all those shelves — get the tutorial here). I used a picture hook command strip to hang it!
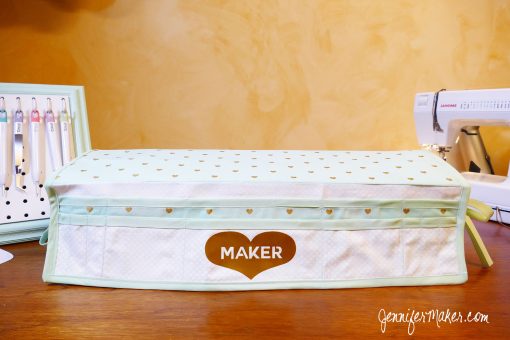
And here is my framed pegboard next to my new Cricut Maker (with its new Maker Mat I designed — see the tutorial!)
Please let me know if you have any questions!
Love,

Like this tutorial? Please pin it to your favorite Pinterest craft board!


That is so cool! Love it! Thanks for sharing. Could work most anywhere.
Great idea to hang jewelry. using a larger frame.Thank you,
Love it! Thank you for the explanation., you make it look fairly easy!
This makes a great organizer for tools, but also for craft show items like key chains and earrings. Thank you for sharing this with us.
This Tool holder is super awesome and I plan on making one. You are so creative. Thank you for sharing
Thank you I’m going to try it soon.