
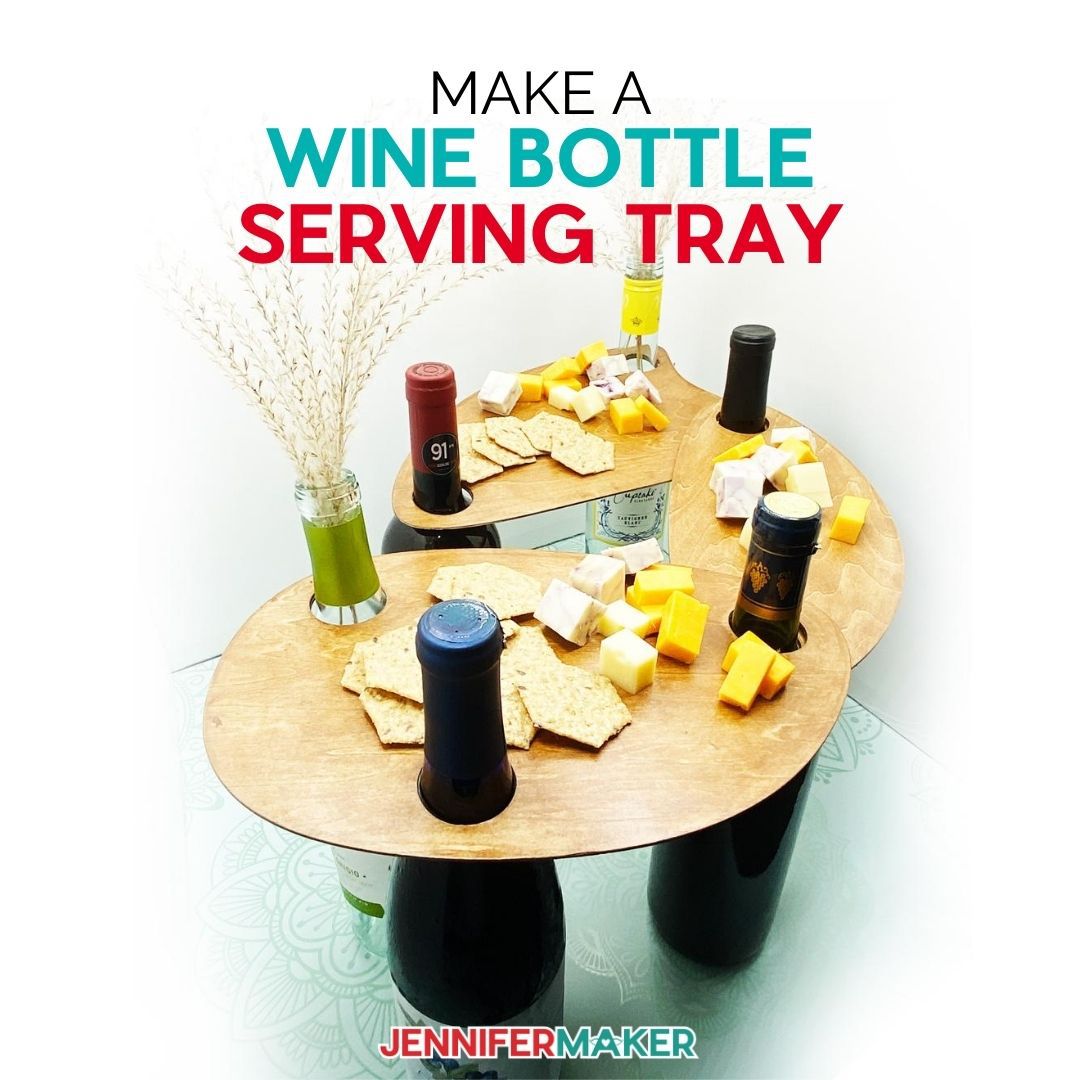
Learn how to make a unique Wine Bottle Serving Tray. This is a perfect project for your holiday parties!
I love making unique gifts, and today’s project is very unique. This serving tray is super simple to make with a cutting machine, and you can leave it as is, stain it, or even personalize it with some vinyl or a stencil. But my favorite part is how it works — the tray itself is just this flat shape with holes in it. It’s the wine bottles themselves that hold it up. And as a cute gift, you can hand these wine bottles out at the end of the night in a cute DIY wine gift bag! You can also etch some wine glasses to round out the fully DIY approach! How cool is this? It will be the talk of your party! And it makes the perfect surface for vinyl decals or paint, too! So for Day 24 of The Great Maker 25-Day Gift-Away Challenge, I am showing you how to make a Wine Bottle Serving Tray!
See exactly how to cut and assemble this wine bottle serving tray in my tutorial video (or keep scrolling if you prefer a printable step-by-step photo tutorial):

 What is The Great Maker 25-Day Gift-Away? This is an annual tradition here at JenniferMaker! Every day for the first 25 days of December we gift you with a brand new project, design, tutorial, and video. On top of that, we host a giveaway with 25 prizes. Some of the amazing prizes are Cricut cutting machines, sewing machines, gift cards, and beautiful print editions of our popular Cricut Coach Playbook. You can even earn bonus entries for sharing photos of the daily projects! Click here to learn more about The Great Maker 25-Day Gift-Away!
To make this wine bottle serving tray, you need some wood. If you’re going to cut this on a Cricut cutting machine, you’ll want to use one sixteenth inch or thinner balsa wood or basswood. And yes, you can cut that on either the Cricut Maker or the Cricut Explore. If you can’t find thin balsa or basswood, you can also use veneer wood, which is much thinner but works if you use the reinforcements I’ve included in the design.

To cut this wood on a Cricut Maker, I recommend the knife blade. To cut it on a Cricut Explore, the deep cut blade will work best. Both require using the purple Strong Grip mat along with painter’s tape to keep the wood firmly on the mat while cutting.
You will also need some tacky glue to add reinforcements or extra layers.
To finish your serving tray and prepare it for any decoration, I recommend three twenty grit sandpaper to get it nice and smooth.
You can seal the wood with polycrylic or a polyeurathane varnish. If you do stain, paint, or apply vinyl to your serving tray, you’ll want to be sure to seal it with varnish and allow the varnish to cure before you put any food on it as I have here.
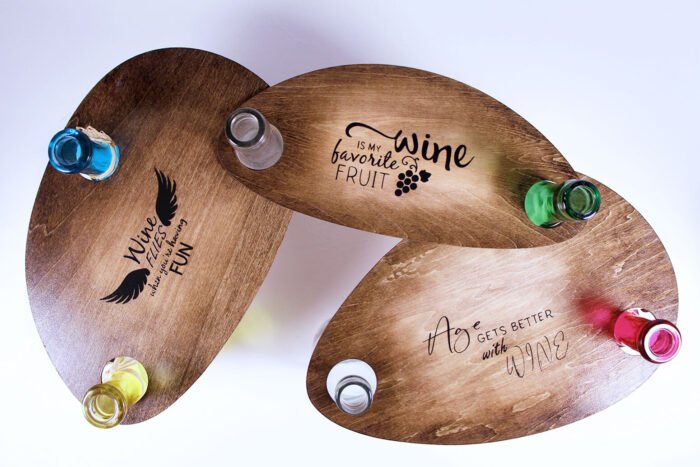
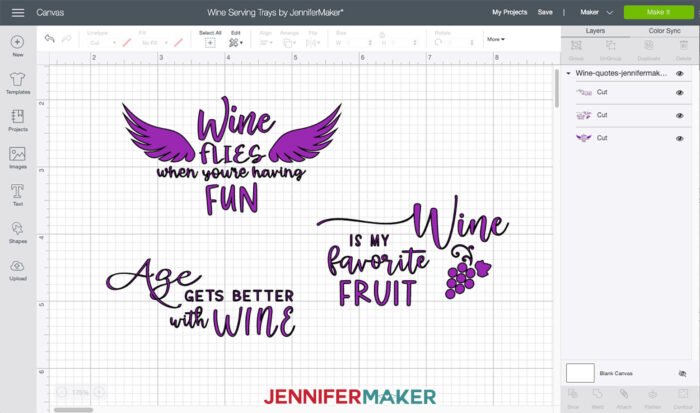
There are even some decals for you to put on your wine serving trays — here are ones for wine:
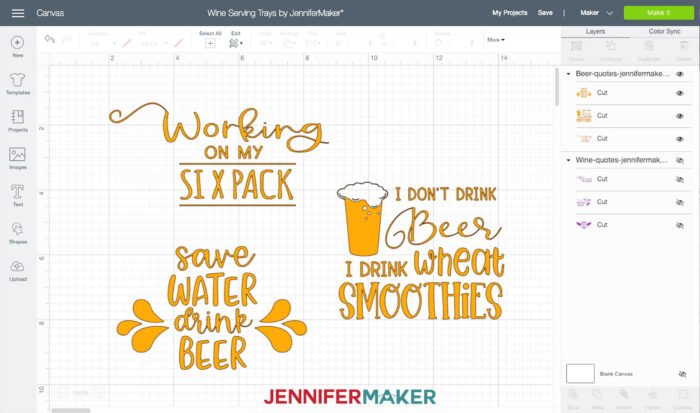
And you can put these trays on beer bottle necks as well, so here are some beer tray decals:
So let me show you where to find the tray and decal designs, and then I’ll show you how to cut and glue your wine bottle serving tray!
Let me show you how easy it is to make this wine bottle serving tray! This post contains some affiliate links for your convenience (which means if you make a purchase after clicking a link I will earn a small commission but it won’t cost you a penny more)! Read my full disclosure policy.
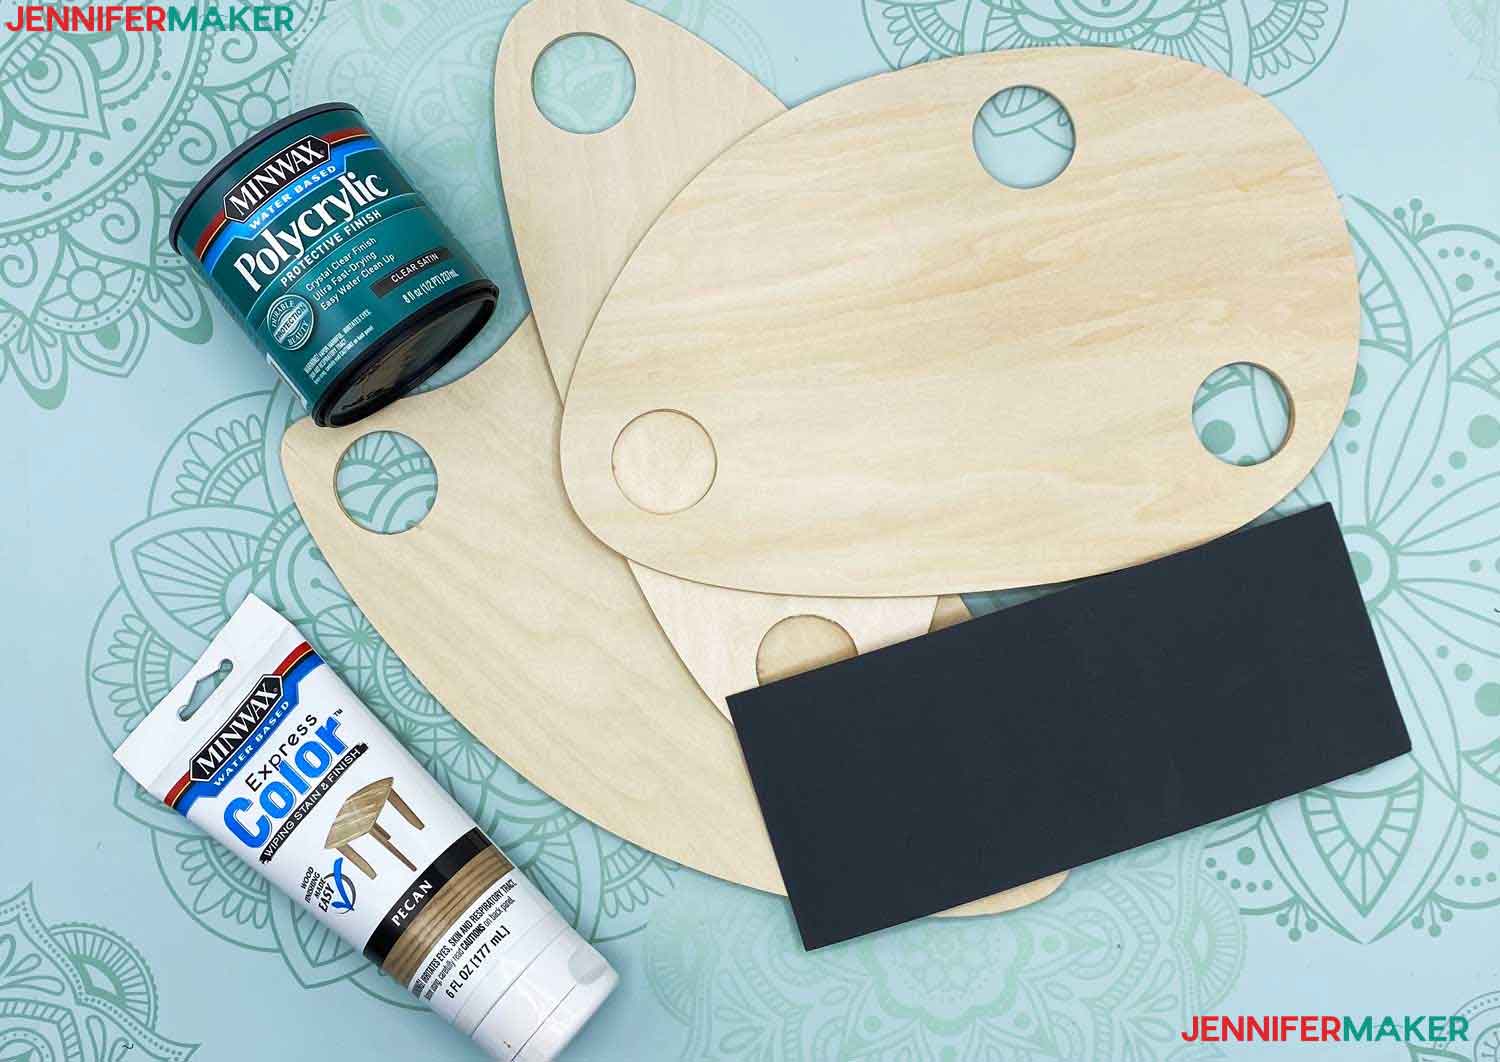
Materials to Make a Wine Bottle Serving Tray
View my Amazon shopping list with the exact items we used to make this project!
- 1/16th inch thick balsa Wood, basswood, or veneer wood
- Water-based wood stain (I used Minwax Wiping Stain, Pecan)
- Lint-free cloths
- Minwax Polycrylic Water Based Protective Finish, 1/2 Pint, Satin
- Sandpaper Variety Pack (I used 320-grit super fine sandpaper for my tray)
- Tacky Glue
- Cricut StrongGrip Cutting Mat
- Foam Brushes
- Small Craft Paint Brush
- Yellow Cone Canvas and Cabinet Door Risers
- (Optional) Vinyl decals or stencils to put on your trays (included in my design file)
- (Optional) Fonts to make your own wine designs — here are the fonts we used for the wine decals: Amist Regular, Bhatoshine Regular, Cream Candy Uppercase Swash Regular, Falling Leaves Print, Girl Talk, Hello Spring Regular, KH Karlie School, Ribbon of Romance, and SugarMoon Regular
- (Optional) Fonts to make your own beer designs — here are the fonts we used for the beer decals: Bhatoshine Caps Regular, Cattieshine Sans Regular, CLN RainbowDonut1 Regular, Falling Leaves Script, Featherly Bold Swashes, Girl Talk, KH Karlie School, and Waterfalls Regular
- A way to cut your wood (I used the Cricut Maker cutting machine)
- Design #275 – My free SVG design files (available in my free resource library—get the password by filling out the form at the bottom of this page)
How to Make a Wine Bottle Serving Tray
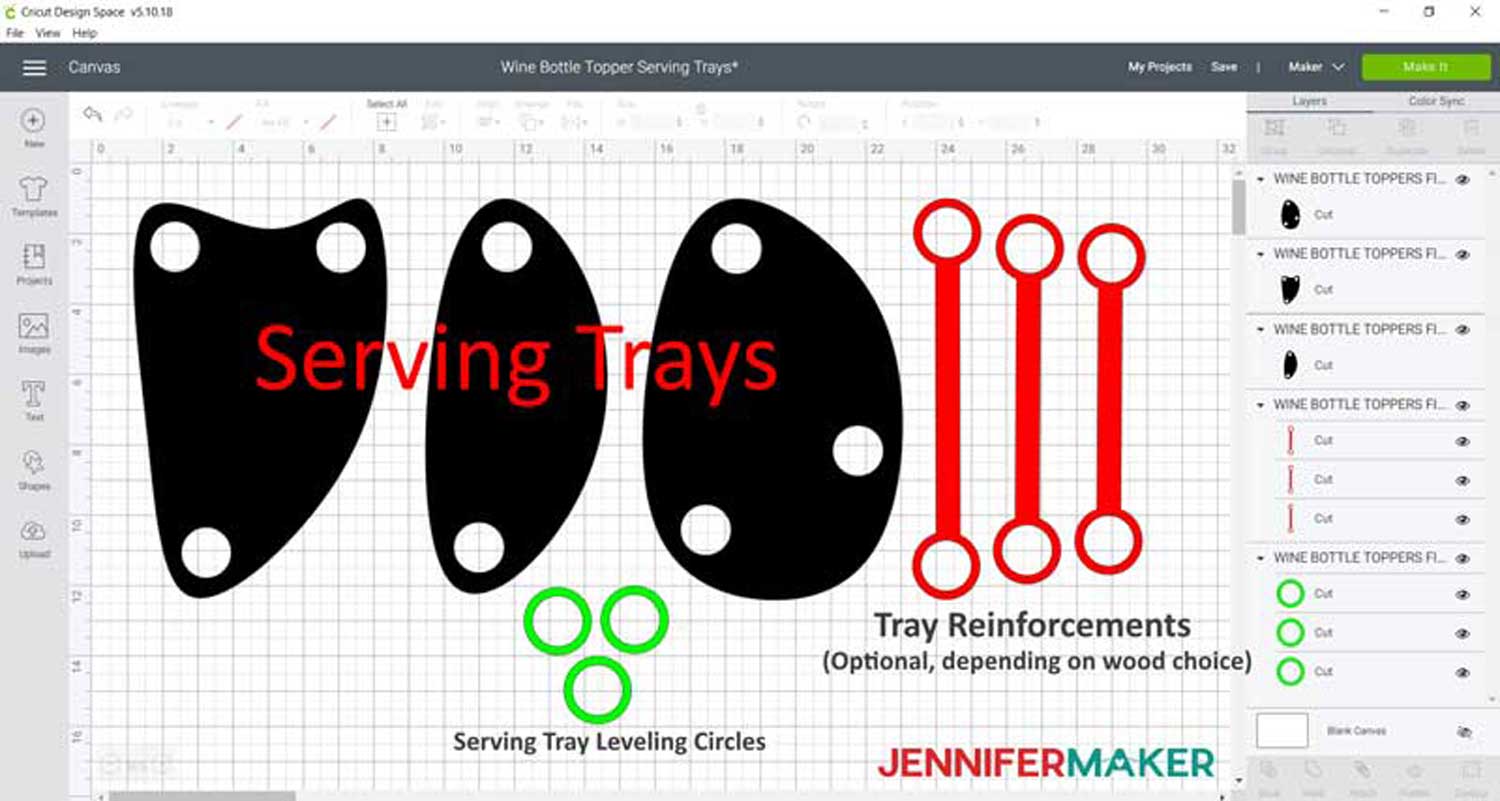
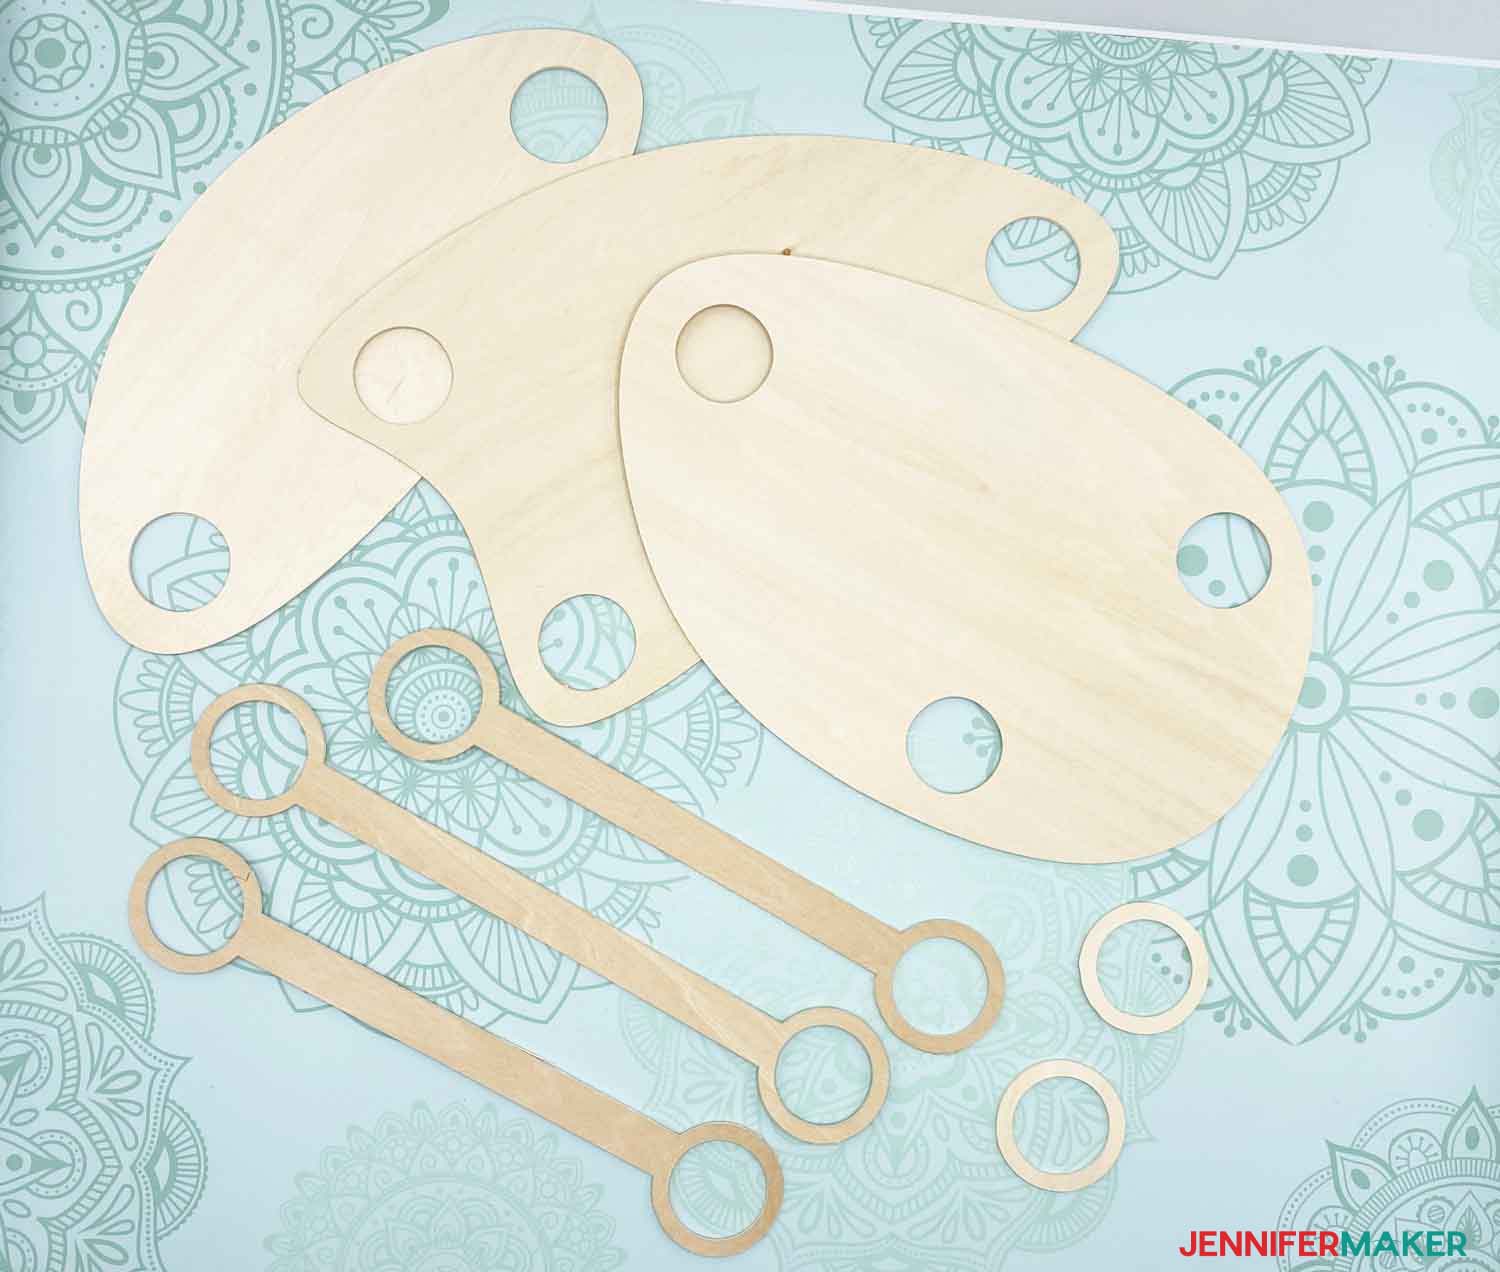
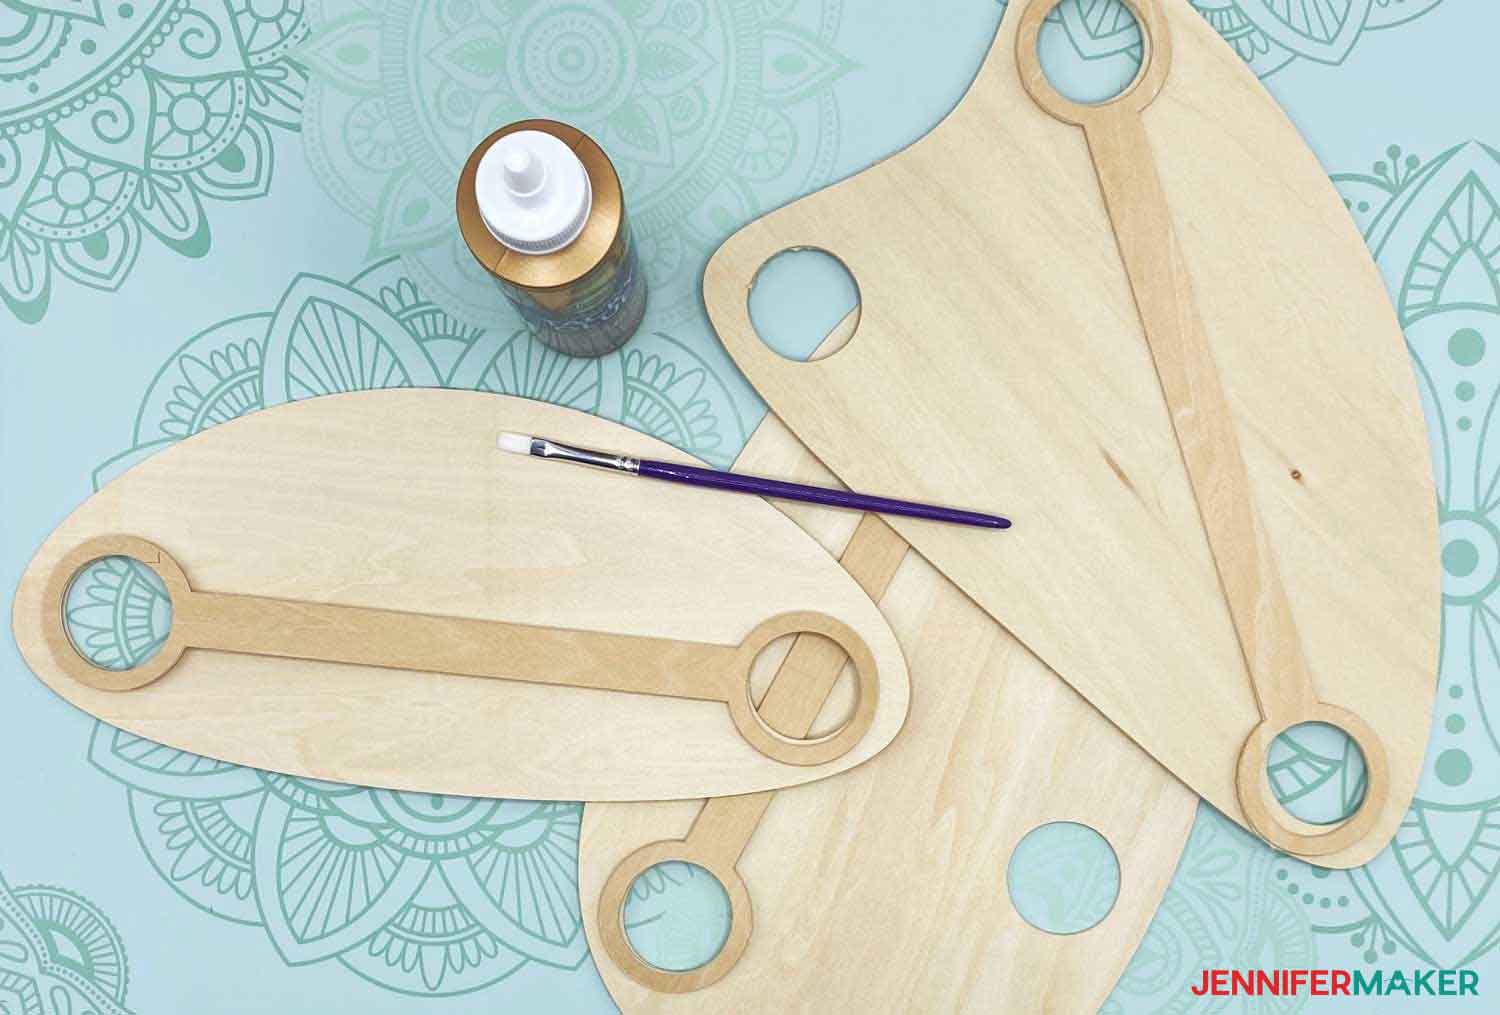
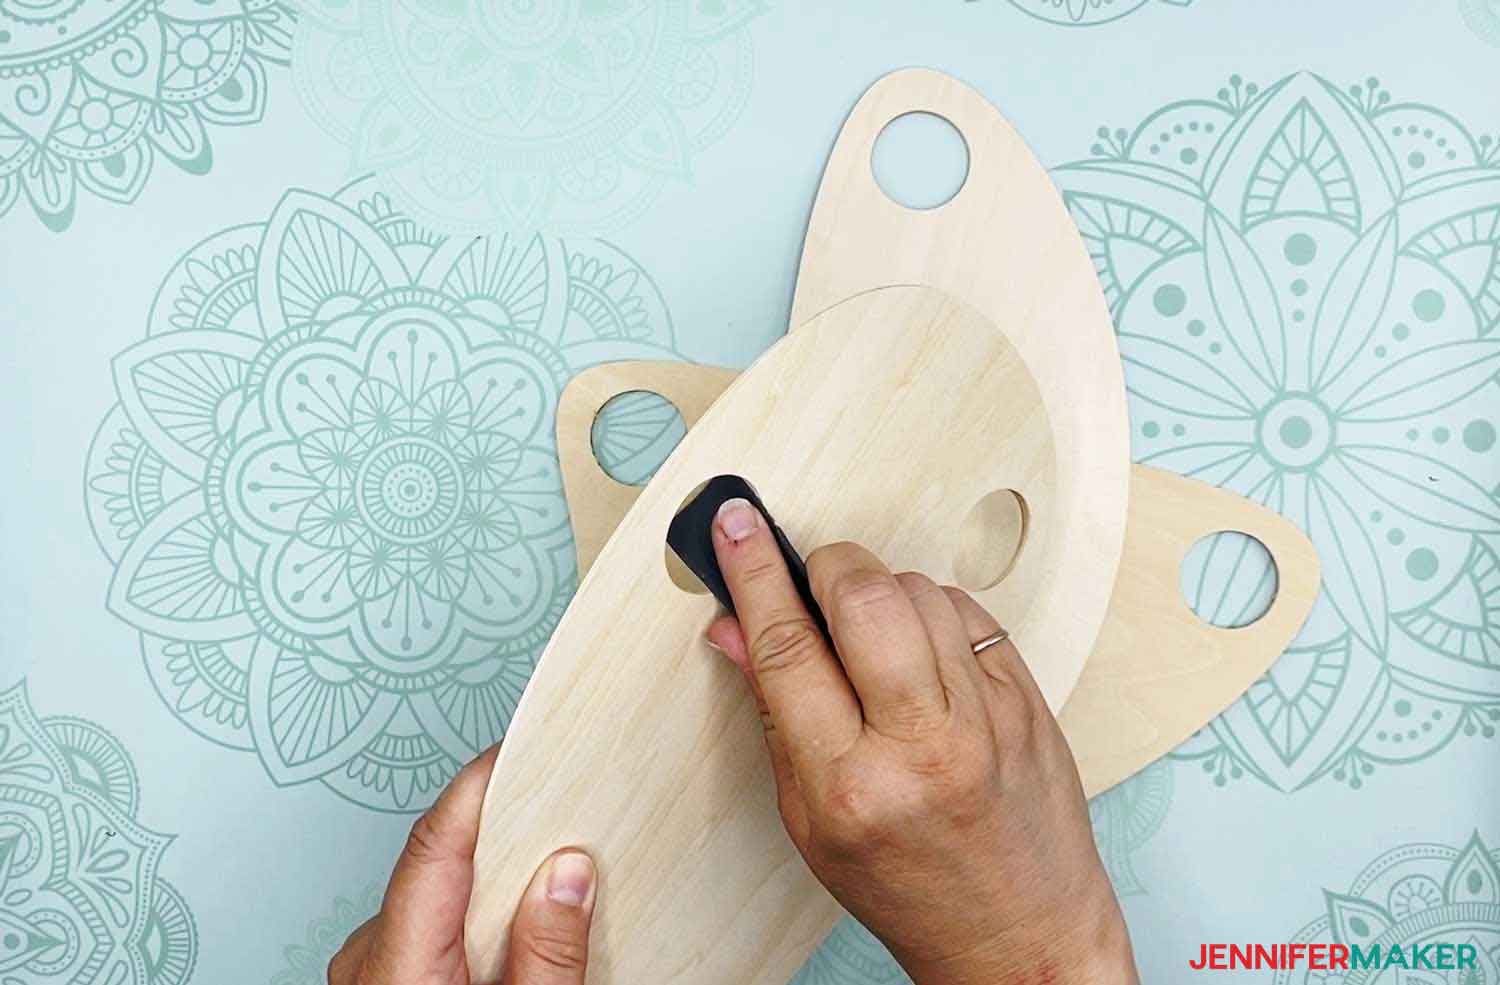
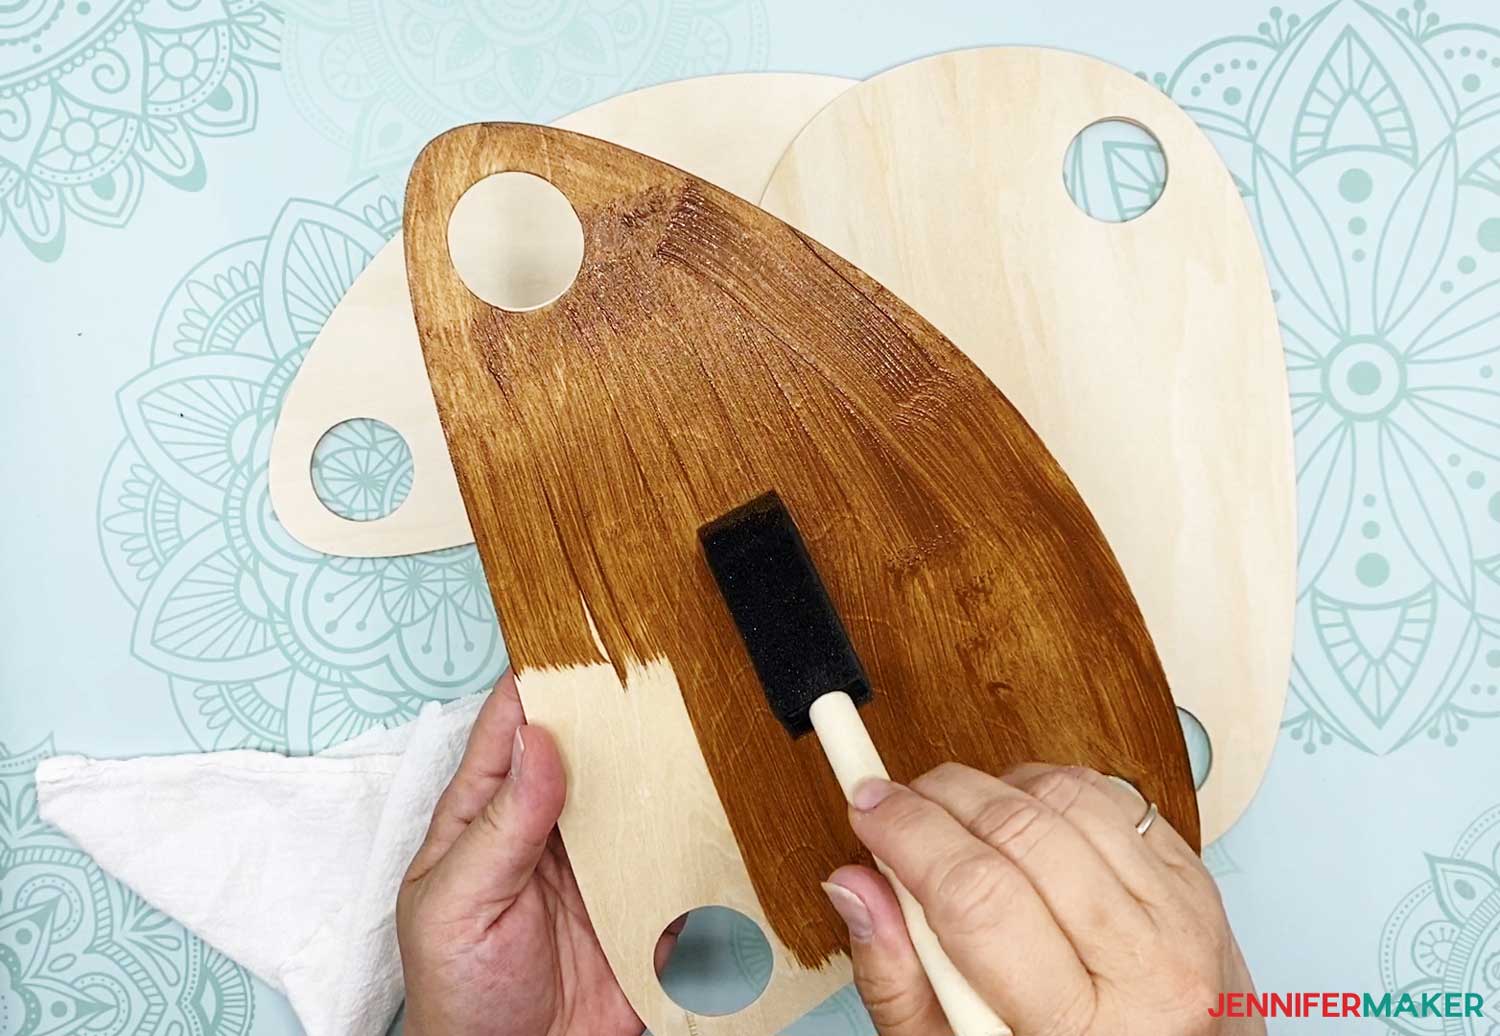
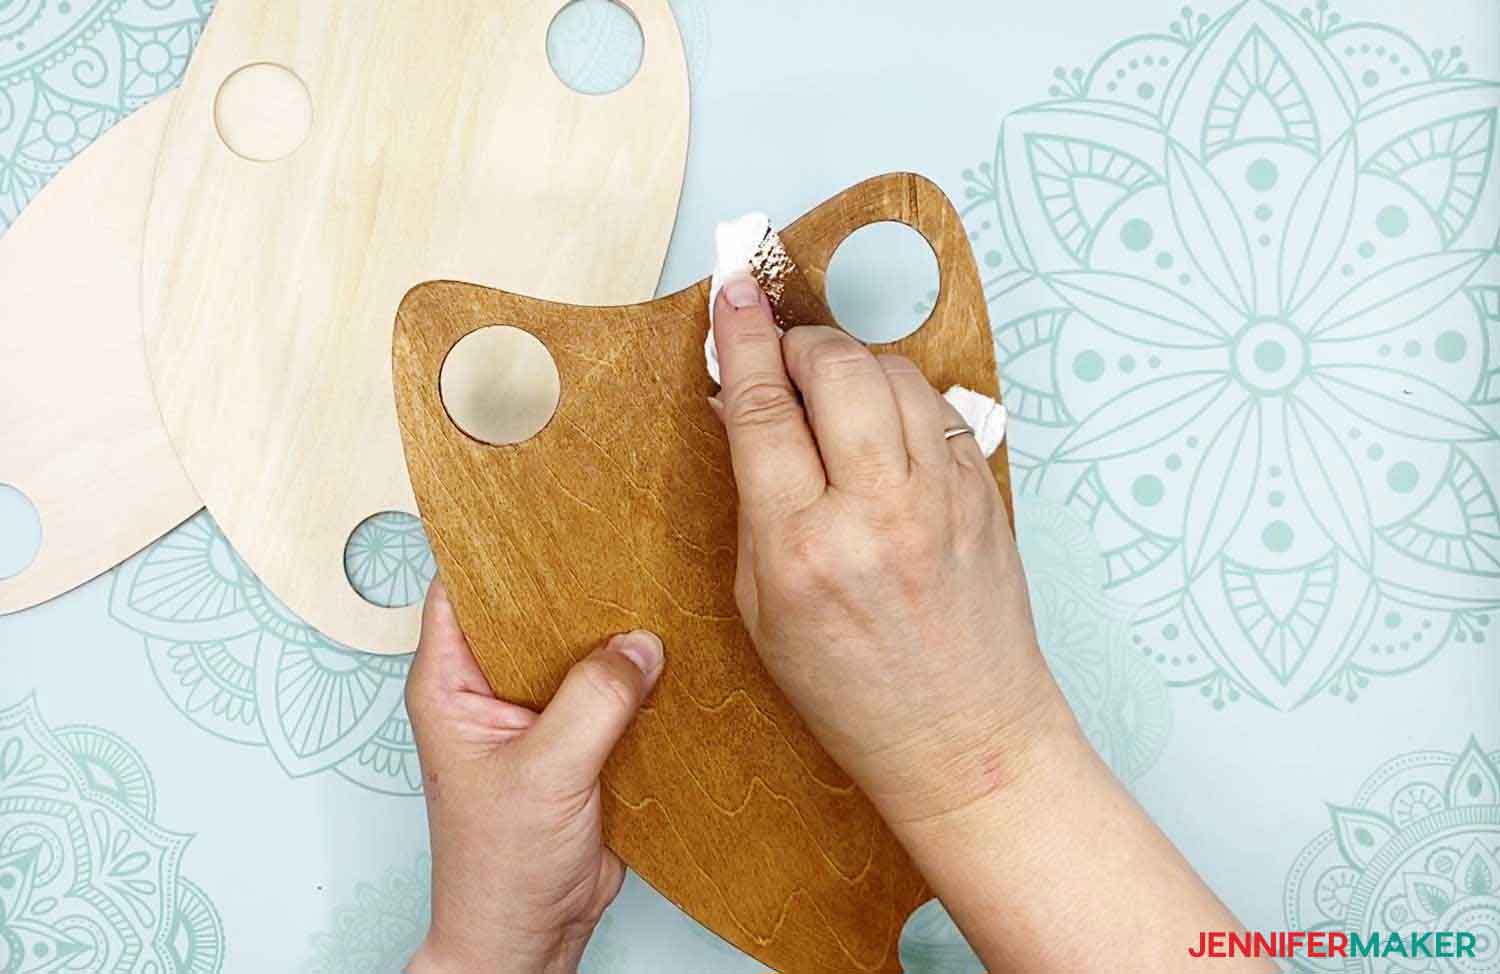
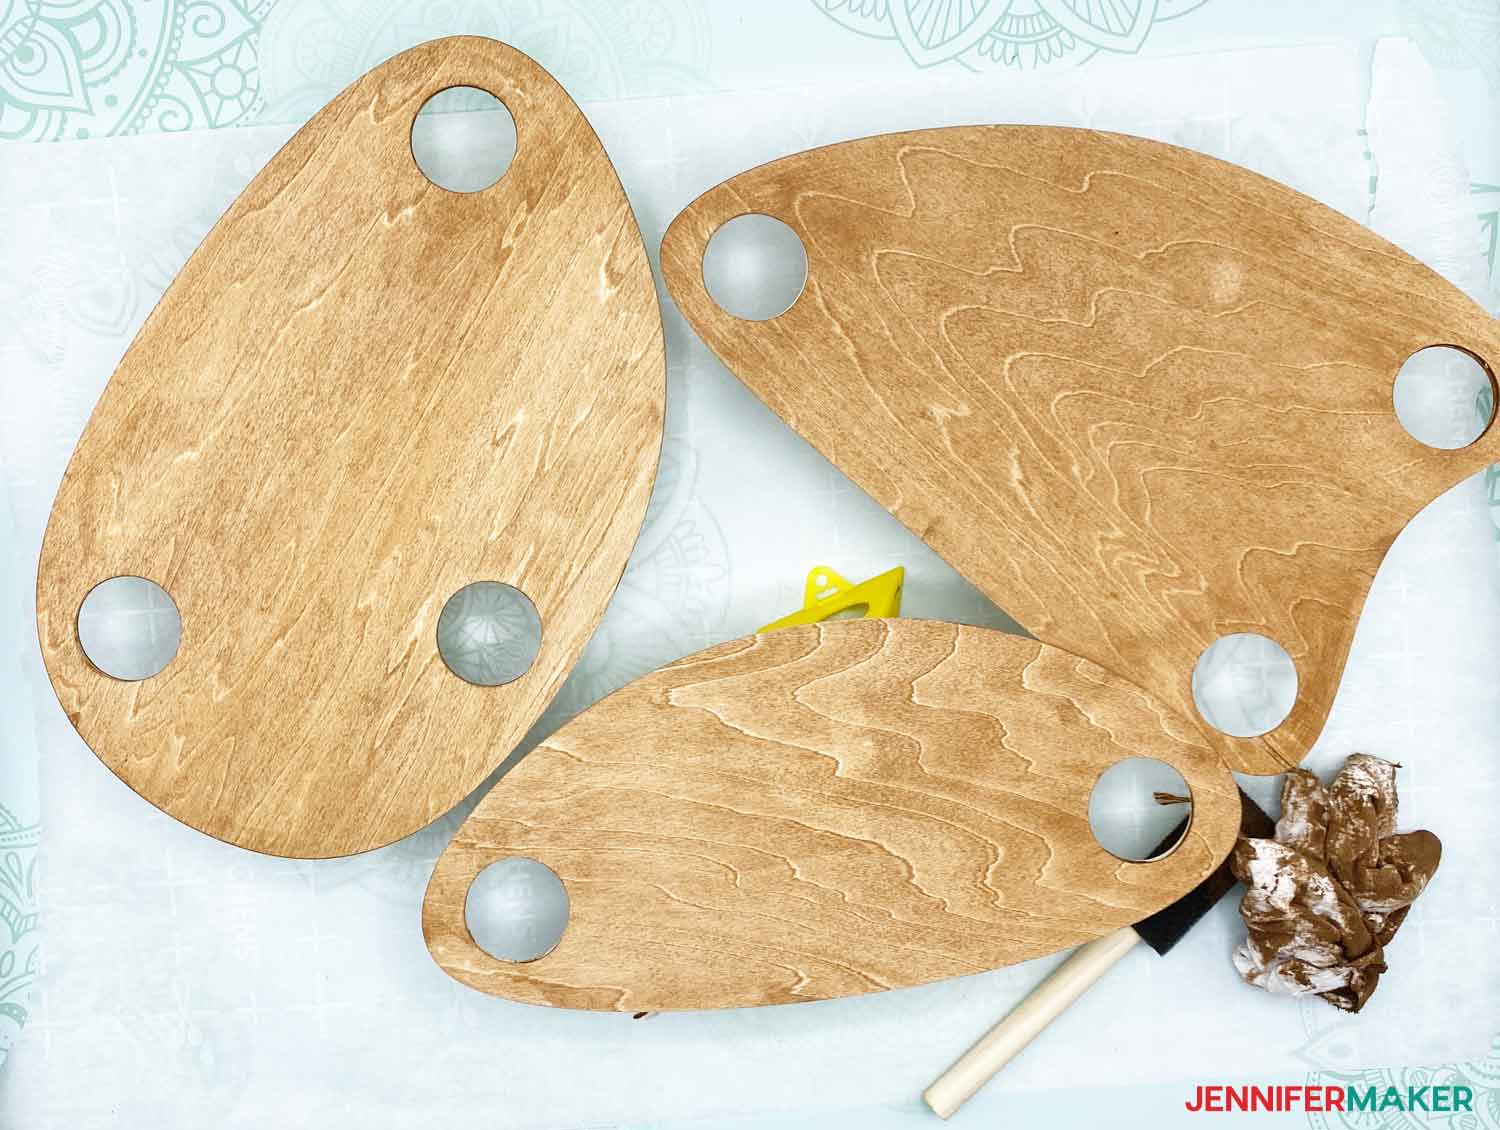
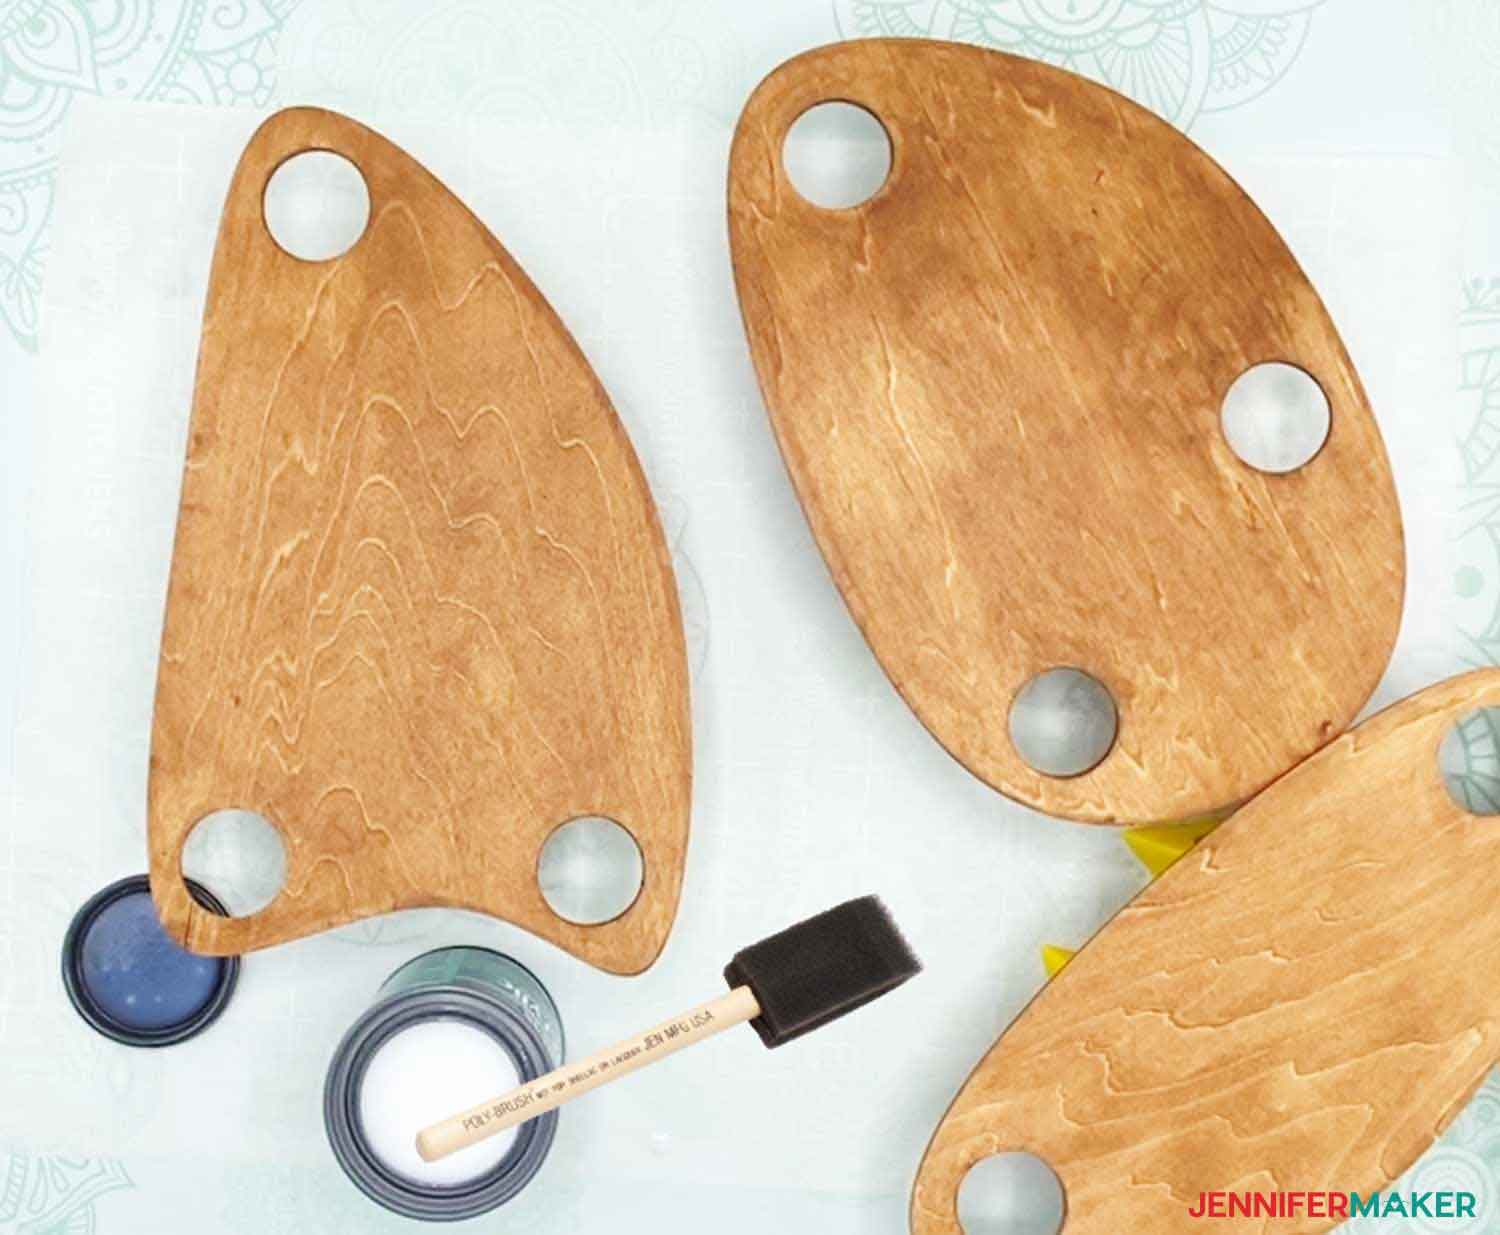
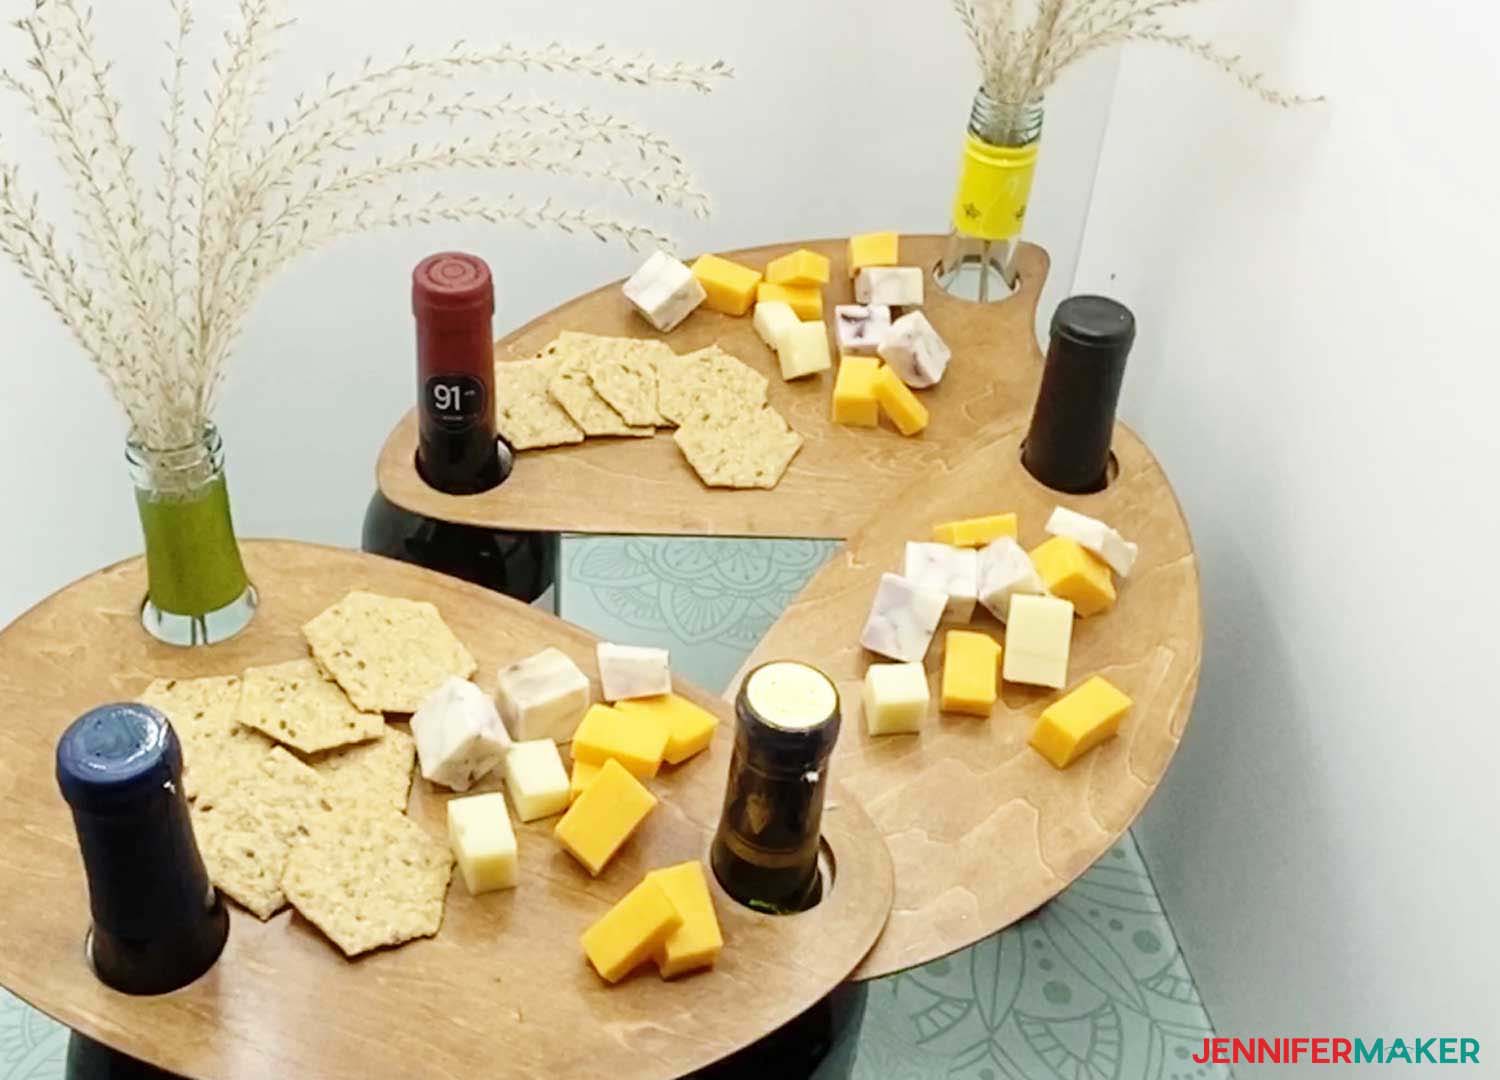
The Wine Bottle Serving Trays are a great housewarming or holiday gift. Your friends and family will be impressed when they open this gift! Get Design #275 which is the free SVG design file for this tutorial. You can download it from my free resource library (get the password to the library in the form at the bottom of this post). Here is what the Wine Bottle Serving Tray file will look like when you upload it to Cricut Design Space and ungroup it: Tip: If you are not sure how to upload an SVG cut file to Cricut Design Space, watch this helpful video training series I made. If you are on an iPad or iPhone, here is how to download and upload SVG files to the Cricut Design Space app. Once you have decided which layers you want to cut, hide the remaining layers. If you are using the Cricut Maker to cut your trays, you will need a StrongGrip mat (purple) as well as painter's tape. Tape all four sides of the sheet of wood to the mat to ensure that it doesn’t move while cutting. Make sure to review the placement of each wood sheet on the Mat Preview Screen in Cricut Design Space (after pressing the Make It button) to ensure the pieces will cut in the right places. Move the star wheels on your Cricut all the way to the right to avoid leaving indentation marks on the wood. Use the knife blade and the material setting that matches your choice of wood. For the wood sheets I used, I used the Basswood – 1/16” (1.6 mm) setting. The Cricut will need to make several passes to cut through the wood. Design Space should show you exactly which pass it is on and the expected remaining time is. Please be patient as this does take time to cut. Use the PAUSE button on the Cricut to pause the cutting so you can check the progress and remove any debris that may be loose from the mat. Press the Cricut C to resume cutting. Do not eject the mat from the machine until you are certain the cut is complete. Make sure you check the progress of the cut and remove the mat as soon as you determine the wood is fully cut. If you wish to attach the reinforcements to your trays, now is the time to do so. Each reinforcement will only match its corresponding serving tray. You will want to match them before applying the craft glue. Use your craft glue and a small paintbrush to make sure the reinforcement pieces are evenly covered. Apply the reinforcement to its corresponding tray and allow them to dry for at least 30 minutes. After your trays have dried, use a piece of 320-grit super fine sandpaper to sand the trays lightly until they are smooth on both sides. Don’t forget the tray edges and holes. If you have chosen a different wood from the one listed in my supply list, you may need to pick a different grit sandpaper. After sanding, wipe the board down with a cloth to remove any debris left on the wood from sanding. If you wish, apply wood stain to the serving trays using a foam brush. Make sure you use a food-safe stain. You will apply the stain to the top and the bottom while allowing it to dry between applications. Once the stain is evenly applied to the trays, use a lint-free cloth to evenly wipe the excess stain off. Remember to allow the tray to dry before applying stain to the other side. If you wish, you may apply additional coats of stain to the trays. One of my favorite things to use when I need to elevate a project to dry are these little yellow cones! They are incredibly strong and I've even used them to hold heavy cabinet doors. Make sure your trays are dry prior to applying the Polycrylic (water-based and food-safe) finish. You will apply the finish to the top and the bottom while allowing it to dry between applications and before applying the finish to the other side. If you wish, you may apply additional coats of finish to the trays. Prior to use, make sure to wash your trays with a gentle detergent and do not allow them to be submerged in water any longer than necessary. Enjoy your new Wine Bottle Topper Serving Trays! You will want to experiment with different layouts and wine bottles. I have included three leveling circles in case your bottles are not identical. Special thanks to the JenniferMaker Design Fairy Team, specifically Design Fairy Kristin, for helping me design and assemble this awesome design.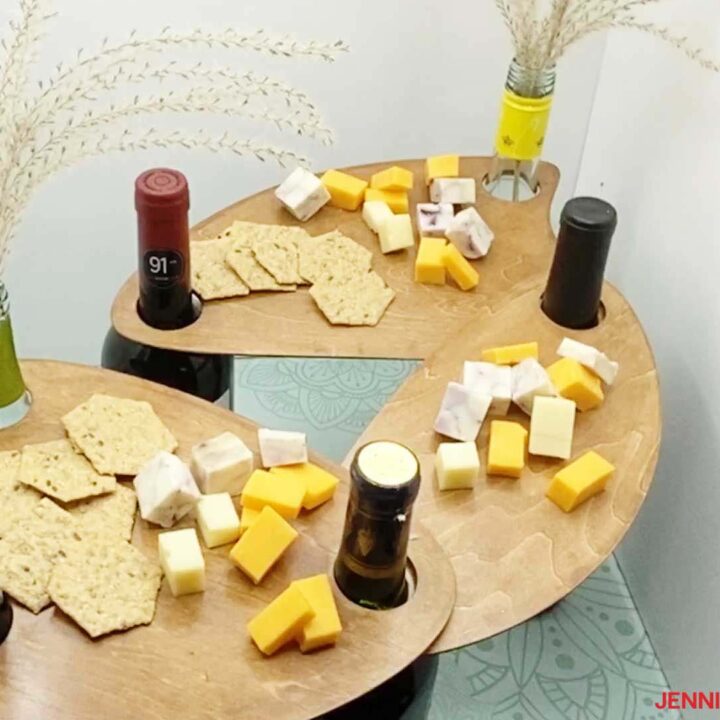
Wine Bottle Serving Trays
Materials
Tools
Instructions
STEP 1: GET MY WINE BOTTLE SERVING TRAY DESIGN
STEP 2: PREPARE YOUR WOOD SHEETS FOR CUTTING

STEP 3: PREPARE YOUR WINE BOTTLE SERVING TRAYS FOR FINISHING
STEP 4: FINISHING YOUR WINE BOTTLE SERVING TRAYS

STEP 5: SHOW IT OFF
Notes
ACKNOWLEDGMENTS
Answers to Your Questions About the Wine Bottle Serving Tray
Q: Can I cut chipboard on an Explorer? If so, how thick?
You can cut light chipboard on an Explore, as long as it’s .37″ or less!
Q: What are some other ideas you can use to put in the empty bottles?
You could also fill empty wine bottles with marbles, beads, stones used in fish tanks or even fairy lights!
Q: Can we cut this balsa wood with the Air 2?
It can be done with the deep-point knife. It does take longer than on the Maker.
Get my free SVG files to make a Wine Bottle Serving Tray
I’d love to see your wine bottle serving trays! Please share a photo in our Facebook group or tag me on social media with #jennifermaker.
See all of the projects, tutorials, and free designs in The Great Maker 25-Day Gift-Away Challenge!
Love,

Want to remember this? Save this Wine Bottle Serving Tray tutorial to your favorite Pinterest Board!


Love! your pop up designs but is there any chance you could make them in a smaller version for those of us with a Joy? Or could you tell us how to resize the images ourselves? Thanks for everything!
Hi Linda! When you upload the design to your canvas, you can resize it with the double-pointed arrow resizing button or enter in dimensions manually at the top of your canvas.
Hi Jennifer. Thanks a lot for all the wonderful things you create and share with us… especially this wine bottle serving tray, I just love love love it!!! My problem is that I have a Silhouette Cameo and not a Cricut Maker Machine. Can you maybe share the file to be used on the Cameo if at all possible and if you don’t mind, please. Thanks in advance from sunny South Africa (although it’s almost fall here now). Kind regards Annatjie
Almost all of project files (including this one) also include the DXF file, which is the copy that you need for your Silhouette, Annatjie! So you can craft right along with us! 🙂
Thanks a lot for the feedback. I will most certainly give this a try!!! 🙂
Great! We are happy to have you crafting with us!! 🙂