
For years my daughter and I have wanted to have a little vegetable garden. And while we have plenty of space to make a vegetable garden, many of these spaces are not easy to get to. This was a problem. I knew that if we couldn’t get to our garden easily, it would languish and go unloved. But if we could just get a garden space on our deck, we could access it easily and also be able to enjoy its beauty. So, thanks to Pinterest, we got an idea — we could install a rain gutter garden from the outside edge of our deck rail and plant our veggies there!
Our deck rain gutter garden turned out to be an inexpensive and easy one-day project. We got everything we needed from our local Menards and were planting by the end of the day.
Ready to make your own DIY Rain Gutter Garden? Let me show you how!! This post contains some affiliate links for your convenience (which means if you make a purchase after clicking a link I will earn a small commission but it won’t cost you a penny more)! Read my full disclosure policy.
Rain DIY Gutter Garden Materials
- Aluminum rain gutters (we used two 10-foot-long K-style gutters for our deck)
- Rain gutter seamer for joining two long gutters (we used one)
- Rain gutter caps (to seal the ends of the gutter)
- 6″ Aluminum Gutter Hangers (this is what attaches to your deck to hold the gutter in place — we used one every two feet for a total of 9)
- 1-1/4″ exterior screws
- Handheld drill and drill bit (here’s the one we use and love)
- Handheld jigsaw if you need to trim your gutters down to size
How to Make a Deck DIY Gutter Garden
First, measure the length of your deck and determine how long you want your gutter garden to be. Our deck is 22 feet long, and we wanted our gutter garden to be 18 feet long.
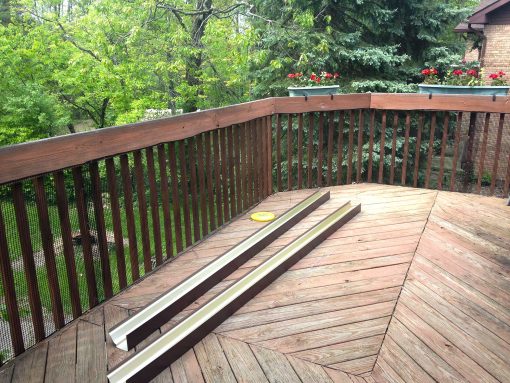
If your gutter garden is going to be longer than 16 feet, which we did, you’ll need to join two or more gutters. Get the gutter seamers to do this. We trimmed one of our 10-foot-long gutters down to 8 feet with a handheld jigsaw, then attached it with the seamer. It was simple to do.
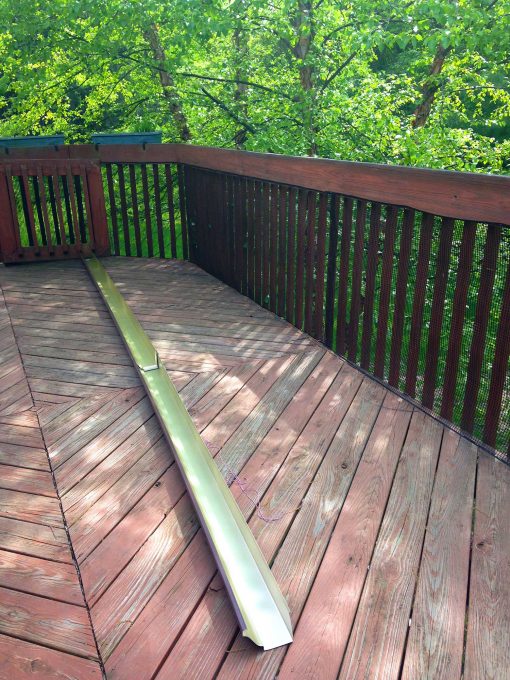
Next, we added the gutter caps at either end of gutter so dirt and water wouldn’t just spill out.
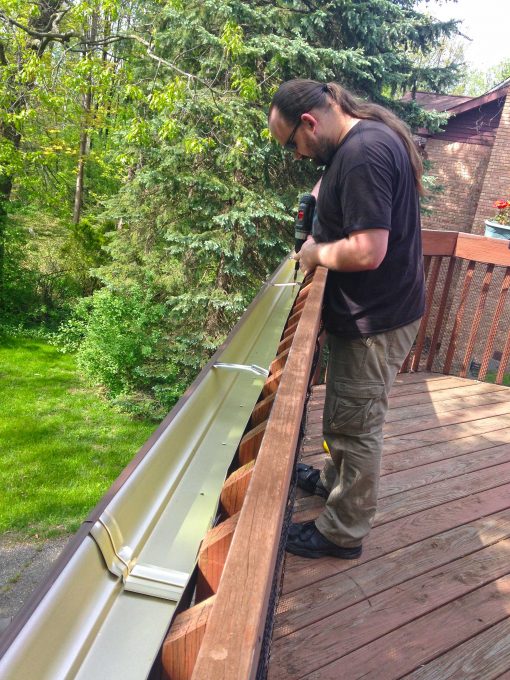
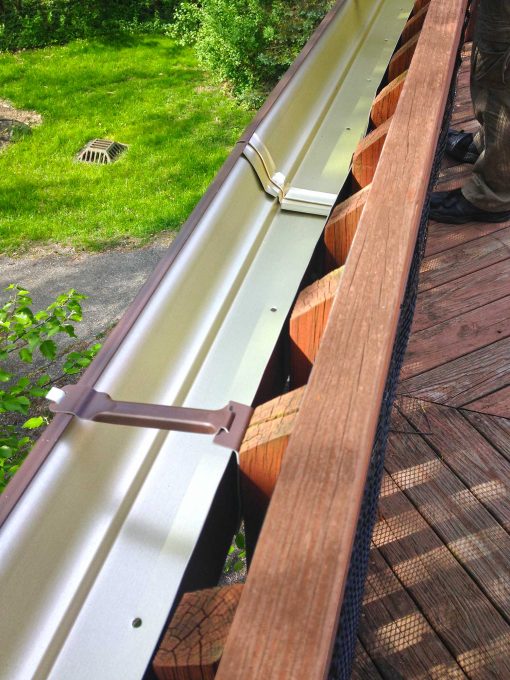
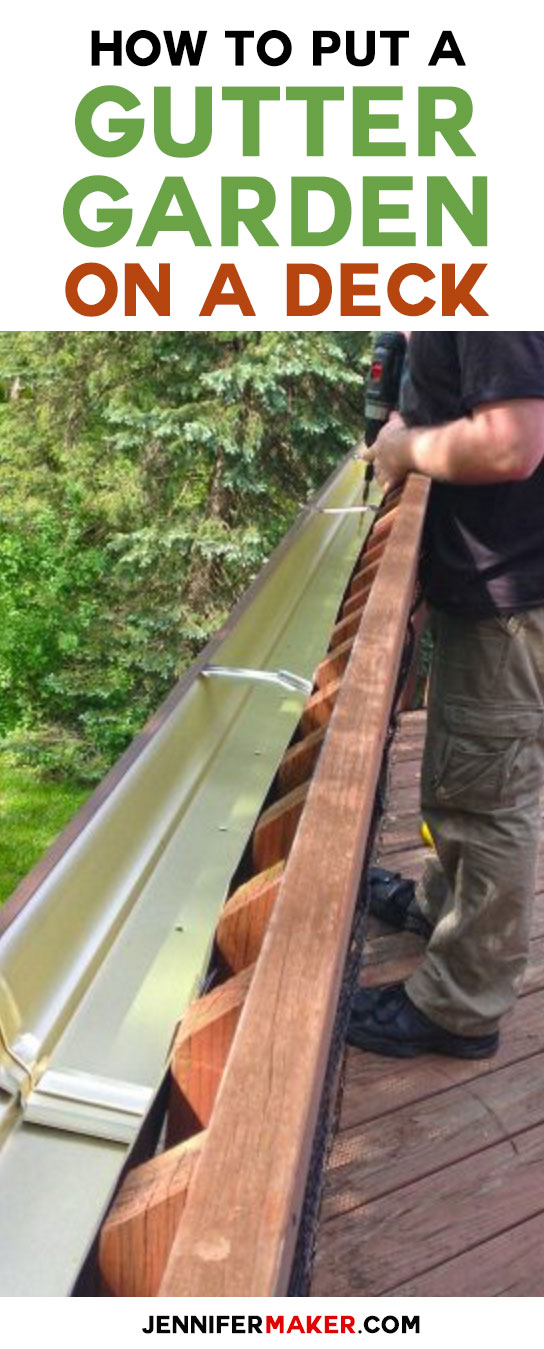
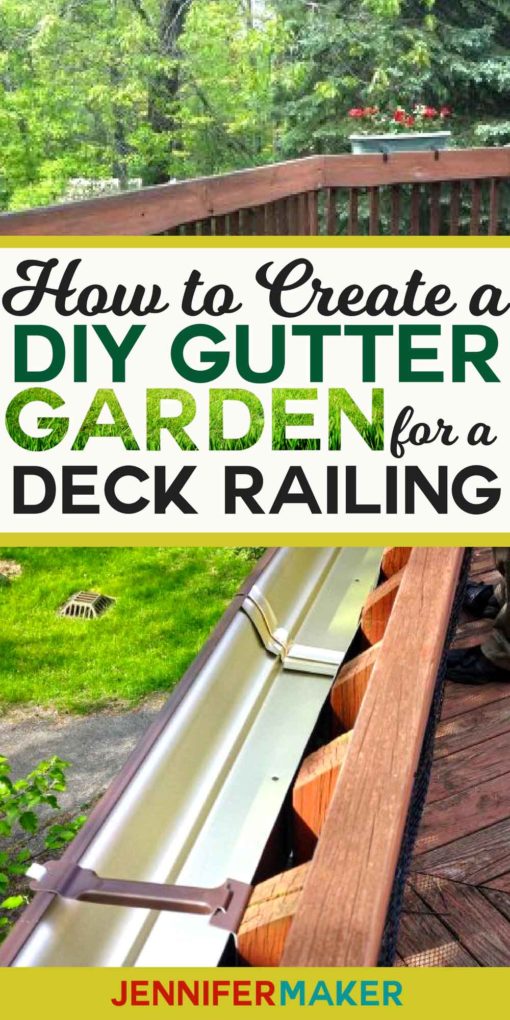
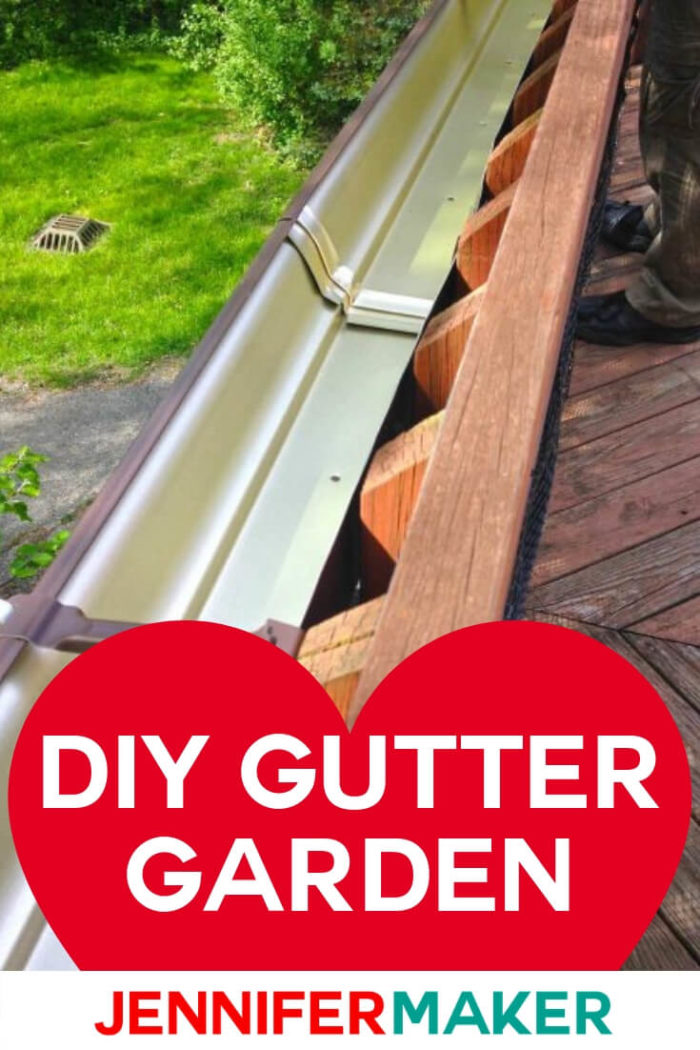
Then Greg attached the gutter to the outside edge of our deck rail with the gutter hangers. We put it on the outside so it wouldn’t take up valuable space on the deck itself.
Once the gutter garden was attached, we drilled holes for water drainage about every 8″ along the gutter.
And that was it! Our garden was ready for planting.
We created our deck gutter garden this last year, so I can tell you what worked and what didn’t work for us. Our gutter garden is west-facing and gets about six hours of sun a day. We planted lettuce, green beans, green and yellow peppers, and a slew of herbs. The lettuce seemed the happiest in the gutter garden, followed closely by the herbs and the peppers. The green beans didn’t much like it—I think they needed more room for their roots than they could get in the gutter. This year we’re going to focus on lettuce, onions, and herbs. I may also add in some flowers for color!
Love,

Save DIY Gutter Garden to Your Favorite DIY Pinterest Board!
Do you like to do DIY home projects, too? Share and leave a comment below!
More Fun and Easy DIY Posts
DIY Dry Erase Board — So Simple & Cute!


Where are pictures of ur garden ??? I’ve ried looking everywhere. It’s a great idea, just wish i uld ee a picture of it all palnted up.
I didn’t paint it — I kept it the color it was. I picked brown gutters because they went well with my brown deck. But I will go out and take a photo of my gutters with my plants in it and post it later today! 🙂
A gutter garden is one great way to turn an otherwise unused and unproductive area into something useful and attractive. Thanks for this! 🙂
its very creative idea, just curious to see please post the pictures! Thanks
I’m so glad I came across this. My hubby would love this to be our next DIY project. Thank you so much for the very detailed guide!