

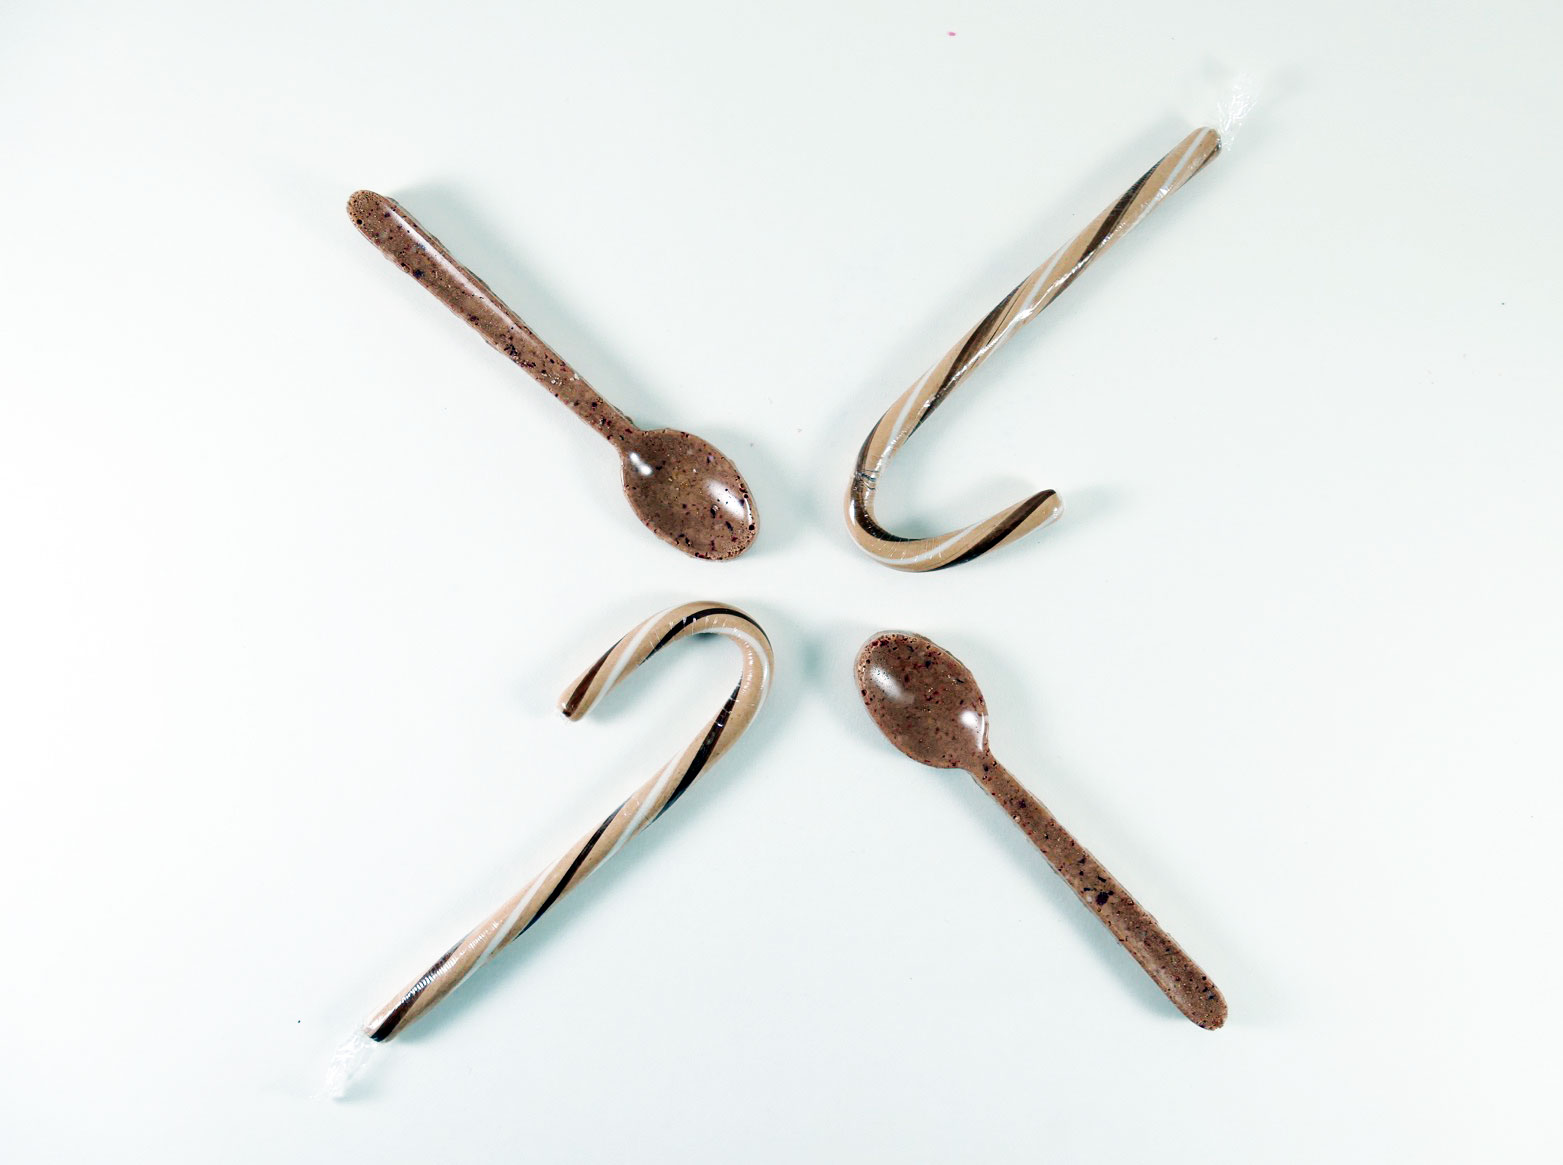
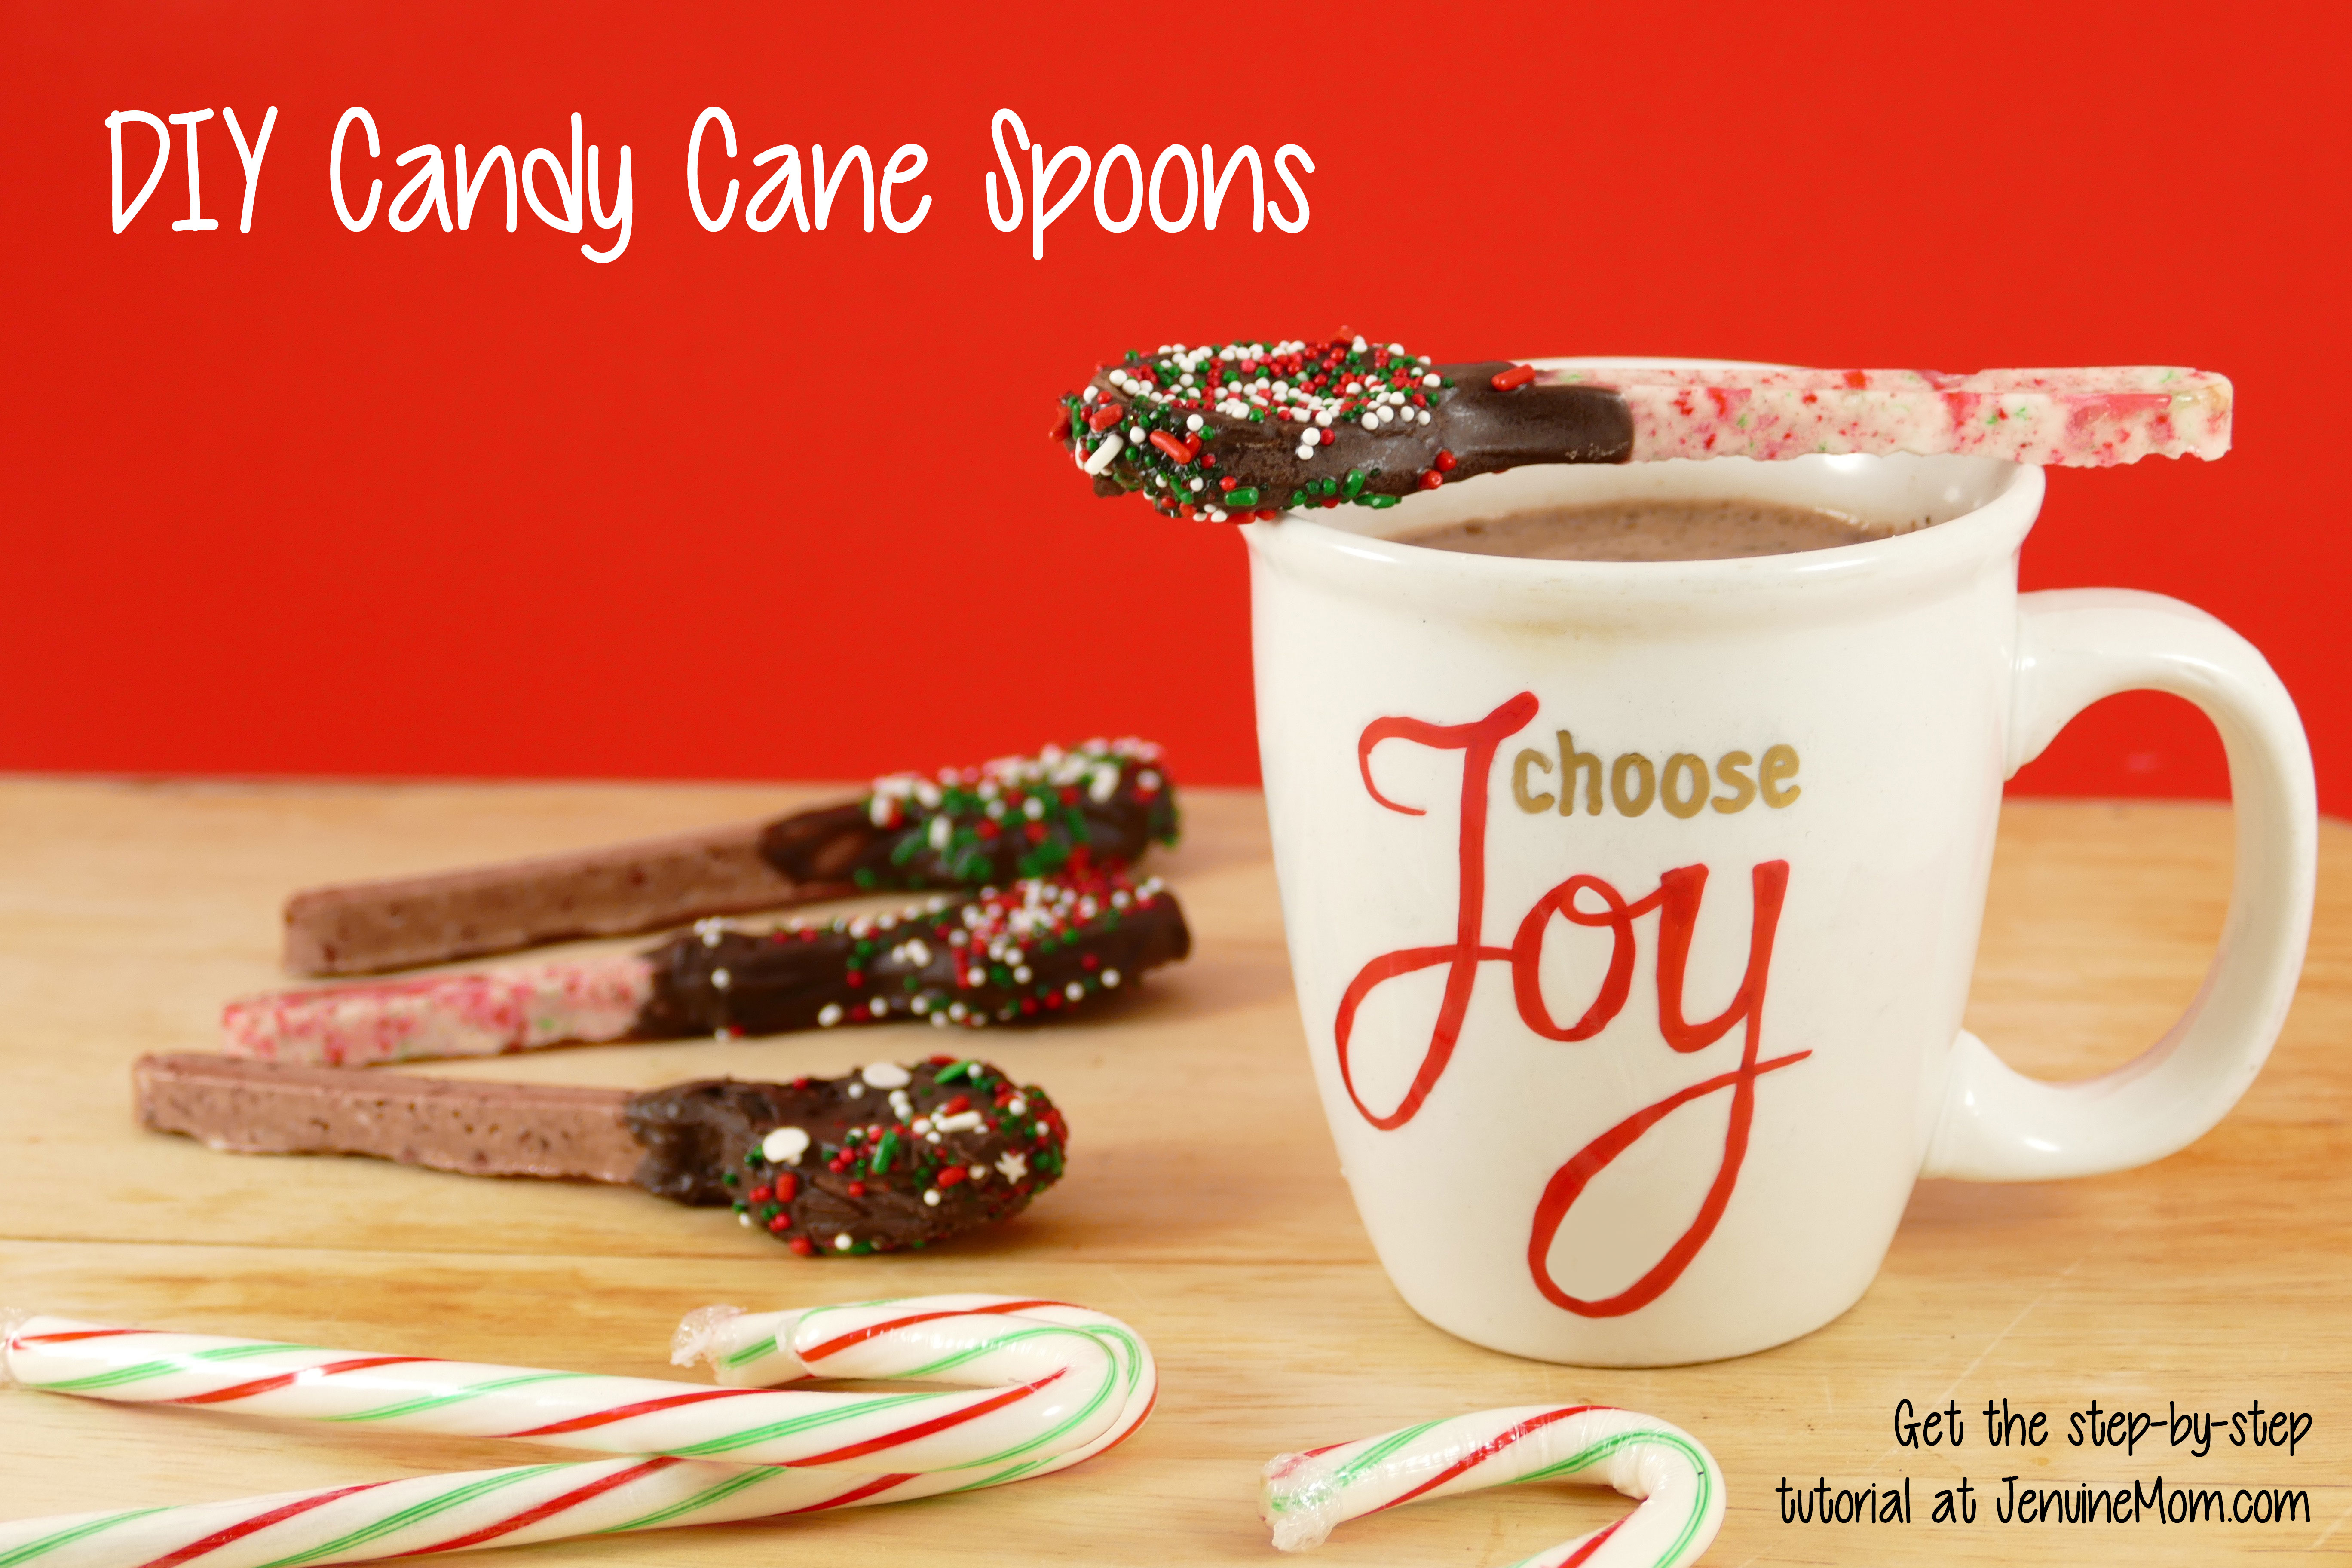
As part of my continuing series on DIY christmas gifts, this weekend we made a really fun treat: DIY Candy Cane Spoons! I’ve been wanting to make these for a while. The idea is that you put the candy spoon in your hot drink, like coffee or tea, and it slowly melts and imparts its flavor to your drink. Mmmm!
Many years ago, I received a similar coffee spoon as a Christmas gift, only the one I got was ALL chocolate. The chocolate spoon was super cute, but it quickly melted in my hand and was rather messy. So as much as I love chocolate, I wasn’t going to go that route. I was just about use regular ol’ plastic spoons when I spotted something in the Christmas craft aisle at Joann: a silicone spoon-shaped candy mold! Silicone will go in the oven (up to about 500°F), unlike plastic candy molds. So let’s make a spoon out of something that melts in an oven, not in your hand — like hard candy. And what’s our favorite hard candy at Christmas? Candy canes!!
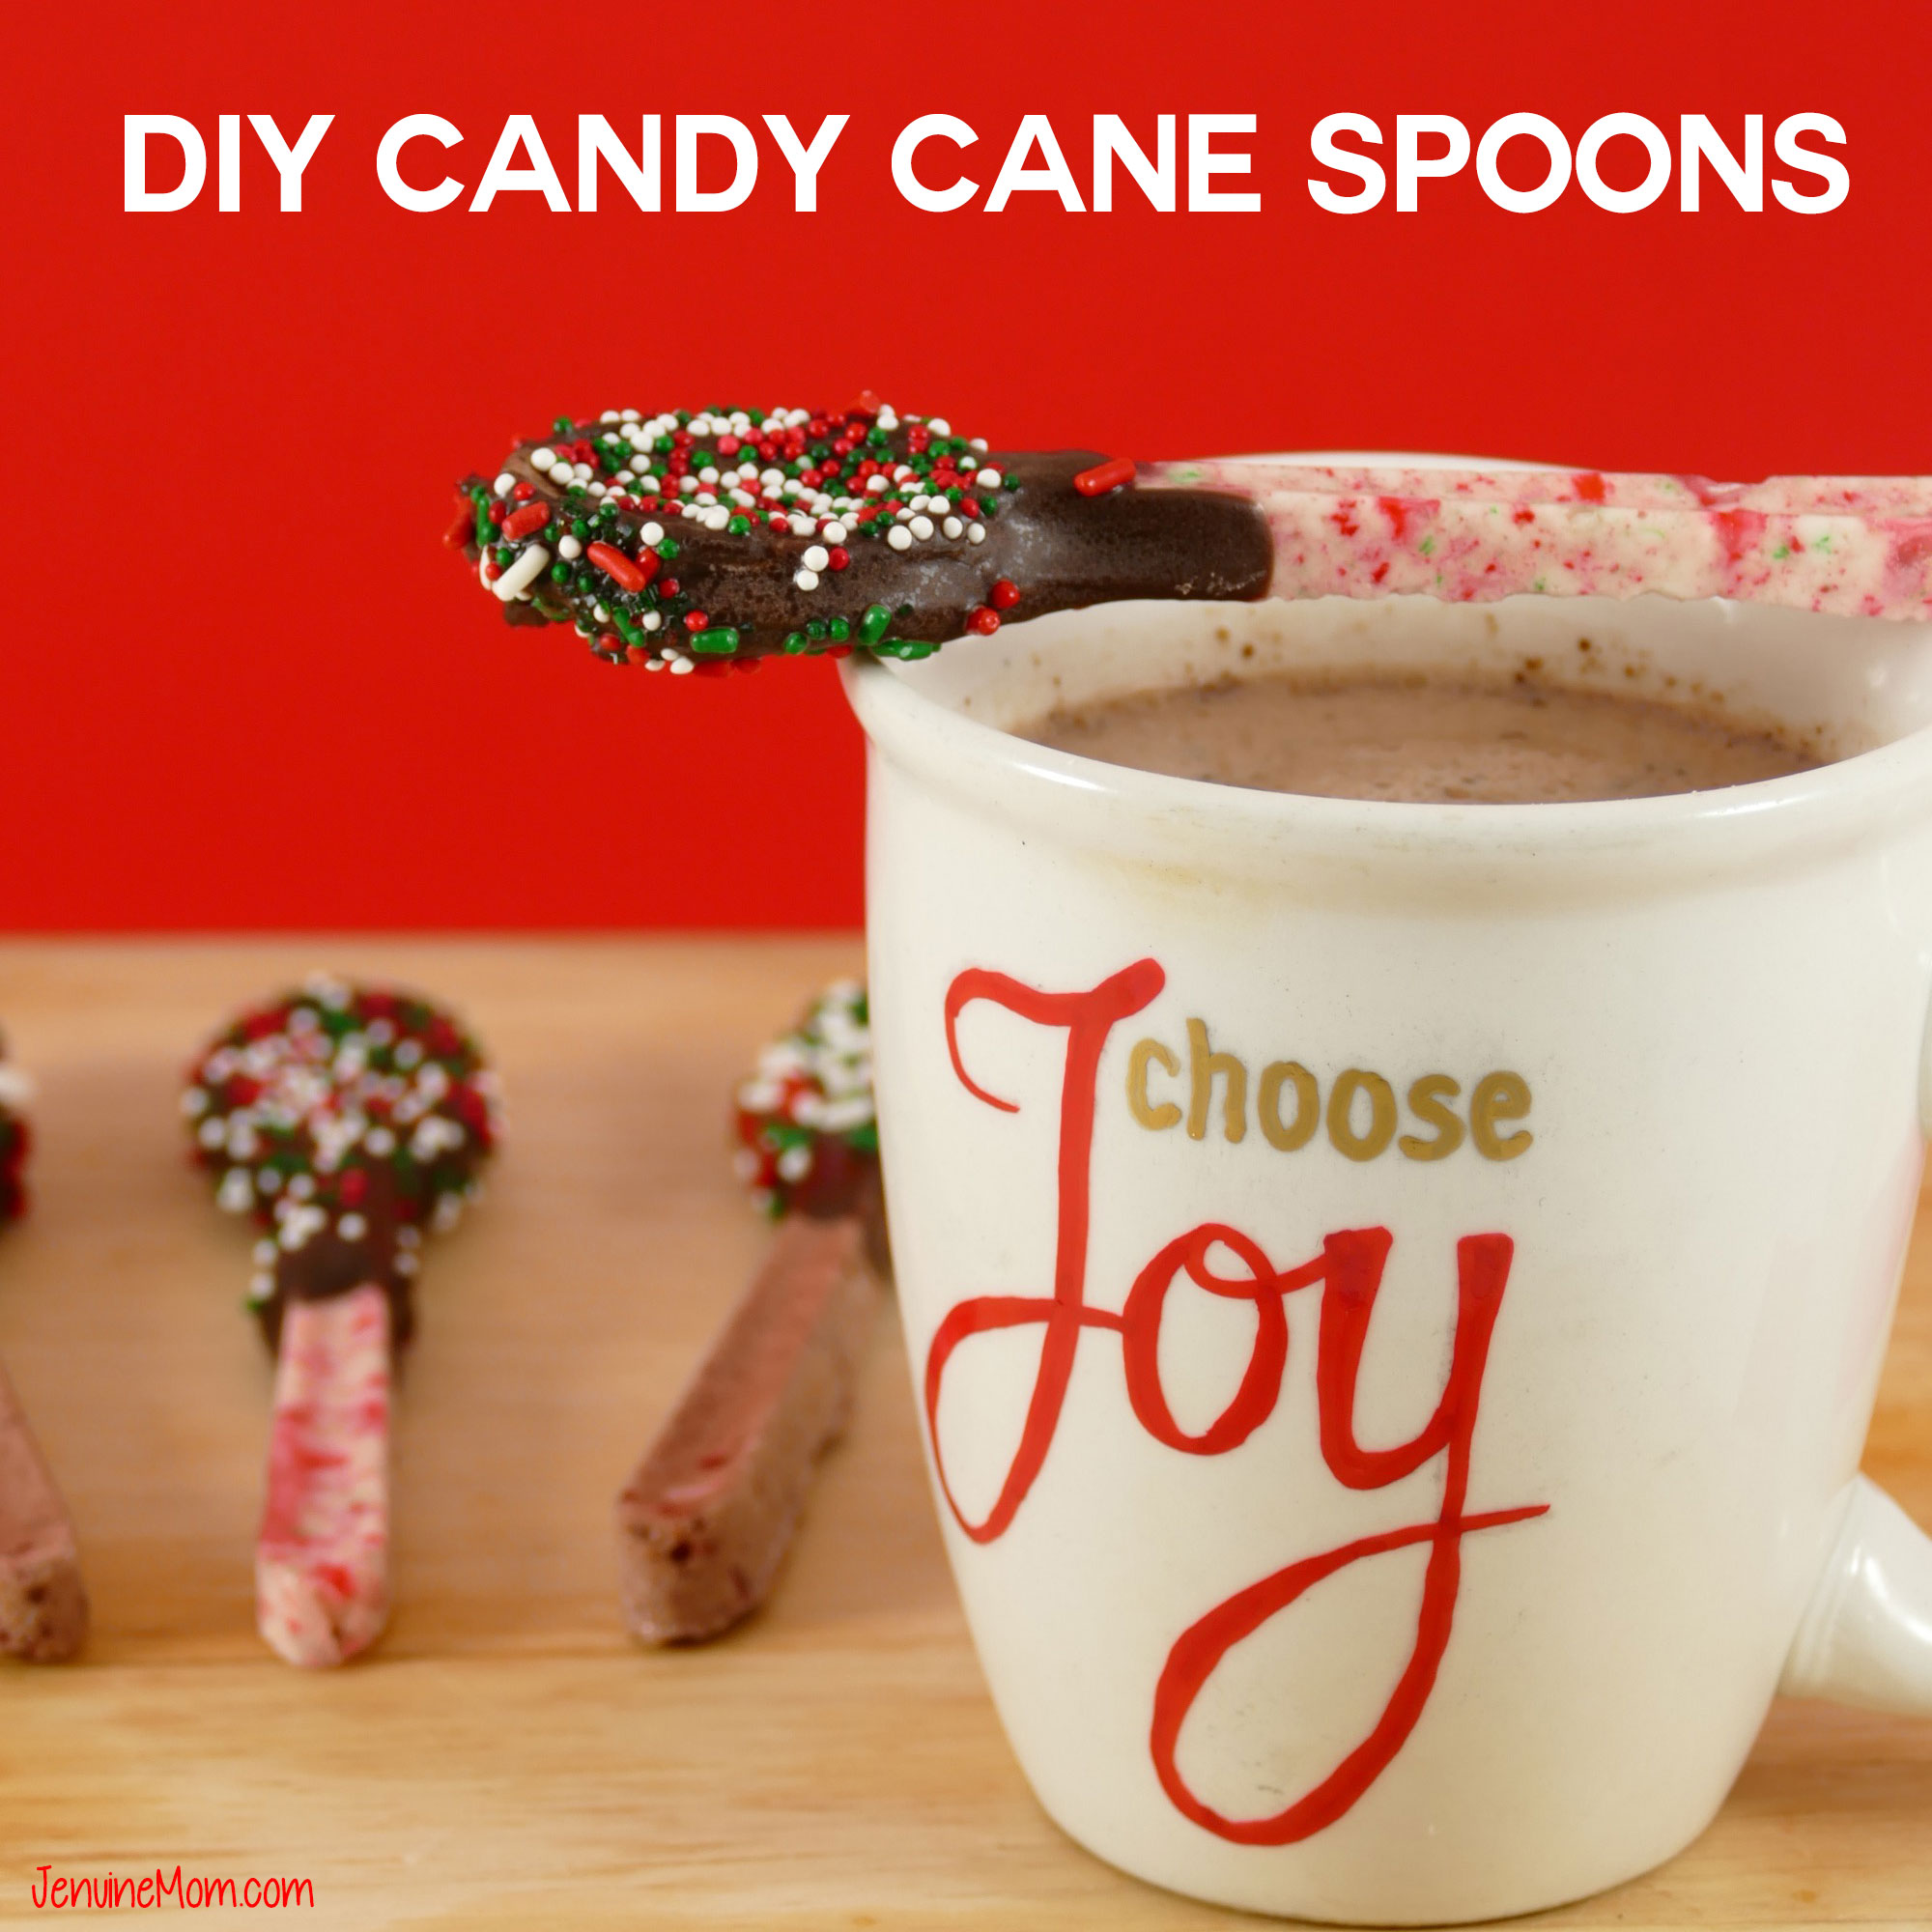
Peppermint candy canes + chocolate dip = peppermint mocha! Oh yeah!
Alexa and I made the DIY candy cane spoons this afternoon — it was quite easy! So here’s how you do it…
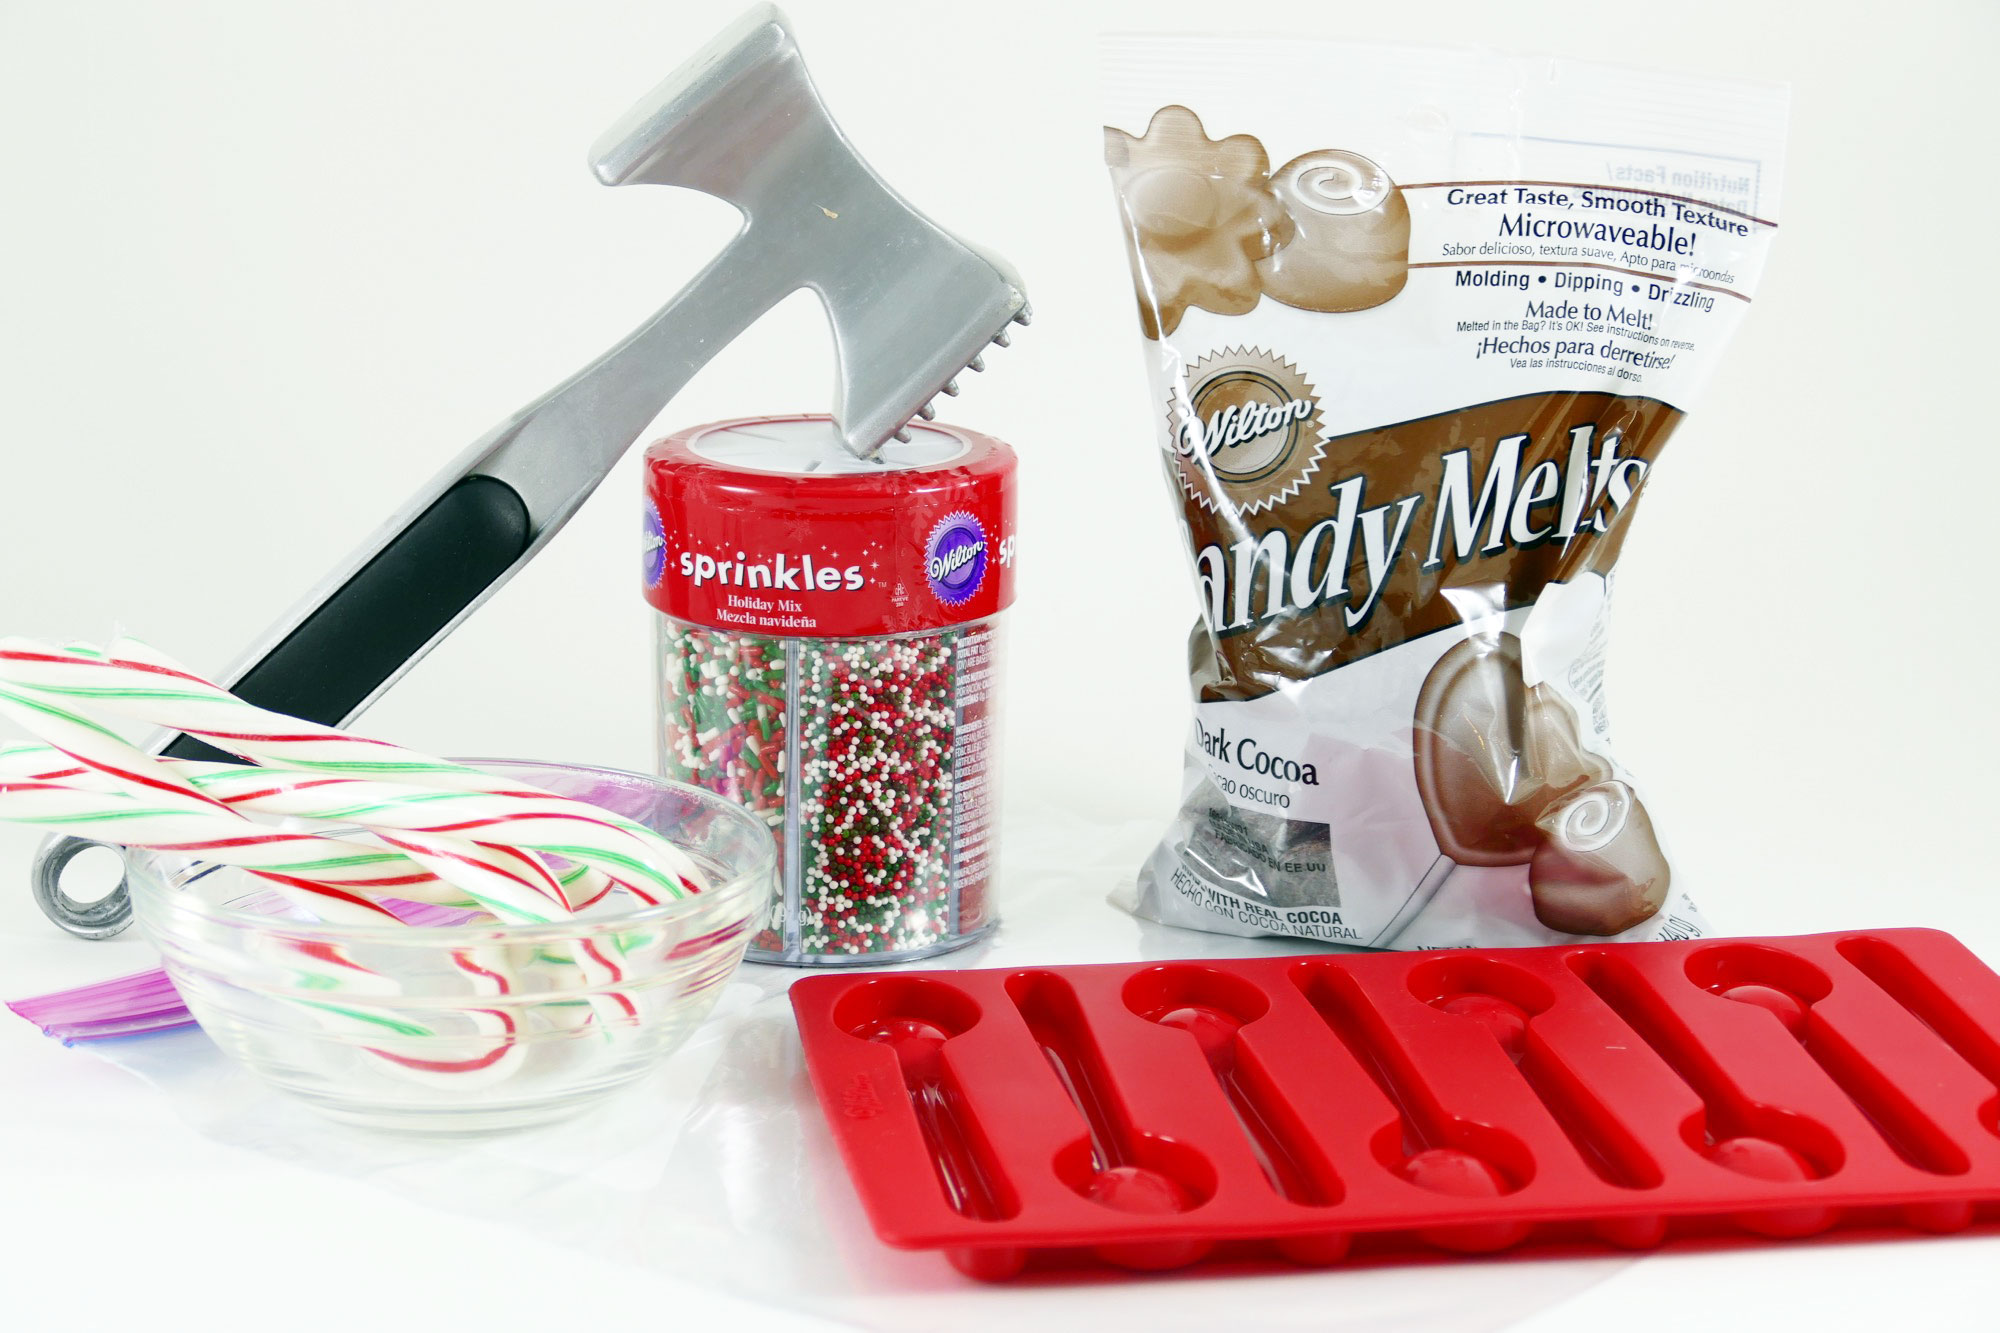
DIY Candy Cane Spoons — Materials & Tools
(Some of the linked items below are Amazon affiliate links for your convenience. I heart Amazon!)
- Candy canes (we used peppermint and hot cocoa flavored candy canes from Target — you could also use Starlight Mint candies, red peppermint or green spearmint). You’ll use about one regular-size candy cane, or 1/2 oz., per spoon
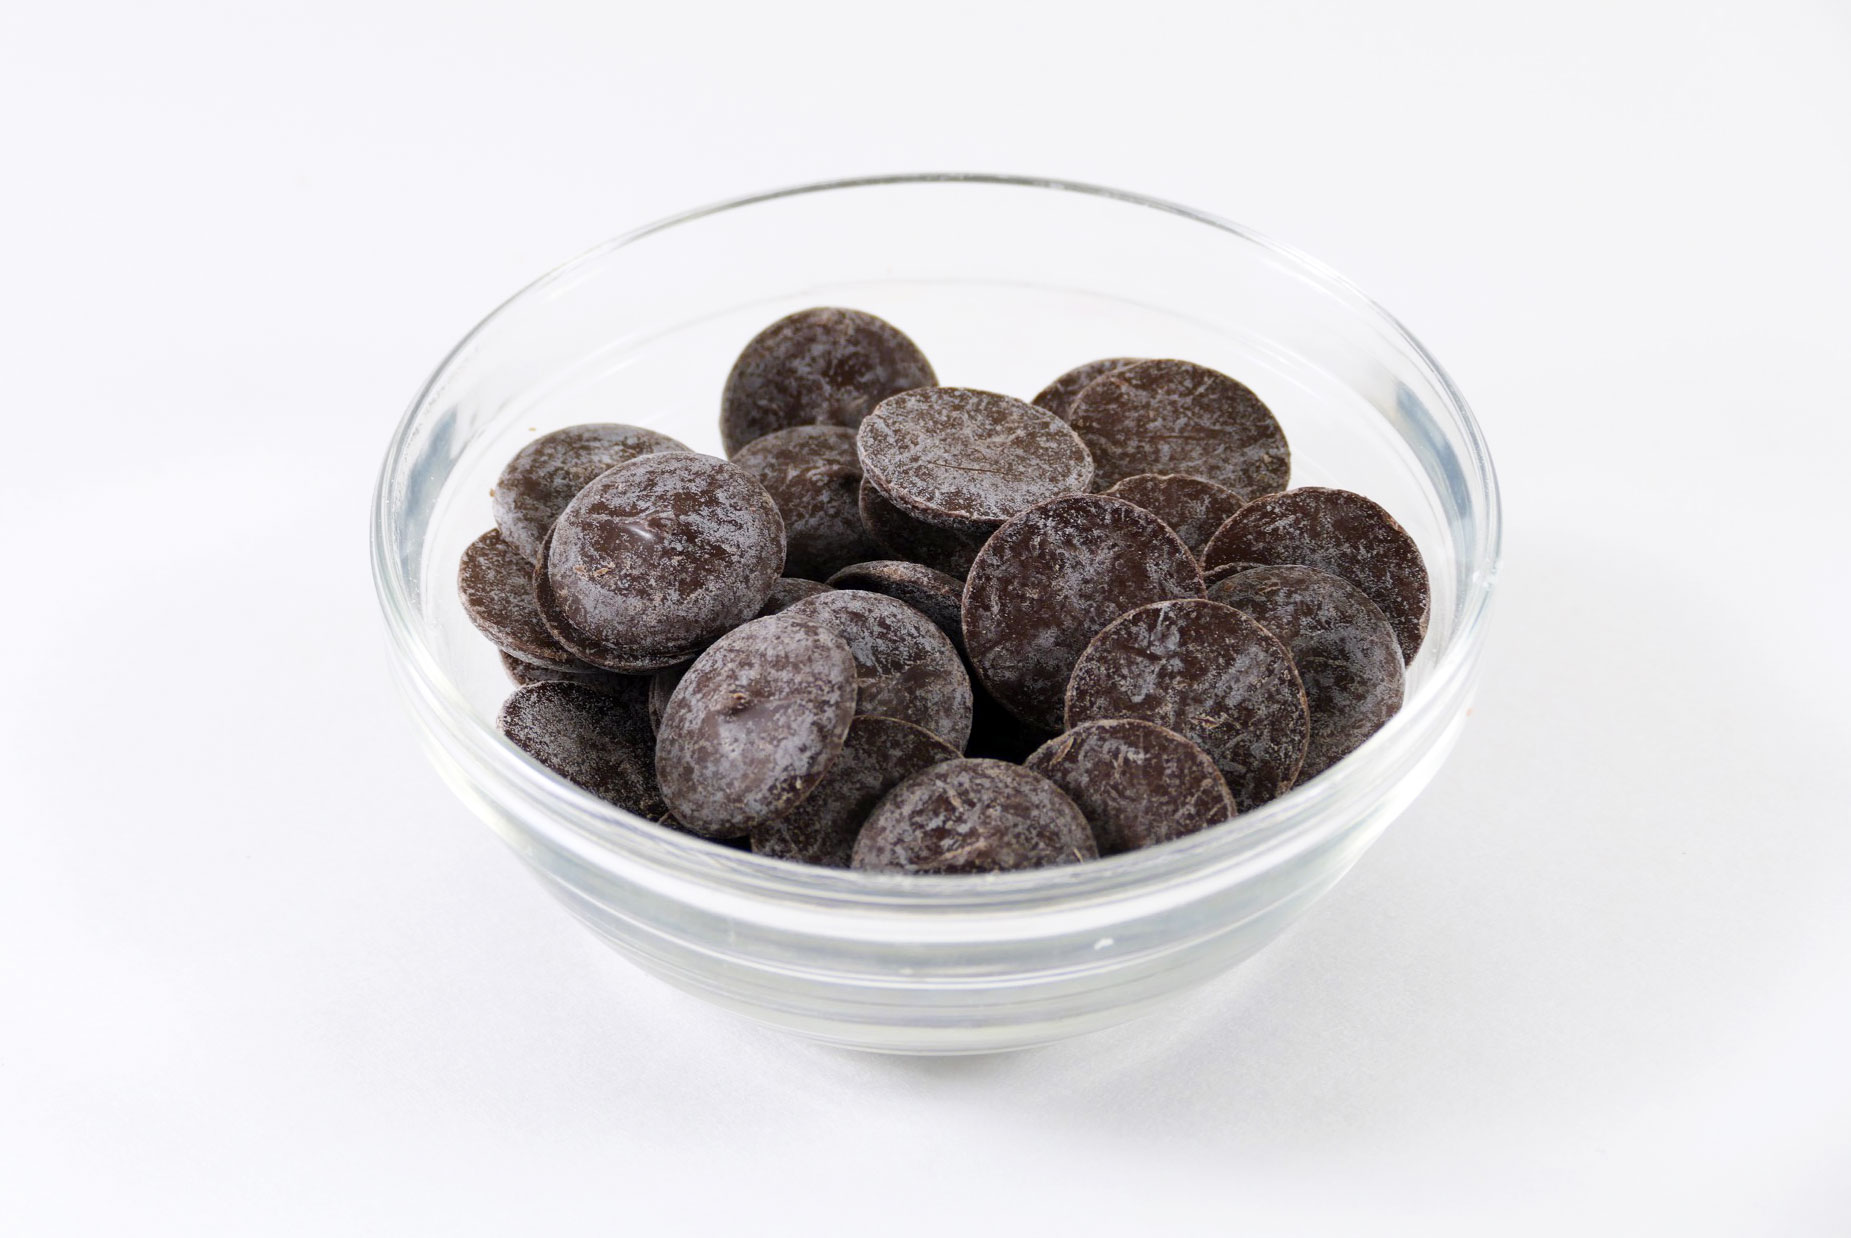
- Chocolate melting candy (we used dark cocoa)
- Sprinkles (these are Christmas gifts, so we went with Christmas sprinkles)
- Wilton’s Silicone Candy Spoon Mold
- Ziploc bags
- Mallet (or something heavy like a mallet)
- Two small bowls
- A knife
DIY Candy Cane Spoons — Step-by-Step Tutorial
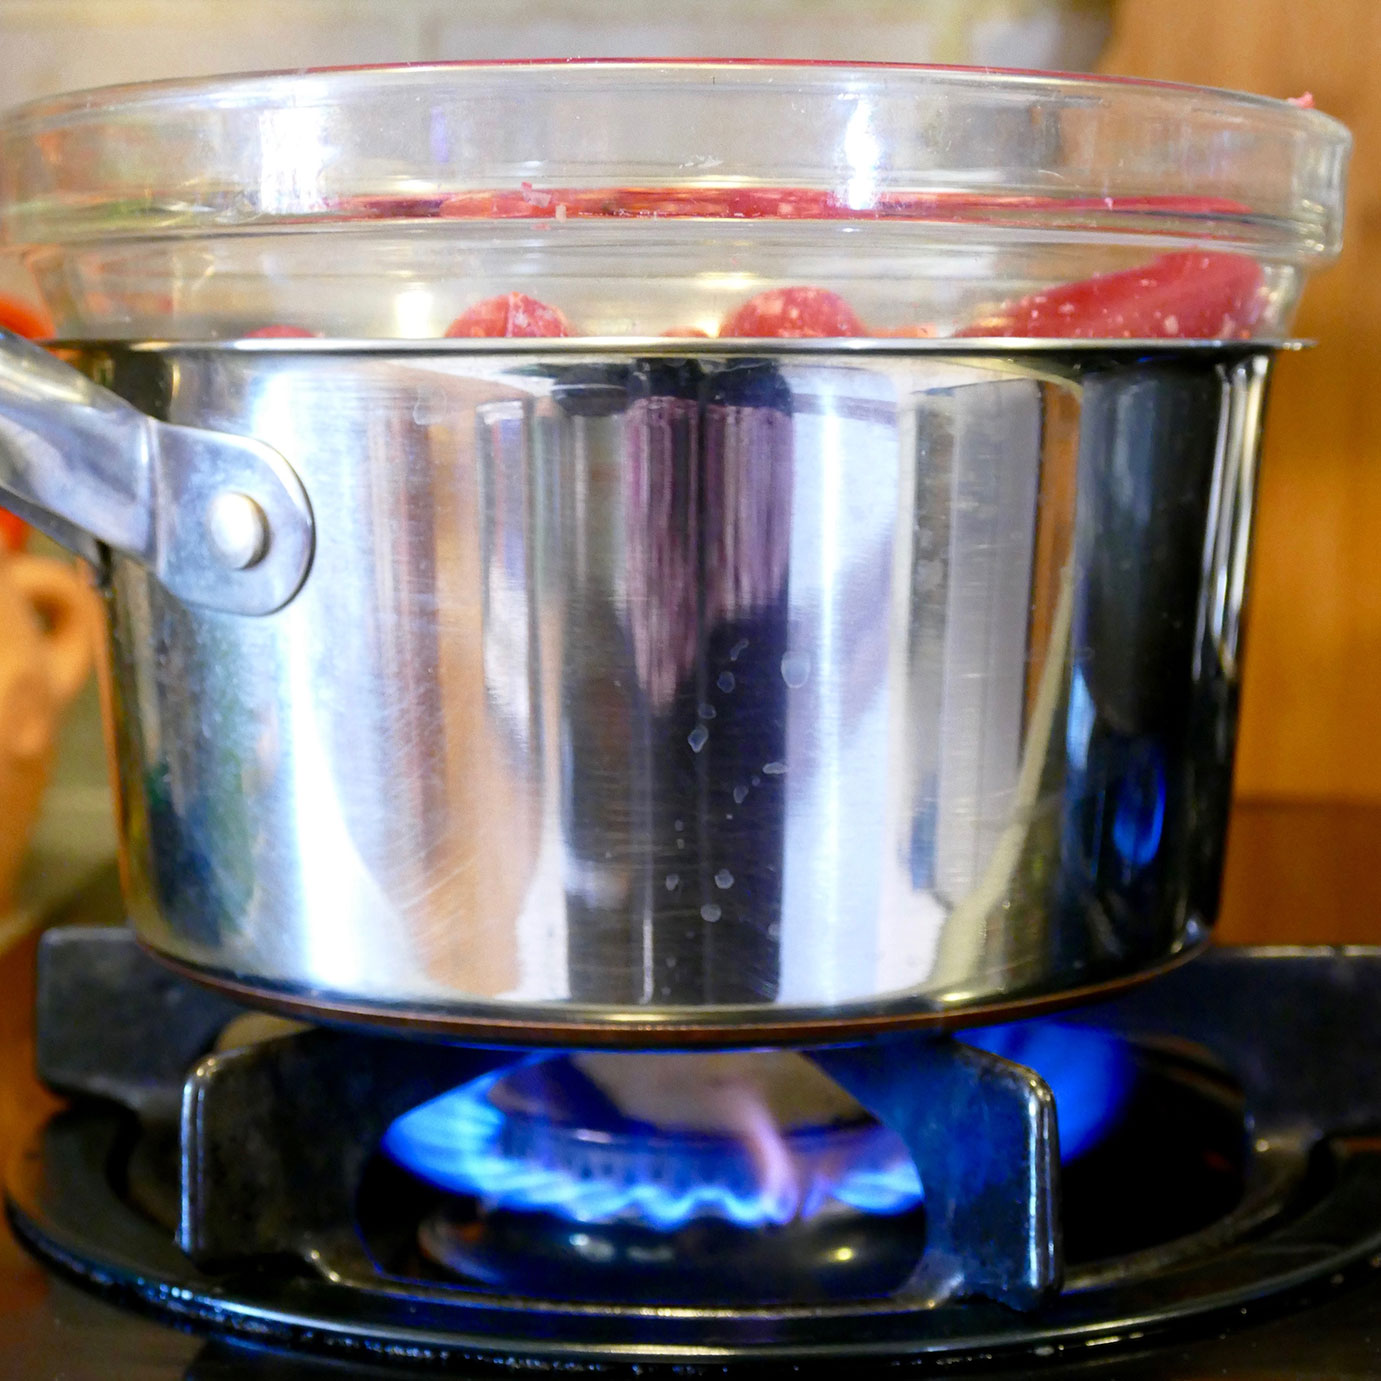
Step 1: Pre-heat your oven to 300°F.
Step 2: Unwrap your candy canes, put them in a ziploc bag, and hit them with the mallet until they are powdered. It doesn’t take long! Take out your frustrations on that bag!

Step 3: Cut a small hole in one corner of the ziploc bag, just big enough for the pulverized candy cane to come out.
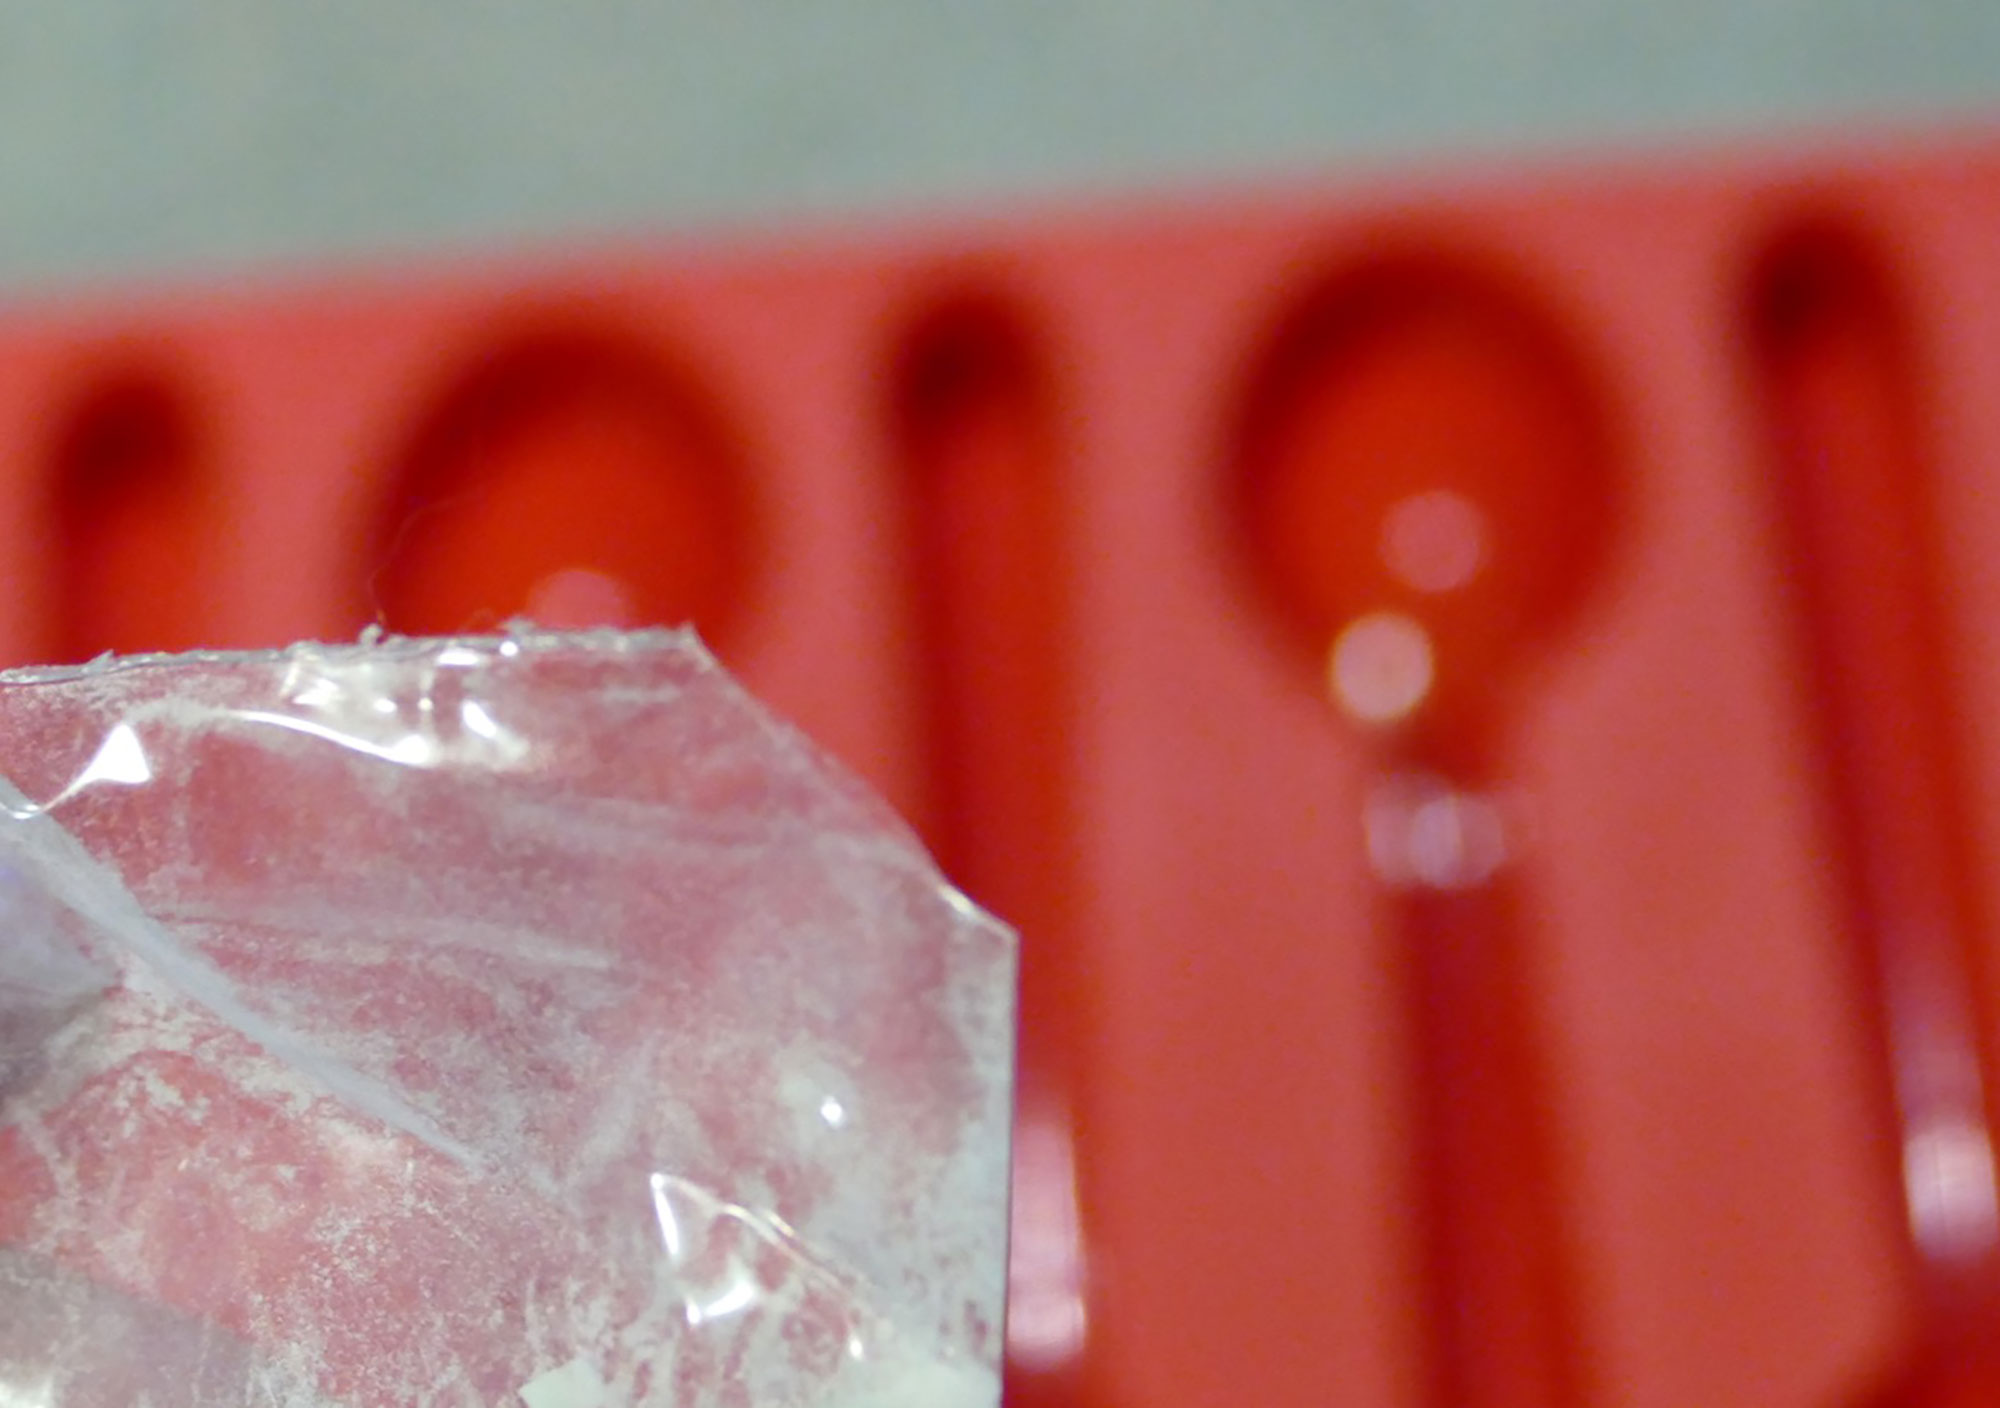
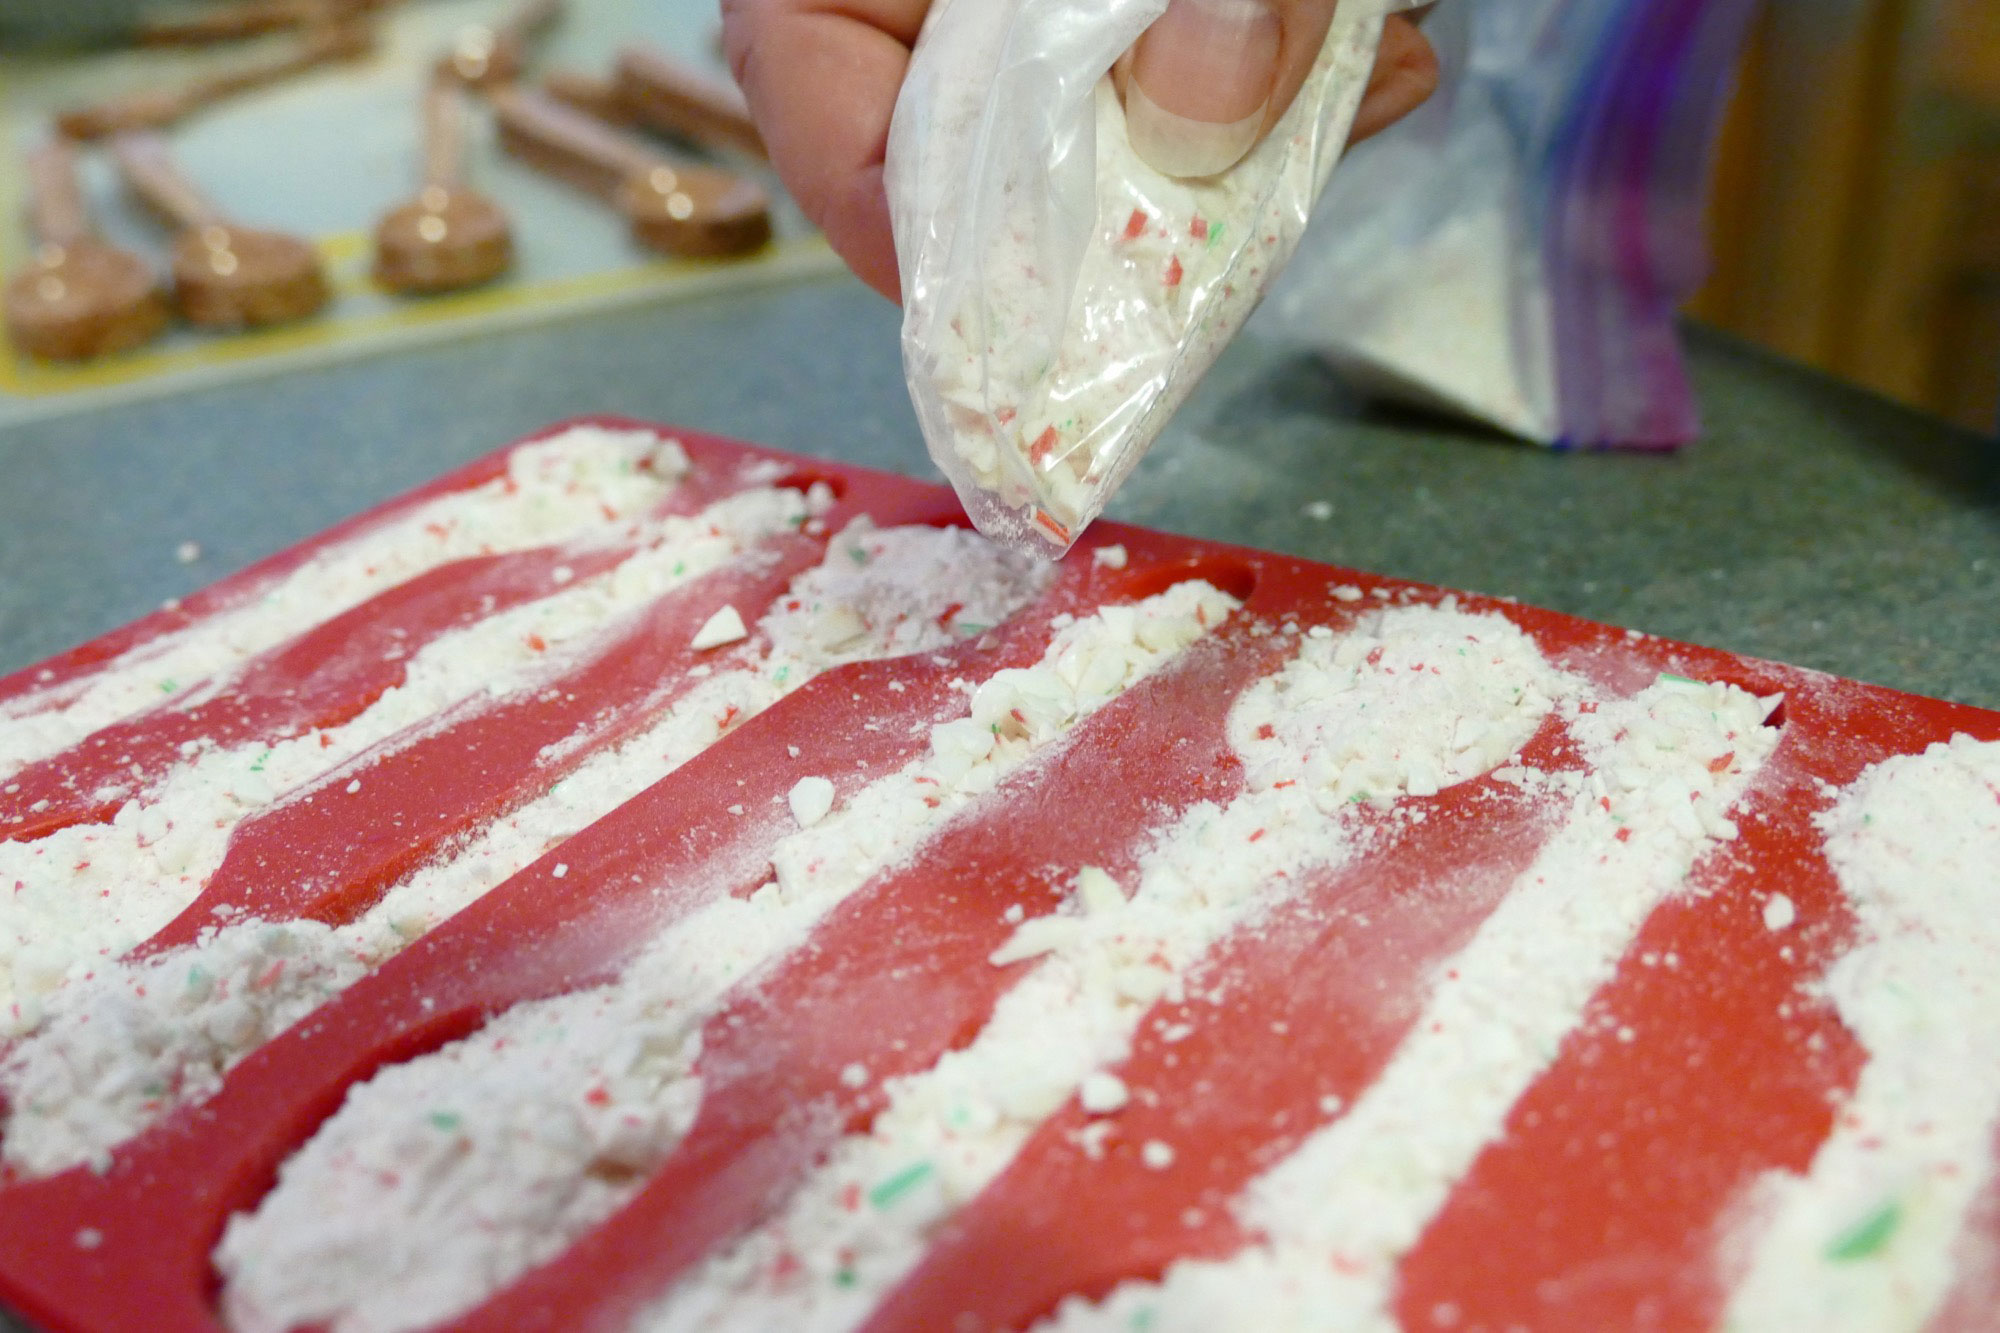
Step 4: Pour the candy cane powder into your silicone spoon mold. Be sure to get it in all the corners, but avoid having it spill over onto the sides as much as possible. Big chunks will leave voids as they melt, so avoid having those in the handle area.
Step 5: Put the silicone mold in the pre-heated oven for 10 minutes. (Sorry, no photo — I really need to clean my oven!)
Tip: I put my silicone mold onto a cookie sheet so it would be easier to transfer the mold to and from the oven without bending it.
Step 6: At 10 minutes, remove the mold, add a bit more crushed candy cane powder to the mold. You do this because the candy will settle down as it melts. Put the mold back in the oven for about 5 more minutes.
Step 7: Remove the silicone mold and allow to cool COMPLETELY.

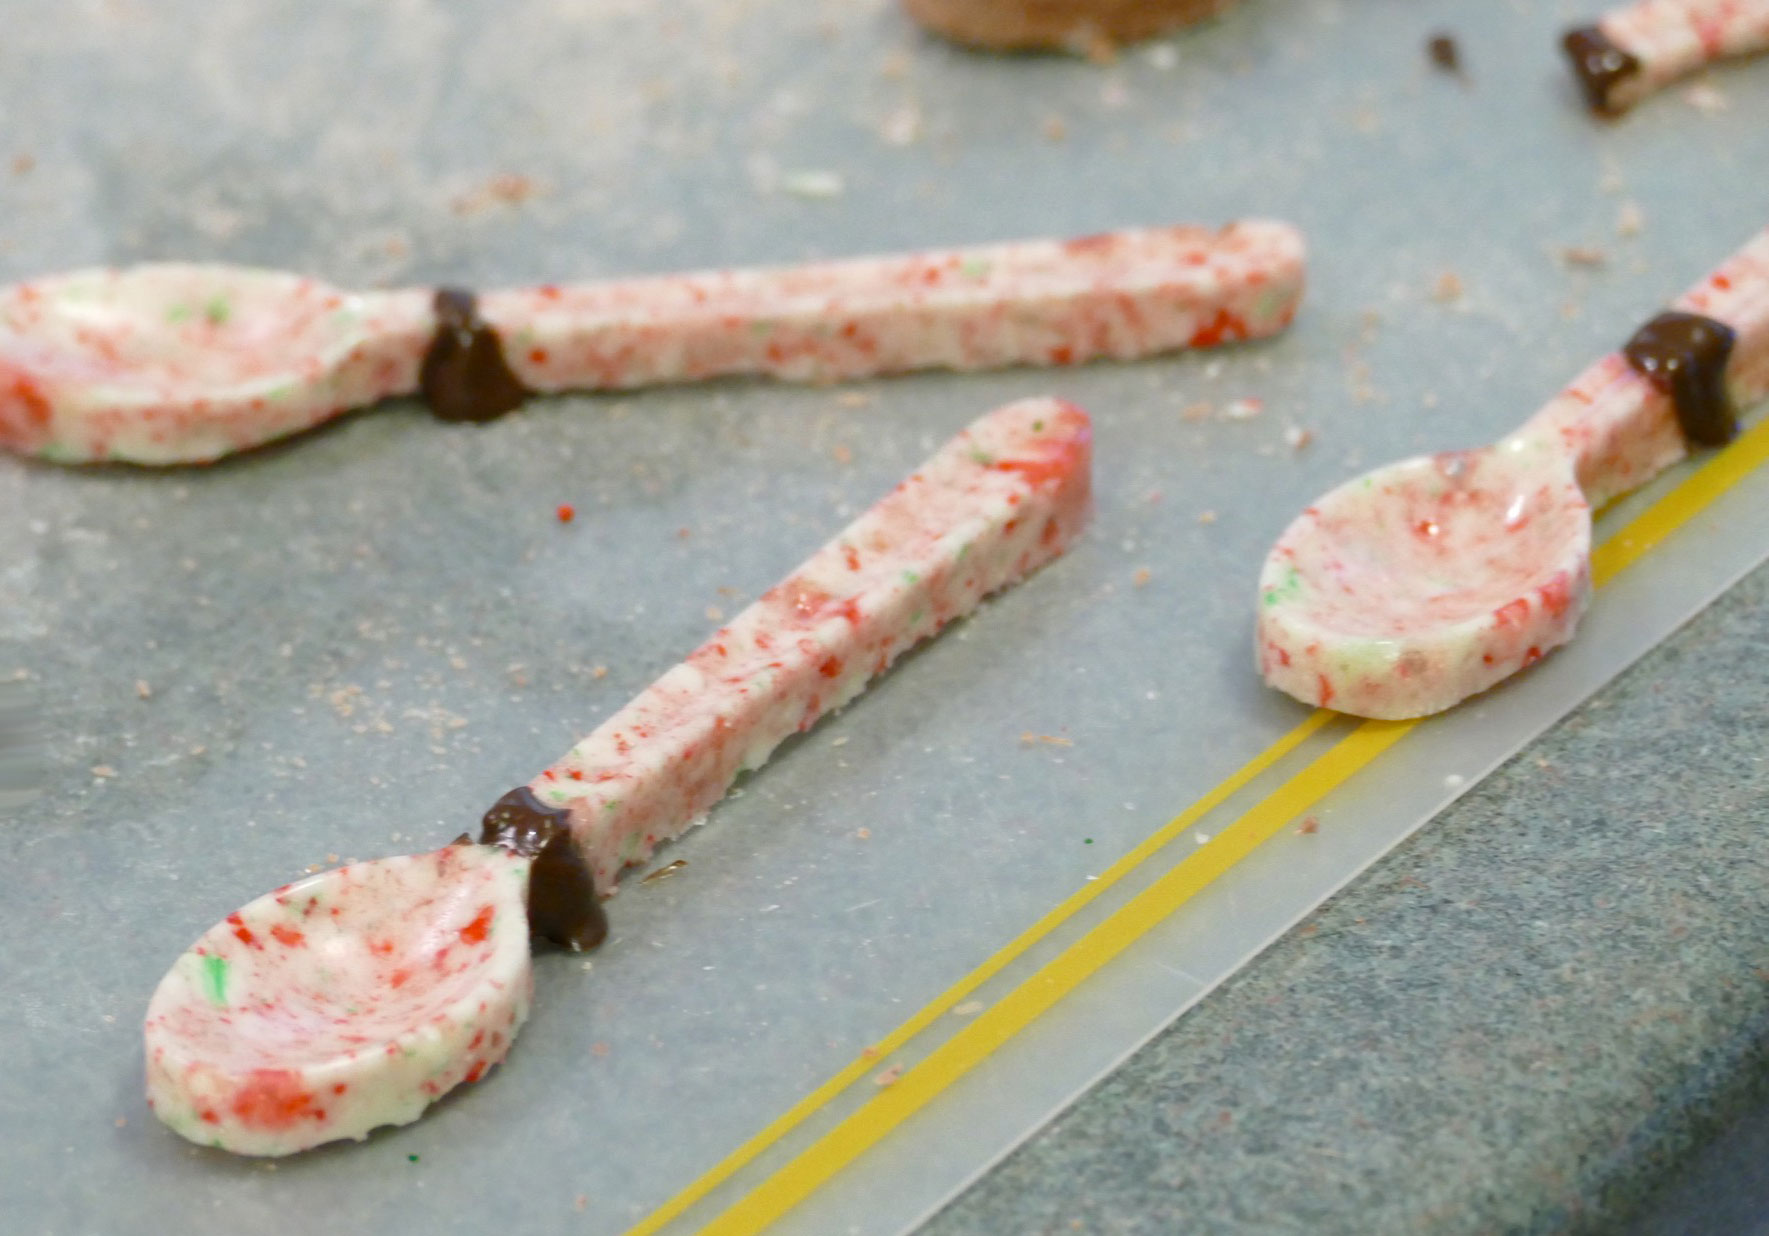
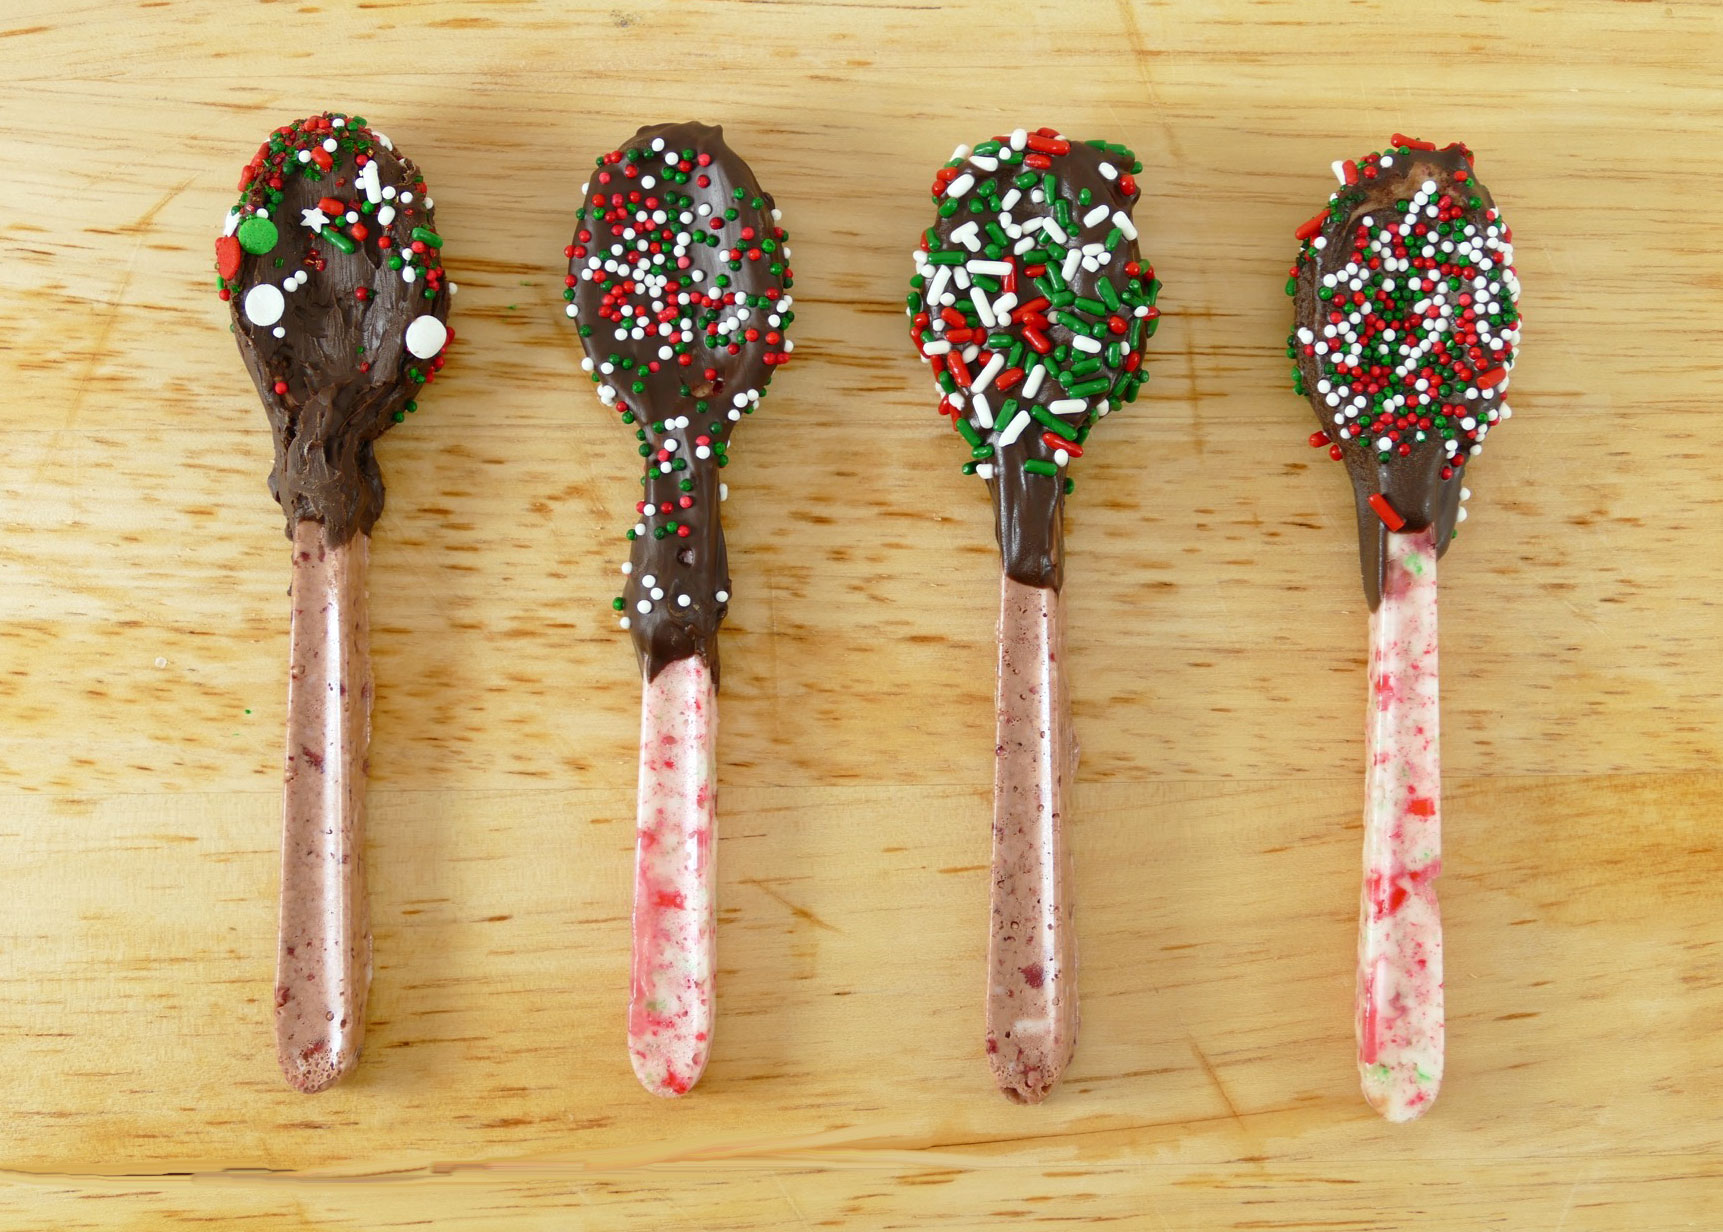
Step 8: Carefully pull the silicone mold away from the now-hard candy to remove the spoons. They can be a bit fragile, so be careful. If one breaks, don’t toss it — I’ll teach you how to glue it back together later!
Step 9: Use your knife to carefully scrape away any sharp bits along the edge of the spoons. Why? It’s not just for aesthetics, but also for safety. While I was making these, I cut my thumb on a jagged edge of spoon. Yes, Virginia, candy canes can cut!
How to Dip your DIY Candy Cane Spoons
Now that you’ve made your spoons, let’s dip them in chocolate and sprinkles!
Step 9: Pour some of your melting chocolate into a glass bowl and microwave according to its directions.
Step 10: Dip your candy cane spoons in the melted chocolate. You can also use a spoon to put the chocolate onto the candy cane spoon (this is what we did because our bowl wasn’t really deep enough to dip.)
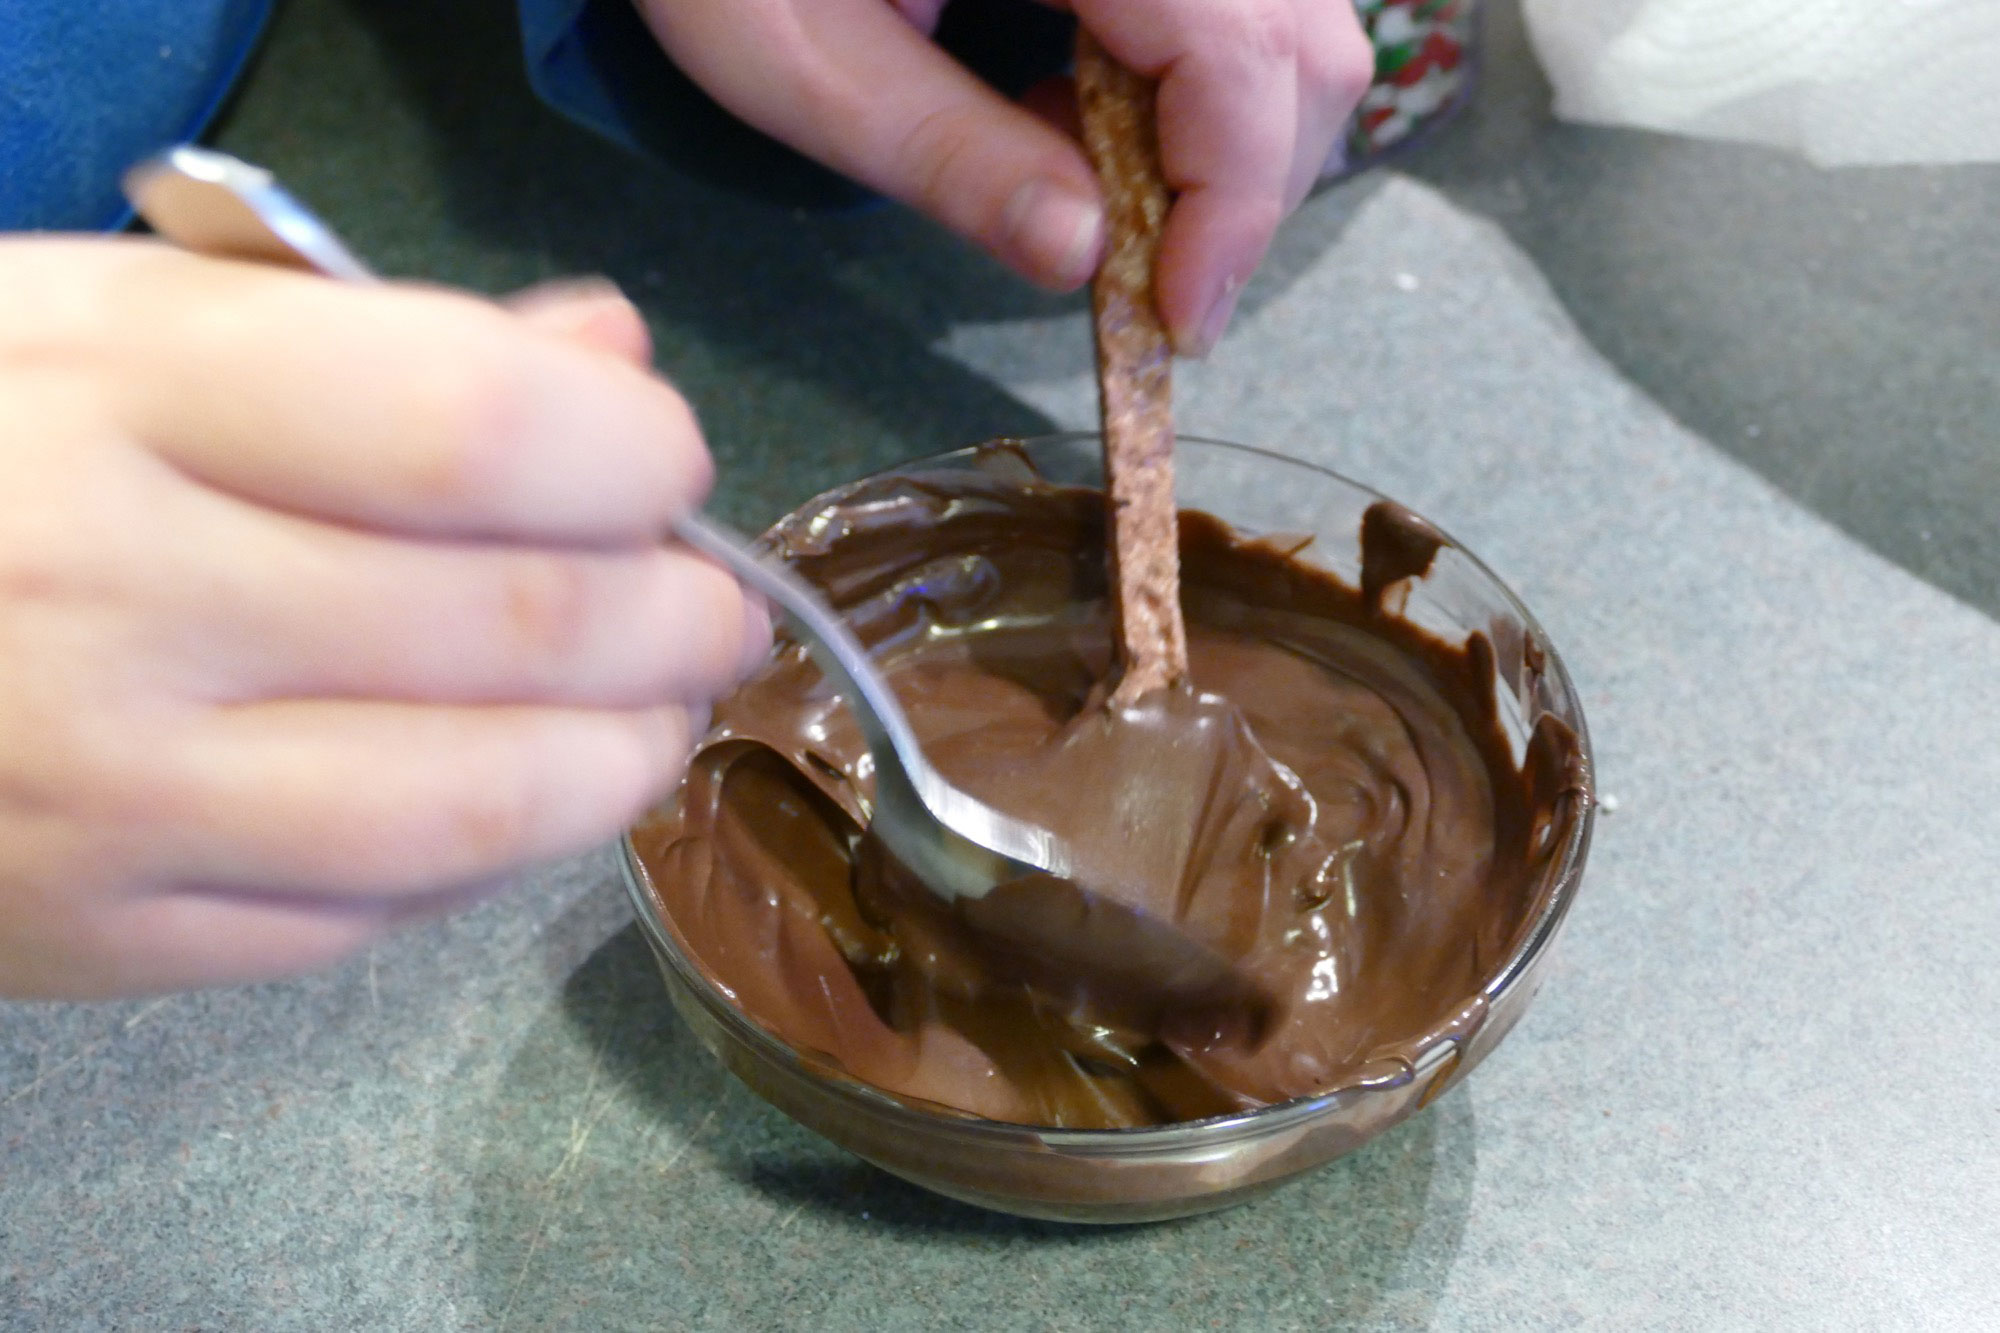
Tip: Put chocolate all the way up past the neck of the spoon, as we did. This helps protect that fragile neck area and avoid future breakage.
Step 11: Hold the newly chocolate-covered spoon over another bowl and shake sprinkles over it. Be sure to do this while the chocolate is still wet so the sprinkles stick!

Step 12: Allow the candy cane spoons to dry. We put ours end first into a wire rack which allowed the chocolate to dry without touching anything.

How to Fix Broken DIY Candy Cane Spoons
It’s inevitable — at least one of your DIY candy cane spoons is going to break. It usually happens when they are coming out of the mold. But you can fix them! Just dip the broken ends in the melted chocolate, put them together, and allow them to dry for a bit. Then you can dip them in chocolate (and be sure to cover up the join).
DIY Candy Cane Spoons Tips
You can use any hard candy that can be crushed up. Just keep in mind what you want it to melt into when it’s done — will a Jolly Rangers-flavored spoon taste good in your coffee? You decide.
Experiment with different flavors of dip, too! How about a chocolate-candy cane with caramel candy dip? Mmmmm.
If you use your spoons for hot chocolate, you could try dipping them in mini marshmallows rather than sprinkles!
This is a fun craft to do with kids. Alexa enjoyed pounding the candy canes, dipping, and sprinkling. Just be careful that you smooth the spoon edges before they handle them.
Oh, and if you love this idea but aren’t into the whole candy cane smashing and melting thing, it turns out you can buy candy cane spoons pre-made!
DIY Candy Cane Spoons – Gift Giving Ideas
I made these for gifts, and I haven’t quite decided HOW to present them yet. Here are my ideas — perhaps they are useful for you as well!
- Put in a nice plastic bag, put in a box, and wrap it up!
- Put into a bag of hot cocoa mix ready to go (check out this fun Rudolph hot cocoa + free printable gift tag idea from FrugalCouponLiving.com)
- Put in a nice plastic bag, put it in a mug like the one below, and wrap in a bigger plastic bag (watch for my tutorial on how to make that mug!)
Once I figure out how to present my candy cane spoons, I’ll post a photo here! In the meantime, I’d love to hear your ideas on how you can use these and who you will give them, too!
Love,

P.S. Check out my other fun DIY gift tutorials to help you make wonderful homemade and inexpensive gifts for the holidays this year! I currently have tutorials on DIY teacup candles, DIY candy cane spoons for coffee/hot cocoa, DIY hand warmers, DIY chalkboard gift tags, DIY Sharpie mugs, DIY bath bombs, and beeswax ornaments!
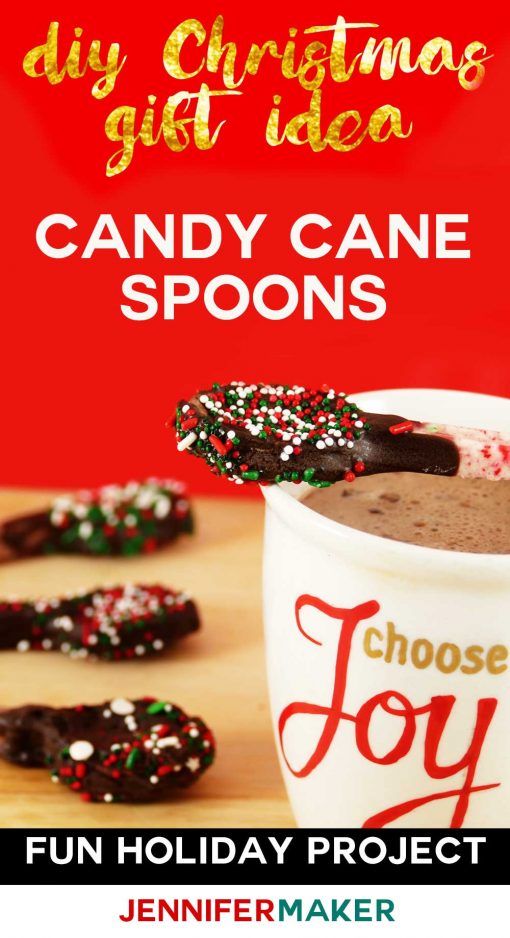
Like this tutorial? Pin it to your favorite Pinterest board!

This is such a fun and unique gift idea. Now I need a candy spoon mold.
Thank you, Candy! This is definitely fun!
I love this idea! Teacher and neighbor gifts are being hand made this year so these would be a cute addition!
Thank you, Christyl! These are a great teacher and neighbor gift for sure!
Oh yum! These look delicious and fun!
Thank you so much for sharing!
XO! Vanessa
Thanks, Vanessa! Much appreciated. 🙂
This is such a great idea. Fun to make and everyone would love them as a gift.
Yay! Thank you!
This is SUCH a creative idea! I love it. Your step by step photos make it look easy! 🙂
Thank you, Julia! I aim to make it easy… and it is! 🙂
What a cute and original idea! I love anything with peppermint and chocolate!
Thanks, Jennifer! I, too, love peppermint and chocolate!
This looks like so much fun xx
Totally fun — thanks, Lara!
I love this! I’ve dipped spoons before, but not ones where you can eat the spoon too! So fun!
Thank you, Ramona! Edible spoons for the win!
Those look super delicious!!
You make this look so easy! This would be super cute for office gifts!
Great idea! Will definately be trying these out!
Thank you, Betty! Have fun!
I really love these – I’m thinking I might do something similar for christmas gifts for the neighbours this year, but not sure where I can find the silicon spoon molds. These could be super cute in a mug with a hot chocolate sachet, some marshmallows and a cookie, all wrapped in cellophane.
I bought my silicon spoon mold from Jo-Ann, and they are also available on Amazon. And it would be super cute in a mug. But what is a hot chocolate sachet? Ah, Google says its a British term for what we call a hot chocolate packet. Yes, that would be awesome!! Thank you!
I never thought to make the whole spoon candy! Brilliant – this look amazing and would make super cute gifts!!
I am hoping my recipients like them — I know I would. Thanks, Lauren!
So many cute ideas it would be worth investing in the molds. My kids would love making these for gifts!
Ahhh, these are so cute! It seems so easy to do, and it would make for a cute, inexpensive gift for coworkers or classmates. I’m a big fan of dropping a peppermint candy into hot cocoa, and this is just so much cuter. I’ll have to try it out soon!
These look so easy to make and would be a great gift for friends! Pinning for later!
Thanks so much, Bridget!
What a festive and cute gift idea! These would also make great stocking stuffers!
These WOULD be great stocking stuffers!! Thanks, Stacey!
These are such a cute gift idea! Would be perfect packaged up with some mugs and hot cocoa! 🙂
-Clarissa @ The View From Here
Thank you, Clarissa!!
This is such a great idea! I have seen the plain chocolate ones also but I definitely like this idea better!
OH my gosh! This is so cool! I might have to tell our “Elf Alice” about this! Thanks so much for sharing 🙂
What a great idea! I think these would make a terrific Christmas gift! Super cute too!
Keep smiling!
Molly | http://www.stylemissmolly.com
I would love to make these and have them on the buffet at a party. Both plain and chocolate could go to stir many drinks. Great idea!
These are too fun! I love the endless flavor possibilities here!
Oh my goodness! I absolutely love this! This is perfect for small gifts for my coworkers! 🙂 Thanks for sharing!
Silvia M.
http://www.lovelysilvia.com
I never would have thought about this!! love it!! May try to make these this weekend
THEFOREVERTEACHER
This is such an awesome idea!!! They will make great gifts!! I am sharing this on my social media!!
This is such a great idea! I think making these candy spoons would be a fun project to do with kids, who can then give them to family and friends for holiday gifts.
This is such a cute idea! Perfect for a chilly winter morning.
I agree — something about peppermint and chocolate. Thanks, Suzanne!
What a fun gift idea!!!
Yay! Thanks, Meghan!
I’m loving these spoons! What a fun DIY for this season. These would be perfect to add in my Christmas Gift Basket!
Thank you so much, Alexis!
Such a great idea! 🙂 This will be awesome for this Christmas holiday. : ) Thanks for posting.
Such a great idea – these make fantastic gifts!
Thanks so much, Joanie!
This looks so good and it’s really perfect for the holidays, showing my big sister right now!
Thanks for joining Home Sweet Home!
What an adorable spoon mold and a fantastic gift!
Thank you, Natalie!
I am a fan of chocolate, too. Thanks for sharing, Jennifer. My little sister will like it. Love your post.
Wow I love this idea. Me and my niece can make this together. And we can have the chance to “accidentally” dip our fingers in chocolate lol. Nice post Jennifer!
I’m new to your site. I’ve tried several times to see your dog teacup candles, but when I click on it the candy covered spoons appear each time?!? Help please.
Great idea for the people who believe hand-made gifts are great. Thank you sharing.
I love this, I might make them for work gifts. Just an FYI be careful when reusing the chocolate that mint will infuse the leftovers. I always put my left over chocolate that’s touched Mint into a seperate bag labeled so I don’t use it with something it won’t go with.