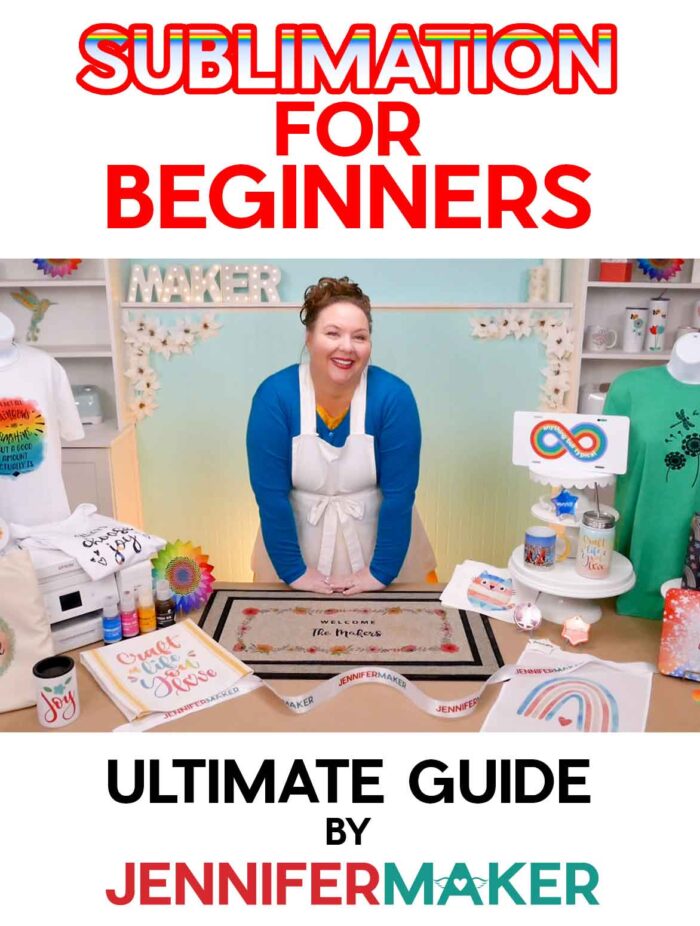
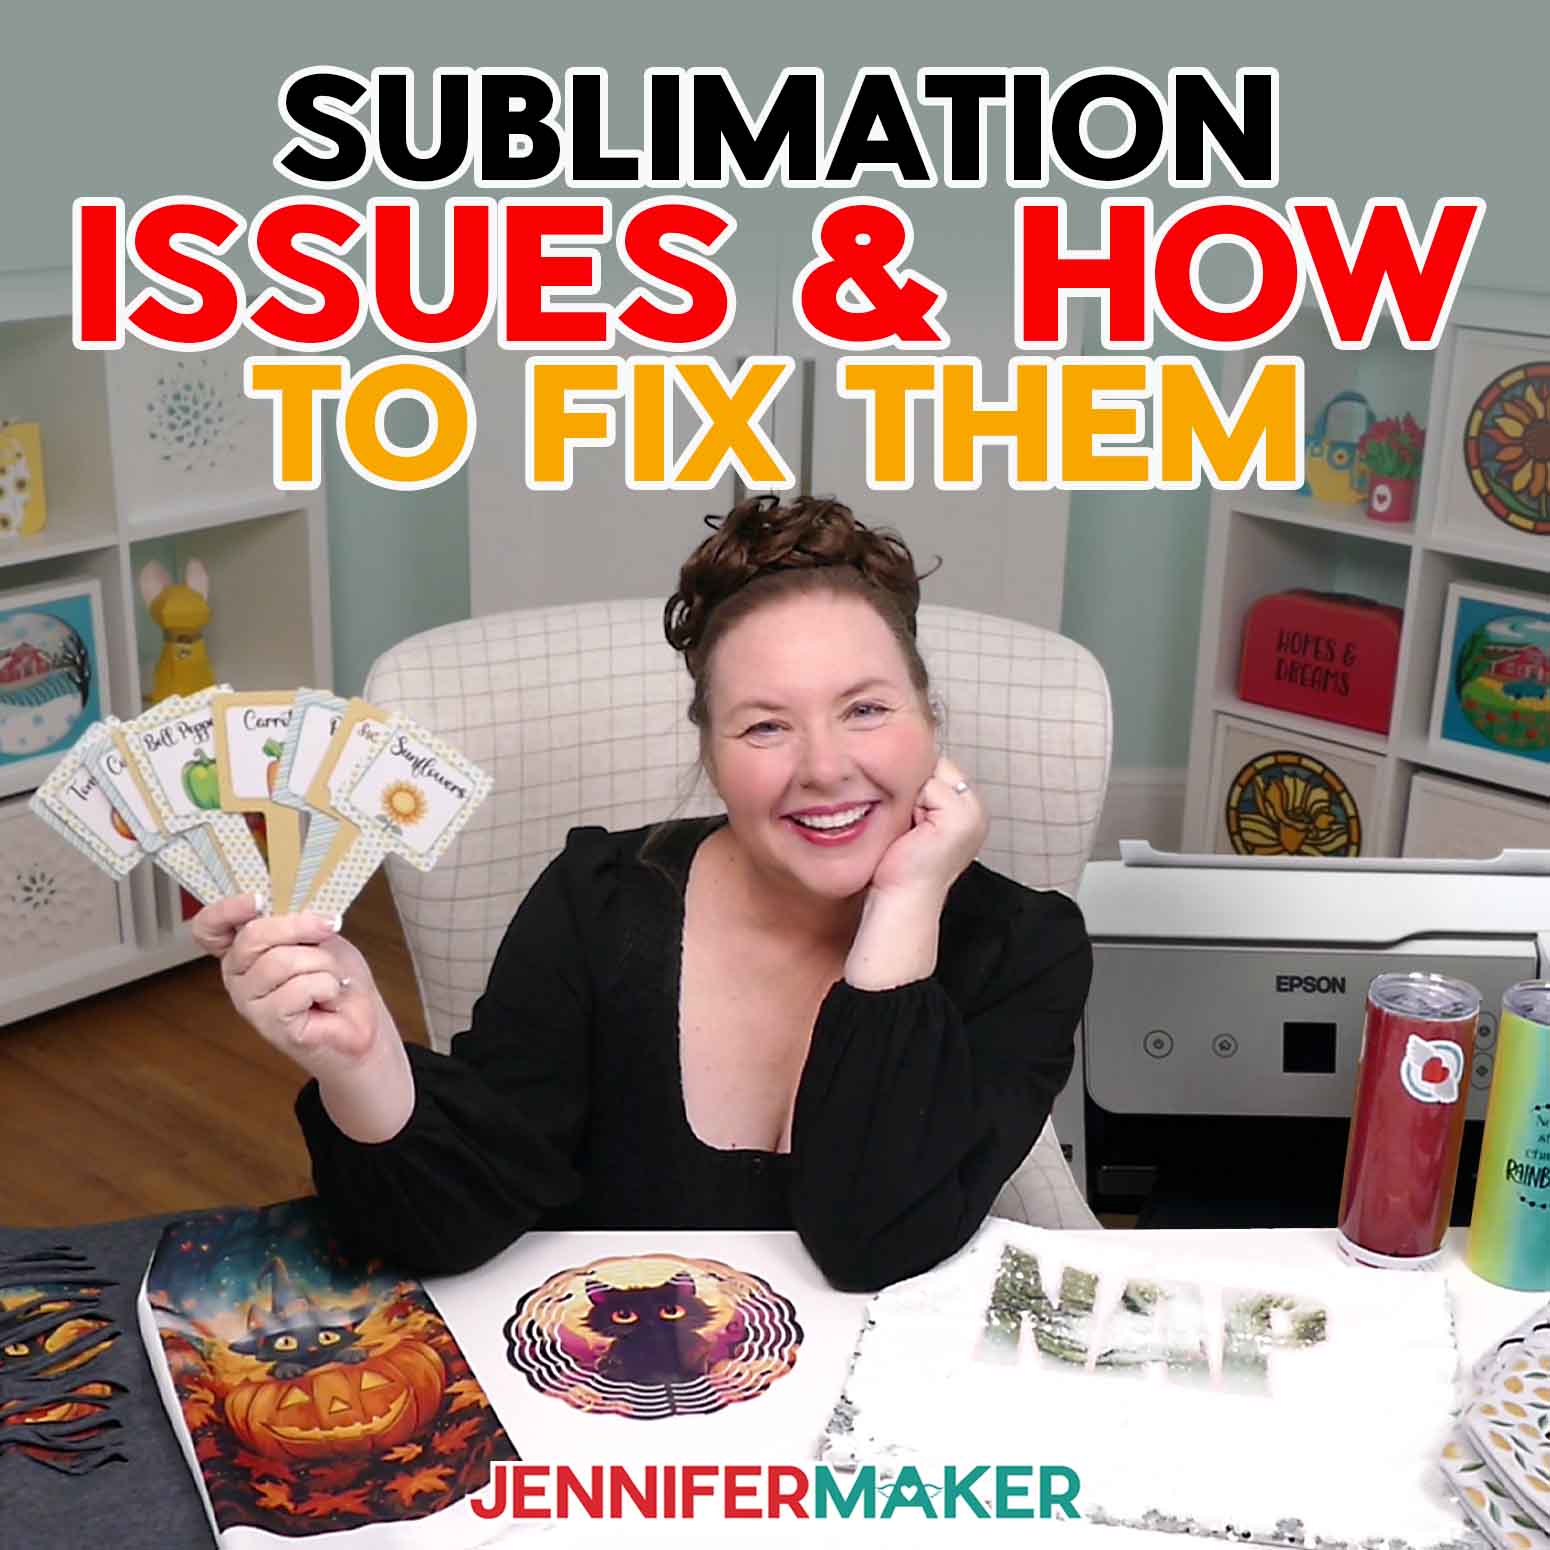
Learn all about dye sublimation for beginners, including what it is, what you need, and what you can make!
Sublimation transfers are one of my favorite ways to make full-color, professional-looking projects at home — and once you see how they work, it can completely change what you’re able to create. I’ve used dye sublimation to make everything from T-shirts and mugs to tote bags, coasters, and even home décor pieces. And what I love most is how the design doesn’t sit on top — it actually becomes part of the surface. So unlike crafting with vinyl, that means no peeling, no cracking, and no bulky layers.
But I also know that when you’re first looking into sublimation crafting, it can feel like a lot. You might be wondering if you need special equipment, what materials actually work, or whether it’s going to be hard to learn.
So let me walk you through sublimation for beginners the same way I would if we were crafting together.
Watch my full video on Sublimation for Beginners here:
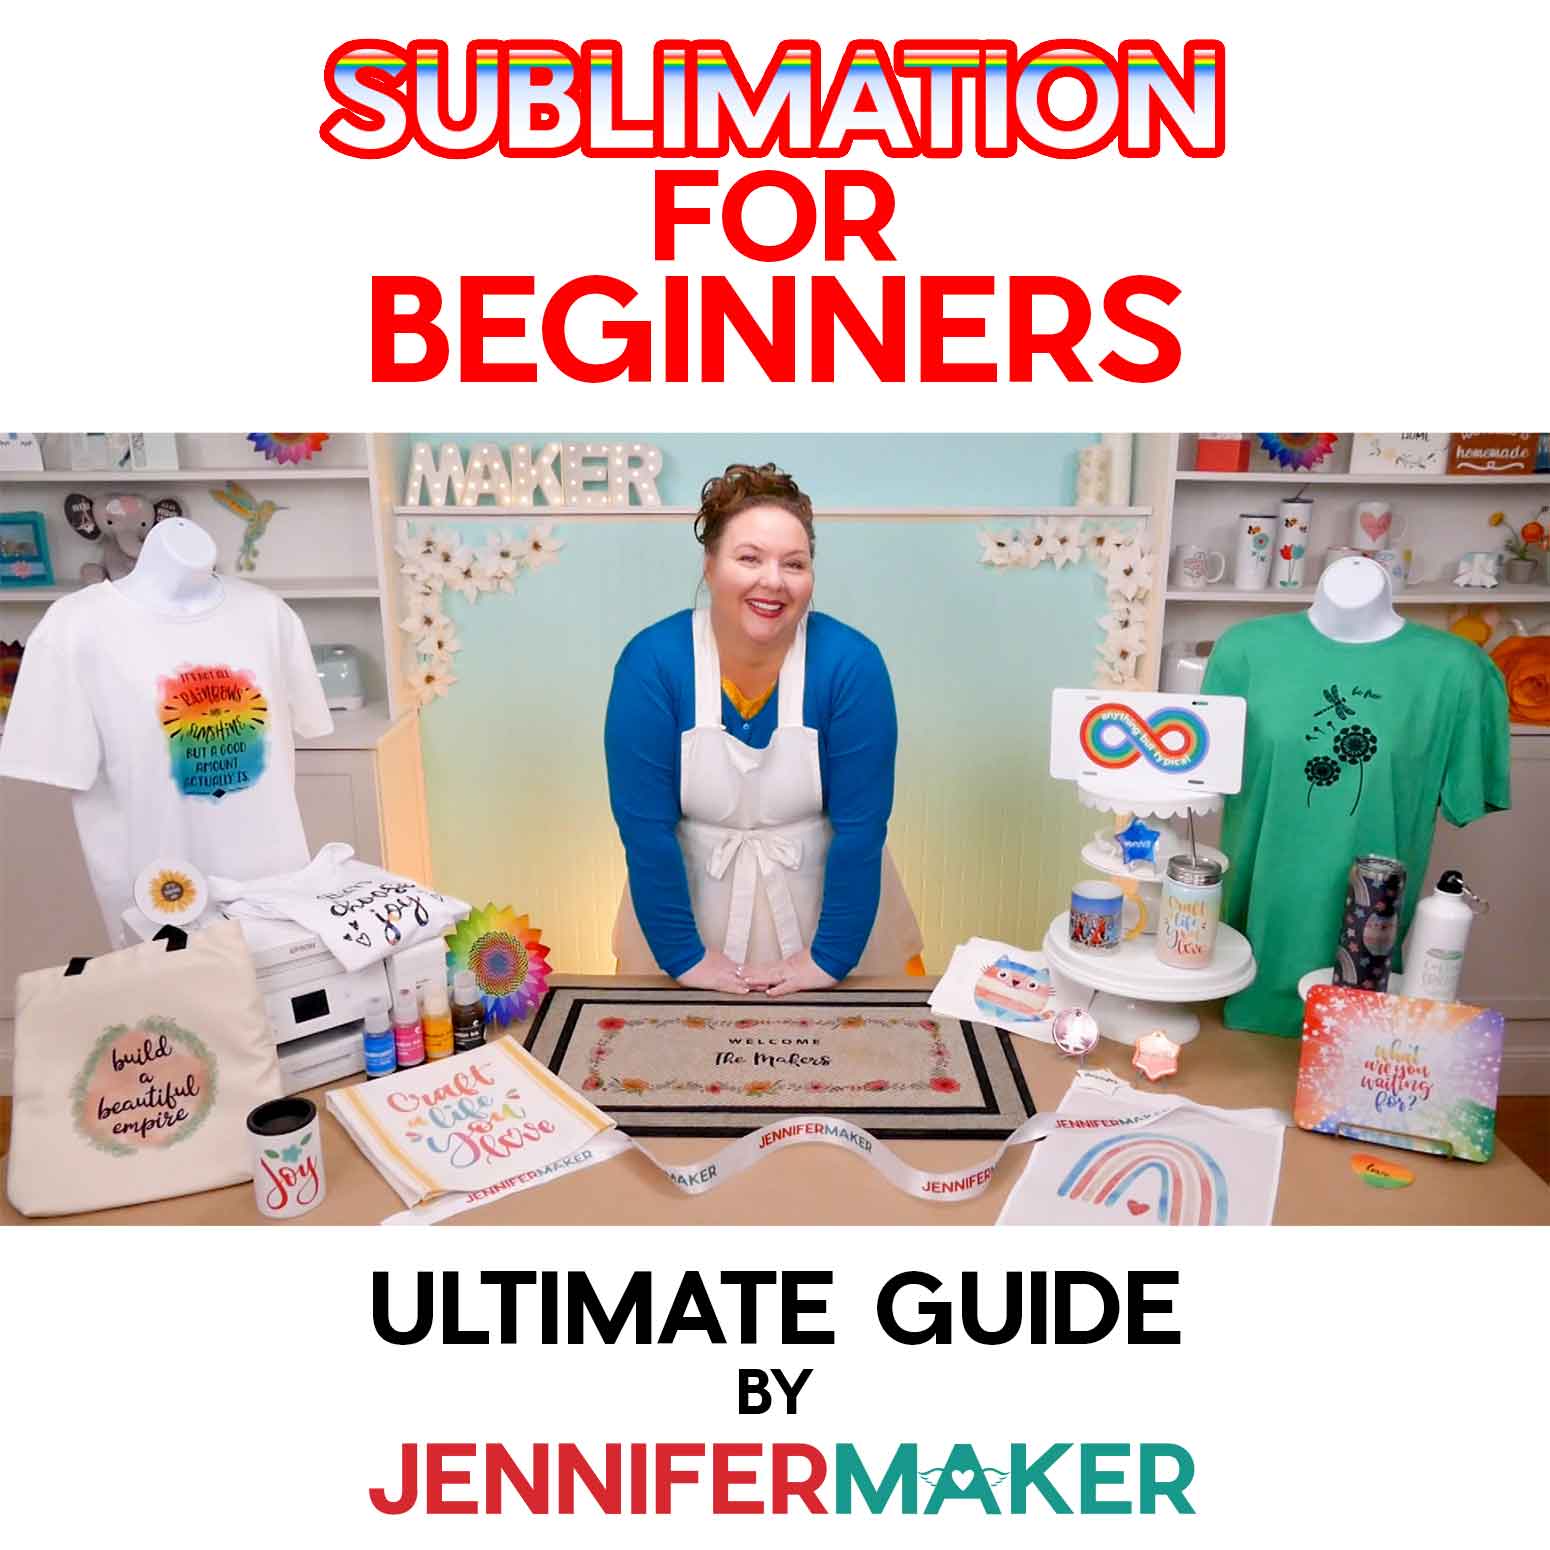
Ready to learn more about dye sublimation for beginners? This ultimate guide to getting started with sublimation will help! This post contains some affiliate links for your convenience (which means if you make a purchase after clicking a link I will earn a small commission but it won’t cost you a penny more)! Read my full disclosure policy.
What Is Sublimation (In Plain English)?
In the crafting world, sublimation refers to DYE sublimation, which is a print and transfer method. It basically has three steps:
- Print a design using special ink and paper
- Place the print on a prepared, polymer-coated blank
- Apply high heat and pressure
And tada! Your design is permanently part of the item!
But how does it work? Sublimation ink is liquid, but becomes a solid when it’s printed onto paper. When you apply heat, solid sublimation ink turns into a gas. It skips the liquid stage, so it doesn’t get messy. That gas then bonds directly into your polymer-based material instead of sitting on top of it like vinyl or regular ink would and turns back into a solid as it cools.
So instead of feeling the design sitting on the surface your shirt or mug, you won’t feel anything at all. It’s smooth because the design is literally part of the surface.
That’s why I love sublimation so much — once it’s done, it doesn’t crack, peel, or wash away. The design lasts as long as the item itself.
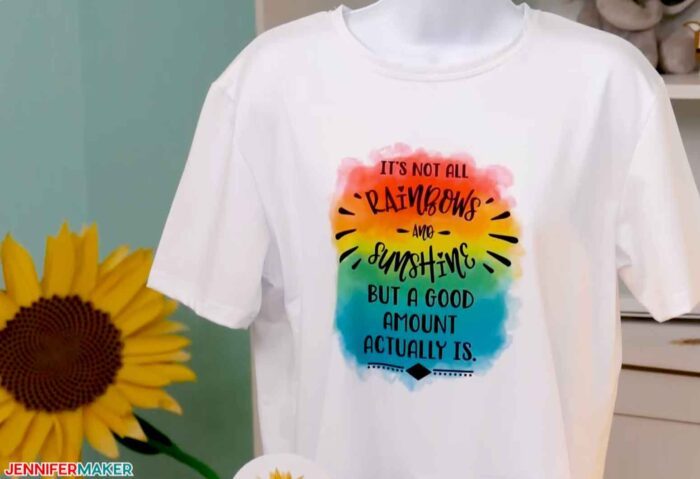
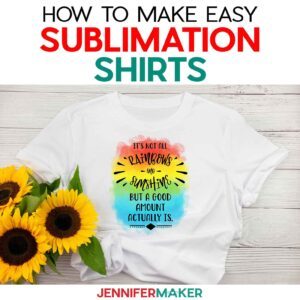
Here is a colorful T-shirt made with the dye sublimation process (see the full tutorial on this exact shirt here):
What You Actually Need to Get Started With Sublimation Crafting
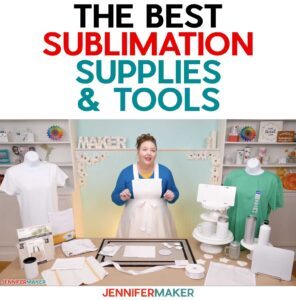
At the core, you just need a way to print your design, a way to heat it, and something to put it on. That means a sublimation printer with sublimation ink, sublimation paper, a heat source, and a compatible blank. But there are other helpful items, so here are some of my preferred tools and materials when it comes to sublimation for beginners:
Printers, Tools, & Materials for the Dye Sublimation Technique
View my Amazon shopping list with the exact items I use for sublimation!
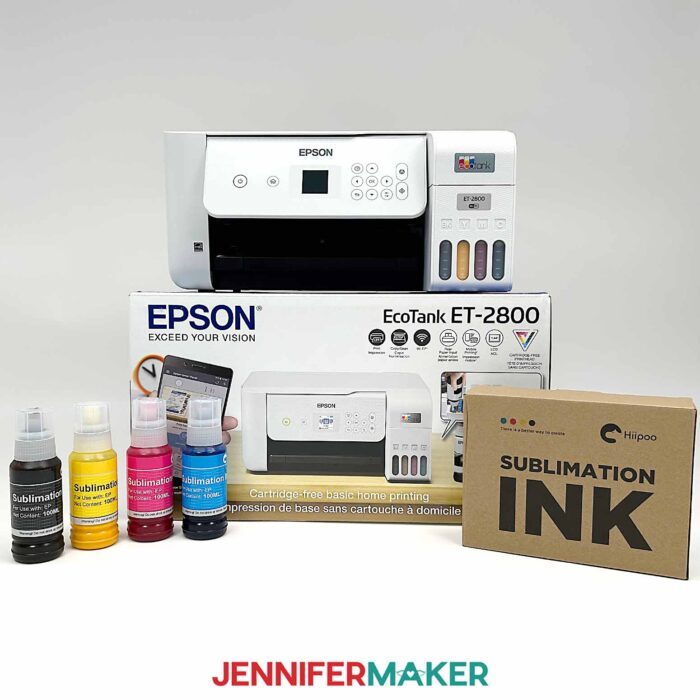
- Dye Sublimation printers, such as an Epson SureColor F170, an Epson EcoTank (this is an inkjet printer, but can be filled with sublimation ink instead), a Brother SP-1, or a Sawgrass SG-500.
- Sublimation ink such as Hiipoo sublimation ink, Printers Jack Ink, Sawgrass sublimation Ink, or Epson sublimation Ink.
- Sublimation paper, such as A-Sub paper
- Heat source, such as a Cricut AutoPress, Cricut EasyPress 2, 3, or SE, Cricut Mug Press, traditional heat press or tumbler press — you can even use a convection oven (I formerly used an Oster Convection Oven – see my safety update below) or air fryer for things like tumblers and mugs.
- Sublimation materials and blanks, such as 100% Polyester Fabrics (great for testing and learning), coated coffee mugs, polyester garden Flags, MDF painted white with spray paint and then laminated, plus SO MUCH MORE (see list below)
- Protective materials, such as white cardstock (to protect mat) and uncoated white butcher paper (to protect platten)
- Sublimation tools, such as a tape measure, heat-resistant tape, tweezers, heat-resistant gloves, and a fan to improve ventilation
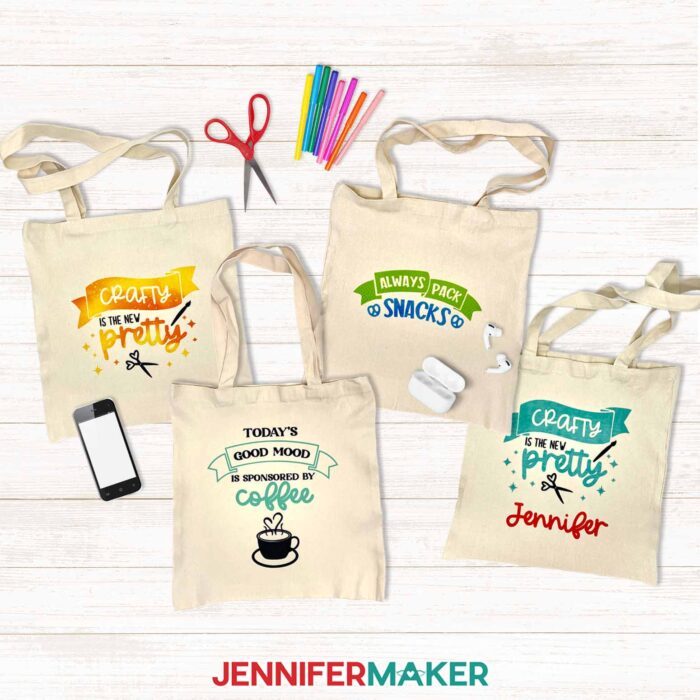
- Sublimation designs, such as designs #385 and #388 – My free sublimation designs (available in my free resource library — get the password at the bottom of this post)
- Sublimation guide, such as my Sublimation Made Simple book which will teach you everything you need to know. If you’re already good with the basics, you will enjoy my Sublimation Cookbook with one-page “recipes” for more than 150 sublimation projects, complete with all the times, temperatures, and pressures for ALL the sublimation projects. Or if you prefer my troubleshooting approach, check out my Sublimation Survival Guide!
What can you put sublimation onto?
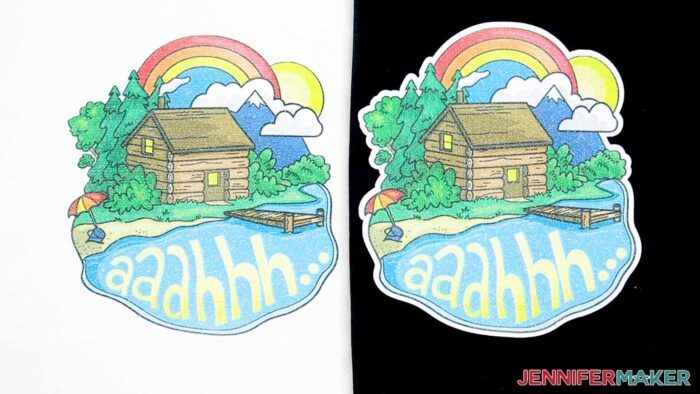
You can transfer dye-sublimation printing onto a LOT of things! You can sublimate gorgeous, full color designs into anything made of polyester or anything with a polyester coating.
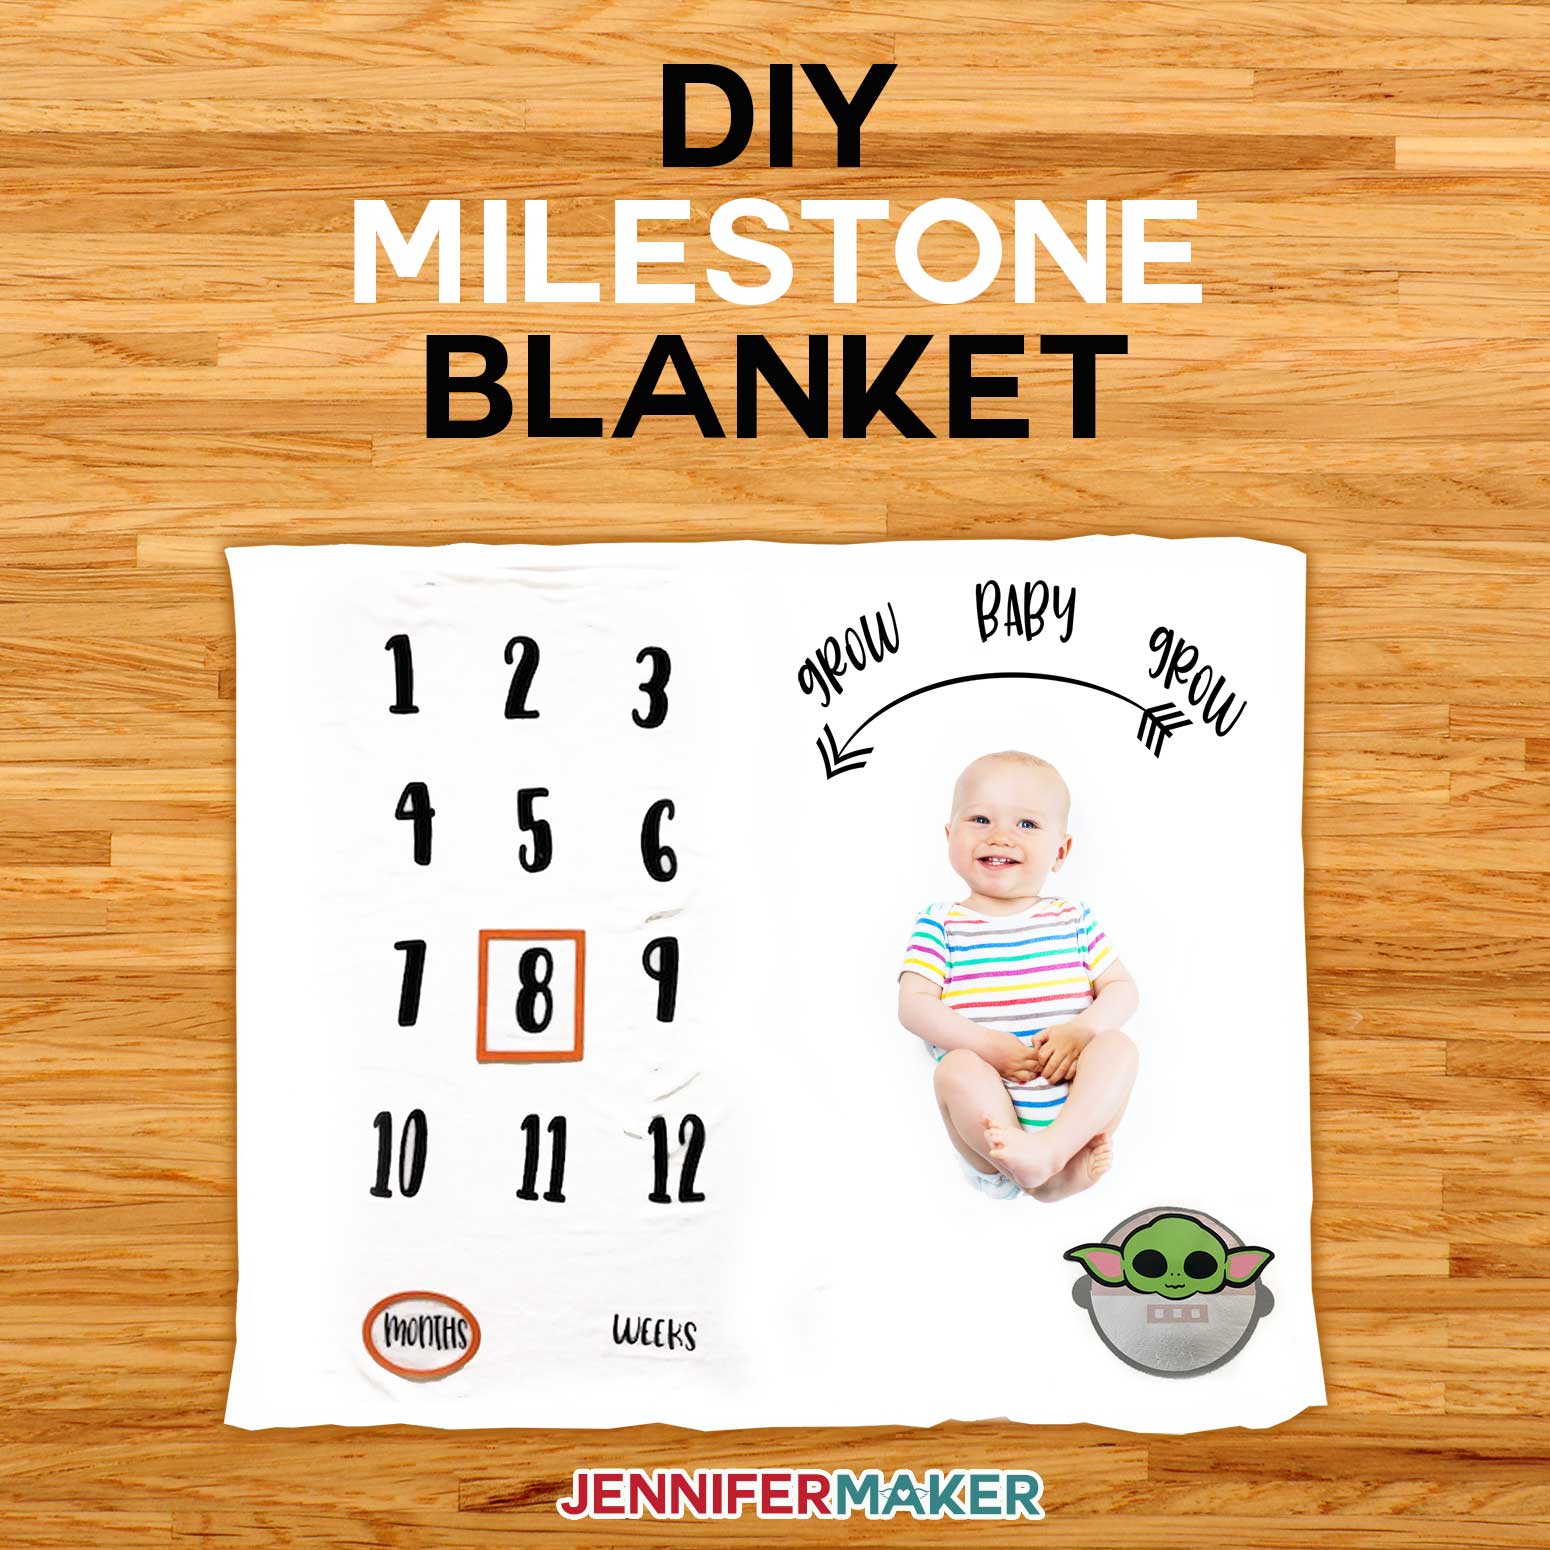
So that means you can use the dye sublimation transfer process on polyester T-shirts, totebags, aprons, garden flags, and pillowcases, yes, but it also means things with a polyester coating, of which there are really many! You can get sublimation blanks for countless items… ceramic mugs, stainless steel tumblers, mouse pads, puzzles, coasters, oven mitts, there are SO many things! It’s also possible to do things like wood and MDF when you use a special layer. If there’s something you want to sublimate, you can likely find a way to do it! Everything you see in the photo below is something I sublimated! Aren’t they cool?
A few of the things I’ve sublimated:
- White polyester T-Shirts and Colored polyester/cotton shirts — look for polyester count of at least 65% or higher
- Satin ribbons – Print dimensions: .8 inch wide
- Sublimation coasters, white polyester and rubber – Print dimensions: 4″ square
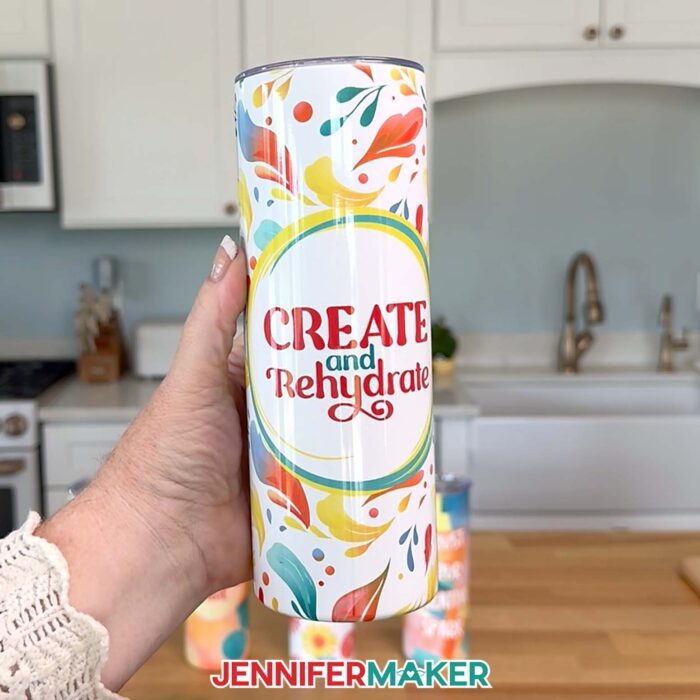
- Glitter sublimation tumblers, 20 oz. insulated stainless steel skinny – Print dimensions: 8.07″ tall by x 8.89″ wide
- Mousepads – Print dimensions: 7.9″ tall by 9.6″ wide
- Keychains, squares, hearts, circles, rectangles
- Kitchen towels – Print dimensions: 15″ tall by 25″ wide
- Flour sack towels – Print dimensions: 28″ tall by 28″ wide
- License plate blanks – Print dimensions 6″ tall by 12″ wide
- Sequin pillow covers – Print dimensions 18″ tall. by 18″ wide – sunflower
- Throw blankets – Print dimensions 7.9″ tall by 9.8″ wide (for each blank spot on the 40″ x 60″ blanket)
- Jigsaw puzzles – Print dimensions 7.9″ tall by 5.7 inches wide
- White glitter iron-on vinyl (to transfer onto something cotton or something dark)
Choosing a Sublimation Printer (My Honest Advice)
I’ve tested several different printers, but you have one decision to make first: sublimation-specific, or converted? The best sublimation printer is the one that fits your needs, budget, and comfort level.
For ease, you can go with a purpose-built sublimation printer like the Sawgrass SG500 or Epson SureColor F170. These are designed specifically for sublimation, so they’re very straightforward to use, but they do cost more.
Or, you can go with a converted inkjet printer, which is what many beginners do.
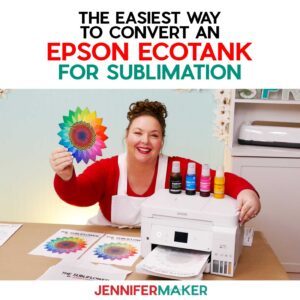
If you ask me what I recommend most often, I’ll say to convert a new Epson EcoTank printer for sublimation. They’re budget-friendly, easy to use, and give great results. And as long as you fill the ink tanks with sublimation ink from the beginning, you’ll be ready to sublimate items for years!
Sublimation Ink (Keep This Simple)
You do need sublimation ink — regular printer ink won’t work — but there are several good brands out there. I’ve used Hiipoo, Printer’s Jack, Sawgrass, and Epson inks, and they all work well. What matters most is consistency. Once you choose a brand, it’s best to stick with it so your colors stay predictable.
Sublimation ink can get clogged in your printer if it sits unused for too long, so it’s best to print at least once a week to keep the machinery clear. You can sign up for my AutoPrint service in my ADVANCE with JenniferMaker program to automate the process! But if you do get a clog, see my detailed tutorial on how to unclog a sublimation printer.
Sublimation Paper: Worth Using the Right Kind
I mostly use A-SUB sublimation paper for my projects with great results.
You might hear that you can use regular copy paper, and while that’s technically true, the colors tend to look more faded. If you want vibrant, consistent results, it’s worth using real sublimation paper.
Heat Sources: What Works and What Doesn’t
Sublimation requires high heat — usually somewhere between 380℉ and 400℉ or 193℃ to 204℃. I’ve used everything from a Cricut EasyPress to a full heat press, and even a craft oven for curved items like mugs and tumblers. Most importantly: once you use an appliance for heating sublimation projects, it’s no longer food-safe!

One thing I don’t recommend is a household iron. It just doesn’t get hot enough to properly activate the ink.
Remember These Preparation Steps
Sublimation crafting has a lot of variables, so the more you can prepare for success, the better! With that in mind, I have a new Sublimation Pre-Press Checklist for you! This helpful cheat sheet will help you avoid bad transfers, stray ink stains, and wasted materials. Get it now in my free resource library!
Since heating sublimation ink produces a gas, open a window and turn on a fan before starting to improve your ventilation. And your tools and materials will get hot, so heat-safe gloves and a cooling rack will help you craft safely!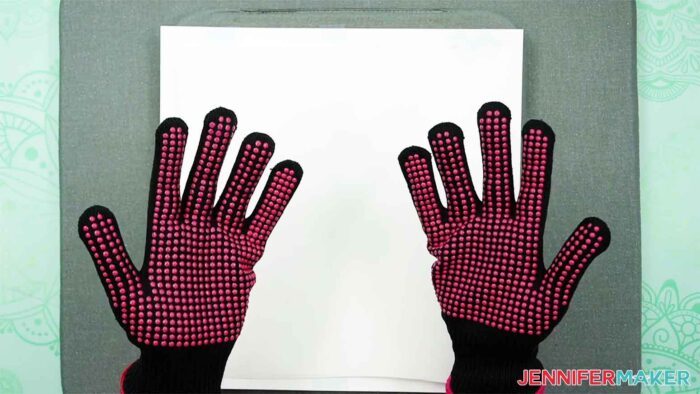
How Sublimation Compares to Other Methods
If you’ve used iron-on vinyl before, sublimation will feel very different.
With vinyl, you can feel the design sitting on top of the surface, and over time it can crack or peel. Sublimation doesn’t do that because it’s embedded into the material. It also allows for full-color designs without layering, and you don’t have to weed anything, which saves a lot of time.
Compared to screen printing, sublimation is much better for detailed, full-color designs and smaller projects, rather than bulk production. Learn more about screen printing here!
While Direct Transfer Film (DTF) and UV DTF provide results with similar vibrancy and durability, they require more materials, tools, and safety precautions — more than I recommend for home crafters. If you want to try those methods, I recommend ordering the transfer sheets from a professional printer.
But if you’ve tried Cricut Infusible Ink projects before, you’ve already made a sublimation project! The sheets and pens use sublimation ink, isn’t that neat?
Can You Sublimate on Cotton or Dark Shirts?
You can’t sublimate directly onto cotton or dark fabrics and get vibrant colors because the ink is transparent. However, there are workarounds!
I’ve added white glitter heat transfer vinyl to shirts and then sublimated onto the material, which has enough polymer content to provide vibrant results. There are also products like EasySubli and sublimation coating sprays that make it possible. They work, but they do add extra steps.
So if you’re just getting started, I always suggest beginning with white polyester. It’s simpler and gives you the best results right away.
Is Sublimation Hard to Learn?
I’ll be honest — there’s a bit of a learning curve at the beginning. But once sublimation crafting clicks, it becomes one of the easiest and most rewarding crafting methods you can use.
Whenever something doesn’t turn out the way I expect, I go back to the basics: the ink, the heat, and the surface.
Common Beginner Questions
A lot of people ask if they can use a sublimation printer for regular printing, and the answer is no — once it’s set up for sublimation, that’s what it’s for.
Another common question is why sublimation prints look dull before pressing. That’s completely normal. The colors become bright and vibrant once heat is applied.
And if you’re wondering how to get started as easily as possible, here’s what I would do.
I’d get an Epson EcoTank printer, fill it with Hippoo sublimation ink, use A-SUB paper, and start with a simple white polyester shirt.
Ready to Try Sublimation?
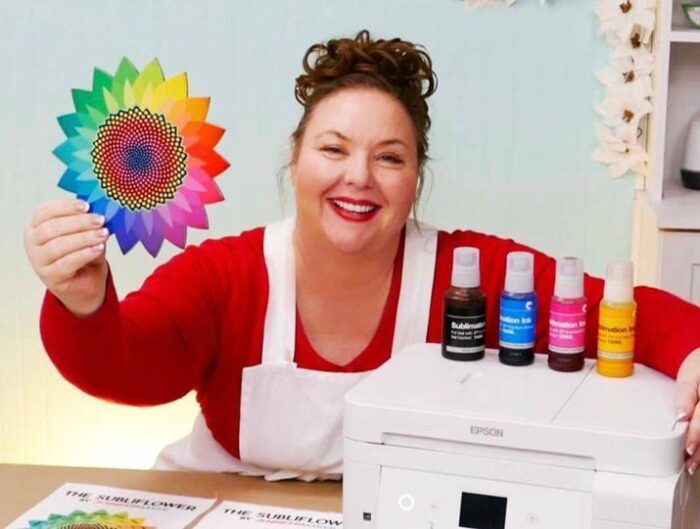
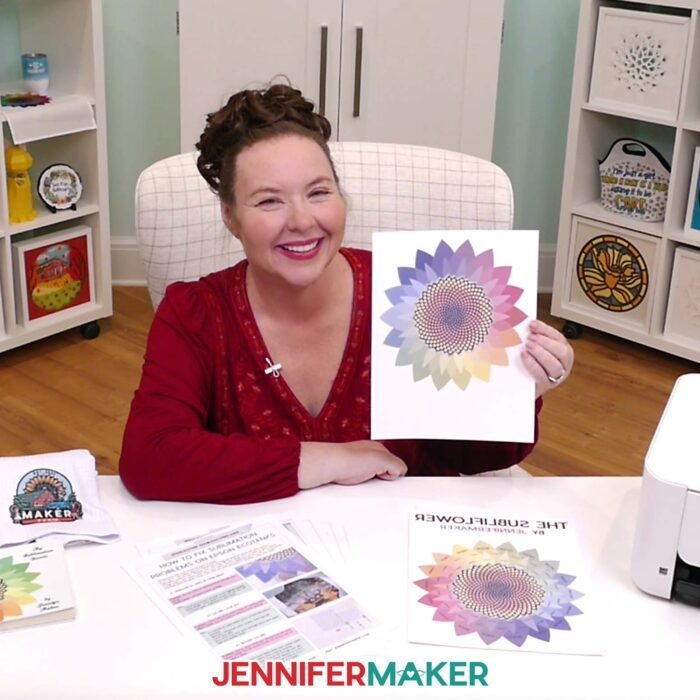
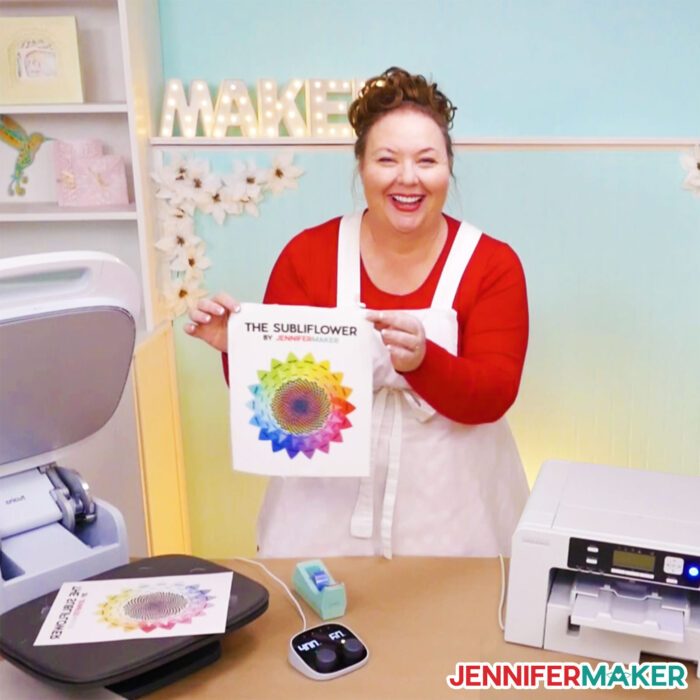
If you’re excited to give this a try, I’ve got some free sublimation designs you can use, including my “subliflower” test design to help you check your colors.
I also have a group just for sublimation crafting where you can get help and tips from other crafters who love to sublimate, too! Come join us at jennifermaker.com/sublimationgroup to ask questions, share ideas, and get inspired!

Questions About How Dye Sublimation Works
Q: Can I use a sublimation printer for regular prints, too?
A: No, a sublimation printer (whether purpose-built or converted) only prints in sublimation ink. And you cannot really switch a converted printer back to being an inkjet printer without a LOT of effort and wasted ink.
Q: What kind of sublimation oven do I use?
A: September 2025 UPDATE: In the past, I have mentioned countertop ovens as suitable sublimation equipment options, including some by Oster. If you purchased an Oster Convection Oven, 8-in-1 Countertop Toaster Oven, XL, Stainless Steel French Door, please stop using it immediately and review the Consumer Product Safety Commission’s safety alert for information on what you should do and where you can seek assistance to continue using the oven safely. Now, I recommend a PYD Life Craft Oven.
Q: What kind of paper do I use?
A: You must use special sublimation paper. I used TruePix (for a Sawgrass printer) and A-Sub (for Epson) during my tests.
Q: What kind of ink do I use?
A: You must use special sublimation ink. I used four brands during my tests — Sawgrass, Epson, Hiipoo, and Printers Jack. All worked!
Q: What can I put my sublimation prints on?
A: Anything with a high polyester count or a special sublimation coating. See the list of items above!
Q: How do I test my sublimation prints for vibrancy and color?
A: Use my free subliflower design to see how your colors look!
Get my instant download digital files for my free sublimation designs you see in this guide, pre-press checklist, and my test subliflower with color hex codes!
(If you do not see the signup form above, click here.)
Now I know I haven’t covered everything there is to know about sublimation here, but I am always happy to help more! Watch for more sublimation tutorials and please ask any questions you have in our Facebook group or tag me on social media with #jennifermaker.
Love,

Also check out:

Want to remember this? Save the Sublimation for Beginners guide to your favorite Pinterest Board