
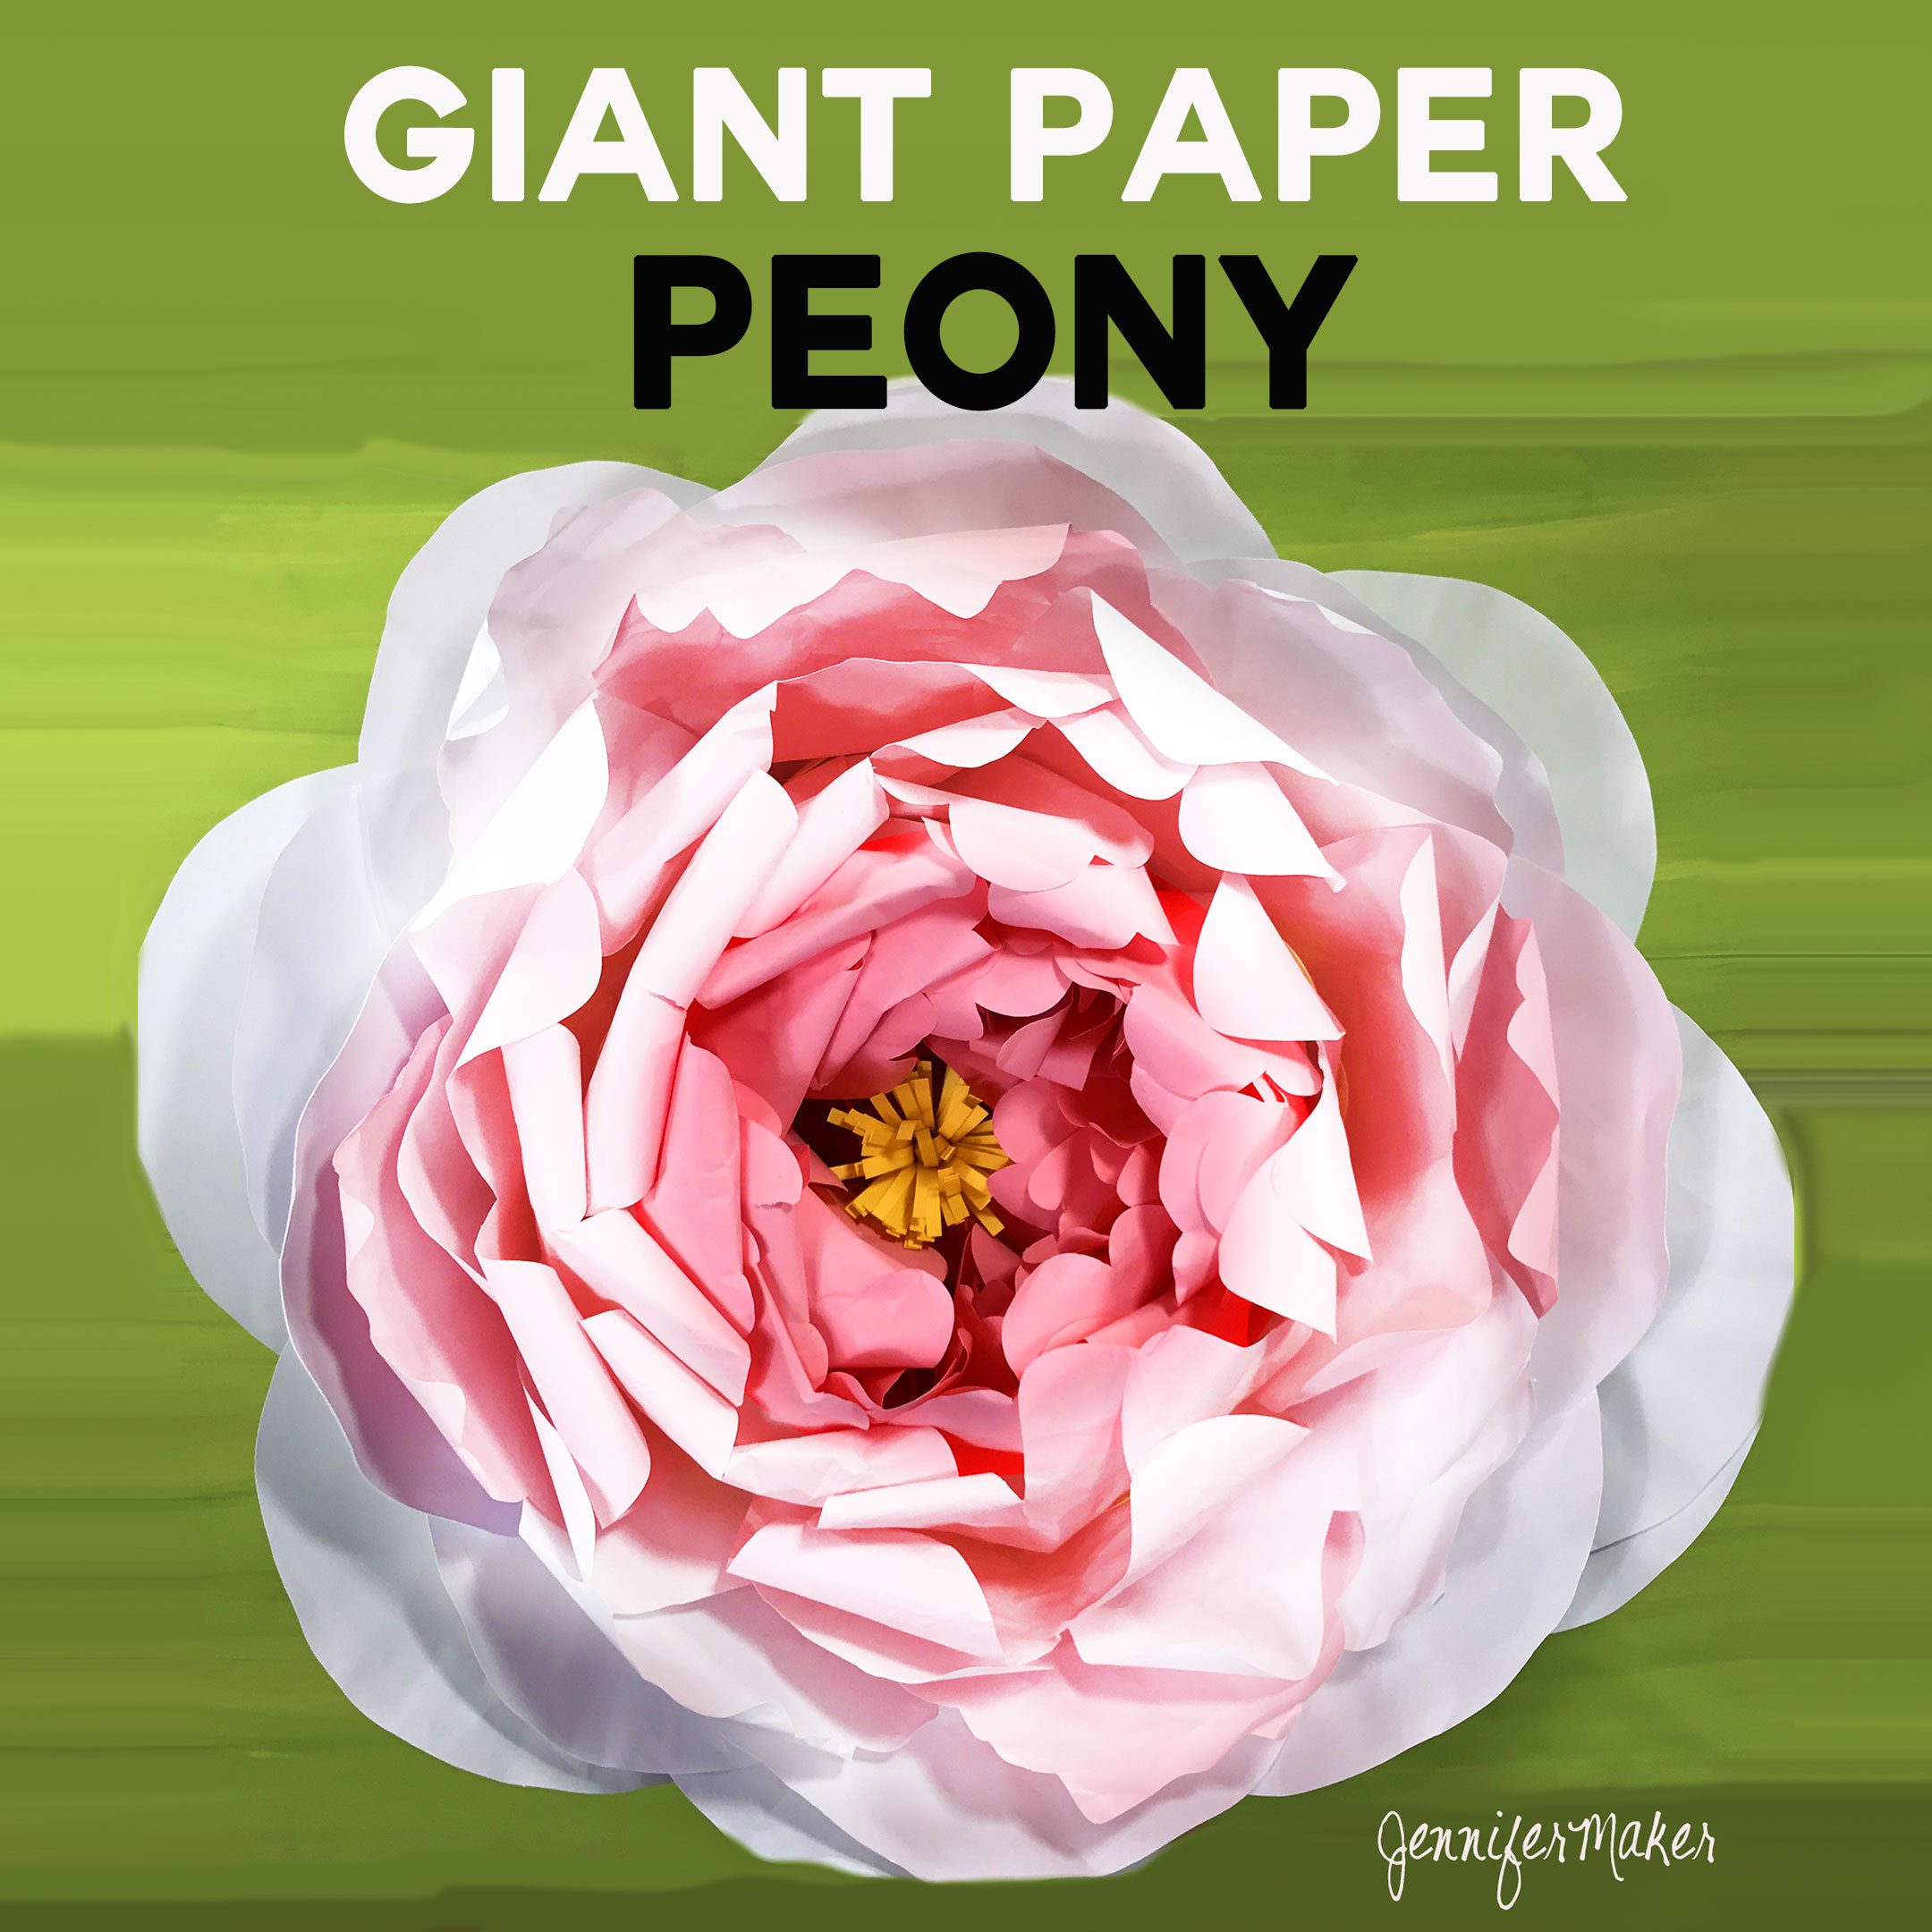
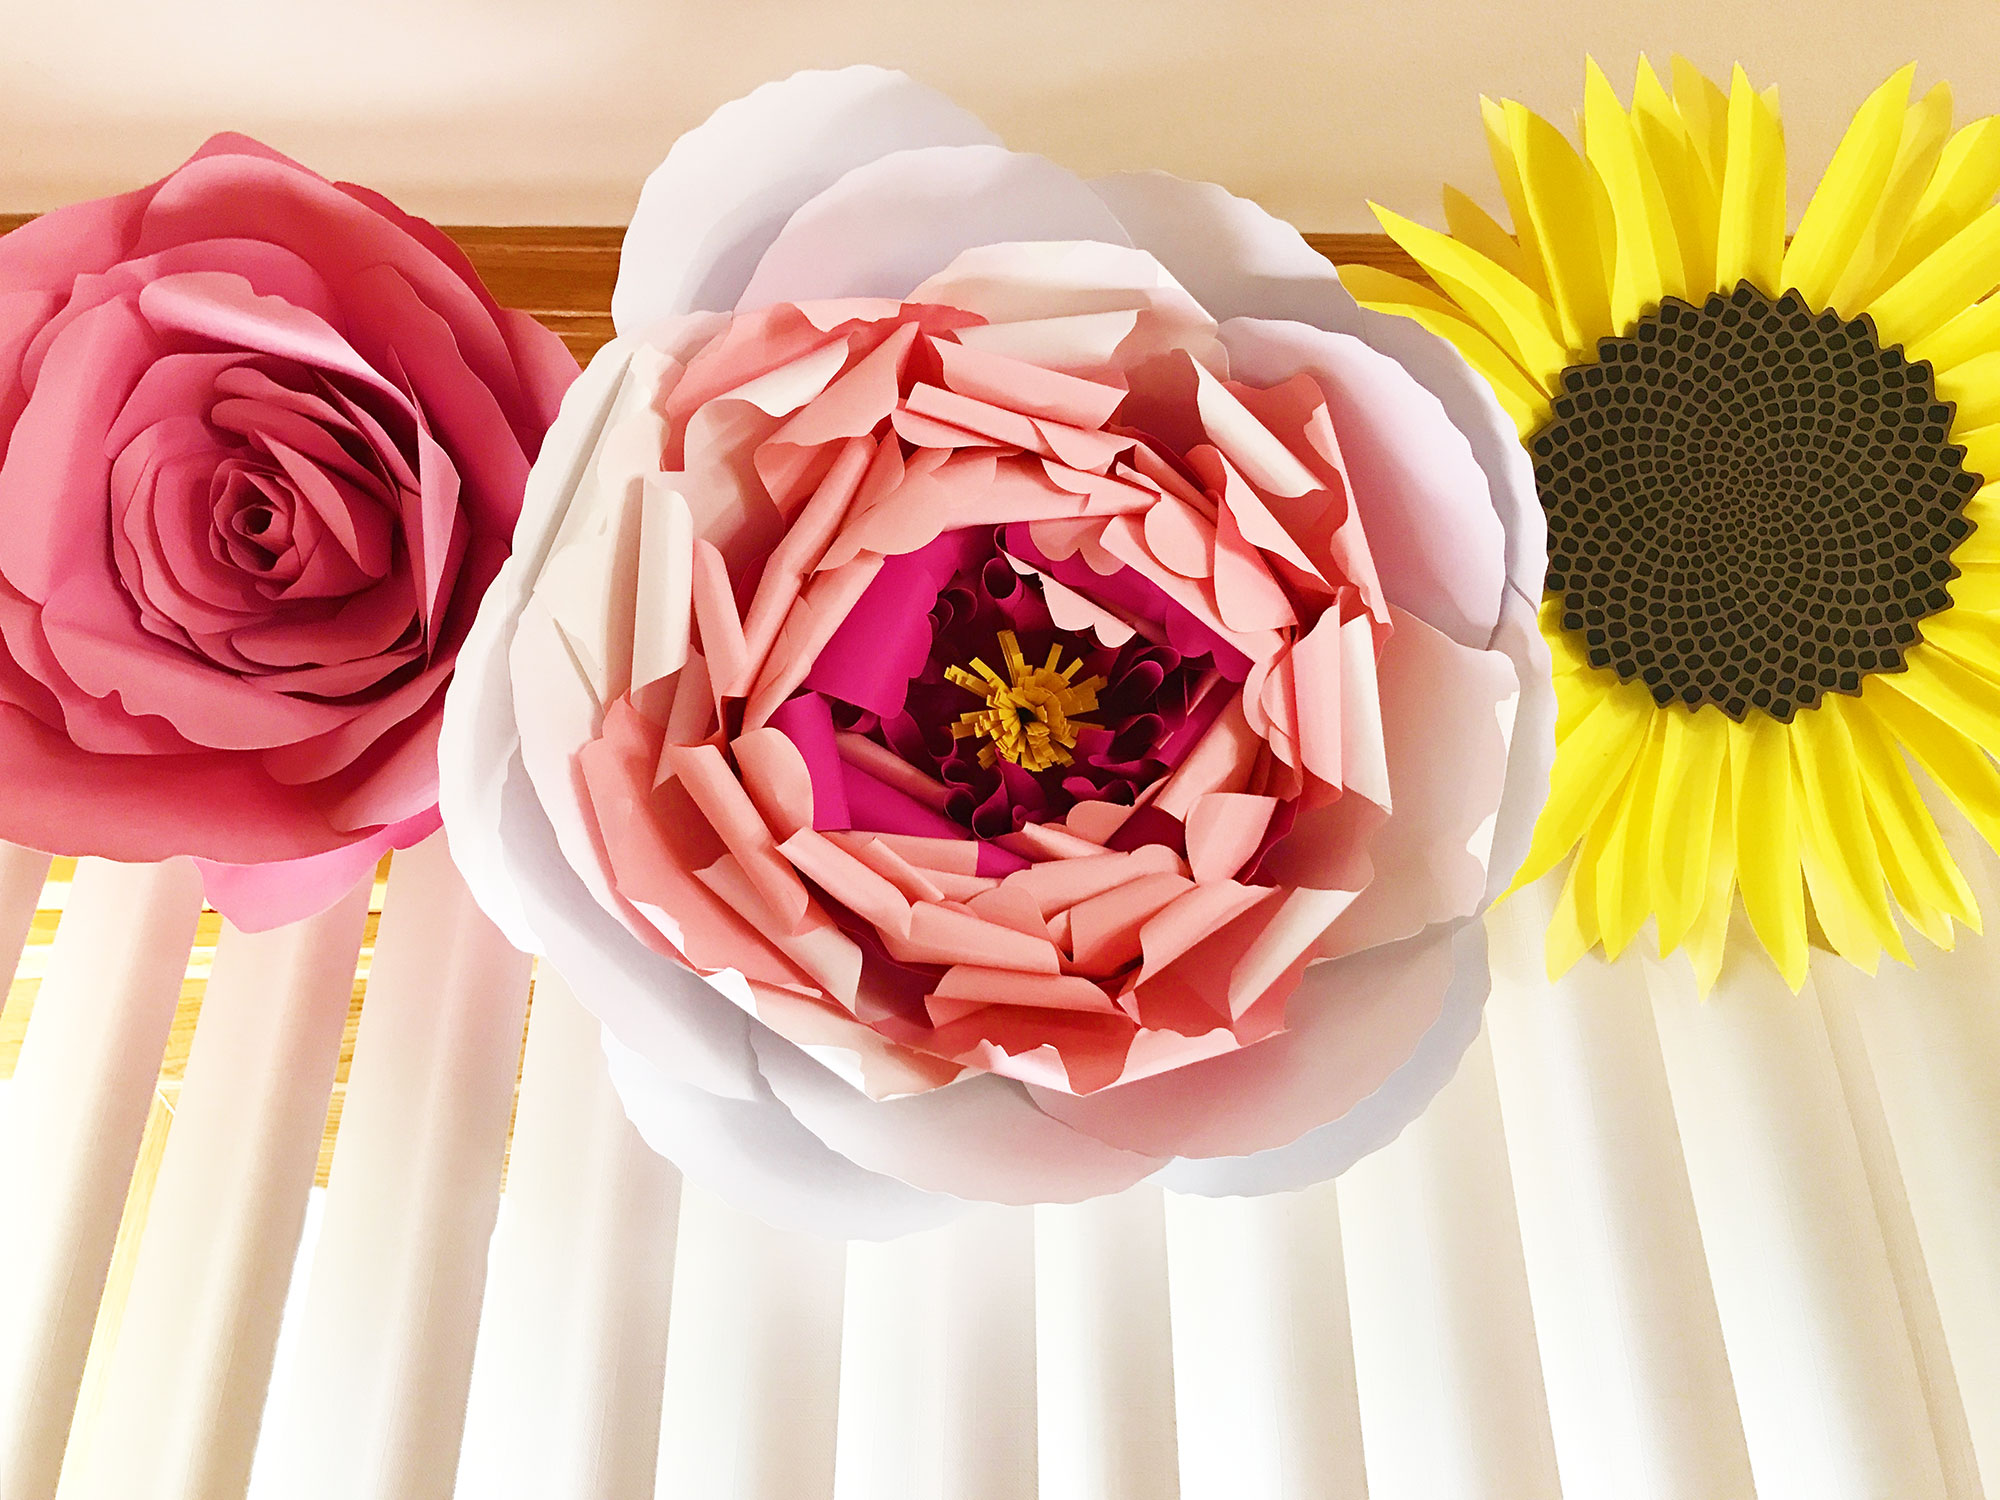
I’m creating a giant paper flower valance that will go over my craft room window — so far I have giant red roses and giant golden sunflowers. But I need at least one more giant flower. Several of my readers suggested a peony, and I happen to love peonies, so I’ve designed a giant paper peony to go along with my other flowers.
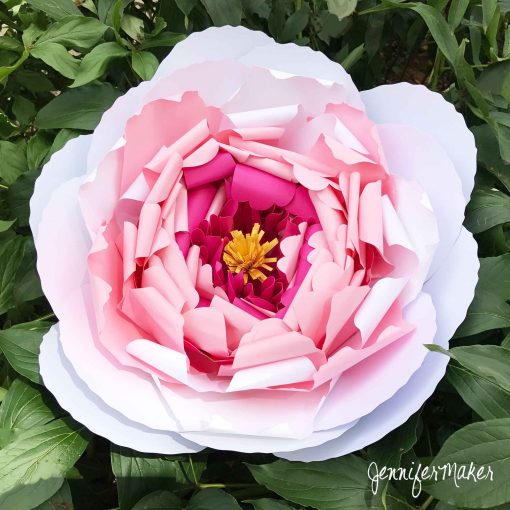
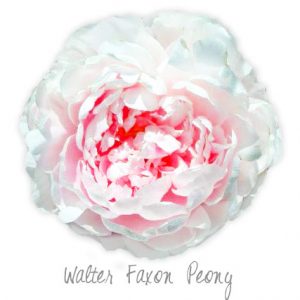 Peonies are big, beautiful flowers, often with many, many petals — I have about a dozen mature peony plants in my front yard which bloom spectacularly every June. I have some white peonies, and some bright pink, but my favorite are the white peonies with a pink center. They are what is known as “double” peonies, consisting of many broad petals in multiple layers. I believe this is known as a Walter Faxon Peony.
But be forewarned — unlike some of my other papercrafts, this is not a fast project. It takes at least an hour or two to cut out all the petals. And another hour to assemble the peony. Are you up for the challenge? If so, here’s what you’ll need.
Tip: If you like peonies but just want a normal size paper peony that doesn’t take too long to make, check out my rolled paper peony.
This post contains some affiliate links for your convenience (which means if you make a purchase after clicking a link I will earn a small commission but it won’t cost you a penny more)! Read my full disclosure policy.
Giant Paper Peony Materials
- Cardstock (I used 24 sheets of white 8.5″ x 11″ cardstock, 16 sheets of pale pink 8.5″ x 11″ cardstock, 2 sheets of yellow 8.5″ x 11″ cardstock, 7 sheets of dark pink 8.5″ x 11″ cardstock, and 2 sheets of dark pink 12″ x 12″ cardstock).
- Hot glue gun and glue sticks
- Tape
- Something cylindrical to the tips of your petals (I used the handle on my DIY quilling tool)
- A 6″ x 6″ piece of foam core (to make a hanger for the back of your flower)
- A two-foot-long piece of 22 gauge floral wire (to make a hanger for the back of your flower)
- A way to cut out your petals and stamen (I used a Cricut Explore Air, but you could also use another cutting machine like a Silhouette Cameo or even a pair of scissors)
- Design #39 – The free cut files (available in my free resource library — get the password to it at the bottom of this post)
How to Assemble the Giant Paper Peony
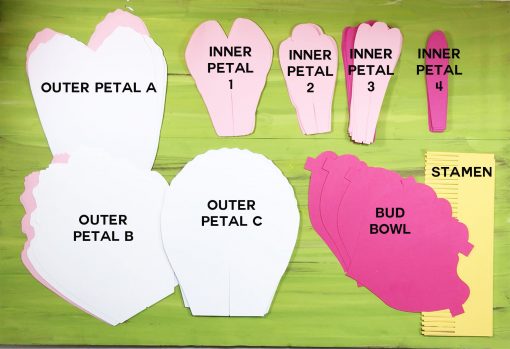
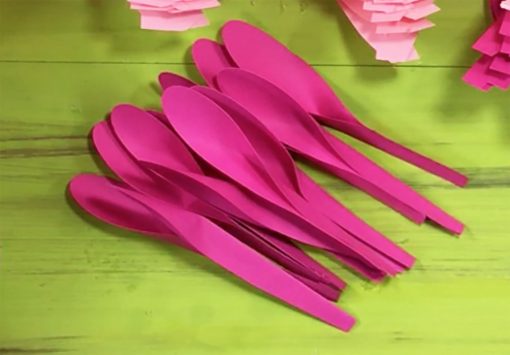
First, and perhaps your biggest task, is to cut out all of the petals. Everything you need is in my cut files, which you can cut on the Cricut or Silhouette. If you’re unfamiliar with how to use SVG cut files, please watch my video training series first.
Feel free to use different colors than what I’ve chosen. Peonies also come in bright pink, cream, coral, lavender, red, dark red, and yellow. Your petals can be all the same color, or you can choose graduations of colors as I have done.
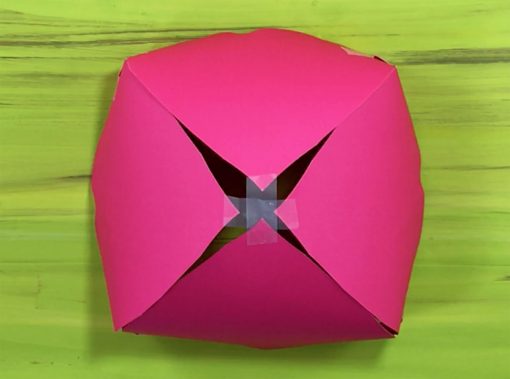
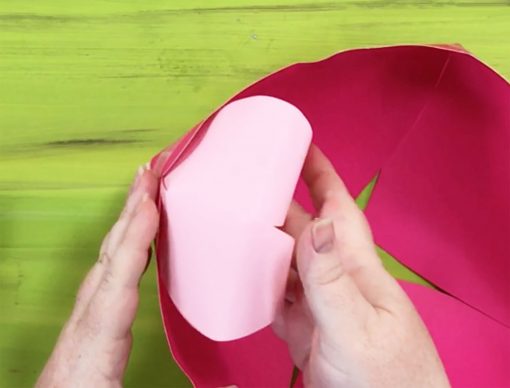
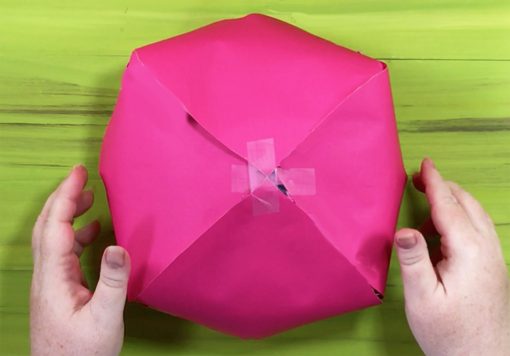
Once everything is cut out, create your “bud bowl,” as I call it. Peonies are very round, so we’re going to create a round bowl to which attach petals — this is key to getting the right shape. Your bud bowl is created from the four petals that get cut out of the 12″ x 12″ cardstock. Tape or glue the four petals of the bud bowl together by the tabs (the tabs should overlap onto the petals so the edges of the petals just meet).
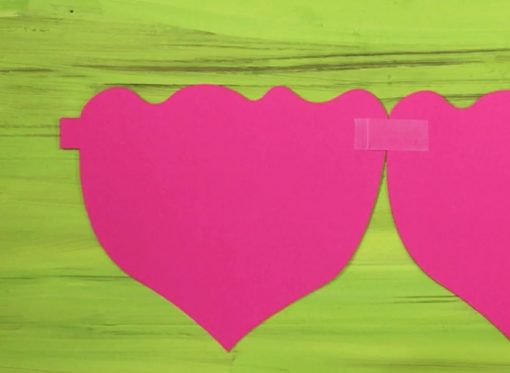
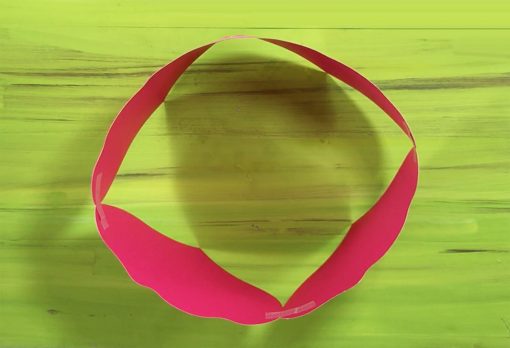
Tape, but do not glue, the bottom of your bud bowl so all four petals come together in a point. I don’t want you to glue it yet because you’ll need to undo the tape later to get inside the bud bowl from the bottom. Set the bud bowl aside.
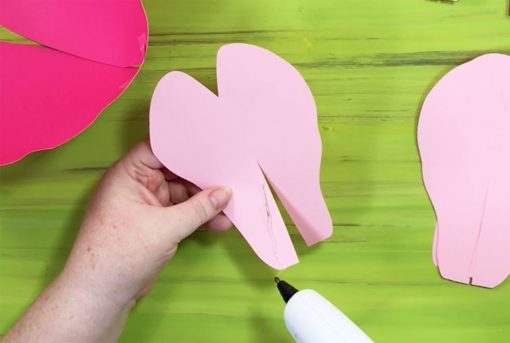
Glue all of your petals to create the proper dish shape. On petals 1-3 and A-C, this means overlapping the slotted ends and gluing them to create a dished petal. For petal 4, you fold the lower half of the petal in half lengthwise and glue to keep shut.
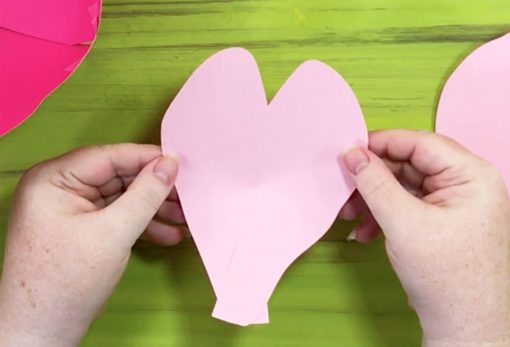
Next, roll down the outer top edges of petals 1-3 and Petals A-B. Use something small and cylindrical to roll your petal to help create a smooth curve. Petal 4 gets rolled inward lengthwise. Petal C does not need to be rolled down.

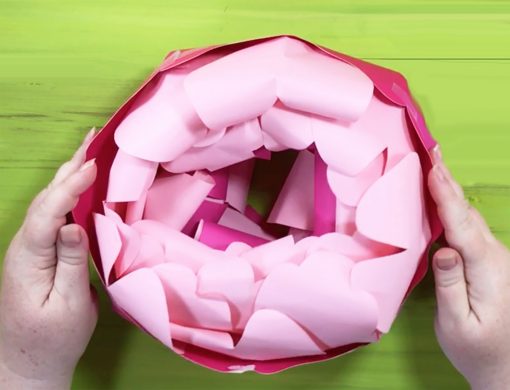
Now that your petals are all glued, dished, and rolled, it’s time to begin attaching them to your bud bowl. Starting with inner petal 1, glue all 8 petals around the inside perimeter of the bud bowl so that approximately half of the petals extends beyond the bowl but the other half is inside it.
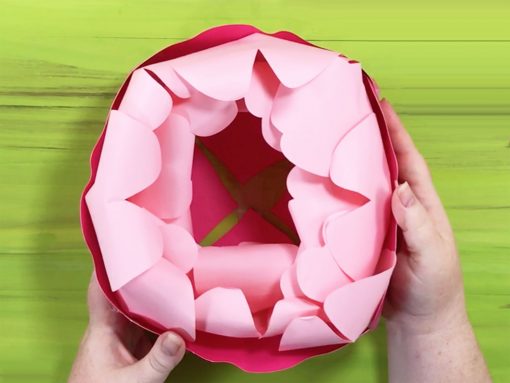
Inner petal 2 gets glued around the inner perimeter of your bud bowl in a similar manner as inner petal 1, but attach them a little lower down the bowl (about 1/2″ lower). If you find it difficult to put your hand into the bud bowl with all these petals, untape the bottom of the bud bowl and insert/attach the petals from the bottom instead, as shown below.
Continue with inner petal 3, which also gets attached around the inner perimeter of the bud bowl about 1″ lower than the previous petal.
Inner petal 4 needs to be attach from the bottom at the very edge of the bud bowl’s petals. If you attach them any higher, they will stick up too far.
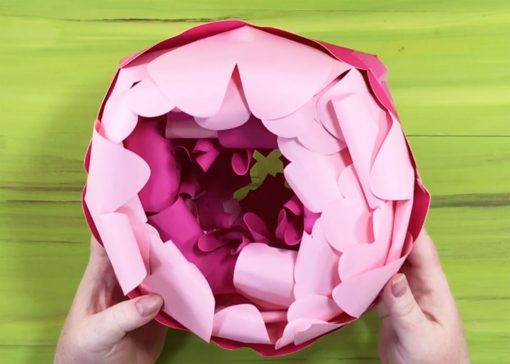
Once all your inner petals are attached, tape the bottom of your bud bowl closed again. (You will be gluing it closed later.) Admire your pretty bud!
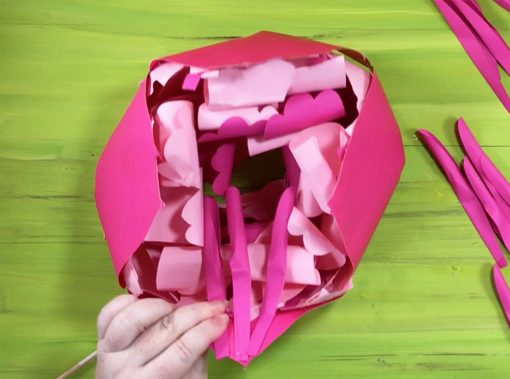
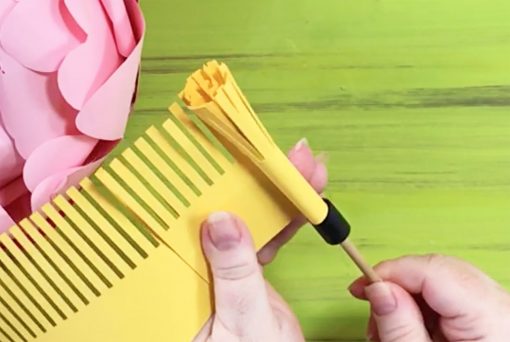
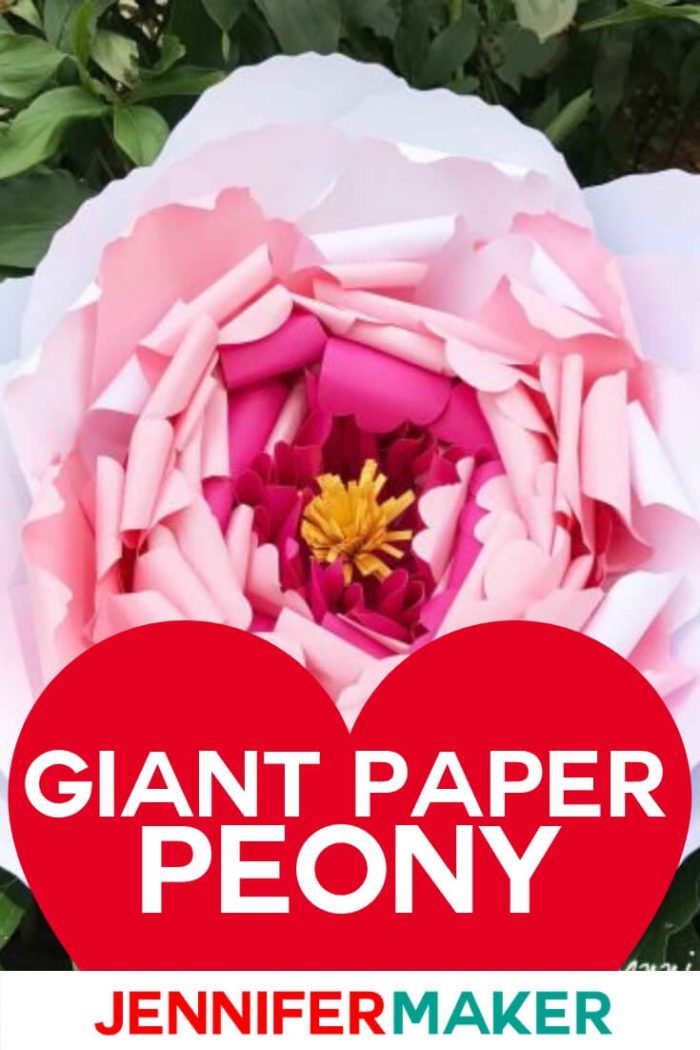
Time to make the stamen! Start by gluing the four strips of yellow fringe together.

Using a quilling tool or just your fingers, roll up the long strip of fringe and glue closed at the side.
Put a generous amount of glue on the bottom of the stamen and attach inside the bud bowl, pressing down firmly to set.
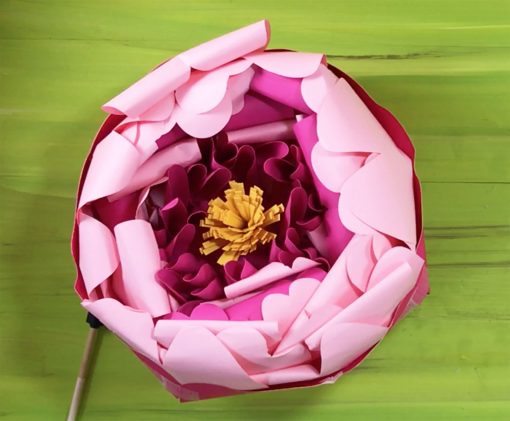
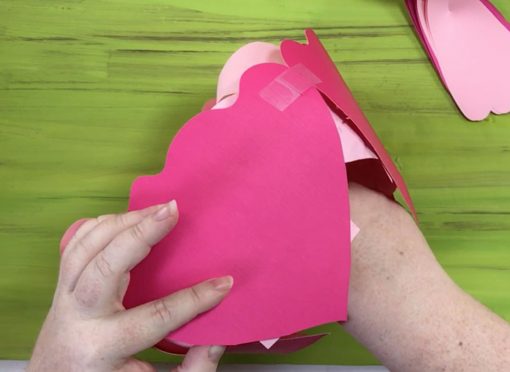
Now let’s get the outer petals onto the peony. Starting with outer petal A, begin gluing the petals around the outside of the bud bowl. I recommend you glue the bottom of the petal and attach it to the bottom of the bud bowl. You can glue the side of the petal to the sides of the bud bowl if you think it sticks out too much, but you may want to wait until you’ve attached all the petals.


Attach outer petal B around the outer perimeter of your flower, again gluing the bottom of the petal and attaching it to the bottom rather than the sides. This is how a real flower’s petals are attached.
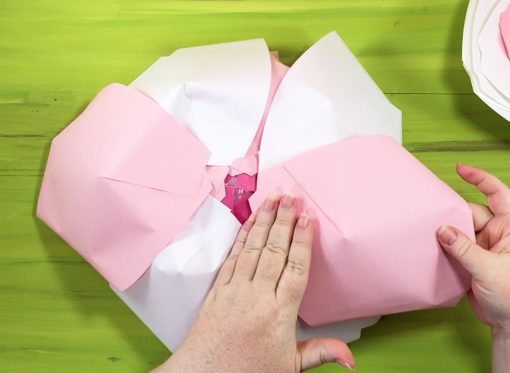
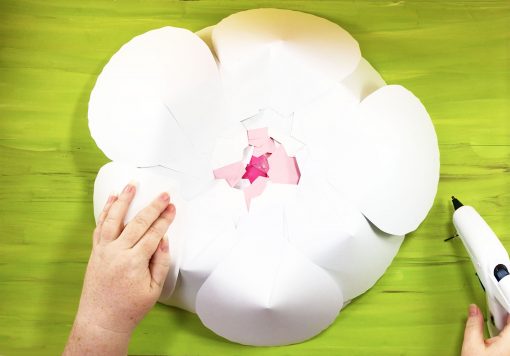
Finally, attach all 16 of outer petal C around the outer perimeter of your flower. These petals will go a long way toward making your flower larger, especially if you attach them a little further out from the center.
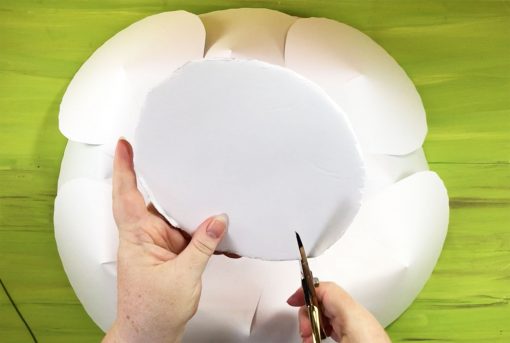
If you’re going to hang your flower on a wall, a photo backdrop, or an arch, you’ll want to attach a hanger to it. Cut out a piece of foam core to match the bottom of your flower — mine was about 6″ in diameter. Cut two notches in the side of your foam circle.
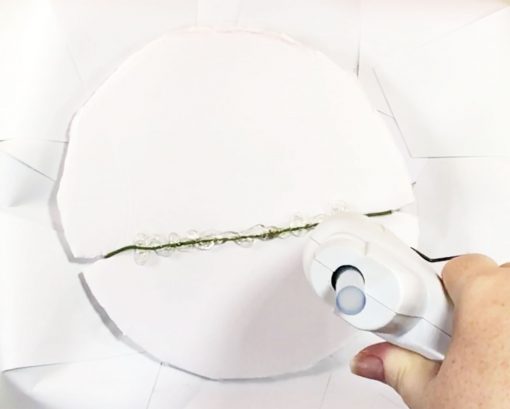
Wrap a 22 gauge floral wire around the foam circle, twisting it tightly in the back and gluing it in place.
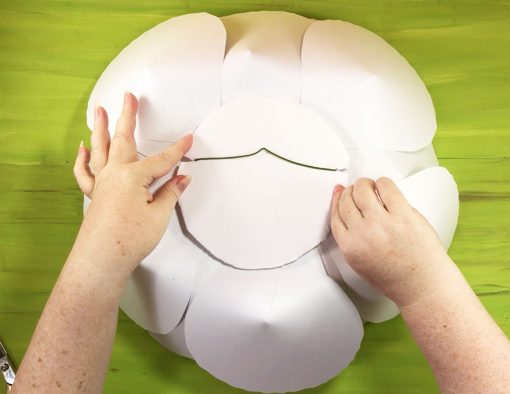
Now glue the foam-and-wire hanger to the back of your flower with a generous amount of hot glue. Turn your flower right side up, put your hand inside the bud, and press down to make sure the hanger makes contact with the flower while the glue is drying.
Now proudly display your pretty paper peony however you wish! Here’s a photo of the peony over my window as a valance:
Here’s another photo of the completed peony, sunning itself on my peony bushes:
Free Cut Files for the Giant Paper Peony
Get the password for the library with the free paper peony pattern and SVG/DXF/PDF files here by filling out this form:
Love,

More Giant Paper Flower Tutorials


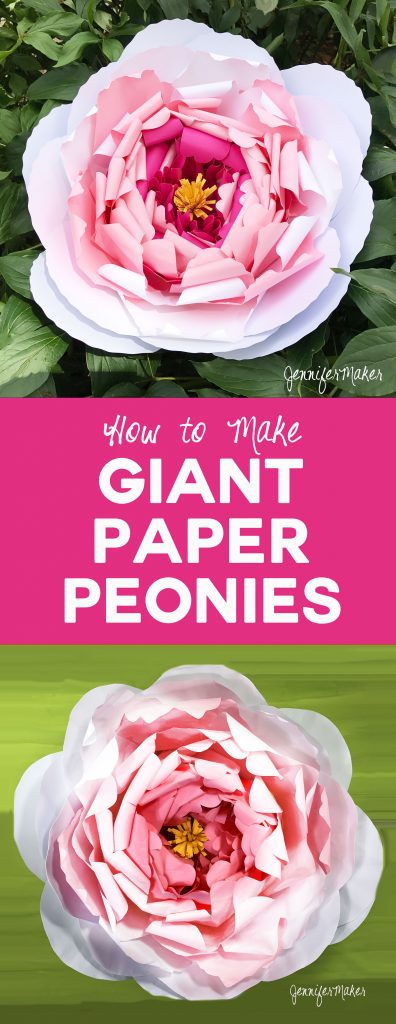
Want to remember this? Save Giant Paper Peony to Your Favorite DIY Pinterest Board!
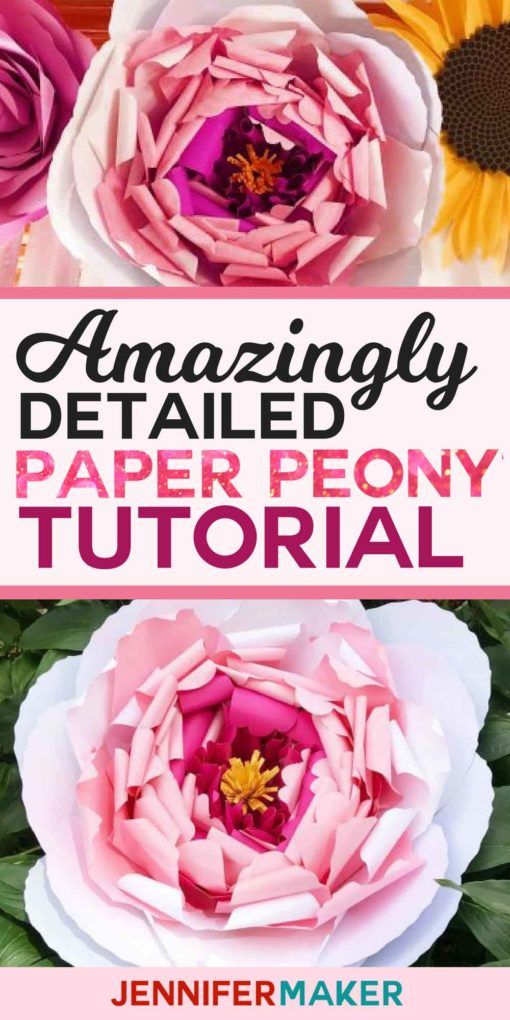


Such a beautiful, life-like flower!
Thank you, Teresa!
Your flowers are beautiful. Pinned
Thank you, Debra!
Your flowers are STUNNING! You have inspired me to TRY to make some of them for my daughter’s upcoming wedding. Little confused on the peony flower since you don’t have a video but will try my best. Thanks for the inspiration!!!
I’m a new Cricut Maker crafter and I LOVE you! You have helped me sooo much and I’ve learned TONS of things! THANK YOU for making this easier and fun!
About how large is this when finished? I would like to make a smaller one but I’m not sure how much to size down the file!
Hi Marie! It is anywhere from 6″ to 10″ across, it just depends on how big you assemble it.