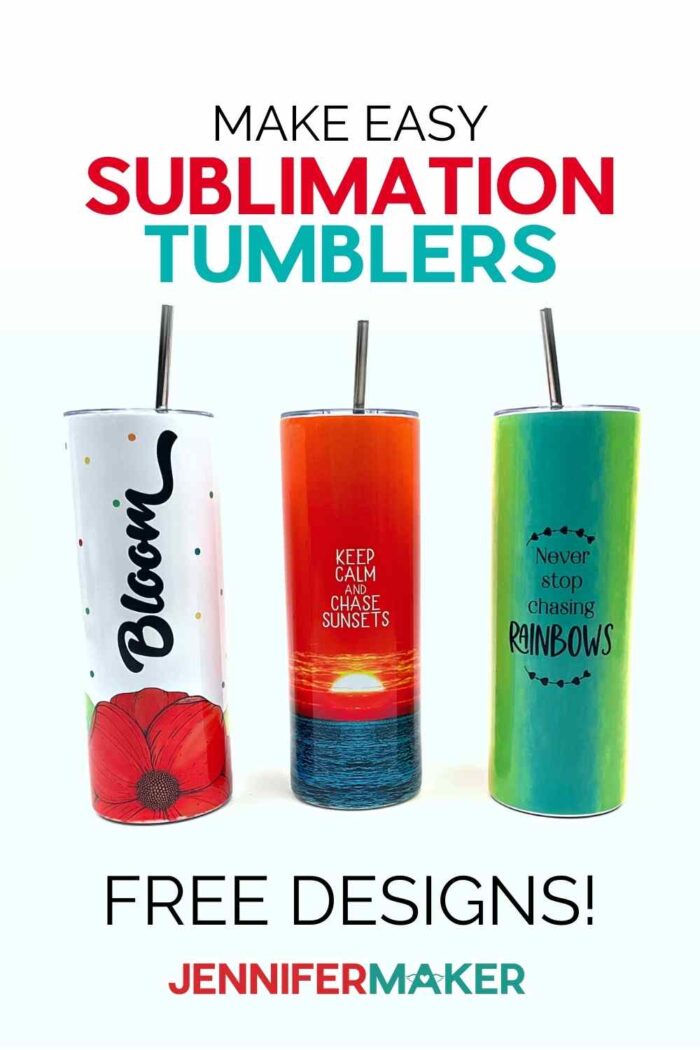
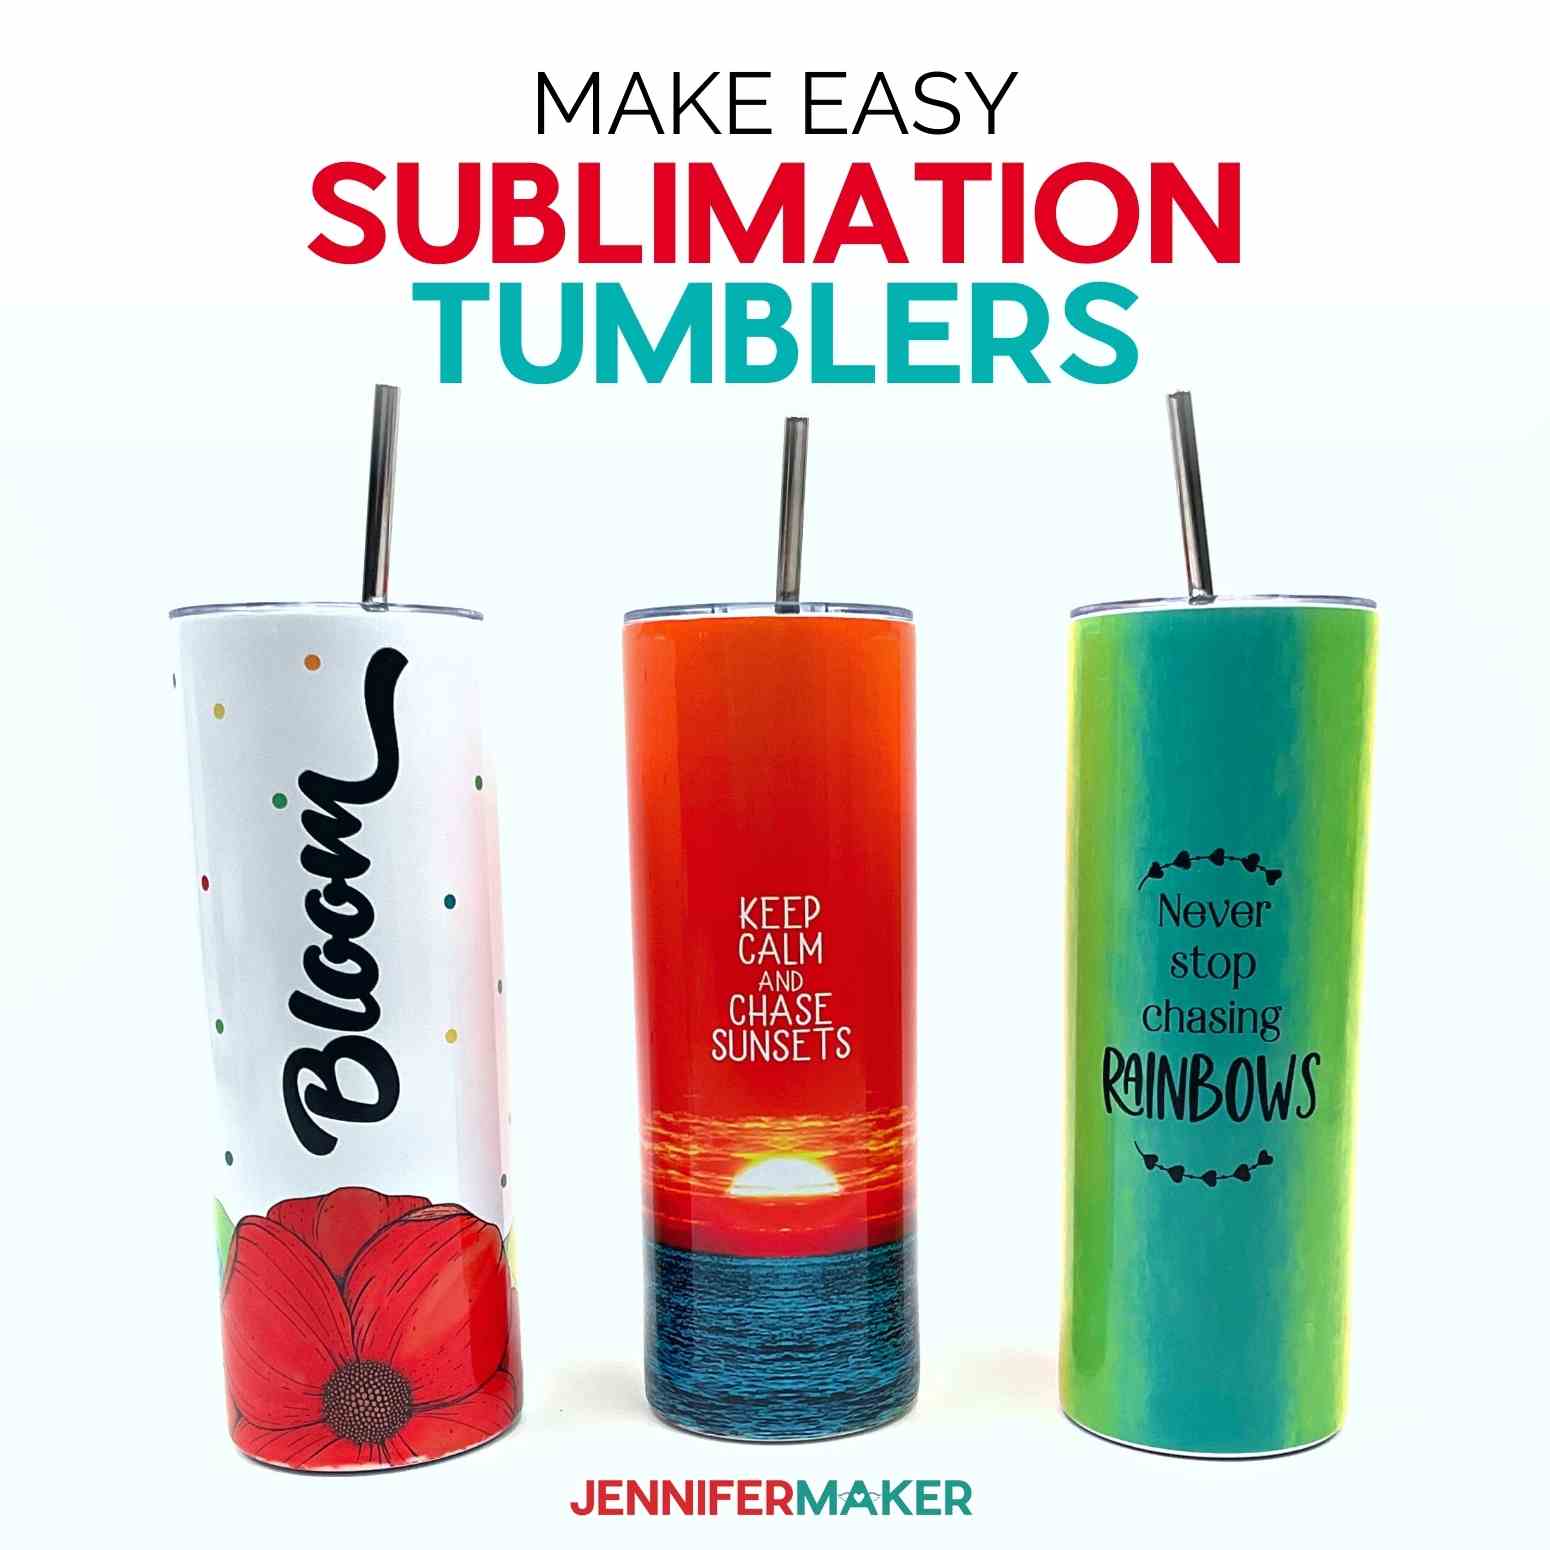
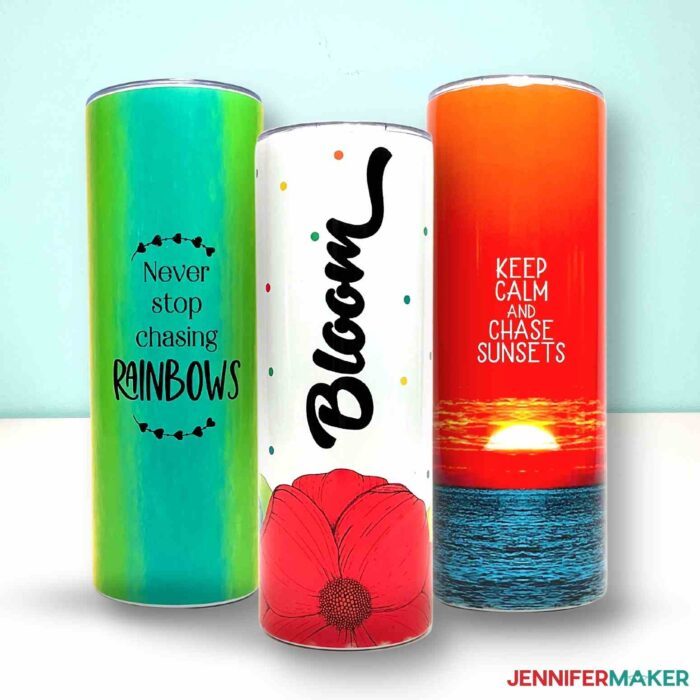
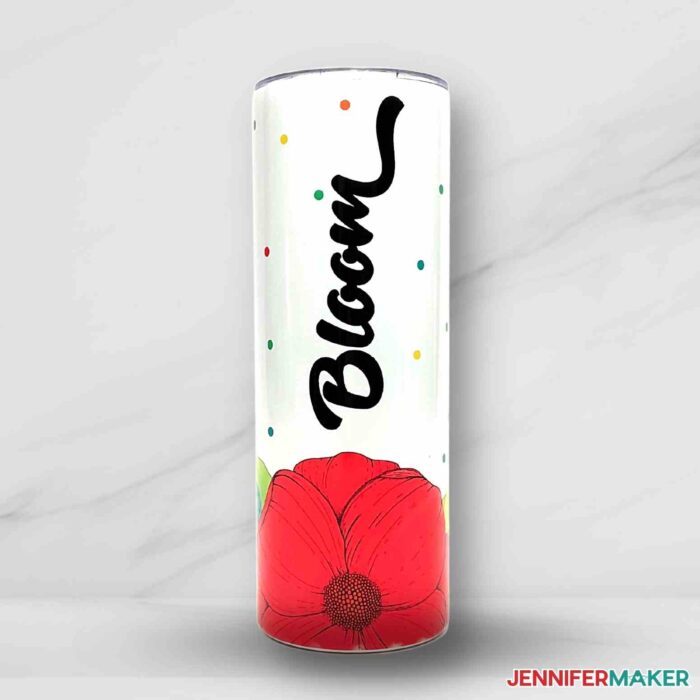
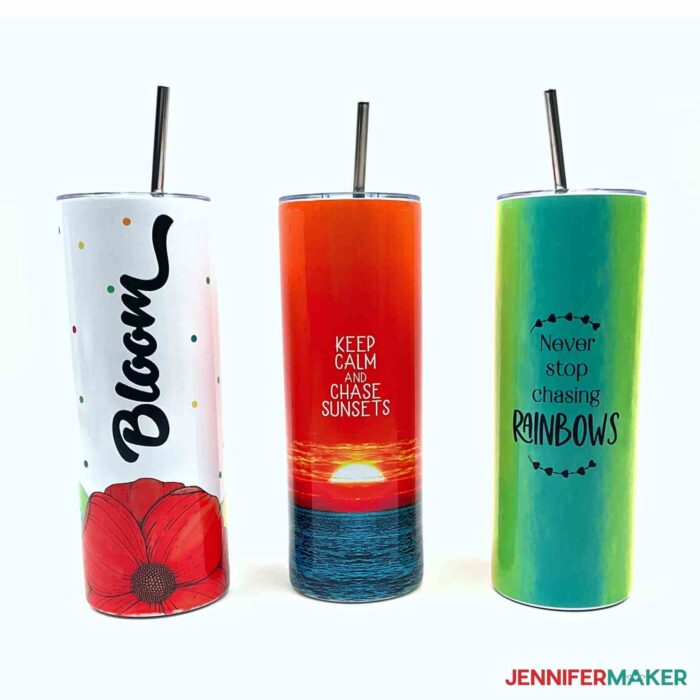
Learn how to make seamless sublimation tumblers with different techniques and awesome results!
One of my favorite parts of sublimation is how easy it makes customizing 3D items, especially skinny tumblers! They’re fun and popular, and make amazing gifts. While sublimation tumblers take a bit of practice to perfect, especially creating a smooth seam for continuous designs, I’ve done all the experimenting for you and have lots of tips to get great results! And, I tested several tool and material combinations to help you pick the best option for your tumblers. I will also show you how to use my high quality, free sublimation tumbler designs fast and easy! August 2023 Update: I’ve added 3D inflated designs made with an AI generator to the free download!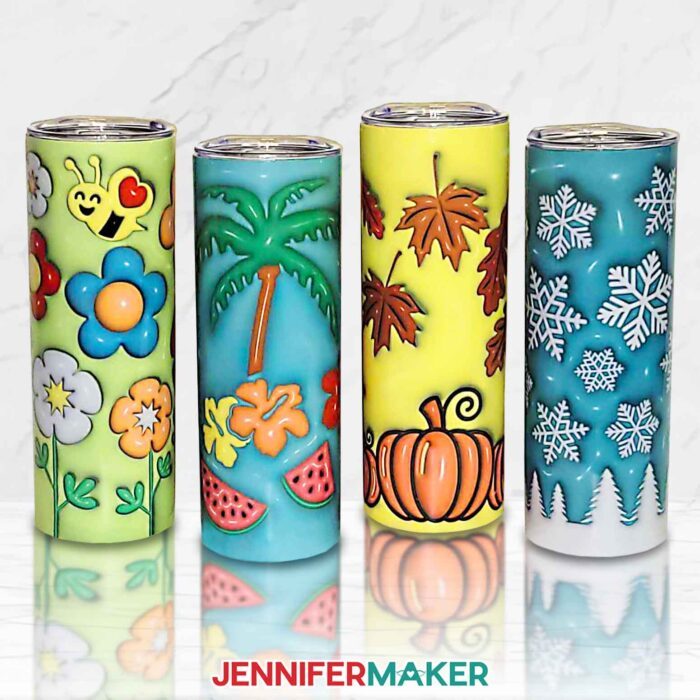
Watch my full step-by-step video on how to make sublimation tumblers:
Print sublimation on tumblers is so much fun! It does take some special equipment, but the results are very reliable.
Basically, special sublimation dyes and papers are activated with heat. The inks become a vapor and dyes the surface of the specially-coated skinny tumbler in just a few seconds. And since the printed sublimation designs become part of the tumbler’s surface fibers, you can’t feel them and they won’t peel off! You need compatible sublimation tumblers, which have a special sublimation or poly coating that accepts the ink. My favorite skinny sublimation tumblers are in the material list.
You will need a sublimation printer with compatible ink and sublimation transfer paper, a laptop or desktop computer, and a Google account. I used my Epson EcoTank ET-4760, but you can find information on several printers in my Best Sublimation Printer to Buy in 2022 post. You can see my recommendations for the best results in my Sublimation for Beginners Ultimate Guide.

Since tumblers aren’t flat (they couldn’t hold coffee if they were!) you’ll need different heat presses and supplies than those for flat sublimation items. I tested combinations of new products using a tumbler press, a convection oven, a heat gun, shrink wrap tubes, silicone bands, and a heat-resistant felt pad. I’m excited to share the results of my skinny straight sublimation tumbler experiments!
No matter which technique you use, take your time aligning and securing the design to your sublimation tumbler. I’ll show you some tips on getting a clean seam using butcher paper, a lint roller, heat resistant tape, a scraper, and scissors or a paper trimmer. It even works for a full wrap design!
And just like the ink vapor can get on paper, it can get on you! Good ventilation is important any time you use sublimation. Have your windows open and a fan going to help the fumes dissipate quickly. And don’t breathe in very close to the project while it’s still warm.
I can’t wait to see what you make with these designs!
February 2024 Update: I have new 3D sweetheart designs available so you can add even more beautiful tumblers to your drinkware options! Get the free files in Design #586 in my free resource library!

Ready to make sublimation tumblers using my free designs and step-by-step tutorial? You’re going to love them! This post contains some affiliate links for your convenience (which means if you make a purchase after clicking a link I will earn a small commission but it won’t cost you a penny more)! Read my full disclosure policy.
Materials to Make Sublimation Tumblers
View my Amazon shopping list with the exact items we used to make this project!
- Sublimation Tumblers — I used Skinny 20 oz Tumbler for Sublimation with rubbing alcohol and a lint-free rag to clean them
- Sublimation printer and supplies – I used my Epson ET-4700 with Hippoo ink with the relevant ICC printer profile on 8.5″ x 11″ A-SUB Sublimation Paper, white butcher paper, heat resistant tape, and a heat-resistant felt pad.
- A Google account to edit your images on a Laptop or Desktop running Windows or Mac OS
- Heat source of your choice and the related supplies:
- Tumbler Heat Press – I used my PYD Life 110 V
-
Convection Oven – I formerly used an Oster Convection Oven (see my safety update below) with shrink wrap tubes and a heat gun or silicone bands
- Safety supplies including heat resistant gloves, a fan or other ventilation support
- Tools including a Cricut scraper, measuring tape, scissors or a paper trimmer
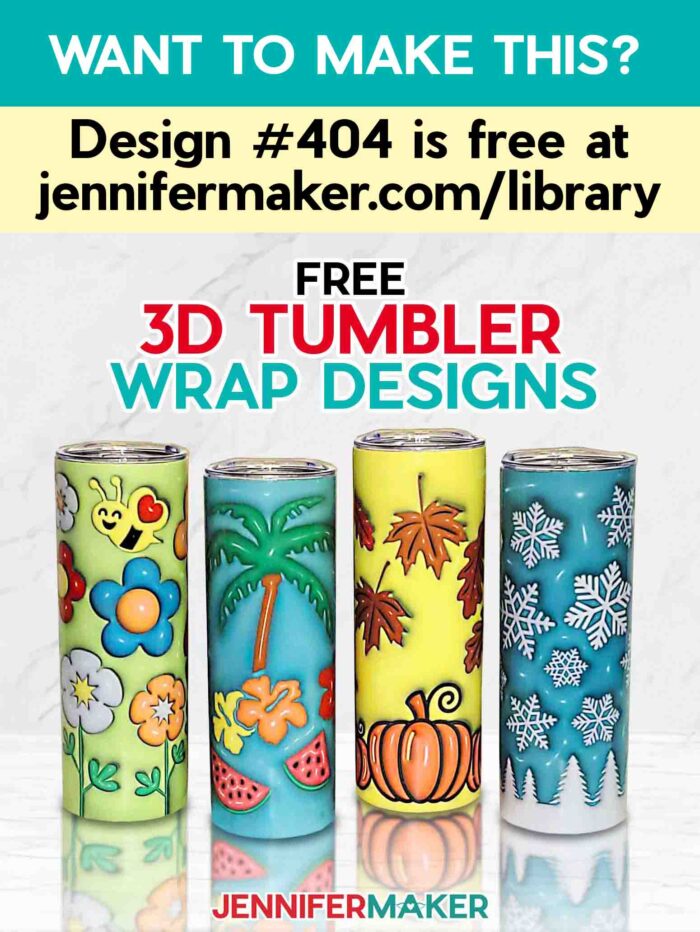
- Design #404 — My free Sublimation Tumbler design files (available from my free resource library — get the password at the bottom of this post)
How to Make Sublimation Tumblers
Sublimation Tumblers
Learn to make seamless sublimation tumblers in several ways.
Materials
- Sublimation Tumblers -- I used Skinny 20 oz Sublimation Tumblers
- Sublimation Paper - I used 8.5" x 11" A-SUB Sublimation Paper
- Sublimation Ink - I used Hippoo
- White Butcher Paper
- Rubbing Alcohol
- Optional Shrink Wrap Tubes
- Design #404 — My free Sublimation Tumbler design files (available from my free resource library — get the password at the bottom of this post)
Tools
- Sublimation Printer - I used the Epson ET-4700
- Tumbler Heat Press - I used the PYD Life 110 V
- Heat Gun - AND-
- Silicone Bands (optional)
- Heat Resistant Gloves
- Laptop or Desktop running Windows or Mac OS
- Google account - to use Docs for photo editing
- (Optional) Your ICC Printer Profiles here are the Hiipoo printer profiles
- Heat Resistant Tape
- Heat Resistant Felt Pad - optional
- Scissors -or-
- Paper Trimmer
- Ventilation - I use this fan
- Cricut Scraper
- Measuring Tape
- Lint free cloth
Instructions
STEP 1: GET OR PREPARE A SUBLIMATION DESIGN
You can use any of my Sublimation Tumbler design files from my resource library, Design #404. You can also make your own design.
Download the files and pick your design.
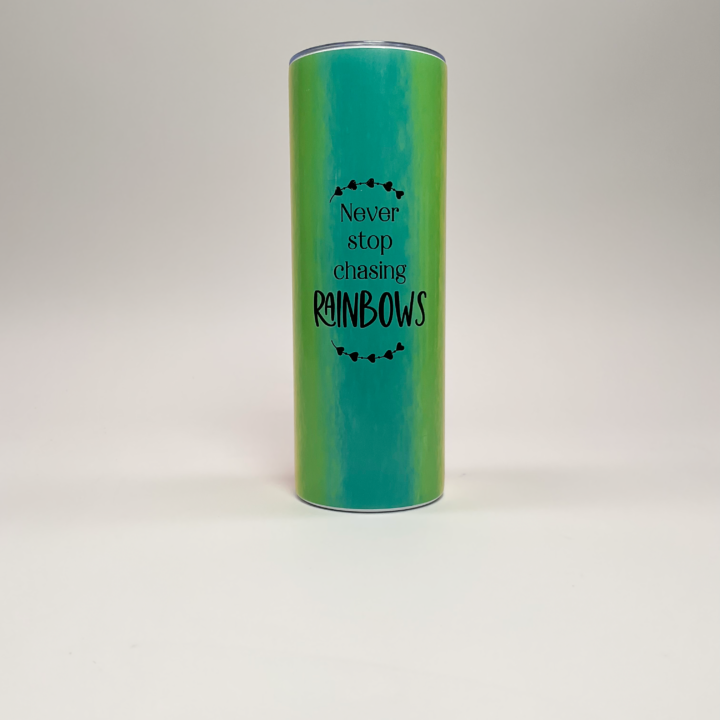
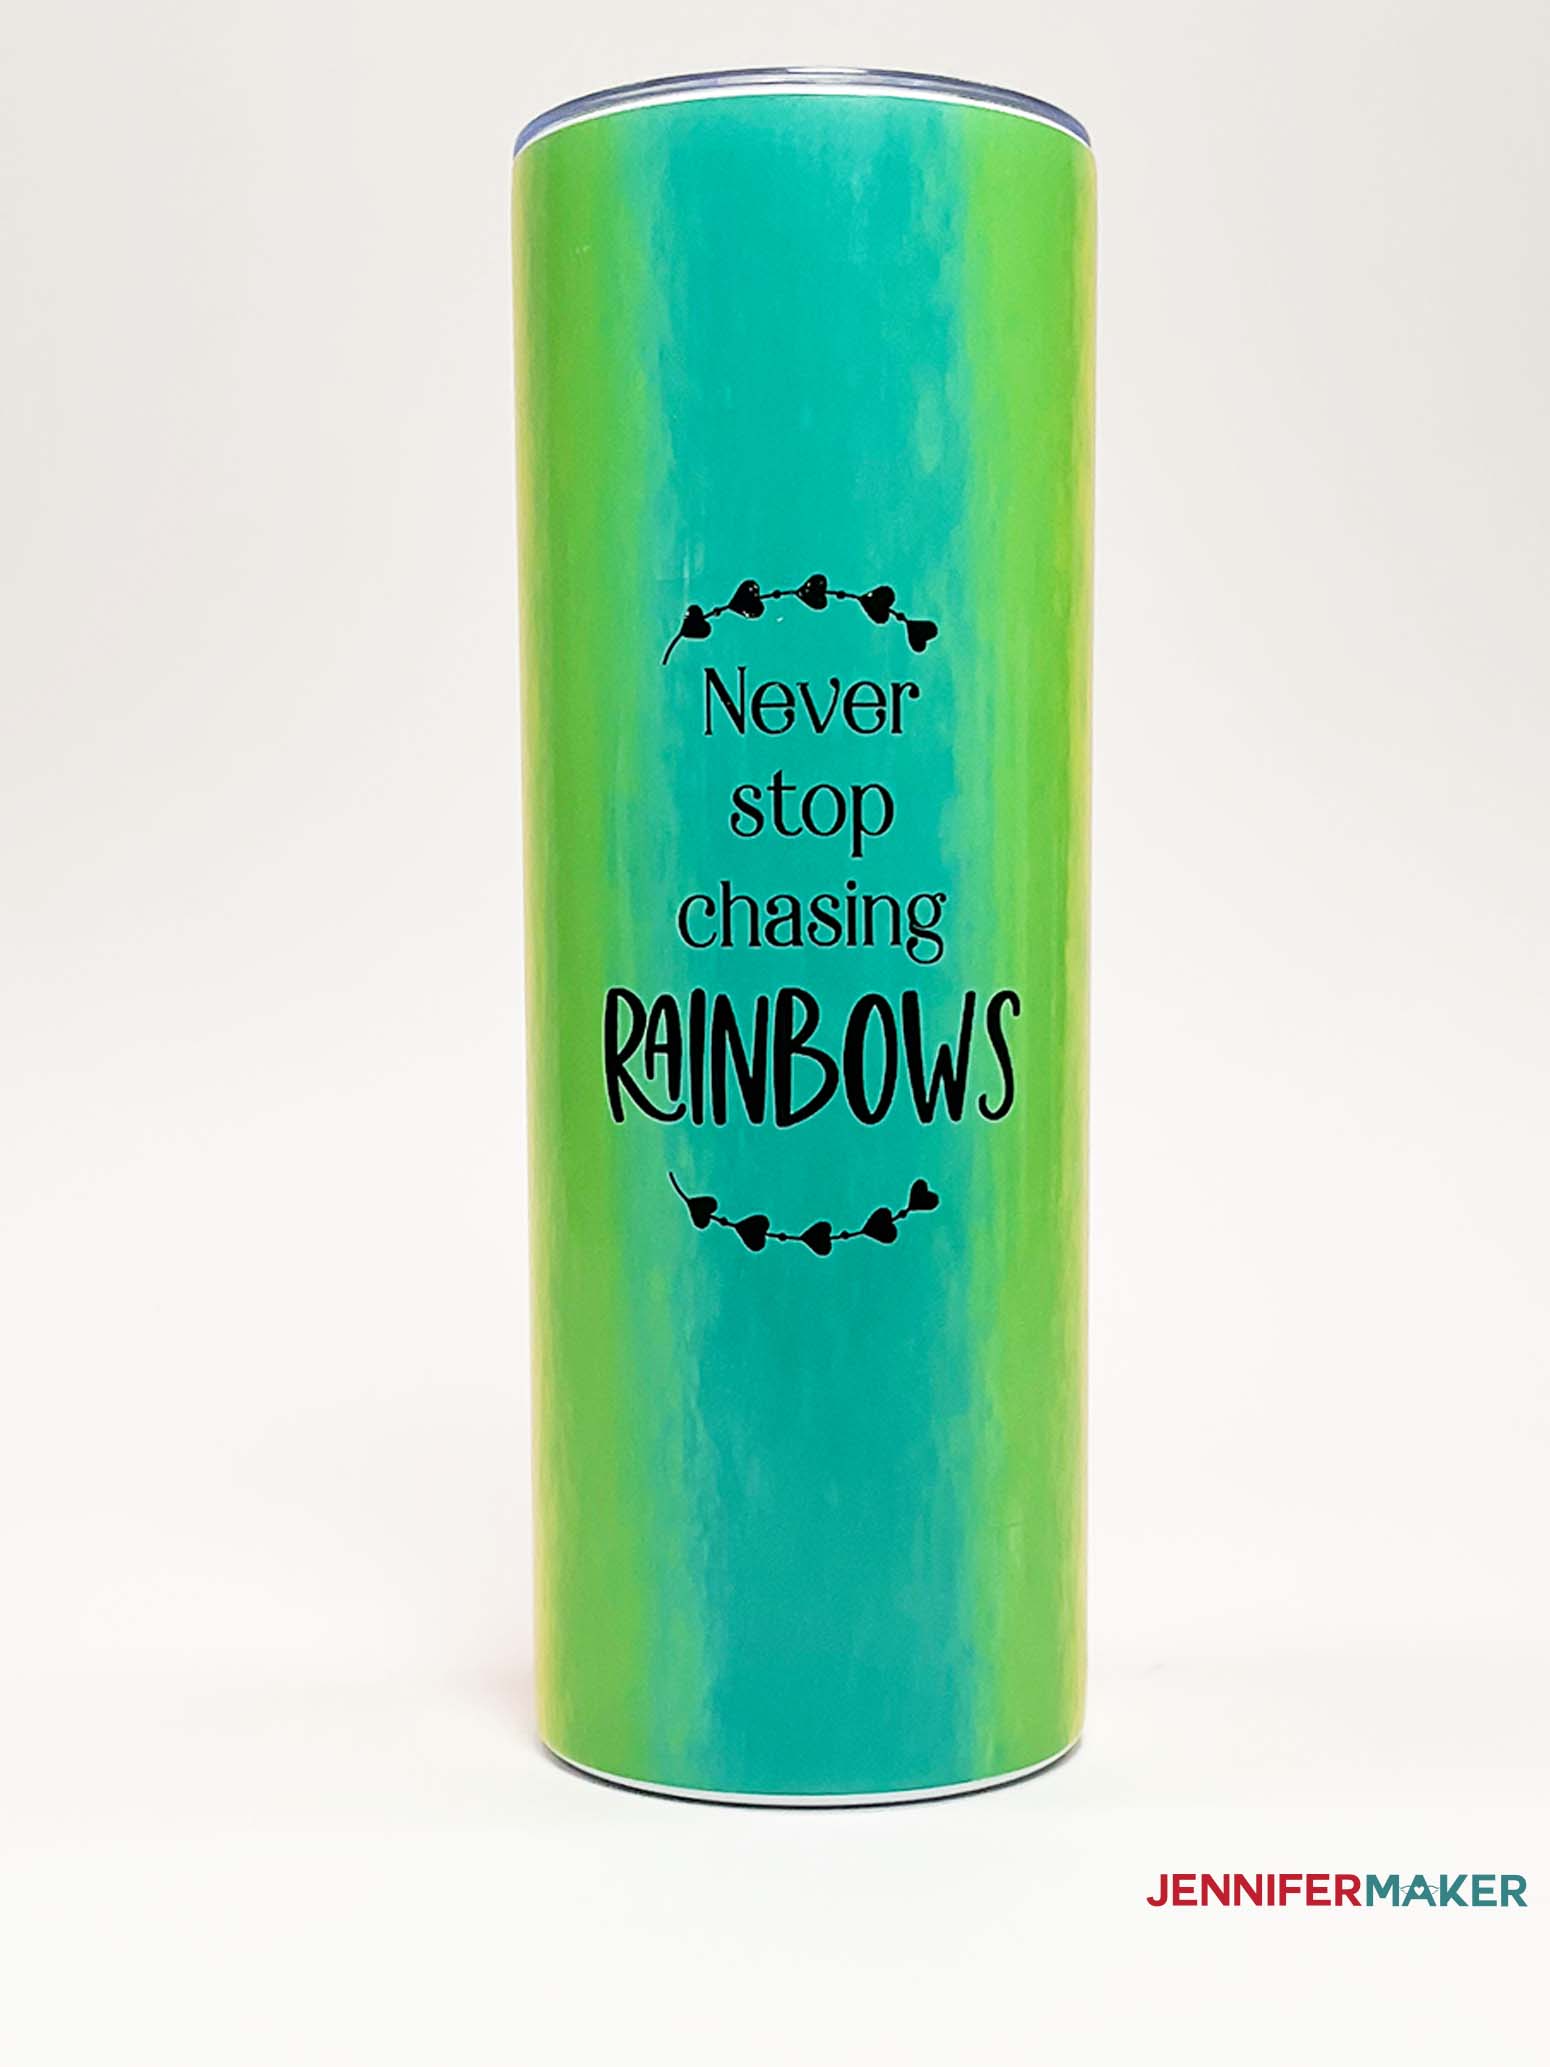
Today, I’m going to make the rainbow design, but you can use these steps for any of the options in the collection.
Sublimation, especially on objects like tumblers, is more of an art than a guaranteed scientific success. There are many variables at work - ink, print quality, pressure, getting a flat design to fit a round surface, overlapping areas, time, heat variability and more! So please don't expect a perfect, gift-quality result on your first try. Learning any new skill involves experimenting and making a few mistakes. You may also use up materials faster while you learn, so start with extra paper, prints, tumblers, and shrink wrap tubes if possible. Remember, an "imperfect" decorated tumbler will still hold your coffee perfectly while you craft!
STEP 2: PRINT YOUR SUBLIMATION DESIGN
We'll print the design on a good-quality sublimation paper for the best results. I’m using 8.5" x 11" A-SUB paper in my Epson EcoTank with Hiipoo ink. You can use another combination, of course.
For the full steps, view my earlier tutorial. If you're using the same design and tumbler as me, size the designs to 9.5" x 8.1". If you're using a different tumbler, measure the height from top to bottom and then around the item for the width.
If you use use a different design, you'll need to size it to match your tumbler's height and width (circumference). Be sure to make your design 1/8" wider than your tumbler's width for the seamless technique I teach you in this tutorial. Note that 1/8" extra is appropriate for the skinny tumblers I used in this tutorial — if you're using a narrower or wider sublimation surface, you may need to reduce or increase this extra width.
STEP 3: PREPARE YOUR PRINT AND TUMBLER FOR SUBLIMATION
Use a lint free cloth with some rubbing alcohol to clean the tumbler for a better transfer.
Since we want to avoid a gap or distracting seam when we wrap the design around the tumbler, there's a special way to trim the design.
Place the print face up on your surface so the correct edge is at the top. Grab your Cricut paper trimmer, the best way to get perfectly straight cuts!
Trim the top and bottom edges (9.5" long for my tumblers) of the design right on the edge of the ink. Try not to leave any white showing.
Trim the right edge in the same way, making sure there's no white at all.
The left edge is where we'll create the overlap to blend the seam as much as possible. Trim that edge so there is about a 1/4" strip of white left next to the design.

Grab your heat resistant tape and cut a few pieces that you can easily pick up. You'll need them soon and it's better to have them ready!
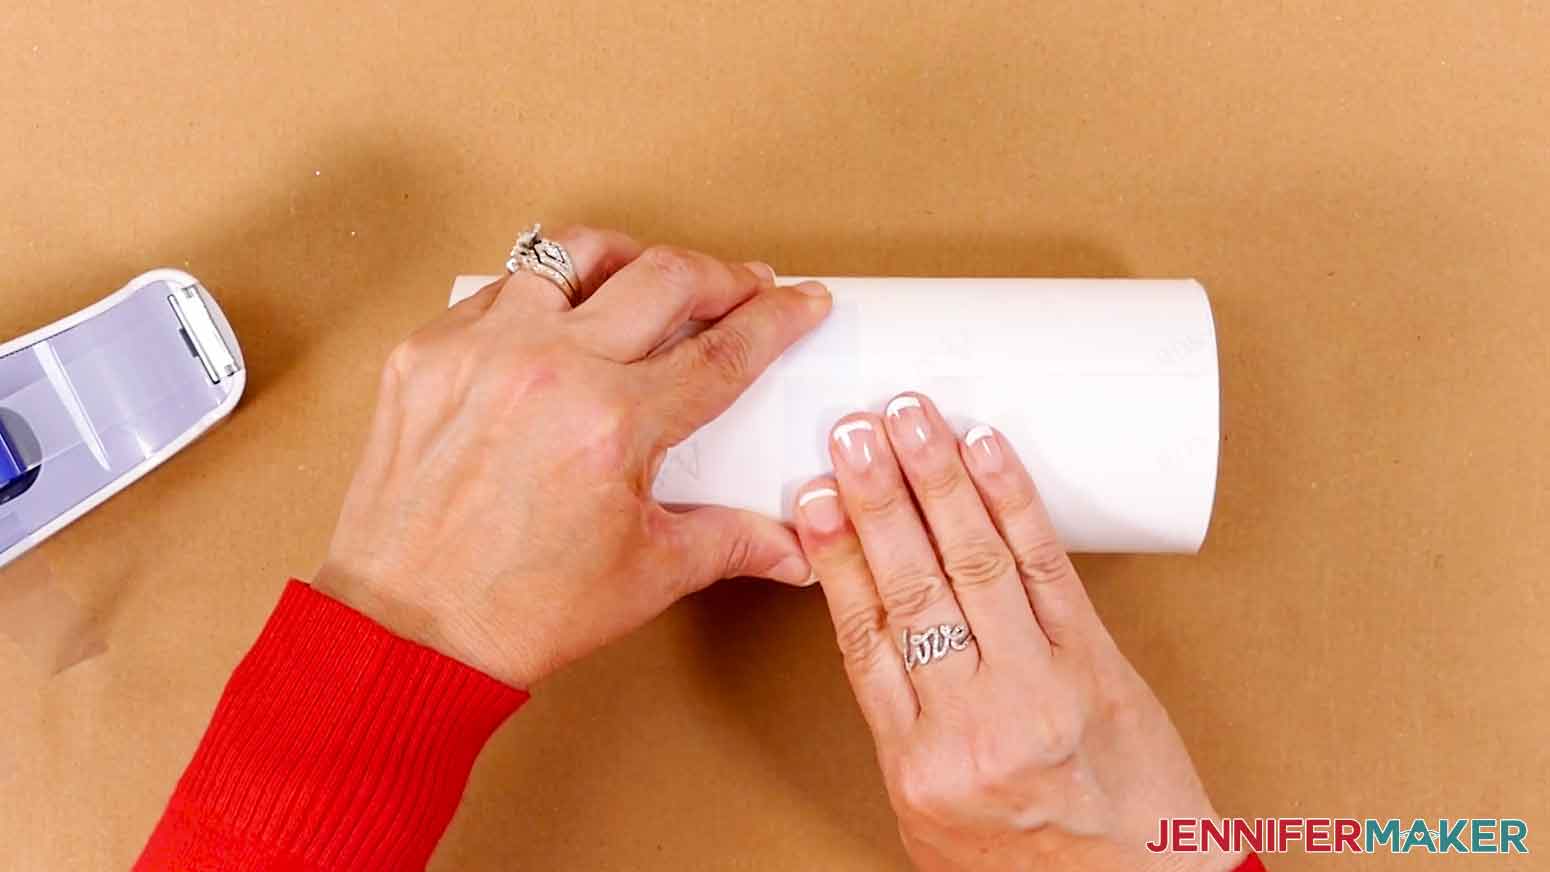
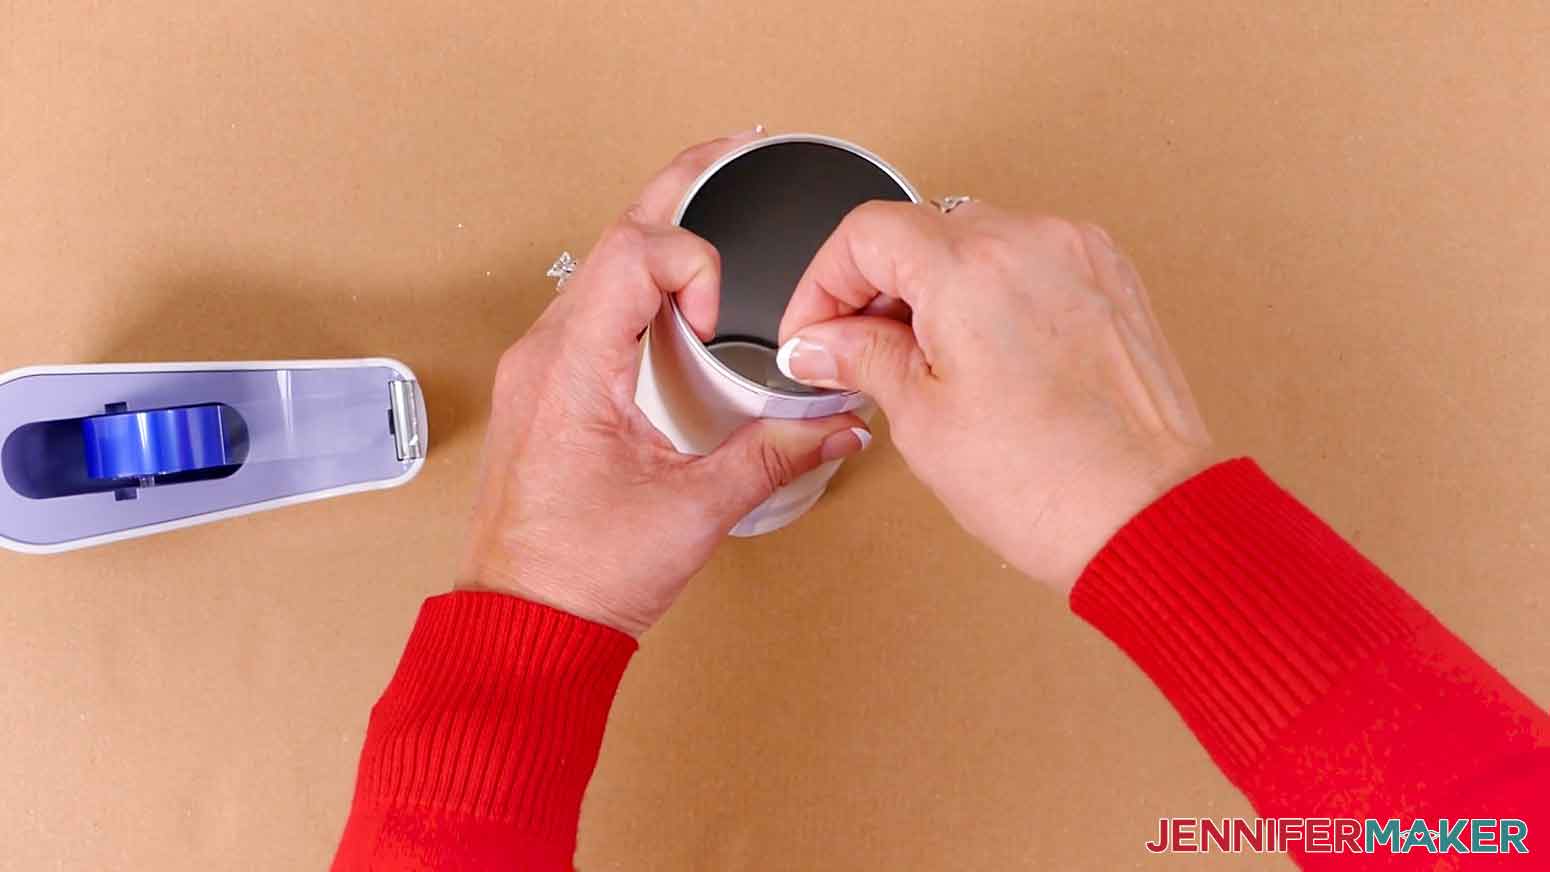
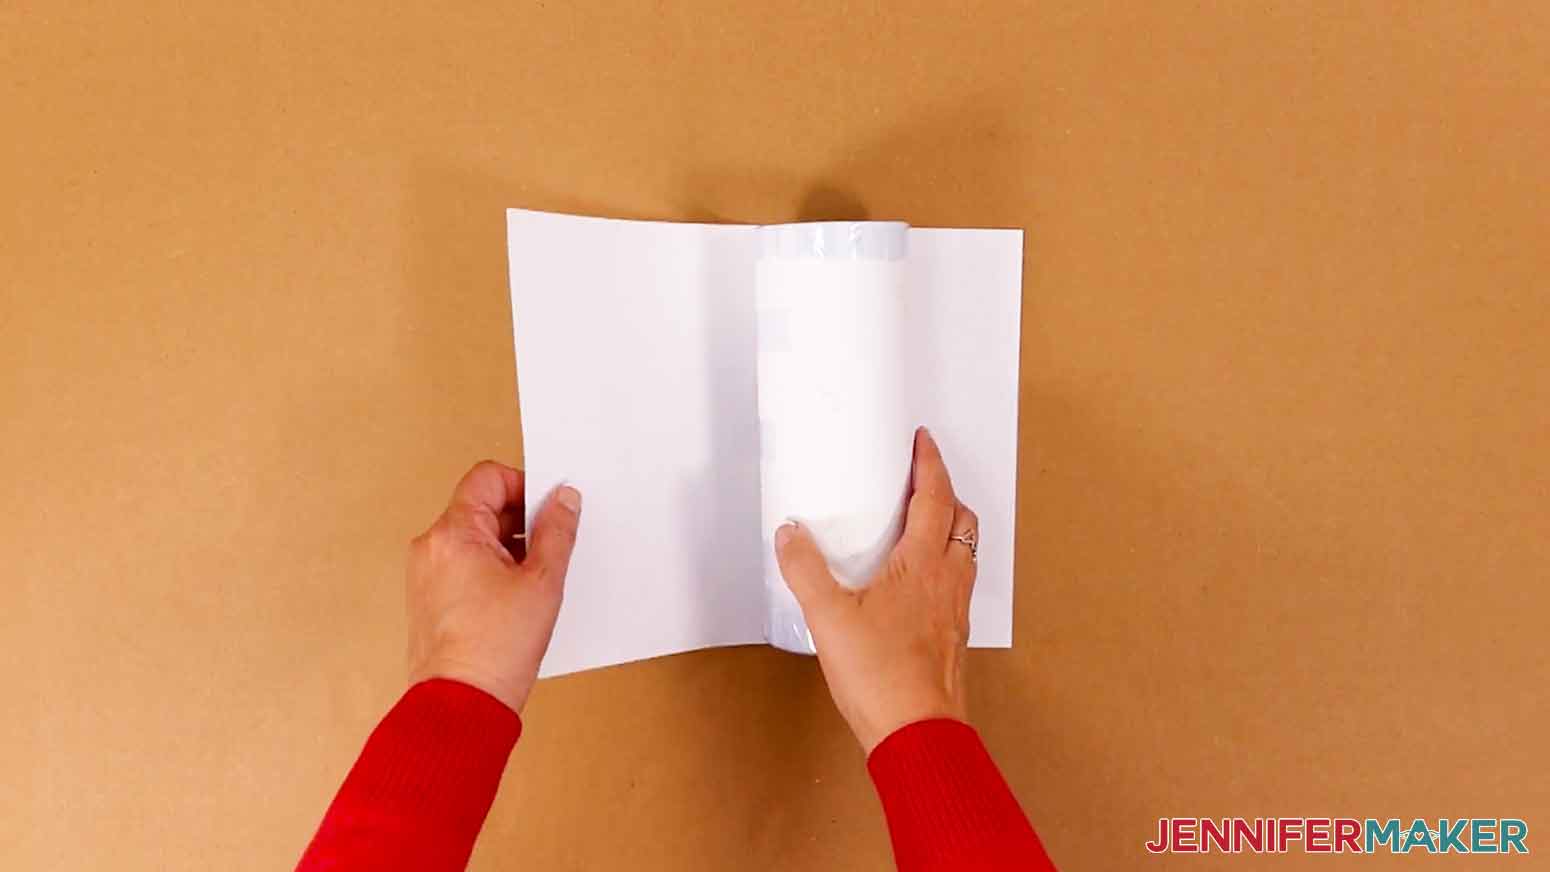
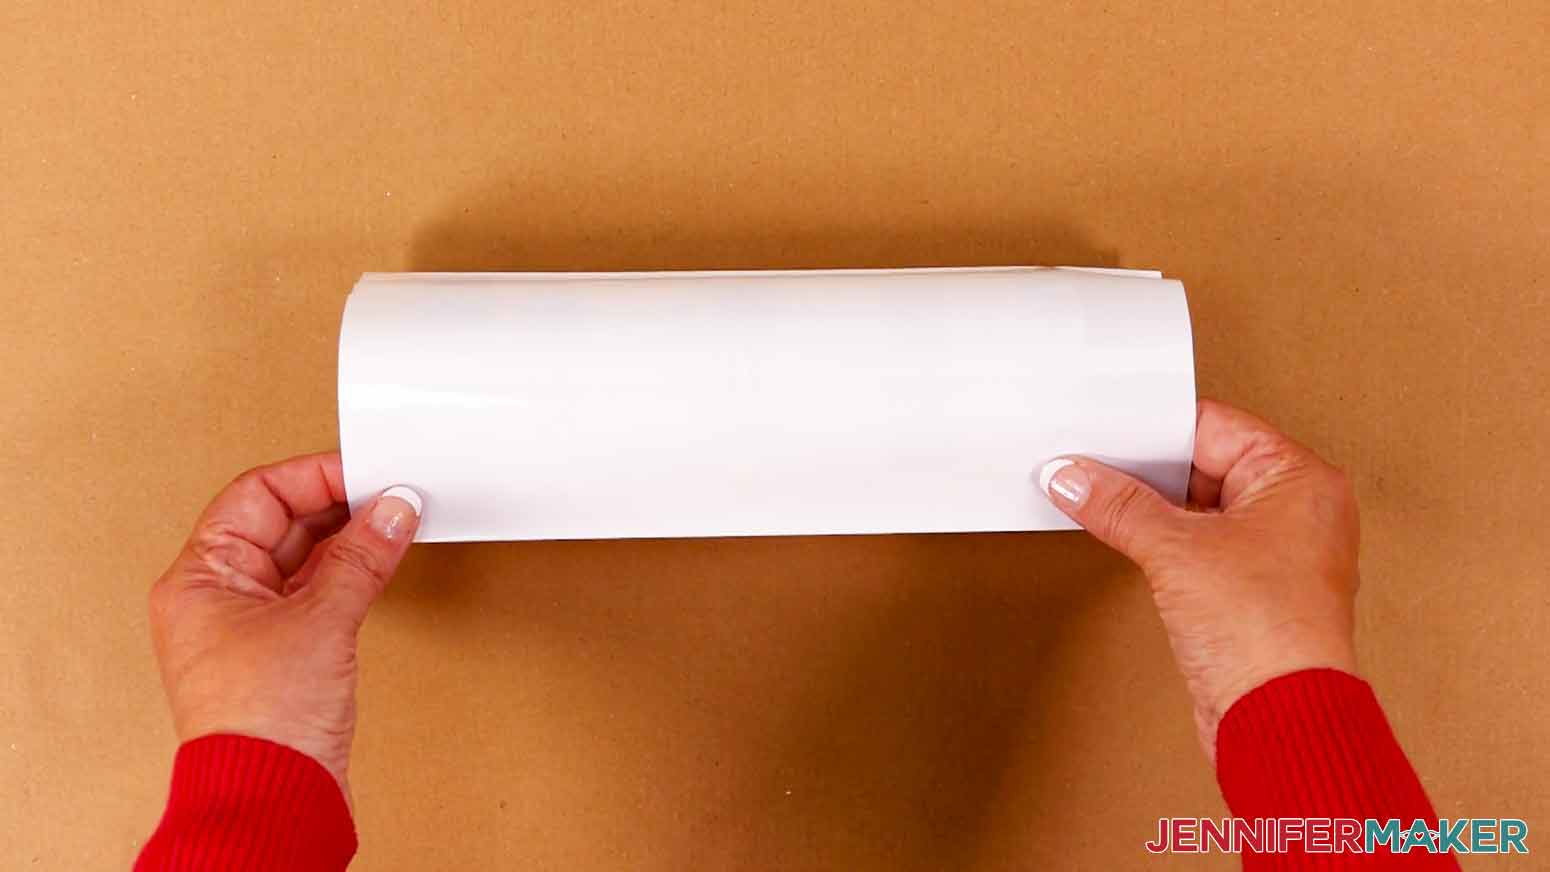
Place the tumbler on your work surface with the open edge at the top. Make sure the print is correctly oriented (especially since it has writing!) and wrap it around the mug so the ink touches the surface.
Where the edges overlap, put the side with the white showing on the outside of the layers.
Hold the wrapped print in place and gently tap the tumbler on the table from the bottom and top. That will help it straighten out.

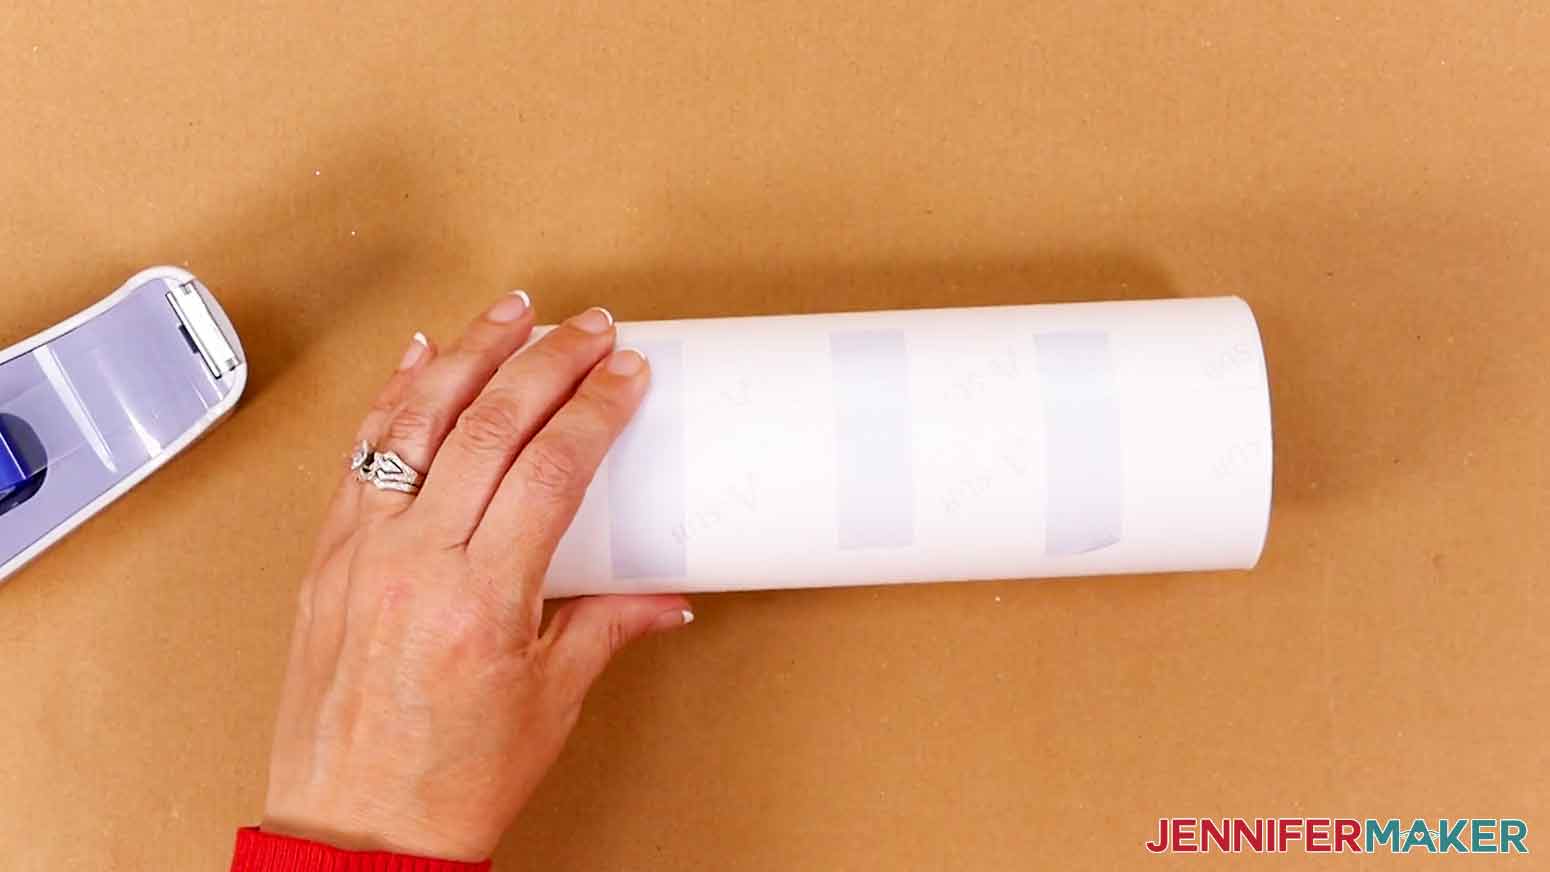
Don't let the print shift and gently lay the tumbler on its side.
Our next goal is to secure the print to the tumbler as tightly as possible. If there are gaps between the surface and design, you might get white spots or other defects in the final result.
Lay the tumbler on its side and place a piece of tape securely on the white edge, but don't let it
touch the paper on the other side of the seam yet.
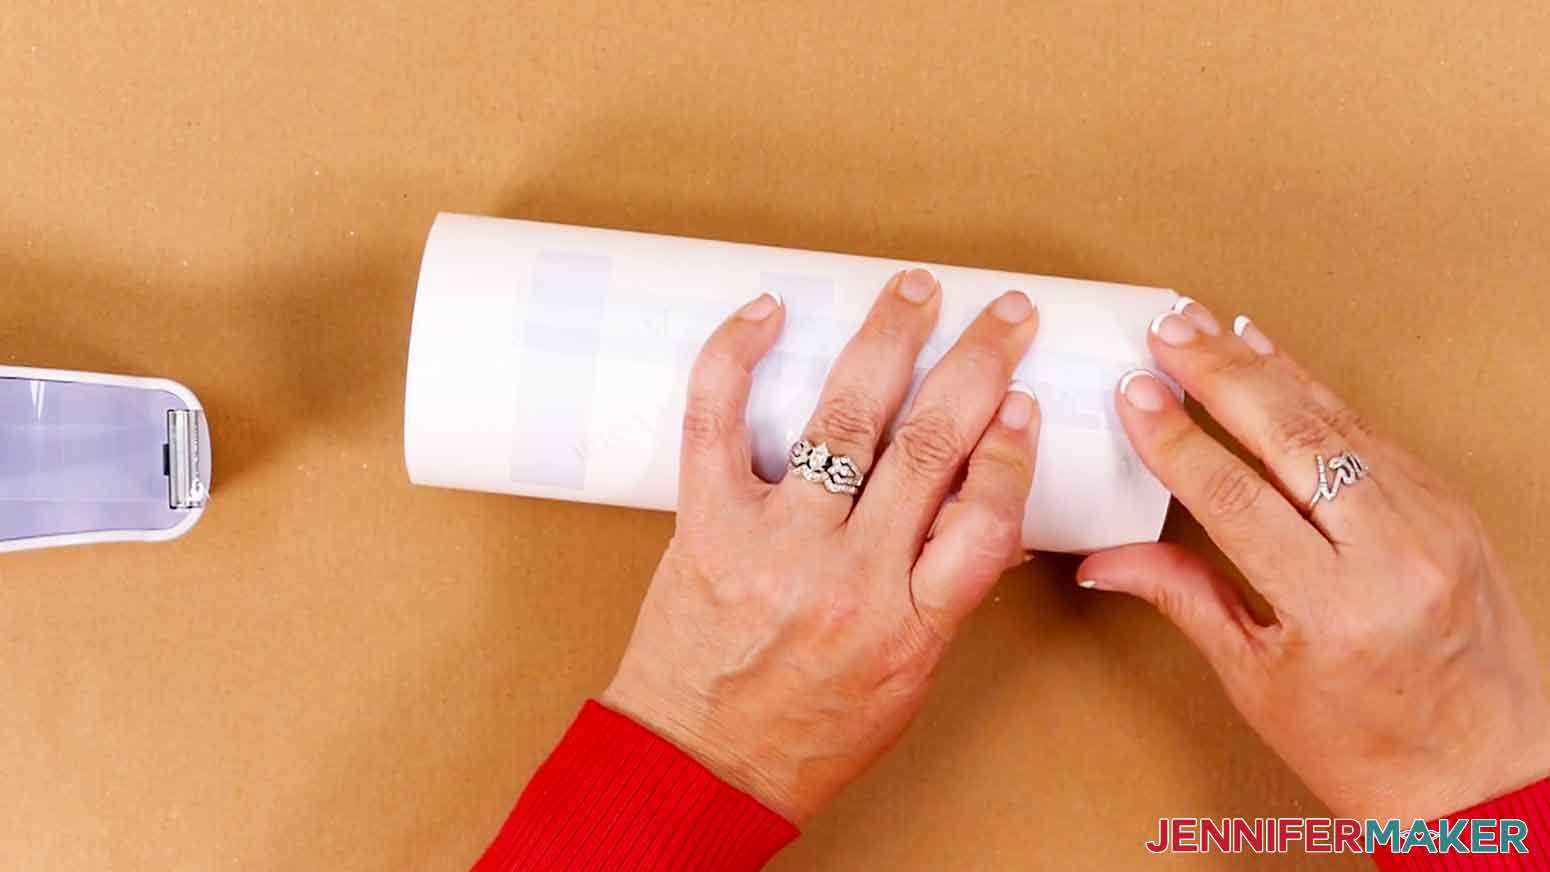
Use one hand to hold the lower layer of the design tight against the tumbler. Pull the loose section of tape tight as possible, then press it in place on the lower layer.
Add two more pieces of tape using the same method in between the first piece and the top and bottom edge of the design
Add more tape perpendicularly to bridge the three pieces and completely cover the seam in between them.
To check if the paper is tight enough, try to press hard and smooth the paper from both sides toward the taped seam. If anything ripples or comes away from the tumbler, remove your tape and try again. This takes practice!
Once the paper is secure, add tape to cover the top remainder of the seam, allowing some to extend past the edge. With your thumb on the tape, pull the extra tape as hard as you can over the edge and secure it inside the tumbler. Repeat for the bottom portion, securing the paper to the bottom as well.
Now we want to work all the air pockets out of the seam. Use a scraper or your fingernail and be really thorough.
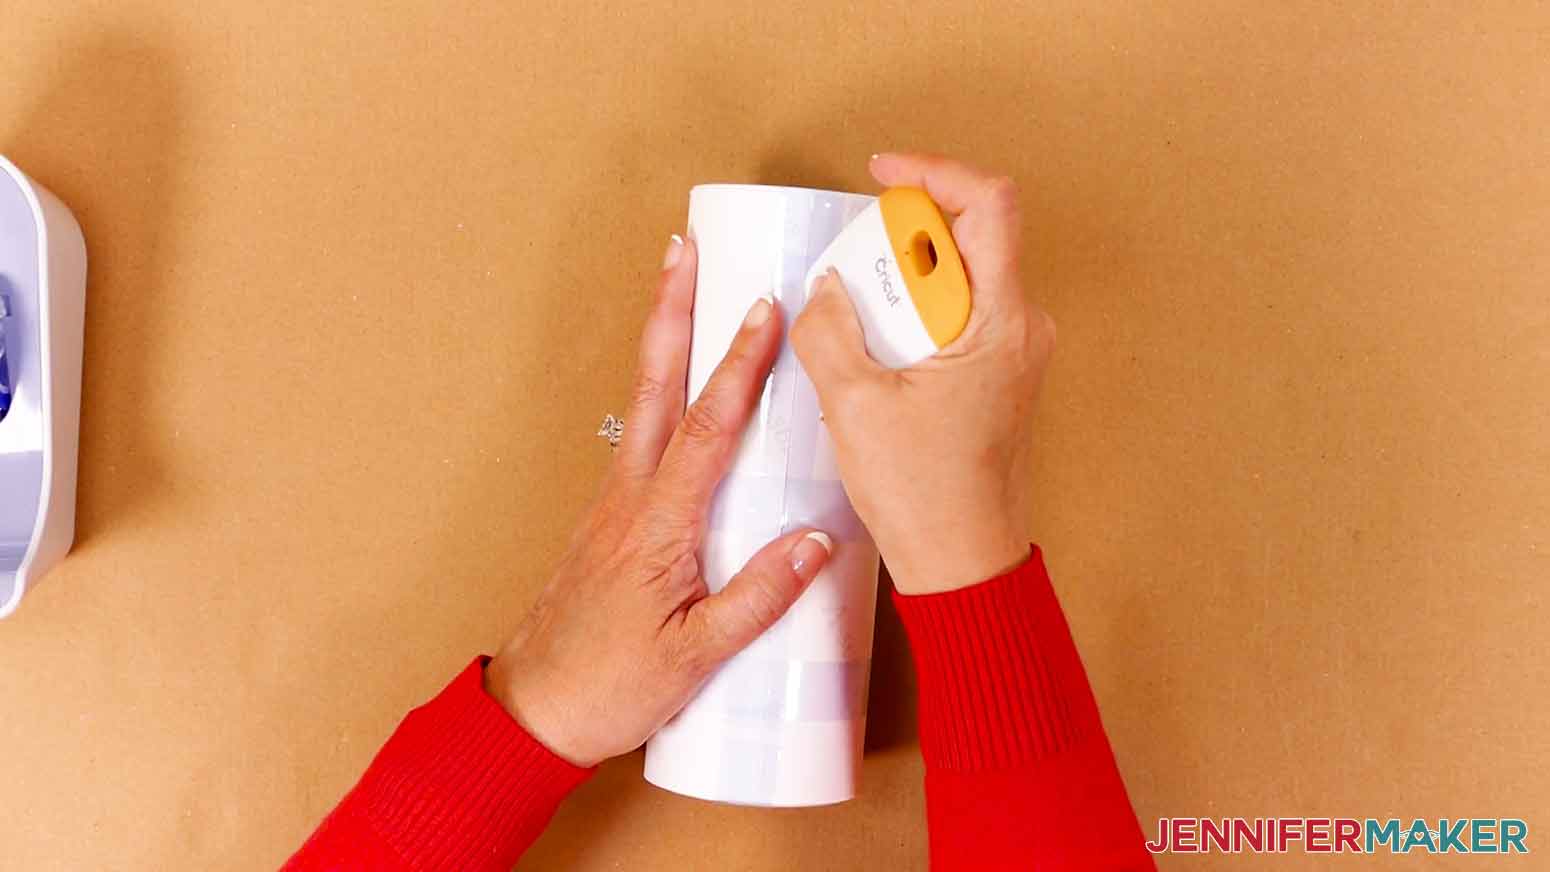
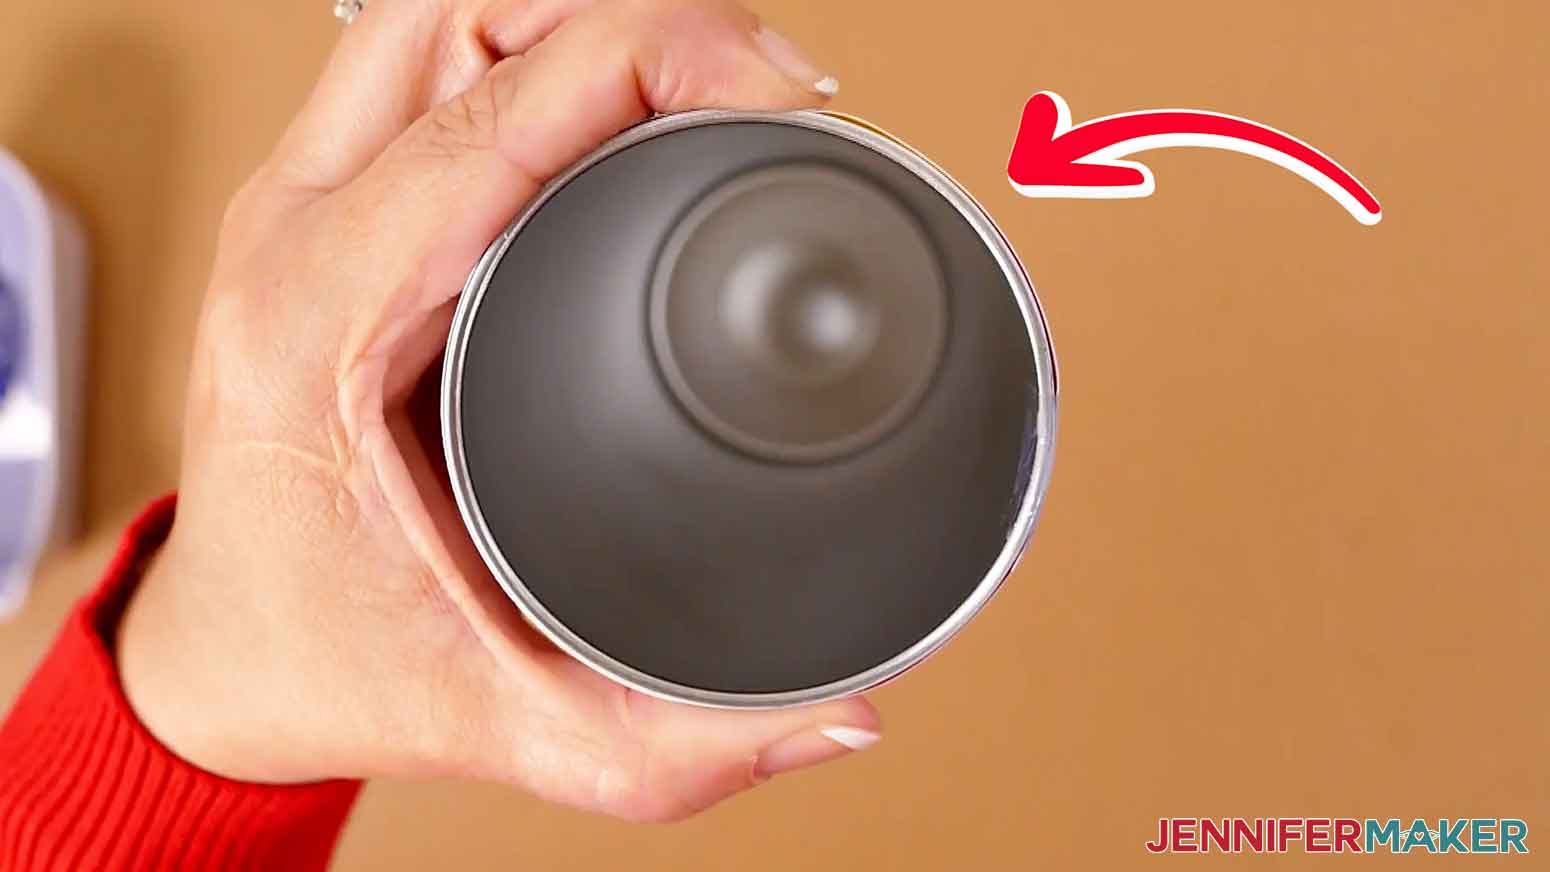
Taping the print around the top edge helps create a smoother transfer. Look down at the tumbler from the top and think of it like a compass. Place the original seam in the North direction.
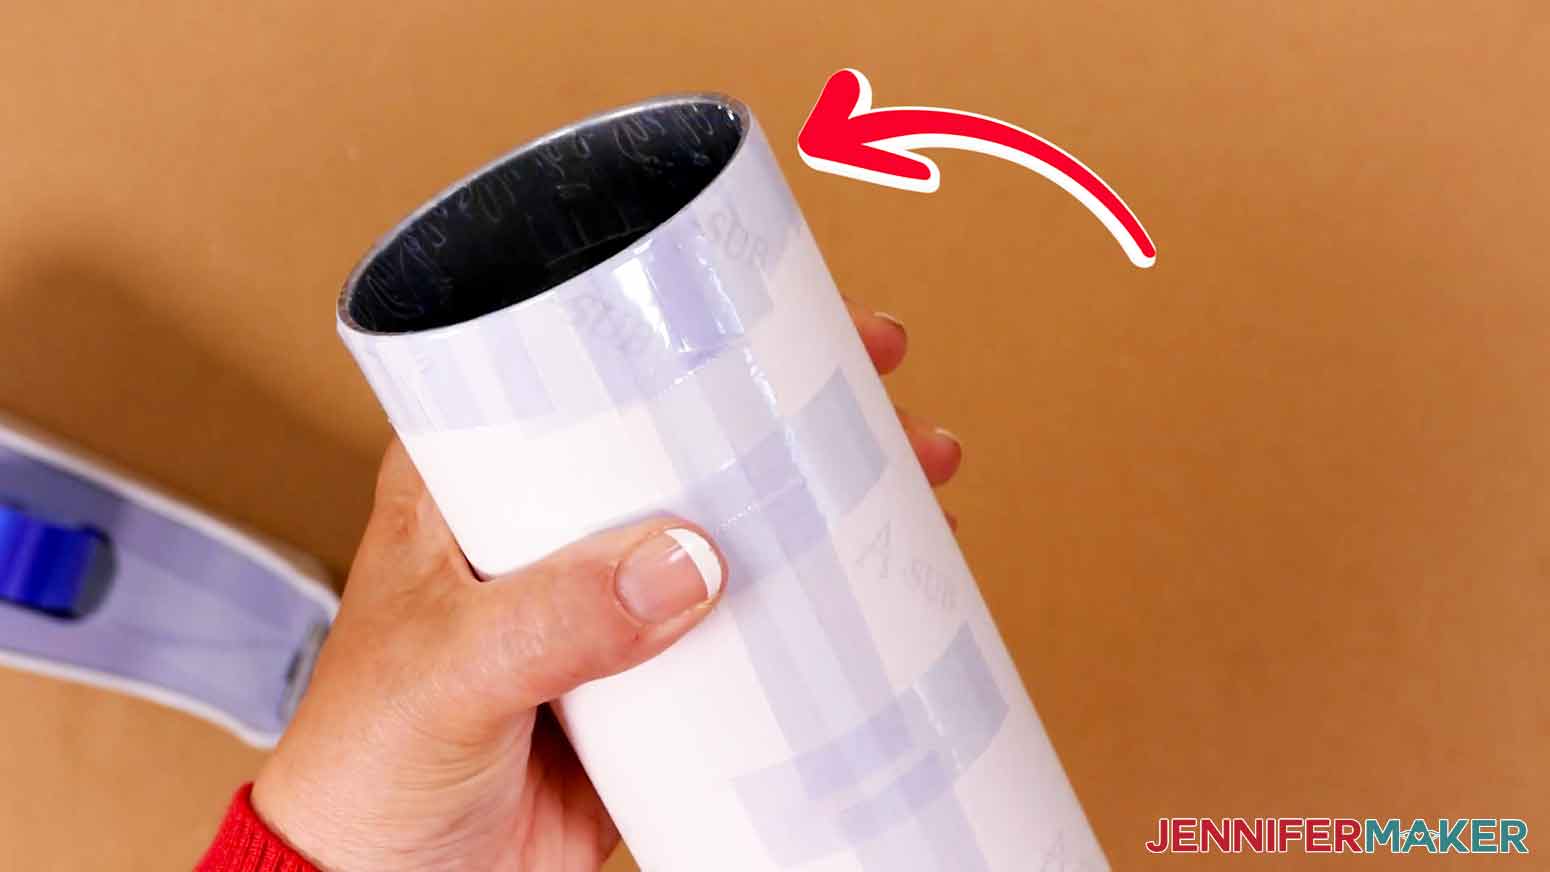
Just like we did for the top of the seam, place tape at the south location, letting it extend past the edge. Keep your thumb on the taped paper and pull the extra tape tightly, securing it to the tumbler's inner surface. Smooth the tape with the scraper to remove any air pockets. Repeat for the East and West points.

Then, fill in the intermediary directions like North East until the entire top rim is secured.
Again, repeat for the bottom edge.
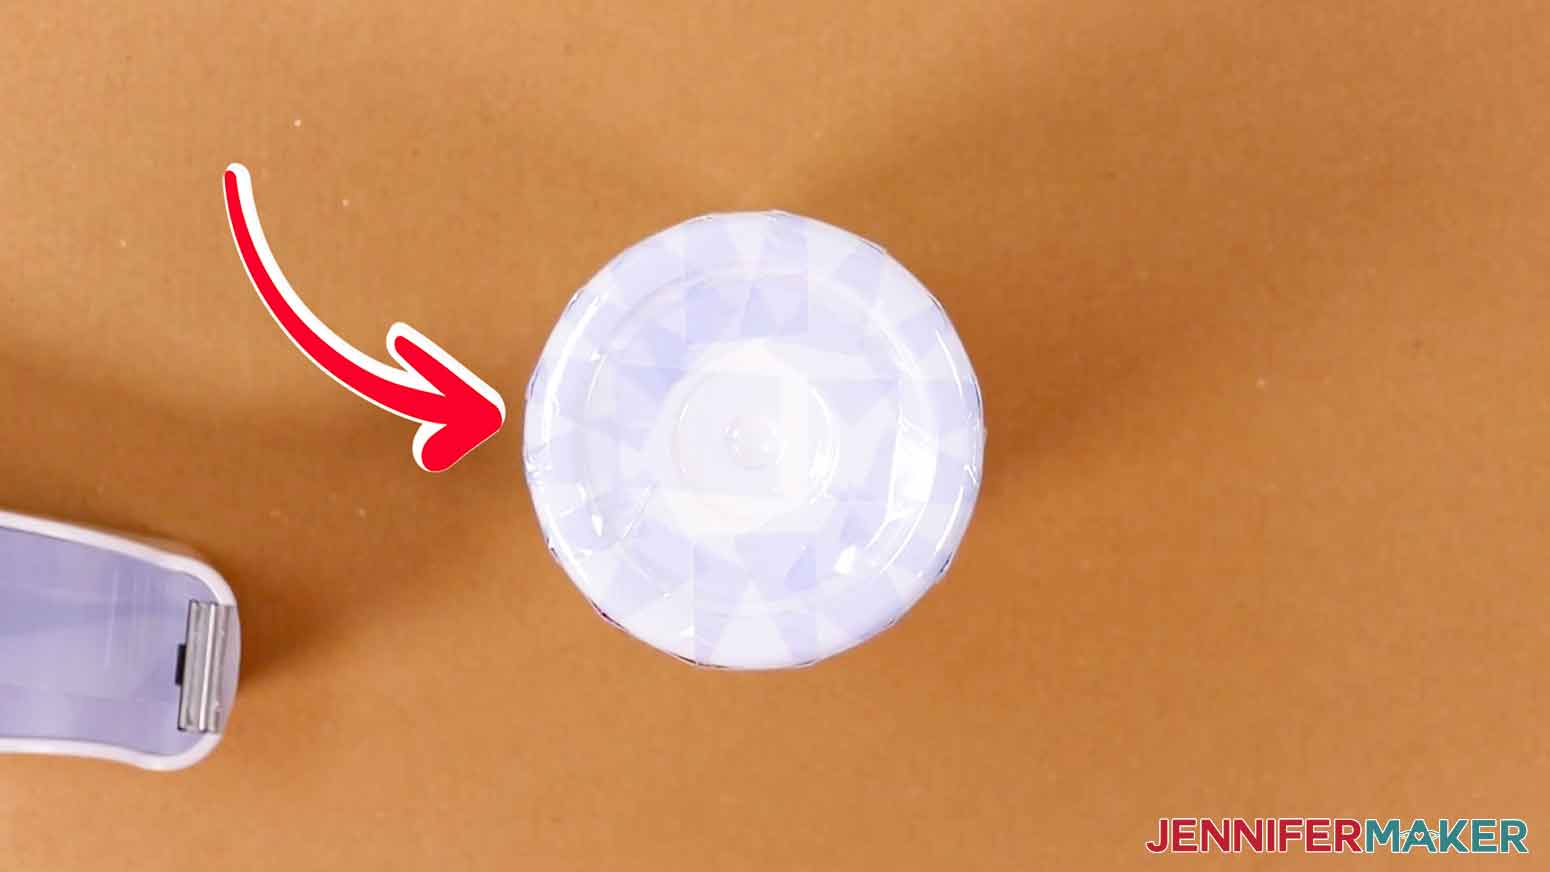
TIP: On the bottom, use an extra long piece of tape to mark with the seam is, which you can reference when you need to turn the tumbler in the heat press.
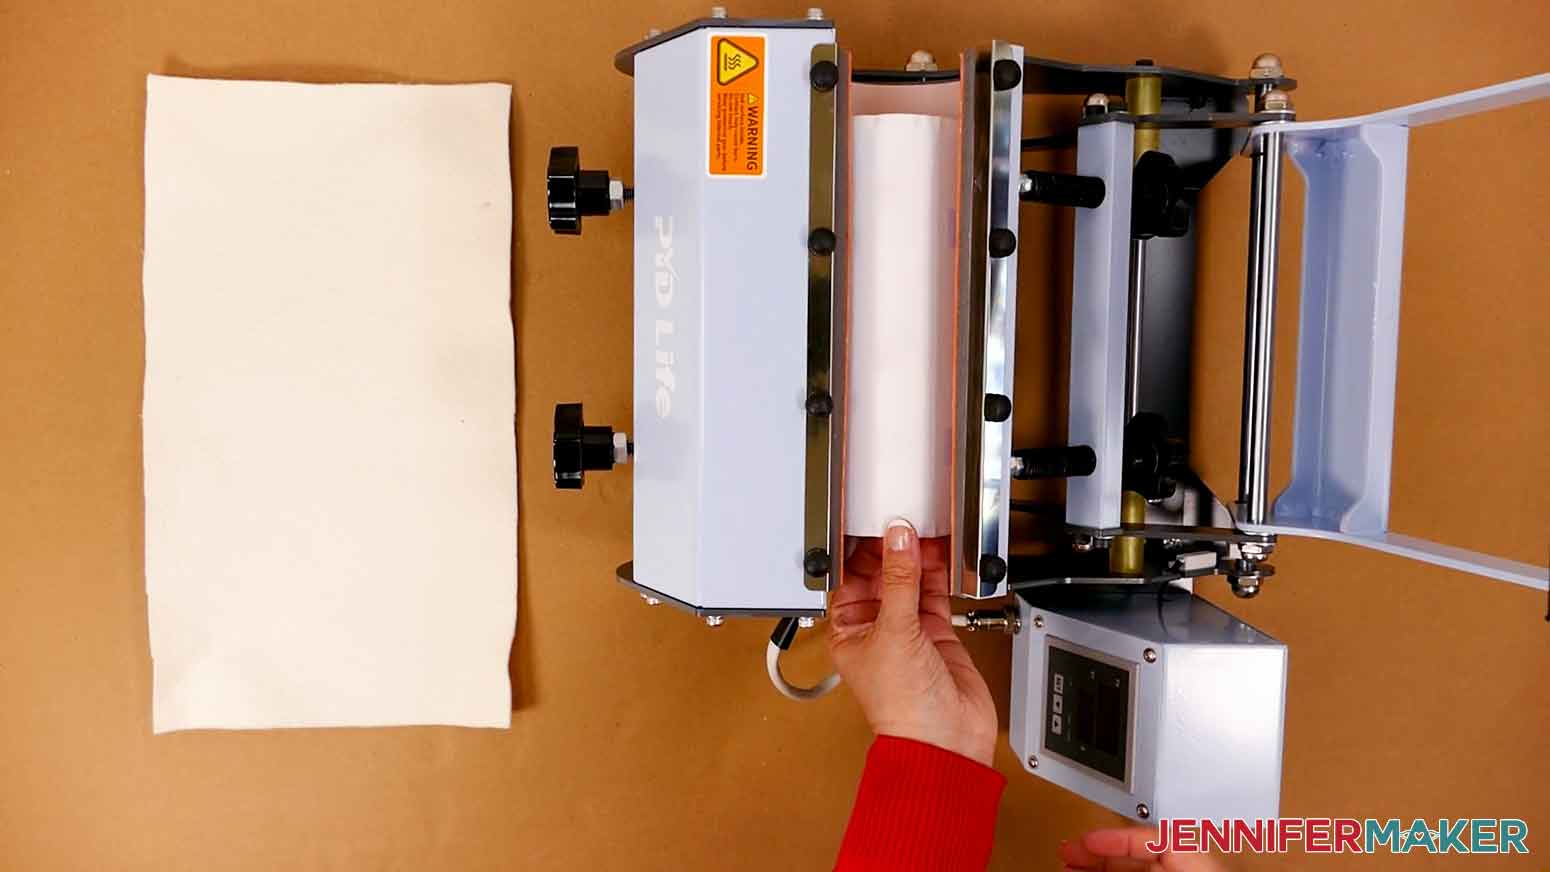
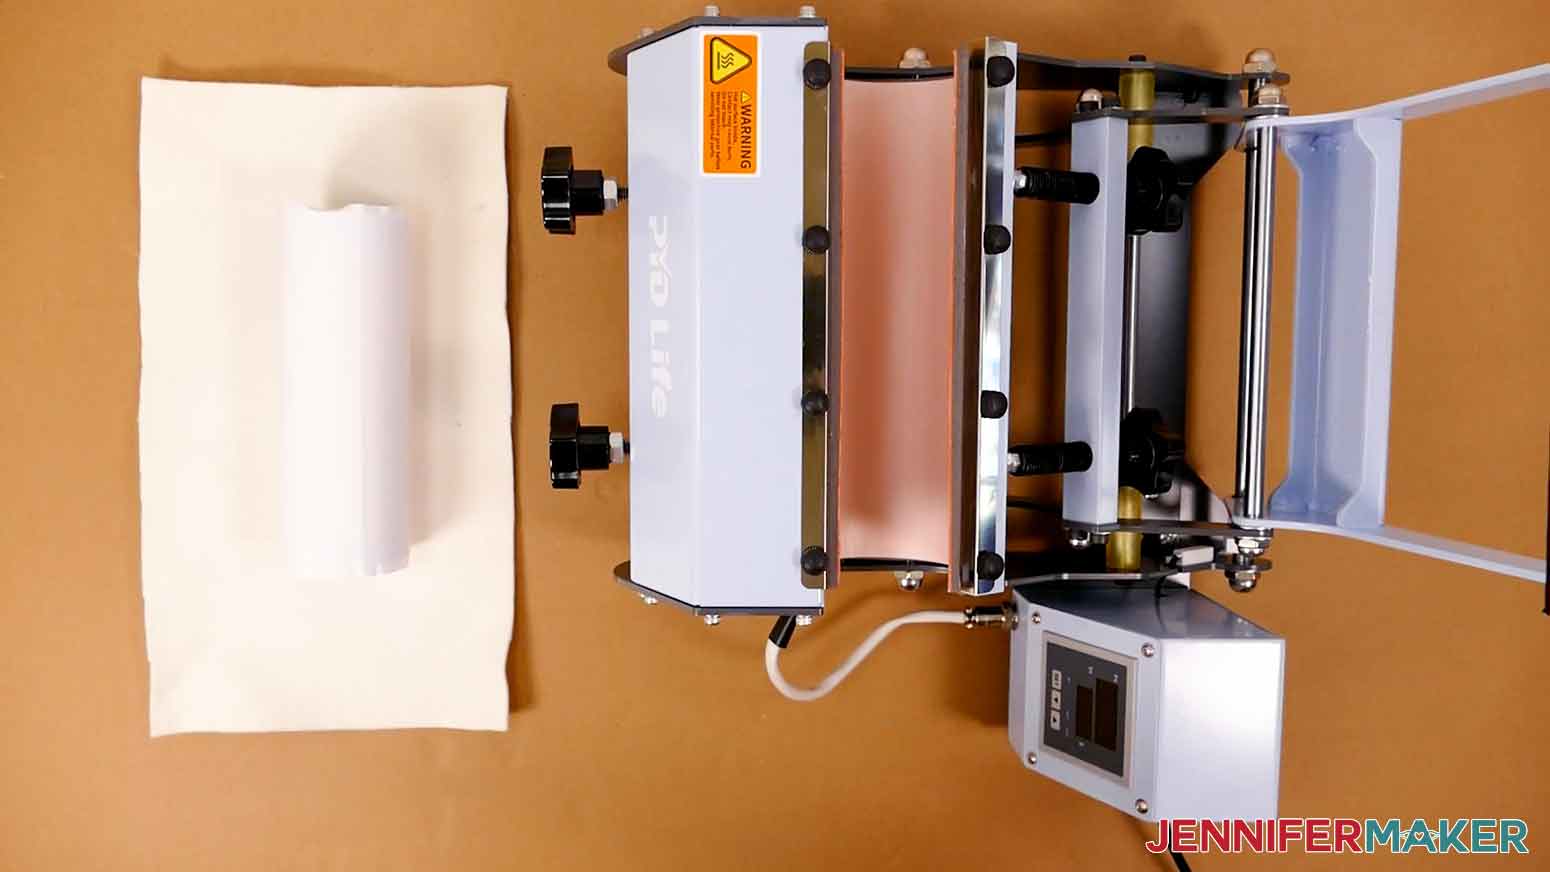
Wrap the tumbler with a piece of white butcher paper to protect it.
STEP 4: PRESS YOUR SUBLIMATION PRINT
Tumbler Press Method
Before you turn on the press, adjust the tension so your tumbler fits snuggly. Try to make the pressure as even as possible all around the tumbler.
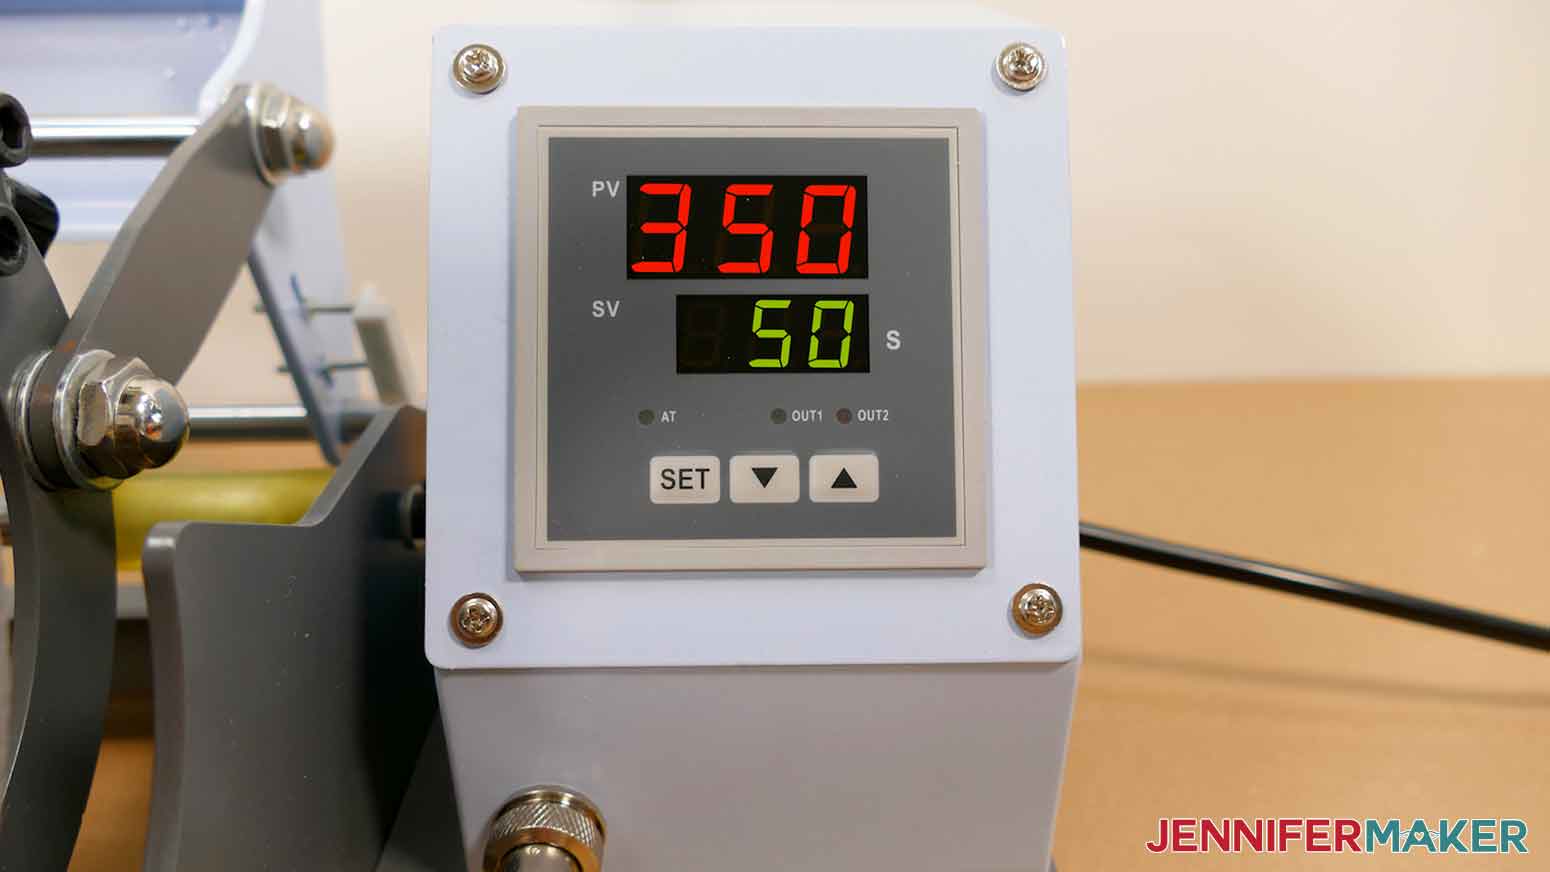
Check the manufacturer's directions for the correct temperature and time for your machine and project. I set the PYD Life 110 V's temperature to 350 Fahrenheit and the time to 50 seconds.
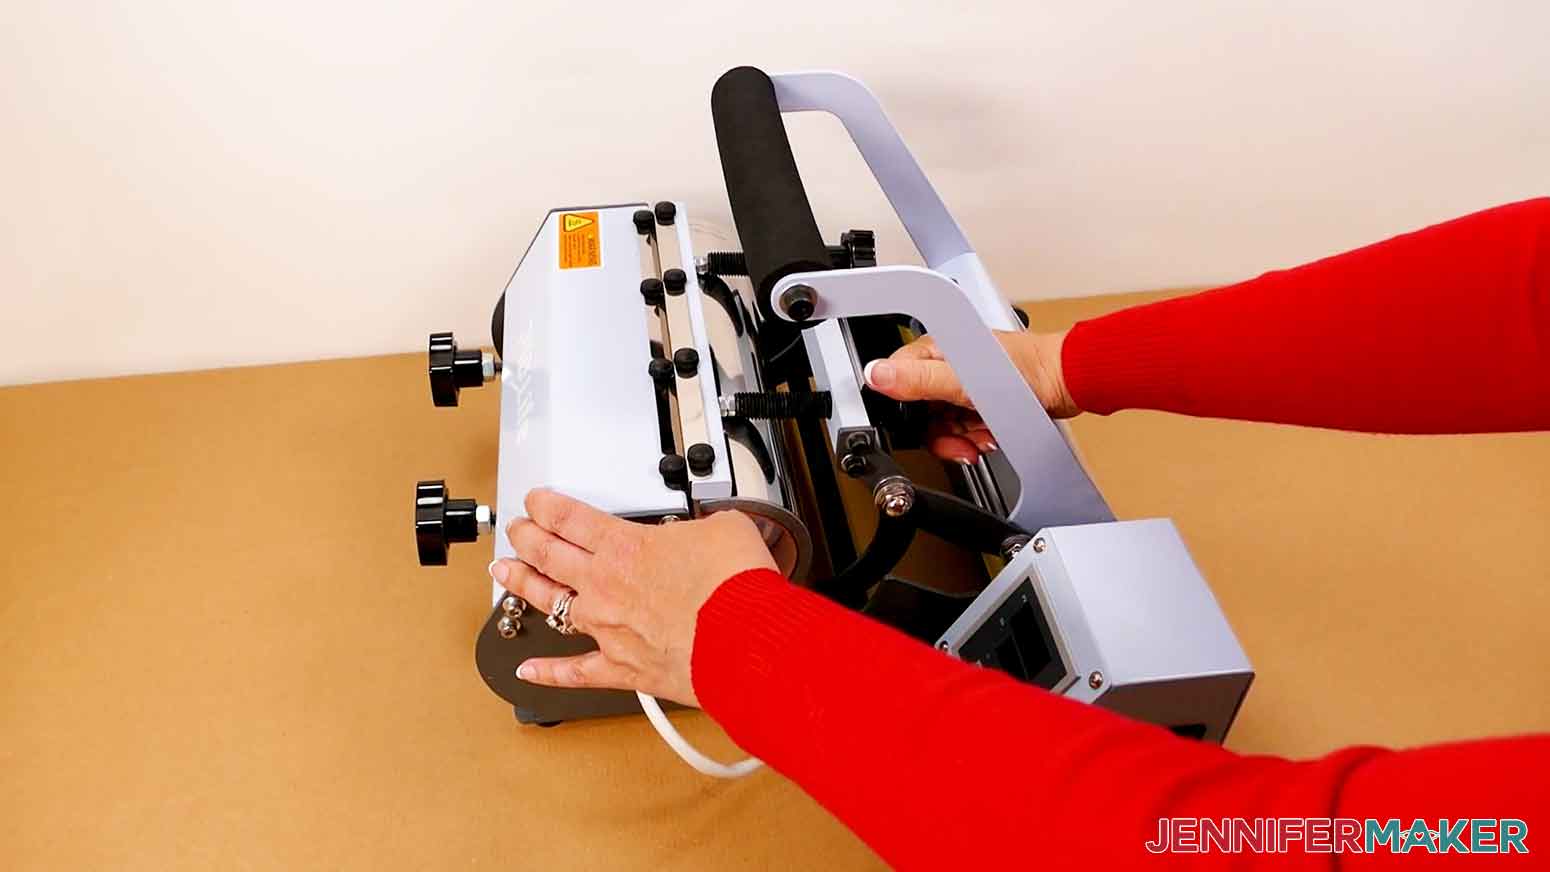
Place the tumbler in the heat press, making sure the seam is to the side. Pull the press's handle to close it.
Put on heat resistant gloves now that the items will be hot.
When the 50 seconds are up, open the press and rotate the tumbler 180°. Close and press the tumbler for another 50 seconds.

When it is done, remove the tumbler and place it on a heat pad to cool.
Convection Oven Methods
Before you begin, pull out any wire racks and place a heat resistant felt pad on the bottom of the convection oven to protect the surface. You might need to cut it to size.
Method 1: Shrink Wrap
Tape the print to the tumbler using the method above.
Preheat the oven to 375°
Some sublimation tumblers come with shrink wrap tubes but not all do.
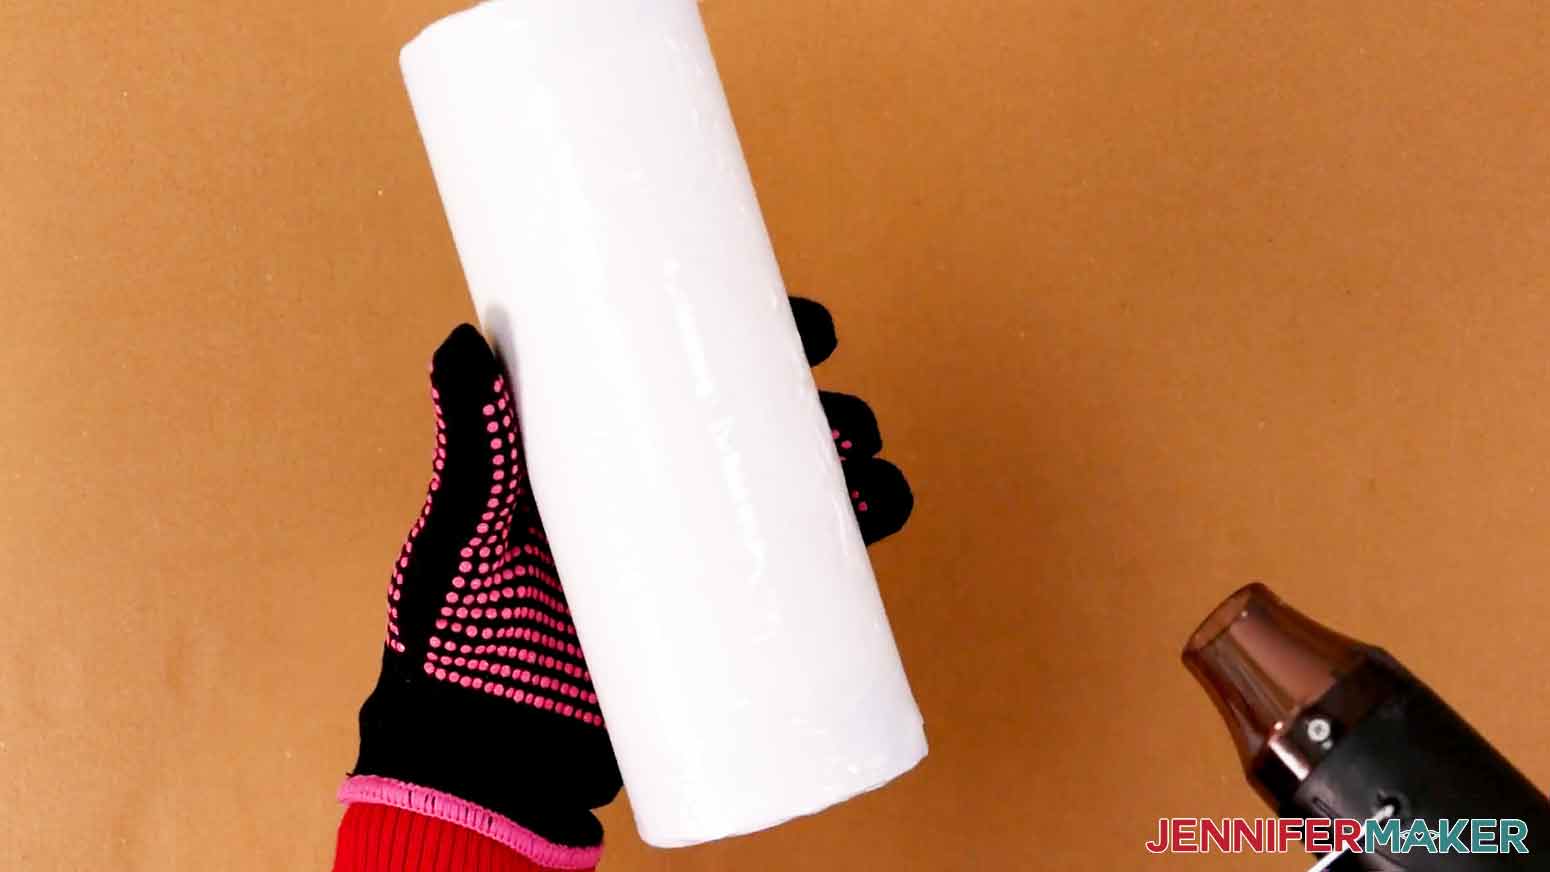
Pull a shrink wrap tube over the tumbler. You might need to trim it if it's much taller than your tumbler.
Put on your heat resistant gloves. Use the heat gun to slowly heat the shrink wrap as it conforms to the tumbler. Make sure most wrinkles are clear, but don't make it too tight or it will pull apart in the oven.
Place the tumbler in the center of the oven and heat for six minutes.
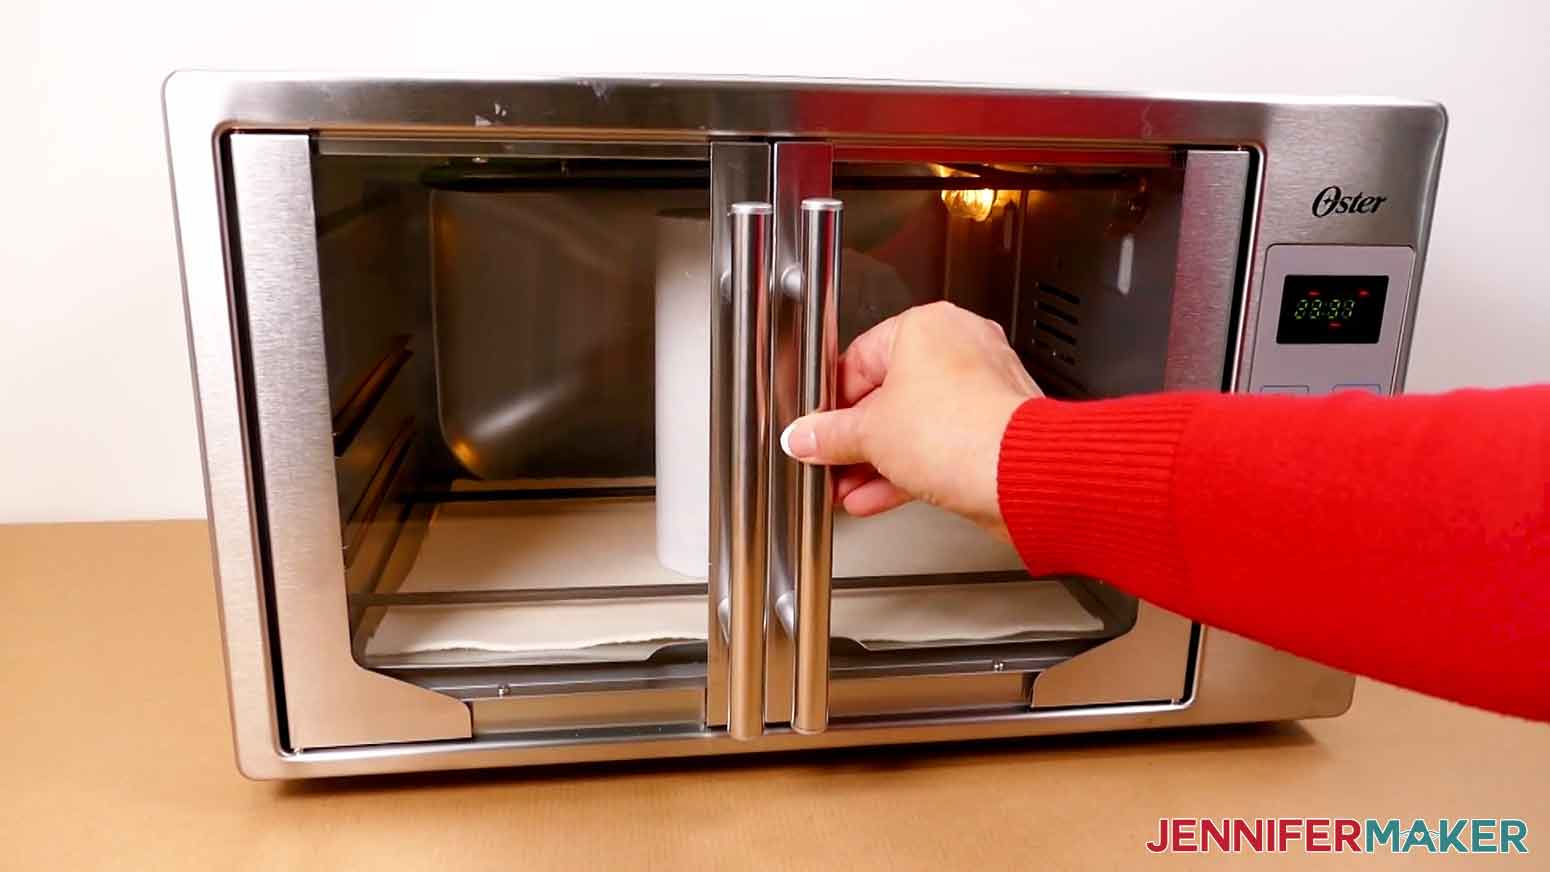
NOTE: Some ovens create a better result if you rotate the tumbler (with your heat resistant gloves!) 180° halfway through the heating process.
Remove the tumbler from the oven after the time is up and let it cool.
Remove the shrink wrap.
Method 2: Silicone Bands
Tape the print to the tumbler using the method above.
Preheat the oven to 375°.
Then, tape a piece of butcher paper around the tumbler to prevent ink from getting on the bands.
Place the silicone bands onto the tumbler, spacing them out evenly. Try to put the bands on the end as close to the tumbler edges as possible - it's ok if they cover the edge.
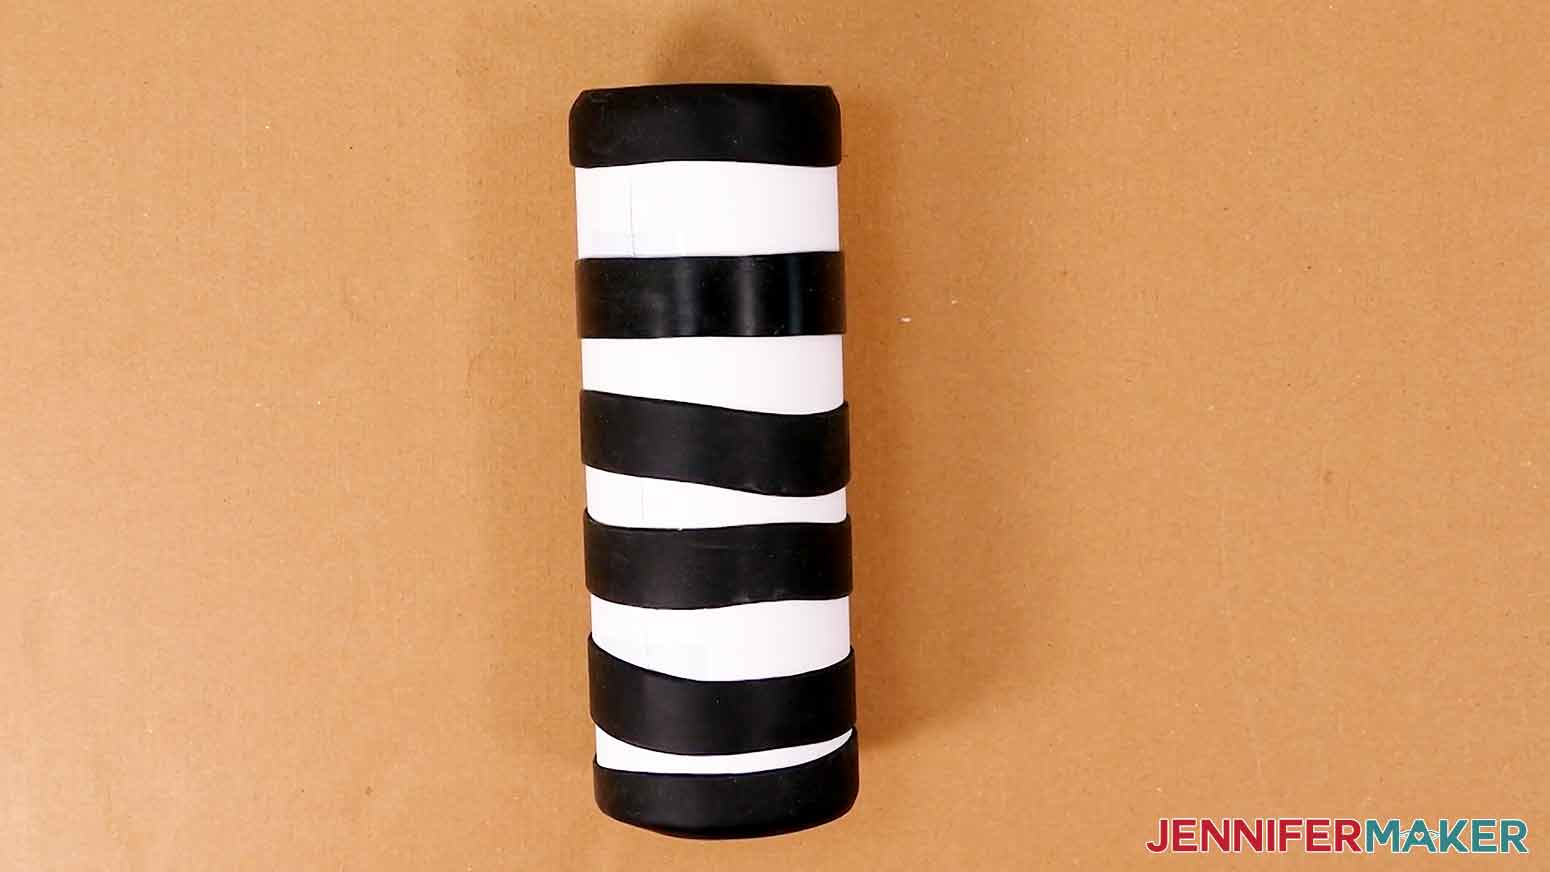
Place the tumbler in center of the oven and heat for six minutes.
Safely remove the tumbler from oven after the time is up and let it cool.
Remove the bands and paper.
STEP 5: SHOW IT OFF!
When your tumbler is cooled, peel away the tape and paper. Some of the paper may stick to the tumbler, just rinse it off with water.

To make your print last, only handwash the tumblers with soapy water. Remember to check your tumbler's instructions in case it's different!
Notes
Final size 8" tall, 2 7/8" diameter.
Typefaces: Andala Script and Berson Dream Trio
I also have a group just for sublimation crafting where you can get help and tips from other crafters who love to sublimate, too! Come join us at jennifermaker.com/sublimationgroup to ask questions, share ideas, and get inspired!!
Questions About How to Make Sublimation Tumblers:
Q. Can you sublimate on any tumbler?
No, you must use blank tumblers designed for sublimation dye. There are many different types of sublimation tumblers! The 20 oz sublimation tumblers I picked have a clear lid and metal straw, but there are others if you prefer a plastic straw. Just make sure they have the correct sublimation or poly coating. If you can’t find them locally, you can order items like wholesale sublimation tumblers online.
Q. What do you need to make sublimation tumblers?
A printed sublimation design, adequate heat, compatible tumblers, and the tools and techniques in my tutorial! If you want to try without a printer, you can edit a SVG in Cricut Design Space and cut it from an Infusible Ink transfer sheet for another approach to sublimation.
September 2025 UPDATE: In the past, I have mentioned countertop ovens as suitable sublimation equipment options, including some by Oster. If you purchased an Oster Convection Oven, 8-in-1 Countertop Toaster Oven, XL, Stainless Steel French Door, please stop using it immediately and review the Consumer Product Safety Commission’s safety alert for information on what you should do and where you can seek assistance to continue using the oven safely. Now, I recommend a PYD Life Craft Oven.
Q. Do sublimation tumblers need epoxy?
No, the dye becomes part of the sublimation surface so you don’t have to seal it!
Q. Can sublimation tumblers go in the dishwasher?
Yes, as long as the sublimation blank is dishwasher-safe!
Q. Can you sublimate tumblers in a regular oven?
No, once you use a convection oven for the sublimation process, it is no longer safe for food grade use.
Q. Can I use sublimation printers for regular prints, too?
No, sublimation printing (whether purpose-built or converted) requires high sublimation ink. And you cannot really switch a converted printer back to being an inkjet printer without a LOT of effort and wasted ink. If you don’t want to invest in a sublimation printer, you can loo. for online retailers who will make a custom printed sublimation sheet for you! Or, try Infusible Ink transfer sheets.
Q: What kind of paper do I use for these craft projects?
While some people will use just regular laser paper, I really recommend you use special sublimation paper for the best and most vibrant results and ink transfer. I use A-SUB paper most often.
Q: What kind of ink do I use?
You must use special sublimation ink! I used Hiipoo Ink for these sublimation tumblers.
Q: How do I test my sublimation prints for vibrancy and color?
Use my free subliflower design to see how your colors look! It’s Design #385 in my resource library!
Sublimation Startup
Need a little extra help understanding how to get started with sublimation? Join Sublimation Startup for a logical, step-by-step guide to getting setup for success with sublimation! You can ask questions and feel confident that you’ll get help! The Sublimation Startup mini-course is also great for those who enjoy learning from Jennifer Maker’s easy-to-understand, calm, and clear method of teaching. This is a no-fluff, no-mess, no-distraction workshop … it’s like sitting down with Jennifer in her craft room to learn directly from her! We work in logical steps to build your understanding and confidence with sublimation, and then provide support to keep helping you as you continue on your journey! Register now!
Get my Sublimation Tumblers designs for free!
(If you do not see the signup form above, click here.)
I can’t wait to see your sublimation tumblers! Watch for more sublimation tutorials and please ask any questions you have in our Facebook group or tag me on social media with #jennifermaker.
Love,

Want to remember this? Save the How to Make Sublimation Tumblers tutorial to your favorite Pinterest Board.