
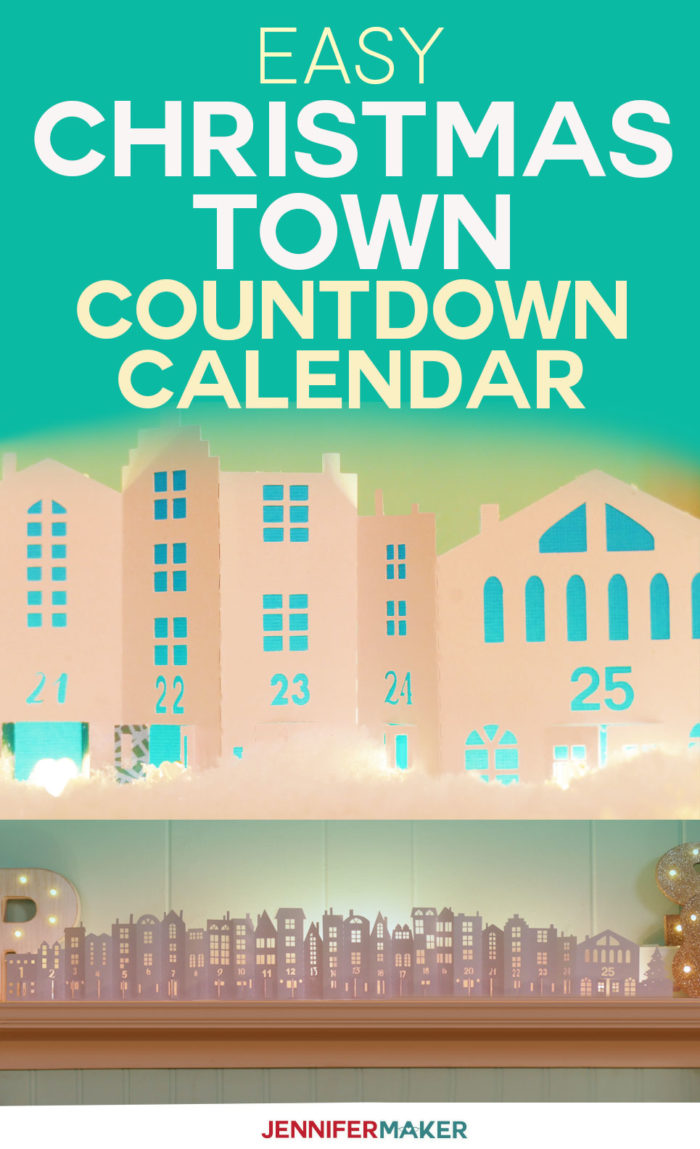
Learn how to make a delightfully simple yet breathtakingly beautiful DIY countdown calendar from just one sheet of 12″ x 12″ cardstock!
It’s December first and that means it’s time to begin the countdown to Christmas! And one of my favorite ways to do this is to put out advent and countdown calendars! Two years ago I made this Christmas Tree Countdown Calendar which many people have made, but I thought it would be fun to make a super simple countdown calendar that anyone could do regardless of skill or time. So for Day 1 of The Great Maker 25-Day Gift-Away Challenge, we are making a crazy easy DIY Christmas Countdown that looks like a snowy Christmas town!
Of course, you can fancy up your Christmas Countdown Town a bit if you wish. There’s an optional design in my free SVG cut file that lets you cut out backs to all the buildings — you can use these to diffuse light (if you want to light up your town with LED tealights) or to add a little contrasting color for fun. But it’s entirely up to you!


Otherwise, there’s no assembly or anything. You just fold each building in your Christmas Town to give it some dimension then put it out on display! Easy peasy!
The real magic is in the design file! Let me show you where to get the free Christmas Town Countdown design and how to cut it out!
Key concepts taught in this tutorial include how to remove cardstock from a cutting mat, how to weed intricate cuts in cardstock, how to cut wax paper, and how to use spray adhesive.
See exactly how to make this super easy DIY Christmas Countdown in this tutorial video below:
Ready? Let me show you how to make this crazy easy DIY Christmas Countdown and celebrate Christmas in the City! This post contains some affiliate links for your convenience (which means if you make a purchase after clicking a link I will earn a small commission but it won’t cost you a penny more)! Read my full disclosure policy.
Materials for the DIY Christmas Countdown
- One 12″ x 12″ sheet of smooth white cardstock, high quality (I’m using the white side of a sheet of cardstock from this pack of paper)
- (Optional) One 12″ x 12″ sheet of wax paper, vellum, or copy paper (to diffuse any light you put behind it)
- (Optional) One 12″ x 12″ sheet of contrasting cardstock (as an alternative to the wax paper, vellum, or copy paper)
- (Optional) Tacky spray or tacky glue if you put a second sheet of paper behind your Christmas Town
- (Optional) LED tealights (to illuminate your Christmas Town from behind)
- (Optional) Weeding tool
- A way to cut your cardstock (I used the amazing Cricut)
- Design #166 – My free SVG/DXF/PDF cut file/pattern (available in my free resource library—get the password at the bottom of this post)
How to Make Your DIY Christmas Countdown
Step 1: Get my free design
Download the DIY Christmas Countdown cityscape design (Design #166) from my free resource library (get the password to the library in the form at the bottom of this post).
Step 2: Cut the Christmas Town design
You can cut the DIY Christmas Countdown with a good craft knife, but be prepared for that to take some time. I cut mine using my Cricut cutting machine and it was WAY easier.
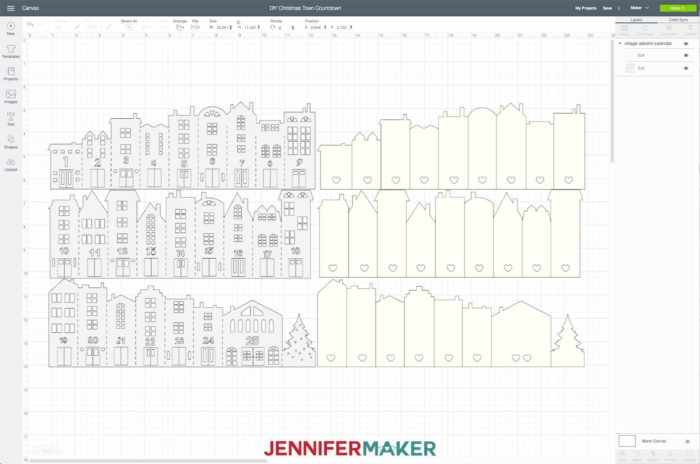
Here’s what the DIY Christmas Countdown SVG cut file looks like uploaded to Cricut Design Space:
If you’re not sure how to upload an SVG cut file to Cricut Design Space, watch this helpful video training series I made. If you’re on an iPhone or iPad, here’s how to download and upload SVG files to the Cricut Design Space app.
Once the file is uploaded, you really don’t have to do anything. No scoring or ungrouping is needed. It’s all ready for you to cut! If you’re cutting just the building layer and not the back layer (with wax paper or vellum), you can hide that layer. Otherwise, just click Make It Now.
I recommend you use a really good quality paper to cut this, as there are a lot of little cuts and you’ll notice the issues with bad quality cardstock a lot more. My favorite way to make this is to use a piece of card stock from one of my winter-themed stacks — I like to do this because then you can sometimes see the pattern through the paper when you light it from behind and it gives it a fun effect.
It will take about 35 minutes to cut the main building layer, so just set it to cut and go do something else … like put up some lights or decorate your tree! You can let your Cricut do the hard work.
Step 3: Weed the cut design
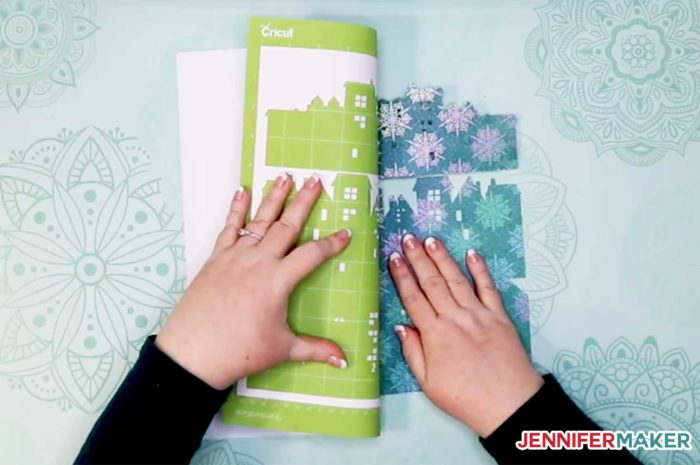
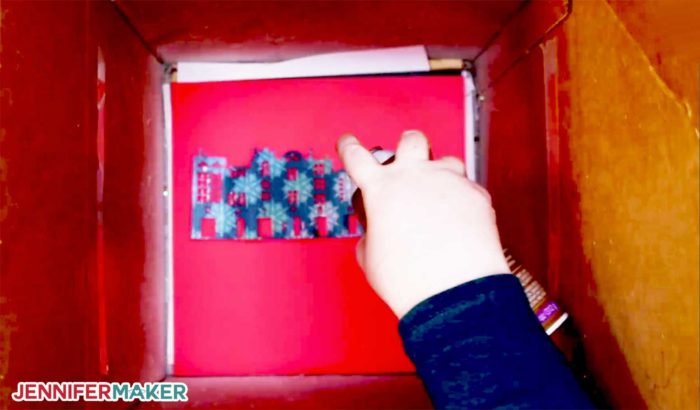
Once your Christmas Town is cut, unload your mat, flip the mat over onto your work surface, and gently peel the mat away from the cut cardstock. This will minimize curling and ripping. Do be mindful of the doors, as they could tear off if you remove it too quickly. If the DO tear off, just reattach them with some tape or something. But I think you’ll be fine if you’re careful.
Tip: After you’ve removed your cardstock from your cutting mat, use a Cricut scraper to remove all the little pieces stuck to it quickly!
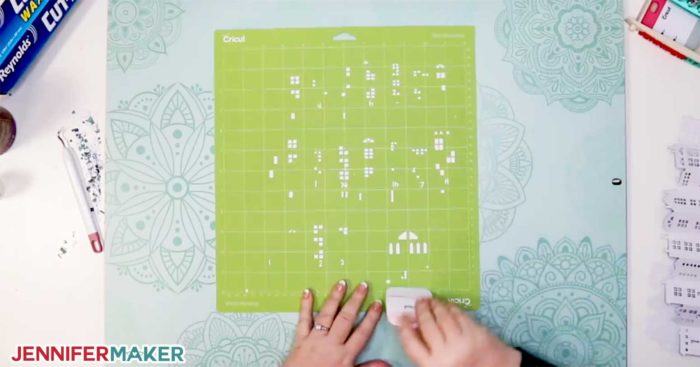
If you’re lucky (and your cutting mat is sticky enough), most of the little pieces will stay on your cutting mat. If they do not, you’ll need to weed the little pieces out. You can use a weeding tool to poke the remaining little pieces out.
Step 4: (Optional) Cut and glue a second layer.
If you’re in the mood, there’s another layer in the file you can cut from a diffusing paper (such as wax paper, vellum or copy paper) or from a contrasting cardstock (any color you want). This layer goes behind the Christmas Town, and you can use if you want. But it’s not necessary. Here’s one version of the DIY Christmas Countdown with wax paper behind the buildings:

And here’s another version with blue card stock behind the buildings:

Which one do you like better? I like them both!
If you choose to do this, just glue the back layer to the Christmas Town building layer. You can use tacky glue, or even Tacky spray. If you use spray, open the doors on your buildings and spray the back of the buildings, then close them again and attach the backs — doing it this way presents adhesive from getting on the backs of the doors and preventing them from opening later on.

I think it works best if you close the doors before you attach the backs, but you can do it either way!
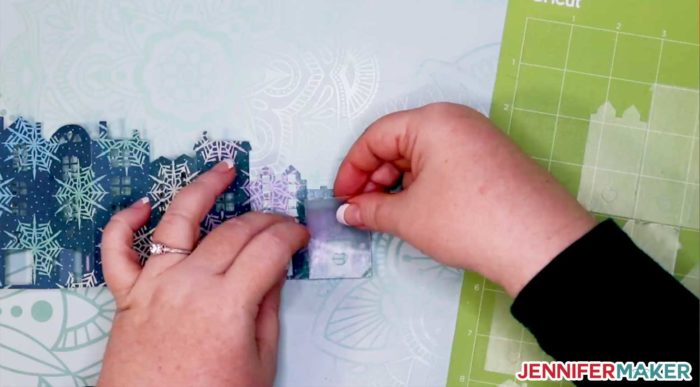
Tip: Keep your building backs on your cutting mat and remove them one by one so you know exactly which building it goes to!
Step 5: Fold your DIY Christmas Countdown
Now just fold the Christmas town, building by building. There are dashed lines where you need to fold to make it easier to fold them straight. I just folded mine up like an accordion.


Step 6: Display your DIY Christmas Countdown
You’re all done — put your Christmas Town Countdown somewhere where you can see it. I put mine on my mantle:

Here’s what my DIY Christmas Countdown looks like with the lights dimmed in my room!

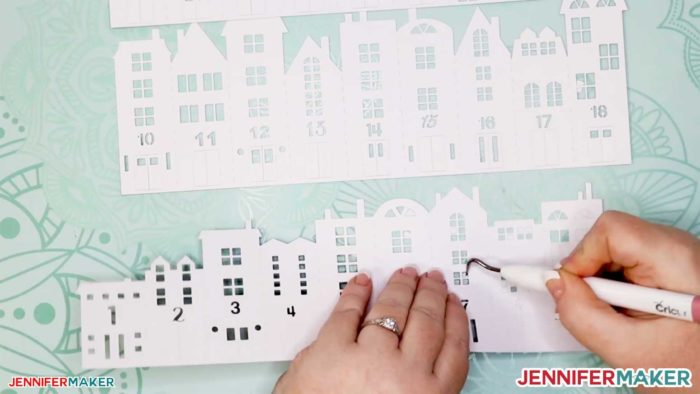
To countdown, just open the doors on each building in sequence. Each set of doors has dashed lines on the hinge line to make it easier to open. If you used the back layer, you’ll see that the buildings are filled with love!
Get my free SVG cut files and patterns for the DIY Christmas Countdown City
If you make one of these magical “Christmas in the City” DIY Christmas Countdowns, please share your photo in our Facebook group or tag me on social media with #jennifermaker . You can even earn two bonus entries for my 25-Day Gift-Away giveaway if you upload a photo of your version of this project by December 25th.
See all of the projects, tutorials and free designs in The Great Maker 25-Day Gift-Away Challenge!
Love,

Want to remember this? Save the DIY Christmas Countdown to Your Favorite DIY Pinterest Board!


Love the countdown village , plan on making more for friends
That’s wonderful, they will love it!
So happy for this tutorial
Jennifer, I’m recommending your site to every crafter I know. I can’t believe your generosity in sharing these beautiful creations with us! Thank you SO much.
I LOVE this project and I’m wondering if you would think about an old fashioned village scape like this? I would love that too.
You are so talented and I enjoy your videos and projects so much. I’m going to make a BUNCH of them!!
Thank you!!
Thank you for your kind words and recommendation to other crafters in your life! You could create an old fashion village out of that same file, just make it to your liking. Otherwise, do you mind suggesting it here for me? https://jennifermaker.com/projectrequests/