
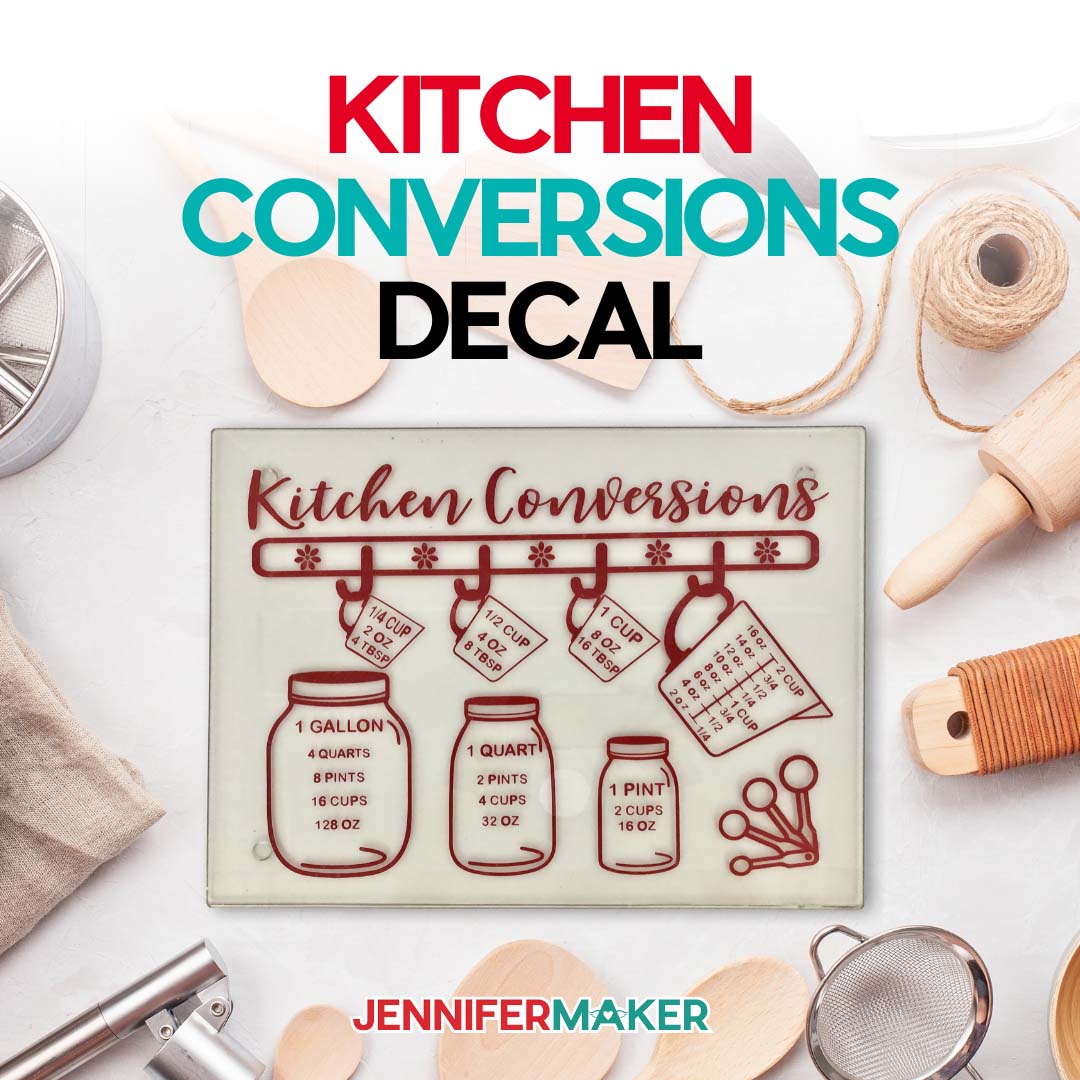
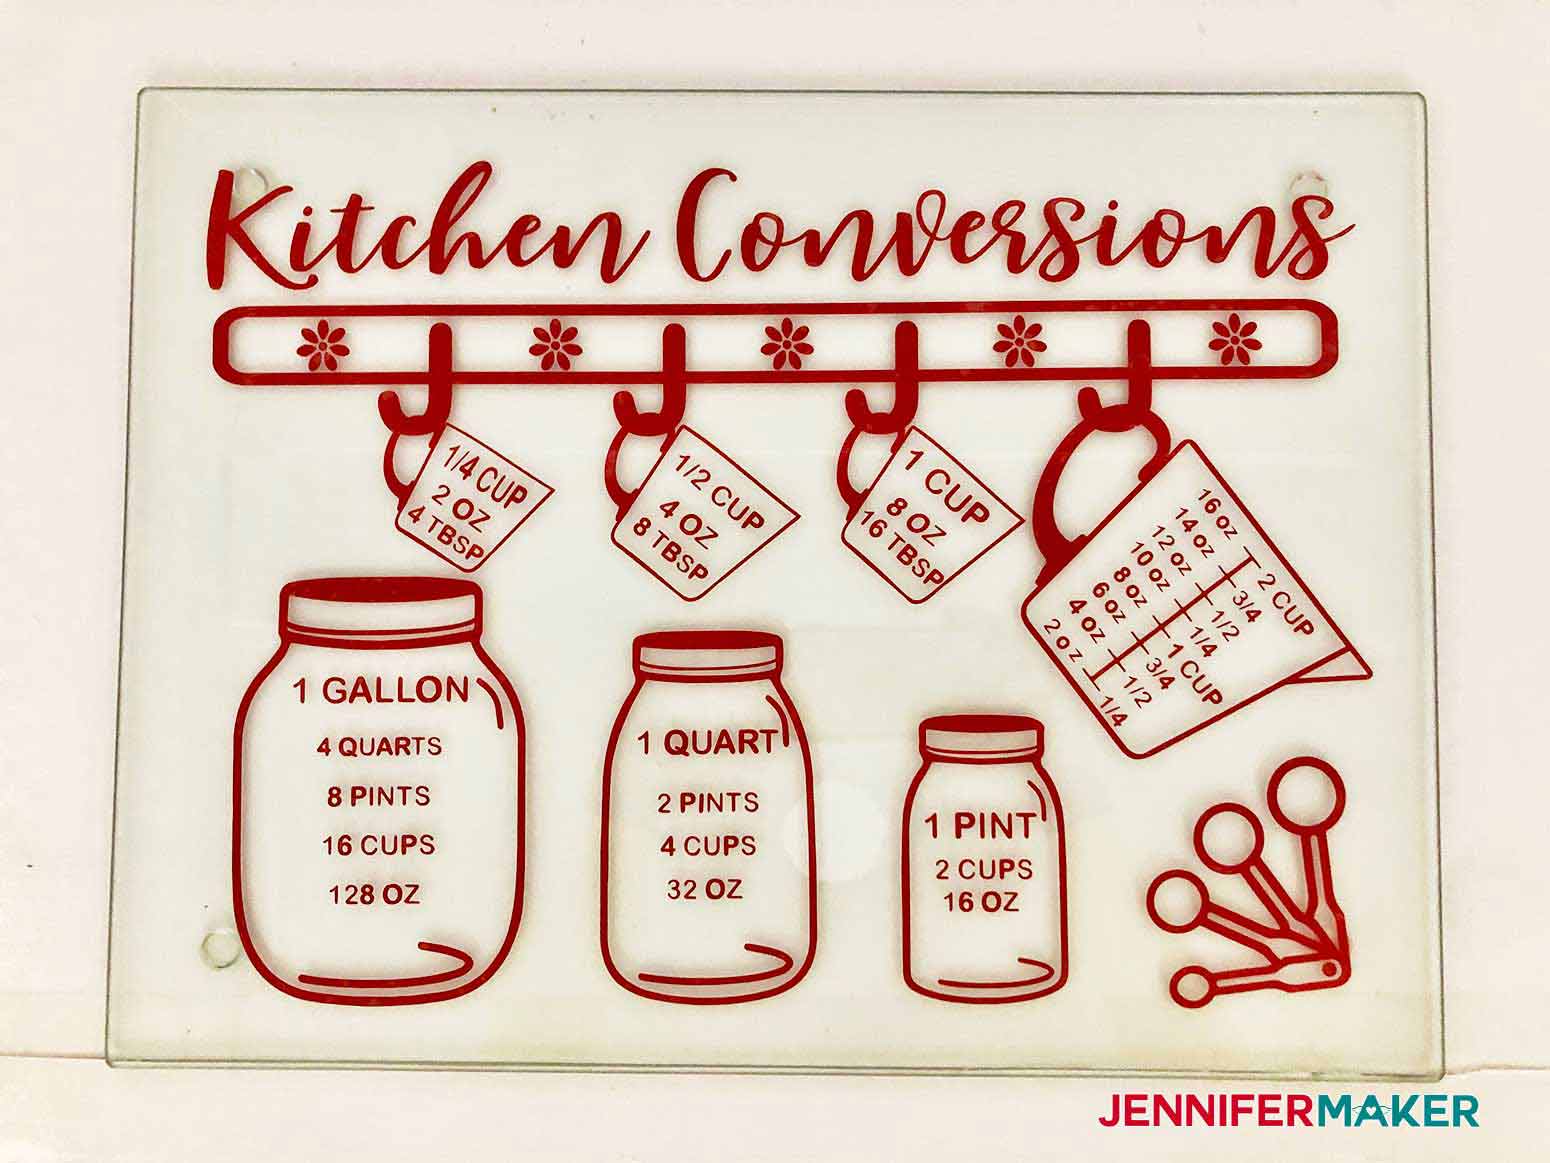
Learn how to make a Kitchen Conversions Chart Decal with adhesive Vinyl for a cutting board or cupboard door!
My daughter Alexa loves to cook and she’ll ask me things like, “Mom, how many tablespoons are in a cup?” or “How many quarts are in a gallon?” I can never remember, and I usually tell her to Google it which is a bad idea because her hands are covered in flour or something sticky. So I made a handy Kitchen Conversions decal to put on the inside door of our kitchen! You can also put this on a glass cutting board or anywhere handy. Whether you are a beginner in the kitchen or an experienced cook, a quick reference conversion chart decal is convenient to have while you are cooking! I love adding personal touches to my kitchen, and this kitchen conversion chart goes well with my Vinyl Decals for Kitchen Appliances. So for Day 14 of The Great Maker 25-Day Gift-Away Challenge, I am showing you how to make a Kitchen Conversions Chart Decal with Vinyl!
See exactly how to make a kitchen conversions decal in my tutorial video (or keep scrolling if you prefer a printable step-by-step photo tutorial):

 What is The Great Maker 25-Day Gift-Away? This is an annual tradition here at JenniferMaker! Every day for the first 25 days of December we gift you with a brand new project, design, tutorial, and video. On top of that, we host a giveaway with 25 prizes. Some of the amazing prizes are Cricut cutting machines, sewing machines, gift cards, and beautiful print editions of our popular Cricut Coach Playbook. You can even earn bonus entries for sharing photos of the daily projects! Click here to learn more about The Great Maker 25-Day Gift-Away!
This decal is made from one 12″ x 16″ inch piece of permanent adhesive vinyl, and you could use any color you want. If you have dark wood cabinet or cutting board, a white vinyl would work better than black!
You also need the same size sheet of transfer tape so you can get your vinyl design onto your cupboard door or cutting board.
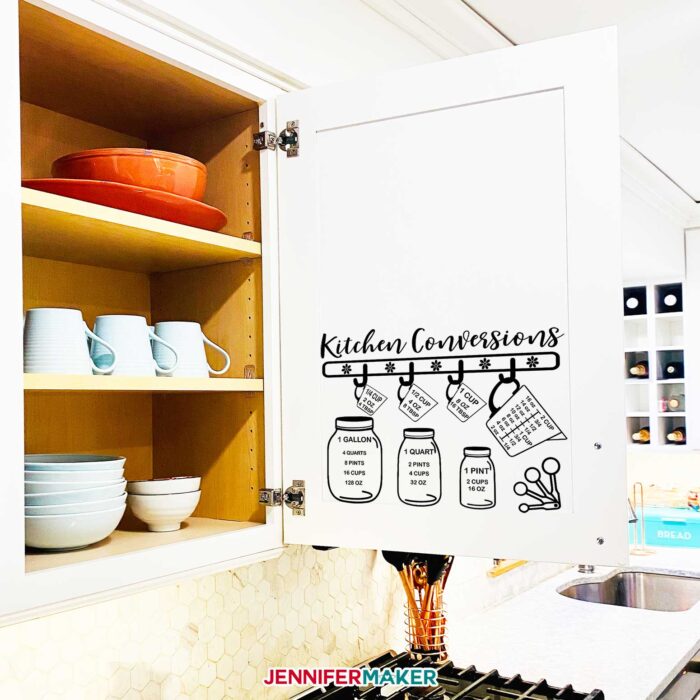
Now you just need a place to put your decal! In this photo tutorial, I’ll show you how to apply the decal to the underside of a glass cutting board, but you could really put it anywhere that won’t come into direct contact with food. For example, you could put it on the inside of your kitchen cupboard door as I did (see my video to learn how I did that).
If you decide to make a cutting board, I’ve used this fifteen point seventy five inch by twelve inch glass board I found on Amazon — the link is below!
To cut my vinyl, I used a Cricut cutting machine, along with the fine point blade and a green standard grip mat.
Other useful tools include a weeding tool, painter’s tape, isopropyl alcohol and lint-free cloths like blue shop towels or coffee filters.

So let me show you where to get my kitchen conversions design and then how to cut and apply it to the inside of a kitchen cabinet door! This post contains some affiliate links for your convenience (which means if you make a purchase after clicking a link I will earn a small commission but it won’t cost you a penny more)! Read my full disclosure policy.
Materials to Make a Kitchen Conversions Chart Decal
View my Amazon shopping list with the exact items we used to make this project!
- Cricut Premium Vinyl (your choice of color)
- Cricut StandardGrip Value Transfer Tape
- Something to put your decal on, like a Glass Cutting Board or the inside of a cupboard door
- Painters Tape
- Alcohol
- Coffee Filter or Lint Free Cloth
- Cricut StandardGrip Machine Mat
- Weeding Tool
- XL Scraper
- A way to cut your vinyl (I used a Cricut Maker series cutting machine but this can also be cut on a Cricut Explore series machine)
- Design #265 – My free SVG design files (available in my free resource library—get the password by filling out the form at the bottom of this page)
How to Make a Kitchen Conversions Chart Decal
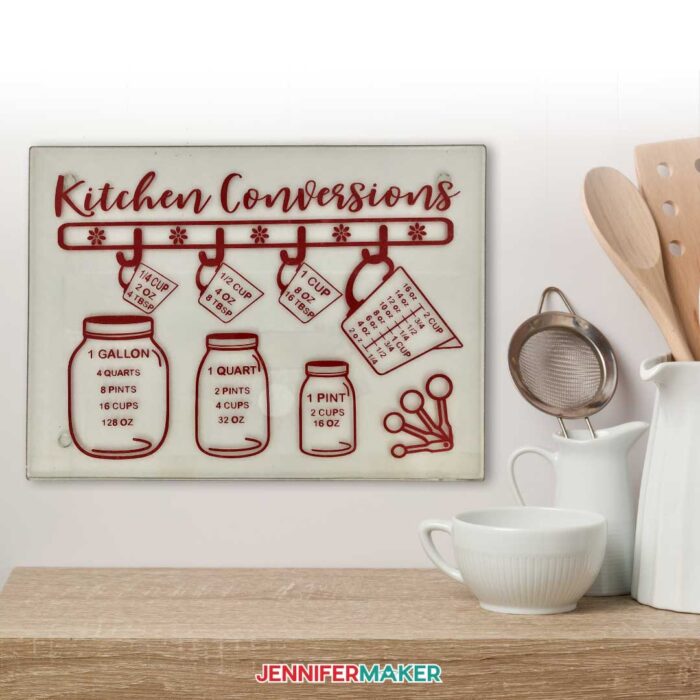
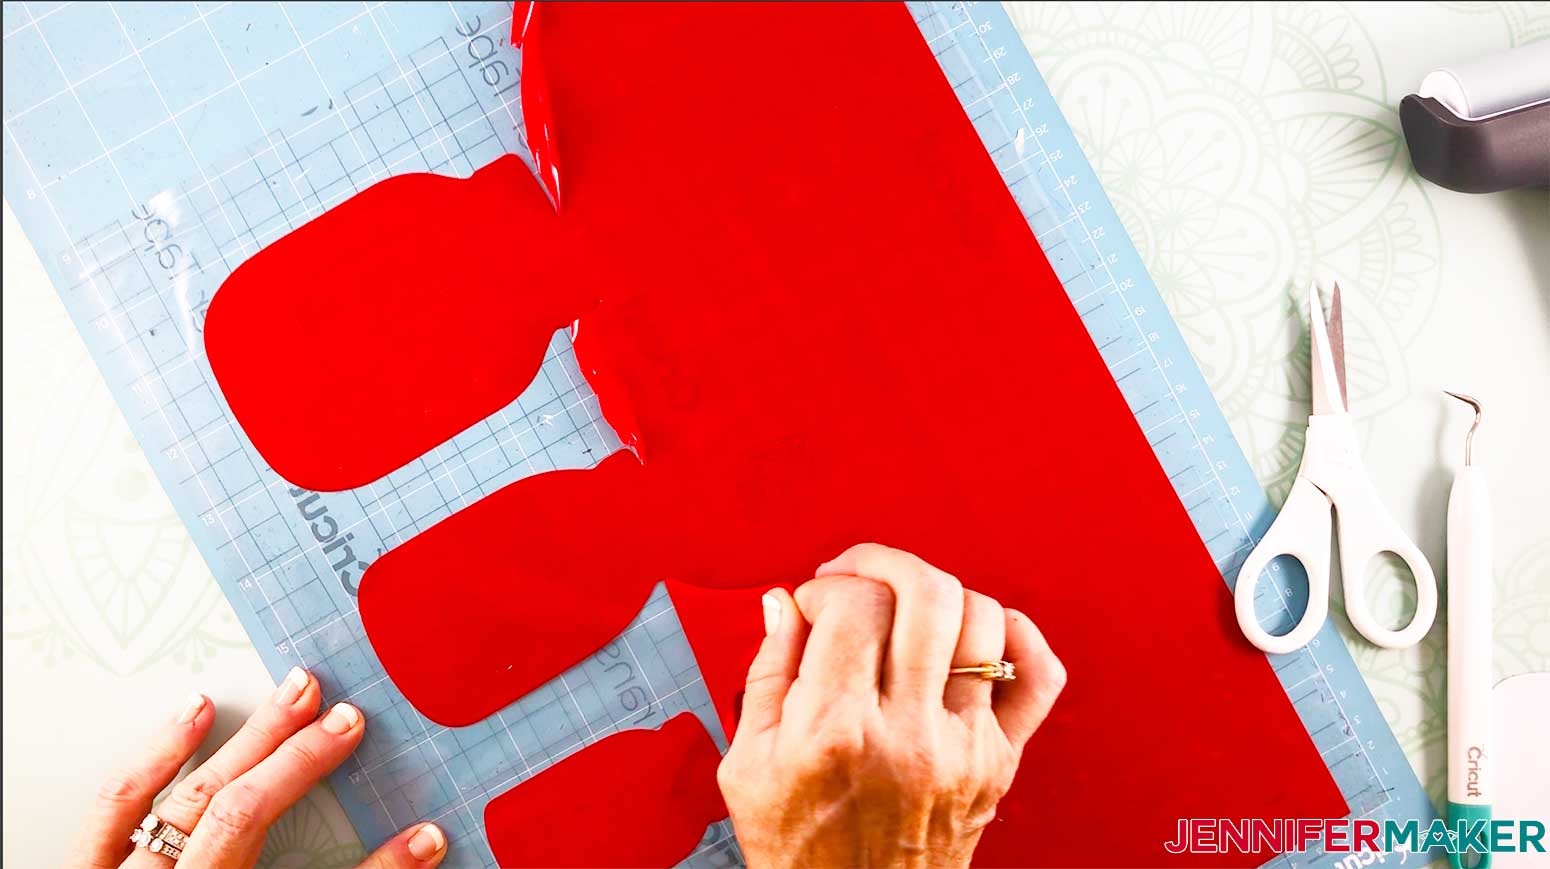
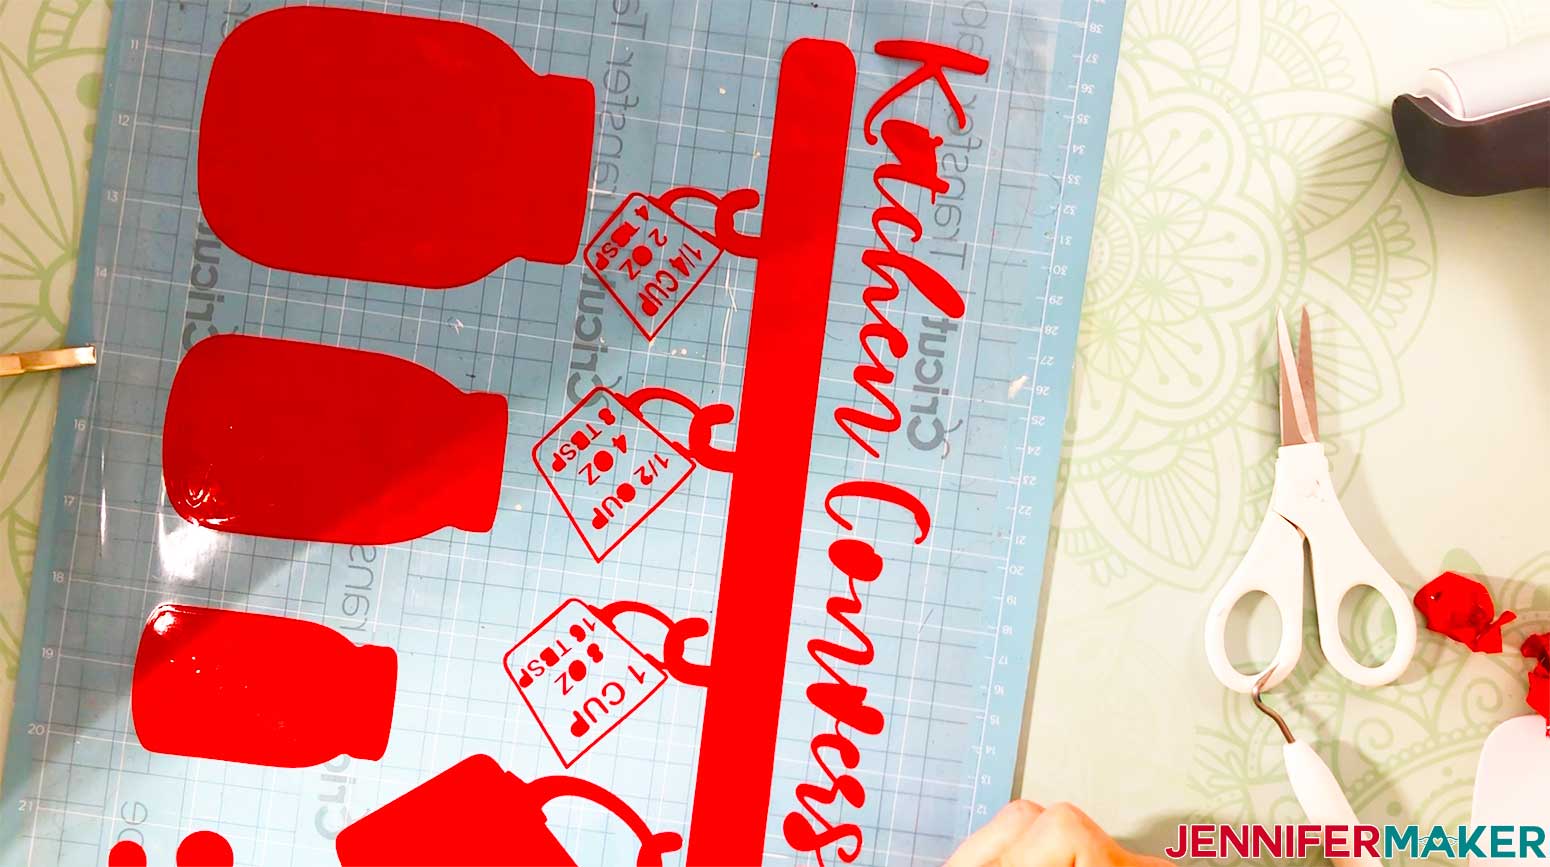
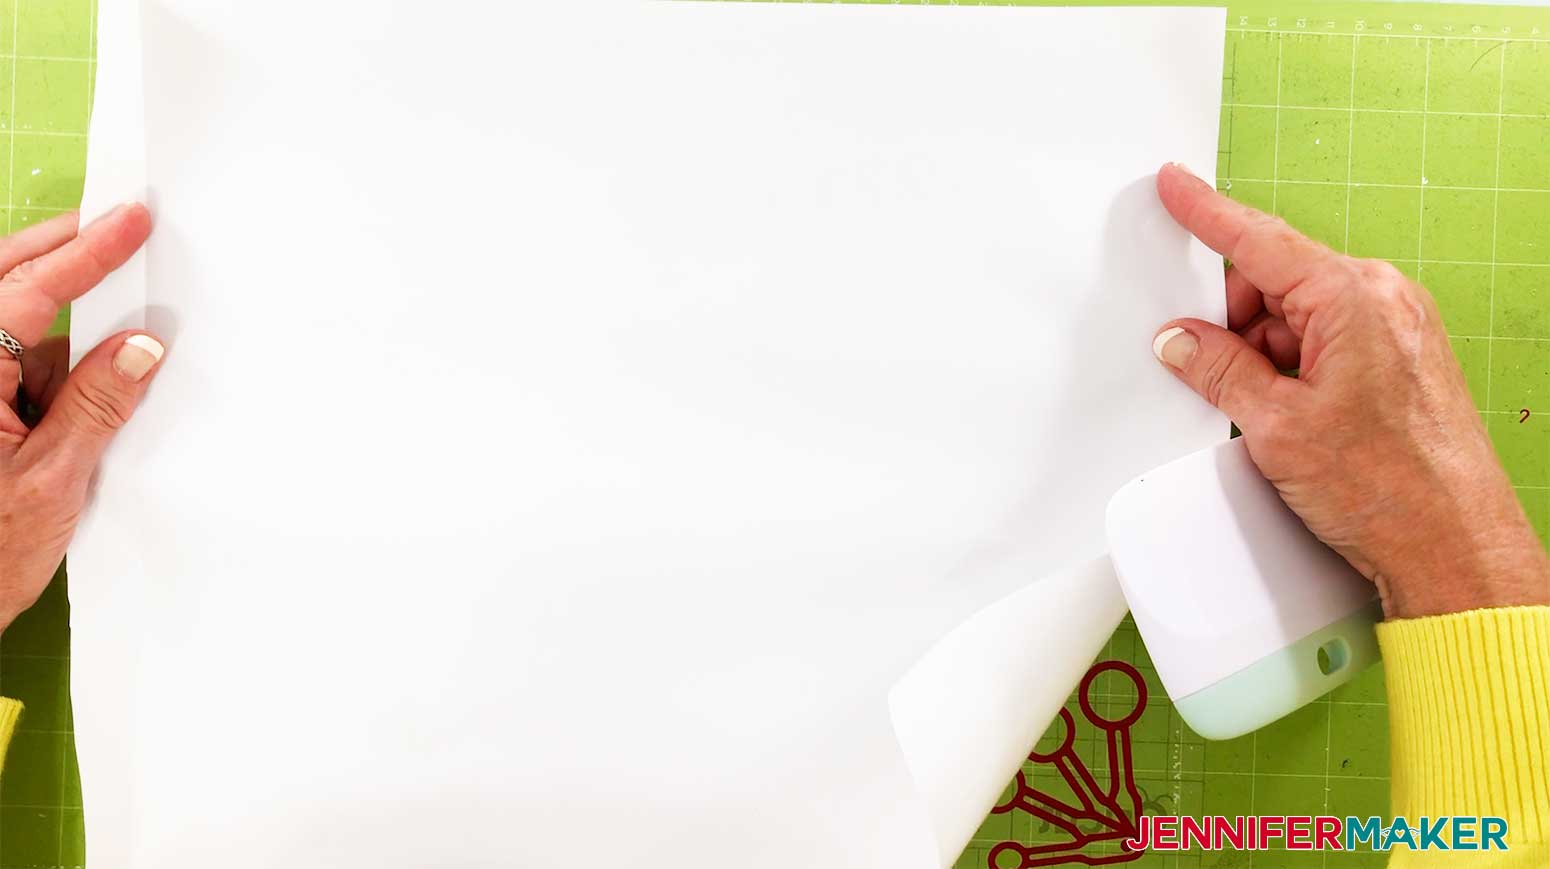
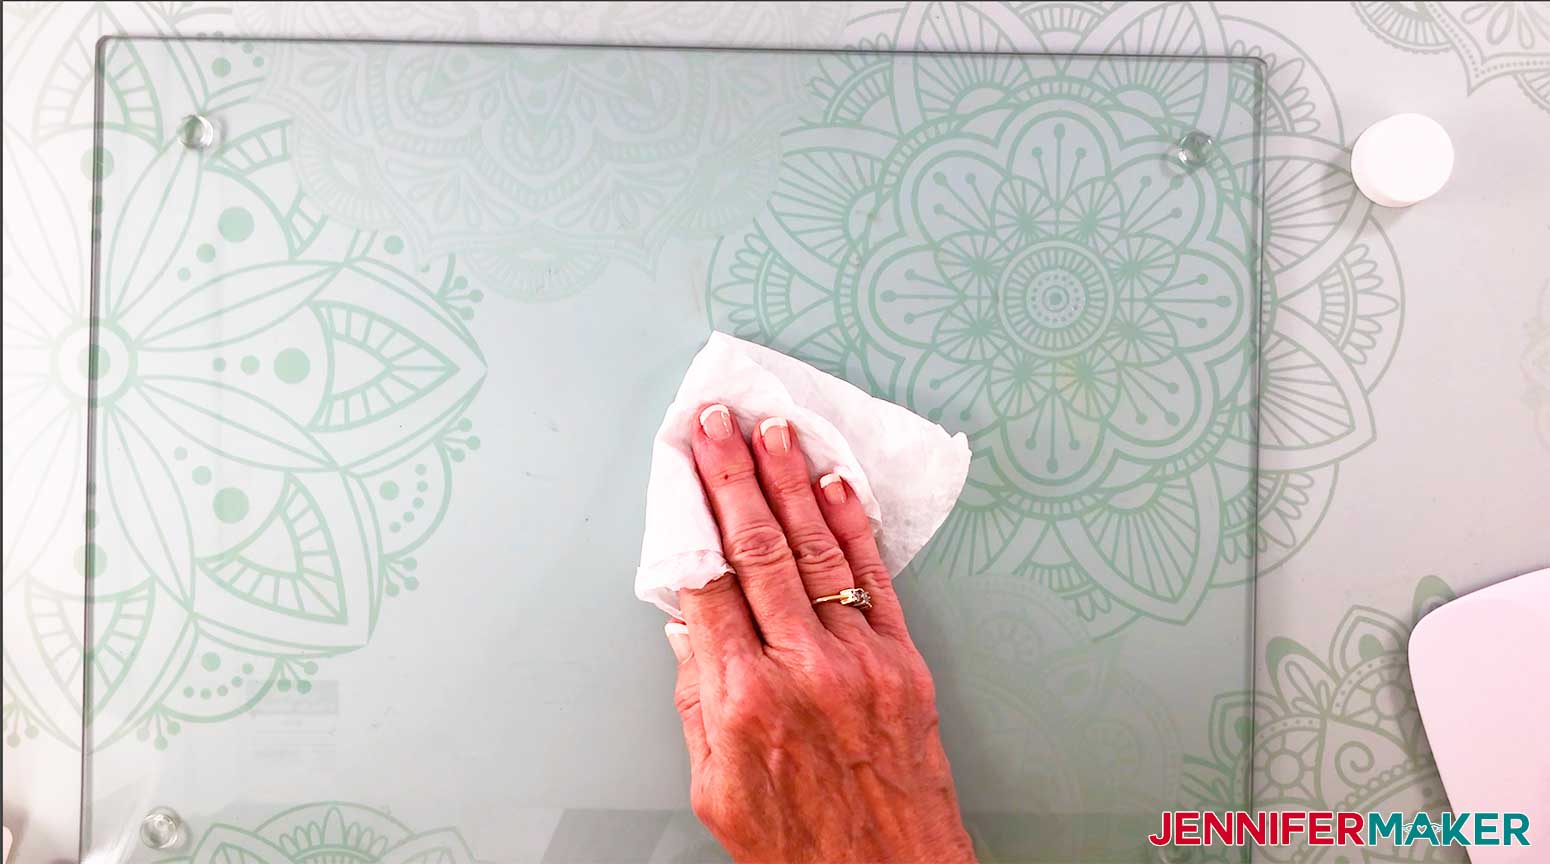
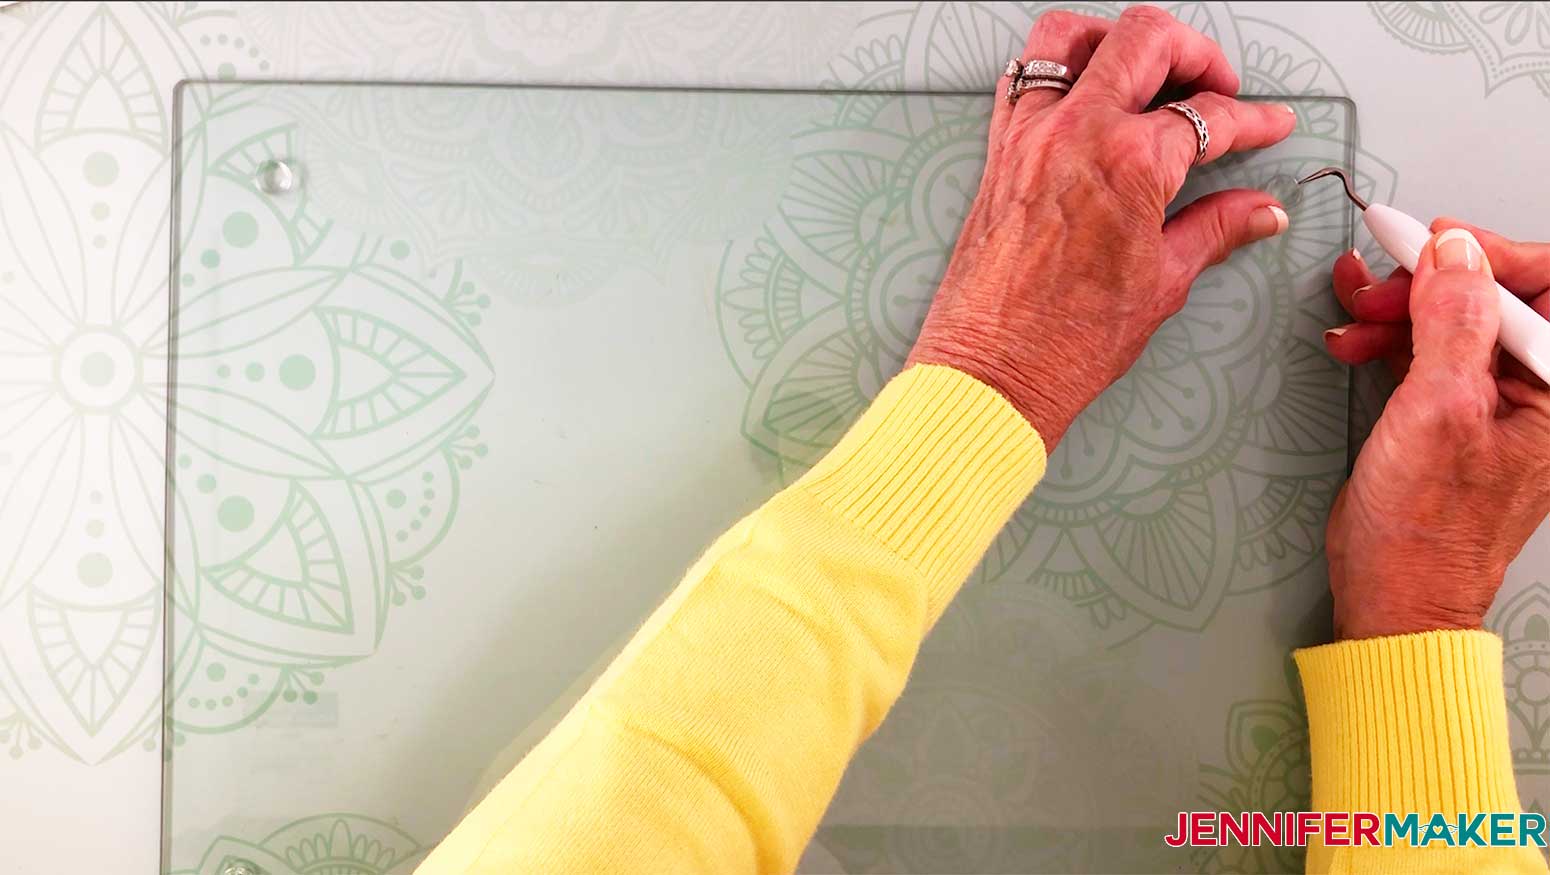
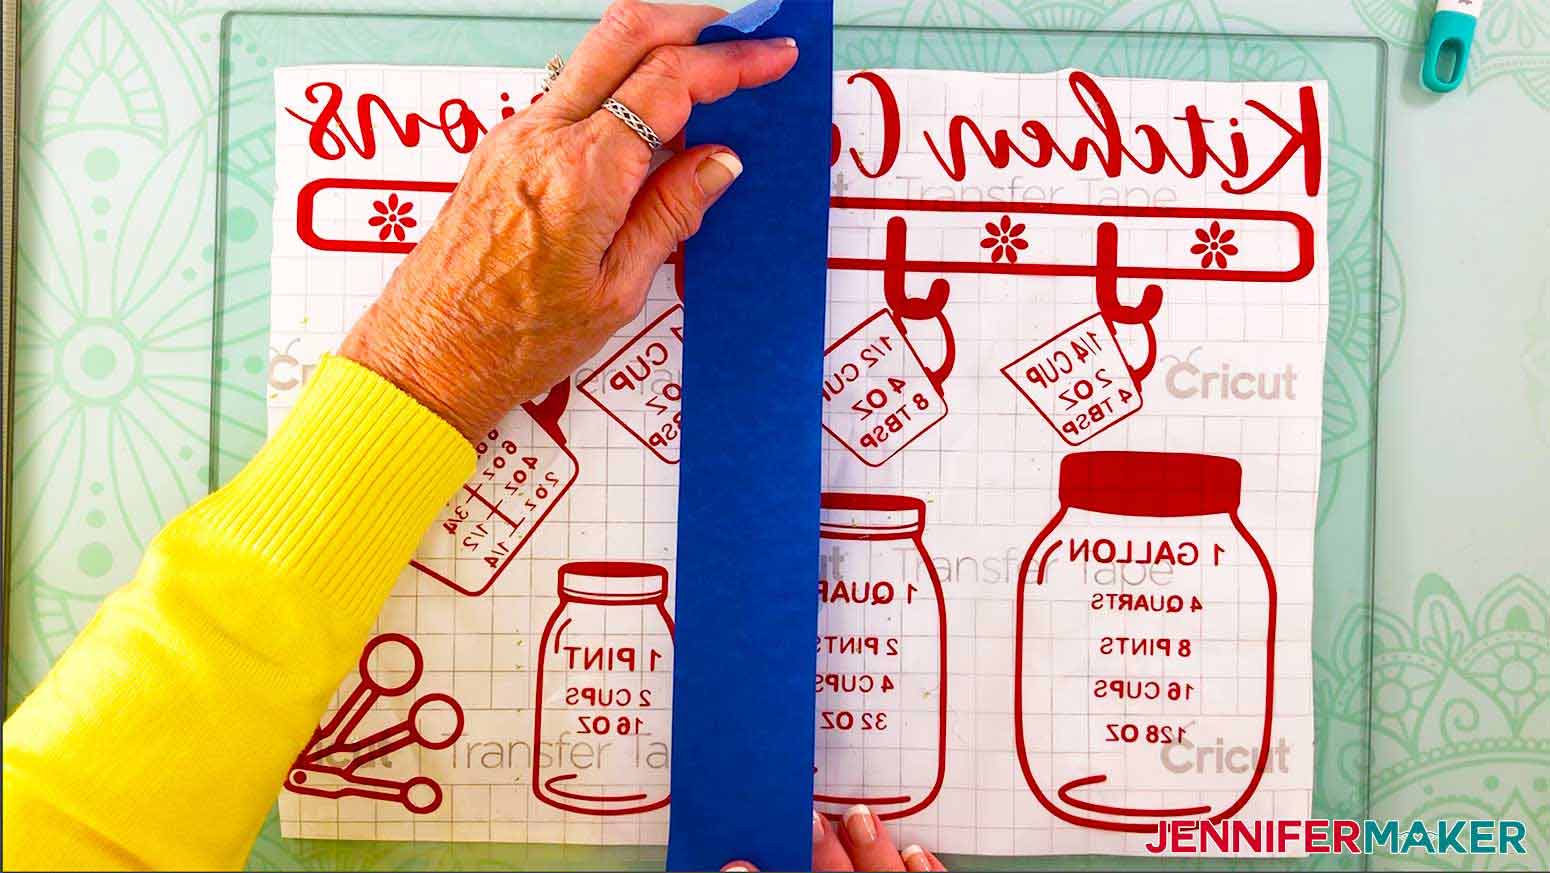
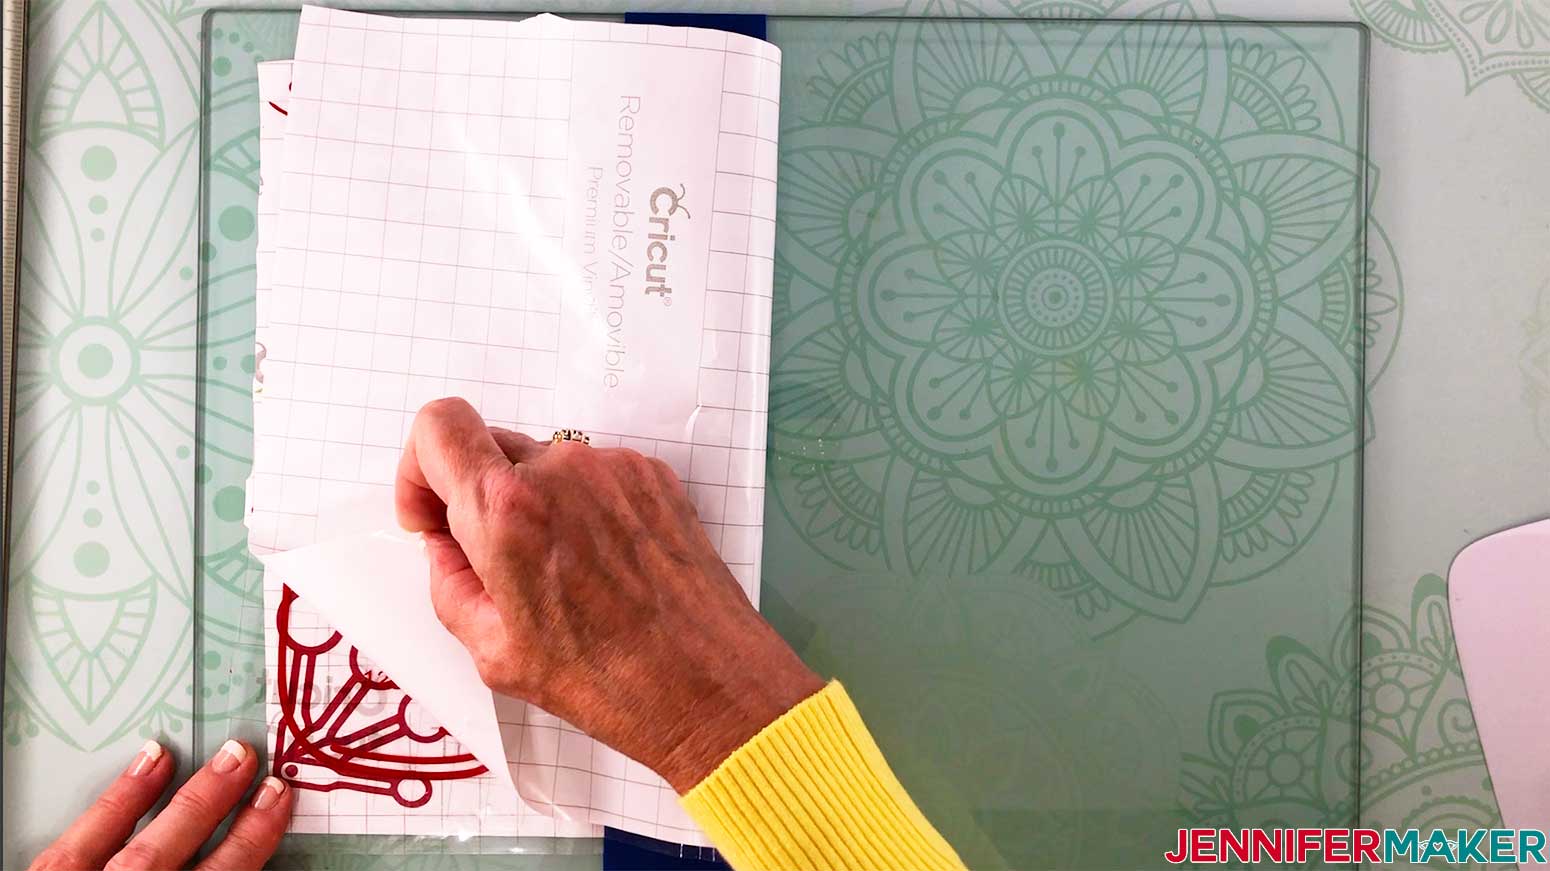
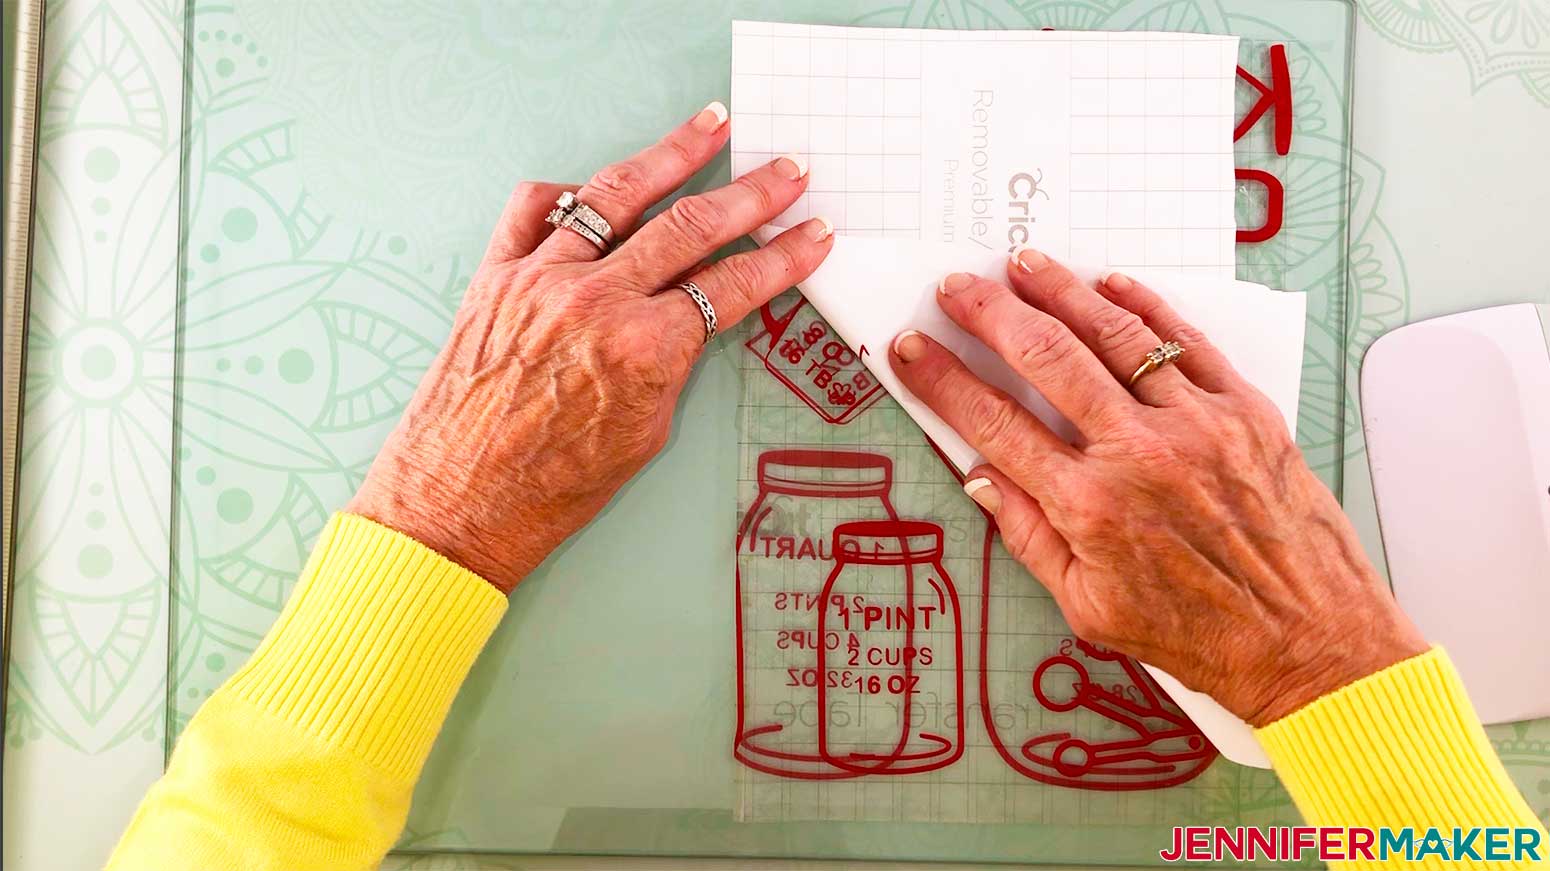
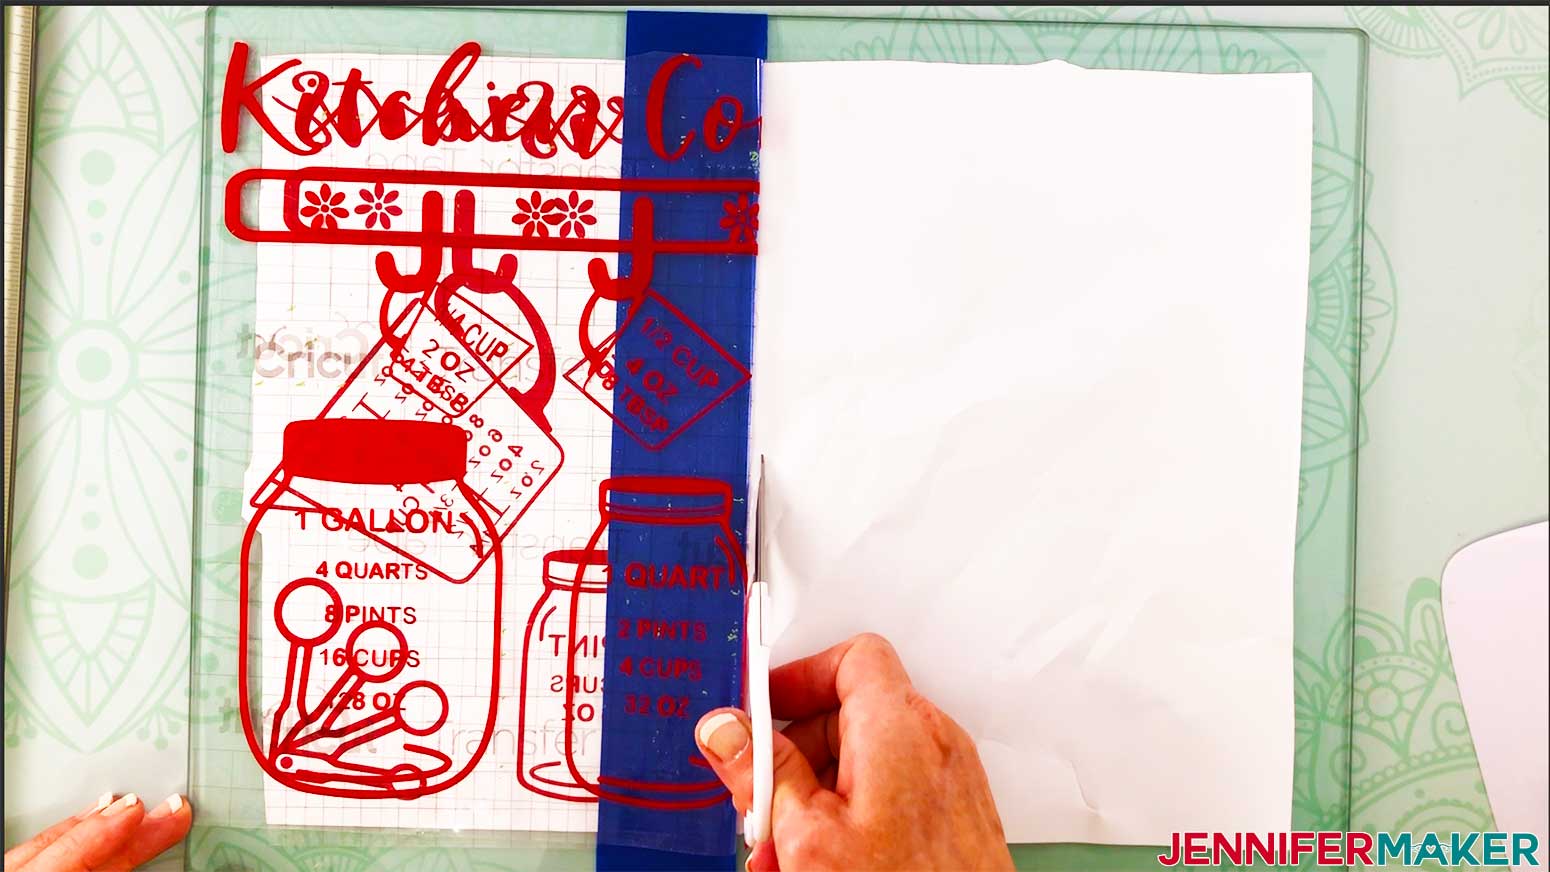
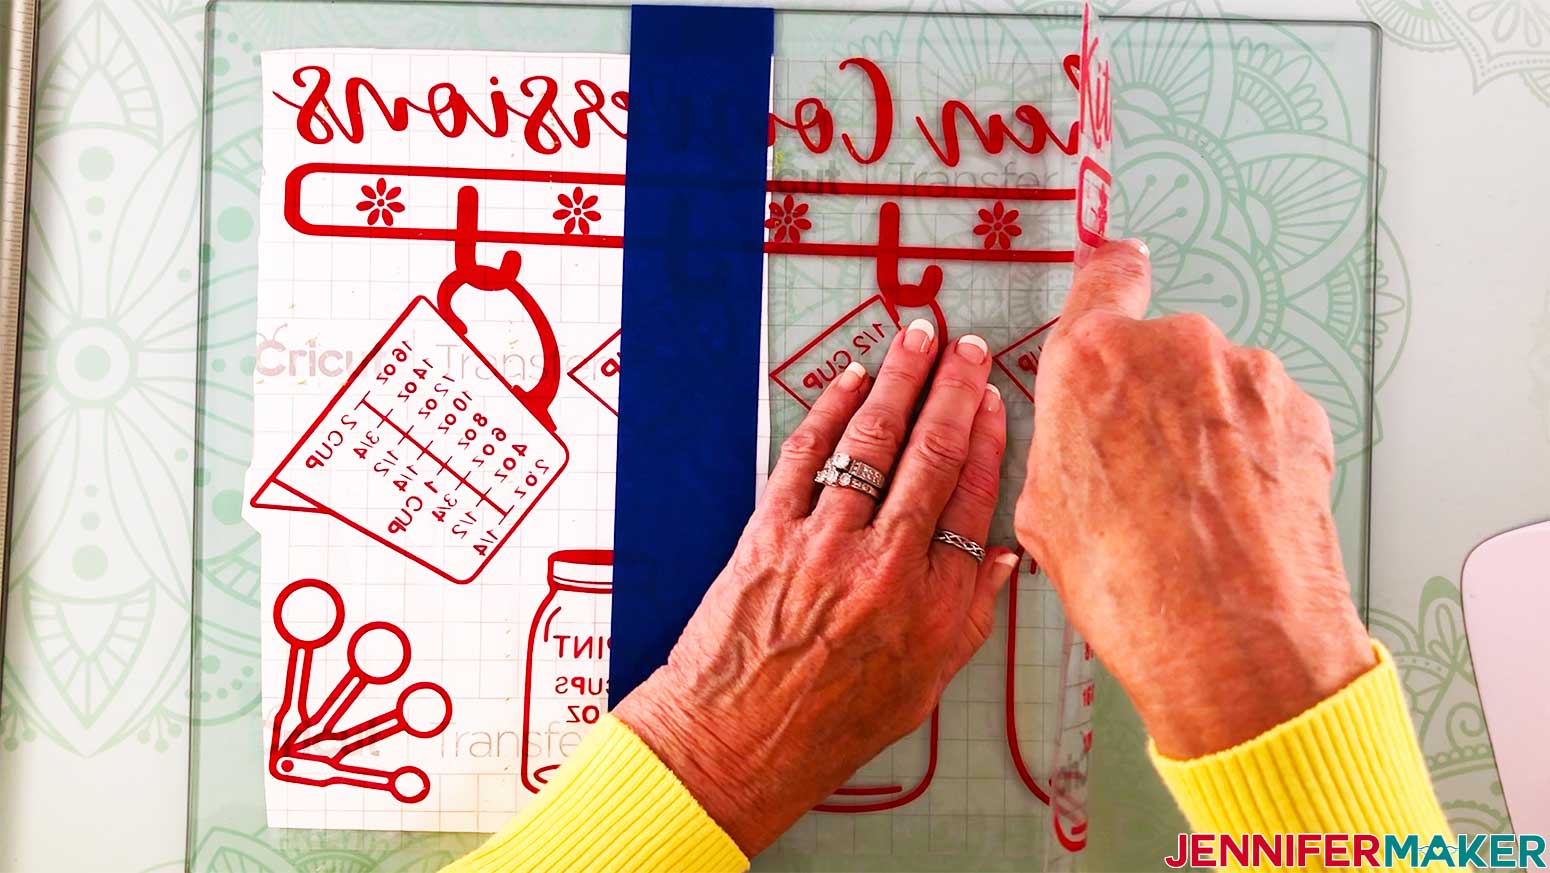
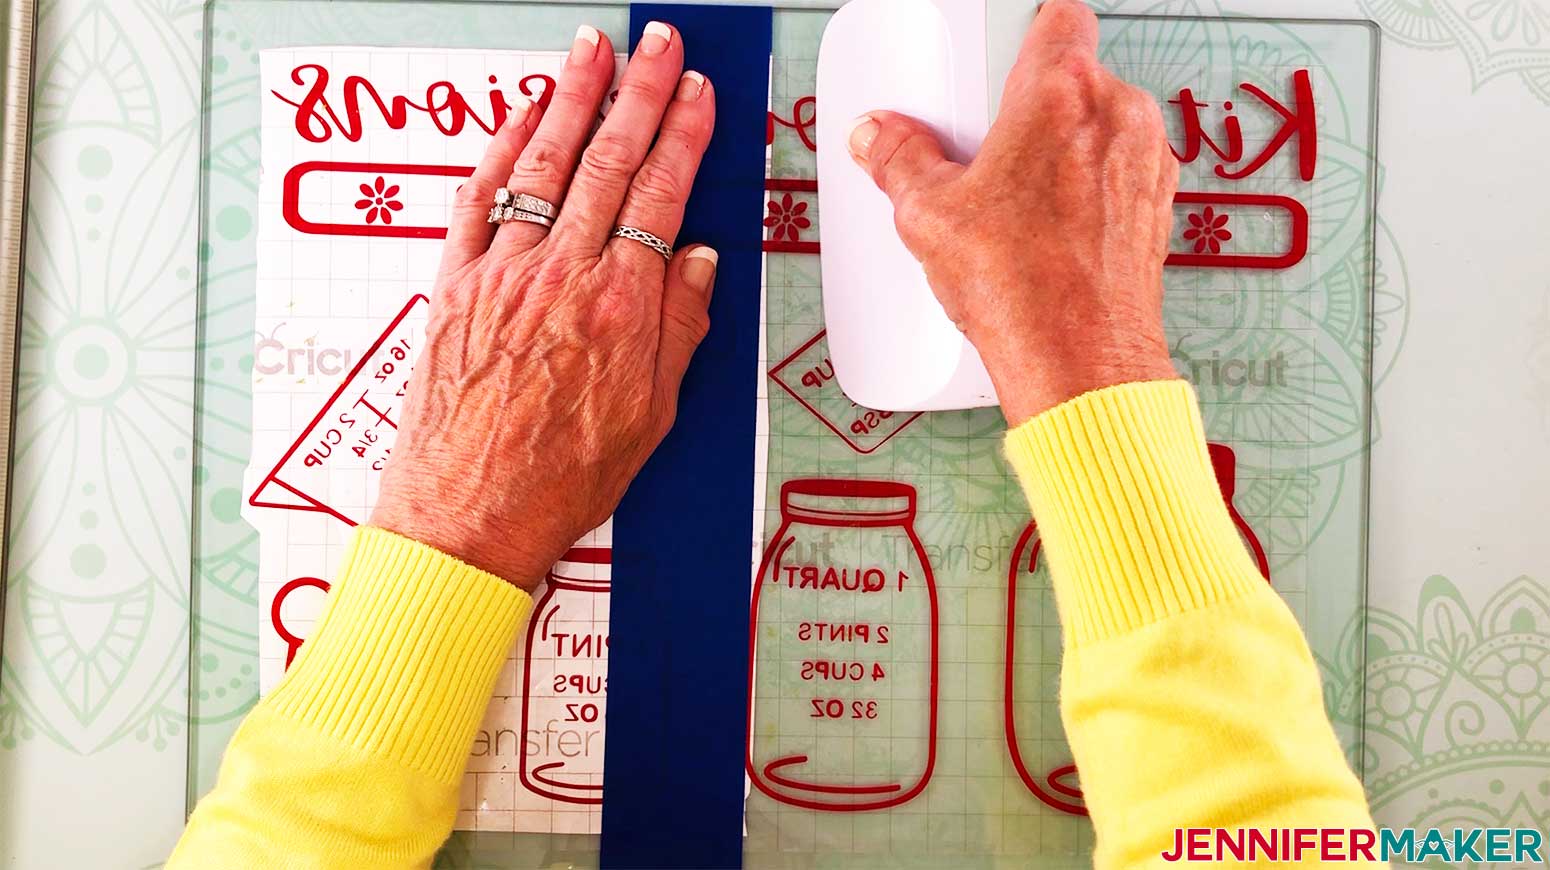
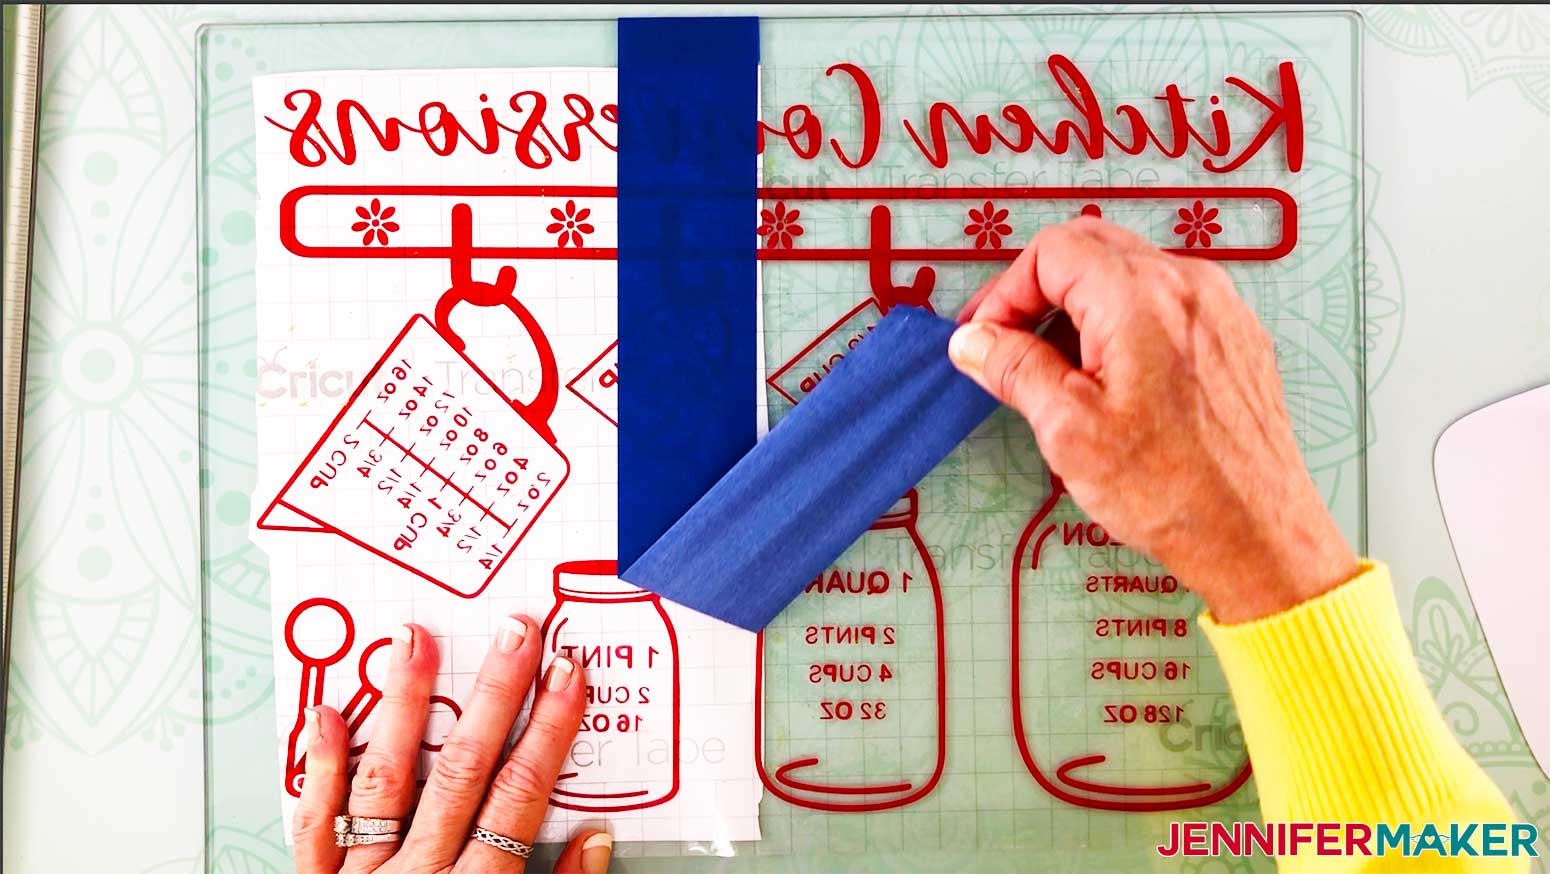
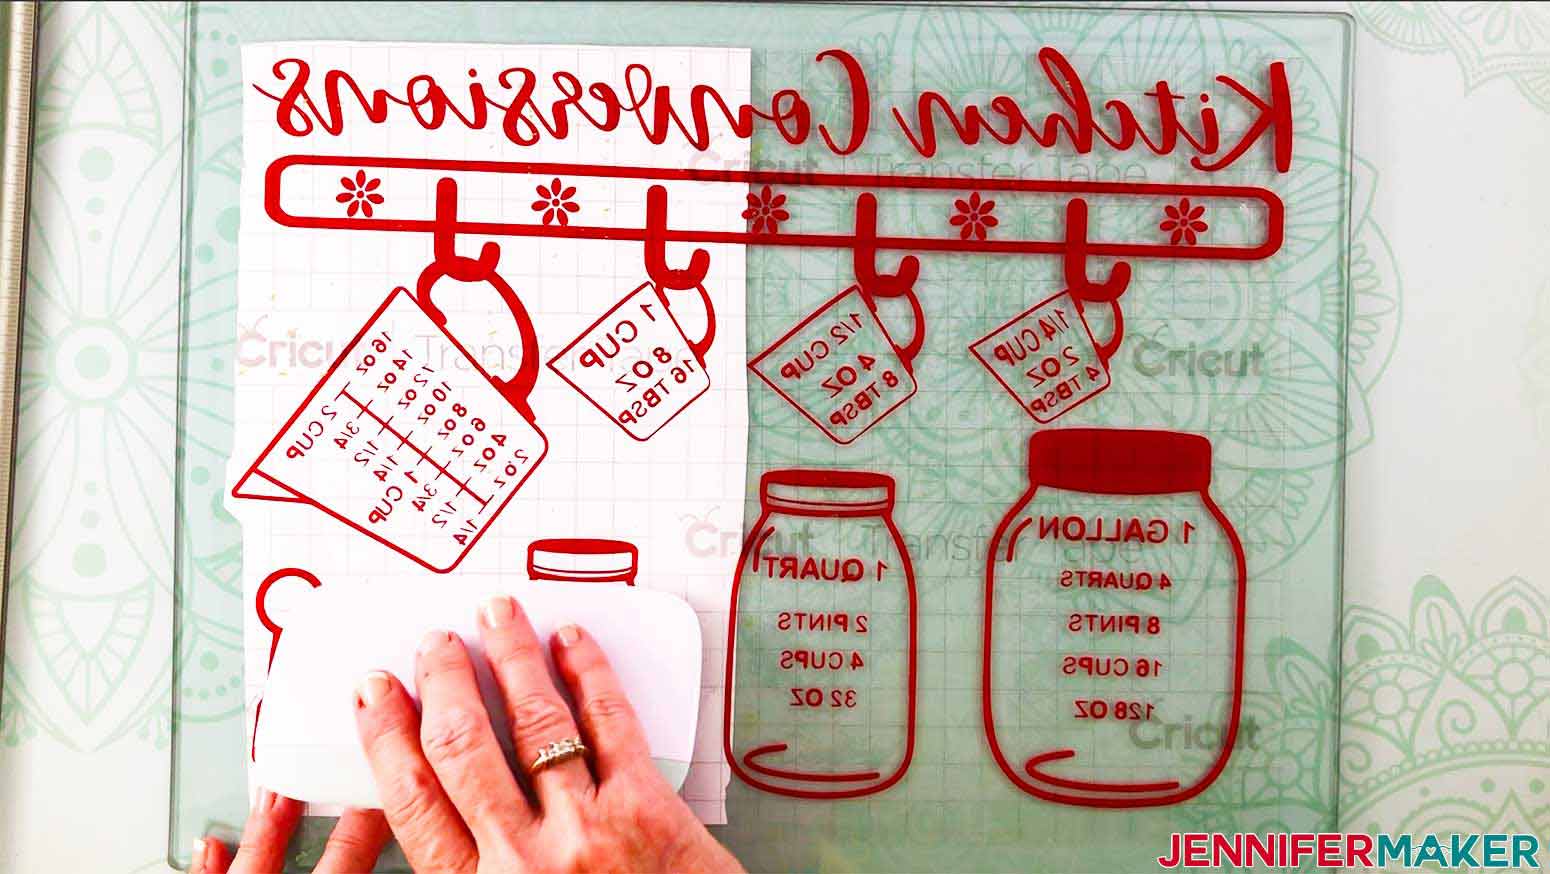
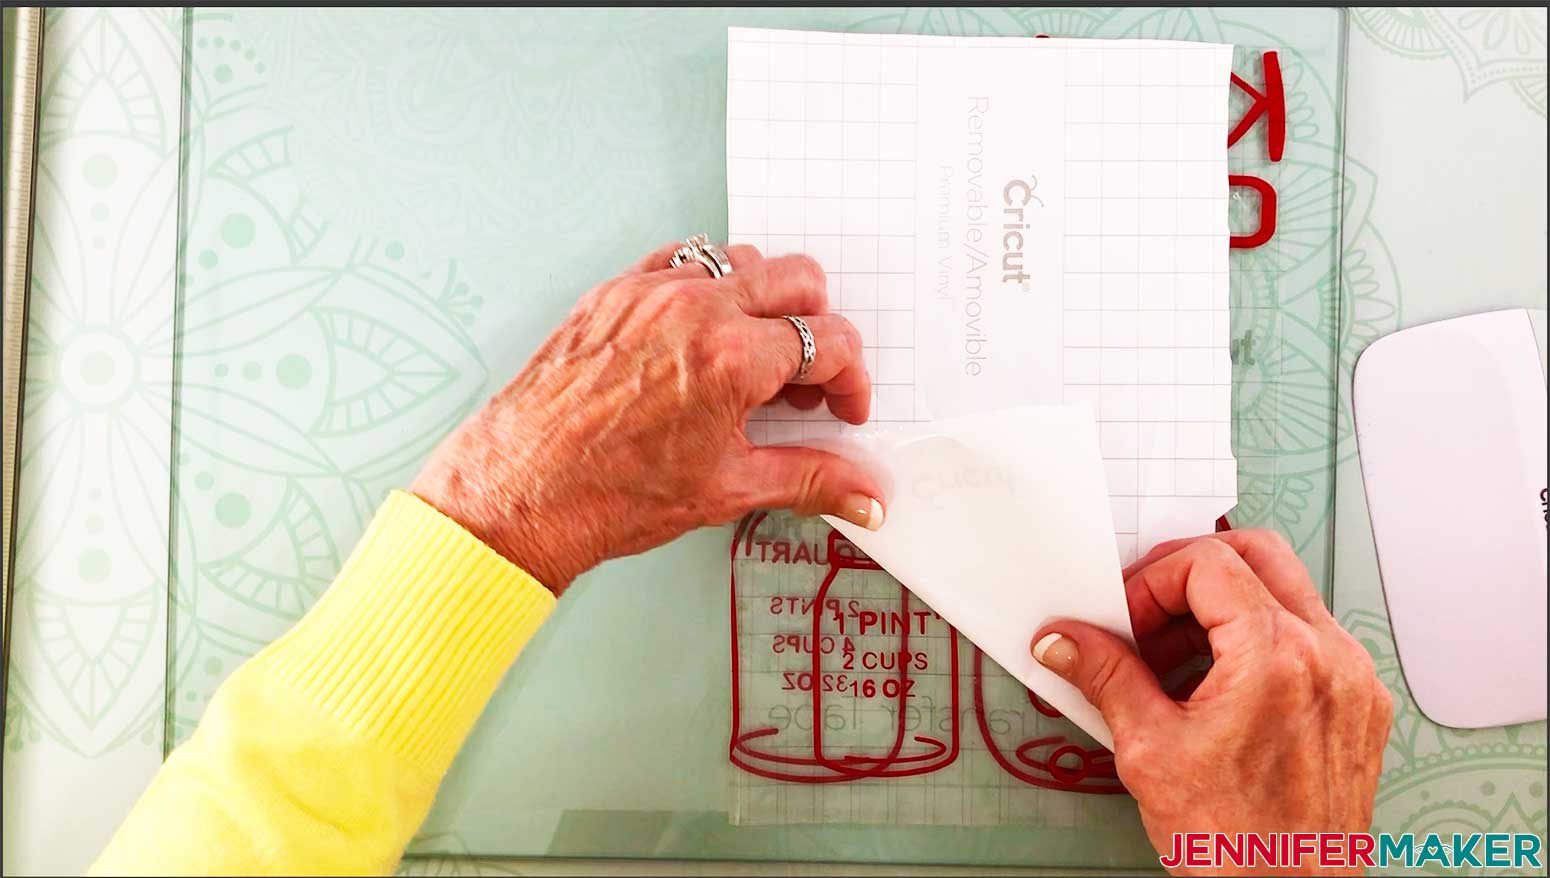
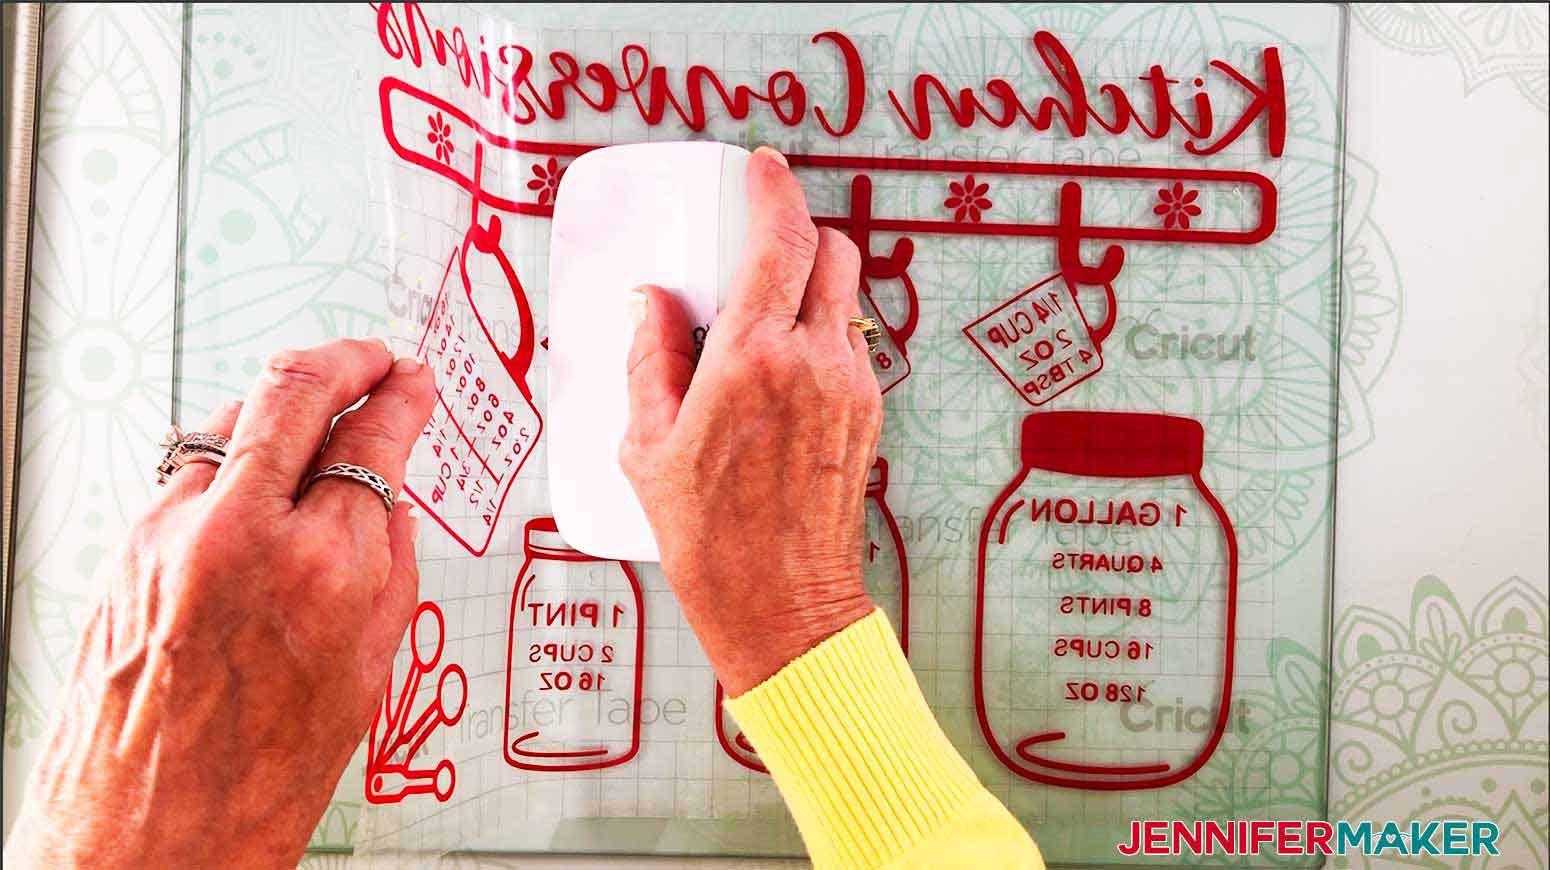
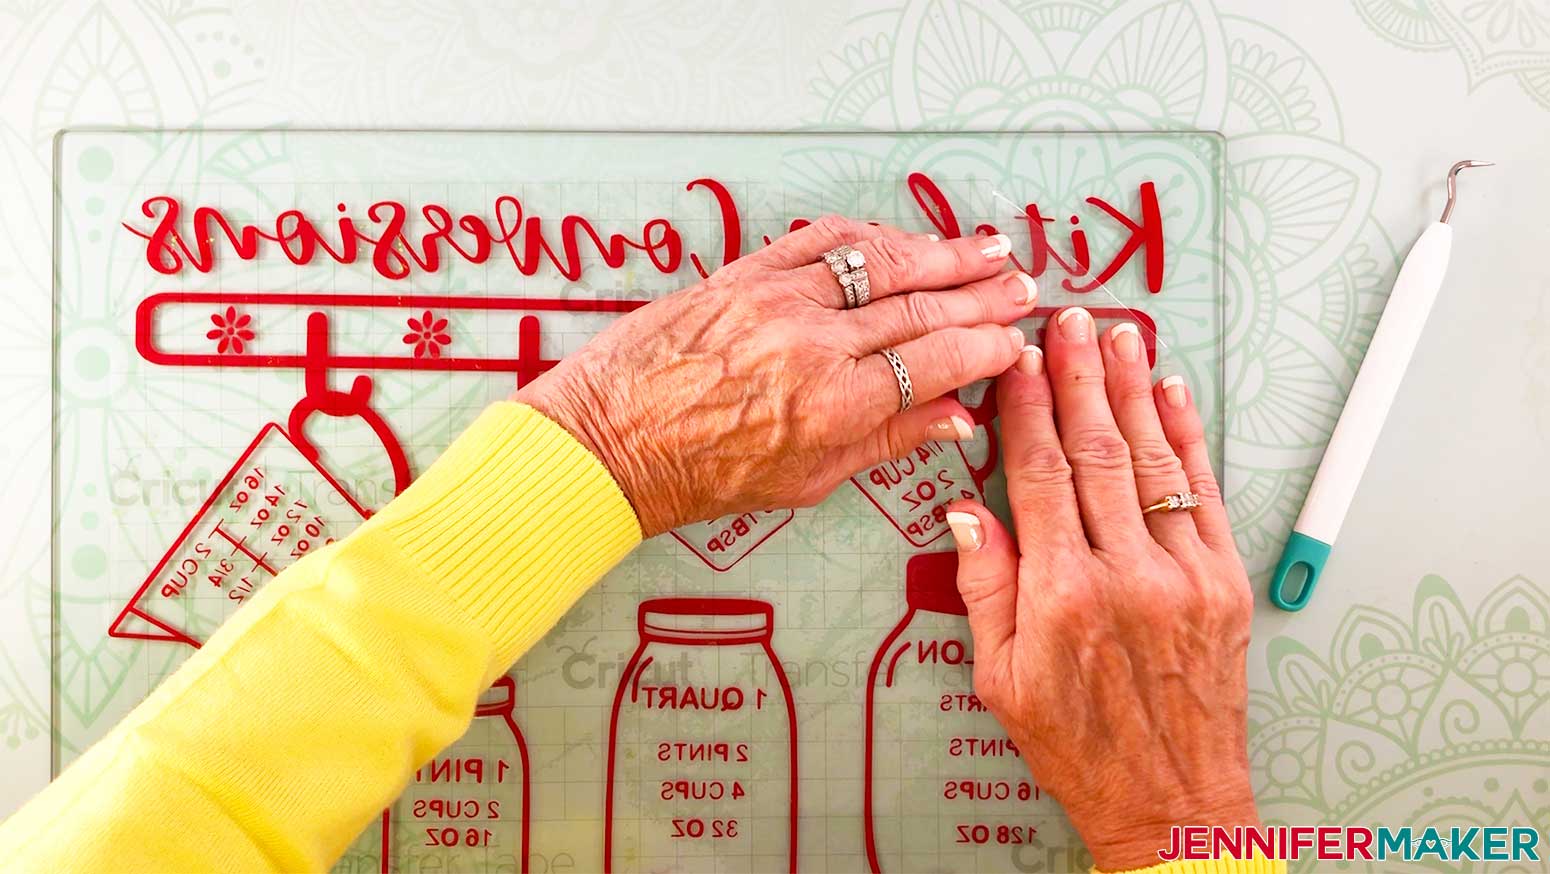
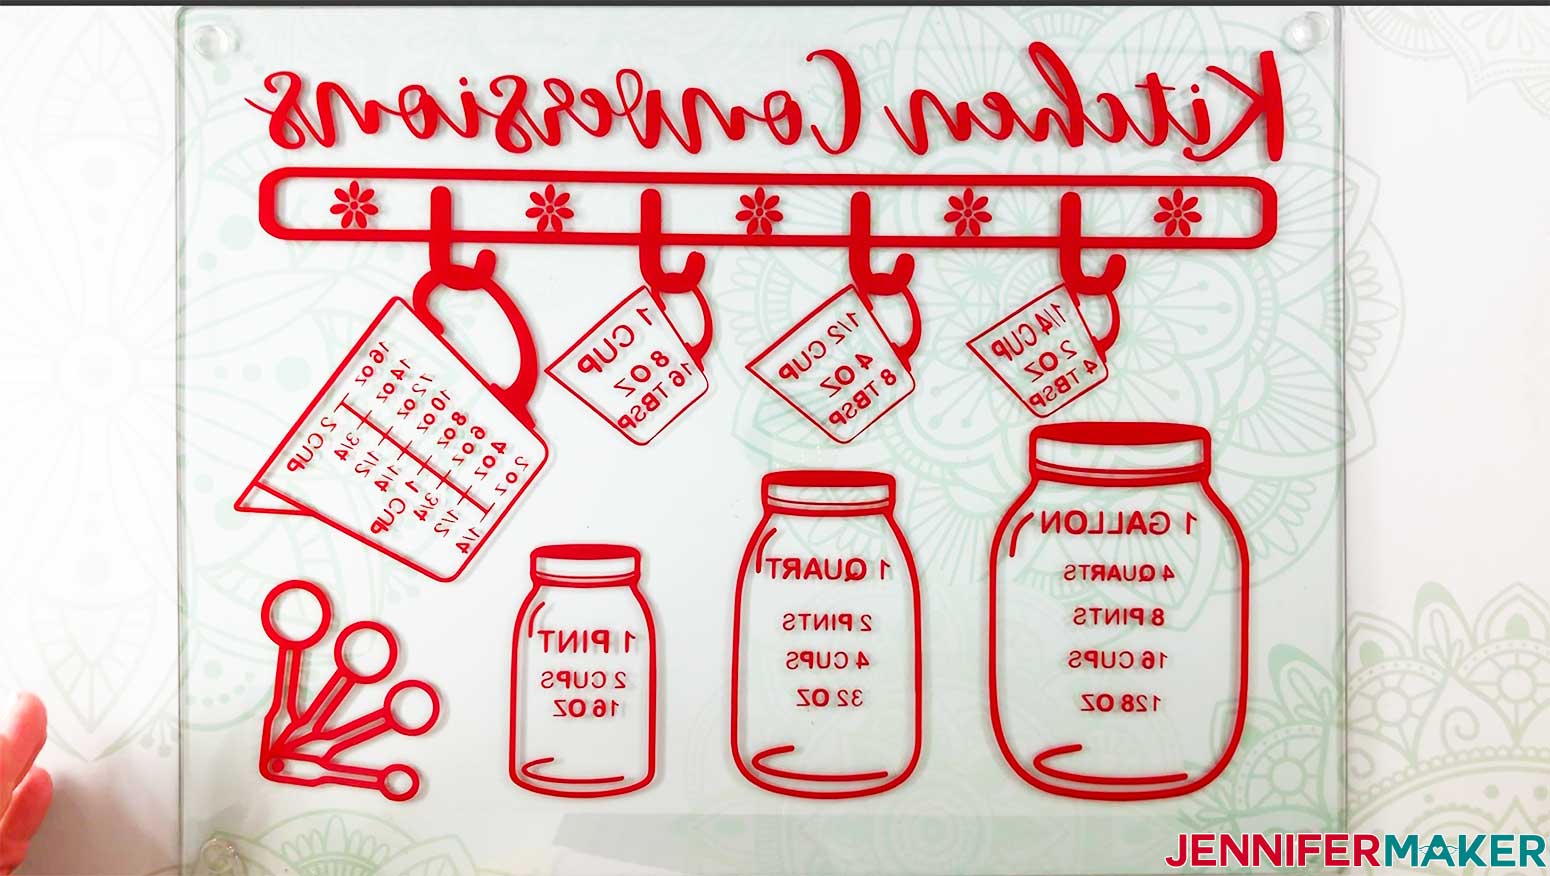
I've always wanted to have a kitchen conversion chart close at hand when cooking and baking. What better place for it than on a cutting board or the inside of a kitchen cupboard? I am super excited to add this to my kitchen and I hope you will be, too! Tip: If you are not sure how to upload an SVG cut file to the Cricut Design Space, watch this helpful video training series I made. If you are on an iPad or iPhone, here is how to download and upload SVG files to the Cricut Design Space app. Click Make It. On the Mat Preview screen be sure to MIRROR the design if you are using the glass cutting board in the materials list. The reason for mirroring the design is that we will be putting the design on the bottom of the cutting board. Select Vinyl as your material setting. Once the design is cut, weed it. I found that using the reverse weeding technique for this design worked well. You most certainly can weed the design the traditional way. If you are going to reverse weed your design, leave the cut vinyl on your mat and place a sheet of transfer tape (about the same size as your design) onto the top of the vinyl. Burnish the transfer sheet to the vinyl with your Cricut scraper. Turn your mat upside down and roll the design off the mat. Now place the design with the transfer tape side down on the mat. I like to place the design back on the mat to weed it. The mat acts as another set of hands to hold down the design for easier weeding. Again, be sure to burnish the vinyl to the mat. Remove the paper backing off the vinyl. Save the paper backing as we will use it later. If pieces stick to your paper backing as they sometimes do even with traditional weeding, just push the backing back down and burnish that area a bit more. After I removed the paper backing from the vinyl I began to weed the design. Go slow, take your time. Try to not touch the areas of the design too much as you don't want the oil from your fingertips to affect the adhesive of the vinyl. This design does take some time to weed so be patient. After the whole design is weeded, place the paper backing back on the design while it is still on the mat and burnish it down with your Cricut scraper or Cricut brayer. Before I applied the Kitchen Conversion Chart to the back of the glass cutting board, I first cleaned the cutting board with alcohol and a coffee filter or a lint free towel. I used my Cricut weeding tool to remove the little rubber feet on the bottom of the cutting board to make room for the design. Lay them adhesive side up on your work surface. We will put these back on once the design is applied. I used the hinge method to apply the vinyl to the glass cutting board. I found this to be the easiest way to assure I laid the Kitchen Conversion Chart design onto the cutting board straight. Position the vinyl on the cutting board. Lay a piece of painters tape down the middle of the design. Be sure to use enough tape so that it wraps underneath the cutting board to assure the design does not move. Flip one side over and remove the paper backing. If some of the vinyl sticks to the paper backing just roll the backing back onto the transfer tape and press it down well and continue to remove the backing. Cut the paper backing off and roll the design slowly onto the cutting board. I will hold the design with one hand and smooth the design down to the board with the other. Once one side is down, burnish it down well with your Cricut scraper. Remove the painters tape from the middle and repeat the above steps with the other side. Burnish down the design well with a Cricut scraper. Remove the transfer tape at a 45 degree angle. If any part of the design pulls up with the transfer tape, place the transfer tape back down on the glass, burnish it down with your fingers or a Cricut scraper and continue to remove the transfer tape. Replace the little rubber feet back on the cutting board. Here is what it looks like all finished! I’d love to see what you did with the Kitchen Conversion Chart design. If you make one, please share a photo in our Facebook group, email it to me at [email protected], or tag me on social media with #jennifermaker. The finished dimensions of my project using the glass cutting board are 15.75 inches wide x 12 inches high. Special thanks to the JenniferMaker Design Fairy Team, specifically Design Fairy Vicki, for helping me design and assemble this Kitchen Conversions cutting board.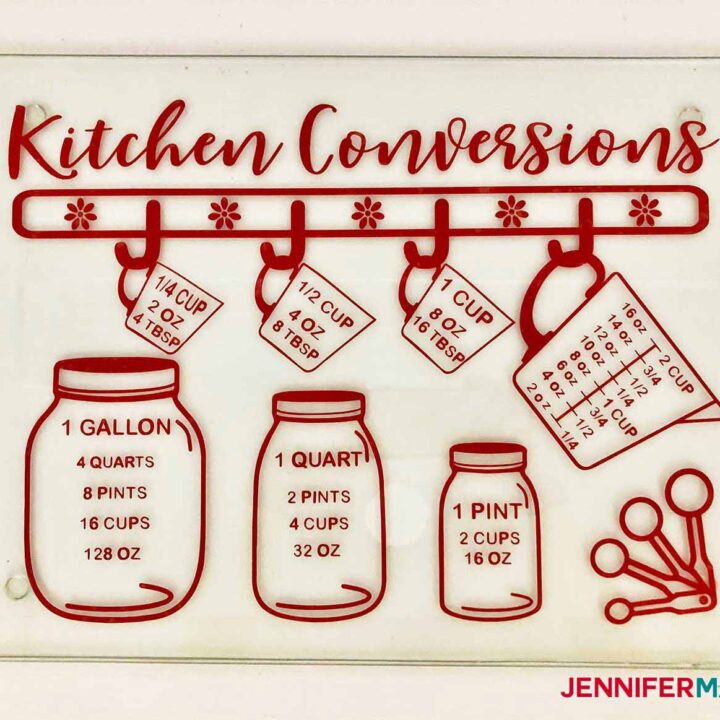
Kitchen Conversions Decal
Materials
Tools
Instructions
Note: I also applied the Kitchen Conversions design to the inside of a cupboard door! If you would like to try this as well, be sure to check out the video on my blog!
STEP 1: GET THE KITCHEN CONVERSION CHART DESIGN
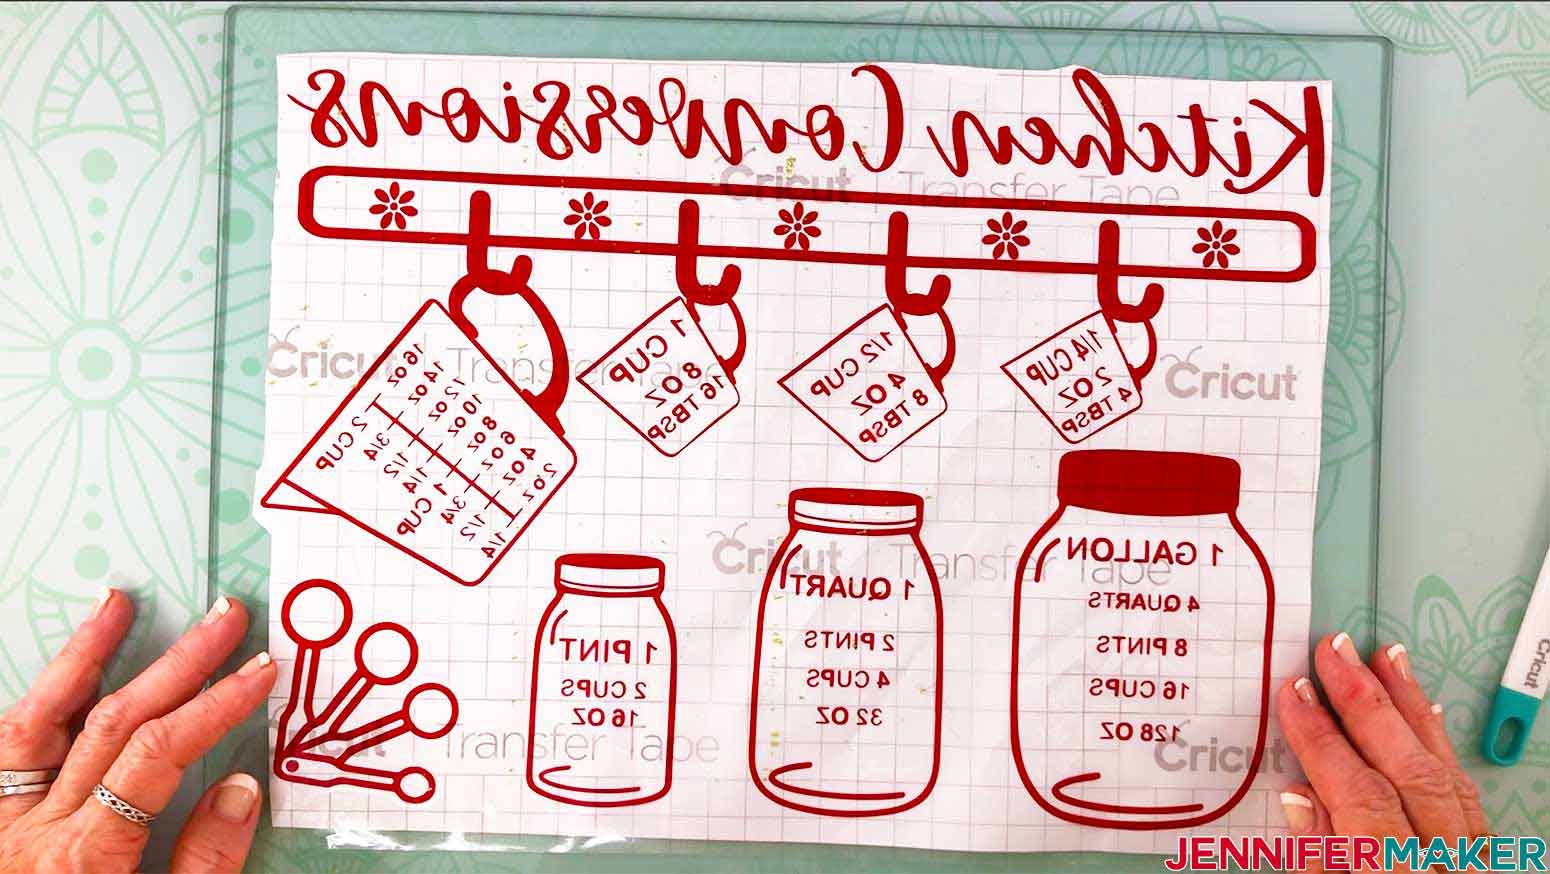
You can get my Kitchen Conversion Chart SVG design file # 265 from my free resource library (get the password to the library in the form at the bottom of this page. Here is what my Kitchen Conversion Chart design file will look like when you upload it to the Cricut Design Space: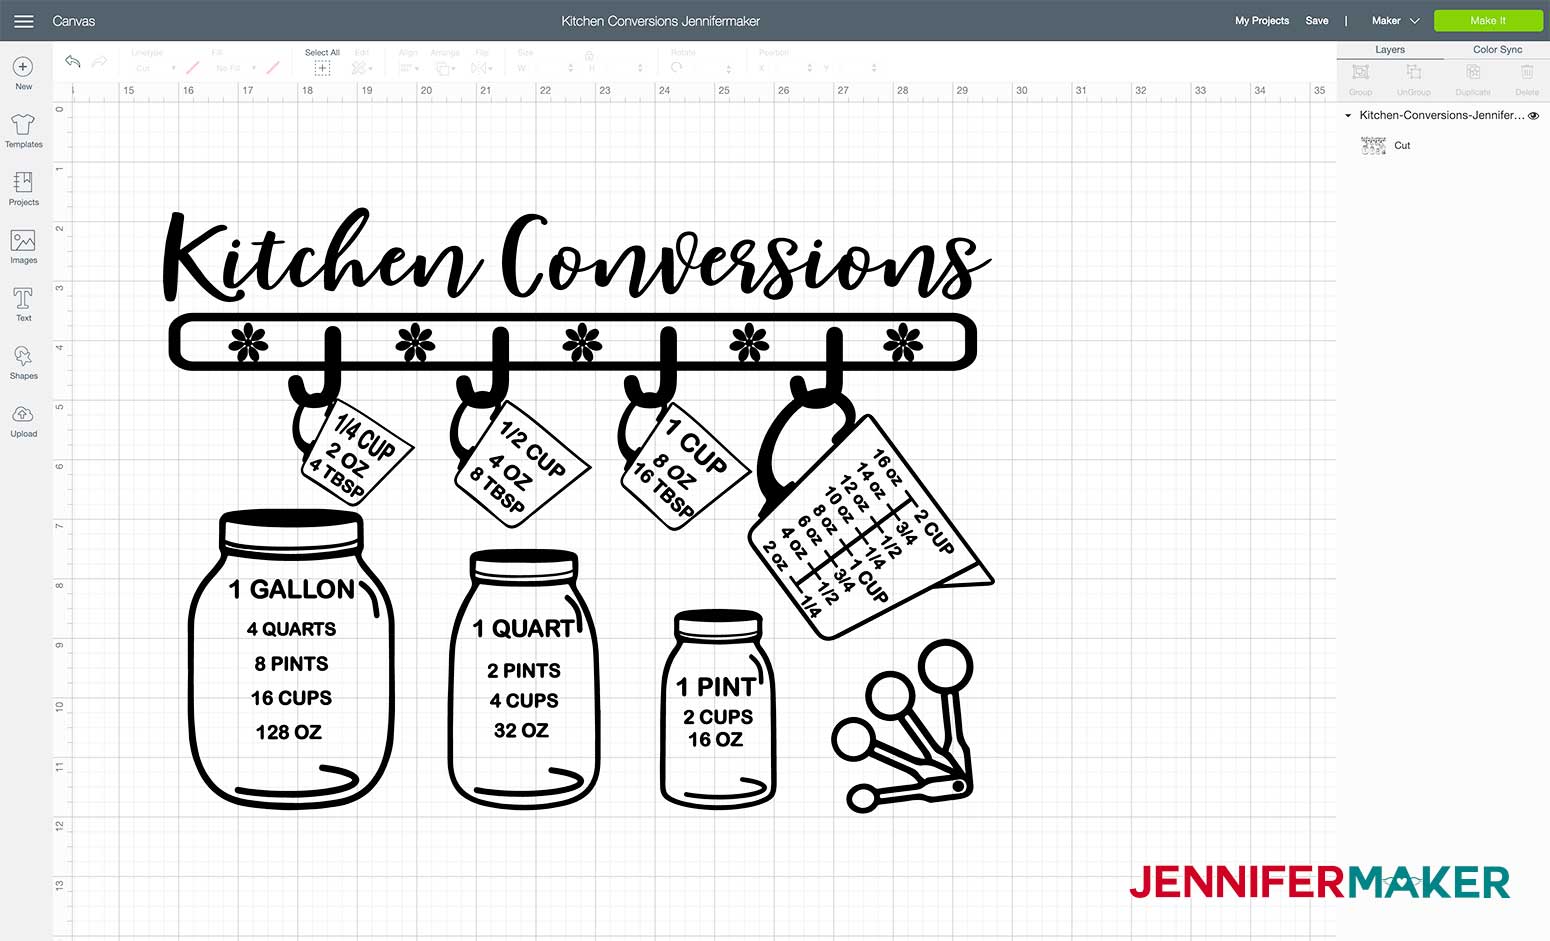
STEP 2: CUT THE KITCHEN CONVERSION CHART DESIGN
Upload the Kitchen Conversion Chart design into Design Space. The design is sized for the glass cutting board that is in the materials list. If you are using a different medium to apply your Kitchen Conversion Chart design to resize the design accordingly.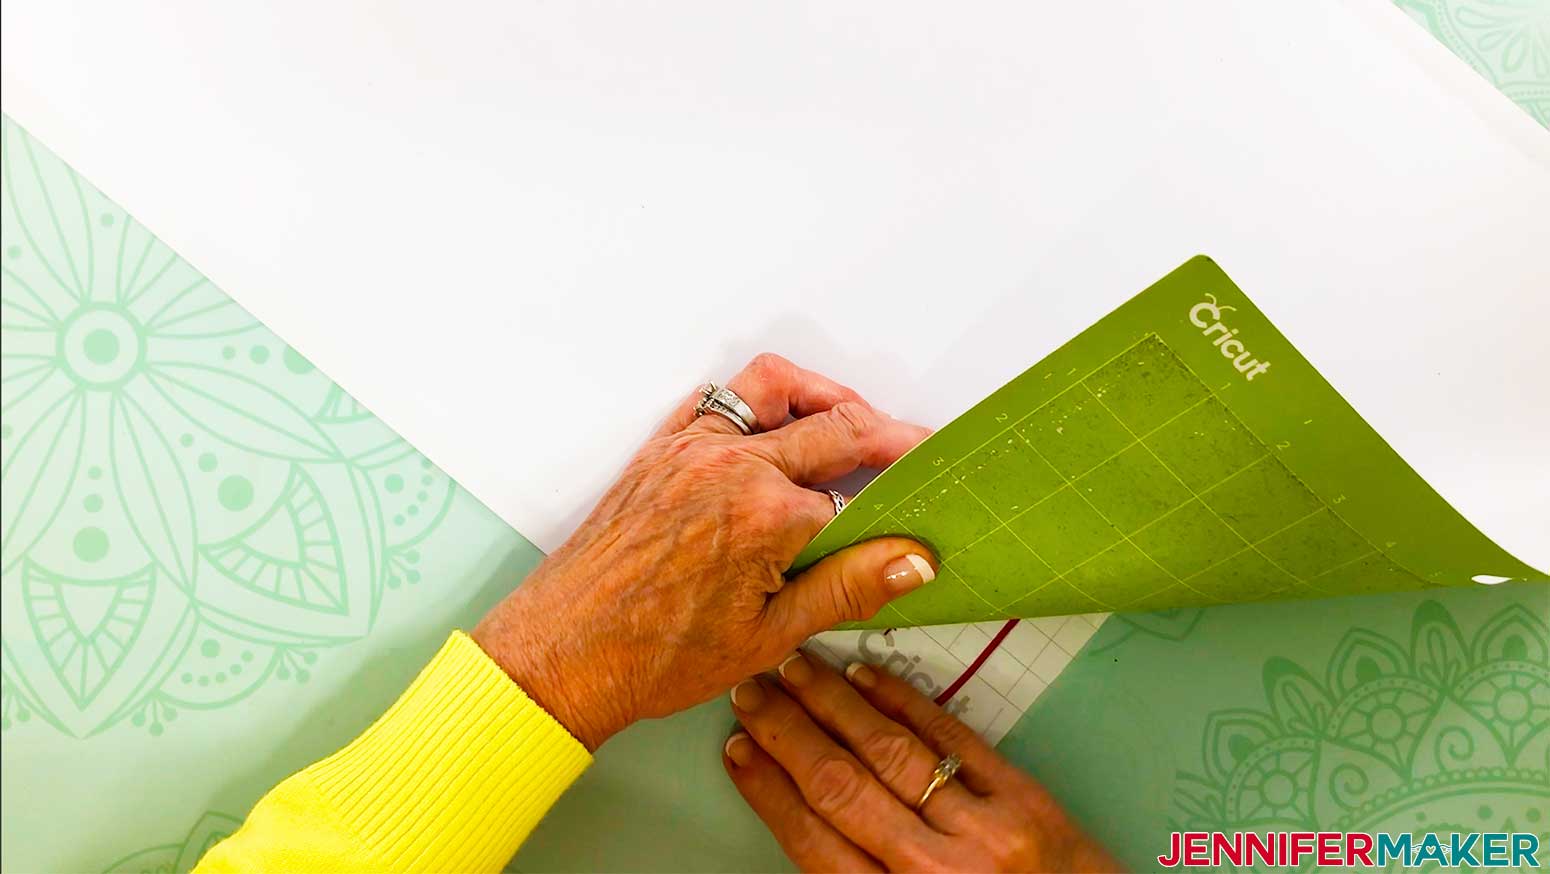
STEP 3: APPLY THE KITCHEN CONVERSION CHART DESIGN TO THE CUTTING BOARD

STEP 4: SHOW IT OFF!
Notes
Answers to Your Questions About Kitchen Conversions Chart Decals
Q: Can you use HTV on this project?
HTV requires heat to activate the adhesive on it, and I, personally, would not use heat on glass.
Q: If you put this design on a cutting board and mirror it, do you still put the shiny side down as you would iron on?
Not at all! Since you have the design mirrored, you will want to put your vinyl shiny side up on your mat to cut it out! This can be a difficult concept to grasp – if you want to see another example of how it works, please visit our Customized Serving Tray post. We do the same thing there!
Q: Can I get this pattern in metric measurements?
A: We do not currently have a metric equivalent of this pattern, but if you’d like to make your own, simply use Contour to remove the imperial measurements, click the Type tool to type in your own conversions, then Select All and click Attach before you cut it.
Q: Can I make this design smaller to fit my 11″ cutting board?
A: Making this design substantially smaller than the 14″ width will make it harder to weed. So you’re welcome to try, but understand that it might become next to impossible to cut or weed the small elements if you make this design more than an inch smaller than I’ve designed it.
Get my Free SVG Files to Make a Kitchen Conversions Chart Decal
I’d love to see your Kitchen Conversions Chart Decal and all the places you put it. Please share a photo in our Facebook group or tag me on social media with #jennifermaker.
See all of the projects, tutorials, and free designs in The Great Maker 25-Day Gift-Away Challenge!
Love,

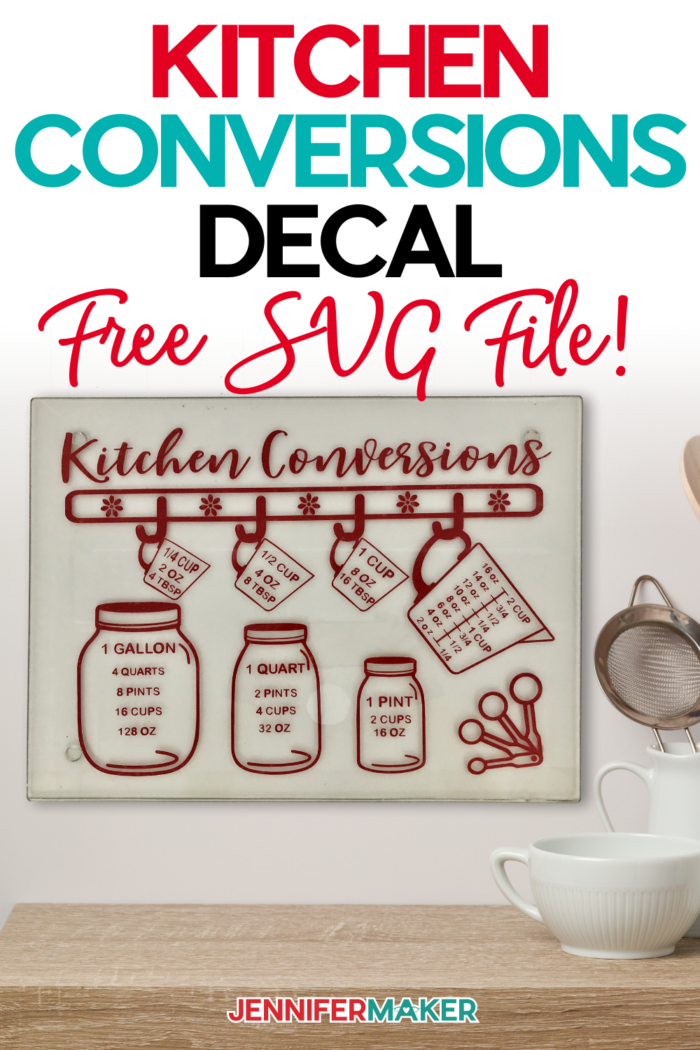
Want to remember this? Save this Kitchen Conversions Chart Decal tutorial to your favorite Pinterest Board!

love what you are doing letting us have your creations
So happy to hear that, Carmen!
It´s really great to have a “cheat-sheet” with measures inside the kitchen door! Going to change the measurement thou to swedish. Suddenly I had another xmasgift for my friend, hope we could meet soon. Thank you for all this lovely projects you share!
Thank you for all your work! Is there any way to get the ml / litre equivalents?
I am also interested in the ml/litre equivalents
Hi Jenn! You are quite welcome! You can change this to ml if you like! Just upload the design to your canvas, go into the contour menu and remove the current measurements, and then you can add your own!
How can I get into this design to change it? On the large measuring cup, under the 2 cups, it should read
1 3/4, 1 1/2, is there a way I could change that?
Hi Cindy! You can pull the design onto your canvas and go into the contour section and remove what you don’t want and change it to however you like.
Hi Jennifer
I couldn’t find a cutting board that was slick on both sides can I heat my vinyl with a blow dryer to get it to stick in the back or would it be better to put the vinyl on the front and just use it for decoration? Thank you for a super fun idea.
Teresa
Hi Teresa! You can try the heat method with a hair dryer, it may work.
Was going to leave pics of my completed project from this Morning and I can’t find how to upload them?
We would love to see your projects in our Facebook group, Cricut Crafters & Makers!
Hi! Was wondering if i am permitted to use your free SVGs on items I make to sell! Thanks
Great question! Yes, you may sell any finished projects you make on your own using any of Jennifer’s files. However, we do just ask that you not sell her actual svg files as those are her own copyrighted work. We would love to see photos of your projects too, once you finish them. When you do send photos to us, please let us now if we have permission to use your photos to share inspiration with others. Have a great day!
I have really enjoyed watching all the videos for projects. I was wondering if anyone knows what font is used on the jars in this conversion chart? I lots a few numbers and letter and would like to print off just the ones i lost.
Hi Laura! You can find the font in my materials list at the top of the blog post.
I am struggling with weeding vinyl. I see videos and tutorials and they make it look so easy but I am not finding it so easy. I have tried many different methods. Is my machine not cutting enough or is there a different vinyl I should use?
This really depends on the issue you are experiencing, Kelli! If you find your vinyl is not coming up with the transfer tape, you might have cut too deep. Try cutting out 1-inch diameter circles till you get the right setting for your machine.
Hi Jen,
I’m looking to make the cutting board (265) and I would like to know if there is a way to put a solid vinyl so when I finish I can’t see my counter top through the board. If so how do I do it? I am new at this.
You sure could, Lee Ann! You don’t HAVE to cut a vinyl design out on your Cricut! Just take the solid sheet of vinyl and place it, un-cut, on the back of your cutting board! It will need to be done slowly and carefully to avoid bubbles, though. For help with your project, you could check with our Facebook group, “Cricut Crafters and Makers,” and they would be able to give you tips on how to do that for the best results! 🙂
When I try to download the svg it says “403 Forbidden”. I’m not sure what i’m doing wrong
We just tested the SVG and it worked fine, Meagan! If you are having trouble, please follow exactly the instructions shown in the “Tip” under Step 1 about uploading SVG files into Cricut Design Space! 😊