
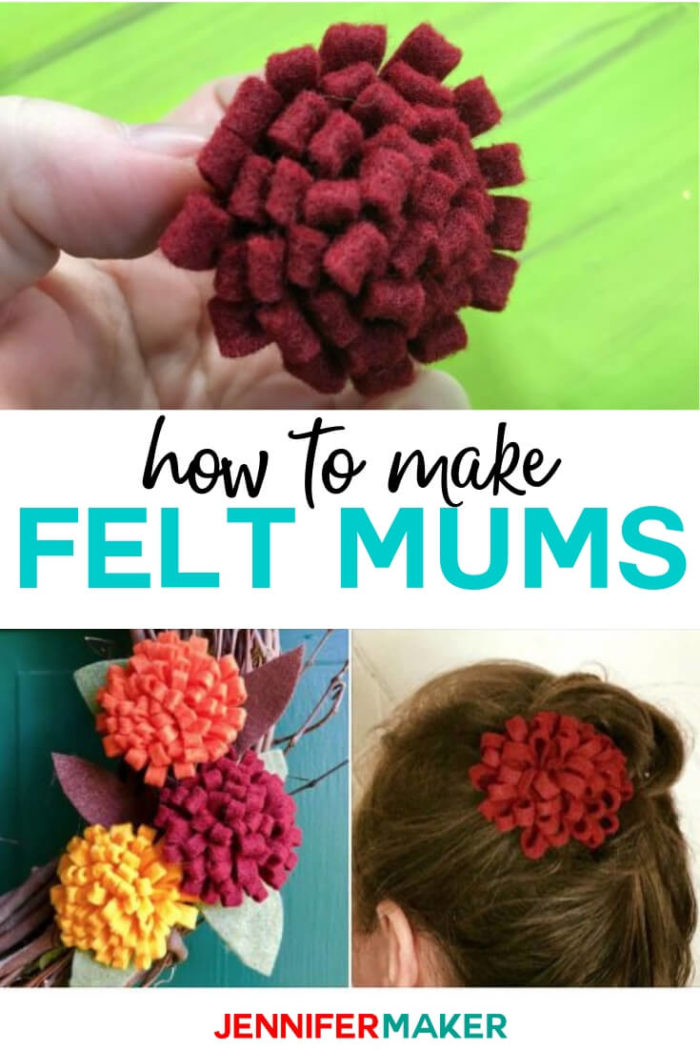
Have you ever had family about to come over and suddenly be struck with inspiration for a new decoration for your home? That’s me — it happens all the time. This time, I was cleaning my house and noticed that the pretty summer wreath on my front door was just not gonna cut it. I mean, it’s basically autumn now, right? I had one hour before my family was due to arrive? Not enough time, you say? Not for me! I got out some felt and created some pretty felt flowers that reminded me of mums, using nothing more than my scissors and glue gun. I even managed to make an extra felt flower for my hair. Bam!
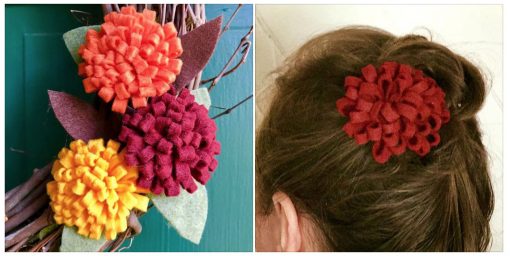
So I’m not really a super hero — these felt flowers are CRAZY easy to make! I will show you how in this post.
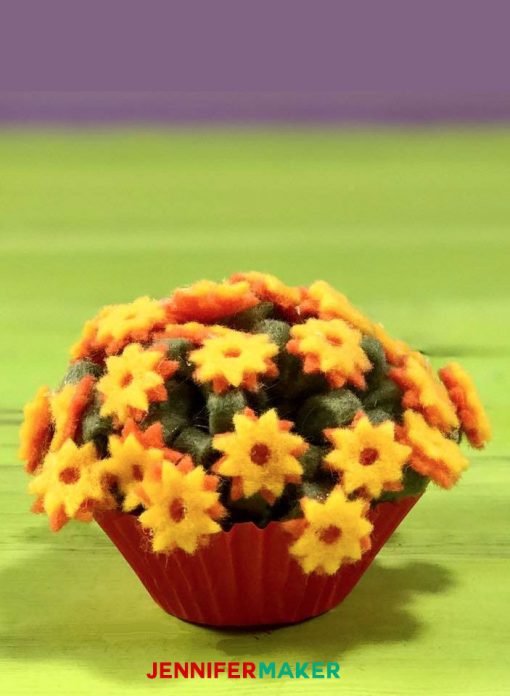
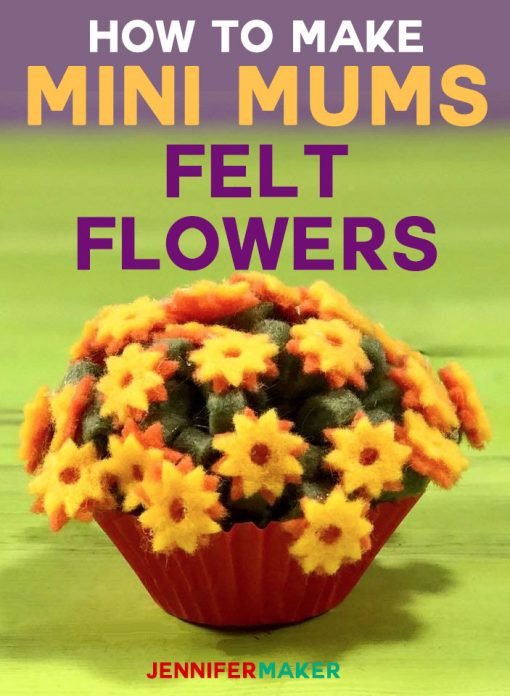
You can ALSO make them a lot more detailed by putting little blossoms on them. I used my Cricut to cut out the blossoms for for this beauty.
This post contains some affiliate links for your convenience (which means if you make a purchase after clicking a link I will earn a small commission but it won’t cost you a penny more)! Read my full disclosure policy.
Materials for the Mini Mums (Felt Flowers or Paper Flowers)
- Felt or cardstock
- Hot glue gun and glue sticks
- A way to cut your material (I used both a Cricut and scissors)
- Design #57 – My cut files (available in my resource library—get the password to it by filling out the form at the bottom of this post)
How to Make the Mini Mums (Simple Version)
First, decide if you want felt or paper. Both are possible with this technique.
Next, cut out your material either using a cutting machine like a Cricut (the free cut file for the simple mini mum is in my resource library) or use scissors.
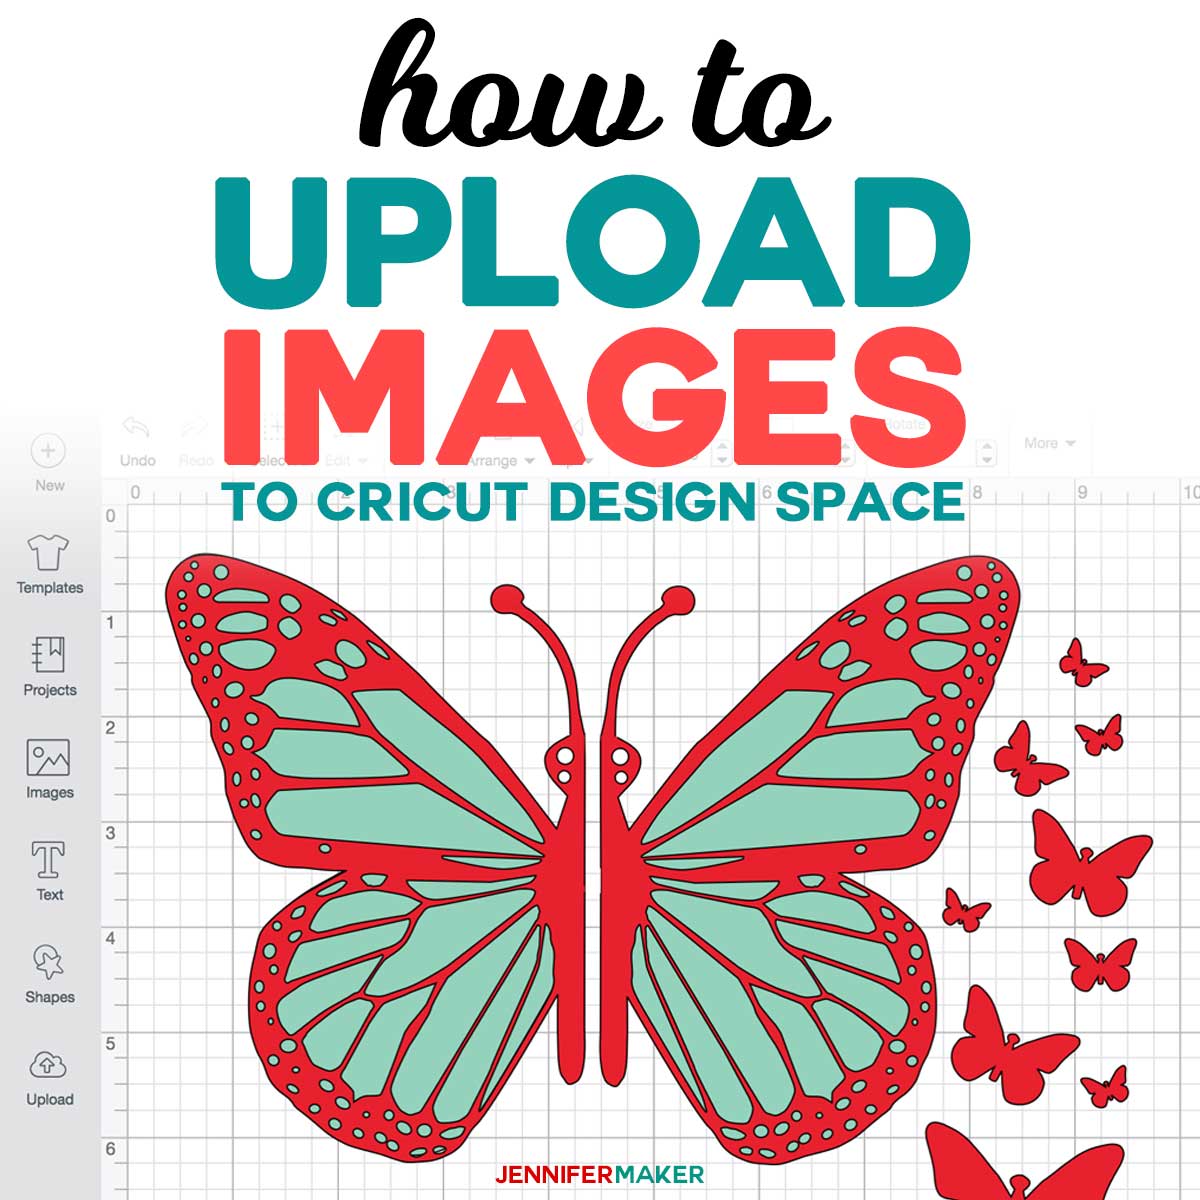
If you use my Cricut cutting file, download the file (Design #57), decompress the zip file, go to Cricut Design Space, upload the “mini-mum-simple-jennifermaker.svg” file, and place it on your canvas. You can cut five flowers on a single 8.5″ x 11″ piece of material. Now cut your material with your Cricut, remove it from the mat, fold each strip in half lengthwise, and glue the bottom edge closed.
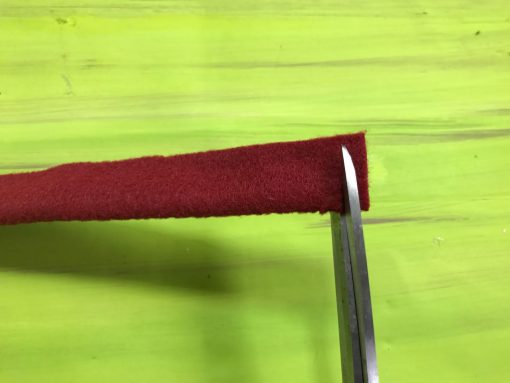
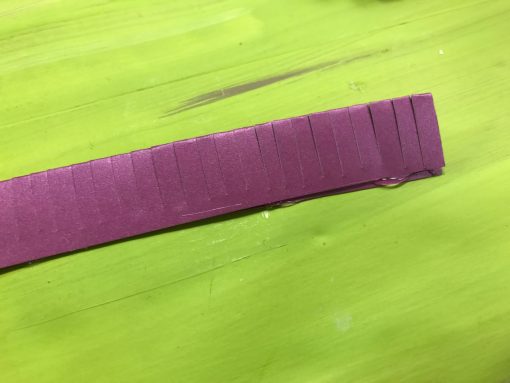
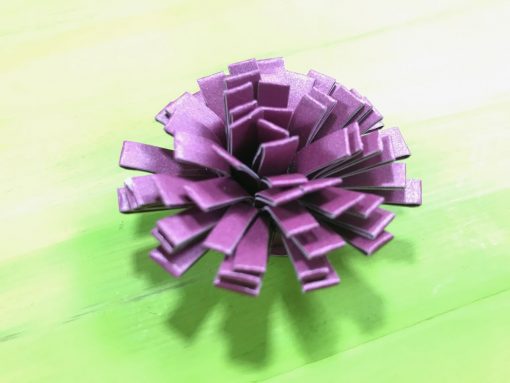
If you use scissors, cut a 1.5″ strip from your material, fold in half lengthwise, glue the bottom edge closed, and cut parallel strips about 1/4″ apart down the whole length of your material. Here’s what it looks like cutting the felt:

Here’s what it looks like when you’ve cut card stock:
At this point, the directions are the same whether you used the Cricut or scissors to cut your mini mum.
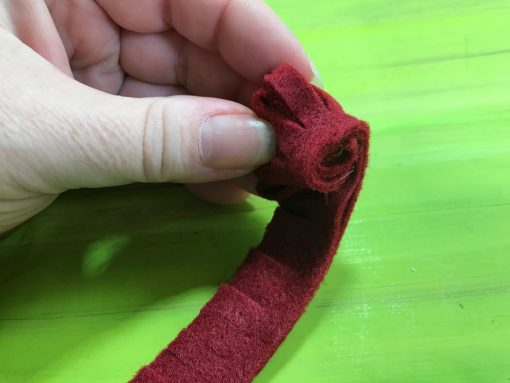
Starting at one end of your cut strip, begin rolling the strip up, gluing it at the bottom (un-cut) edge as you go.
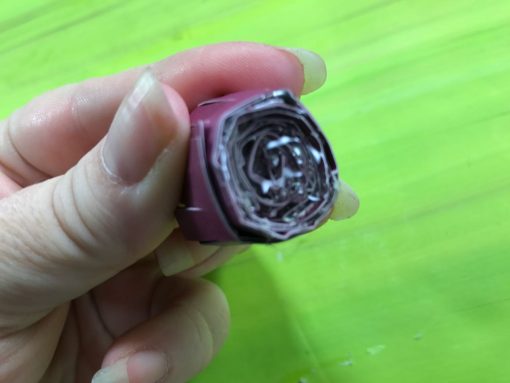
After you’ve rolled up the flower, glue the end of the strip down.
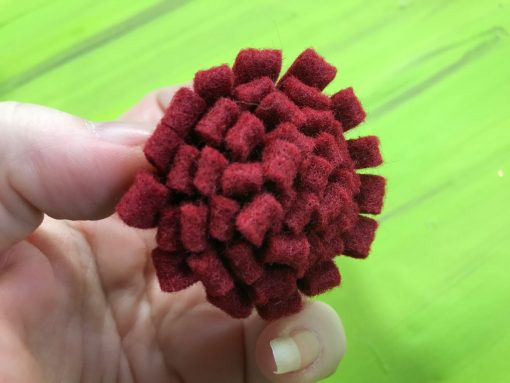
Now fluff up your “petals” and enjoy!
Tip: If you want a bigger, fuller flower, glue two of your strips together end to end before you roll them up!
How to Make My Mini Mums (Detailed Version with Blossoms)
First, decide if you want felt or paper. Both are possible with this technique.
Next, download my cut file and upload the version with “blossoms” to Cricut Design Space. This file will make ONE flower.
Cut your felt or card stock using my cut file. I cut my felt on my Cricut Maker using the rotary blade tool (be aware that it will take some time to cut out all the blossoms).
Put your base flower together using the directions for the simple flower above, but you’ll want to glue the two strips end to end before you roll them up.
Once the base flower is rolled and glued, glue on the blossoms. I did this by gluing the orange layer under the yellow layer, then gluing the entire blossom onto the base flower in a pleasing manner.
And that’s it! It’s pretty easy!
Get the Free Patterns/Cut Files for My Mini Mums
Just fill out the form below to get the password to my free resource library, where I store the patterns and cut files!
Please let me know if you have any questions!
Love,

LIKE THIS TUTORIAL? PLEASE PIN IT TO YOUR FAVORITE PINTEREST CRAFT BOARD!


I love this but I do have a question. How and to what do you attach the mums to?
Thanks!
I attached my mums to a wreath and to a bobby pin with hot glue!
So simple yet perfect. I sure loved minimum!
I would love to see a paper spider mum
Looking forward to making the mums!