
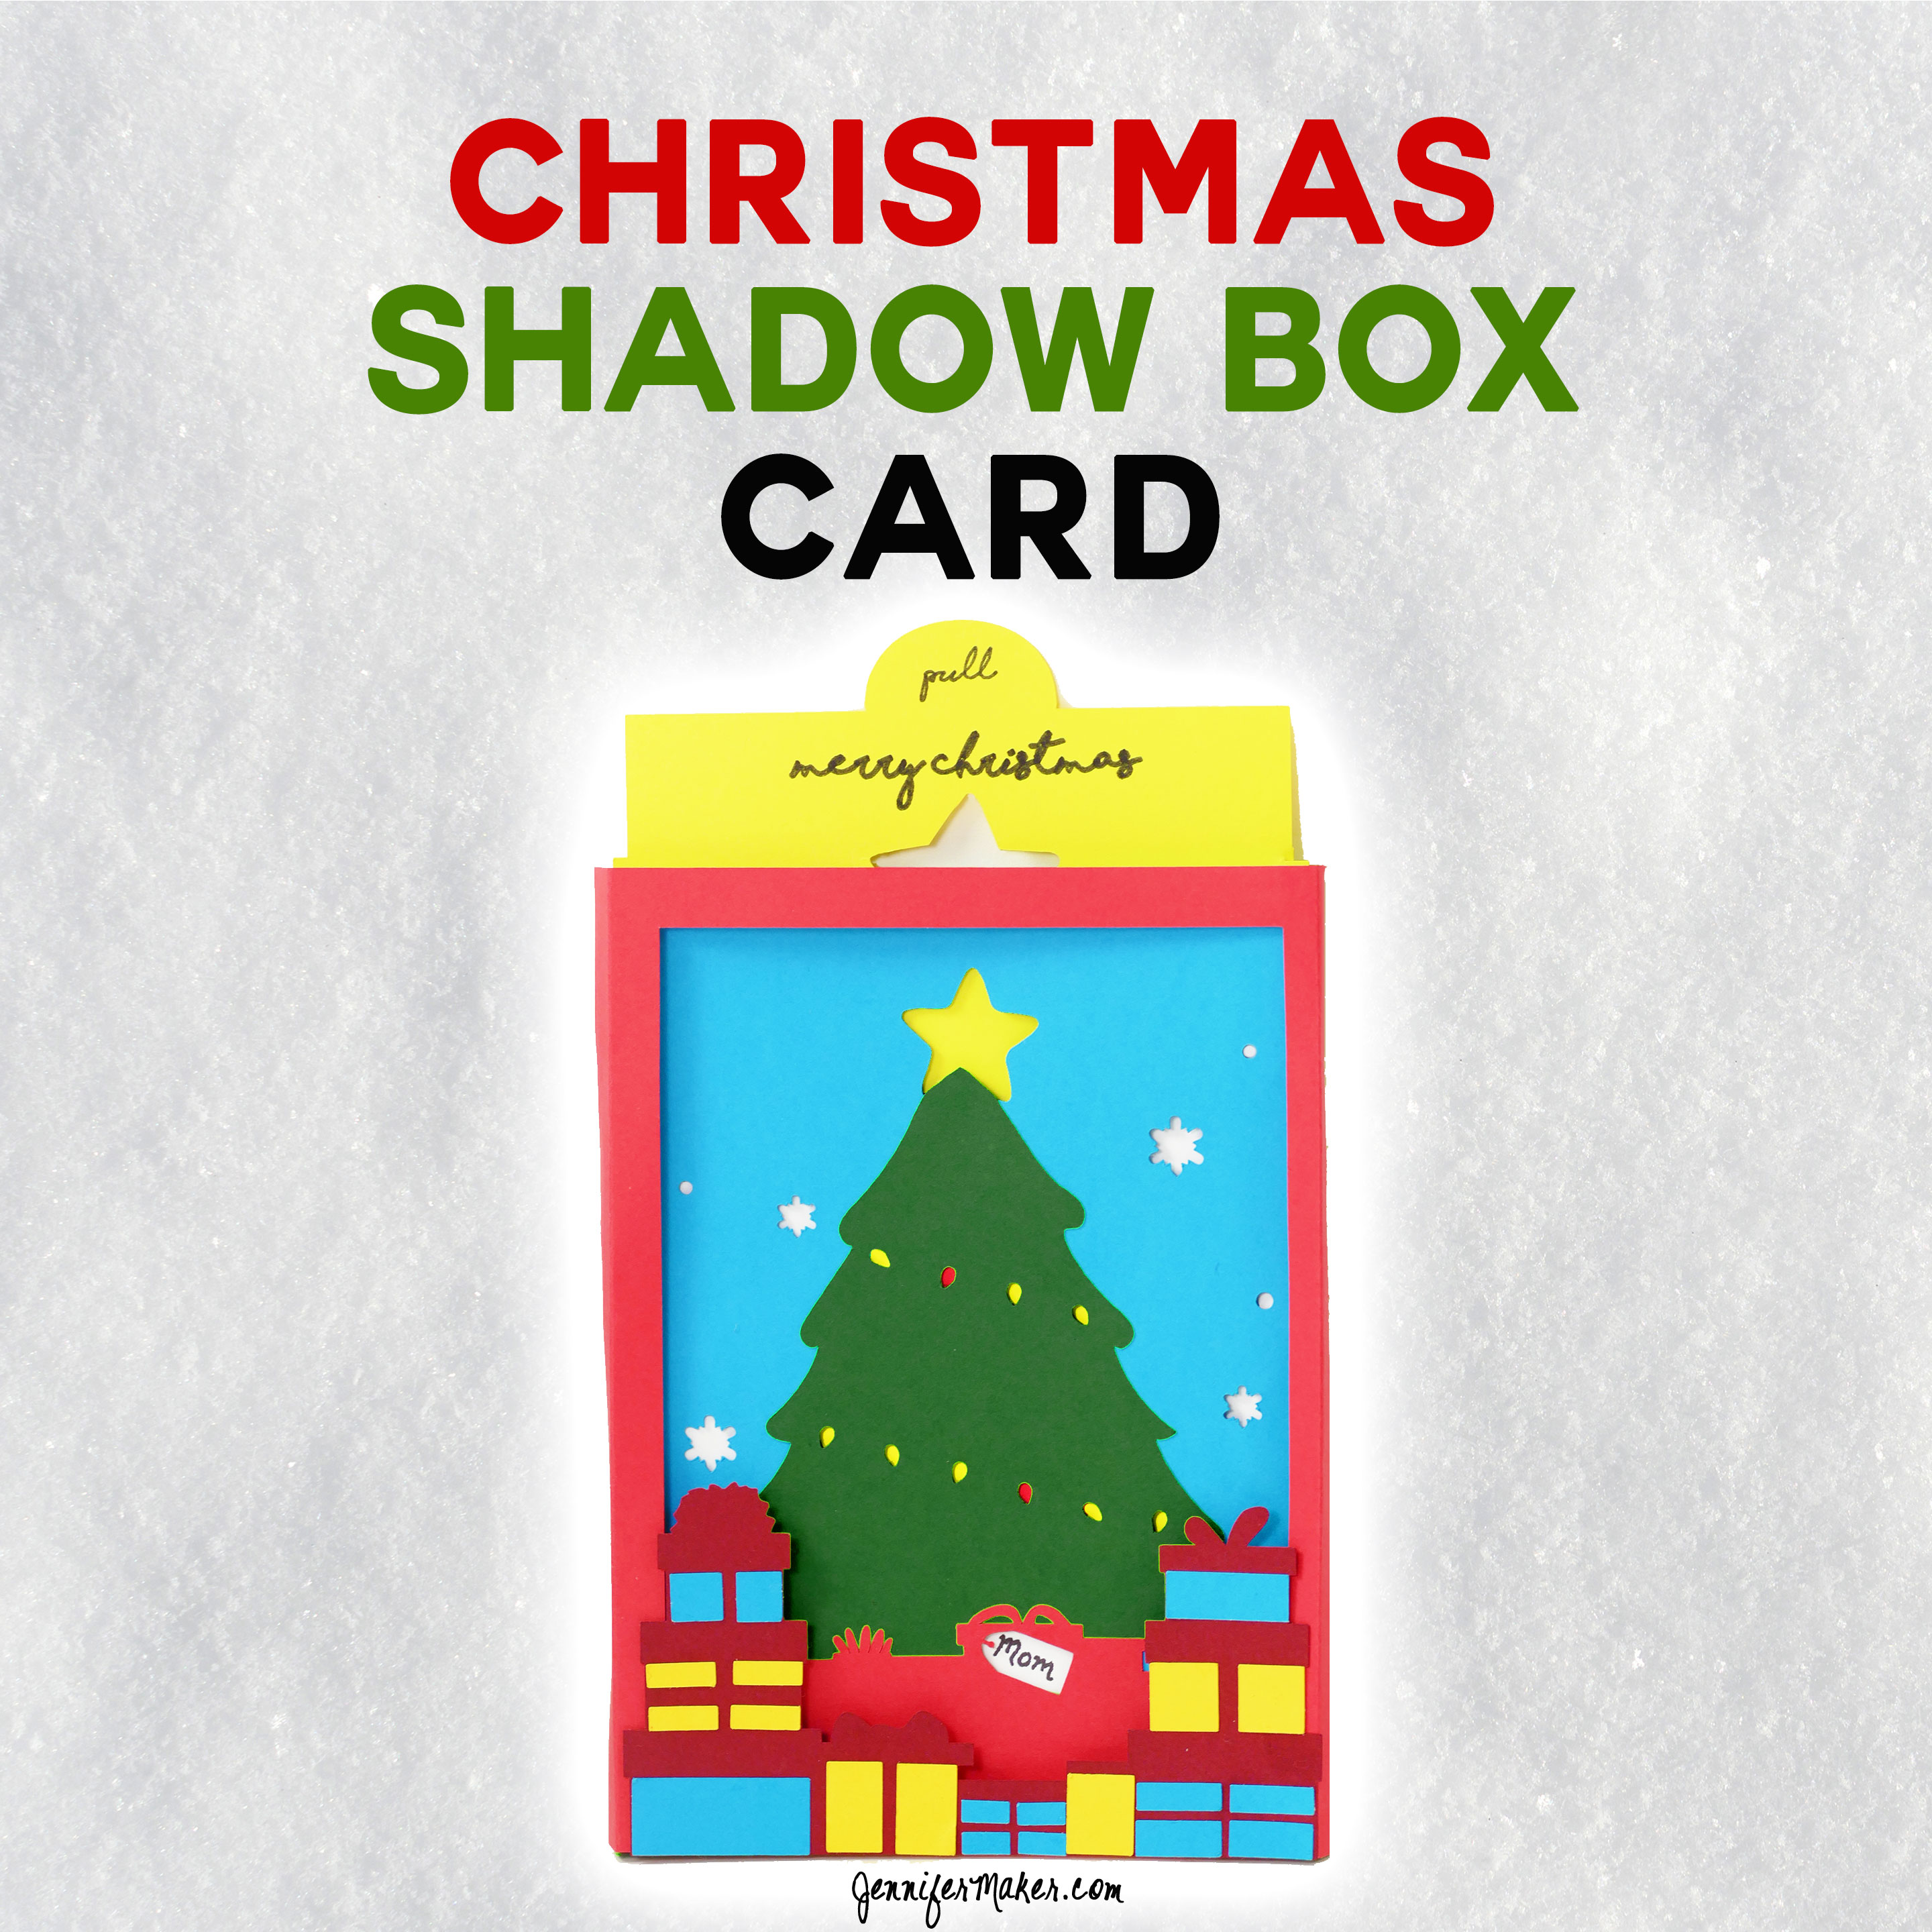
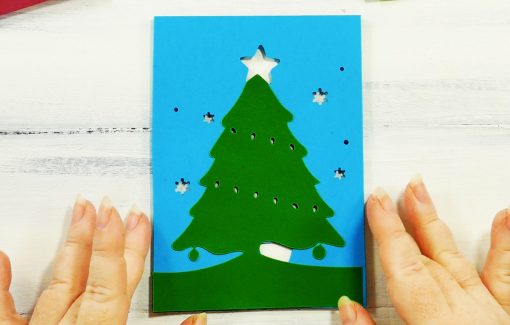
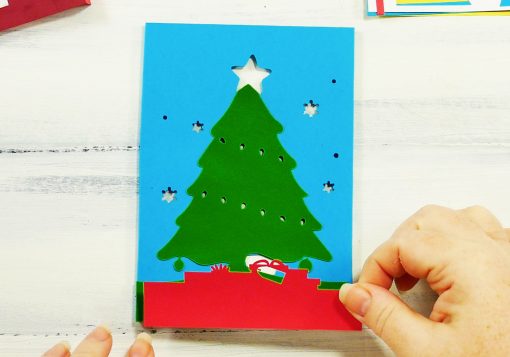
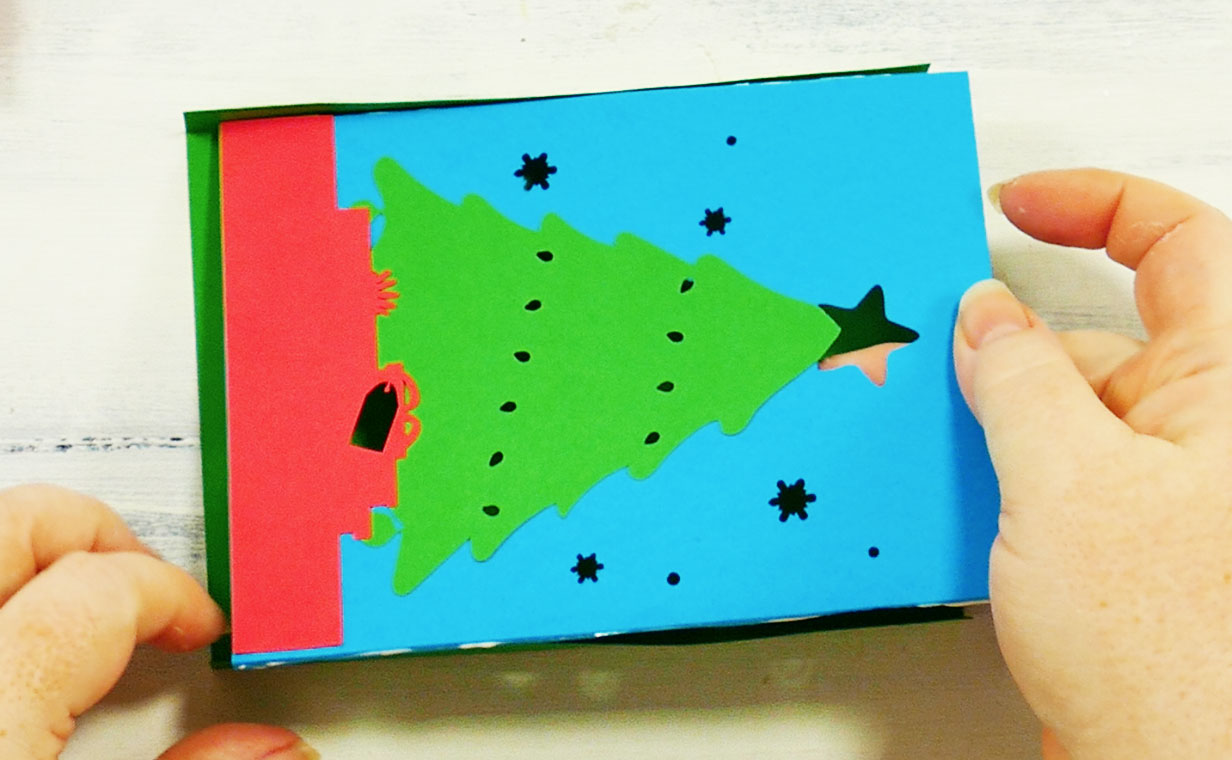
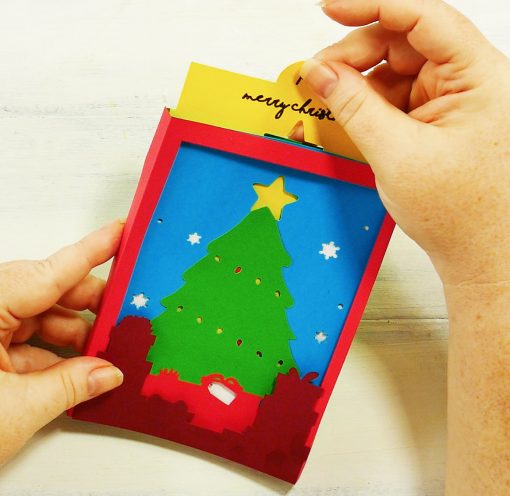
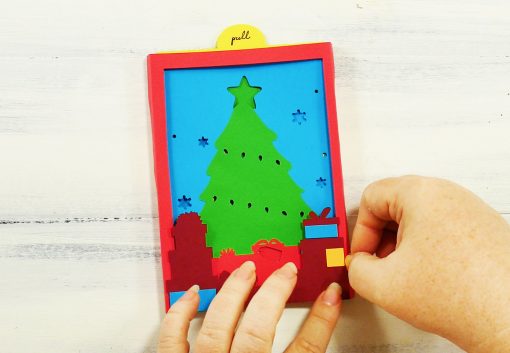
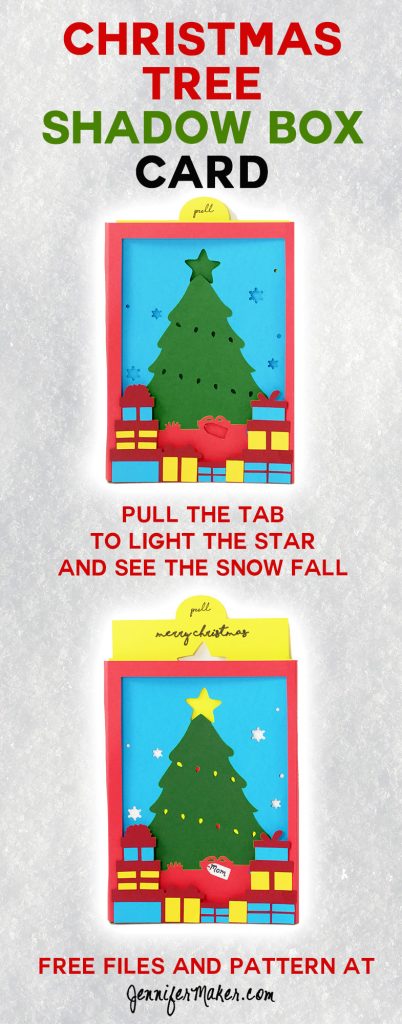
Are you ready for Christmas in July? After last week’s Haunted Mansion shadow box card, several of you asked for a Christmas version. Specifically, a Christmas tree with lights! So here is a Christmas tree shadow box card — when you slide up the pull tab, the “lights” come on, the snow falls, and the gift tag on the present under the tree appears.
This post contains some affiliate links for your convenience (which means if you make a purchase after clicking a link I will earn a small commission but it won’t cost you a penny more)! Read my full disclosure policy.
Christmas Tree Shadow Box Card Materials
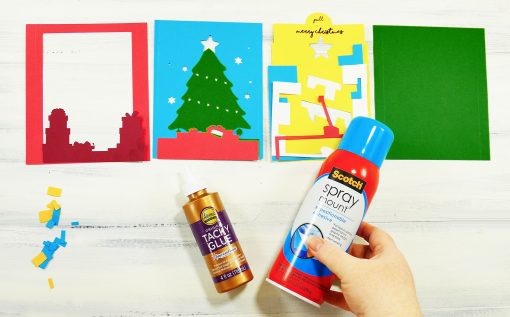
- 65 lb. cardstock (I used red, dark red, green, blue, yellow, and white)
- Tacky glue
- Spray adhesive
- Scoring stylus (if you’re using a Cricut)
- Cricut pen (if you’re using a Cricut)
- A way to cut out the pattern in the cardstock (I used a Cricut)
- Design #44 – My free cut files (available in my resource library—get the password by filling out the form at the bottom of this email)
How to Assemble the Christmas Tree Shadow Box Card
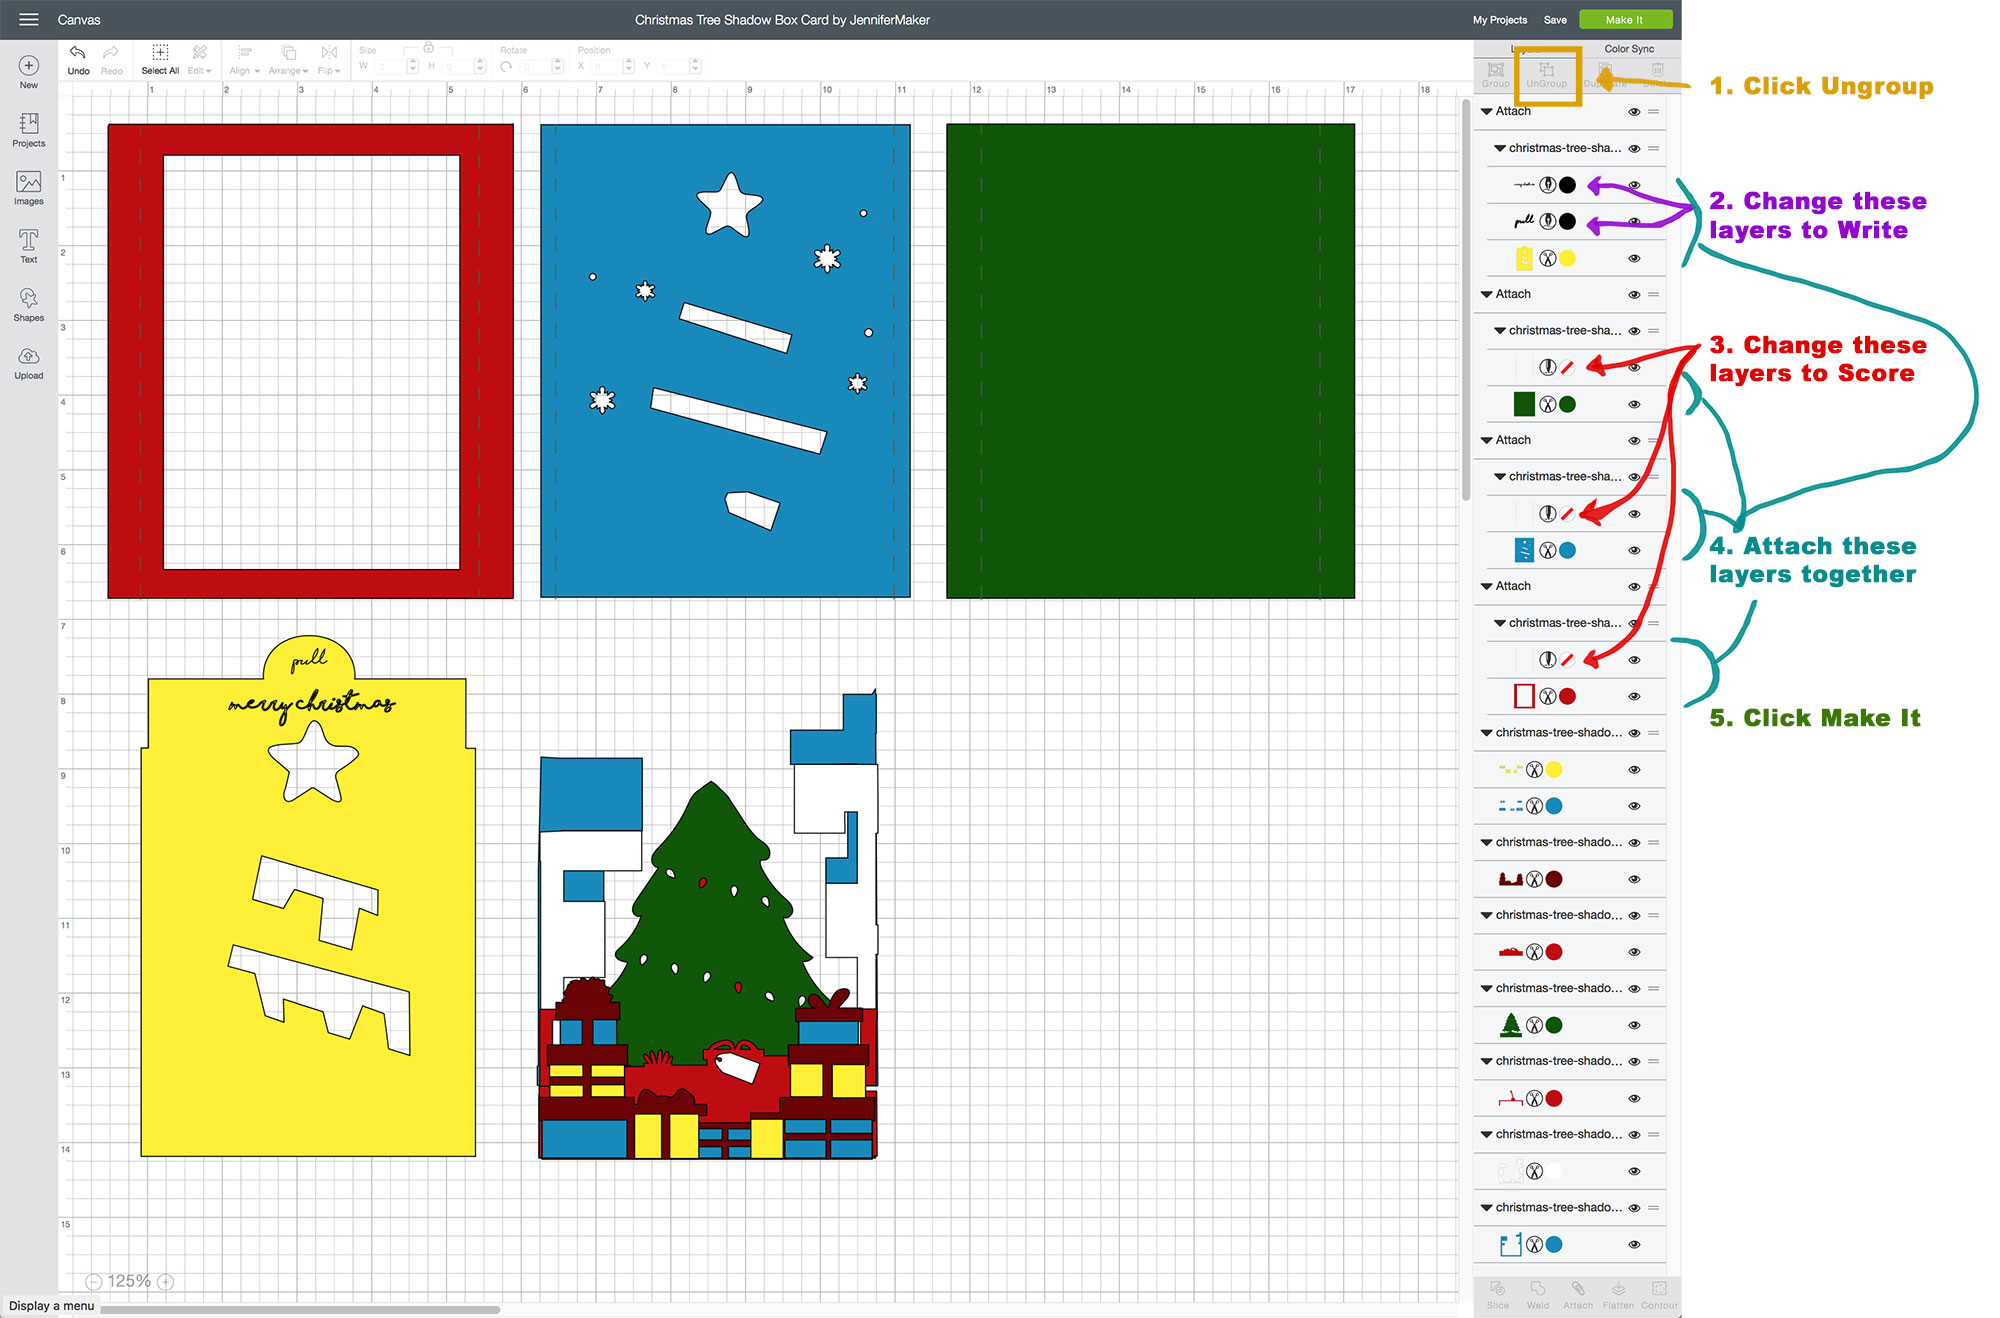
First, cut out all of your cardstock pieces. This shadow box card is a bit more complicated as two colors are revealed when the pull tab slides up, and thus there are more pieces and a bit more complexity to the cut. If you’re using a Cricut, you need to download the file, go to Cricut Design Space, upload the SVG file, place it on your Canvas, and immediately click the Ungroup button. Now you need to change score layers (there are three) to Score and write layers (there are two) to Write. Then you need to attach the score and write layers with their respective layers (four in total). See the screenshot below to see what goes with what.
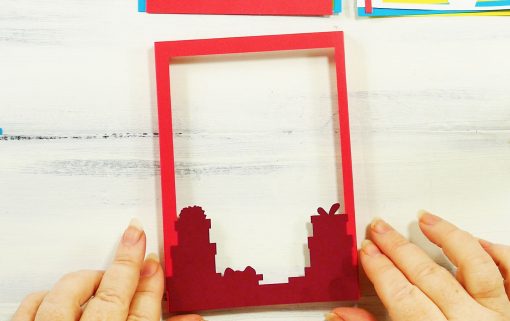
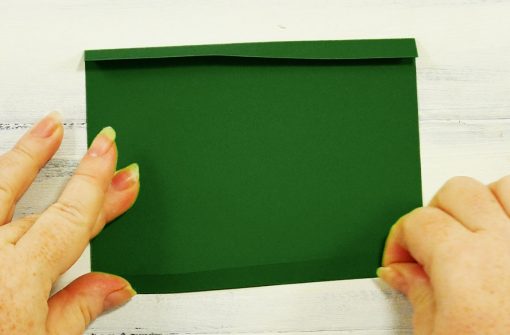
Once everything is cut out, begin by folding the red frame, which will be the top of your shadow box.

Now glue the dark red paper layer (the front of the present stack) onto the front of the red frame. Align it with the bottom.
The next step is to fold the sides of the blue snowflake layer down.

Glue the green Christmas tree onto the blue snowflake layer. Again, align the bottoms.
Then glue on the second layer of presents, the one with the gift card cut out.
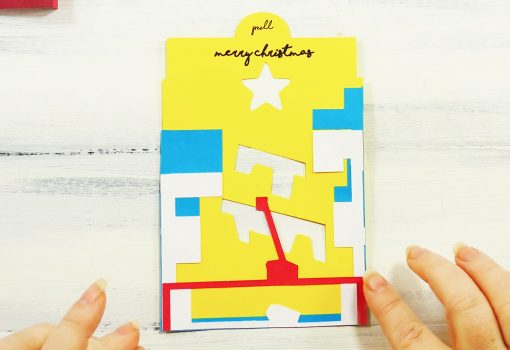
Next, glue on all layers of the slider card. Bottom layer is yellow (it has the writing on it), followed by white, then blue, and finally red. Each of these layers align with the bottom of the yellow slider card.
Fold up the sides of the green back layer.
Glue the sides of the snowflake-and-tree layer to the back layer’s sides. Make sure the sides are folded so they create a space between the two layers (so the folded sides go toward the back).
Now glue the sides of the back layer inside the sides of the front frame, forming the shadow box.

Insert your yellow slider card. If it is too tight to move freely, just trim a small amount off each side. Also make sure everything is working as expected. If any of your layers shifted during assembly, you may see other layers peeking through — you can fix this by snipping off the extra on layers as needed.
If you want to define the presents in the foreground, I included some color squares and rectangles to attach onto them. I recommend you use spray adhesive to attach these, as it will be cleaner than glue.
Christmas Tree Shadow Box Tips:
- You can write something on the gift tag, as I did. I wrote “Mom” as I plan to give this to my mother. 🙂
- It would be fun to decorate this Christmas tree more than I did. I can’t have all the fun — I left it relatively undecorated so you decorate it as you saw fit. I would love to see you decorate it!!
Free Cut Files for the Christmas Tree Shadow Box
Get the password for the library with the free cut files here by filling out this form:
Remember, I love to see your completed projects! Send me a photo of your projects at [email protected] and I’ll include them here with your permission. Be the first!
Let me know if you have any questions!
Love,

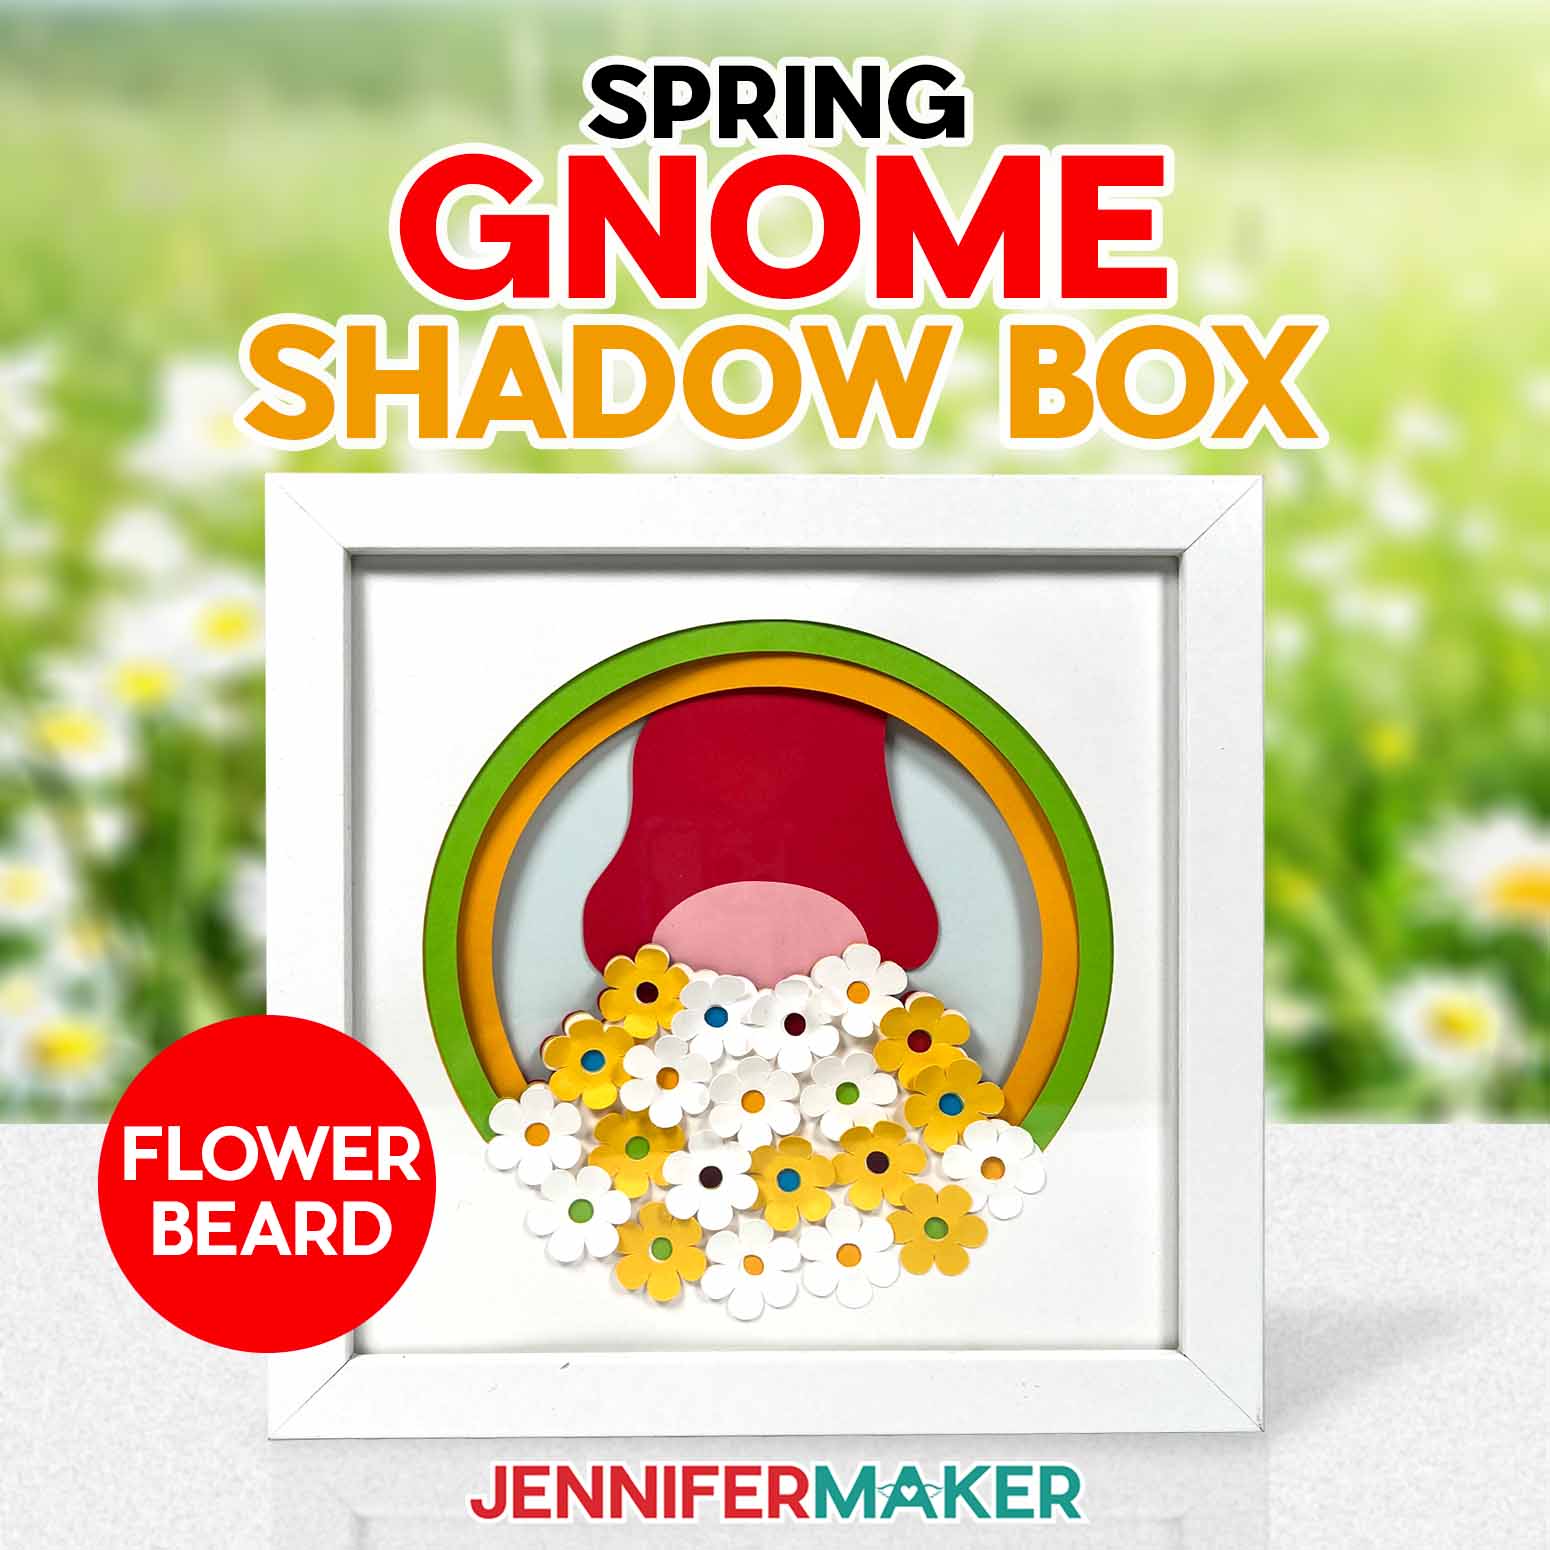
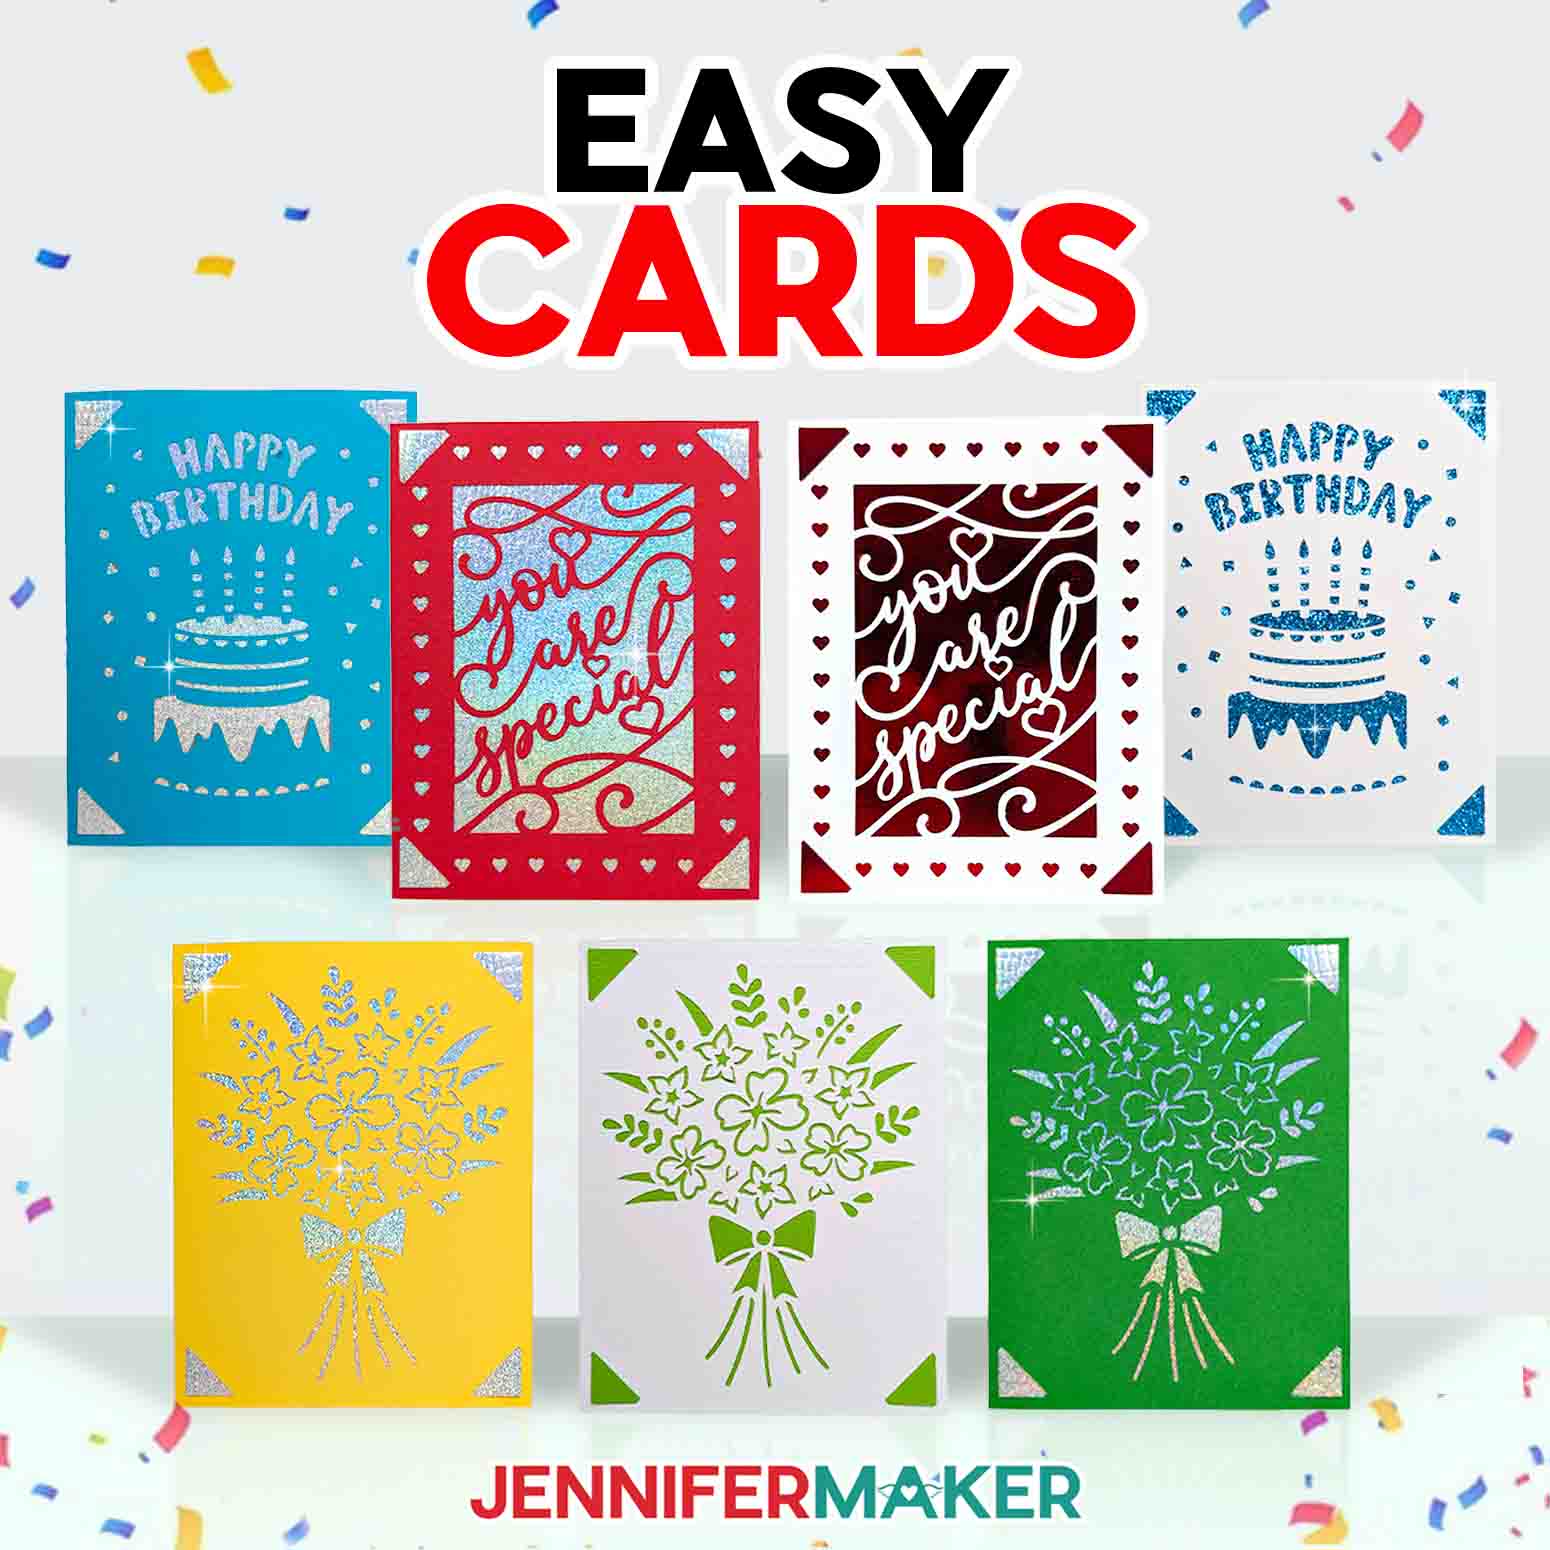
Do you like to make cards? Check out these other popular card tutorials here on my blog:


And if you like this Christmas Shadow Box card, please pin it to your favorite Pinterest craft board!


Jennifer,
I just Love All the Cards Along with Everything You Make & Share. I just want to Say , Your Amazingly Talented.
God Gave You Such a Gift… And Thank You for Sharing it with All of Us.
Chris Klaffka
What a cute card! Love the tag with mom on it! Thank you for sharing on Merry Monday! Hope to see ya next week!
Kim
Thanks Jennifer for your ideas.Your ideas have impressed me a lot.I hope this Christmas I can give this kind of work to my son which i think will be a best gift from my side.Your efforts are highly appreciated.
Jennifer! I am so glad I found you! I love love, love what you do for all of us. Thank you!!!
Thank you so much!
There is a mistake in the directions below. When gluing the layers it says glue white and then glue the blue. If it is done this way, the mom tag is half blue. The blue has to be glued down and then the white. I fixed it quickly by creating a new tag! Thank you! My daughter really enjoyed making this card with me!