
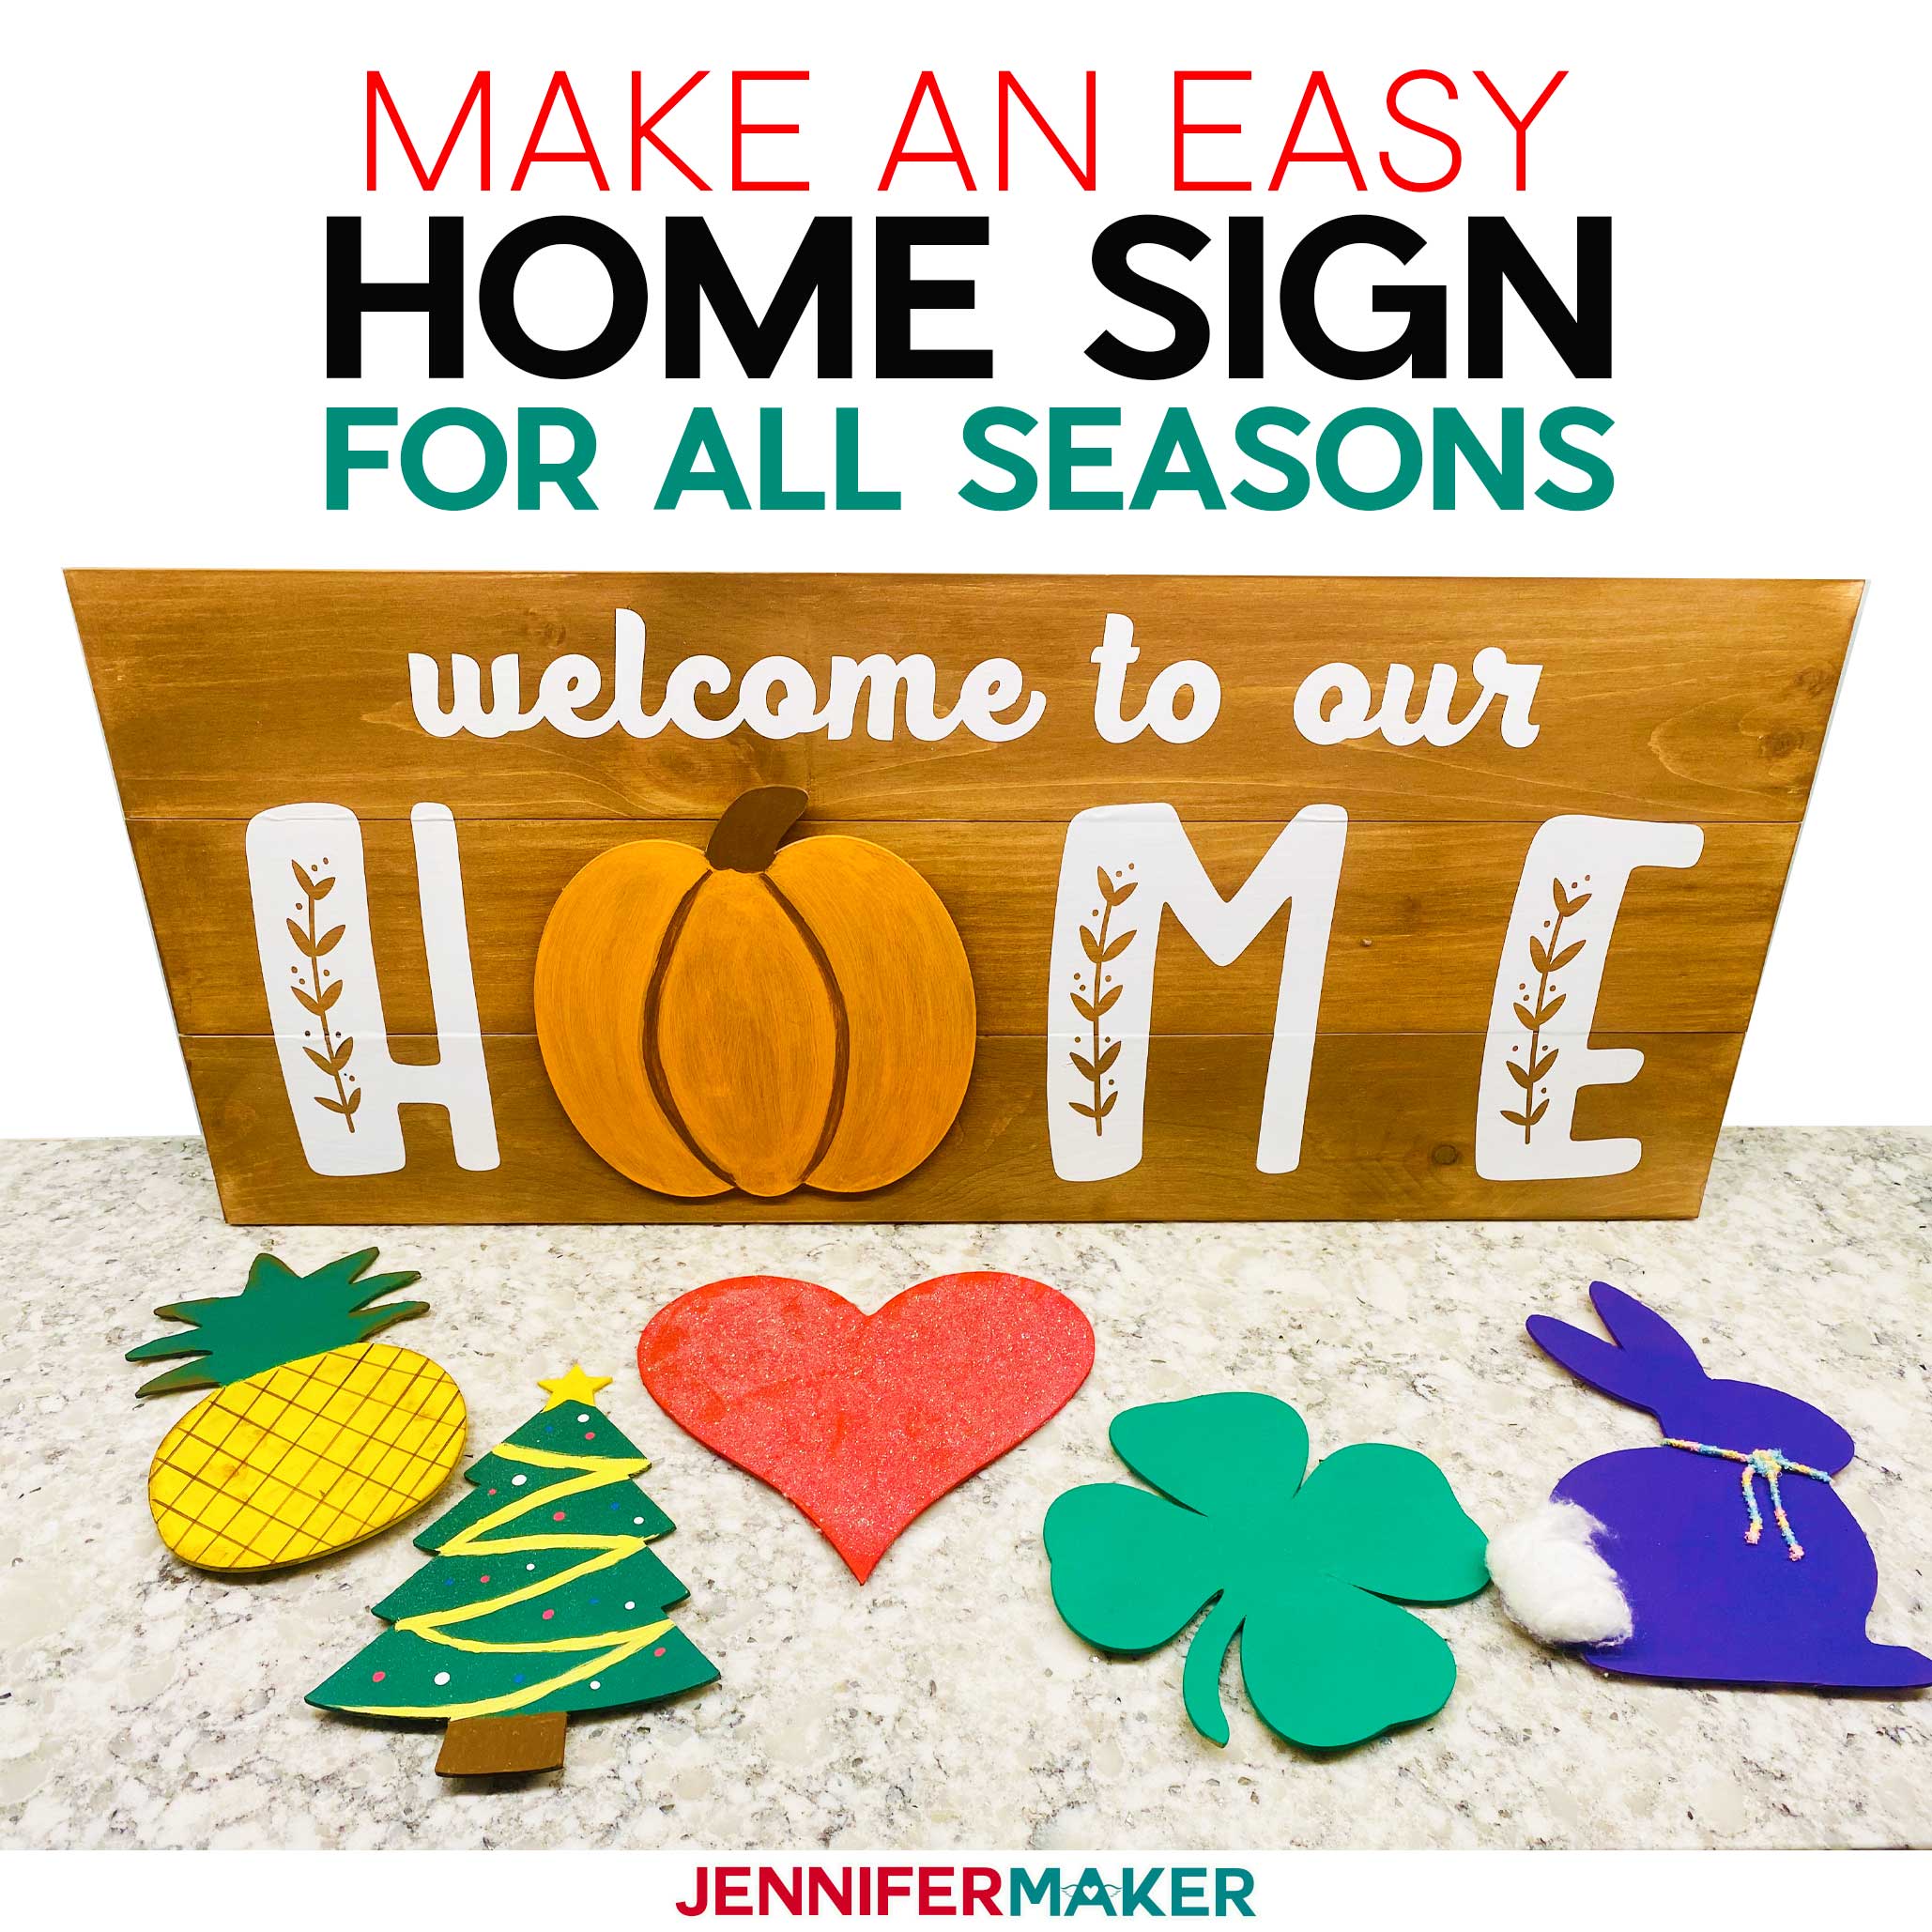
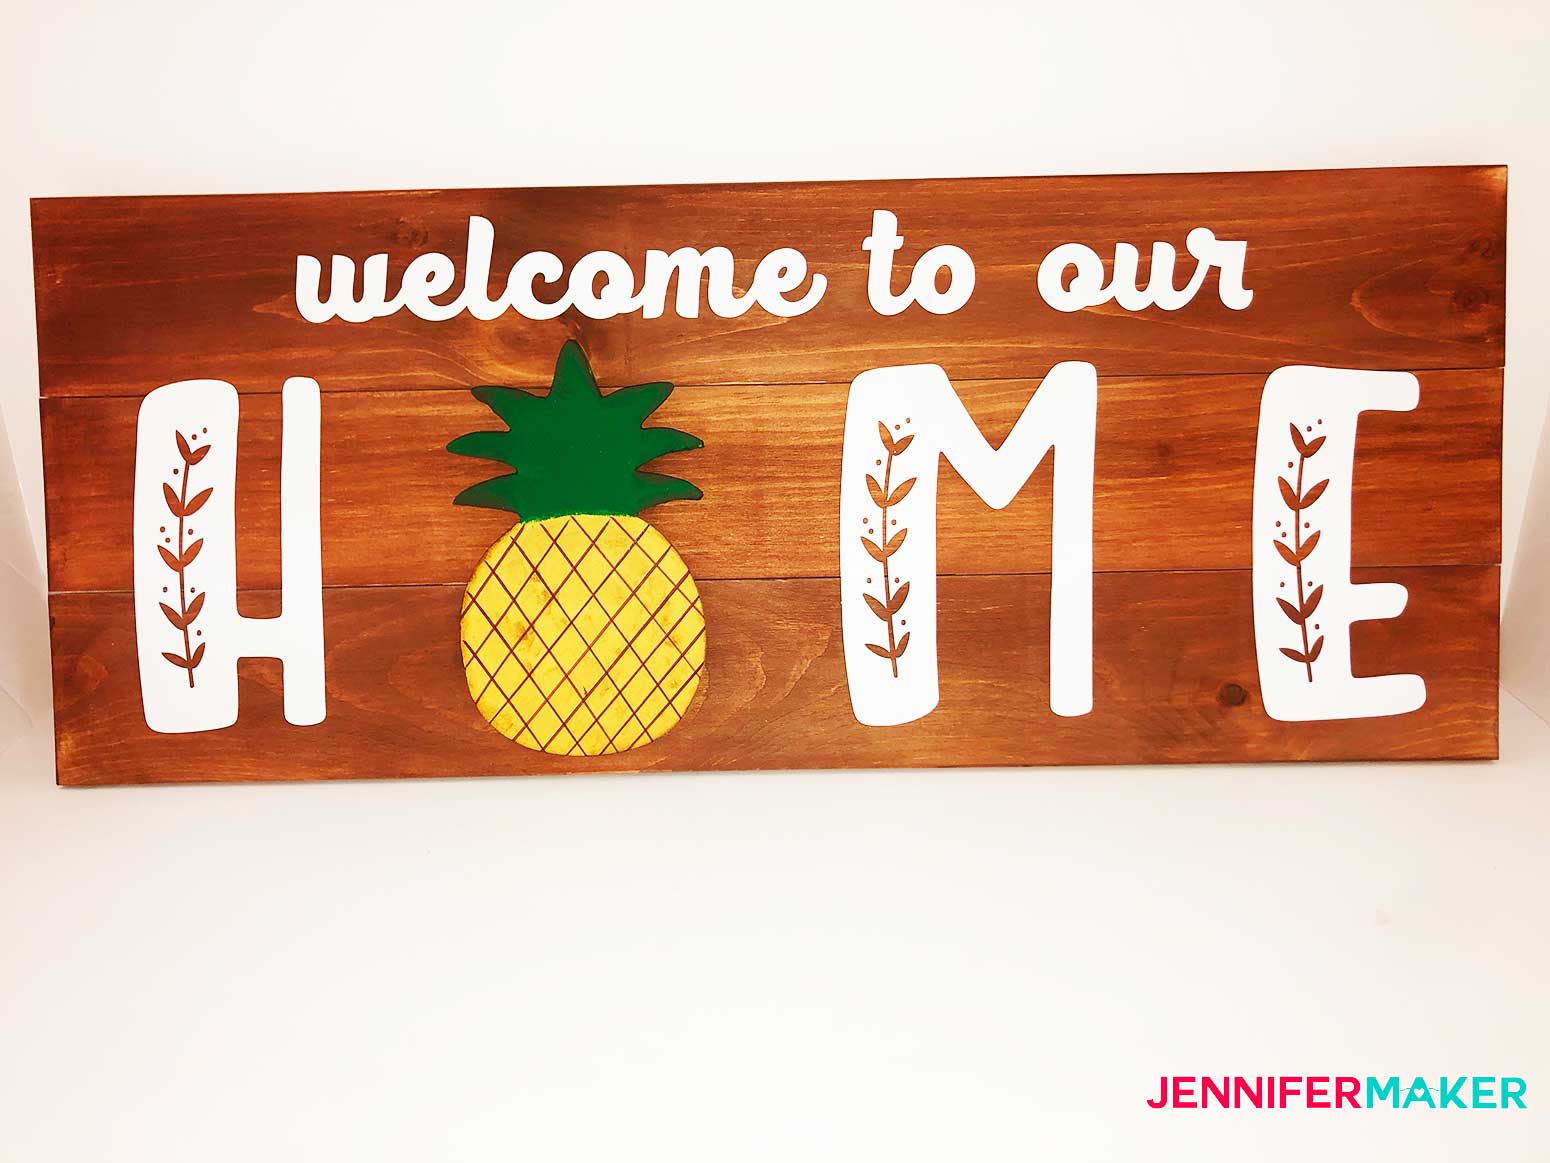
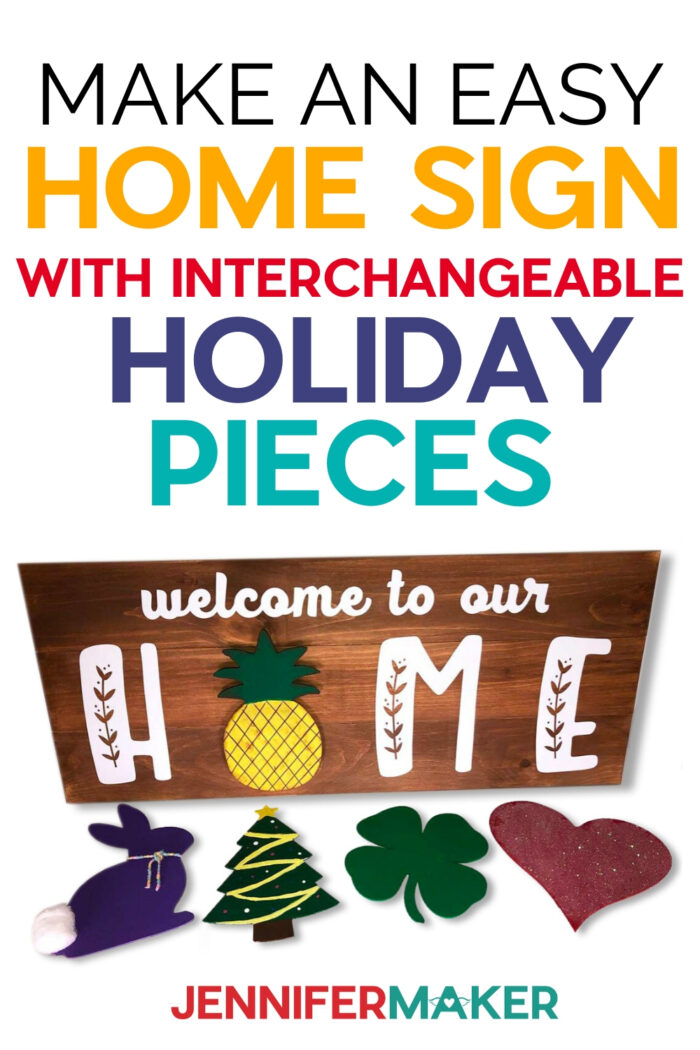
Learn how to make a Welcome Home Sign with interchangeable pieces for every season to year round fun!
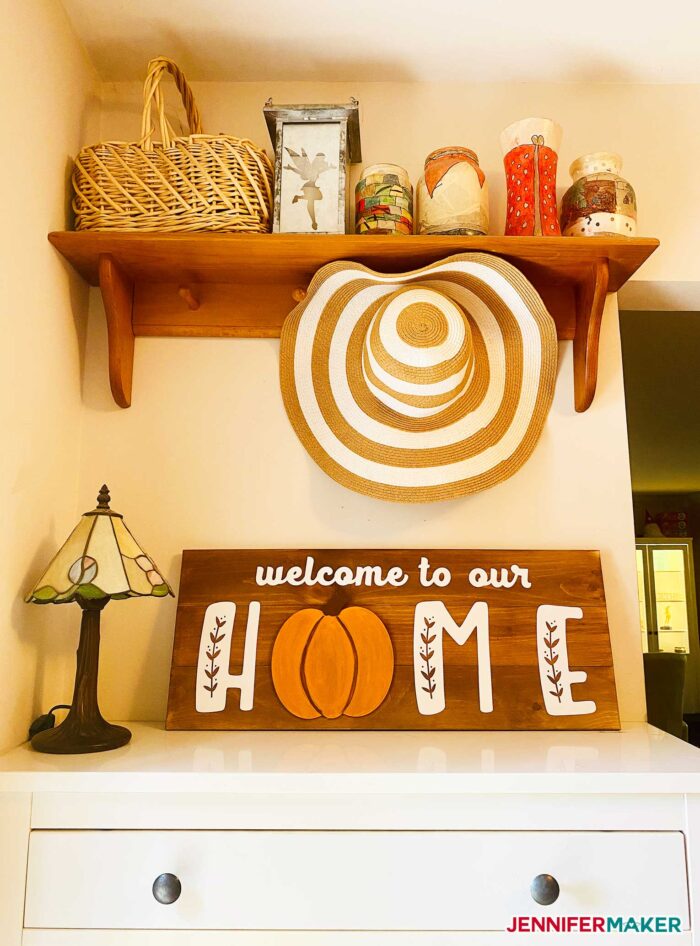
I love decorations that I can keep out all year. So when I saw these cute wood welcome signs with interchangeable pieces I knew I wanted to find a way to create my own version for my entry way. I already have my DIY Vertical Welcome sign that I display during the winter and the holiday season. And I have my DIY personalized welcome doormat to greet people. So I wanted this DIY Welcome Home Sign to be a decoration for inside my home to greet people as they enter.

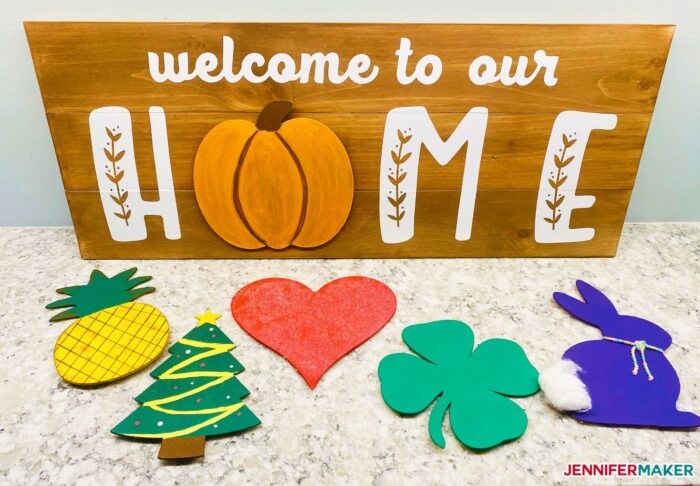
My Welcome to our Home Sign can be used all year by changing out the ‘O’ in HOME with different interchangeable holiday-themed pieces. You can also create your own designs. Wouldn’t it be cute to have a cake to display on birthdays or the mascot for your favorite sports team and display the mascot on game days?
Let me show you how easy it is to make this Welcome Home Sign with Interchangeable Pieces. This post contains some affiliate links for your convenience (which means if you make a purchase after clicking a link I will earn a small commission but it won’t cost you a penny more)! Read my full disclosure policy.
Materials to Make a DIY Welcome to Our Home Sign
- Wood Board
- Cricut Heavy Chipboard 2mm (for use with Maker machine) or Cricut Chipboard, Kraft 1.5 mm (for use with Explore or Maker machines)
- Cricut Premium Vinyl Permanent
- Cricut Standard Grip Transfer Tape
- Mod Podge
- Foam Brush
- Acrylic Paints
- Baby Wipes
- 3/4 inch Velcro
- Cricut Knife Blade and Housing (Maker Only)
- Painter’s Tape
- Cricut Basic Tool Set
- Acrylic Ruler
- Fine Grit Sanding Sponge
- A cutting mat for your Cricut (green StandardGrip or purple StrongGrip works)
- (Optional) Blackfat Script and Acres font
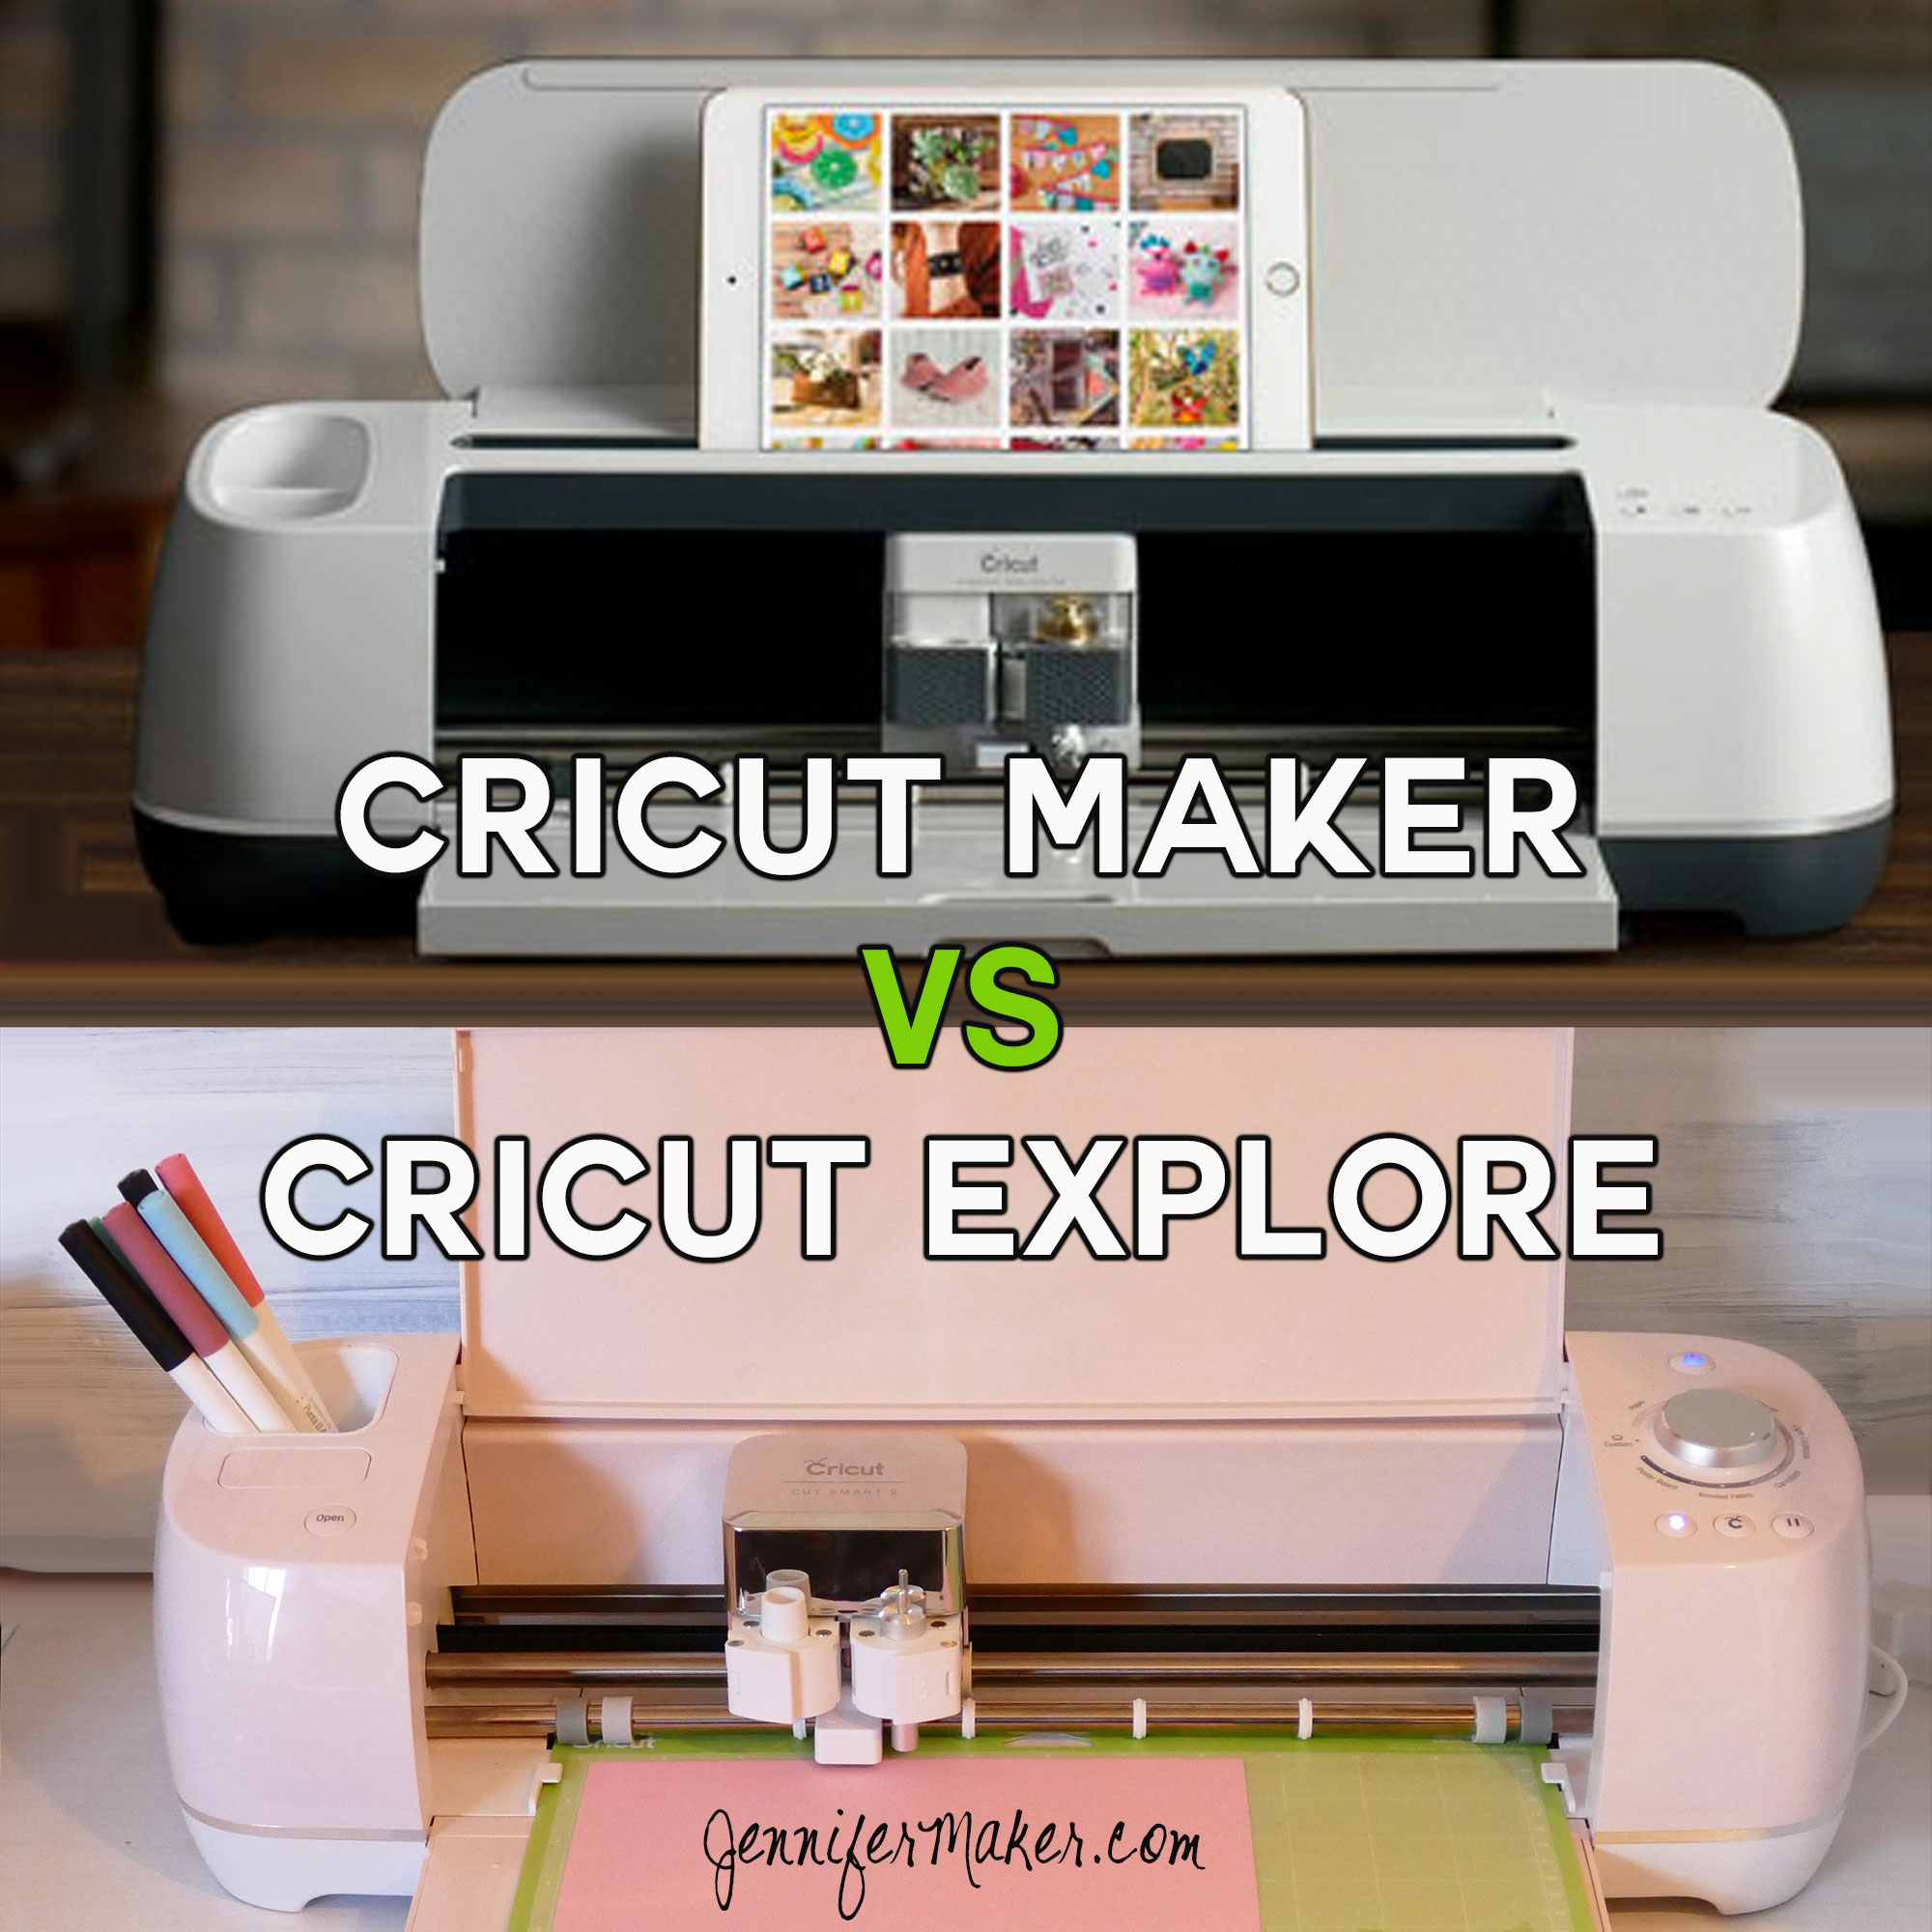
- A way to cut your paper (I used the Cricut Maker cutting machine but they can also be cut on a Cricut Explore)
- Design #235 – My free SVG design files (available in my free resource library—get the password by filling out the form at the bottom of this page)
How to Make a DIY Welcome Home Sign with Interchangeable Pieces
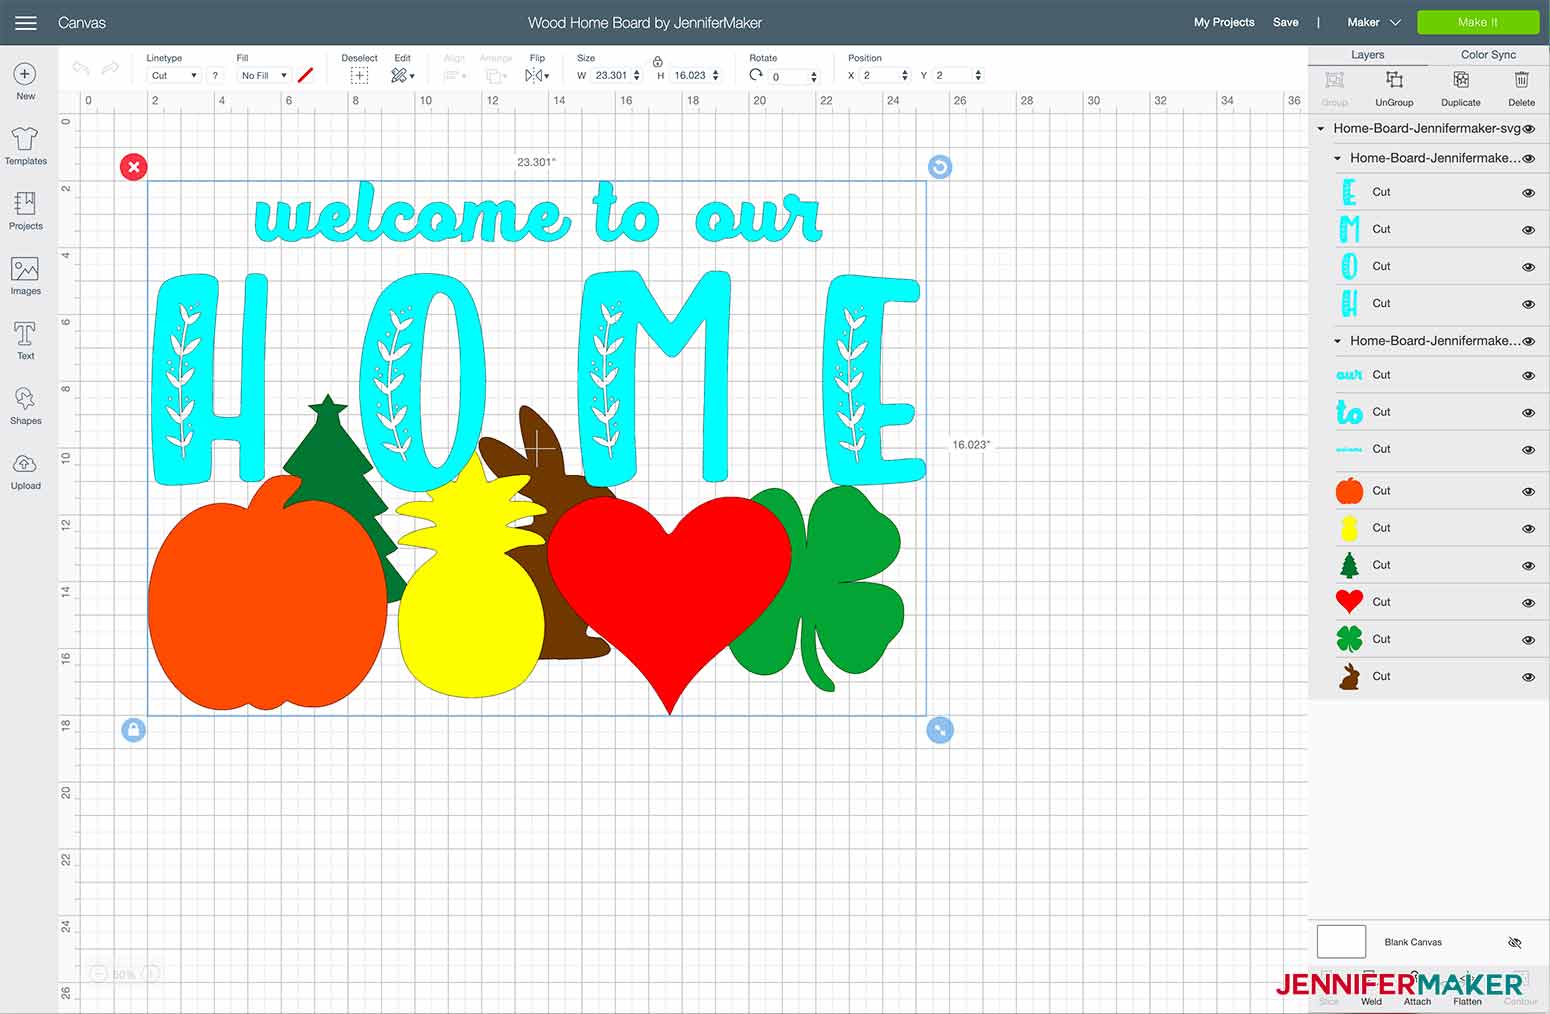
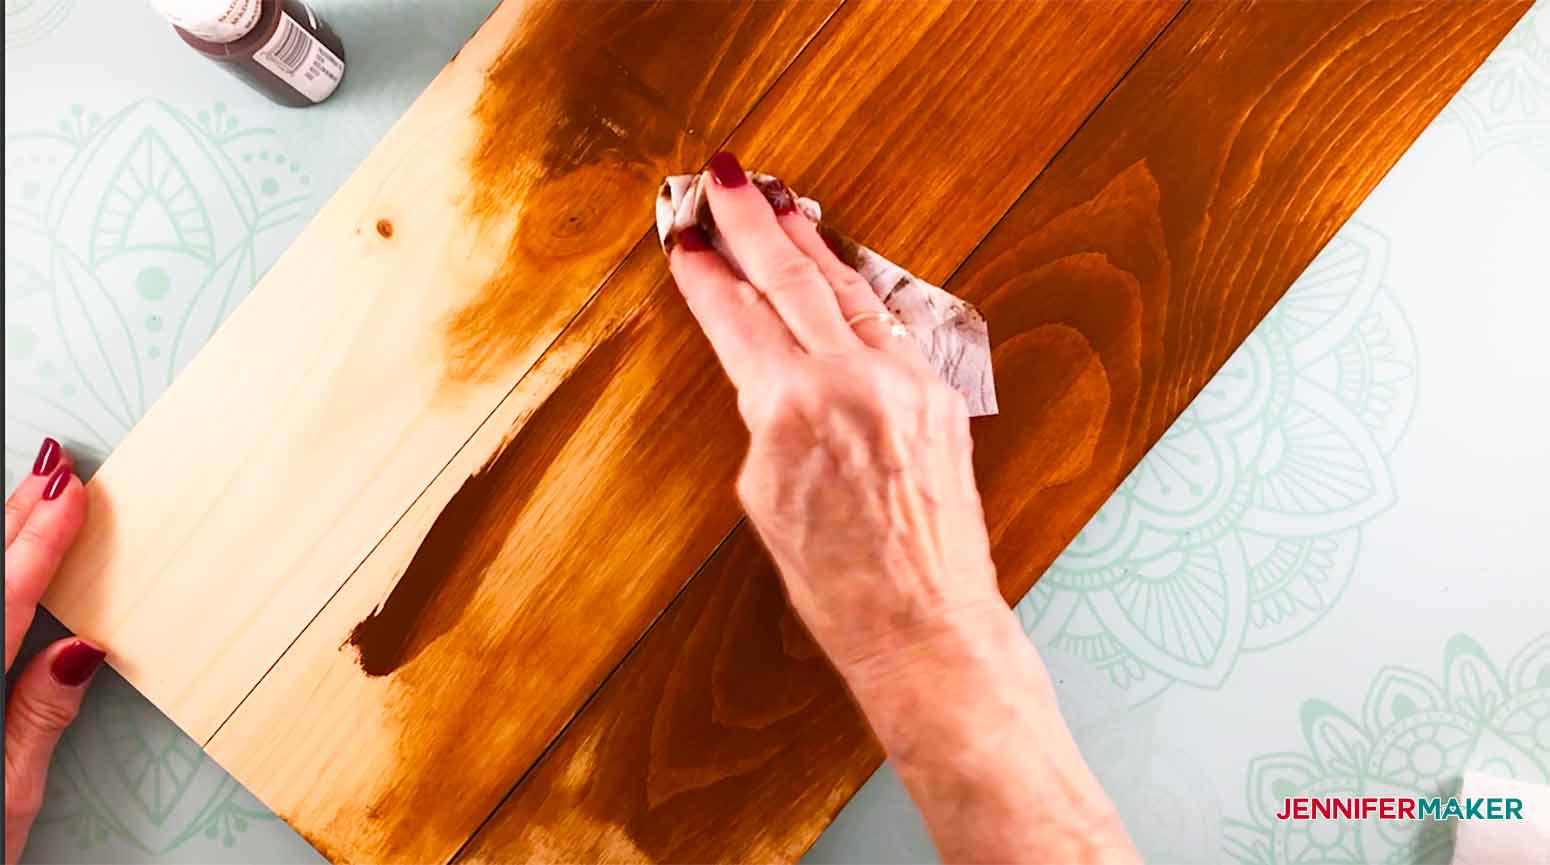
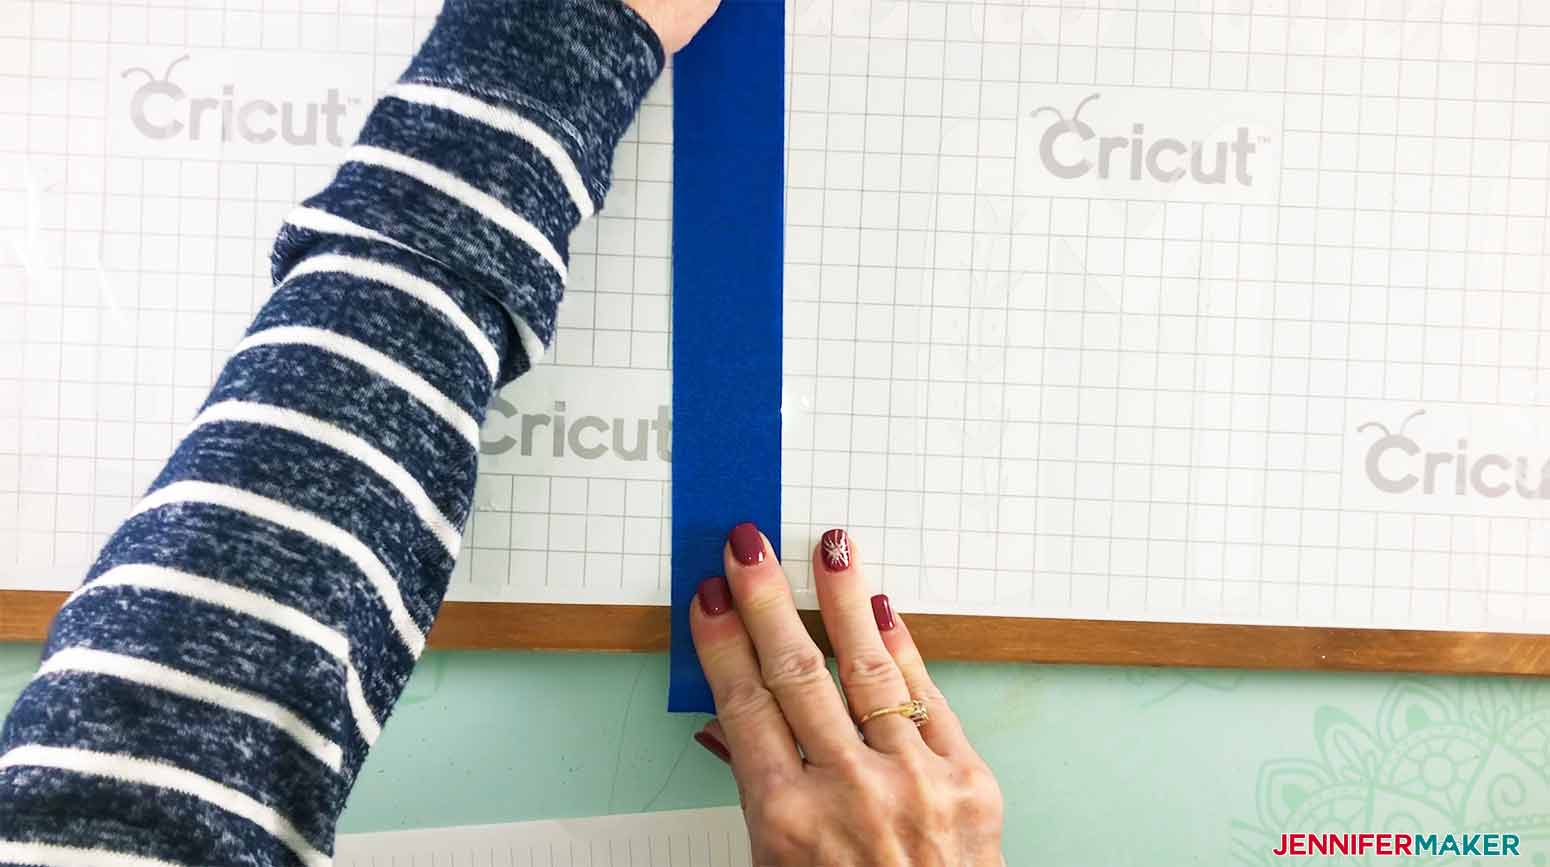
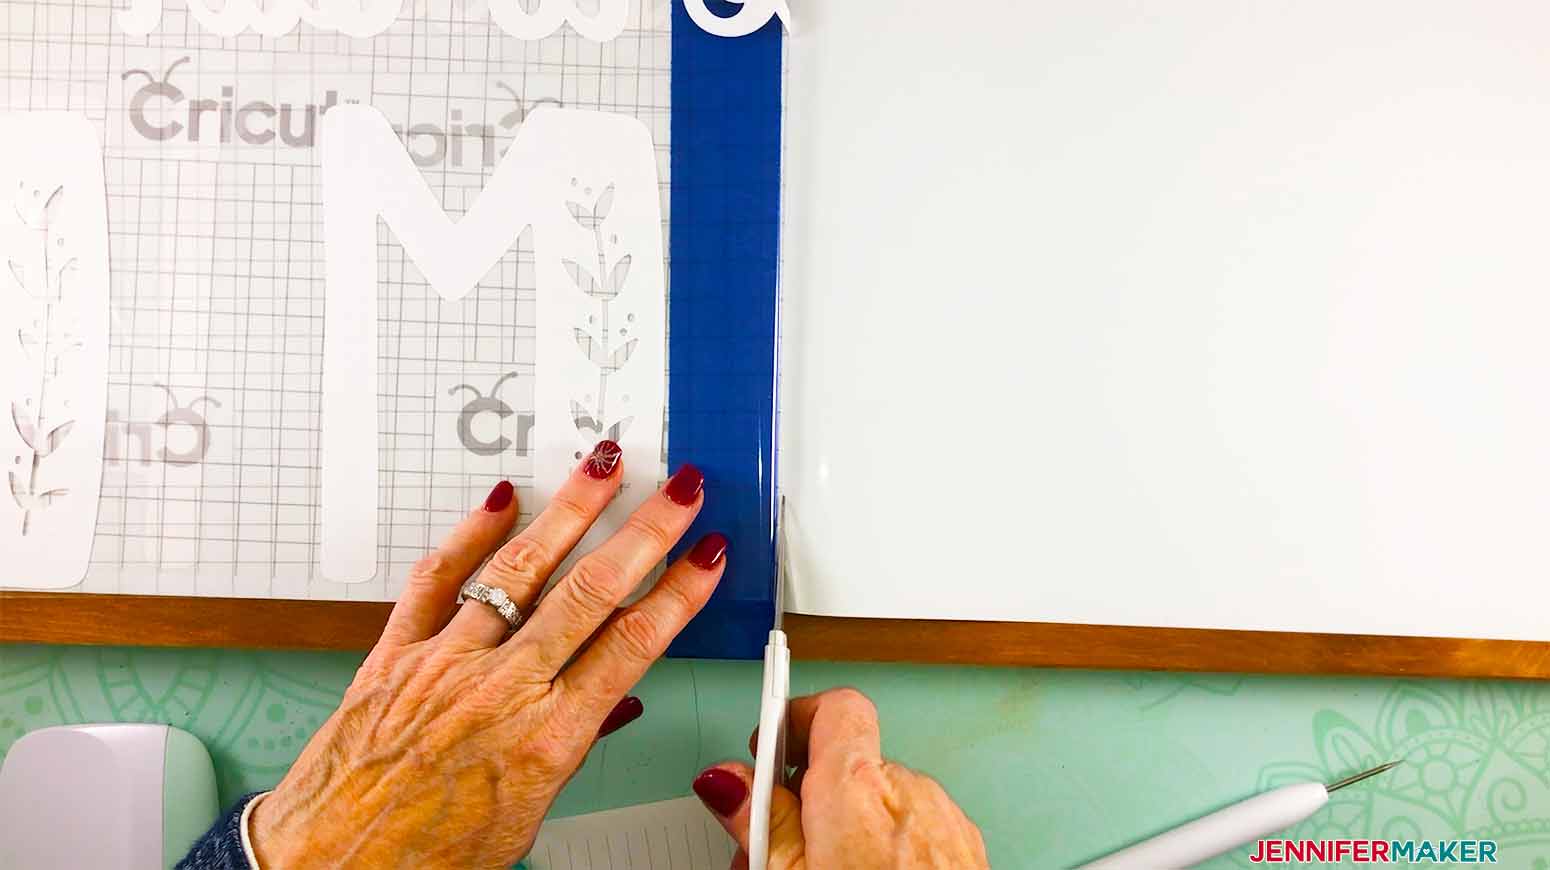
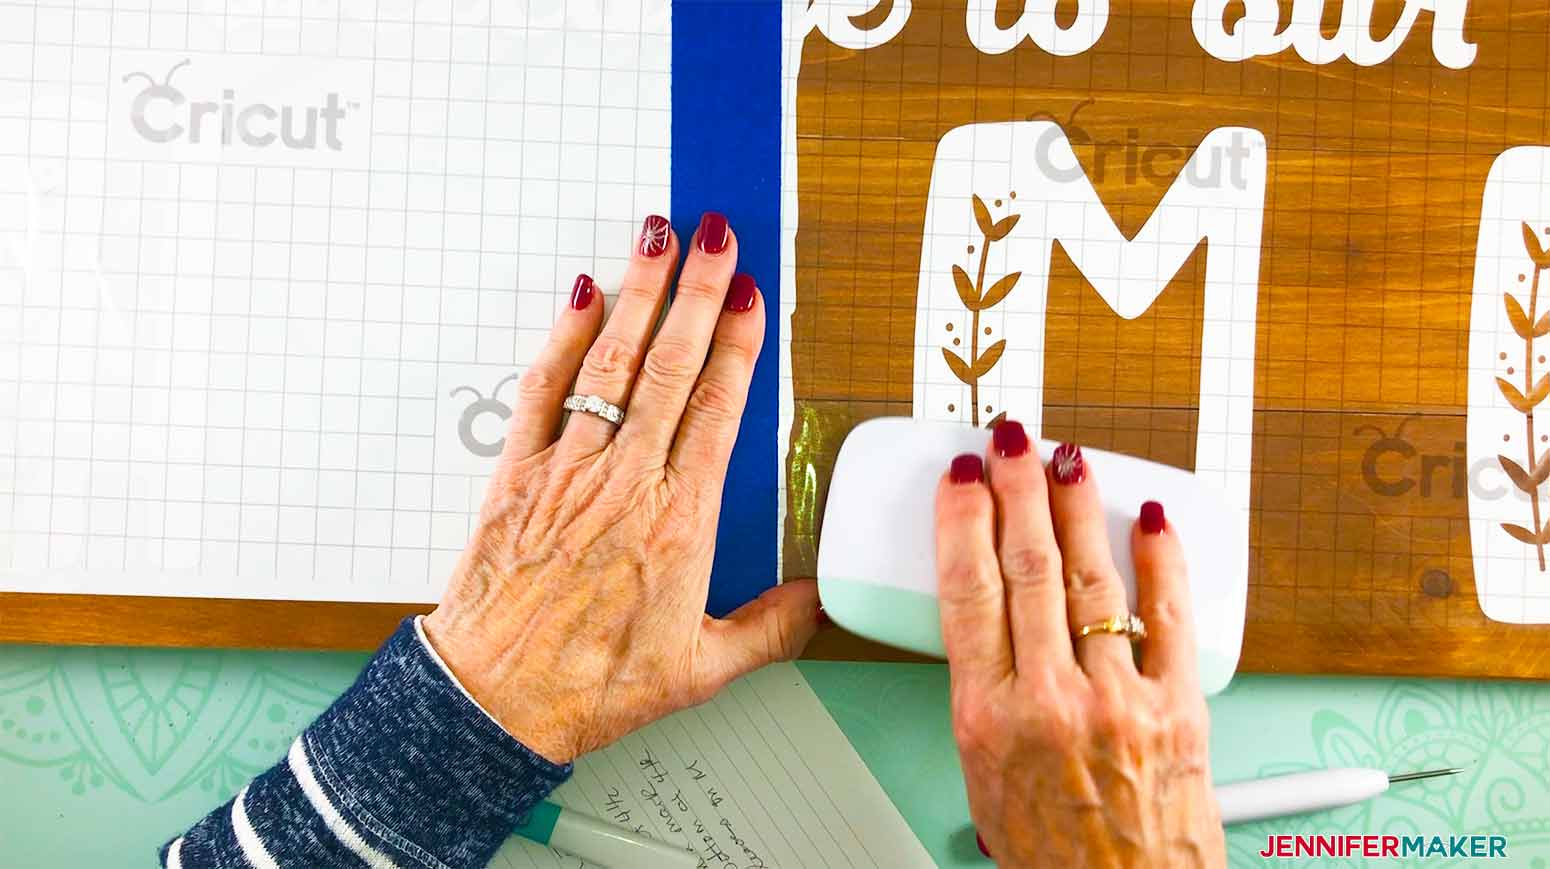
How fun it is to have a sign up in our homes that you can change for the season and holiday! This Welcome to our HOME sign has so many cute interchangeable pieces and you can surely use your imagination and create more! You can get my Welcome to Our Home Sign design file (Design #235) from my free resource library (get the password to the library in the form at the bottom of this page.) Here is what my Welcome to Our Home Sign file will look like when you upload it to Cricut Design Space: Tip: If you are not sure how to upload an SVG cut file to Cricut Design Space, watch this helpful video training series I made. If you are on an iPad or iPhone, here is how to download and upload SVG files to the Cricut Design Space app. Using a piece of 150-grit sandpaper, sand the board smooth. I like using a sander or a sand block. After sanding, wipe the board down with a cloth to remove any debris left on the wood from sanding. Apply paint to the board using a baby wipe or a brush. If you are using a baby wipe, dab the baby wipe in paint and then wipe the board. Continue to do this until the board has the desired coverage. The interchangeable pieces are used in place of the letter "O" in the word HOME. You can choose to cut the designs out of Heavy Chipboard on a Cricut Maker or out of Kraft board in either the Cricut Explore or Cricut Maker. If you are using the Cricut Maker to cut your interchangeable pieces out of Heavy Chipboard, you will need a StrongGrip mat (purple) as well as painter's tape. Tape the Heavy Chipboard down to the mat on all 4 sides to ensure that it doesn’t move while cutting. The Cricut Heavy Chipboard is only 11" x 11", so review the placement of the interchangeable pieces on the Mat Preview Screen in Cricut Design Space (after pressing the Make It button) to ensure the pieces will cut on the 11" x 11" material. Move the star wheels on your Cricut all the way to the right to avoid leaving indentation marks on the chipboard. Use the knife blade and the material setting of Heavy Chipboard. The Cricut will need to make several passes to cut through the heavy chipboard. Design Space should show you exactly which pass it is on and what the expected remaining time is. Please be patient as this does take time to cut. Use the PAUSE button on the Cricut to pause the cutting so you can check the progress and remove any debris that may be loose from the mat. Press the Cricut C to resume cutting. Do not eject the mat from the machine until you are certain the cut is complete. Make sure you check the progress and remove the mat as soon as you determine the chipboard is fully cut. If you allow it to keep cutting you may cut through your mat. After the mod podge has dried, paint the pieces in your desired colors and embellish as you wish. I did find if my piece curled a bit from the moisture, laying it under some heavy object, like a book, after it had dried will flatten it down again. Apply the permanent vinyl to a 12" x 24" StandardGrip mat (green) if you want to cut the design all in one piece. Set the materials to Premium Vinyl and use the Fine Point blade. Prior to cutting the design, you can delete the letter O in the word 'home' or let it cut and just remove it when weeding. When applying a large piece of vinyl to a board I like to use the Hinge Method. Tip: To help your design stay in place, tape the transfer sheet to the board with a piece of painter's tape vertically near the middle of the board. Be sure to use a piece of painter's tape that is long enough so it covers the whole design with enough excess to fold over and adhere to the other side of the board. Use your scraper tool to burnish the vinyl to the wood board. Cut the Velcro into strips so that they are approximately 2" in length. Put another interchangeable piece onto the Velcro and press down. Remove the piece from the board and follow the same steps for all the pieces. Doing it this way will take all the guesswork out of trying to get that piece of velcro in the right place on the interchangeable piece. Here's a look at the Welcome to Our Home sign when it's done. Fonts used: Welcome to our is using Blackfat Script Home is using Acres from Font Bundles Finished size: 26" Long by 10.5" High if using the board specified in the materials list. Acknowledgment Special thanks to the JenniferMaker Design Fairy Team, specifically Design Fairy Vicki, for helping me design, assemble, and make this Wood Home Board with Interchangeable pieces. As an Amazon Associate and member of other affiliate programs, I earn from qualifying purchases.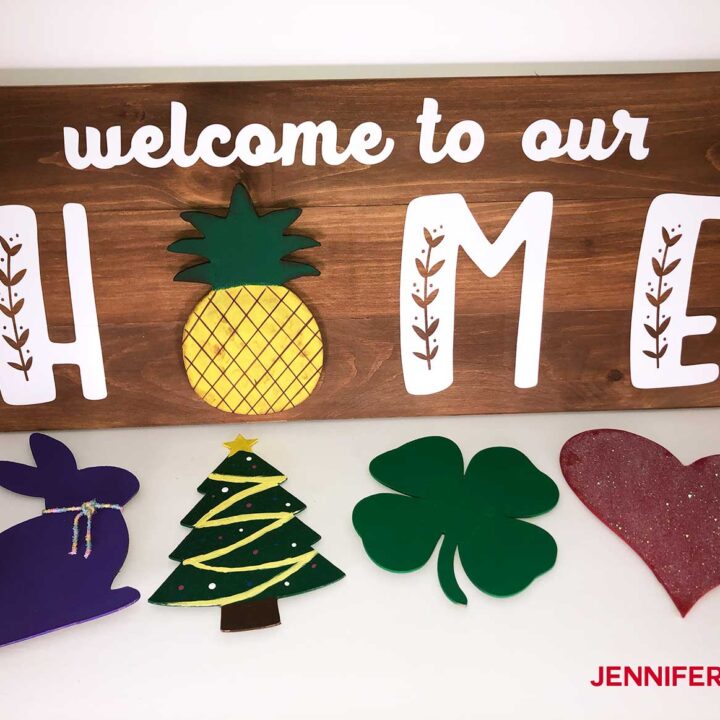
Welcome to Our Home Sign with Interchangeable Pieces
Materials
Tools
Instructions
STEP 1: GET MY WELCOME TO OUR HOME SIGN
Once you have decided what designs you want to cut, delete, or hide the rest of the design layers.STEP 2: PREPARE YOUR WOOD BOARD

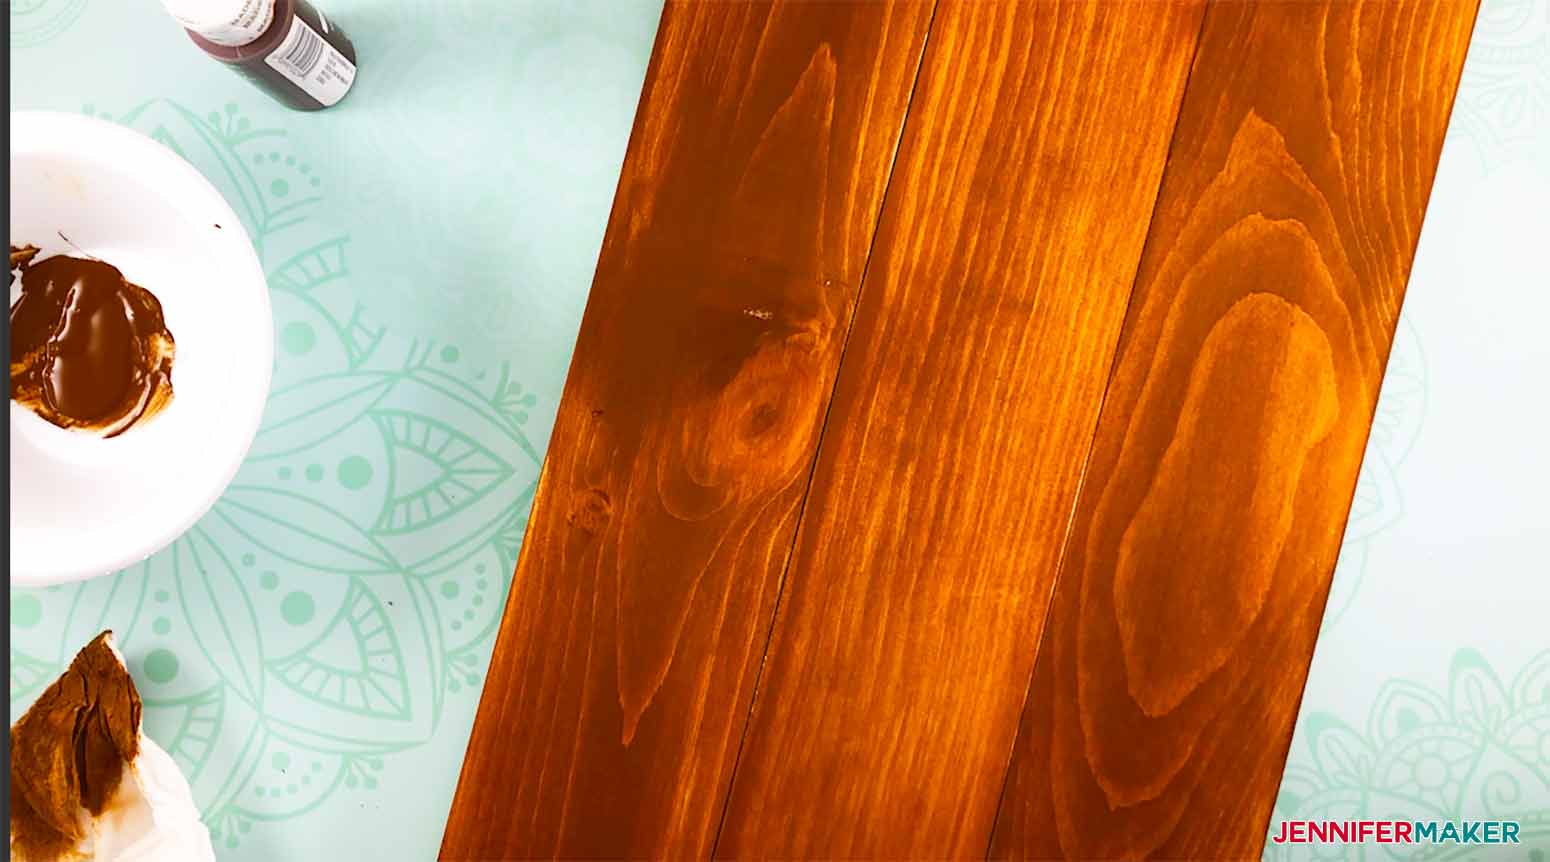
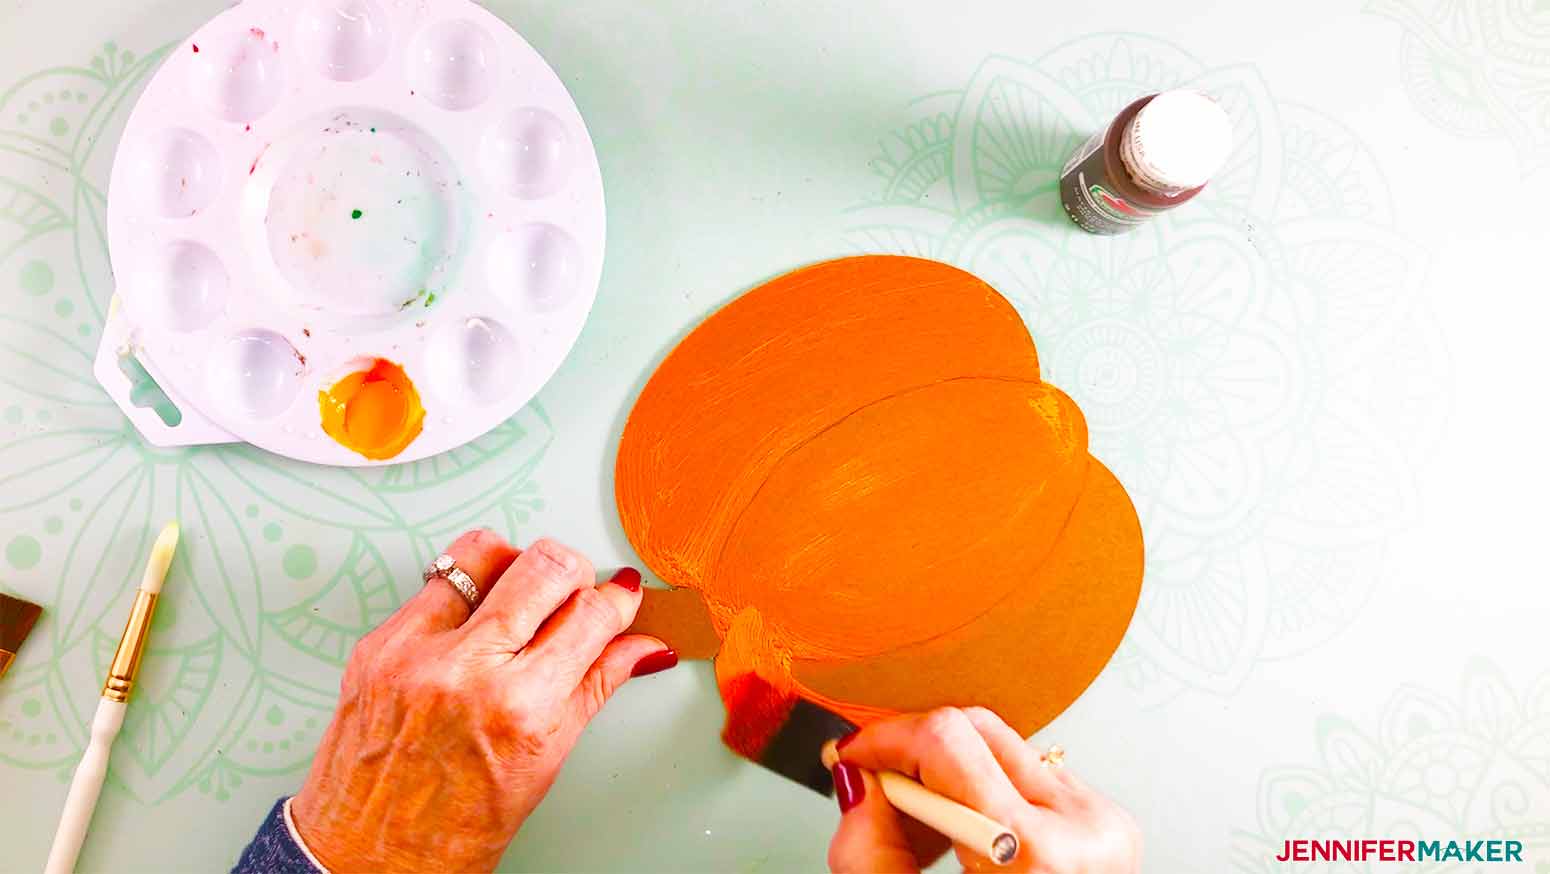
Let the board dry prior to applying vinyl. You can also use a blow dryer or heat gun to speed up the drying process.STEP 3: CUT THE INTERCHANGEABLE PIECES
If you are using the Cricut Explore machine, you will need to cut the shapes out of Kraft board using the LightGrip mat (Blue) and the fine-point blade. Since the Kraft Board material is a thinner material than the heavy chipboard you may want to consider cutting duplicates or triplicates of the shapes and layer them together using mod podge or glue of your choice.
Once the pieces have all been cut you will need to put a light coating of mod podge on them to seal them. This will help to keep the moisture of the paint from causing your piece to curl.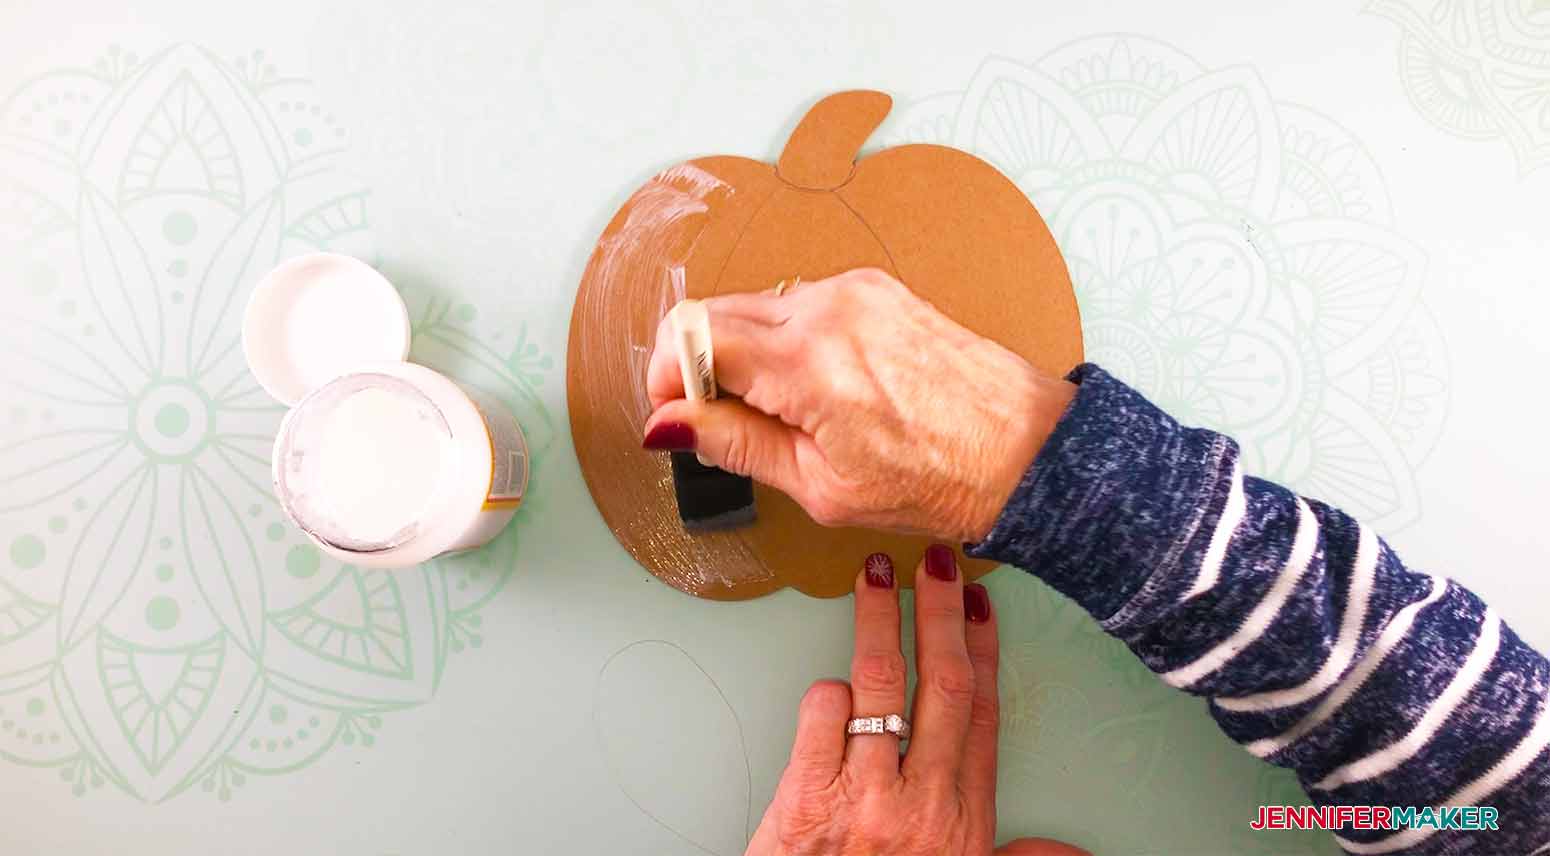
STEP 4: CUT THE VINYL
Weed the vinyl after it is cut. I find it much easier to weed the vinyl while it is still on the mat.
Apply transfer tape to the weeded vinyl while it is still on the mat.
Flip the mat over and remove the vinyl from the mat by rolling the mat away from the vinyl with one hand and holding the vinyl flat to your surface with the other.STEP 5: APPLY THE VINYL TO THE BOARD
First, arrange the vinyl on the board in the position that you desire. I placed my design with a 1-1/2 inch margin on the sides and a 1-inch margin on the bottom.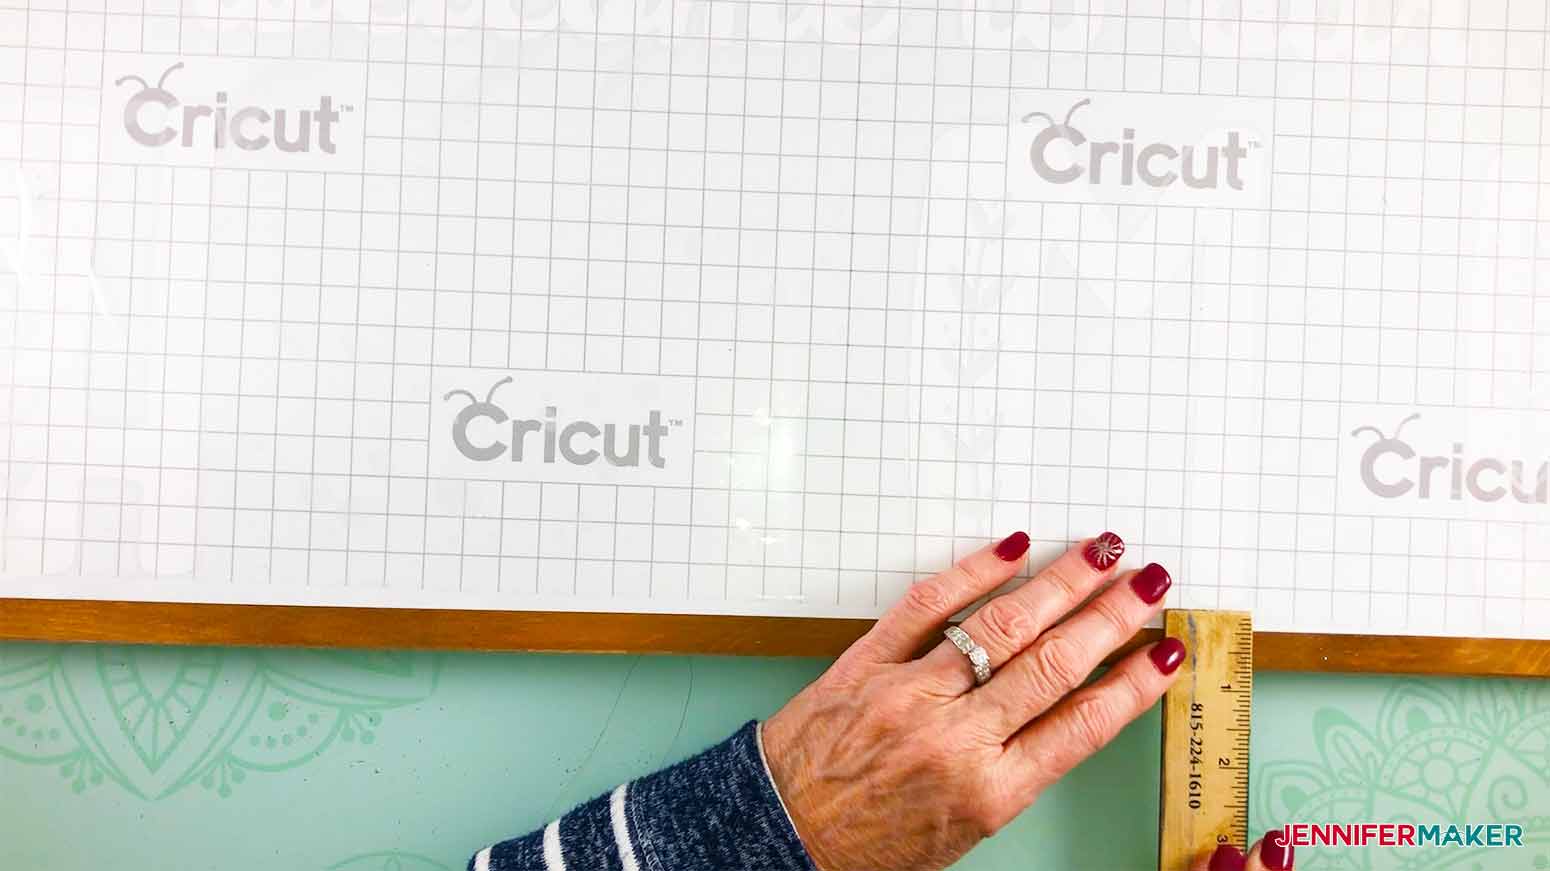
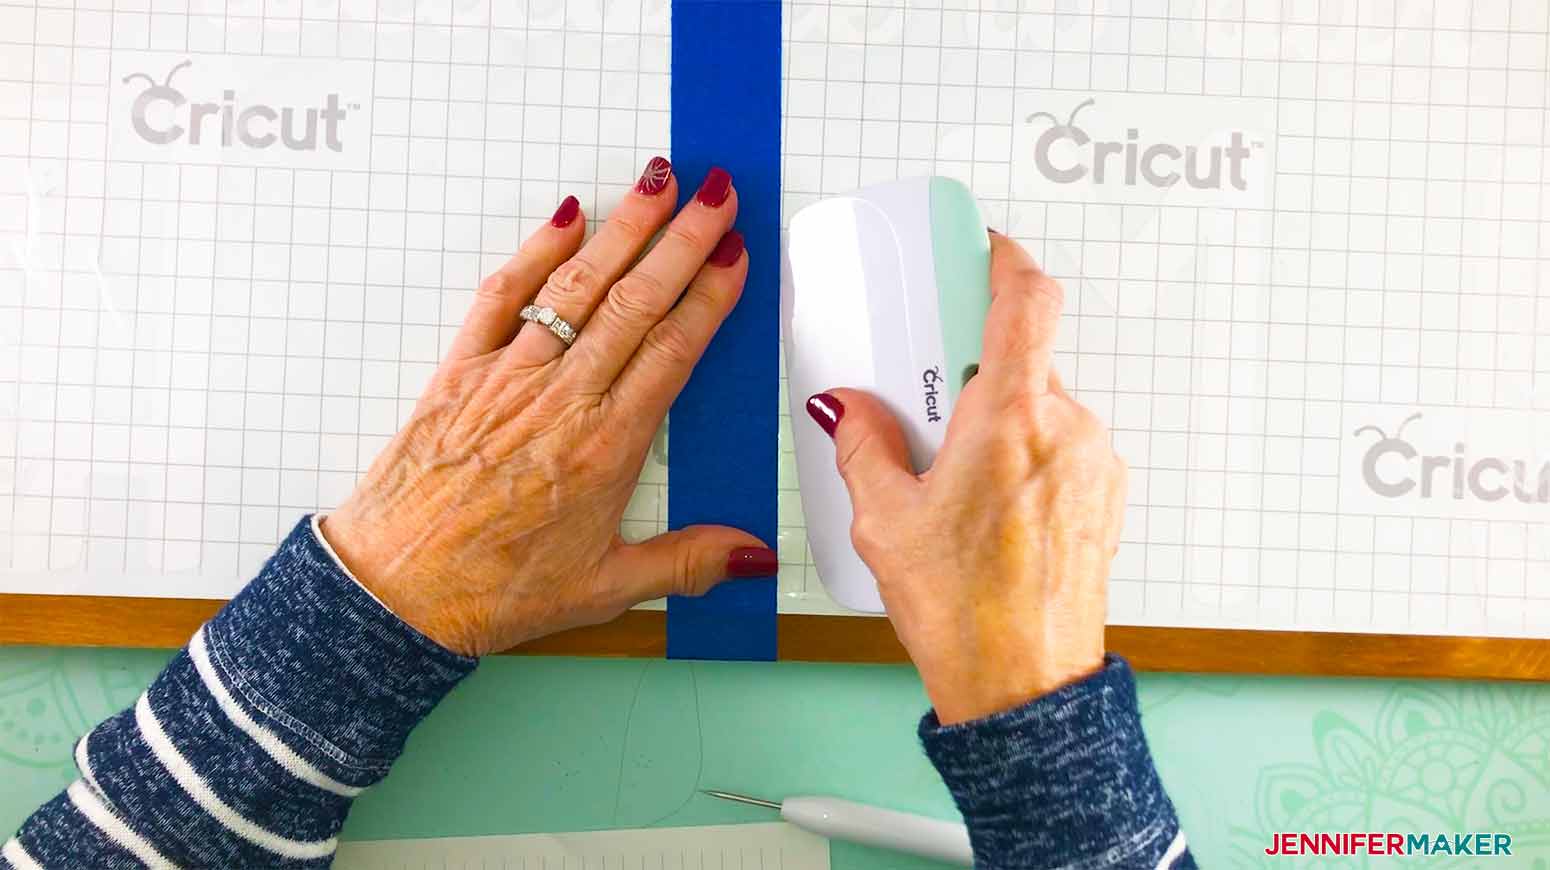
Pull one side of the vinyl towards the middle and remove the vinyl backing paper. Cut the paper off. Roll the vinyl slowly laying it down onto the board. Use a scraper to adhere the vinyl to the board.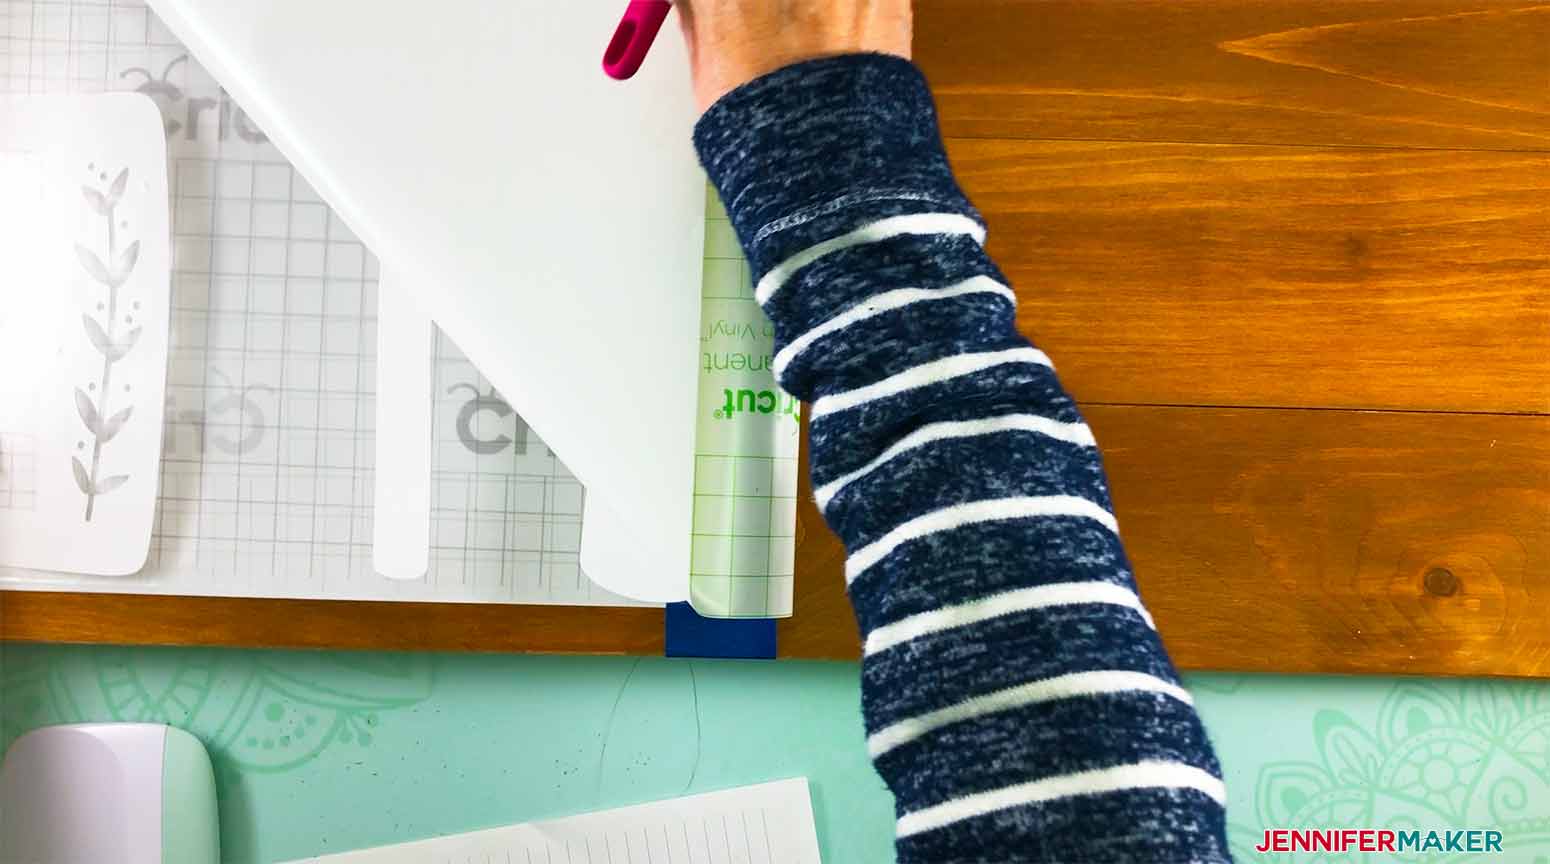
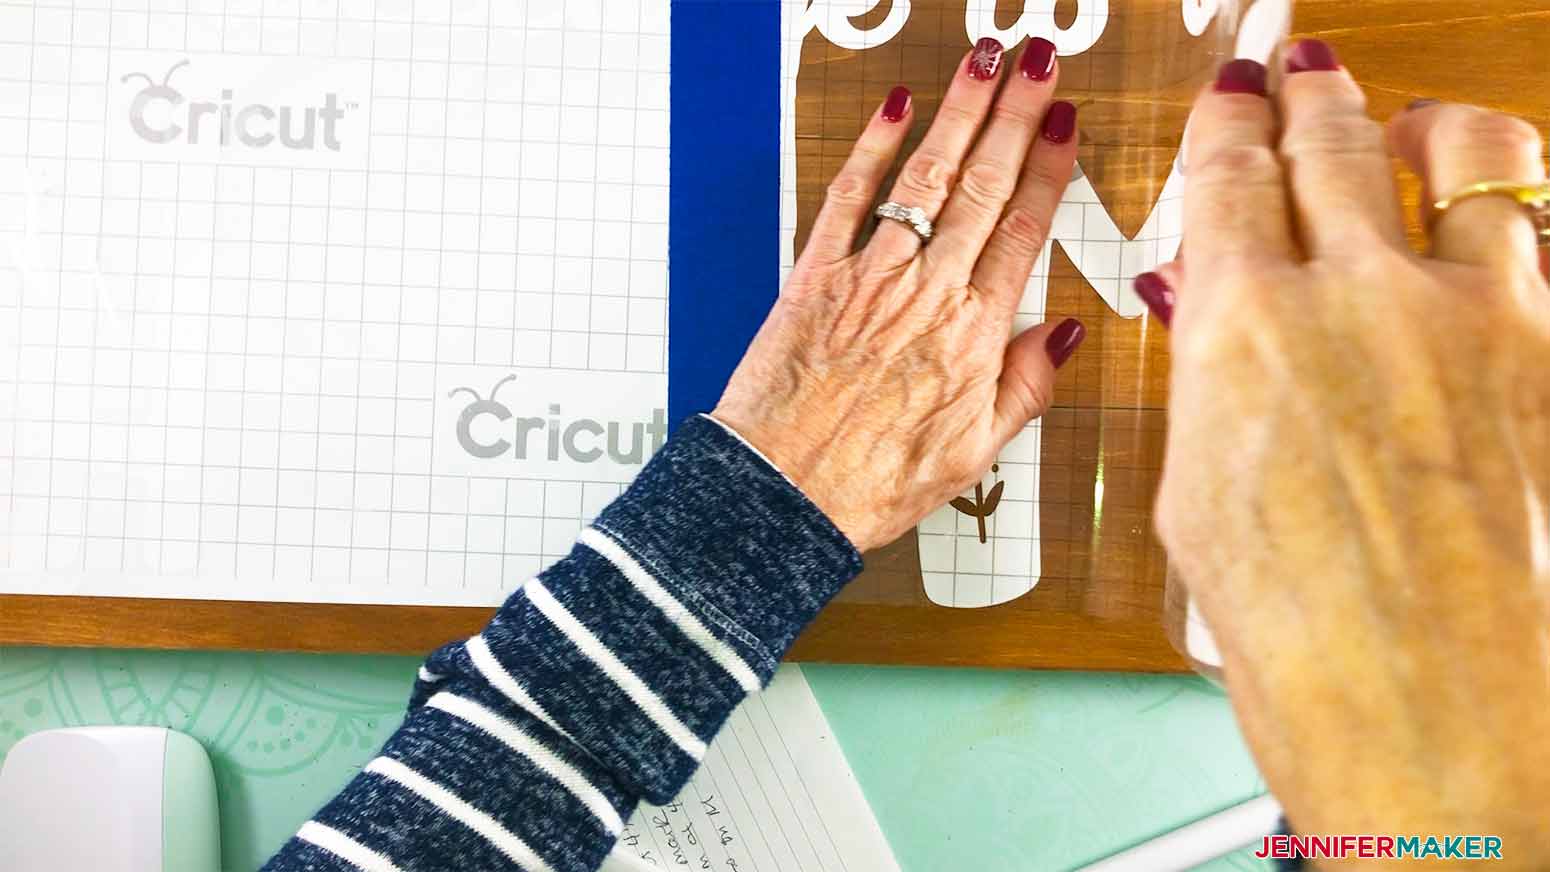
Remove the painter's tape from the middle of the board and repeat the process of removing the paper backing from the vinyl and rolling the vinyl slowly down onto the board. Again, use a scraper to adhere the vinyl to the board.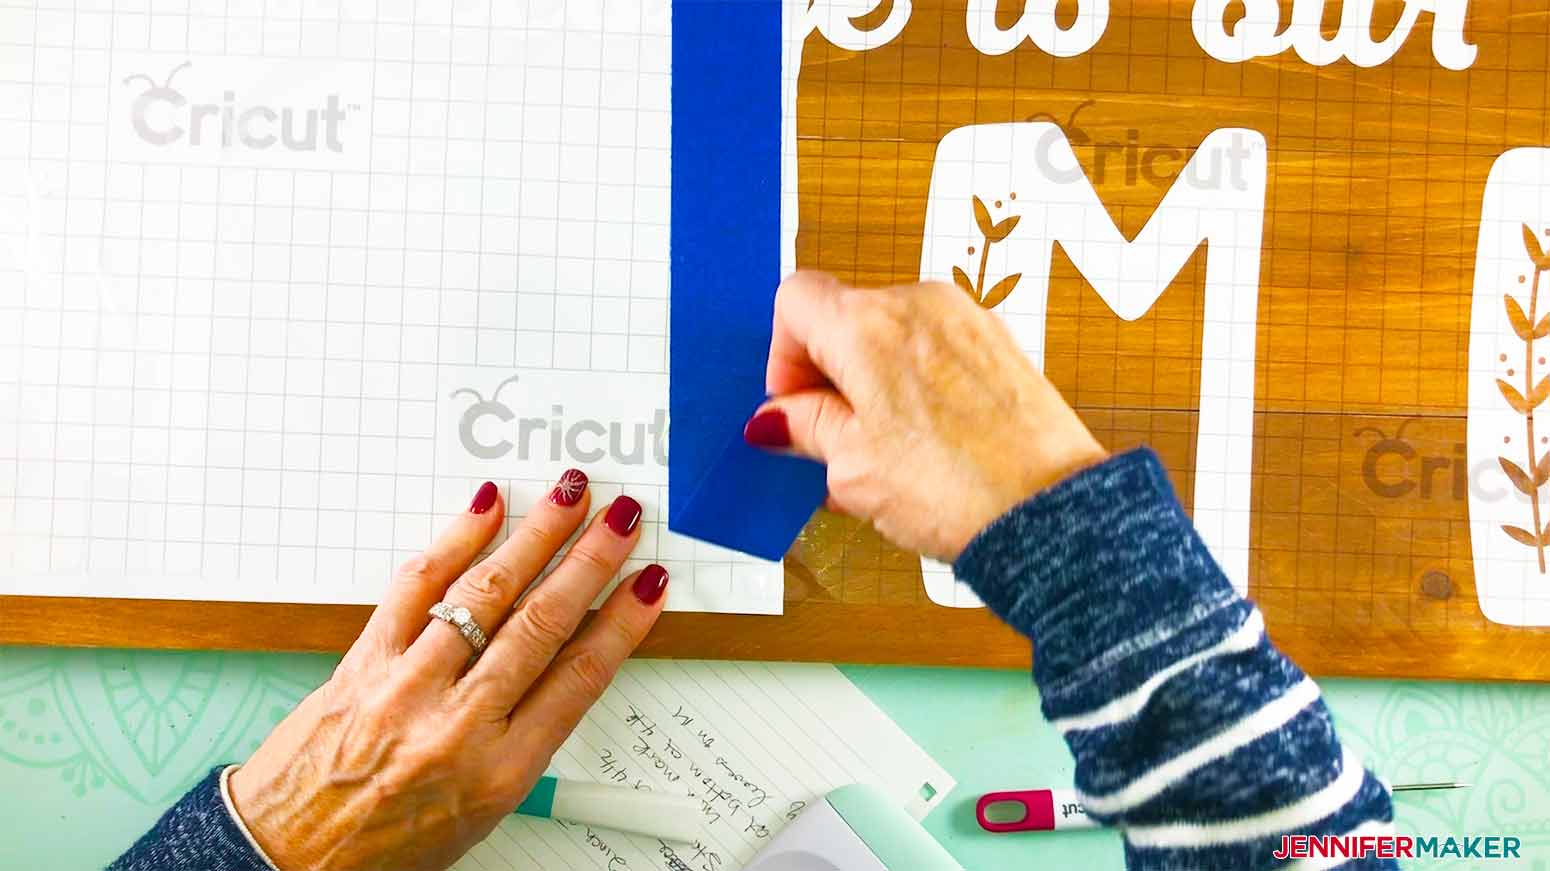
Remove the transfer tape at a 45-degree angle…use the scraper tool to push down any vinyl that may not stick on the first pull.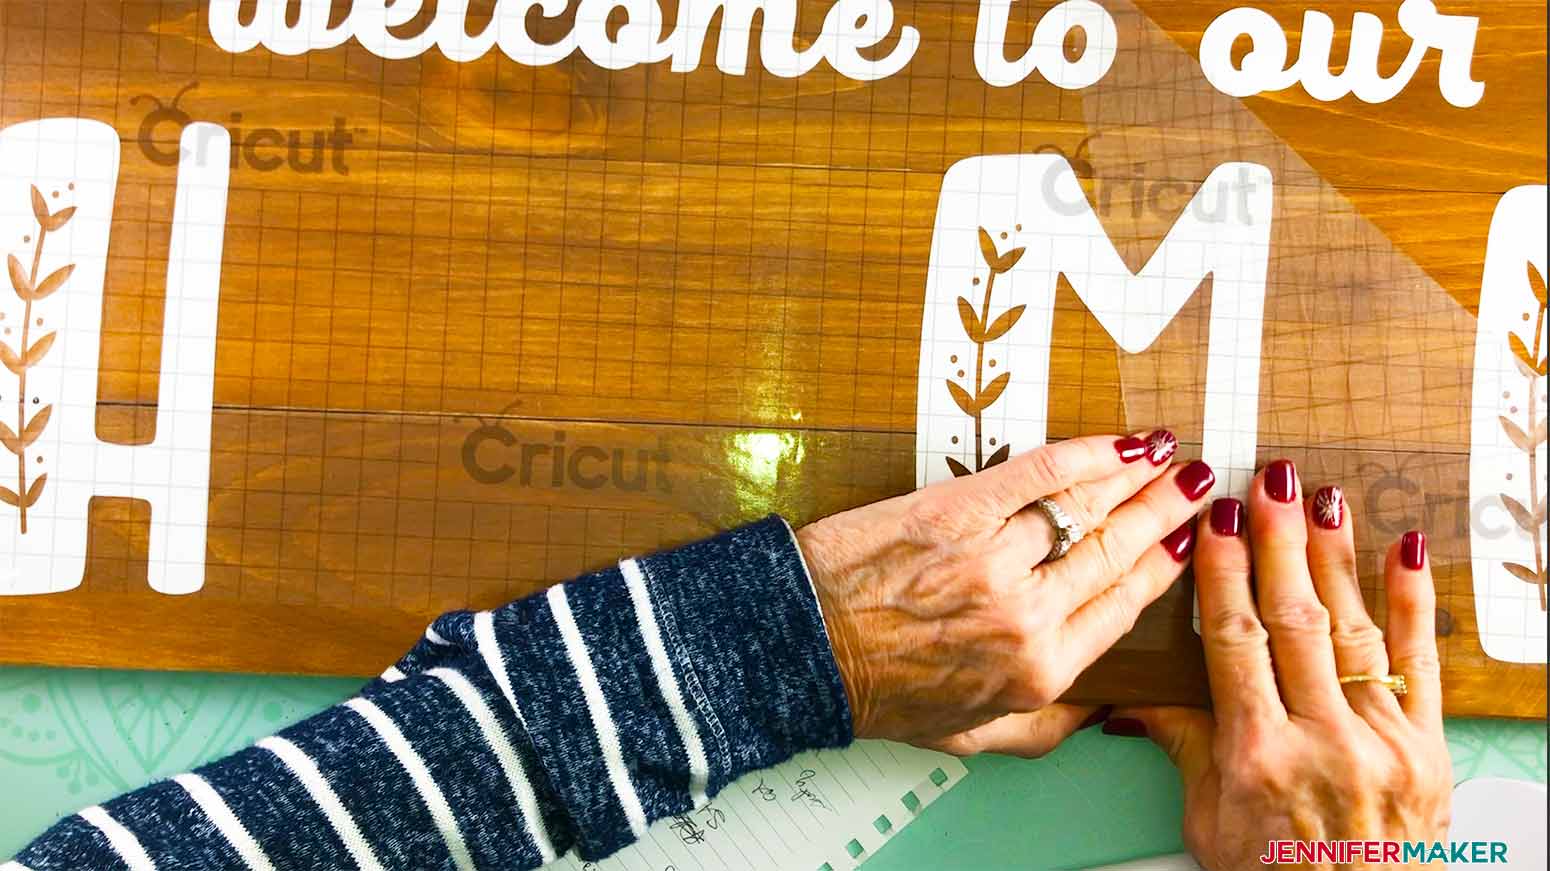
Once all transfer tape is removed, use the scraper tool to burnish down all vinyl pieces to ensure they are all well adhered to the board.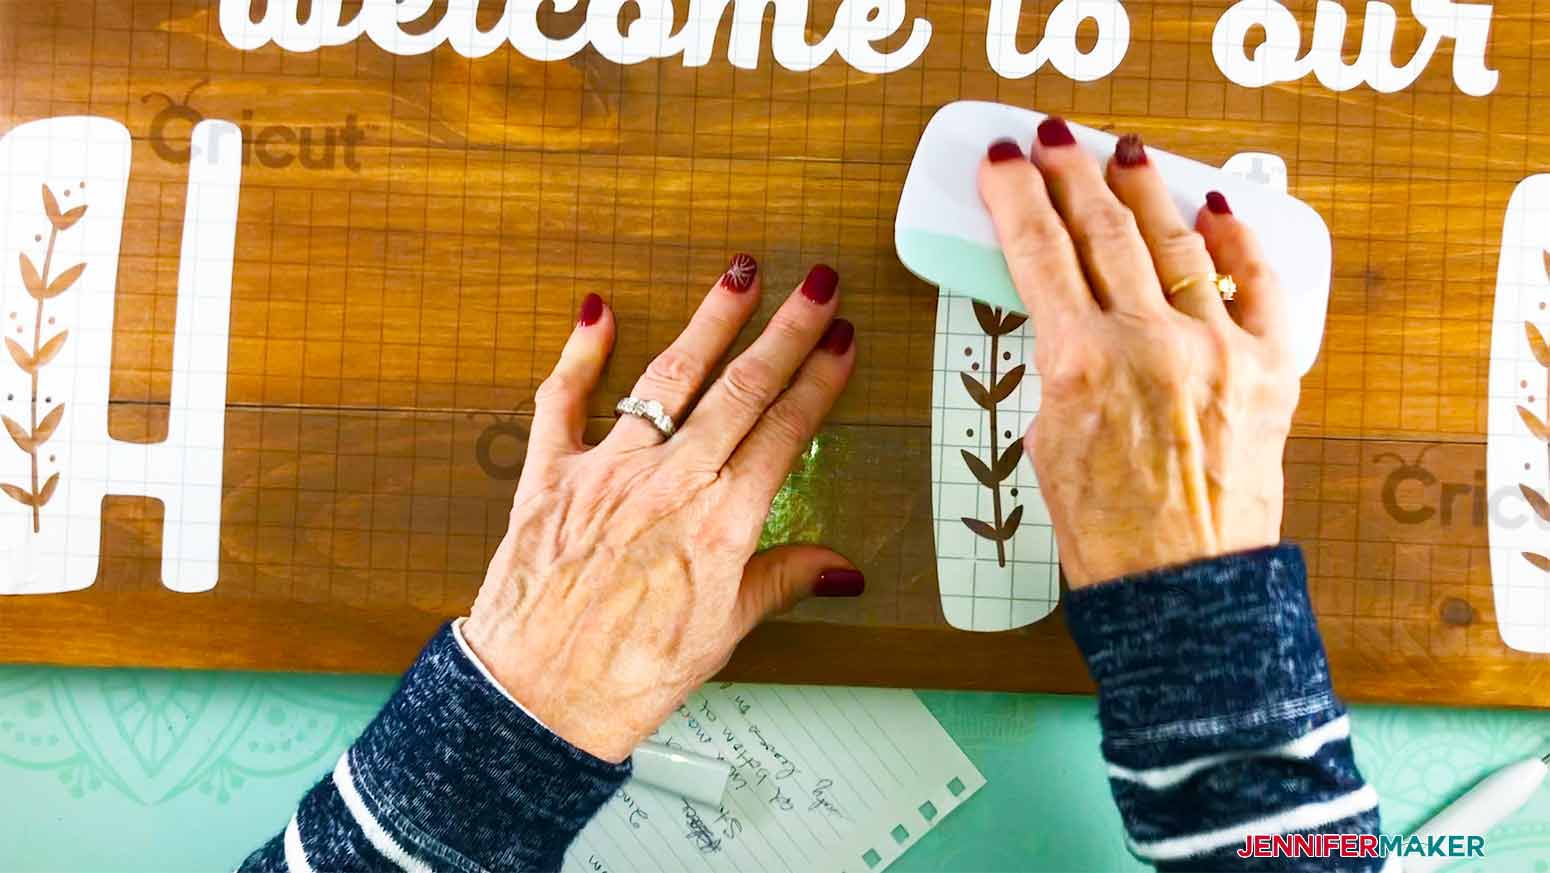
STEP 6: APPLY THE VELCRO TO THE BOARD
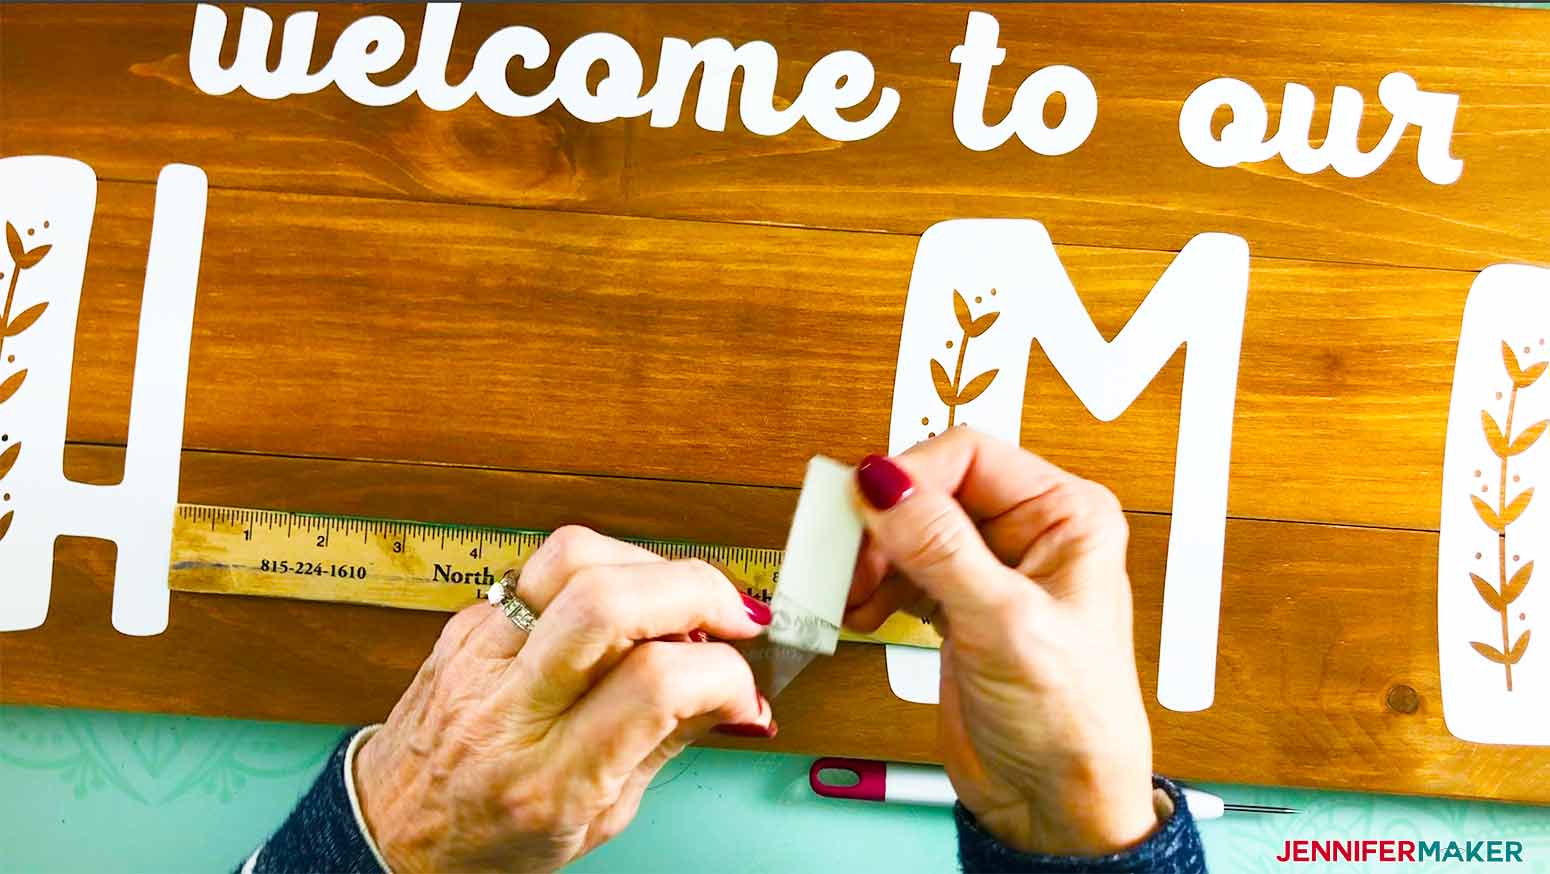
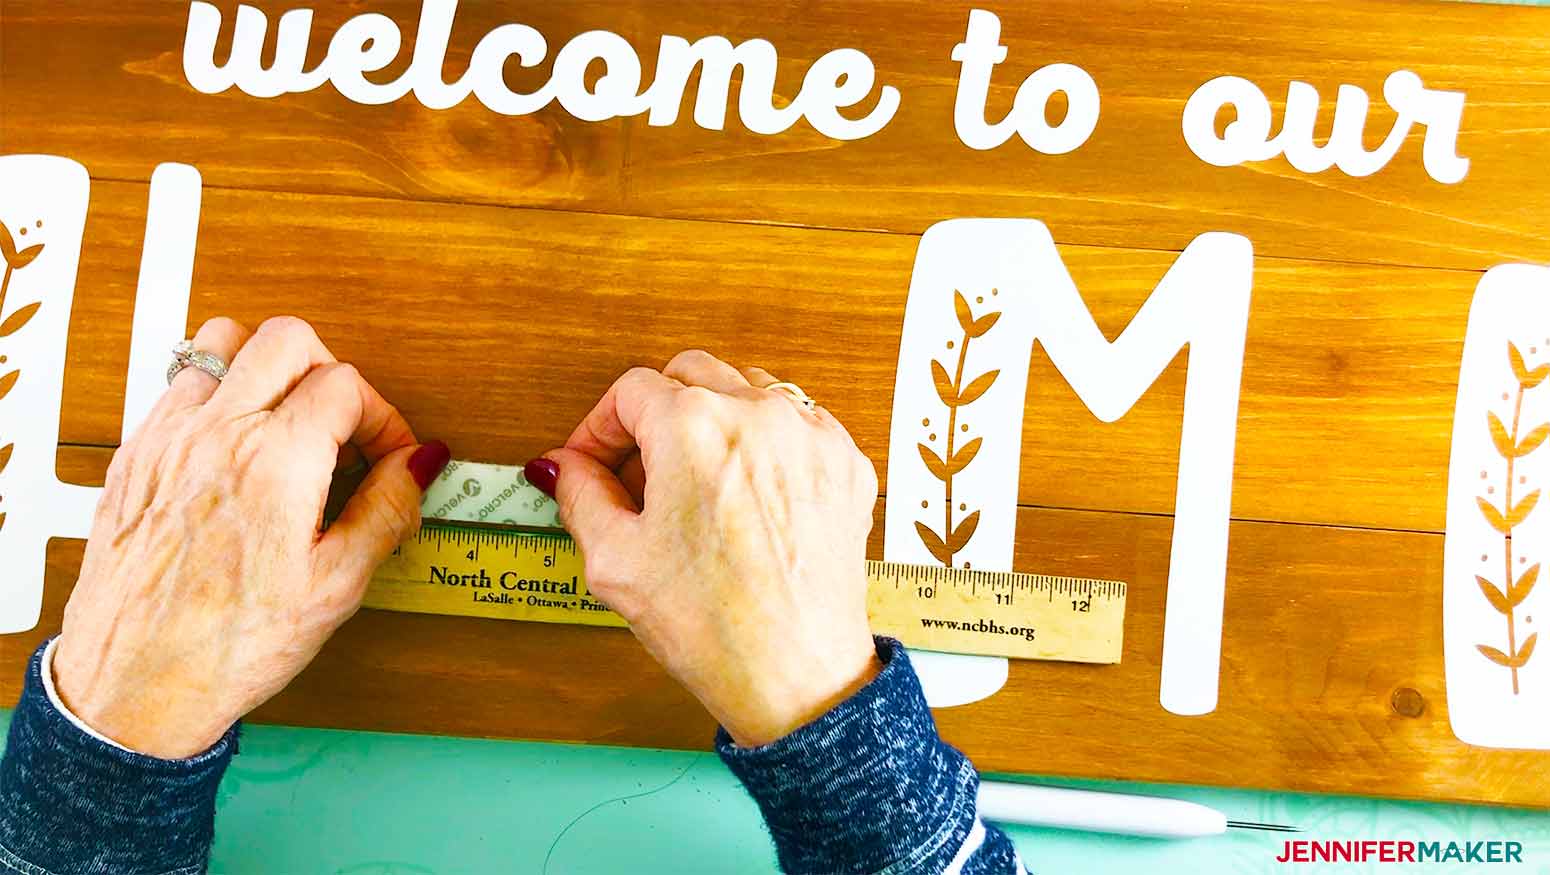
Place a ruler horizontally between the H letter and the M letter about at the bottom of the 4th set of leaves on the M. Use the 4-1/2" mark on the ruler as a guide to straddle the 2-inch strip of Velcro. I laid the Velcro down with the nylon teeth side to the board. You will need to remove the adhesive strip from that side of the Velcro prior to adhering it to the board. Once adhered to the board, remove the adhesive strip of the other side of the Velcro.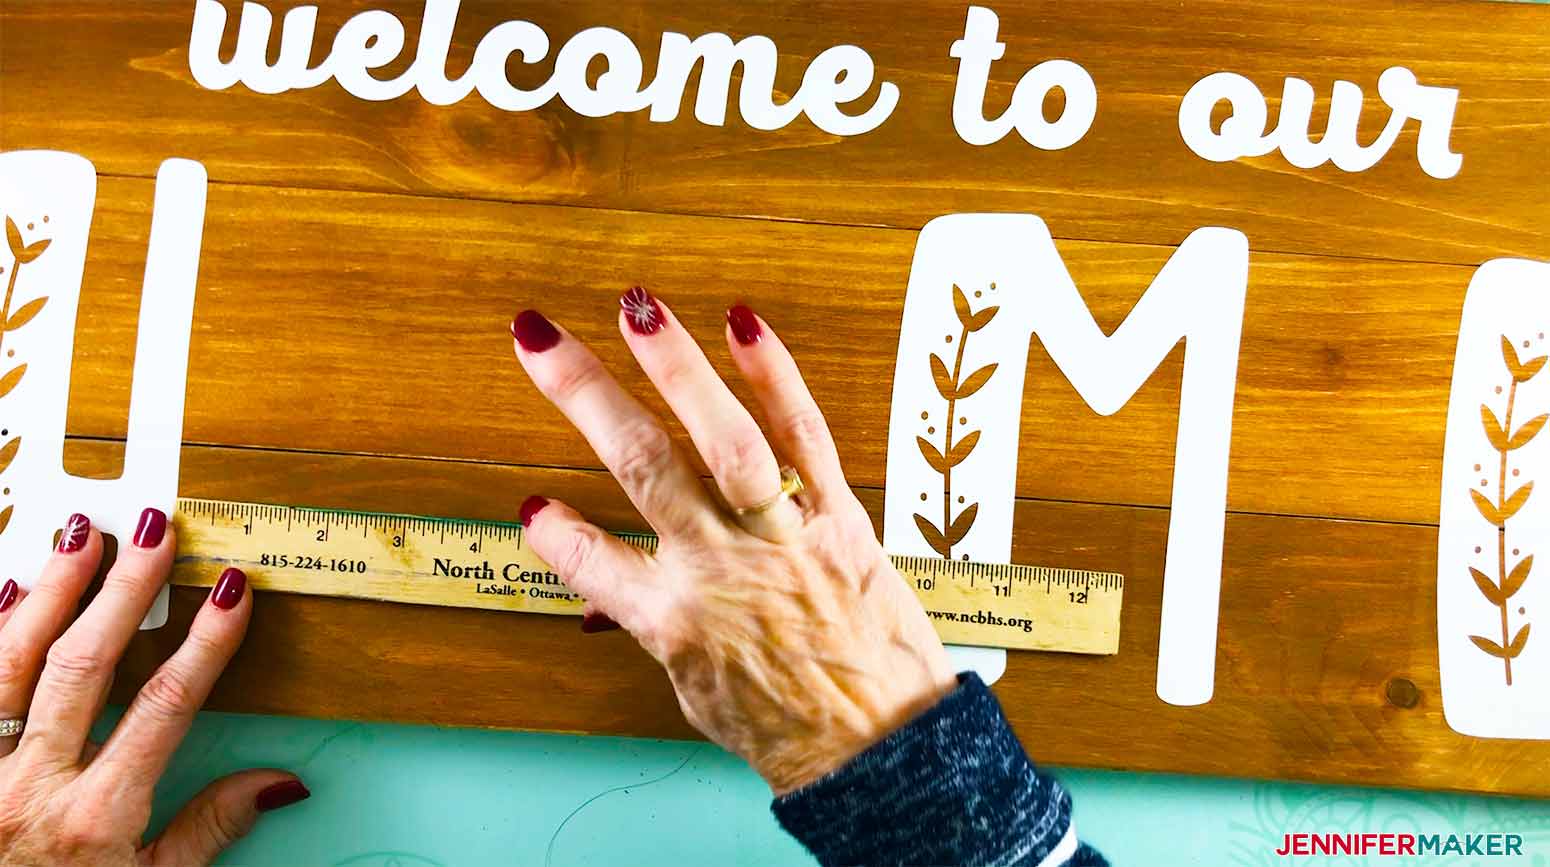
Take one of your painted pieces and arrange it on the board over the Velcro where you want it to be. Press the piece down onto the Velcro. Remove the piece and the Velcro piece will stick to the interchangeable piece.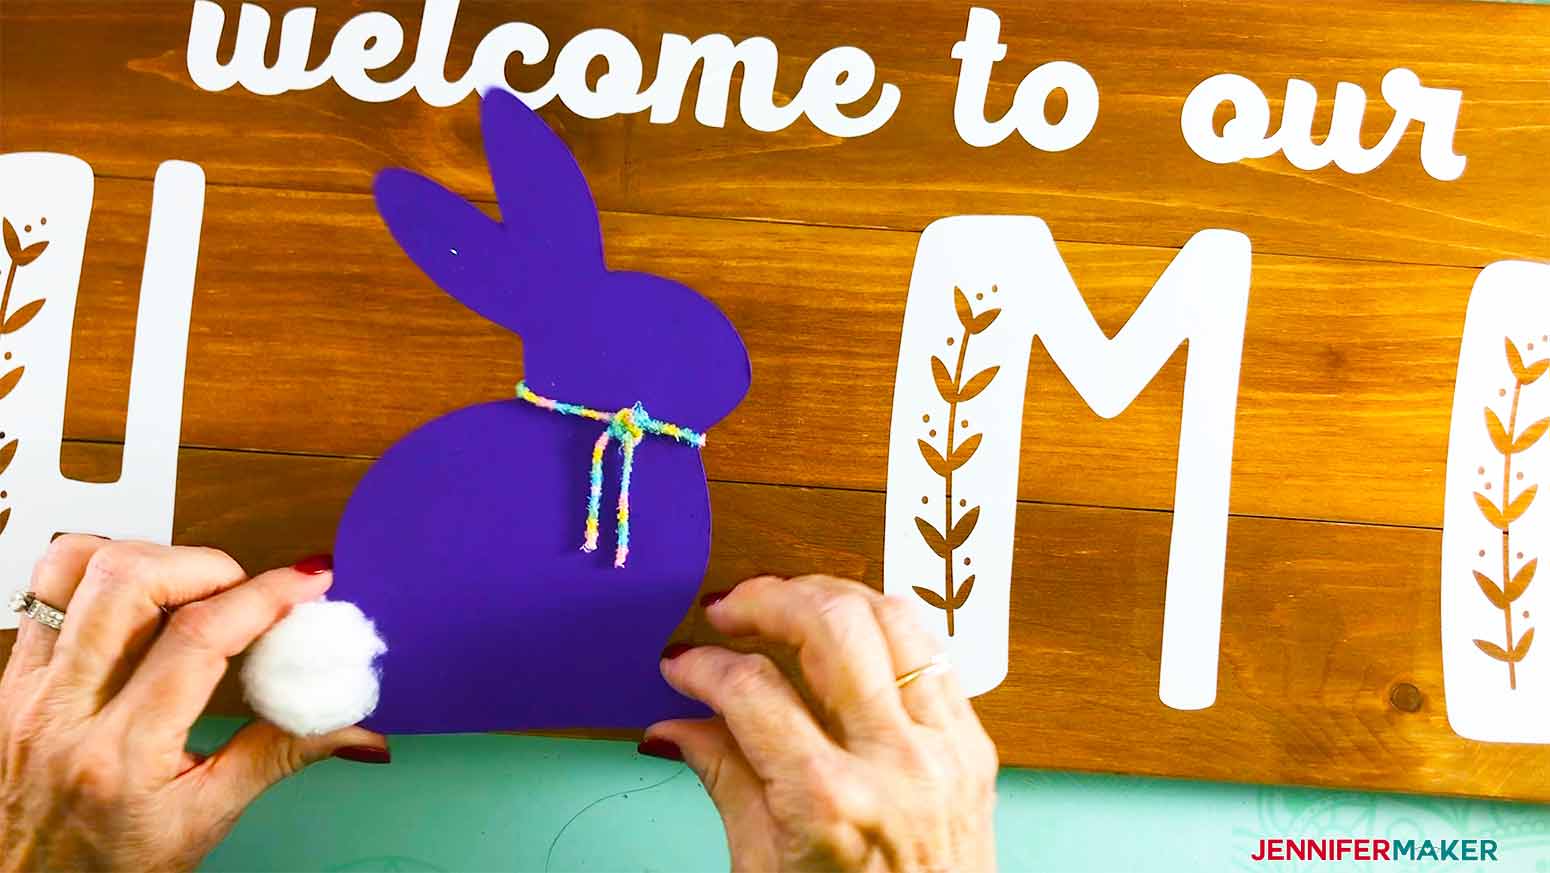
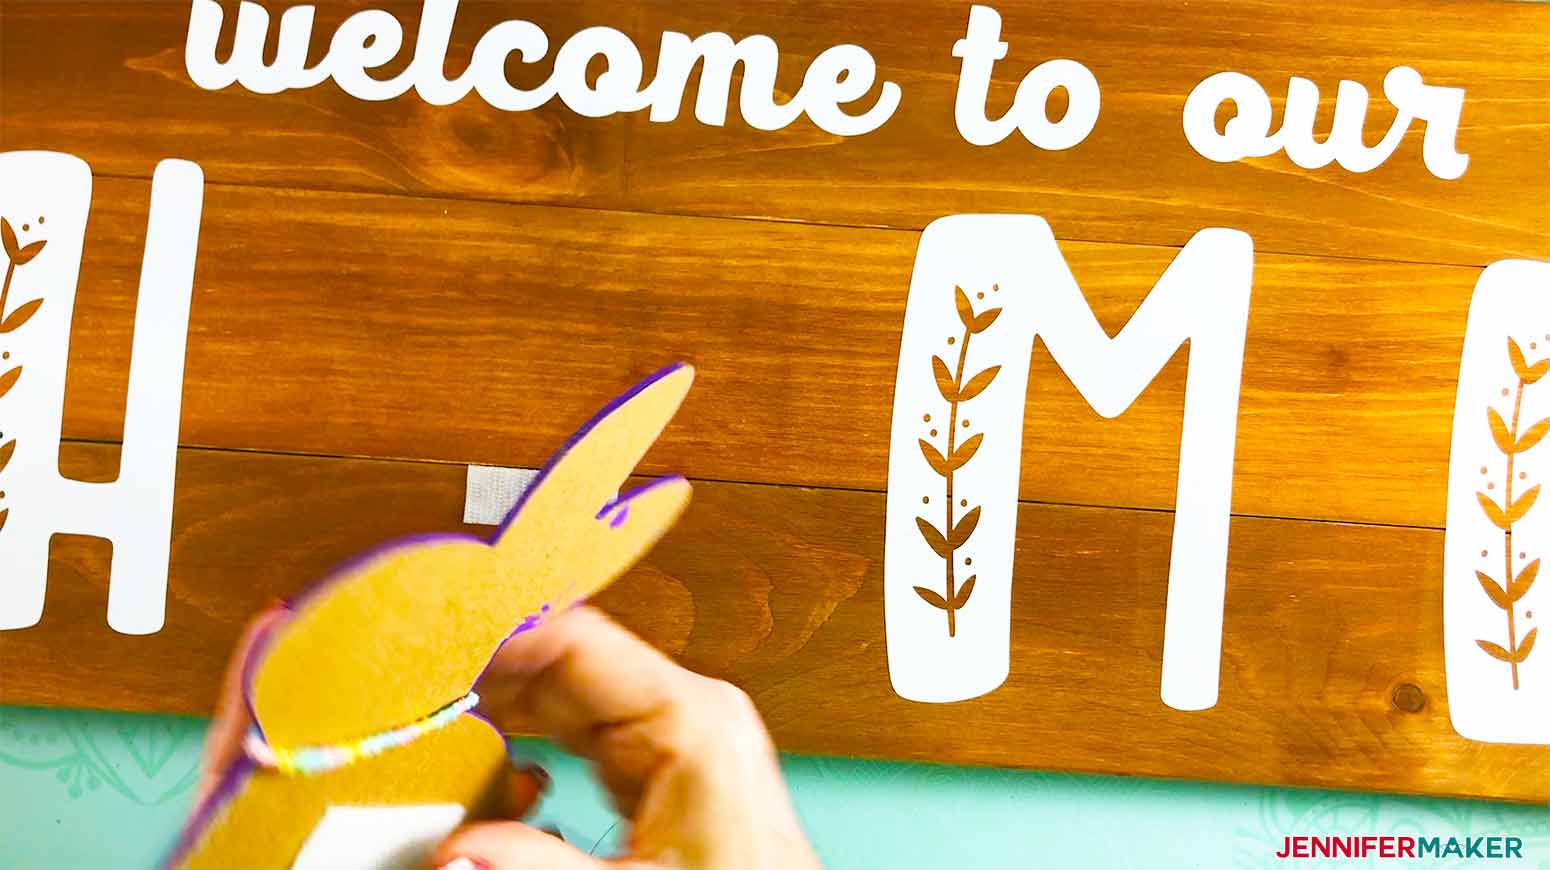
With the rest of the interchangeable pieces, cut a 2-inch fuzzy piece of Velcro and remove the adhesive strip from it. Place the fuzzy piece on the tooth piece of Velcro already stuck to the board.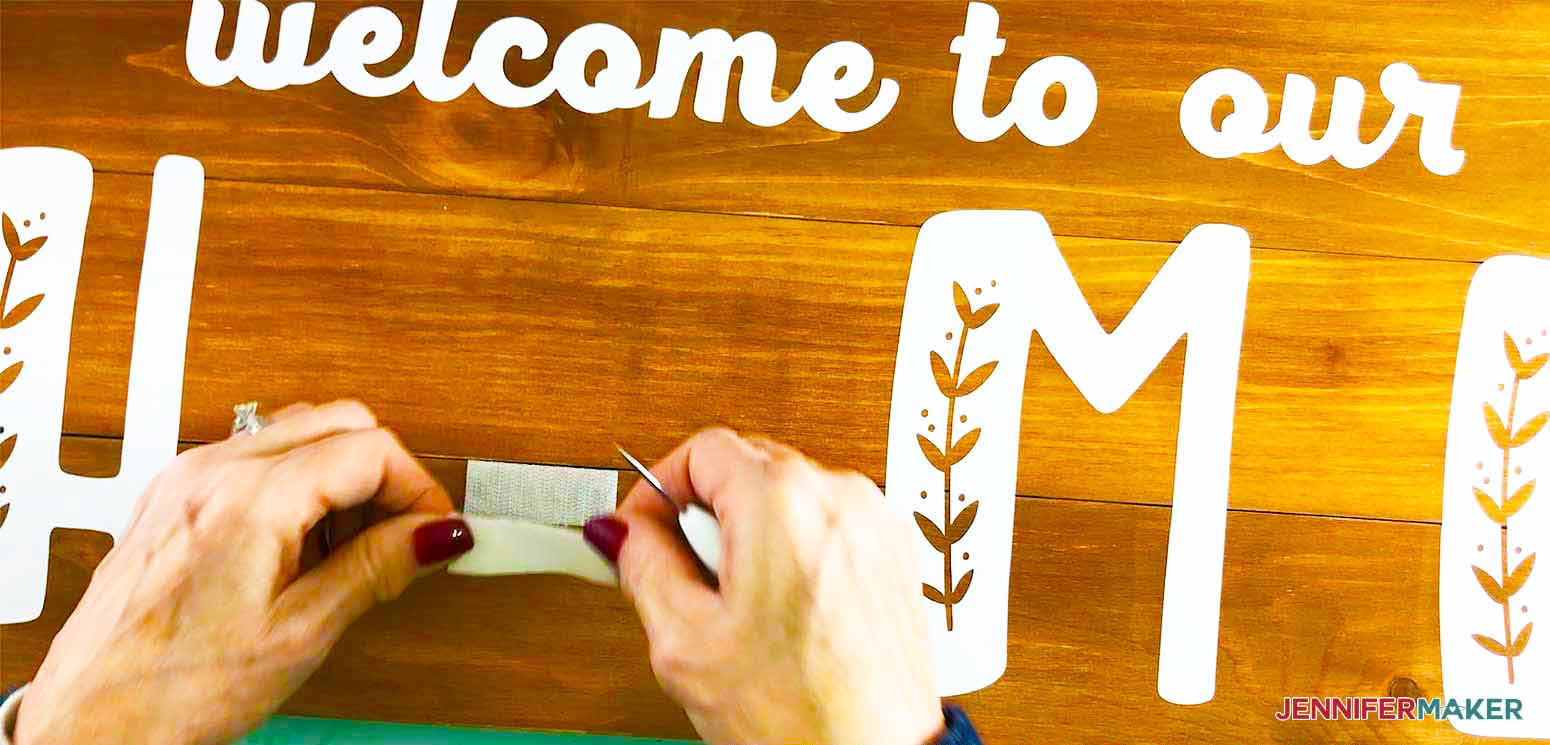
STEP 7: SHOW IT OFF!
Notes
Recommended Products


Get my free SVG files to make your own Welcome Home Sign with Interchangeable Pieces
I’d love to see your DIY Welcome Home Sign and I’d love to see what other interchangeable pieces you create. Please share a photo in our Facebook group or tag me on social media with #jennifermaker.
Love,

Want to remember this? Save this DIY Welcome Home Sign tutorial to your favorite Pinterest Board!


I have the online one but I was wondering if I could get the book instead it would be much easier for me than the computer
Hi Patricia, I’m so happy to hear you’re enjoying the Playbook. You can find the information to purchase the printed version of the Cricut Coach Playbook at https://books.jennifermaker.com/products/cricut-coach-playbook-print-edition.
I bought the playbook printed it and then deleted from my computer. Yesterday I spilled a whole half gallon of milk on it. Is there a way I can reprint?
Hi Donna, you are able to re-download the Playbook from the download link we emailed you when you first purchased it. If you don’t have the email, please go ahead and reach out to my Communications Heroes at [email protected] and we’ll resend the email!
What A Wonderful Idea Jennifer Thank You For Sharing This and For All Your Wonderful Free Designs We are Spoilt for Choice And Your Tips Are Amazing 😁 Your Cricut Playbook Was the Best Purchase Besides My Cricut Maker It’s My Bible and Your Videos are My Living Bible I have a Problem I Think What Would Jennifer Do lol 😉 Cheers from Australia 😁💖
Thank you! I’m so happy to hear that you enjoy the designs!
I Love All the Designs We are spoilt for choice 😁😍 and The Whole Website is Inspirational Thank You For All Your Hard Work bringing this to us For Free 💖🥰😁