
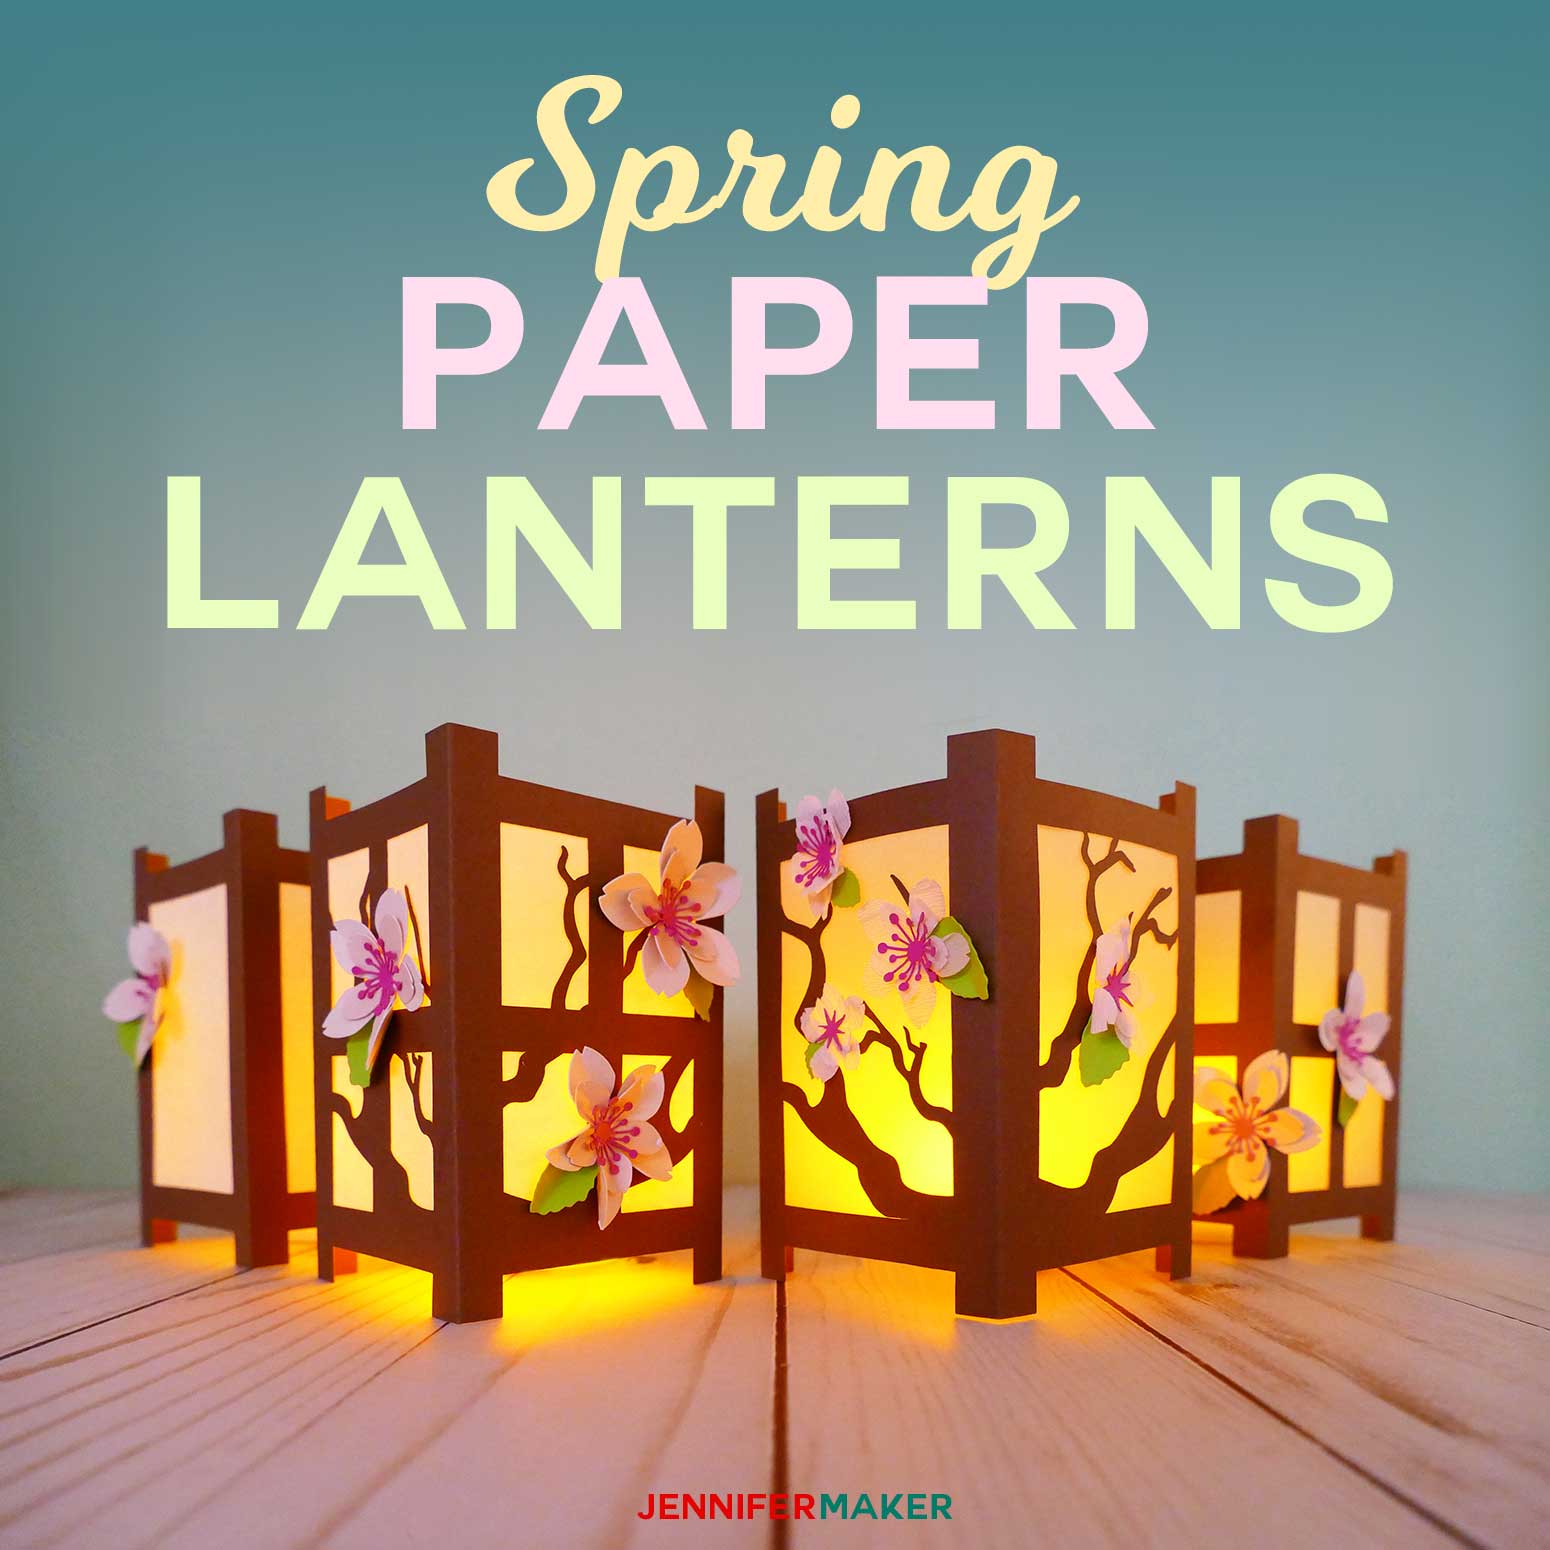
Spring is coming, my friends! I feel it in the air, even if there is still snow outside my window. Birds are chirping, the sun is shining, and the first plant shoots are coming up in my garden. Almost exactly 21 years ago today, I was enjoying spring in Japan, where I had recently arrived on a work/study program. I was invited to a cherry blossom viewing party in Kyoto and marveled at all the new sights, sounds, and smells. This month’s lanterns from my Make the Light project are Japanese paper lanterns. I designed these in honor of those beautiful spring days at the start of a new adventure in a new land!

Paper lanterns are a traditional sight in Japan, where they’ve been made and used for centuries. I designed my paper lantern to look like a shoji screen, which are traditional rice paper doors and room dividers. I had one in the house I lived in Japan and always loved it.
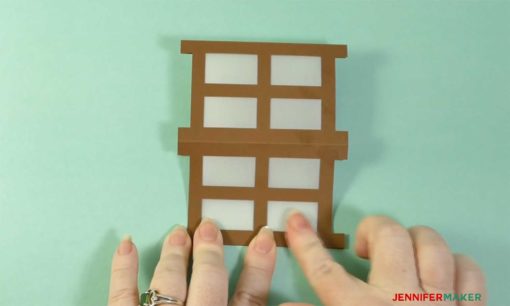
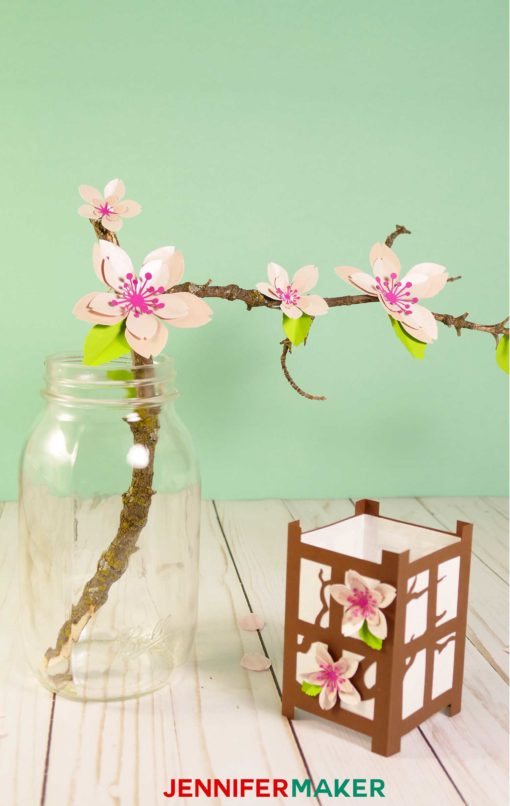
The great thing about these Japanese paper lanterns is how darn easy they are to make! They are just one piece of paper, with four smaller rectangles for the lantern windows. You can decorate it in anyway you like—I put pretty pink cherry blossom flowers on mine (get the tutorial for the paper cherry blossoms flowers here).
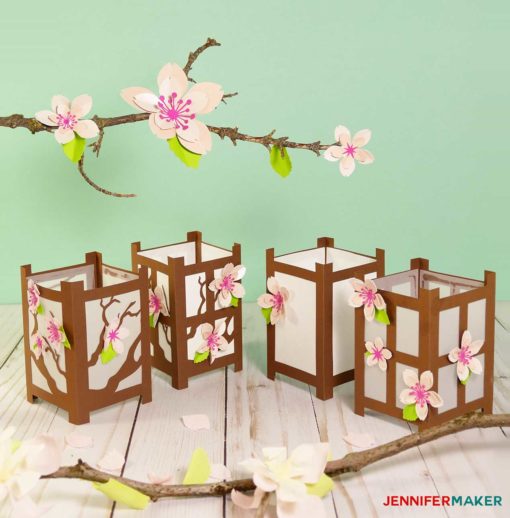
This Japanese paper lantern folds flat, so you could send it as a card for someone special. The lanterns also make lovely home decor or party decorations.
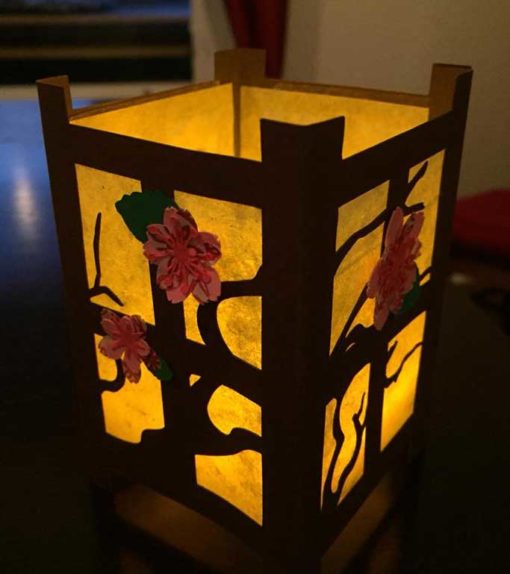
Reader Peg Elliott made this pretty version of the Japanese paper lantern:
Like all of my lanterns in my “Make the Light” project, this DIY paper lantern contains a puzzle. If you solve it successfully, you’ll unlock the four variations of the Japanese paper lanterns. So to get these deluxe versions, download the basic version (the simple one) from my resource library, upload it to your favorite design software (such as Cricut Design Space), and look carefully at the design. Count how many hidden flowers you can find. Type your answer as a number (not a word) at this page: Japanese Paper Lanterns Access.
>> Enter the Lantern’s Secret “Password” at This Page <<
So let me show you how to make the Japanese Paper Lantern! This post contains some affiliate links for your convenience (which means if you make a purchase after clicking a link I will earn a small commission but it won’t cost you a penny more)!Read my full disclosure policy.
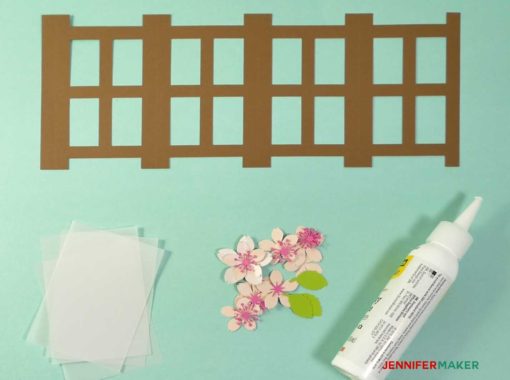
Materials for the Japanese Paper Lantern
- 65lb. 8.5.” x 11″cardstock (I used this cardstock – here’s an alternative)
- Rice paper or vellum (for the windows)
- (Optional) Paper cherry blossom flowers (get the tutorial here)
- Tacky glue or tape
- LED tealights to put inside your lantern
- A way to cut your paper (I used a Cricut)
- Design #95 – My free SVG cut file/pattern (available in my free resource library—get the password at the bottom of this post)
How to Make Your Japanese Paper Lantern
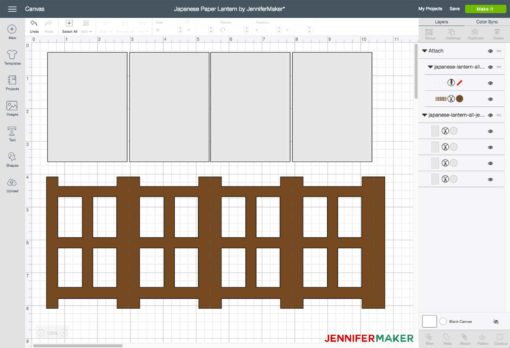
First, download Design #95 which is the pattern for this project from my free resource library. If you’re going to cut it out on your cutting machine, upload the file to your design software. If you’re not sure how to upload an SVG cut file to Cricut Design Space, watch this helpful video training series I made.
Note that there is a layer of lines that need to be converted to score lines. So either convert those or remove that layer entirely.
Cut out your cardstock and your rice paper or vellum.
Please note that I designed this lantern to be cut on a piece of 8.5″ x 11″ paper placed on your cutting mat in the landscape position. If you do that, you don’t have to worry about sizing or anything.
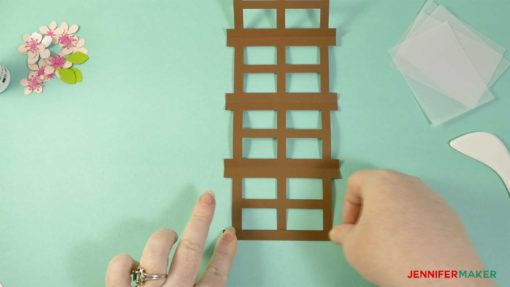
Fold your lantern on the score lines between each pane.
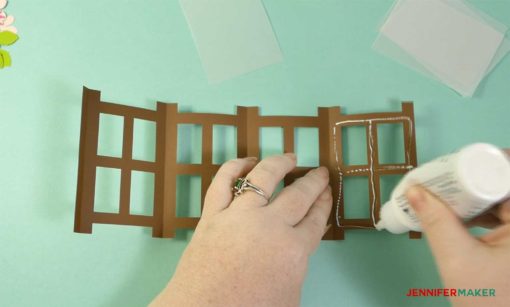
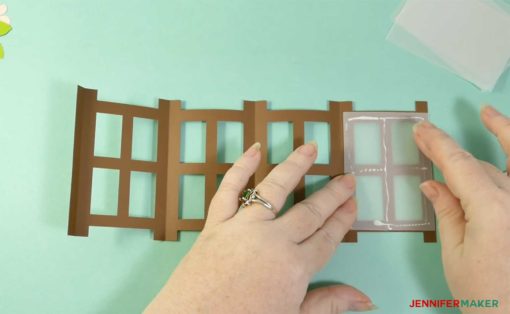
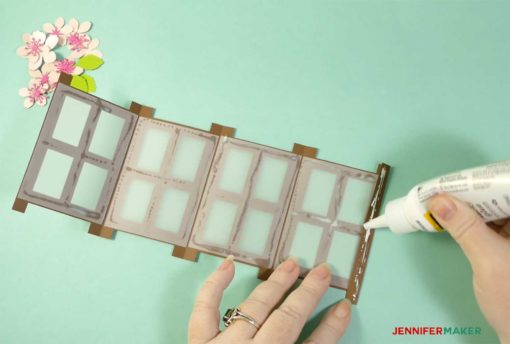
Glue the rice paper or vellum window panes on the inside of your Japanese paper lantern.
Glue the folded end tab of the lantern.
Fold the lantern in half and press down to set the glue.
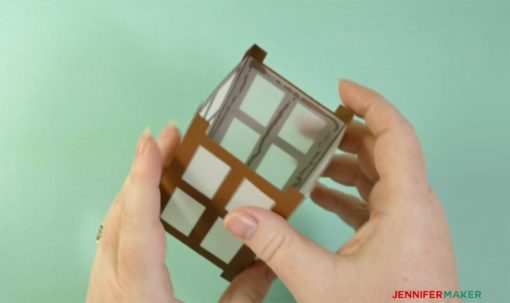
Open up your Japanese paper lantern so it forms a square when viewed from above.
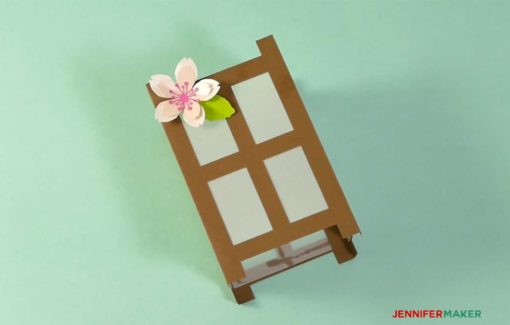
Decorate your paper lantern as you please. I covered mine with paper cherry blossom flowers!
Here’s what the lanterns look like when all light up with LED tealights:
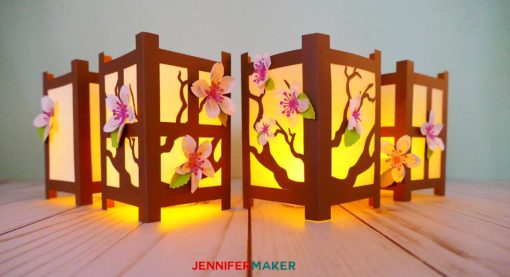
What a warm welcome to spring these pretty paper lanterns provide!
Get my free cut files for the Japanese Paper Lantern
If you make these Japanese paper lanterns, please do send me a photo at [email protected] or tag me on social media with #jennifermaker. If you do, I’ll add your name to my Master Lantern Makers list!

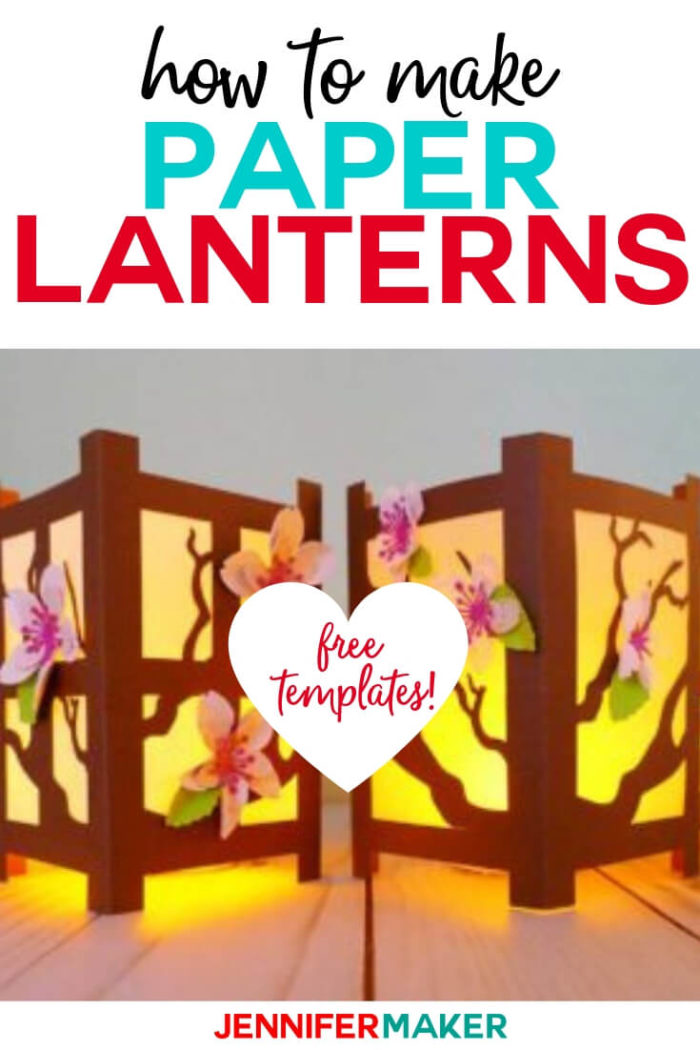
Want to remember this? Save the Japanese Paper Lantern project to your favorite Pinterest board!


Hi Jennifer,
I just found your amazing art last night and spent 2 hours looking from one great project to another.
I LOVE the fun you build into your projects with the hidden elements. I can hardly wait to try the beautiful Japanese lantern. I’ve mostly made cards using dies and my Big Shot, but my son gifted me with a Cricut Air 2 for Christmas and my crafting knows no bounds! I won’t live long enough to do half the projects I want to, and so many lovely and “gotta make it” beauties appearing every day! Ahh, choices! Gotta love it!
Hi! Do you have an SVG with the tree limbs included? These are BEAUTIFUL and we are thinking about using them for invitations! Would love to include the limbs on two sides as pictured.
Hi Amy! I do not! Do you mind suggesting it for me here? https://jennifermaker.com/projectrequests/
Hello! I just found your site a few days ago and I really want to make the japanese lanterns. I got the daiso calligraphy paper you linked on your site. I set the material to “rice paper” on the cricut and tried several times to print. the paper is so fine it kept getting shredded by the machine! is there a way to cut that won’t shred the paper in the process? thanks! You have amazing designs and i’m excited to try other tutorials as well in the future.
Mindy, go into your custom materials settings and look for the rice paper setting and move the pressure slide bar down 10 or 15 points and then try cutting out a 1-inch diameter circle, adjusting till it no longer shreds your material.
Hi Jennifer, thank you for the videos and all the instruction through your website I have been busy browsing and making a couple of project. I was given a Cricut Maker for my 70th upcoming birthday next week I am making the Japanese Lantern to decorate the table. Thank you again for the tutorial you made my new hobby so easy. 🙂
Hi, Frankie! What a great birthday present you got, don’t you agree? It’s so fun to challenge our brains to learn new things no matter what our ages. Especially when we end up with such beautiful results! Thank you for letting us know, and for crafting along with us! 🙂