
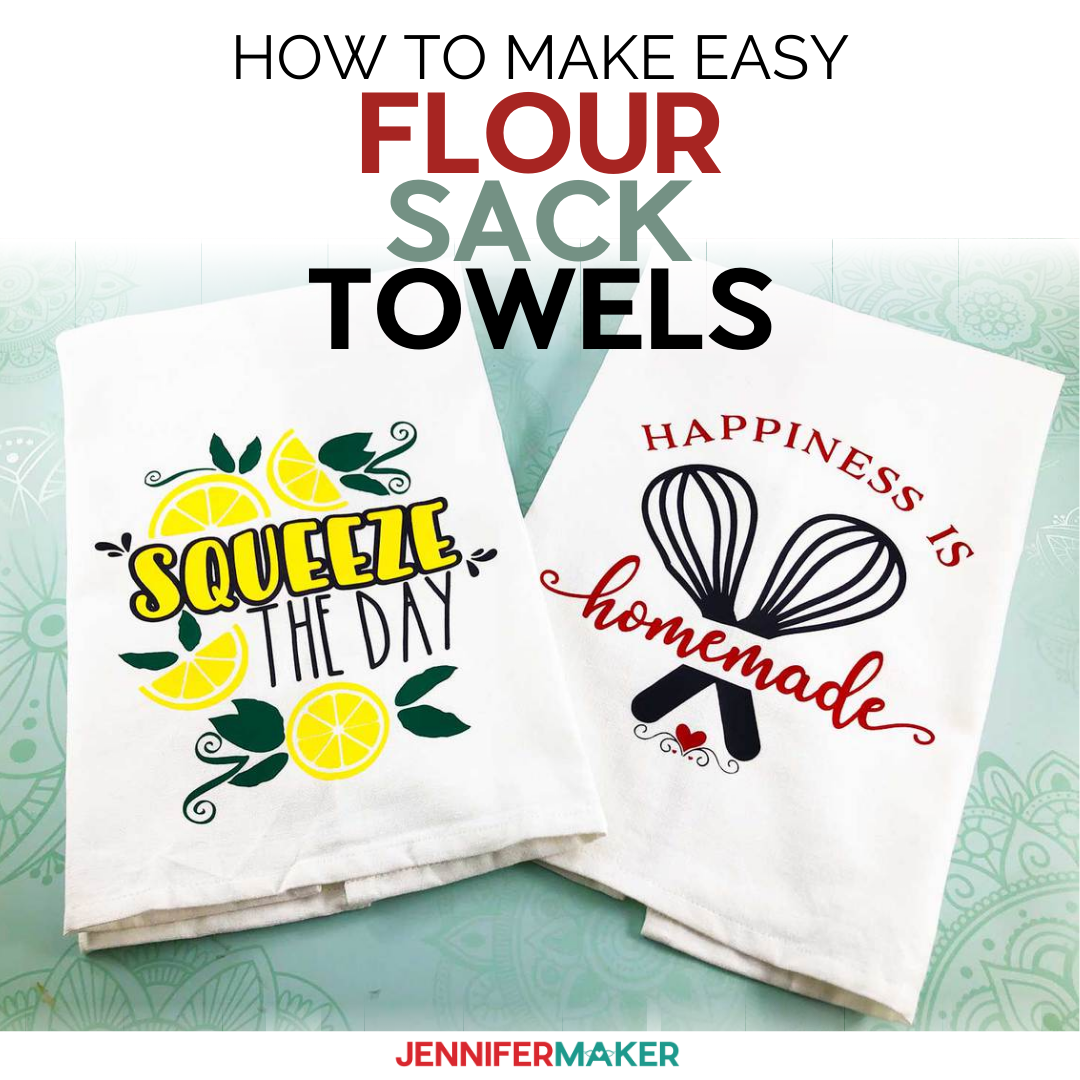
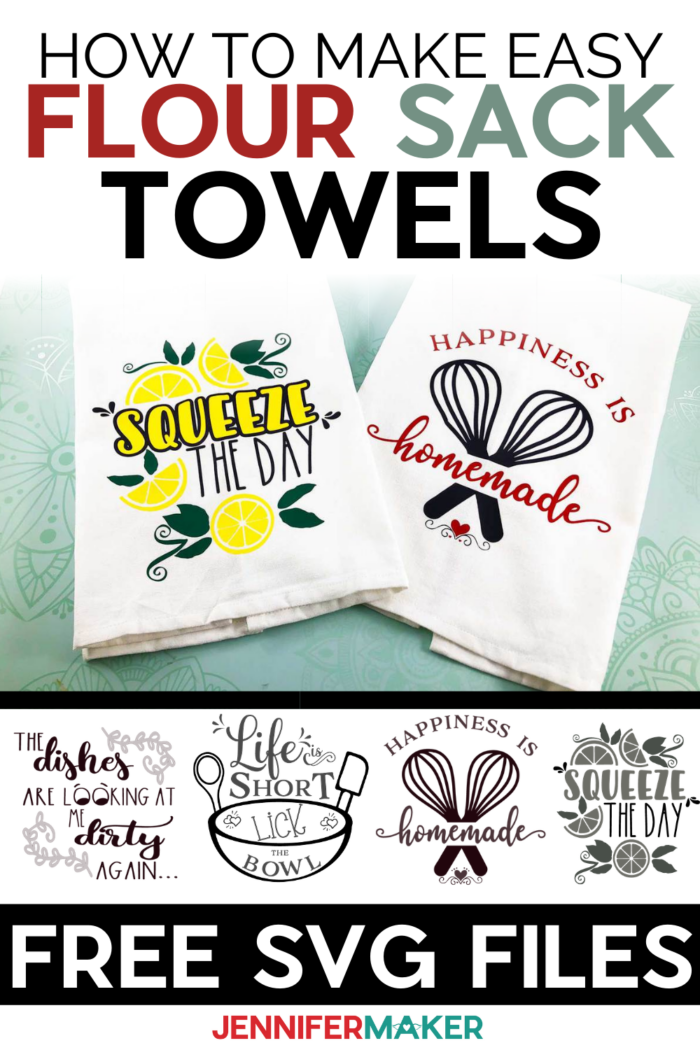
Learn how to make these cute Flour Sack Towels with Iron-on Sayings. These fun decorative hand towels and will add a little flair to the kitchen and be a great conversation piece!
I like quick and easy gift ideas! Last year I had a Personalized Pot Holder project. What about creating a whole kitchen gift basket with today’s flour sack towel project, the potholder, and even this customized serving tray. So now we just need a kitchen towel! So how about some flour sack towels decorated with vinyl sayings? They’re cute and SO easy to make! With these towels, we can now make a whole kitchen gift basket, completely personalized for a family! Wouldn’t that be a fun gift idea? So for Day 12 of The Great Maker 25-Day Gift-Away Challenge, I am showing you how to create flour sack towels with iron on sayings!
See exactly how to make personalize flour sack towels with heat transfer vinyl in my tutorial video (or keep scrolling if you prefer a printable step-by-step photo tutorial):

 What is The Great Maker 25-Day Gift-Away? This is an annual tradition here at JenniferMaker! Every day for the first 25 days of December we gift you with a brand new project, design, tutorial, and video. On top of that, we host a giveaway with 25 prizes. Some of the amazing prizes are Cricut cutting machines, sewing machines, gift cards, and beautiful print editions of our popular Cricut Coach Playbook. You can even earn bonus entries for sharing photos of the daily projects! Click here to learn more about The Great Maker 25-Day Gift-Away!
For this project, we need fresh, cotton dish towels. You can use actual flour sack towels, or just regular towels. The smoother the fabric, the easier it’s going to be to transfer your vinyl and keep it on your towel wash after wash. So for that reason, I recommend you avoid the terry cloth style kitchen towels. If you want to make these towels yourself, use a light cotton canvas duck or even a cotton canvas drop cloth you’ve washed until soft.
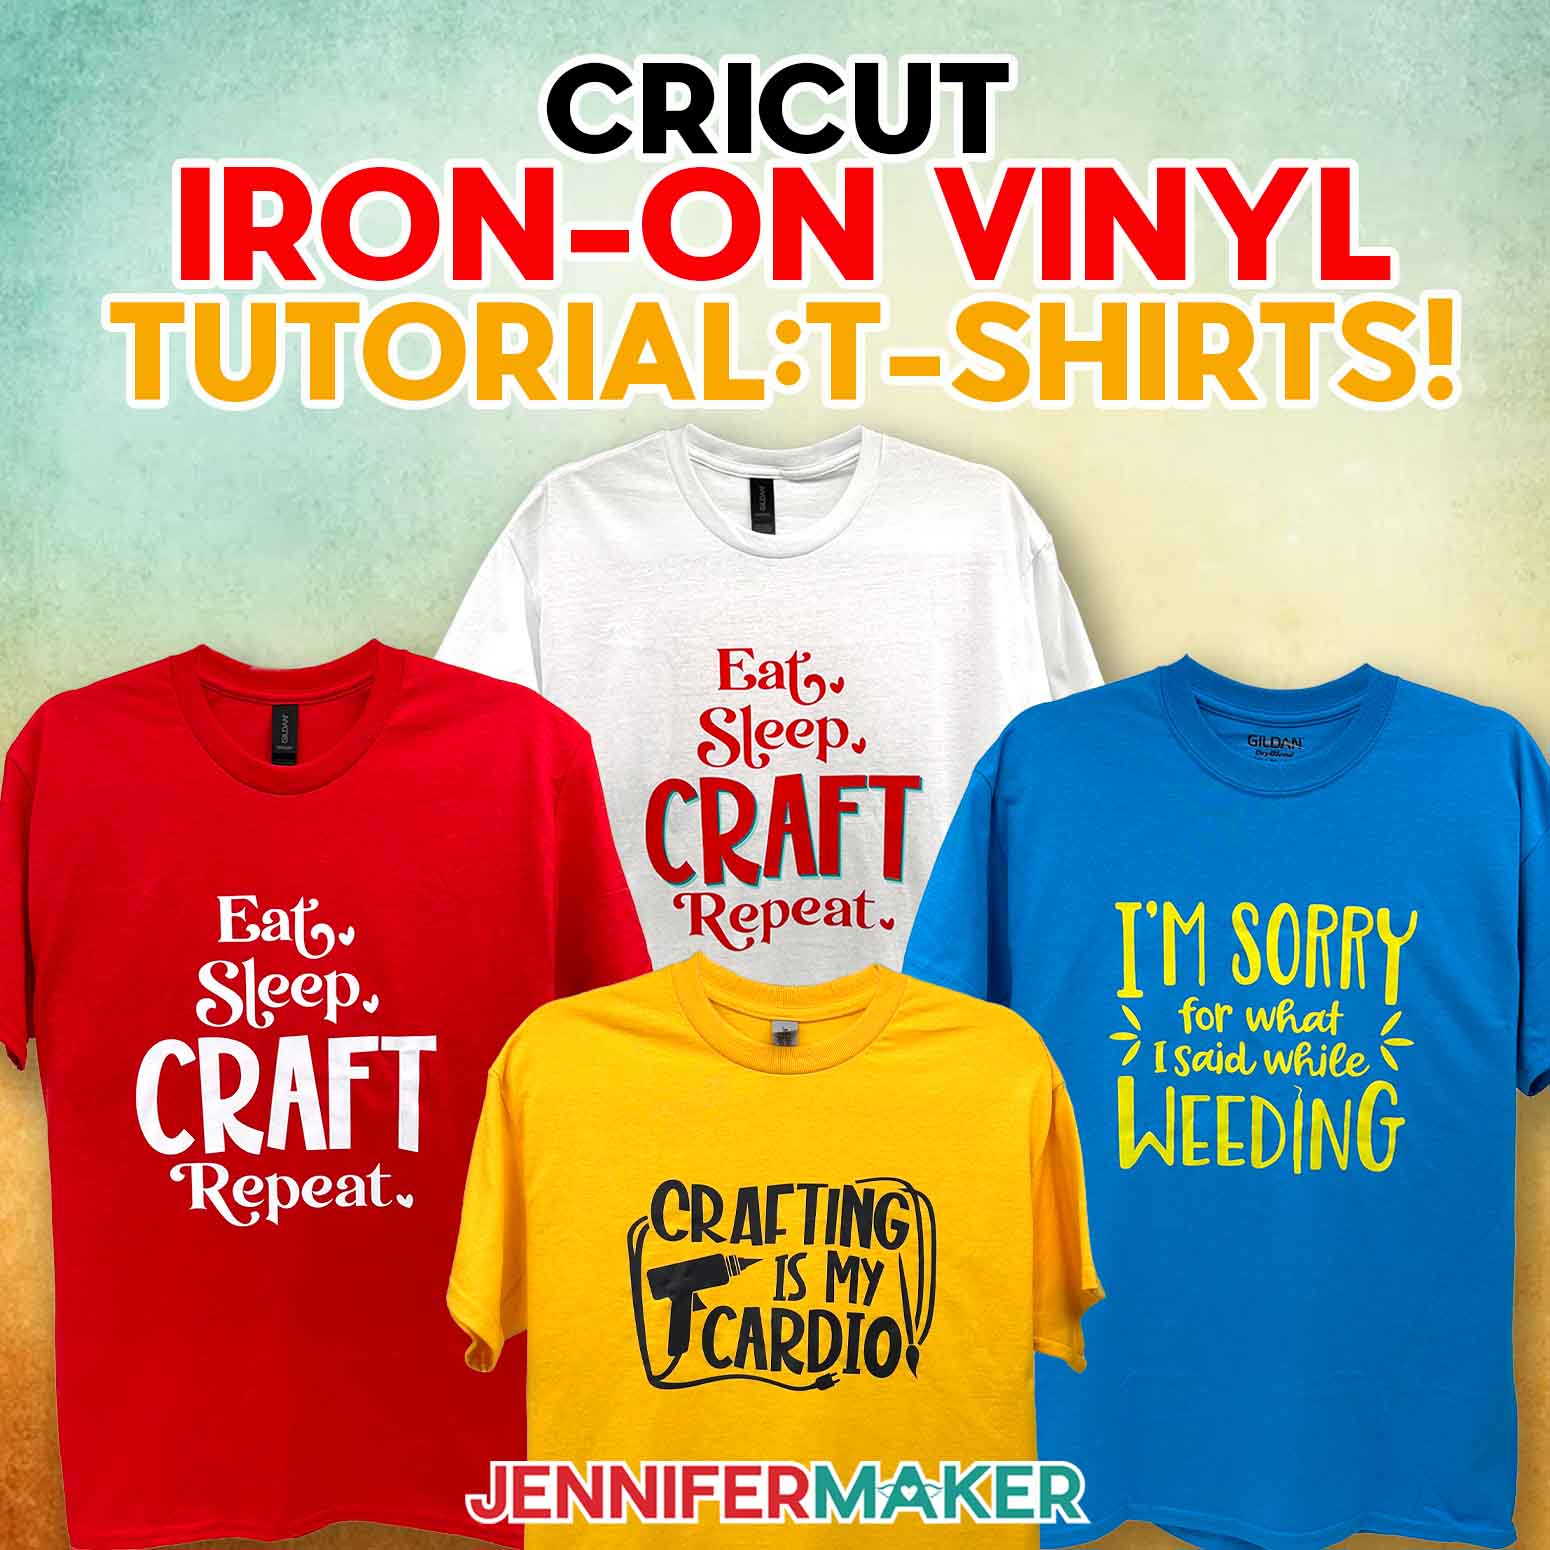
Now we need iron-on vinyl, also known as heat transfer vinyl, for the decorations. I’m using black, red, yellow, green, and blue, but you can use any colors you want, of course! You do NOT need transfer tape when you use iron-on vinyl.

Tools necessary for this project include a way to cut your vinyl. I am using the Cricut Explore along with my fine-point blade and a green StandardGrip mat. You’ll also need a weeding tool for removing the excess vinyl before you apply it.
Now to get your vinyl onto your kitchen towel, you need a way to heat and press it on, such as a household iron or the Cricut EasyPress. I’m using the Cricut EasyPress 2 along with the Easy Press Mat. If you don’t have the mat, you can use a folded towel. I do not recommend an ironing board, however, as it can cause uneven heat distribution.
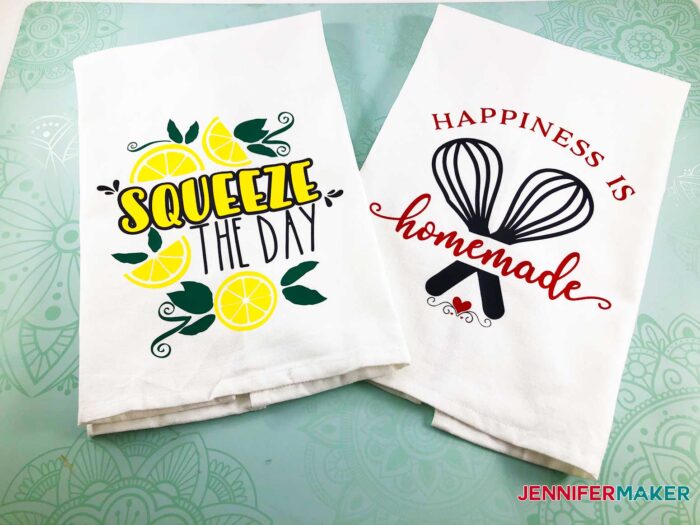
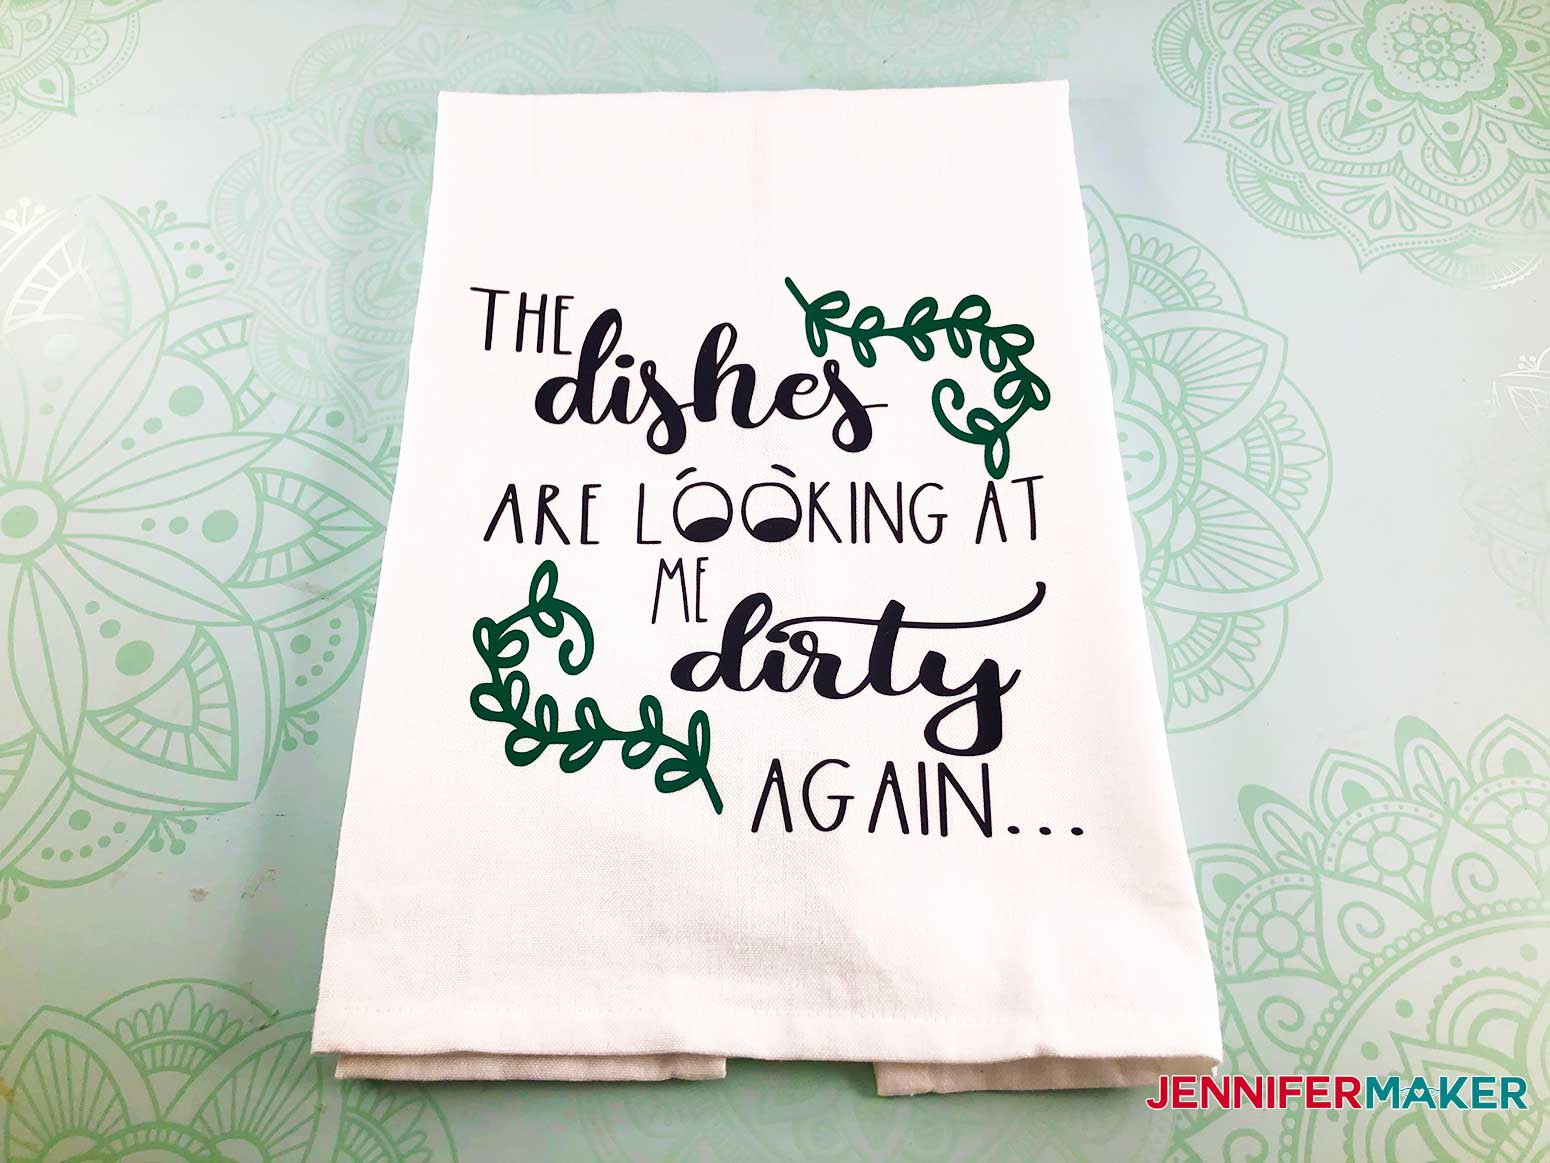
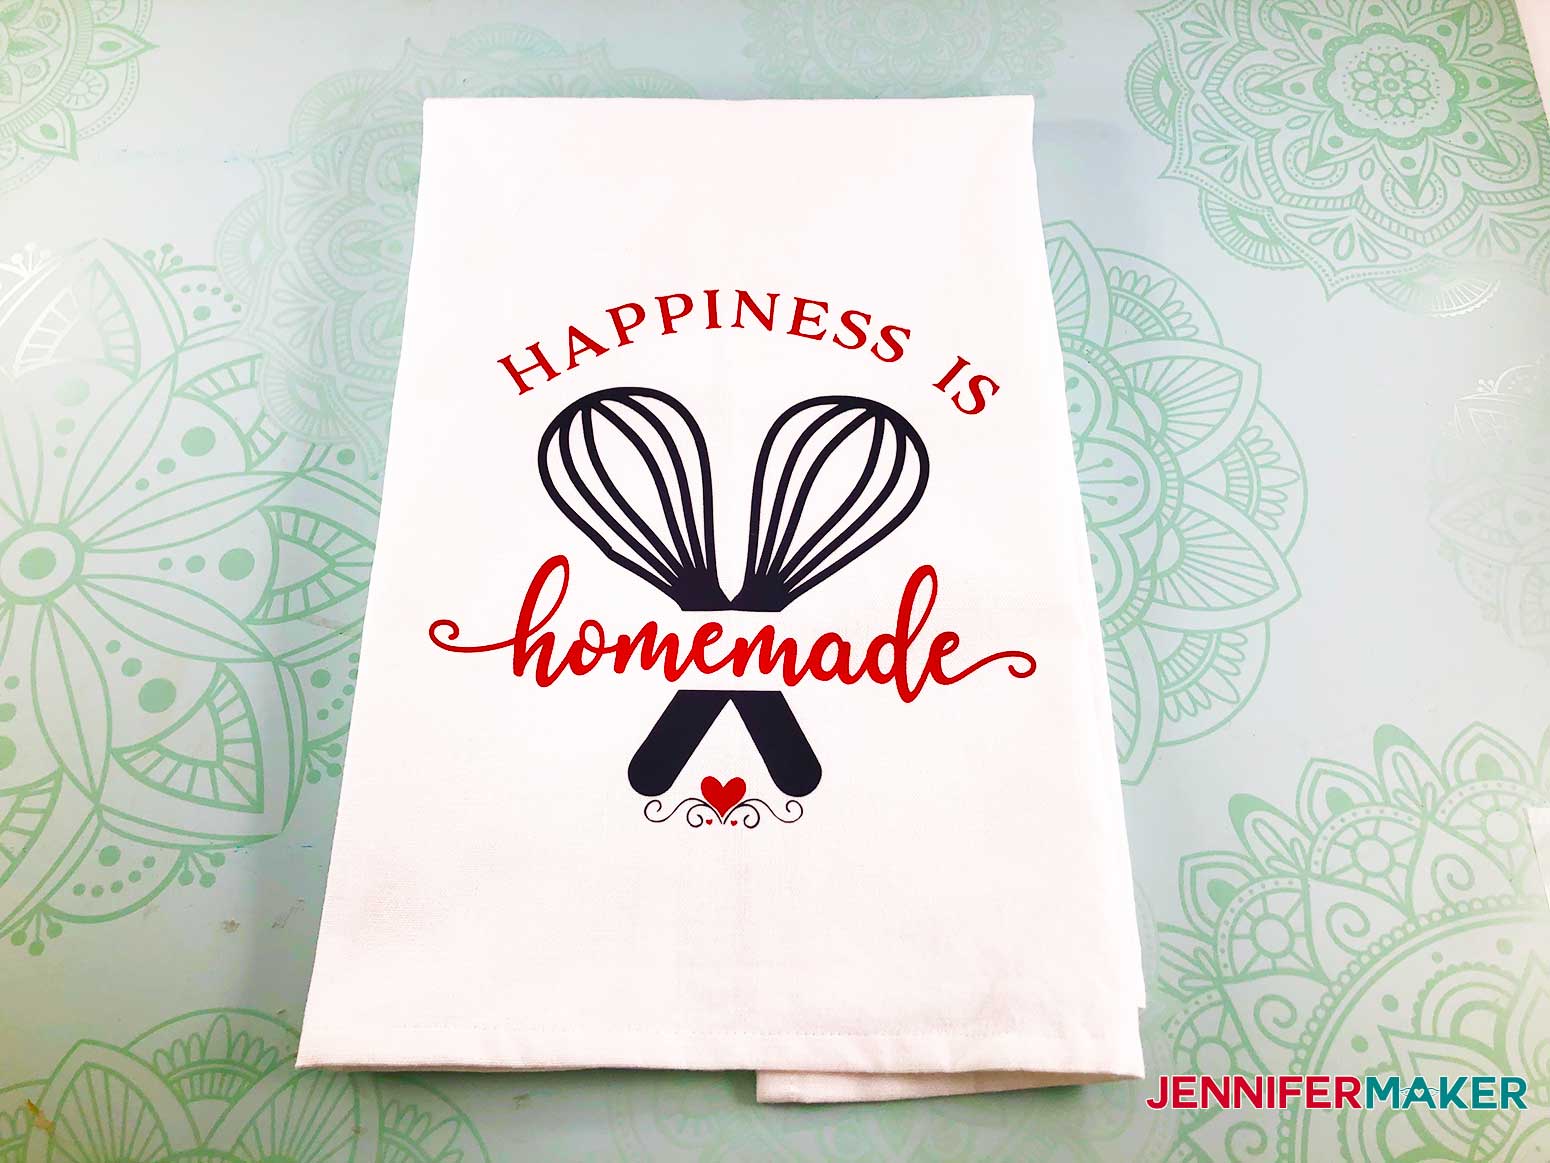
I’ve prepared four different designs for you to play with — “Happiness is Homemade,” “Squeeze the Day,” “Life is Short, Lick the Bowl,” and “The dishes are looking at me dirty again.” SO fun! My designs have multiple colors, but you can use the same color if you wish — your choice.
And that’s it! This is a great beginner project!
So let me show you where to find the towel designs, and then I’ll show you how to cut and apply your vinyl decals to your towels. This post contains some affiliate links for your convenience (which means if you make a purchase after clicking a link I will earn a small commission but it won’t cost you a penny more)! Read my full disclosure policy.
Materials to Make Flour Sack Towels with Iron-On Sayings
View my Amazon shopping list with the exact items we used to make this project!
- Cotton dish towels (or make them yourself from a cotton duck canvas or canvas drop cloth you’ve washed until softened)
- Cricut Heat Transfer Vinyl in colors of your choice
- Cricut Easy Press
- Cricut Easy Press Mat
- Cricut StandardGrip Mat (Green)
- Cricut Tools for weeding
- A way to cut your vinyl (I used the Cricut Maker cutting machine but this can also be cut on a Cricut Explore)
- Design #263 – My free towel SVG design file with four free designs (available in my free resource library—get the password by filling out the form at the bottom of this page)
How to Make Flour Sack Towels with Iron-On Sayings
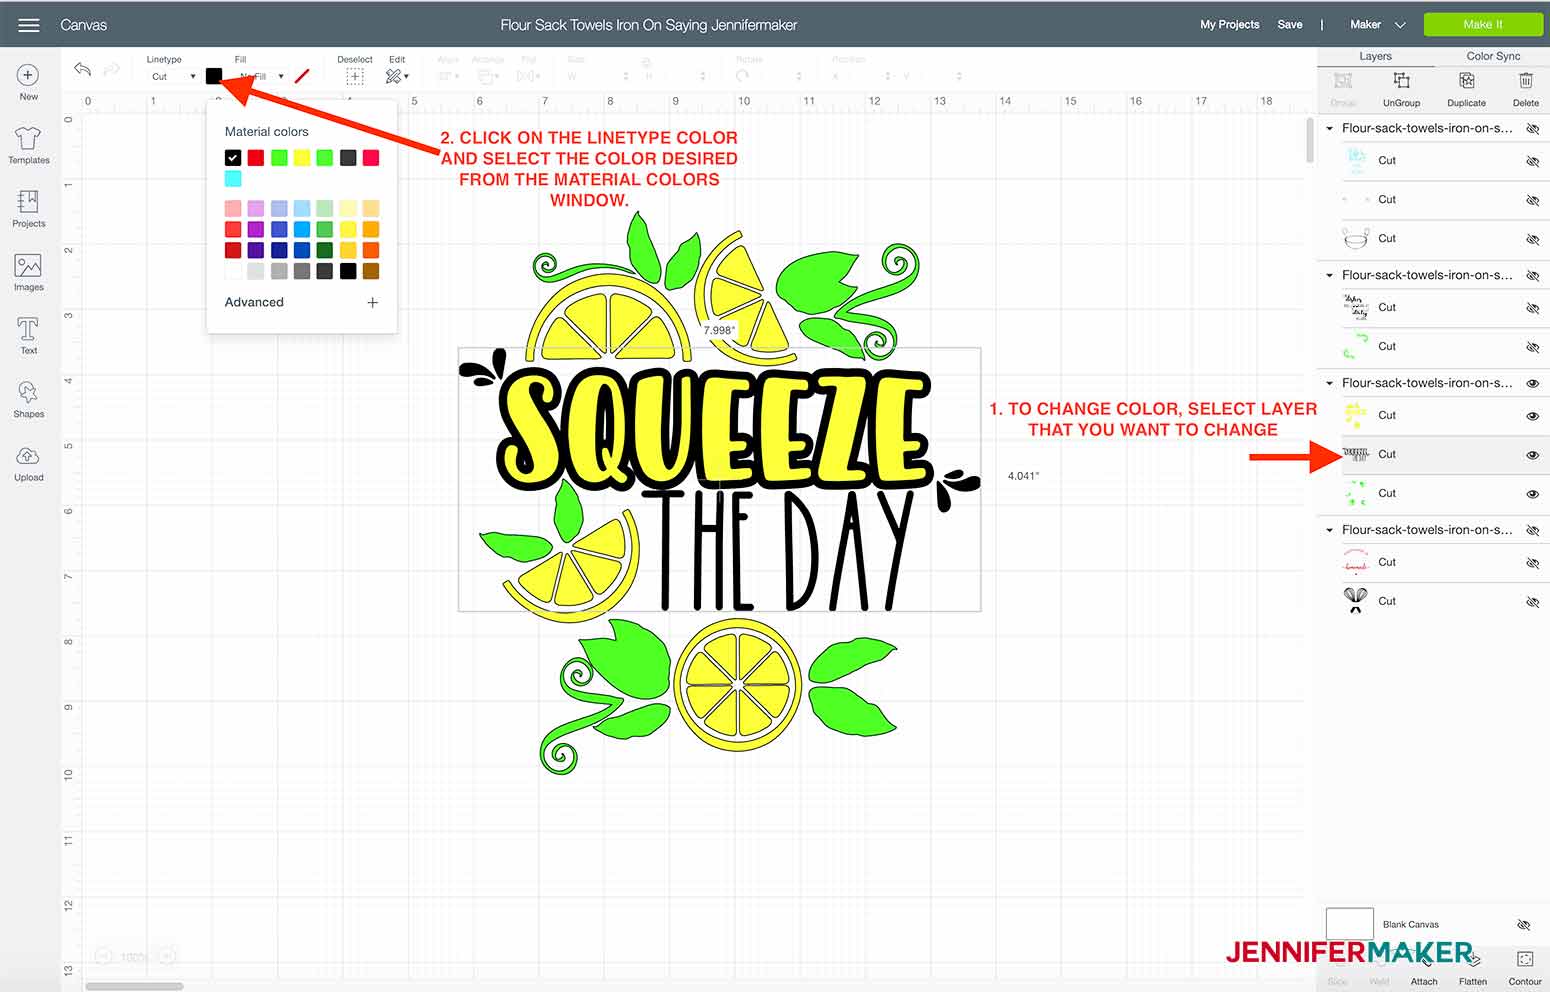
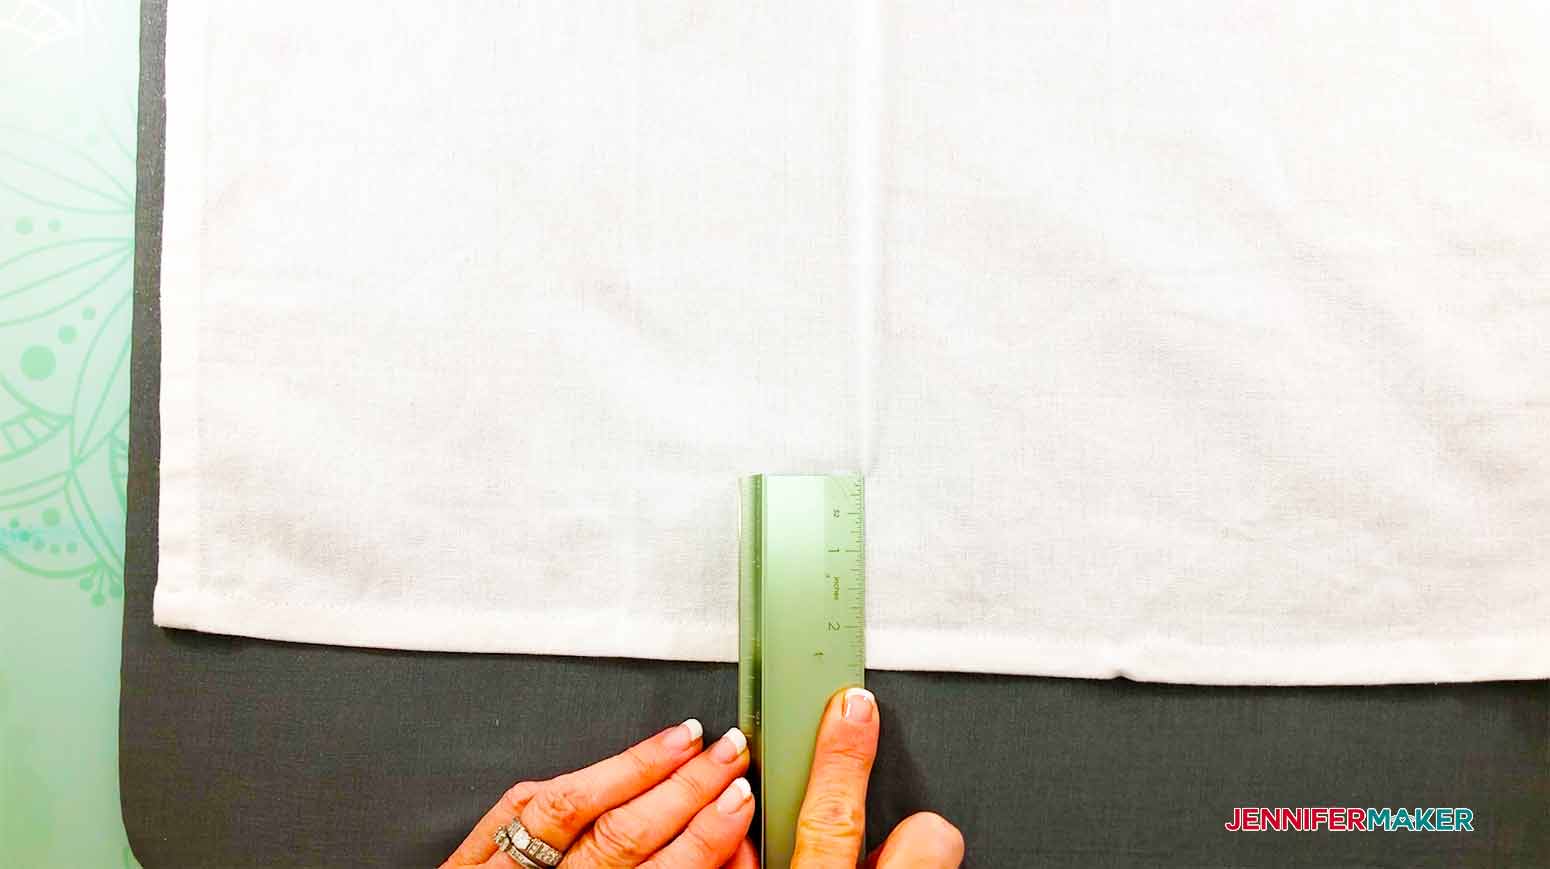
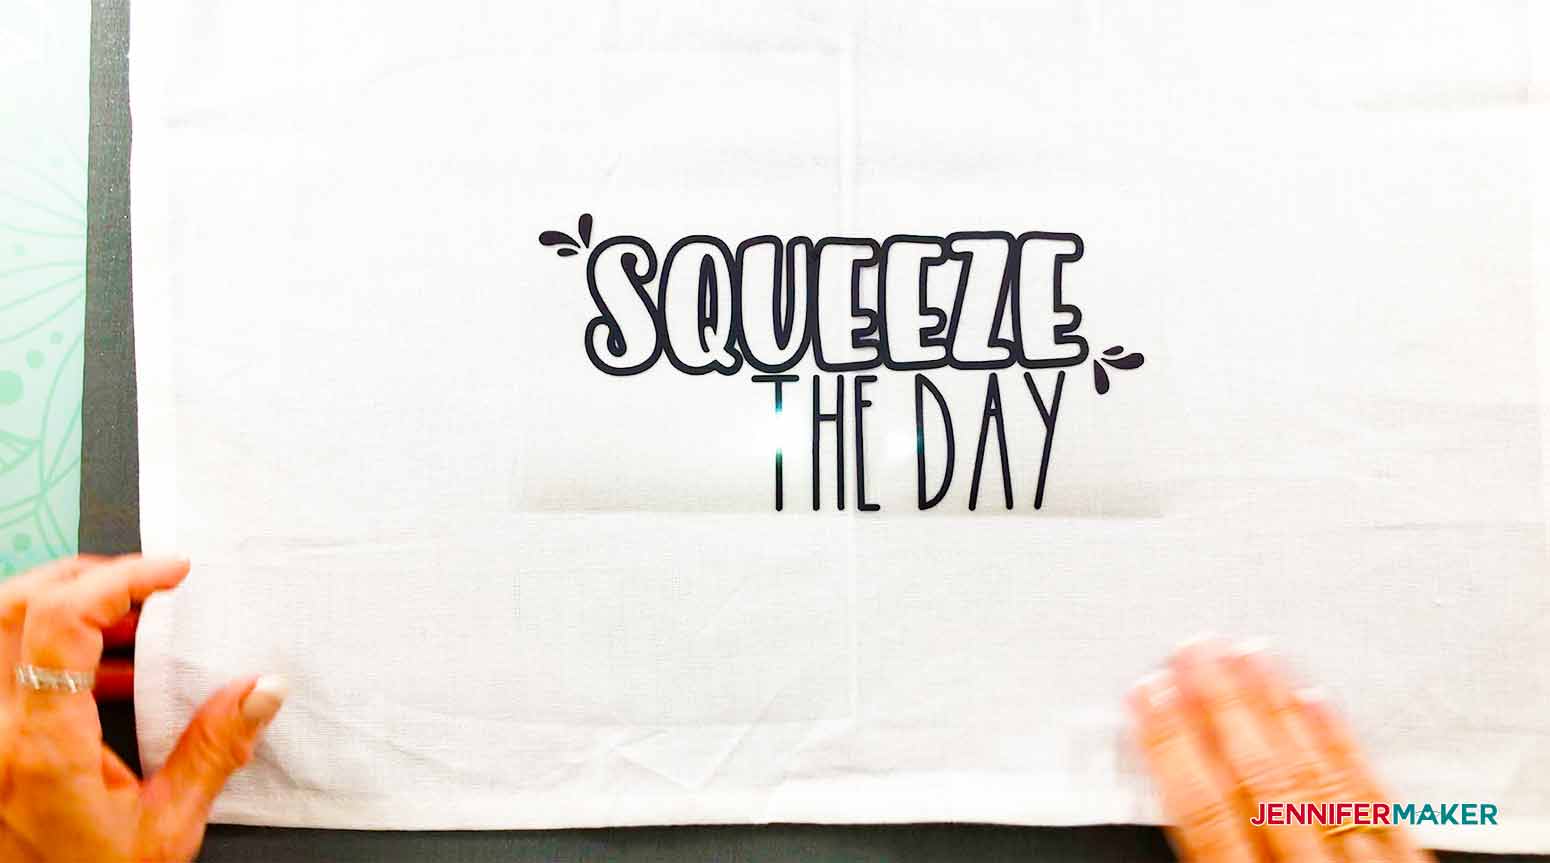
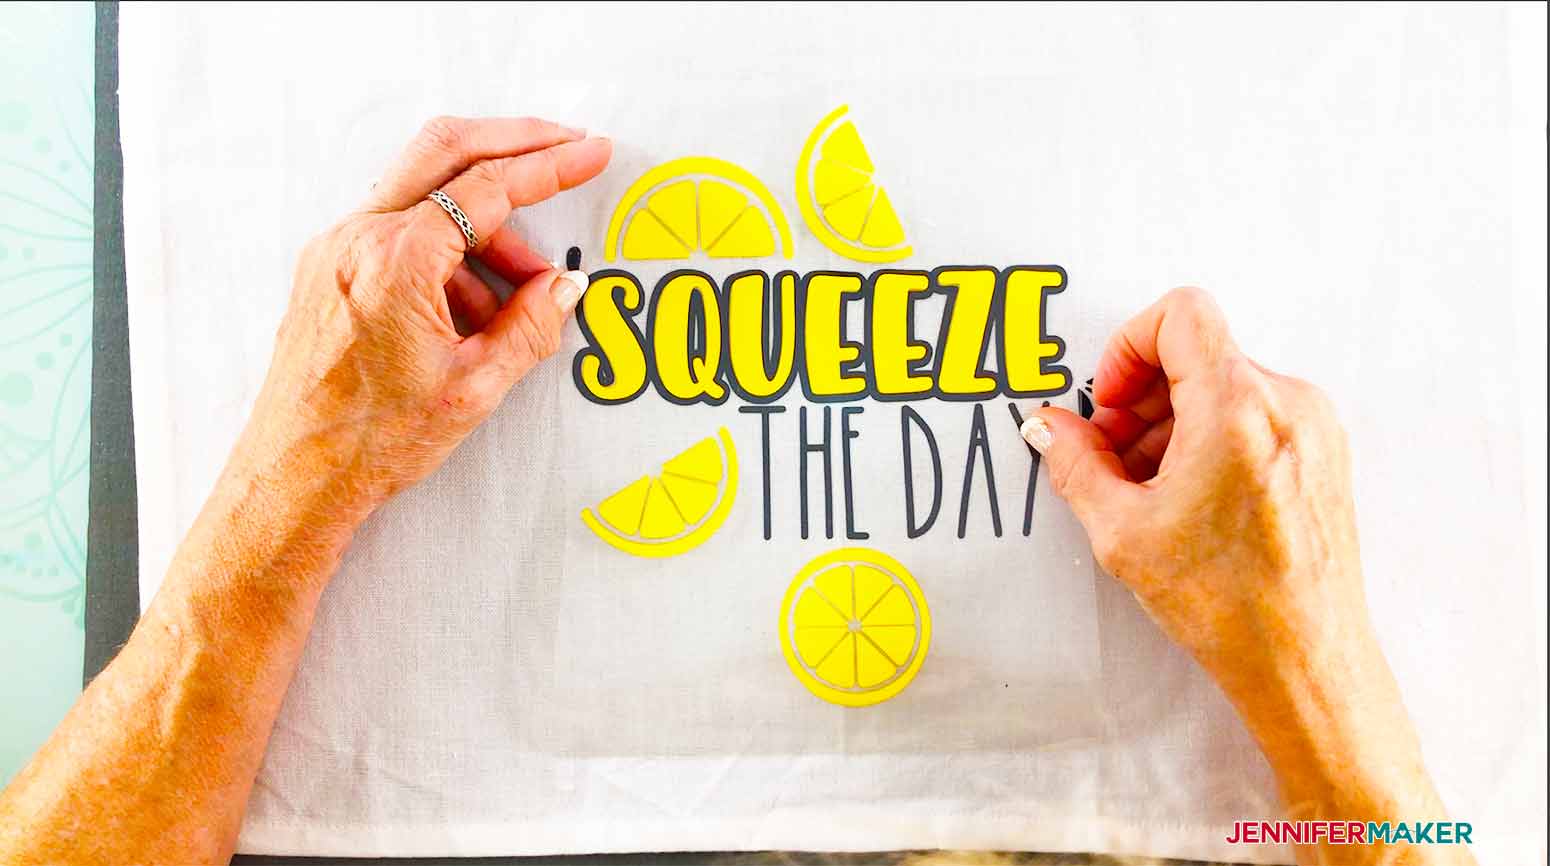
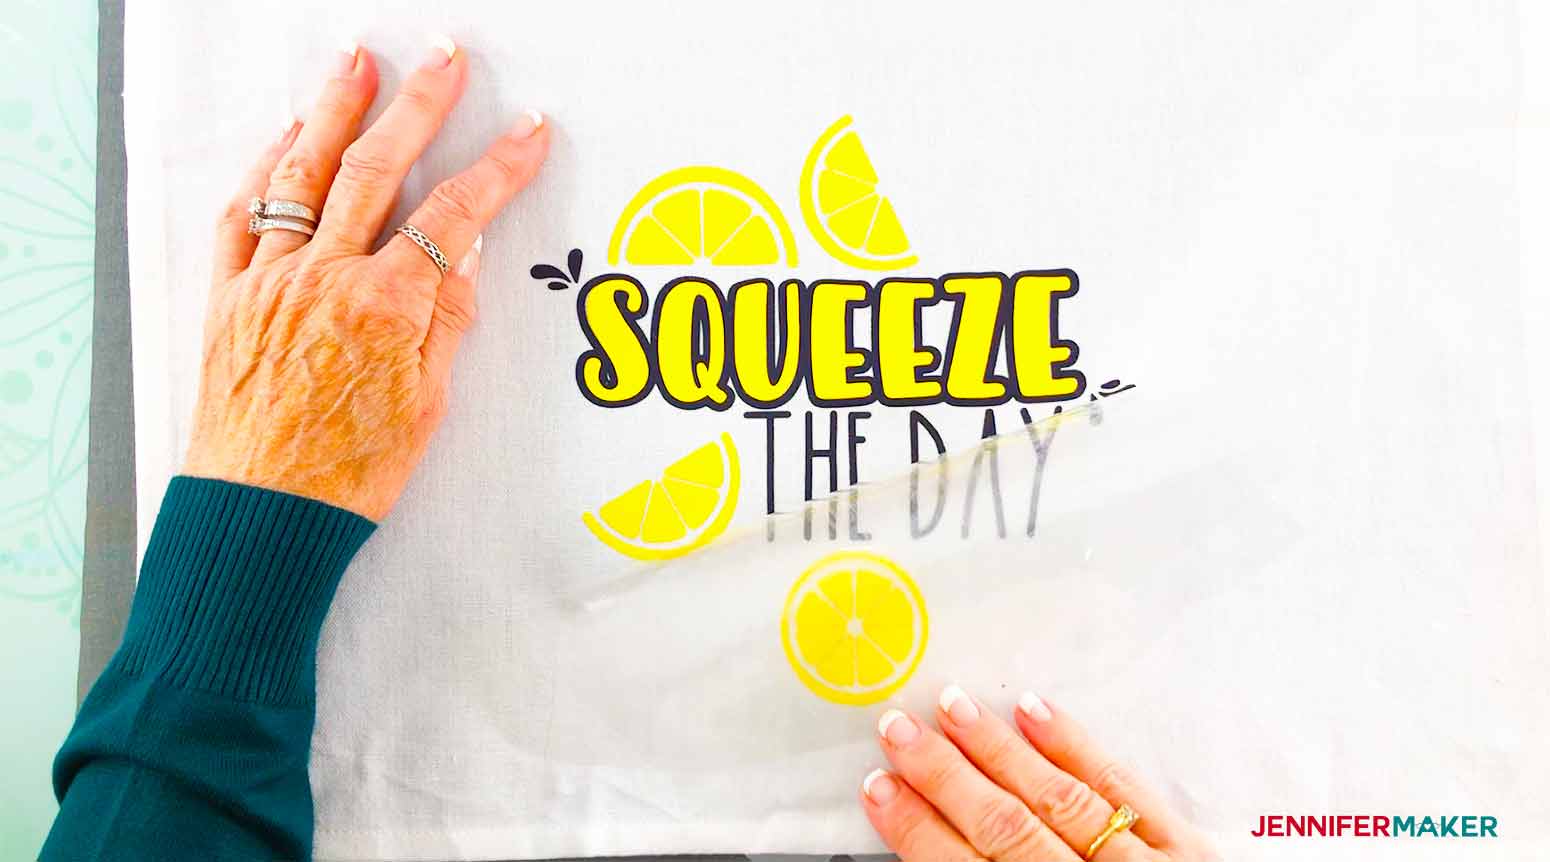
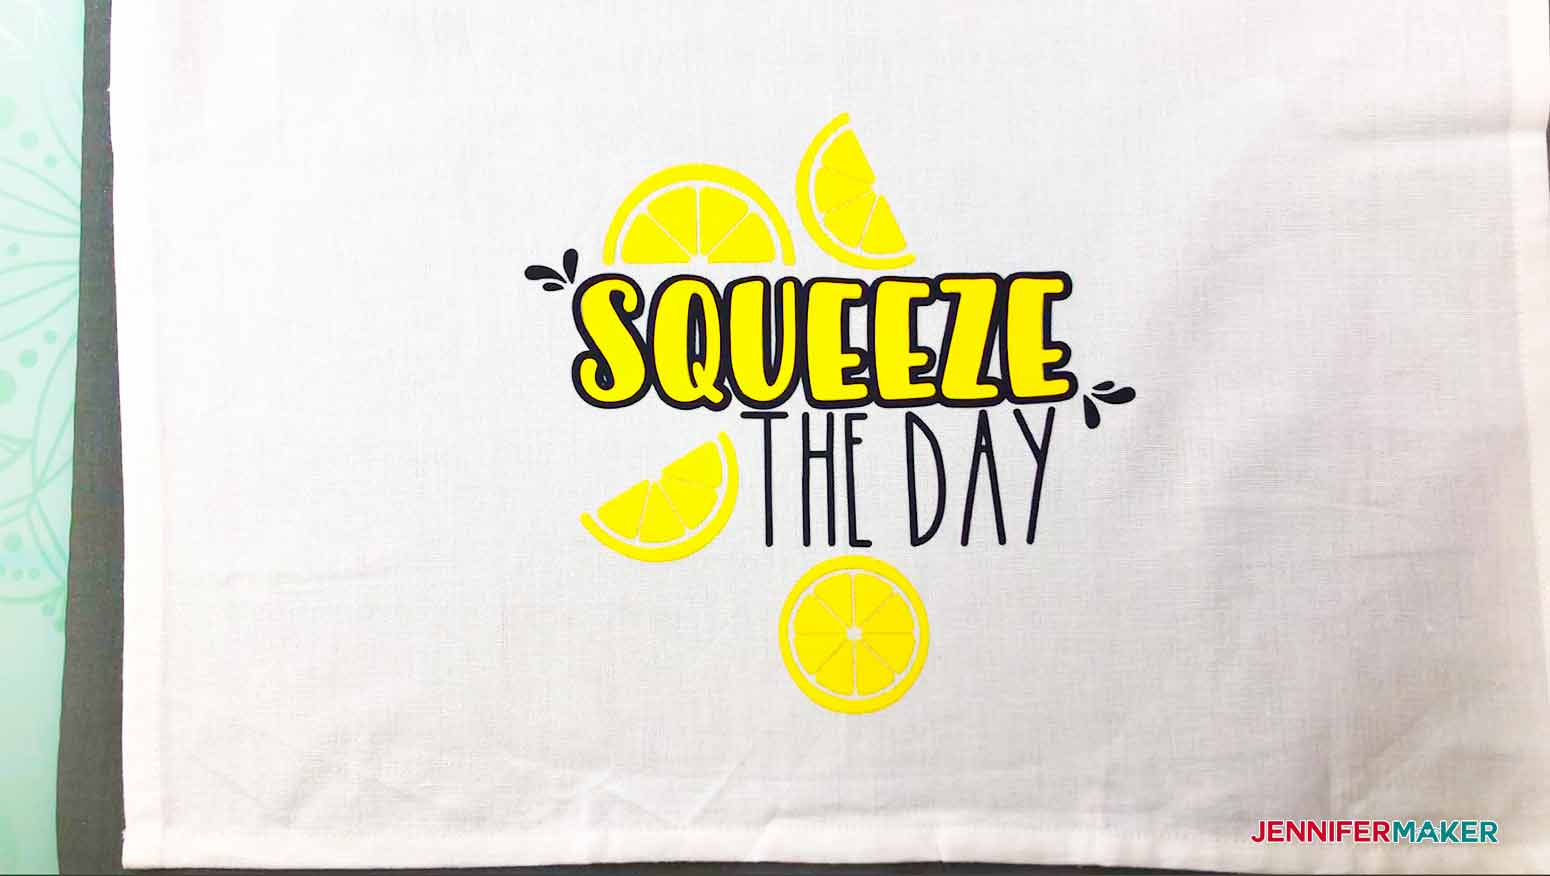
We all love to decorate our kitchens, and these Flour Sack Towels with Iron-on Sayings are SO cute! A few personalized hand towels will add a little flair to the kitchen as well as be a great conversation piece! Tip: If you are not sure how to upload an SVG cut file to the Cricut Design Space, watch this helpful video training series I made. If you are on an iPad or iPhone, here is how to download and upload SVG files to the Cricut Design Space app. Then the hard part comes! Deciding which one to cut first! Once you have made that decision, you will need to delete or hide the ones that you are not going to cut. To delete a design just click on the X in the upper left hand corner of the selected design. To hide a design once it is selected, simply click on the eye next to the layer in the layers panel. I chose to use the colors in the design for my HTV, but if you want to change the colors you can do so by selecting the layers you want to change and set the new color using the linetype menu at the top of the screen. If you are using the design as sized, just click the Make It button. If you need to resize the design to fit the material you are placing it on, do so and then click Make It. If you need help resizing this SVG, please see my resizing guide. Place your HTV shiny side face down on your Cricut StandardGrip Mat. It's very important you put your iron-on vinyl SHINY SIDE DOWN on your cutting mat. Learn how to tell which side to cut iron-on vinyl in my tutorial here! On the Mat Preview screen, you must toggle the MIRROR button to ON (green) for every layer -- all iron-on designs must be mirrored before cutting! Choose Everyday Iron-On as your material, load your mat into the machine and press the flashing button. Once your vinyl is cut out, carefully weed out the parts you do not want in your design. I find it helps to hold the vinyl up to a light source at an angle to see the cut lines… and use a weeding tool. Having trouble weeding? Read my tips for weeding here! I like to find the center of my material when choosing to iron on the sayings. Fold your towel in half and press with the Cricut Easy Press (set at 325 degrees) for 15 seconds. Performing this step also removes any moisture out of the material to allow for better adherence. Lay the center of the bottom layer of the design on the center of the towel. I measured up about 2 1/2 inches from the bottom of the towel for placement. Iron on the first layer of HTV using the Cricut Easy Press. I set my Easy Press at 325 for 30 seconds. HTV is a COOL PEEL so be sure to let your design cool down before you attempt to remove the transfer sheet. I found that I had to heat again for a few seconds as when I tried to peel the design wasn't completely sticking to the towel. Check the Cricut EasyPress Interactive Quick Reference Guide to see what temperature is best for your vinyl and material. I laid down the yellow layer next. I lined it up with the bottom layer and proceeded to iron it down with the Easy Press using the same heat settings as above. Once this layer was completely cool, I was able to remove the transfer sheet. When working on the last layer, it is important to cover (protect) the layer you just did. If your design you are going to lay down next does not have enough protective sheet to cover your whole design, use the protective transfer sheet you had just removed or a Cricut Teflon sheet. Continue laying down your layers following the same process until all layers are ironed on. Once I had my design completely ironed on, I flipped the towel over and heated from the backside of the towel for around 15 seconds. How fun these decorative hand towels were to make for our kitchen! Finished size of my towel is 18 x28. Special thanks to the JenniferMaker Design Fairy Team, specifically Design Fairy Vicki, for helping me design and assemble these fun Flour Sack Towels with Iron on Sayings. Fonts used are all from Font Bundles Life is Short Squeeze the Day As an Amazon Associate and member of other affiliate programs, I earn from qualifying purchases.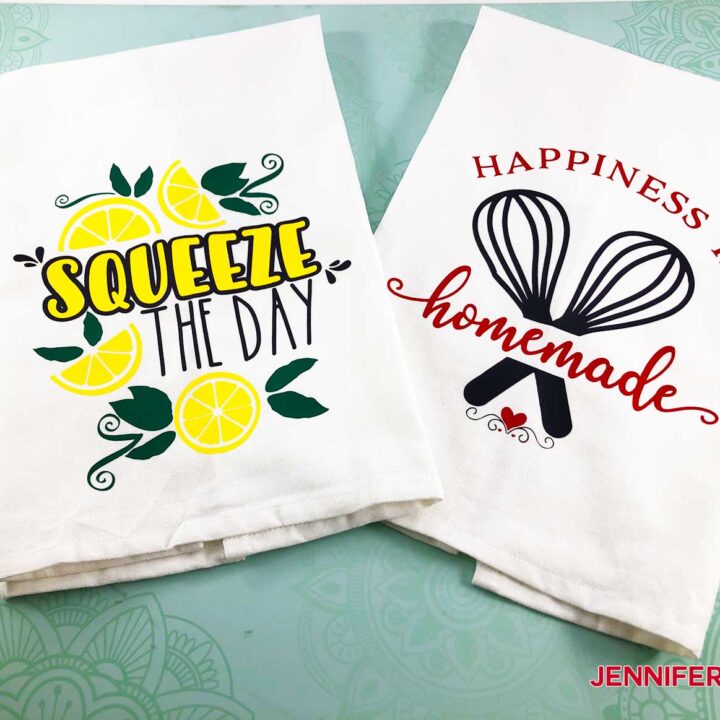
Flour Sack Towels with Iron On Sayings
Materials
Tools
Instructions
STEP 1: GET THE FLOUR SACK TOWELS WITH IRON ON SAYINGS DESIGN
You can get my free Flour Sack Towels with Iron On Sayings SVG design #263 from my free resource library (get the password to the library in the form at the bottom of this page. Here is what my Flour Sack Towels design file will look like when you upload it to the Cricut Design Space: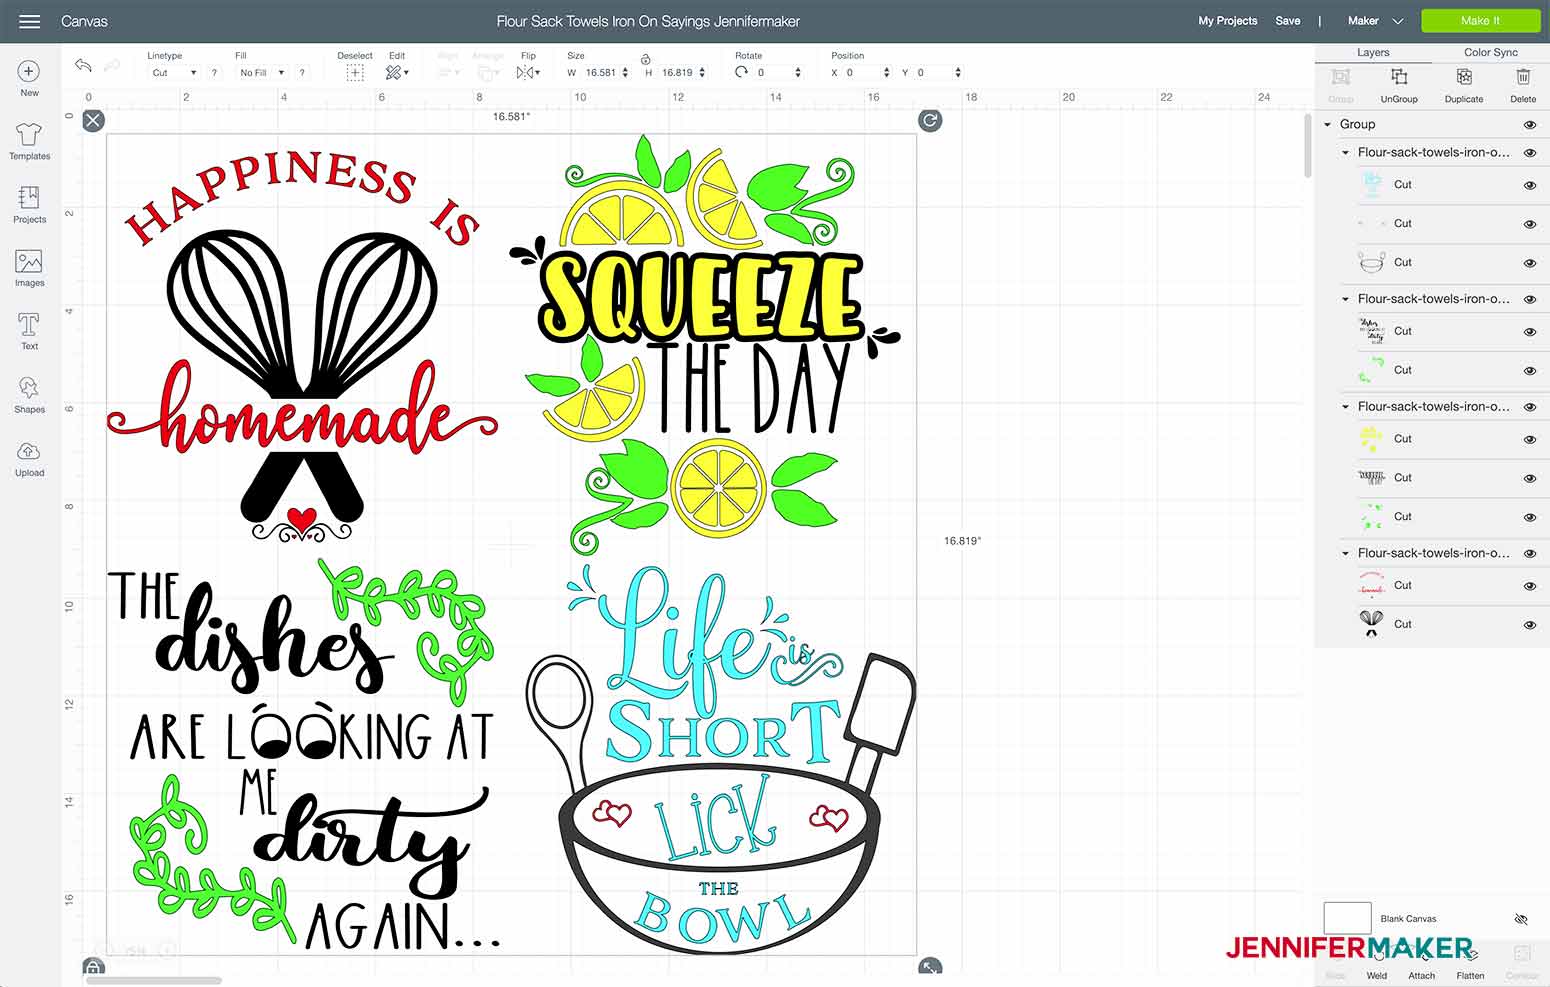
STEP 2: CUT THE DESIGN
Once the Flour Sack Towel Iron on Sayings is uploaded into Design Space, you will need to ungroup the design.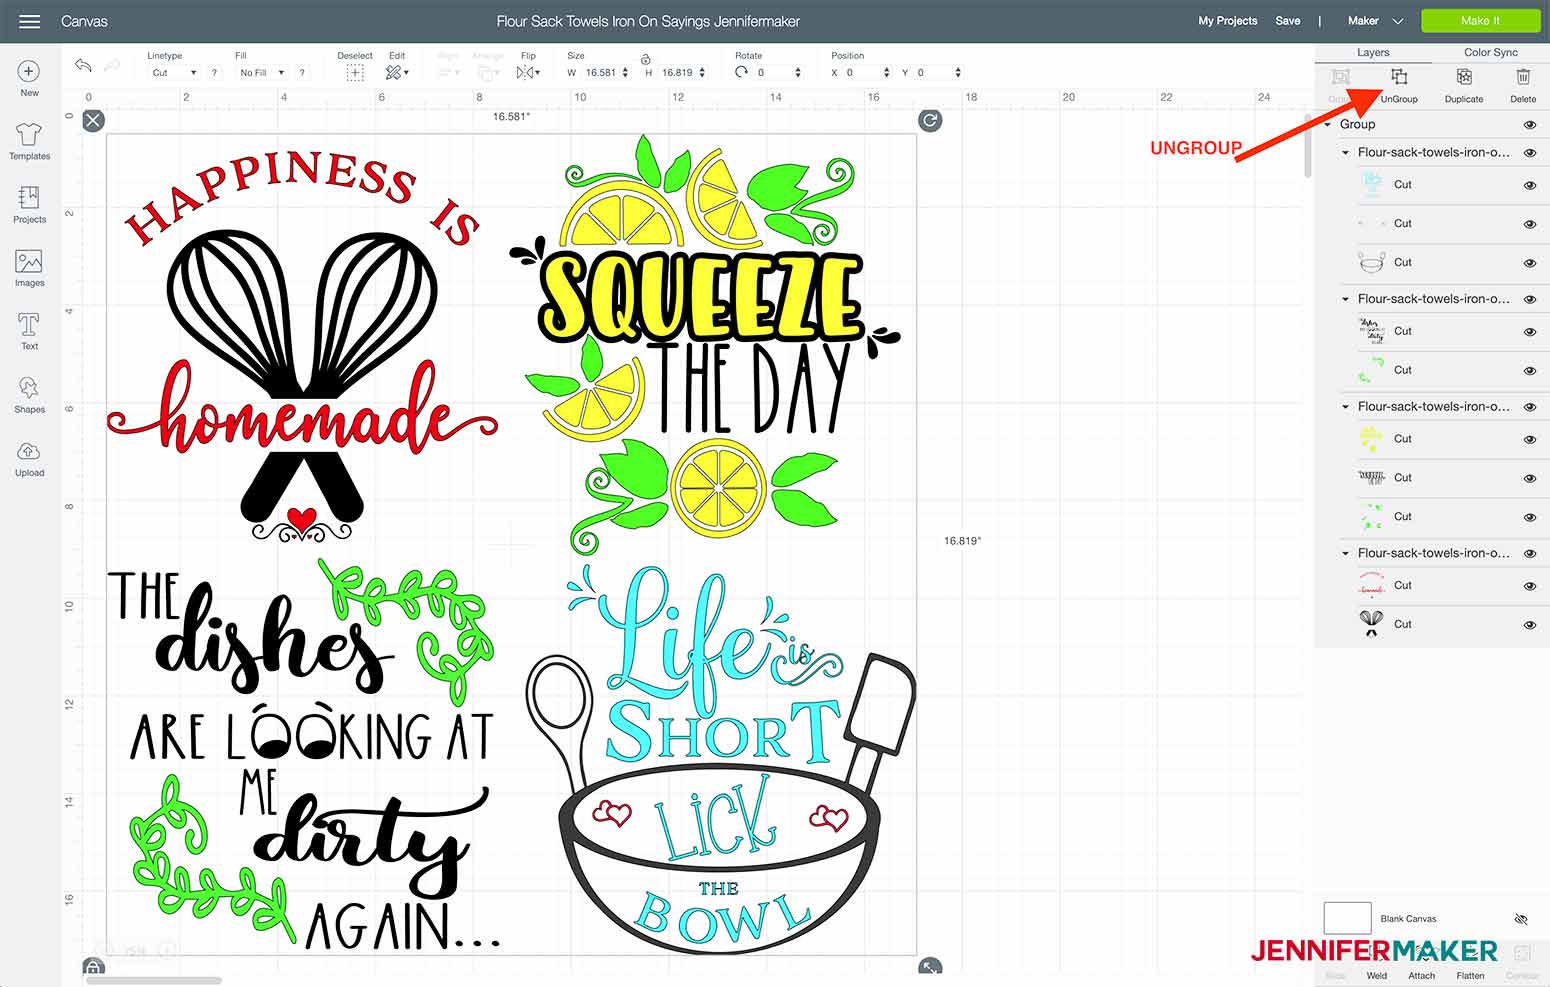
STEP 3: ASSEMBLY


 q
q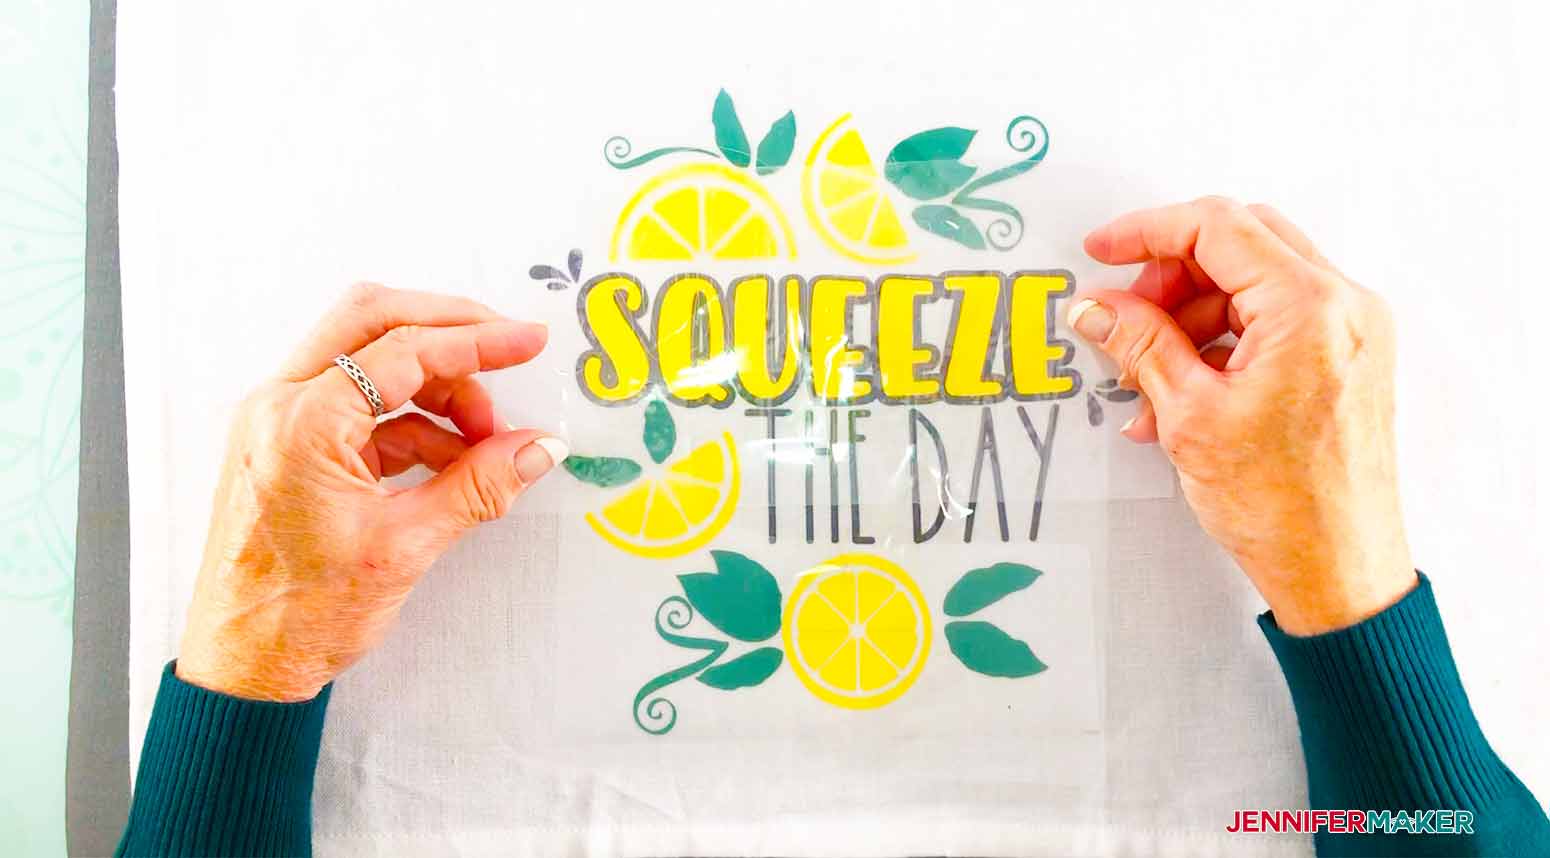
STEP 4: SHOW IT OFF!

Notes
Happiness is Homemade
Dishes are Looking at Me Dirty AgainRecommended Products


Answers to Your Questions About Flour Sack Towels with Iron-On Sayings
Q: How do you wash the towels?
We wash ours on a gentle cycle, cold water!
Q: How long do you let the transfer cool?
You just need to let them cool to the touch!
Q: Do you need to wash and iron the towels before making this project?
It is your choice if you want to wash and iron beforehand! Do not use a fabric softener, though, as it can affect the ability of the vinyl to bond to the fabric!
Q: How do I avoid getting stains from my iron on to the towels?
Use a teflon sheet or parchment paper if your iron base is not clean to avoid stains on your towels. You can also use an iron cleaner as well on either your household iron or your Easy Press if you want to start with a nice, clean surface!
Q: When using HTV, do you iron both sides of the towel?
It will help the vinyl adhere more strongly, so it’s a good idea!
Get my free SVG files to make Personalized Flour Sack Towels with Iron-On Sayings
I’d love to see your fun flour sack towels and all the things you personalize them with! Please share a photo in our Facebook group or tag me on social media with #jennifermaker.
See all of the projects, tutorials, and free designs in The Great Maker 25-Day Gift-Away Challenge!
Love,

Want to remember this? Save this Flour Sack Towel Tutorial to your favorite Pinterest Board!


I tried leaving a comment on YouTube but wasn’t able to. I’ve never used vinyl because I’m not sure how well it holds up. Are these towels washable? Are they usable or just for decorative purposes?
Hi there! So, if properly applied, iron-on designs are totally washable and useable!
Jennifer do you have a coach book that shows you how to use a cricket explore air 2?
Hi Karen! I sure do! Visit http://www.cricutcoach.com!
Thank You, Jennifer! You make everything so easy.
Oh, thank you so much! That is always my goal!
Can I use a regular iron to apply vinyl to fabric?
Hi Elinor! You can but it is heavily unreliable. Unless you have a heat sensor gun to test the temperature your iron is at, there is no real way of knowing what your heat temperature is. Also, iron’s are notorious for having cold spots. If you are going to get into iron-on projects, I would recommend the Cricut Easy Press.