
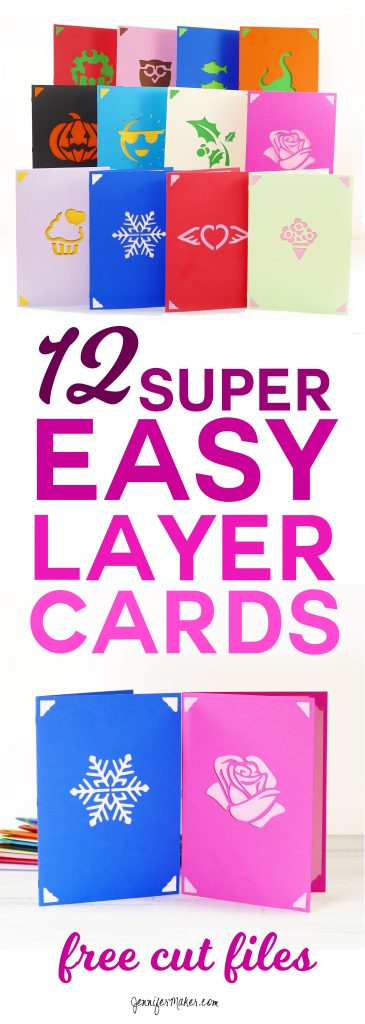
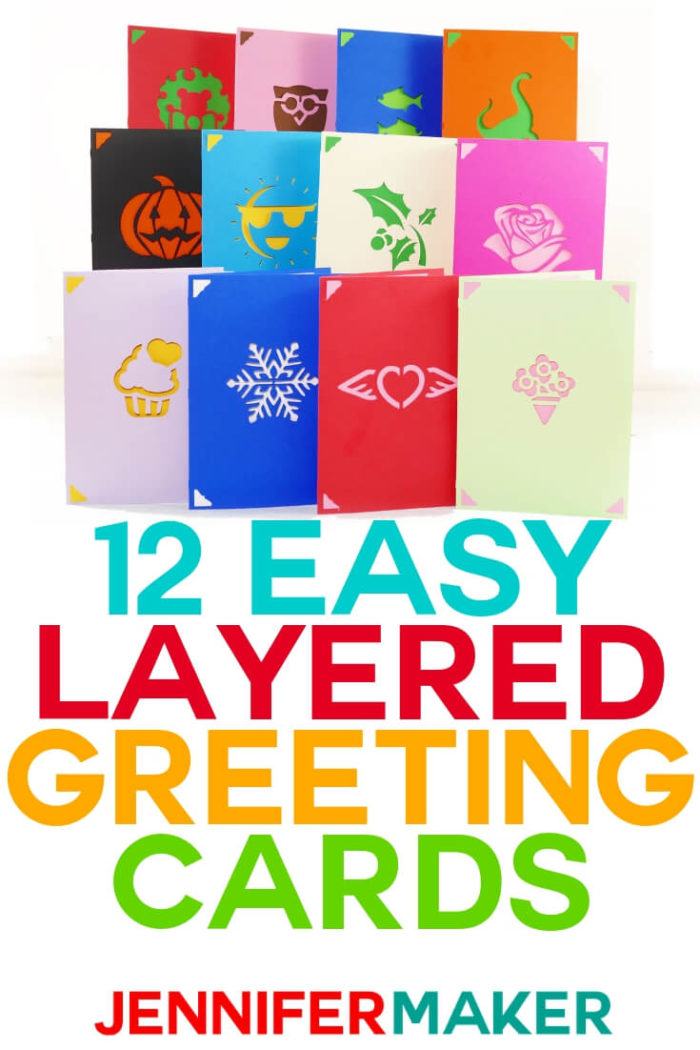
Looking for easy-to-make Cricut projects? Or are you in need of fast and easy-to-make cards? I have you covered with another dozen cards in my easy layers greeting card set!
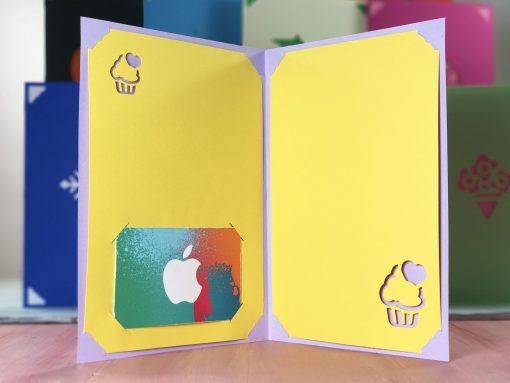
A month or so ago I created a set of greeting cards inspired by the “enjoy” card everyone makes as their first Cricut project. I took the idea one step further with more detailed cuts, a continuation of the card motif inside, and a place for a gift card. I thought this would make a great “Second Project” for any new Cricut owner. They can be cut very quickly, giving you a ready-to-use stash of cards. They may look simple, but you can get fancy with patterned card stock, glitter, decorations, and other embellishments. I personally like them just as they are. Whatever works for you!
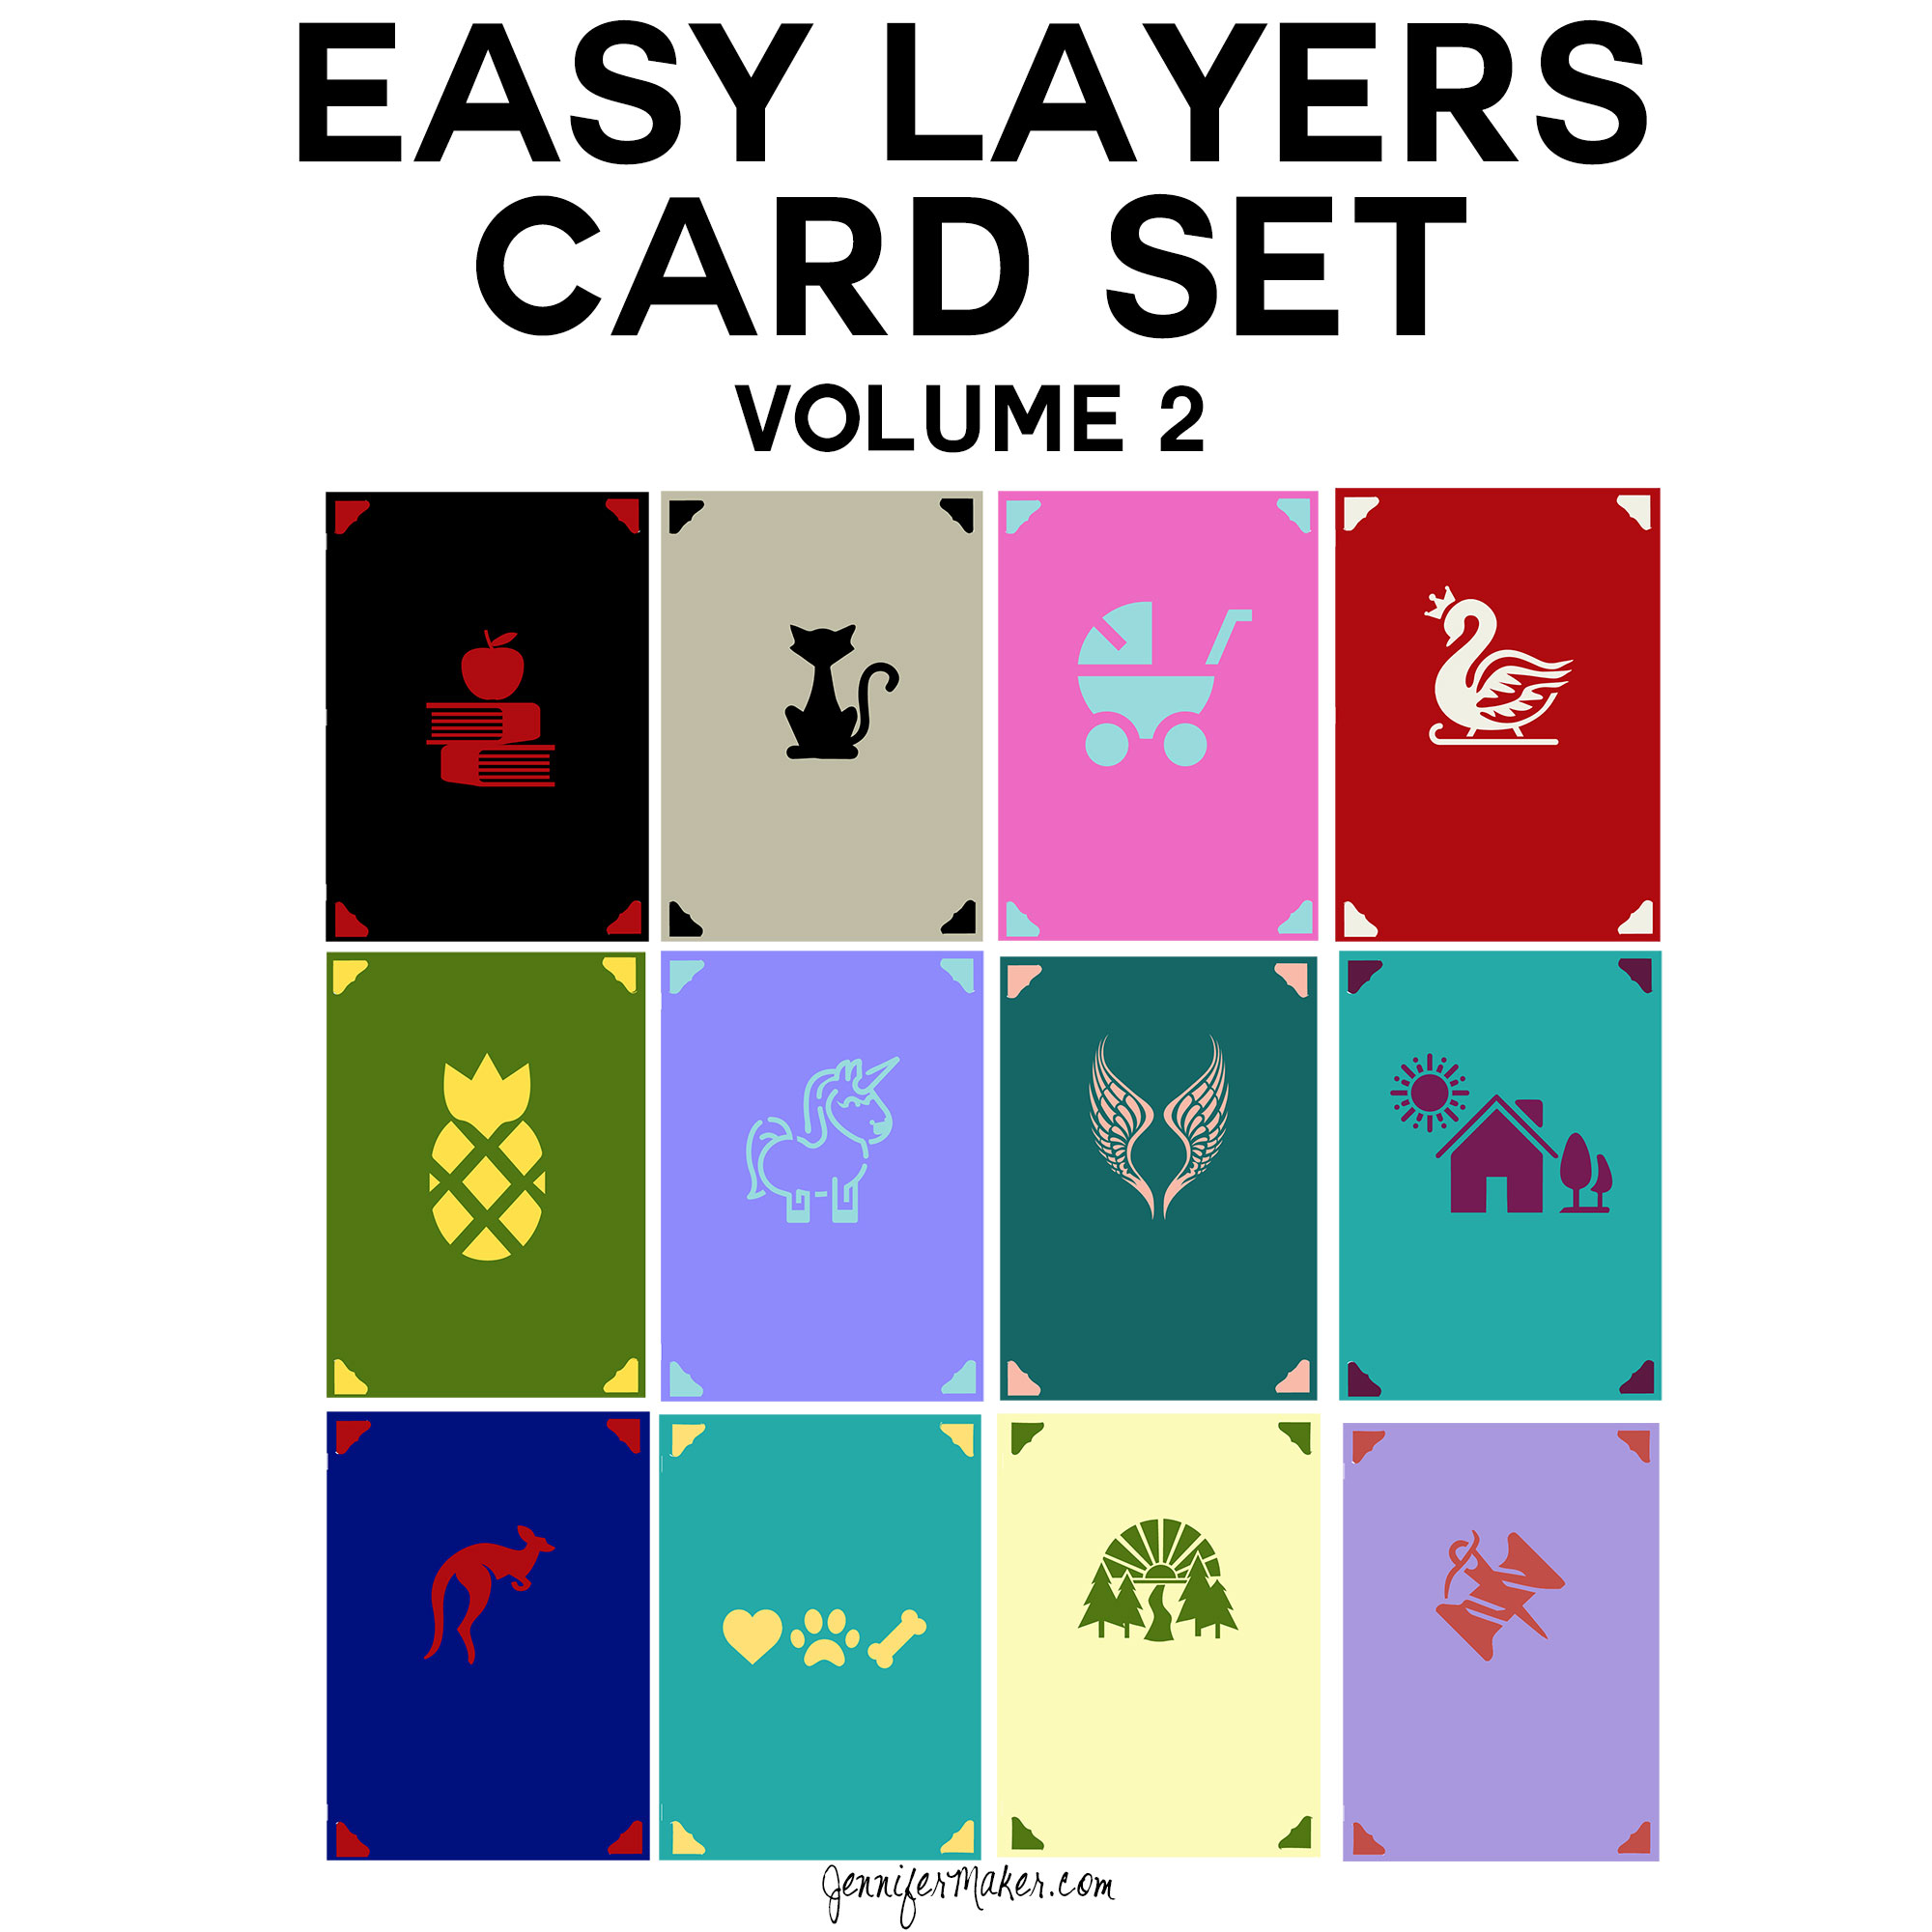
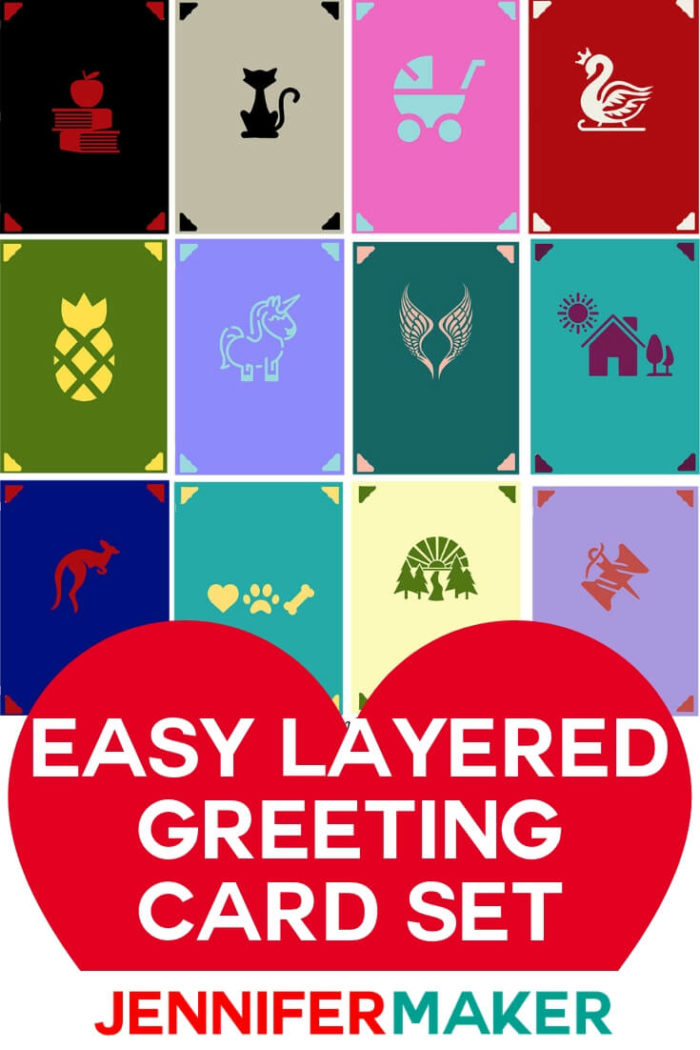
That first greeting card set proved VERY popular, so I made another dozen. Ideas were contributed by my readers, as follows:
- Back-to-School/Teacher (Apple and Book) Card – Rachelle Koehler/Channing Burt
- Cat Card – Robin Nest
- Baby Stroller Card – Rinely Rivera
- Christmas Swan Card – Misty Morgan
- Pineapple Card – Amy Bosman
- Unicorn Card – Misty Morgan
- Angel Wings Card – Sharon Addison
- Happy Home (House with Tree and Sun) Card – Megan Curtis
- Kangaroo (Aussie) Card – Elaine Ellis
- Pet Condolence (Heart, Paw, Bone) Card – Michelen Kallach
- Sunset in Trees Card – Smiley Crafts
- Sewing Needle and Thread Card – Bridget Ann Oglesby
All cards are the standard 5″ x 7″, so you can put them in envelopes and mail them easily. Each card uses just two sheets of paper. No scoring or gluing is necessary. Just cut, insert, and you’re done! And remember, when you feel comfortable and are ready to move on to the next level of cards, check out my shaker cards!
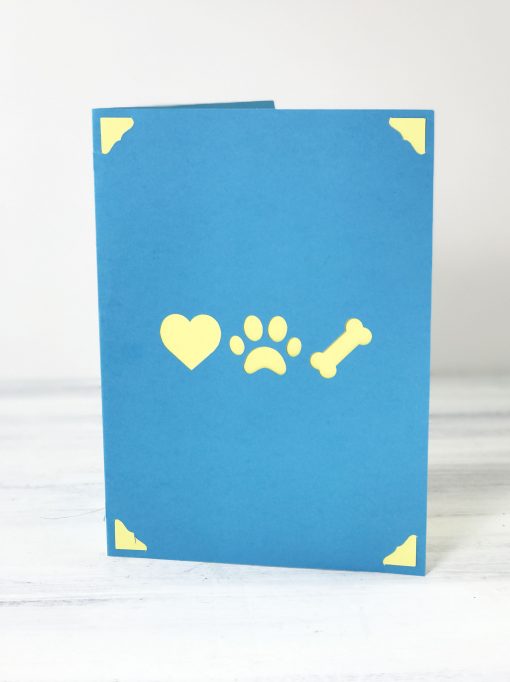
Here’s a close up of one of my favorites:
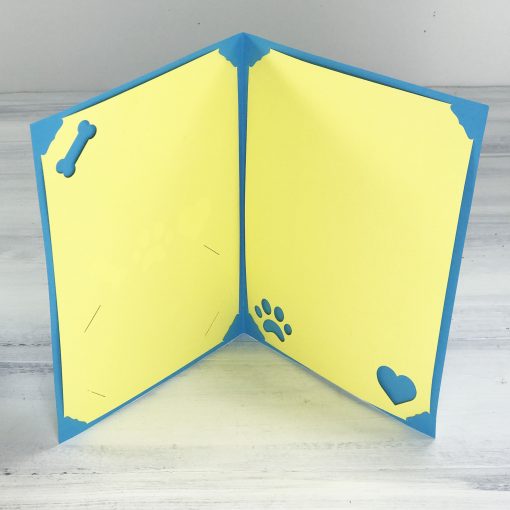
Here’s what they look like on the inside:
If you like this project and feel ready to try something a bit more complicated, check out my Pop-Up Butterfly Card, which is good for Cricut beginners.
This post contains some affiliate links for your convenience (which means if you make a purchase after clicking a link I will earn a small commission but it won’t cost you a penny more)! Read my full disclosure policy.
Materials for My Easy Layers Greeting Card Set
- 65 lb. 8.5″ x 11″ cardstock (I use Core’dinations card stock)
- A way to cut your cardstock (such as a Cricut)
- Design #47 – My free cut files available in my resource library (get the password to the library for free by filling out the form at the bottom of this post)
How to Upload the Files to Cricut Design Space
- Download Design #47 which are the files from my Free Resource Library (get the password to it by filling out the form at the bottom of this post).
- Unzip them (most computers just do this for you when you download them).
- Go back to Design Space and click the Upload button.
- Click Upload Image.
- Browse until you find the folder with the files you downloaded. There is a file for each card.
- Select the file you want (it will have “.SVG” on the end of the filename).
- Once the card images appear onscreen, click Save.
- Click the card image under “Recently uploaded images”
- Click “Insert Images.”
- Click the green “Make It” button in the upper right corner.
- Click the green Continue button.
- Make sure the dial on your Cricut is set to Cardstock.
- Place a piece of cardstock (color of your choice) onto your mat (put it on in landscape orientation, wider than taller) and load it into the machine.
- Click the flashing Go button to begin cutting.
Each card is a two-sheet project, so you’ll need to load another mat with another sheet of cardstock into the machine. Design Space will show you what color will be cut next, or you can use whatever colors you want.
How to Remove the Gift Card Slots
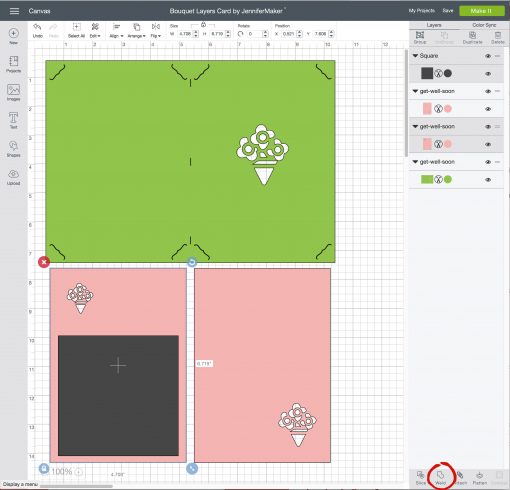 This is simple to do in Cricut Design Space:
- Upload the image and place it on your canvas following the steps above.
- Click the image on your canvas and press the Ungroup button.
- Click Shapes > Square — this will place a square on your canvas.
- Click and drag the square over the section of the card with the gift card slots. You can resize the square with the blue double-arrow icon in the lower right corner.
- Hold down the Shift key, then click both the square and the card section beneath it to select them both.
- Click the Weld button in the bottom right.
That’s it!
Free Cut Files for the Greeting Card Set
Get the password for the library with the free greeting card files (both sets of 12) here by filling out this form:
Love,

And if you love this collection of easy layered greeting cards, please pin it to your favorite Pinterest craft board!


What a nice thing to do! Thank you for sharing. I read about you on Facebook.
My pleasure, Lynn!
Thanks so much!
You’re welcome, Kris!
where’s the instructions
Hi Debbie! The instructions for these cards are in the blog post above: https://jennifermaker.com/easy-layers-greeting-card-set-designs/
MUITO BACANA SEU TRABALHO PARABÉNS
FRANCA,SÃO PAULO, BRASIL..
Thank you!
Finding this page is awesome! I made the Butterfly cards for Mother’s Day! Just in time! Thanks so much!
Thank you
thanks-
are we going to learn how to make the impossible card? i see it in my email, but the link does not take me there
Hi Carol! You can see the impossible card here, https://jennifermaker.com/impossible-card-templates/
I love your layered card designs. However I have a Cricut Joy and these are too big. Is there a way to resize these so they work on the Joy? Thank you much.
Hi Jeanne! Resizing is super simple! When you have the design on your canvas in Design Space, simply click on it and drag the double-ended arrow icon (the resizing tool) in and out till you get the desired size.
How can I add text to these. Is there a video with that or for an envelope to go with them? Thank you so much.
Hi Dolores! Here is a blog post that will help! https://jennifermaker.com/cricut-writing-tutorial-tips-tricks-fonts/
how do i keep the cardstock from rolling when removing from cricut mat?
Easy, Alana! Flip your mat over and remove the mat from the cardstock! We show you all about that hint, and all sorts of other neat suggestions, in Cricut Shortcuts !