
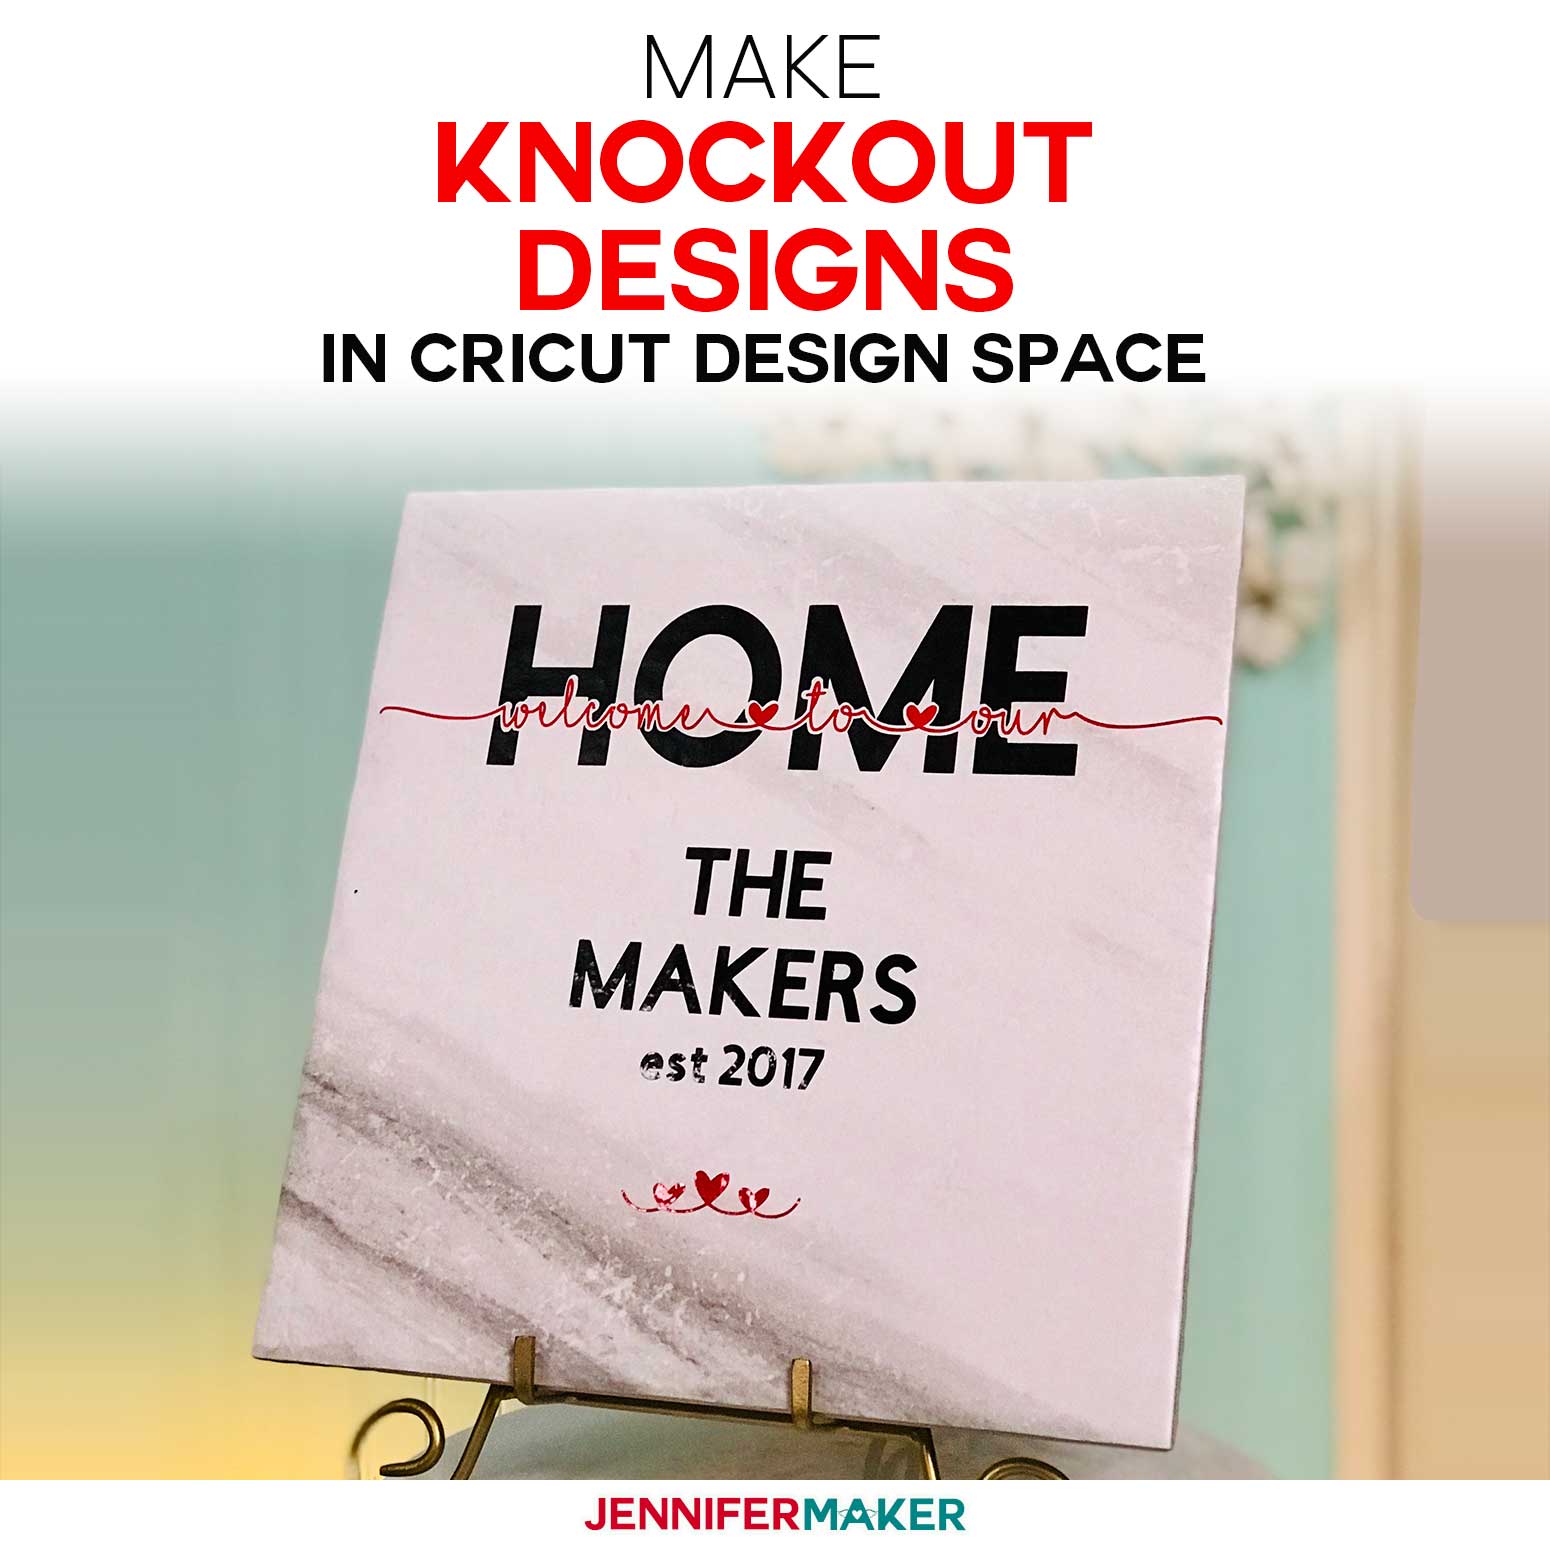
Learn how to make knockout designs in Cricut Design Space without any special software! These lovely knockout designs make wonderful personalized signs, shirts, totes, and mugs. I show you how to do the knockout technique in Cricut Design Space and then show you how to layer the knockout design in vinyl and apply it to a ceramic tile.
Almost exactly one year ago, I showed everyone how to create a knockout design sign in Cricut Design Space. If you’re not familiar with this design trend, a “knockout” is where you superimpose letters or an image on another word and sometimes also add white space around those letters so it stands out better. You’ll most commonly see this design with a pair of first names knocked out of a surname to create a lovely family sign. It’s pretty and stylish. Well, in my tutorial I showed you three ways to make them—using Cricut Design Space, Inkscape, and Illustrator. But, things change, and the method to make these in Cricut Design Space is no longer working. I believe that one day this will be a built-in function in Cricut Design Space, but it’s not yet and you all have knockouts to make now! And yea, you could use Illustrator, Inkscape, Phonto, or screenshots to do it, it’s nice to not have to worry about another piece of software, right? So for Day 20 of The Great Maker 25-Day Gift-Away Challenge, I am showing you how to create a make knockout designs in Cricut Design Space with a method that works NOW (late December 2019/early January 2020).
See exactly how to create knockout designs in Cricut Design Space in this step-by-step tutorial video here:
What I love about this knockout design project is how simple it really is! We can overcomplicate things, or we can do things the easy way… this video is all about the easy way. Yes, there ARE other ways to do this, and I list them all on my blog at jennifermaker.com/knockouts if you are interested. But using third party software isn’t easy for everyone. And the method I’m about to teach you will work on ALL versions of Cricut Desktop space, and I believe will keep working for a really long time to come!
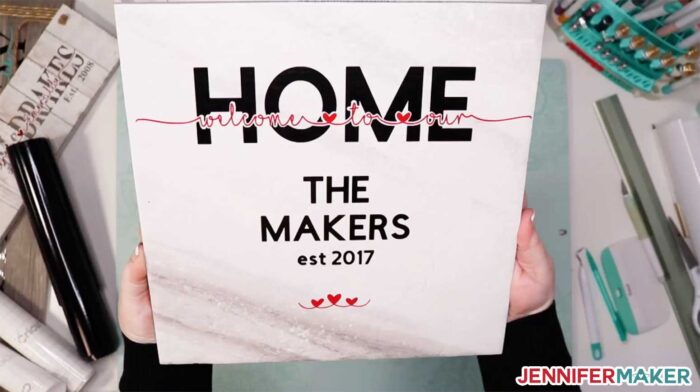
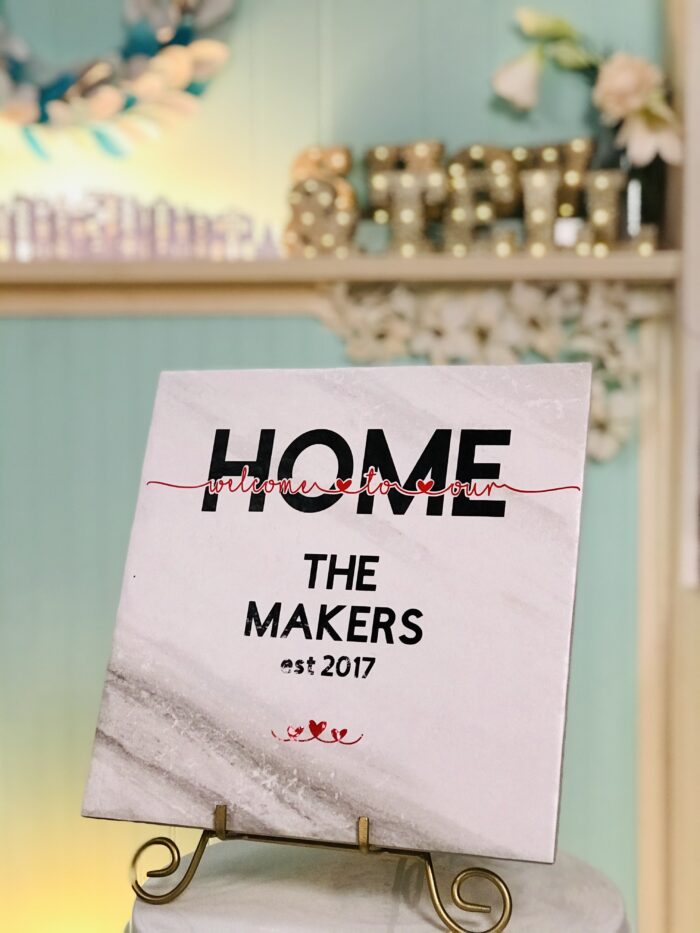
So if you’d also like to make this pretty home tile, which took me less than 30 minutes from start to finish, you’ll need a ceramic tile which you can get from your local home improvement store for a few bucks. You also want permanent adhesive vinyl — I used Cricut premium vinyl. You also need transfer tape to move your design onto your ceramic tile. Tools that are useful include a weeder, scraper, a pair of scissors or craft knife, a ruler, and a pencil. And you can cut this on your Cricut Explore or Maker cutting machine.
Now, the design itself is made entirely in Cricut Design Space using free fonts. It’s really easy! So let’s head on over to Cricut Design Space so I can show you how to make knockout designs, and then I’ll go through the process of creating one of these awesome knockout designs on a ceramic tile. Can you say last minute gifts for everyone?
Enough chit chat — let’s make knockout designs in Cricut Design Space! This post contains some affiliate links for your convenience (which means if you make a purchase after clicking a link I will earn a small commission but it won’t cost you a penny more)! Read my full disclosure policy.
Materials for Knockout Design Tiles
View my Amazon shopping list to see the supplies I recommend for this project.
- Ceramic tile (get them from the flooring section of your local home improvement store)
- Self adhesive vinyl (I used Cricut Premium Vinyl)
- Transfer tape
- Scraper tool
- Ruler and pencil
- A way to cut your vinyl (I used the amazing Cricut)
How to Make Knockout Designs in Cricut Design Space
Tip: Watch a full step-by-step video of this Knockout Designs in Cricut Design Space tutorial in my detailed video here.
Step 1: Measure Your Tile or Other Surface
Always know what the dimensions are of the tile, sign, or other surface you plan to put your knockout design on so you can properly design it!
Step 2: Make a Knockout Design in Cricut Design Space
To begin, go to Cricut Design Space and add your main word! To do this, click Text on the left side and type your main/big word(s) or name(s) in all capital letters. You can size your name as big as you need to.
Choose a font that is big and bold and chunky for the best effect. For this tutorial, I am using Cricut Sans Bold and I Love Glitter. Other good fonts that work well for knockout designs include the following:
- Cricut Sans Bold (available by default in Cricut Design Space) — this is what I used in my HOME tile.
- The Bold Font
- Lesjam
- Calvier
- Tech Headlines
- Chuck Noon
Tip: If you’re not sure how to install fonts, please check out my Font Installation tutorial and video!
Adjust Letter Space until your word looks good, keeping the letters quite close together. You want to create a big, bold word here.
Note: If your letters aren’t kerning properly, go ahead and click Advanced > Ungroup to Letters and manually adjust them. Just be sure to select all of your letters and Weld when you’re done.
Now add the accent word(s), names(s) or image you want to use for your knockout design. I created my accent words in the free I Love Glitter font, but here are other good script fonts that pair well with the above fonts:
Resize your accent words so they are about the same length, or even a touch longer, than your big, bold words. You may need to make your accent word line a little longer by adding special characters, like squiggly lines — this is why the I Love Glitter font I’m using works so well.
Tip: If your accent words or image seems to be about the same height as your big bold words, you may need to make your big bold words taller so they extend above and below the accent words. To do this, click the Unlock icon in the lower left corner of the big bold word and now resize to make the word taller. The idea is to create a design where all the words and/or images are recognizable.
Once you have your elements the way you want them, it’s time to knock things out! Select two layers — the big bold word and the accent word(s)/image — and click Slice. Select and delete the extra bits you do not need, leaving you with the big bold word (minus a space where the accent words were).
At this point, you have a decision. You can keep your knockout design as is, with the two layers just barely touching, or you can add some white space around the accent letters/image for better contrast. I think having the layers just barely touching looks better when you’re using an image, but when you have just text — as I do in this tutorial — you need white space to read them well.
If you want to create white space (an outline layer) around your accent letters, you’ll need to do a few extra steps. There are five methods that I know of to do this:
Cricut Design Space (Desktop/Laptop) Duplicate + Weld Knockout Method:
Watch the video to see the full process of this knockout technique!
Cricut Design Space (Desktop/Laptop) PDF Knockout Method:
- Duplicate your accent letters and change the duplicate copy from Cut to Draw
- Then click Make It and click Send to Printer.
- Click Bleed on the Printer window.
- Now rather than actually printing it, you want to save the image you see here as a PDF. To do this, toggle “Use System Dialog” on, click “Print,” move your window to the side so you can see your print dialog box, and click “Save as PDF.”
- Once that PDF is saved, open it in a PDF reader like Adobe Reader, and take a screenshot of the design you see in the file, saving it to your computer.
- Now click Upload in Cricut Design Space, locate the image file you just saved, and import it as a Cut image. When prompted to Select & Erase, click the box around the outline to remove it, then click Continue.
iPad/iPhone/Android Phonto Knockout Method:
- Download a free app called “Phonto – Text on Images” from the App Store (on iPad/iPhone) and from the Play store (on Android).
- Open Phonto and click the camera icon at the bottom, then choose Plain Image (select the all white image).
- Once you have a plain white image, click the square-and-arrow icon in the upper right corner and select Use.
- Tap on the image to add text and type the big bold name in all capital letters. Tap on Font to change the font to something like Times New Roman. (If it doesn’t show up at first on your image, click Style to change the color from white to black.)
- Tap on the image again to add text and this time type the accent name(s) in lowercase letters. Tap on Font to change the font to something like “i love glitter.” Position the accent text on top of your big bold text (resize as necessary)
- To add the white space around the accent letters, tap on it, tap on Style, tap on Stroke, and move the Alpha sliding bar all the way over to the right. Also slide the Width sliding bar to the right until you have a sufficient amount of white space around your accent text.
- Once you are satisified with your knockout text, tap Export in the bottom right, tap Save Image, and it will save to your photos.
- Now just add that image to your Cricut Design Space! You can upload the photo directly from your Photos if you’re on an iOS device, or email it to yourself if you’re on an Android device. Note that you will need to use your wand during the upload process to remove the white inside the letters.
Tip: There’s a great video on how to use Phonto to make knockout text here!
Inkscape Outline Knockout Method (Better):
- Hide the grid in Cricut Design Space by clicking twice in the box between the rulers (upper left corner) and take a screen shot of your accent text.
- Open Inkscape and paste your screen shot in, resizing it so it fits on your canvas.
- Select the pasted image and go to Path > Trace Bitmap (in the box that pops up, choose Brightness Cutoff, set the Threshold to .90, check Remove Background, and click on OK.
- Now click Path > Outset. You probably only need to do this once, just enough so your text looks chubby.
- Click Path > Break Apart.
- Delete everything but the outline you made.
- Save the file as a SVG.
- Click Upload in Cricut Design Space, locate the SVG file you just saved, and important it as a Cut Image.
Illustrator Outline Knockout Method (Best):
- Hide the grid in Cricut Design Space by clicking twice in the box between the rulers (upper left corner) and take a screen shot of your accent text.
- Open Illustrator and paste your screen shot in, resizing it so it fits on your canvas.
- Select the pasted image and go to Object > Image Trace > Make & Expand.
- Click Object > Path > Offset Path. Set your Offset to .1 and your Joins to Round, then click OK.
- Select the Direct Selection Tool and remove the borders.
- Select All and go to Pathfinder Tools and click Unite.
- Save the file as an SVG.
- Click Upload in Cricut Design Space, locate the SVG file you just saved, and important it as a Cut Image.
See? Lots of options for knockout designs!
Regardless of which method you create your outline with, you’ll then need to insert the uploaded cut image to your canvas, rotate and resize as necessary, and place it over your big bold text.
Now select your big bold text layer and the outline layer and click Slice. Remove the extra layers you do not need.
Resize your bold text and accent text to fit your board, sign, canvas, or other material you plan to put your knockout design on. To do this, click on Templates, choose “Basic Canvas” and, from the Size menu at the top of the Cricut Design Space window, choose “Custom.” Now type in the dimensions of your board you’ll be putting your knockout design on at the top of Cricut Design Space. Tip: Click the unlock button at the top of the screen before entering your measurements.
Once you have the template created, drag both your big bold text and your accent text into the template outline and resize BOTH to fit within it. I recommend you leave about 10% white space on all sides.
Now just cut and apply to your tile, sign, canvas, board, whatever! Be patient — vinyl isn’t as apt to stick to a textured ceramic as easily as something else like a smooth wood.
Step 3: Cut Your Vinyl
Cut out a piece of premium adhesive vinyl, put it on your green StandardGrip mat, load it into your Cricut, and cut it with your fine point blade.
Step 4: Weed Your Vinyl
Carefully remove the excess vinyl from your design. Weeding a design with the “I Love Glitter” font will be challenging. Be patient.
Step 5: Apply Transfer Tape to your Weeded Vinyl
Once your designs are weeded, apply transfer tape to them.
Step 6: Apply Your Vinyl
Mark your tile/sign at the center points, find the center of your design, and carefully position it on your tile/sign. If your tile or sign has a textured surface, you may be able to reposition it. Once it is in position, scrape it down really well and then remove the transfer tape. I recommend you do the layer with the main text, then put the accent text on top of it.
Get my free SVG cut files for all of my projects
If you create a knockout design in Cricut Design Space, please share a photo of your project in our Facebook group, email it to me at [email protected]!
Love,

Want to remember this? Save the Make Knockout Designs in Cricut Design Space to Your Favorite DIY Pinterest Board!


socks would be great!
OMG! I can’t believe after 20+ years using a computer I did not know about glyphs! I mean I’ve seen them in the character map lists and I’ve seen them when searching for new fonts online, but I never knew what they were for. LOVE LOVE LOVE I have been creating my own little accent symbols for purposes of these type lettering designs and such, but…Holy cow! What a time saver this is! I am just dumb-founded.
Thank you!