
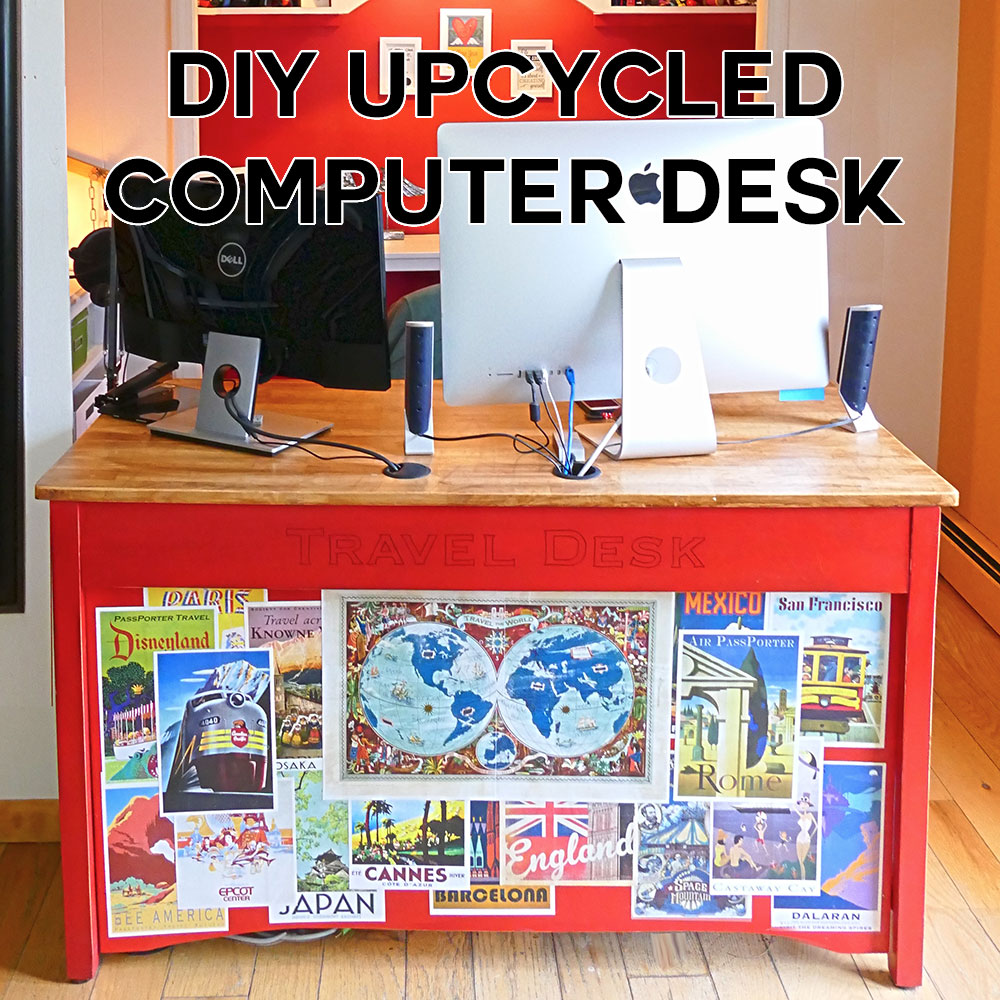
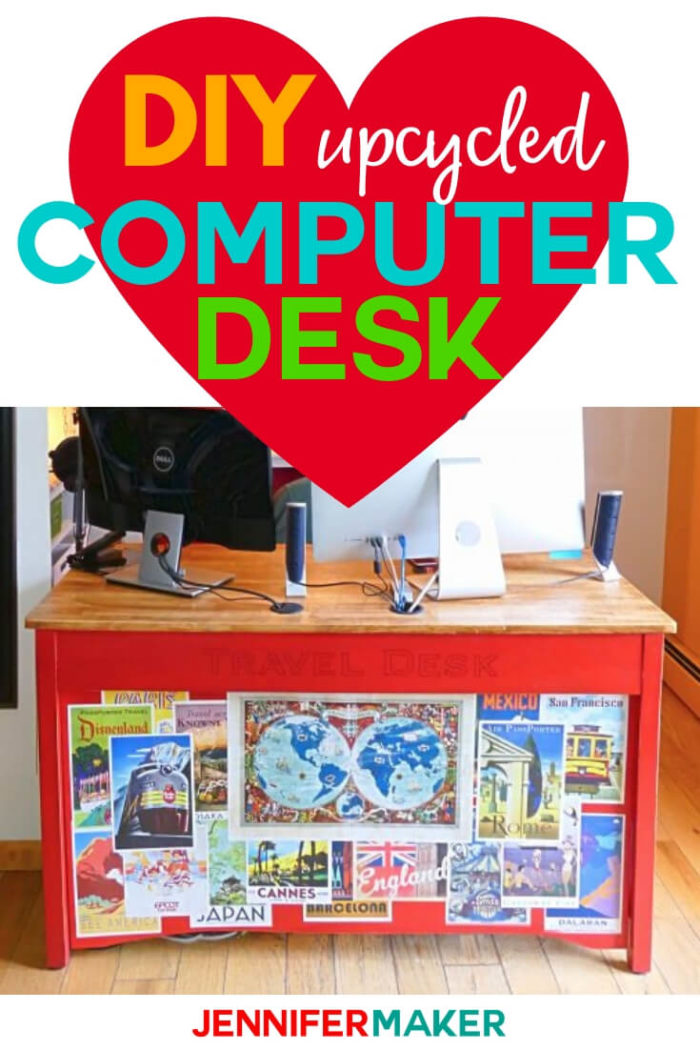
You can turn a broken table into an amazing computer desk with just a little wood and paint!
Have you ever seen a piece of old furniture left on a curb and wondered if you could make something amazing out of it? Well, our neighbor was moving out several years ago and he put out a broken foyer table (some folks also call this a console table). In its glory days, it was pretty wood mission-style table. It sat on the curb many days, scratched and broken, but we resisted. What did we need with an old, broken-down table? We eventually gave in to temptation and it came to live in our garage. And then I found myself in need of a new computer desk, and Greg suggested we make a new DIY computer desk from the broken table. Really?
Yes, really! Many of you may have heard me speak of my amazing computer desk over the years, and I keep promising to tell you its story. I was finally inspired to share the tale with some encouragement from my friends over at HomeTalk.com, which is a DIY home community that loves to share DIY projects. So here is one of the greatest #MyDIY projects!
So you may be wondering what the table looked like after we rescued it from the curb. Here it is:
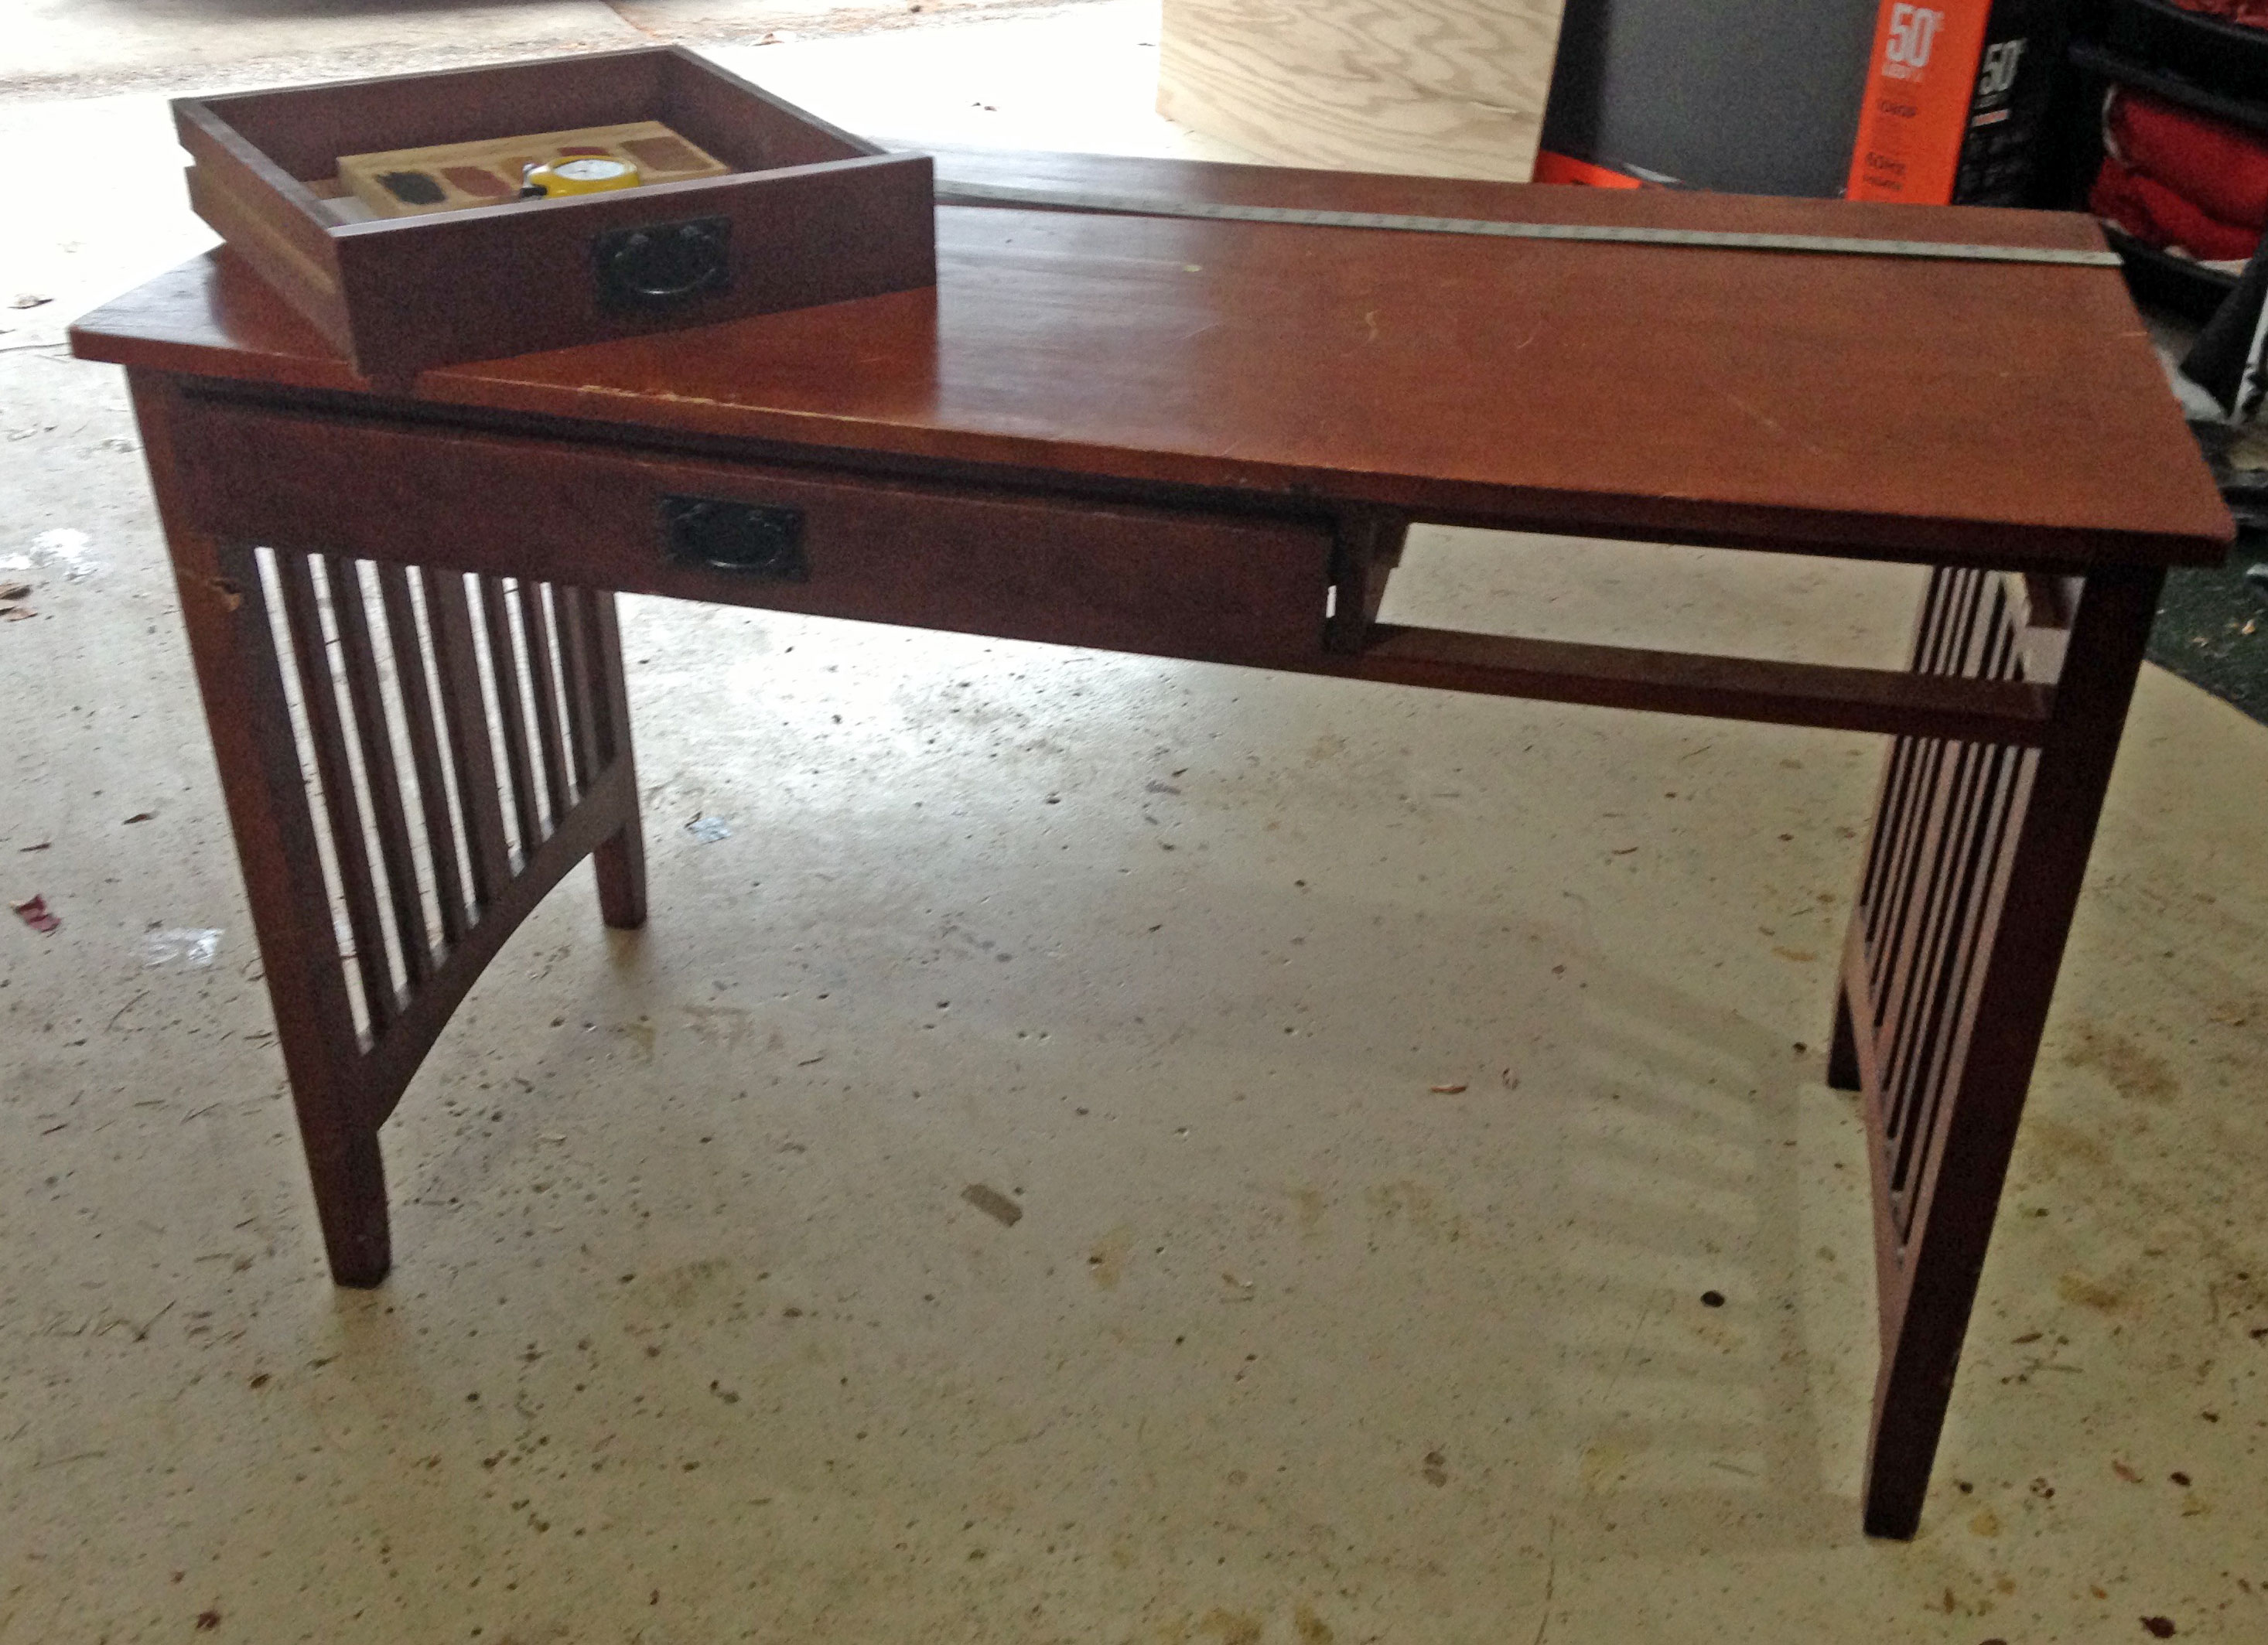
What was wrong with this table? The drawers were jammed, the surface was scratched and marred, and one of the legs was broken and ready to come off. I think the poor thing had been thrown at one point. Oh, and it was too tall to be a desk—it was meant for a foyer. I was skeptical, but Greg thought it would work for me as a computer desk. I was getting a new computer with a large monitor, so my desk had to be able to accommodate two large monitors side-by-side. And both keyboards. In a keyboard tray that did not exist yet. We could do this!
How We Transformed the Table into a DIY Computer Desk
Because my new computer was coming in few days, we had to work fast. Thus, I took very few in-progress photos of the table’s transformation into my DIY computer desk. So sad! But here’s what we did to it:
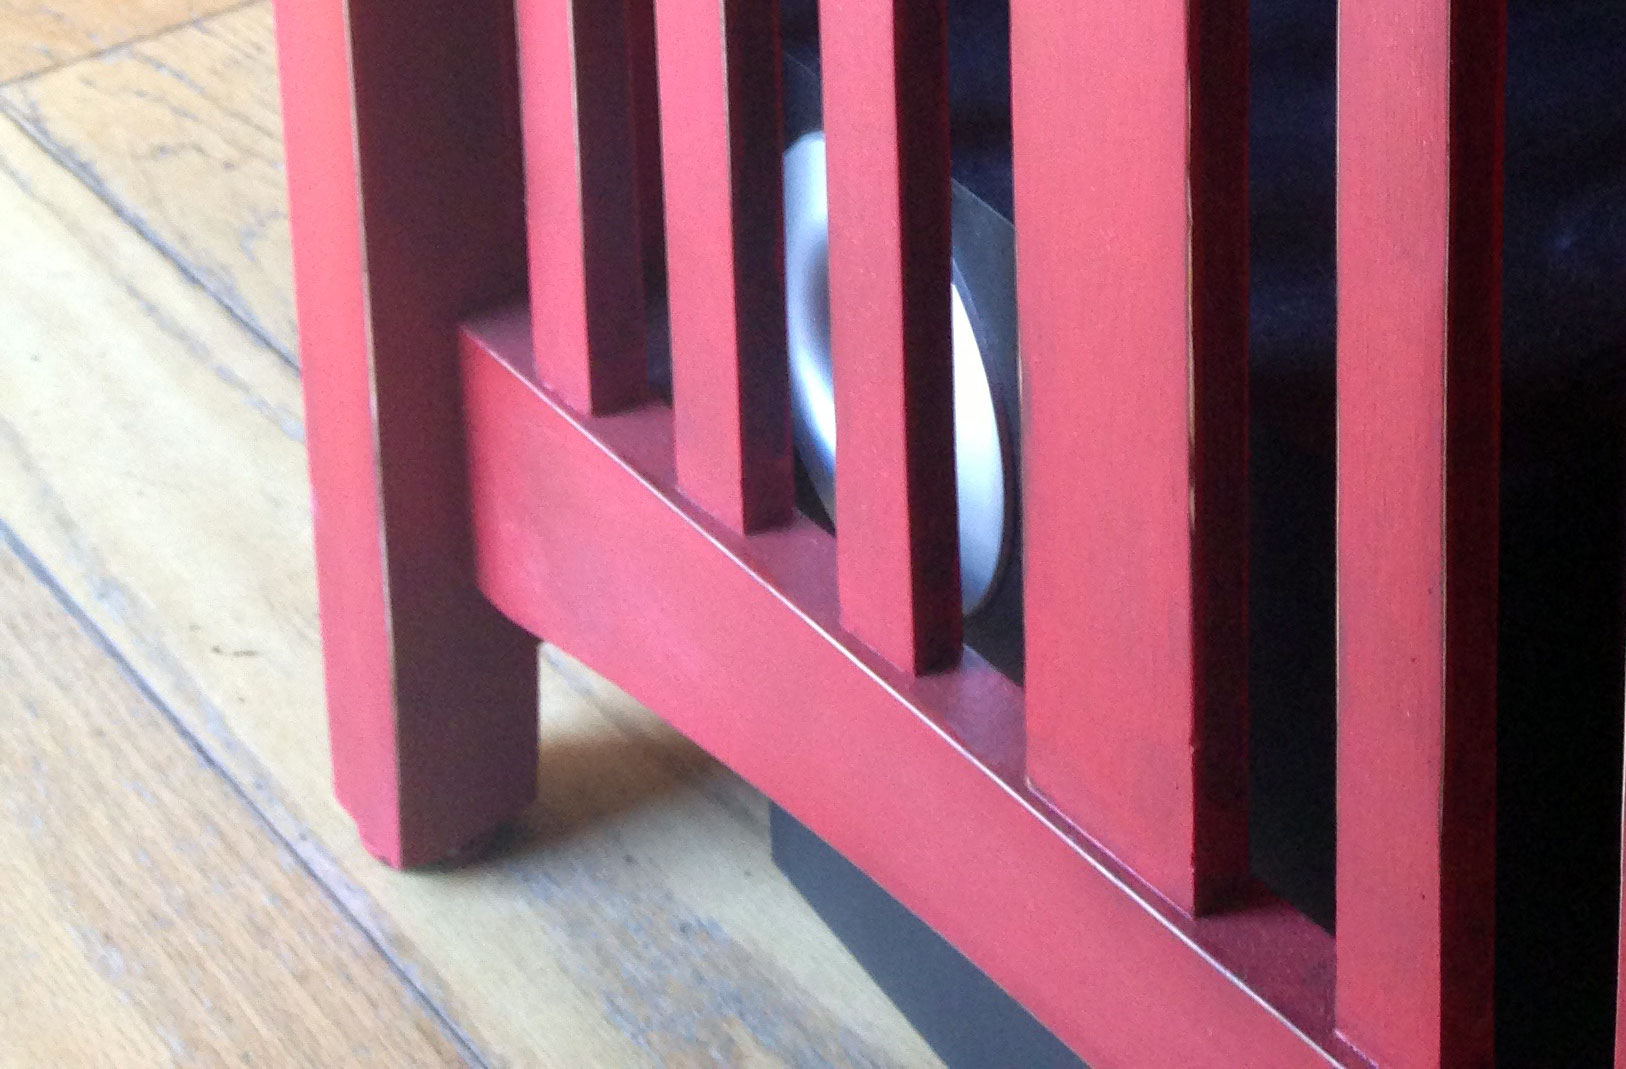
Greg removed several inches from the bottom of the table legs to bring it down to computer desk height. He also added some non-scuff caps to the legs.
Greg repaired the poor broken leg.
We removed the drawers completely, along with center support between the drawers. (We left the support bar under the drawers.)
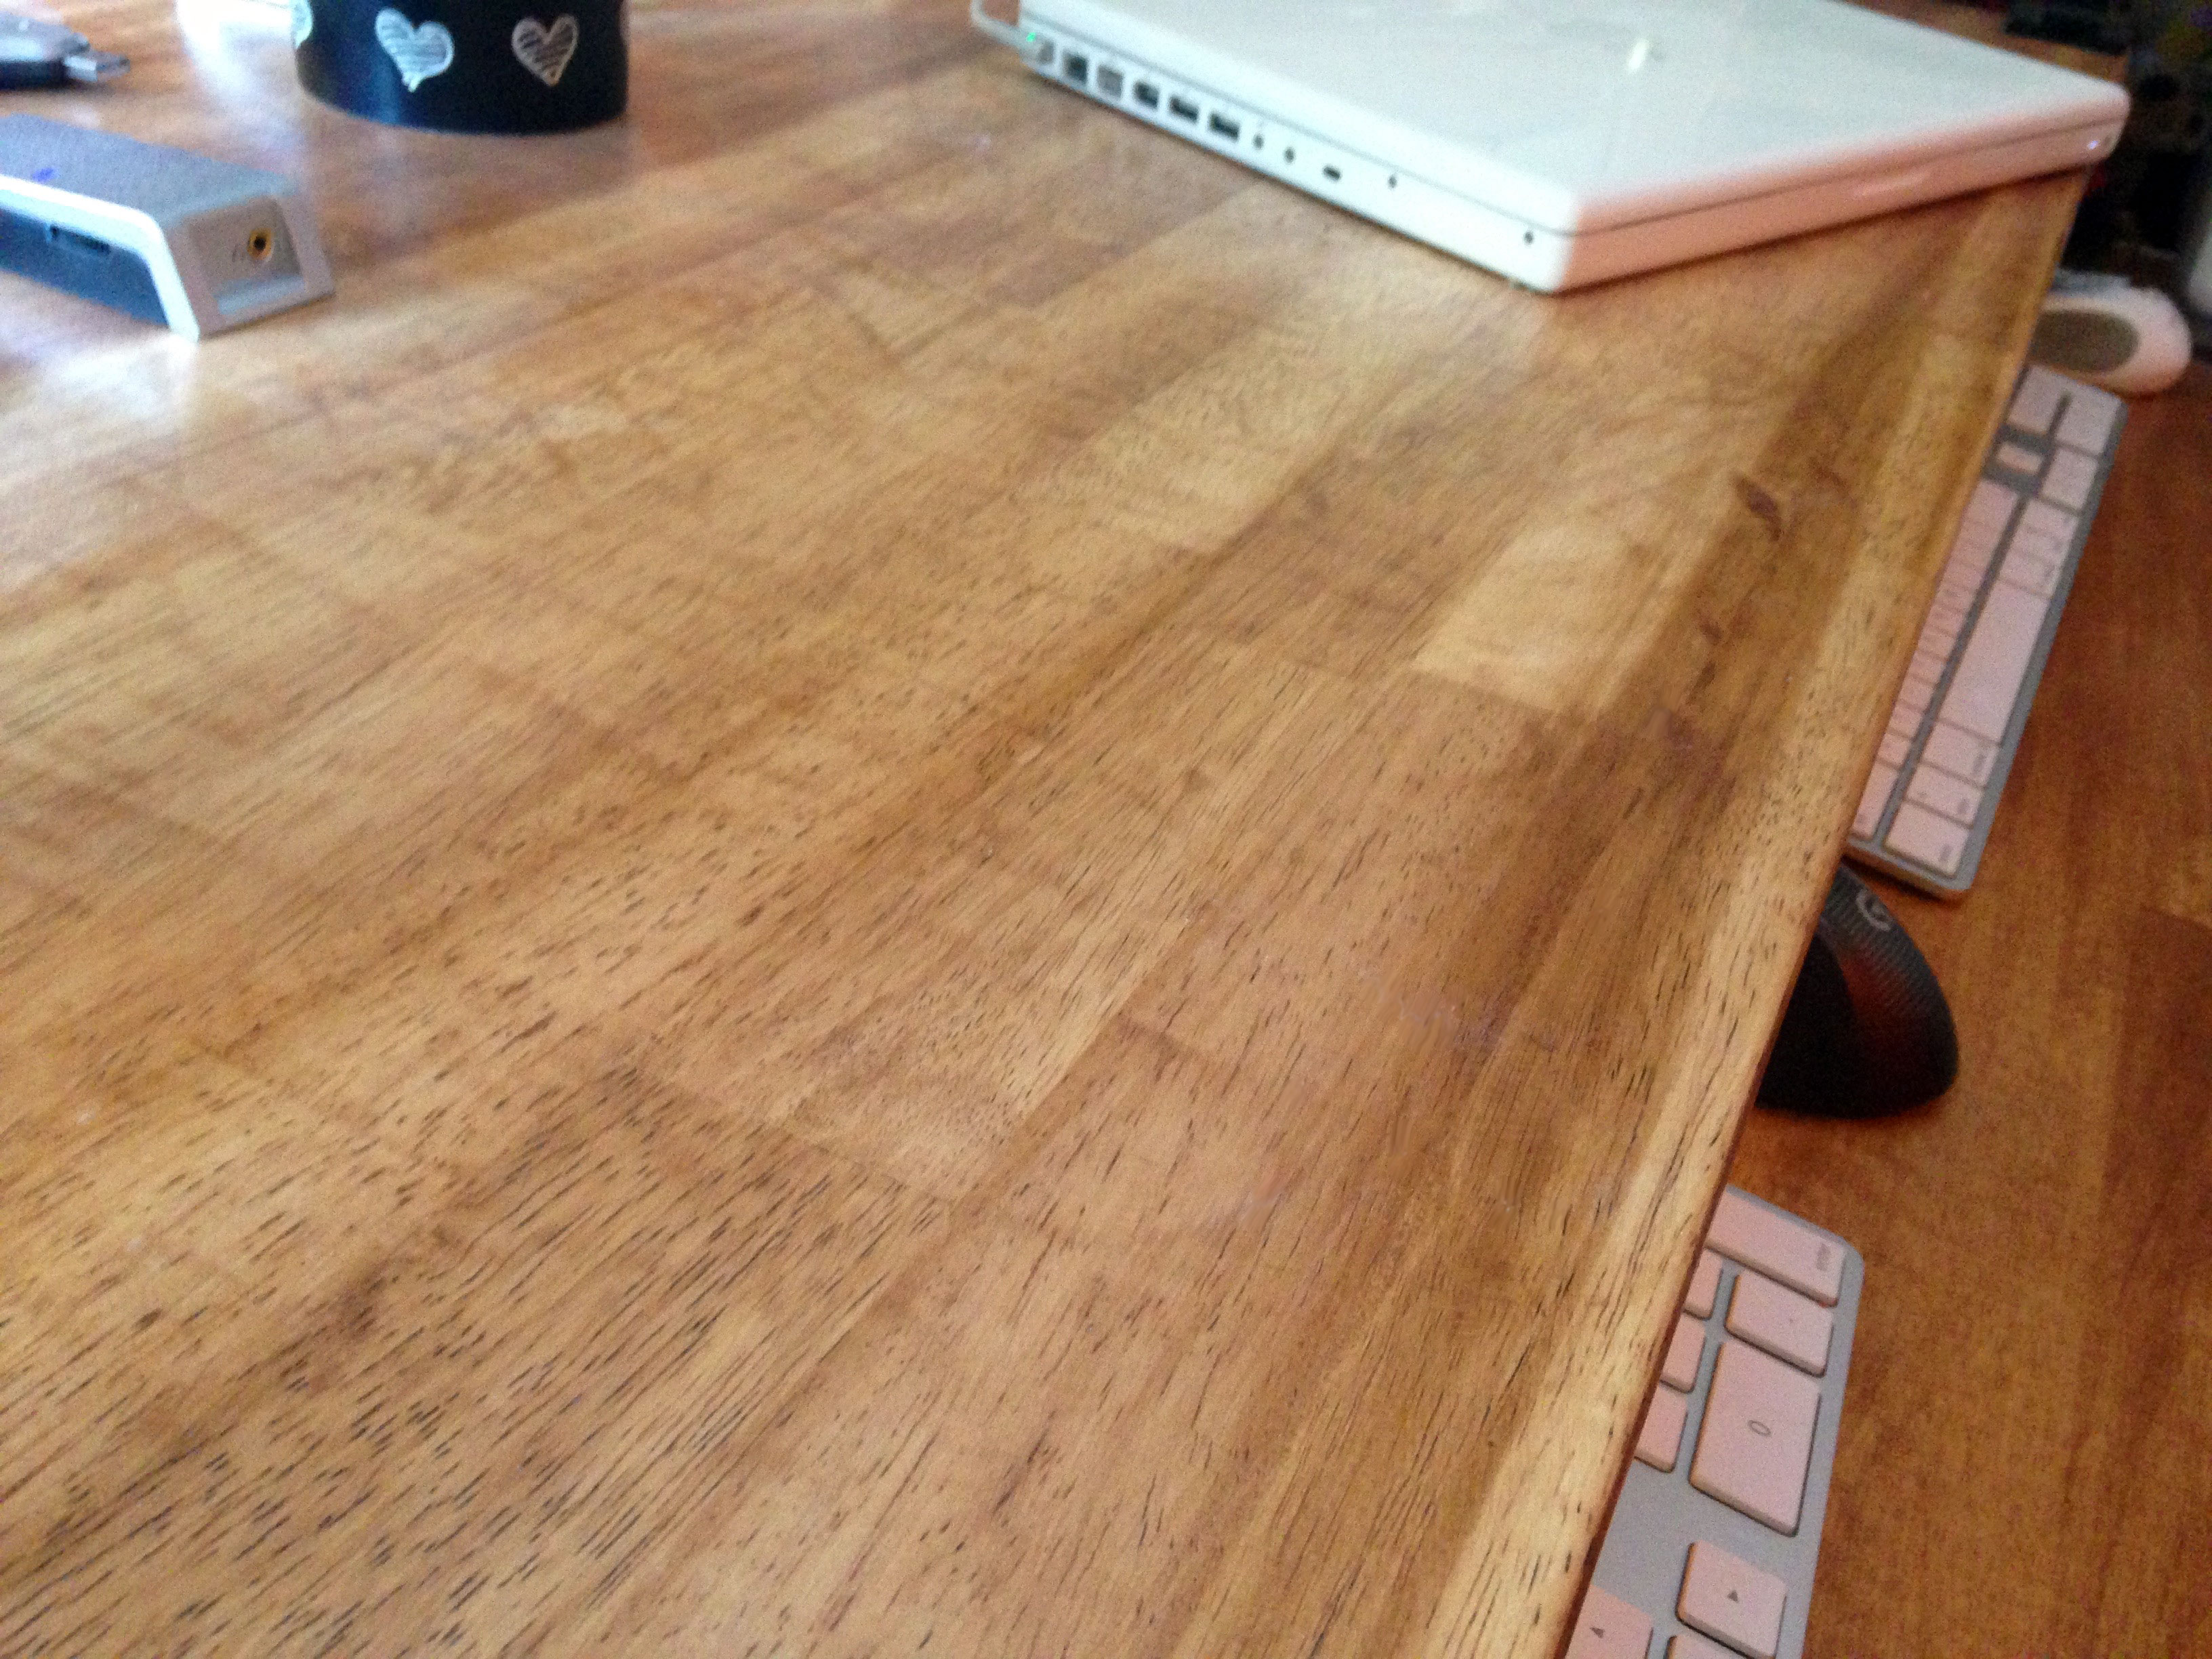
Greg sanded the top of the table to remove all of the old finish, and then applied a new, lighter oak finish (to match our hardwood floors).
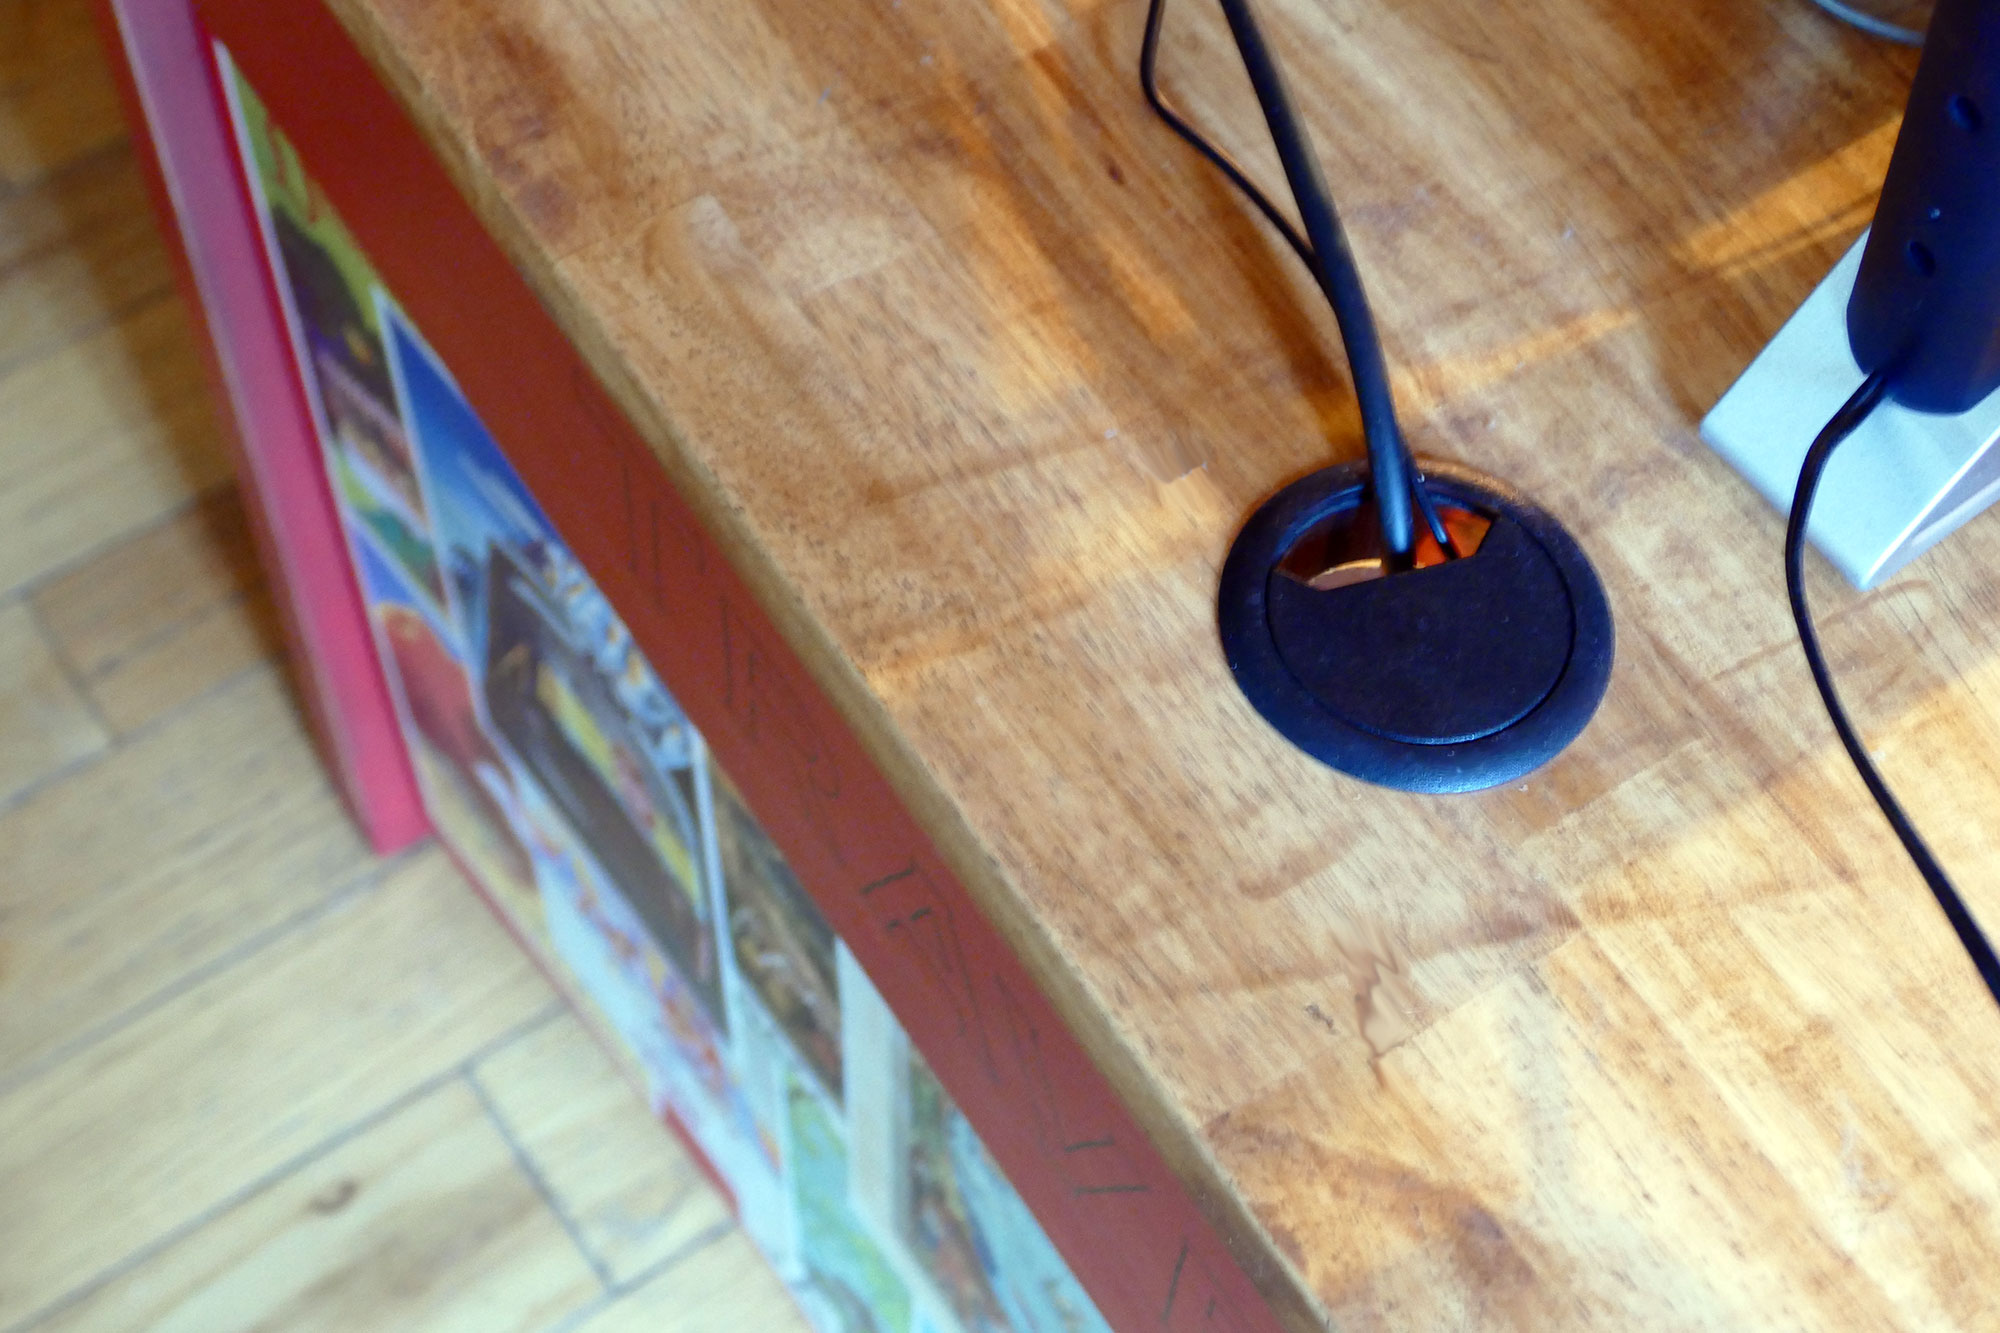
We installed two plastic cable grommets on the back edge of the desktop so the cables from both the computer and monitor could be funneled down out of sight.
I painted the rest of the table with a red chalk paint and distressed it slightly. I used Valspar HydroChroma Cherry Pickin’ CI221 mixed with Calcium Carbonate (also known as Plaster of Paris) to make my own chalk paint (when I made this, chalk paint wasn’t available for sale in the stores like it is now). I distressed it with sandpaper after it was dry.
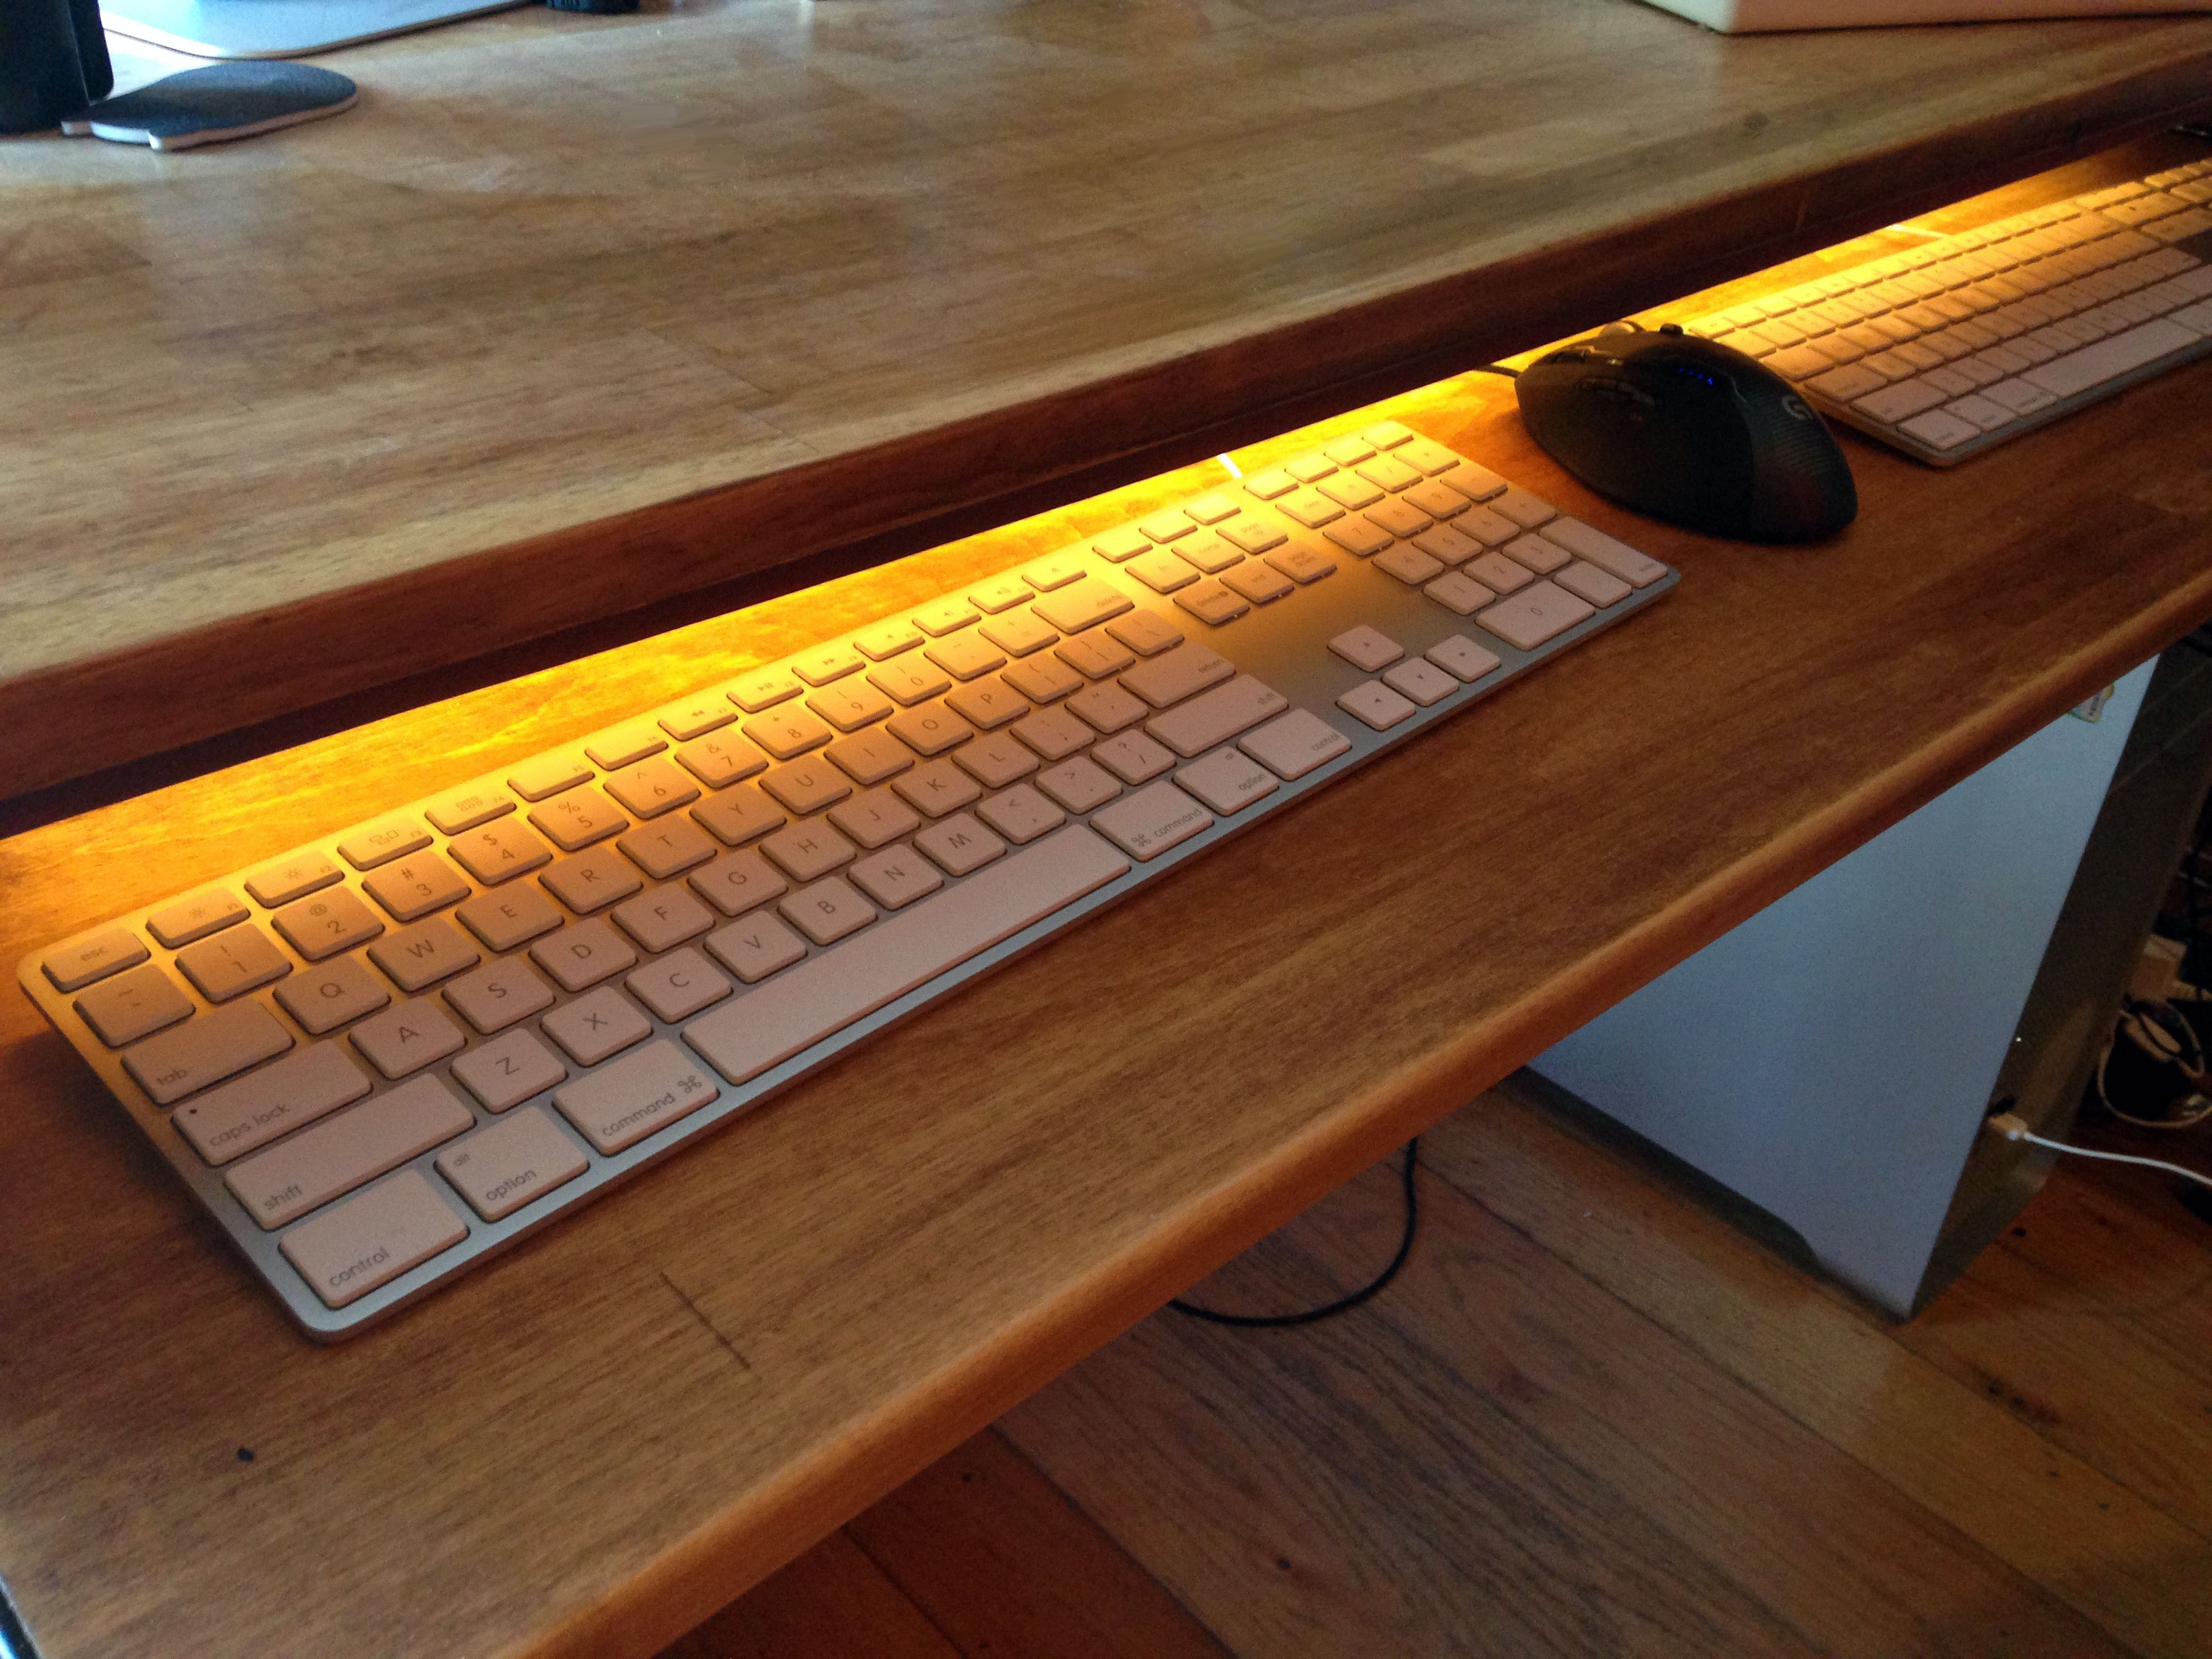
Greg built a keyboard tray and installed it where the drawers used to be. He also added LED lights under the desk so my keyboards were lit!
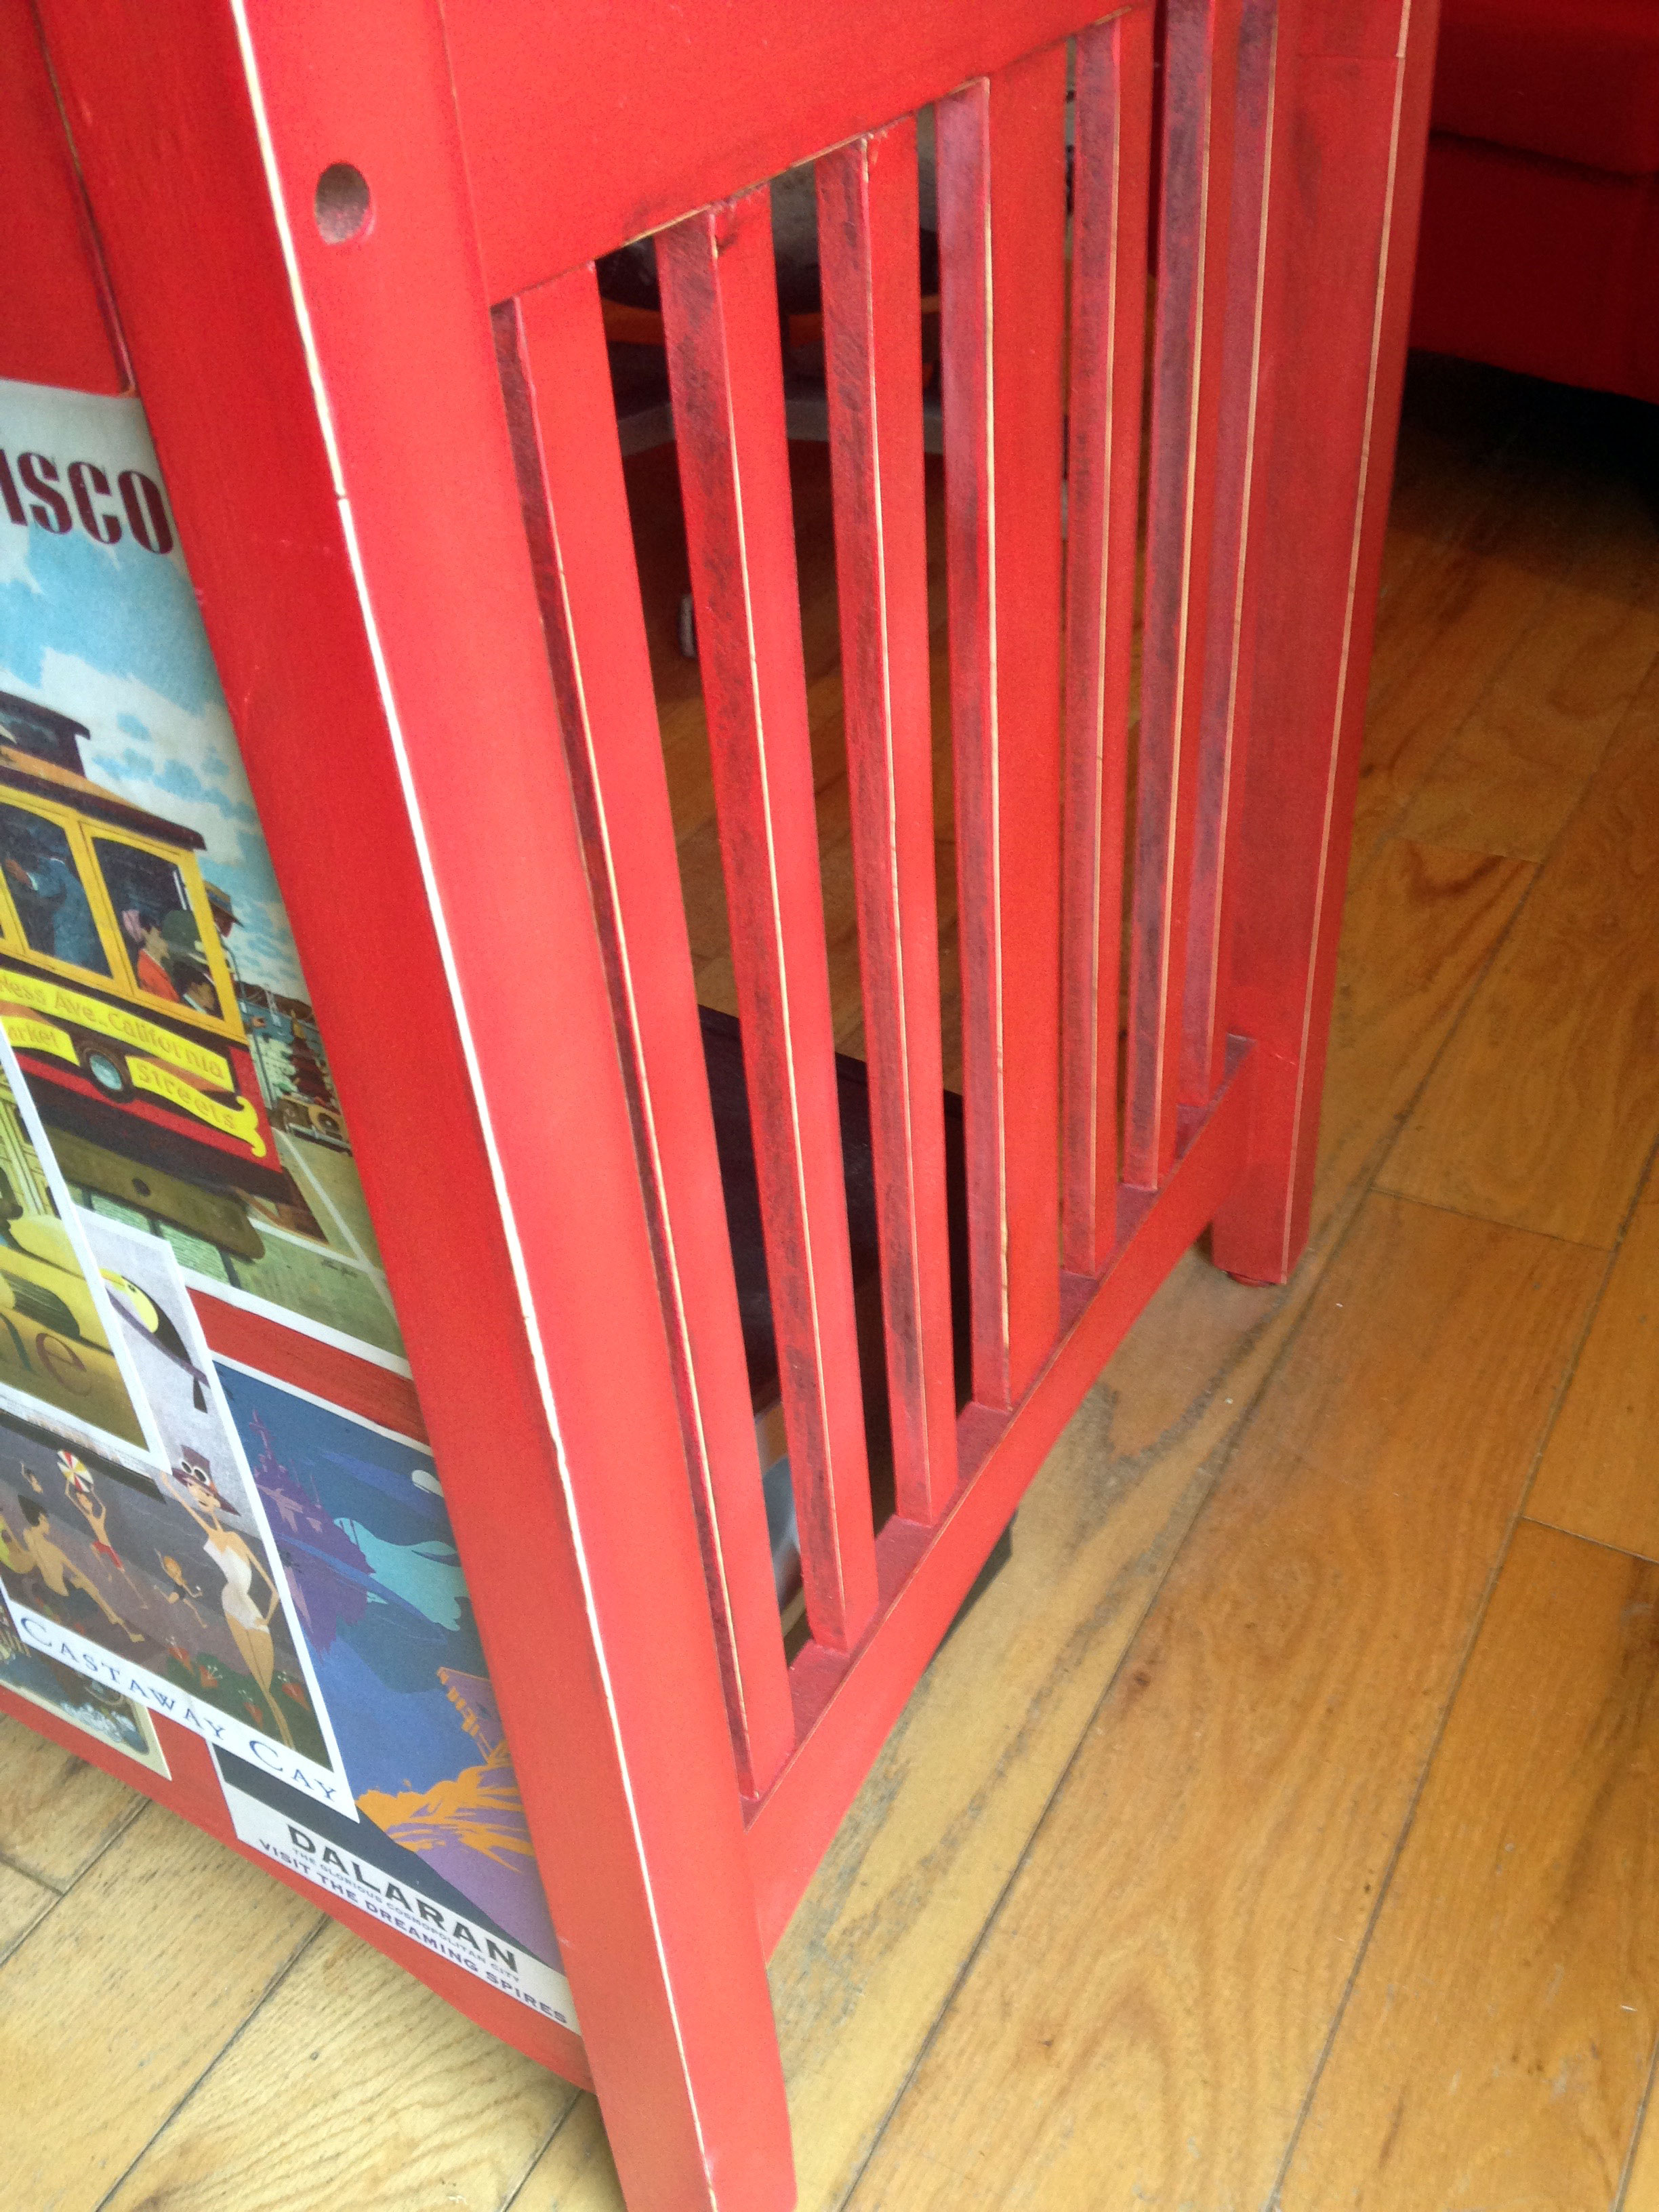
Greg made a privacy panel to go on the front of the desk, as the desk faced outward into the room. I painted the panel red, then mod-podged real and fake travel posters onto it. The posters were all of places I’d actually visited.
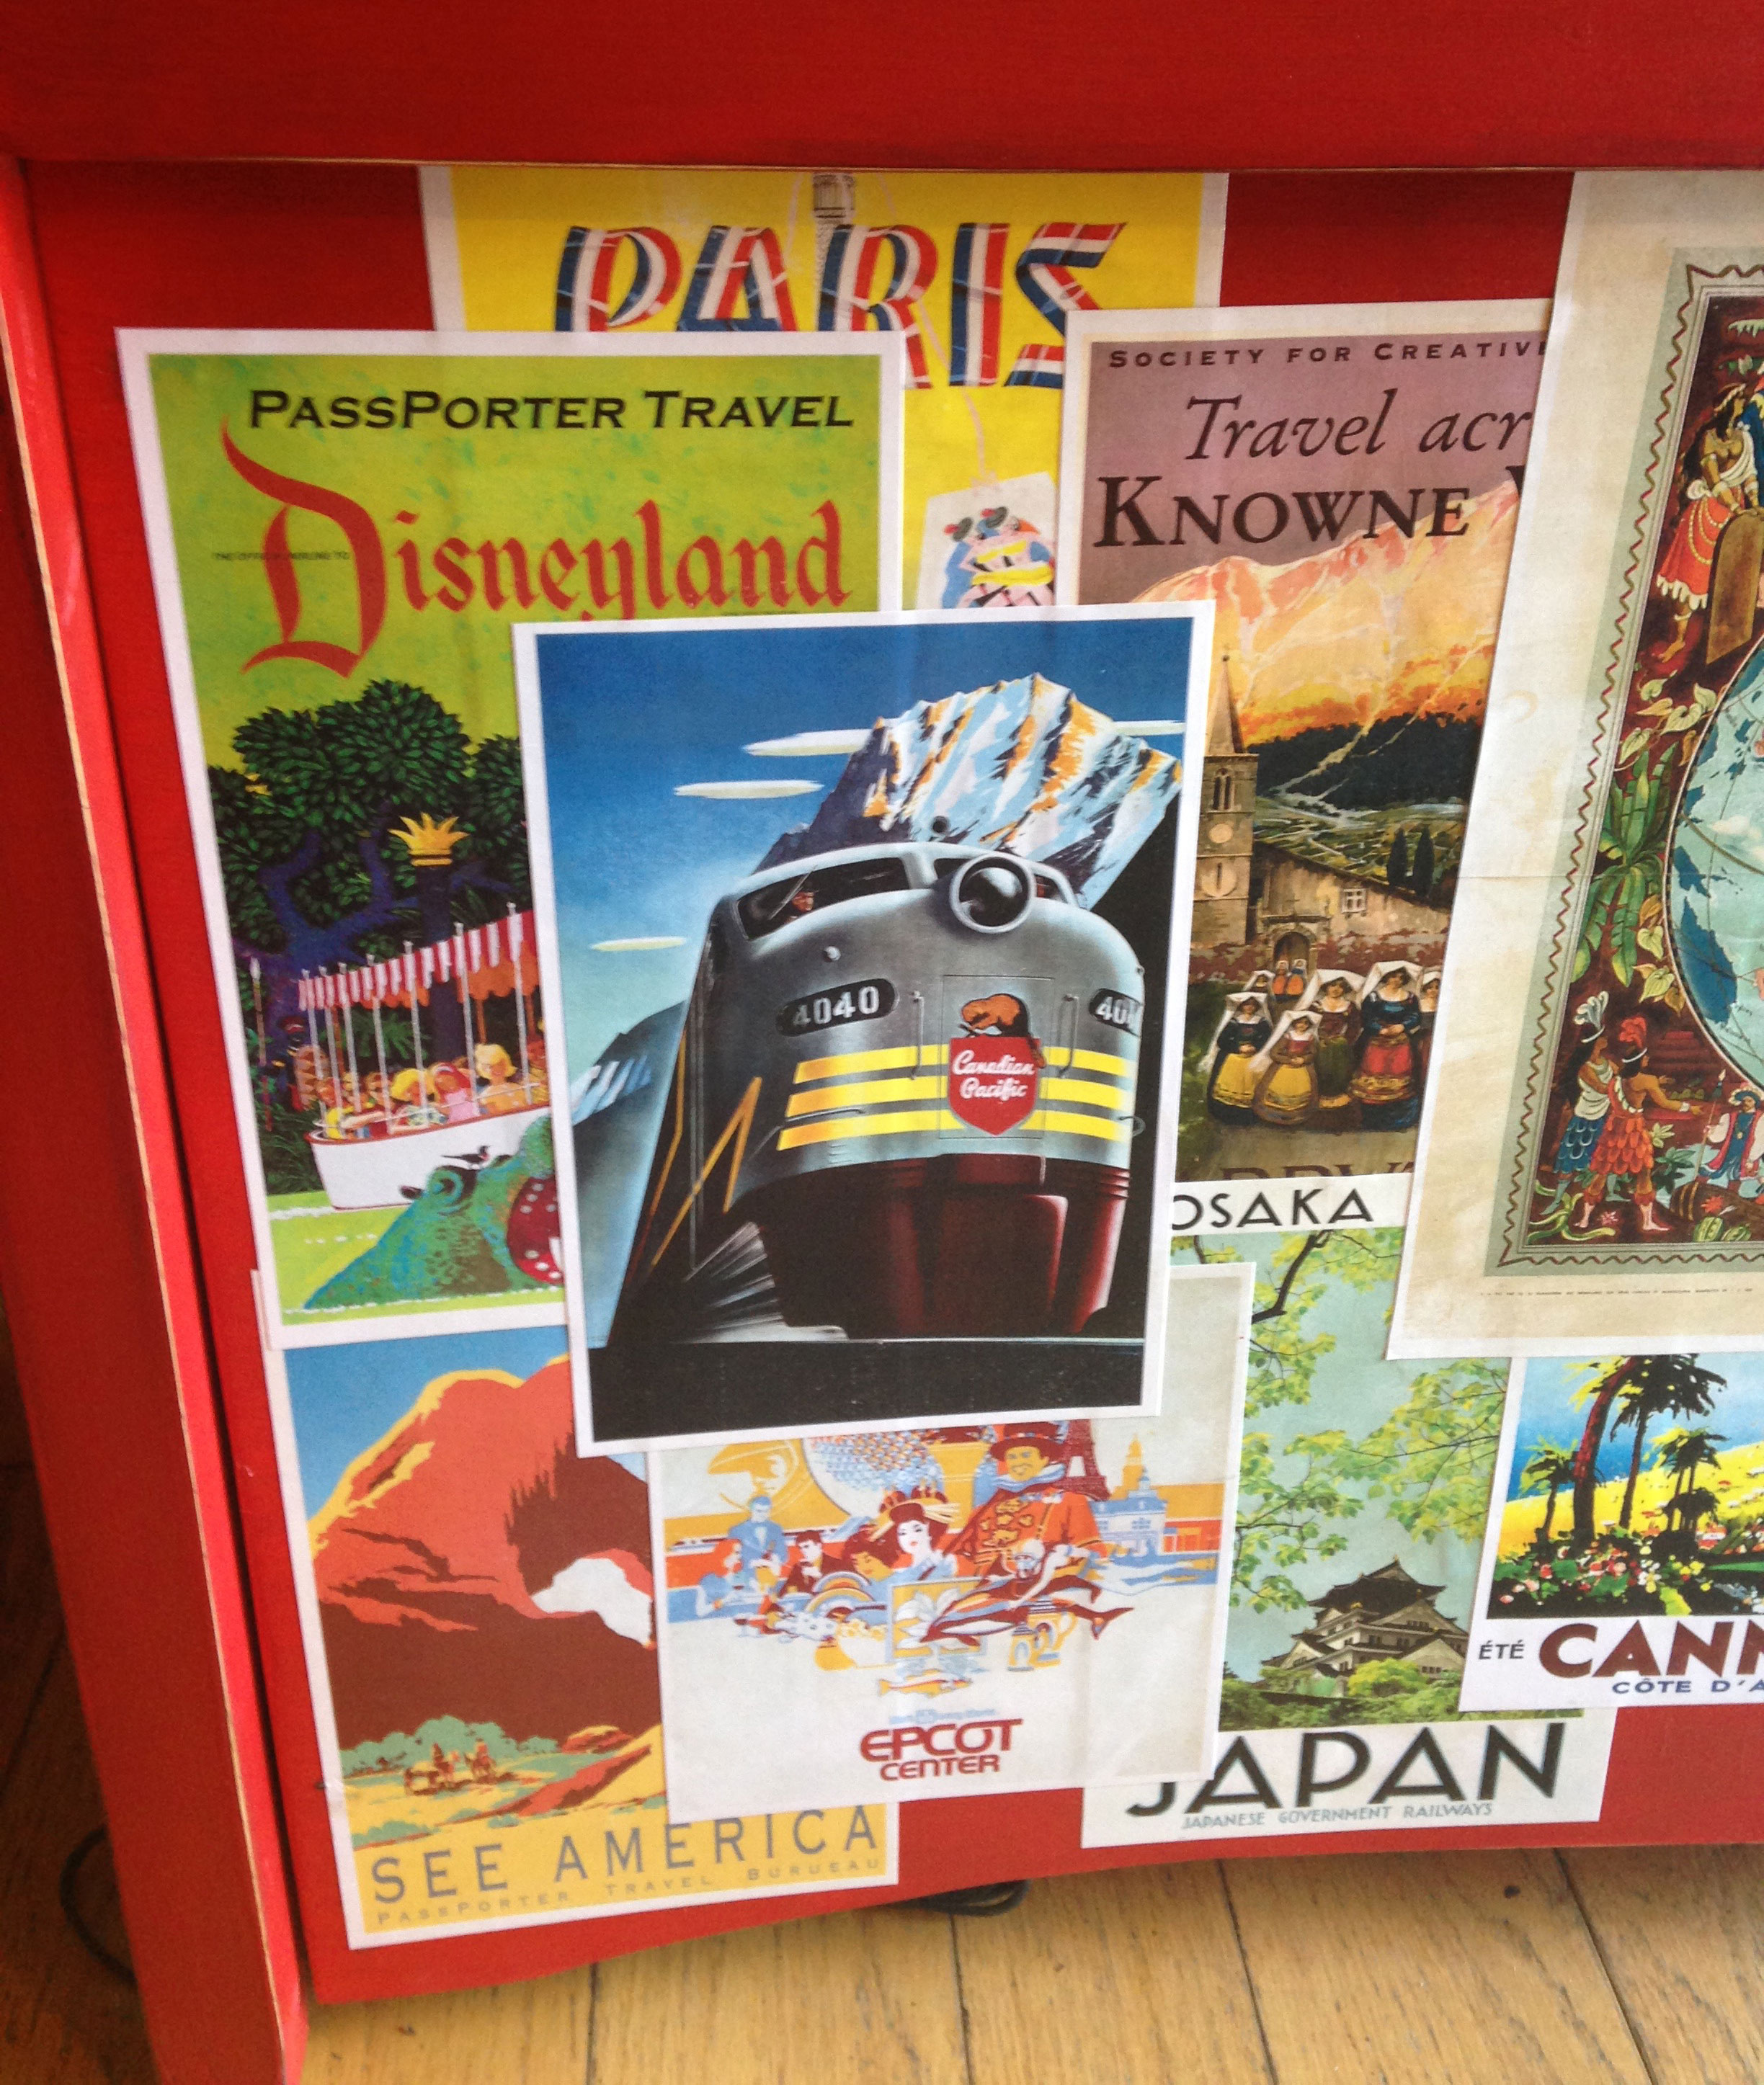
You can just barely see it in the above photo, but I also put a large map in the center of the panel. By the way, all 14 of the travel posters and a high-resolution image of the map (Design #11) are in my resource library (you can get the password to it by subscribing to my weekly newsletter at the bottom of my blog). Posters include America, Barcelona, Canada, Japan, London, Mexico, Paris, Rome, San Francisco, plus special ones like Space Mountain, Epcot, Disneyland, Dalaran (WoW), and the Knowne World (SCA).

I stenciled the words “TRAVEL DESK” above the front panel. (I’m a travel writer, after all.)

Presenting My DIY Computer Desk
Here’s what we changed that broken table into…
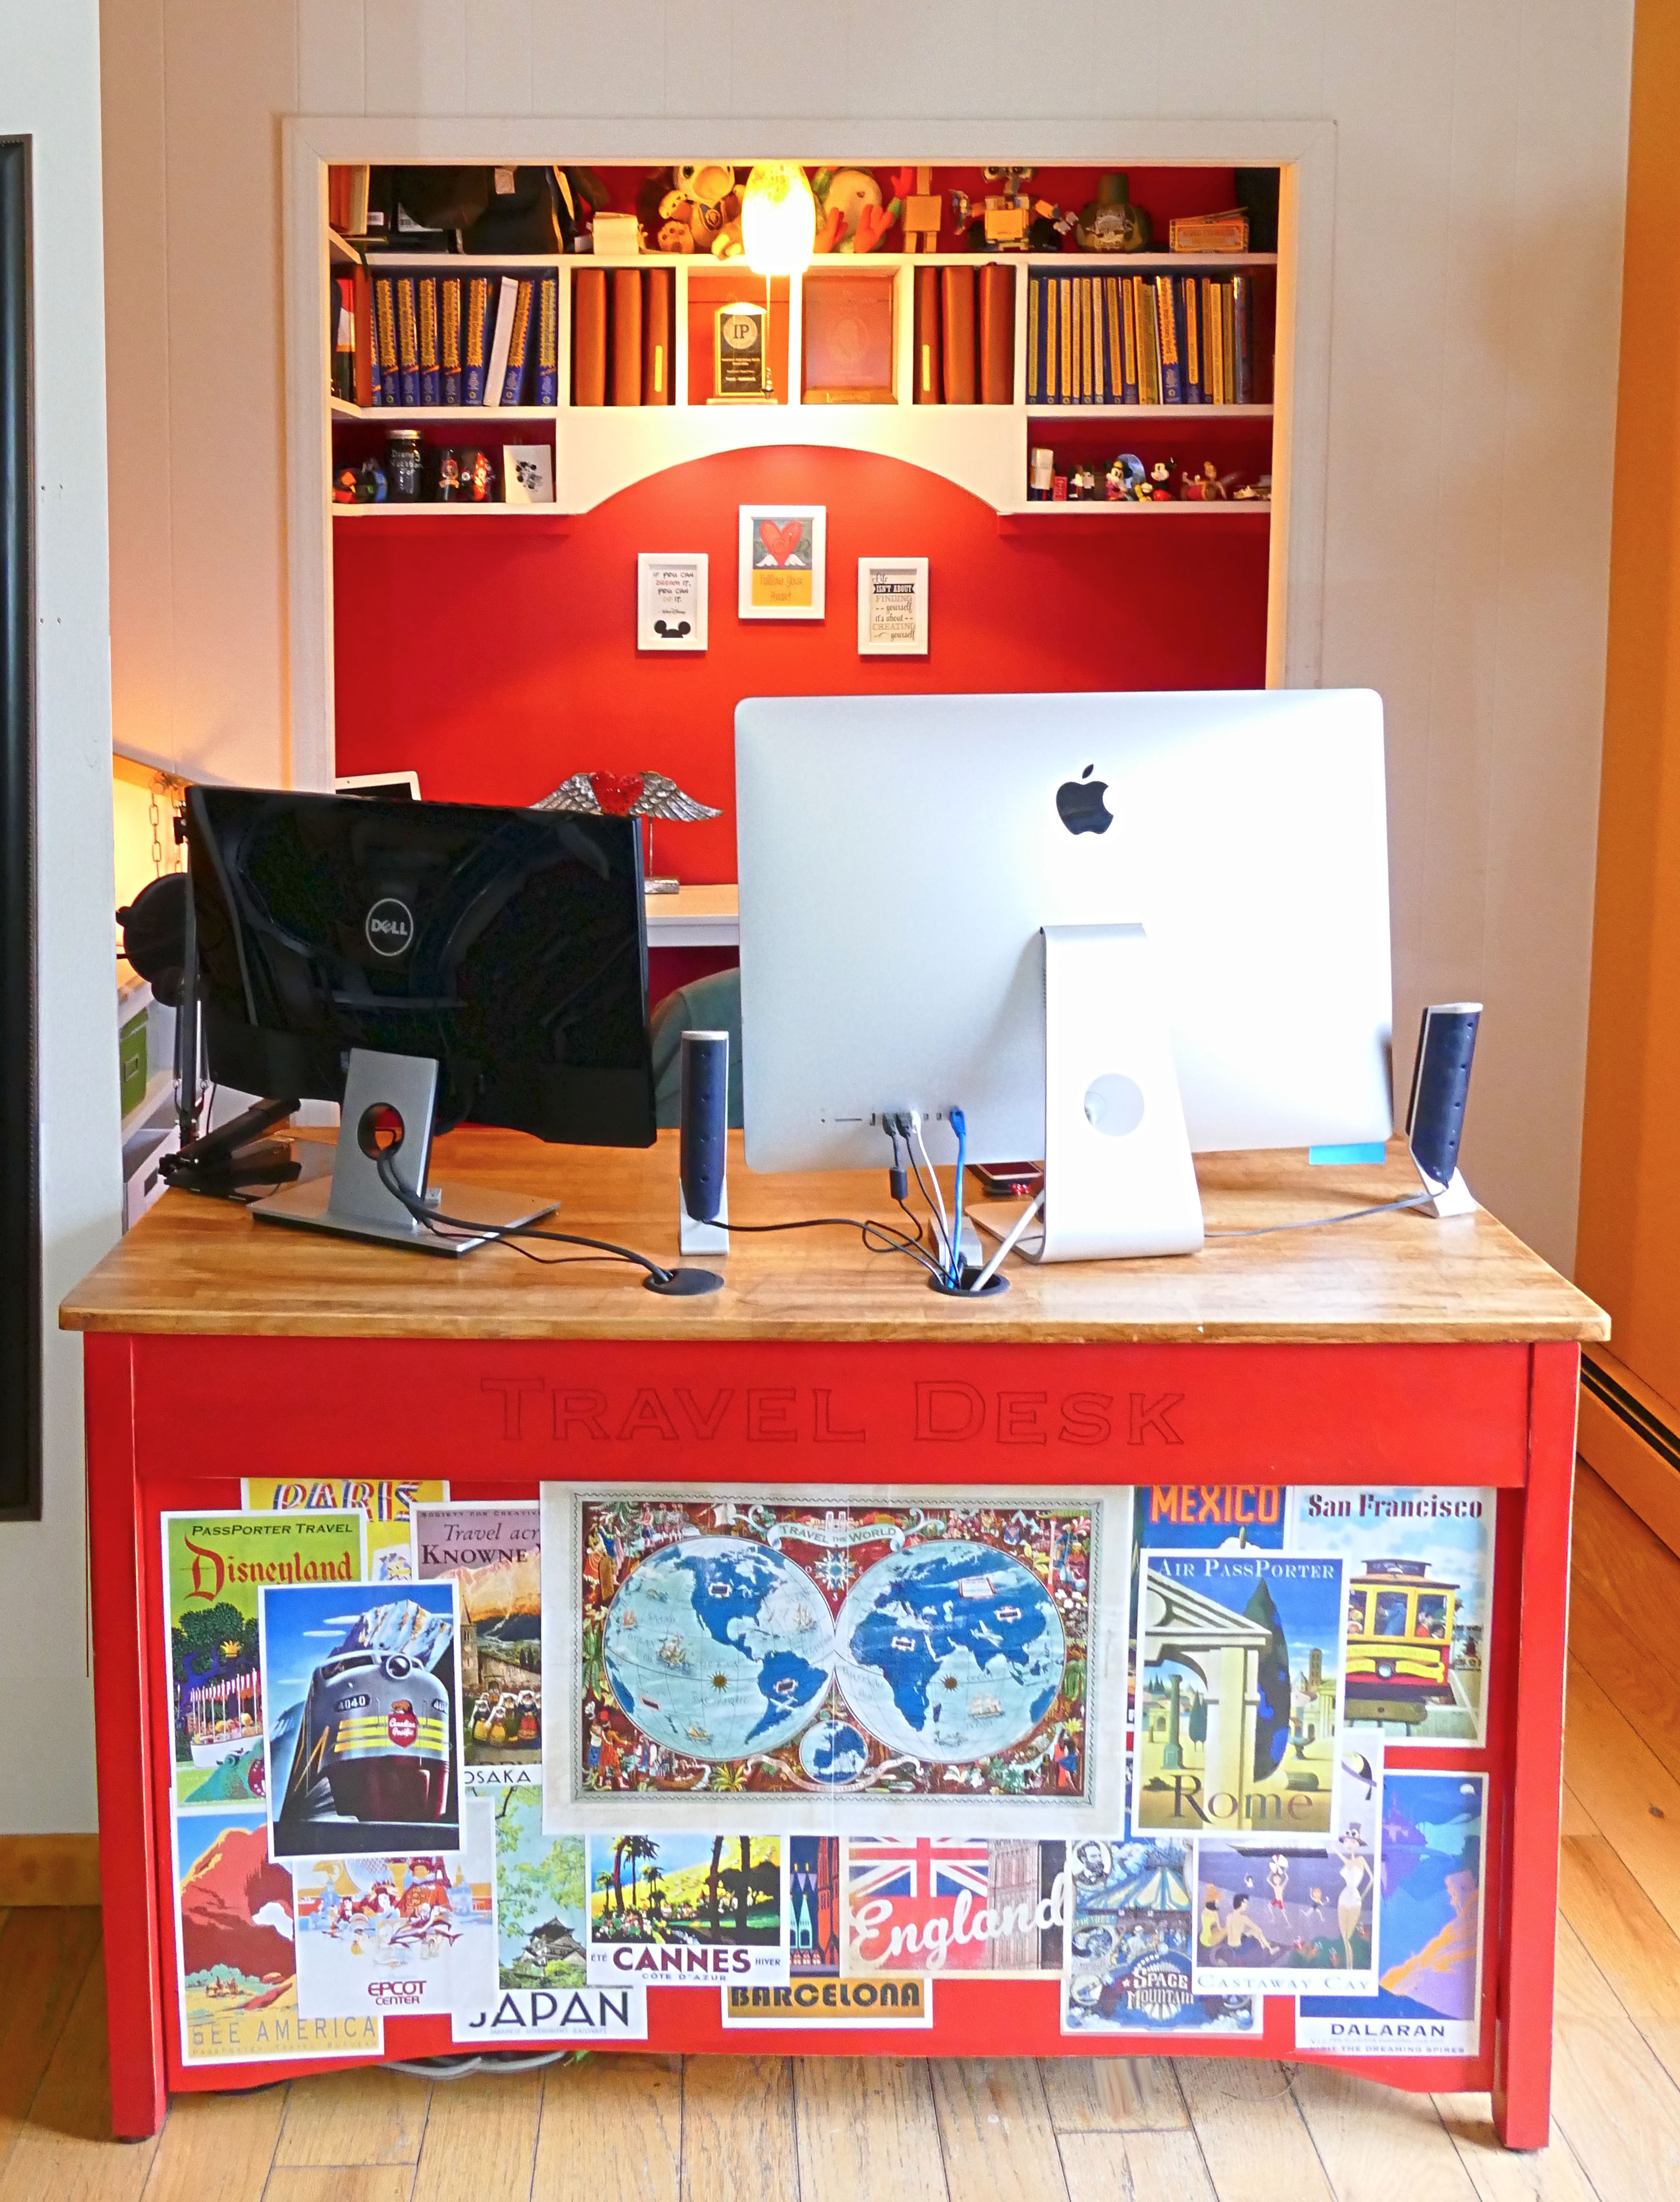
I’ve been using it for two years now and it’s my favorite computer desk ever. The keyboard tray that fits BOTH keyboards is a really big deal, as I spend a lot of time at my desk and it’s important I don’t develop health issues from a poorly positioned keyboard. And the desk not only holds my computers/monitors, but also gives just enough space for whatever I’m drinking and a book or two, but not so much space that I clutter up my working area.
If you’re curious about the space behind my DIY computer desk, it was a closet with sliding doors. We took them off, painted the inside red, and installed our own shelves (recycled from the old boring ones that were there), a built-in bench, and a simple desk. I keep my laptop on the desk behind me. There’s a sweater-covered cushion on the bench, which has a lift-up seat and storage inside. You can read more about the built-in bench here.

My closet office nook is now two years old so it’s hardly a picture-perfect space anymore. But you get the idea!
As it turns out, my dog Hunter loves everything about this office nook area, and he likes to hang out both on the bench and inside it. When he was a puppy, we hadn’t yet installed the desk, so the end of the bench was open still. He’d crawl into the bench and hide in there. So when we put in the desk, we left a little hole in the side of it for him and he still goes in, even though he’s a grown dog now. Needless to say, I don’t use it for storage anymore. He loves to hang out with me while I work. 🙂
Oh, and yes, that bench cushion is indeed covered with old sweaters I stitched together to make a cover. I love playing with old sweaters.
If you have any questions about how we upcycled this DIY computer desk, please comment!
Love,

Like this tutorial? Pin it!


That came out awesome! What a clever idea! You must be so happy with the way it came out.
Thank you, Robin! I am happy with it. 🙂
I love trash to treasure projects, especially when the visual payoff is this large!
The desk looks good. Have ‘got’ skills!
Thank you so much, Rachel!
This desk turned out absolutely wonderful! I love the color you painted it and all the art work on the front! It looks completely different.
I love the color, too. Perhaps unconventional, but it fits me. Thanks, Silvia. 🙂
I’m always so impressed with people who have the skills to turn treasure into “trash!” This looks so great 🙂
I do love to make treasure from trash!! Thank you, Divya!
I love the nook! We live in a four bedroom house but with three kids there is no room for an office. Gonna be checking out every corner of my house for a similar space! And the travel posters on the desk are so creative.
This is such a beautiful DIY. You are very creative and super talented. It’s true that one man’s trash is another man’s treasure.
I wish I could see something like this at the thrift store and know exactly what I want it to look like in the end. That is such a talent!
I love recycling things and your upcycling of this table into a desk is so great! Love the color too
I love it! I bet it is fun to go to work in an environment like that! My dog is my constant companion as well. Couldn’t work without him!
Wow that turned out great! I love the bright pop of red and the travel posters…by the way that closet office is great too!
What a great upcycle project!! Having a fun work environment makes working so much easier and not as boring.
OMG you’re so handy! This is a such a great idea and i love how it turned out!
How Fun! You did a great job! Once we move I’ll be hoping to do the same. I’m on the search for the perfect desk! Wish me luck, I’ll be sure to pin this for later!
Wow you did a really great job on this desk! I love seeing free stuff on the curb! I’ll be doing a post about one just like this soon! I love how you added the travel stuff that makes it look so vintage! Goes well with that rustic red color! Great job!
Wow! I am so impressed with your DIY skills. Yes, I thought about “trash” on the tree lawn and what could be done with it. But, I feel like I need more “training” or DIY videos before I take on that task! Your Travel Desk looks amazing!!
I love that you personalized it with the travel posters. What a great space. I really want a desk too as I just sit at our kitchen table.
It doesn’t even resemble the same desk. NICE JOB! It looks great.
You are so crafty! I don’t have time to upcycle. I think I love the idea of being crafty, but whenever I try -it never looks as good in real life as it does in my head!
This turned out amazing. You are definitely very crafty. Where some people may have seen something that was not worth anything you turned it into something beautiful.
What a clever use of an old table! I love the desk you created!
Much appreciated, Logan!
I LOVE this desk so much!!!! The travel posters on it just make it too! I never thought to use old furniture in this way!!!
Oh, thank you, Reesa!!
I love how you’ve created such a wonderful workspace and that desk is incredible. You are so creative and I love how you incorporated the map and the travel posters.
Wow! This is so beautiful I love the DIY like this your so creative and talented with this. I wish I have a good talent like yours. Glad you share this with us
Thank you so much, Angela! I am hoping that by sharing what I do, it will inspire others to try as well. We only get good at things when we try and try again. 🙂
This desk is so cute! I love the mod podged posters and the track lighting on the keyboard is genius!
This turned out really well! I love having pieces in my home with a personal story or project tied to them.
Omg now this desk is just totally epic!!!!! Love everything you did with it!!!! Great work
Thanks so much, Courtney Lynn!
That was done really well, I always see really cool upcycled items but never have the guts to try them.
Love what you did to the top! I love the look of natural wood. My husband and I just this week made a live-edge desk for our own “home office.”
wow, you did a great job. i need someone to come and do this to my furniture.
This turned out amazing! I was wondering if you could tell me how you made the slide-out keyboard tray? Dimensions, where you purchased the sliders for it? Thank you!
We got the slide-out keyboard tray components from our local hardware store. They are drawers sliders, as I recall. Nothing fancy! They look like this product: https://www.amazon.com/Side-Mounted-Slide-Extension-Accuride/dp/B01CV16WKM/?tag=jennifer00e-20
Hi Jennifer,
I’ve been trying to find the dimensions to the wood used for the built in bench and for the desk that’s inside the closet.
Hi, Melina! The dimensions for the wood we used to make the built-in bench are all at 🙂
Jennifer that is really cool i like the closet cubby as well.
Love your desk! Amazing how you made it yours! I sent you a pic of my white cabinet with lower opening. We purchased it locally from someone online, my husband repaired the leg/foot and I painted it. My craft table (also sent you a pic albeit a mess) was a garage sale find and we have plans to repair the top of it as paint has chipped off.
I too have a weakness for curbside discards! One of my favorite pieces that I have re-done is an old chiffarobe that we found left out in the weather on the side of a dirt road. It was in horrible condition, smelled funky and had to have the drawers rebuilt, but in the end, it turned out great. Love your desk!
That is a beautiful nook area. Your are an inspiration. Keep up the great work and thank you.