
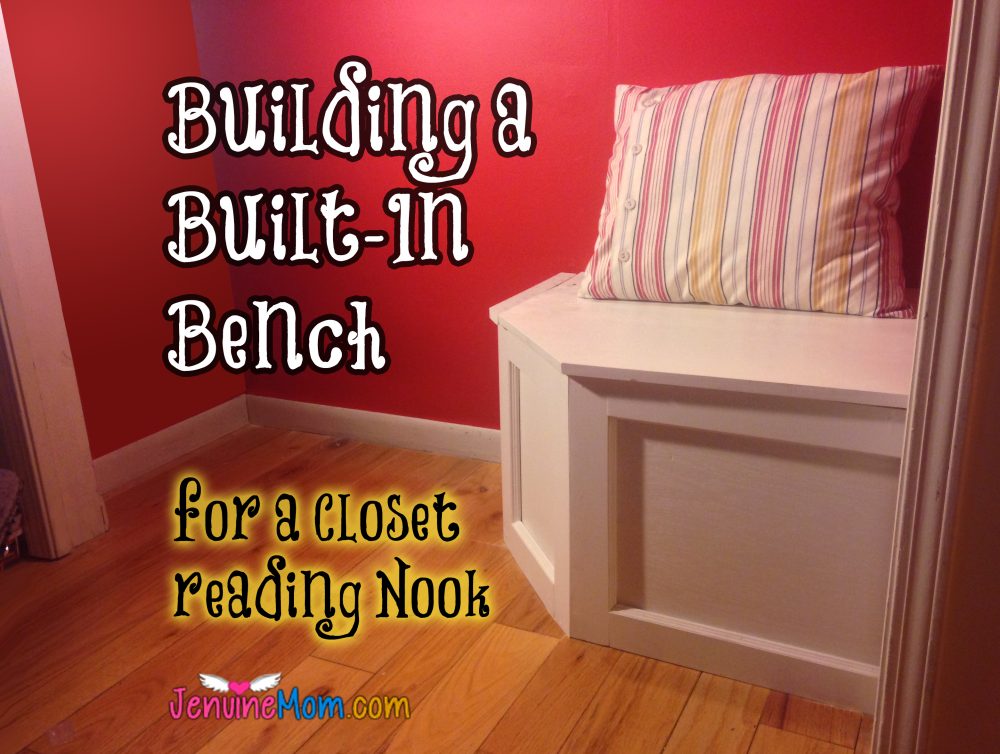
I get the home improvement bug every winter and this year was no exception. This time around I am updating my office, which is actually really a nice “family room” with a fireplace and sliding glass door that looks out onto a deck. It’s a great room, but my desk faced the corner and was bo-RING! So this year I changed my orientation for a better view. This left a big closet behind my desk. Like any good Pinterest fan, I’ve seen people do awesome things with closets and I decided to try it myself. But because my office was a significant room in my house, I wanted it to look classy. I found two inspiration nooks to use as a starting point: Whimages Built-In Nook and House of Rose Built-in Office Nook. These inspired me to create a built-in bench!
2017 Update: I’ve decided to update the ENTIRE room and add a craft room around my desk and office nook. Check out my craft room plans here!
Some of the links below are Amazon affiliate links for your convenience. Read my full disclosure policy.
Materials Used for My Built-in Bench and Closet Reading Nook
- Satin warm white paint (I used Valspar Swiss Coffee 7002-16)
- Flat red paint (I used Valspar Cherry Pickin’ CI221)
- Light socket adapter with a pull chain
- Three 12″ piano (continuous) brass hinges
- 3″ deck screws
- 1/4″ thick furniture-grade plywood (about $8)
- 1″x3″x36″ dimensional poplar wood (4 @ 3.88 each)
- 3/4″ decorative shoe moulding (about $12)
- A piece of furniture-grade pine board measuring 2′ x 4′ x 1″ ($22).
Transforming the Old Closet
Here’s what I began with:
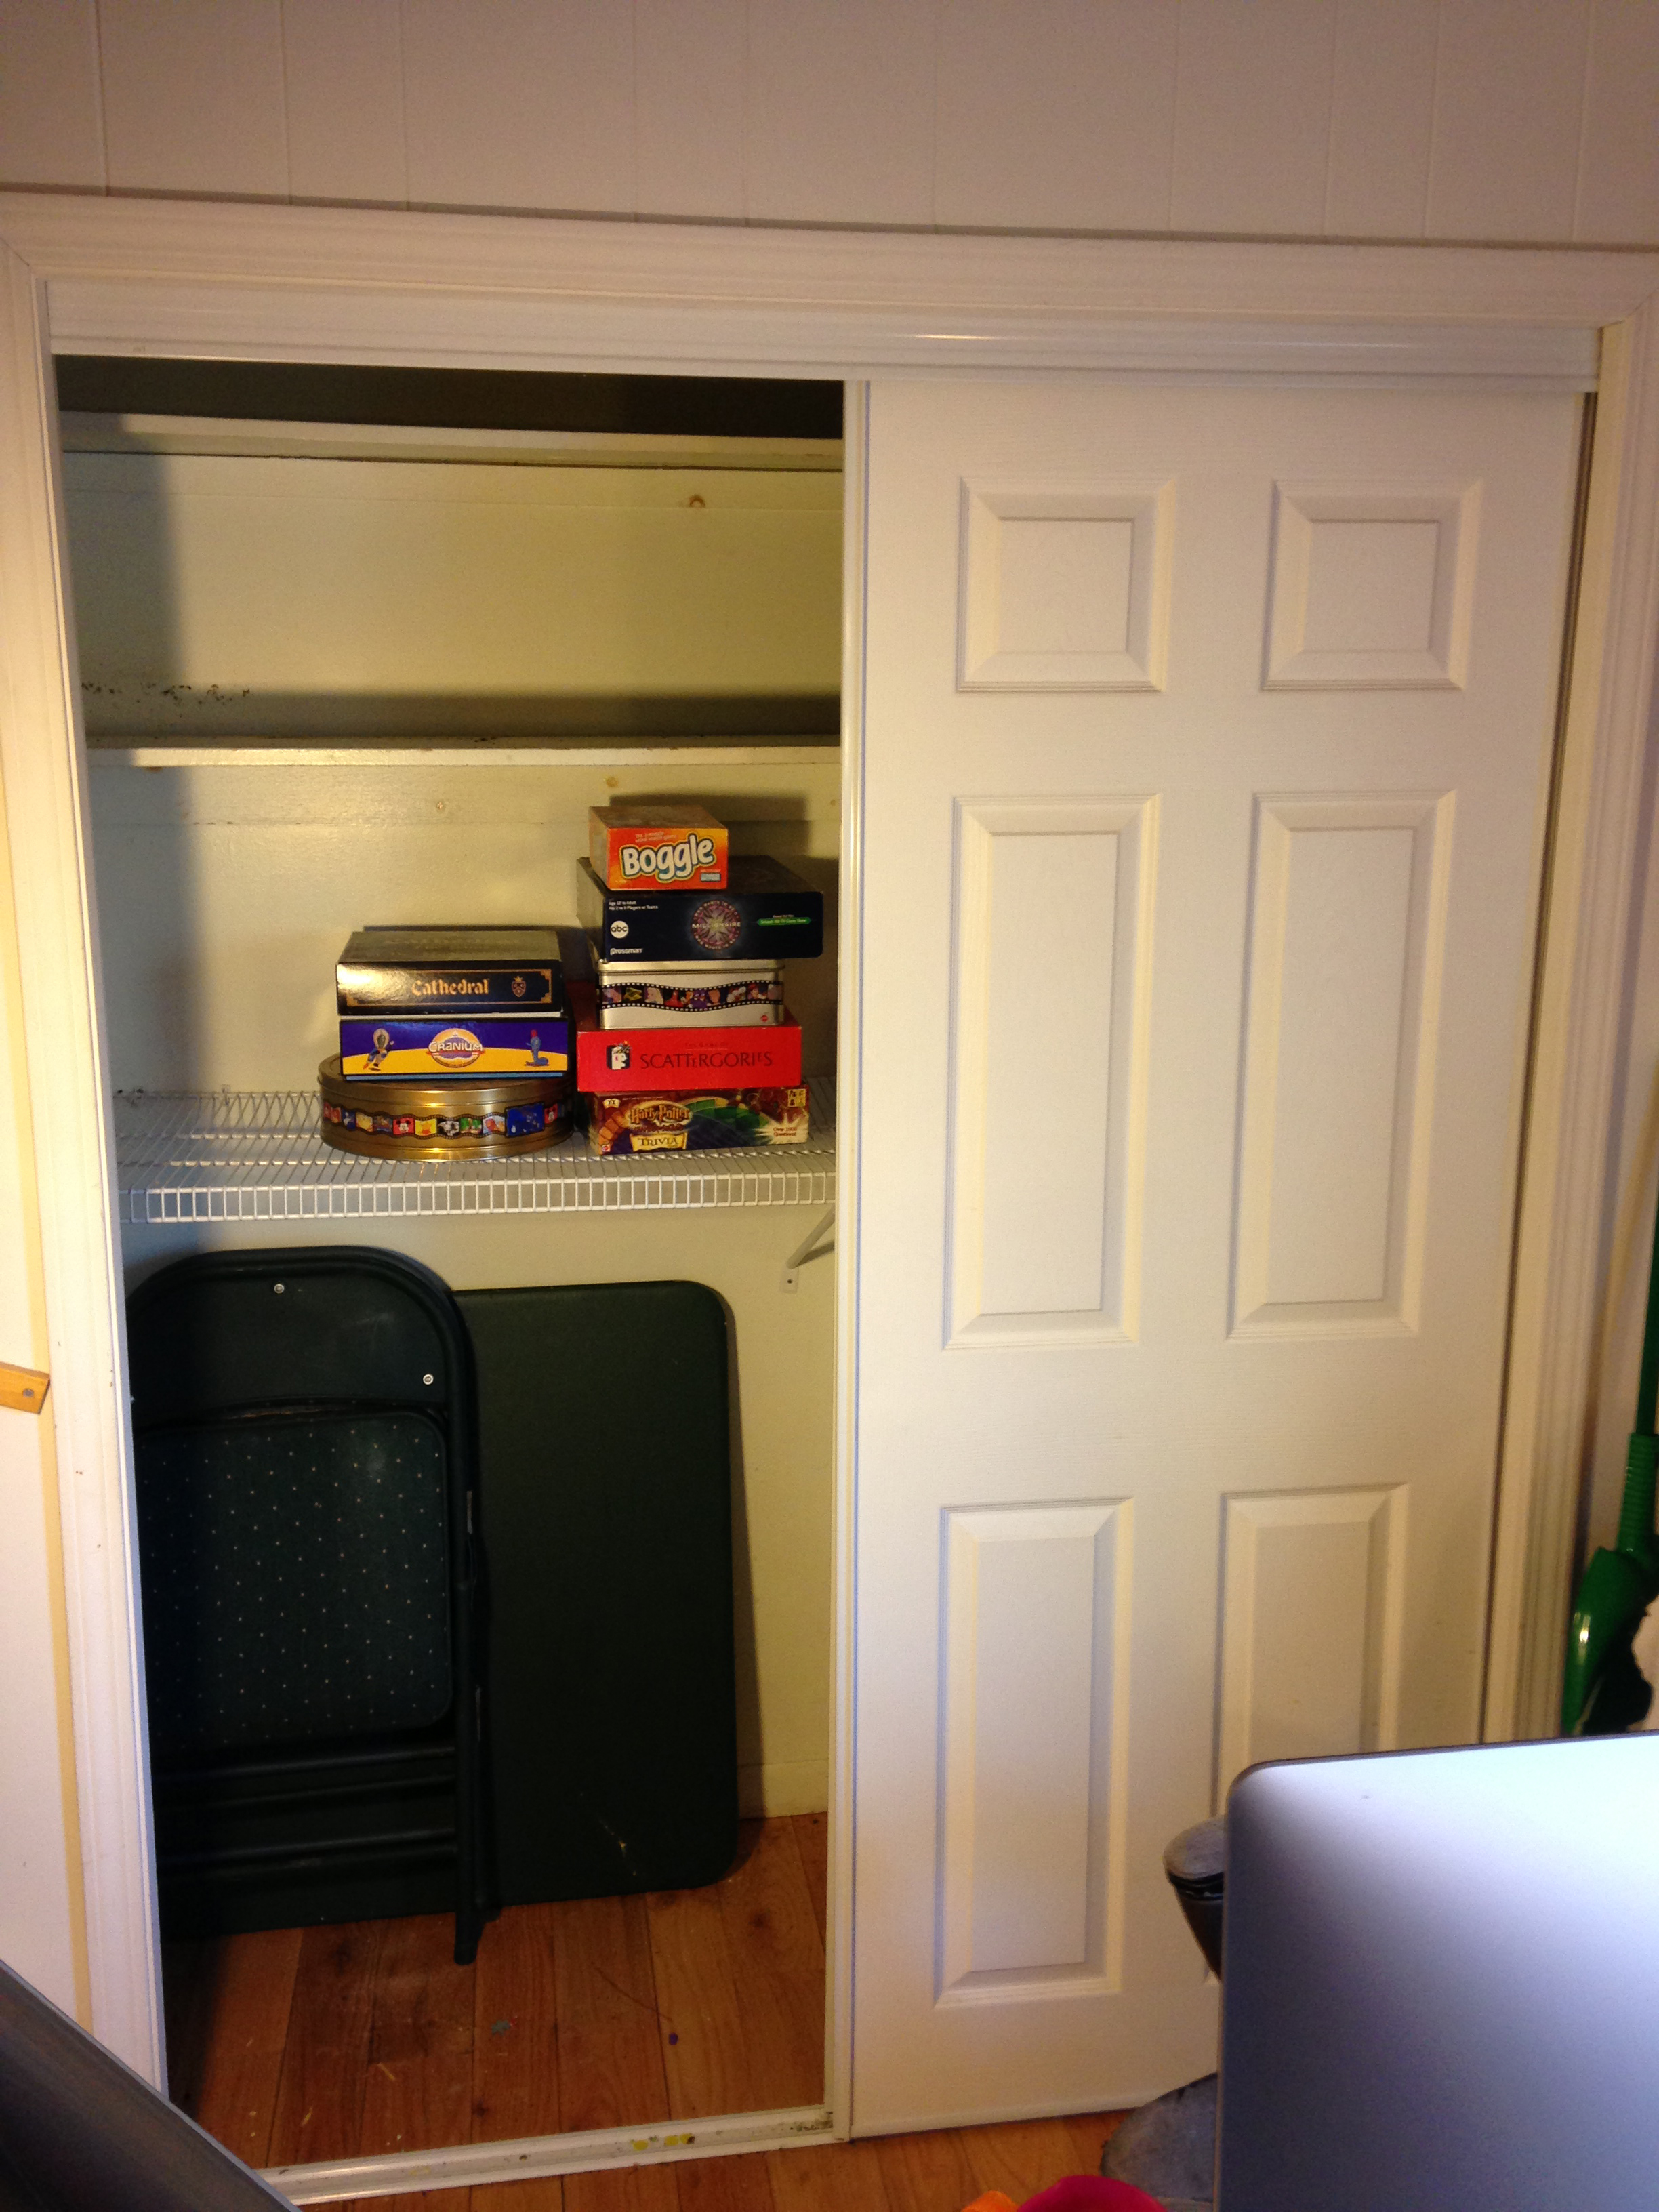
And no, my closet was not that empty when I started! Ha HA! As if. I pulled out something like 40 board games — I kid you not. I love games. So this is the closet after I’d moved out most of the accumulated stuff that really didn’t need to be in my office.
It’s a decent size closet — about 7 feet wide by 2.5 feet deep. It seemed similar to the closets I saw in my inspiration images, except that it has a deeper section on one side. No problem — I can use that as a cozy reading area.
We began by removing the sliding doors and pulling out all the shelves. Sadly, the old wire shelves were screwed and anchored into the dry wall really well and pulling them out left fairly large holes. That meant some unexpected work in patching drywall and then filling in all the smaller holes.
Once that was done, I painted the entire interior of the closet RED! I used flat latex Valspar Signature because I think it covers very smoothly and isn’t super stinky. This is the same red I used to paint my desk. It’s a really awesome red because it’s warm and toned down ever so slightly from a regular red, but still rich and fun.
It was already a big improvement. But there was still more to do!
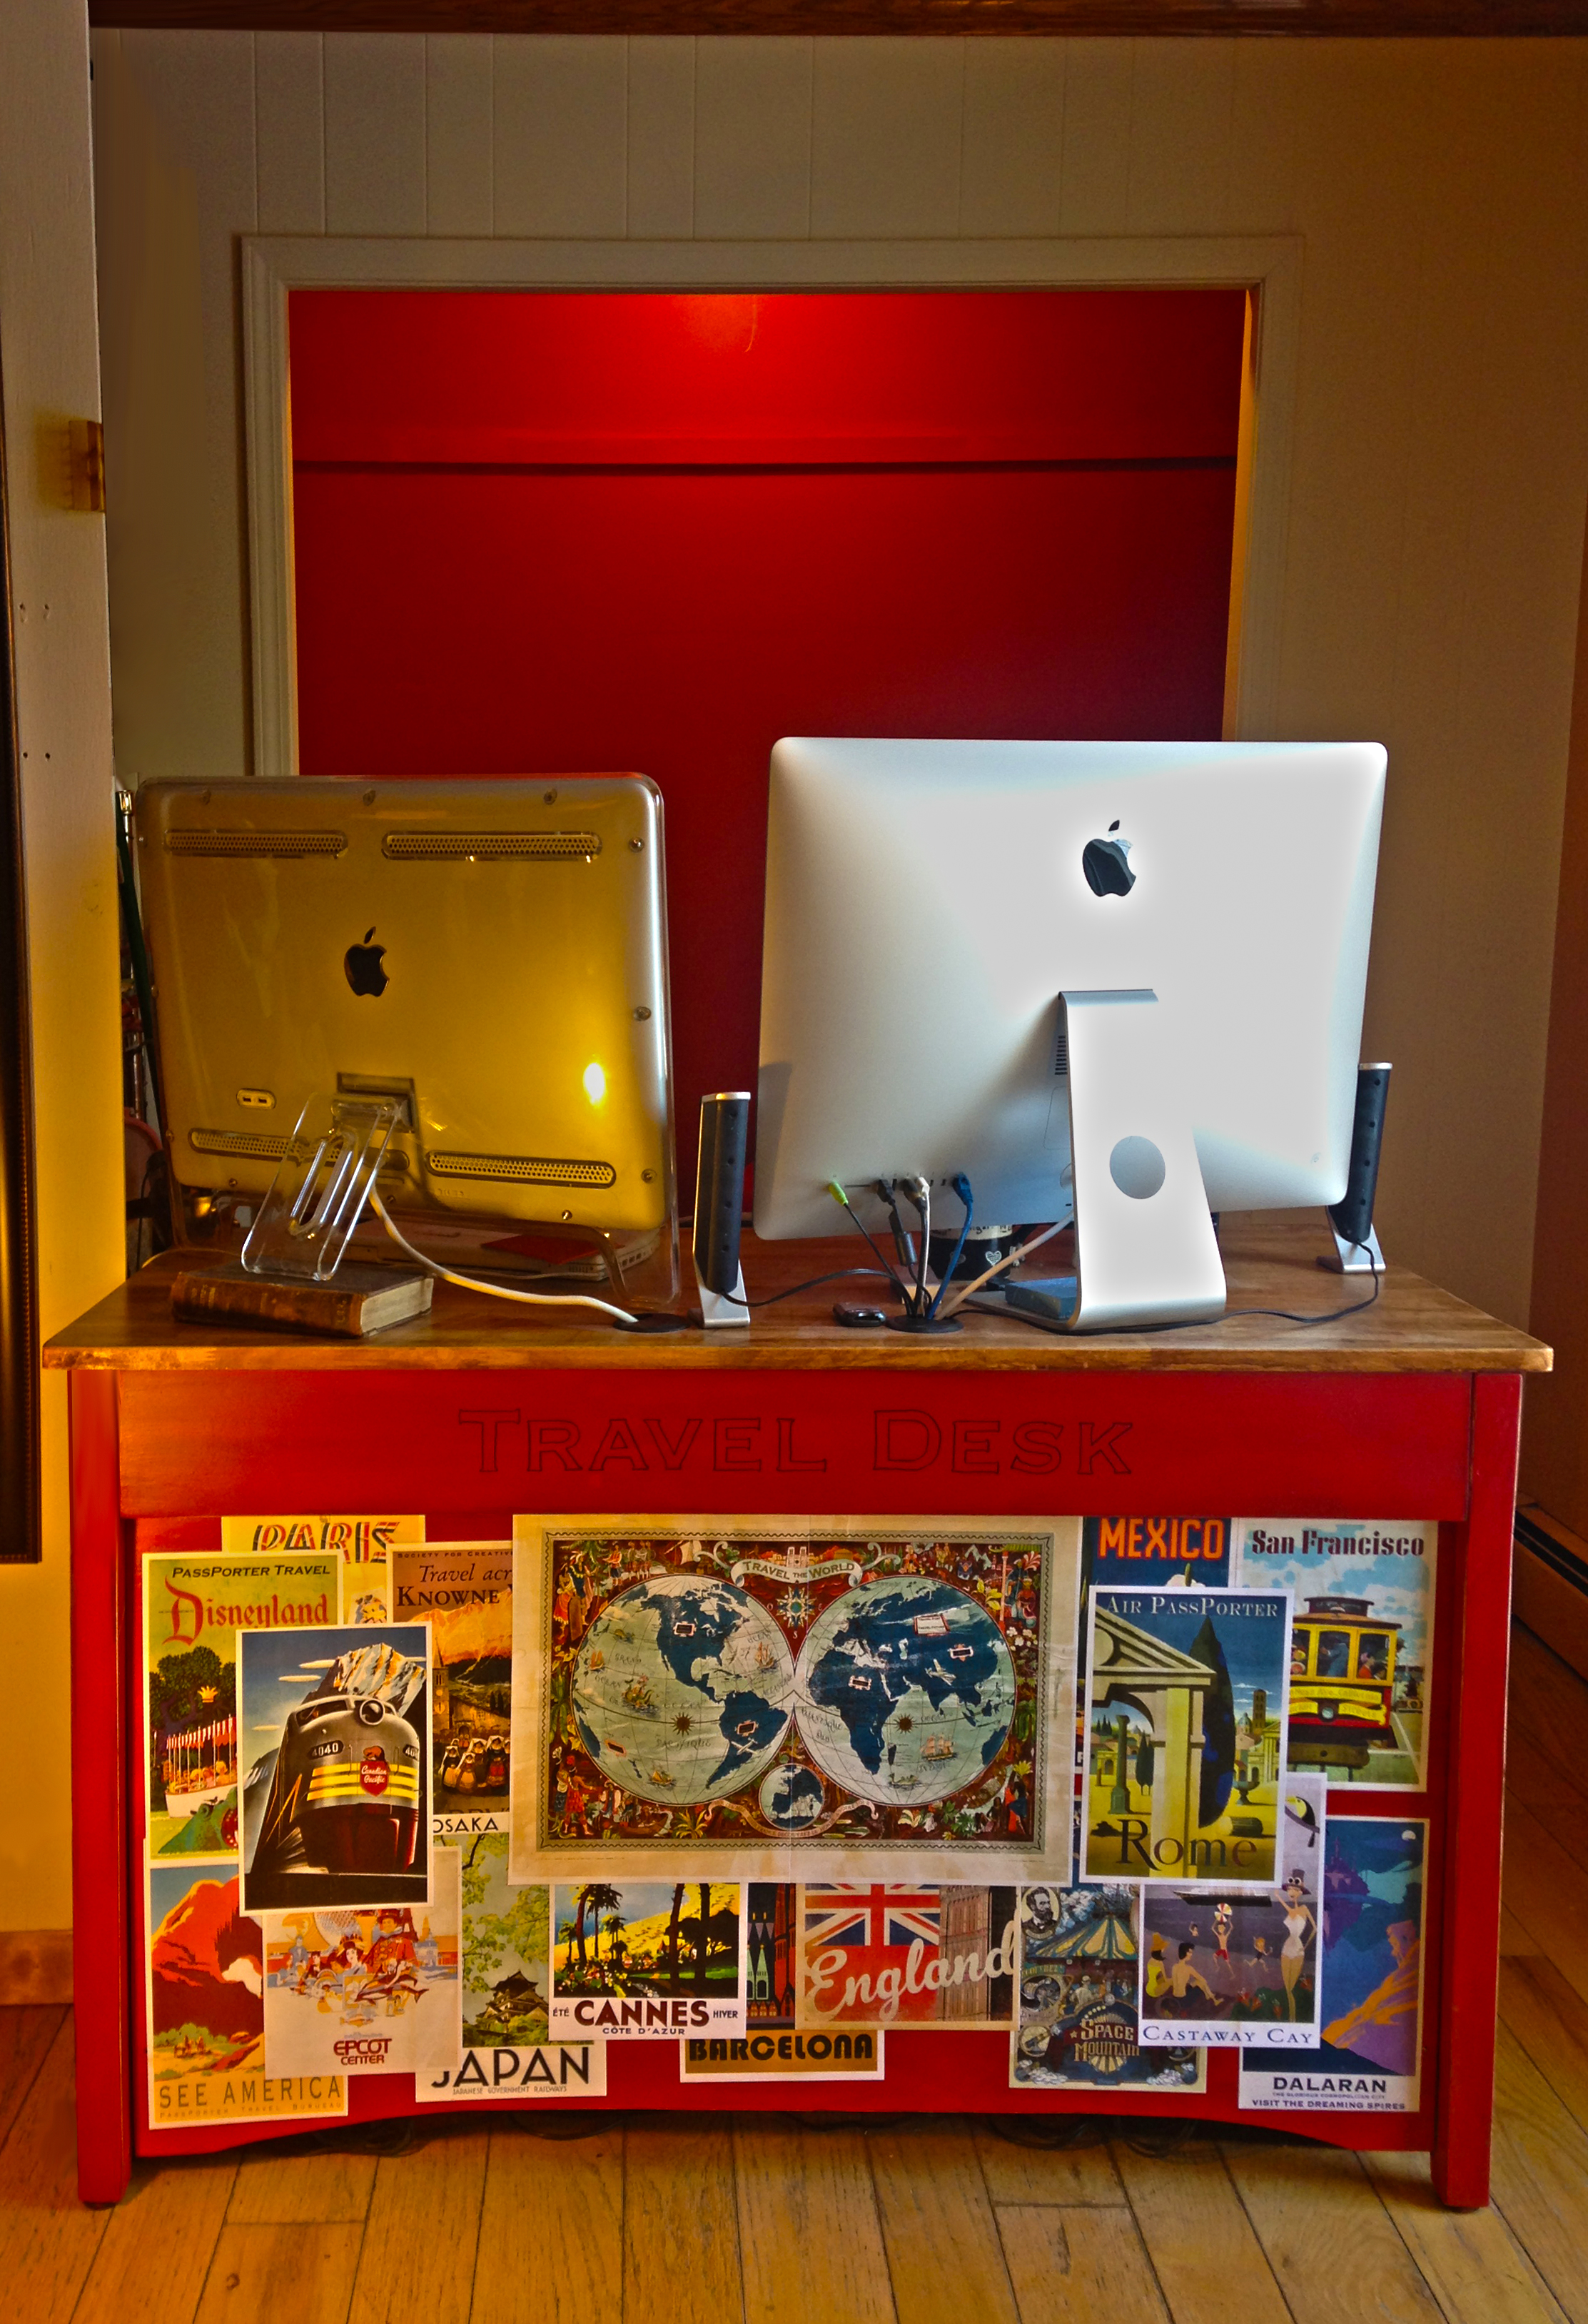
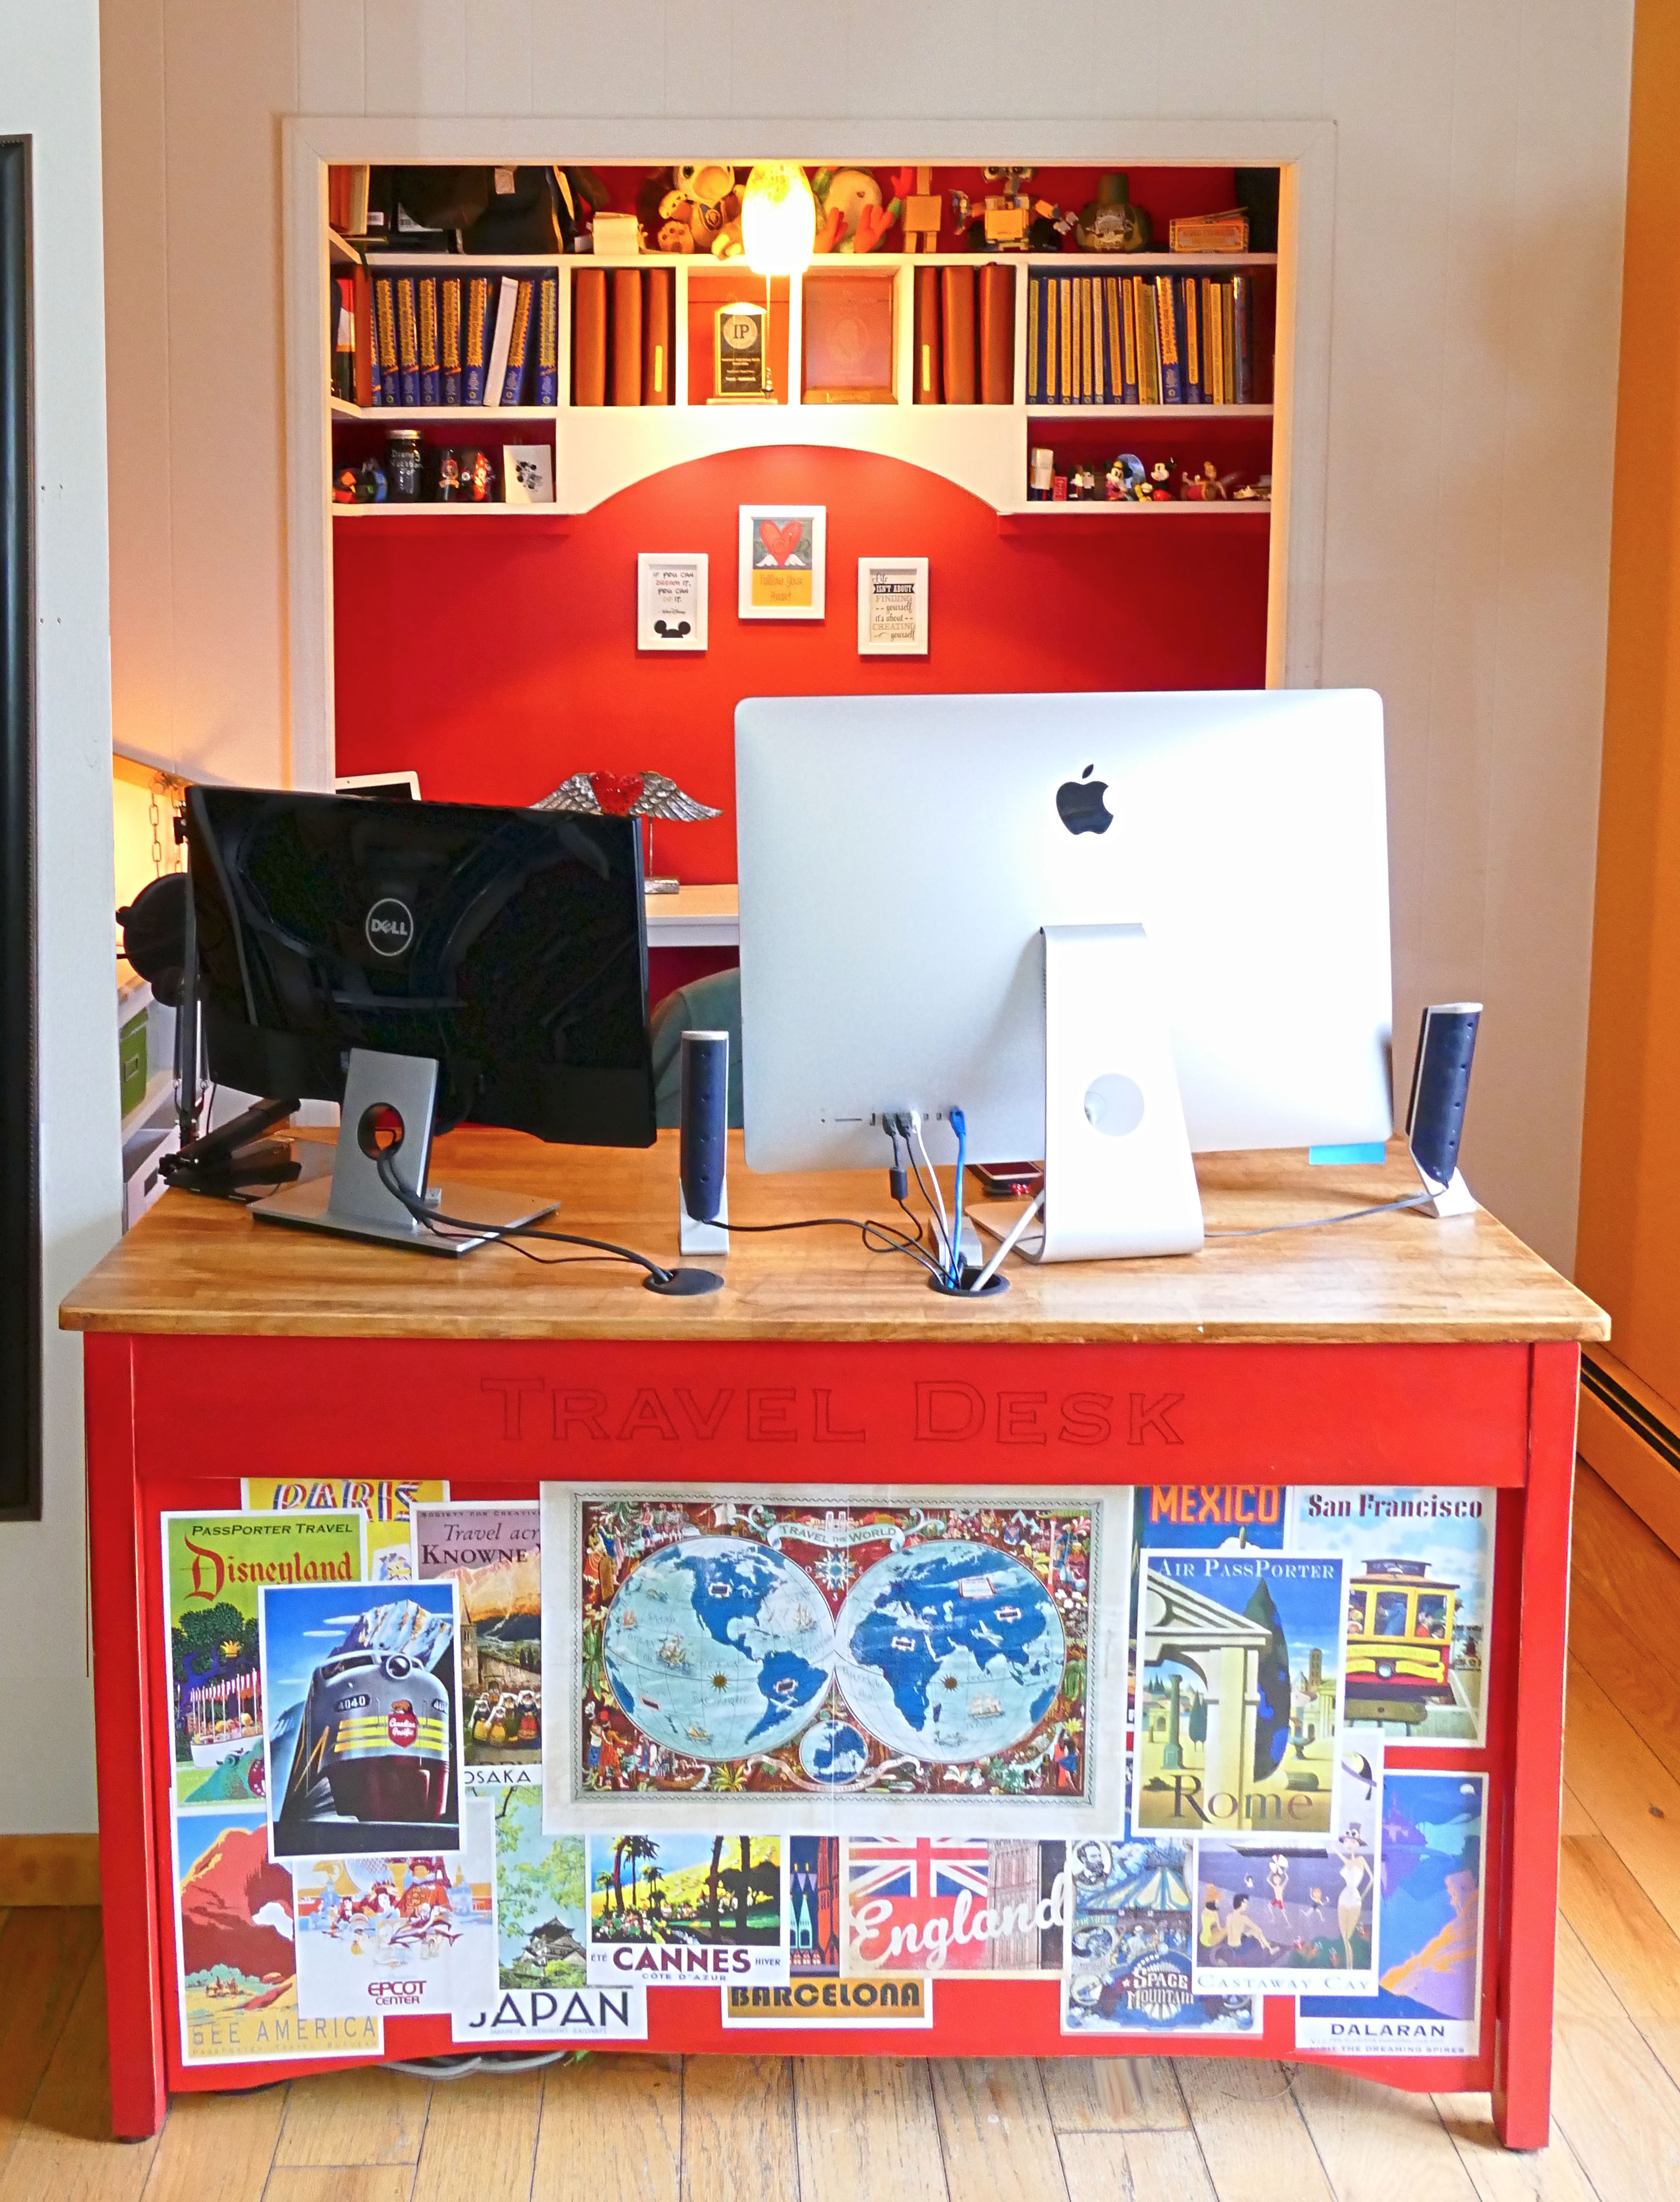
About My “Travel Desk”
If you’re curious about this desk, it’s an upcycled desk made from a discarded table someone had put out on the curb. I know, right? The old mission table was broken, taller, and really quite a lot different from what you see here, but it was solid wood and seemed destined to be used. We chalk painted it red, added the whole front area, and installed a lighted, pull-out keyboard tray that you cannot see here. The travel posters on the front of the desk are all places I’ve visited. I have an entire blog post about the desk itself, including PDFs of all those travel posters.
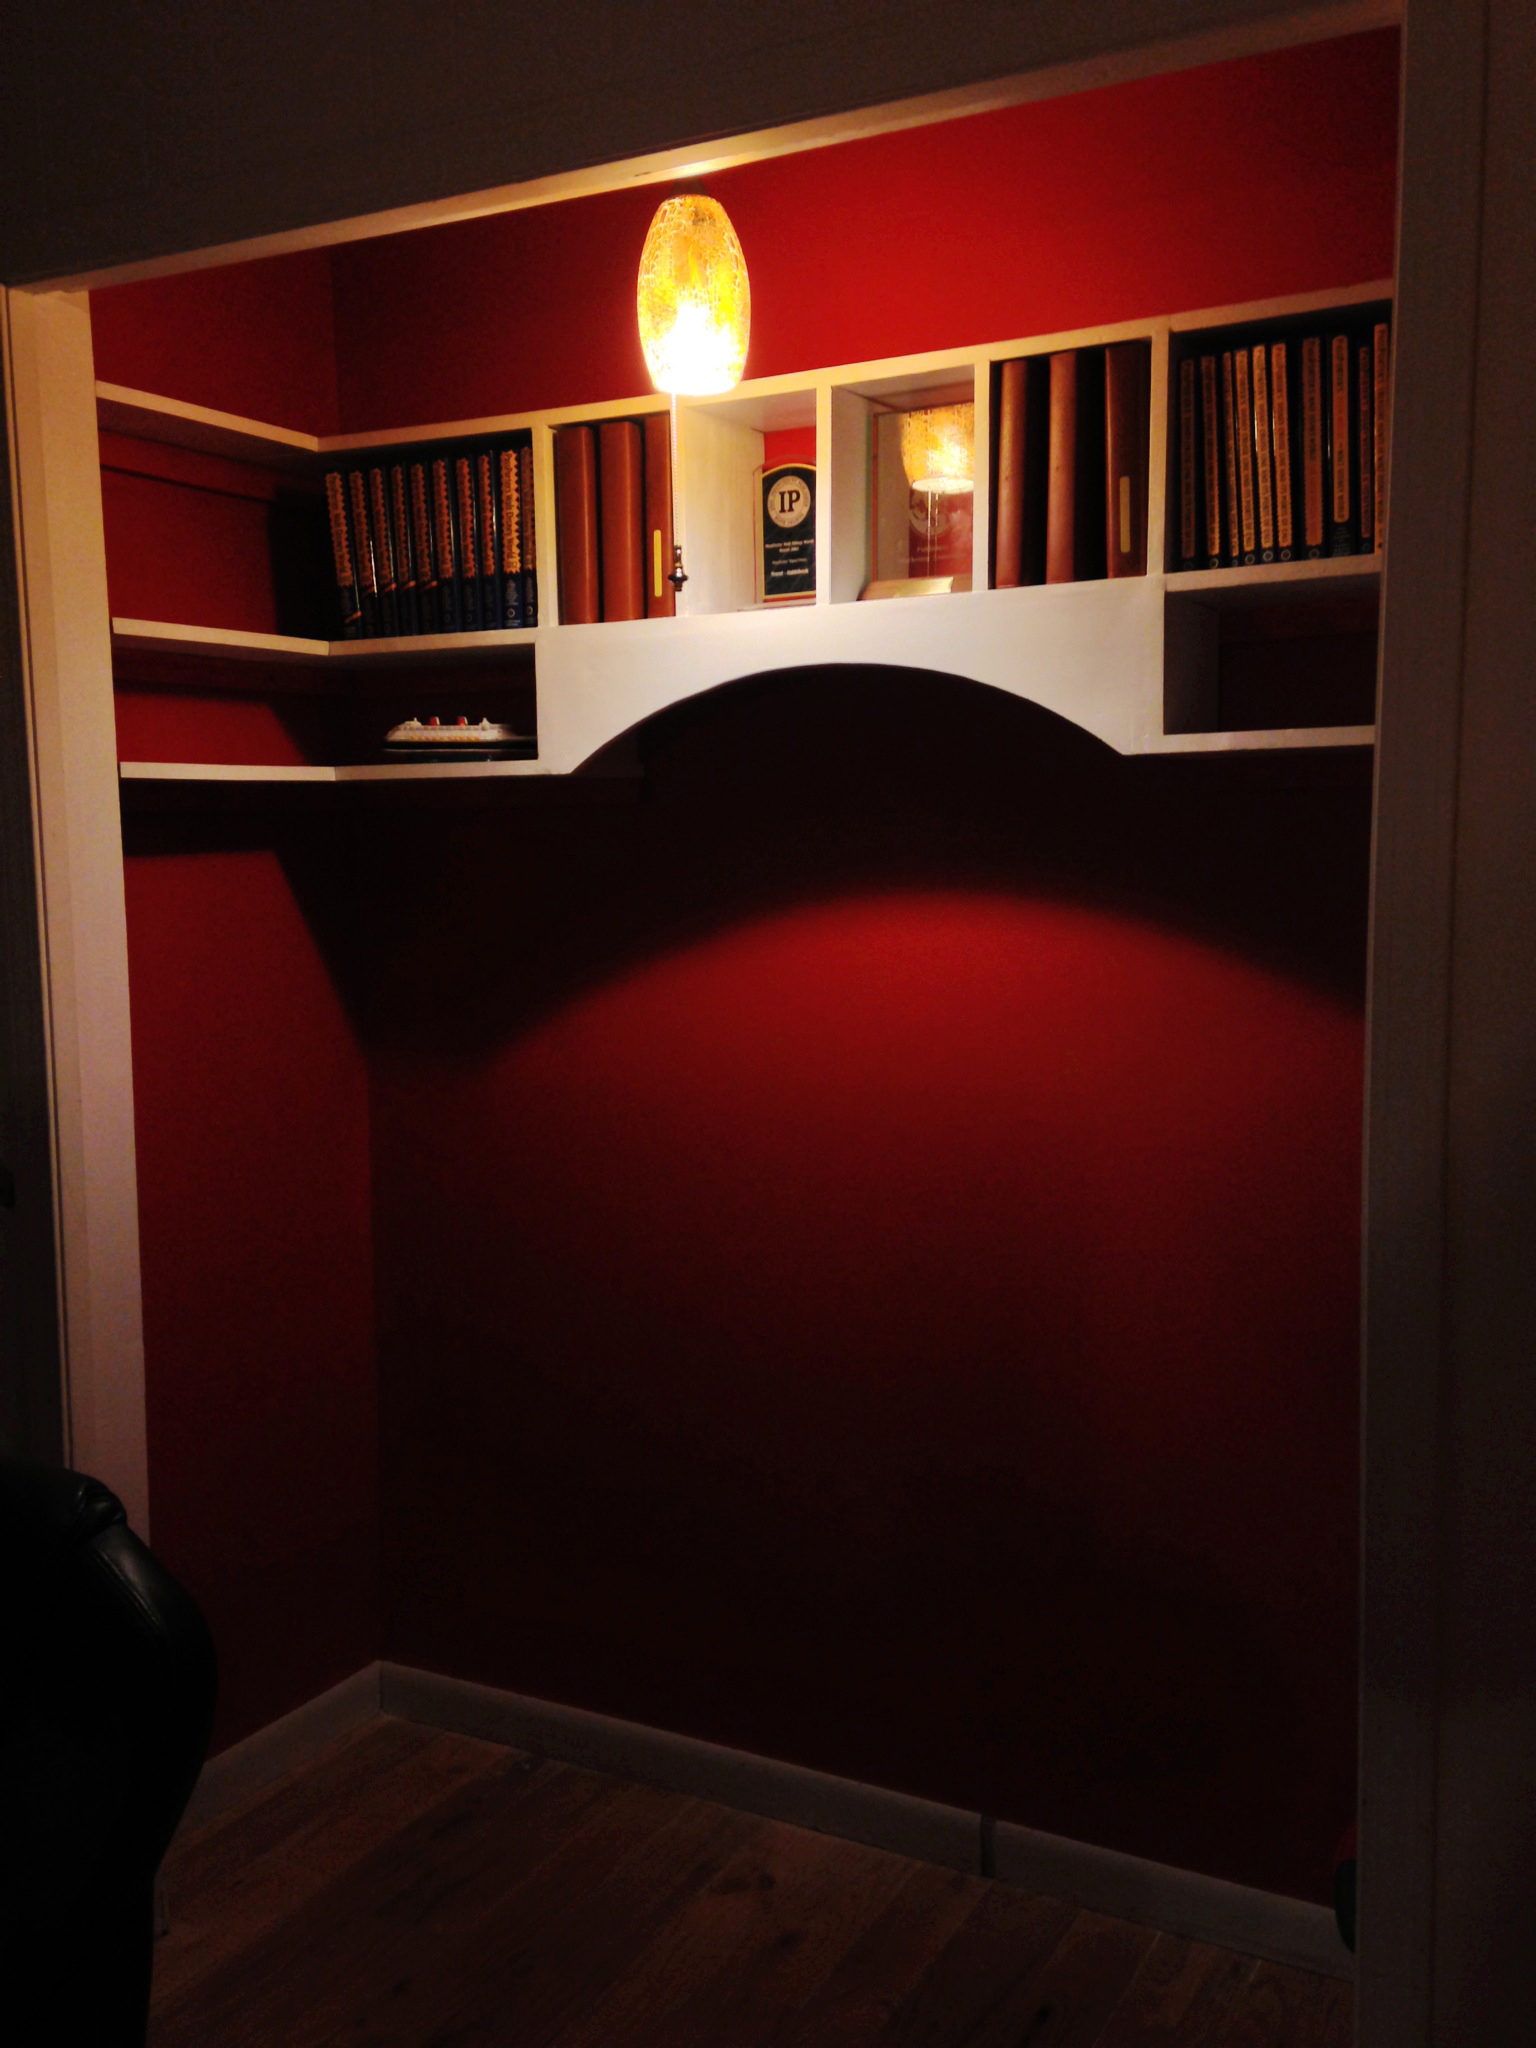
Shelving the Closet
The next step was to put shelves back into the closet. We were able to recycle most of the old wood that we’d pulled out — we made the new shelves less deep, but added more this time. They wrap around the sides of the closet, and are perfectly sized for my books.
I first painted the shelves with ultra white satin latex. I HATED it. It was way too bright and harsh. Who would have thought a white paint could be so wrong? So I repainted them with a slightly warmer white and it made all the difference to me (see the complete materials list at bottom of post). Much better!
We also added a mini crackle glass pendant light in place of the boring and bare light bulb. This was a bit tricky because the old light had one of those pull chains (like this). We ended up installing the new light into the ceiling, and then attaching a new light socket adapter with a pull chain into the pendant lamp itself. That way the pendant light could still be turned on and off with a pull chain, but it was from the base of it, rather than from something on the ceiling. It’s working very well.
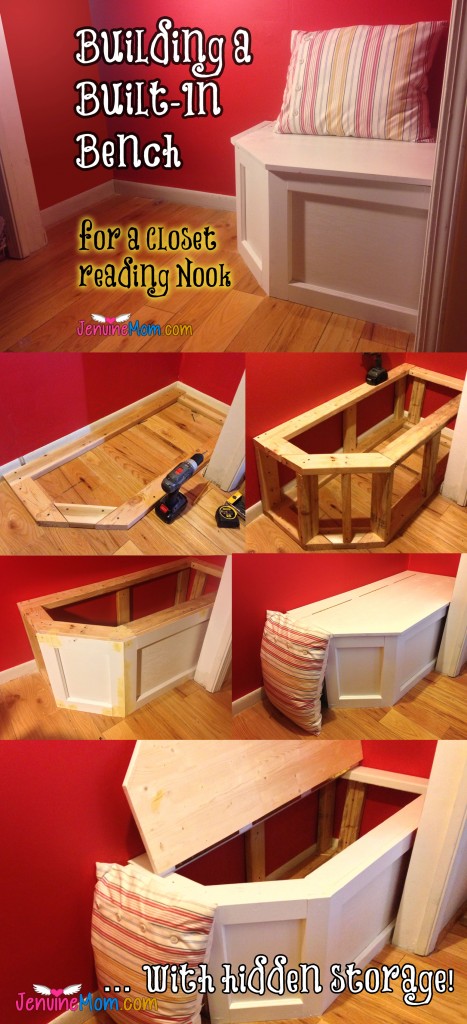
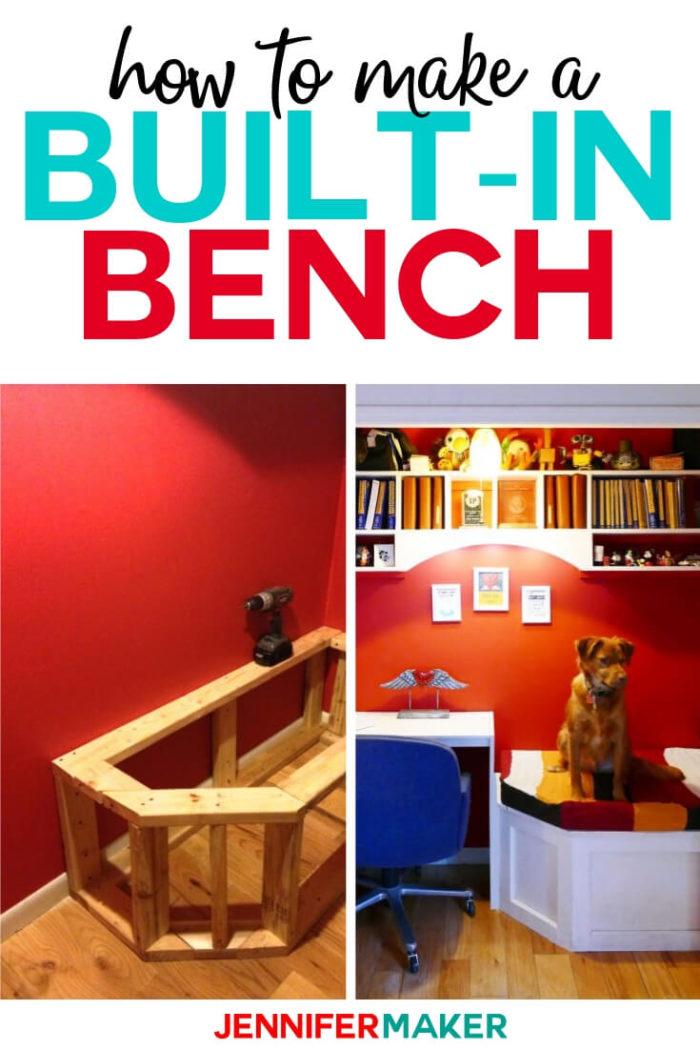
Making the Built-in Bench
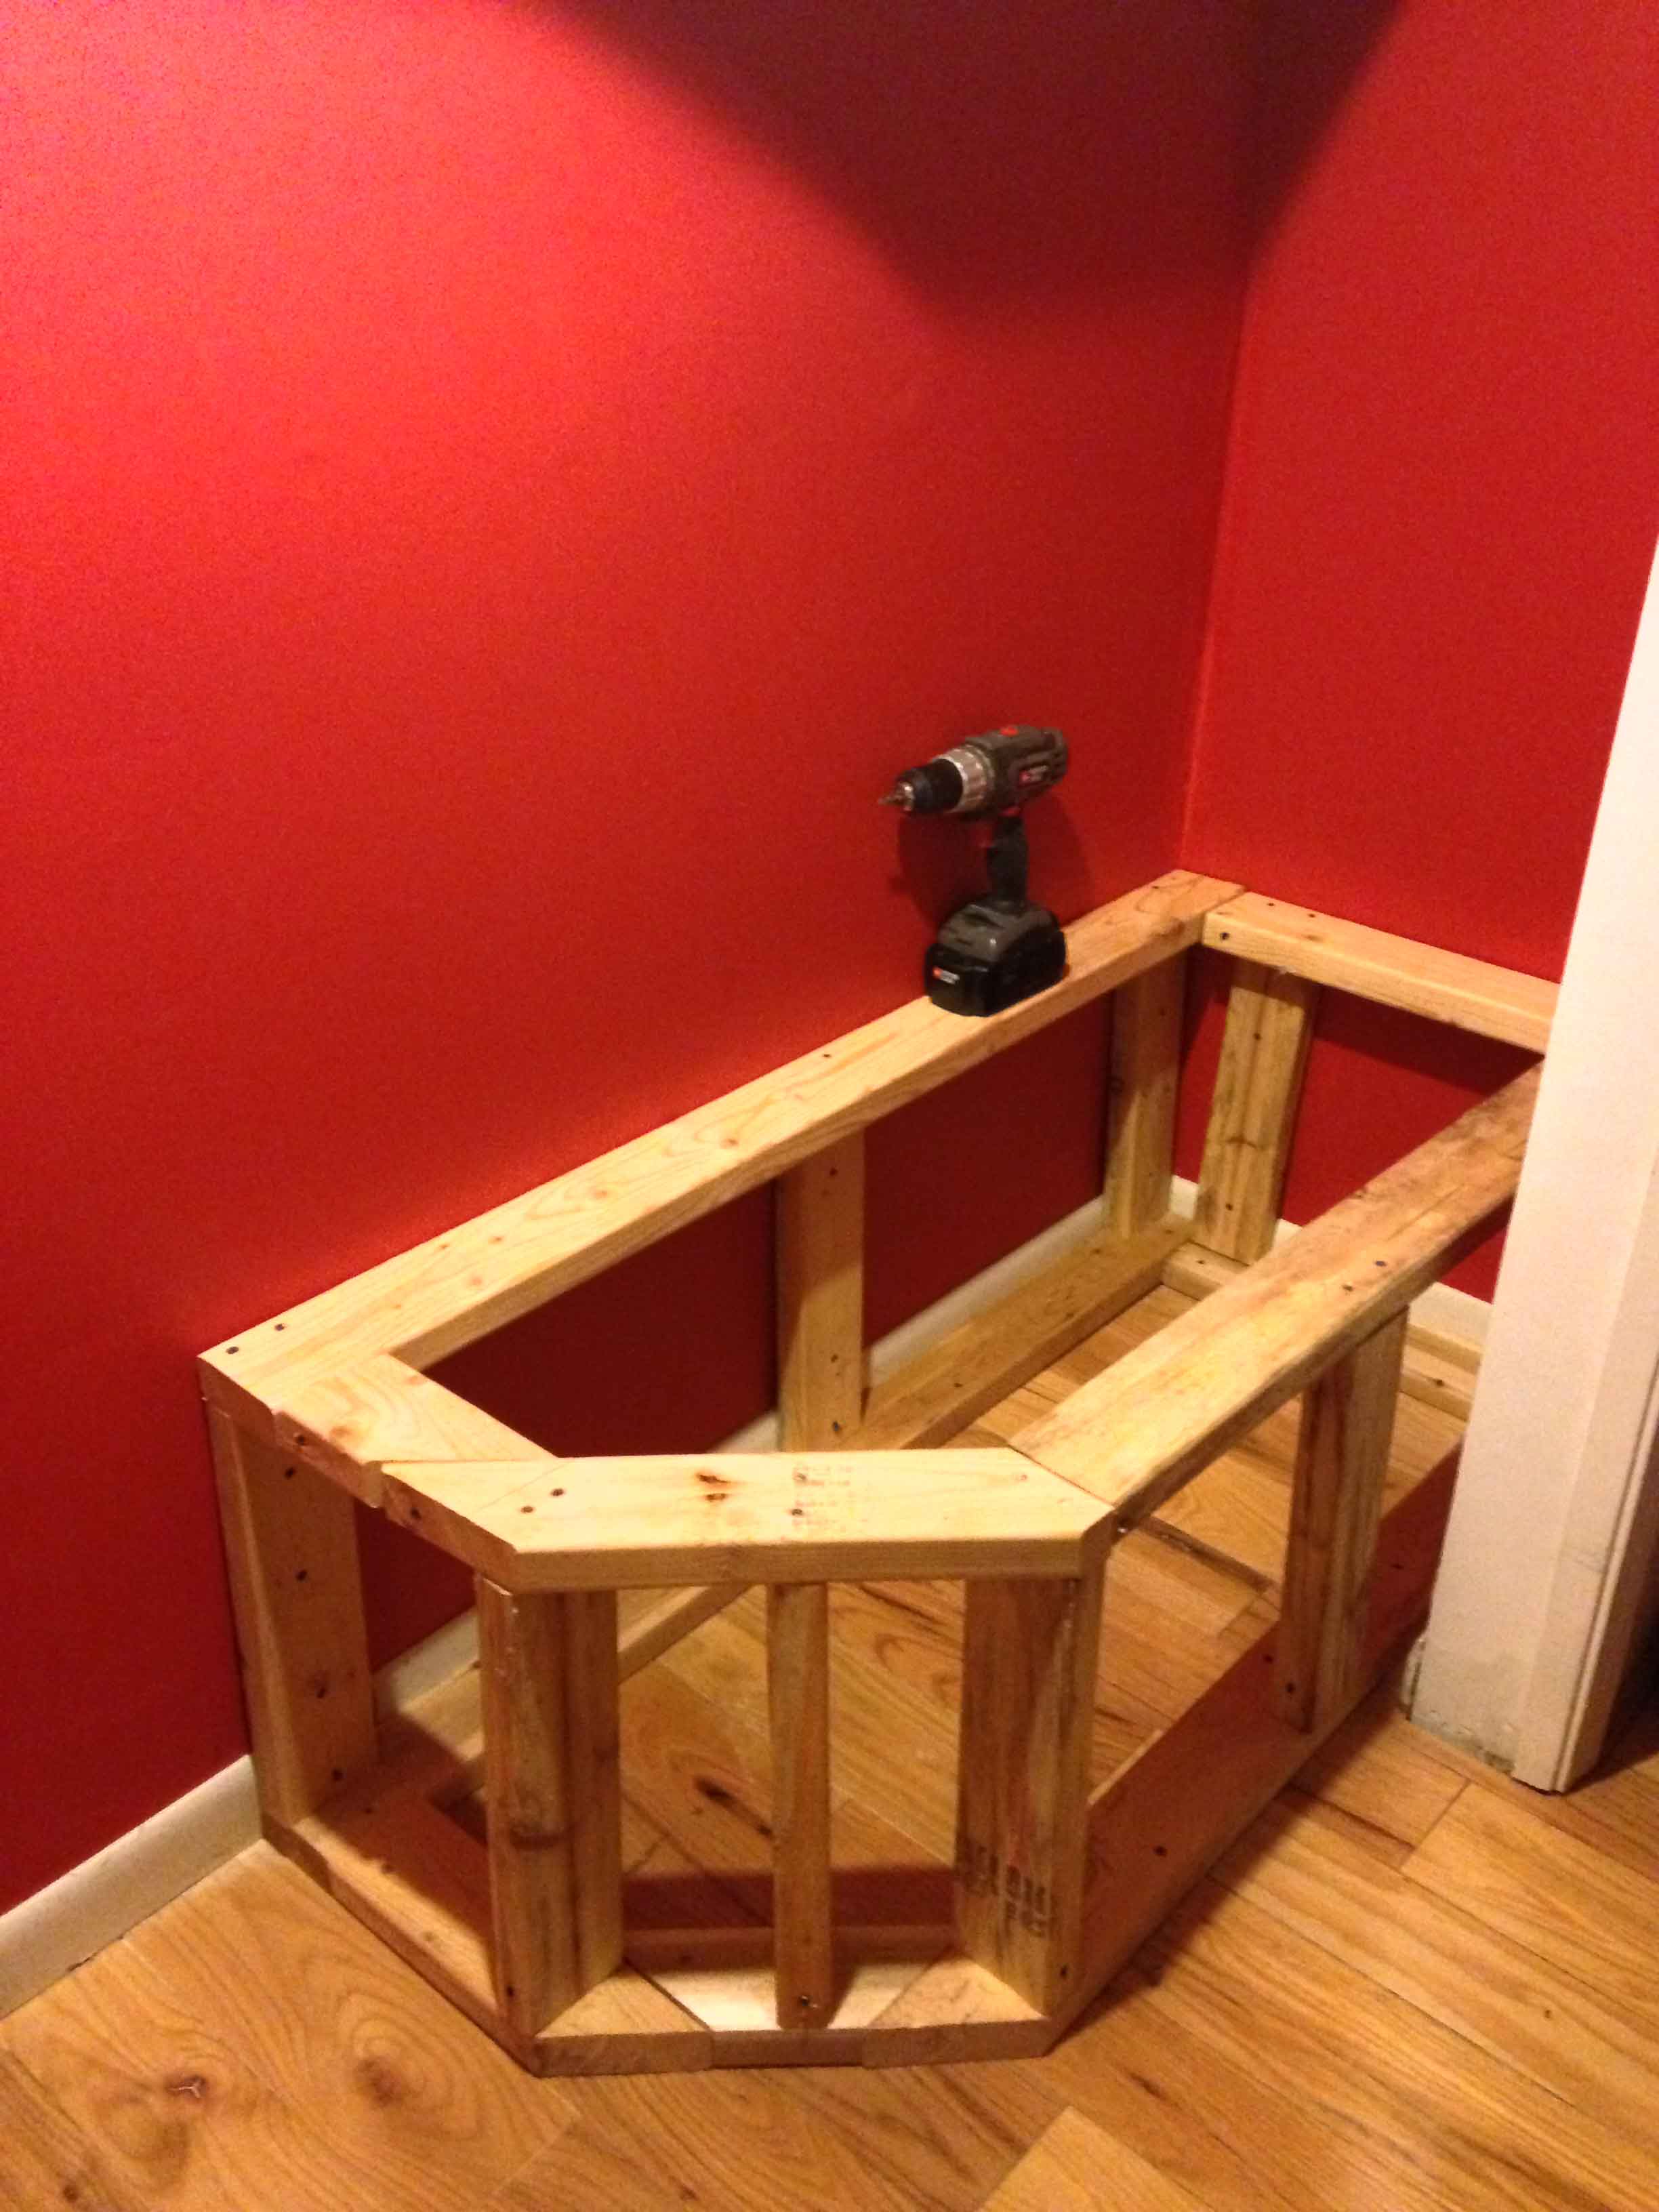
I envisioned my nook with a built-in desk on the left side and a built-in bench on the right side. We figured we should start with the bench as it had the biggest footprint. We used old 2×4 wood leftover from our garage project a few years ago and some 3″ deck screws to make the sturdy base
The built-in bench base and frame is screwed into the walls and floor with the deck screws. They can be removed later, but it’s not going to be by accident, that’s for sure.
Once the built-in bench base was done, it was time to make it look prettier. I bought some 1/4″ thick furniture-grade plywood (about $8), some 1″x3″x36″ dimensional poplar wood (4 @ 3.88 each), some 3/4″ decorative shoe moulding (about $12), and a piece of furniture-grade pine board measuring 2′ x 4′ x 1″ ($22). From these things, we were able to make the decorative sides and the hinged top.
Creating Fancy Panels for the Built-In Bench
I learned a lot making the sides of the built-in bench and I want to write it down so I don’t forget. They look fancier than they are. First we cut the two front panels to the size size as the frame. Then we attached the 1 x 3 boards around the edges of each of these cut panels, making a sort of frame. And then inside that frame we placed the decorative shoe moulding — these had to be mitered on the corners so they fit neatly together. The end result was very pretty and professional looking. I didn’t realize it could be so easy.
After attaching the side panels to the built-in bench, it was time to make the seat. The two inspiration nooks have fixed seats, as far as I can tell, but I just couldn’t stomach the idea of all that wasted space inside the benches. So instead we made a hinged lid. It was harder, but now I have a gigantic storage space that is nicely tucked out of sight.

Making the Hinged Seat
To make the hinged seat of the built-in bench, we cut the seat board to size so there would be a 1″ overhang on the front and the angled section. Not only does that 1″ overhang give the bench a nicer look, but it is your handle for the lid as well. Once it was cut to size, we cut 3″ off the left side of the seat, and then back 5″ off the back of the seat. Before I went any further, I painted everything.

Next, the side 2″ strip previously cut was nailed onto the left side of the top of the built-in bench frame and the back 5″ strip was nailed onto the back of the bench frame top, forming a sort of frame for the hinged lid. Then we attached three 12″ piano (continuous) brass hinges to the side of the back strip and the side of the seat lid. This way the lid is hinged securely, but also rests on three parts of the bench frame (a bit of left side, all of the ride side, and all of the front) for maximum support.

And voila! I have a built-in bench seat that is pretty, sturdy, and practical. I need to make it a custom-sized cushion still. Perhaps a cushion with a cover made from recycled sweaters? Muahahaha! (Update: Oh, yes, I did this!)
Many thanks to Greg who helped tremendously with this project. I couldn’t have done it without you.
Update: We made the desk and finished up the space, more or less (is anything really finished?). Here’s what it looks like today:

And here’s the my work area today:
Love,

If you have any questions, just let me know. It wasn’t really that hard to make and I’m SO excited to have it!
Like this tutorial? Please pin it to your favorite DIY Pinterest board so others can learn from what I did, just as I learned from them!


I heard you talking about this on the podcast. Looks very nice! You want to come to PA and do one for me next?
Thank you! If only I could clone myself, I’d be there in a heartbeat. 😉
Love the bench. Keep waiting to see the cushion and then the desk.
Hi! I love how this turned out, and now I am in the process of doing the exact same in my office closet. Would you possibly be able to tell me the dimensions? I get need to know how long the back 2×4 and and the front one 🙂 our closets are the same size. And also, how tall did you make it! Thank you so much, hope to hear from you soon!
I love this transformation. We have a big useless closet that would make a great reading nook.
That turned out so cute and what a great use of space!
What a great way to change the space! I wish I was good with these types of DIY projects!
Thank you, Willow! It’s definitely a much better use of the space than as a closet! I really enjoy it.
You are so handy, that unit is amazing and looks gorgeous. Also, super big fan of your travel desk. You definitely need to post about it someday!
Thank you! I really should write up a post about my travel desk — I even used homemade chalk paint on it. I’ll add that to my list of posts to do! Thank you for the encouragement!
Oh my gosh! This is SO AWESOME! Come do my house next!
I like the nook. i have a pressing question- which is best the gemini or the cricket for crafting and using dies? I’m working on my craft room and I joined the 30 day craft room makeover that you have. I bought a brother machine that seems fun but until I get things sorted out there is little crafting being accomplished. is there another forum that I should be writing on? I think the bench is swell. I’m turning a small closet and part of my bedroom closet in to an extension to my mud room. thank you for the encouragement vicki lou
Hi, I’m so excited to try this! My closet (future office) is almost the exact dimensions of yours. I’m also interested in the built in desk pictured. I love the way it all looks together- you really are talented 🙂 do you have any pictures showing the desk? Or the dimensions you used? Thank you!
The desk has its own tutorial at DIY Upcycled Computer Desk