
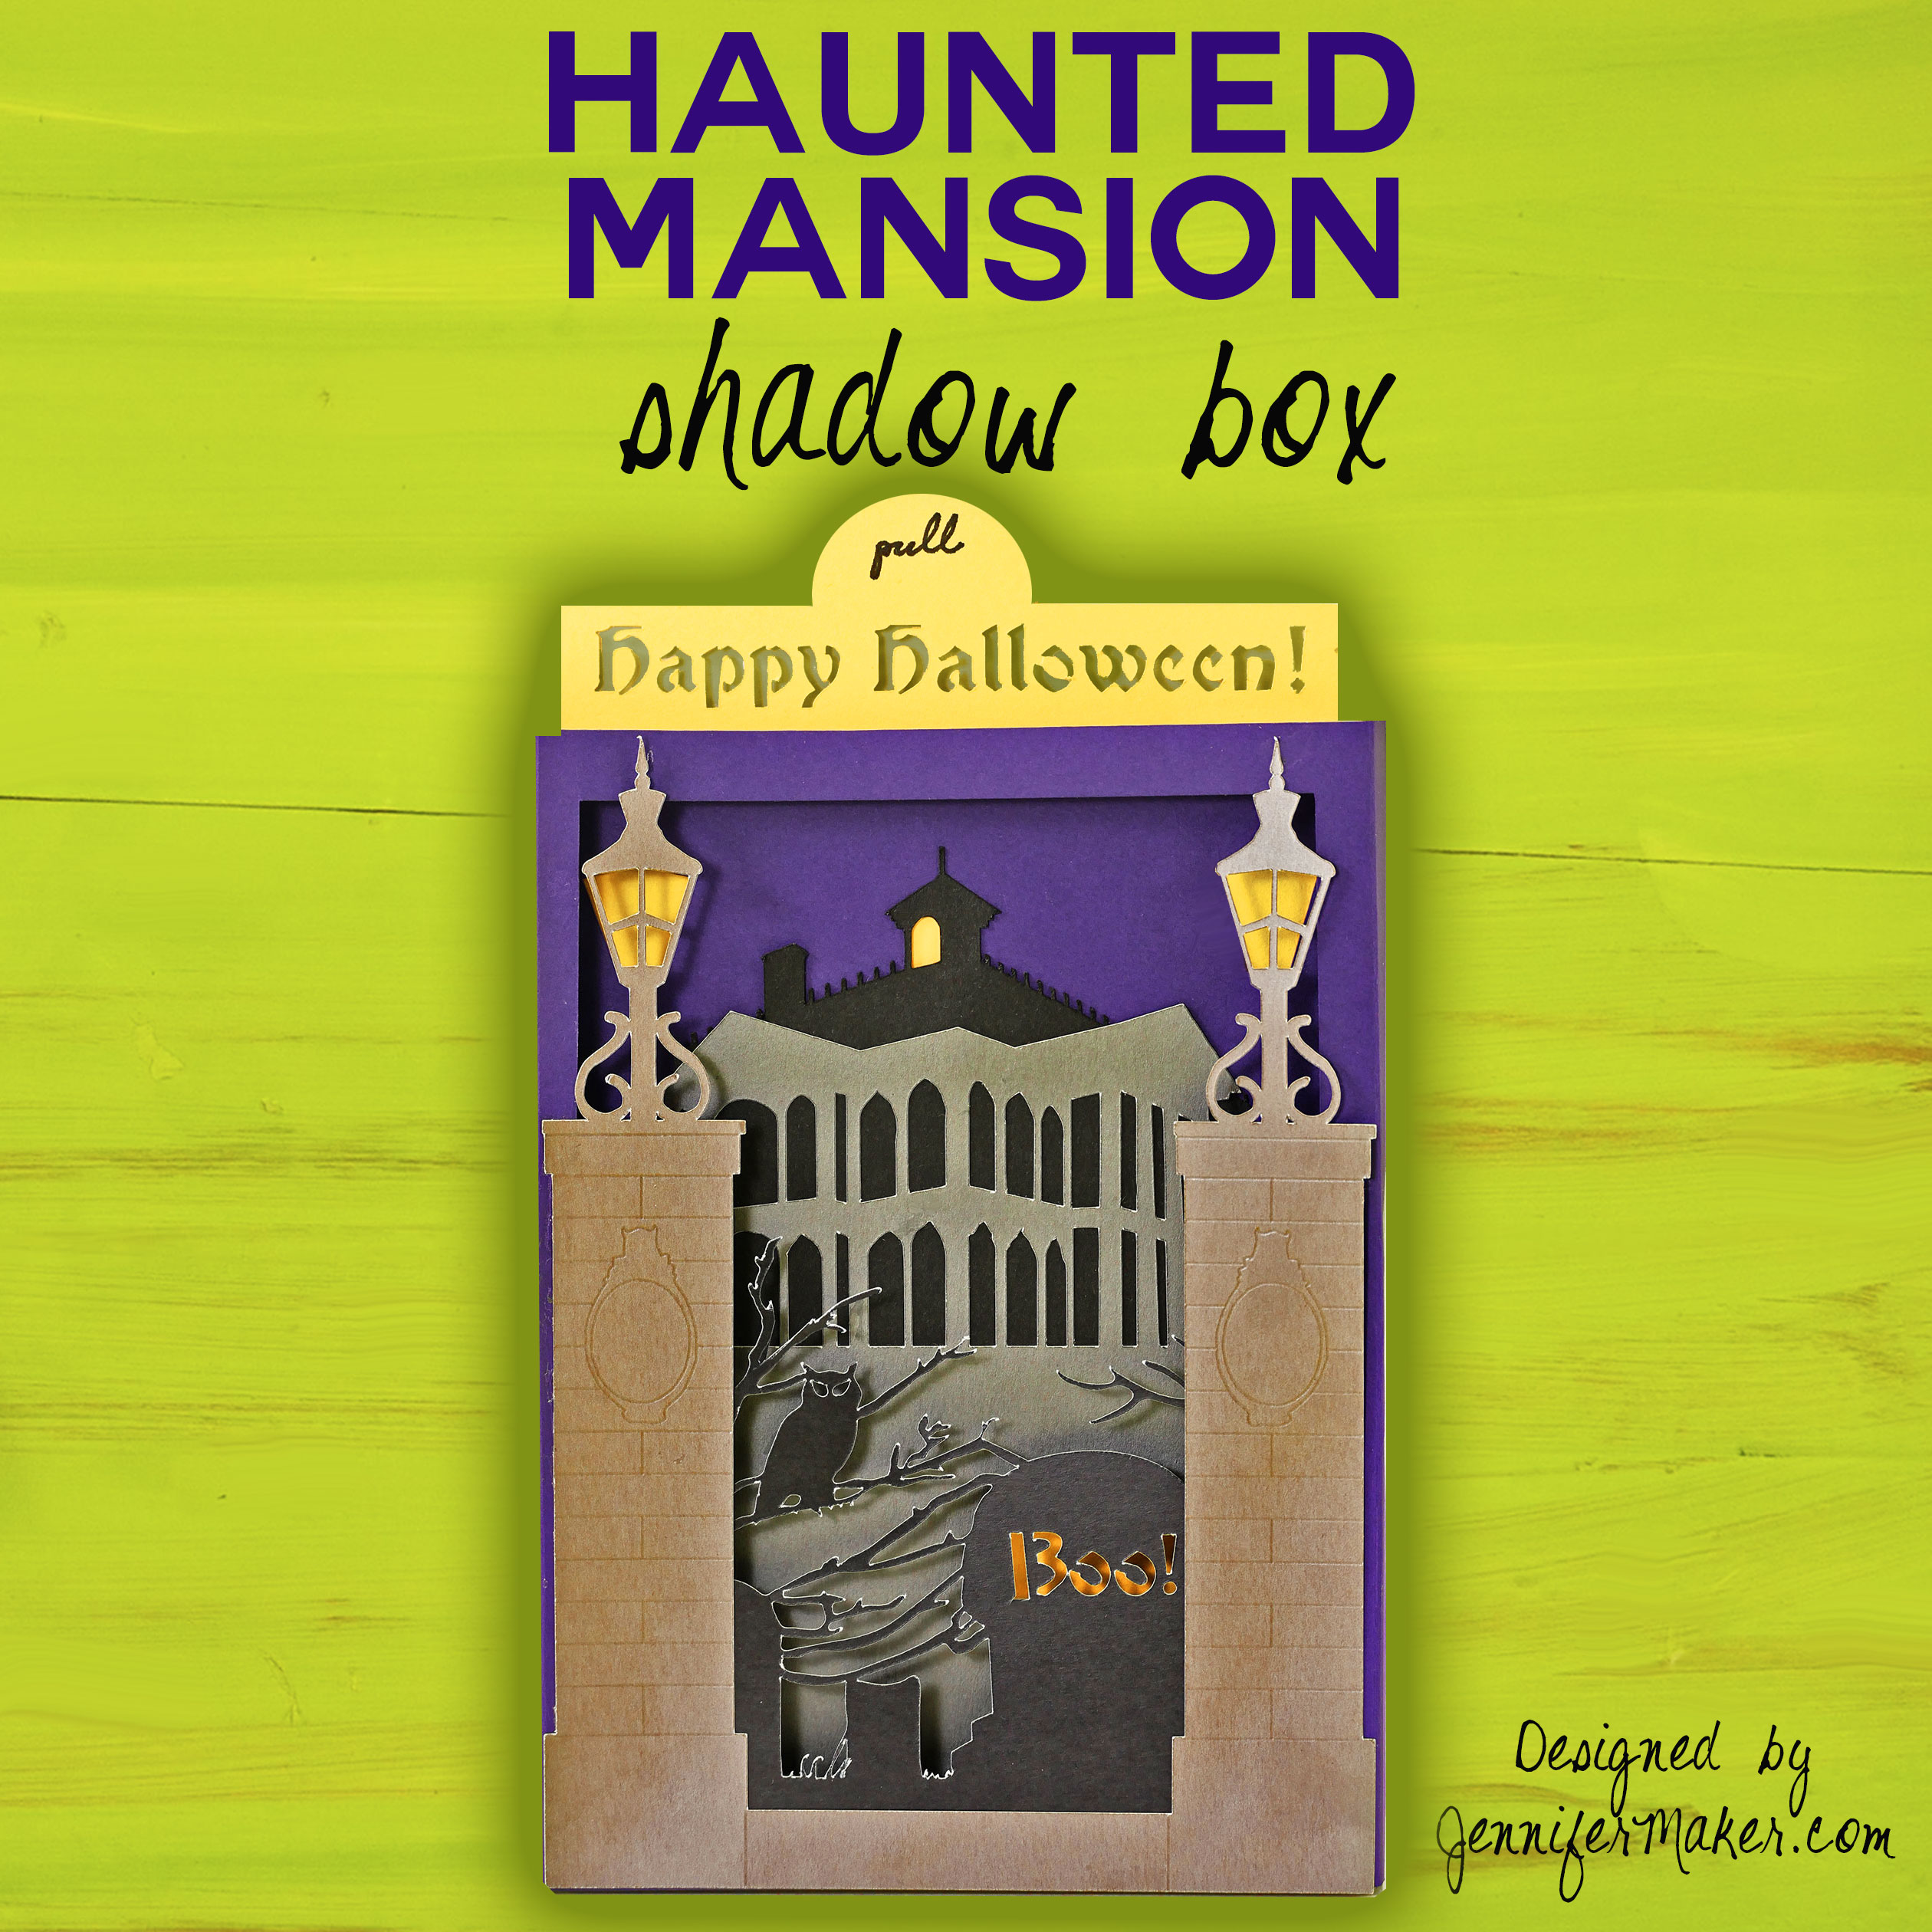
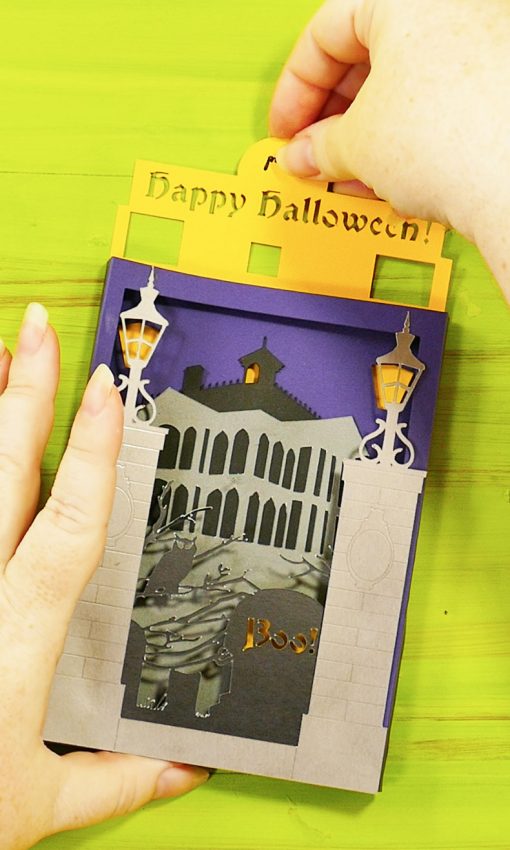
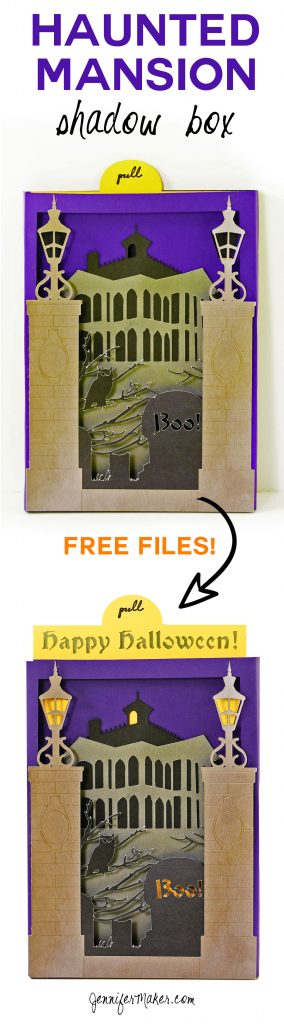
I love Halloween! I love the costumes, the parties, and the decorating. So when one of my readers suggested I made a Halloween card, I was like … oh yeah! And then someone else suggested a shadow box card. And I thought, “I bet I can make both together.” And thus my Haunted Mansion Shadow Box halloween card was born.
Cool features of my Halloween card include a slider that “lights” up the top window, lamps, and the “Boo!” on the gravestone. It can also fold flat to fit in a card if you want to mail it, and it does fit in a 5″ x 7″ envelope. Also, I used my scoring stylus to add some detail to the gate on the front of the card.
This post contains some affiliate links for your convenience (which means if you make a purchase after clicking a link I will earn a small commission but it won’t cost you a penny more)! Read my full disclosure policy.
Haunted Mansion Shadow Box Materials
- 8.5″ x 11″ 65 lb. cardstock — I used solid core black, yellow, and purple, and DCWV Neutral Metallics for gray (silver) and black (graveyard layer)
- Craft glue
- A way to cut your pattern out (I use a Cricut)
- Design #43 – My pattern files (available in my free resource library)
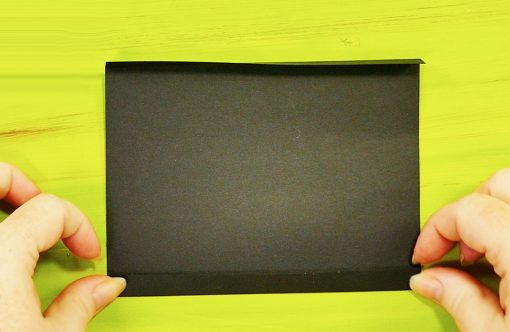
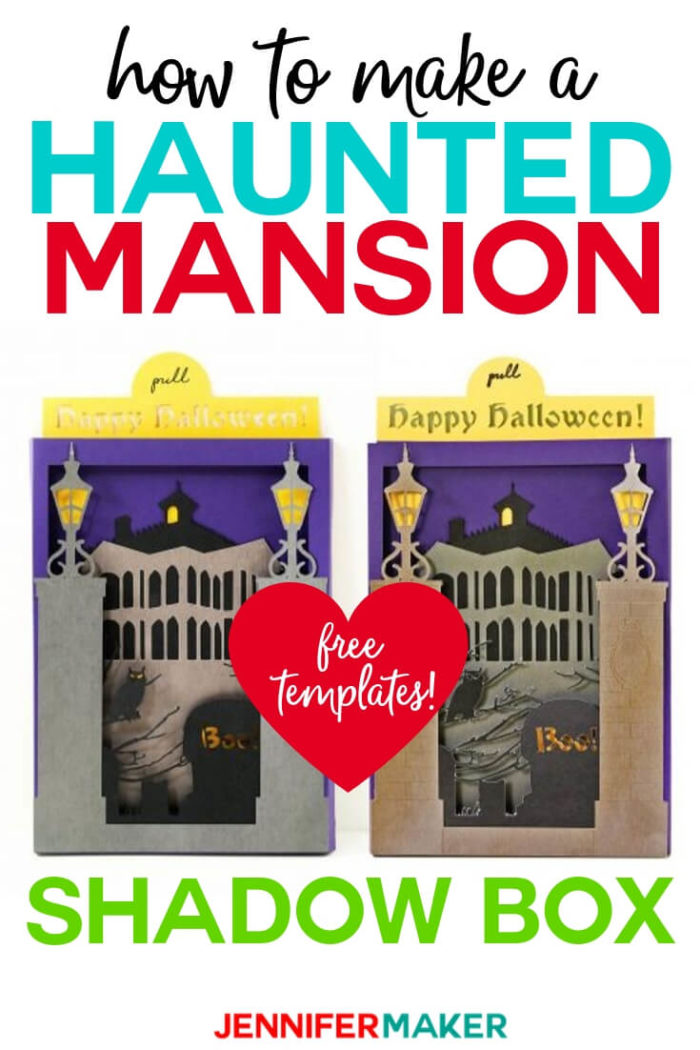
Note: I tried making the card with two different kinds of black paper — one with a solid core and one with a white core. I like them both — the solid core version is a little clearer, but the white core version is a little spookier (because it looks like the branches are lit from behind). Use the type of cardstock you like best! Here you can see both versions:

How to Assemble the Haunted Mansion Shadow Box
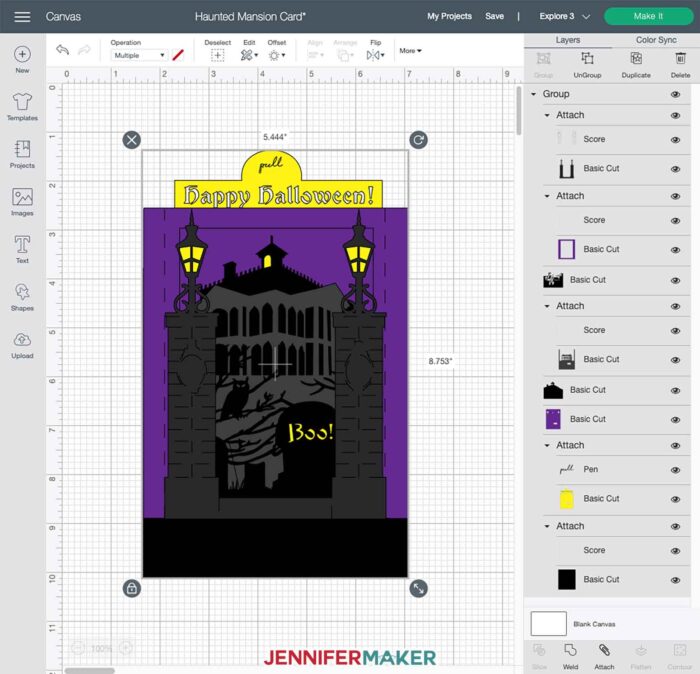
First, cut out your cardstock using my design (#43 in my free resource library). If you’re cutting on a Cricut, all you need to do is upload it — I’ve already pre-set the score lines and attached them to their base layers. I also set the draw layer to use a pen if you’re on an Explore or Maker. If you’re on a Joy, you’ll need to change the pen color to a Joy pen color. Other than that, everything is set for you!
This project takes six pieces of 8.5″ x 11″ paper.
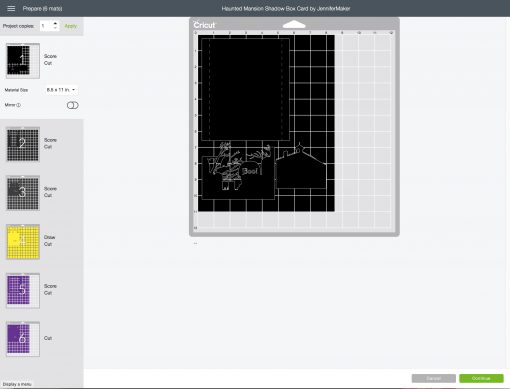
Note: The most difficult layer to cut is the gravestone layer simply because of its detail. If you’re having an issue, make sure you’re using a good, clean mat and that your blade is cleaned (run it through some balled up aluminum foil to sharpen it).
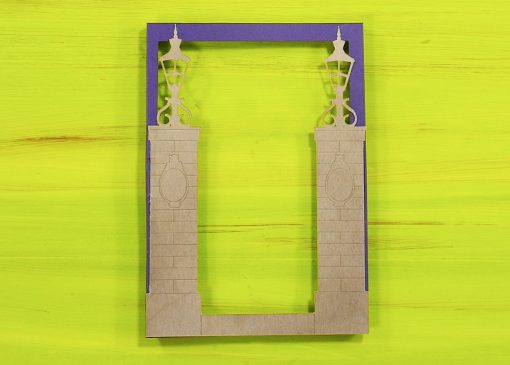
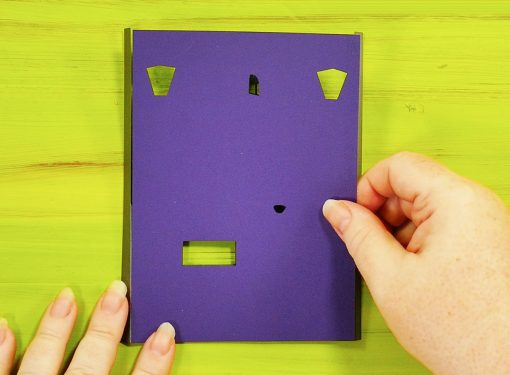
Once you have all of your pieces, begin by folding the front purple frame on the score lines.
Next, glue the gate on top of the purple frame, being careful not to put glue where none is needed.
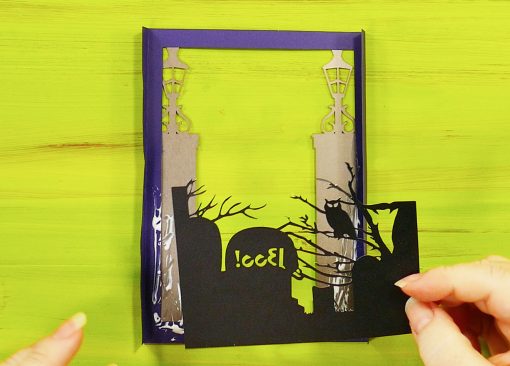
Then you glue the black gravestone-and-tree section onto the back of the purple frame, lined up with the bottom.
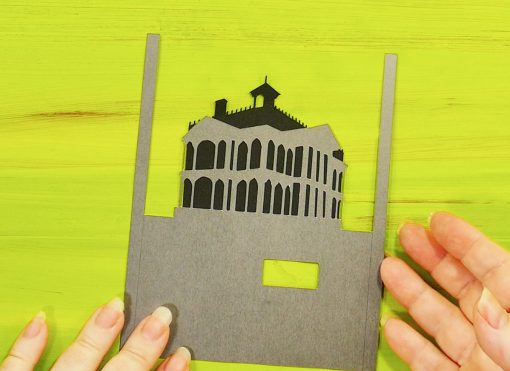
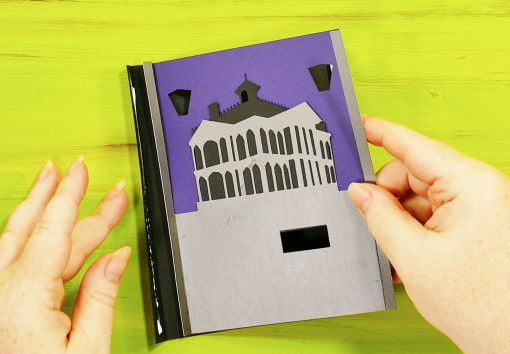
The next step is to glue the back of the mansion onto the front of the mansion. Pay attention to orientation here, because it matters if you want everything to line up when you pull up the slider. Study my photo below to see the proper orientation, and note that the top layer of the mansion overhangs the bottom layer by a bit. Be careful about where you glue it to avoid glue in places you don’t need.
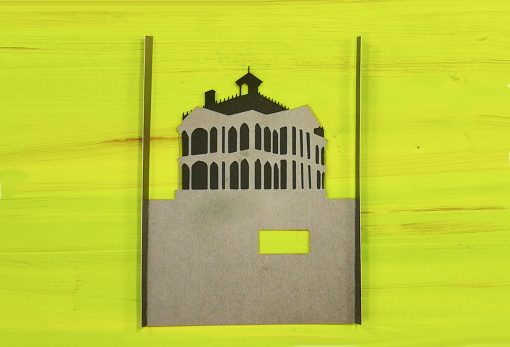
Now fold the mansion layer on its score lines, but note that you want to fold it up, not down. This layer will sit against the back of the shadow box.
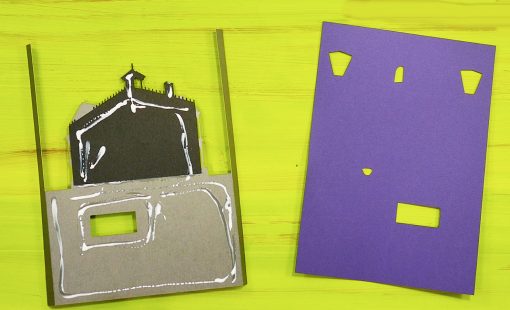
Turn over the mansion layer and glue the purple back onto it, again paying careful attention to the orientation of the boxes. The box at the bottom should line up when you glue it on.
Next fold the black back on the score lines.
Now glue the sides of the mansion layer and attach it to the inside of the black frame layer.
Place glue on the outside of the folded sides of the black layer, and attach to the inside of the purple frame layer to complete your shadow box.
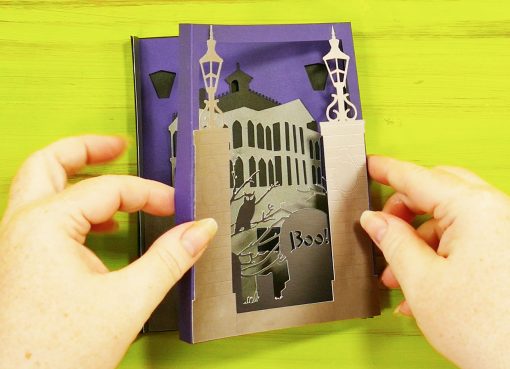
Finally, slide the yellow layer in from the top (or bottom, doesn’t matter) between the black back layer and the mansion layer. Make sure everything lines up and the slider moves freely. If it seems to stick, remove it and cut off a very narrow strip on one side, then put it back int. Don’t cut off too much or it won’t stay up when you want it to.
And there you have it — a Haunted Mansion shadow box card!
Free Cut Files for the Haunted Mansion Shadow Box
Get the password for the library with the free cut files here by filling out this form:
Remember, I love to see your completed projects! Send me a photo of your projects at [email protected] and I’ll include them here with your permission. Be the first!
Let me know if you have any questions!
Love,

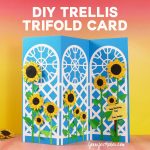
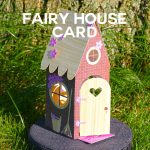
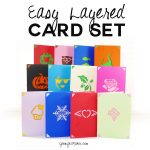
Do you like to make cards? Check out these other popular card tutorials here on my blog:


And if you like this Haunted Mansion Shadow Box card, please pin it to your favorite Pinterest craft board!


This box card looks super fun to make! And I hadn’t even noticed halloween was coming close, lol
It is fast approaching!
Wow! Thanks for the in depth instructions I love it!
Happy to hear you like the card!
Thank you so much
I L O V E this Haunted Mansion card! Thanks for creating it!
Happy Birthday! (I am much older than 50; and I, too, love to celebrate my age!)