
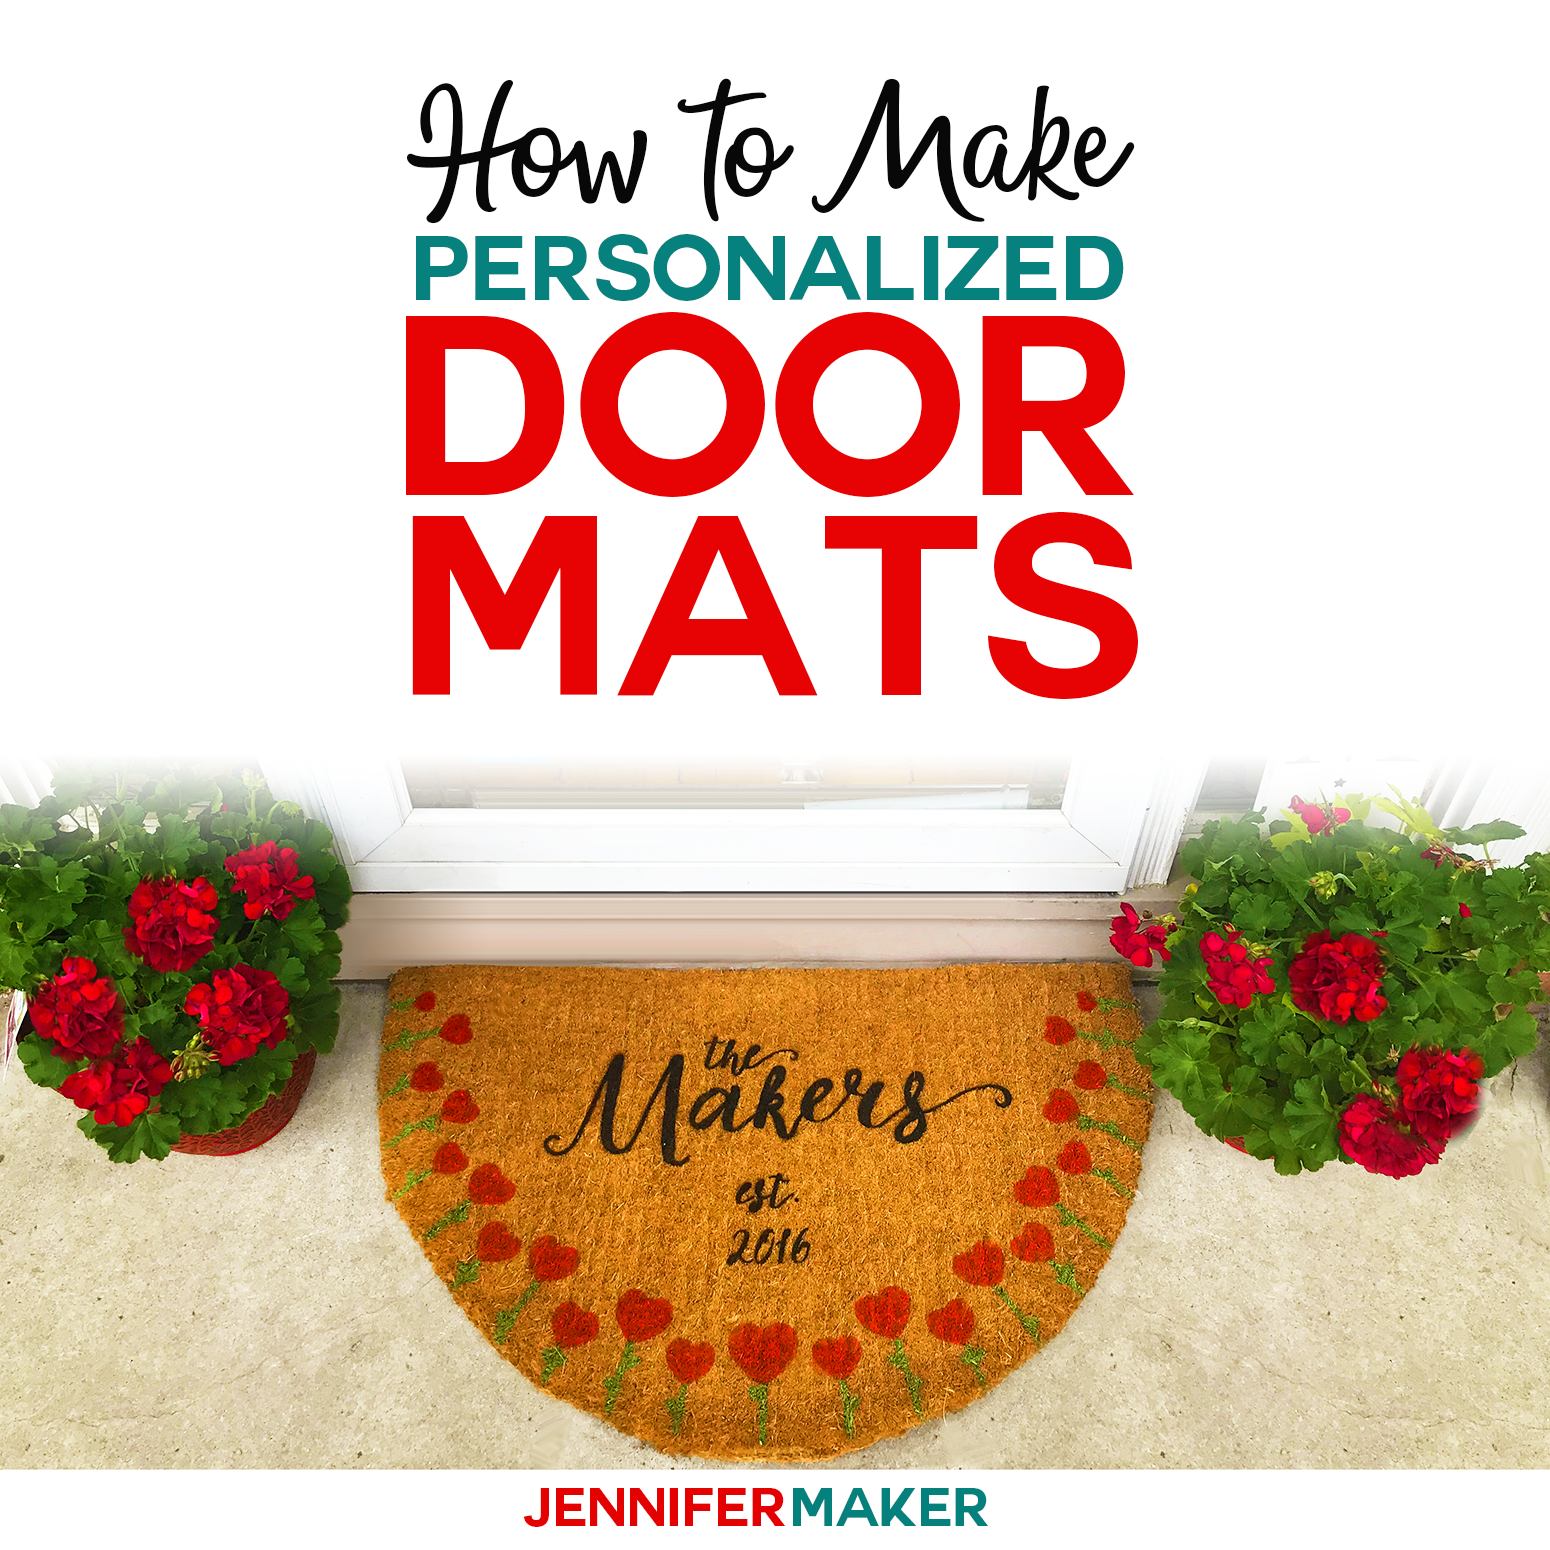
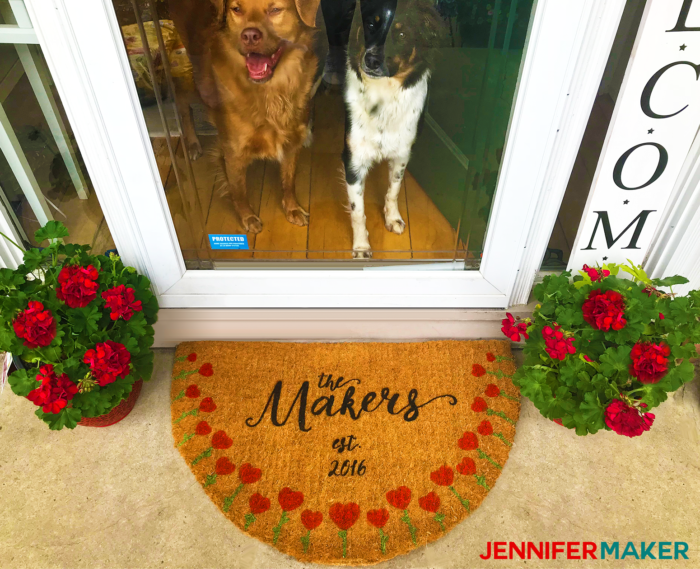
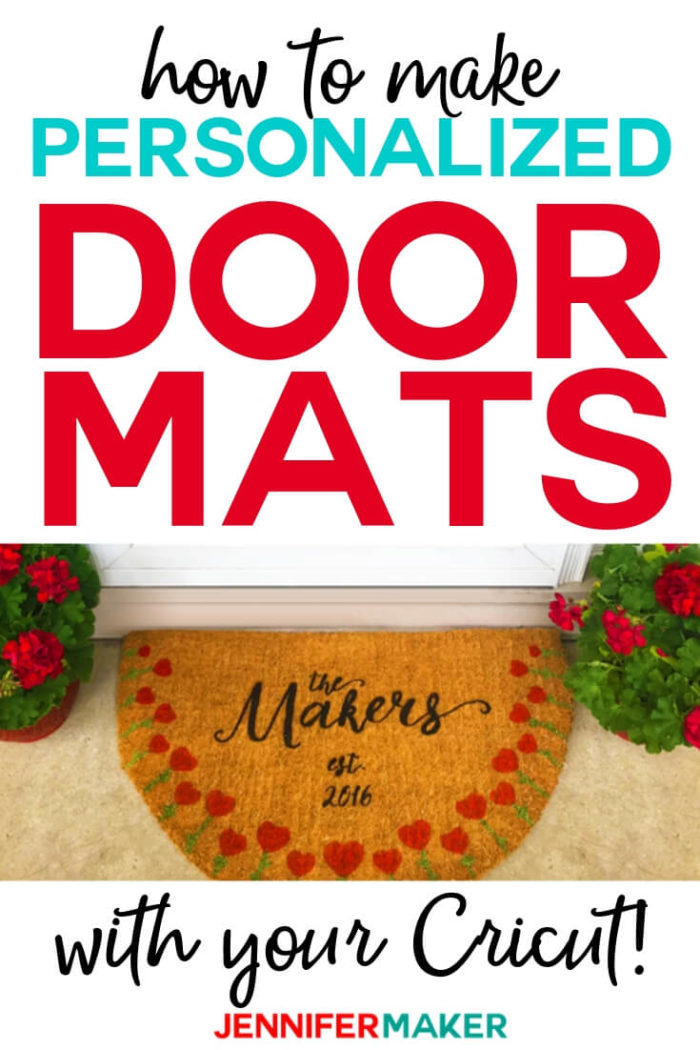
Make a DIY personalized door mat using an inexpensive fiber mat, paint, and a stencil you can cut on your Cricut! It’s easier to make than you think, and I’ll show you the best materials and methods to use!
I have been waiting ALL winter to show you all how to make these awesome personalized door mats! Now that spring is here and our porches need some love, let’s make these cute and easy doormats using our Cricuts! They are going to go GREAT with our vertical Welcome sign porch greeters and butterfly wreaths!
First, let’s talk about the doormat itself — I am using coir (rhymes with foyer) doormats. Coir is a natural fiber made from the outer husk of a coconut. Coir mats are also water resistant and work best outside on a covered porch.
So where do you find these coir doormats? I got my coir doormats on Amazon, but you can also get coir doormats from Target, IKEA, Home Depot, Hobby Lobby, and so on when they are in stock. We went out looking a day ago for coir mats and came up short everywhere, so check stock before you head out to the store. Coir doormats range from $10-$20 each for the 2′ x 3′ rectangular ones and about $35 for this extra deluxe half-circle mat.
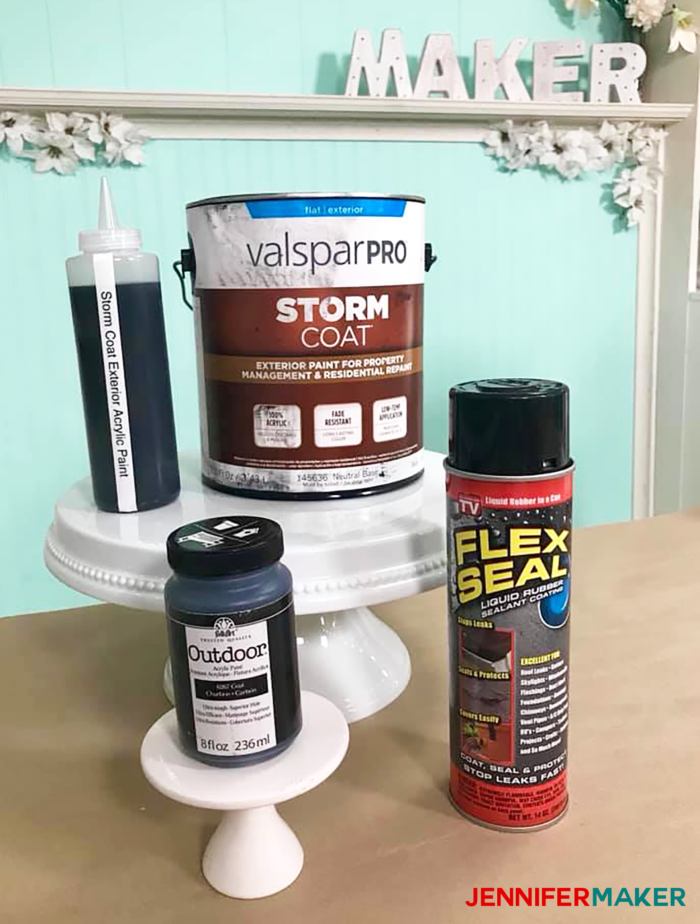
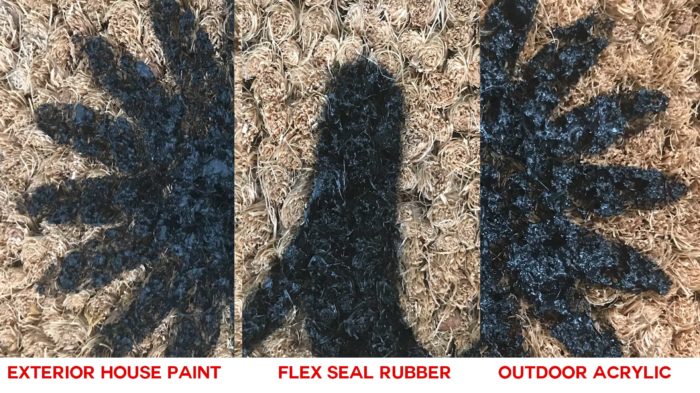
The personalization on the mat itself is made by painting the door mat. But the big question is — which paint looks best and lasts the longest? You know how I love to test things, so I tested three different paints! The first is exterior house paint, the second is outdoor acrylic paint, and the third is black Flex Seal, which is actually a spray rubber. I’ll show you which one worked best in this tutorial!
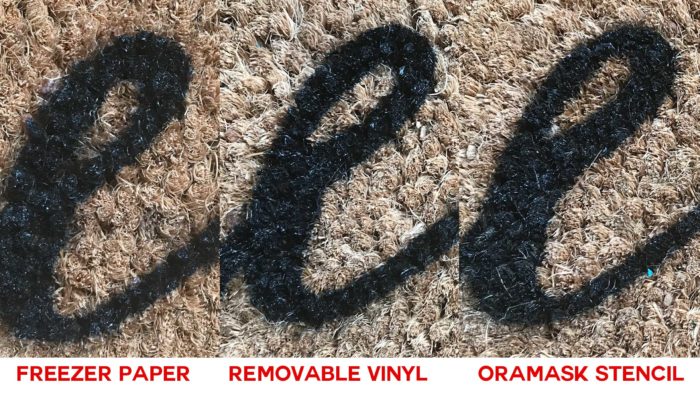
Of course, we don’t want to hand paint all of this detail on — so we use a stencil! I cut my stencil out on my Cricut cutting machine, which made it so easy. I also tested three different materials for the stencil — Oramask stencil vinyl, Cricut removable vinyl, and plain old freezer paper. Can you guess which one worked best? Actually, they ALL did their job. I slightly preferred the freezer paper method because it was easier to place and position and it seemed to hold itself in place a little better once you melt the plastic on the back of it with an EasyPress or iron. But the vinyl also worked! Here are the advantages and disadvantages of each stencil material:
| Stencil Material | Cost | Ease of Use | Reusable |
|---|---|---|---|
| Freezer Paper | Least expensive | Easy and repositionable, but must use an iron and pushpins to keep stable | Not very reusable |
| Removable Vinyl | Moderate | Harder to weed and position, cannot use transfer tape | Yes (except for Flex Seal) |
| Oramask Stencil Vinyl | Most expensive | Harder to weed and position, cannot use transfer tape | Yes (except for Flex Seal) |
Now, these are doormats, and that means they usually live outside and get stepped on all the time. So I tested sealers as well. I tried out a clear coat sealer spray, spar urethane, and Flex Seal CLEAR. I’ll show you how those looked on top of the paint in this tutorial as well.
And if you’re anything like me, the biggest question you have is, “How long will the paint on this door mat last and look good?” To test this, I made three identical doormats and each one has all three paints and all three sealers. I’m going to put these outside on my covered porch, which is not entirely exposed to the elements, and let everyone walk on these for a while. We’ll check back on them and see how they’re doing a couple of months later.
In addition to these items, you’ll also need some painter’s tape, stencil brushes (pouncers), push pins, and a board to put under your doormat to keep it flat and stable when you move it around.
I also designed a pretty flower border for my doormats that you’re welcome to use. So let me show you where to get the free design, then I’ll show you how to design a personalized doormat in Cricut Design Space!
Are you ready to make your own? Let me show you how to make a personalized door mat! This post contains some affiliate links for your convenience (which means if you make a purchase after clicking a link I will earn a small commission but it won’t cost you a penny more)! Read my full disclosure policy.
Materials Needed to Make a DIY Personalized Door Mat
- Coir mat (we got ours from Amazon, but you can also get them at Target, Home Depot, IKEA, and Hobby Lobby)
- Paint (such as Gorilla Glue rubber spray, flat exterior house paint, or outdoor acrylic paint)
- Stencil material (such as freezer paper, Oramask stencil vinyl, or removable vinyl)
- (Optional) Stenciling brush (round point) if you’re not using a spray paint
- (Optional) Sealer (such as Flex Seal clear spray, Krylon UV Resistant clear sealer, and spar urethane)
- (Optional) Painter’s Tape (for spray on paint or sealer)
- (Optional) EasyPress or iron if you’re using freezer paper
- (Optional) Pins if you’re using freezer paper
- A big board about the size of your mat so you can move your mat without messing up your stencil
- A way to cut your stencil (you can use scissors or a craft knife, but it’s much faster to use a Cricut)
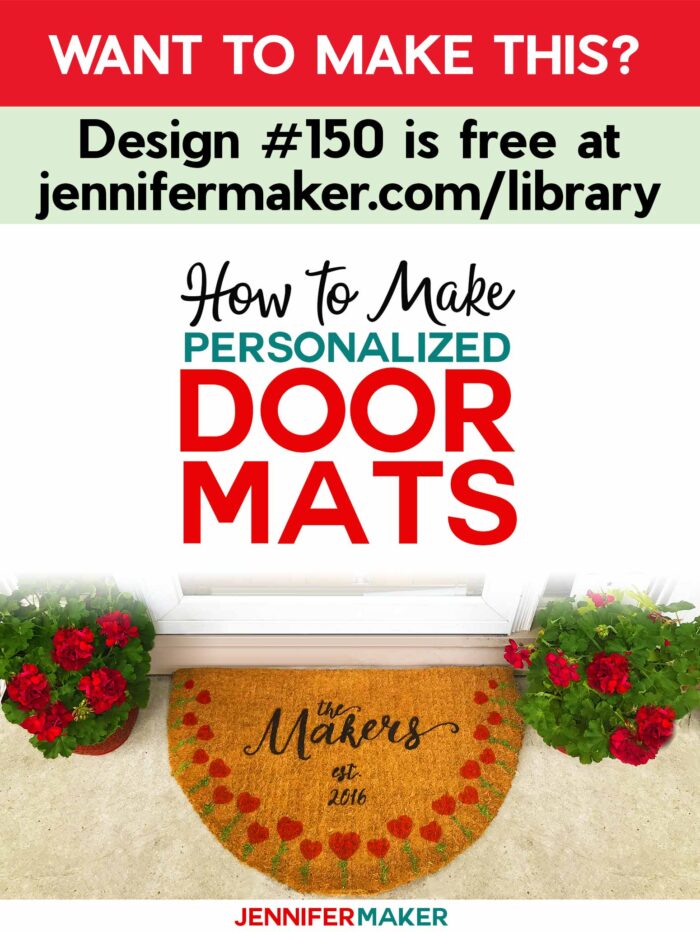
- Design #150 – My free pattern or SVG cut file (available in my free resource library—get the password at the bottom of this post)
How to Paint a Personalized Door Mat
Step 1: Find or Make Your Personalized Door Mat Design
If you want to use one of my free flower patterns (Design #150), you can download the free SVG cut files from my free resource library. It’s available as both a PDF (for hand cutting) and an SVG/DXF (for machine cutting). If you’re going to cut it out on your cutting machine, upload the file to your design software.
IMPORTANT NOTE: If you’re not sure how to upload an SVG file to Cricut Design Space, or you’re having issues (such as getting a message that says Tip: If you’re not sure how to upload an SVG cut file to Cricut Design Space, watch this helpful video training series I made. If you’re on an iPhone or iPad, here’s how to download and upload SVG files to the Cricut Design Space app.
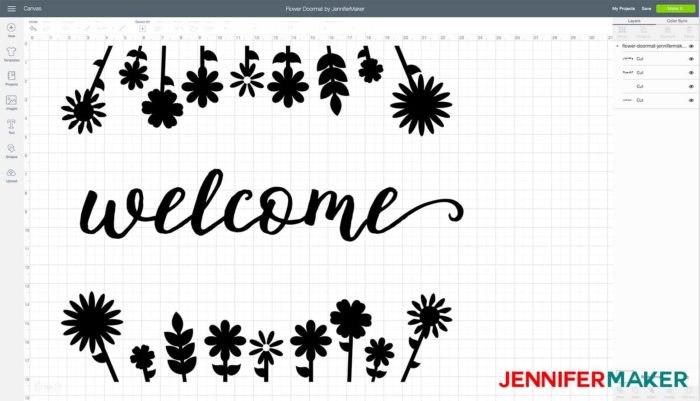
Here’s what my rectangular flower design file looks like uploaded to Cricut Design Space.
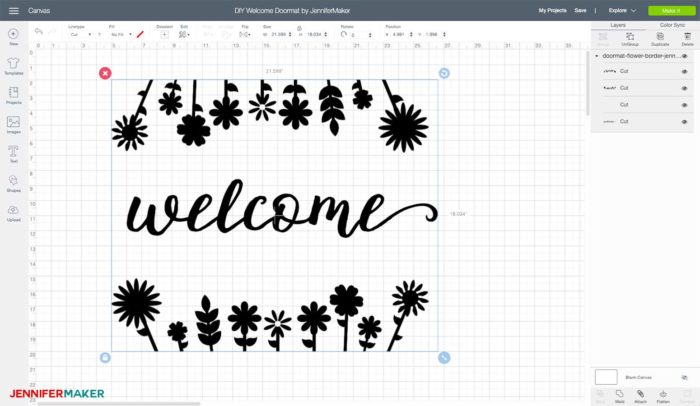
Note that the proper size of this file is 29.59″ wide by 18.03″ high, but it might import smaller when you upload it — be sure to resize it to the proper size for your doormat.
You can use the “welcome” design I’ve included or replace it with your family name or other words. I used the “Michelle” font from FontBundles.net for this lettering. Here’s what it might look like with a family name:
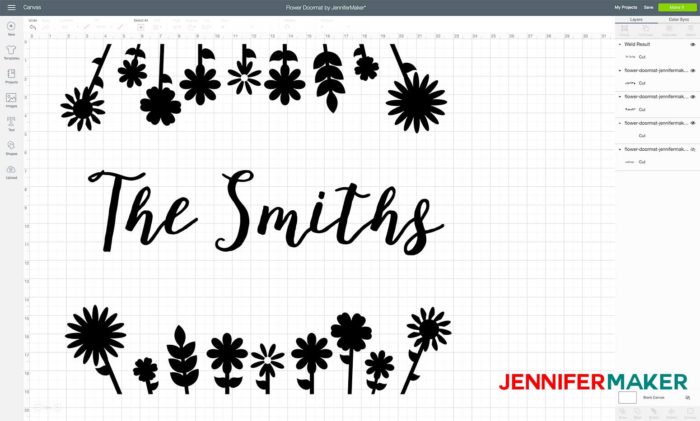
Tip: If you use a cursive font as I have, try to have your letters touching for the best visual effect. You can do this by decreasing the Letter Space, which you can do at the top of the toolbar in Cricut Design Space.
Step 2: Cut Out Your Design on Stencil Material
I tried freezer paper, removable vinyl, and Oramask stencil vinyl. They ALL worked and you can use the one you want, but I preferred the freezer paper because I thought it was easier to cut and position. Plus, it was really inexpensive, so I wasn’t worried about wasting it. That said, the removable vinyl produced the sharpest result, though you have to look REALLY close to notice it, honestly.
So I recommend you use freezer paper cut shiny side down. If you use your Cricut cutting machine to cut the freezer paper stencil, I found the best setting to be “Copy Paper” with the pressure set to “More.” I also tried Washi Paper and Wax Paper, but they did not work as well.
Step 3: Apply Your Stencil Material to your Door Mat
Watch my video to see how to apply the stencil material to your DIY door mat.
Step 4: Paint Your Door Mat
Watch my video to see how to paint and personalize your door mat.
Step 5: Seal Your Door Mat
Sealer will help your painted door mat last longer. How much longer it’s going to be protected is going to depend on which paint and sealer combination you use, and how exposed your door mat is to the elements and foot traffic. I’ve tried three different sealers — a UV clear spray, Flex Seal clear, and spar urethane. I made three identical door mats with these sealers — one is now on my deck (no protection from the elements), one is on my covered porch (some protection from the elements), and one is inside my house (complete protection form the elements … but not from dogs!).
Regardless of what you use as a sealer, I recommend you do seal.
After waiting at least a day for your paint to dry, or however long it takes for it to dry completely, it’s time to seal your paint. If you left your stencil in place from the previous step, perfect. If not, put the stencil back onto the mat, carefully lining up the design underneath it (if necessary, use pins to keep it in place on the mat). Now seal your paint with a spray sealer, Flex Seal clear spray, or spar urethane.
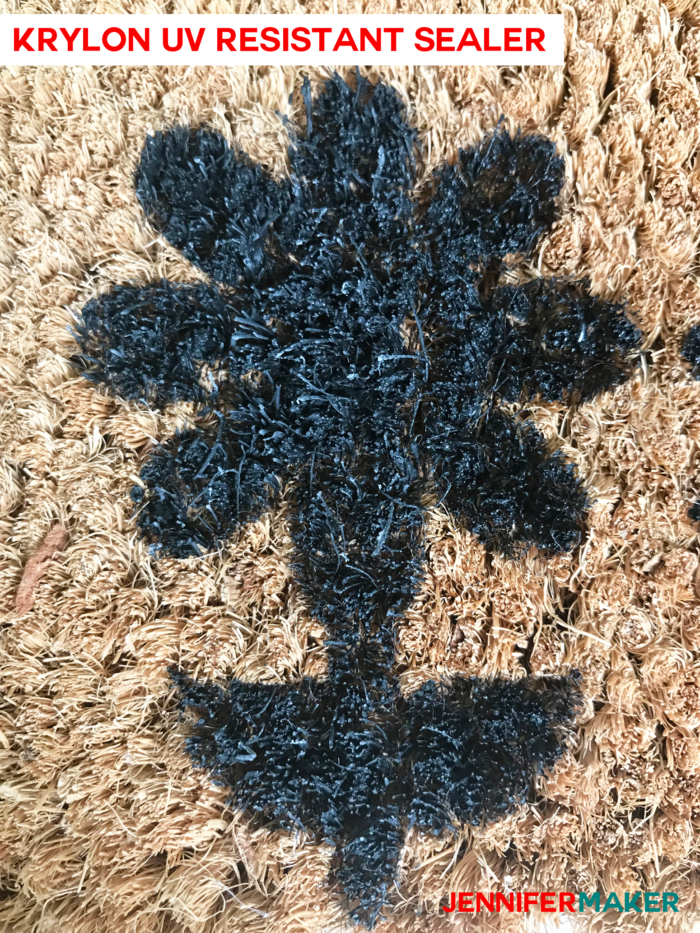
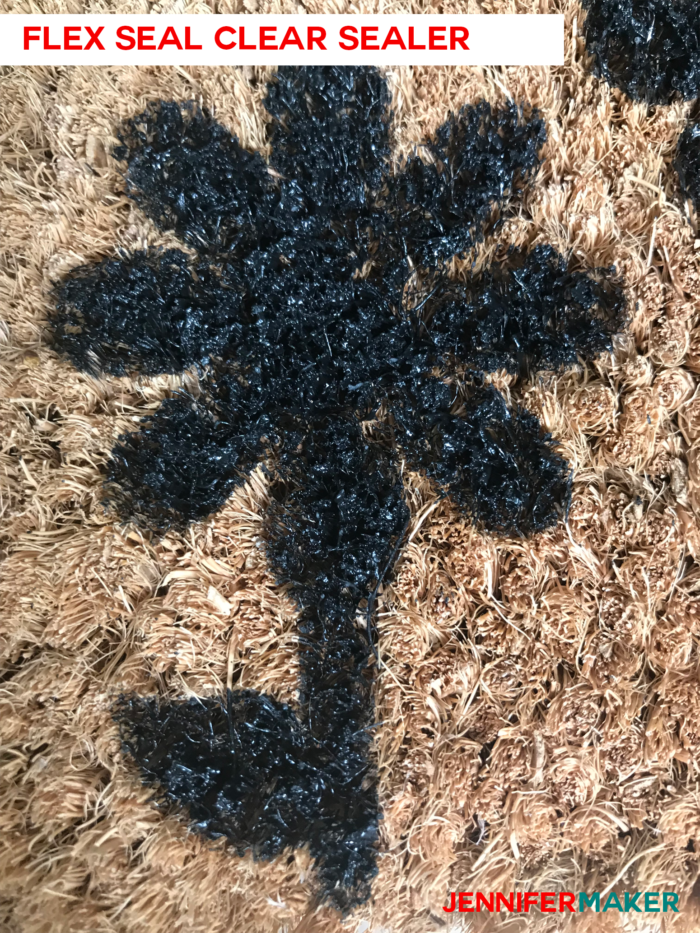
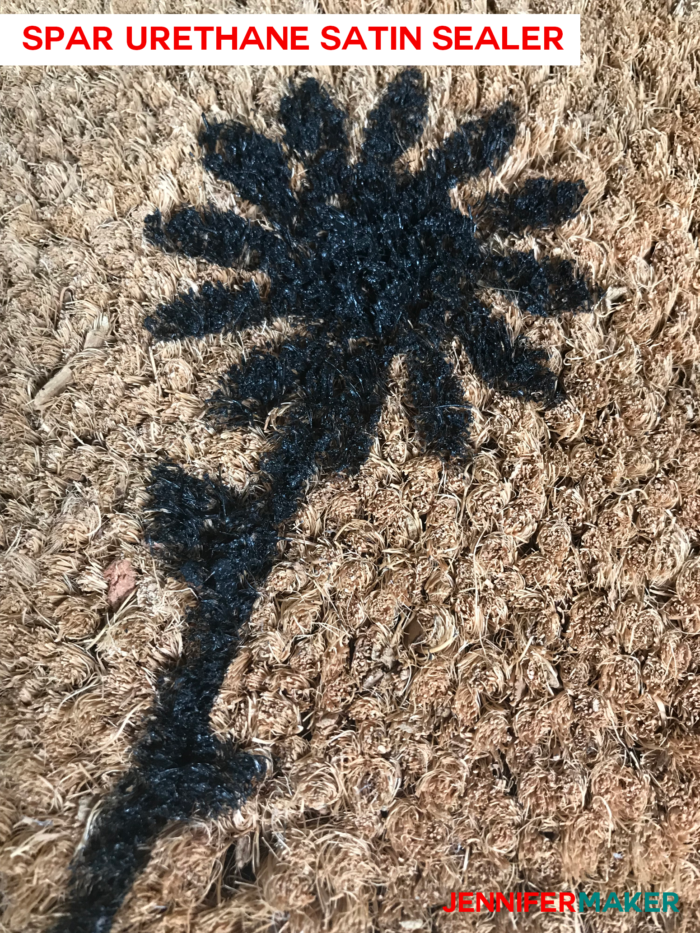
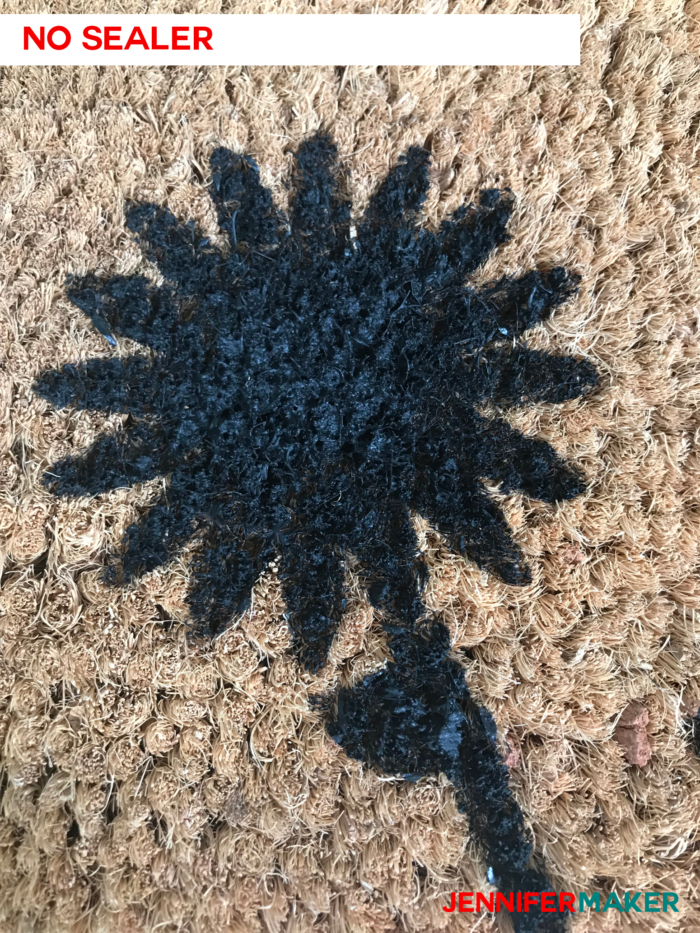
Here’s what they look like with the sealer on (all of these photos show the Valspar Storm Coat Exterior house paint):
UV Resistant Clear Coat Spray:
Flex Seal Clear Spray:
Spar Urethane Sealer:
Compare those to what it looks like with no sealer
July 2019 update: My smaller mats are still looking great. No changes, in fact. But my big mat, the half-circle one, is looking decidedly worse for wear. It’s not that the paint has worn off — it’s that the mat is shedding fibers like a crazy woman!
Get my free doormat flower border cut files for the DIY Personalized Door Mats
If you make this personalized door mat, please share a photo in my helpful Cricut Facebook group or tag me on social media with #jennifermaker.

Want to remember this? Save the DIY Personalized Door Mat Tutorial to your favorite Pinterest board!


Jennifer, Thanks for the great tutorial. Since FlexSeal comes in colors, I’m thinking themed doormats. I want to try a Girl Scout, Pumpkin, Stocking or Bell (with last name), 4-leaf Clover, oh the possibilities!
I tired using the White Flex Seal and it was terrible, I gave it 3 coats and do not work, it looked see thru! not opaque like the black one,. Don´t waste your money on white at least!
This tutorial is wonderful! So much information in 30 minutes. Thank you for making it.
This is awesome Jennifer! Trying 3 different products just to see how they react to the weather and be able to really tell which one’s the best! Good job!
I appreciate how you test out different ways to make the door mats in depth and show us the best results. You’re doing all the work for us and it makes less work for me! I think I’ll make a new welcome mat for our house this summer.
I can’t wait to make several of these! Thanks for all the work you put into this!
I am going to do these for Christmas gifts for next year!!! Thanks for testing the products
Thank you so much Jennifer for showing the different ways to make the door mats. It was so helpful your such a great help, thank you again.
Which sealer was the best after leaving out for months?
Honestly, Wendy, there was no difference! One of the cocoa mats began shredding a bit, but that was because of the mat, not anything that was applied to it! 🙂
I’d love to know if there’s any update on which paint/sealer combo worked out the best!
I’ve used Flex Seal with no sealer a few times and the paint wears of very quickly.
Love this video, thank you for making & sharing it with us!
Hi Marissa! I just got so busy with the blog and other projects I never did an update! I am so sorry about that!
Hi! Are you able to give a quick update on the best sealer? And thank you soooo much for this video. I sure wish I looked into this before trying to make one on my own.
Flex Seal clear spray, and spar urethane all seemed to have held up really well.
Thank you so much! Can’t wait for your next mug video!!
You are so welcome!
Have you had an opportunity to identify which materials lasted the best? Love this tutorial.
I love this! Did you apply the flex seal sealant spray while the stencil was still on or did you spray it after you removed the stencil?
While it was still on, Franchesca!
How did they hold up? I am looking to make one tomorrow. I
They held up incredibly well, Ashly, even through Michigan winters! Jennifer reported no difference at all between the three different application methods, so the choice of which to use is totally up to you! Any way, you will be well satisfied! 🙂