
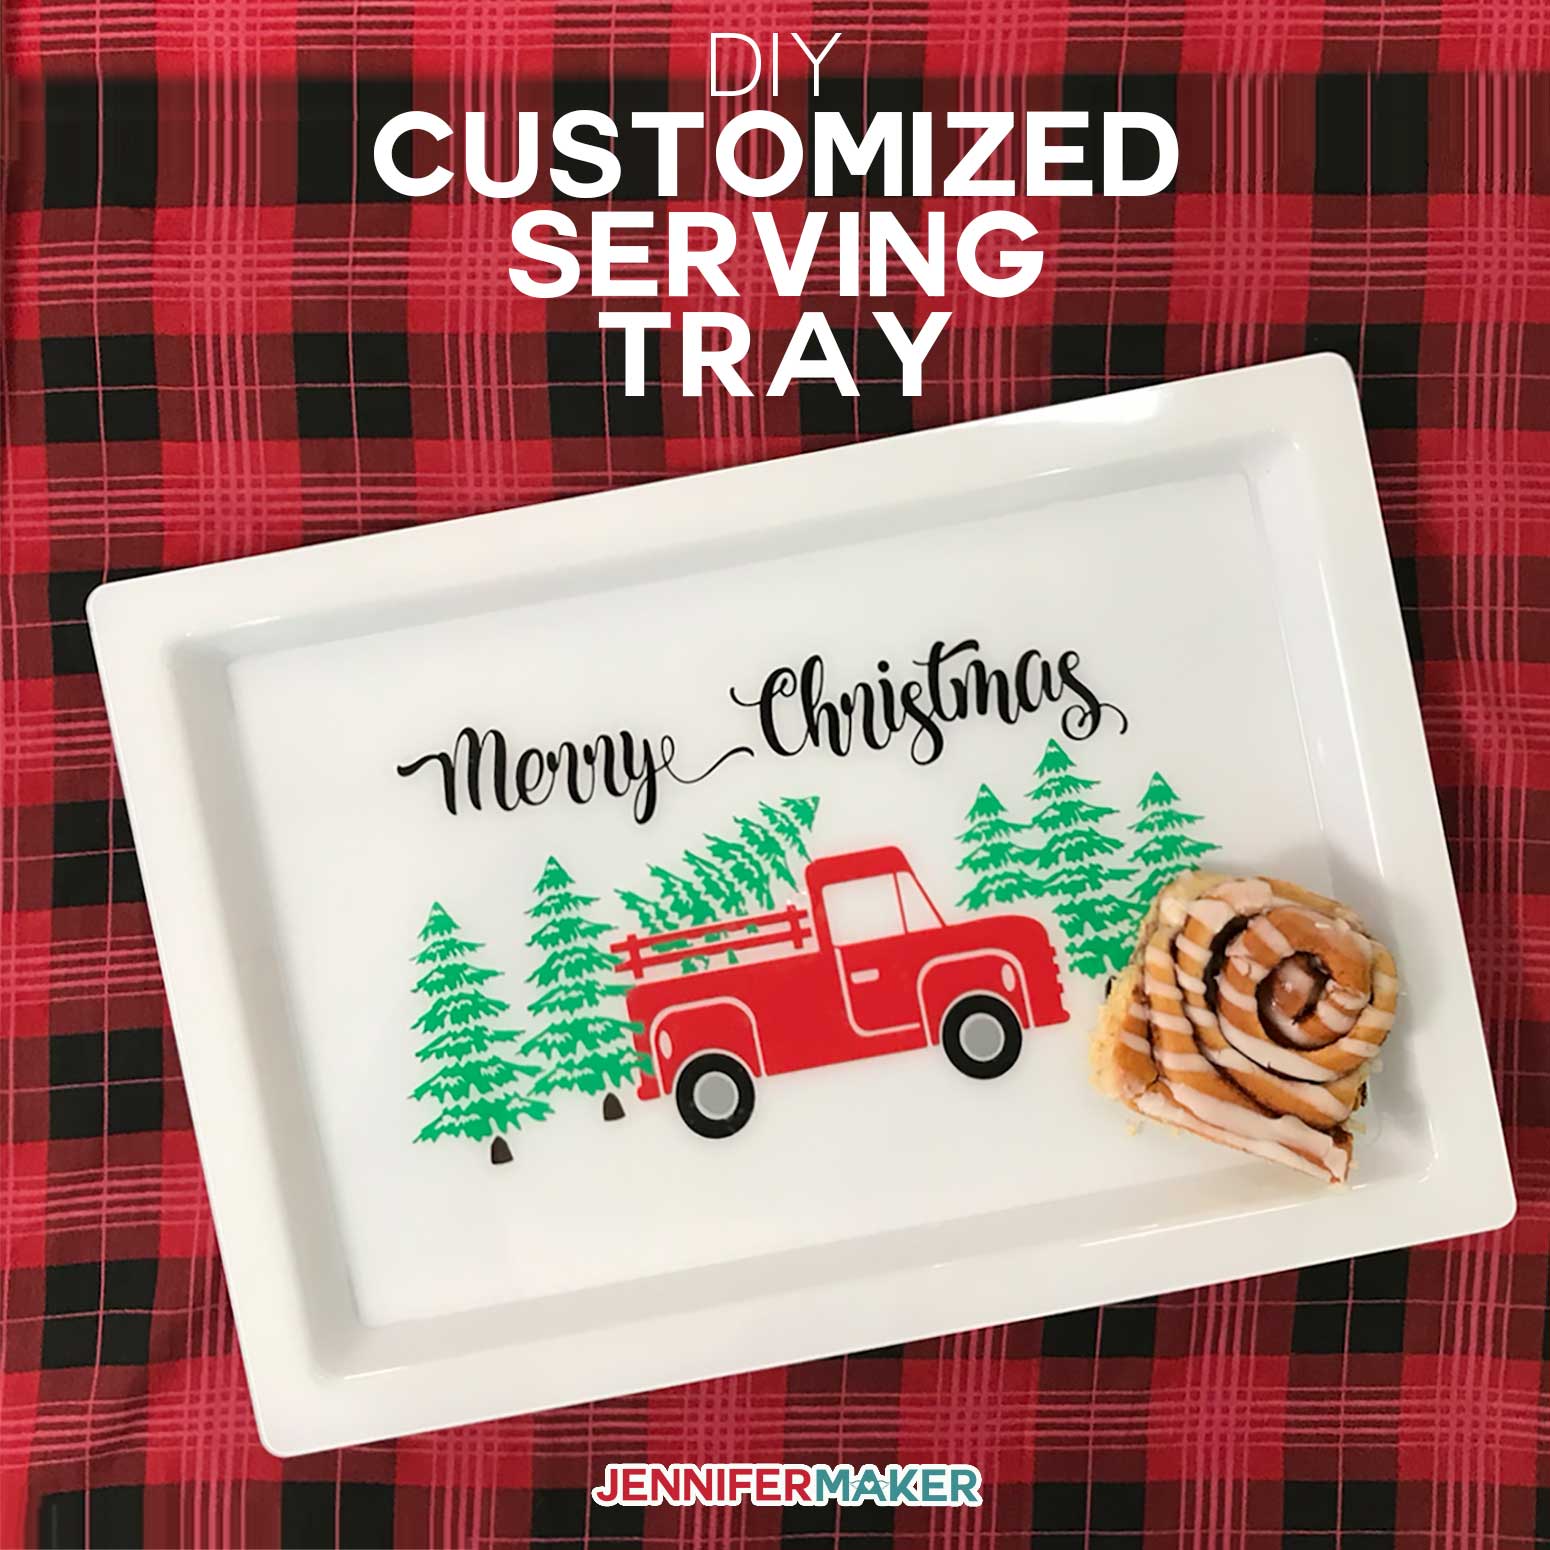
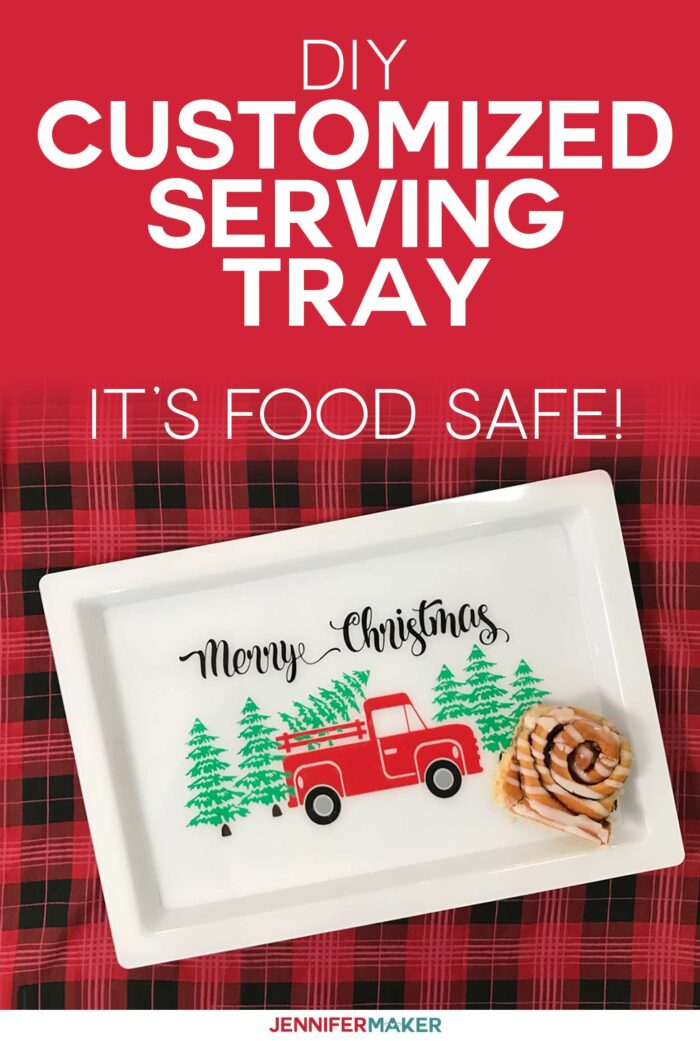
Learn how to make this customized serving tray with adhesive vinyl that’s still safe to eat off of! I show you how to personalize a clear plastic tray with a name or a holiday theme in this step-by-step tutorial.
I love making customized gifts, and one of the best ways to do that is with vinyl. Yesterday’s personalized pot holder gift is the perfect example! BUT, vinyl has some drawbacks. For example, I don’t put it on any surface that comes in contact with food because you can’t properly clean it and keep it food safe. That makes vinyl tough to use when you want to personalize a platter or serving tray. But what if I told you there IS a way to make a tray with vinyl that you can load up with as many holiday treats as you want? So for Day 11 of The Great Maker 25-Day Gift-Away Challenge, I am showing you how to make a customized serving tray with vinyl and paint, and keep it food safe.
See exactly how to make this food-safe customized serving tray with vinyl in my tutorial video (or keep scrolling if you prefer a step-by-step photo tutorial):
So what’s the secret to keeping the serving tray food safe? You use a CLEAR serving tray, put the vinyl on the underside of the tray, and then paint and seal the bottom so the vinyl never comes into contact with any food! Isn’t that brilliant! I learned how to do this from a member of my Cricut Crafters group — Mary H. — who shared one of her fantastic projects made this way with everyone and it really inspired us! This really is a fantastic group of creative women — if you’re not in my group yet, you’re missing out! So come join us!
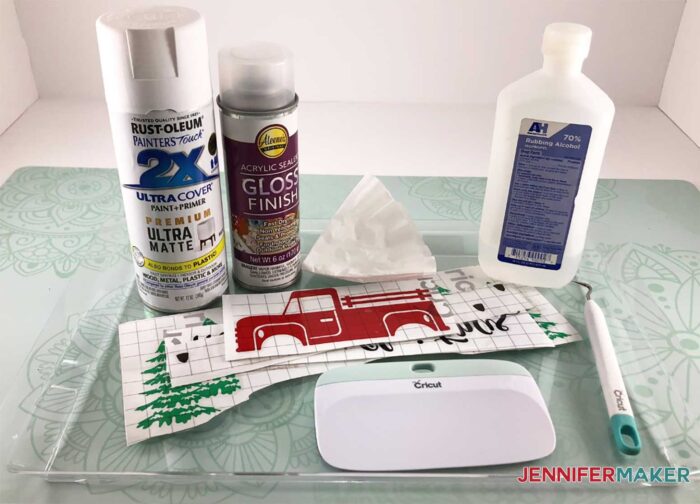
Anyway, this is also a pretty easy project! All you need is a clear serving tray, some permanent adhesive vinyl, transfer tape, spray paint, and clear acrylic sealer. You can cut your adhesive vinyl on a Cricut cutting machine quickly and easily, too. Now it is really important that whatever vinyl you use have the same color on BOTH sides of it, or this won’t work. Both the Cricut Premium Vinyl and the Cricut Foil Adhesive Vinyl I used in my project met this requirement, but not all vinyls do, so check first!
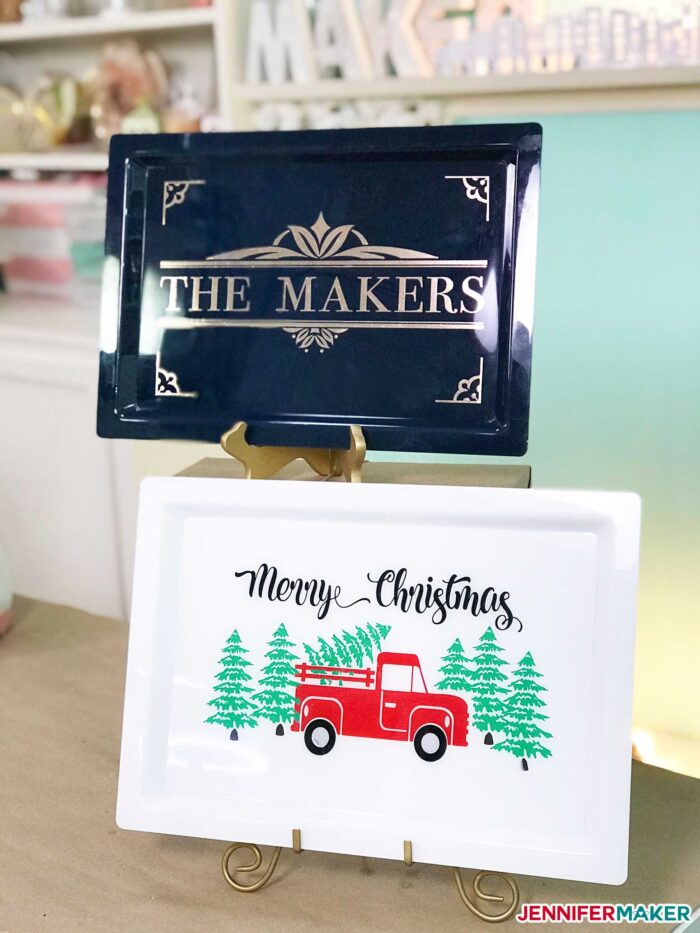
I’ve made two serving trays here — a pretty navy and copper foil tray personalized with a name, and a festive holiday tray with the infamous red holiday truck. The designs for both of these are free on my blog! So let me show you how to find them, how to add your own name and how to put it all together to make your own customized serving tray!
Ready to customize a serving tray? Let’s do this! This post contains some affiliate links for your convenience (which means if you make a purchase after clicking a link I will earn a small commission but it won’t cost you a penny more)! Read my full disclosure policy.
Materials to Make a Food-safe Customized Serving Tray with Vinyl
View my Amazon shopping list with the exact items we used to make this project!
- Clear Plastic Tray (I used these from Amazon)
- Permanent vinyl that has color on BOTH sides – I like this Cricut vinyl and this Cricut adhesive foil
- Weeding tool/Scraper/Spatula – the Cricut basic tool set is my favorite one to use for projects like this.
- Lint-free paper towels or coffee filters
- Rubbing Alcohol
- Transfer Tape
- Spray paint (I used white for the truck tray and navy blue for the name tray)
- Spray sealer – I used this specific one.
- Painters Tape
- Standard Grip Cutting mat (the 12″ x 12″ size)
- A way to cut your vinyl (I used the amazing Cricut cutting machine!)
- Design #177 – My free SVG design files and template (available in my free resource library—get the password by filling out the form at the bottom of this page)
How to Make an Adorable Holiday Truck Tray for Serving Up Holiday Treats!
Step 1: Get My Free Holiday Truck or Calligraphic Name Designs for Your Tray
My free holiday truck and calligraphic family name design SVG cut files are ready and waiting in my library for you. Get the free customized serving tray designs (Design #177) from my free resource library (get the password to the library in the form at the bottom of this post).
Step 2: Prepare Your Serving Tray Design File for Cutting.
The serving tray design files are sized for a 17″ x 12: tray but can be adjusted based on the size of your tray.
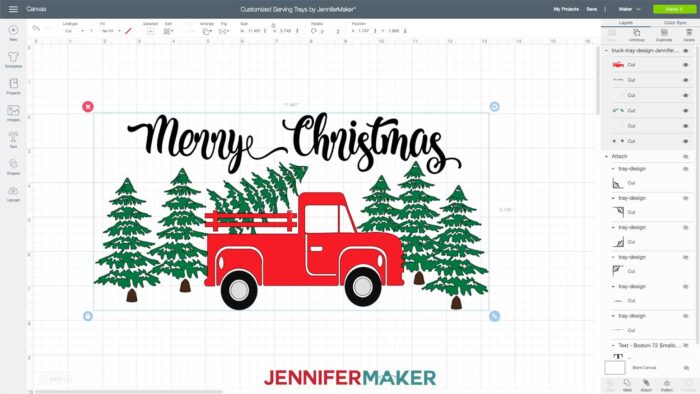
Here is what the holiday truck SVG cut file will look like when you upload it to Cricut Design Space:
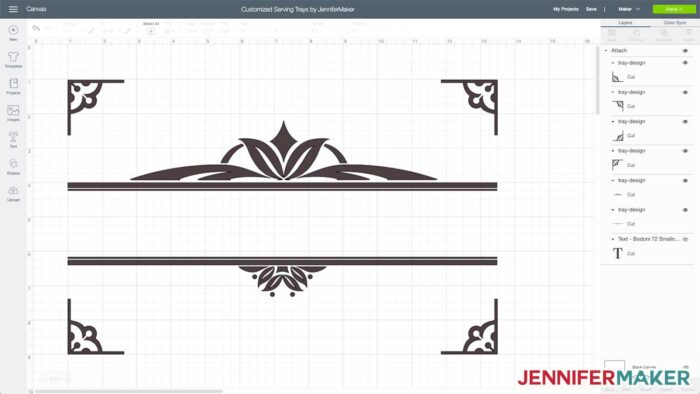
And here is what the name tray design SVG cut file looks like when uploaded to Cricut Design Space:
Tip: If you’re not sure how to upload an SVG cut file to Cricut Design Space, watch this helpful video training series I made. If you’re on an iPhone or iPad, here’s how to download and upload SVG files to the Cricut Design Space app.
Once the file is uploaded, decide which of the designs you want to use and hide or delete the rest. To do this, first click Ungroup, then click to delete or hide the layers you do not want to cut.
Resize the design (if needed) to fit the bottom of the serving tray you are using. They are currently sized to fit the bottom of the 17″ x 12″ serving trays linked in this blog post.
VERY IMPORTANT NOTE: You MUST mirror all mats of the design to assure that your images will display correctly when the tray is flipped upright. All images will be applied to the bottom of the tray. Doing so will allow the tray to be used for food or simply as a decoration.
Step 3: Cut Out Your Custom Serving Tray Design
Using a green Standard Grip mat, place your permanent vinyl with the shiny side face down on the cutting mat. Remember to mirror your design, select the proper cutting material, and load your fine-point blade into your Cricut machine.
Note: Not sure which side of the vinyl goes down on your mat? Read my guide here!
Step 4: Weed Your Cut Design
Once cut, carefully weed the excess vinyl from your cut vinyl using a weeding tool and apply transfer tape to each.
Step 5: Prep the Tray Before Applying Vinyl
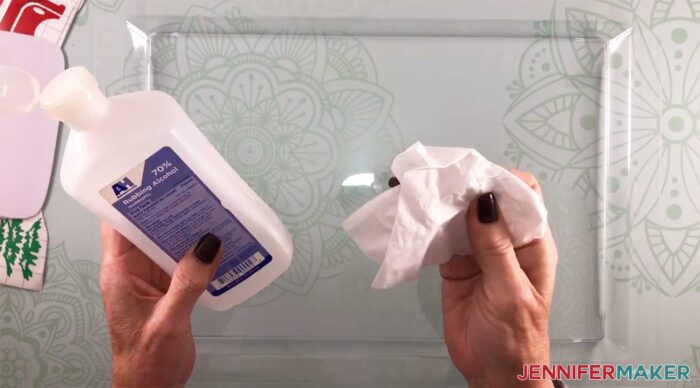
Prepping the tray is important as it removes any oil that may be on the tray from handling it with your hands. To prep the bottom of the tray prior to applying the vinyl, wipe the tray with a coffee filter or lint-free towel and alcohol. Coffee filters and lint-free towels will not leave any lint behind.
Let the tray dry well before applying the vinyl.
Step 6: Apply the Vinyl to Your Tray
Apply the pieces in this order: Trees, Truck, Wheels and Hubs, Tree Trunks, Merry Christmas.
When applying the trees it is helpful to find the center of the trees by folding them in half while the transfer paper is still on the vinyl. This halfway mark, when arranged around the dimple in the center of the tray, will help to center the trees horizontally.
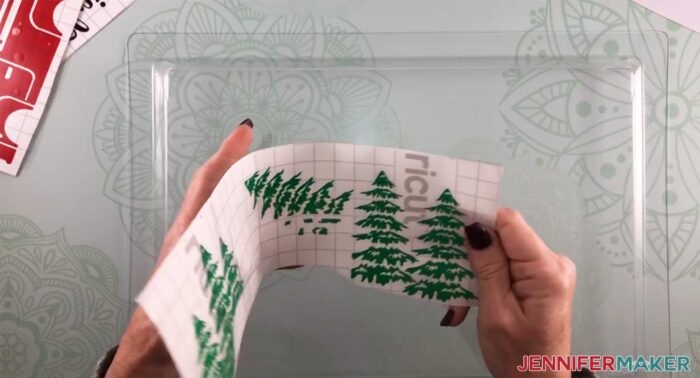
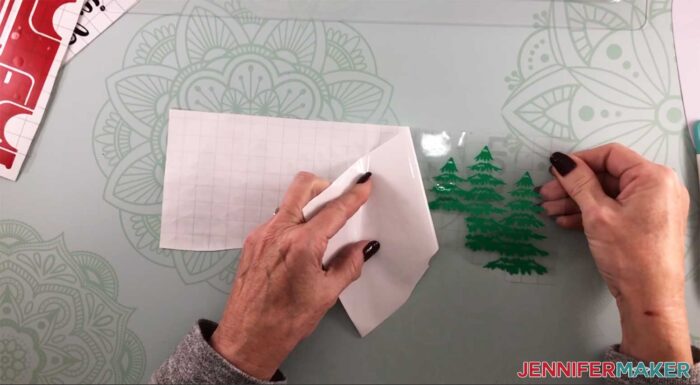
Be certain to not apply the trees up too far on the tray. Allow space for the Merry Christmas.
![]()
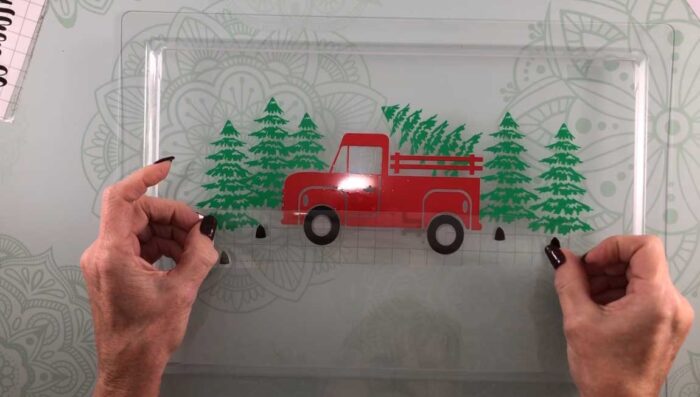
Once the trees are applied, remove the transfer tape at a 45 degree angle. If some of the vinyl comes up with the transfer tape, lay the tape back down and press the vinyl down firmly and try again.
Be careful to not use too much pressure when pressing down the vinyl so as not to crack the tray. (Tip: Put a book or some paper underneath your tray so when you press down on it, the tray is supported.)
Apply the truck in the same manner. When applying the truck, line up the rails with the tree that is in the truck.
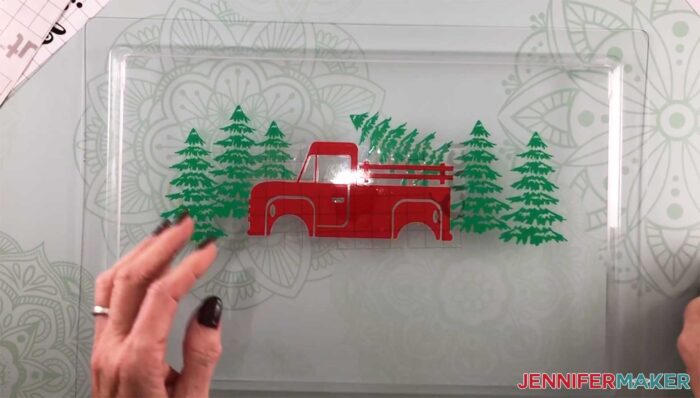
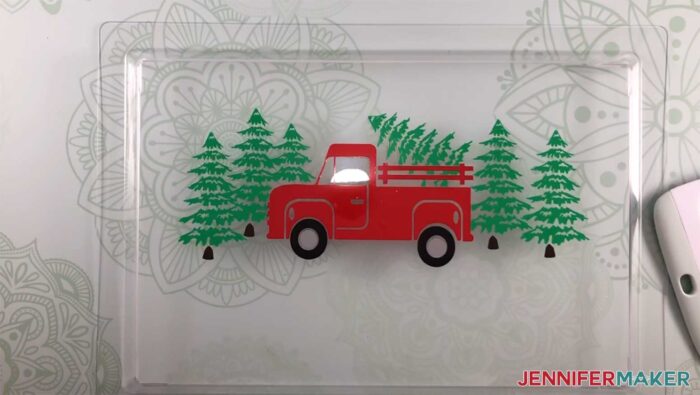
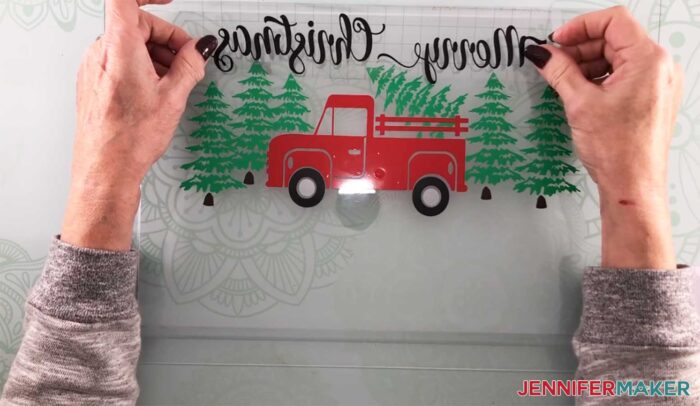
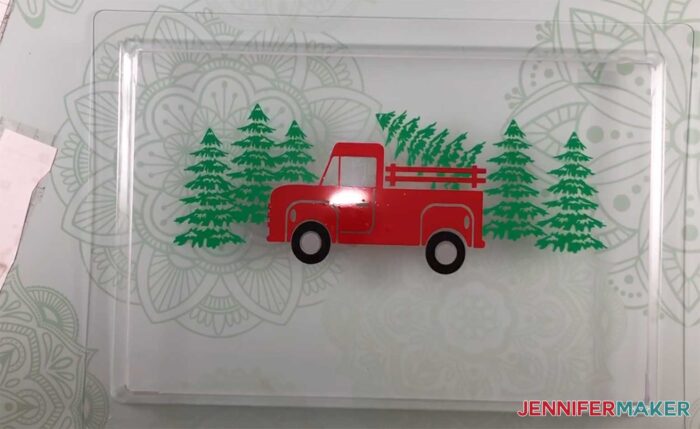
Apply the wheels and hubs, the tree trunks and the Merry Christmas.

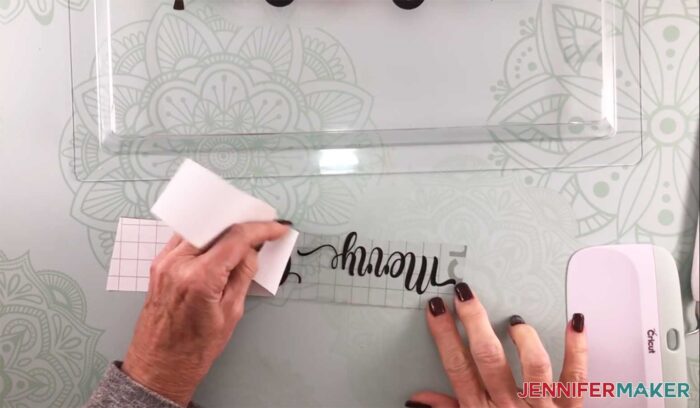
Once all the pieces are applied to the back of the tray, assure all pieces are sealed down well to the tray again being careful to not use a lot of pressure so as not to crack the tray. The scraper tool is a useful tool to use here.
Step 7: Painting and Sealing the Tray
Before spraying the back of the tray with spray paint, apply painters tape on the front rim of the tray. Allow the tape to hang over the rim on all 4 sides. This helps to stop the paint from seeping under the rim and sticking to the front of the tray. Apply two or three LIGHT coats of spray paint in a well ventilated area (be safe!). Let the paint dry well between coats.
After paint is completely dry, apply a coat of clear sealer. Let dry completely. Remove tape from the top rim and enjoy!
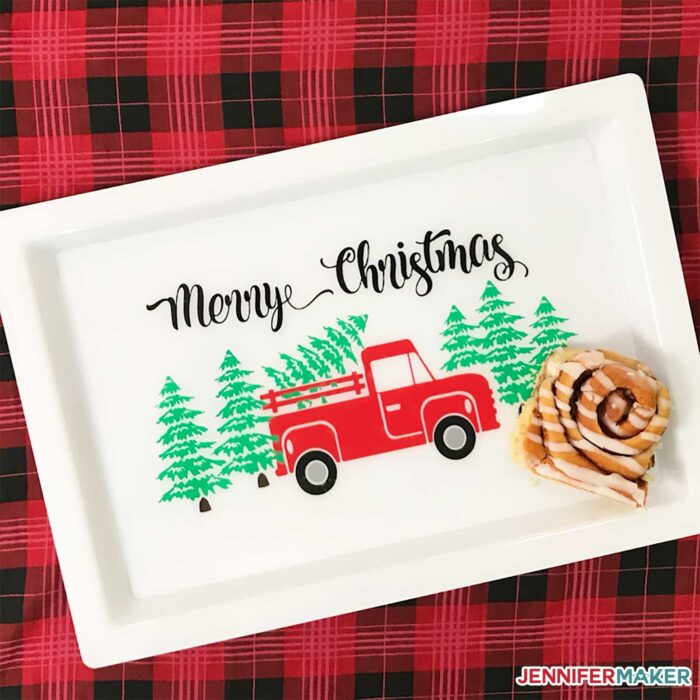
And that’s it! Now just fill your tray with cookies or treats! This is a really easy project, great for beginners!
Get my free customized serving tray templates and cut files
I’d love to see your custom serving trays, holiday decorated platters, and all the other fun ideas you come up with to use these! If you make one, please share a photo in our Facebook group, email it to me at [email protected], or tag me on social media with #jennifermaker.
Love,

Want to remember this? Save the Customized Serving Tray Tutorial to your favorite Pinterest board!


How do I tell which vinyl is two sided? I bought two cricut vinyls and both are white on the sticky side 🙁
Hi Sarah! I have a blog post that might help! https://jennifermaker.com/which-side-of-iron-on-vinyl-goes-down/ If that still doesn’t help, please reach out to my team at [email protected] with any photos or other details that might help us help you troubleshoot!
Looks amazing amd fun. I love the red truck!!
Thank you very much!
Hello, can a wooden tray work for this project. I bought an unfinished wood tray from Michael’s, it needs painting and was thinking of an acrylic look to the tray. What do you recommend to complete this project?
Hi Josie! You could apply the vinyl to your wood board but I would do it around the edge to keep it food safe. If you want to apply it to the bottom, you still certainly could but obviously, you wouldn’t see your design.
My Cricut is not cutting all the way through the vinyl! I tried it on regular vinyl then everyday iron-on settings on the “more” pressure setting but it’s only barely cutting through the paper backing. What am I doing wrong??
Hi Loren! You do not want it to cut through the paper backing. You should have your adhesive vinyl pretty side facing up on your cutting mat and have your machine cut only through the vinyl, not the paper backing.