
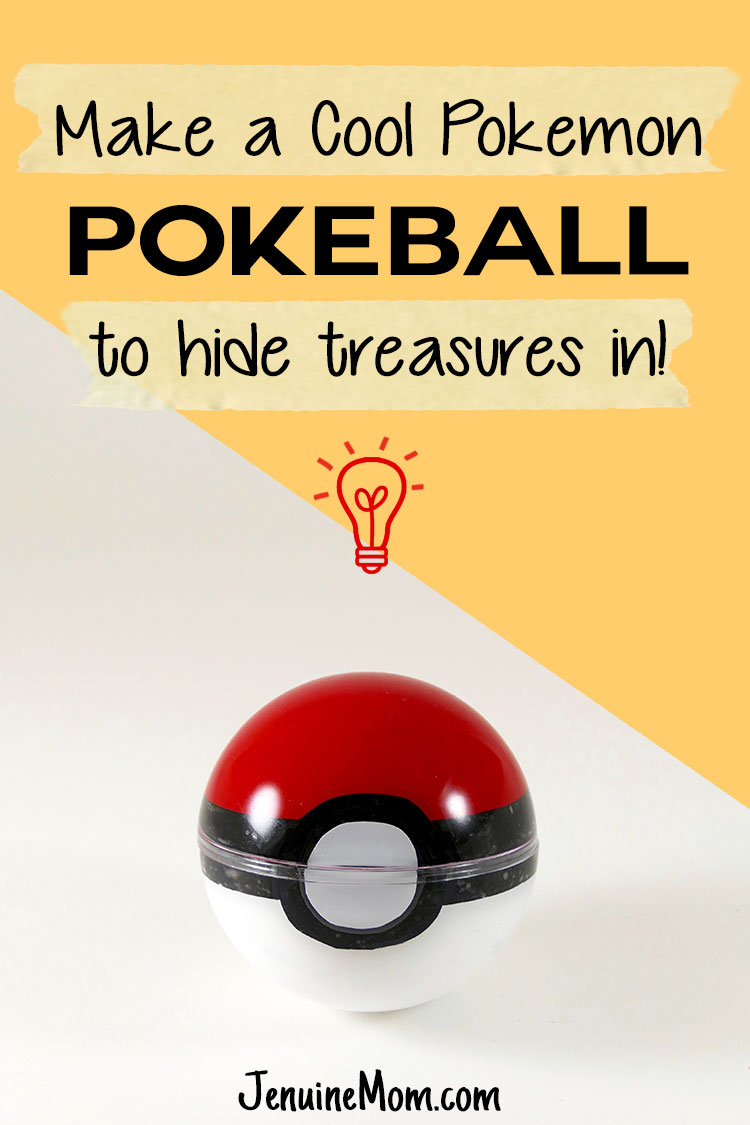
I love Pokemon Go! Nope, I’m not at all ashamed to say that. And I’m not the only one in my family and circle of friends who like Pokemon Go. So I came up with a fun DIY Pokeball that’s simple to make. A Pokeball (Japanese: モンスターボール Monster Ball) is used by a Pokemon trainer to catch and store their pets. And the best part is that my DIY Pokeball opens up, so you can hide things inside. My original idea is to use it as a birthday invitation, with the party deets inside. But you could also use it to hide a gift or even a little pokemon toy. Or how about putting an engagement ring inside? Crazy, yes, but fun! My DIY Pokeball can also be used as a Christmas ornament!
This post contains some affiliate links for your convenience (which means if you make a purchase after clicking a link I will earn a small commission but it won’t cost you a penny more)! Read my full disclosure policy.
DIY Pokeball Materials
Here’s all you need to make your DIY Pokeball:
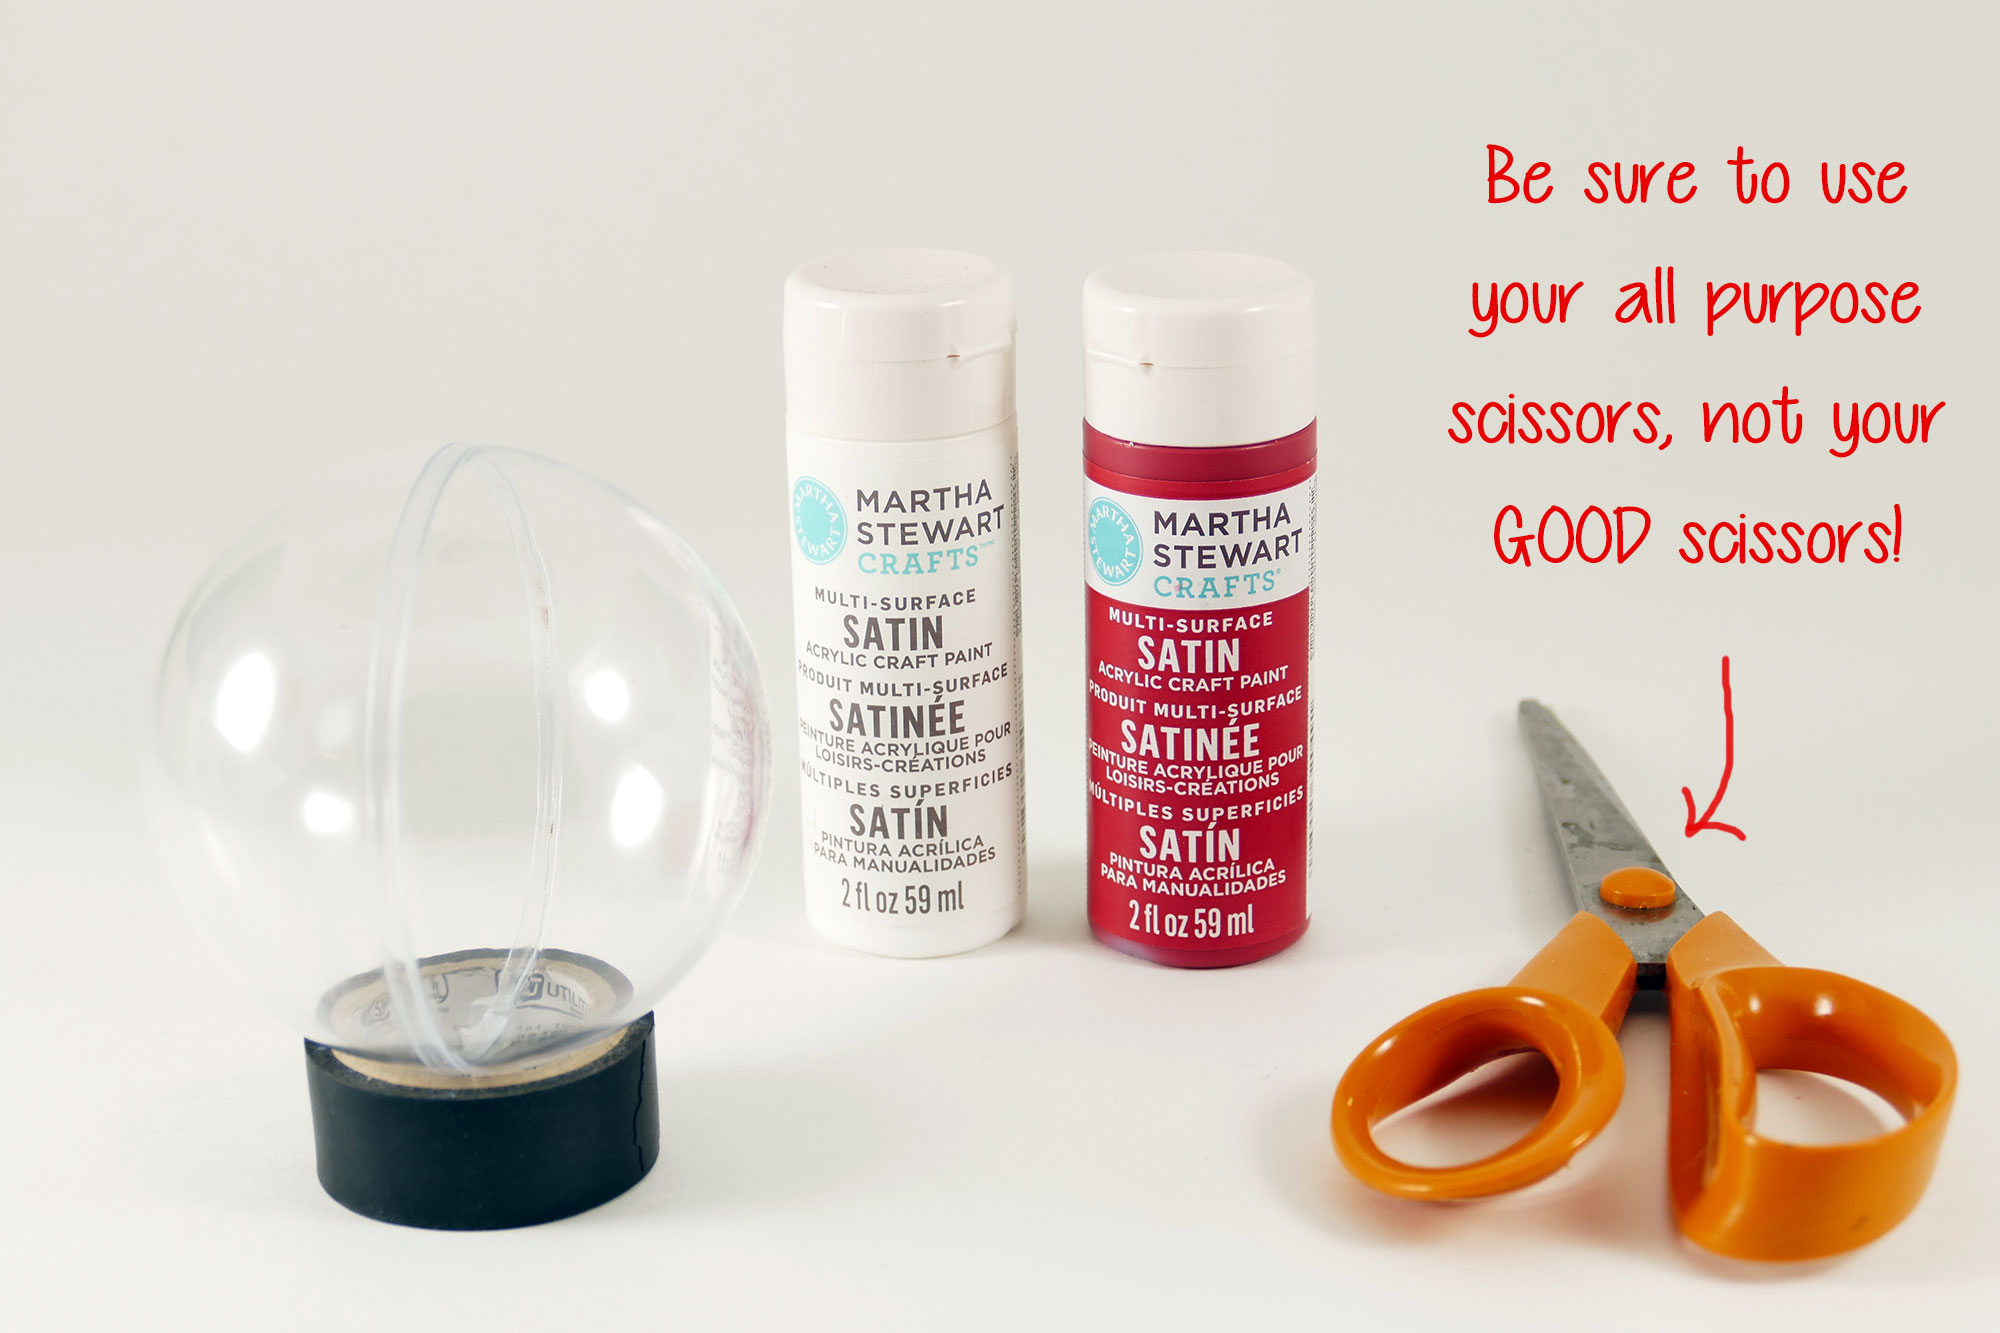
- An 70-80mm clear ornament that opens in half — the cheapest place to get these is at Amazon (affiliate link) for less than $1 each in bulk, but you can also get them individually at Joanns, Michaels, Wal-mart, etc. for about $2-$2.50 each.
- Black electrical tape – buy it here
 (affiliate link)
 - Small piece of white paper
- White and red acrylic craft glue – buy it here and here (affiliate links)
- A pair of scissors you do not mind cutting tape with (i.e., not your GOOD scissors)
- Pen or pencil (for tracing)
All in all, it costs about $20 for 20 Pokeballs. Not bad, eh?
DIY Pokeball Step-by-Step Tutorial
It only takes about 5-10 minutes to make these Pokeballs, but be aware that you need to wait 24 hours for the paint to dry.
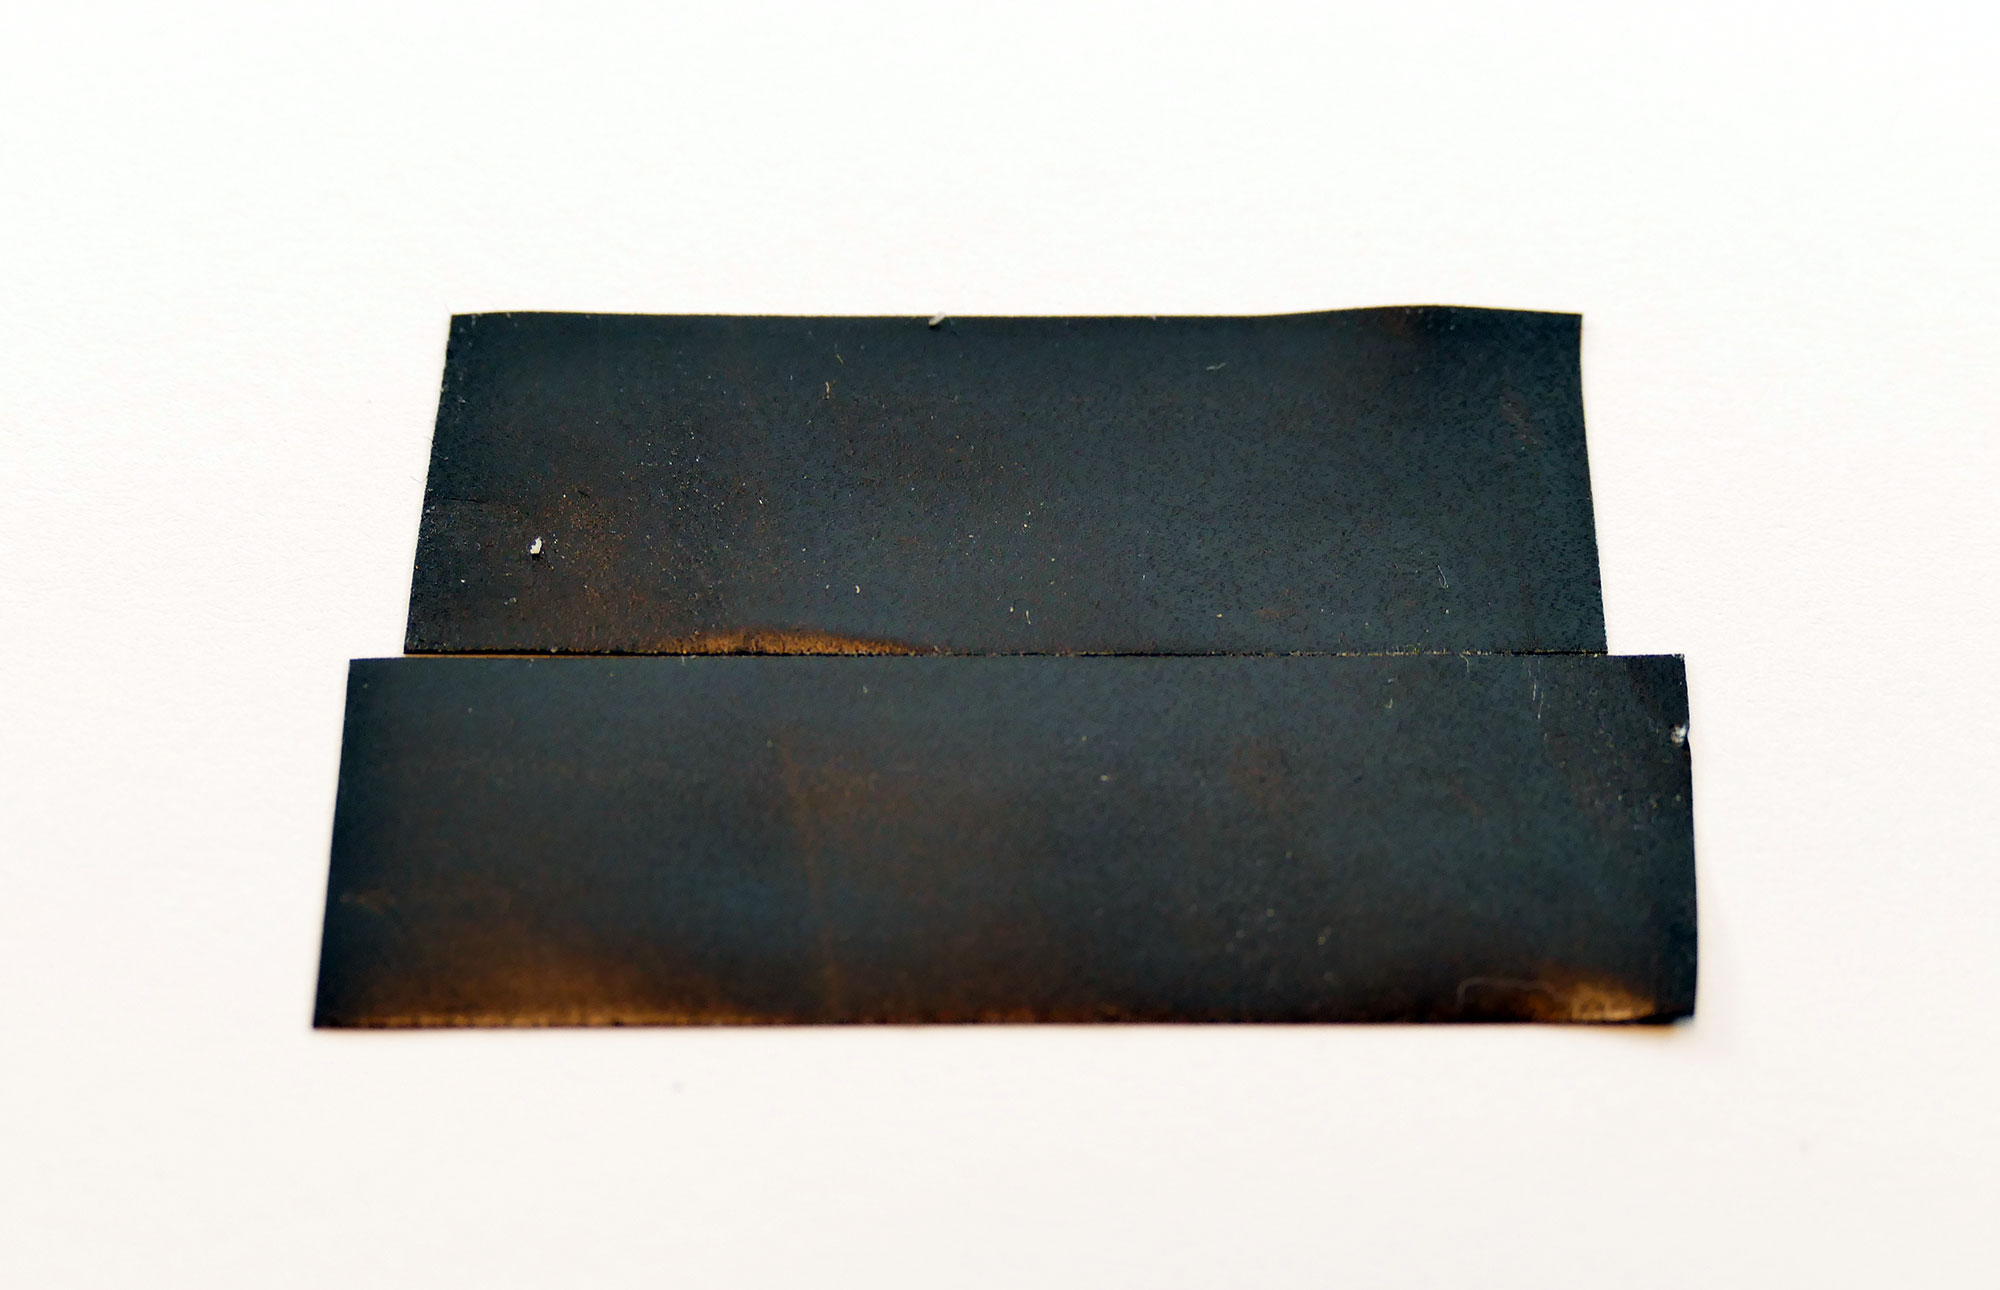
Step 1: Take two small bits of tape (about 2″ inch) and lay them face down (sticky side up) like shown below.
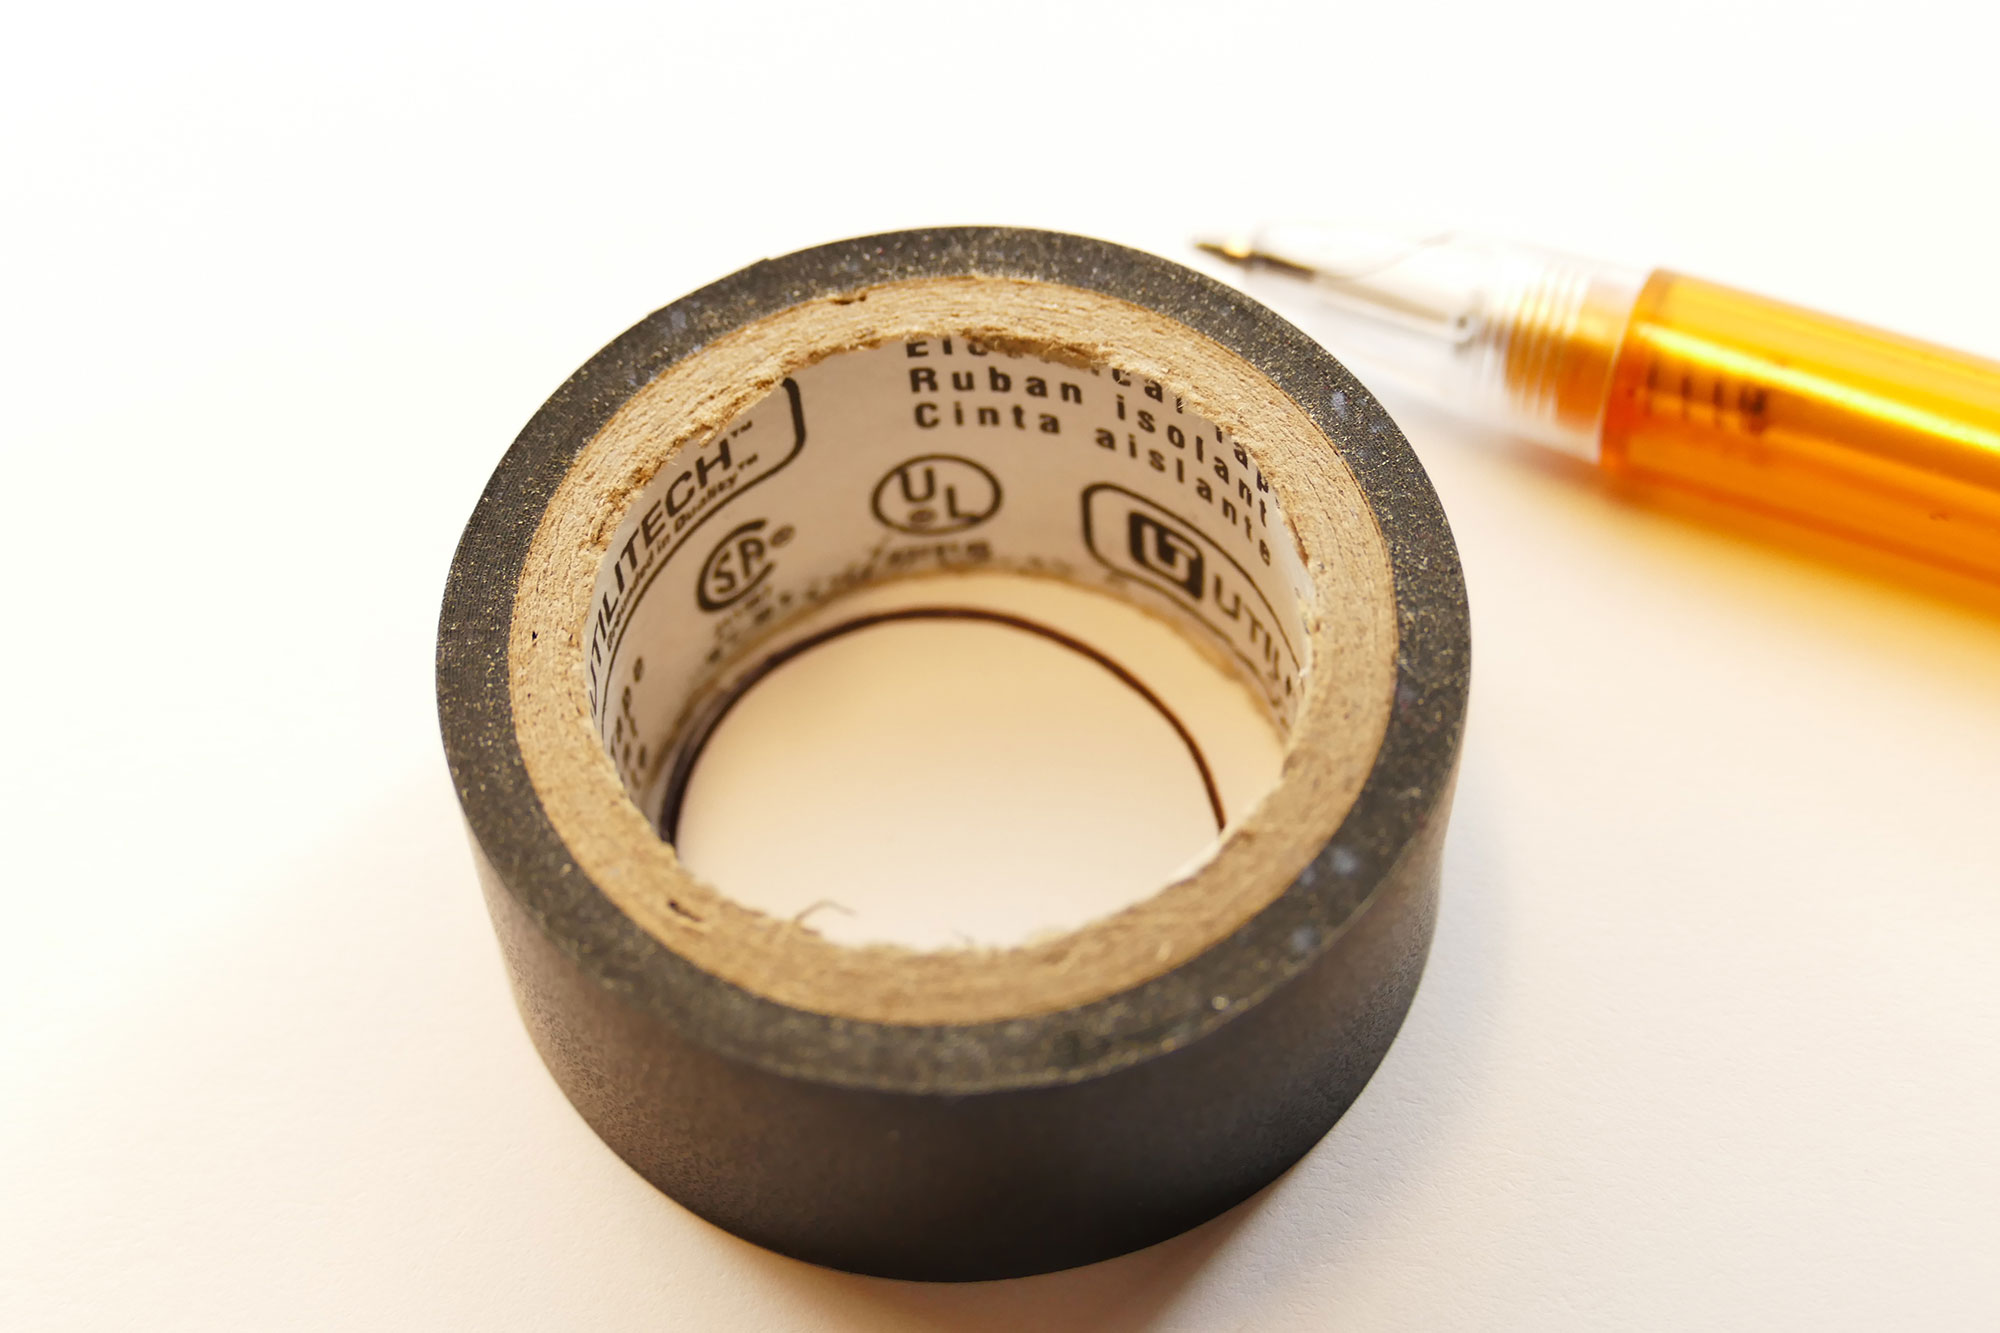
Step 2: Using the inside of your electrical tape spool (or something circular about 1″), trace a circle onto your white piece of paper and cut it out. (Gosh, my circle doesn’t look so great now that I see it in big photos! But you can get a more perfect circle if you use a small circle label — they sell them at the office supplies stores.)
Step 3: Put the white paper right on top of the two pieces of electrical tape, centered within the top and bottom edges.
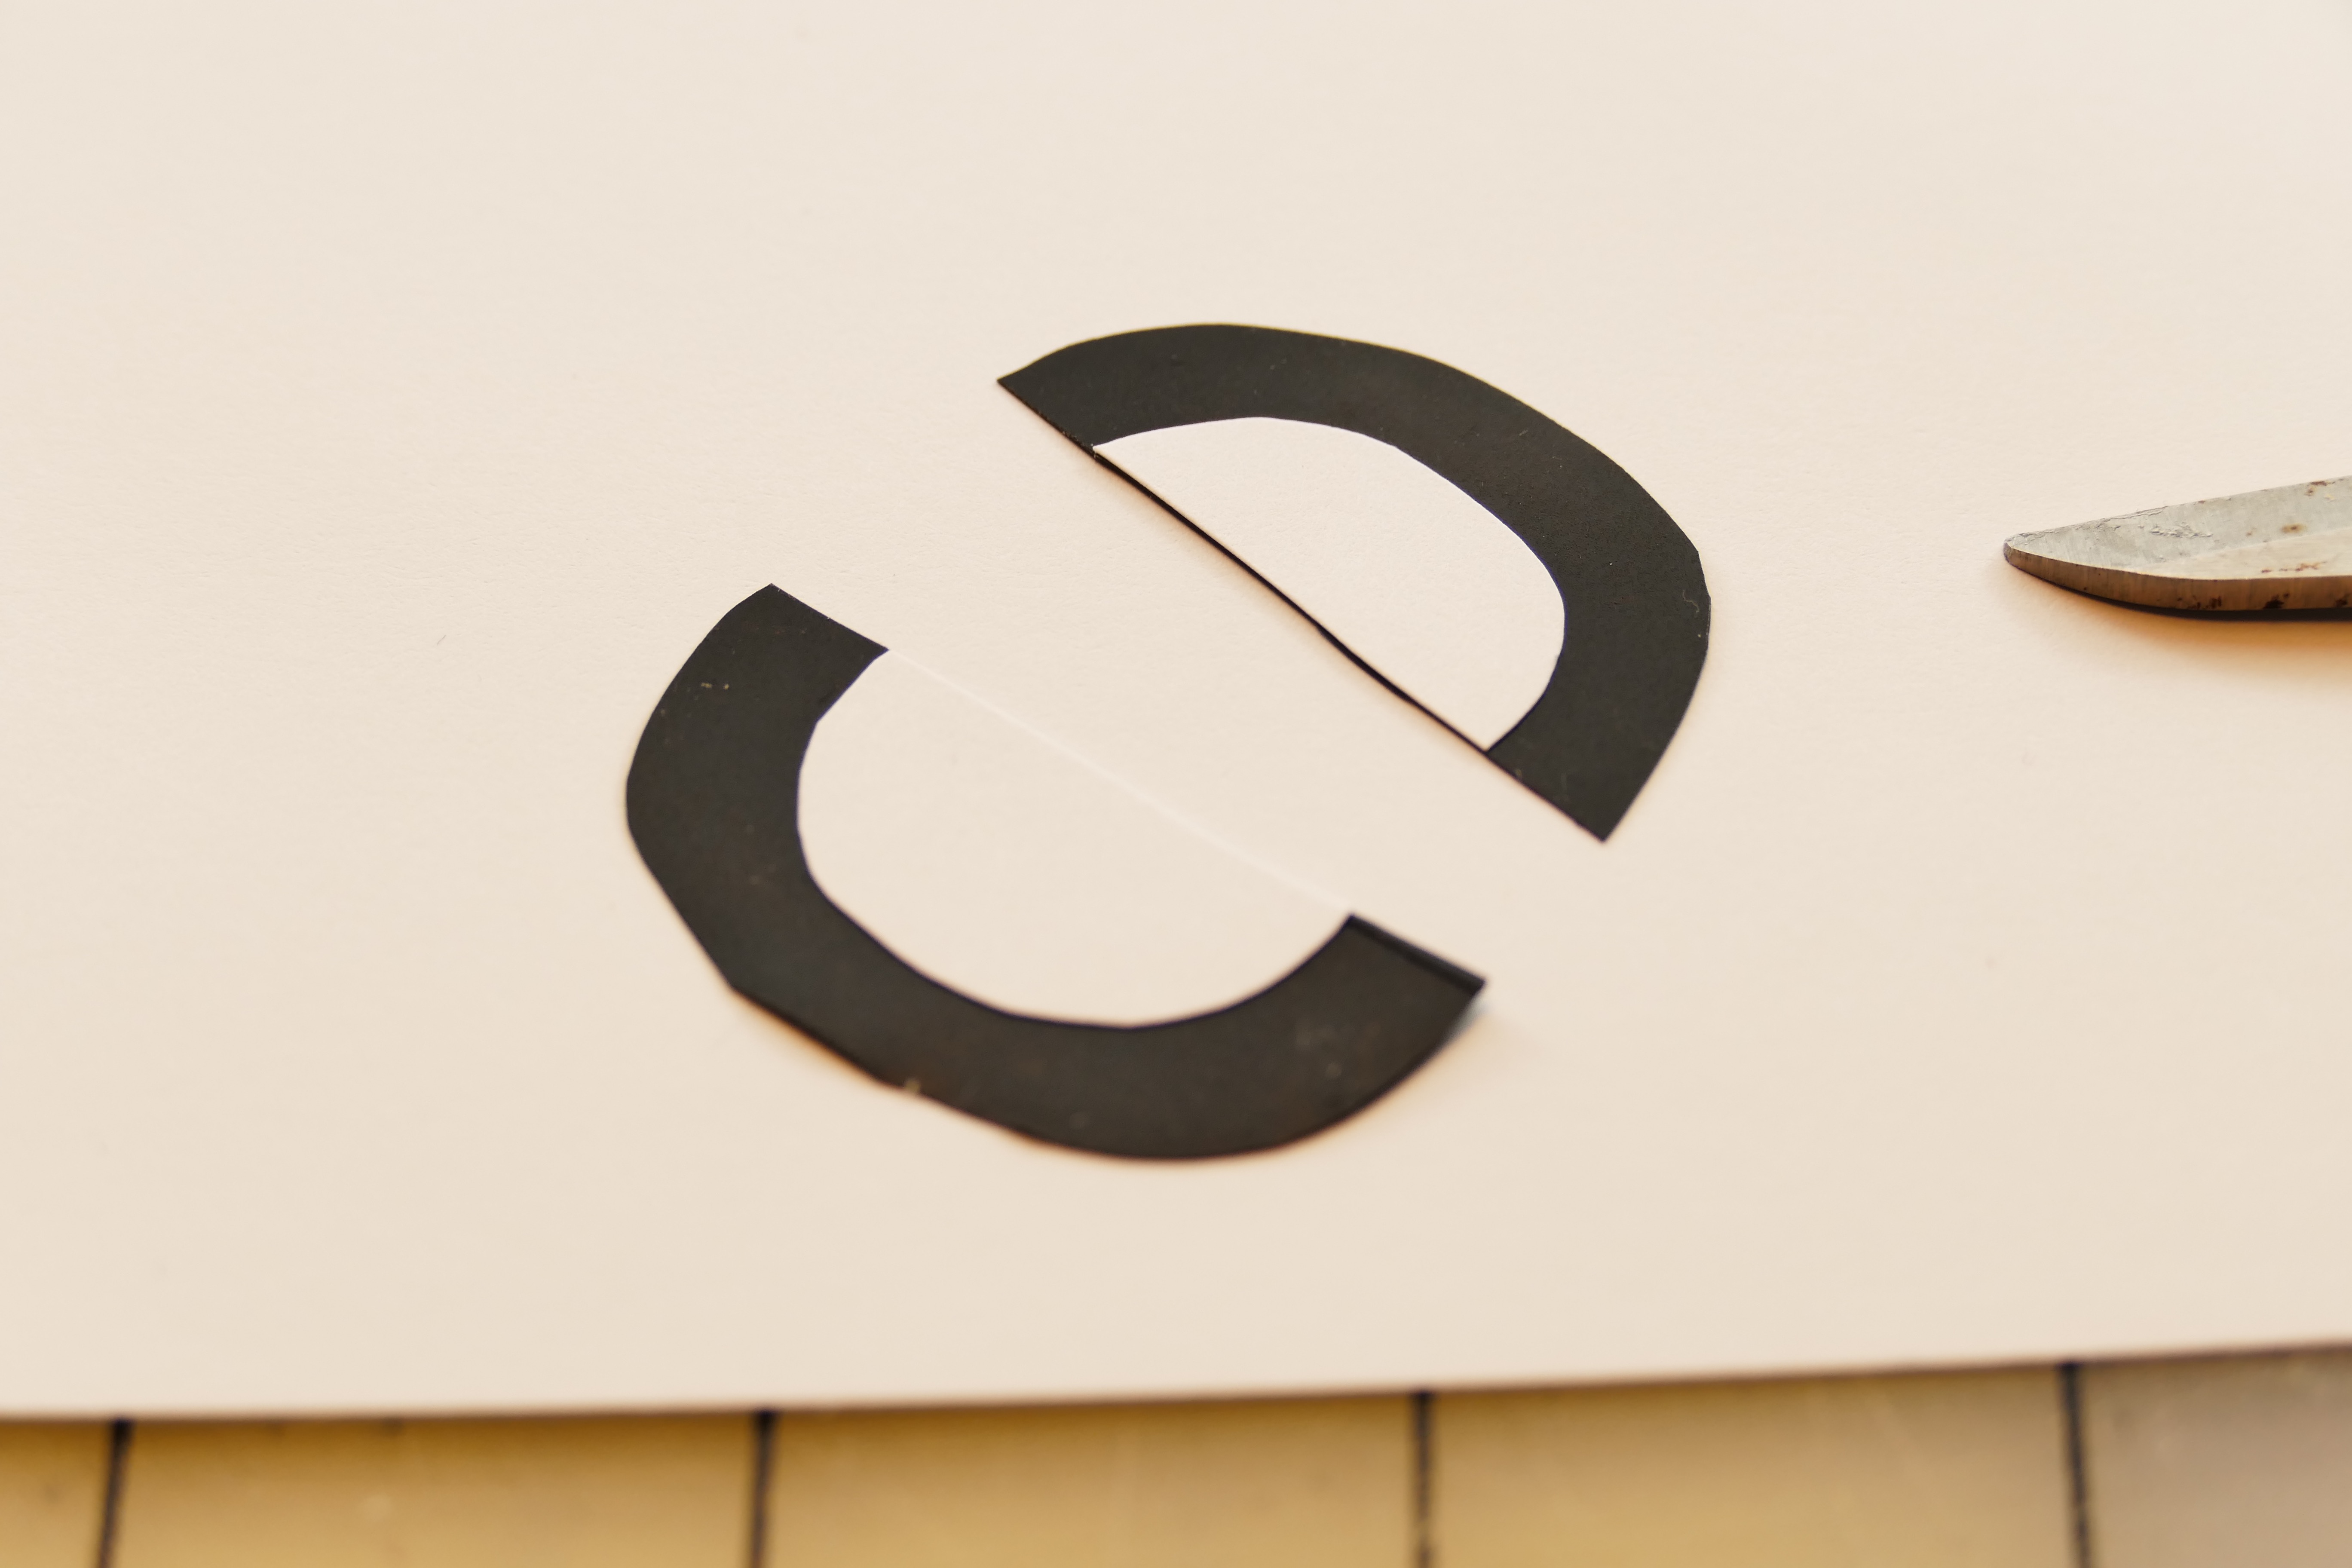
Step 4: Cut the electrical tape around the white circle evenly so that you have a nice thick black ring around your white circle.

Step 5: Cut the taped circle in half.
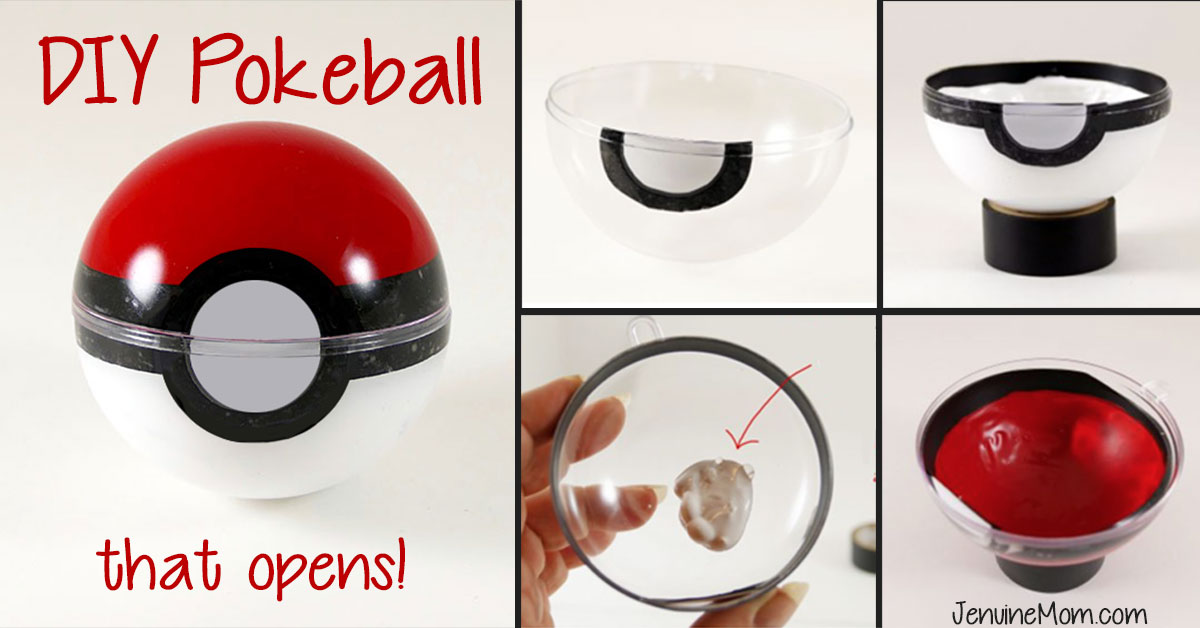
Step 6: Open your clear ornament and place one of the taped semi-circlse at the edge, pressing down well. Do the same for the other taped semi-circle on the other half of the ornament. Try to put your semi-circles on the opposite side of the rings on the ornament so the rings are in the back of your pokeball. (Tip: If you plan to use your poke ball as an ornament, position the semi-circles so the rings are on the side — this will look cooler when you hang it from your tree!)

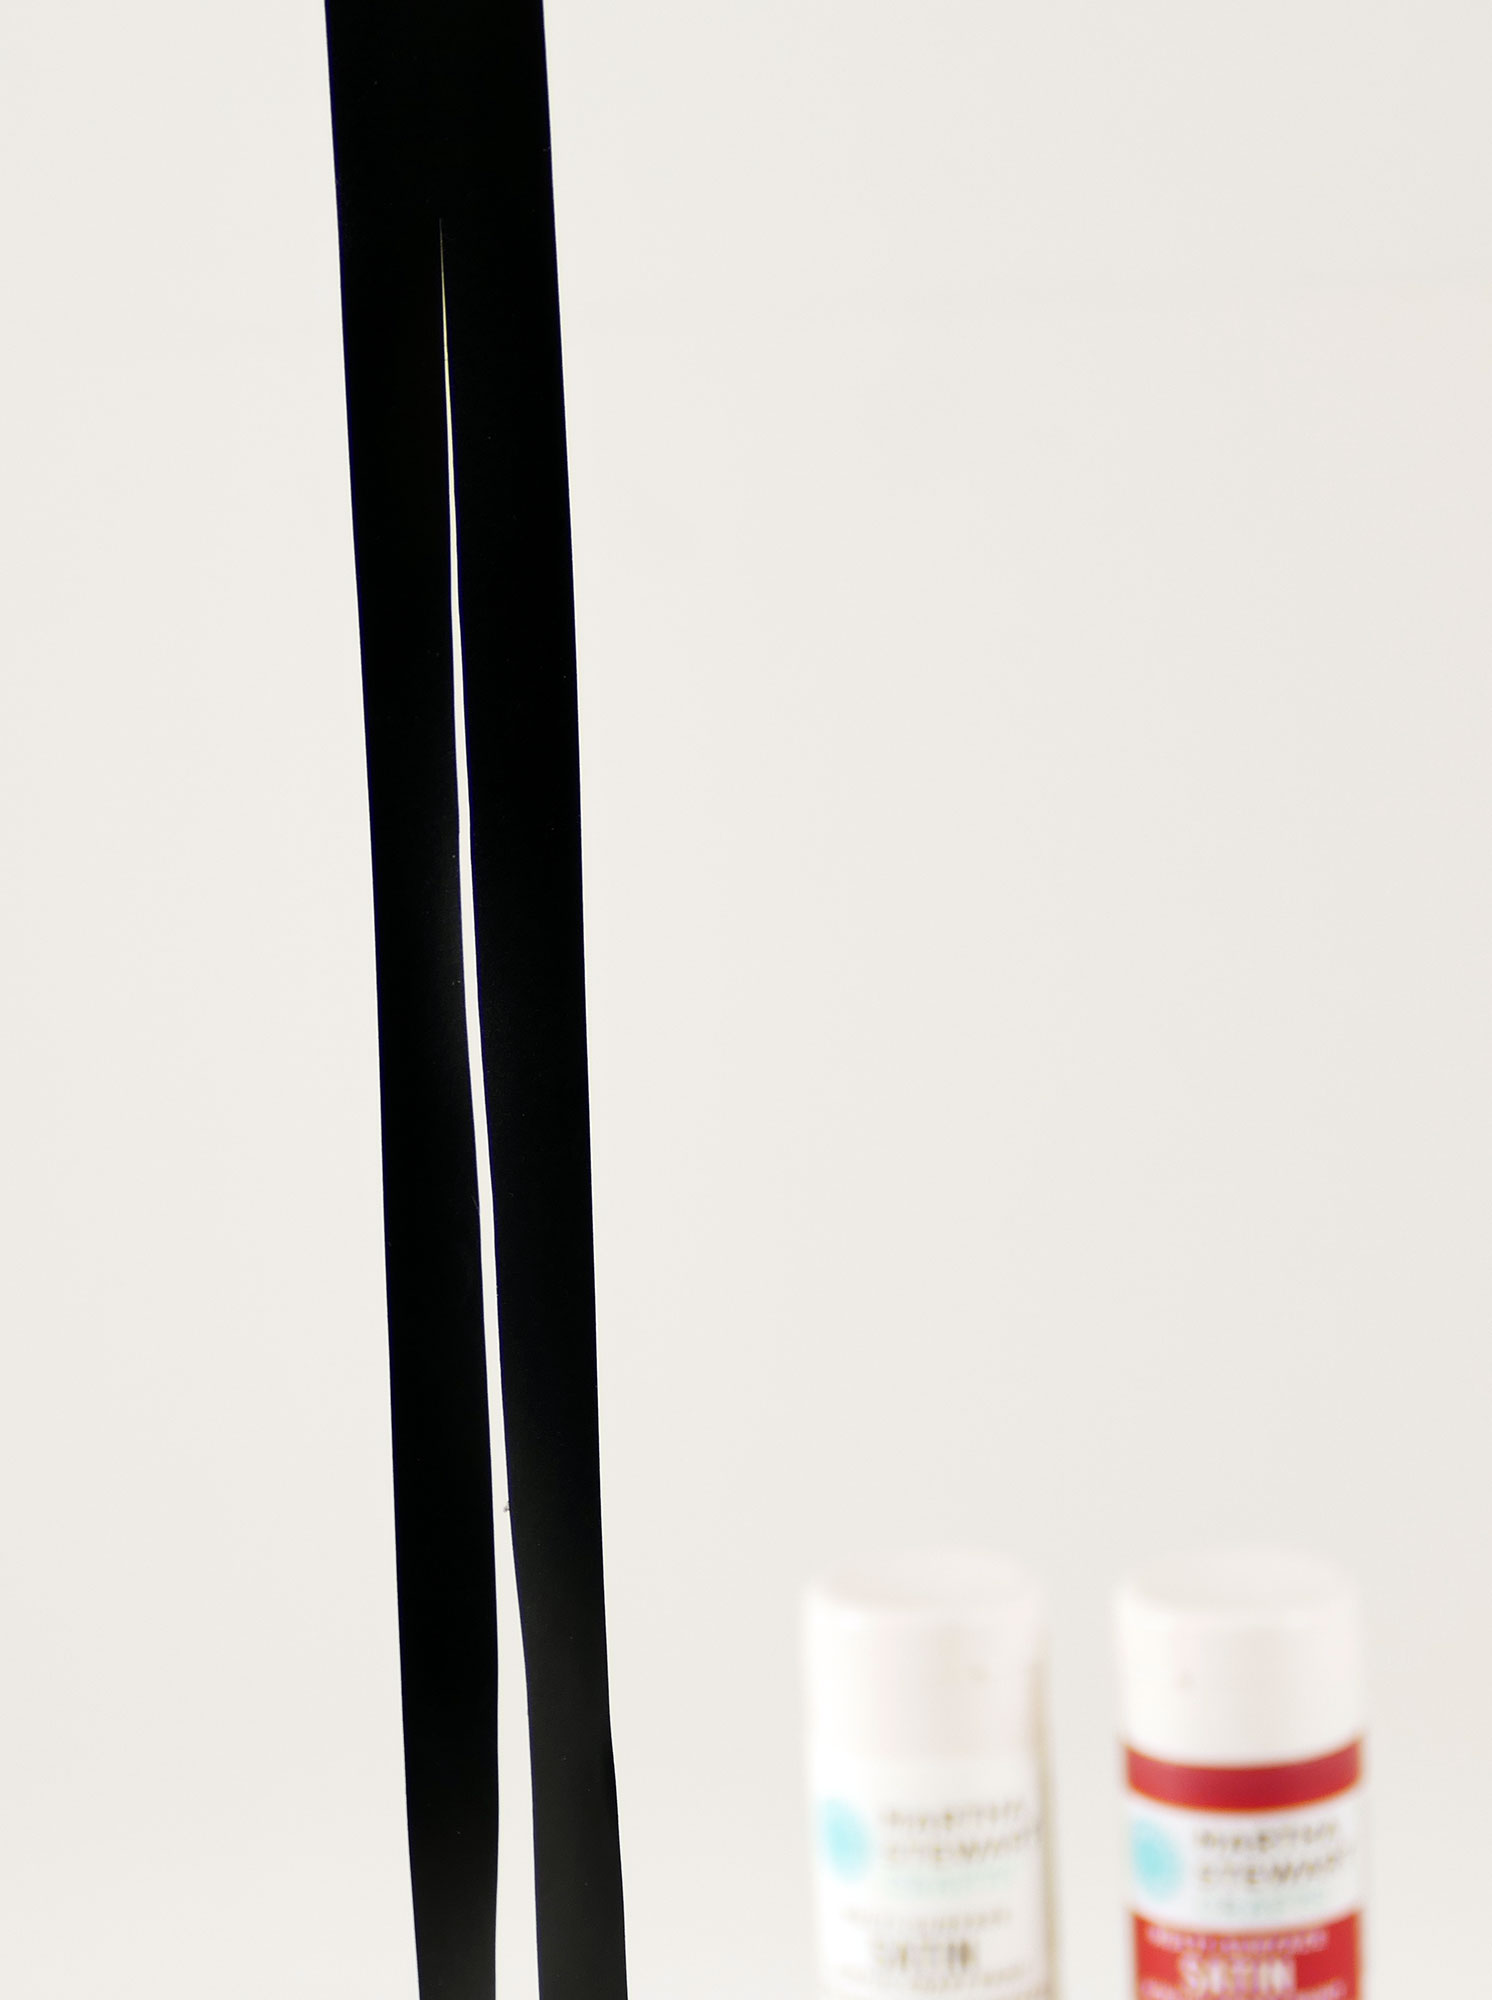
Step 7: Cut a strip of 10″ long electrical tape into two halves and press each half careful around the edge of each half of your pokeball. (Note: One half of the plastic ornament has a lip that goes OVER the other half — do not put the tape on this lip or your pokeball will not want to stay closed.)
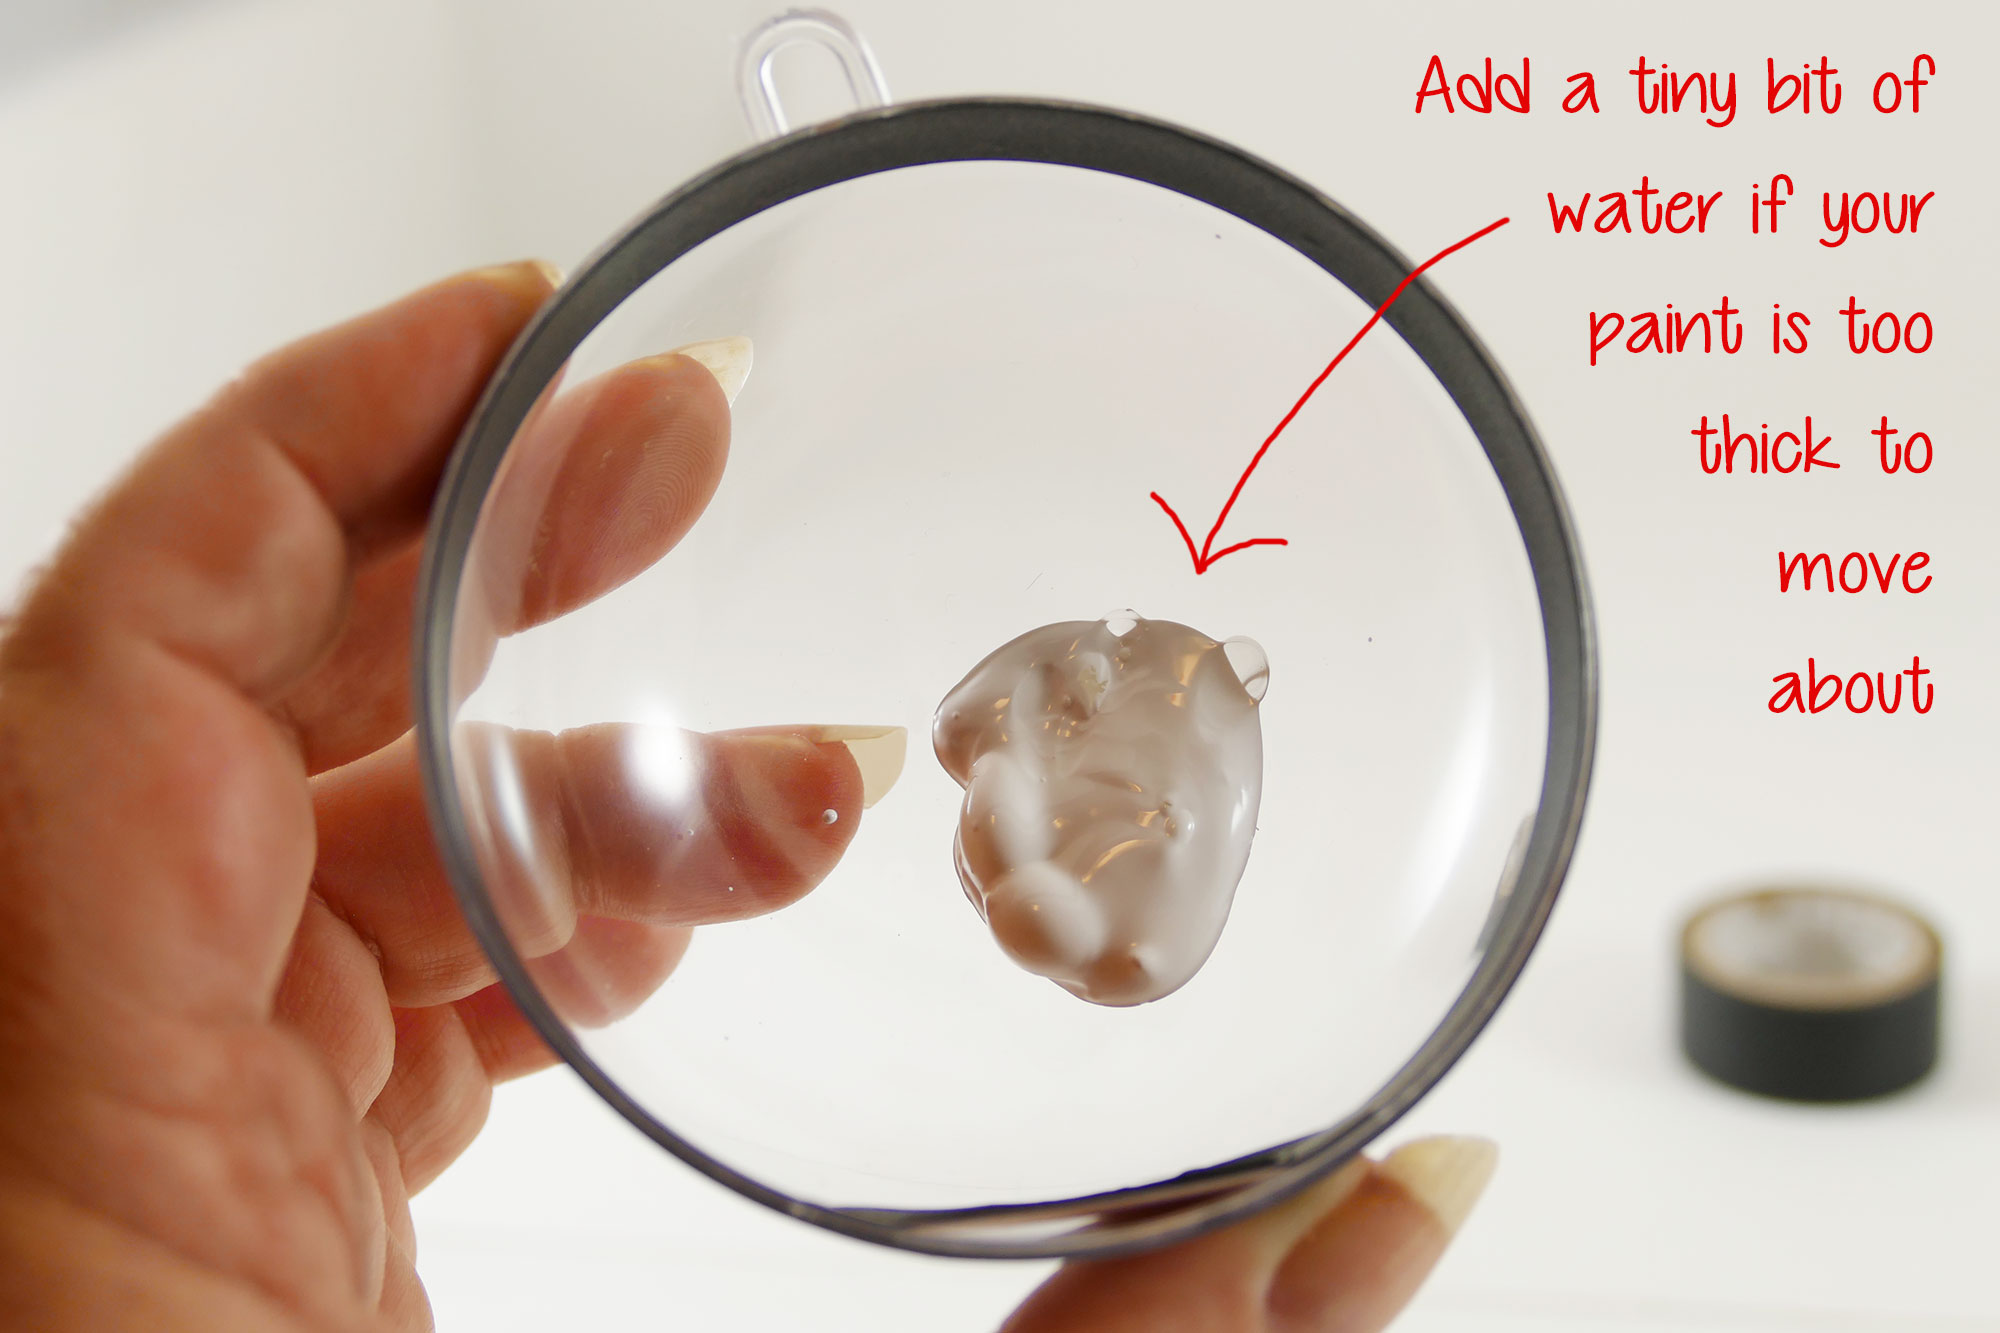
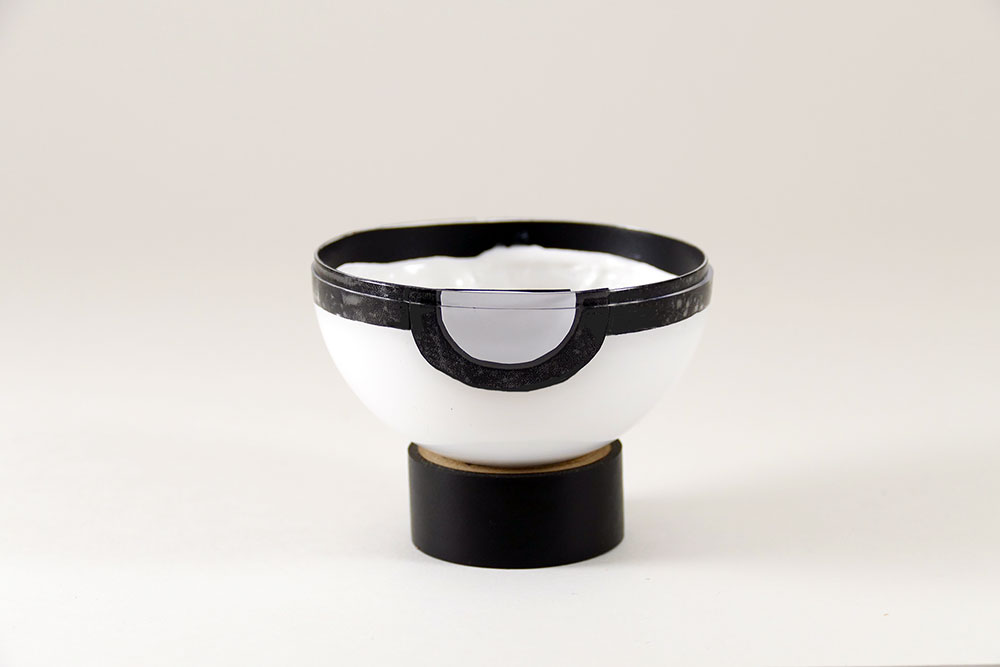
Step 8: Take your white paint and pour some into one half of your pokeball. You should be able to tilt the plastic ball around so that your paint covers the entire inside surface. If your paint is too thick, put in a TINY bit of water.
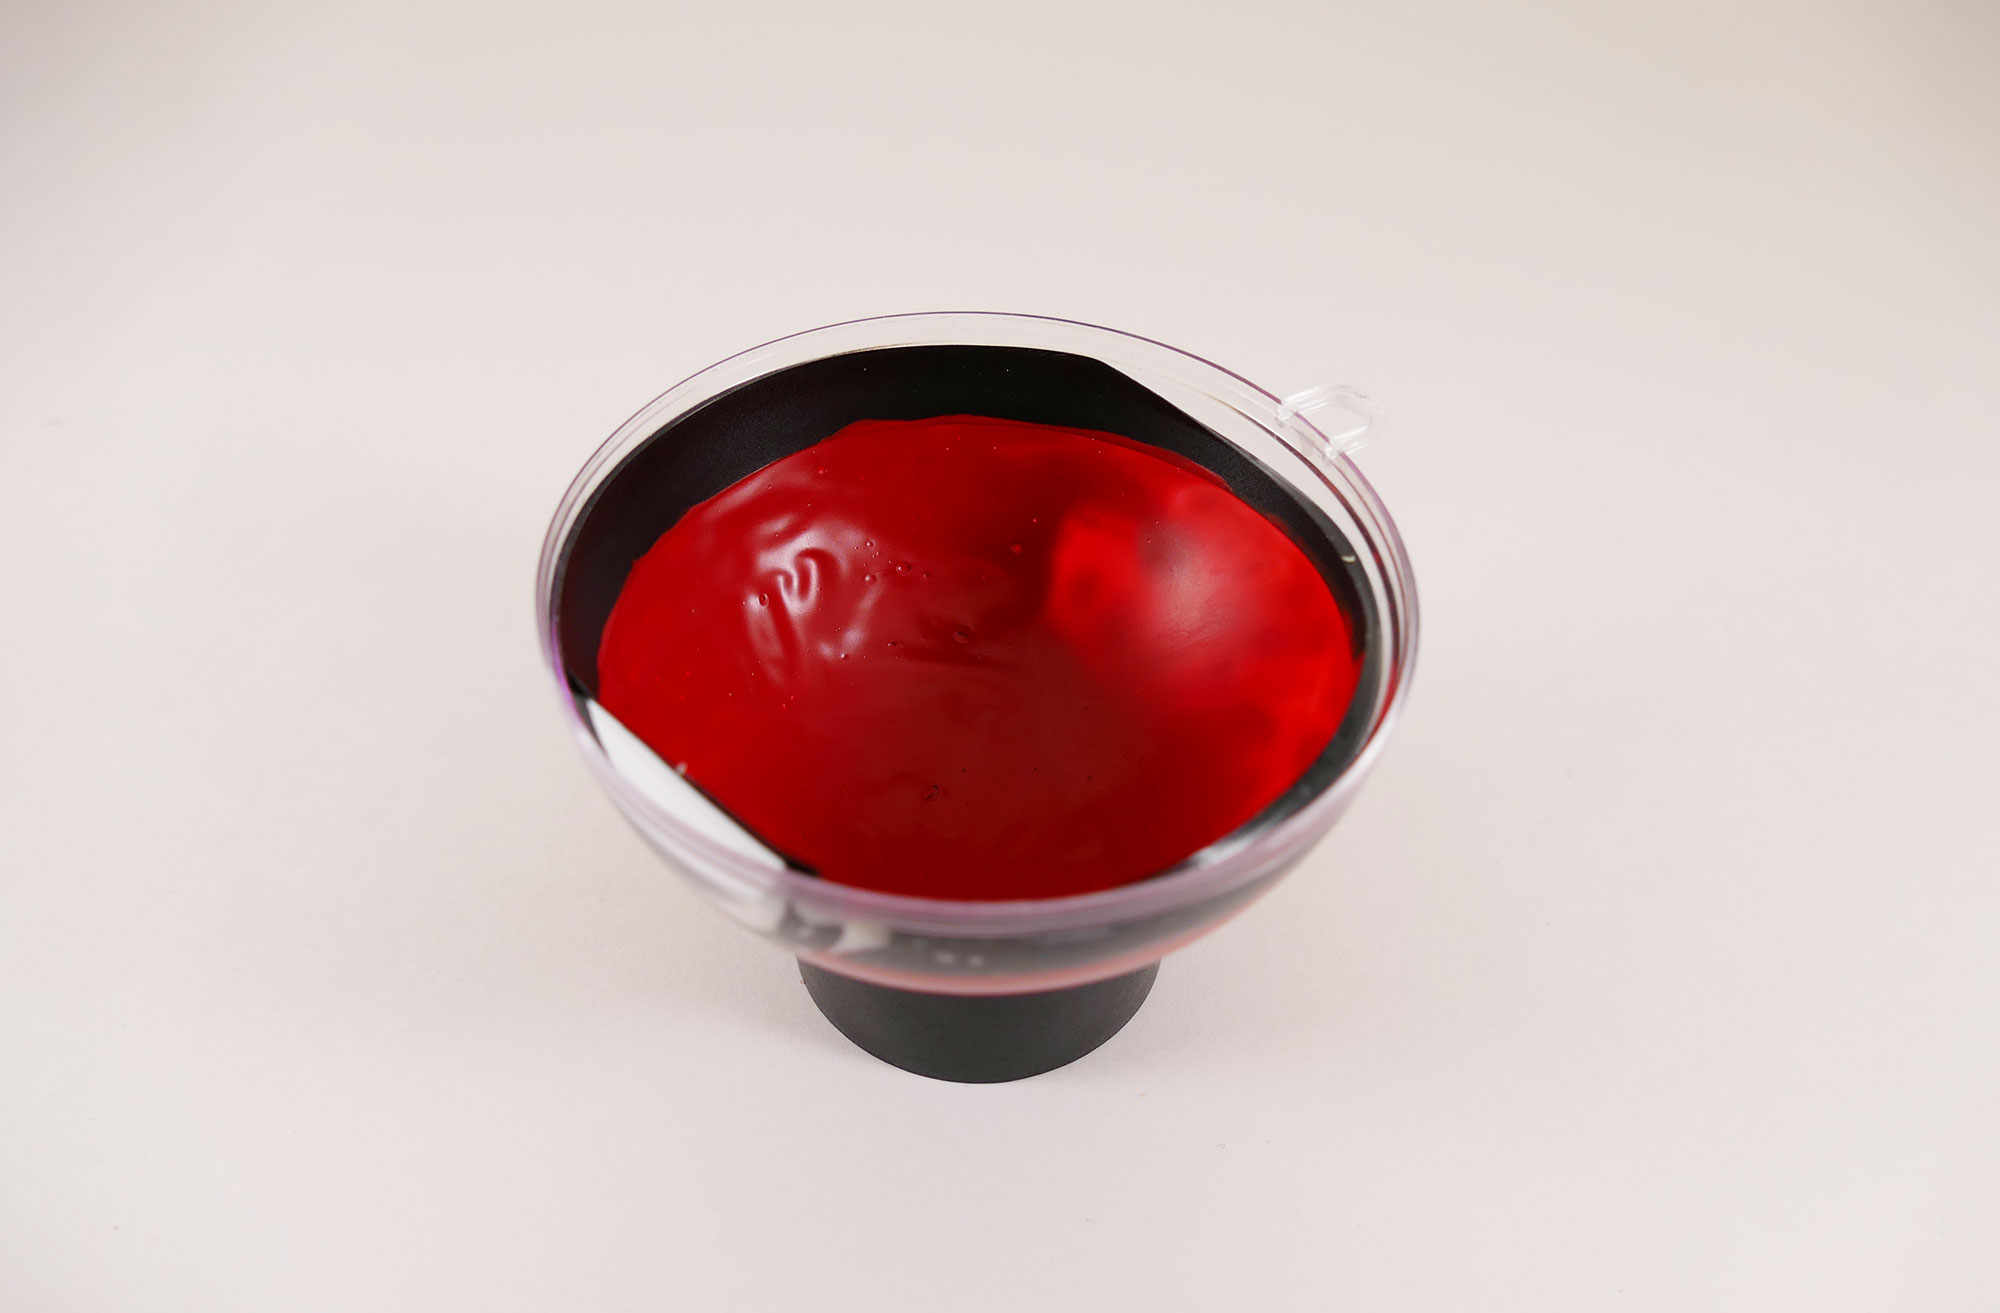
Step 9: Repeat with the red paint on the other half of your poke ball.

Step 10: Allow to dry at least 24 hours (depending on how much paint you used).
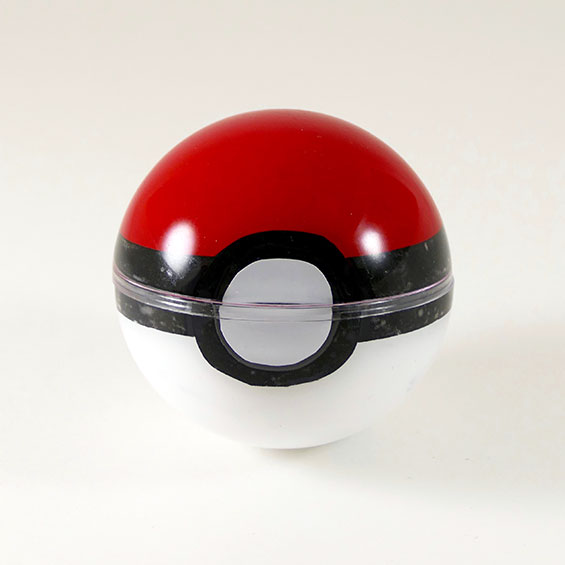
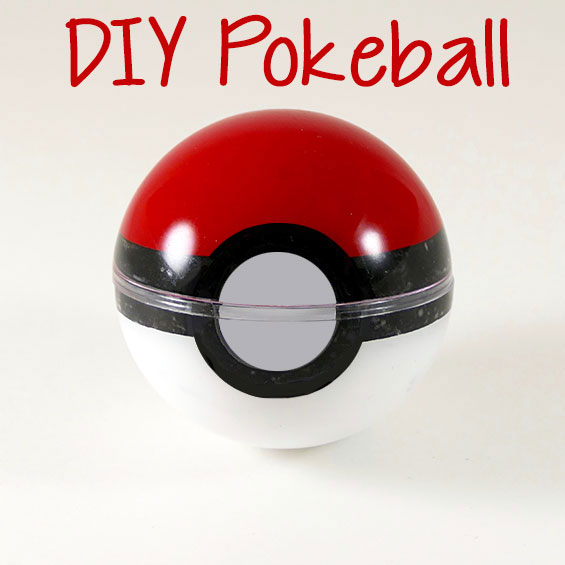
Ta da! You have a super awesome DIY pokeball that opens and closes!
If you want to keep the two halves attached, just tie a piece of yarn or string to the two rings in the back (or the side, depending on where you put them). If this will be a toy or decoration, how about a long piece of stretchy string so you can throw it and have it come back? Sounds like fun to me!
Make ‘Em All Together
If you plan to make more than one Pokeball, make them all at once. It’ll go so much faster, especially when painting. Just pour any excess paint from one half into the next half.
Keeping the plastic halves from rolling around while drying is a bit of a challenge. Try putting the halves in plastic cups (that are smaller than the balls). Or use a wire drying rack or muffin tin!
DIY Pokeball Upgrades
I showed my Pokeball to Greg, and he thought it’d be cool if there was a button of some sort on the front. Pokeballs normally have release buttons to open them. So another idea is to get a sheet of white foam, cut out a circle, and glue one half of the circle to the Pokeball. You want to glue the foam circle to just one half of the Pokeball so you can still open and close it. I recommend you glue the foam circle to the half with the lip that goes over the other half.
Greg also suggested that you could use spray paint rather than craft paint. I don’t like spray paint much myself (it’s so messy), but if you feel comfy with it, go for it. Spray paint will be faster and coat more evenly, for sure. You may also need some painter’s tape to avoid getting paint on the outside of your pokeball.
A Faster DIY Pokeball (But It Doesn’t Open)
If you want to make a DIY Pokeball that doesn’t need to open up, it’ll go a bit faster. The process is similar, but you put the electrical tape on the outside of the pokeball. Here are the steps to make a non-opening DIY Pokeball:
- Separate your clear ornament in two halves.
- Take your white paint and pour some into one half of your pokeball. You should be able to tilt the plastic ball around so that your paint covers the entire inside surface. If your paint is too thick, put in a TINY bit of water.
- Coat the other half of your pokeball with the red paint.
- Allow both halves to dry overnight.
- Put the two halves of your pokeball together, match up the rings, and tape shut with your electrical tape.
- Create a circle from two strips of electrical tape (see steps 1-4 earlier in this post). Place the tape circle on the front of your pokeball.
- Cut out a 1″ circle from paper and glue it on top of the tape circle. (You could also use a circle sticker.)
Here’s a great video of how to create this type of DIY Pokeball:
Even More DIY Pokeballs!
After I made this tutorial, I poked around and discovered that a lot of people are making pokeballs. Everyone has a different way, which is awesome! Some Pokeballs are meant to be played with, while others are just decorative. Here are some of the best pokeball tutorials I found online — these are so fun you’ll wanna make ’em all!
Make a Pokeball from Styrofoam:
This video tutorial shows you how to make a lightweight DIY Pokeball from a styrofoam ball, two rubber bands, a quarter, a dime, red and white paint, and a foam circle disc! Styrofoam balls are pretty cheap, so this is an inexpensive way to make a pokeball you can play with! You can use this tutorial to make ALL the variations in Pokeballs, too!
Make a Pokeball from a Plastic Ball
Here’s a video tutorial that shows how to make a DIY Pokeball from a red plastic ball (super cheap!), white paint, and black paint. Again, it doesn’t open, but it is fun to play with!
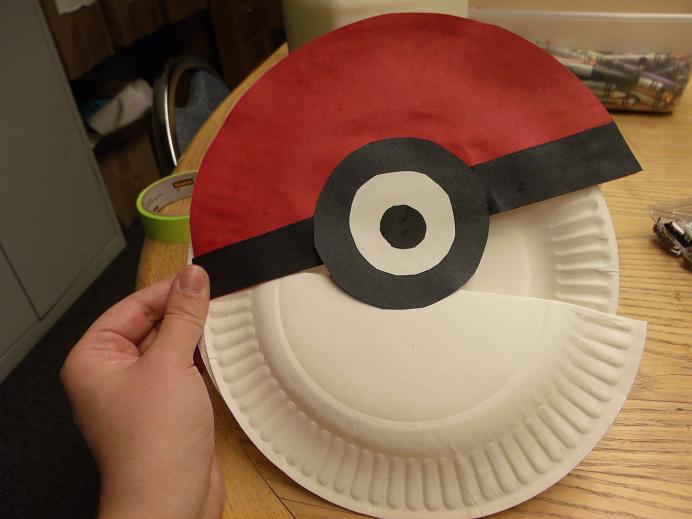
Make a Pokeball with Paper Plates
Here’s a fun and inexpensive way to make a Pokemon from just some paper plates, construction paper, glue, paper brads, and crayons. This would be a fun school craft for kids! Or maybe even a birthday party craft. Check out the tutorial at Gotta Catch ‘Em All! Make Your Own Poké Ball
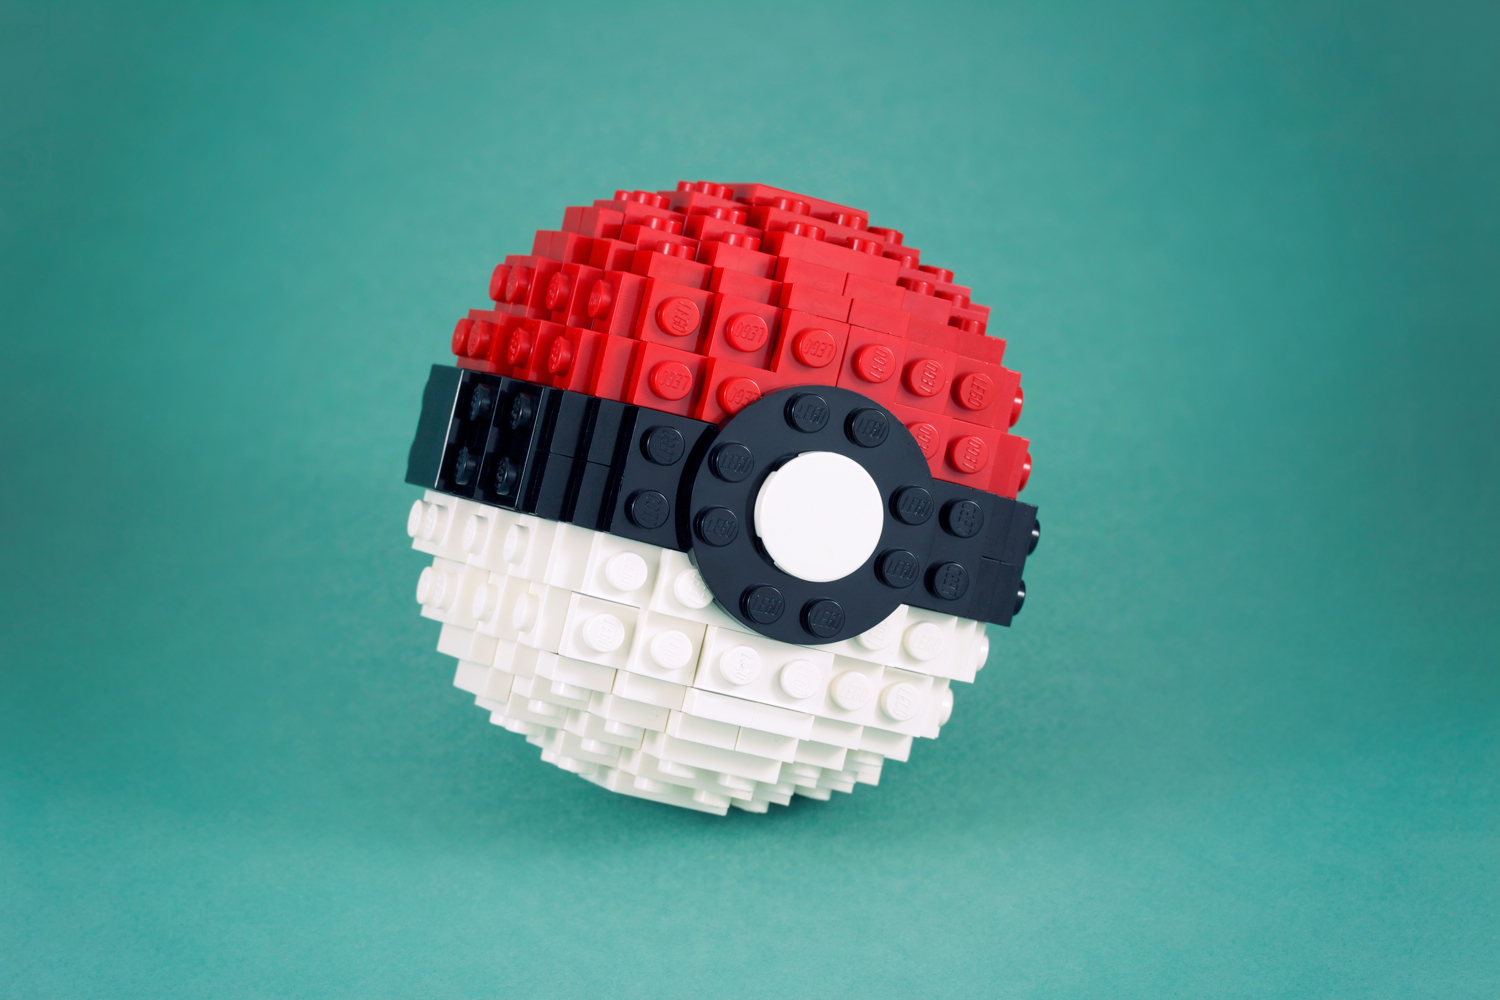
Make a Pokeball With LEGOs
This is a fun way to make a DIY Pokeball for LEGO fans! This one doesn’t open, but it looks fantastic. You can get the LEGO Digital Designer file from the maker (Chris McVeigh) at his Flickr site.
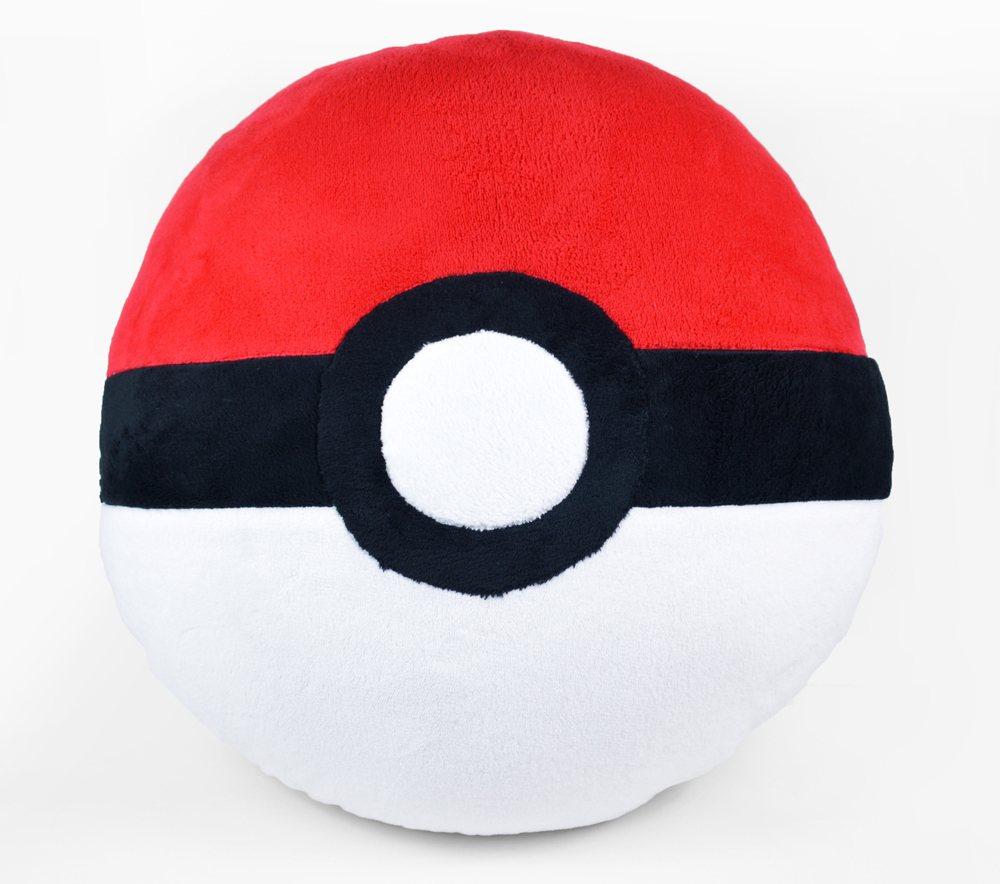
Make a Pokeball With Fabric
How about a pillow Pokeball? You can make a supersized Pokeball pillow with fleece for something that will hit a little softer when thrown. (‘Cause you know it’s gonna get thrown.) Download the complete PDF plans over at Free Pattern Friday! Supersized Pokeball Pillow
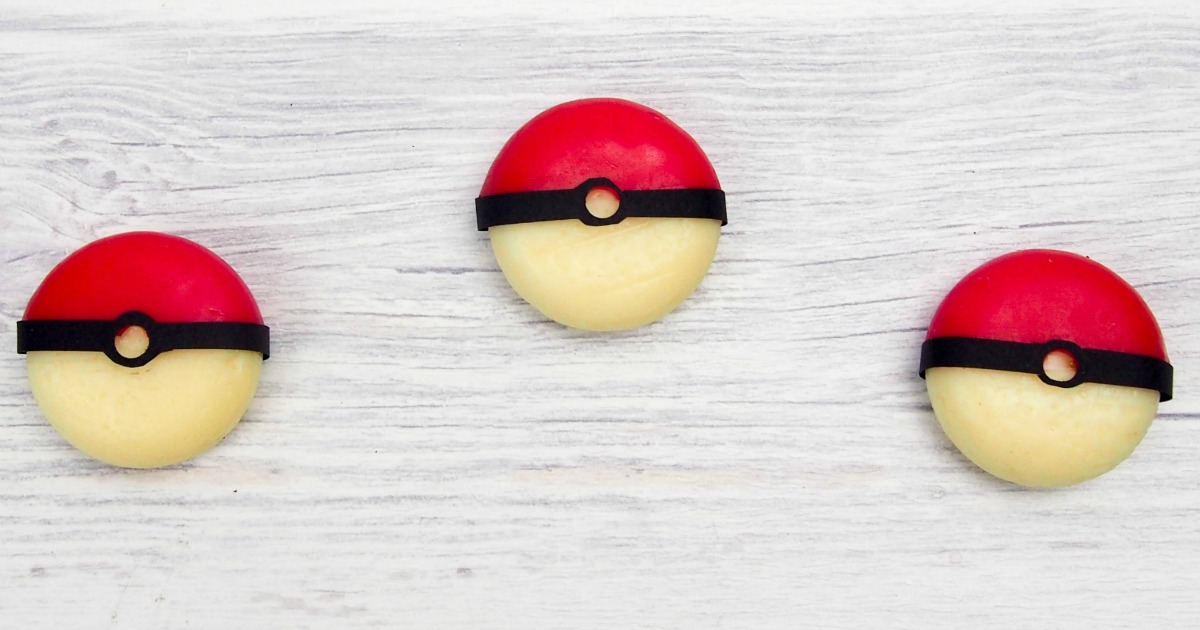
Make a Pokeball With Cheese
Oh my gosh, this is such a great idea! You can turn a babybell cheese into a Pokeball! Just cut off half of the red coating and put some black tape around them. Check out all the steps to make these adorable, edible Pokeballs at Easy Edible Pokeballs
Looking for more inspiration? Check out Here’s Everything You Ever Wanted to Know About Pokéballs to learn all about pokeballs, their variations, and their uses in the Pokemon world!
DIY Pokeball Uses
While writing this post I’ve thought of so many ways you could use my DIY Pokeball, so I thought I’d jot them down. Perhaps it will inspire you!
- Birthday party invite (put a card inside with the birthday party details)
- Birthday party favor (put candy or little toys inside)
- Birthday party game (hide them around and put something special inside to collect for points)
- Birthday party skeeball (make a set of rings from various sizes of plastic containers and let the kids go crazy!)
- Birthday gift (hide a little toy pokemon inside … or whatever)
- Birthday party decoration (put them on the food table, hang them about, etc.)
- Christmas ornament (set them on a branch or hang them)
- Christmas gift (with a little trinket or folded origami inside)
- Christmas tag (with the recipient’s name inside)
- Pokemon trainer cosplay or Halloween costume accessory
- Eraser container for school (keep all those little things from falling to the bottom of the backpack, desk, or locker)
- Backpack decoration (Alexa and I made one out of felt for her Diglett backpack, but this would look so much better)
- Ear buds container (gotta keep those things from tangling somehow)
- Mini TsumTsum house (yeah, I know, we’re mixing two things — still fun!)
- Mini Pokemon container (well duh!)
- Wrapped food or candy container (the paint is non-toxic, but I’d still rather only put wrapped food inside it)
- Confidential letter carrier (throw it to a friend!)
- To-go LEGO container (put in a car drink holder to keep it from rolling around!)
- Bath bomb holder for travel (check out my tutorial on making bath bombs)
- Gift card holder (if you make your pokeballs from the 100mm size plastic balls)
- Super geeky jewelry or engagement ring box (“I choose YOU!”)
I’m sure I’ll think of more — I’ll add them later! But I’d love to hear how YOU use these DIY Pokeballs? What did you put inside them?
Thanks!
Thanks so much for reading my DIY Pokeball tutorial! I’m also working on a very long post all about planning a Pokemon Go birthday party. (Our Epic Minecraft Party (with Games and Printables) was such a hit that we want to do something similar again!) Yep, that’s where I got the idea for the DIY Pokeballs. I think invitations play a big part in a successful party, and I want to make some really knock-out invitations with these Pokeballs. I’m already thinking ahead to next year’s birthday. I’ve got some fun ideas for Pokemon Go-themed games and food. I’ve already started on the printables so folks can download them for their own parties.
Please let me know if you have any questions about how to make these DIY Pokeballs! And do leave a comment if you make them.

So good! And on trend! Just in time for halloween!!
Jenna from http://www.visionsofvogue.com
Thank you for the kind words!
That is a really good idea. Kids are crazy about Pokemon. We need to make some of these for our grandson’s. Thank you for the detailed instructions.
Great idea!
really love this. I am sure my nephew would like this as well.
This is so cute! I know so many kids who would love this craft.
Thank you! I agree — definitely fun for kids! My son wants one, too!
What a fun DIY!