
Learn the easy way to etch glass using vinyl decals you can cut on your Cricut and glass etching cream!
I get a lot of questions about how to decorate and personalize mugs and glasses and STILL make them dishwasher and microwave safe. One of the best ways to do this is to etch your glass rather than apply vinyl to it as vinyl can come off in the dishwasher and it is most definitely not microwave safe. And yet you can STILL use your cute vinyl decals when you etch your glass. You just use them as stencils instead! And I can show you how to etch glass the easy way with vinyl decals and etching cream. I also have a tutorial to show you how to use etching cream to personalize an etched casserole dish.
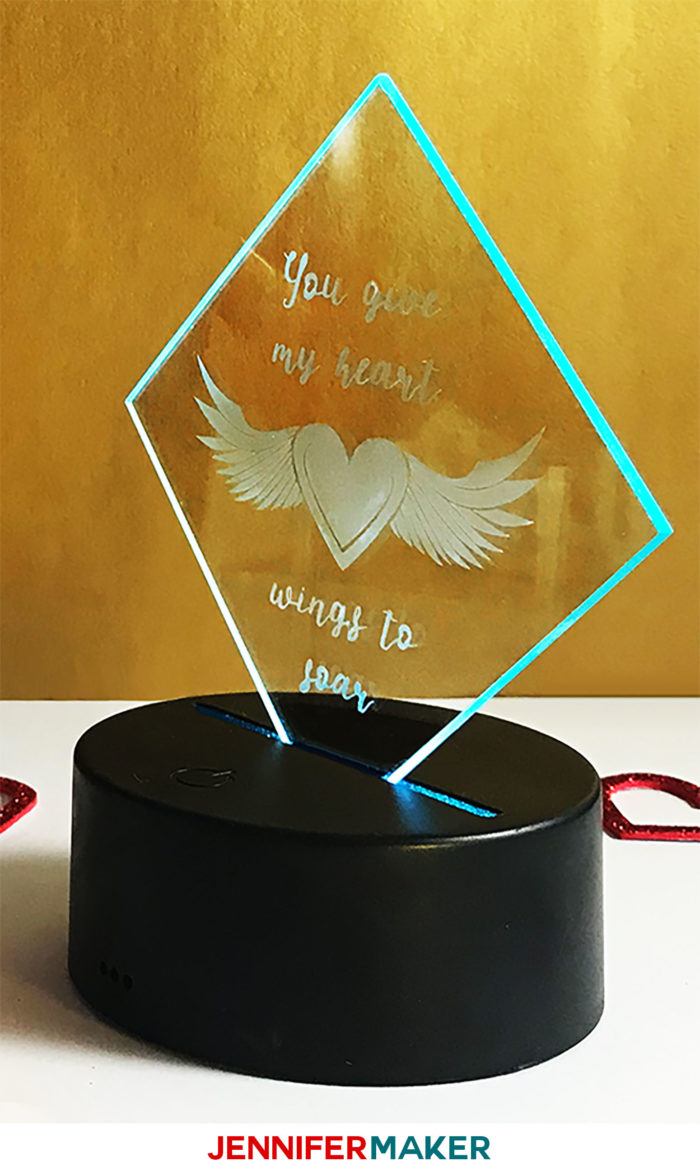
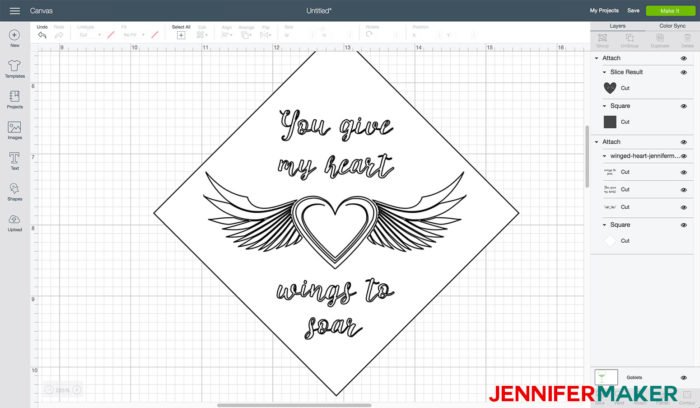
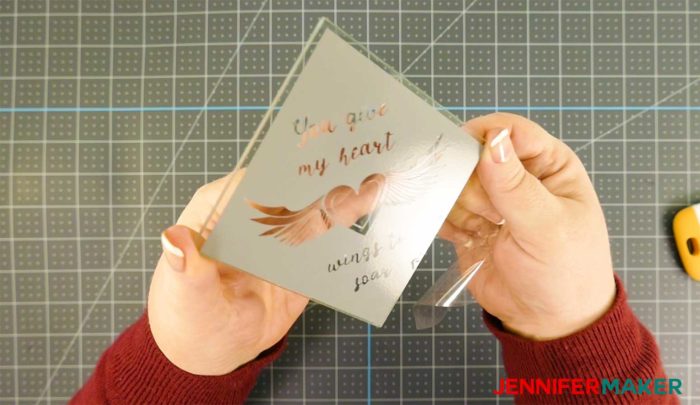
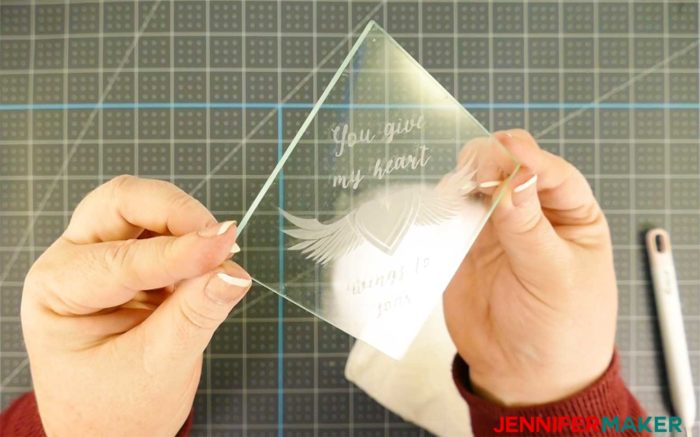
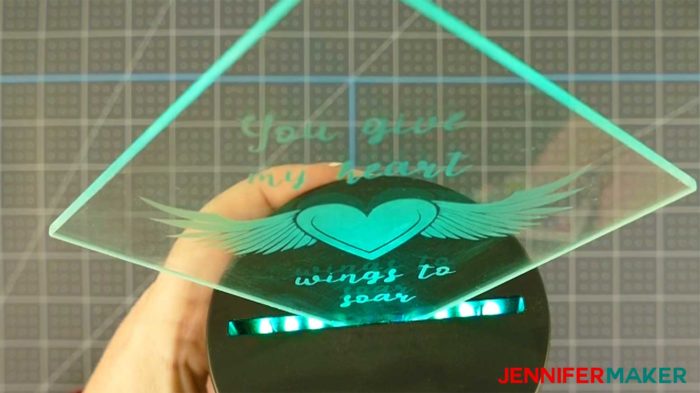
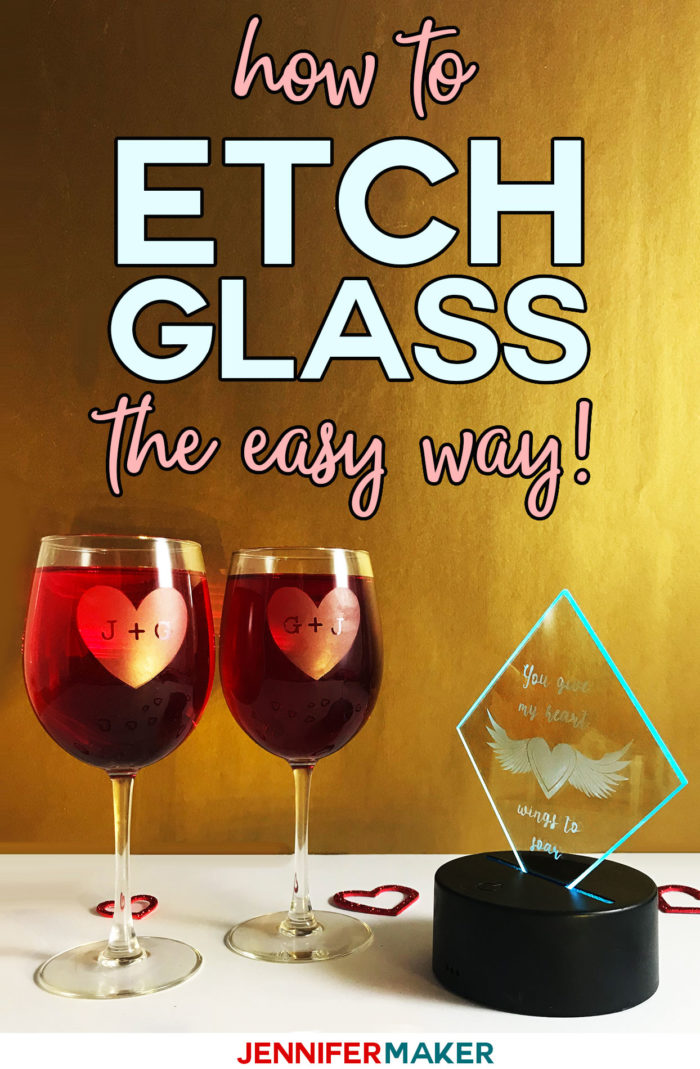
To show you how glass etching works, I did two projects. The first — and easiest — is to use flat glass. This is a sweet little winged heart etched onto a simple (and inexpensive) glass coaster. I’ve mounted it into an LED base that illuminates the design when turned on. I’ll show you exactly how to etch this and put it in the light-up base in this tutorial video!
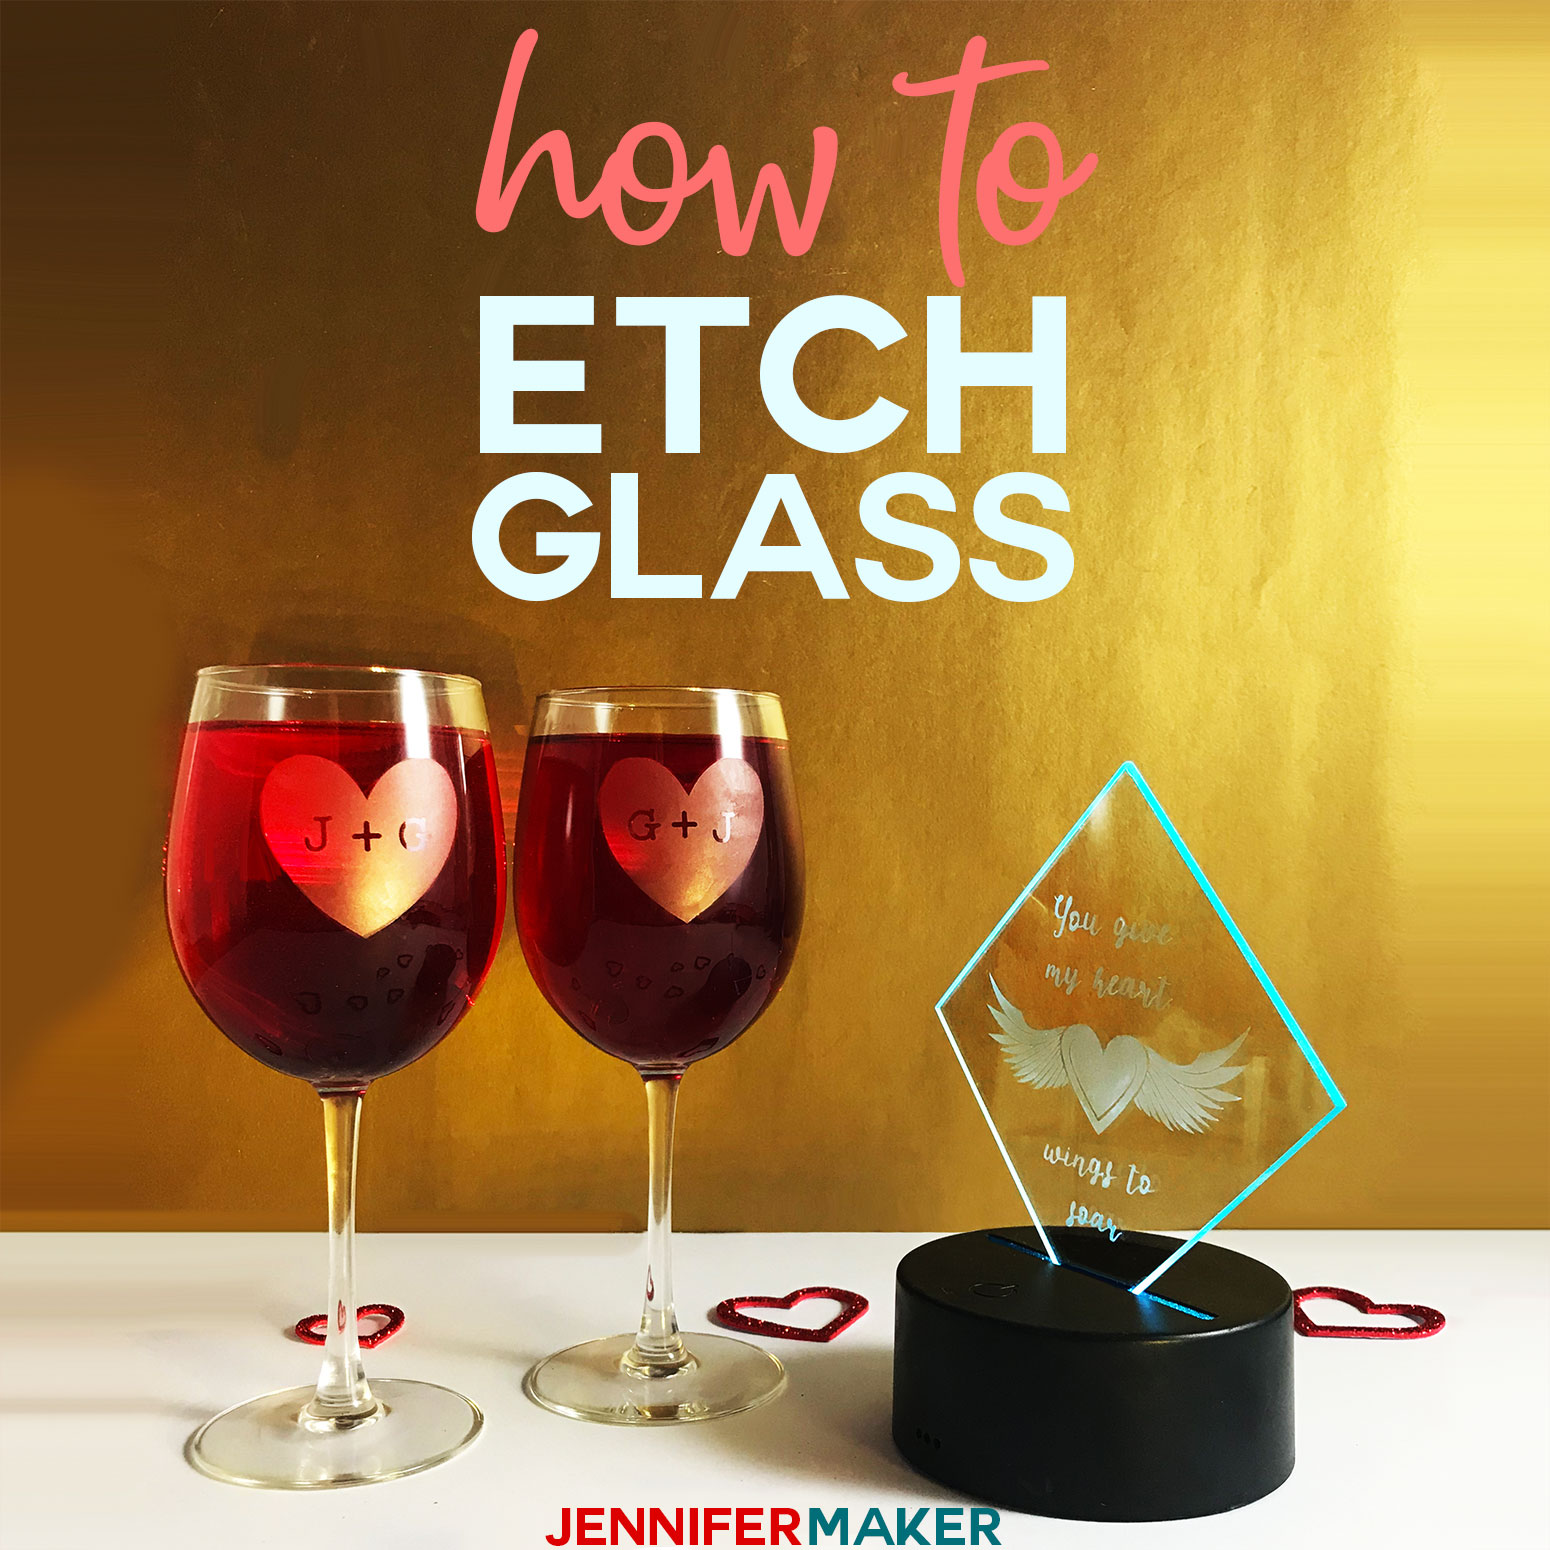
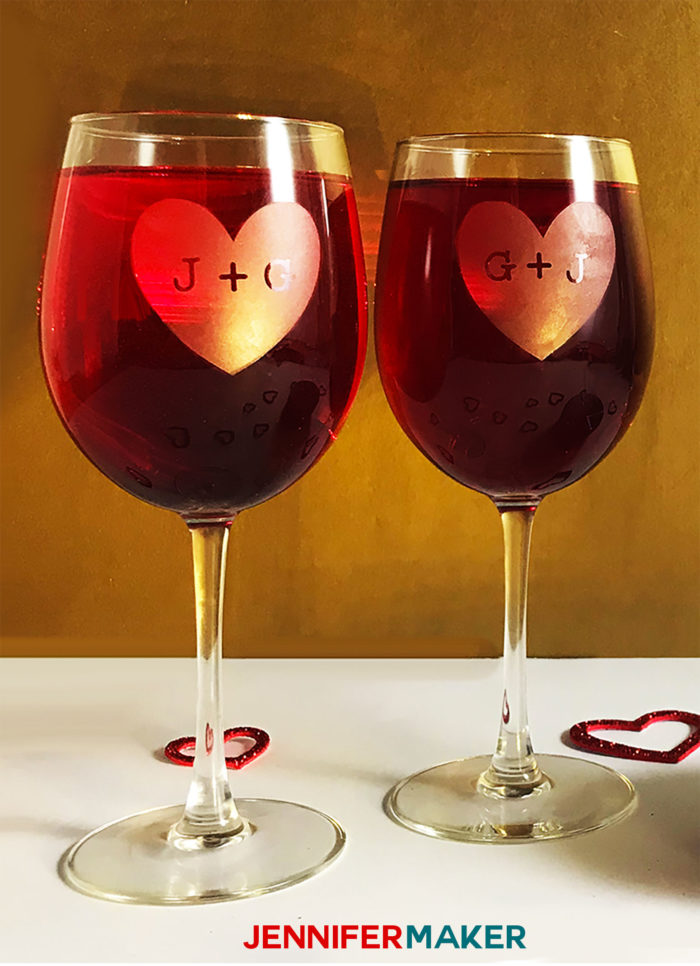
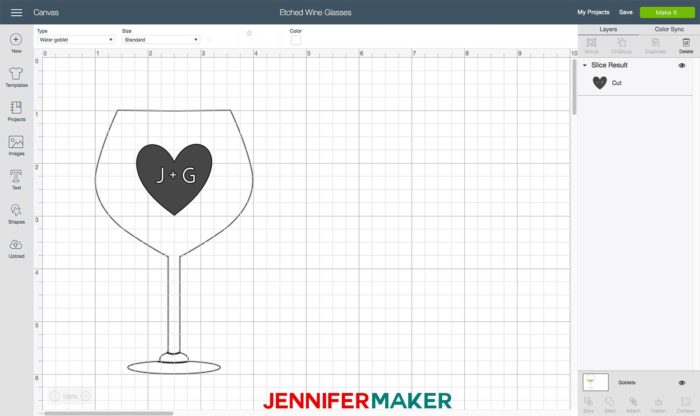
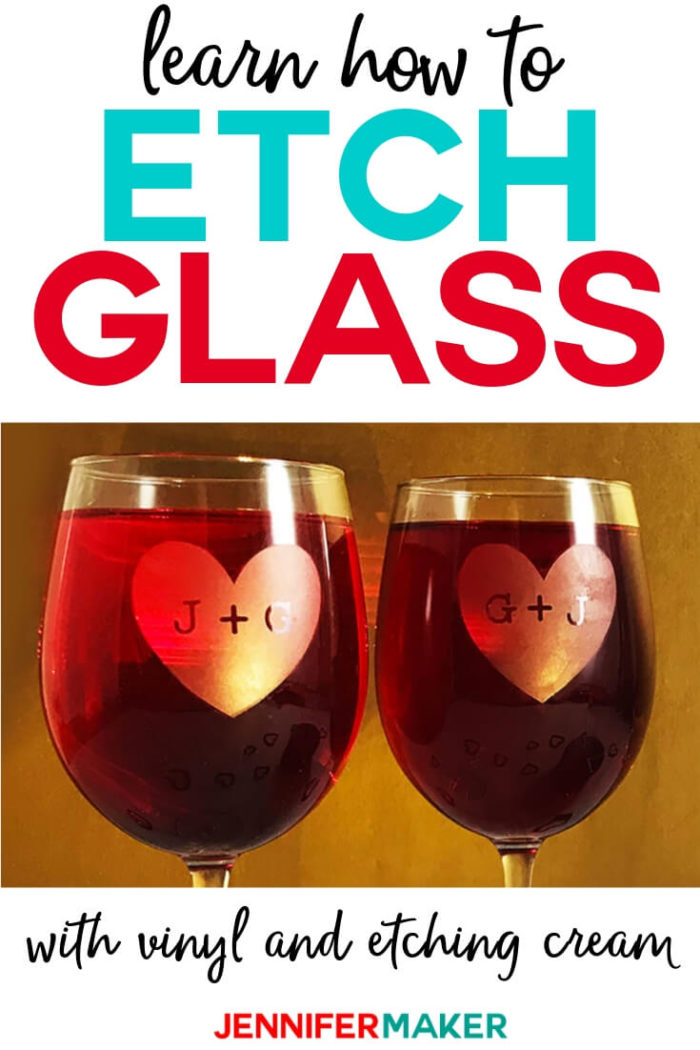
My second project is these wine glasses, which make a great companion to my DIY wine gift bags! If you are hosting a party, then this wine bottle serving tray will finish out a great theme! The rounded surface makes applying the vinyl more of a challenge, and I’ll show you what designs work well and which ones will cause issues. I even show you how to create this cute heart design with your own initials. I think these etched wine glasses are really classy.
To etch both of these projects, I used an acid etching cream called Armour Etch. It’s easy to get and it’s really quite easy to use. But it is an acid, so you’ll want to wear gloves and protective eyewear. In addition to that, you’ll need a vinyl decal or a way to cut one — I will show you how I made mine on my Cricut in this tutorial.
Now I love to experiment, so while doing this project I tried some different things so YOU would know what worked best. I tried two different types of vinyl — premium vinyl and stencil vinyl — along with different decal designs, varying quantities of etching cream and lengths of time. I’ll show you what worked best so you can avoid the pitfalls.
So let’s first show you how to create and cut a vinyl decal for etching with this video that shows you exactly how to etch glass the easy way with a vinyl decal and Armour Etch:
I’m excited to show you how to etch glass! This post contains some affiliate links for your convenience (which means if you make a purchase after clicking a link I will earn a small commission but it won’t cost you a penny more)! Read my full disclosure policy.
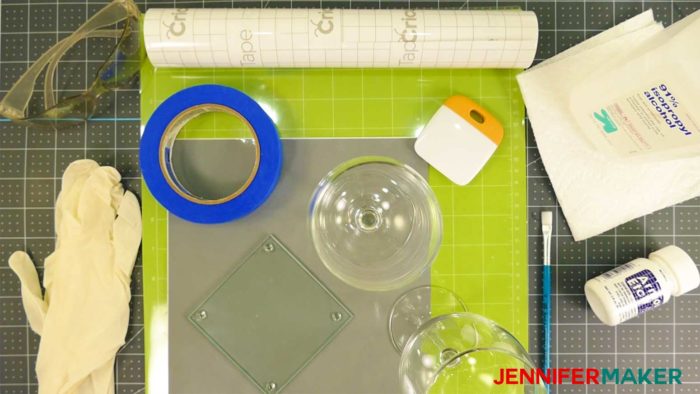
Materials for My DIY Glass Etch Projects
- Armour Etch glass etching cream
- Glass to etch (I used these glass coasters and these wine glasses)
- Premium vinyl
- Transfer tape
- Paintbrush, small (no foam brushes)
- 91% isopropyl alcohol
- Scraper tool
- Masking or painter’s tape
- Disposable gloves
- Eye protection
- Access to a sink or running water
- (Optional) LED base for the glass coasters
- (Optional) Hot glue gun and glue to attach your glass to the base.
- StandardGrip Cutting Mat (the 12″ x 12″ size)
- A way to cut your vinyl (I used the amazing Cricut)
- Design #137 – My free SVG/DXF/PDF cut files/patterns (available in my free resource library—get the password at the bottom of this post)
How to Etch Glass with Vinyl Decals and Armour Etch
Step 1: Get the free pattern and gather your materials
You’ll find my free Winged Heart pattern (Design #137) in my resource library (you can get a password at the bottom of this post). Note that this pattern is available in SVG, DXF, and PDF formats.
If you’d like to make the heart with initials in it, watch my video where I show you exactly how to do that. You can also view it over in Design Space if that’s helpful to you.
You’ll also want to gather your materials — don’t forget the protective gloves and glasses!
Step 2: Get a vinyl stencil
You can buy vinyl stencils from craft stores and places like Etsy, but you can also easily make them on cutting machines like a Cricut. Use premium (self-adhesive) vinyl — avoid stencil vinyl if you’re putting it on a curved surface.
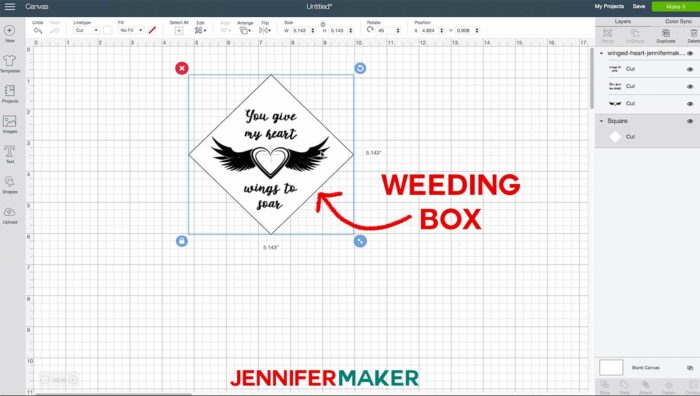
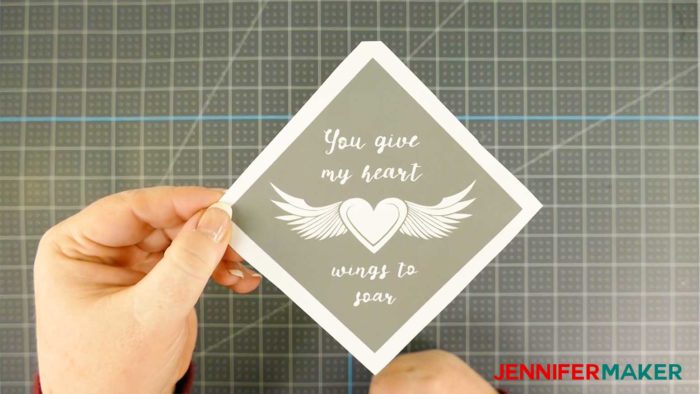
I recommend you make a weeding box around your design that’s just a bit smaller than the glass surface you’ll be applying it too. This makes it easier to weed and to place it on your glass. This is particularly great for stencils!
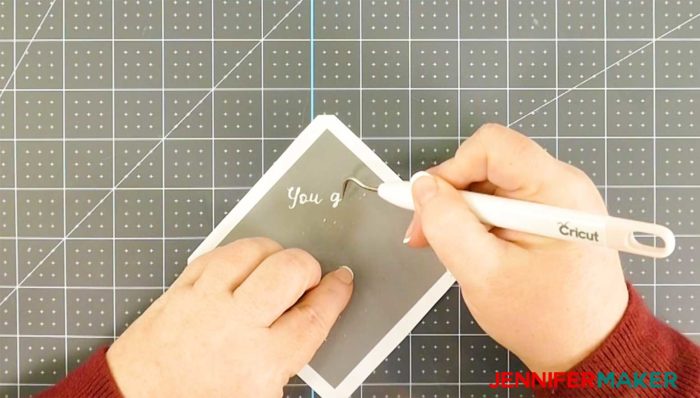
Carefully reverse weed your design. (Reverse weed means you’re only removing the vinyl you want your etching to appear under.)
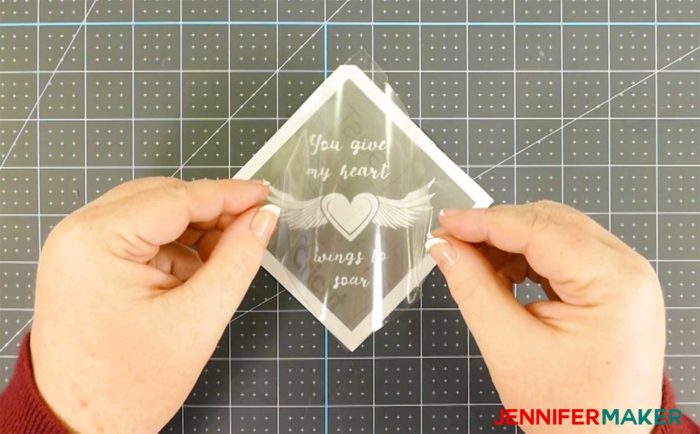
Once your vinyl is weeded, cut a piece of transfer tape the size of your vinyl backing and apply it to the front of the vinyl decal.
Using your scraper, go over the entire decal to make sure it adheres to your transfer tape.
Gently remove the backing from the vinyl. Your decal is now ready to transfer to your glass!
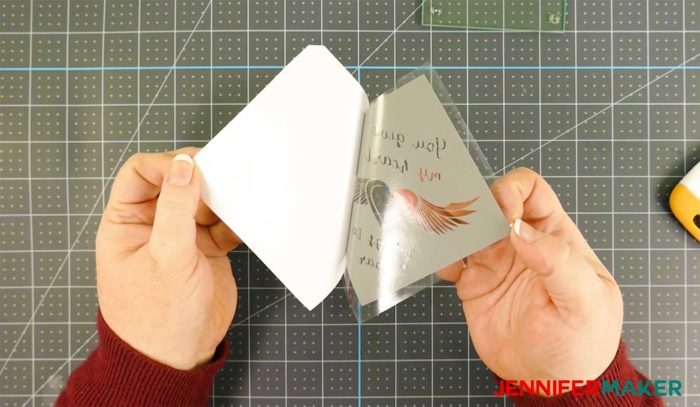
Step 3: Apply your vinyl stencil
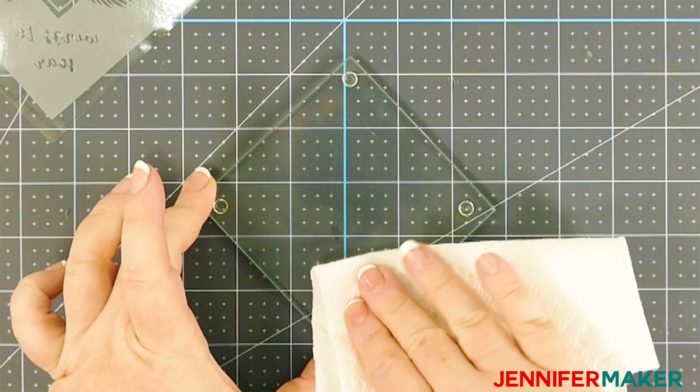
First, prep your glass by cleaning it well with 91% isopropyl alcohol and allow to dry.
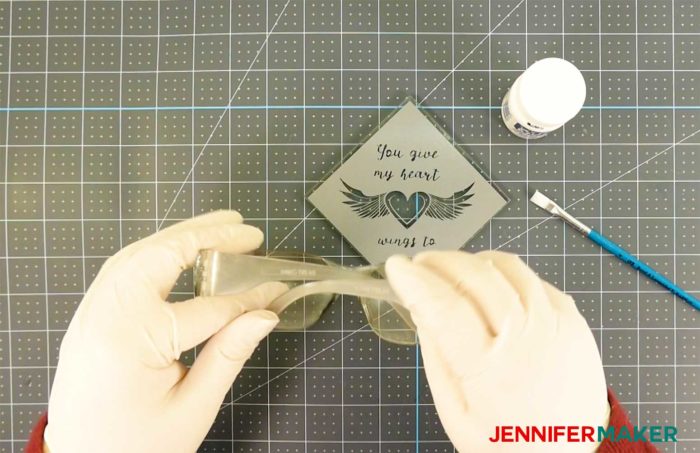
Next, carefully place your vinyl decal on your glass. I recommend you curve your decal a bit so only the center touches the glass, then press from the center out toward the edges to smooth it into position. This will give you a better seal without creases or bubbles.
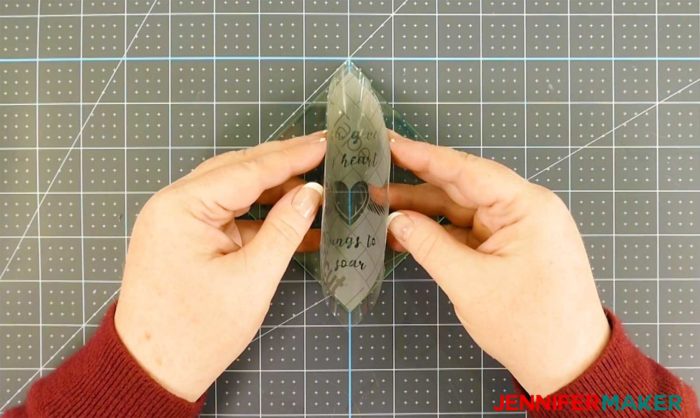
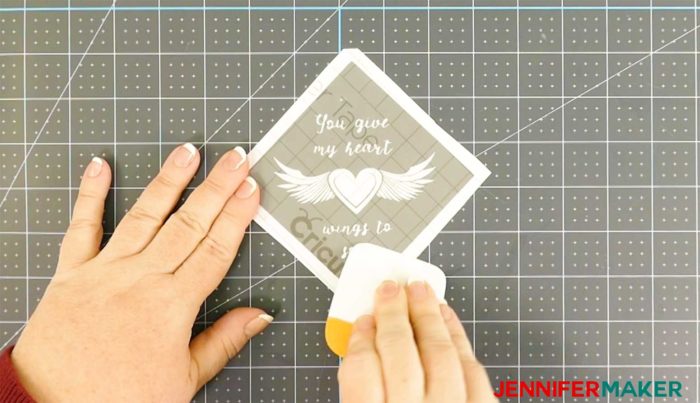
Use your scraper over the entire surface of the vinyl to adhere it well to your glass. Gently remove the transfer tape, leaving only the vinyl.
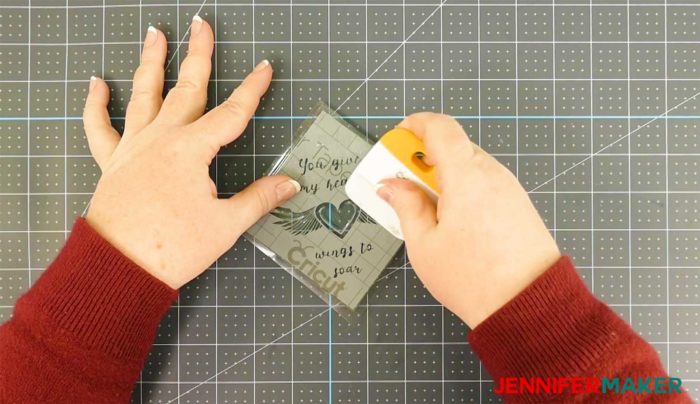
Your goal is to have no wrinkles or creases at the edges of the design.
Note: If you are placing your vinyl decal on the curved surface of a wine glass, you WILL have wrinkles in the beginning. Get what you can pressed and scraped down well, then remove the transfer tape.
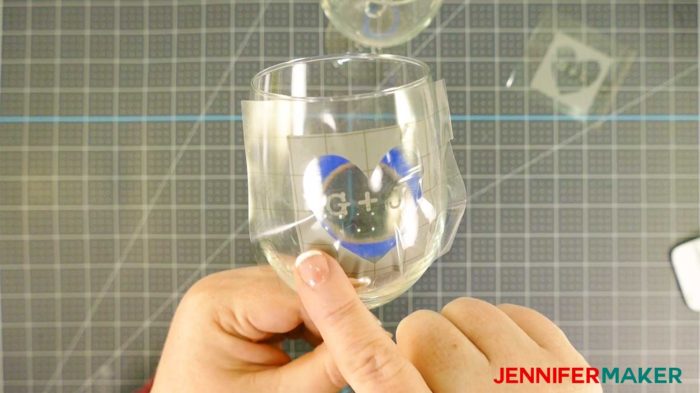
With the tape removed, check to see if you have wrinkles at the edges of your design. If so, lift up on the vinyl in those spots and gently pull the vinyl away from the center of the design to get it to conform to the curved surface. Watch my video to see how I do this.
If you don’t have a wide margin on your vinyl decal, put some masking or painter’s tape around the edge of the vinyl to prevent getting any etching cream there.
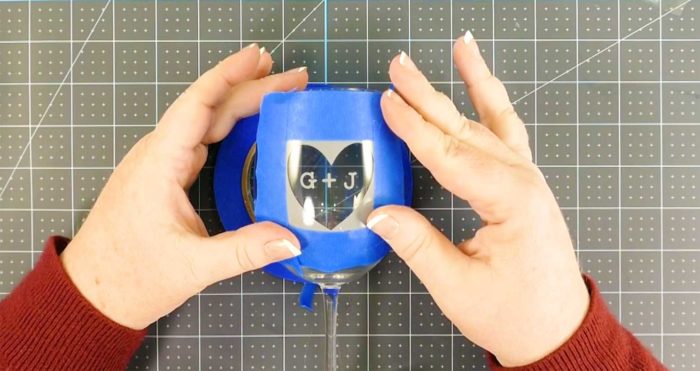
Step 4: Brush the etching cream on your glass
Now you’re ready to etch! First, remember to wear gloves and protective glasses. You should also shake or stir your Armour Etch etching cream before you use it.
Using a regular brush (avoid foam brushes), brush on the minimum amount needed to cover the glass. You do NOT need to gob it one.
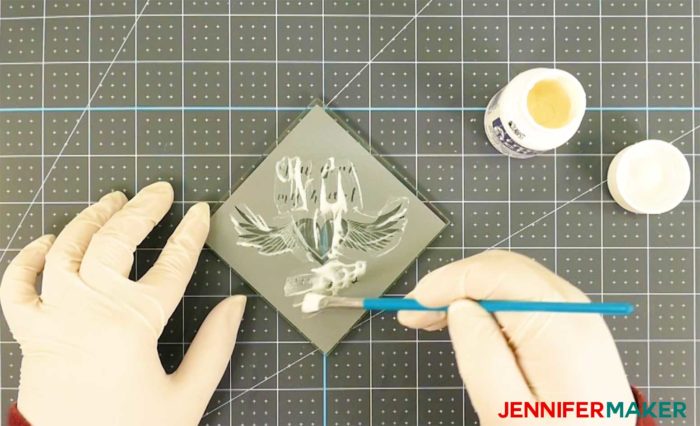
Brush the etching cream around for three full minutes. Brush up and down, side to side, and diagonally. Keep the cream moving around your design, getting into every nook and cranny.
Follow along in my video!
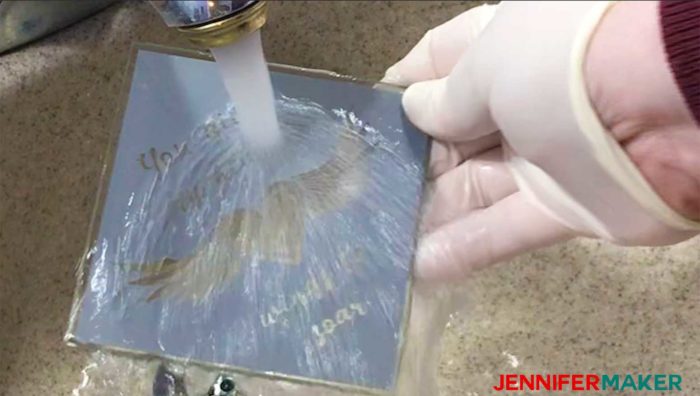
Step 5: Rinse off the etching cream and remove your vinyl
After three minutes, rinse off the etching cream (or if you used a lot, scrape it back into the container first and then rinse). Make sure you get ALL of the cream off. You do not want to accidentally touch it or get it on your work surface.
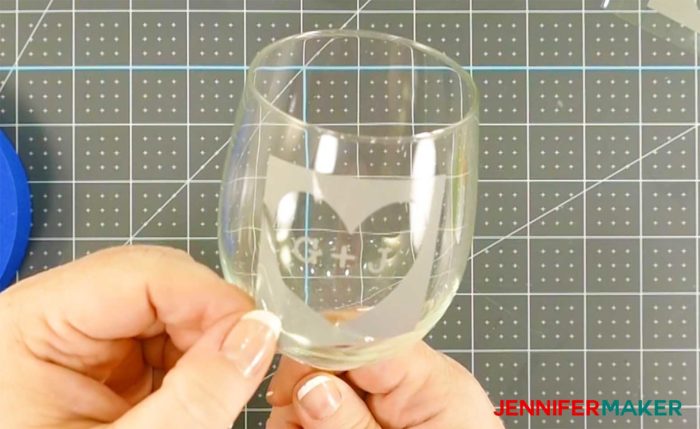
Once it’s rinsed, dry it off and remove the vinyl. If you used permanent vinyl like me, it may take a little effort but it WILL come off.
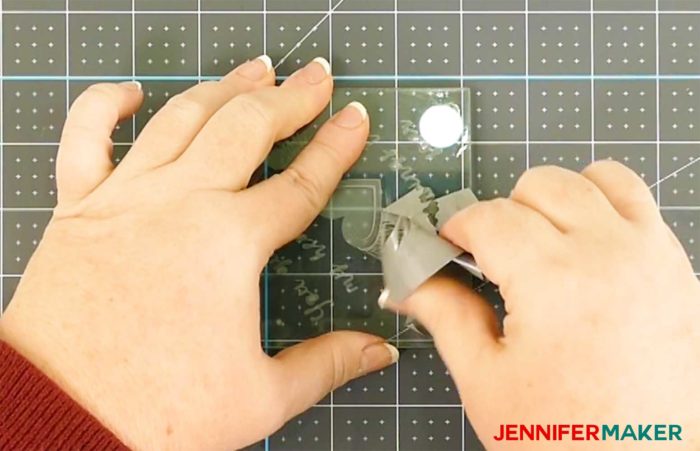
After you have removed all of the vinyl, wipe down the surface again with rubbing alcohol.
Follow along in my video!
And that’s it — enjoy your beautiful etched glass!
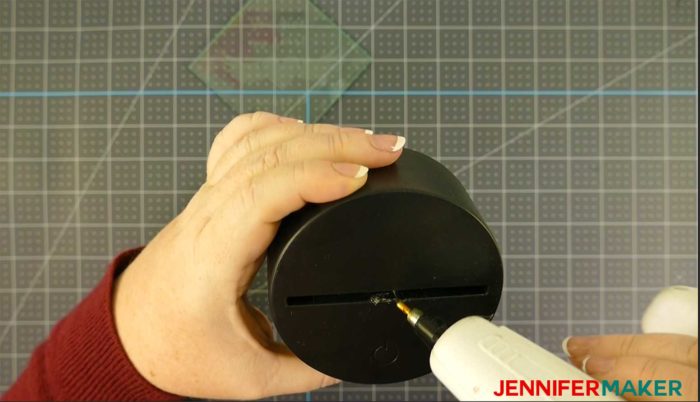
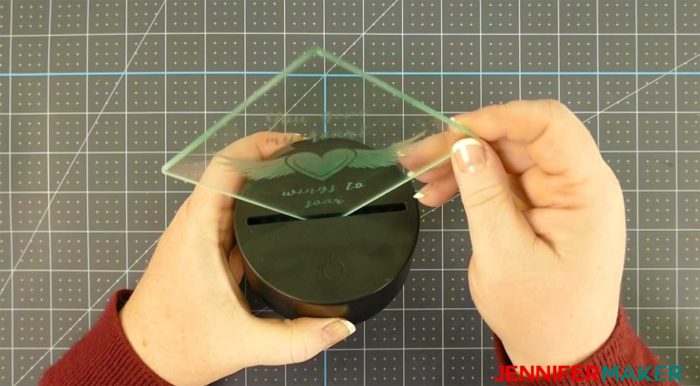
TIP: If you make a glass coaster as I did, you can buy LED lamp bases with slots to display your etched glass. the LED lights up your etching beautifully!

Get my free SVG cut files for the Glass Etching (Winged Heart)
Download my free winged heart cut file by subscribing (free) below to get the password to my resource library.
If you etch glass using this tutorial, please share a photo in our Amazing Cricut Facebook group, or tag me on social media with #jennifermaker.
Love,

Want to remember this? Save the Glass Etching Step-by-Step Tutorial to Your Favorite DIY Pinterest Board!

Will the etching work in stainless steel cups too? Tumblers? Any other than glass?
No, I don’t think the etching cream works on metal. The only other place I know that it works is ceramic.
I am really enjoying your videos. I debated for a long time about a new cricut, but so glad I found you to follow. I want to make baking dishes for my girlfriends for Christmas, so looking forward to buying some etching cream!!
Does it matter what color the premium vinyl is , when etching?
No, it does not matter what color you use!
This may be a dumb question but…When you say premium self adhesive vinyl is it permanent or removable?
It is permanent and definitely not a dumb question!
can you use the vinyl more than once, or do you need a new stencil for each piece?
I think you’re really only going to be able to use the vinyl once.
Can you etch a mirror?
You can, as long as you are using the techniques in this tutorial, Debbie! That is, making a stencil and then using Armour Etch. Trying to put a mirror directly through your Cricut will not work! 😊