
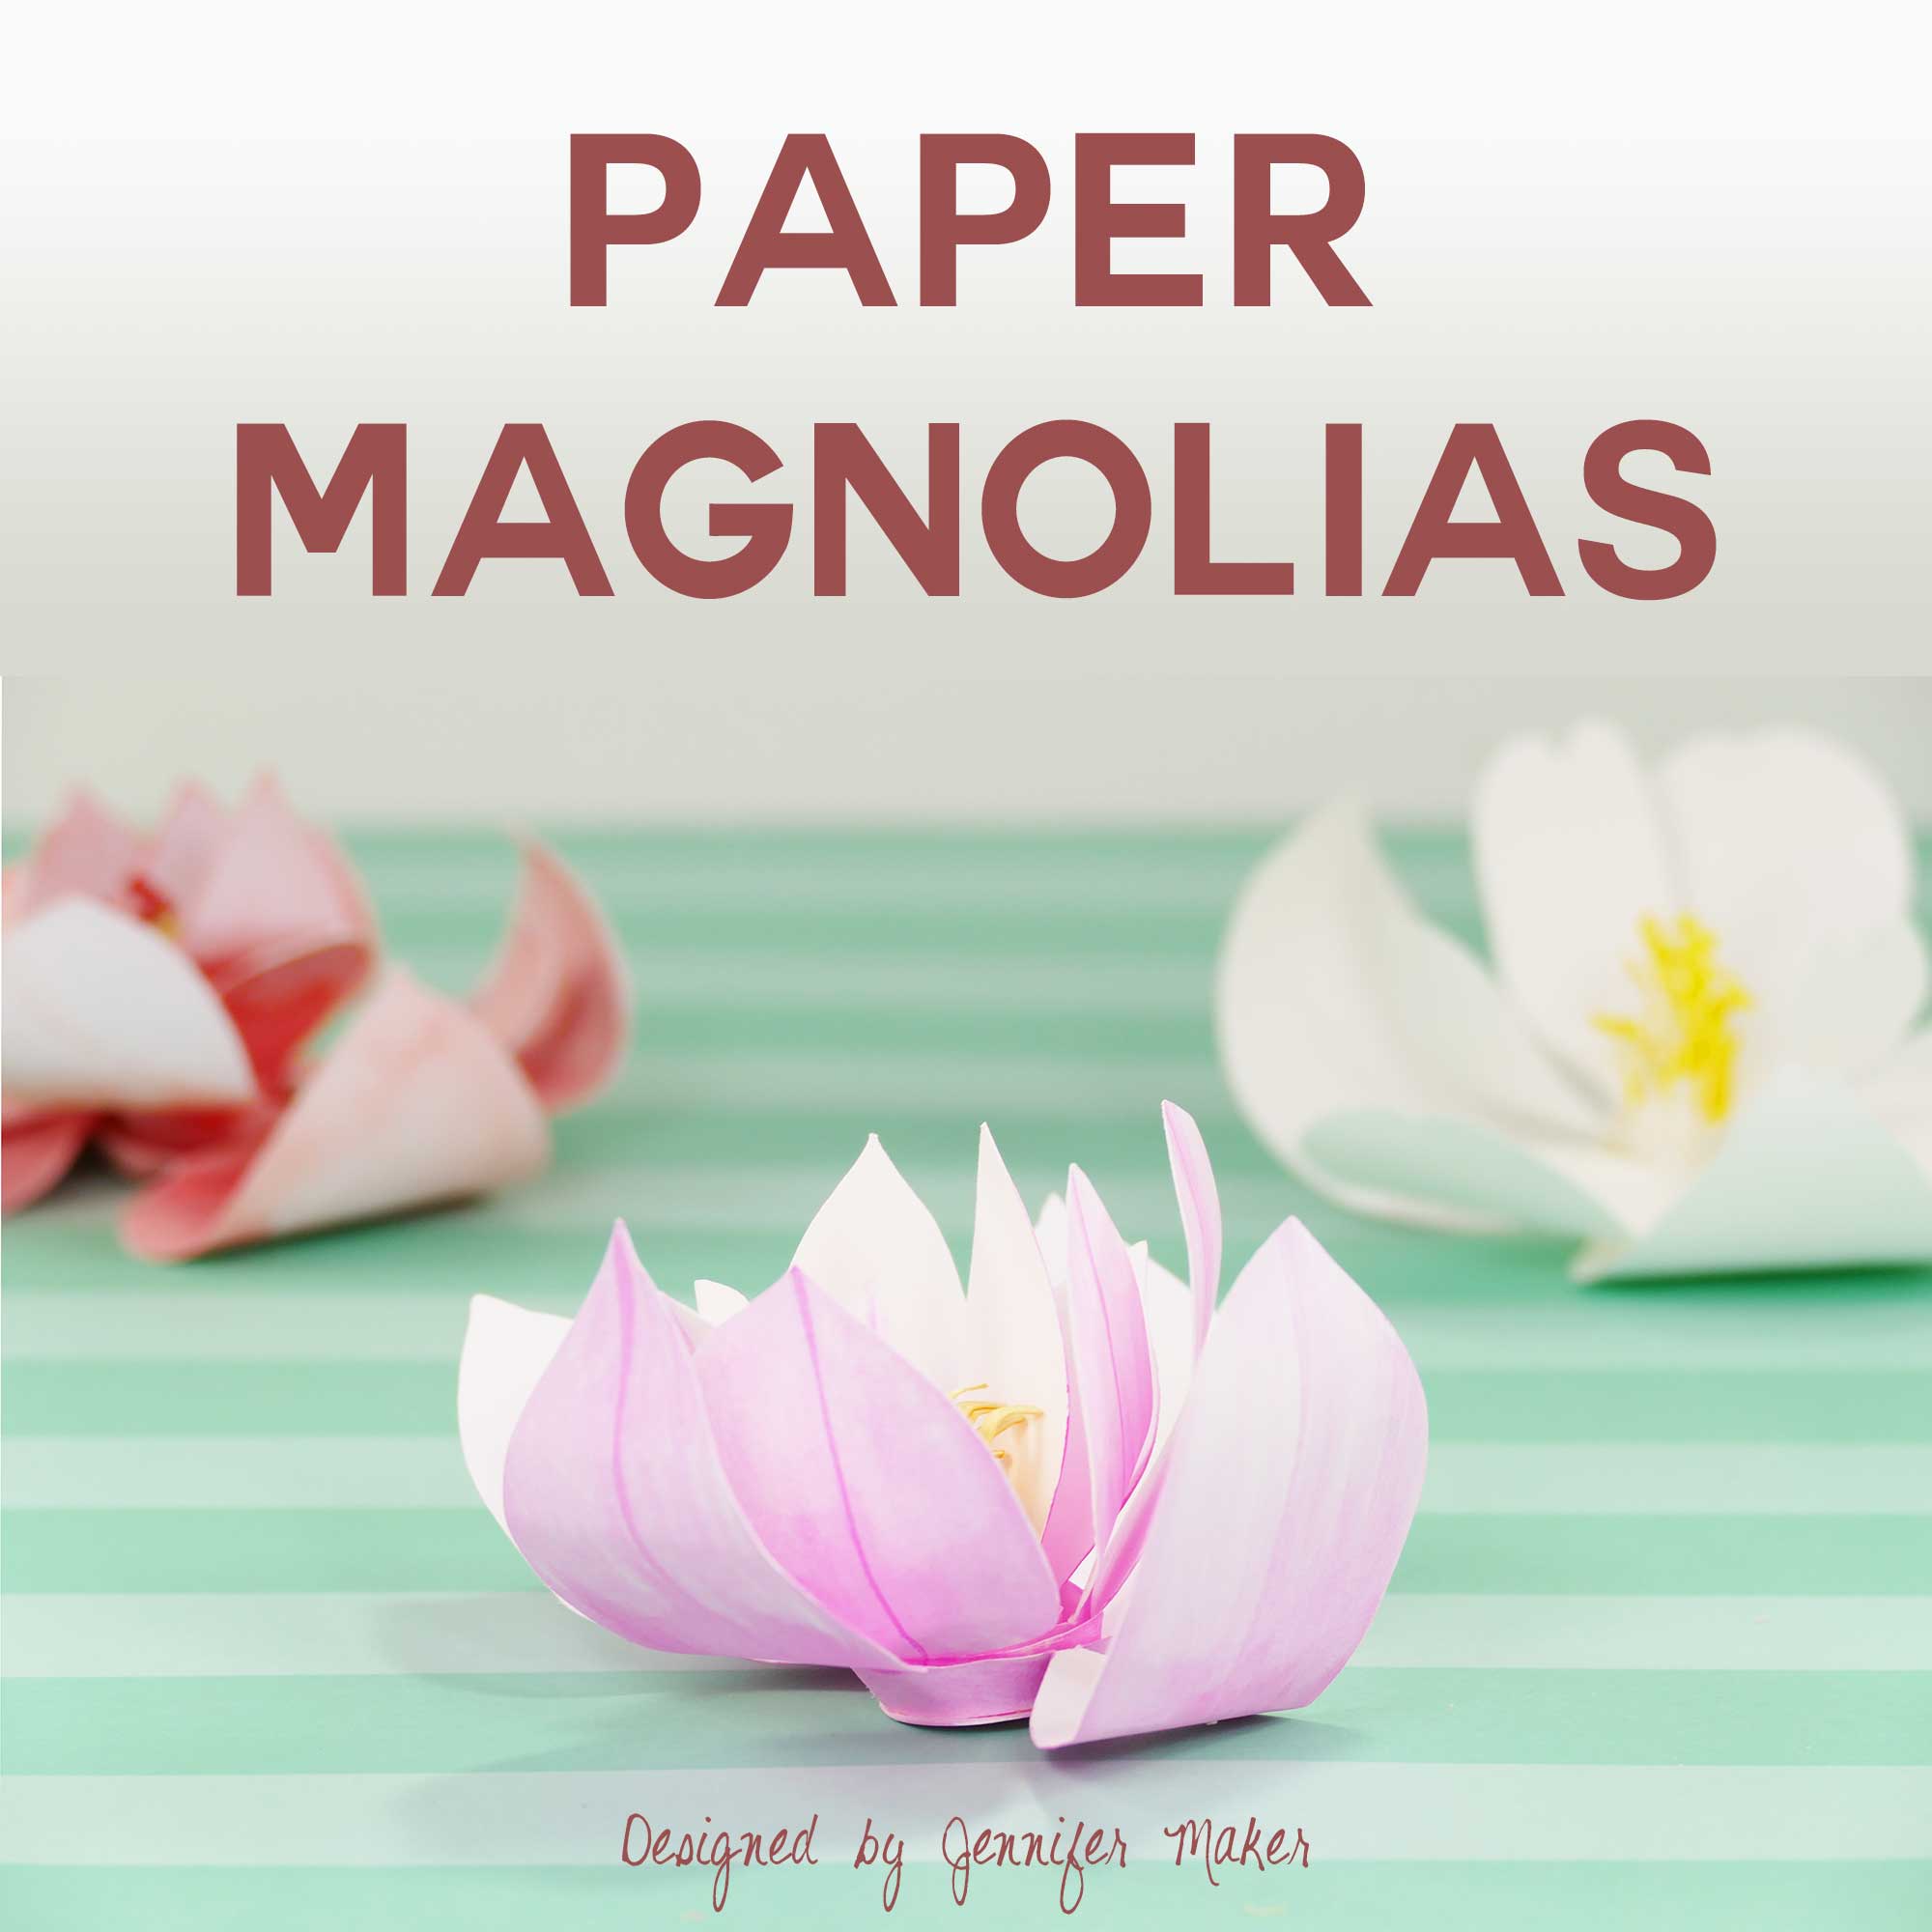
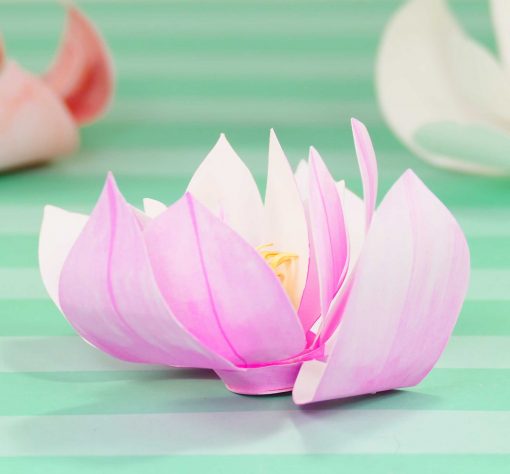
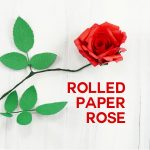
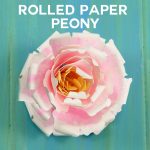
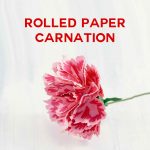
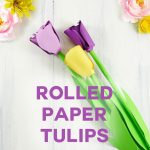
I couldn’t resist the lure of designing another paper flower after I had so many requests for it. I hope you don’t mind too much. Thus, I present my two different designs for paper magnolias—one with nine petals, and one with 12 petals. Like my peony, rose, carnation, and tulip, these petals are traced from real magnolia petals.
This post shows you exactly how to make your own paper magnolias! I personally prefer the 12-petal version over the 9-petal version, simply because it’s a little easier to arrange the petals the way I like them after I roll them up.
https://forms.convertkit.com/175463?v=6
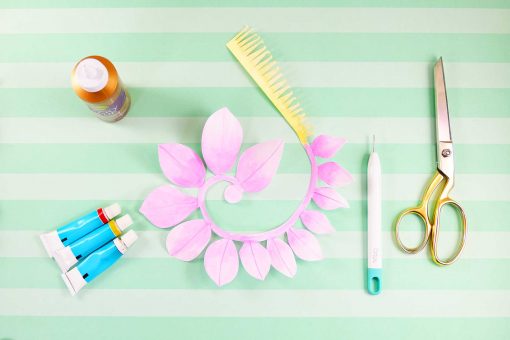
Paper Magnolia Materials
Some of the items below are affiliate links for your convenience.
- Design #21 Pattern (both the magnolia outlines and cut files are available free in my Resource Library — get the password by subscribing for free).
- Paper (you can use regular paper or card stock, white or colored, plain, printed, or painted) — I used plain white cardstock for the white magnolia and the hot pink magnolia, and water color paper for the reddish pink magnolia)
- Scissors or a cutting machine, like the amazing Cricut Explore Air 2
- Quilling tool (I used the Cricut tool that comes in the paper crafting set)
- Glue (I like Aleene’s Original Tacky Glue) or a hot glue gun
- (Optional) Markers and/or watercolors (in the magnolia pictured in this tutorial, I colored the outside of the petals pink, just like a real pink magnolia, and I put yellow on the stamen)
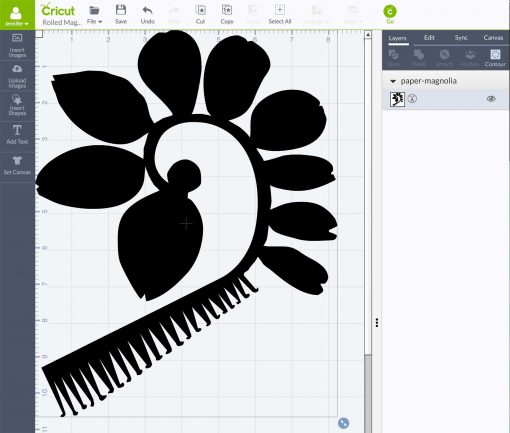
Rolled Magnolia Step-by-Step Tutorial:
Step 1: Cut out your preferred magnolia pattern Design #21 (9-petal or 12-petal). Use scissors or your Cricut, whichever works best for you.
Step 2: (Optional) Color the petals and stamen of your magnolia. Colors range from pure white to various shades of pink.
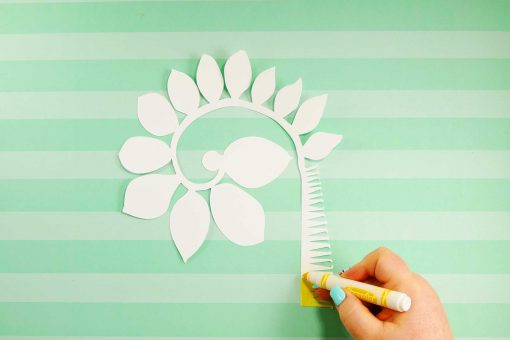
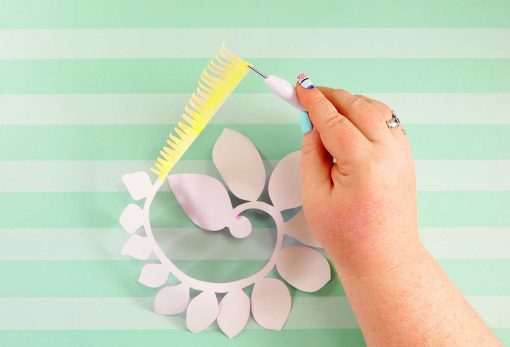
Step 3: Curl the stem tops over using the edge of your quilling tool.
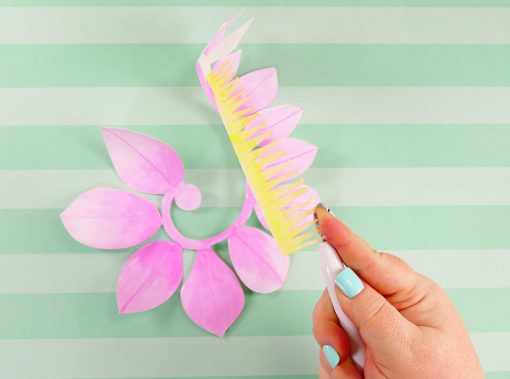
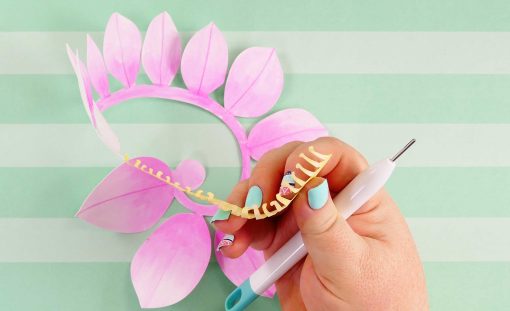
Step 4: Insert the loose end in the slot in your quilling tool. Roll toward you, keeping the bottom edge aligned with itself as much as possible.
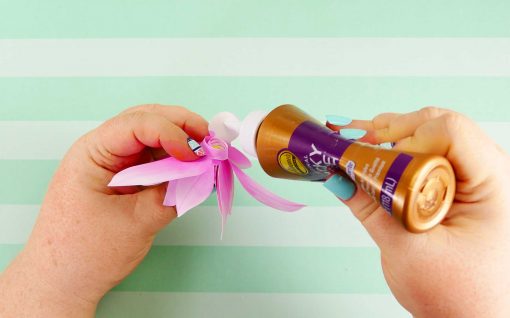
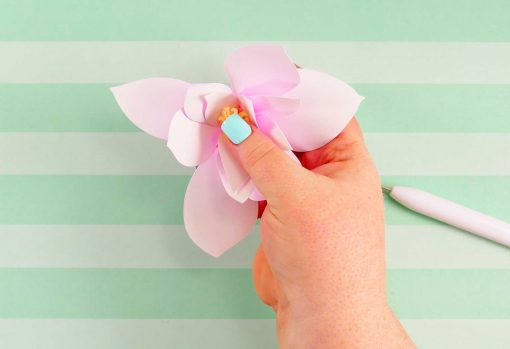
Step 5: Fold up the circle on the bottom, put glue on it, and glue your petals down. Feel free to arrange the petals to your liking, before the glue dries. Once arranged as you want it, hold the petals and center of the magnolia down against the circle as it dries.
 \
\
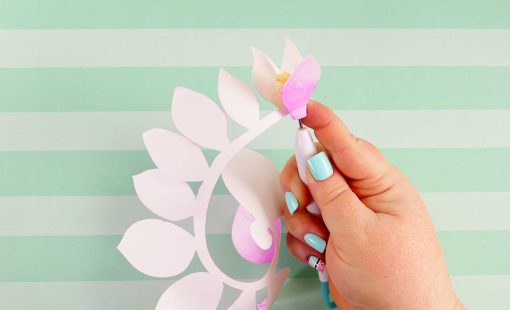
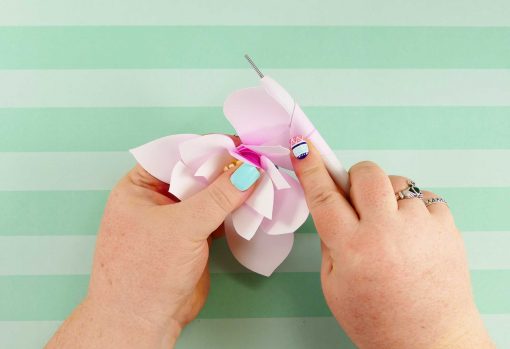
Step 6: Curl your petals up and inward with the round edge of your quilling tool.
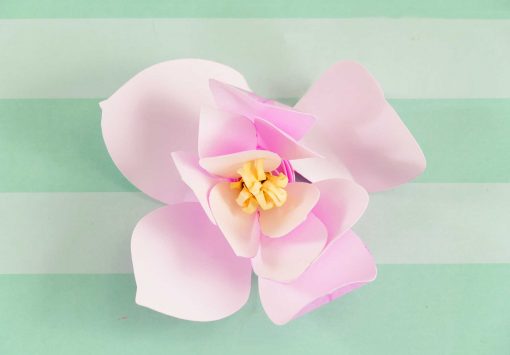
You have a beautiful magnolia blossom!
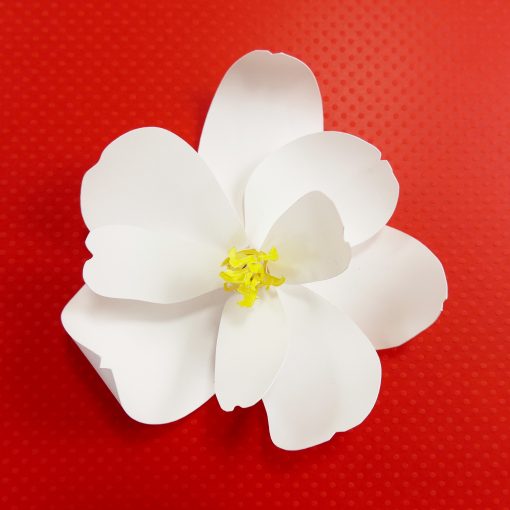
Here’s an all white magnolia with 9 petals.
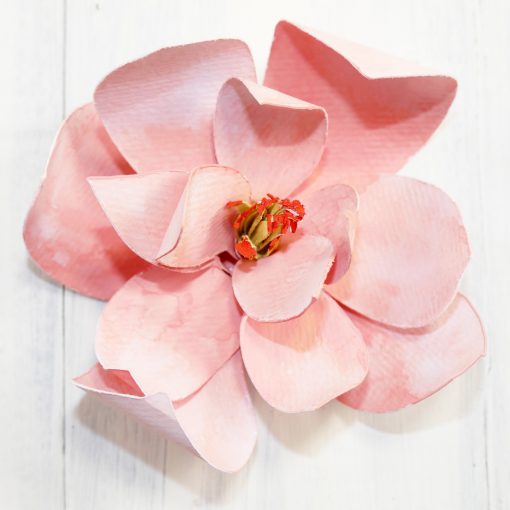
Here’s a reddish-pink magnolia with 12 petals on watercolor paper:
Get my free SVG files for the Paper Magnolia Flower!
These lovely magnolias would look amazing on a wreath, upon a centerpiece, or even in a wedding bouquet. And the fact that they are rolled means each magnolia will looks a little different, based on how tight or loose your petal whorl turns out. I think it’s time for me to do something with all the flowers I’ve made! If you make a paper magnolia or anything else with this design, please share a photo in our Facebook group, email it to me at [email protected], or tag me on social media with #jennifermaker.
Love,

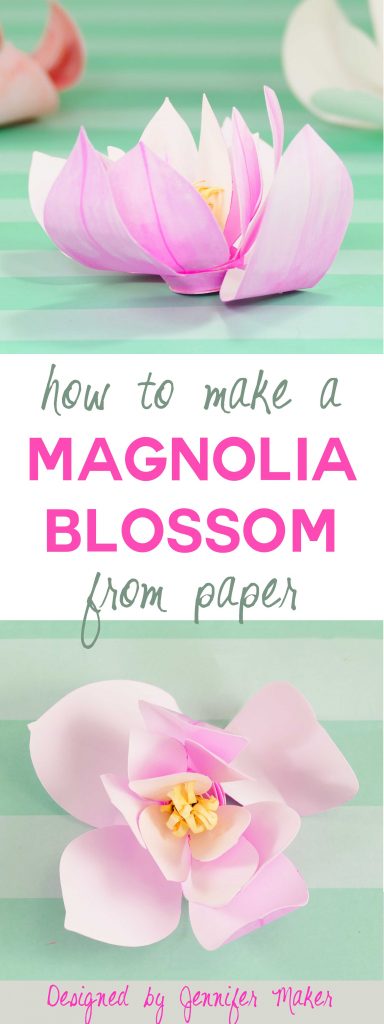
Want to remember this? Save the Paper Magnolia Tutorial to your favorite Pinterest Board

More Rolled Paper Flower Tutorials & SVG Cut Files
More Fun and Easy Craft Posts
DIY Dry Erase Board — So Simple & Cute
Make a Craft Supply Organizer in 5 Minutes!

How beautiful!
hi!
Thanks for stopping by, Dora!
The magnolia and dogwood are my favorite trees. Love this!
how can you put a stem on these?
Hi there! You can take some floral wire and poke a hole through the center of the flower and thread the wire through.