
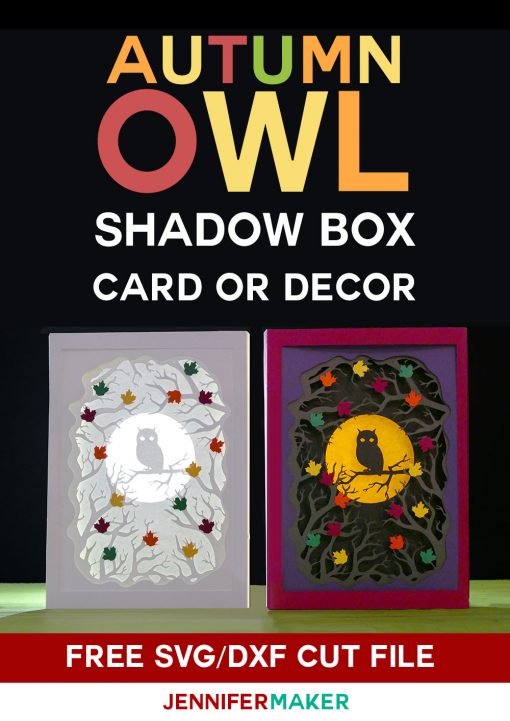
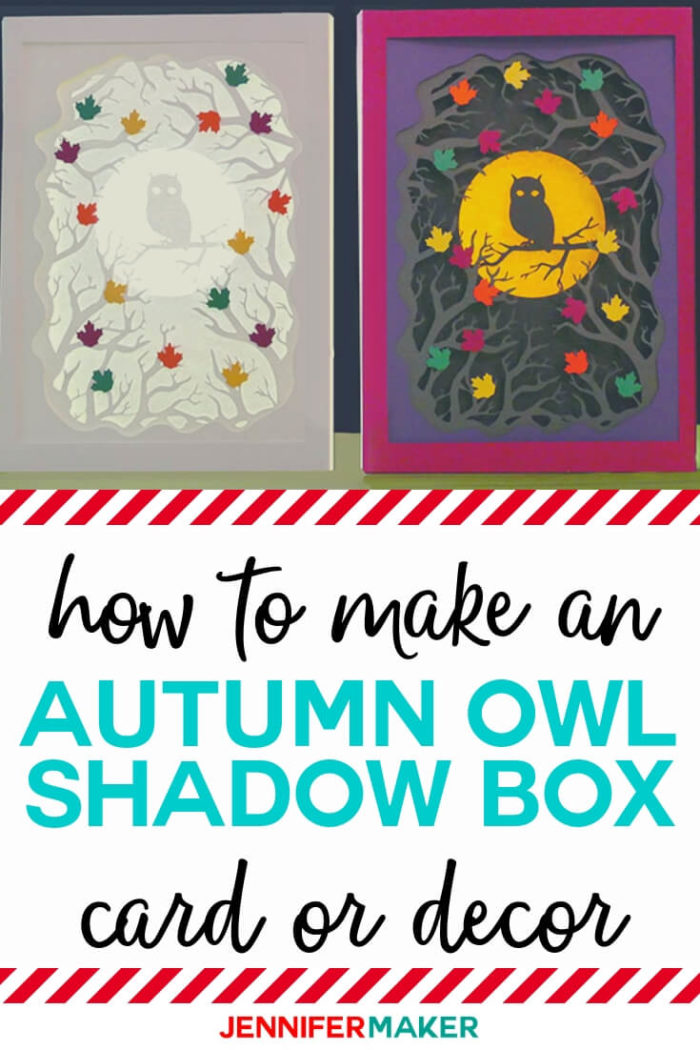
Last night I woke up in the middle of the night, all senses tingling. I listened carefully. Was it my daughter in the room next door calling for me? Could it have been my dog doing his cute little sleep-running? Or…. was someone IN THE HOUSE?!? I listened more. Then I heard the unmistakeable sound of an OWL. In my backyard! I got up and looked and, amazingly, I saw a majestic owl silhouetted in the trees (the moon just happens to be behind the trees at that point in the evening). I was so struck by this that I created an Owl Shadow Box Card to remember this experience.
One of the unique features of this shadow box card is how it can fold flat so you can put it in a 5″ x 7″ envelope. Don’t want to use it as card? It will look beautiful in a 5″ x 7″ frame. Put an LED light behind it for an amazing effect!
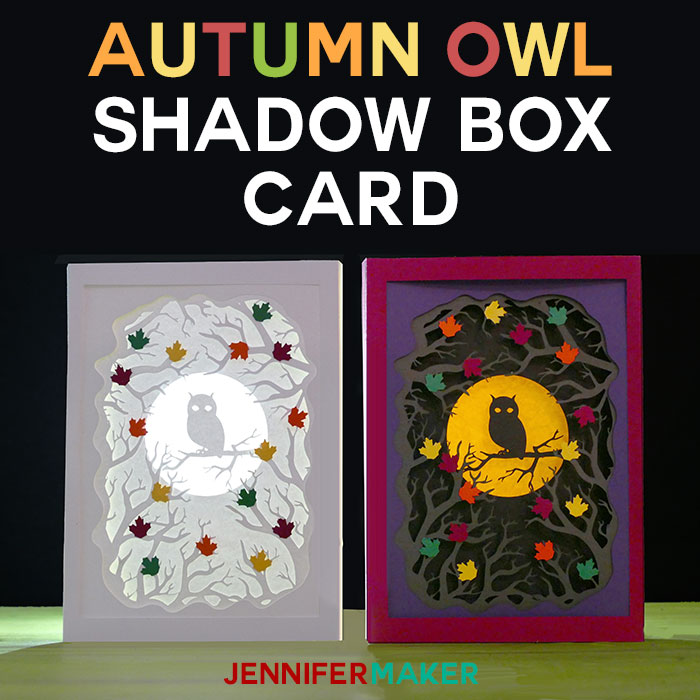
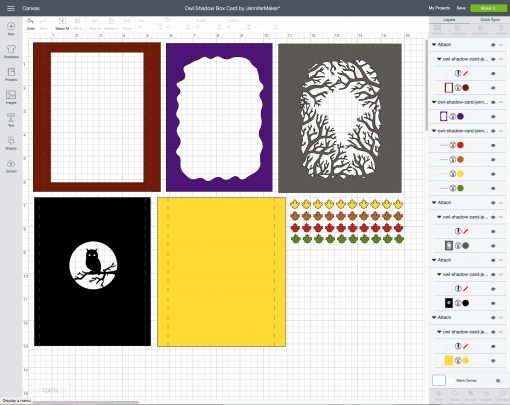
Here are some photos of the autumn owl shadow box card without leaves:
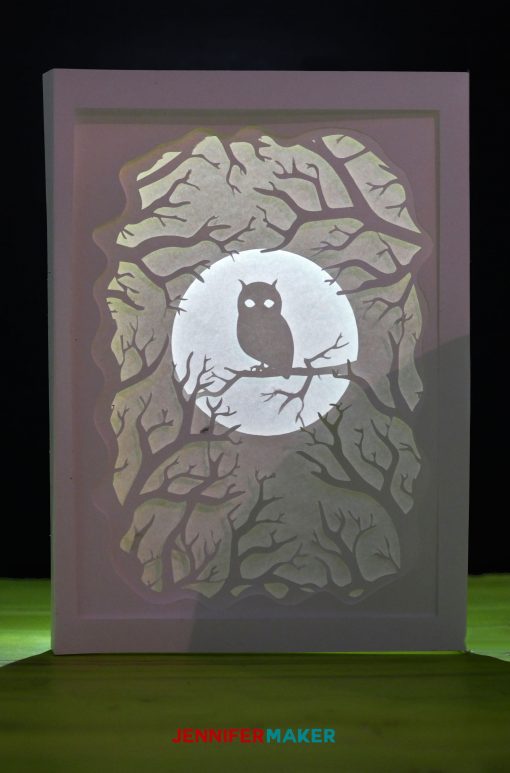
You can make the owl shadow box with or without leaves, in all white paper or a variety of autumn colors. Whatever you prefer!
Here is a lovely owl card made by reader Daniella Harel!
This post contains some affiliate links for your convenience (which means if you make a purchase after clicking a link I will earn a small commission but it won’t cost you a penny more)! Read my full disclosure policy.
Owl Shadow Box Card Materials
- 65 lb. 8.5″ x 11″ Card Stock (five sheets) — I recommend 65 lb. instead of 80 lb. because the light will pass through it better.
- Glue (I use Aleene’s Tacky Glue)
- A way to cut the card (I used a Cricut with a Scoring Stylus, a regular blade, and a blue LightGrip mat)
- Design #58 – My SVG/DXF cut file (free in my free resource library—get the password to the library at the bottom of this post)
How to Assemble the Owl Shadow Box Card
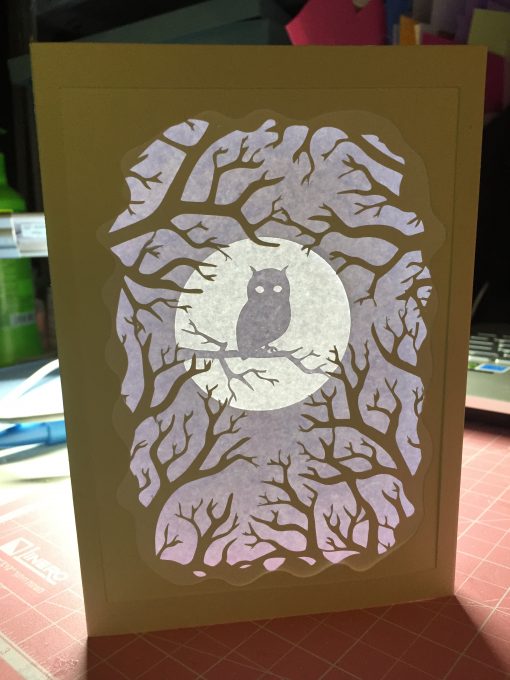
First, cut out your cardstock using my cut files (Design #58). If you’re cutting on a Cricut Explore, you’ll need to upload it, ungroup everything, change the score layers to Score and then group up the related layers (see the image below for reference — I pulled each layer apart so you could see it clearly). If you don’t want to score, be sure to hide those layers. Once that is done, you can cut it. It takes six pieces of 8.5″ x 11″ paper.
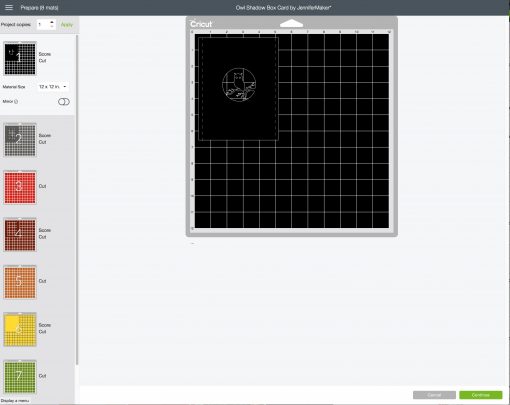
Note: The most difficult layer to cut is the tree branch layer simply because of its detail. If you’re having an issue, make sure you’re using a good, clean mat on the Intricate Cut setting and that your blade is sharpened (run it through some balled up aluminum foil to sharpen it).
In the following steps, I will refer to the pieces by the colors shown above. If you printed your pieces out in different colors, or all white, just refer to the above graphics to determine which piece is which.
Once you have all of your pieces, begin by folding the front red frame on the score lines.
Next, glue the purple layer underneath the red frame.
Fold the yellow back on the score lines.
Fold the sides of both the gray tree layer and the black owl layer.
Next, glue the owl layer inside the tree layer along the sides only.
Glue the outer sides of the tree layer (with the owl layer inside it) and attach to the inner sides of the yellow layer.
Place glue on the outside of the folded sides of the yellow layer, and attach to the inside of the red frame layer to complete your shadow box.
And there you have it — an owl shadow box card!
Free Cut Files for the Autumn Owl Shadow Box
Get the password for the library with the free cut files here by filling out this form:
Remember, I love to see your completed projects! Share a photo in my Cricut Facebook group or use #jennifermaker and I’ll include them here with your permission.
Love,

Do you like to make cards? Check out these other popular card tutorials here on my blog:


And if you like this Shadow Box card, please pin it to your favorite Pinterest board!


Lovely thank you
Jennifer, I tried to download the owl shadowbox card but when I click on the SVG file, it doesn’t give me the individual layers. It shows all owl layers together and individual leaves. I extracted the file but whatever I tried, it didn’t work. Do you know what I’m doing wrong?
Hi. Once you open the SVG in Design Space, you need to ungroup the owl card to see the individual layers!