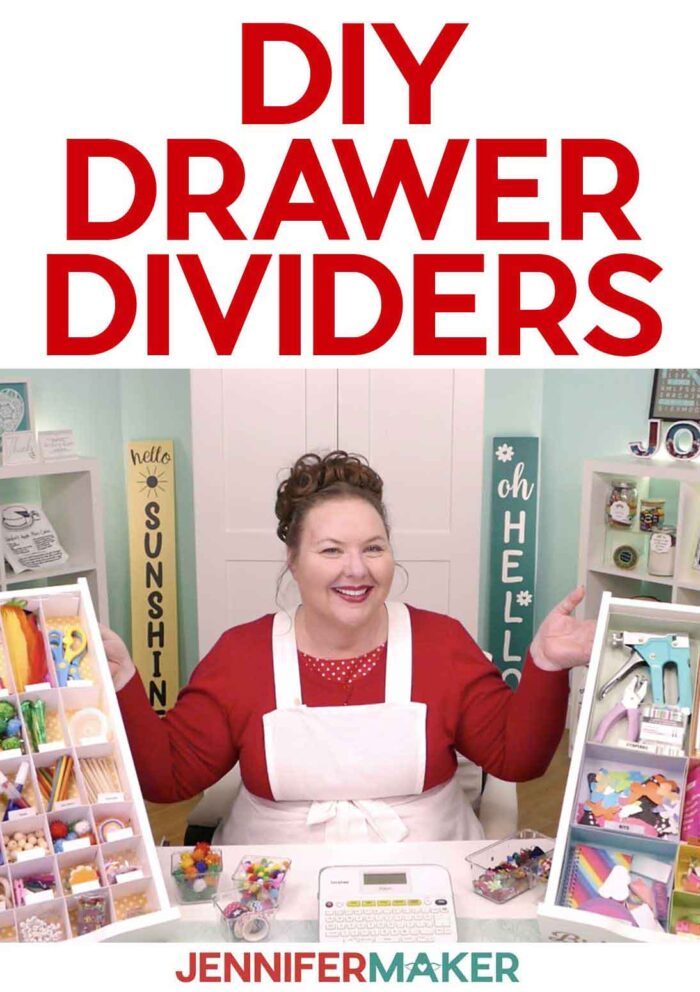
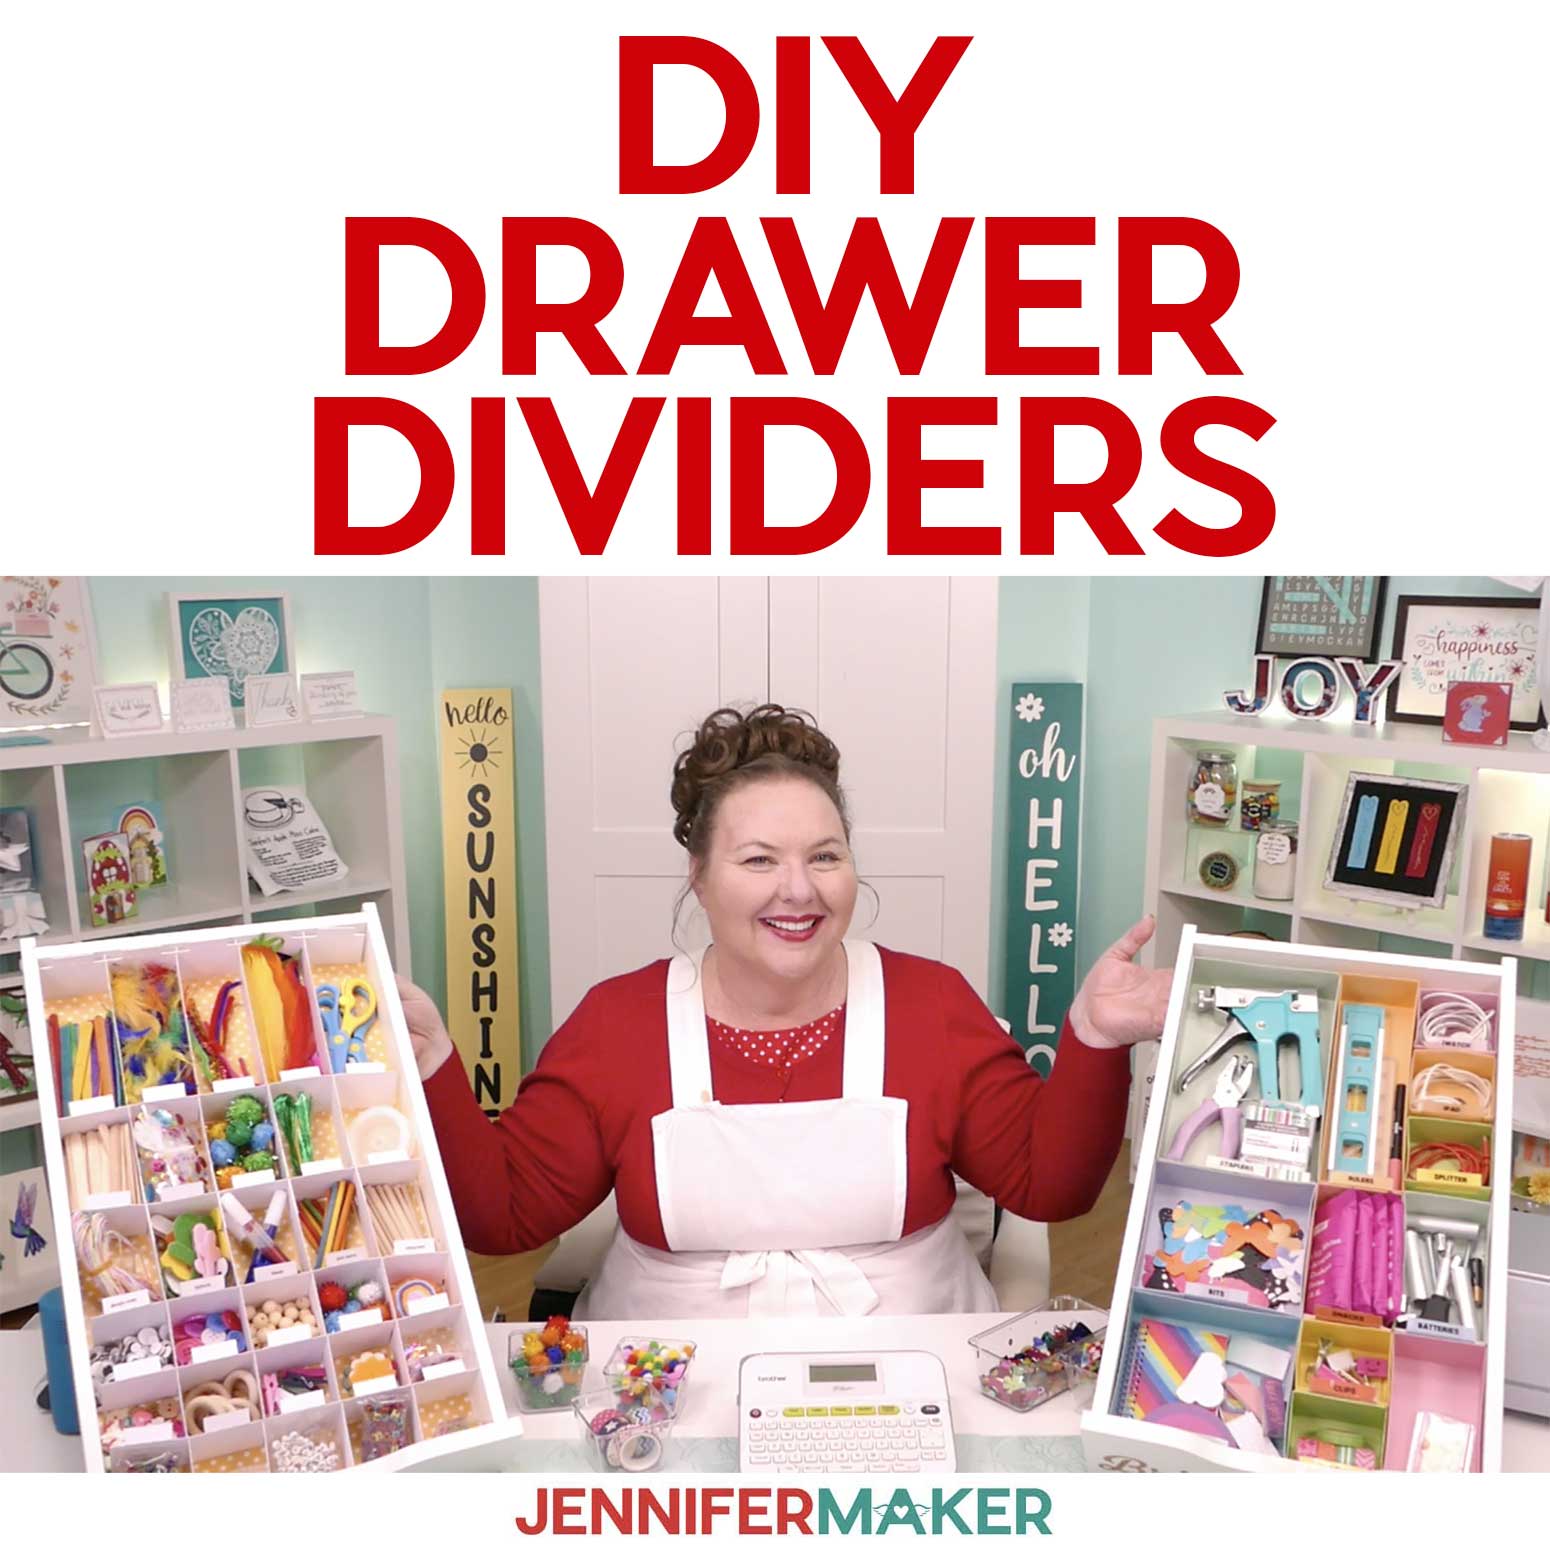
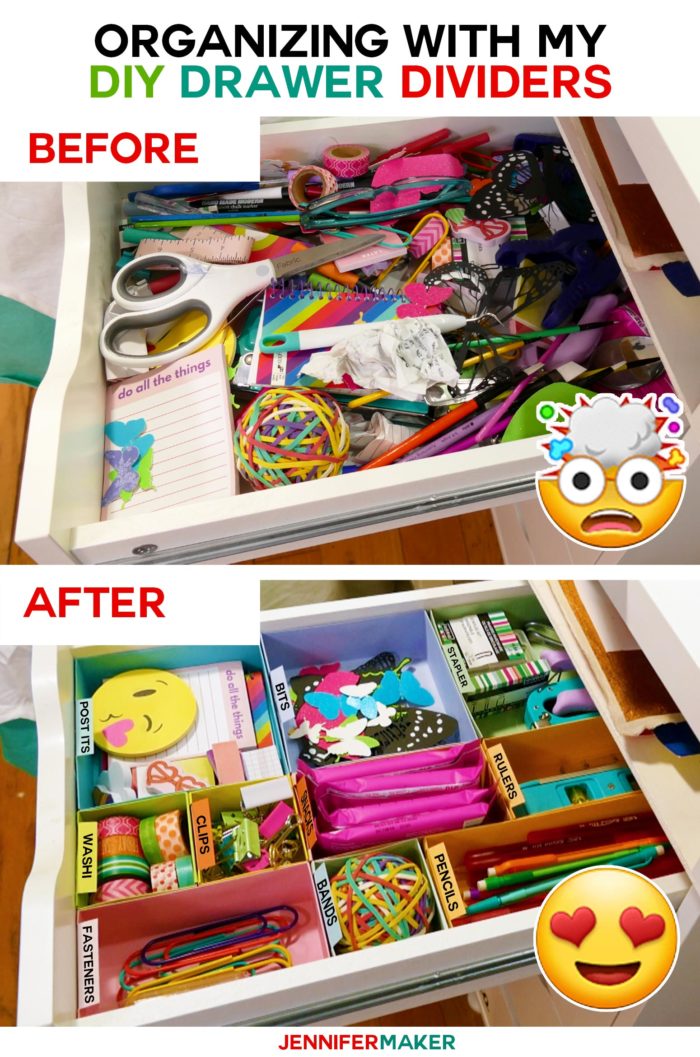
Make your own easy DIY drawer dividers to organize small things in your drawers… like office and craft supplies!
Today, I want to show you how to declutter and organize your drawers. Specifically, how to organize those drawers you have full of small things that are all jumbled up together! Like your junk drawer, your craft supplies drawer, your bathroom drawers, or your kitchen drawers. I’m going to show you how to make simple DIY drawer dividers easily and inexpensively using my free patterns! Then I’ll show you some different styles you can both make or buy, if that is easier for you.
Drawers are a great way to store and access our little stuff, but drawer space can be quickly overtaken by clutter. Messy drawers are hard to find things in, and just lead to more clutter and disorganization.
Watch my ultimate guide on how to organize your drawers on my channel!
One of the simplest and least expensive ways to cut this clutter is to make yourself a custom drawer organizer out of cardboard dividers. These are just cardboard strips that act as drawer separators.
To make your own custom drawer dividers, all you need are basic supplies — some type of cardboard, a way to cut it, and a tape measure. I recommend you make dividers out of Kraft board or even chip board – I don’t recommend basic cardstock, however, as it’s a bit too thin. The best part about making them yourself is you can custom size them to your drawer.
Ready to make your own custom drawer organizer? This post contains some affiliate links for your convenience (which means if you make a purchase after clicking a link I will earn a small commission but it won’t cost you a penny more)! Read my full disclosure policy.
Materials & Tools to Make DIY Drawer Divider Strips
- Kraft board or 110 lb cardstock or chip board or old cereal boxes
- (Optional) Pretty patterned paper for the bottom of the drawer
- (Optional) Glue or tape if you need to join drawer dividers
- A way to measure your drawers, like a straight edge ruler or tape measure
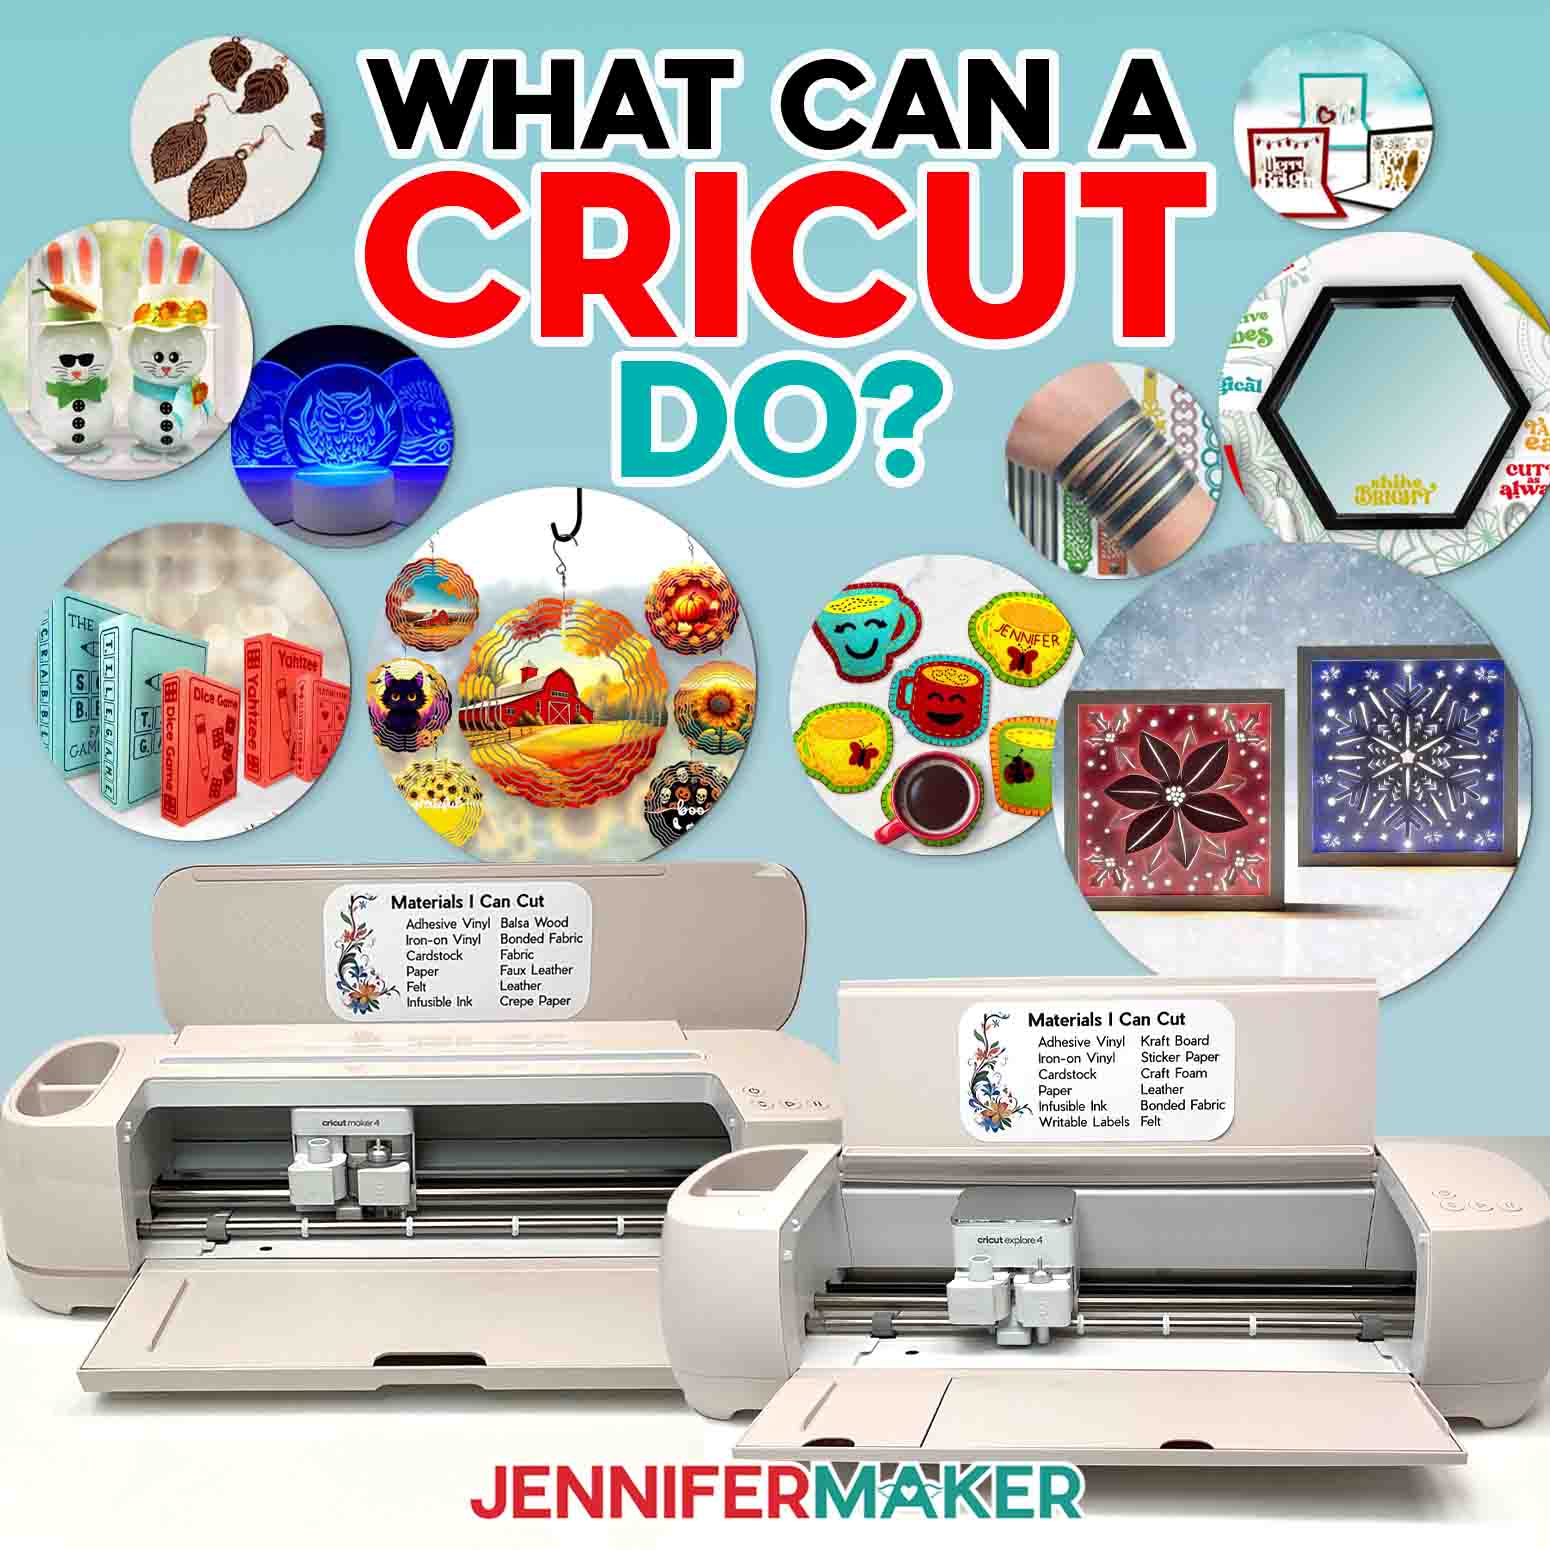
- A way to cut your board, such as a craft knife, utility knife, scissors, or a cutting machine — I used a Cricut Maker series cutting machine, but you can also cut these on a Cricut Explore series machine or another machine.
- Design #494 with my DIY divider strip templates in PDF/SVG/DXF design files (these are available in my free resource library – get the password by filling out the form at the bottom of this page)
How to Cut Drawer Separators
Here are the step-by-step instructions to make your own adjustable drawer dividers tailored to your specific needs.
Step 1: Measure Your Drawer
First thing, measure the length, width, and depth of the inside of the drawer. You need all three measurements to get a good fit. Be sure to get the measurement of the depth of the drawer, as otherwise you may find your dividers are too tall.

Step 2: Cut Your Divider Strips
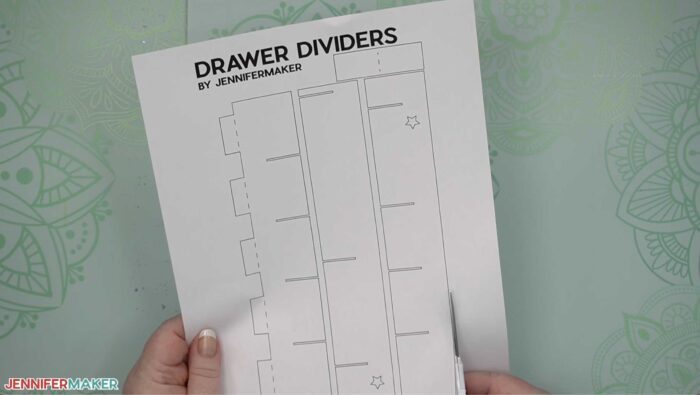
Next, we need to create divider strips that fit our drawer. You’ll find them free in my library — look for design #494.
If you’d like to cut these custom drawer inserts with a craft knife or scissors, just print out the PDF files and cut them to create templates! Use these paper templates to cut your Kraft board, chip board, or old cereal boxes. To custom size these to your drawer, simply cut multiples and glue or tape them together so they are a long enough, and then trim a bit with scissors for a snug fit.
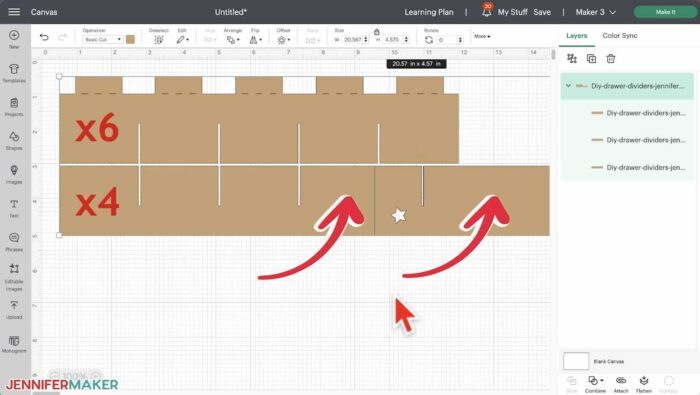
I think it’s easiest to size and cut these on a Cricut cutting machine. To do that, open Cricut Design Space and create a New Project. Upload the SVG in the file I provided. If you’re not sure how to do this, check out my step by step tutorial on how to unzip and upload SVG files. Once uploaded, you will see three objects that look like this.
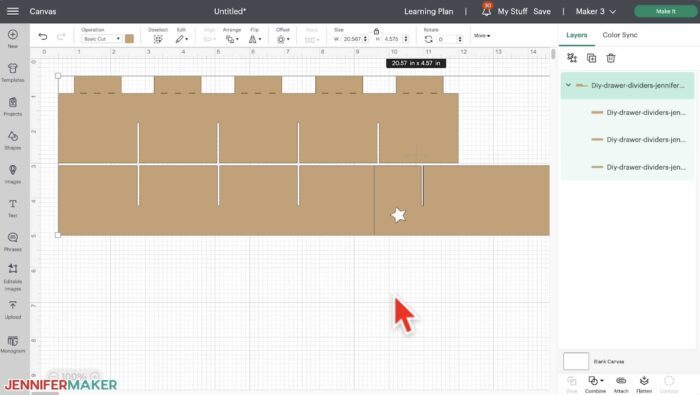
These strips are currently sized for the shorter and narrower IKEA Alex drawer. To custom size these to your drawer, you can either resize the strips to fit your drawer’s dimensions, or you can simply cut multiples and glue them together so they are a long enough, and then trim a bit with scissors for a snug fit.
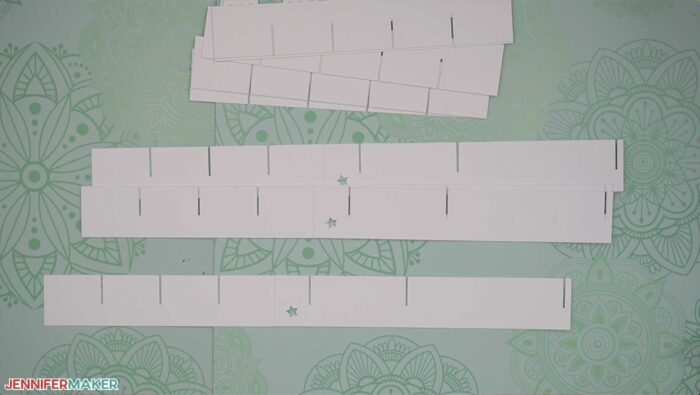
Let me show you how to cut and assemble the ones I’ve pre-made. Since these strips are the right size for my drawers, our next step is to duplicate them so there are enough to fill the drawer. That means having six strips that go the width of the drawer – that’s these strips with the tabs sticking up at the top.
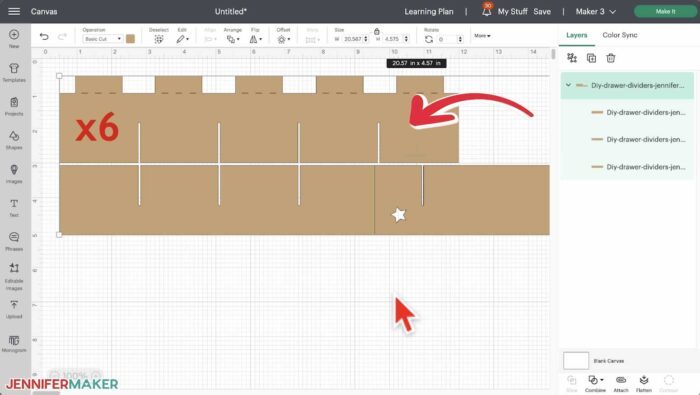
And then we need four strips that go the length of the drawer – these strips are in two parts with the stars on the ends – we’ll join these together before we insert them in the drawer.
Everything is sized to fit a Cricut mat right now – if you resize any of your strips, you’ll need to be mindful that they fit your mat. If they don’t, I recommend you instead cut extra strips and join them with glue later on.
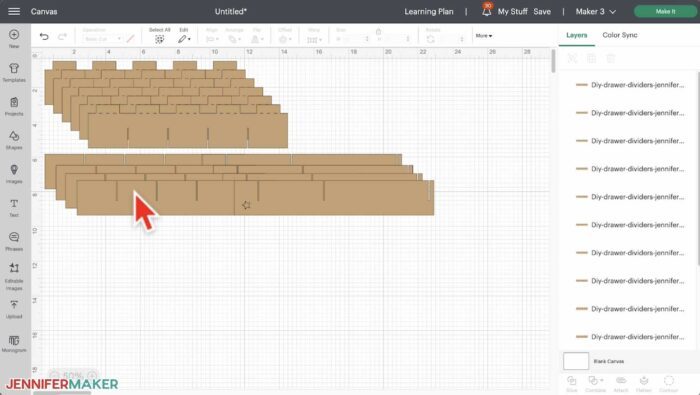
To duplicate a strip, first ungroup everything, then just select a strip and click Duplicate. So we’ll Duplicate until we have six width strips and four sets of length strips. When we’re done, we’ll have 12 objects on our Canvas like this.
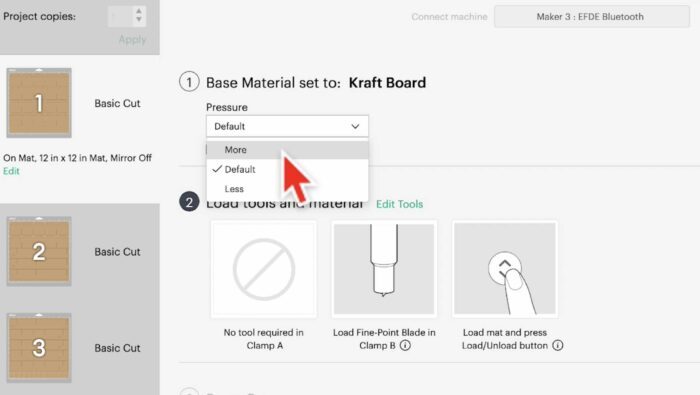
Now just select your Cricut – you can use any Cricut to cut Kraft board, even the Cricut Joy. Then click Make It, and click Continue. Now select your material – I am using Kraft board, so I click Browse All Material and search for “Kraft” with a K. And select that, then add some More pressure for a cleaner cut.
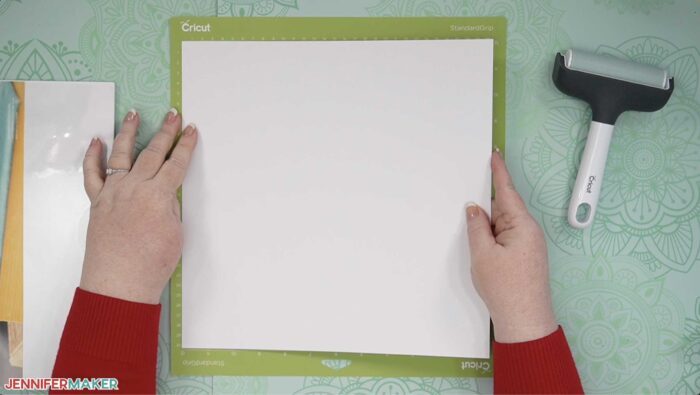
I am using Cricut’s white Kraft board, which is perfect for this project. I just put a sheet on my mat, use a brayer to adhere it well, and load it into my Cricut, then press the flashing button to begin cutting.
When the cut is finished, flip your mat over onto your work surface to release the Kraft board without curling or ripping it.
Step 3: Join Your Pieces
When you’re all done cutting our your dividers, your first order of business is to join any pieces that need joining. With this set I cut, the only ones I need to join are my long strips. To make it easier for you to see where to join them, I put stars in the bottom corners where they join. Just match up the stars – there’s only one way they can be matched – then glue or tape together. This is how they look when they are all joined.
Step 4: Divide Your Drawer
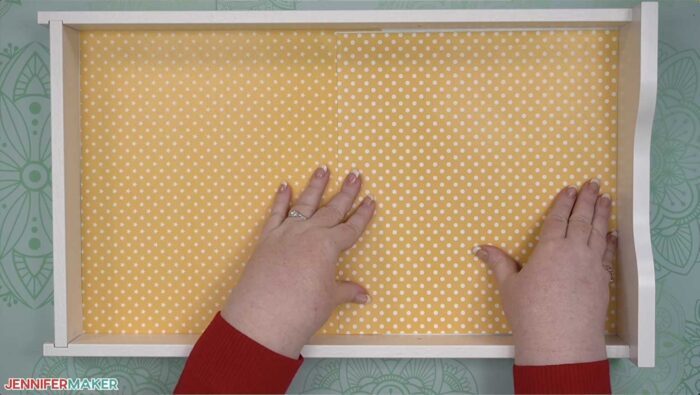
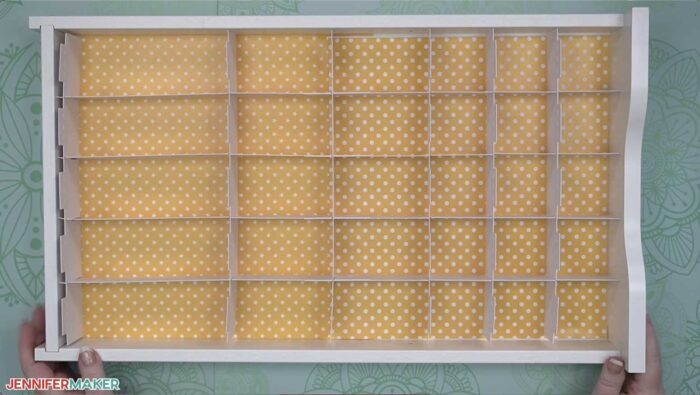
Now let’s get out our empty drawer. I like to put pretty paper in the bottom before I add my drawer dividers – you can just cut it to size with a paper trimmer or scissors.
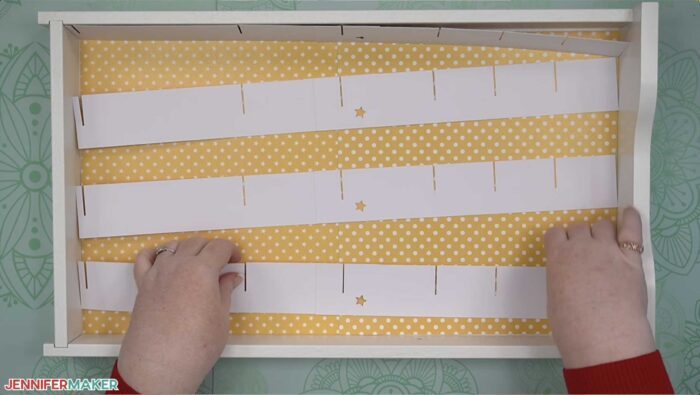
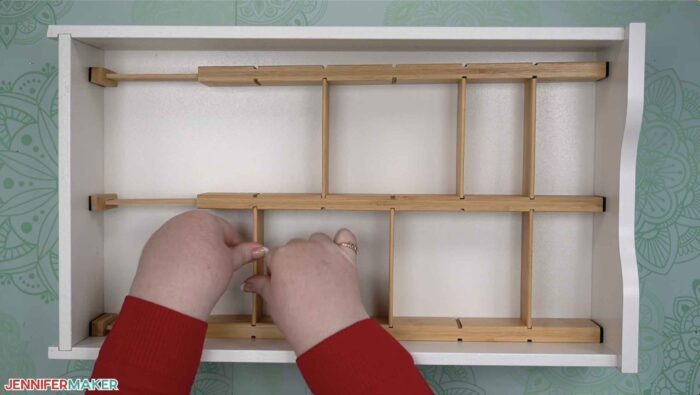
Now put all of your long strips in the drawer – I recommend you position them so the end with the slot closest to the end – this one – is toward the back. This puts the small compartments near the front of the drawer, and the larger ones near the back, which is the best way to access different size compartments, in my opinion.
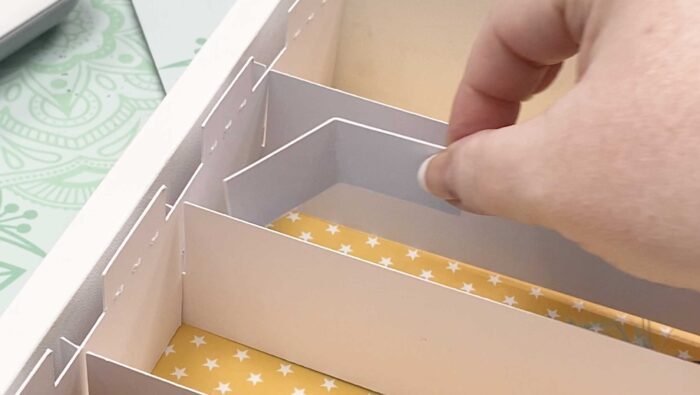
Now take a shorter strip and begin slotting them in to the strips. I recommend you put in the front strip first, then the back strip.
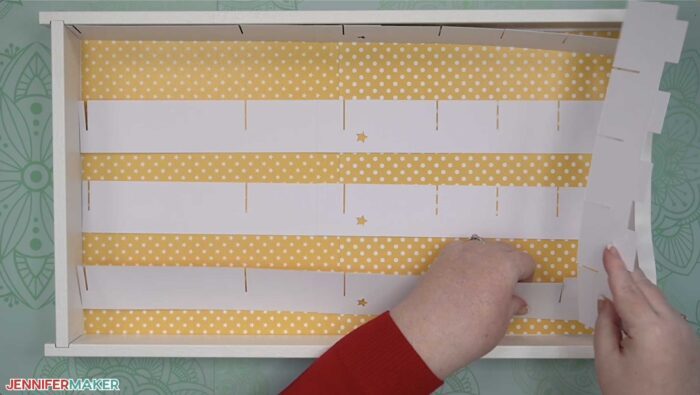
Then fill in with the rest of the strips.
Once your drawer dividers are in, decide if you’re happy with them. If you want sturdier dividers, you have two options. Cut another set of strips and double up on everything – this will make your dividers stronger. Alternatively, you can cut corner brackets and glue them in. I’ve also provided a corner bracket pattern in my design file. These are simple strip you can cut, fold, and glue in the corners where your dividers join to make them more sturdy and connected.
And that’s it! You’ve made your own drawer dividers!
If you want to fancy them up, you can cover them up in wrapping paper or even adhesive vinyl, but I think this is only necessary if you use the brown chip board or cereal boxes, as the white Kraft board looks great on its own.
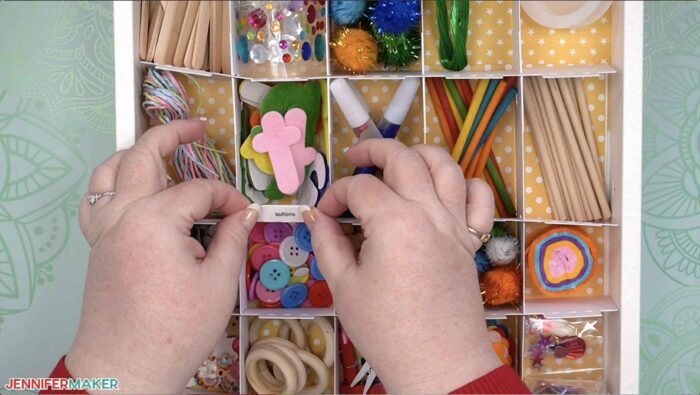
Now put all of your items back into the drawer – be sure that only the items that belong there go in there.
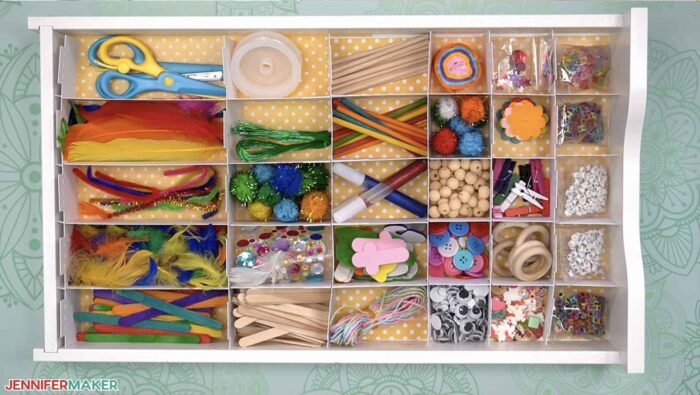
And, be sure to write the contents of each compartment on the tabs at the top. I highly recommend you do this, as a labelled compartment is less likely to collect things that don’t belong in the drawer AND it’s easier to put things back where they belong … which means you can more easily find them again later.
Note: I think this type of cardboard drawer divider works best for small things, like craft supplies, office supplies, and all those things that usually get collected in a junk drawer. I don’t think it’s ideal for kitchen utensils, however, as those are usually a lot heavier and stiffer and need a really sturdy kitchen drawer dividers. I also don’t really recommend these for dresser drawers, unless it’s just socks and small stuff like that. For heavier-duty clothes drawer and custom kitchen drawer inserts, I recommend wooden drawer dividers instead.
Decluttering Your Drawers
Decluttering your drawers doesn’t have to be a challenge. Follow my easy four-step PACT system and you’ll have a neat and tidy drawer in no time. PACT stands for Purge, Assess, Contain, and Tag. PACT.
Purge Your Drawers
The first step to decluttering is to purge – so empty out the drawer completely. Take out all of the items and spread them out on a large work surface. This will give you an opportunity to assess what you need and what you don’t, so that you can begin sorting through your items more effectively.
Assess Your Stuff
Once all of your items are out of the drawer, it’s time to Assess and start sorting them into categories. You might have one category for tools, one for materials, and one for miscellaneous items like tape or glue sticks that don’t quite fit elsewhere. As you sort through each item, ask yourself if it is essential or if it can be thrown away or donated. If it’s not something that you use regularly, then try to find another home for it or get rid of it altogether.
I find it helpful to keep a box and a trash bin near me as I work on sorting. Anything that can be donated or given away goes into the box. Anything that should be thrown out, goes into the trash bag or the recycle bin.
That should leave you with just the things that belong in your drawer!
Contain Your Things
After everything has been sorted into categories, it’s time to CONTAIN everything – that means start putting them back in the drawer in containers according to their type or size. Use smaller containers and dividers if necessary to keep items separated and easily accessible. This will help prevent clutter from building up again in the future by keeping everything organized from the start. I find this part the most challenging, so I have four ideas on how you can contain small things like this – I’ll share those in just a moment.
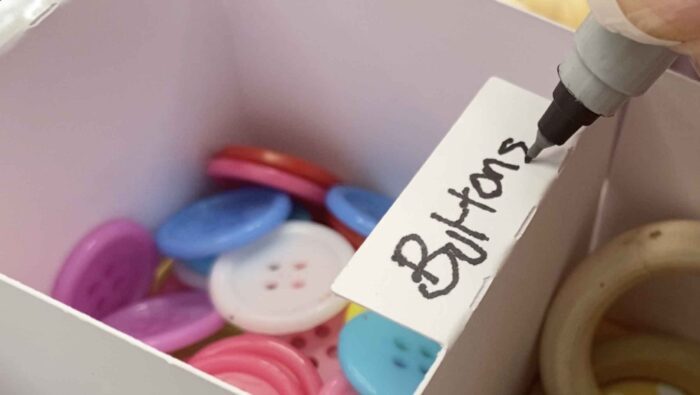
Tag Everything with Labels
And step four is to Tag everything with labels. Labeling each container or section will make finding supplies much easier next time around as well as remind yourself which items go where if they ever become mixed up again in the future. Use labels that clearly identify what each container contains so that there’s no confusion later on down the line when looking for something specific. If your drawer is all one type of thing, it’s fine to just label the entire drawer rather than the individual containers. Like this drawer is filled with kids crafts, so I will just label this drawer simply “Kids Crafts.”
So that’s my PACT system, and it works like a charm every time.
Five Ways to Contain Your Things
So let’s talk about the step that most people struggle with the most – containing everything. Here are five ways to contain it all.
Get Ready-Made Drawer Dividers
First, you can buy ready-made drawer dividers, like SpaceAid bamboo drawer dividers. You can buy these from places like Amazon or Home Depot. These are cool because they are adjustable and expandable with built-in tension rods hidden inside the divider. And they are very sturdy, too. These bamboo drawer dividers also come with organizer labels so you can label everything. You can see the link to these drawer dividers over at jennifermaker dot com slash diy drawer dividers. The biggest drawback to these drawer dividers is how much space they take – they are pretty chunky. Also they don’t fit exactly and you end up with some empty space. I do really like how you can put the dividers into different slots, though, to really tailor the space to your needs.
Use Small Plastic Bins
Second, you can buy small plastic bins like these which are perfect for small things. I found some great ones on Amazon.
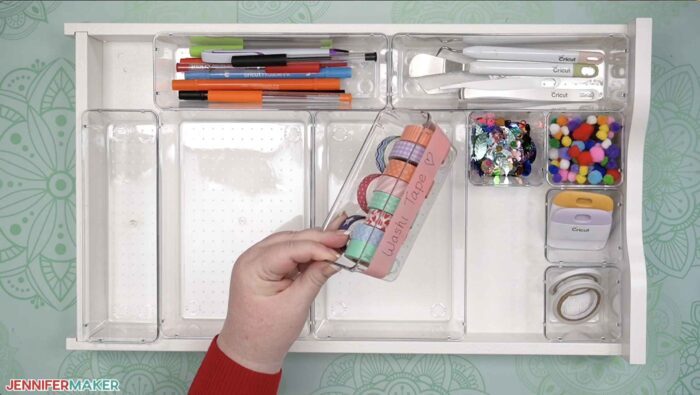
These are easy to use – you just pop them into your drawer where you need them. I really like these, too, because they are not too tall, so they fit perfectly into smaller drawers like this drawer – this is from the Alex drawer unit from IKEA, of which I have many. The biggest drawback to using small plastic bins like this is that, like our previous solution, they often don’t fit exactly, and you end up with empty spaces. It’s even more of a problem though with containers like this. This may or may not work for you – it depends on your needs, of course. If you go looking for small plastic bins at the store, be sure to measure the height of your drawer before you go so you don’t get ones that are too tall to fit.
Make Your Own Bins or Boxes
Third, you can make your own little bins or boxes, and make them to fit your drawers so you don’t have the empty space problem.
These little boxes with built-in labels are made from basic cardstock that is cut, folded, and glued. You can make these in five different shapes – small squares, big squares, small rectangles, big rectangles, and long rectangles. And you can change the sizes, too, to fit your drawers. I have a whole tutorial on how to make these here, as well as the free patterns and files – you can even make these on a cutting machine! They are easy and fun to make.
Label Your Things
Once everything is decluttered and organized, it’s really important to label everything.
If you want to get fancy, label makers are relatively inexpensive tools that make super neat and easy-to-read labels. They come in many different sizes and styles, from standard label makers that print out adhesive letters onto paper strips to advanced models with computerized printing capabilities. I have several types that I love to use, and also like to use my Cricut to make fancier labels from paper and vinyl, too. I have many tutorials on how to make labels – everything from adhesive vinyl and iron-on vinyl labels to print then cut stickers and pantry labels! But no matter which type of label maker you decide on, using labels for storage organization, accessibility, and identification will make everything so much easier—and more fun!
Getting Motivated to Declutter and Organize
Now if what you’re struggling with is the MOTIVATION to work on decluttering and organizing your drawers, I get you. I truly do. I’m not always motivated to clean and declutter – in fact, I rarely am! That’s the honest truth!
So I’m on the struggle bus right there with you. Here’s what I recommend – first, set some goals and rewards for yourself. Decide what kind of outcome you want and then set a timeline for yourself. For example, if your goal is to declutter your drawers by the end of this week, break this down into smaller tasks that are easier to accomplish within that timeframe. Say, one drawer a day. Then reward yourself when you reach each milestone! This will help keep things manageable and give you something to look forward to.
Once you have set your goals and rewards, it’s time to create a schedule. Take some time each day (or each week) devoted specifically for decluttering. Knowing when exactly you will be tackling the task will help prevent procrastination and give structure to your plan. Set reminders for yourself so that you don’t forget or put off your organization sessions—it helps if these reminders come from outside sources as well like family members or friends who can hold you accountable! Or share your goals and progress with a group of people who are on the same journey as you — I have an awesome Craft Room Organization group that does a great job of cheering each other on!
I also recommend you focus on one drawer at a time. It can be tempting—especially when motivation is low—to try and tackle everything all at once to just “get it over with,” but this can quickly lead to burnout or even discouragement if things aren’t progressing quickly enough. Or you might end up with everything out of your drawers and then no motivation to go on, which means you’ve just made a bigger mess for yourself. Instead, focus on one area at a time until it has been completely decluttered and organized before moving onto another area. You can always move something from one drawer to another drawer if you decide later it belongs elsewhere. But taking on too much too soon will only make the task seem more daunting than it really is!
I know decluttering can be an intimidating task but with these tips, and my easy steps and practical solutions, I hope I have given you some motivation to take on the challenge one step at a time! Set goals, rewards, schedules and take small steps towards getting organized. You’ll feel accomplished and ready for whatever comes next!
And if you do get a Cricut cutting machine to organize or decorate with, or already have one that you need to master, I encourage you to set it up and learn it WITH ME in a free mini course I have called Cricut Kickoff! It’s a fun and friendly way to get up to speed with your Cricut. I walk you through everything from unboxing, setup, and your first cut, to understanding all the tools and materials you need, as well as those you don’t need. And then I show you all around Cricut Design Space so you feel comfortable using it. I do this for all models of Cricut cutting machines and all devices — desktop, laptop, iPhone, iPad, and Android! And it’s all free. Sign up today at cricutkickoff.com
And if Craft Organization is your big struggle, be sure to check out my 30-Day Craft Room Organization Workbook, which has everything you need to do to clean, declutter, and organize in 30 days! Over 15,000 crafters have this workbook and use it to successfully organize their stuff!
Get my free files to make your own drawer dividers and boxes!
I hope you found this drawer declutter helpful and you feel motivated to conquer your clutter! If you do, share your photos with me — I love to see what you do! Share a photo in our Facebook group or tag me on social media with #jennifermaker.
Love,

Want to remember this? Save this tutorial on DIY Drawer Dividers to your favorite Pinterest Board!