

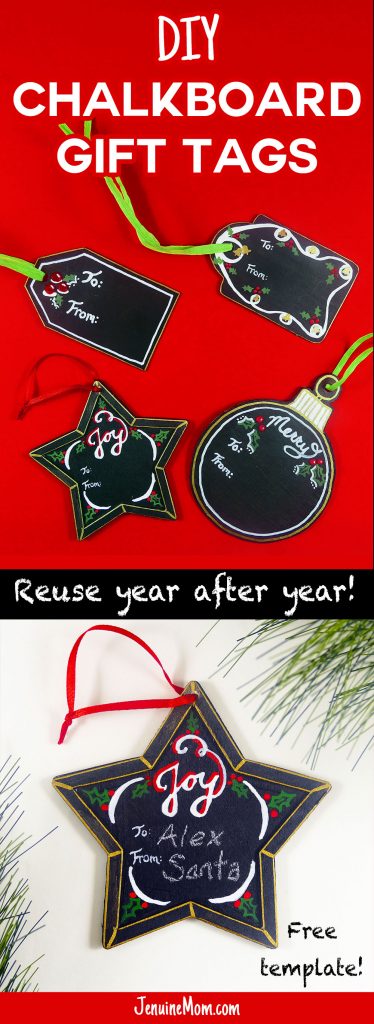
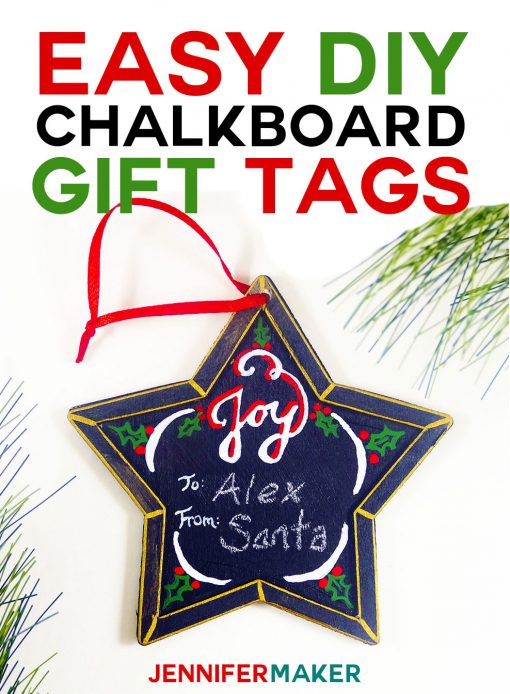
About two weeks ago I bought a little bottle of chalkboard paint with the intention of making ornaments. For those who aren’t familiar with chalkboard paint, it’s a black paint you can paint on things and it works like a chalkboard—you can put chalk on it and it’ll wipe right off. Back in my college days, we used to paint walls with it and write all over them with chalk. But last night, as I was drifting off to sleep, I had an idea! Every year I neglect to buy enough Christmas gift tags (or forget entirely), and wouldn’t it be awesome to have a reusable set of gift tags for here at the house? If the gift tags were covered in chalkboard paint, we could do that! And thus, DIY chalkboard gift tags sprang fully formed into my head. Today I made them and they are just as awesome and easy to make as I thought they’d be.
This post contains some affiliate links for your convenience (which means if you make a purchase after clicking a link I will earn a small commission which helps keep my blog up and running but it won’t cost you a penny more)! Read my full disclosure policy.
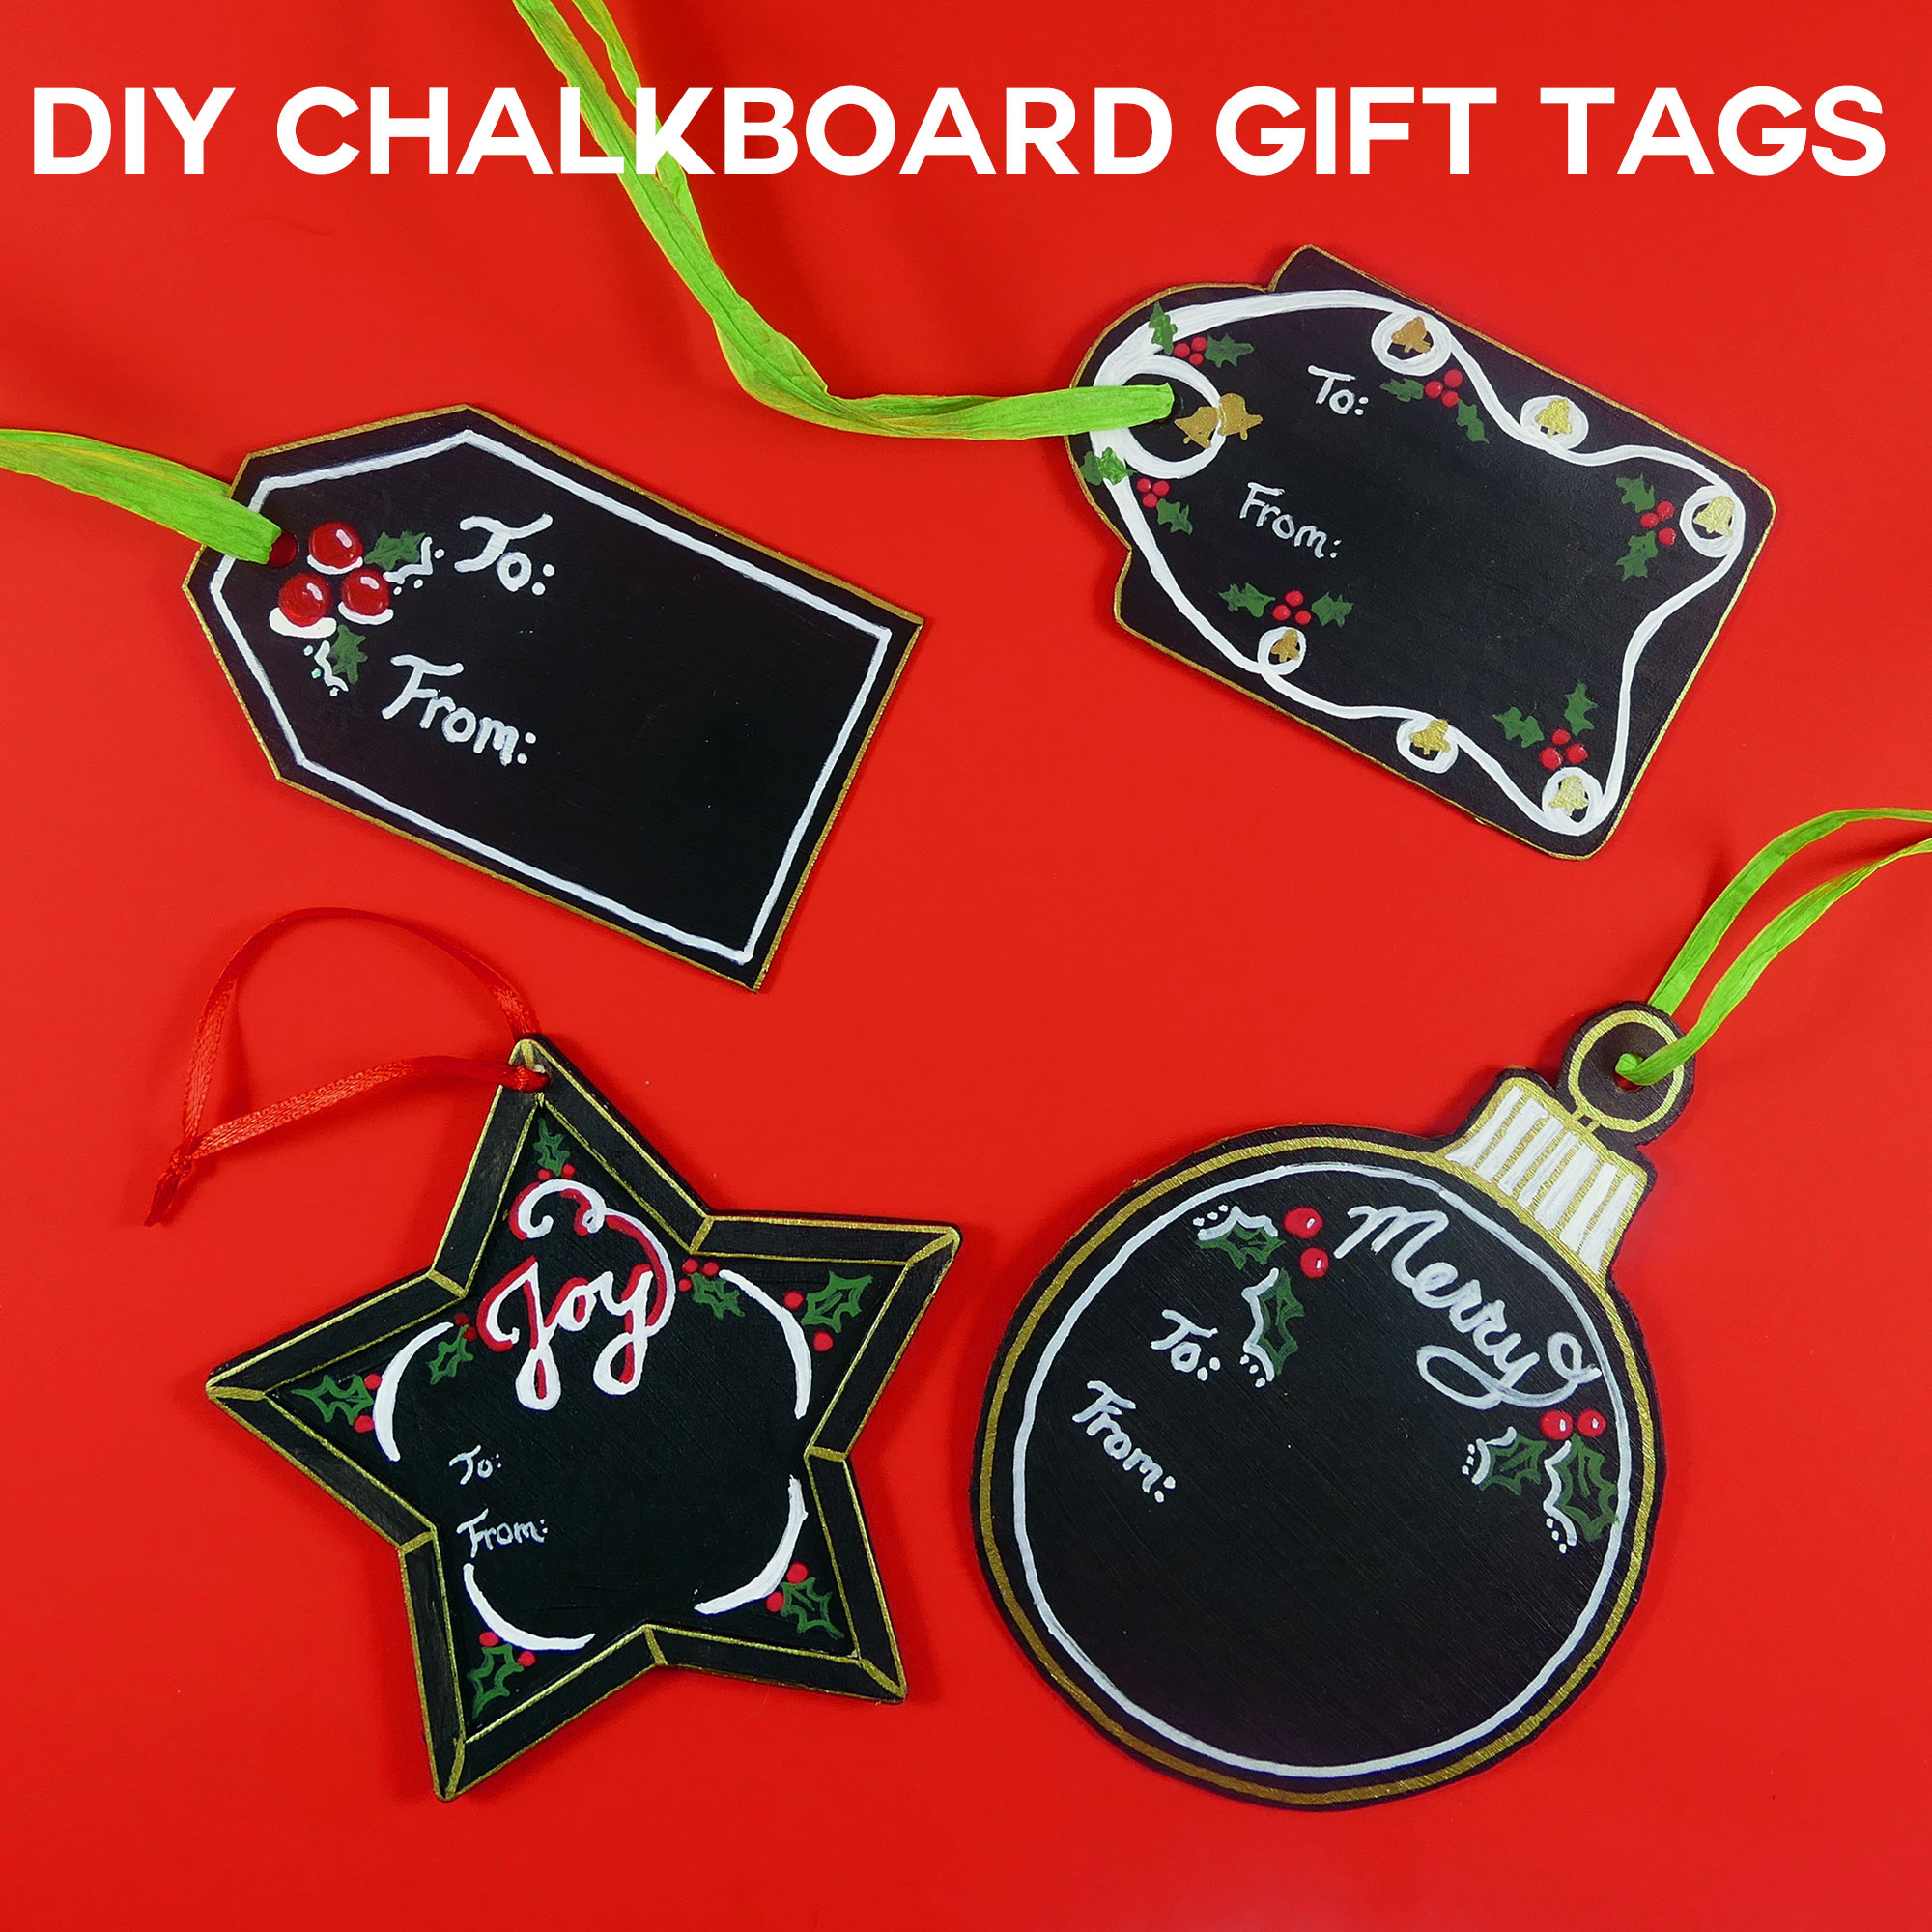
DIY Chalkboard Gift Tag Materials

- Black chalkboard paint
- Acrylic paints and/or paint Sharpies (I used both)
- Thick cardboard and/or pre-cut wood ornaments
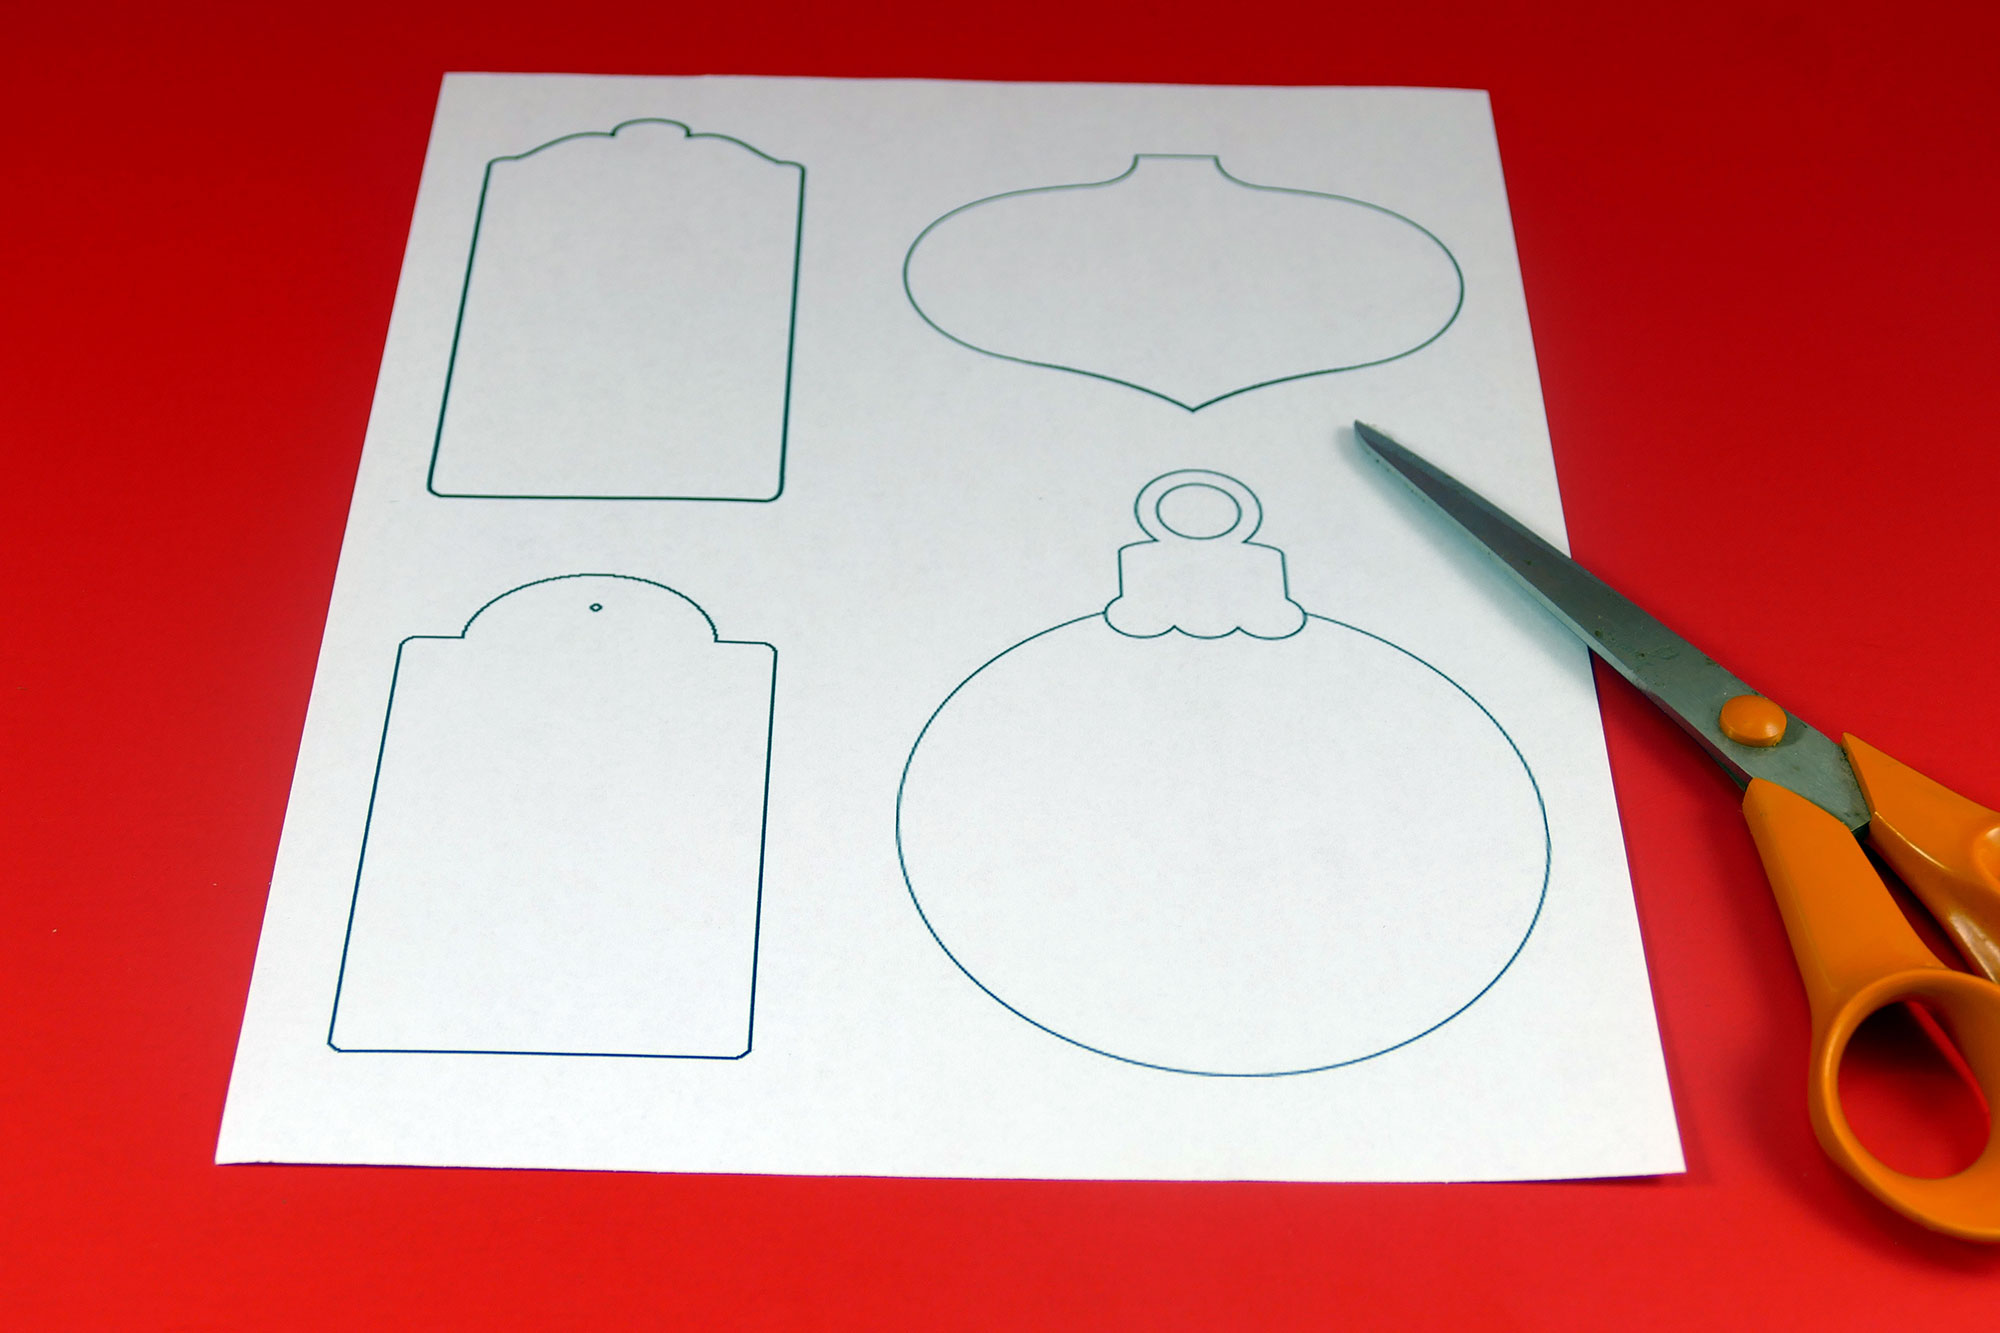
- Template (Design #7) if you use cardboard (the template is in my free resource library — get the password at the bottom of this post)
- Chalk
- Brushes (foam brushes and regular fine-tip brushes)
- Hole punch (if you use cardboard)
- Scissors (if you use cardboard)
- Ribbon
DIY Chalkboard Gift Tags Step-by-Step Tutorial
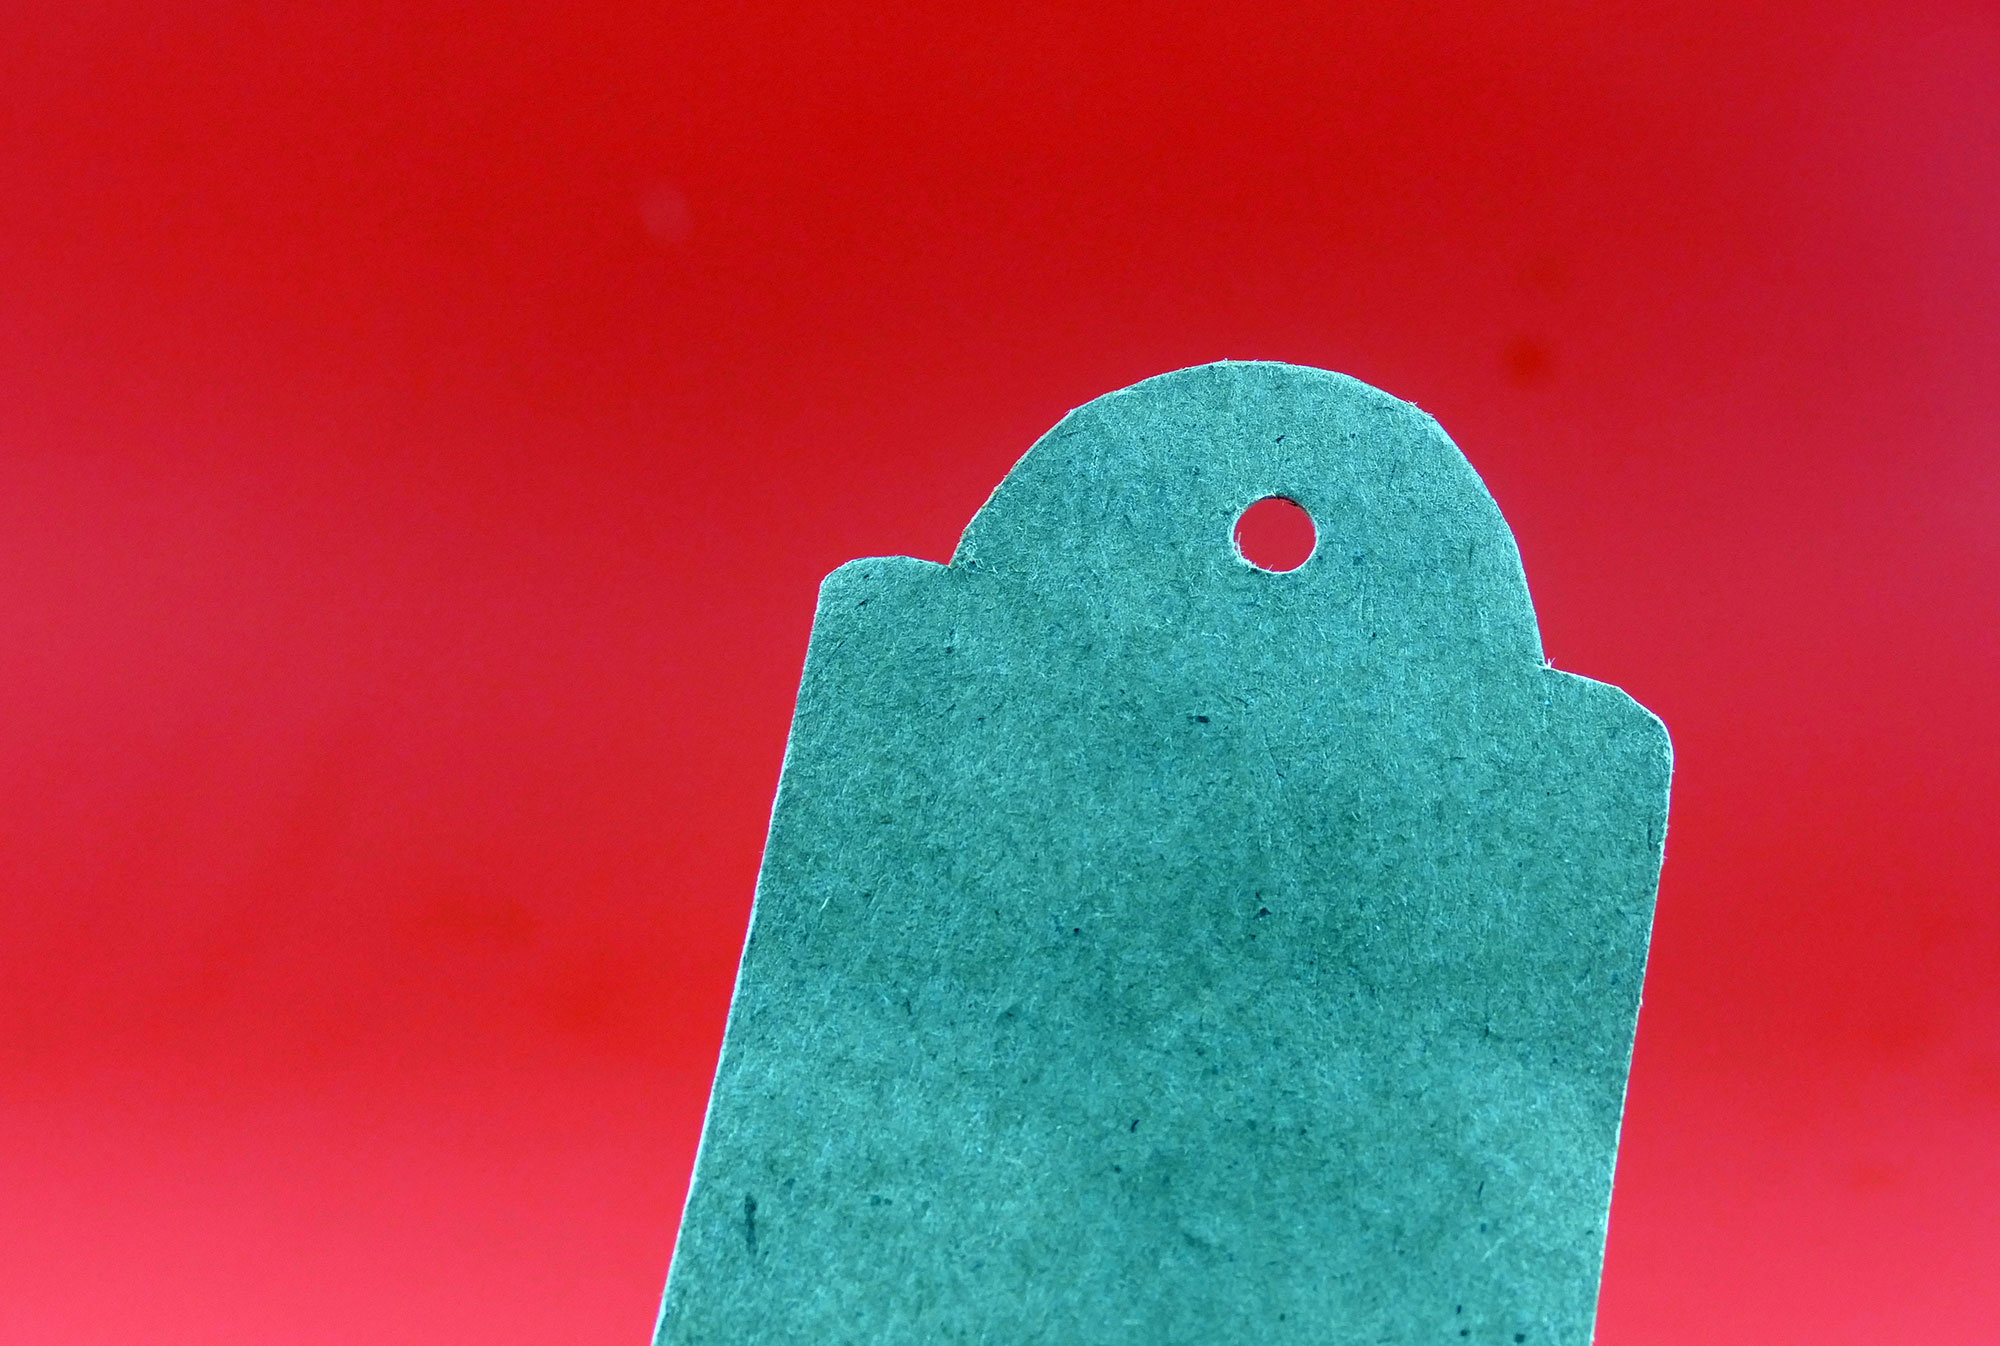
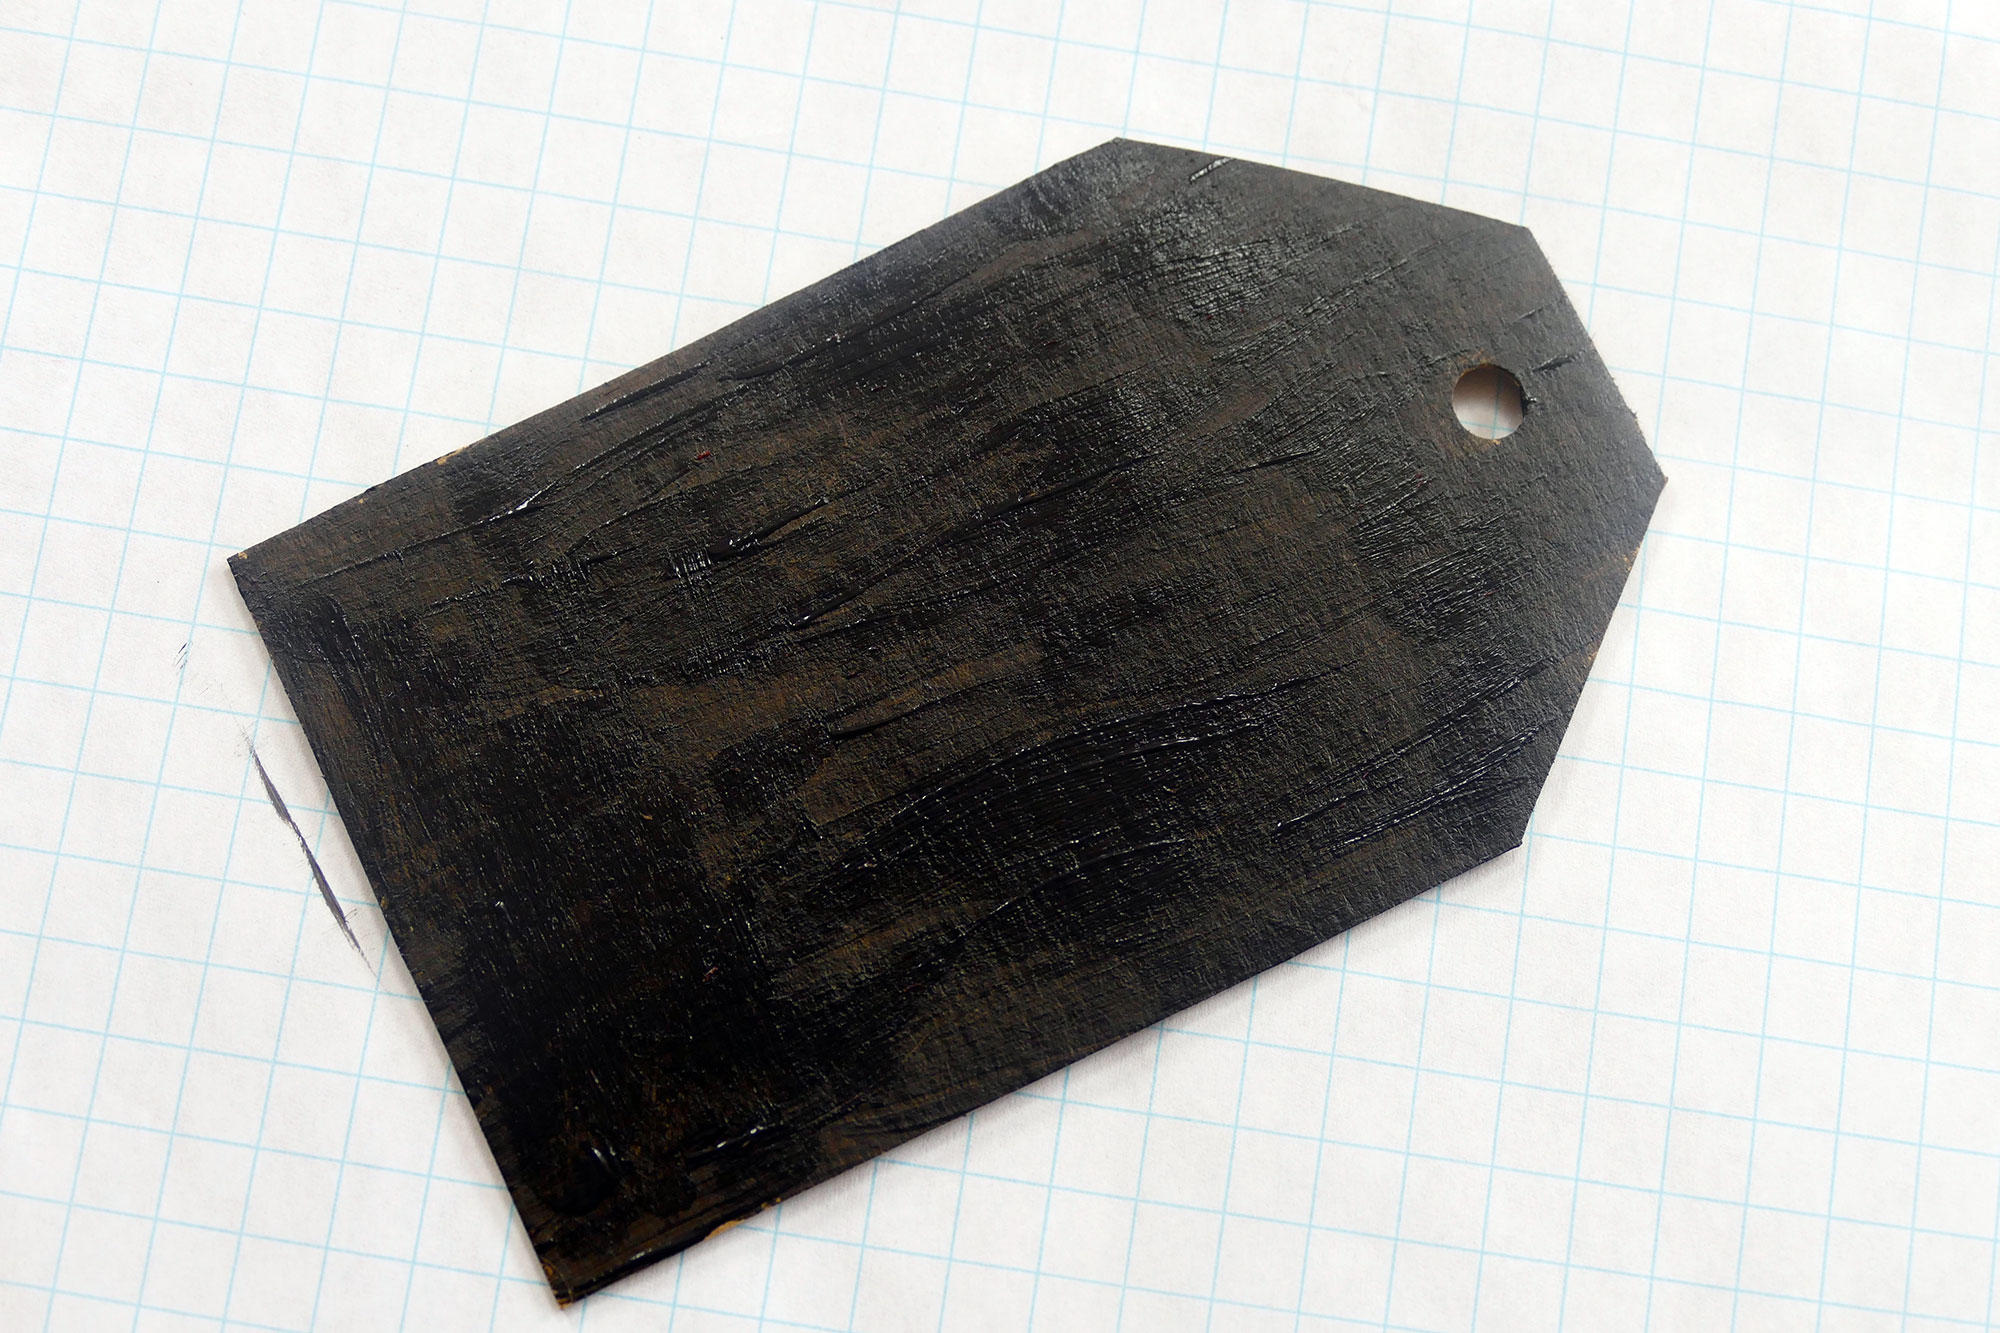
First, if you’re using cardboard, cut out the shapes you’d like to use for your tags. If you need ideas, I have a free template in my resource library — get the password to it at the bottom of this post
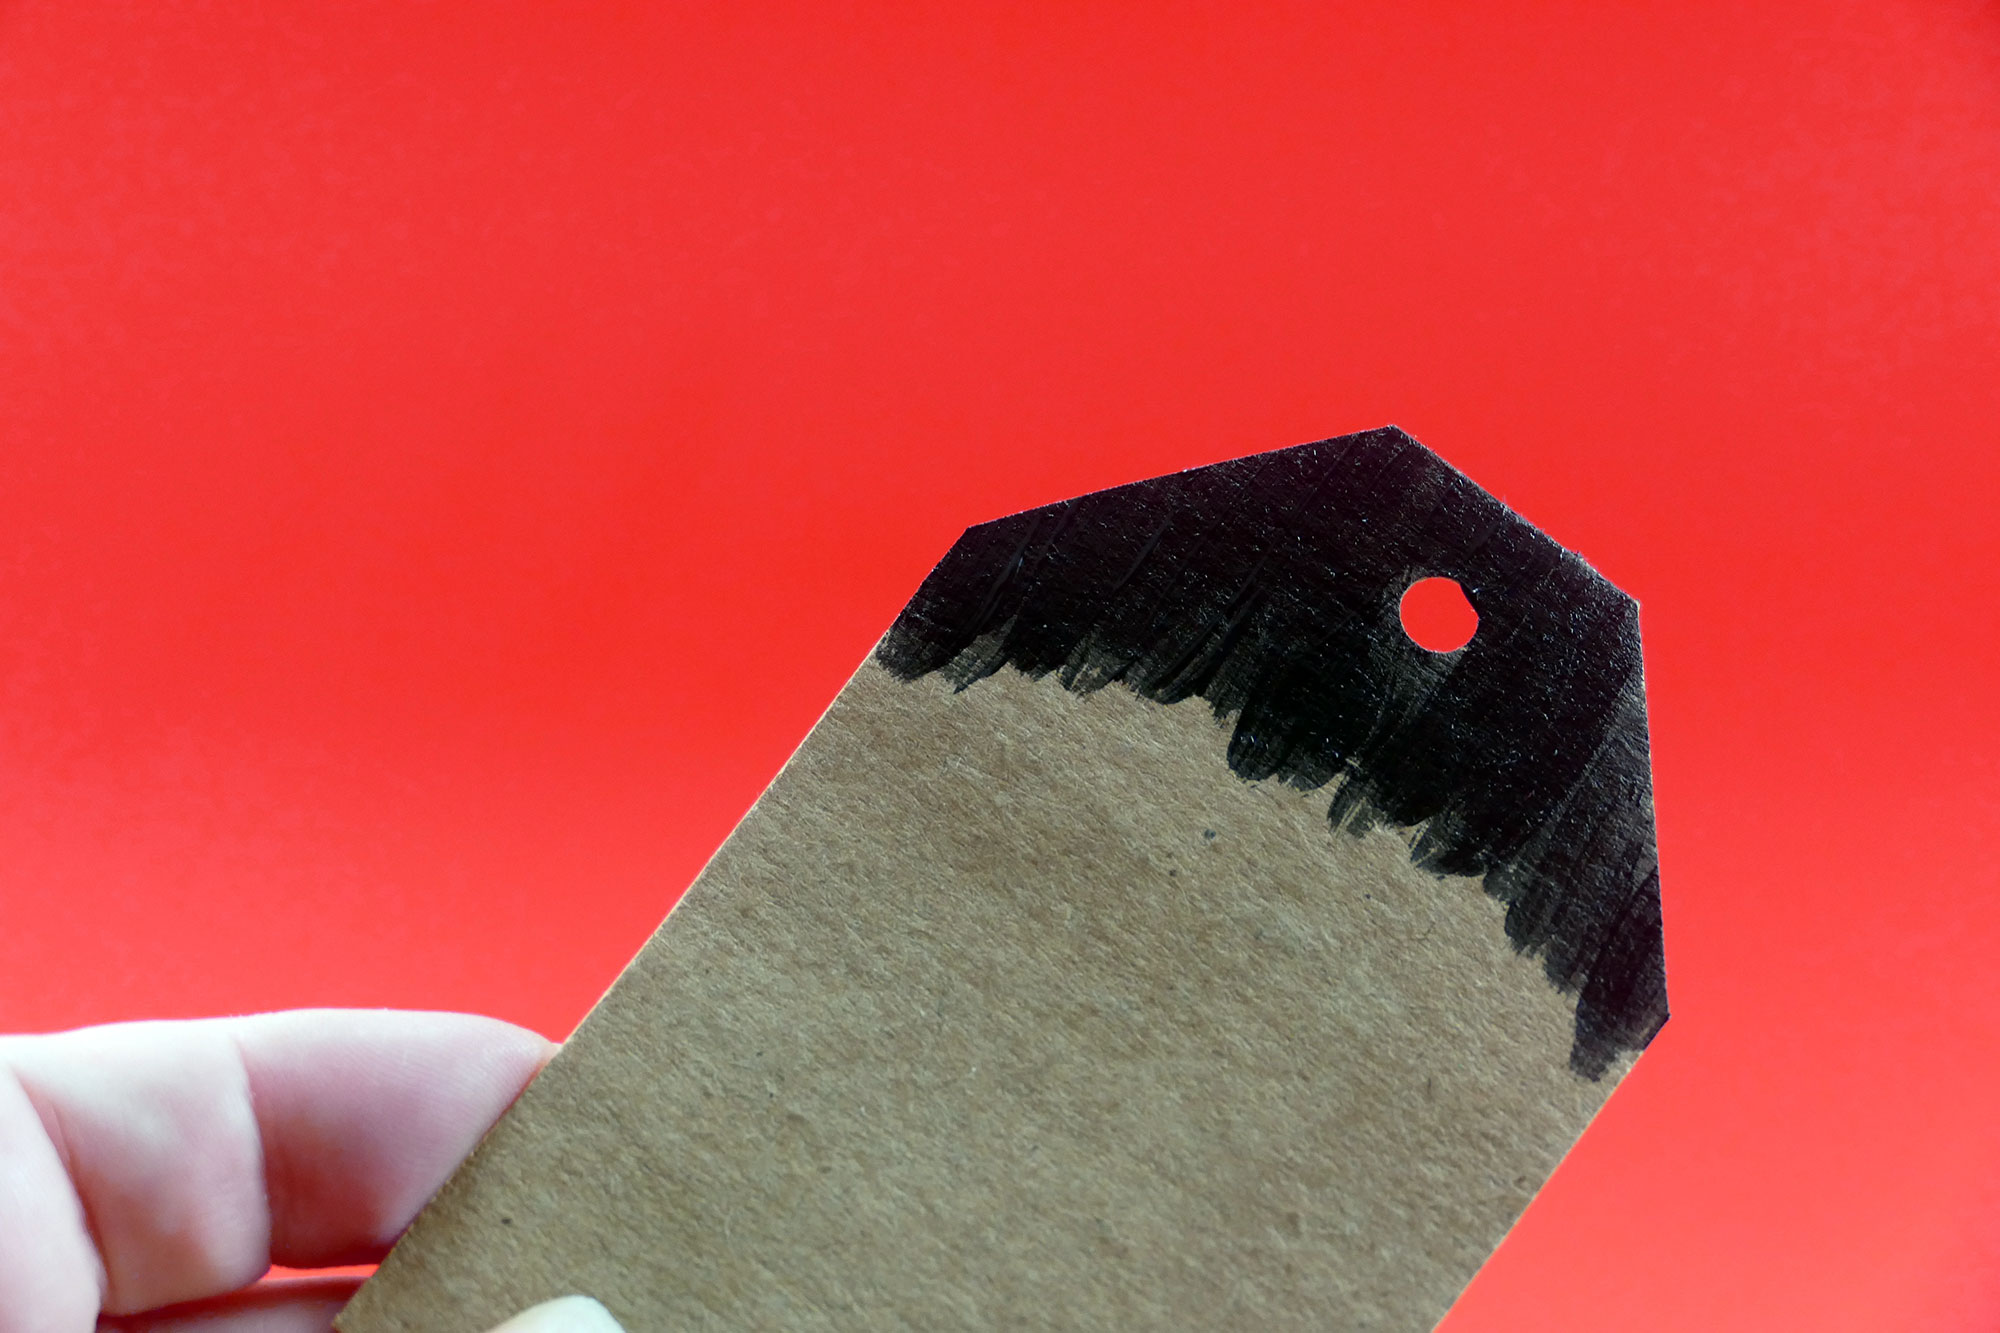
Step 2: Paint your tags (whether they be cardboard or wood) with the black chalkboard paint, front and back. Give the side you plan to write on an extra coat of chalkboard paint. Allow to dry.
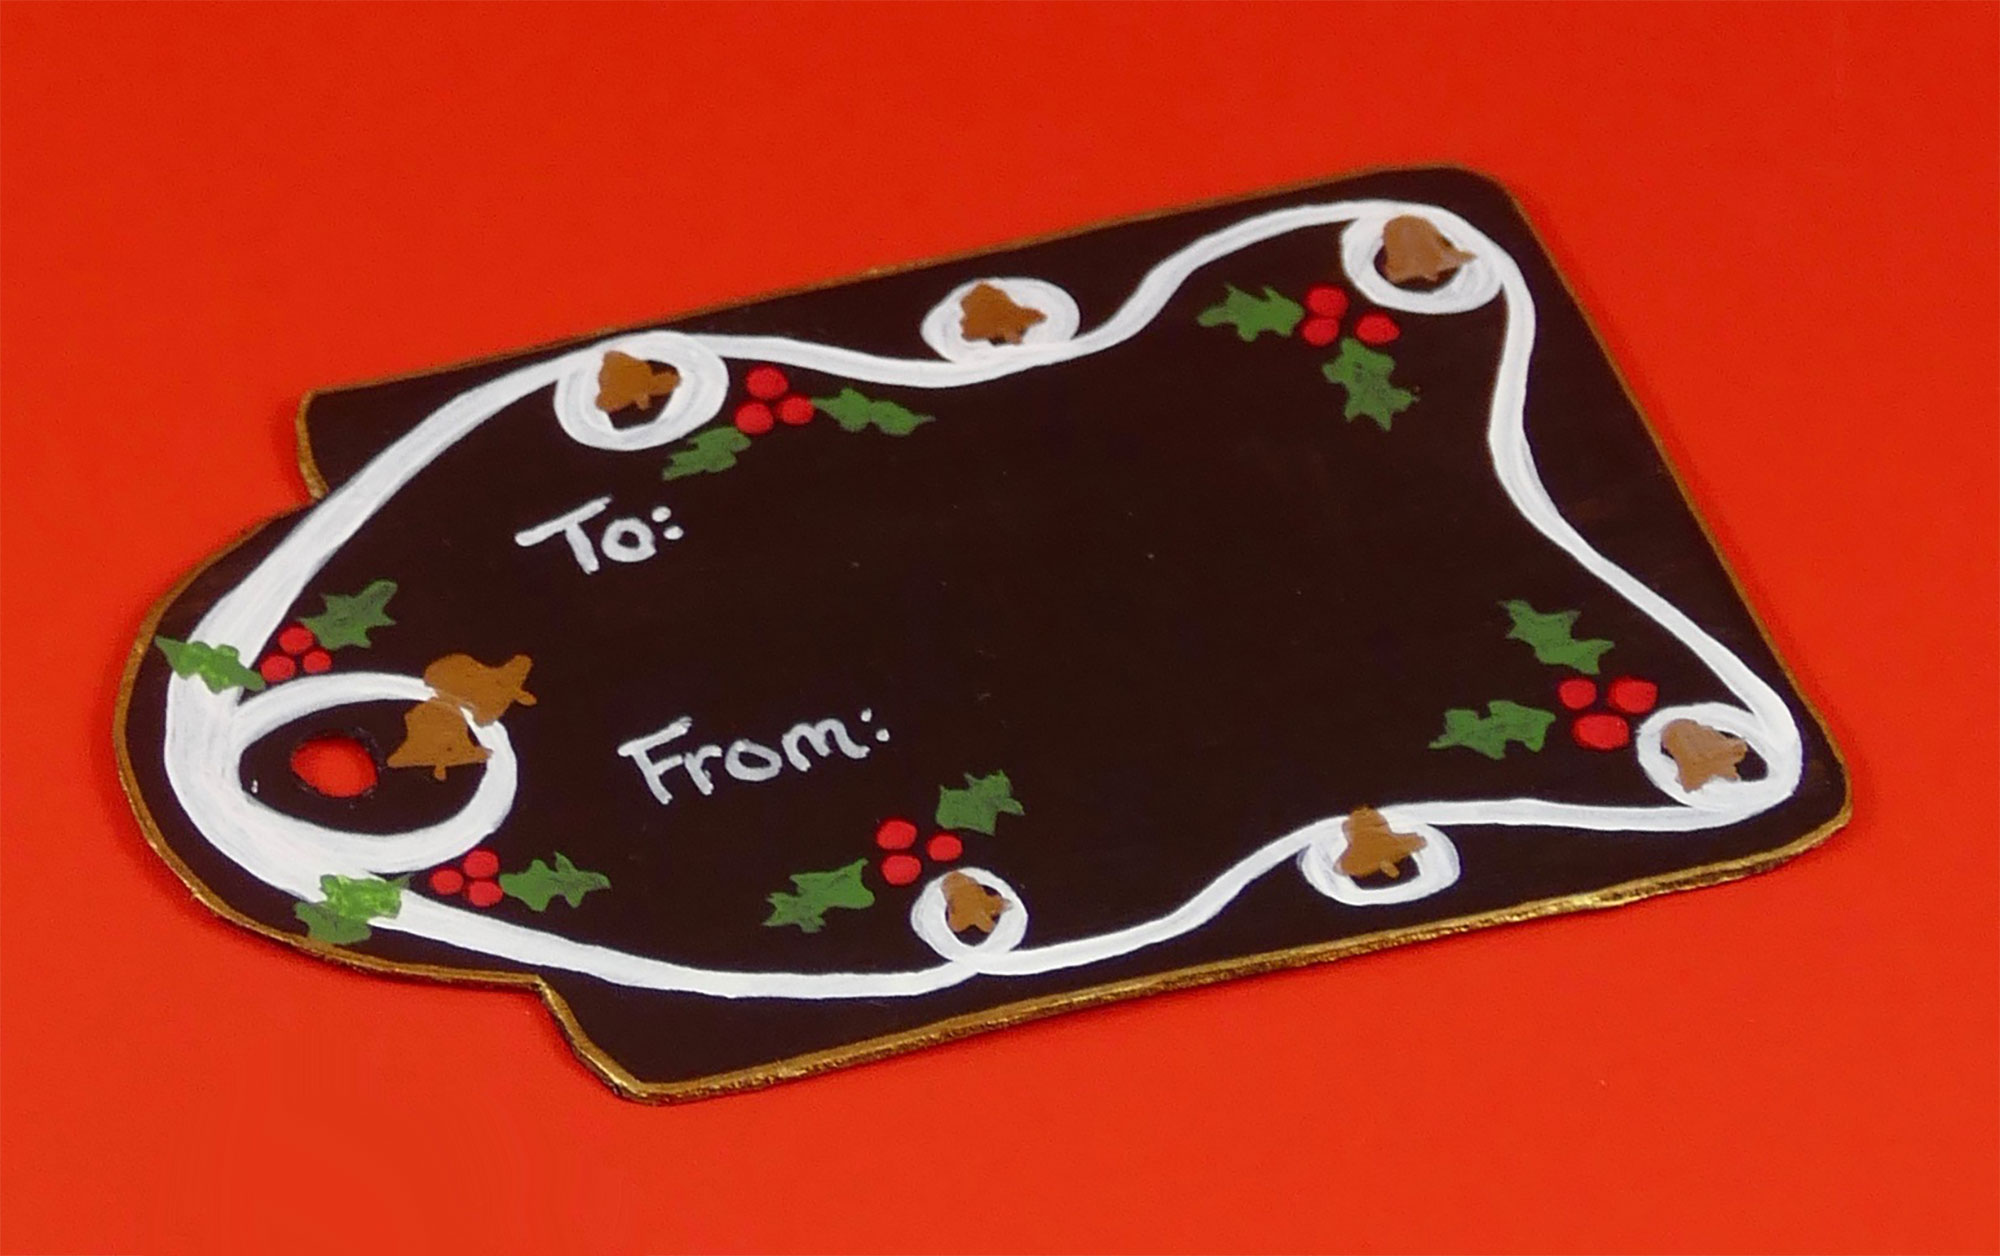
Step 3: Using your paint and/or paint Sharpies, decorate your tag in any way that pleases you. Or you can leave them completely blank. It’s completely up to you!
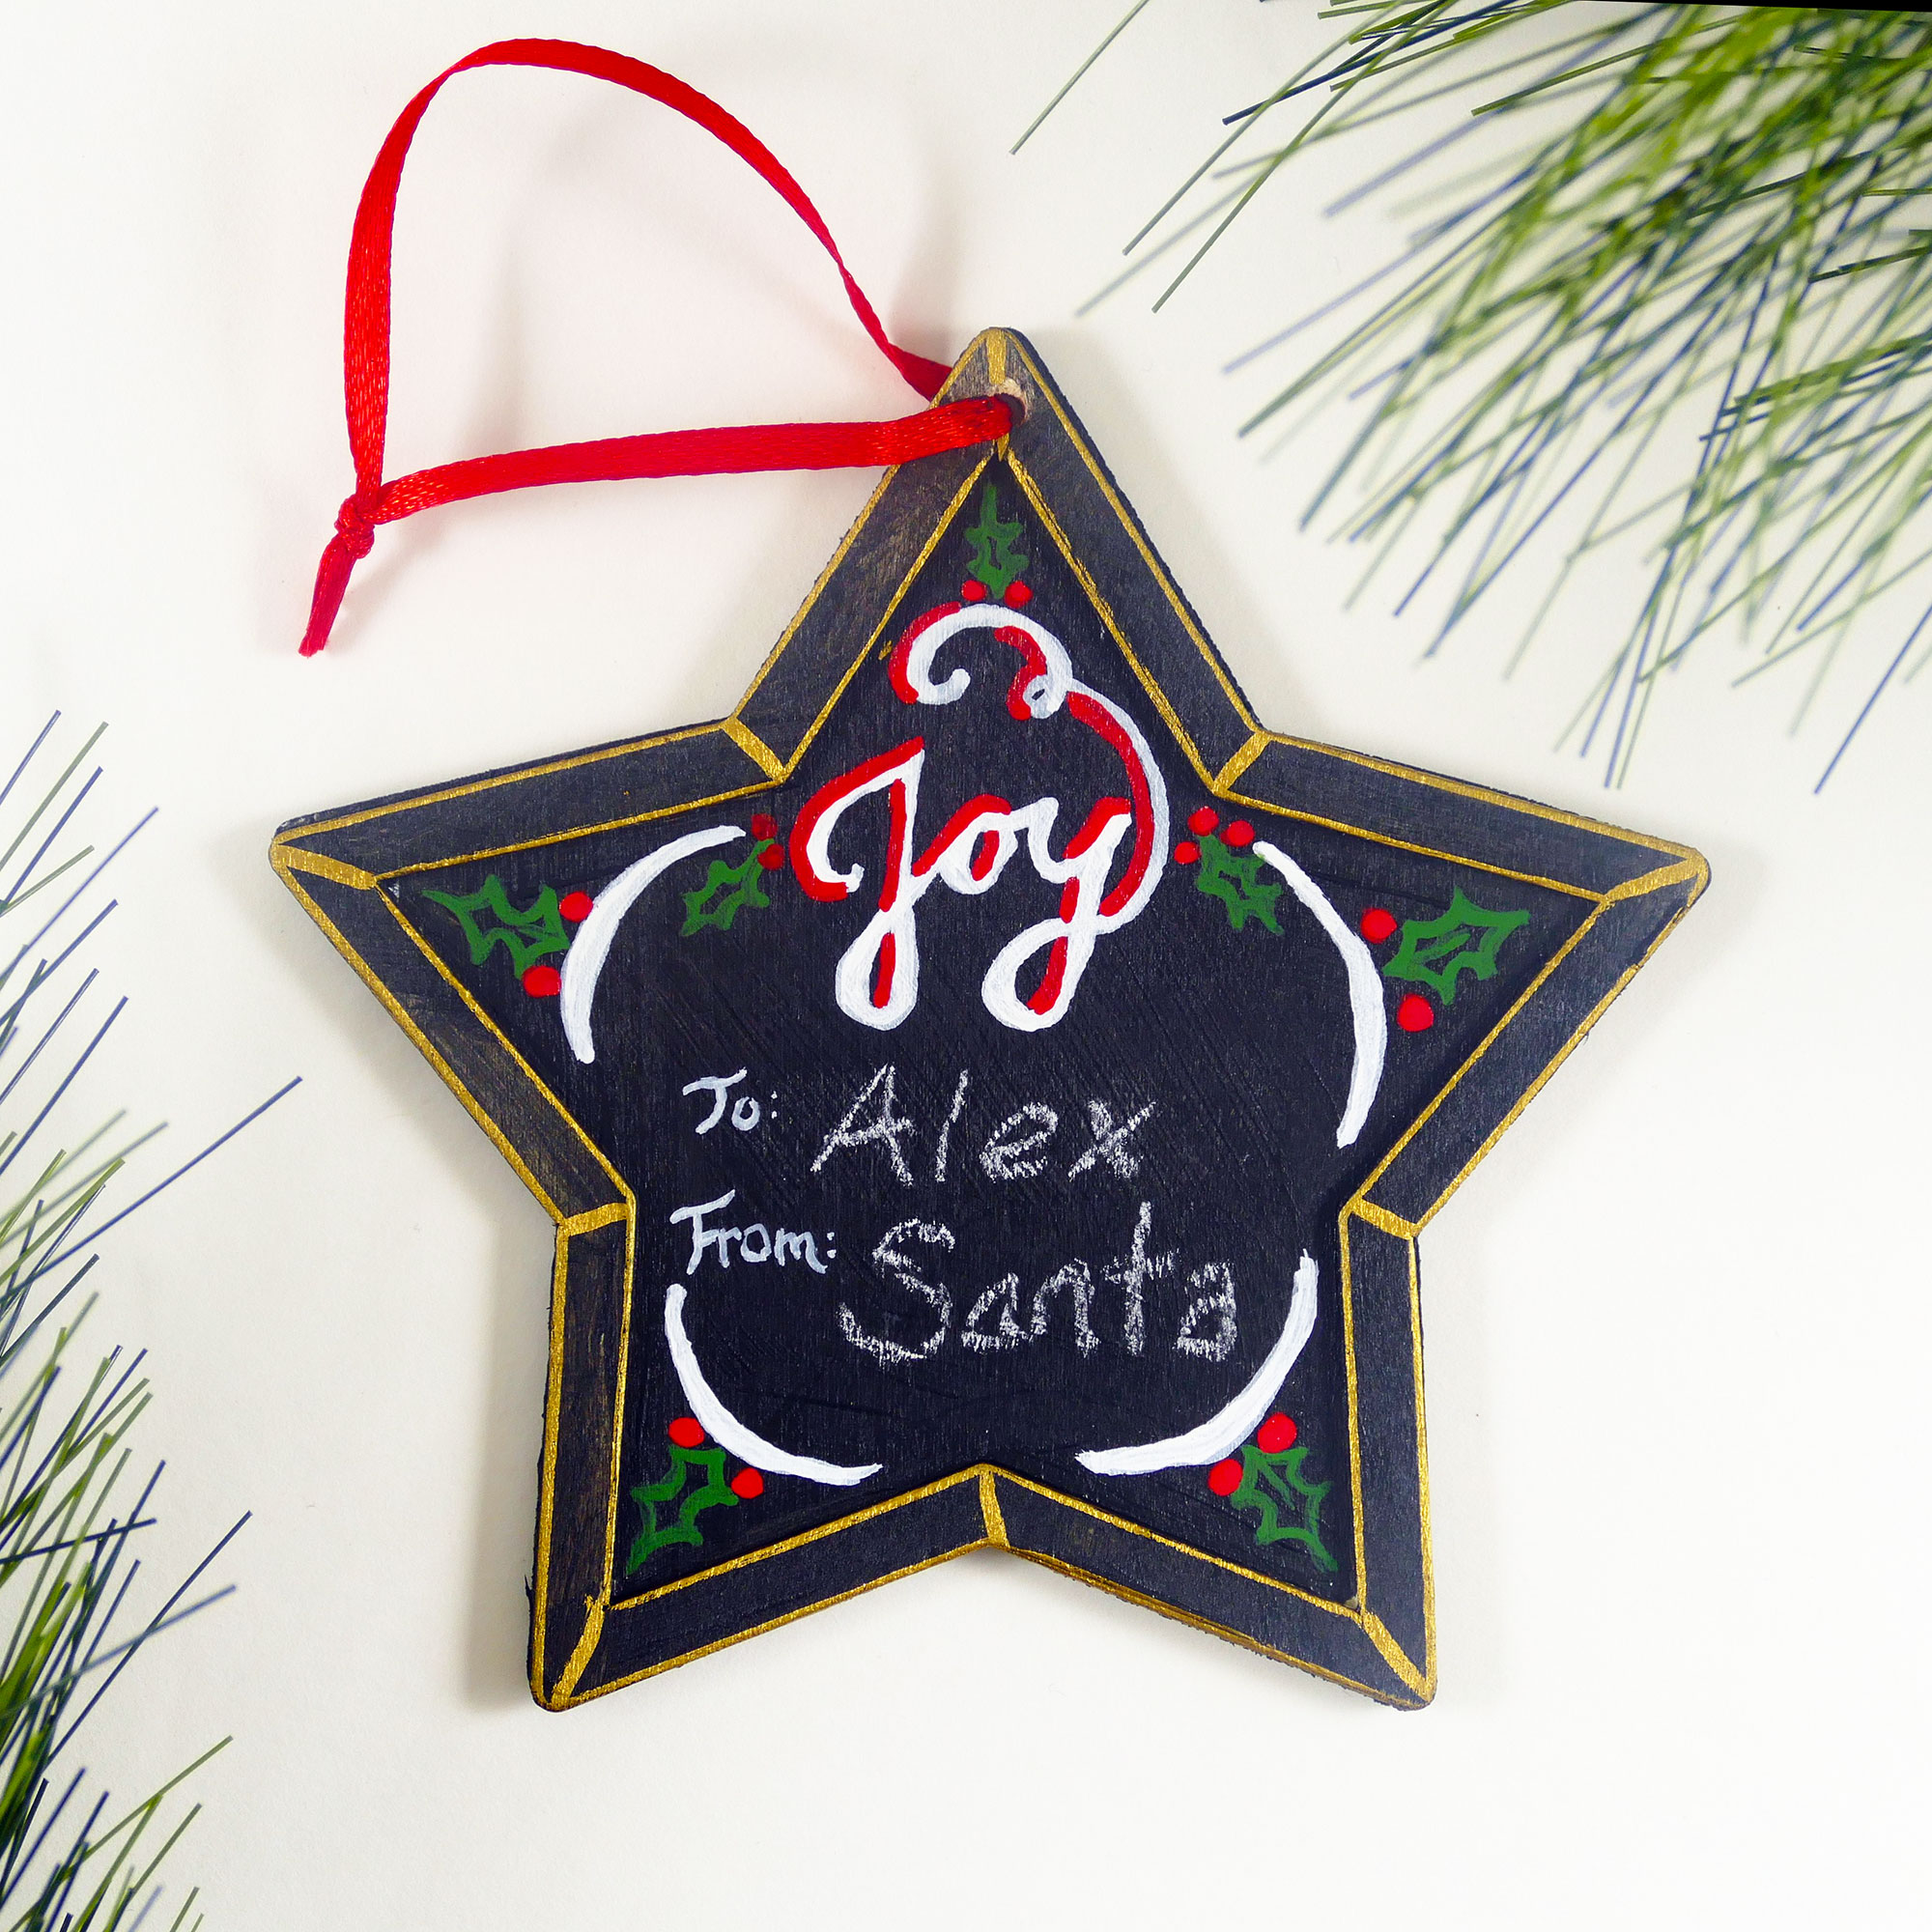
Step 4: Thread a ribbon through the hole at the top.

Step 5: Using your chalk, try writing on the tag and wiping it off (use a damp cloth to get it all off). Cool, isn’t it?
Get the free template for my DIY Chalkboard Gift Tags
Enjoy your reusable gift tags, or give them as gifts to friends and family. If you give them away, be sure to write a little happy note on the back!
Love,

P.S. Check out my other fun DIY gift tutorials to help you make wonderful homemade and inexpensive gifts! I currently have tutorials on DIY teacup candles, DIY Sharpie mugs, DIY hand warmers, DIY bath bombs, and a DIY gold-dipped crystal necklace!
Like this tutorial? Please pin it to your favorite Pinterest board!

These are cute! The detailed instructions are perfect. Thanks for the great idea- anything that can be re-used is definitely appreciated.
Thank you, Laurie! I agree — re-using things is a money- and time-saver!
These are so cute! What a fun craft idea. I always get so busy around the holidays I forget to make crafts, but I’ll remember this for the future.
Thanks, Theresa! The holidays DO get really busy!
I am pretty much obsessed with chalkboard things. How cute are these! I love how professional they look! Great job!
Aw, thank you, Reesa! Chalkboard things are lots of fun!
These are some seriously cute tags. I love the instructions given and they are easy to follow. At least my god-children are going to love this.
So glad to hear, Debbie-Jean! These are really simple to make. 🙂
Oh my! These are so incredibly cute and something I’d want to add to my packages this Christmas. I love chalkboard everything!
Thank you, Cynthia!
I also forget to do gift tags (but there’s only two of us in the house so it’s not a huge deal) but I love this idea and I am totally going to make them and send them to my sister in law!!
Awesome, Angela! Happy crafting!
Those are super cute. I’m not crafty by any means, but my oldest daughter is. I think she’d like doing these for the gifts she’s going to give family this year. I look forward to sharing this post with her.
How cool are these?! I always just cut out a square of wrapping paper and tape it to the outside of the gift. LOL. These are so cute and creative. LOVE LOVE LOVE.
What a really great and cute idea! I think its so fun when you can be crafty and thoughtful when it comes to giving. This would be great, wish I was a bit more crafty!
Thank you, Jeanine! It may look like it takes skill, but it’s really just cutting and painting the chalkboard paint on. You could leave them completely blank and just write names on with chalk, and they’d still be awesome!
These are adorable!! Such a clever and thrifty idea! And less waste!
Thank you, Stephanie! I am super happy with how they turned out. Now the trick will be to not lose them between one year and the next.
Oh my goodness, reusable gift tags! They’re my least favorite thing but this makes it so much nicer!
These are so cute!!! I love chalkboards and painting anything with chalkboard paint! I’m going to have to make some of these!!
Awesome, Heather! I hope you make them, too!
What a cute craft! I have so much leftover cardboard just laying around from Amazon packages (lol) and am always trying to find DIY uses for them!
These are so pretty!! I love the home-made look and how cute the poinsettia adornments loo.
Thank you so much, Rebecca!
Those are such a cute way to make a gift tag for every year! I will have to give them a try.