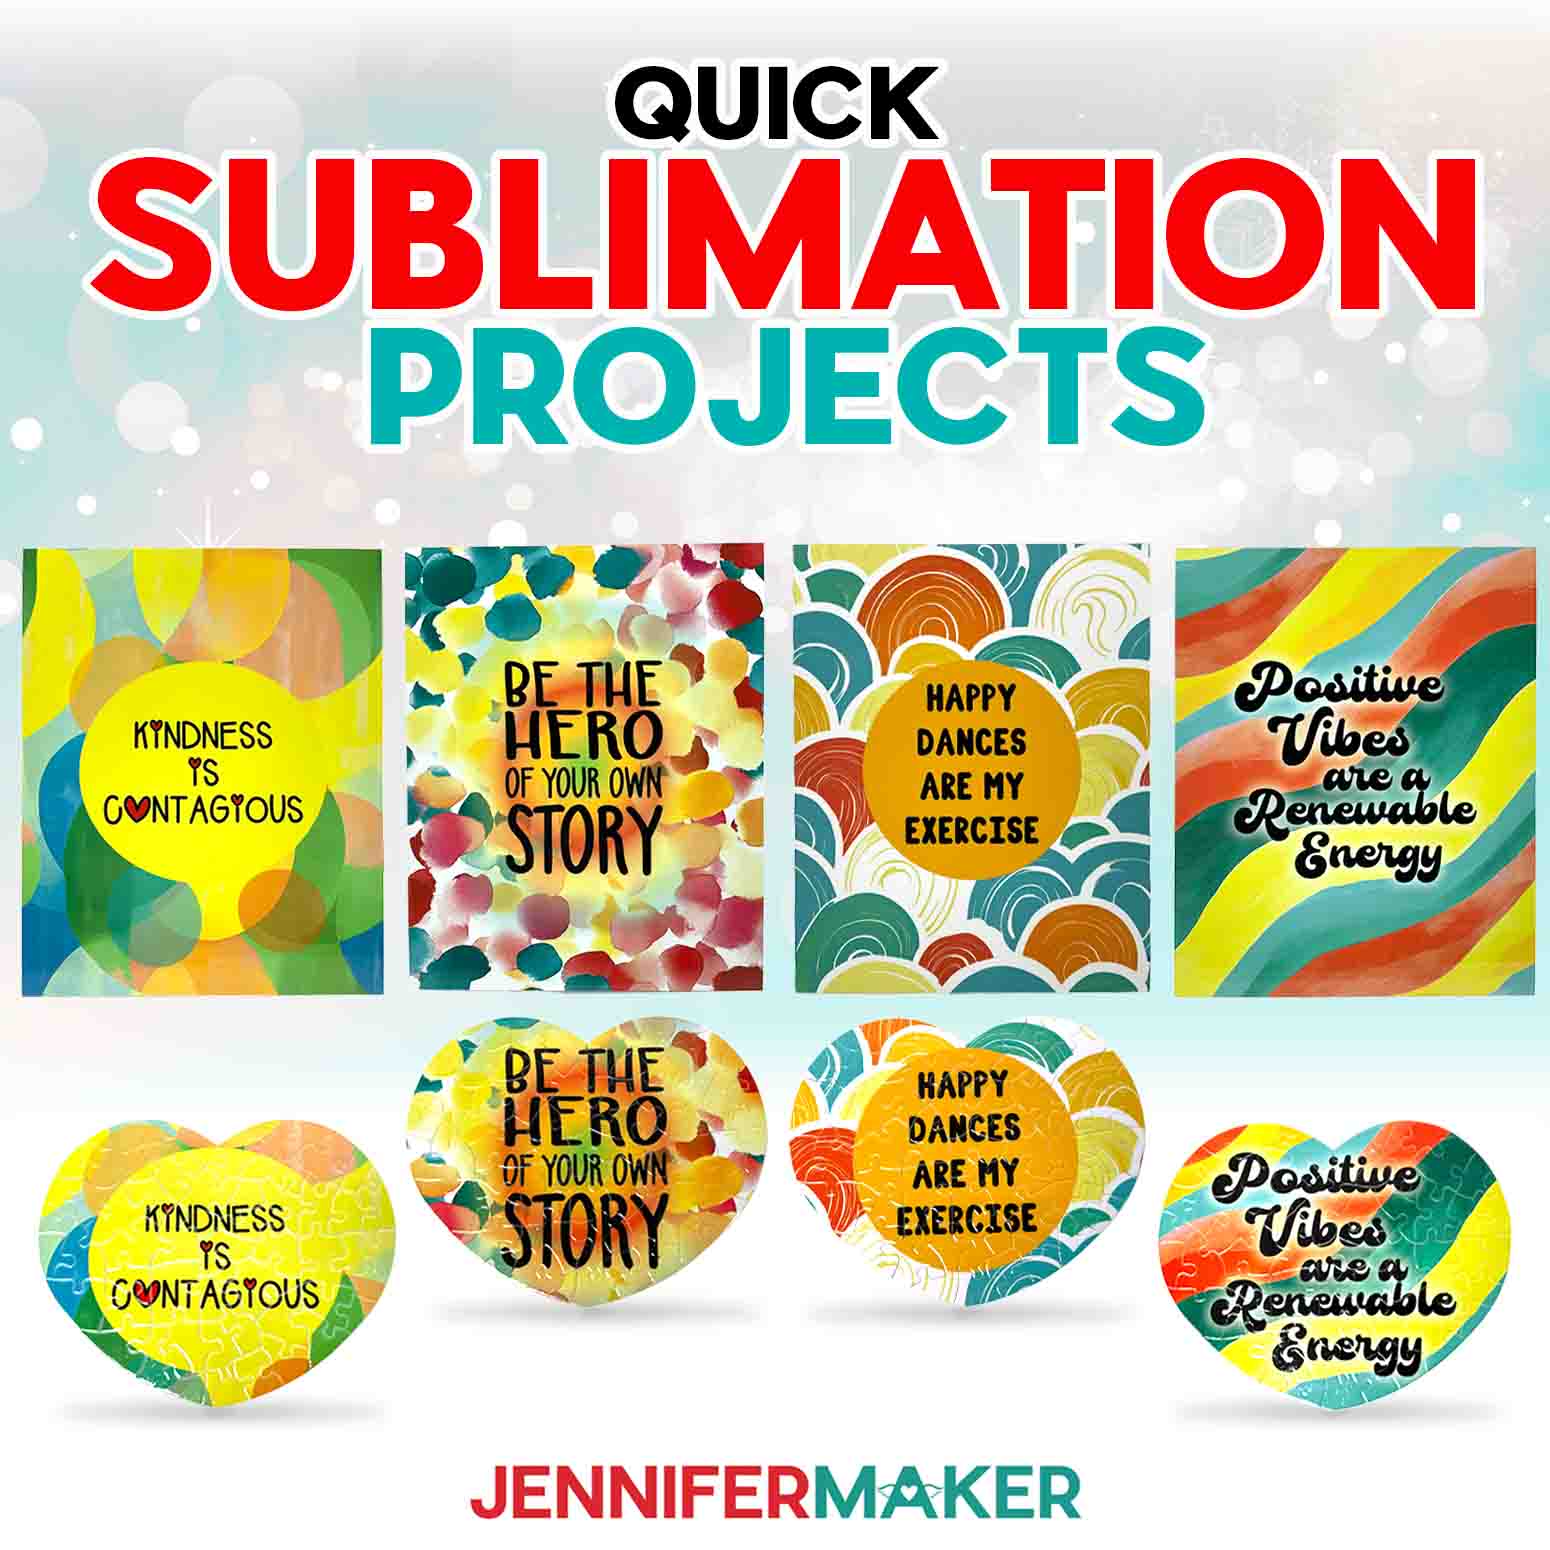
Learn how to sublimate on inexpensive Dollar Tree items!
Sublimation crafting is so much fun and now I see possible sublimation blanks everywhere! But you don’t have to buy expensive purpose-made items to decorate, especially when you’re just starting with your sublimation printer. Today, I’ll share my top ten Dollar Tree Sublimation Ideas and a fun collection of beautiful designs. I’ve tested out all of the items for you! They work great as long as you use the right materials, techniques, and settings. I love some of these projects so much, they might find their way into a future Sublimation for Beginners class. Ready to see them?
Watch the Dollar Tree sublimation blank haul and assembly videos on my Youtube channel:
There is a secret ingredient for a few of these Dollar Tree sublimation ideas but I’ll go over that in the assembly video. It has a full tutorial to make three of the projects with their own sublimation file:
- Twinkle Twinkle Little Star design on a fleece blanket
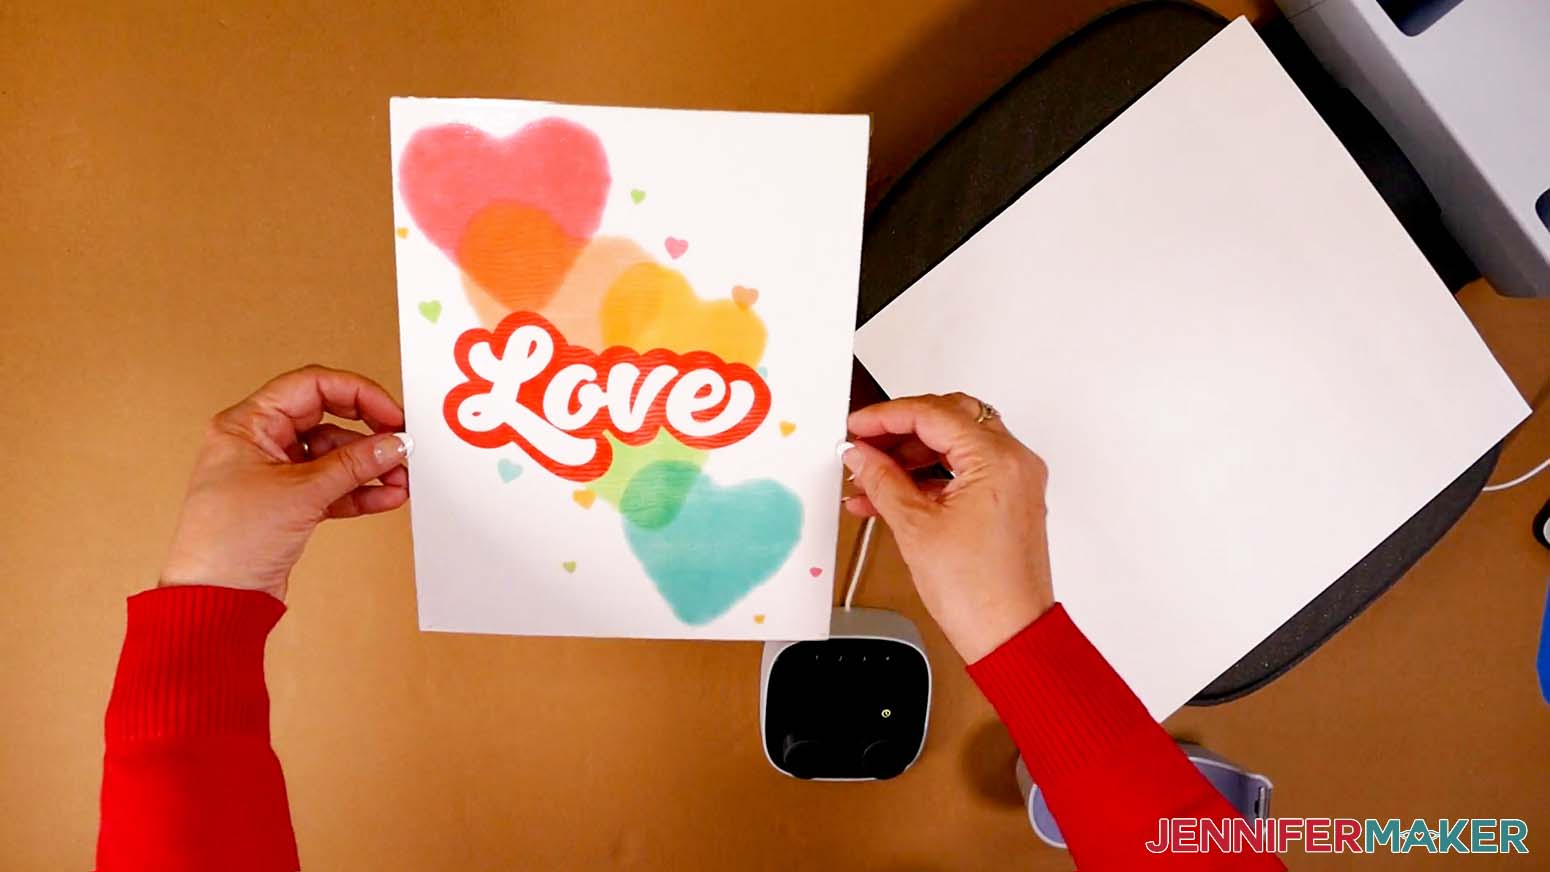
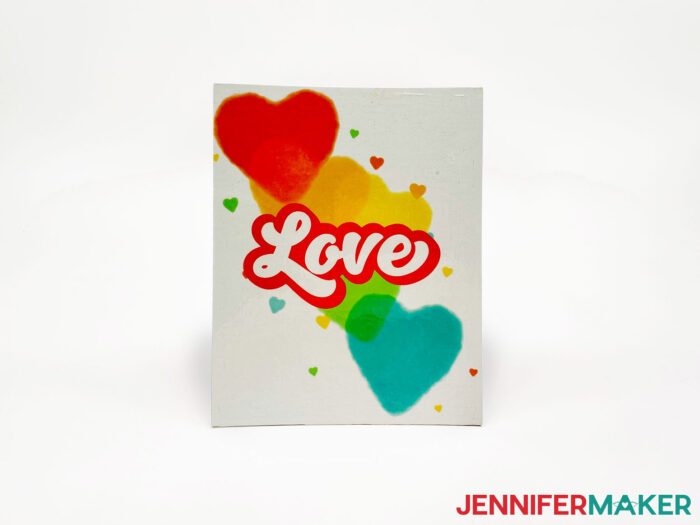
- A gorgeous design with Love and hearts on a canvas board
- A custom design on a glass cutting board

The good thing is the materials and sublimation process for the other projects are very similar, so you’ll be making complete sets in no time!
I used the Epson EcoTank ET-4760 sublimation printer to test my Dollar Tree sublimation ideas and it did a great job. You can research several printers in my Best Sublimation Printer to Buy in 2022 post, too.
I like sublimation printing best from my desktop computer using Google Docs (great results and free!). Then, you’ll need compatible ink and paper. I used Hippo Ink and 8.5″ x 11″ A-SUB paper for each of these. You can learn the best materials for all your needs in my Sublimation for Beginners Ultimate Guide.
You can use an EasyPress, traditional heat press machines, or a Cricut Autopress, which is my favorite heat press machine. You usually cannot use a household iron because sublimation ink activates at 350°F (175°C) and irons don’t get hot enough.
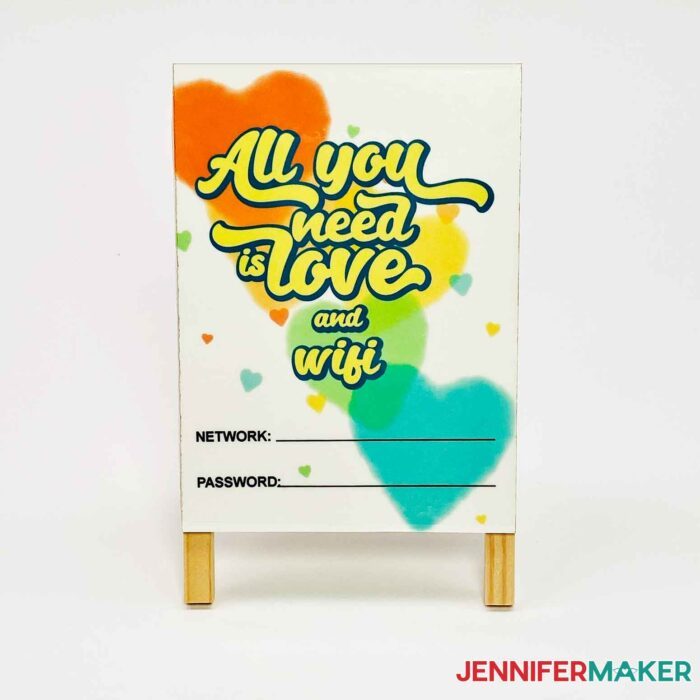
This cute dry erase board easel from the Dollar Tree might just be my favorite. These little dry erase boards are a great way to switch up your decor or make a fast gift.
And once you’ve used my free designs on the Dollar Tree sublimation ideas, try them out on other items like T-shirts, water bottles, or coffee mugs! The good news is that I have tons of sublimation projects for you and more on the way!

Ready to try some Dollar Tree sublimation ideas? You’re going to love it! This post contains some affiliate links for your convenience (which means if you make a purchase after clicking a link I will earn a small commission but it won’t cost you a penny more)! Read my full disclosure policy.
Materials to Make Dollar Tree Sublimation Ideas
View my Amazon shopping list with the exact items we used to make this project!
- Sublimation Paper – I used 8.5″ x 11″ A-SUB Sublimation Paper
- Sublimation Printer and ink – I used my Epson EcoTank ET-4760 converted for sublimation printing with Hiipoo sublimation ink
- Heat Press large enough for your design – I used the Cricut Autopress, but you could also use the Cricut EasyPress 2 9″ x 9″ or larger
- Laminating Pouches
- Dollar Tree blanks like Poly Fleece Blankets, Galvanized Metal Tags and Plaques, Glass Cutting Board, Polyester Socks, Wooden Wipe Off Boards (dry erase boards), Canvas Boards, Plastic Garden Pinwheel, Microfiber Wash Cloths, Microfiber Cloths, Satin Pillowcase,
- Protective Paper – I used white cardstock and white uncoated butcher paper
- Heat Resistant Tape, Lint Roller, and Scissors
- Laptop or Desktop running Windows or Mac
- Free Google account – to use Google Docs (free!) for printing your sublimation design
- (Optional) Your ICC Printer Profiles for better color (here are the Hiipoo printer profiles)
- Design #399 – My free sublimation design files (available in my free resource library – get the password by filling out the form at the bottom of this post)
How to Sublimate Dollar Tree Blanks, Including Lamination!
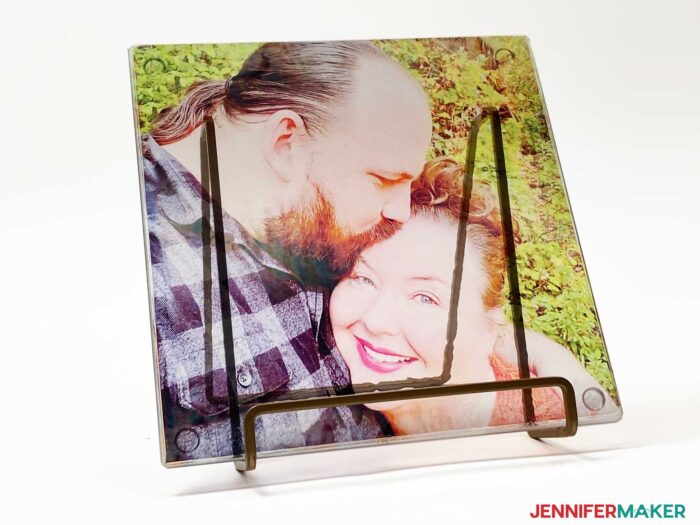
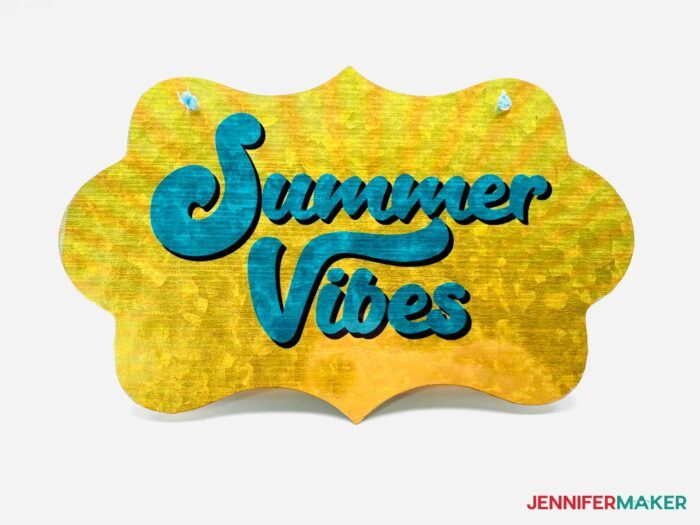
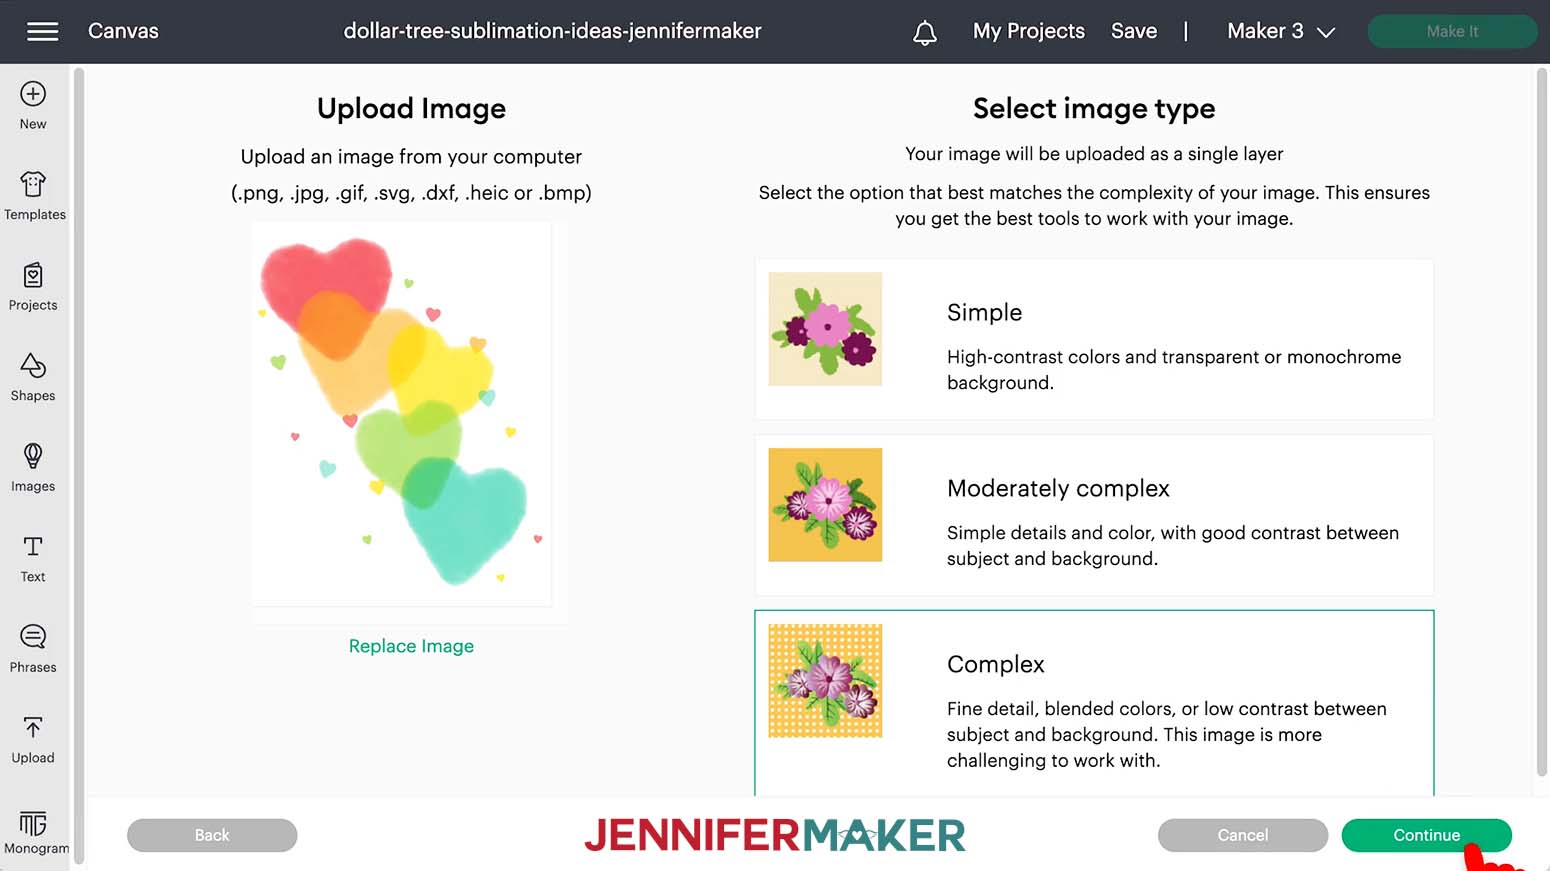
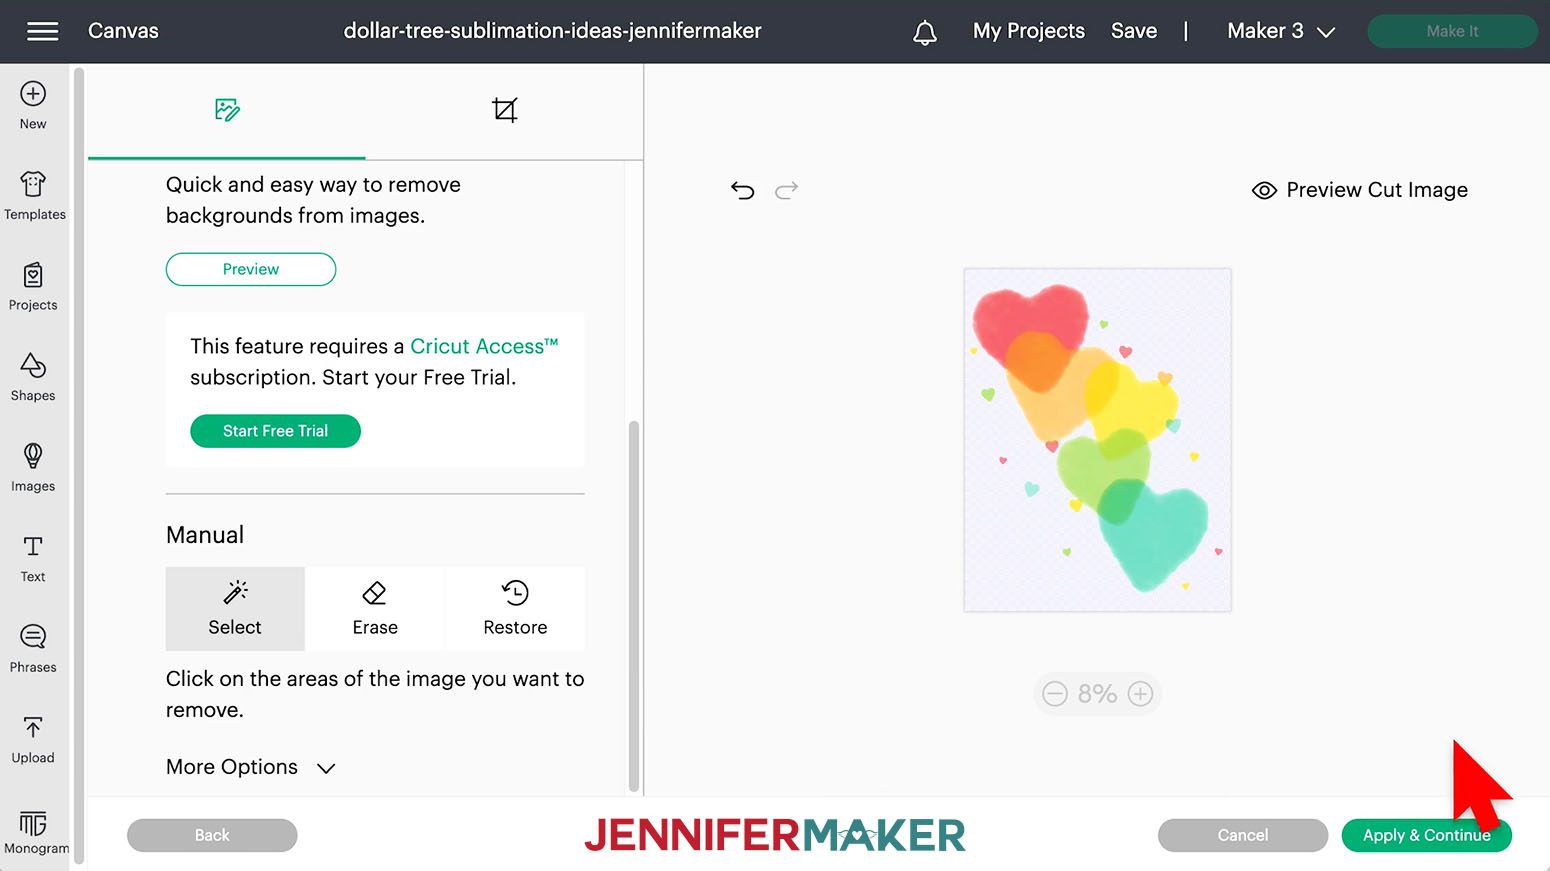
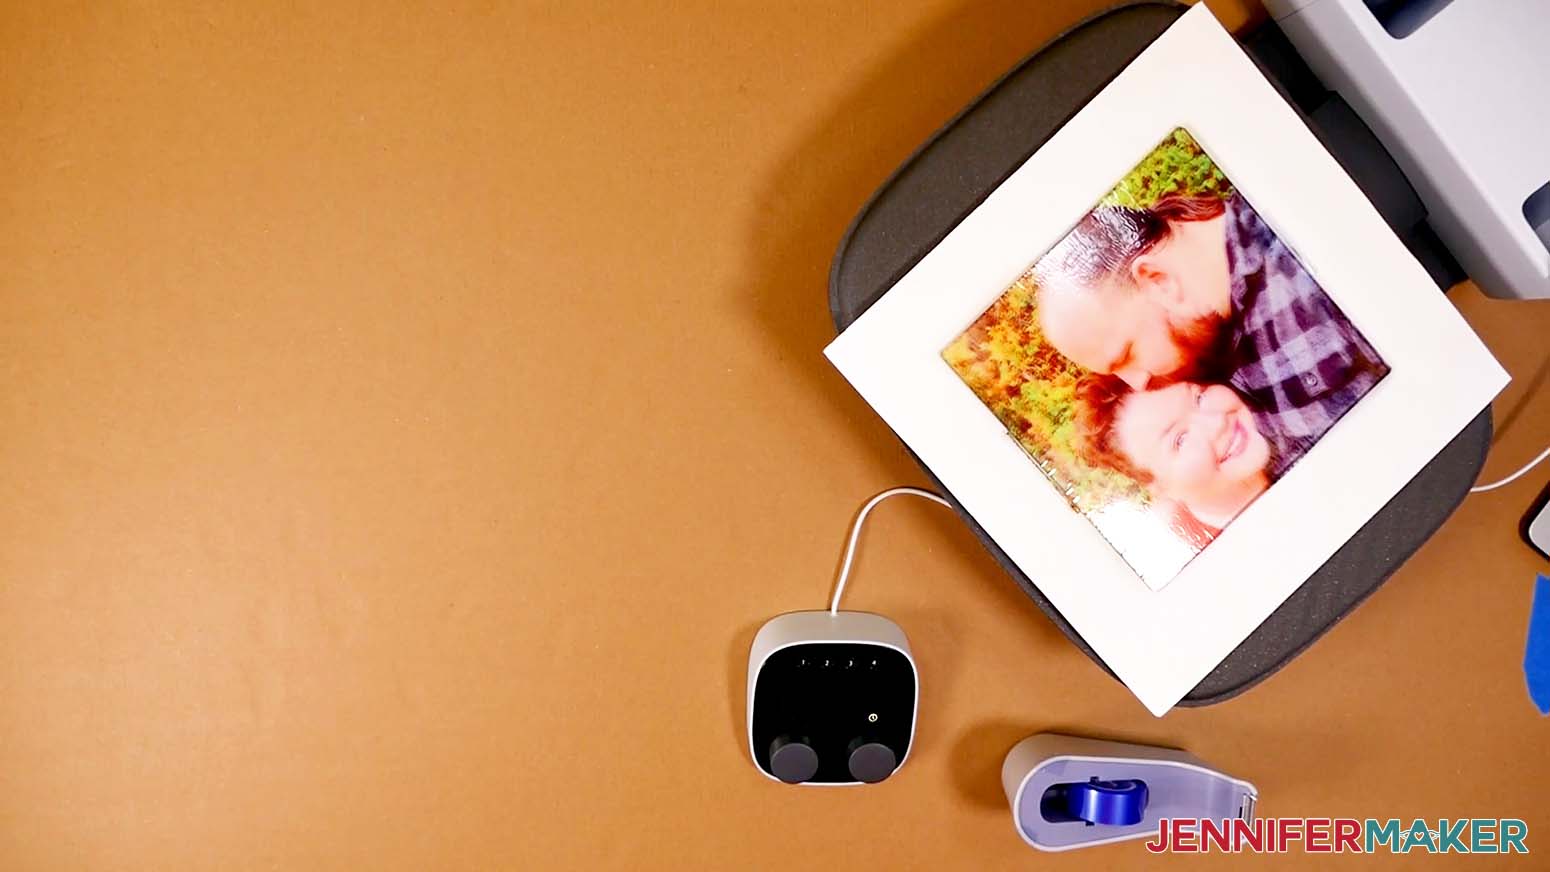
Learn how to use Dollar Tree items for sublimation projects. Today, I’m going to make the twinkle PNG design on a fleece blanket and the love design on a canvas. Then, I’ll show you how to sublimate a photo onto a glass cutting board. It's important to print sublimation designs at the correct dimensions, so measure your items and record the dimensions that you want to decorate. The fleece blanket is 27" x 31" and our design is 10" x 6.5" so that will fit nicely in a corner. Once you have the measurements, follow the steps on my How to Print Sublimation Designs from FREE Software: Google Docs tutorial to size and print the designs. You can also print your files through Design Space, but they won't be quite as high-quality and you will be limited to the available Print Then Cut working area. If you'd prefer to use Design Space, start a new project and upload your chosen JPG file. Under Image Type, select "Complex" and click "Continue." On the Background Remover page, choose the "Select" tool under the Manual options. Click the white background on the image to remove the white areas. Then click "Apply & Continue." Select "Print Then Cut Image" and "Upload." Now you can print the sublimation design like a Print Then Cut image using Cricut's printing process. Remember to set your printer correctly and follow the settings from my How to Print Sublimation Designs from FREE Software: Google Docs tutorial. Once it's printed, be sure to trim off the black registration box. NOTE: if you’re adding a photo to a glass cutting board like me, put it on the back so it doesn’t come into contact with food and lasts much longer! That means we don’t need to mirror the photo during printing. Preparing items for sublimation depends on the surface and project you're making. I used the Autopress for these projects, and will note where you can use other heat press options. Fleece Blanket Use a lint roller to remove any extra fluff in the area you plan to press. Pick off any stubborn pieces, too. Since we’re dyeing the fibers, you want a clean, uniform surface. Run your hand over the area to make the fibers go in the same direction, too. This is more important on fabric with fur or individual fibers, but even fleece can have some pieces sticking in the wrong direction. Preheat the design area at 350° F for five seconds to remove any moisture. Solid surfaces are easy to sublimate IF they’re made out of a material that can receive sublimation dye ink. If the surface won't work with sublimation ink, you can add a layer of lamination material and then decorate that. Start with a laminating pouch large enough to cover your item. Use your scissors to carefully cut along the seam so you have two flat pieces. Laminating the glass cutting board is pretty similar. Adjust the heat to 400° and set the timer for 60 seconds. Fleece Blanket Preheat the Autopress to 350° and set the timer for 60 seconds. Lay down fresh white cardstock to protect your press. Then place the corner of the blanket in the press and place the design face down where you want it to be. Use heat resistant tape to keep it in place. Make sure the whole design will be under the heat source. Cover the whole thing with white butcher paper and close it once it heats up. Canvas Preheat the Autopress to 350° and set the timer for 60 seconds again. Replace the white cardstock and place the canvas face up on the pressing area. Gently center the design face down on top and secure it with heat resistant tape. Glass Cutting Board Preheat the Autopress to 400° and set the timer for 60 seconds. Replace the white cardstock and place the board face down on the pressing area. Gently center the image face down on top and secure it with heat resistant tape. Blanket Care: Machine wash: cold or warm, not hot. Gentle detergent. Dry: low heat or air-dry cycle. Canvas Cutting Board Care: Wipe clean with warm soapy water and a gently cloth and towel dry. Do not microwave or put in the dishwasher. For the additional items, here are the settings I used: Micofiber Washcloths Preheat: 5 seconds Care: Machine wash: cold or warm, not hot. Gentle detergent. Dry: low heat or air-dry cycle. Microfiber Towels Preheat: 5 seconds Care: Machine wash: cold or warm, not hot. Gentle detergent. Dry: low heat or air-dry cycle. Satin Pillowcase Preheat: 5 seconds NOTES: Remember to put cardstock inside between the layers of fabric to avoid any ghosting of the ink. Care: Machine wash: cold or warm, not hot. Gentle detergent. Dry: low heat or air-dry cycle. Polyester Socks Preheat: 5 seconds NOTES: Remember to put cardstock inside between the layers of fabric to avoid any ghosting of the ink. Care: Machine wash: cold or warm, not hot. Gentle detergent. Dry: low heat or air-dry cycle. Garden Flower Spinner Preheat: 5 seconds I found that the petals are held in place by wires that are really easy to take off and put back on. Look where the petal meets the center and you’ll see wires going into small holes. Gently pull the petal and they should pop right out! When you’re done sublimating, just stick the wires back in, making sure the design faces the correct way. Galvanized Plaque and Tag Laminate Take the hanging cord off of the sign before adding the laminate. Sublimate Wooden Wipe-off Board Sublimate Temperature: 400° Typefaces: Andala Script, Beachwood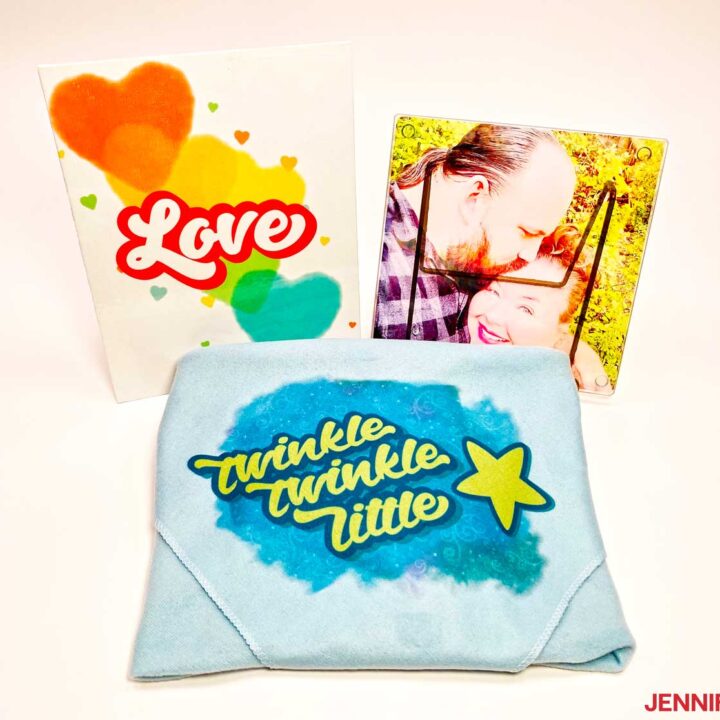
Dollar Tree Sublimation Ideas
Materials
Tools
Instructions
STEP 1: GET OR PREPARE A SUBLIMATION DESIGN
First, download my Dollar Tree Sublimation Ideas PNG/JPG files from my free resource library. It's Design #399. There are several options, or you can make your own design using one of the plain backgrounds.
We'll print the PNG designs on a good-quality sublimation paper for the best results. I’m using A-SUB paper in my Epson EcoTank with Hiipoo ink. You can use another combination, of course. Just make sure you use compatible supplies.
You can find all my best tips on printers and materials in my Ultimate Guide to Getting Started with Sublimation.![]()
The canvas is 8" x 10" and I want to cover the whole thing (even the edges, I'll show you how to do it safely) so I’ll print the design as large as I can on my letter-size paper.
And the glass cutting board is just under 8" square, so I’ll print the part of my photo I want to use at that size.
These items are pretty easy to measure since they’re rectangles or very large. If you’re sublimating all over an irregular item, like a shaped plaque, you’ll need to make the design large enough to completely cover it. Measure the item as if it’s a rectangle so you can see the widest and tallest area you want to cover.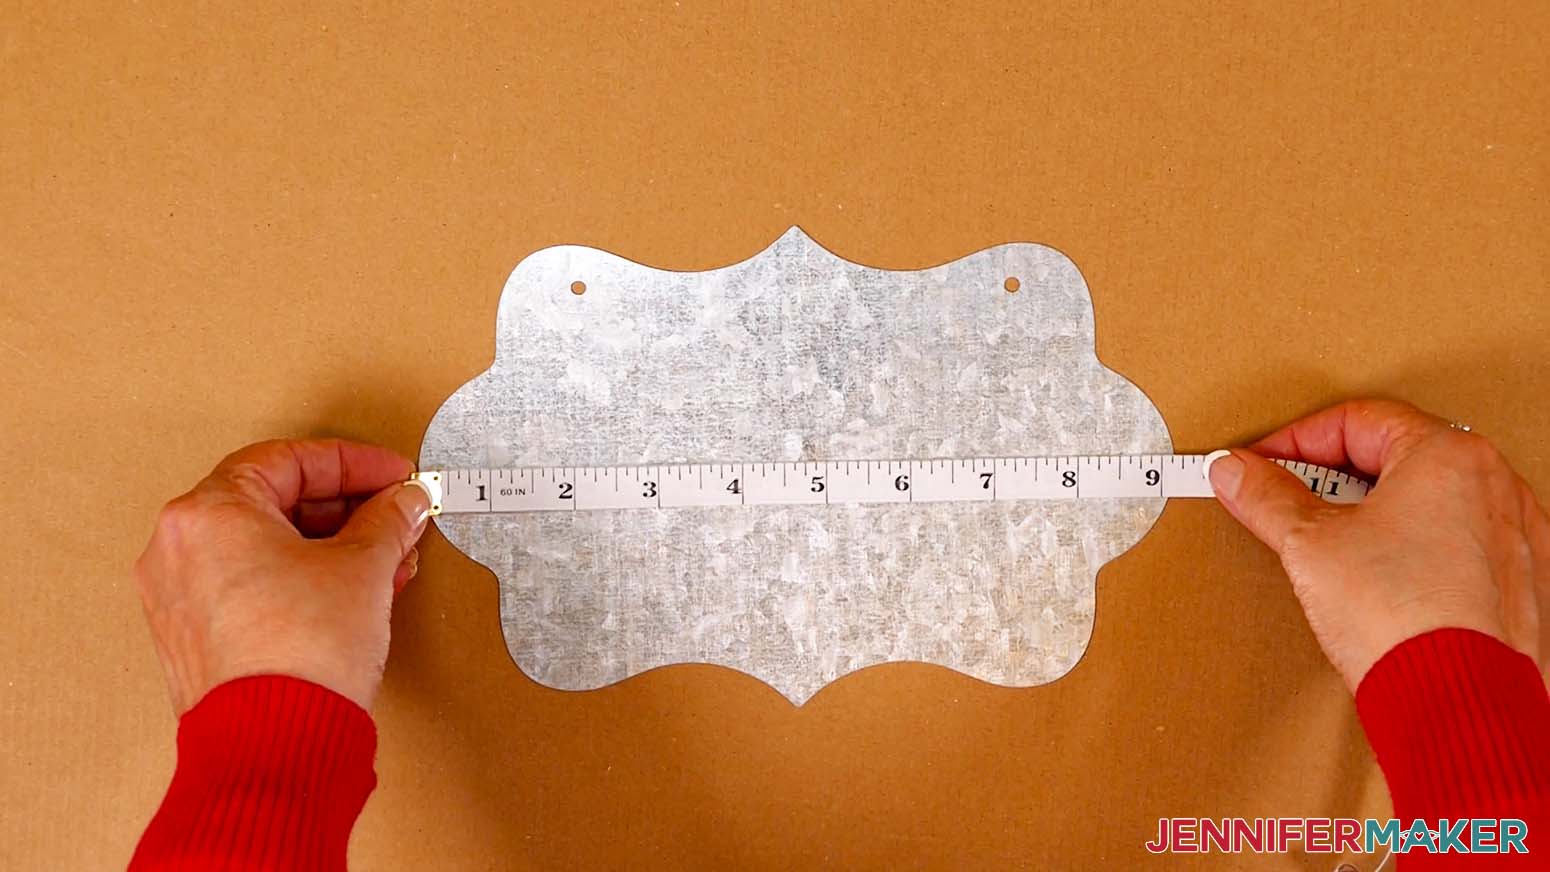
STEP 2: PREPARE YOUR BLANKS

Trim the excess white paper away from the design. Then, gently rip around the edges so you won’t have a sharp indent on the fabric. This is an important step for any project where the paper's edge will be pressed into the item, like the cloths, socks, pillow, and garden spinner.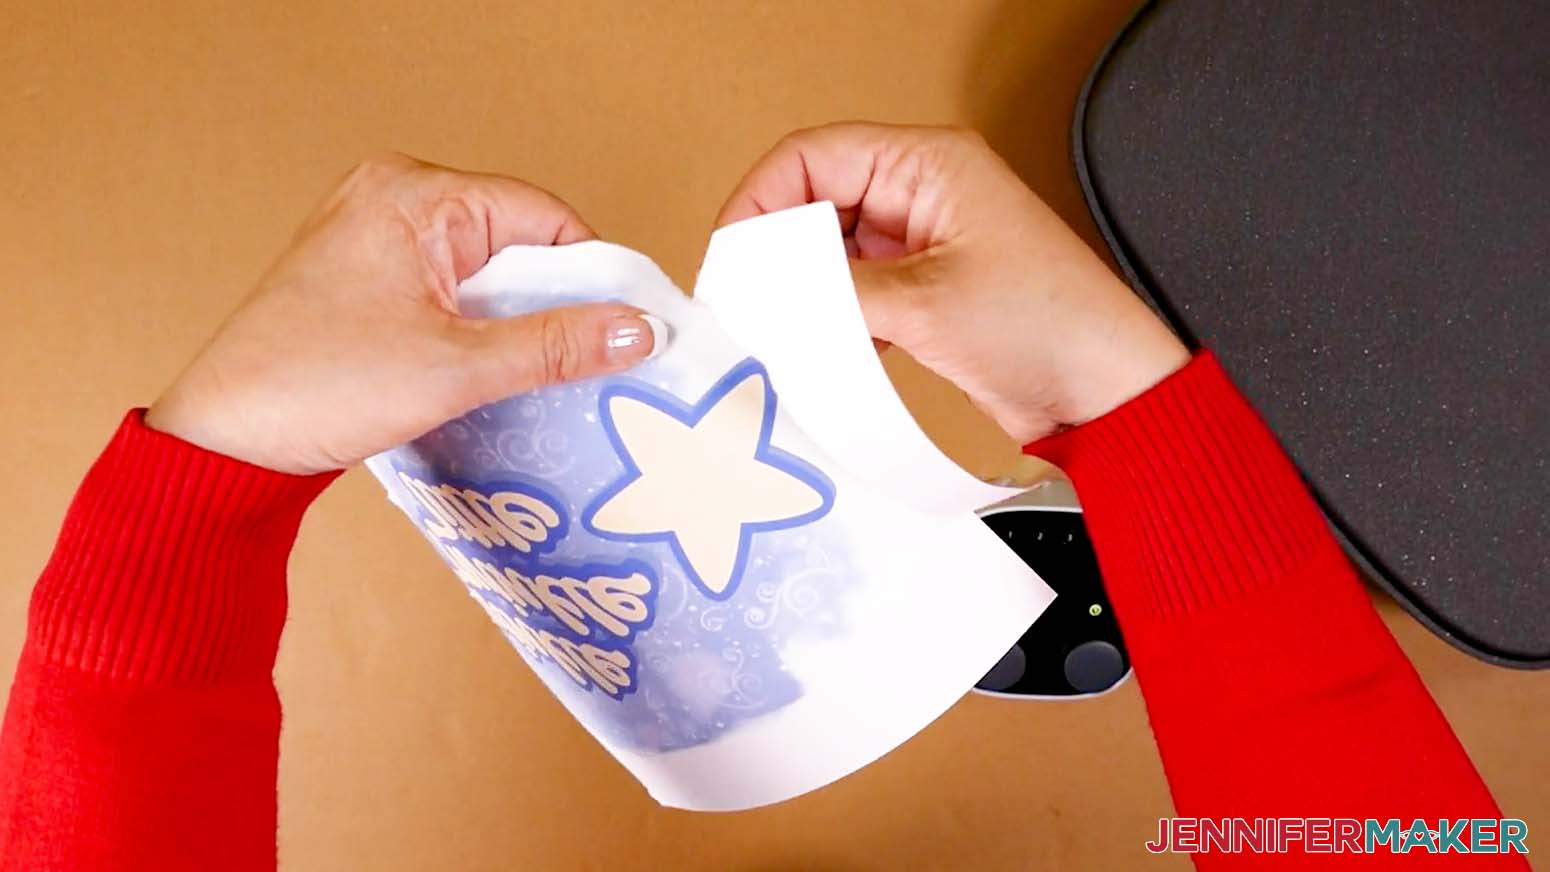
Canvas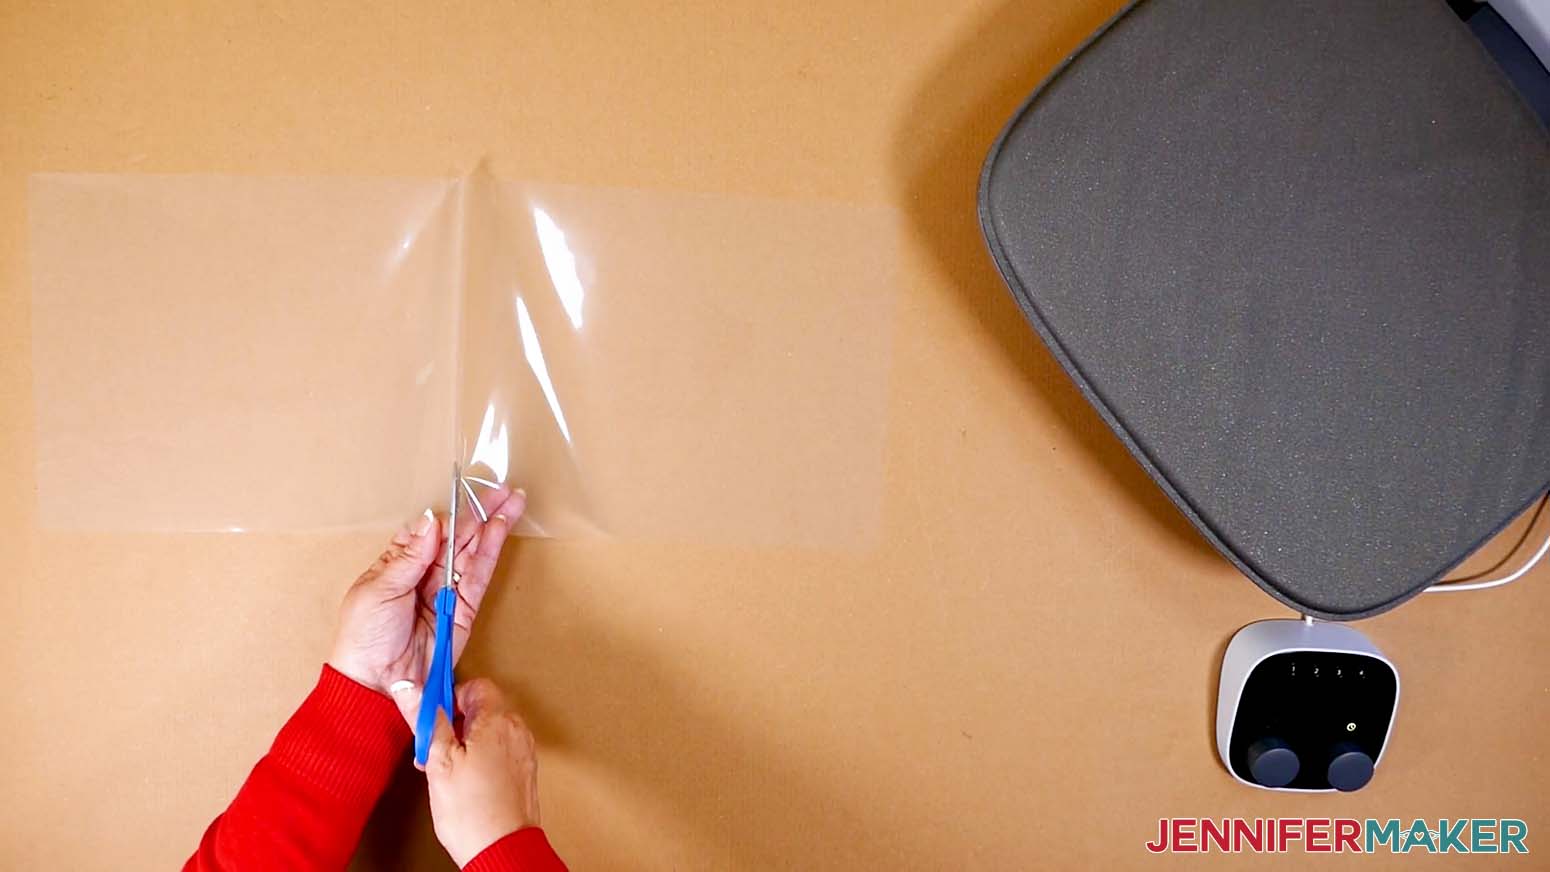
Then cut the sheet to a bit larger than the size of your item. If you’re sublimating on an irregular shape, cut the laminating sheet large enough to cover its rectangular dimensions and trim it afterward.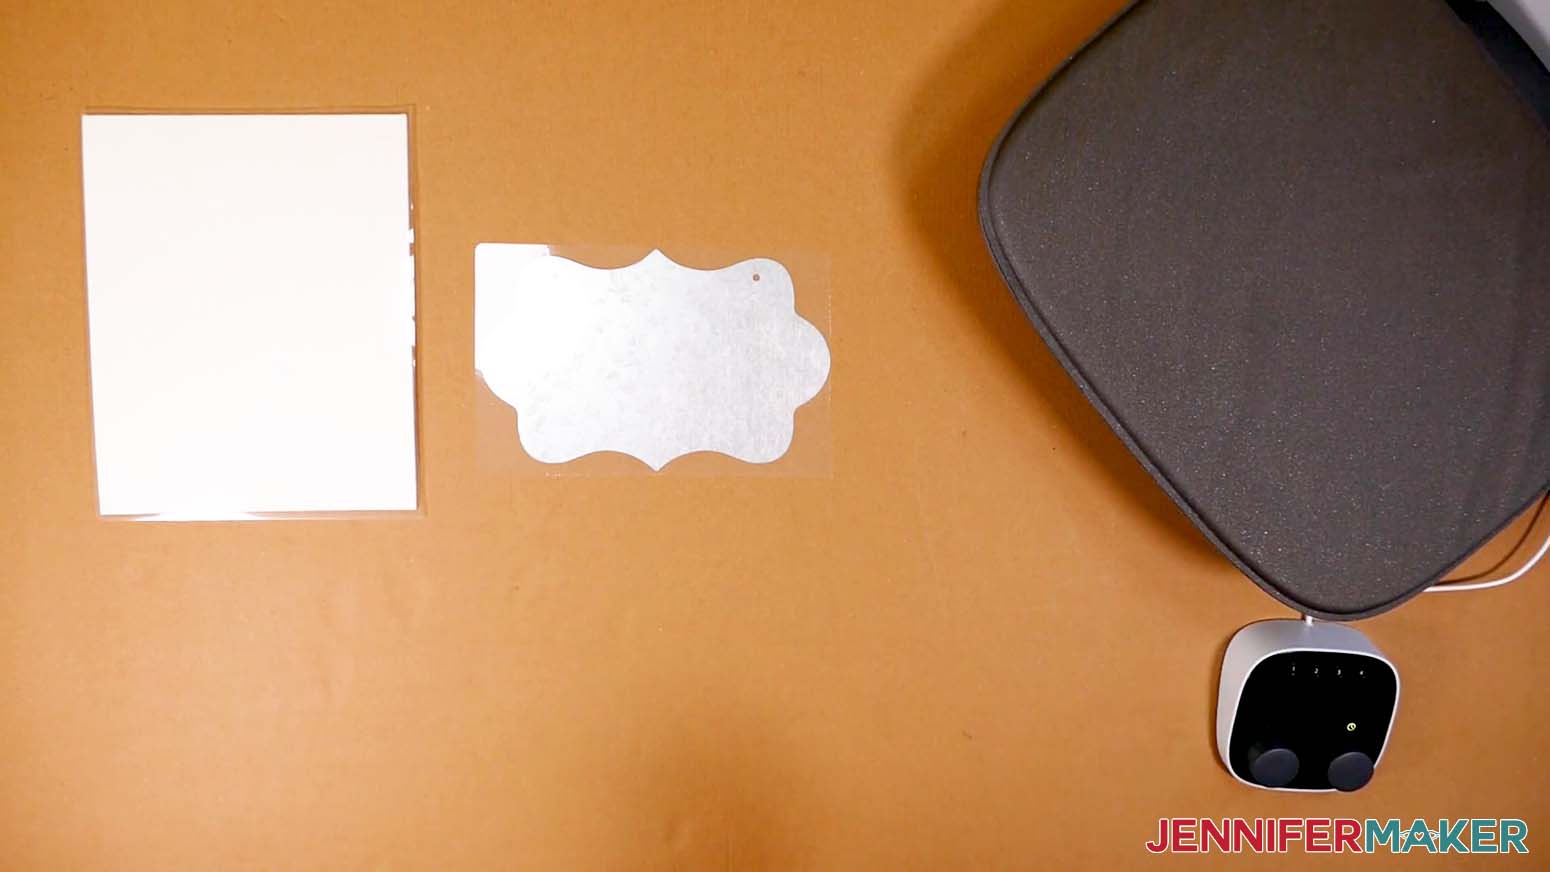
I’ll use the Autopress to adhere my laminate to the canvas. Temperature, time, and pressure amounts vary a lot between materials and presses, so check the manufacturer’s settings. You can use my settings as a general guide. And since we’re heating up plastic and later working with sublimation dye, open a window and set up a fan to improve your ventilation. You don’t want to breathe in the fumes from either process!
Heat the press to 350° and set the timer for 30 seconds.
We need to protect the press from the laminating sheet. Place white cardstock on the pressing area and then add the canvas face up. Add a second piece of cardstock if the canvas is close to any edges. Put the laminate on top of the canvas with the shiny side up. 
Cover the materials with white, uncoated butcher paper.
Once the press comes to the correct temperature, press it until the timer goes off. Let the canvas and laminate cool for a few seconds. Then remove the butcher paper.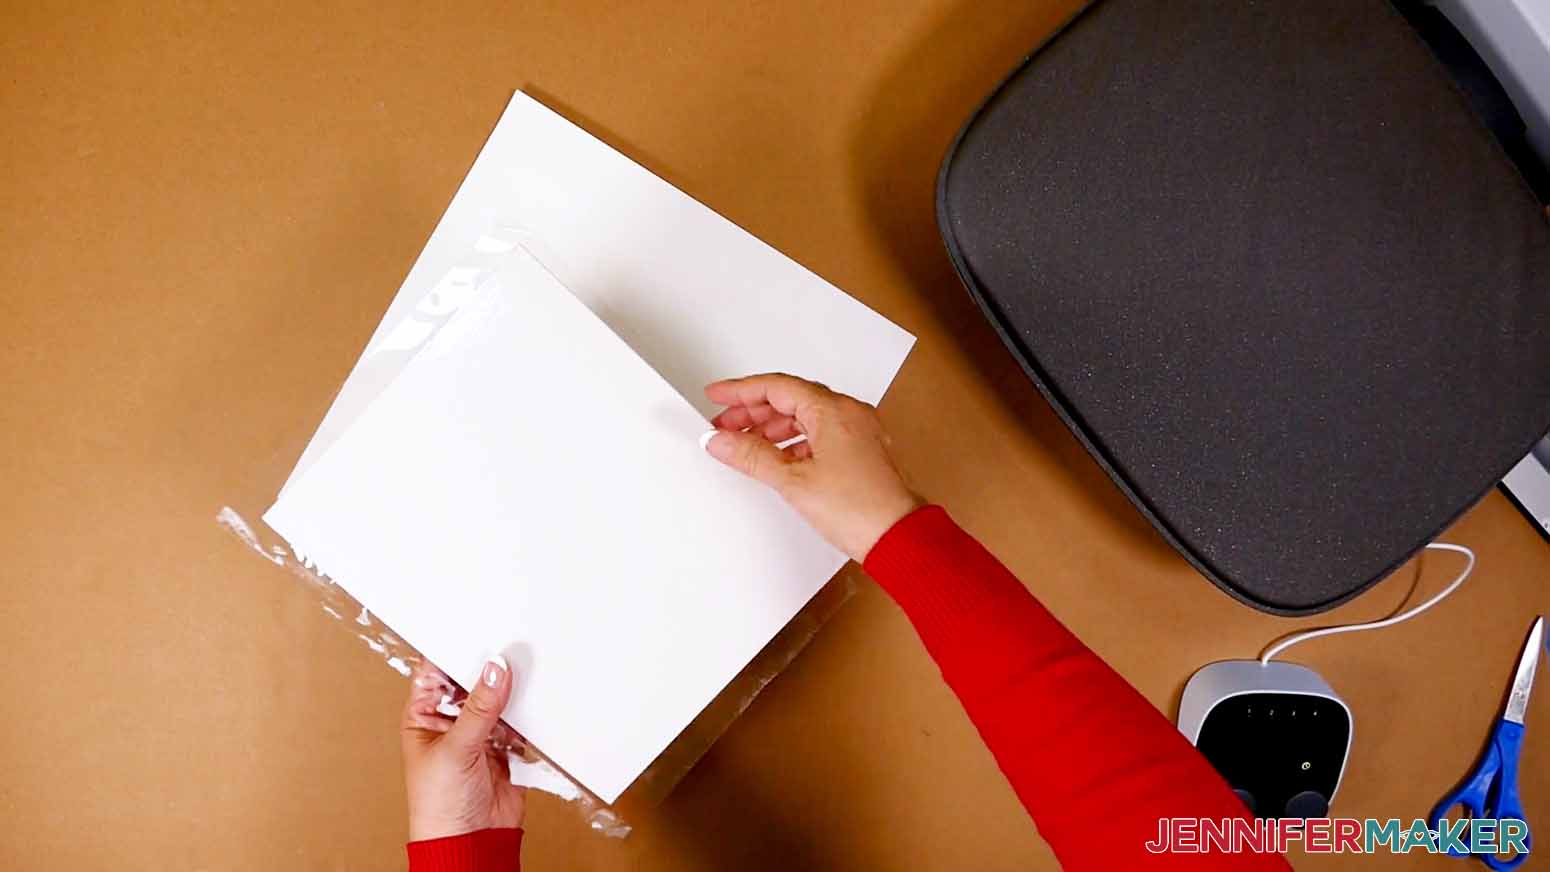
The melted laminate might stick to the cardstock, that's why we added the protection. Just trim off any excess with a craft knife.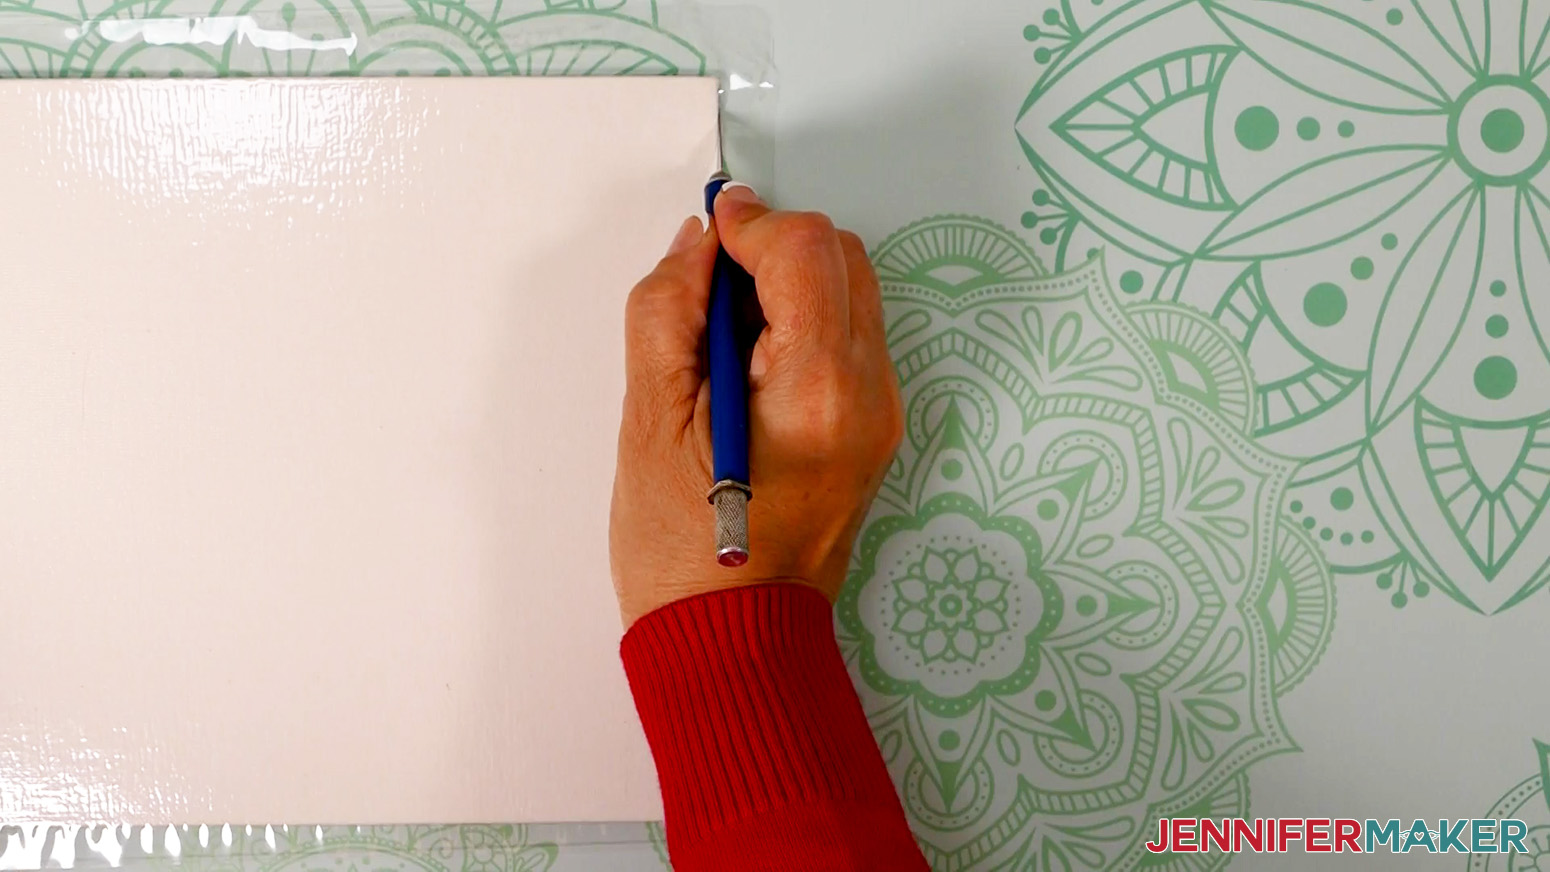
Glass Cutting Board
We’re going to add the image to the back of the glass so the plastic and dye won’t come into contact with food. While the press heats up, pull the little rubber feet off of the cutting board and set them aside. The spatula helps if they're stuck. Then, clean both sides with rubbing alcohol and a lint-free cloth.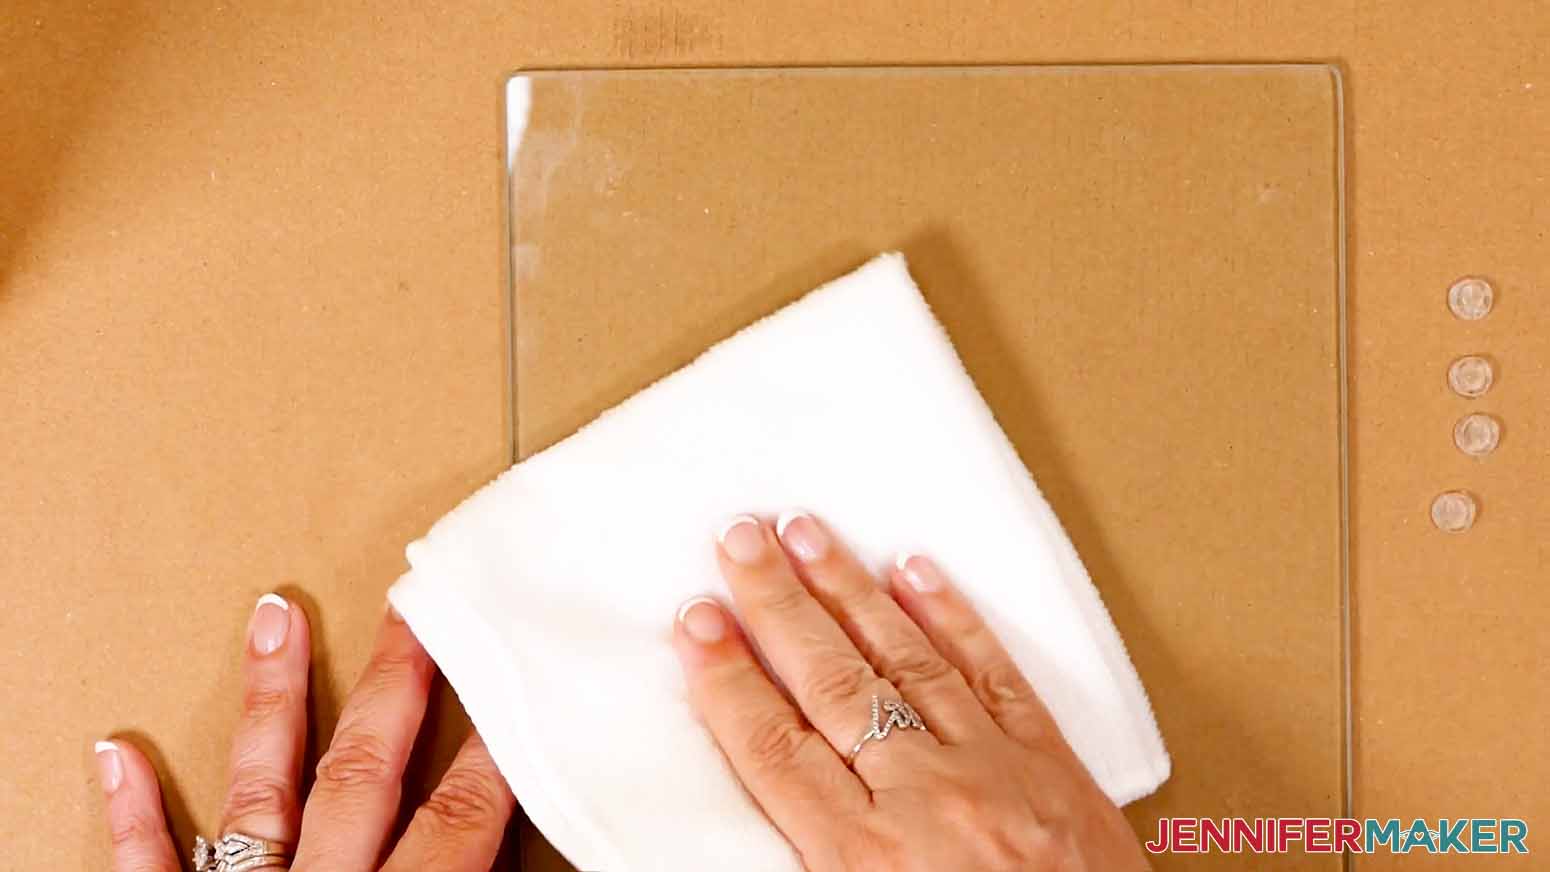
Place new white cardstock on the pressing area and add the cutting board, face down. Add the laminate, keeping the shiny side up, then put new butcher paper over the top.
Once the machine comes to the correct temperature, press it until the timer goes off. Let the board and laminate cool for a few seconds. Then remove the butcher paper and check it out! Again, peel it off of the cardstock and trim off any excess laminate with a craft knife.STEP 3: SUBLIMATE YOUR ITEMS
These are the settings that work best for me after a lot of research and experimentation, but always check your items for guidance.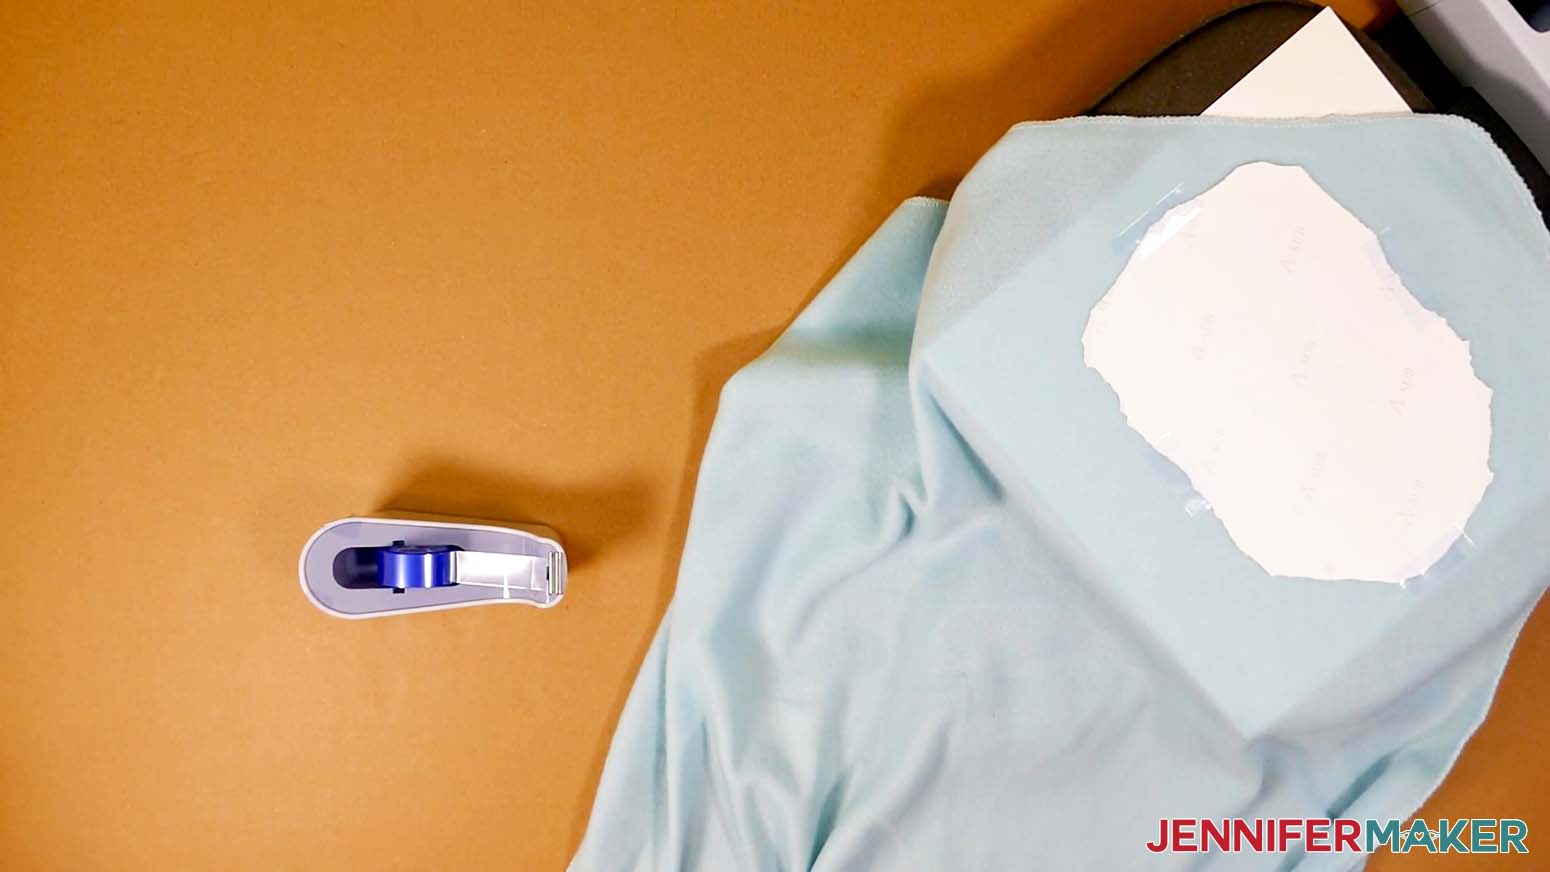
After the time is up, carefully remove the butcher paper but let the design and blanket cool for several seconds while the dye sets. Then peel off the tape and paper to reveal the design!
It might look a little squished right now, but the fibers will puff back up a bit after a gentle wash.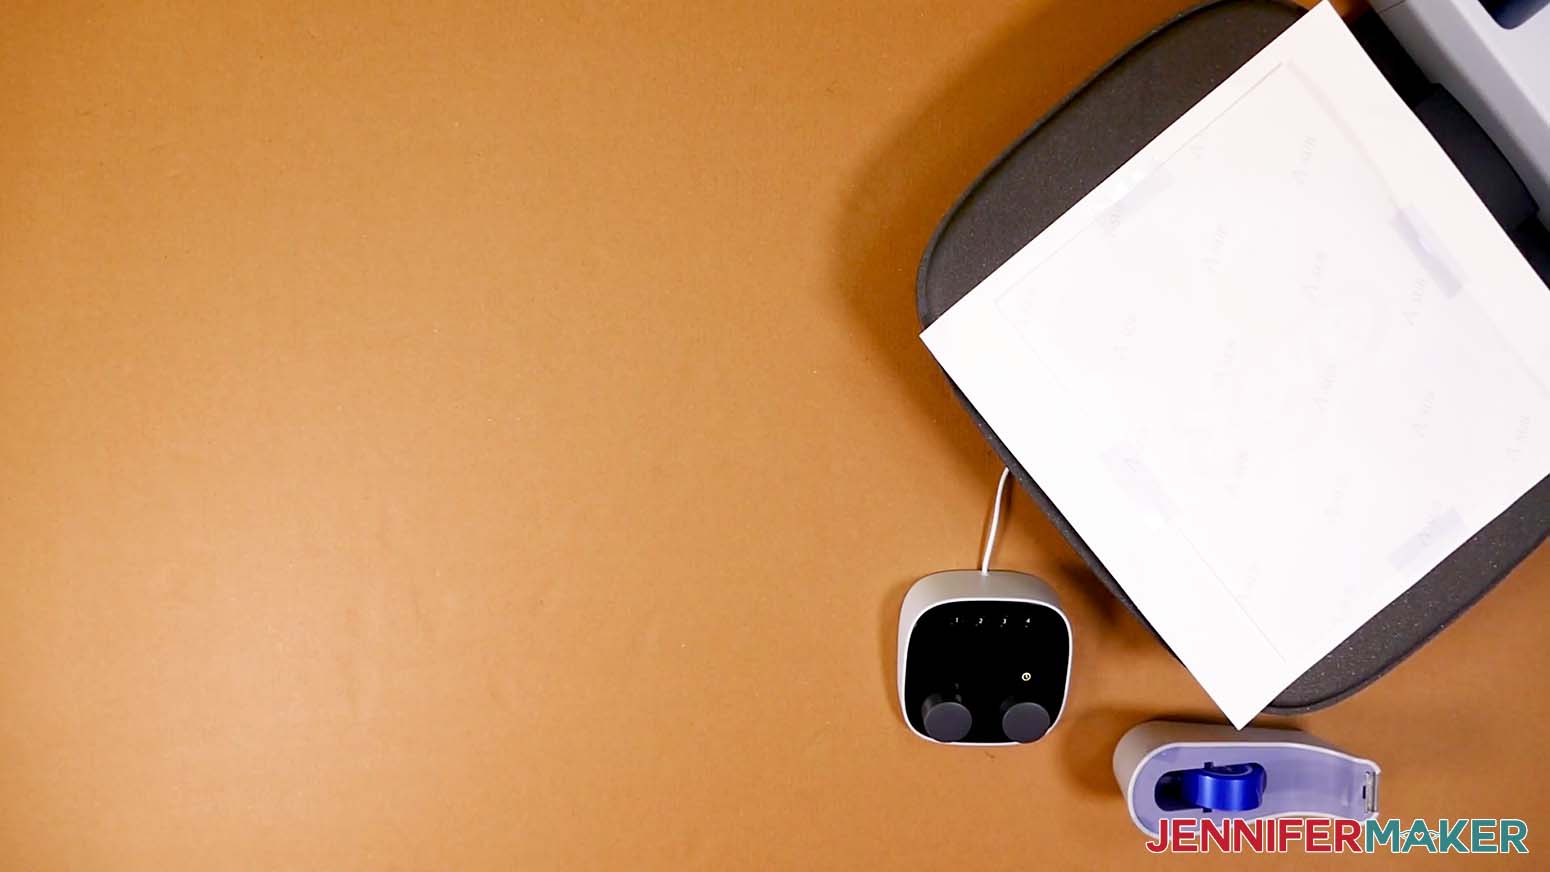
You might be able to reuse the pieces from the blanket if they aren’t too fuzzy. Then add the butcher paper and press!
Follow the same steps to carefully remove the cooled layers. It will look kind of like a painting!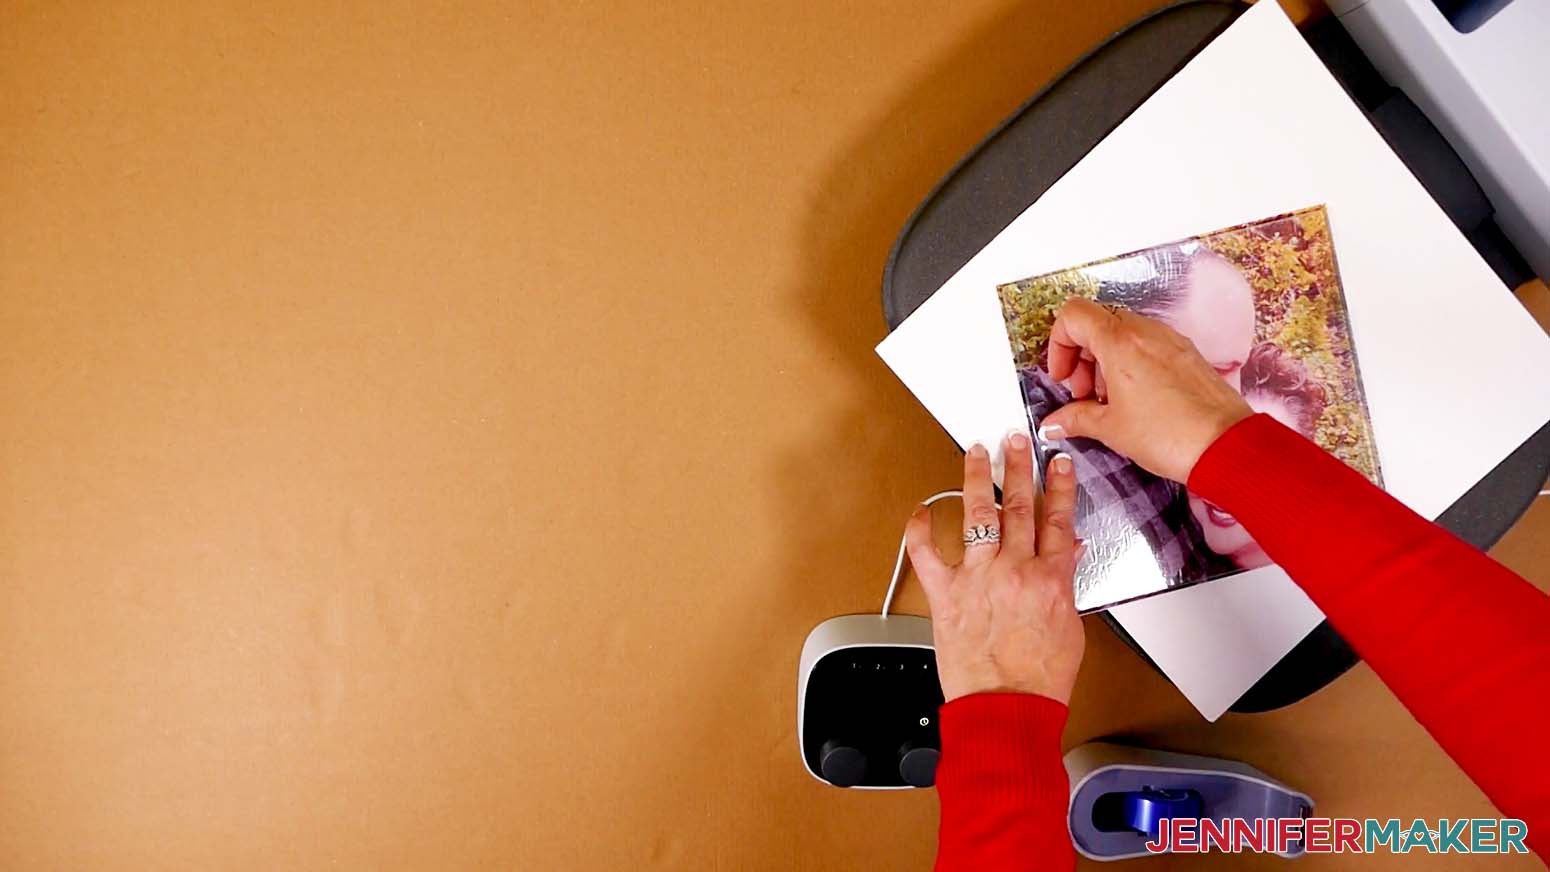
Then add the butcher paper and press!
Once you’ve removed the cooled layers, you can stick the little rubber feet right back in place. Instant heirloom!STEP 4: SHOW IT OFF
![]()
Notes
Temperature: 350°
Time: 60 seconds
Temperature: 350°
Time: 60 seconds
Temperature: 400°
Time: 60 seconds
Temperature: 400°
Time: 60 seconds
Temperature: 350°
Time: 60 seconds
Temperature: 400°
Time: 60 seconds
Temperature: 400°
Time: 60 seconds
Time: 60 seconds
Questions About How to Make Dollar Tree Sublimation Ideas:
Q. What should I look for at the Dollar Tree?
The key to finding good sublimation blanks at the Dollar Tree is to look for things made with polyester and polymers! So this may be polyester material, but it could also be things made with microfiber or items that are laminated (because lamination is a kind of polyester).
Q. I can’t find the same things as you at Dollar Tree. What do I do?
Dollar Tree’s stock changes frequently, so what’s available one week may be gone the next. Many items are seasonal favorites, however, so they may be back next year! Another option is to use the links above in my material list to order from DollarTree.com instead.
Q: Can you sublimate on Dollar Tree bags?
Technically yes, but you’ll get the best results easiest with white polyester bags. Remember that different types or shirts might use different temperatures or pressing times, so always check!
Q: How long will my sublimation project last?
There are many variables, but if you use a mostly polyester item and follow my tips, your sublimation project should last as many wash cycles as the fabric itself!
Q: Is sublimation better than vinyl?
It all depends on your preferences and goals! Dye sublimation is fast, flexible, and permanent, but it requires some extra equipment that heat transfer vinyl doesn’t. It’s comparable to Infusible Ink, but more customizable.
Q: Can I use a sublimation printer for regular prints, too?
No, a sublimation printer (whether purpose-built or converted) only prints in sublimation ink. And you cannot really switch a converted printer back to being an inkjet printer without a LOT of effort and wasted ink.
Q: What kind of paper do I use?
While some people will use just regular laser paper, I really recommend you use special sublimation paper for the best and most vibrant results and ink transfer. I used A-SUB paper during my tests.
Q: What kind of ink do I use?
You must use special sublimation ink to do a sublimation shirt. I used Hiipoo Ink for these tests
Q: How do I test my sublimation prints for vibrancy and color? Use my free subliflower design to see how your colors look! It’s Design #385 in my resource library!
Q: How do I learn sublimation for beginners? Join Sublimation Startup for a logical, step-by-step guide to getting setup for success with sublimation! You can ask questions and feel confident that you’ll get help! The Sublimation Startup mini-course is also great for those who enjoy learning from Jennifer Maker’s easy-to-understand, calm, and clear method of teaching. This is a no-fluff, no-mess, no-distraction workshop … it’s like sitting down with Jennifer in her craft room to learn directly from her! We work in logical steps to build your understanding and confidence with sublimation, and then provide support to keep helping you as you continue on your journey! Register now!
Get my Dollar Tree Sublimation Ideas (and many more) for free!
(If you do not see the signup form above, click here.)

I also have a group just for sublimation crafting where you can get help and tips from other crafters who love to sublimate, too! Come join us at jennifermaker.com/sublimationgroup to ask questions, share ideas, and get inspired!!
I can’t wait to see your sublimation projects! Watch for more sublimation tutorials and please ask any questions you have in our Facebook group or tag me on social media with #jennifermaker.
Love,

Want to remember this? Save the Dollar Tree Sublimation Ideas tutorial to your favorite Pinterest Board.