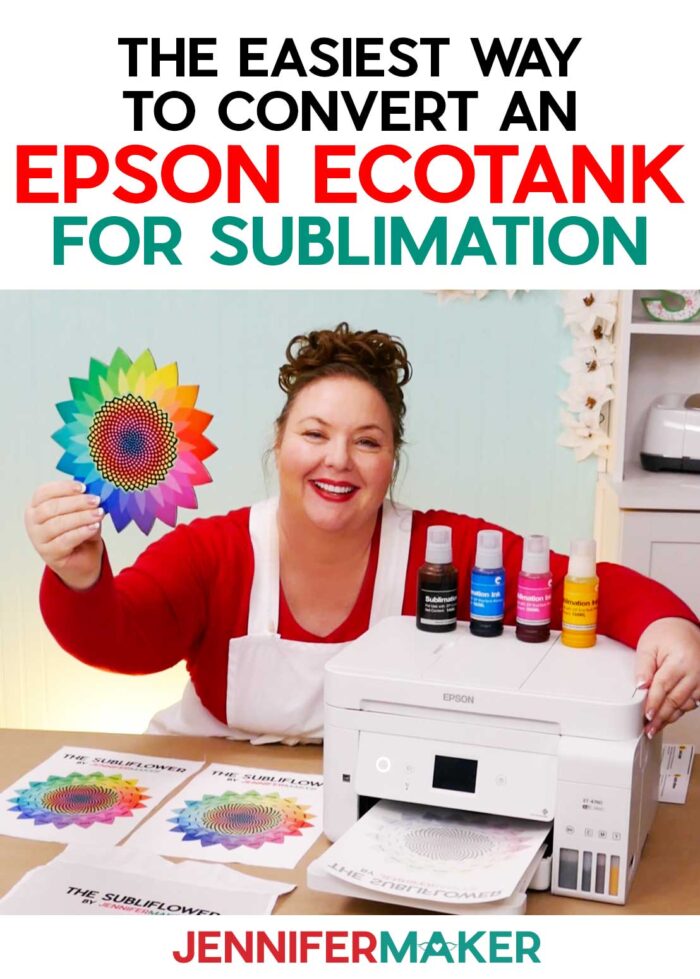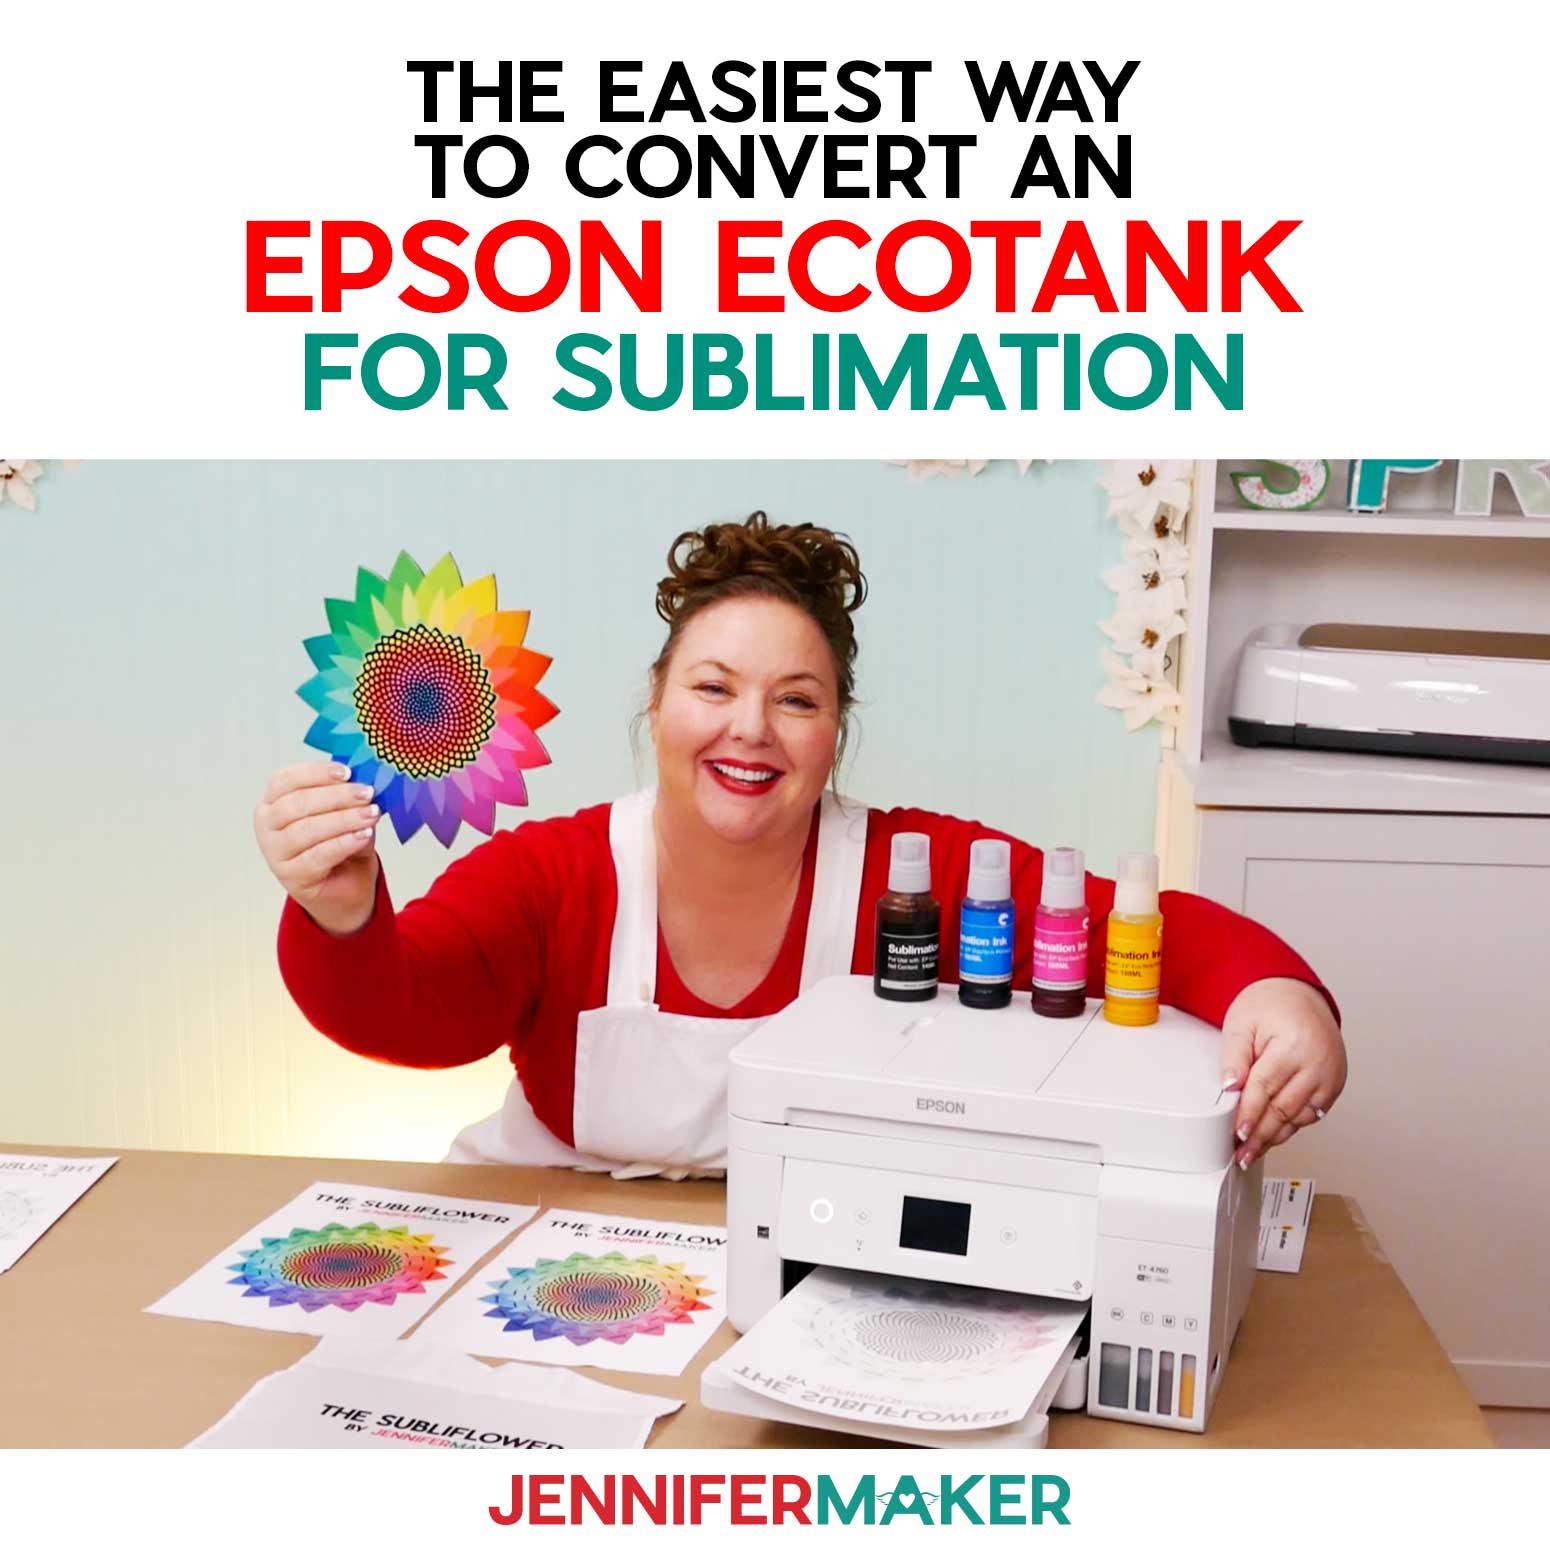
Learn how easy it is to convert an Epson EcoTank inkjet printer into the best budget sublimation printer!
One the least expensive ways to try out sublimation printing is by converting an inkjet printer into a sublimation printer. And the cheapest way to do that is with Epson printers — either Epson EcoTank or Epson Workforce. Of these two, I think the Epson EcoTank is the best choice. So today I’m going to show you how to convert an Epson EcoTank printer, and we’ll go from package to print to press. And you’re going to be amazed at how easy this is to do! I converted a brand new Epson EcoTank 4760 here, but this conversion technique works for ANY Epson EcoTank printer, regardless of what model number it is. The Epson ET-2720 is a popular choice at an affordable price! What matters is that it is an Epson EcoTank. So let me show you how to convert an inkjet printer into an Epson sublimation printer!
Watch my full Epson EcoTank sublimation setup, press, and test video here:
In addition to the Epson EcoTank’s price and ease of use, it has a high resolution, a compact design, and quality printers. The EcoTank printers have tanks that make it really easy to put in sublimation ink, rather than inkjet ink. It’s perfect for home use and, in the end, it is the cheapest sublimation printer. It is an excellent choice when you just want to try out sublimation, and aren’t ready for the high cost of the Sawgrass SG500. I think the Epson is the best option for those on a tight budget, whether it is for home use or small businesses.
Now I know it can be hard to pick an Epson EcoTank, but just know that the biggest difference is in paper size and whether or not it has a paper tray. The image quality should be the same between all EcoTank printers. So get the one that meets your budget and has the paper size you prefer.
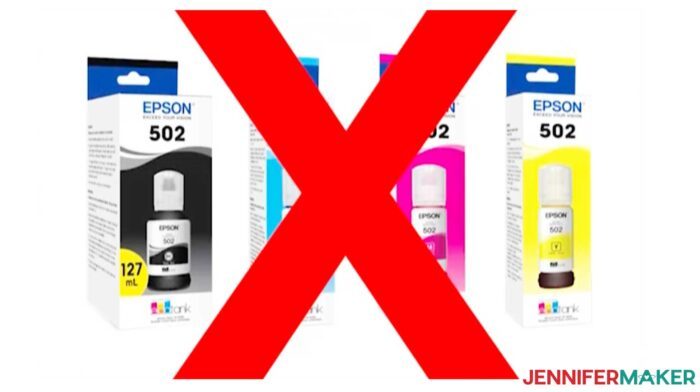
One really important thing — start with a brand new Epson EcoTank printer and do not ever put the regular inkjet ink that comes with it into the printer. You want a clean and unused Epson printer for this conversion process. While I believe it is possible to clean and convert an Epson EcoTank that’s already had ink in it, I’ve never done it myself and so I’m not able to help you there. Your best bet is to start with a new Epson EcoTank printer to which NO ink has ever been added.
This post contains some affiliate links for your convenience (which means if you make a purchase after clicking a link I will earn a small commission but it won’t cost you a penny more)! Read my full disclosure policy.
What you need to convert an Epson EcoTank into the best budget sublimation printer:
- An Epson EcoTank printer (any model, such as an Epson EcoTank ET-2720)
- (Optional) A USB printer cable (it’s faster and more reliable than Bluetooth!)
- Autofill bottles of sublimation ink — avoid getting the ink that you have to use a syringe with!
- Sublimation paper (or laser copy paper if you don’t have any sublimation paper yet)
- A desktop or laptop computer, Mac or Windows (I’m using a MacBook, but pretty much any computer will do)
- (Optional) Your ICC Printer Profiles (here are the Hiipoo printer profiles)
- (Optional) Something to test your colors with (you can use my “subliflower” available free in my resource library — look for design #385)
- A way to heat transfer your sublimation print, such as a heat press along with a piece of 100% polyester fabric, white cardstock, white butcher paper, and heat resistant tape
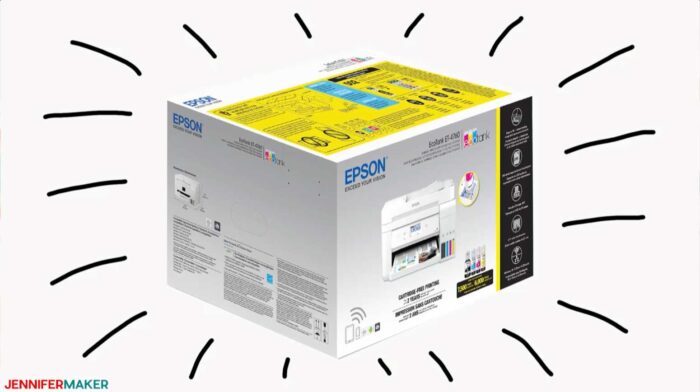
Step 1: Unpack Your Epson EcoTank Printer
Unpack your Epson EcoTank and remove the packing tape. In the box you’ll find its power cord here (don’t plug it in yet) and the Start Here guide that will walk you through what to do.
Remember, your Epson printer will likely have come with regular inkjet ink bottles — do NOT use the ink it comes with. Throw them away, recycle them, or find a new home for them — just don’t put them in your Epson printer!
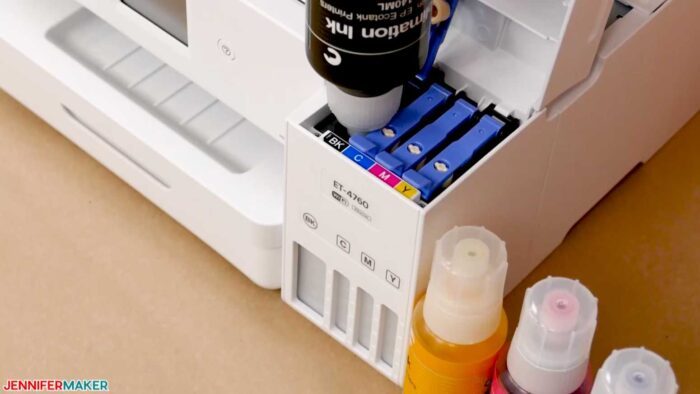
Step 2: Fill Your Epson Tanks with Sublimation Ink
In addition to the printer and power cable, you’ll want bottles of sublimation ink that work for your printer. You can order them online — my sublimation ink is Hippoo brand that I got from Amazon. Note that you can get them in two ways — there’s a bottle style with syringes, which requires you to poke the syringe into the bottle, draw out the ink, and fill each tank yourself. There’s also the autofill bottle style which acts just like the Epson brand of ink bottles and will fit right into the opening at the top of your ink tanks for super easy filling. I’m using the Autofill bottles today, and I HIGHLY recommend them over the bottles that need syringes.
The other thing you’ll need is some sublimation paper — there are a variety of brands, including A-Sub, DyeMaster, and TruePix. I’ll do a video later to compare sublimation papers — for today, I’ll just use the A-Sub brand.
So let’s get our Epson EcoTank set up, do our first print, and see how well it sublimates for us! I’ll be using a Mac to setup my Epson EcoTank, printer, but you can also use a Windows computer.
Step 3: Connect the Power Cord to the Sublimation Printer
Your next step is to connect the power cord to the back of the printer and then plug it into an outlet or an appropriately rated power cord. Do not connect it to your computer yet. Then power on your Epson EcoTank. You can raise the control panel and power it on with the power button.
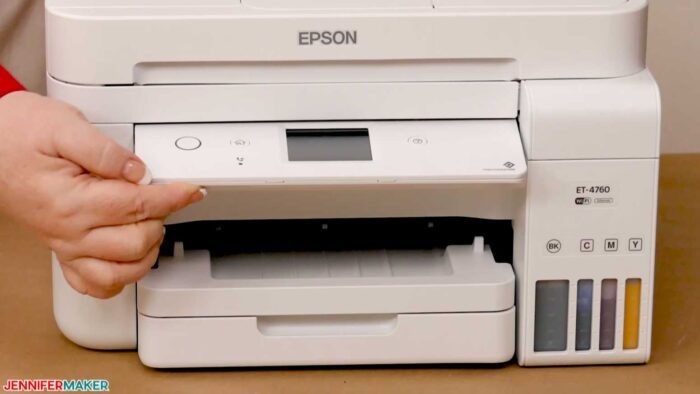
When the message to see the Start Here sheet appears on the LCD screen, you either want to press the “OK” button, if you have one, or press and hold the “Help” button for three seconds.
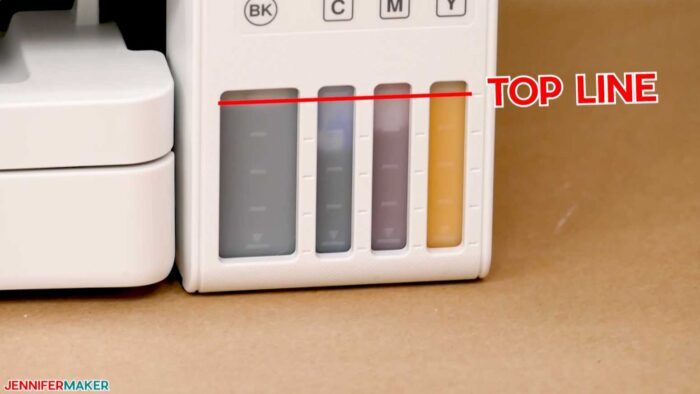
The next step in the Start Here guide is to complete filling the ink tanks, so fill them up to the top line. If you still have ink left in my bottle, save them because when the levels drop again, you can use the rest of the ink to fill them up.
When the screen says to confirm that the tanks are filled with ink, tap on Done, or “OK.” Then it will initialize.
Wait while it initializes — do not power off your printer during this process. It says it’ll take about 10 minutes. During this time, it’s drawing up the ink into the printer. Ink gets drawn in through the tubes, and the levels can drop a little bit.
Once your Epson EcoTank has finished its initialization process, you’ll want to fill a paper tray with some paper. Print quality tests are next.
Step 4: Test Your Epson EcoTank Print Quality
When your screen says that “Initialization is complete. Move on to print quality adjustments,” it’s ready to test. On my Epson EcoTank, I could just “Adjustments,” but yoou may need to use your arrow keys.
You can skip print quality adjustments, but I don’t recommend it.
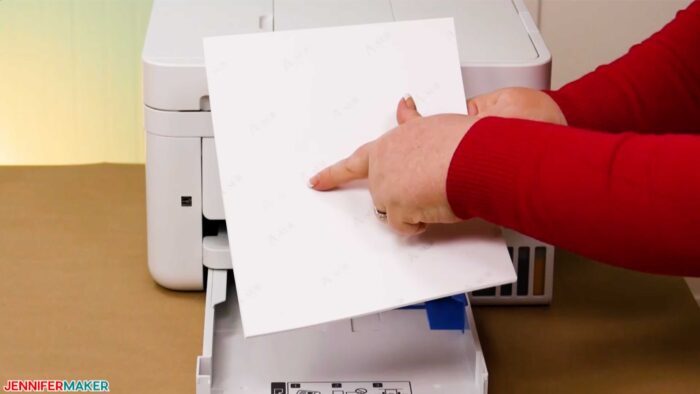
Important: Be sure to load your paper in the proper way. If you’re using sublimation paper, you’ll want it face down in the paper tray (if you have one):
Watch my setup video to see how to test your print quality.
Step 5: Connect Your Epson EcoTank Sublimation Printer to Your Computer
On the back of your printer, there are two connection— one is USB, one is Ethernet. I like to use USB because it is faster and more reliable. It is possible to print from mobile devices, too, though that’s not my first recommendation as it is harder to find software to print good sublimation designs.
A USB cable does not come in the box, but you can just use standard USB cable. The other end will go into your computer.
To install the software onto your computers, you can use either a Mac or a Windows computer.
Important: The instructions say that your printer should not be connected to your computer when you do this.
Where you go to download the software depends on which model number of Epson EcoTank you have. For my 4760, I’m going to go to epson.com/support/ET4760.
Click here to go to ALL of the Epson EcoTank printer downloads!
Now just follow the instructions on the computer screen to run the setup program.
First, choose your operating system and click on GO.
Download the “Drivers and utilities combo package installer.”
Once that’s downloaded, open it. If you’re using Chrome, click the arrow at the bottom of the screen beside the filename and choose Open.
This downloaded file gives you the installer, which you want to open and run.
Note: If you’re on a Mac, you may get a message that says, “EPSON is an app downloaded from the Internet. Are you sure you want to open it?” You can safely click that you want to download it.
Read the license agreement and then click Continue and indicate that you agree to it. And then tap Install.
You can choose whether you want to be in their research participation, and then give it some time to download.
If you’re asked to put in your password for your computer, you should do that.
Click OK and it will install the Epson drivers and utilities. This is important. You can’t print to your Epson EcoTank without having the drivers installed on your computer.
When the installation is complete, click Start to begin printer setup. Be sure to confirm that the ink is charged, assuming you’ve followed all steps and actually put ink in your Epson EcoTank.
When asked to select your connection, note that you can connect wirelessly via USB, via USB, or via a wired network, such as an Ethernet. I am using a USB cable, so I’ll click that, but you’ll choose the option that works best for you. And then click Continue.
Now you need to connect the printer to your computer. If you’re using a USB cable as I am, now is the time to plug it into your computer. And if you have a MacBook like I do, you may not have a port that fits this USB cable. If so, use an USB-C to USB adapter. You can get them on Amazon and at Best Buy, and it goes right into the laptop to give you a USB port.
Once your printer is connected to your computer, you should see green check mark on the screen. Now it’s going to add the Epson print queue to the printer list. Verify that you can print from our computer by printing a test page.
The test page reads, “Congratulations, you have successfully installed your new printer.”
Note: This print quality and setup process used nine sheets of paper. So plan for that!
Tip: If you have an Epson EcoTank with a fax, you can skip right over the fax part, as it is not needed.
Your printer drivers should all be installed now!
Step 6: Print your first sublimation print
For the first print, I recommend you use my pretty Subliflower, which is a special design that I made just for sublimation printers. It allows us to test and see pretty much all color hues, vividness, alignment, gradients, text, sharpness, inconsistency, and black density. And it’s labeled with the hex color codes, which match up with the colors in other software, including things like Cricut Design Space. So you can see exactly what color you’ll get on your sublimation printer. You can get my Subliflower design totally free in my library — look for design #385.
Once you download the file and unzip it, you can open up this PDF. On a Mac, it will open in Preview and you can print right from there.
Just go to File > Print.
In your Printer Dialog system window, you will see your Epson EcoTank — be sure to select it.
Important: All sublimation prints must be mirrored to transfer to our surfaces properly. When you have a purpose-built sublimation printer, like the Sawgrass or Epson SureColor F170, it mirrors for you. But since we’re converting this printer, we’re going to need to do that ourselves. So to mirror your prints from the Epson EcoTank, you’ll want to click on the dropdown menu or one that’s similar to it and look for Print Settings. It might show up somewhere else on your screen.
- Change your media type to something like “Premium Matte.”
- Change your print quality to “Best.”
- Check the option next to Mirror image.
- Turn off “High speed print.”
When you are ready, click Print. Then give it some time to print — it can take over 2 minutes. Yeah, that’s a long time — slower printing time is one of the drawbacks of the Epson EcoTank.
When the sublimation print is finished, you’ll notice that it look a little bit different than what you expect. This is really normal. A sublimation print on paper will be more faded than the original artwork that you used.
Step 7. Press your first sublimation print
To press and transfer a sublimation print, you need a heat press. I’m going to use my Cricut Autopress, but you can also use your Cricut Easypress or a more traditional heat press, whatever you have.
You’ll also want a piece of white card stock to protect your mat, because it’s possible for sublimation to go right through the material when it sublimates. So you want to protect your pressing mat from any ink going through.
And you’ll need something to sublimate onto — I used an inexpensive piece of white polyester from JOANN, but another good option for sublimation practice is a cheap white polyester shower curtain.
So first preheat the polyester fabric for five seconds at 400 degrees Fahrenheit. This removes moisture and makes for a better transfer.
Once your polyester is pre-heated, put your sublimation print face down on your polyester. I recommend using some heat resistant tape to keep the print in place, because if it moves around at all during the sublimation process or shortly thereafter, it can cause ghosting, which is just sort of a shadowy fuzzy look. I put one piece of tape on the top and bottom.
Important: Be sure to use heat resistant tape, not regular tape.
Then we cover our print with white uncoated butcher paper— do not use freezer paper, wax paper, parchment paper, or a Teflon sheet. Just use white uncoated butcher paper or inexpensive copy paper in a pinch. This protects your platten, which is the heat plate on your heat press from any sublimation ink blowout. We don’t use the others, like a Teflon sheet, because it can trap moisture or worse, transfer something to our fabric!
Press the sublimation print to the polyester for 60 seconds at 400 degrees Fahrenheit. The Cricut Autopress opens for you as soon as it’s done.
Once the press is done, you can remove the top paper right afterwards, but you want to just let the sublimation print cool down a little bit before you pick up the paper with the sublimation prints on it, because for 10 to 15 seconds afterwards, it’s still sublimating. As it cools down, it goes from a gaseous state to a solid state, and we want to avoid moving it during this time, or else we can cause the ghosting.
Once you feel confident that it’s no longer sublimating, carefully remove the tape to see how we did.
This is the very first press off of the Epson EcoTank, and this is without any adjustment.
Optional: Install an ICC Printer Profile
Now you may notice that the sublimated colors aren’t quite the right colors. If that’s the case, you’ll want to install an ICC printer profile just for your ink for the best results. ICC files are specific to the ink brand that you used. So for example, I’m using Hiipoo brand ink, and I can find its ICC file by going to Hiipoo.com, and then click on “Get ICC Files.” The files for the various printers will appear.
To install an ICC printer profile on a Windows computer:
- Download the printer profile.
- Right click it after you’ve downloaded it and choose Install Profile.
To install an ICC profile on a Mac:
- Go to your Finder and then click on Go > Computer
- Open Macintosh HD > Library > ColorSync > Profiles
- Drag your downloaded printer profile into this Profiles folder
- If you are asked to type your password, go ahead and type in your password.
To print with the installed profile, first, open an image editor such as GIMP (free) or Photoshop (not free).
To use the printer profile in GIMP, open up your image. Then go to Image > Color Management > Convert to Color Profile. And then click Select color profile from disc. Then navigate to the ICC profile that you downloaded and selected. You can keep your Rendering Intent on Perceptual and then click Convert. Now just go to File and choose Print. Choose your printer, and then click on Preferences to set your paper type as Premium Matte. And then for your quality, it should be on High. Then click on More options, and under Color correction, click on Custom. Click on Advanced and choose No Color Adjustment. And then click OK. Then make sure that High Speed is turned off, but Mirror Image is turned on. Then click OK. And then click Print.
To use a printer profile in Photoshop, open up Photoshop. Open your image and then go to File and select Print. We see these options. Now I want you to notice the Color Management section. This is what matters. So we want to use a printer profile. So we’re going to allow Photoshop to manage the colors, and then we’re going to choose our Printer Profile from here. And we want the Hiipoo Epson printer profile. Let’s go ahead and click Print. You’ll want to click on this dropdown menu or one that’s similar to it, and look for Print Settings. You’ll want to change your Media Type to Premium Matte and then change your Print Quality to Best, and then check the option next to Mirror Image.
Once your printer profile is installed, print your Subliflower again and be sure to also press it again. I recommend you use the same material so you can directly compare it to your first one!
Once I installed my ICC printer profile, it made a gigantic difference. The new print has vibrant colors, is super bright, and appealing to me. The ICC profile really does make a difference in creating quality prints, but it’s really entirely up to you.
The Epson EcoTank is the Best Budget Sublimation Printer!
Converting an Epson EcoTank sublimation printer is really very simple to do — the only real difference between setting up the EcoTank as an inkjet printer and a sublimation printer is the ink you charge it with initially. This makes the Epson EcoTank the best cheap sublimation printer on the market today!
Now, the first print off the printer pressed with colors that weren’t quite as vibrant as my original Subliflower. But I was able to correct that by getting the ICC profile for the ink I’m using — the Hiipoo ink — and installing that into my computer, then selecting it in my image editor before printing. And it’s definitely more vibrant when using the ICC profile. BUT … honestly, I suspect I would have been overjoyed with how my print had turned out even without it. So I think it’s really up to you and how true and vibrant you want and need your colors to be. I personally prefer them more vibrant and I’ll be using the ICC color profile for my sublimation ink from now on.
If you’re doing sublimation for business use or you want to start a printing business, I think the Epson EcoTank is a great starter sublimation printer. Eventually, you may want something with a faster printing speed in the long run, however. Something to keep in mind!
One thing to consider: a dedicated sublimation printer is going to be better at maintenance, as the sublimation ink in your Epson EcoTank may dry out over time if you do not use it frequently. But if you print with your Epson EcoTank often, you should have no issues maintaining excellent print quality.
I’m really pleased with how well the Epson EcoTank printed! It seems just as good as the prints from my Sawgrass printers at first glance. Now, it isn’t as plug and play as the Sawgrass, and I won’t have any official support for it, but it did cost me less money — we get what we pay for, right? Whether the Epson EcoTank is right for you, or you’d prefer a more plug and play printer with support like the Sawgrass, is all up to you. Check out my sublimation printer comparisons here for a list of the best sublimation printers!
Answers to Your Questions About Converting an Epson EcoTank to Sublimation
Q: Can I use the printer for both sublimation prints and regular prints?
No, once you convert a printer, it’s pretty much sublimation only from here on out. While it MAY be possible to convert it back to regular ink, it is a long, expensive process and there is no guarantee of success.
Q: Do I have to use sublimation paper to do my printer setup tests?
No, you can use regular copy paper for those.
Q: I converted my printer, but it’s not printing or not printing well. What do I do?
First, let it sit overnight and try again tomorrow. If that does not work, print five copies of my printer purge files.
Sublimation Startup
Need a little extra help understanding how to get started with sublimation? Join Sublimation Startup for a logical, step-by-step guide to getting setup for success with sublimation! You can ask questions and feel confident that you’ll get help! The Sublimation Startup mini-course is also great for those who enjoy learning from Jennifer’Maker’s easy-to-understand, calm, and clear method of teaching. This is a no-fluff, no-mess, no-distraction workshop … it’s like sitting down with Jennifer in her craft room to learn directly from her! We work in logical steps to build your understanding and confidence with sublimation, and then provide support to keep helping you as you continue on your journey! Register now!
Get my instant download digital files for my free sublimation test “subliflower” with color hex codes!
(If you do not see the signup form above, click here.)
I’d love to know what you think is the best budget sublimation printer! If you have an opinion on what is the best printer, please share a photo in our Facebook group, email it to me at [email protected], or tag me on social media with #jennifermaker.
Love,

Want to remember this? Save the Best Budget Sublimation Printer guide to your favorite Pinterest Board