
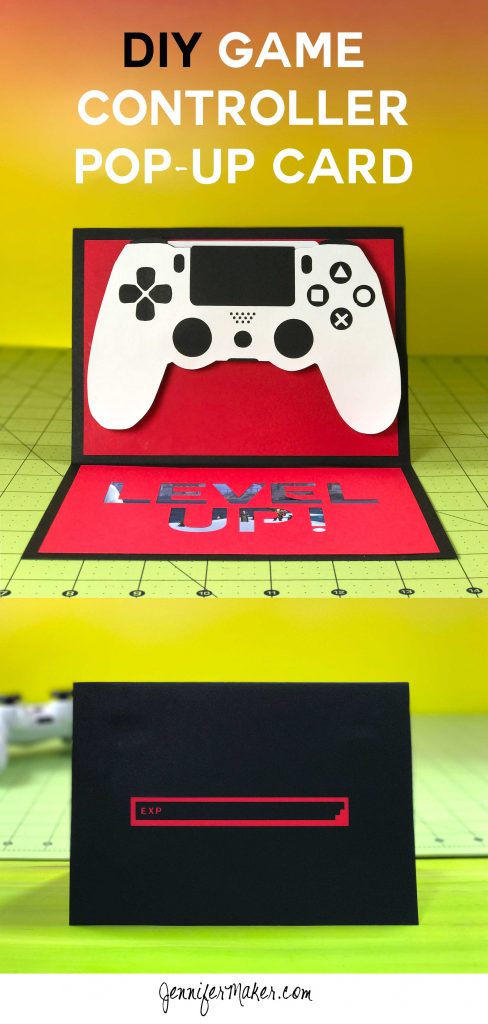
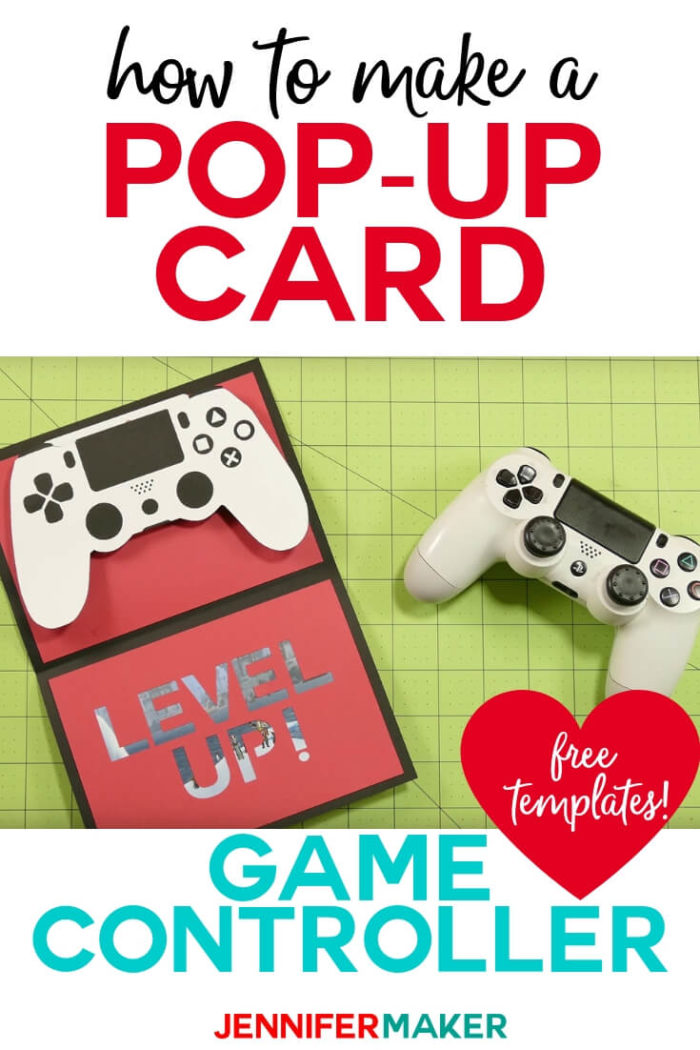
Need a fun card for your favorite gamer? I sure did! Today is Greg’s birthday and gaming is his passion. So I designed this Pop-Up Game Controller Card with a space to store a gift card. You don’t have to put a gift card in, but you can if you want. I’m planning to get a PlayStation card for him so he can download more games!
Want to save this project? Enter your email below and we’ll send the project straight to your inbox.
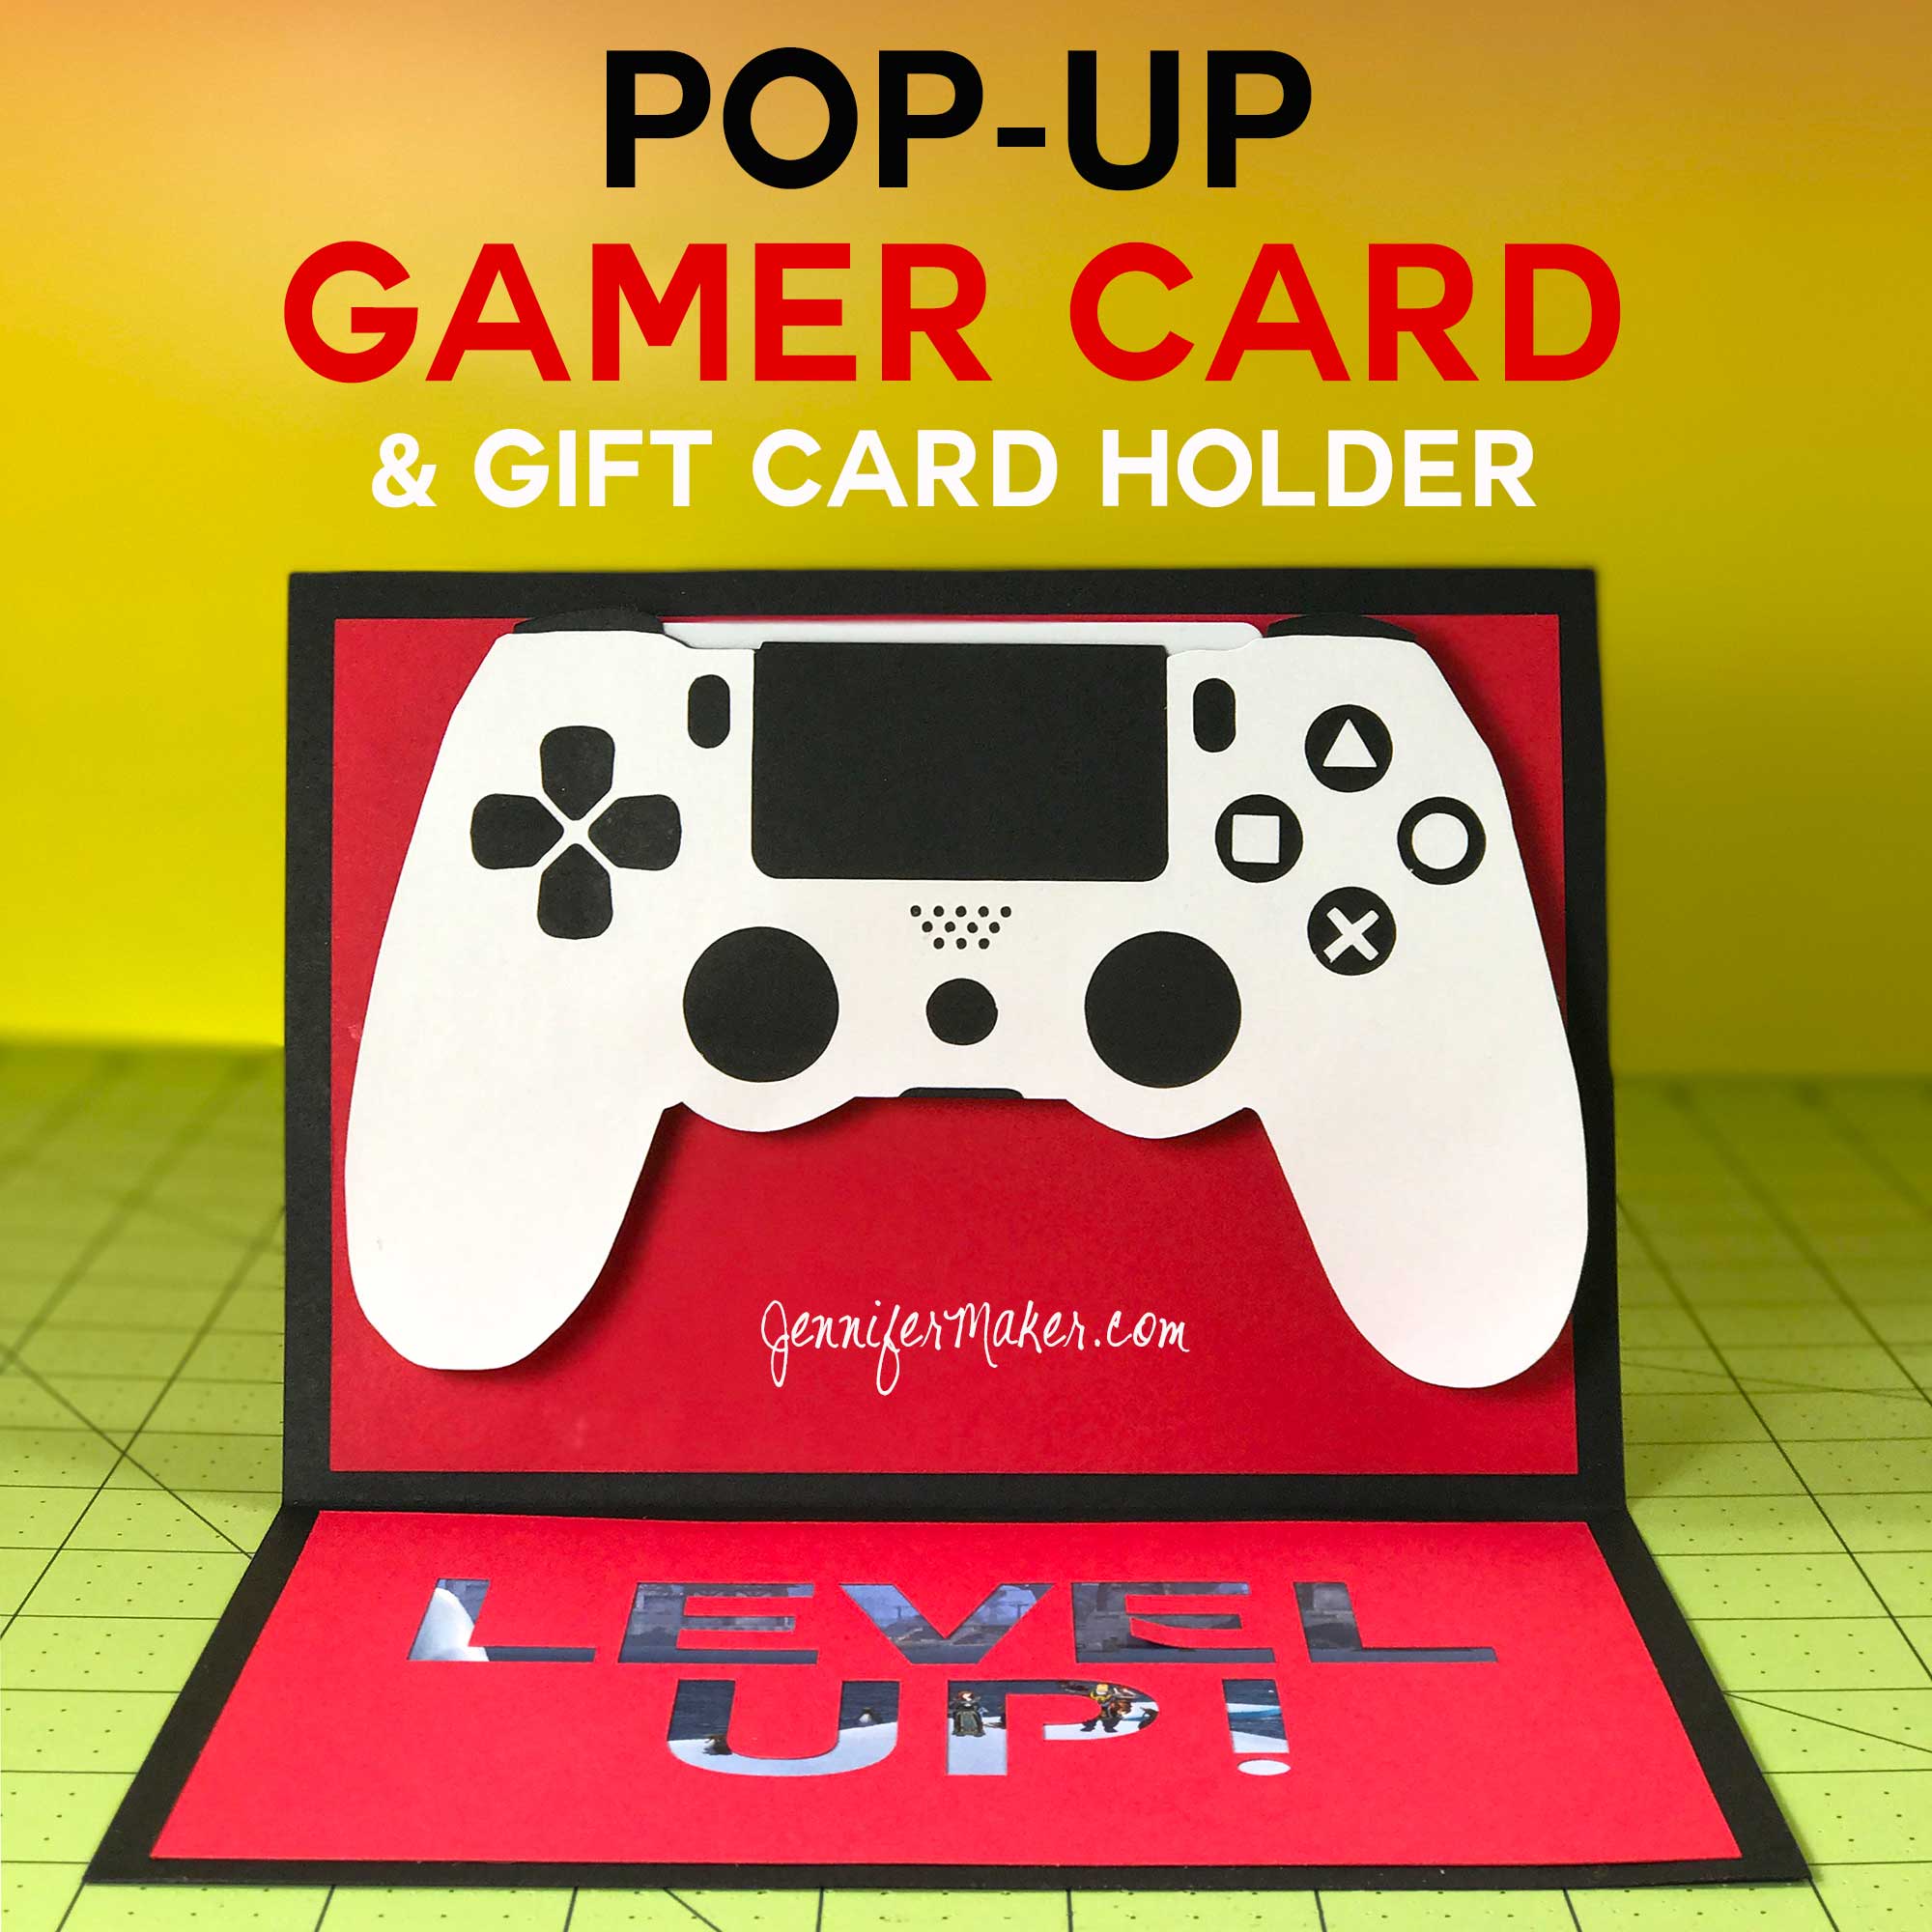
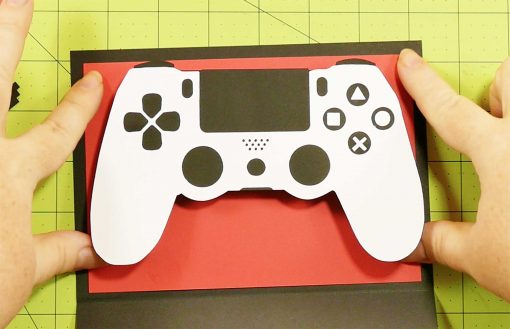
I modeled the card off the actual game controller he uses — a Sony PlayStation Dual Shock 4 wireless controller. If your gamer prefers an Xbox instead, rest assured that this is very similar to an Xbox game controller as well, but it isn’t exact. Your gamer will get the idea, though! The controller on the card is the same size as a real controller, too (assuming you don’t resize it). The finished card is 5″ x 7″.
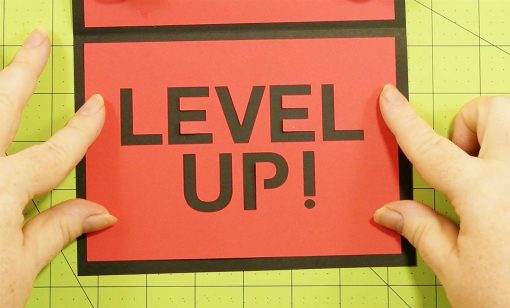
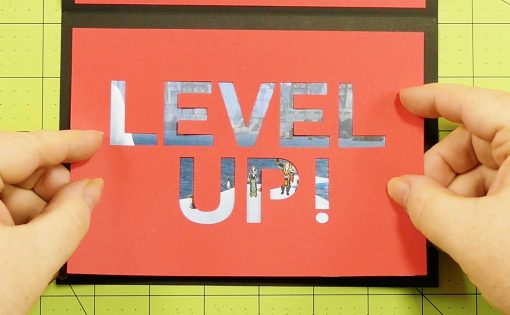
You can personalize your card by putting an image behind the “Level Up!” words if you’d like, which I’ve done by including a screenshot from Greg’s favorite game. Or feel free to leave it black — it looks good that way, too.
So let me show you how to make this card! It’s pretty easy and quick.
This post contains some affiliate links for your convenience (which means if you make a purchase after clicking a link I will earn a small commission but it won’t cost you a penny more)! Read my full disclosure policy.
Game Controller Card Materials
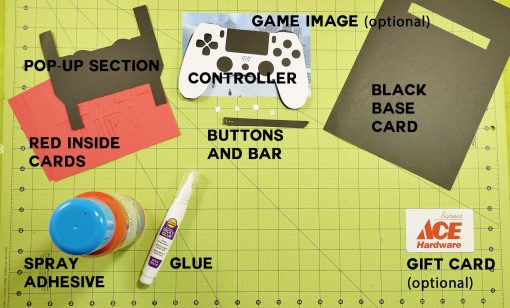
- Four sheets of 8.5″ x 11″ cardstock (I used Coredinations – 1 red, 2 black, and 1 white)
- Printed image from your recipient’s favorite game cut to about 4″ x 6″ (optional)
- A gift card (optional)
- Spray adhesive (I use 3M Spray Mount)
- Tacky glue (I use Aleene’s Tacky Glue in a pen dispenser)
- A way to cut out your pieces (I used a Cricut Explore Air)
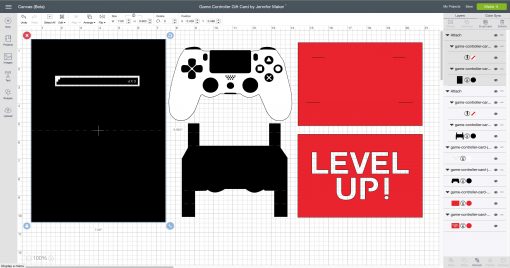
- Design #40 – The free SVG cut files (available in my resource library — get the password to it by filling out the form at the bottom of this post)
How to Make the Pop-Up Game Controller Card
First, cut out all your pieces. If you’re uploading and cutting from Design Space, you need to upload both files, ungroup them, change the first layer in each file to Score, and then attach the Score layer and the layer immediately below that I show exactly how to do this in my assembly video.
Now watch my assembly video so you can see exactly how I put it together!
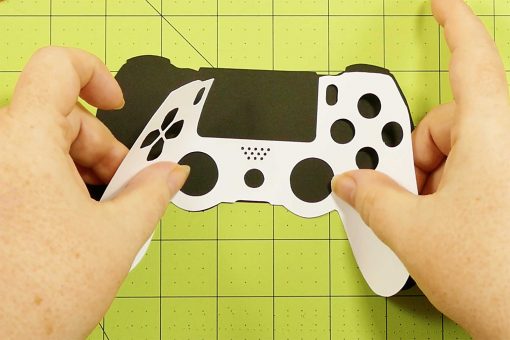
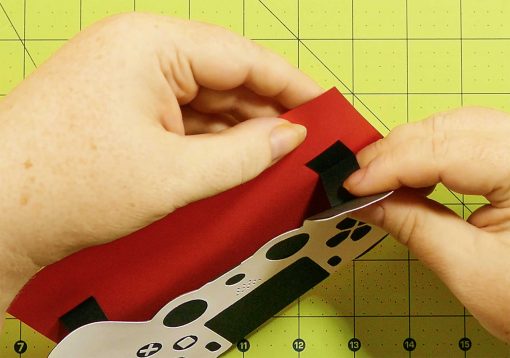
Once everything is cut out, spray the back of your white controller piece with spray adhesive and attach the black controller piece to it. Be careful to line them up exactly for the best look. Note that the controller was traced by hand so there is a slight variation on each side of it — thus, if it isn’t fitting right, turn over the black piece and it’ll work better.
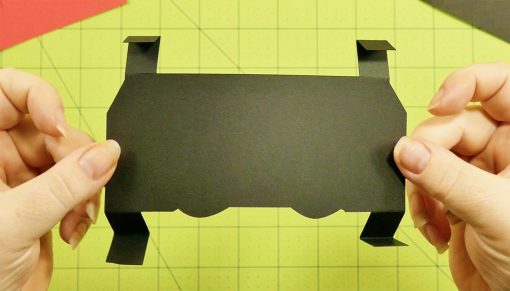
Now fold the tabs on the pop-up section. There are eight folds total.
If you’ll be putting a gift card inside, place the gift card on the pop-up section as shown below and glue around it. Be careful to stay away from the edges of the gift card so you don’t make the pocket too tight.

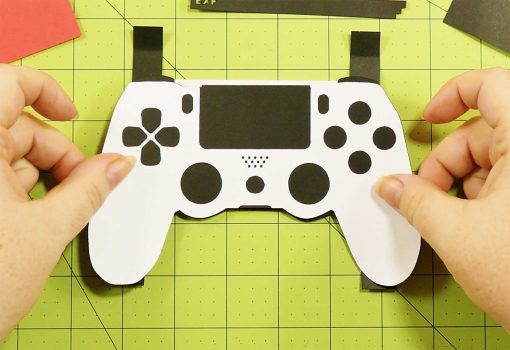
Once you’ve glued the pop-up section, attach it to the white-and-black controller and press down well.
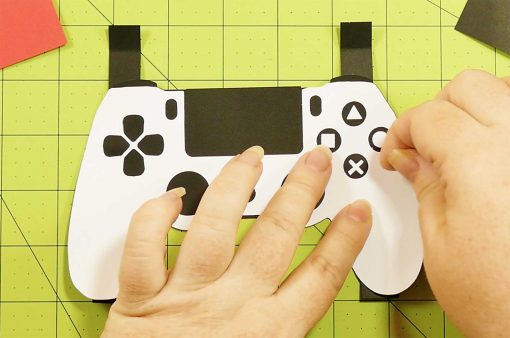
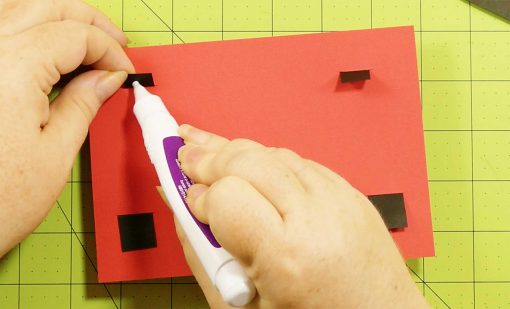
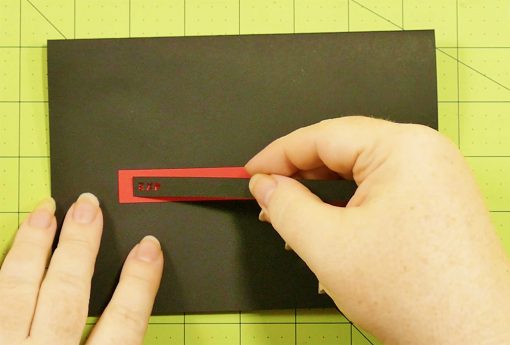
Spray the back of the button labels (the square, circle, triangle, and “X”) and place them on the correct buttons on the controller.
Now slip the folded tabs of the pop-up section into the rectangle base with the slots. Each tab should go into the base just up to the first fold line. Glue the tabs down.
Fold the black base card in half.
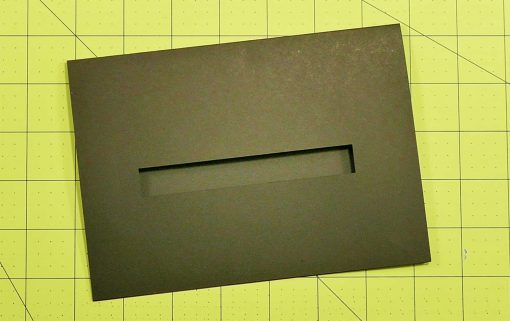
Apply spray adhesive to the back of the controller section and center it on the top half of the black base card. The top half has the open rectangle in it.
Turn the black base card over and place the experience bar into the open rectangle. Ding!
Turn the back base card over again. Make sure it opens and shows the controller in the proper position.
Spray the back of the “Level Up!” section with spray adhesive. If you are putting a custom image behind the “Level Up!” letters, attach that image now and spray the back again,
Attach the “Level Up!” section to the bottom half of your base card and press down.
Voila! You have an epic game controller card ready to give to your favorite game. It’s easy to make and requires only four sheets of paper. Win! I’d love to see your game controller cards. Please send me photos at [email protected], and I will include them here with your permission. Be the first!
Free Cut Files for the Game Controller Card
Get the password for the library with the free cut files (in SVG/DXF format) here by filling out this form:
Love,

More Pop-Up Cards


Save How to Make a Game Controller Card to Your Favorite DIY Pinterest Board!

Made 4 cards for Father’s Day. All the men in my life, LOVED it!! They are so cute and very easy to make.
Wow, that was fast, Lisa! Happy to hear you found it easy!
Jennifer,
Thank you for the wonderful SVG for this game controller. My son has special needs and is going to a birthday party for one of his buddies, so we made this. Can’t wait to see his buddy’s face when he gets this special card.
Thank you so much!!! 😀 I am going to make this for my nephews birthday 😀
thank you so much , I enjoyed making this card for my sons Birthday today. He wants a X box gift card so this was perfect and so easy to put together.
I made this!!! I think I did ok even though my colors aren’t the same. thanks so much
This is sooooo cute! I’m going to pin this to remind me for my son’s birthday later this year! Thanks Jennifer! <3
I am having problems getting the file to unzip on windows, I tell it to extract all but it never gives me the svg files, just the jpg?? Any idea what I’m doing wrong
I just figured it out. After you extract all you will get a file. Click on the file in downloads if that is where you extracted it to and it will come up with different files you can use . I use cricut so there are 3 different files you can use.
How did you do that? I have tried downloading and extracting multiple times and only get the dxf and jpgs. Nothing is svg, so all I have is the controller..?
Hi Danielle! Try looking for the file type “Chrome HTML Document” or “Microsoft Edge HTML Document,” this is also the SVG.
Just Made a version of this for my grandson for Valentines Day! To My Favorite Gamer Valentine. Came out really cute. Finally figured out how to download and upload to Cricut. Thank you, Jennifer Happy Valentines Day!
Awesome, Karen! Happy Valentine’s Day!
Evening Jennifer, I am experiencing difficulty in accessing this file, it keeps coming back with a 404 error of file not found. I can access the tutorial but can’t download the cutting file.
I’d love to use this as invitations for my son’s birthday party.
Hi Samantha! I just gave it a try with not problems. Delete the file you have and try redownloading it.
Hi Jennifer. I cannot load the files too, when i click on the link it comes up with the same error code, this is before a download just by clicking on your link to the download.
hope you can help
I tried the link again, Rachel, and it still works fine! Delete the file you already have and try downloading it again and you should be fine! 🙂
I am also having troubles getting this file, the page says error 404 and i have not been able to download it at all.
We just tried both the SVG and the blog post from the library, Margaret, and both seem to be working fine for us. Would you mind contacting our Maker Experience team by emailing “[email protected]” and they’ll be able to help you find where the problem might be? 😊
This card would be awesome for my boyfriend who’s birthday is coming up! But unfortunately when I click on the link for the svg a page pops up that says not found 😥 anyway I can find it
If you go to our library, Julia, and search for Design #40, you will find the SVG and tutorial right there! I just checked and both of the links are working fine. If you continue to have trouble, please email our Maker Experience experts at “[email protected]” and they’ll be able to help you out! 😊
Hi Jennifer, I tried to download link 40 for this and comes up with page not found error code 404, is there an issue with this file?
There is not, Chris, but some other people have reported that they’ve needed to change their browser in order to download it. 😉