
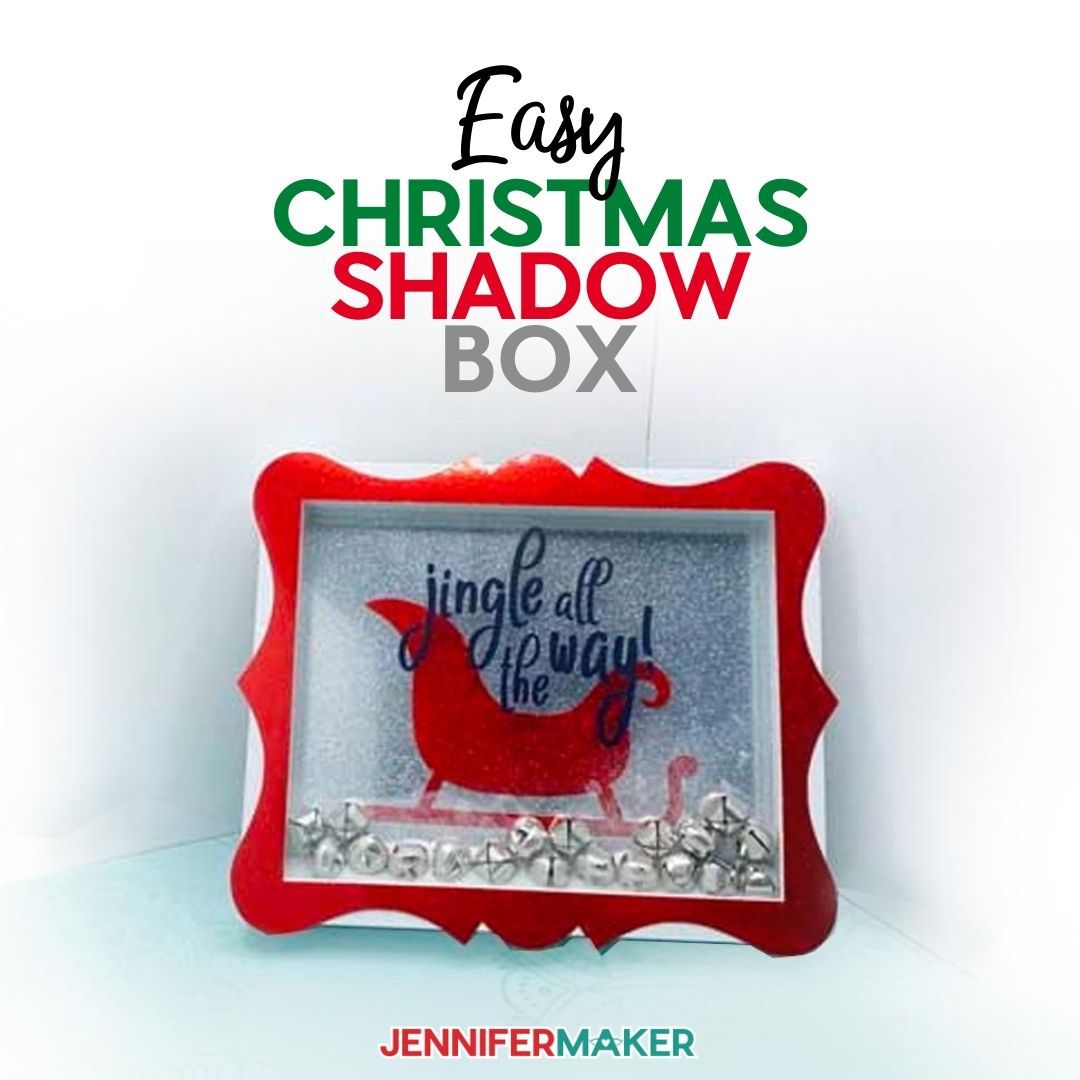
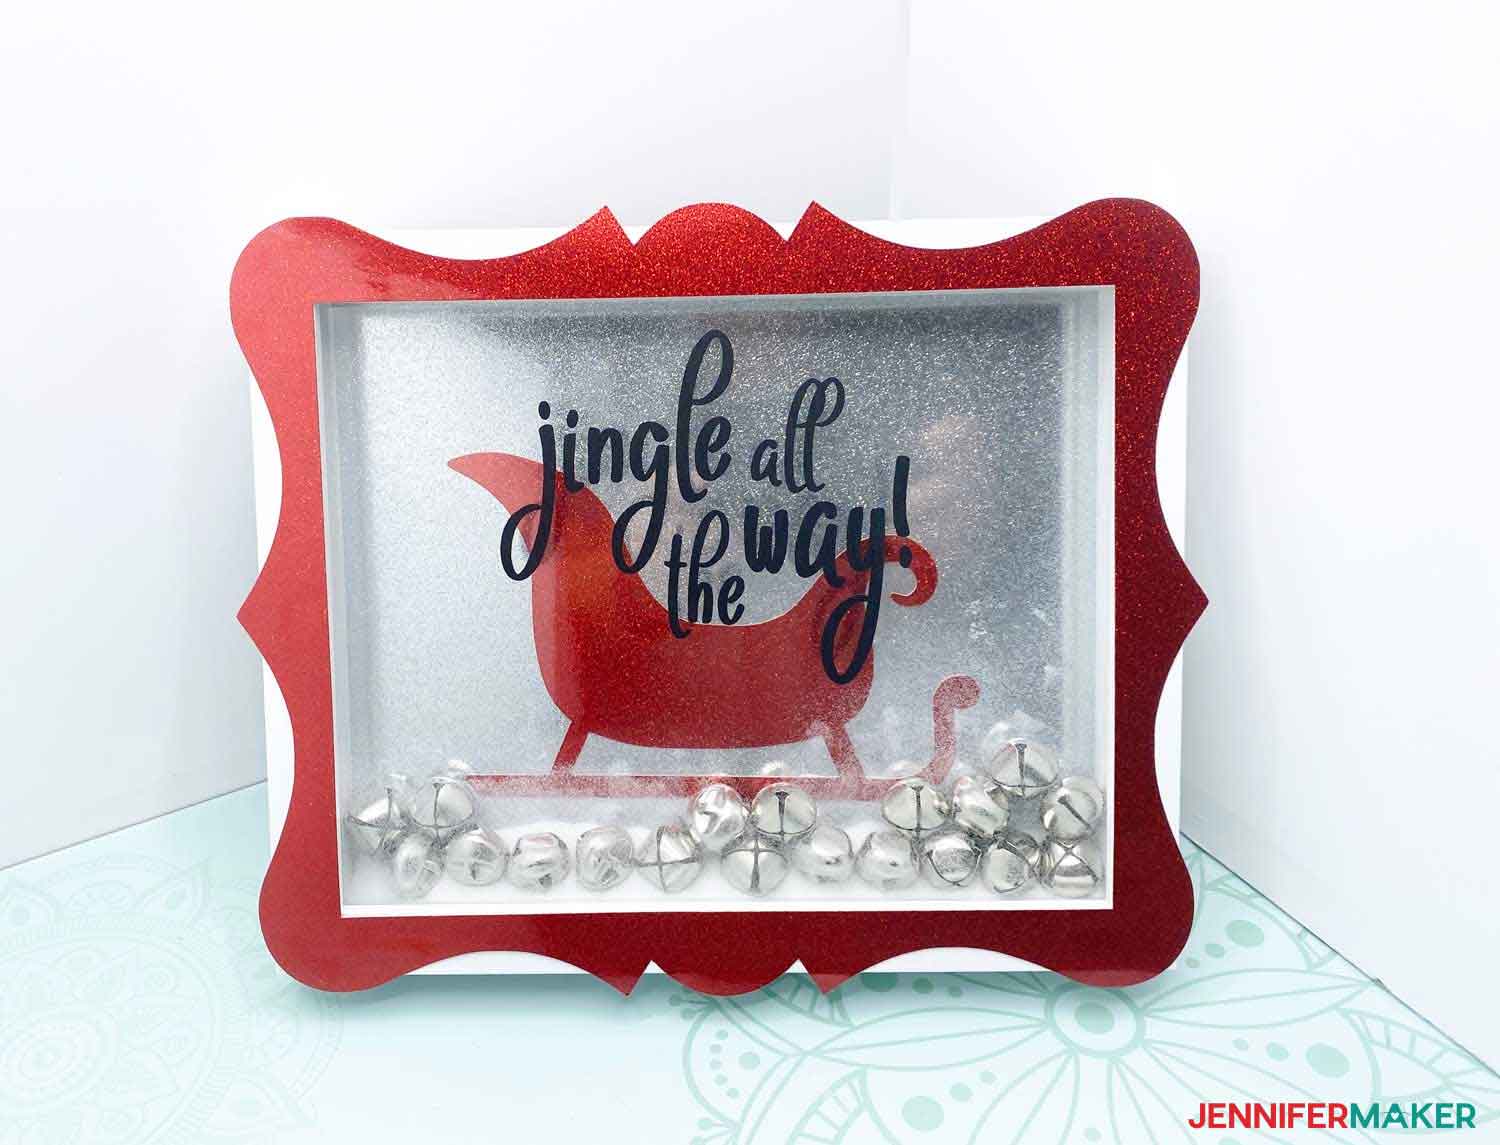
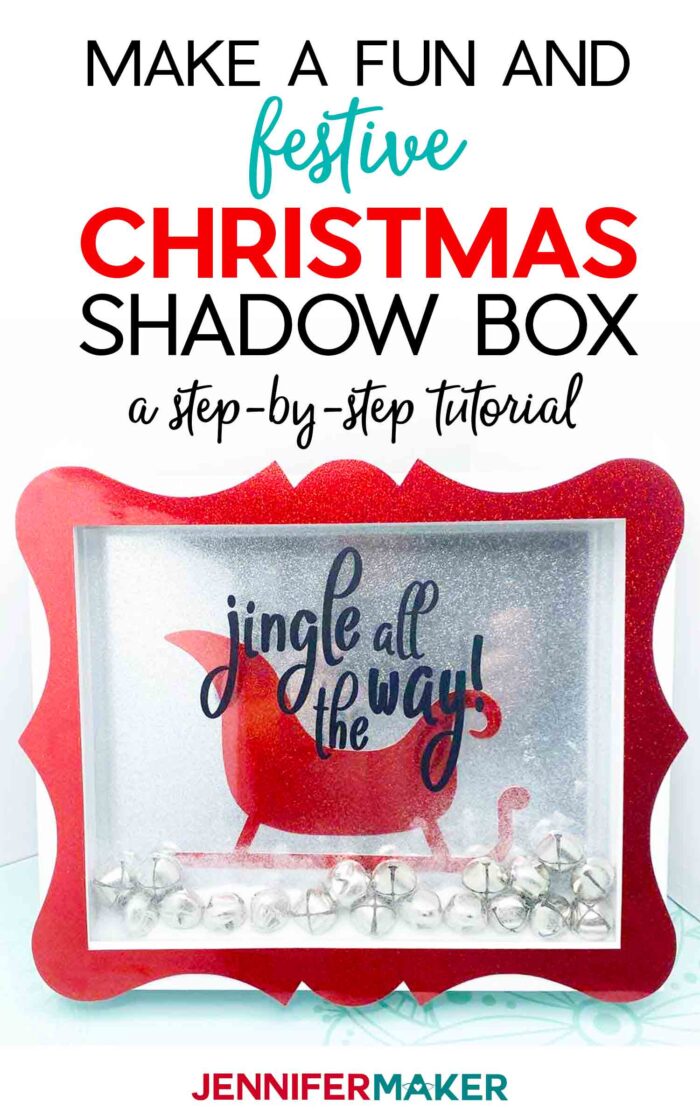
Learn how to make a Christmas Shadow Box filled with jingle bells — SO easy and fun!
I love to make and decorate shadow boxes, and I know many of you do as well! Last year I taught you how to make a custom shadow box with layers of paper. So this year, let’s make a super-easy, fun holiday-themed one filled with jingle bells! This is the “Jingle All the Way” shadow box and it makes for some fun holiday decor, as well as a gift! And it’s really simple to make! So for Day 6 of The Great Maker 25-Day Gift-Away Challenge, I am showing you how to make a fun and festive Christmas Shadow Box!
See exactly how to make a Christmas Shadow Box in my tutorial video (or keep scrolling if you prefer a step-by-step photo tutorial):

 What is The Great Maker 25-Day Gift-Away? This is an annual tradition here at JenniferMaker! Every day for the first 25 days of December, we gift you with a brand new project, design, tutorial, and video for something YOU asked us to make. On top of that, we host a giveaway with 25 prizes. Some of the amazing prizes are Cricut cutting machines, sewing machines, gift cards, and beautiful print editions of our popular Cricut Coach Playbook. You can even earn bonus entries for sharing photos of the daily projects! Click here to learn more about The Great Maker 25-Day Gift-Away!
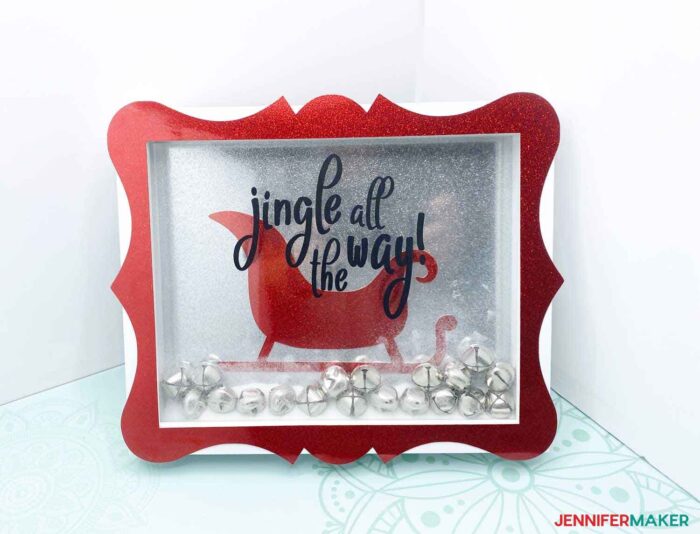
For the Christmas Shadow Box, you start with a white 8″ x 10″ shadow box.
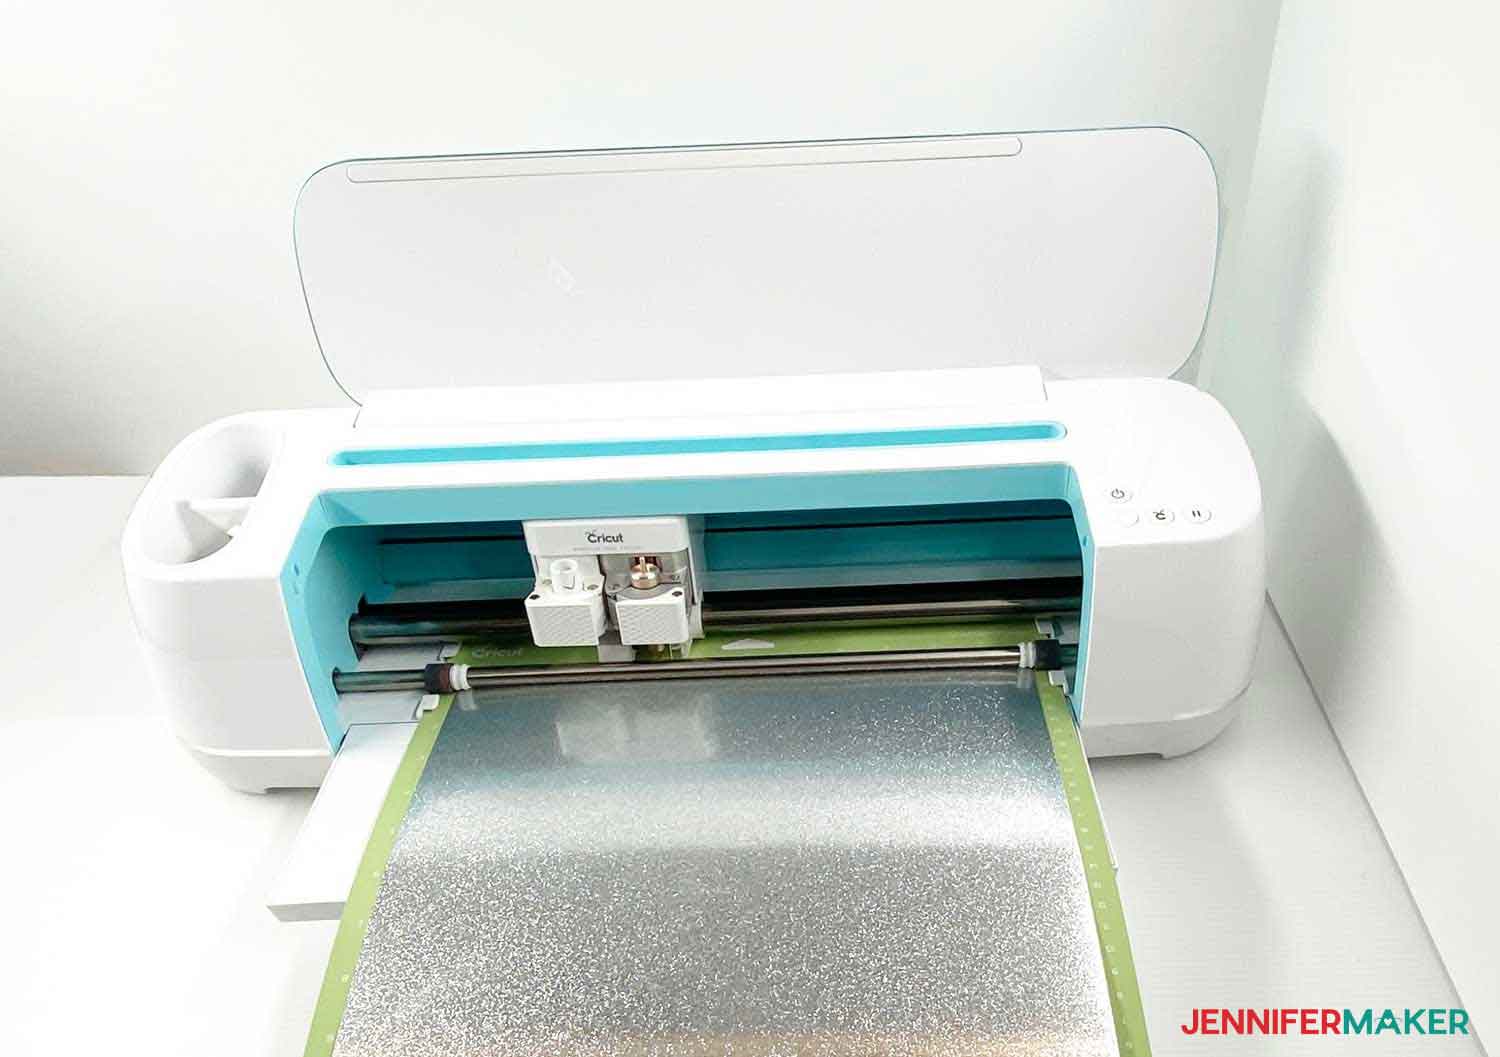
Then you decorate the front with some permanent adhesive vinyl — I’m using black shimmer vinyl for a fun and festive look.
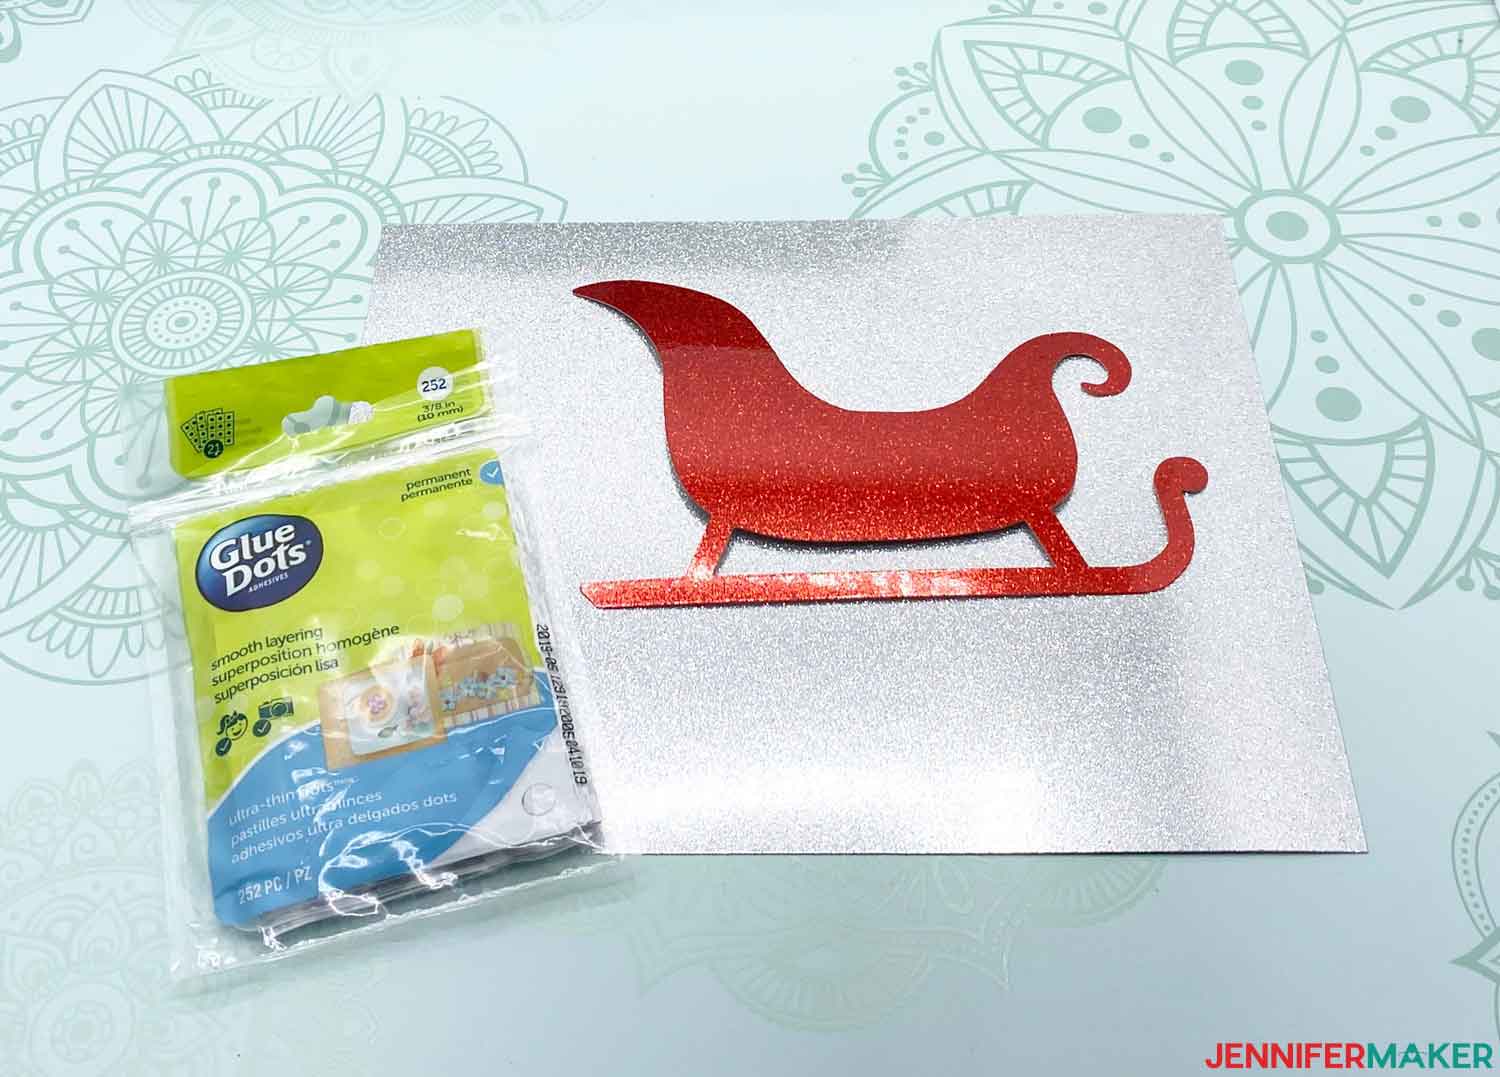
Then, you’ll need two sheets of red and silver sparkle cardstock to make the sleigh you see inside.
Glue dots are helpful for attaching the sleigh to the silver cardstock smoothly.
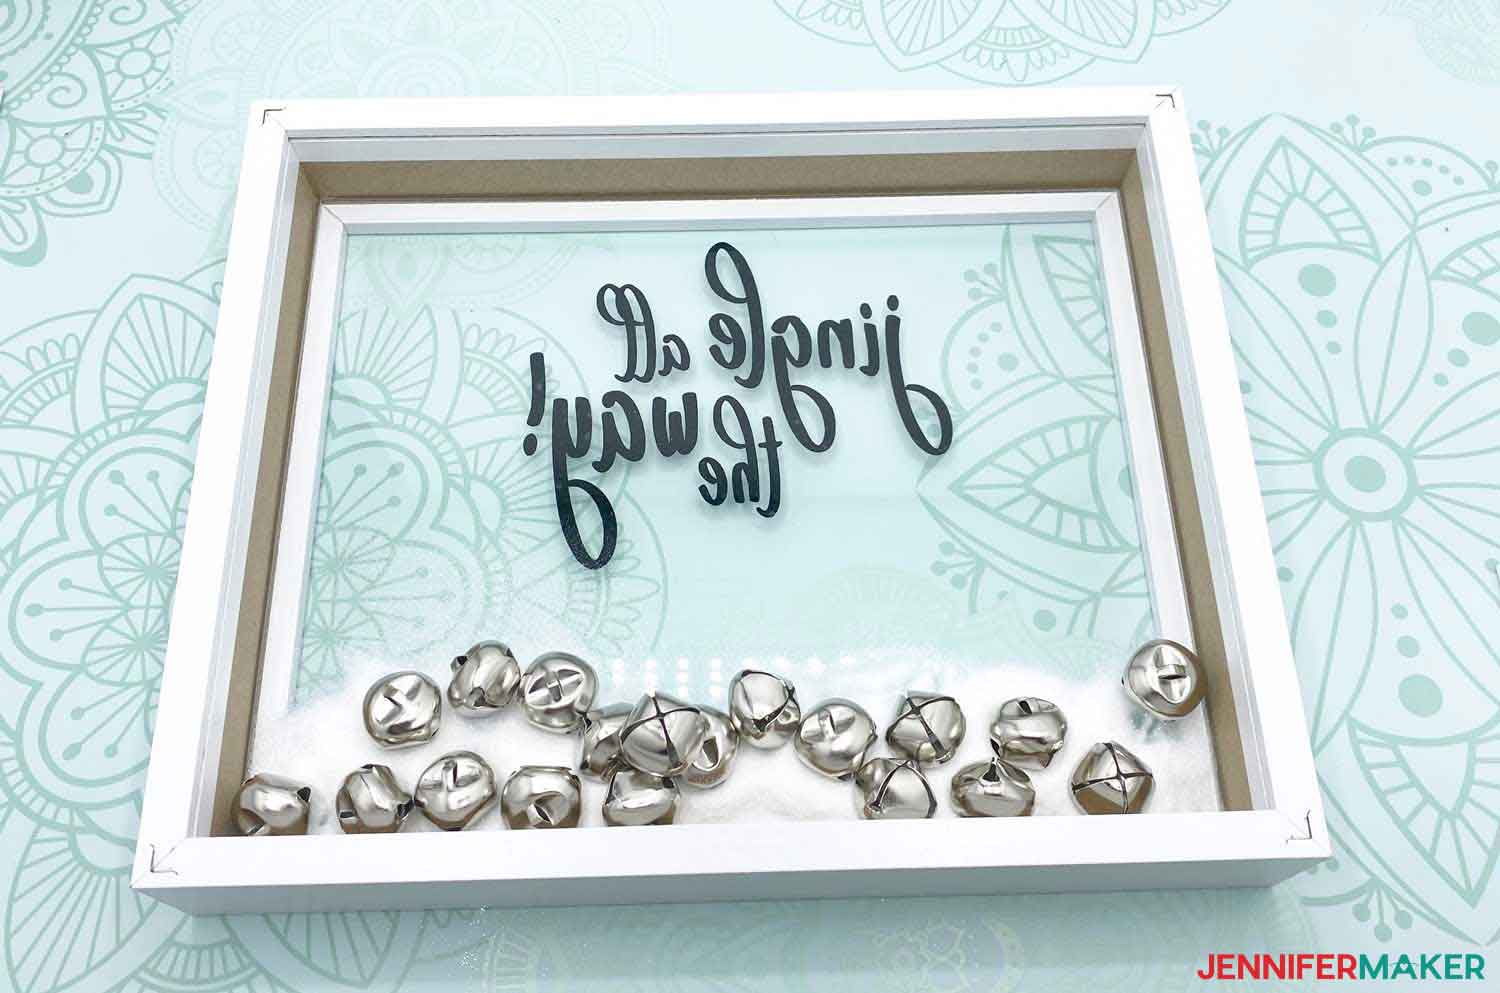
Now we just need to fill our shadow box with some Christmas magic … which is just white crystal glitter and jingle bells! Or you can use fake snow, cotton balls, or anything else you wish!
And that’s it! Now you just need the pattern, so let me show you where to get my free shdow box design and then how to put it all together! This post contains some affiliate links for your convenience (which means if you make a purchase after clicking a link I will earn a small commission but it won’t cost you a penny more)! Read my full disclosure policy.
Materials to Make a Christmas Shadow Box
View my Amazon shopping list with the exact items we used to make this project!
- One (1) Shadow Box White, 8×10 Frame
- Cricut Sparkle Paper, Classic Sampler 12X12
- Cricut Shimmer Vinyl 12″X48″ Roll-Black
- Cricut StrongGrip Transfer Tape 12X48
- 180 Pcs Christmas Silver Jingle Bells, Assorted Sizes
- Glue Dots Mini Adhesive Dot Roll
- Packing Tape (to seal in the glitter)
- Glitter Sparkling Crystals, White, 16-Ounce Jar
- Cricut StandardGrip Cutting Mat 12 x 12
- Cricut Scraper and Spatula, Assorted
- A way to cut your cardstock and vinyl (I used the Cricut Maker cutting machine but they can also be cut on a Cricut Explore)
- Design 257 – My free SVG design files (available in my free resource library—get the password by filling out the form at the bottom of this page)
How to Make a Christmas Shadow Box
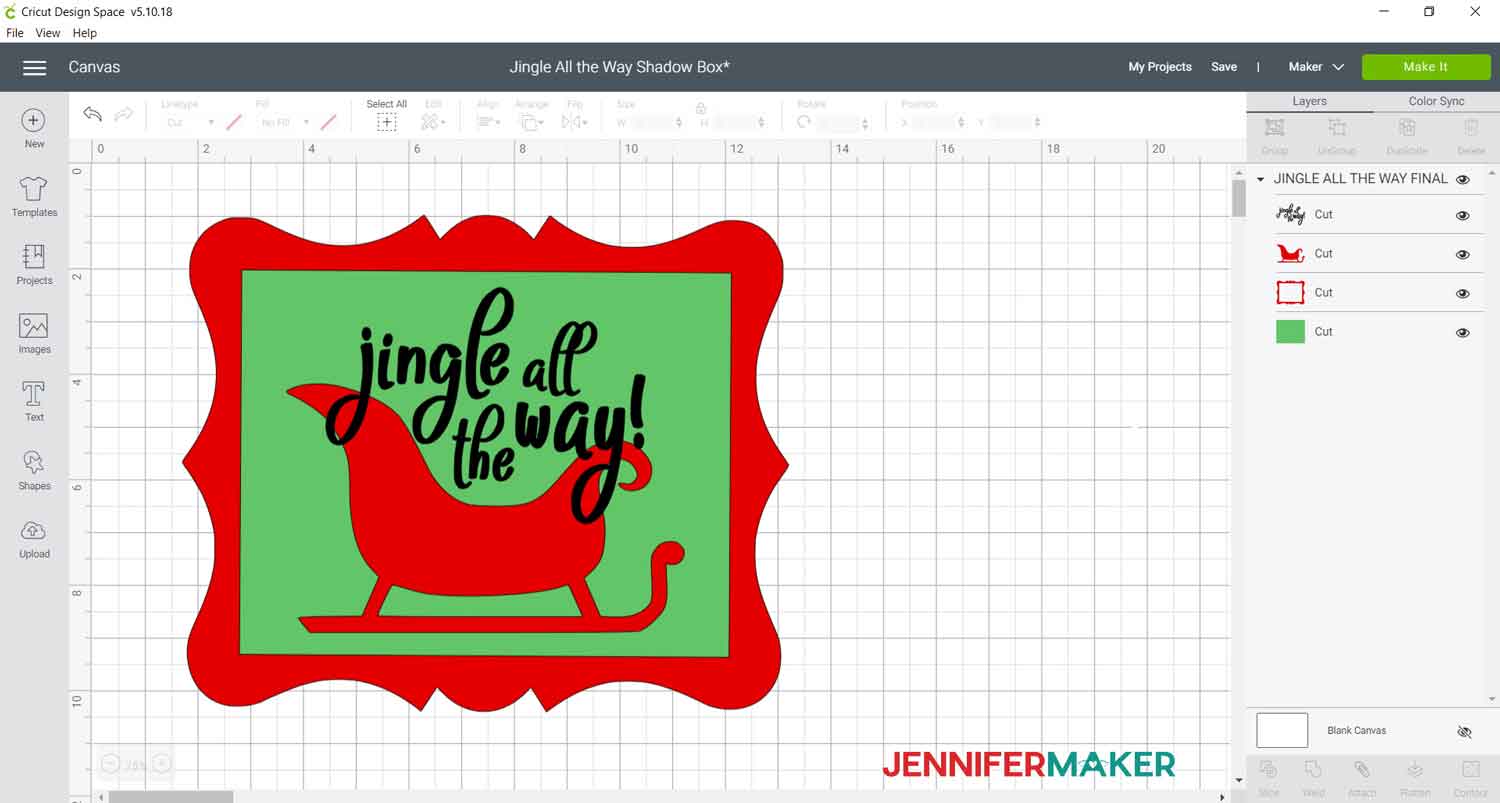
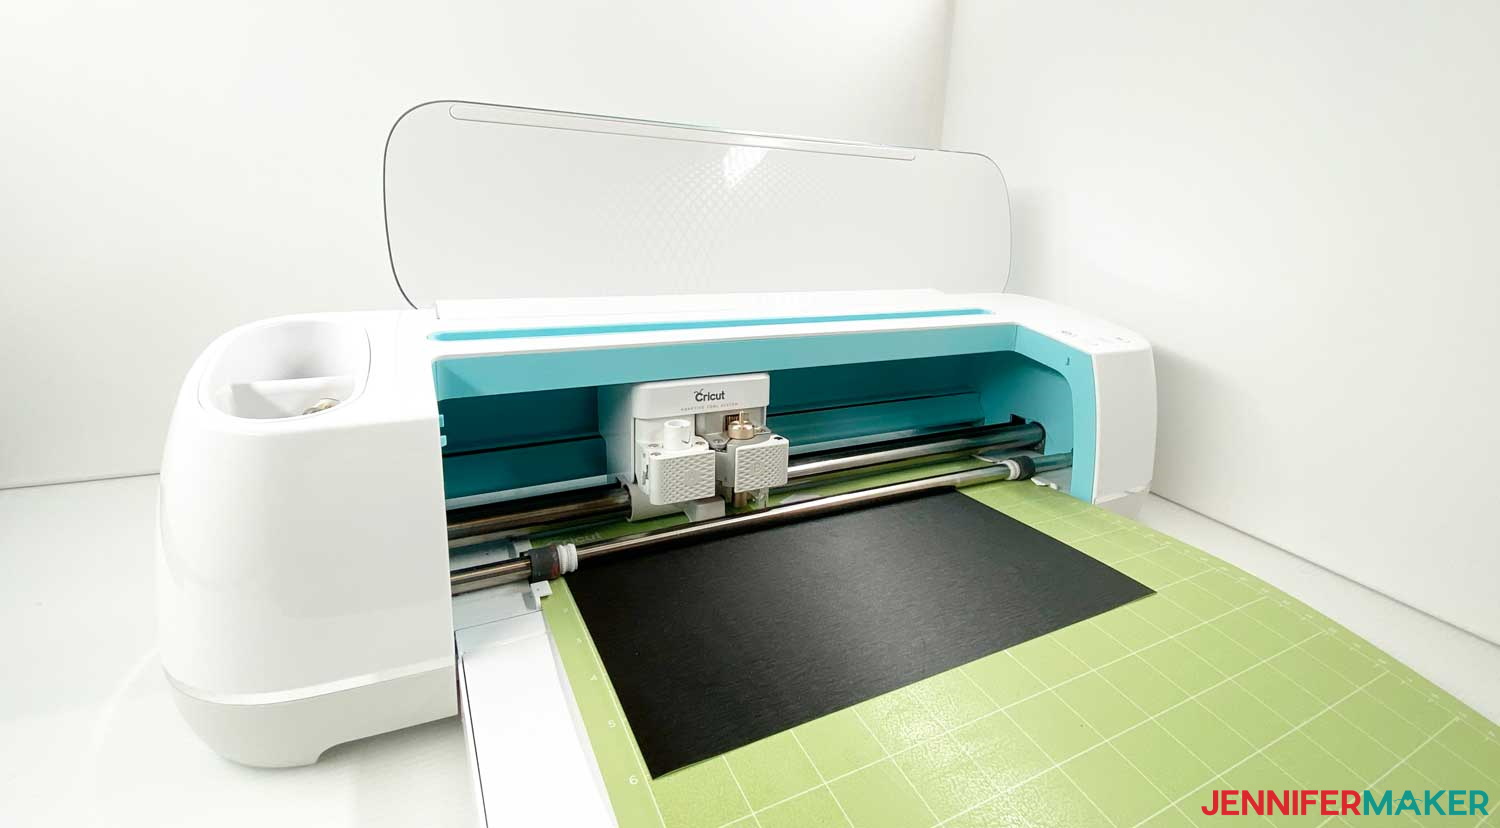
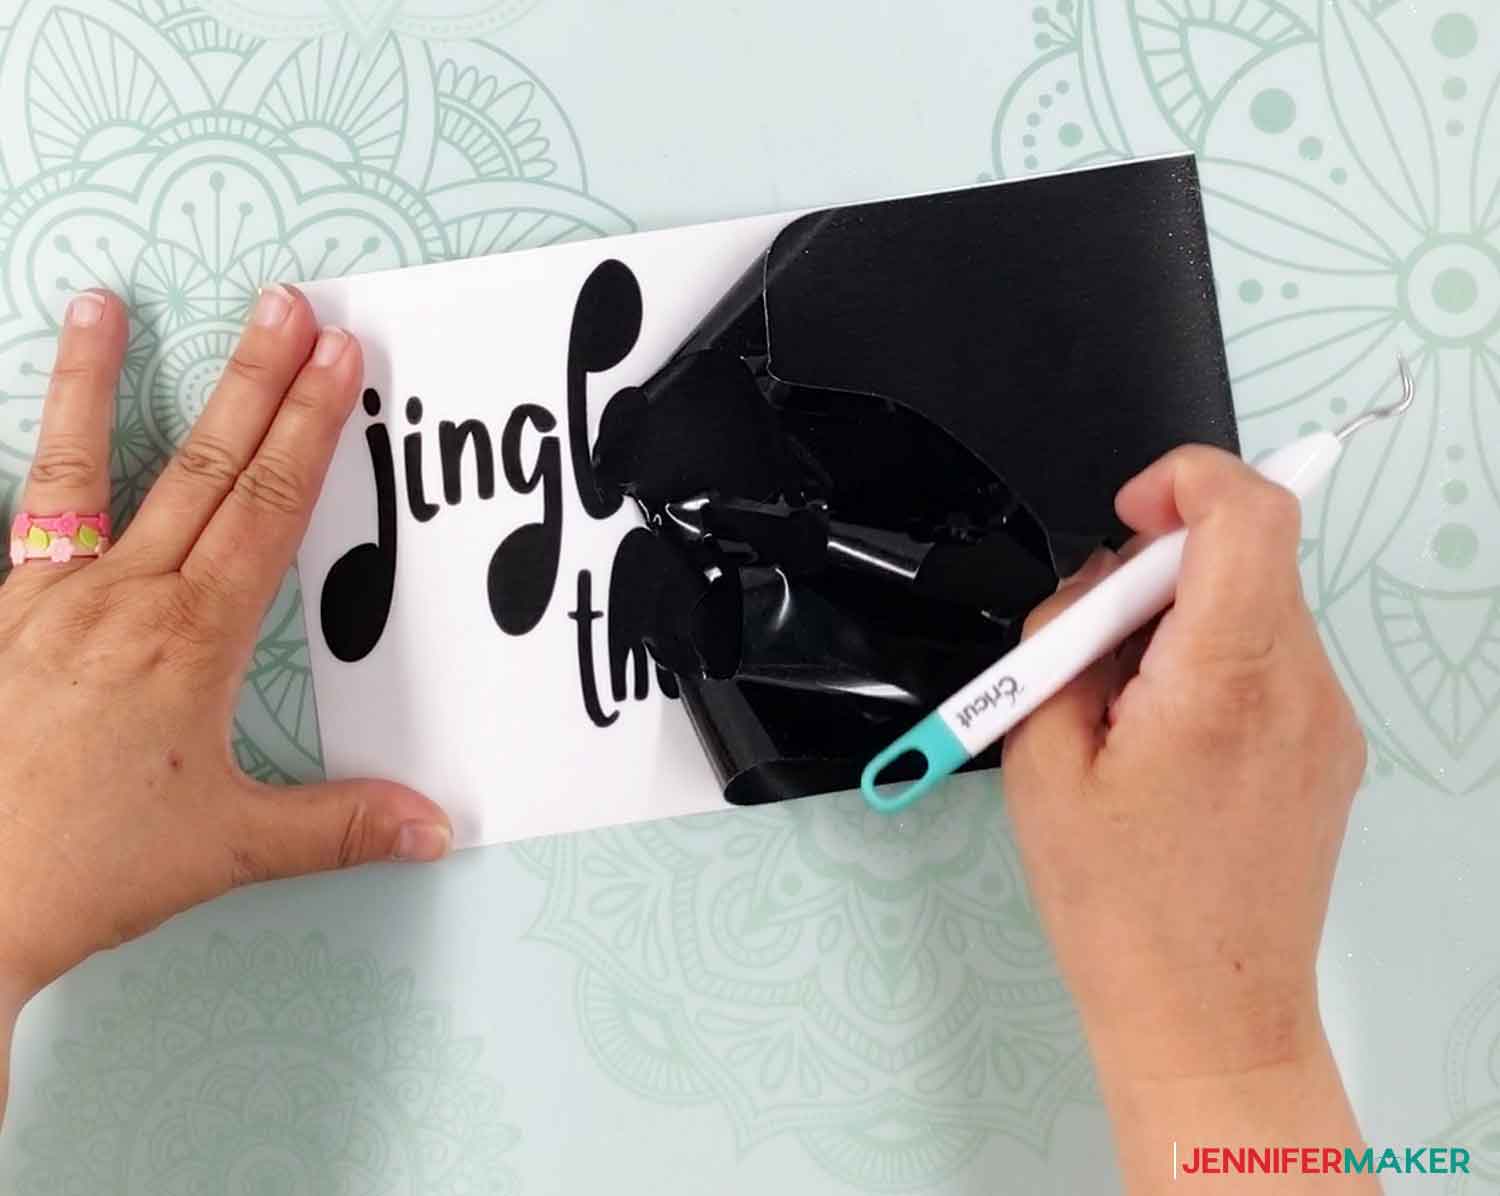
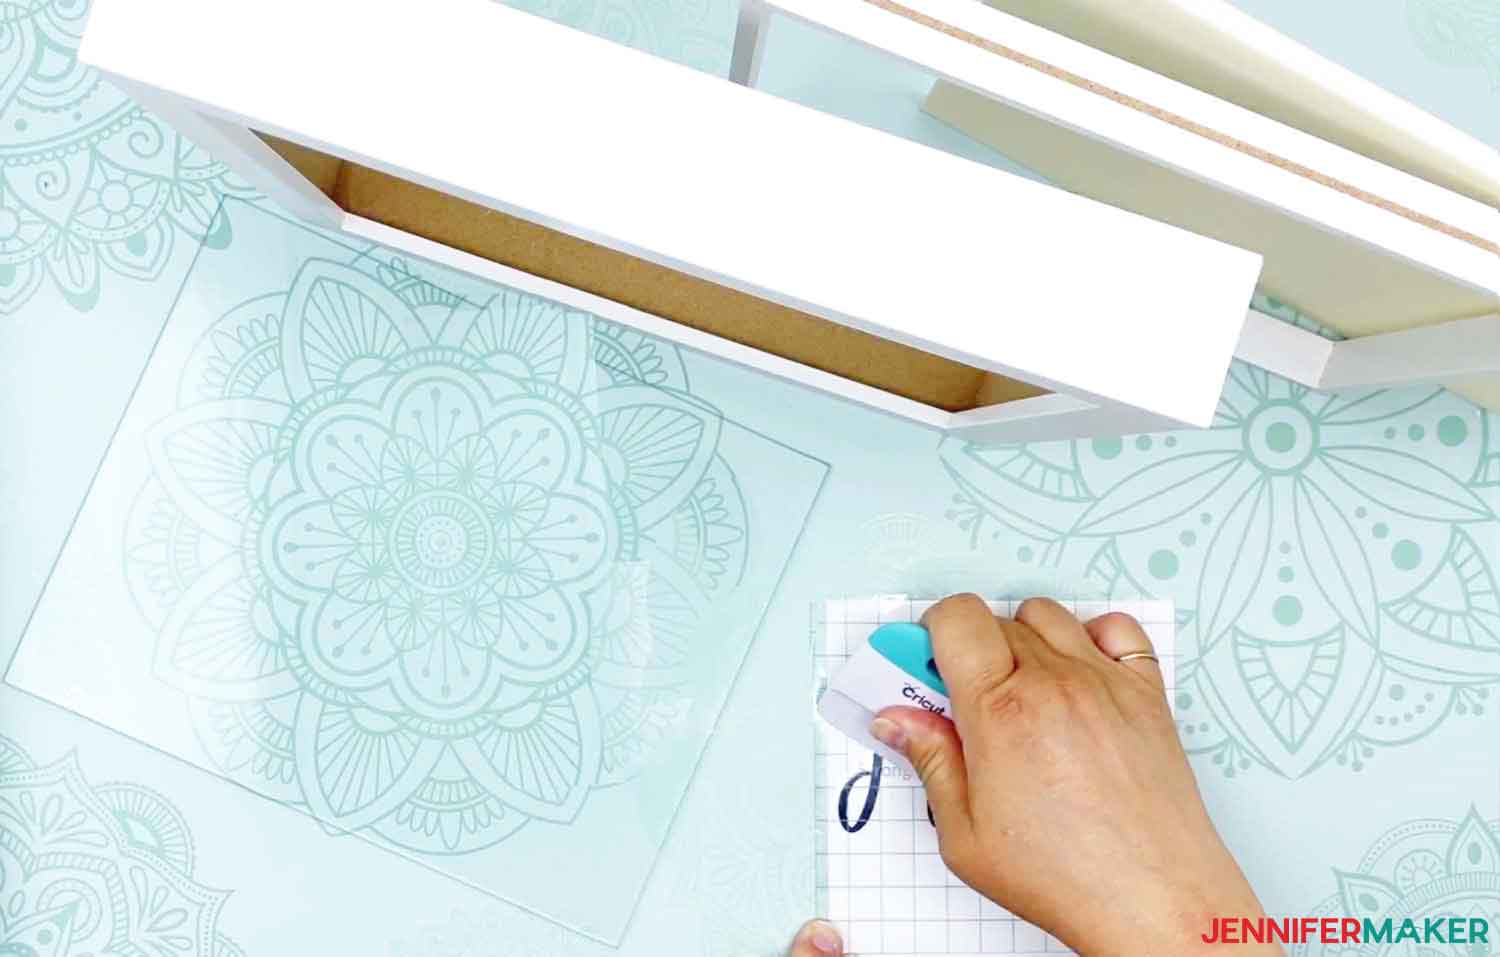
Make this fun and festive Christmas Shadow Box filled with jingle bells and "snow" with this easy step-by-step tutorial! Get Design #257 which is the free SVG file for this tutorial. You can download it from my free resource library (get the password to the library in the form at the bottom of this post). Here is what the Christmas Shadow Box file will look like when you upload it to Cricut Design Space: Tip: If you are not sure how to upload an SVG cut file to Cricut Design Space, watch this helpful video training series I made. If you are on an iPad or iPhone, here is how to download and upload SVG files to the Cricut Design Space app. Before cutting the design, you will want to measure the width and height of your frame and adjust the size of the design if needed. If you are using the same frame listed in my project supplies you do not need to make any size adjustments. You do not need to ungroup the design once you bring it into Design Space. Click the Make it Button to proceed with cutting the design. Place your vinyl face up on a Cricut standard grip cutting mat (green). Select Premium Vinyl – Shimmer from your material setting list and continue to cut the design. After your vinyl is cut, you will need to weed it. Place Cricut StrongGrip Transfer Tape on your weeded design and burnish it down with your scraper tool. I like to use a ruler when placing vinyl on a project. It helps me center the design properly. I typically, center it on the ruler and then take the ruler to the project for final placement. After you have placed your design on the glass, burnish it again, lift off the transfer tape while making sure everything is attached properly. If you haven't already, now is the time to cut your 8" x 10" silver base which you will attach your sleigh to. Apply glue dots to the back of the sleigh and center it on the 8" x 10" silver base. Pour your white glitter inside the bottom of the shadowbox so it looks like snow. Sprinkle an assortment of the bells on top of the glitter. Apply the red frame to the front outside of your shadowbox using glue dots. Press the frame down firmly. The completed Christmas Shadow Box would make a great holiday decoration for your home or as a gift. Special thanks to the JenniferMaker Design Fairy Team, specifically Design Fairy Kristin, for helping me design and assemble this awesome design.
Christmas Shadow Box
Materials
Tools
Instructions
STEP 1: GET MY FREE CHRISTMAS SHADOW BOX SVG FILE
STEP 2: CUT THE CHRISTMAS SHADOW BOX DESIGN
STEP 3: ASSEMBLE YOUR CHRISTMAS SHADOW BOX DESIGN

STEP 4: SHOW IT OFF
Notes
ACKNOWLEDGMENTS
Answers to Your Questions About How to Make a Christmas Shadow Box
Q: What can you use instead of jingle bells or glitter inside the box?
There are so many options! You can use fake snow, cotton balls, small pine cones, or holiday colored confetti!
Q: Can you mirror the image and put it on the inside of the frame to protect the vinyl?
Absolutely! This is a great idea!
Q: What can you use in place of sparkle paper?
You can use holographic craft board, foil craft board, or heavier weight cardstock such as 80 lb. or 100 lb. You want something that will hold its shape when you attach it to the frame and not curl on you!
Get my free SVG files to make a Christmas Shadow Box
I’d love to see your Christmas Shadow Boxes, especially the ones you personalize your customize to make your own. Please share a photo in our Facebook group or tag me on social media with #jennifermaker.
See all of the projects, tutorials, and free designs in The Great Maker 25-Day Gift-Away Challenge!
Love,

Want to remember this? Save this Christmas Shadow Box tutorial to your favorite Pinterest Board!


Decals for glass blocks snow scenes or cute animals
Feel free to make that a project suggestion here, https://jennifermaker.com/projectrequests/, Nancy!