
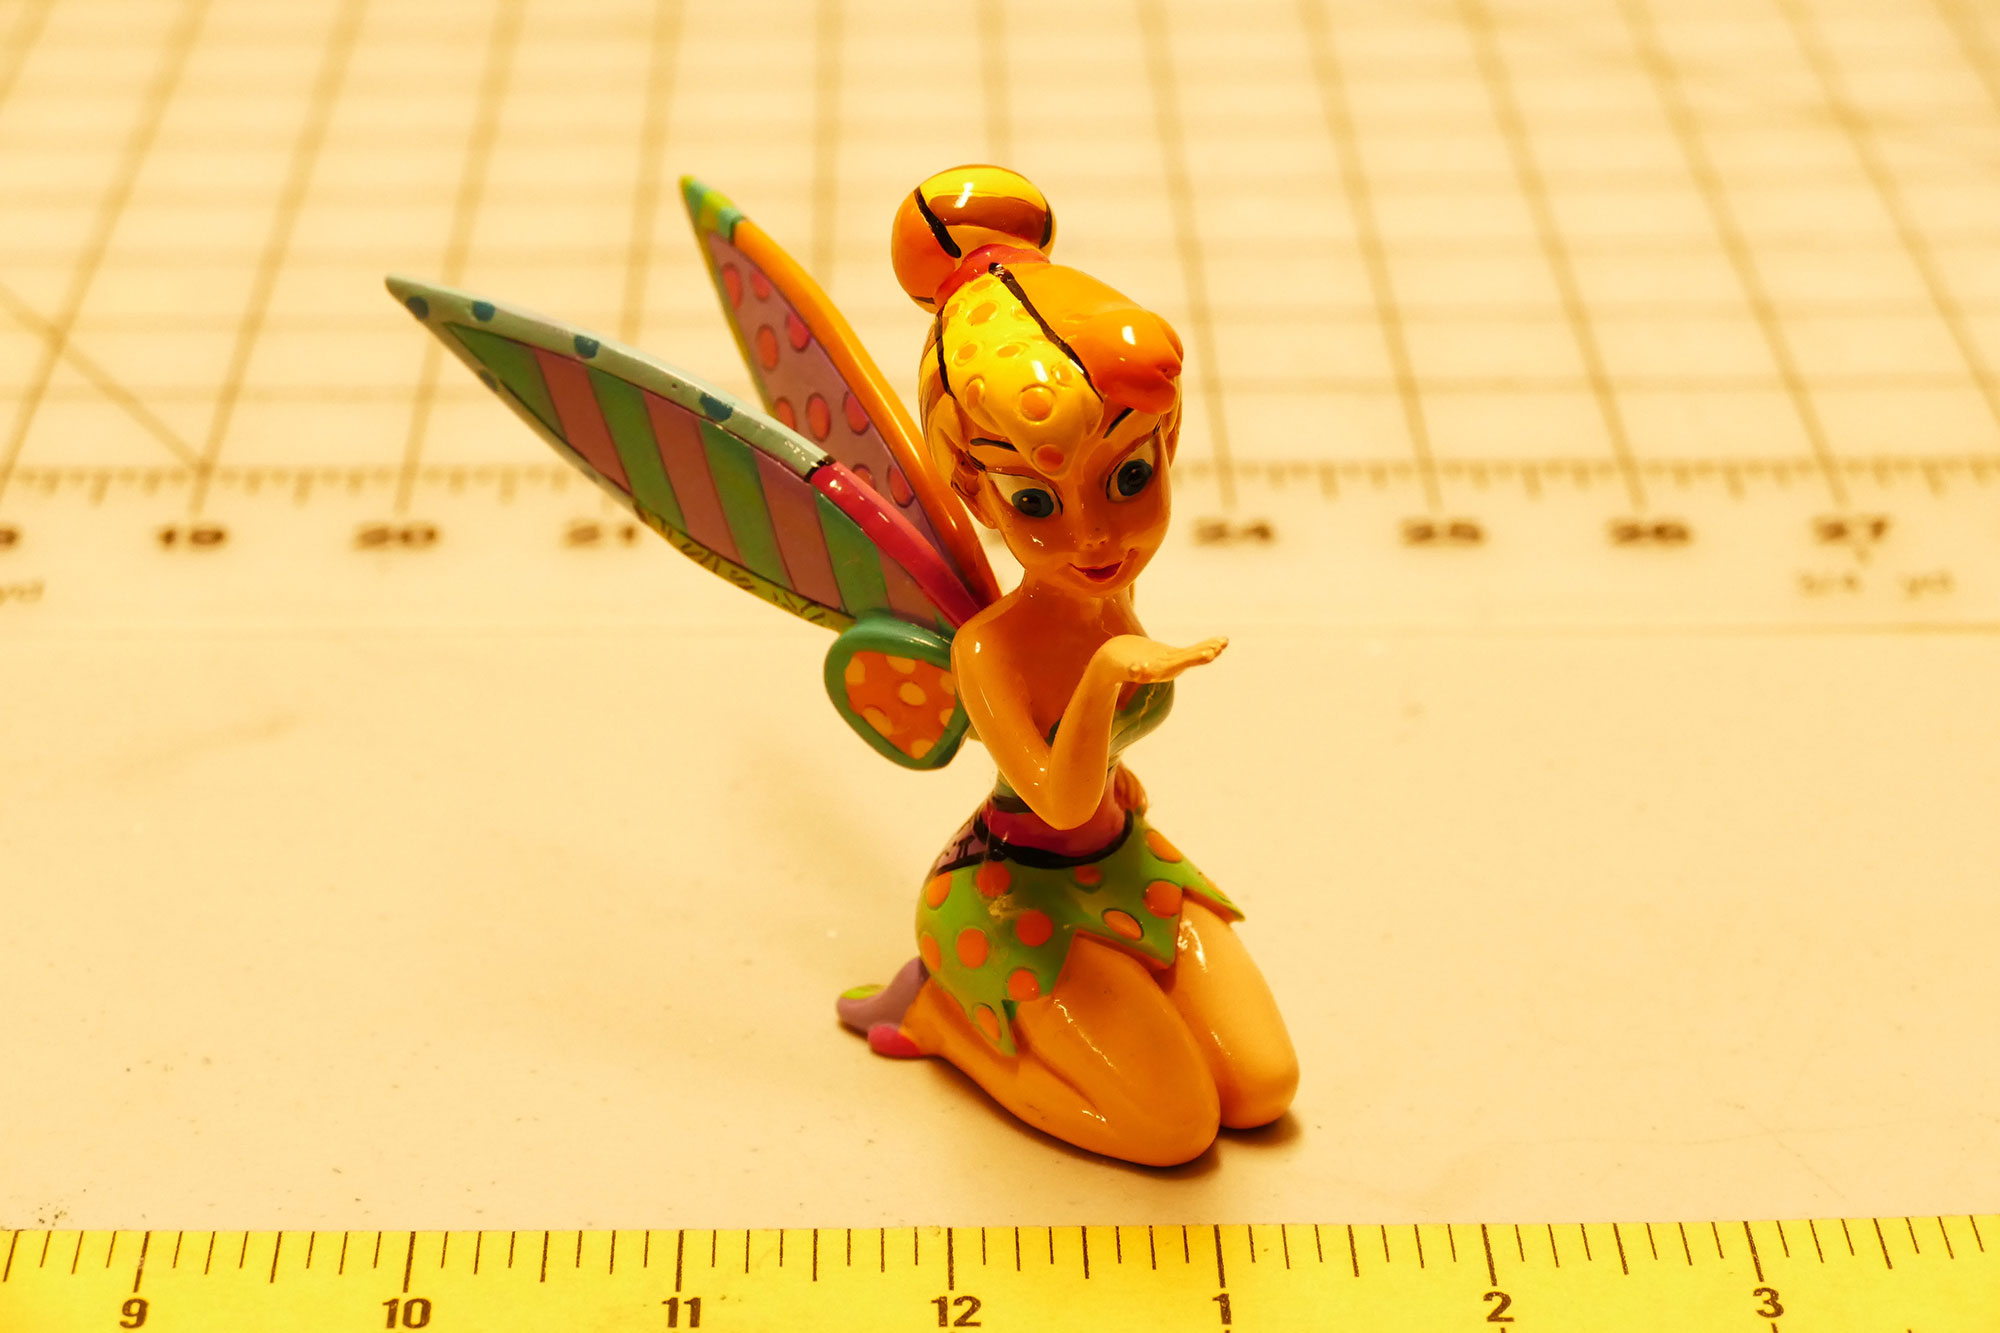
Lately I’ve been drooling over some gorgeous photography I’ve seen online. I’m talking about the sort of photography that has good lighting, a smooth background, and soft, almost imperceptible shadows. My photos are hit or miss depending on the lighting. Some research into professional photography revealed that the secret to these types of photos is a lightbox!
This post contains some affiliate links for your convenience (which means if you make a purchase after clicking a link I will earn a small commission which helps keep my blog up and running but it won’t cost you a penny more)! Read my full disclosure policy.
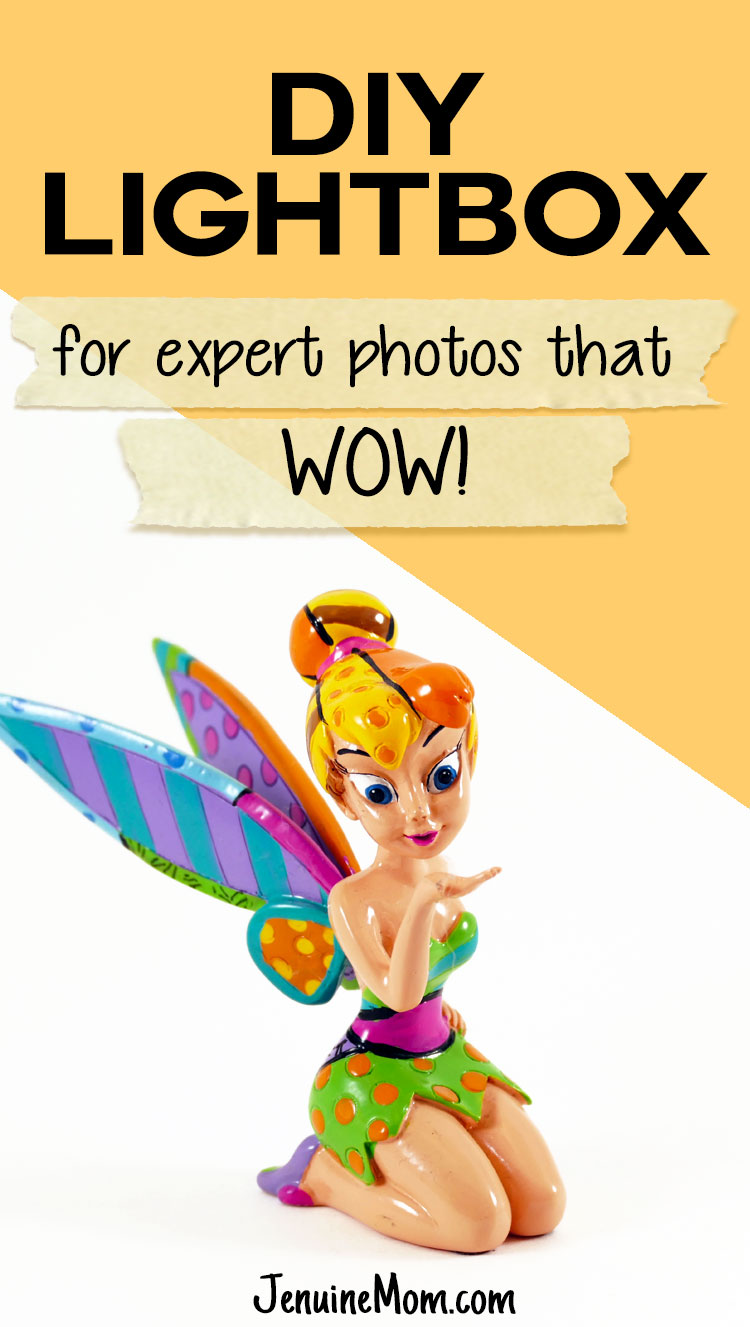
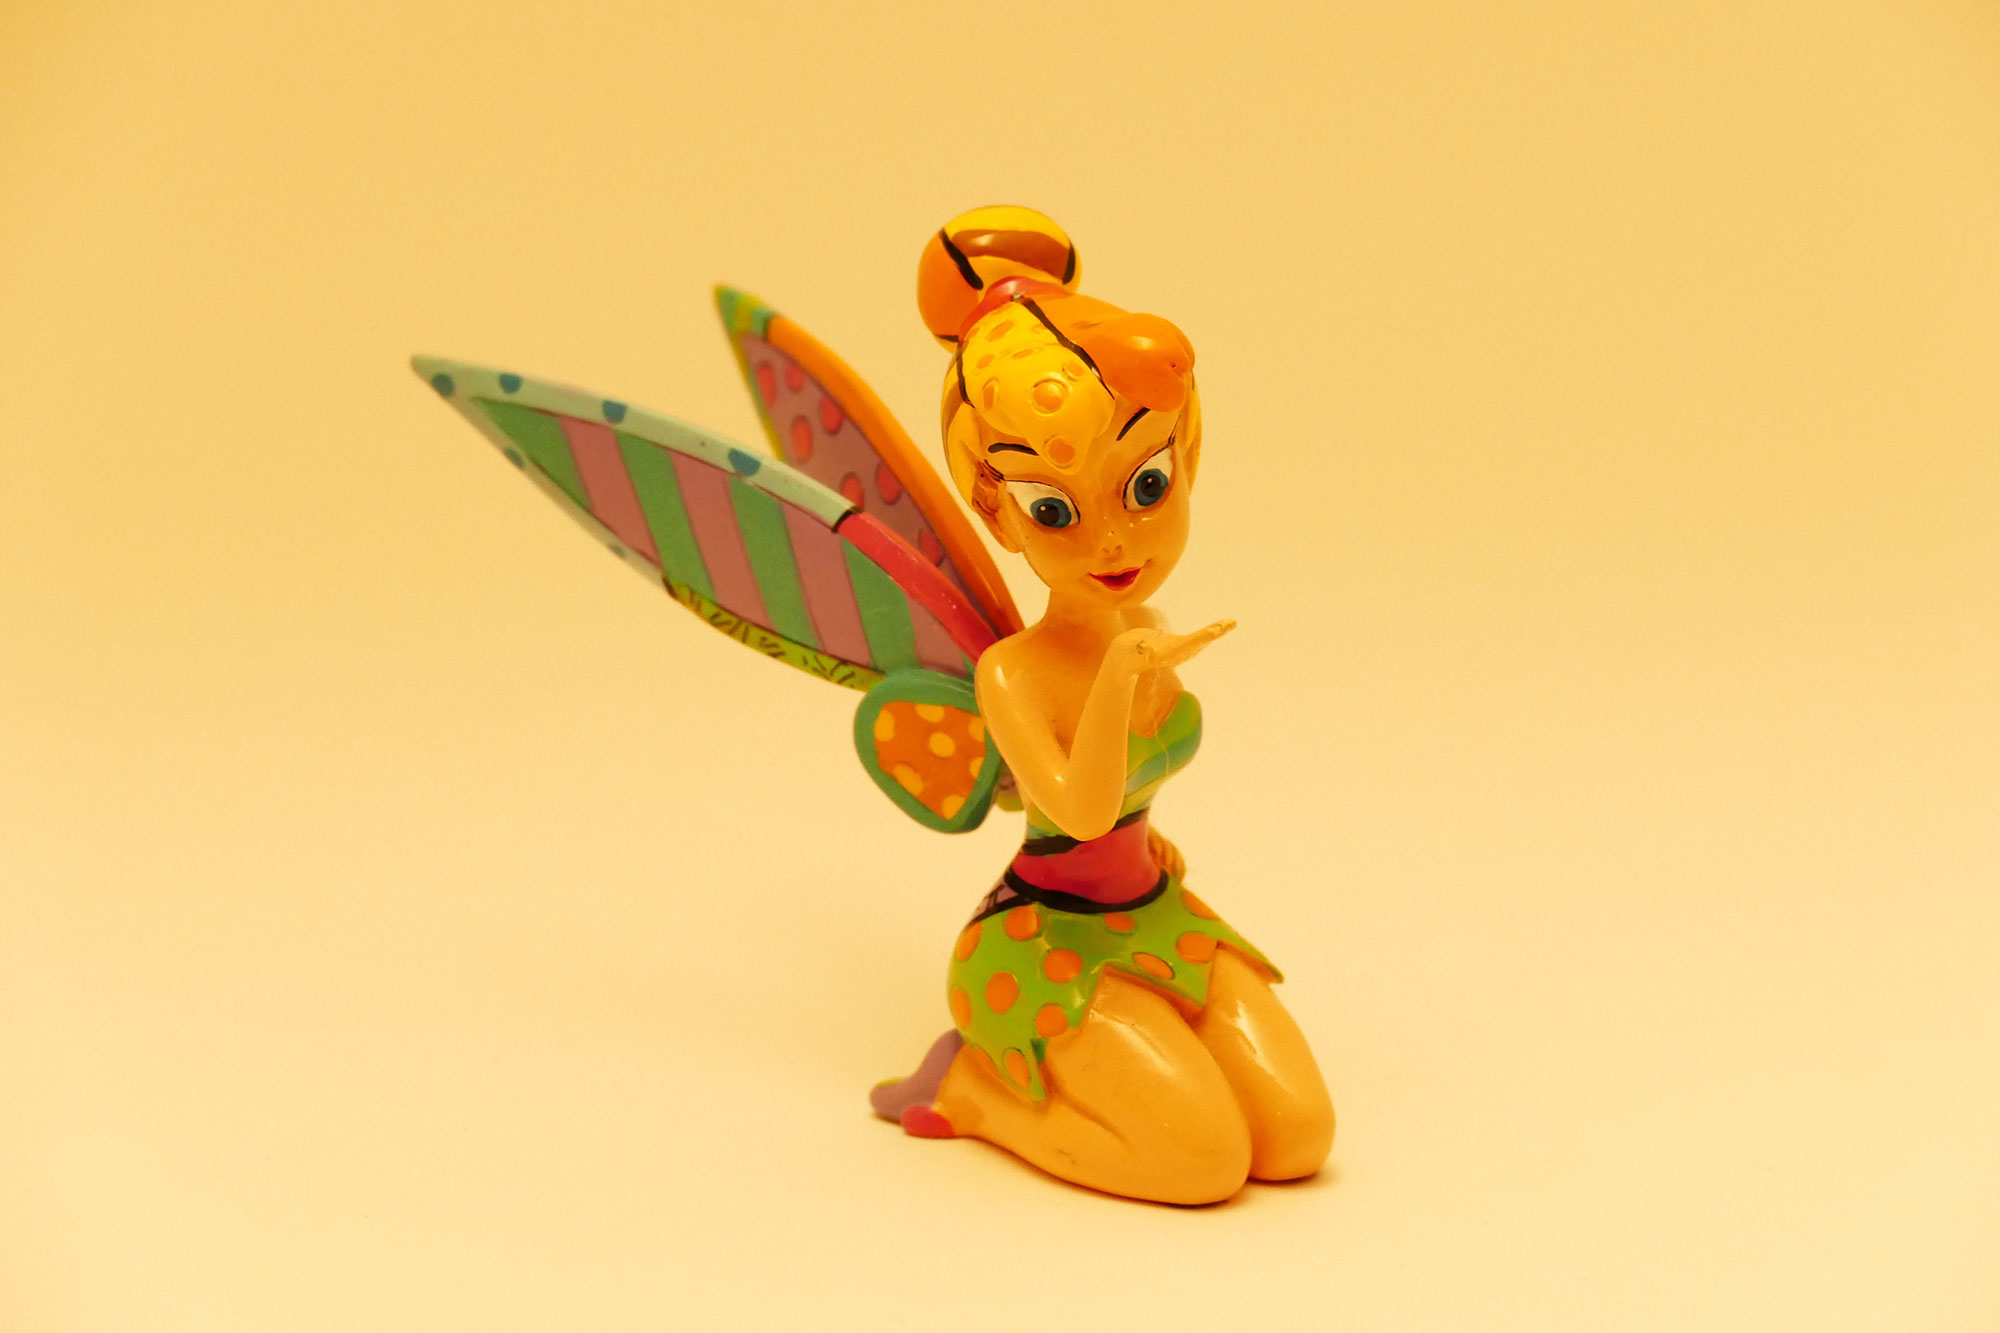
You can buy light boxes on Amazon, but it looks simple enough to make. So of course I decided I wanted to make a DIY Lightbox. You know how I love to make things! So I made a lightbox and I took this photo with it — what do you think?
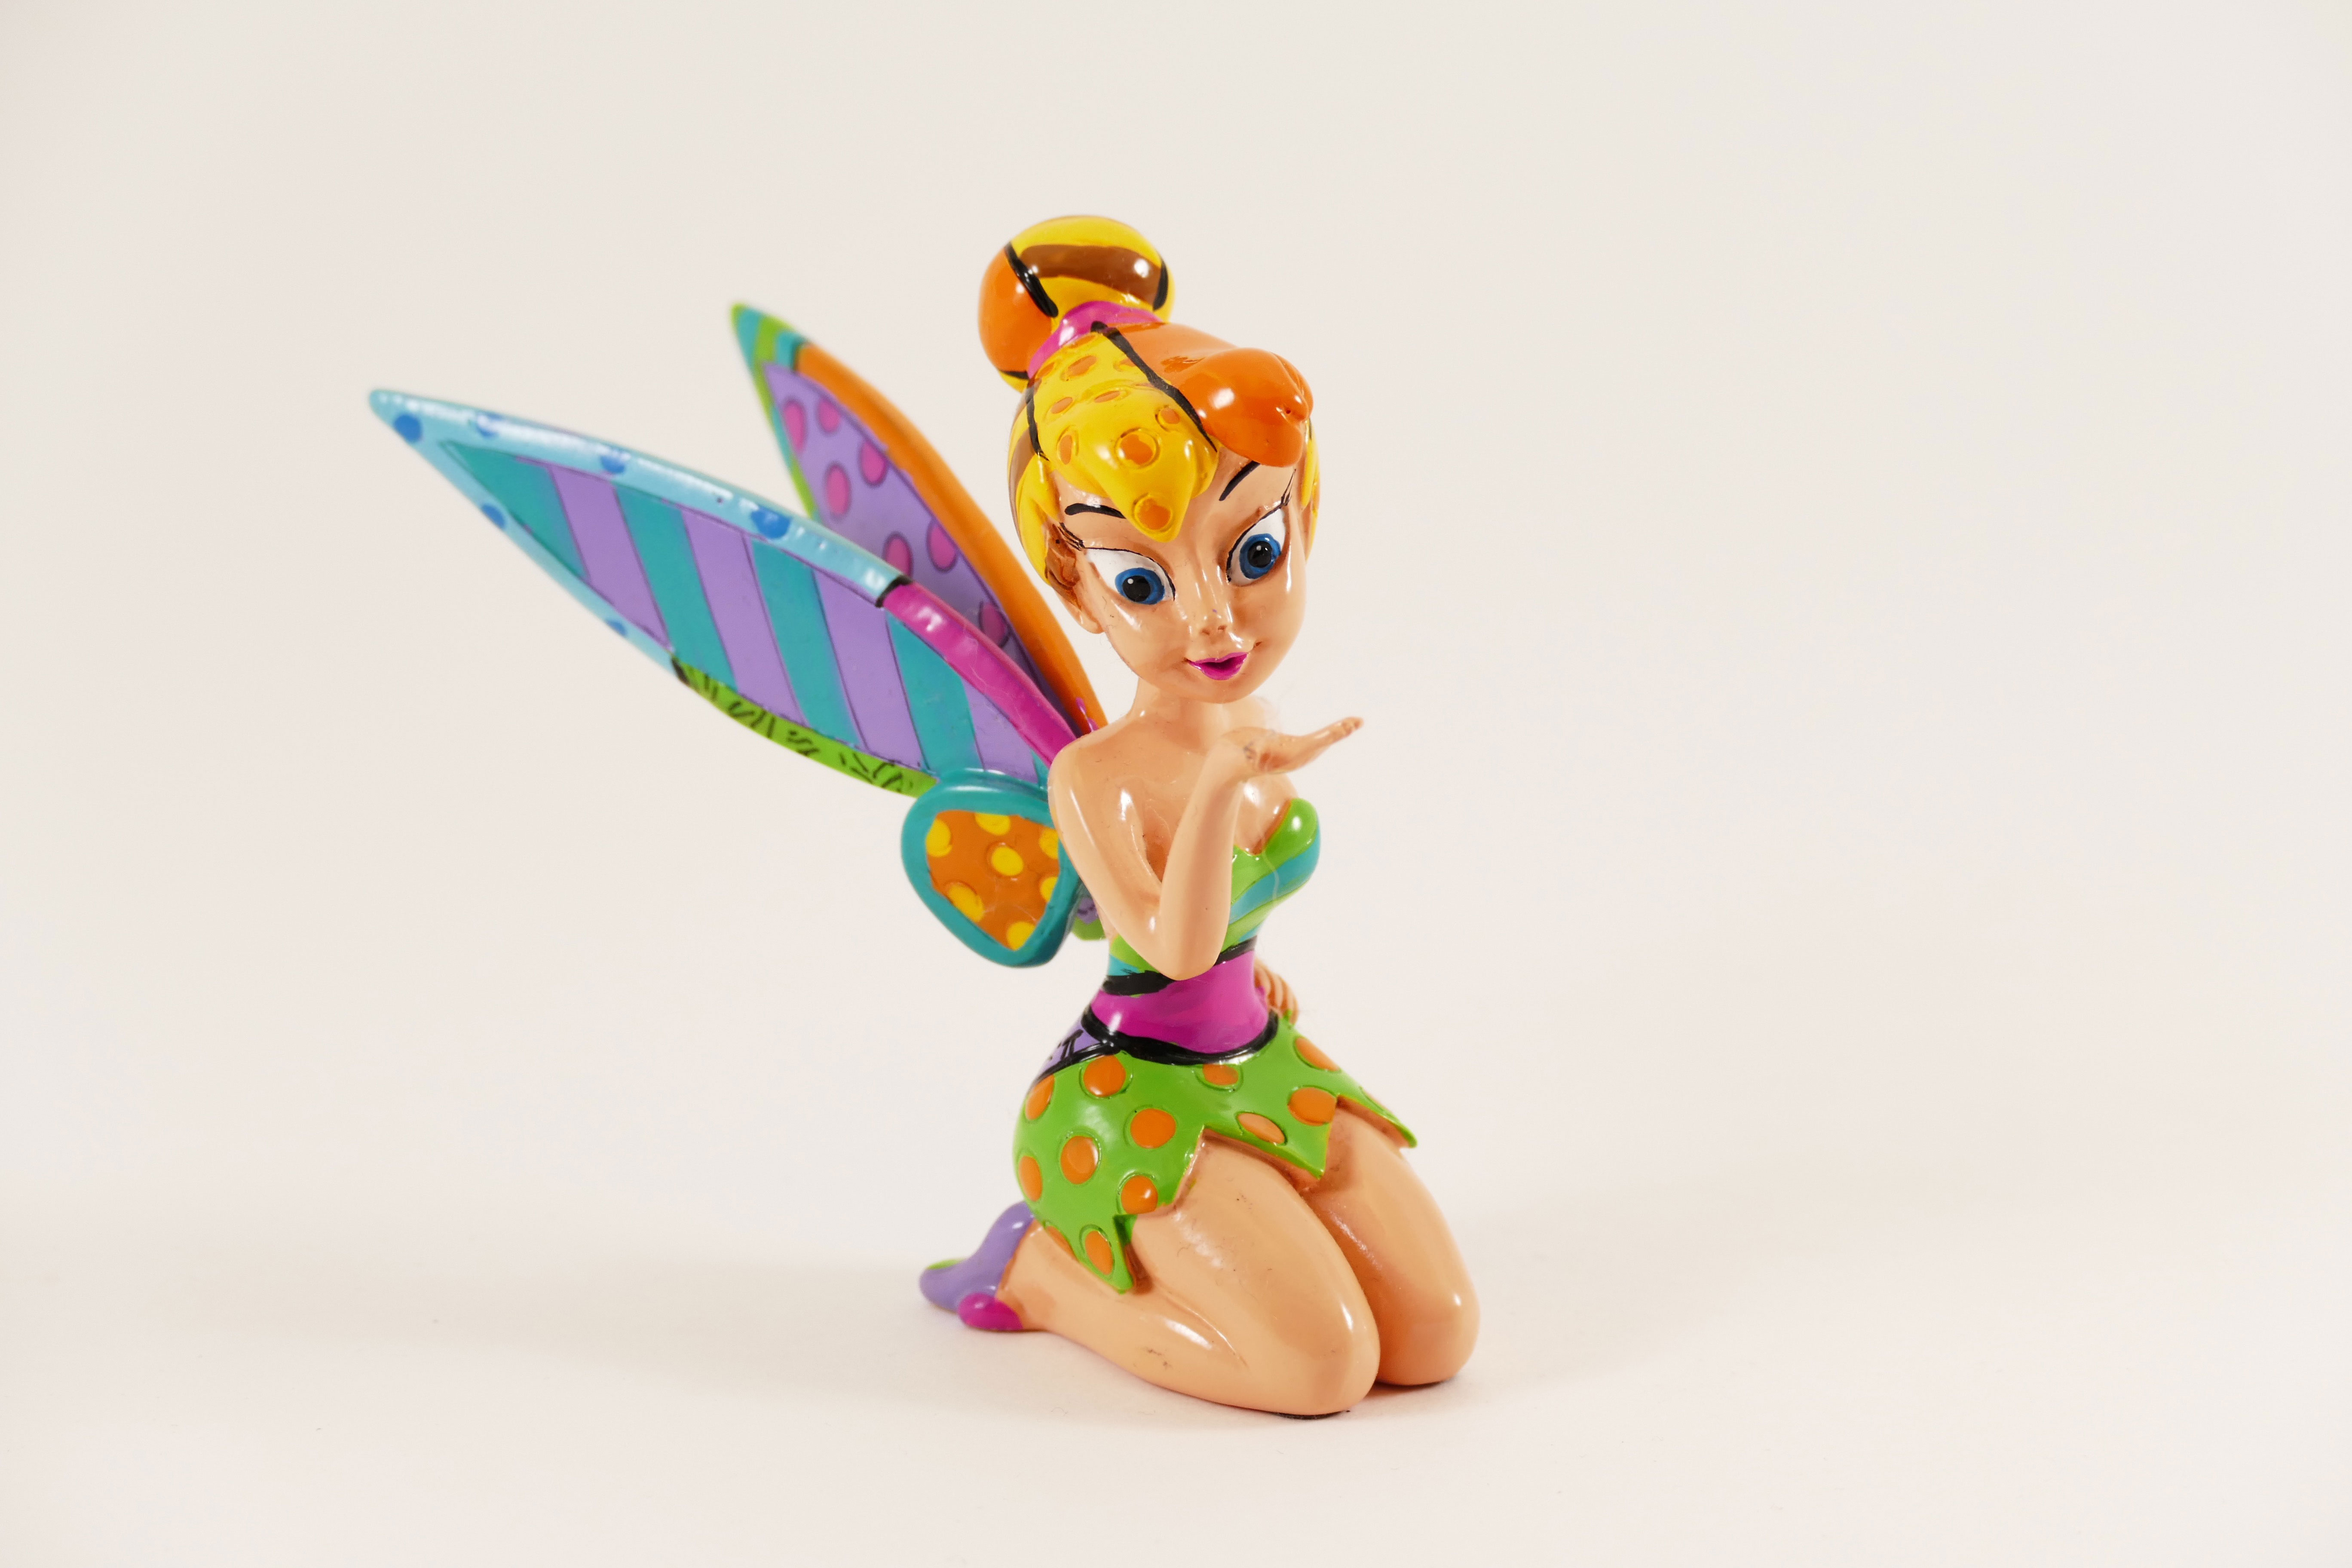
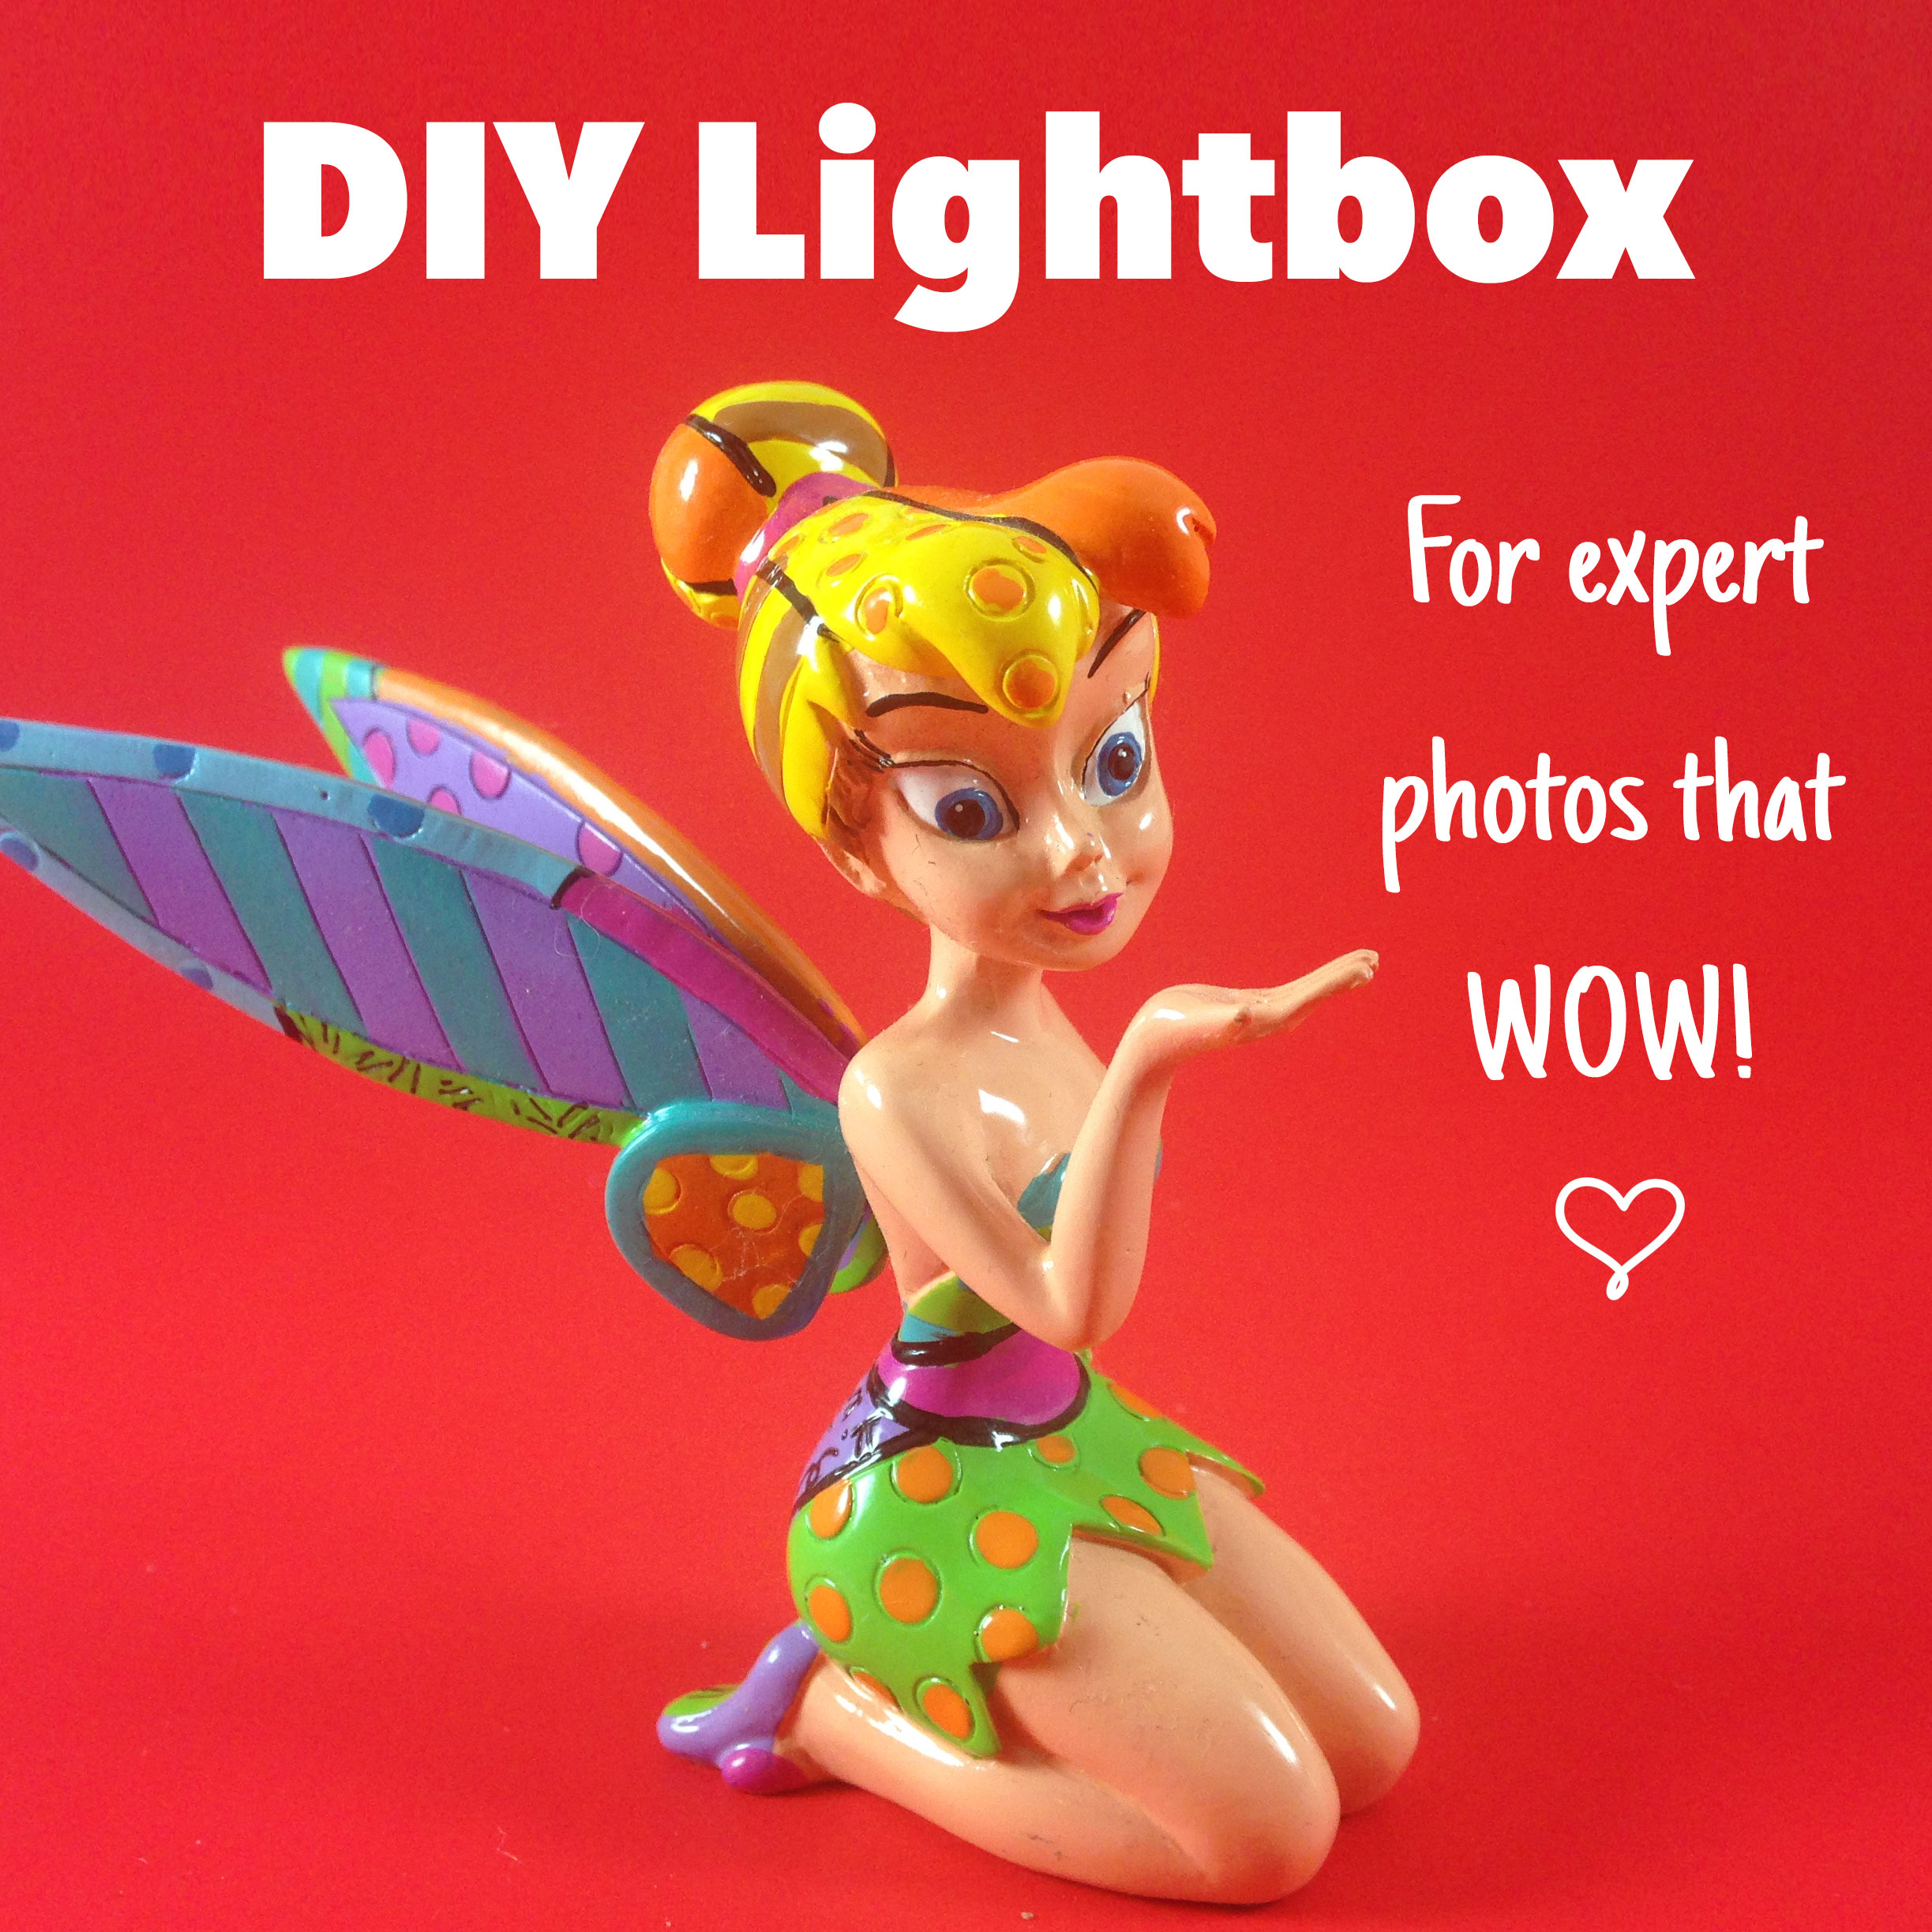
This photo of Tinker Bell in a lightbox is a vast improvement over what I was able to photograph before. The light is bright yet diffused. It looks like something you’d see in a magazine! Would you believe I made my lightbox to do this from just $9 in supplies from the dollar store? Let me show you how to make a DIY Lightbox so you, too, can photograph all the beautiful things you make!
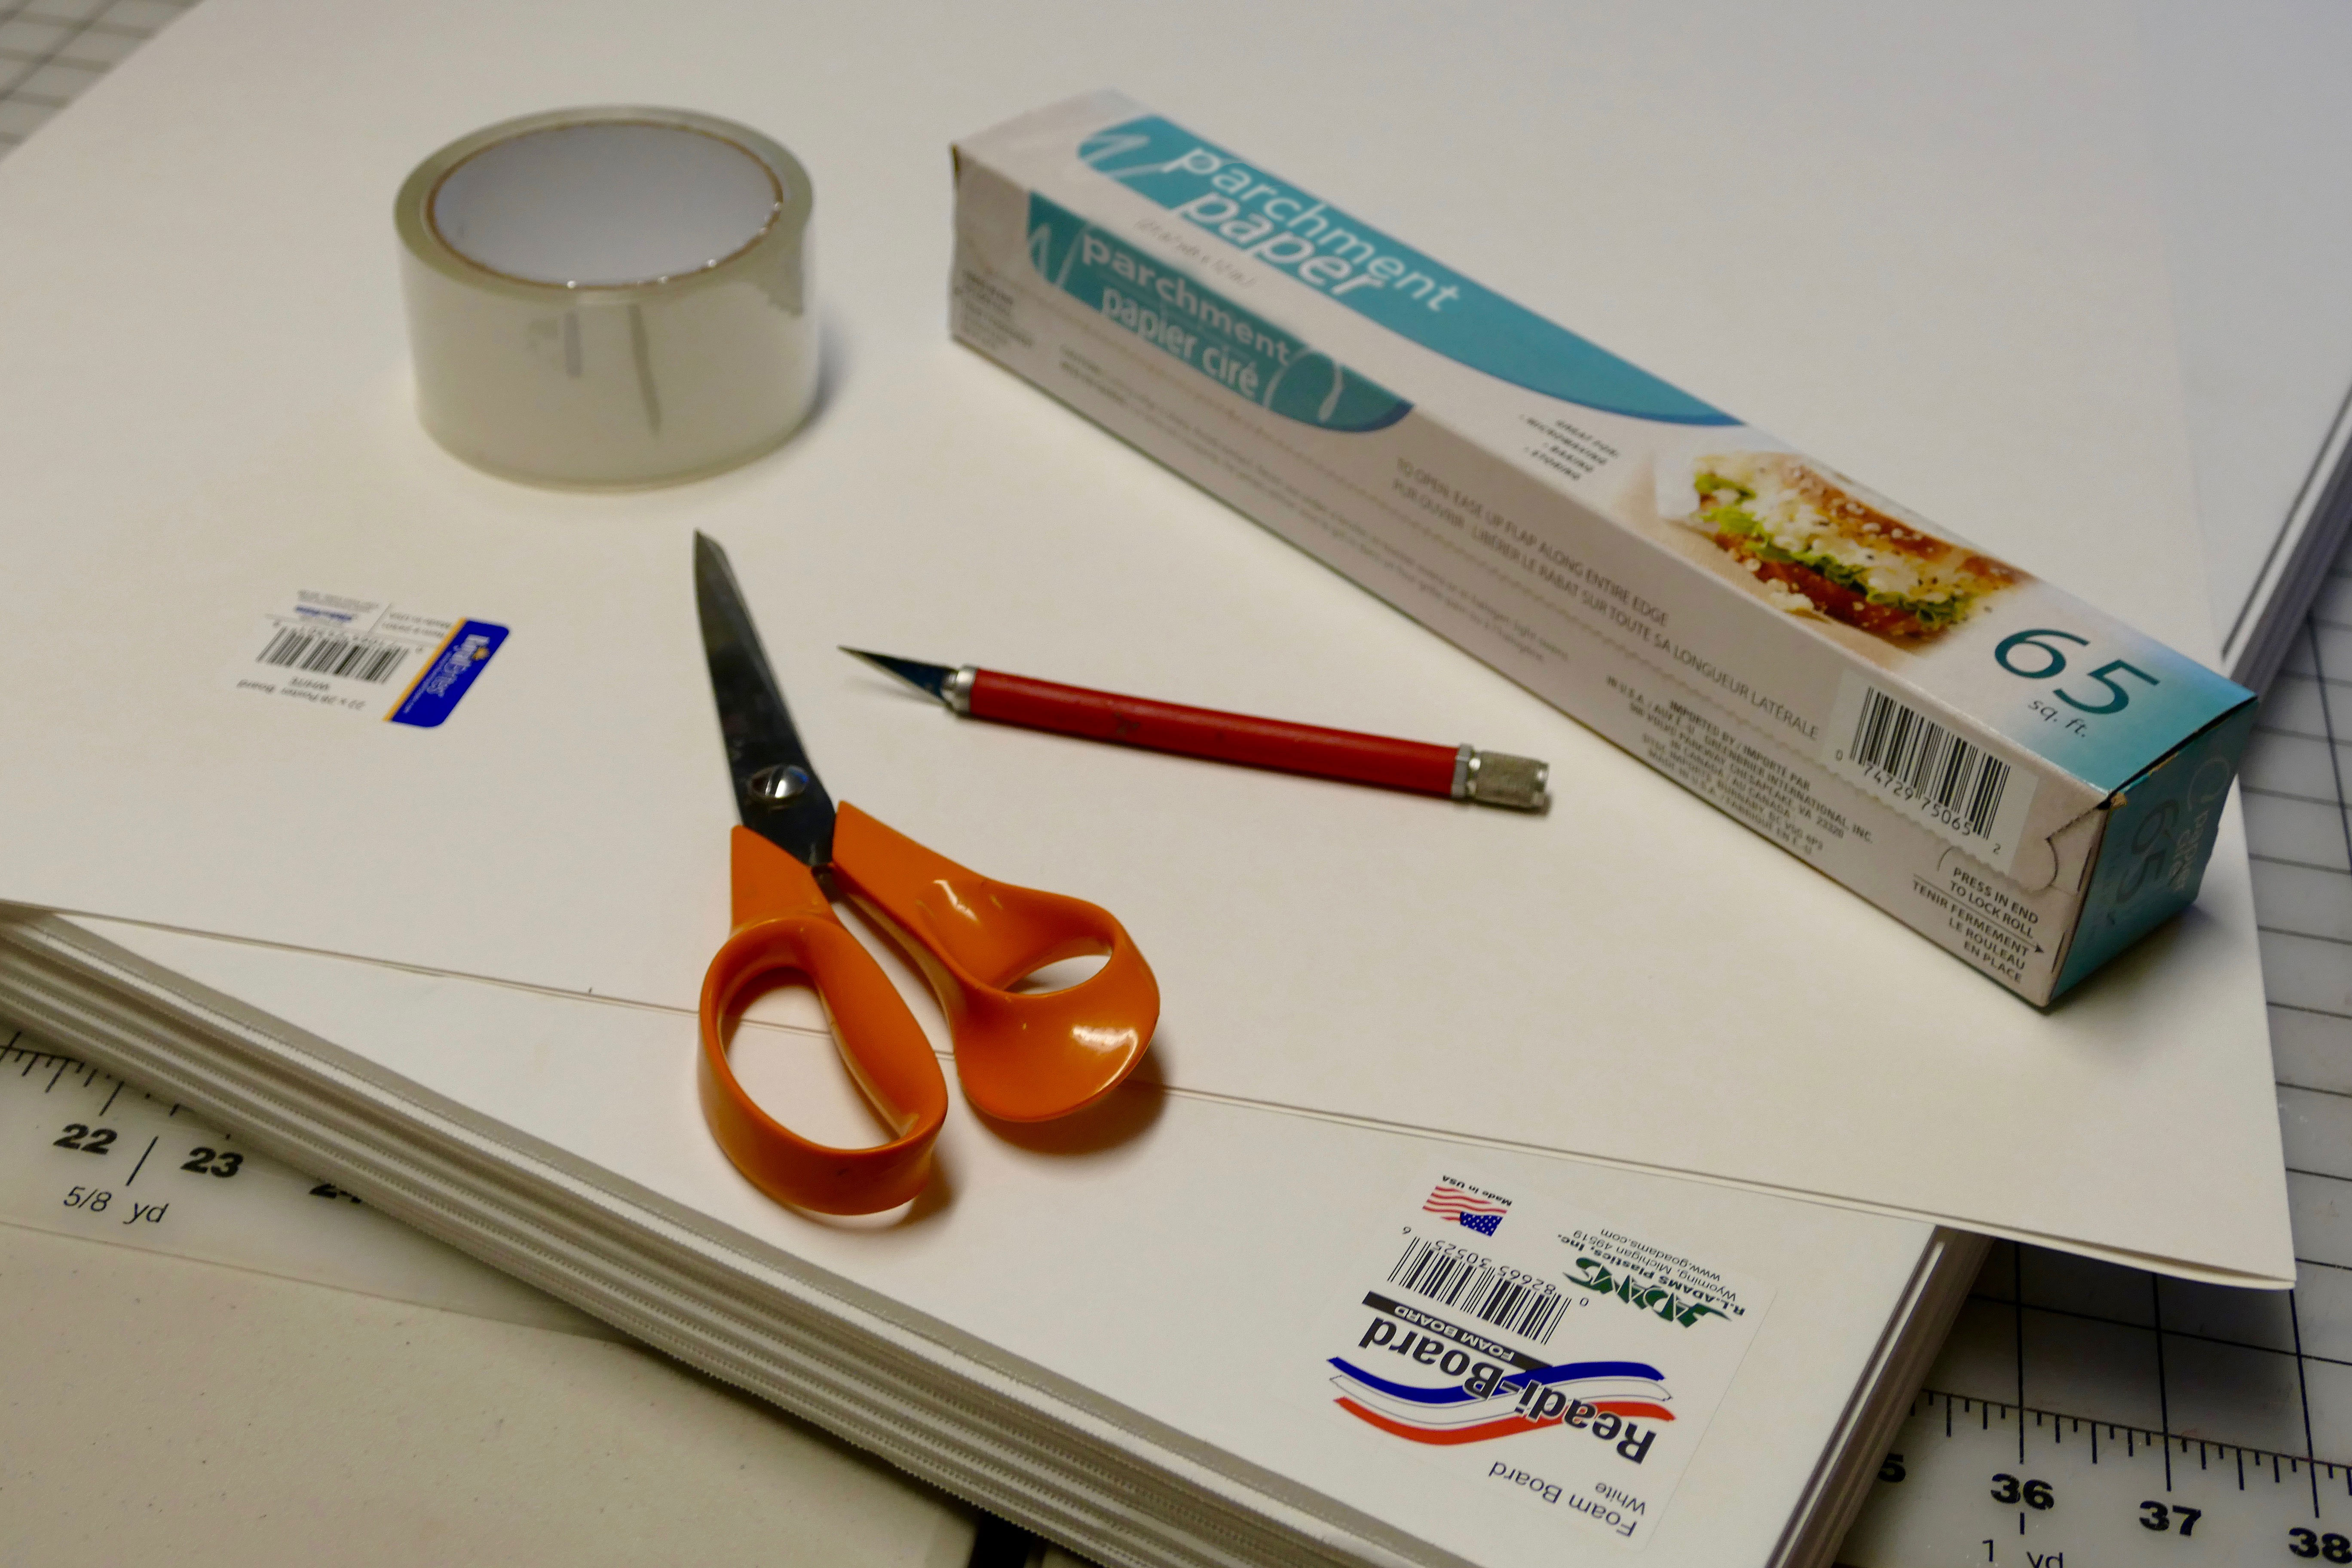
DIY Lightbox Materials
- White foam core, 20″ x 30″ – 7 sheets
- Clear shipping tape
- Parchment paper roll (the kind you use for cooking in ovens)
- Xacto knife, box cutter, or rotary cutting wheel
- Ruler
- Lighting sources (see notes below for types)
- Measurements (linked at the bottom of this post)
Note: You can make a lightbox from an old cardboard box if you wish (here’s a Lighting sources), but I think the white foam core looks more professional, is sturdier, AND reflects more light onto my subject. Just my two cents. Use what works for you!
Parchment paper vs wax paper: I recommend you use parchment paper as it has a higher burn temperature (450°F) than wax paper, thus it’s safer. Your lights should not get anywhere near that hot!
DIY Lightbox Step-By-Step Tutorial
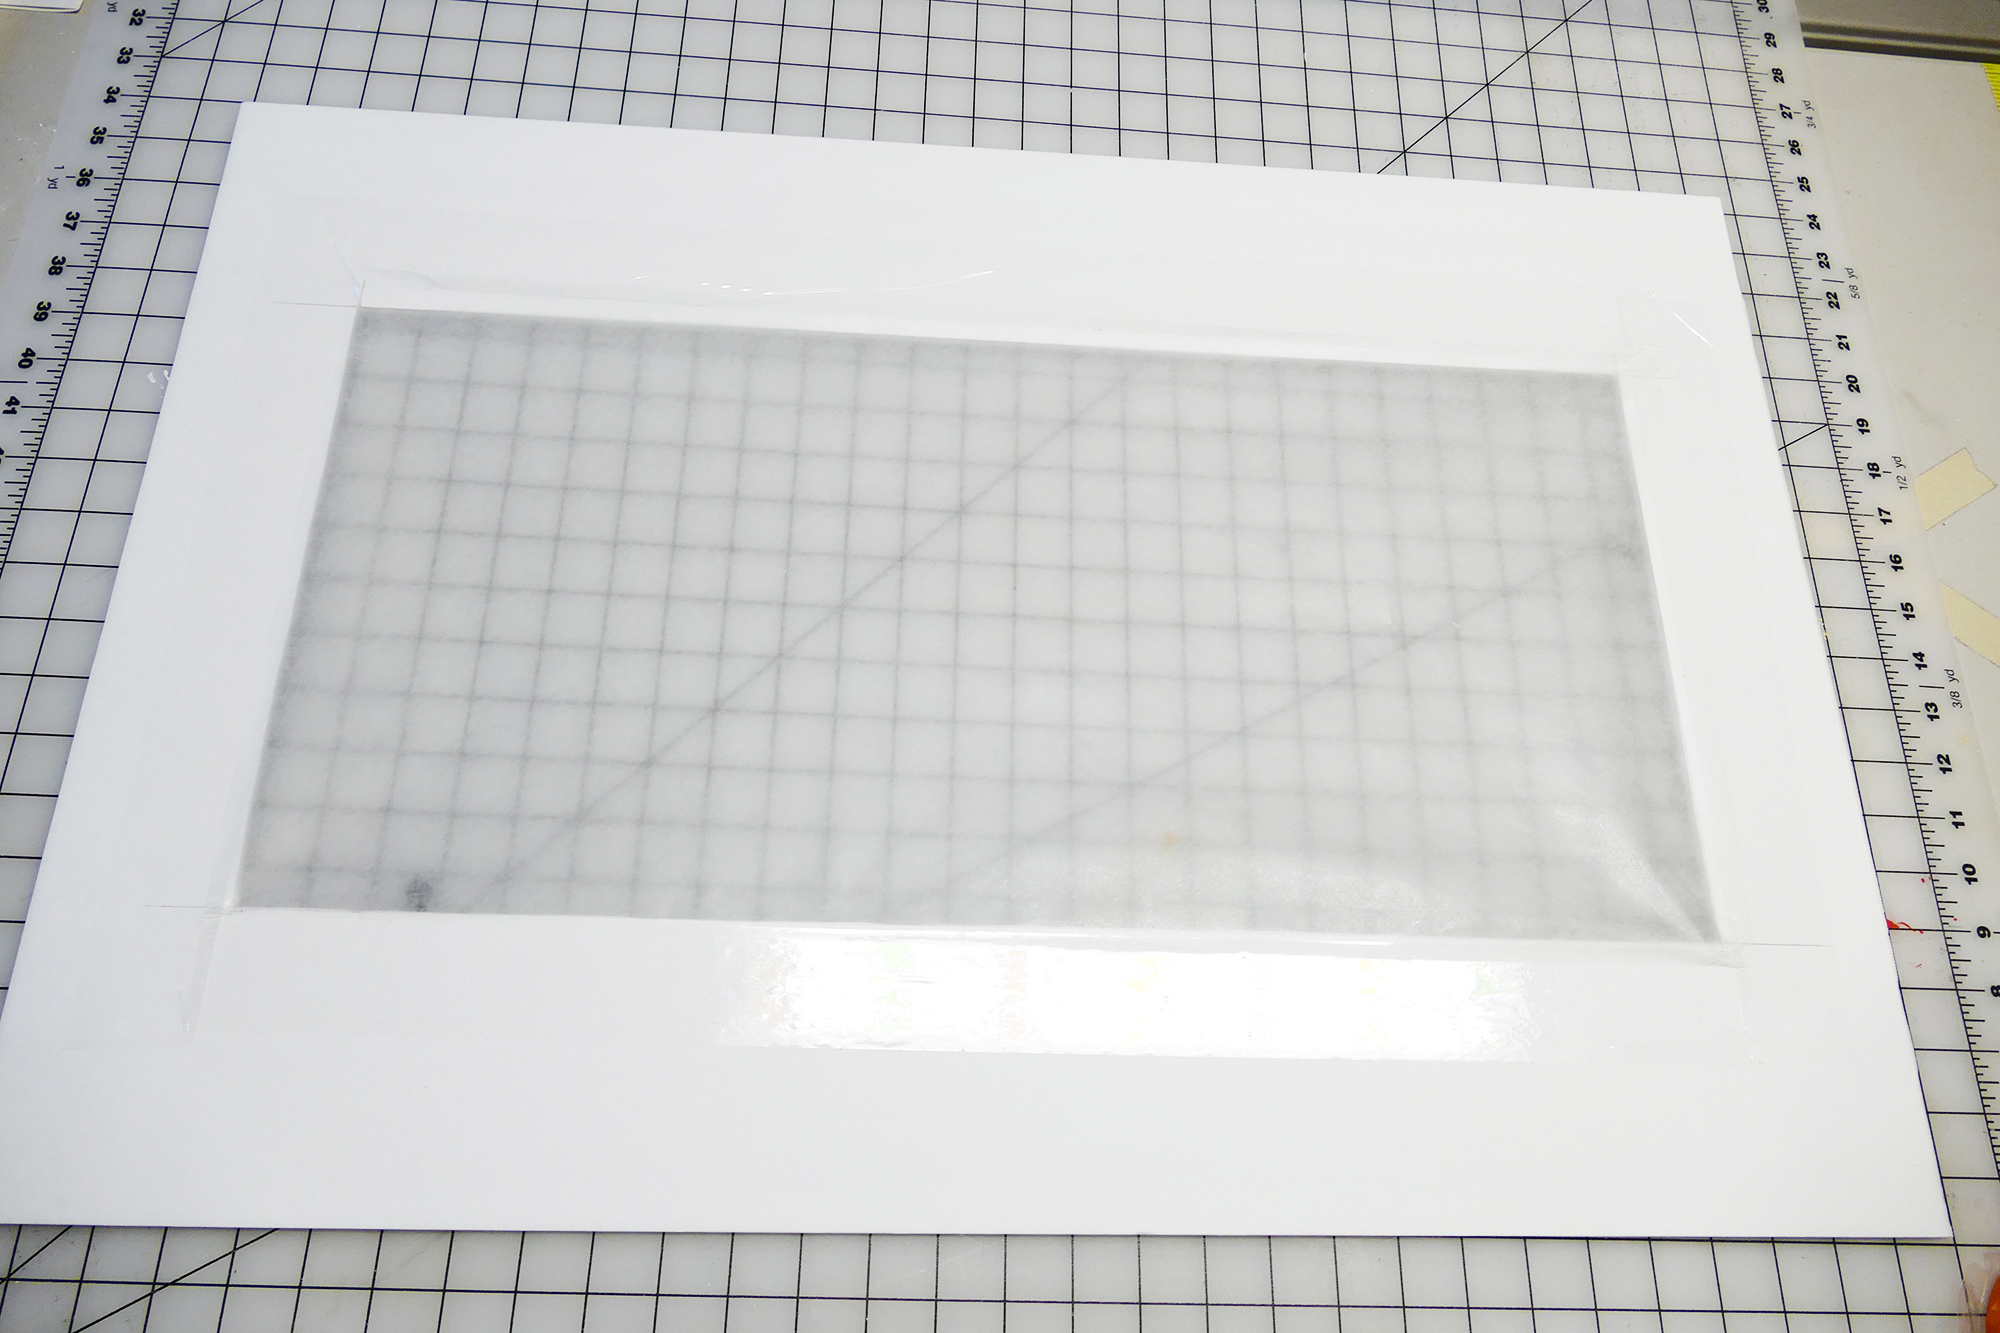
Step 1: Cut out windows in three sheets of the foam core. The windows should be about 1″ narrower than the width of your parchment paper. For example, my parchment paper is 12″ so I cut out my windows at 11″ high. This will allow us to overlap parchment paper over the edge of the windows later.
Step 2: Roll out the parchment paper to fit each of the three windows you cut in step 1. Carefully tape all four sides of the parchment paper to the foam core, avoiding wrinkling the parchment paper. You need only one layer of parchment paper per window.
 .
.
Step 3: Take one sheet of foam core and cut it in half lengthwise. This means you’ll end up with two pieces, each 10″ x 30″.
Step 4: Tape one of the half-size pieces you made in step 3 to one of your windows. You want to tape the long sides together so the total size is 30″ x 30″. Important: Tape only one side of the foam core, not both. This is the TOP of your light box.
Step 5: Tape the other half-size piece you made in step 3 to a new piece of foam core. Tape both sides for stability. The finished size is 30″ x 30″. This is the BOTTOM of your light box.
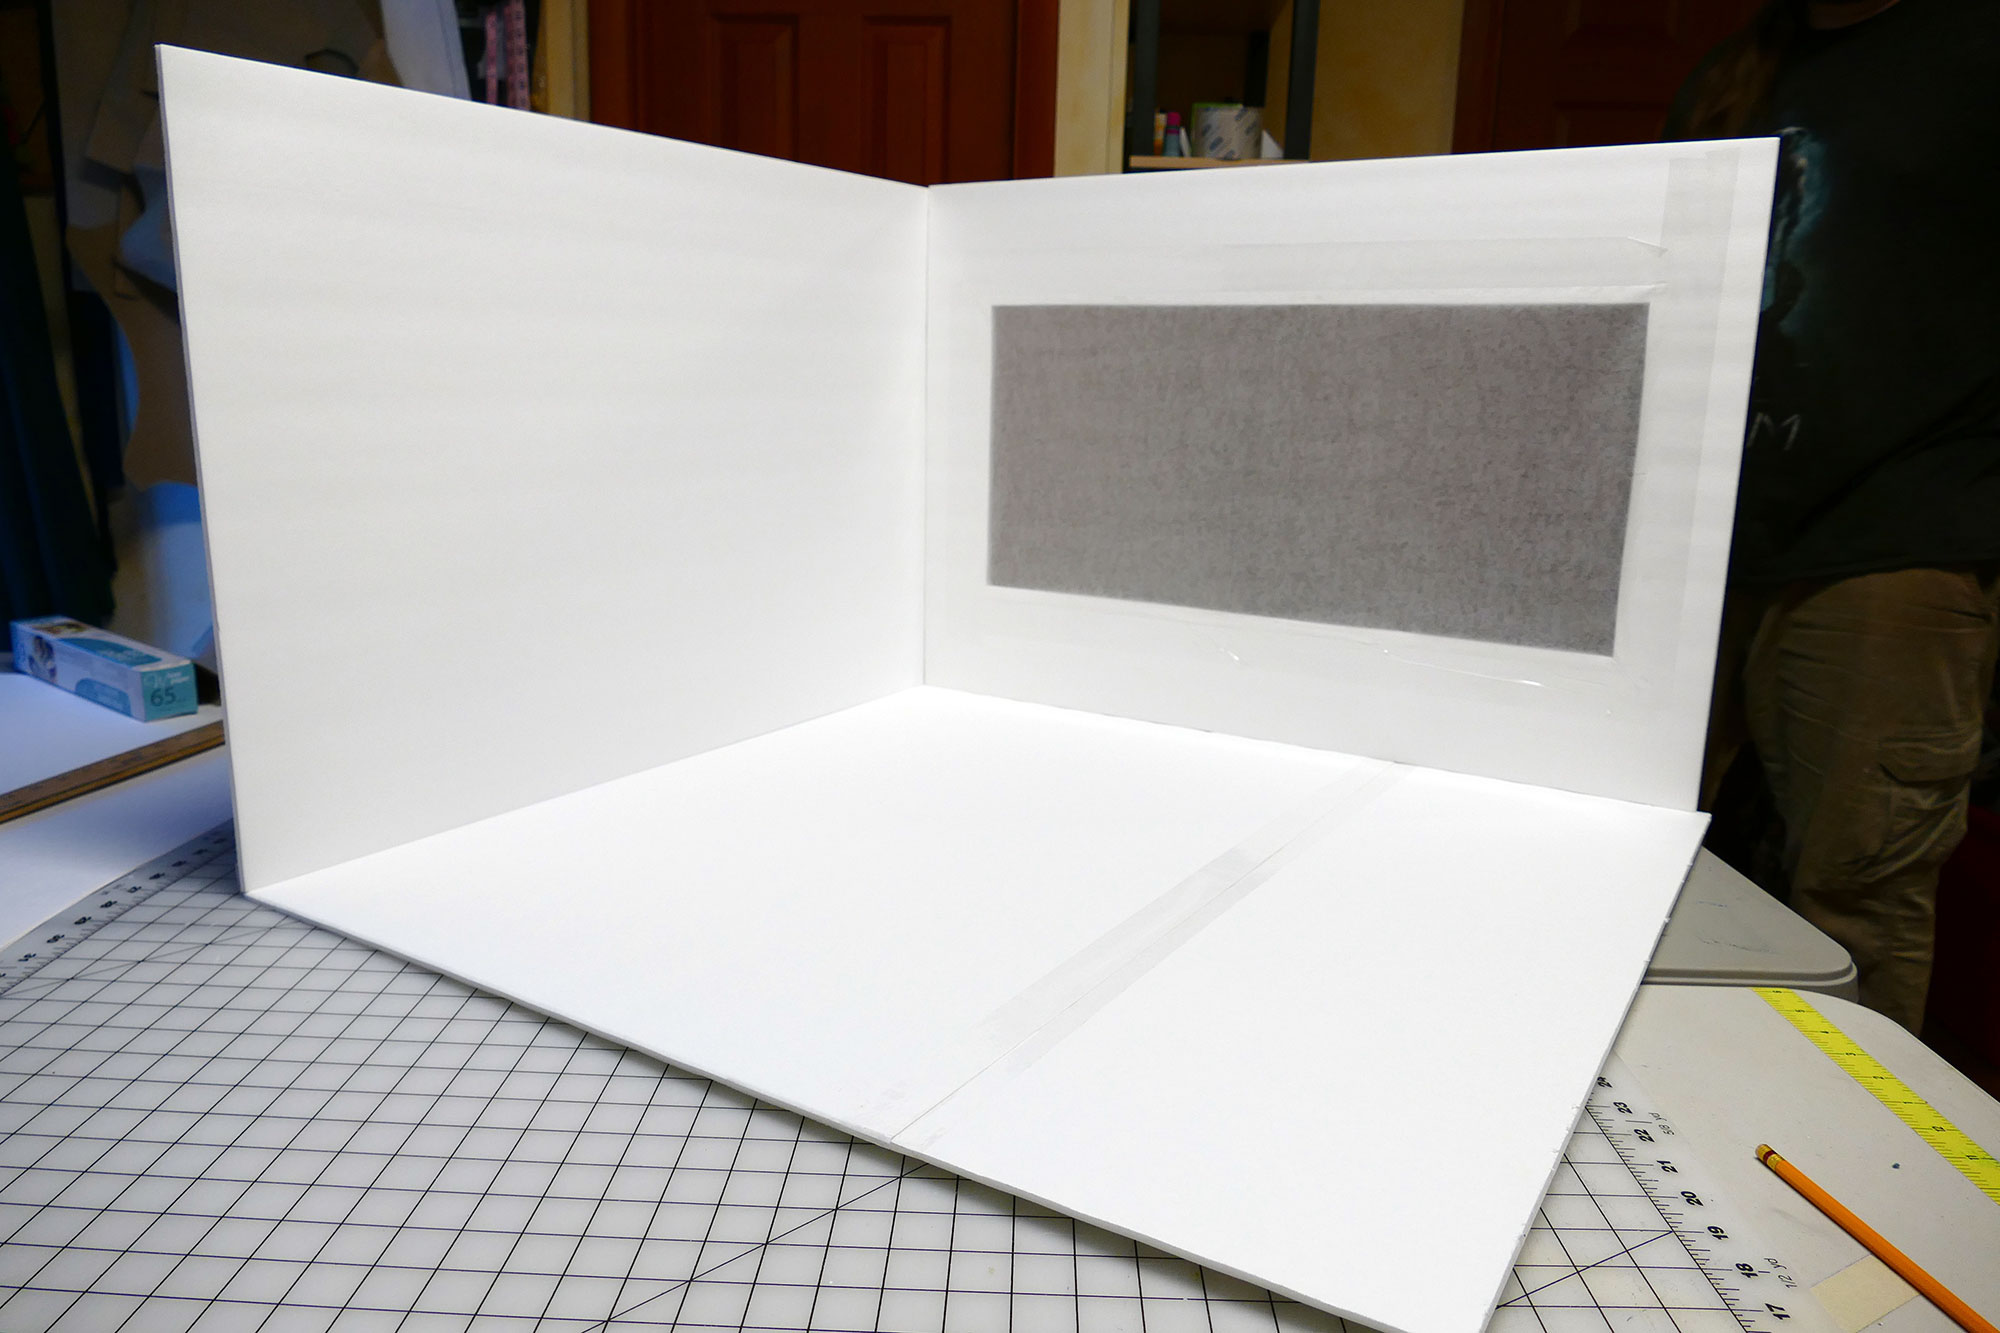
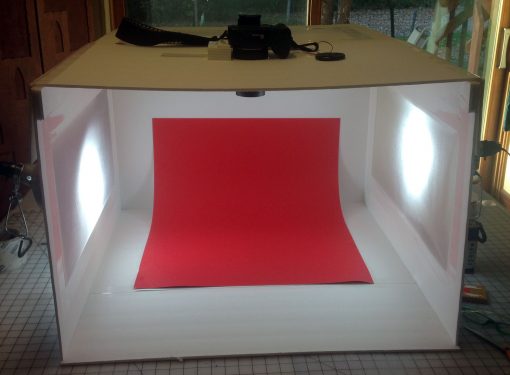
Step 6: Now tape the walls to the bottom of your lightbox. You want two windows walls on either side, and a new piece of foam core (no window) on the back. Important: The two side wall panels go on top of the bottom panel, as shown below.

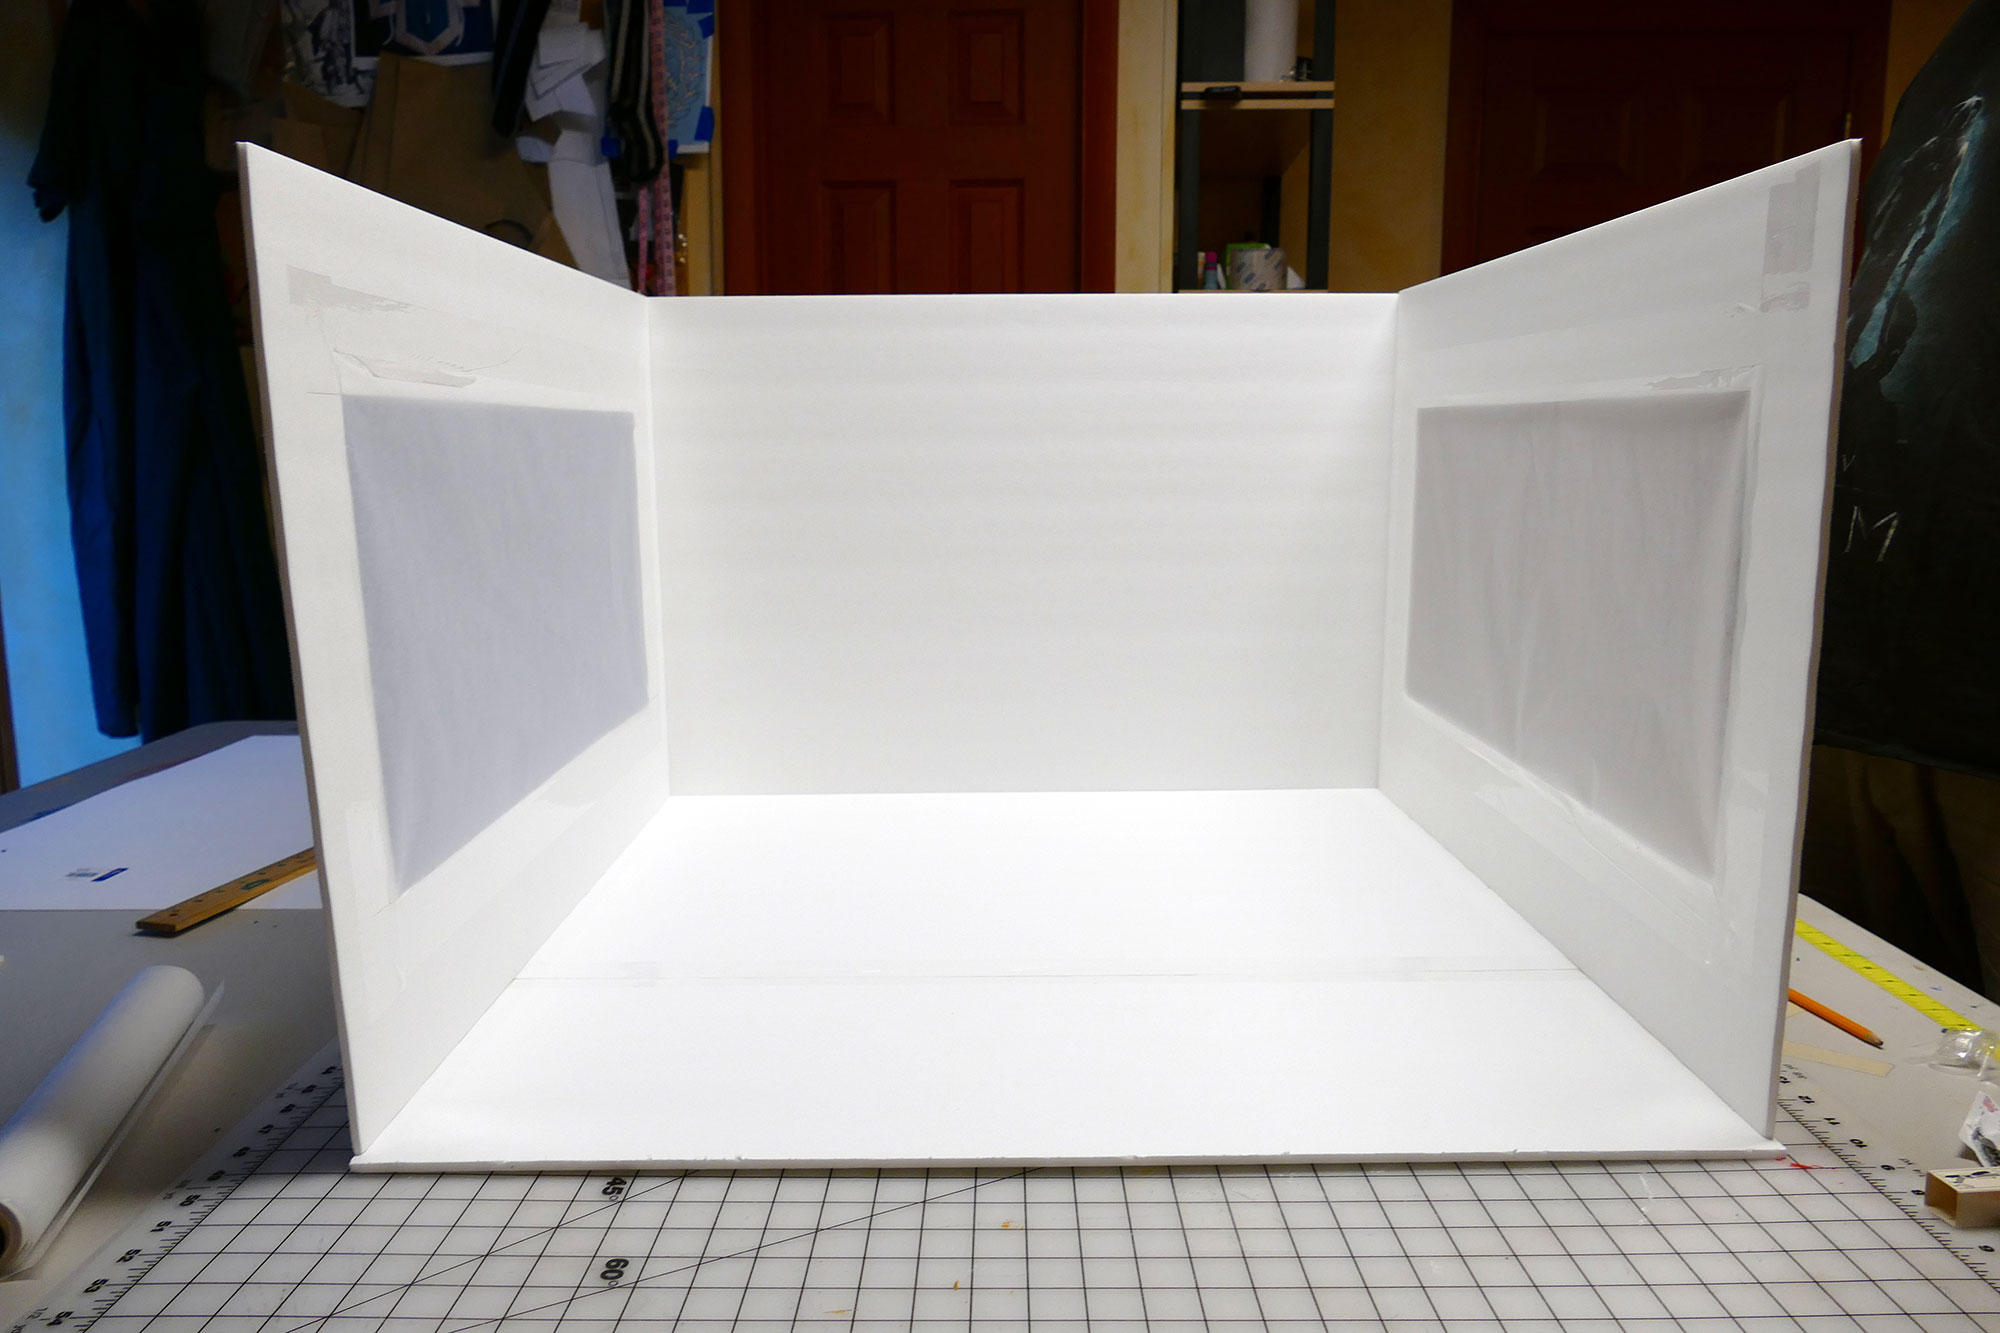
Step 7: Tape the top on, putting the extra bit we added toward the back. Important: Make sure the side with tape (where you joined the two pieces of the top panel together) is on the top. The tape acts as a hinge, allowing you to open and close the to for better access.

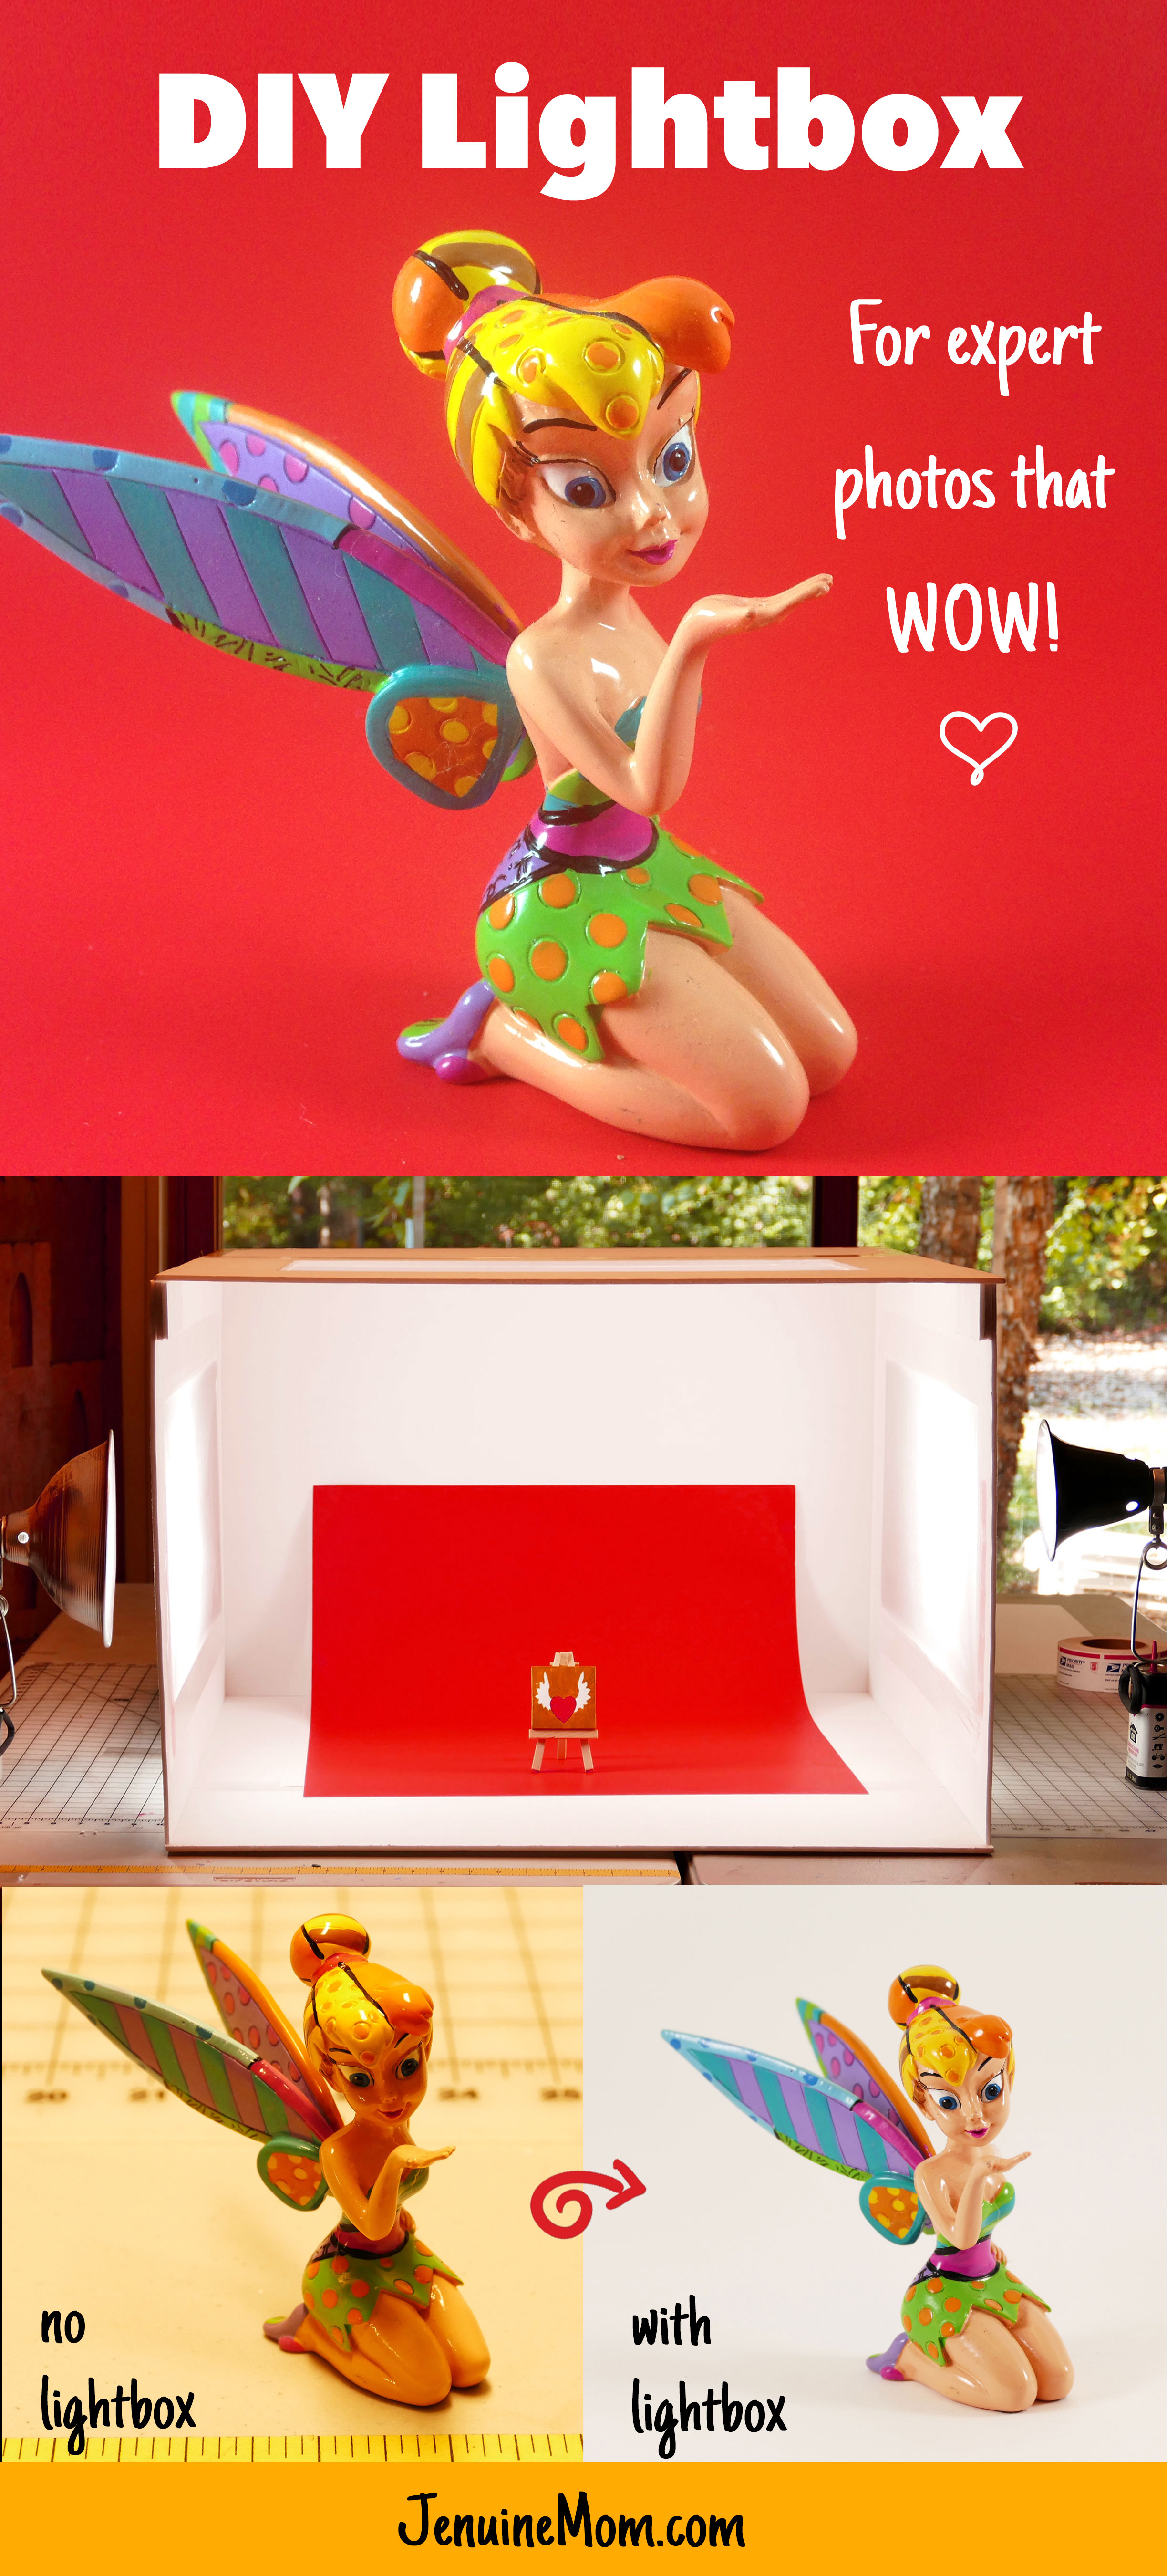
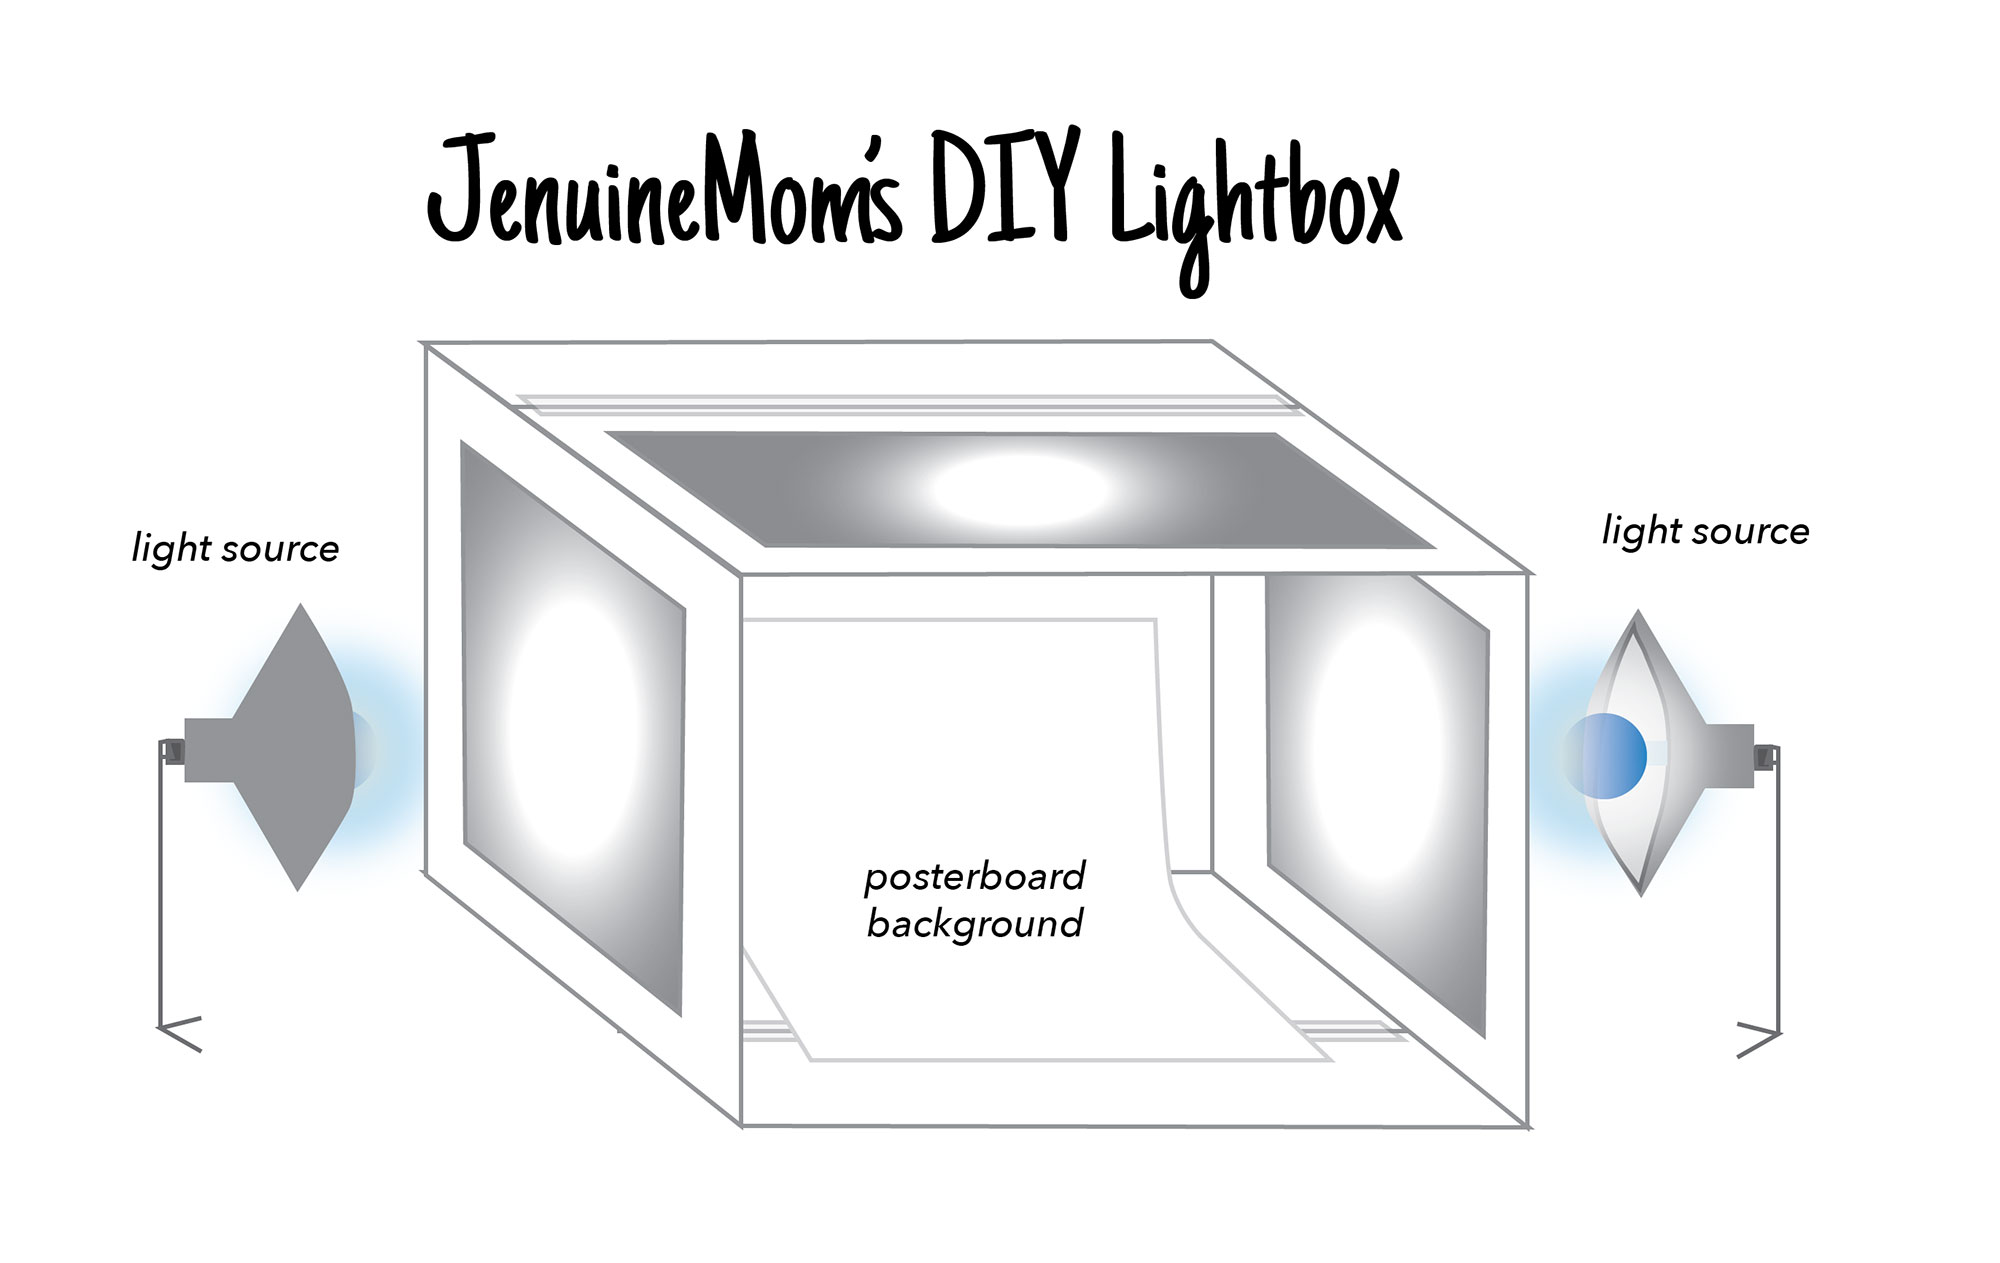
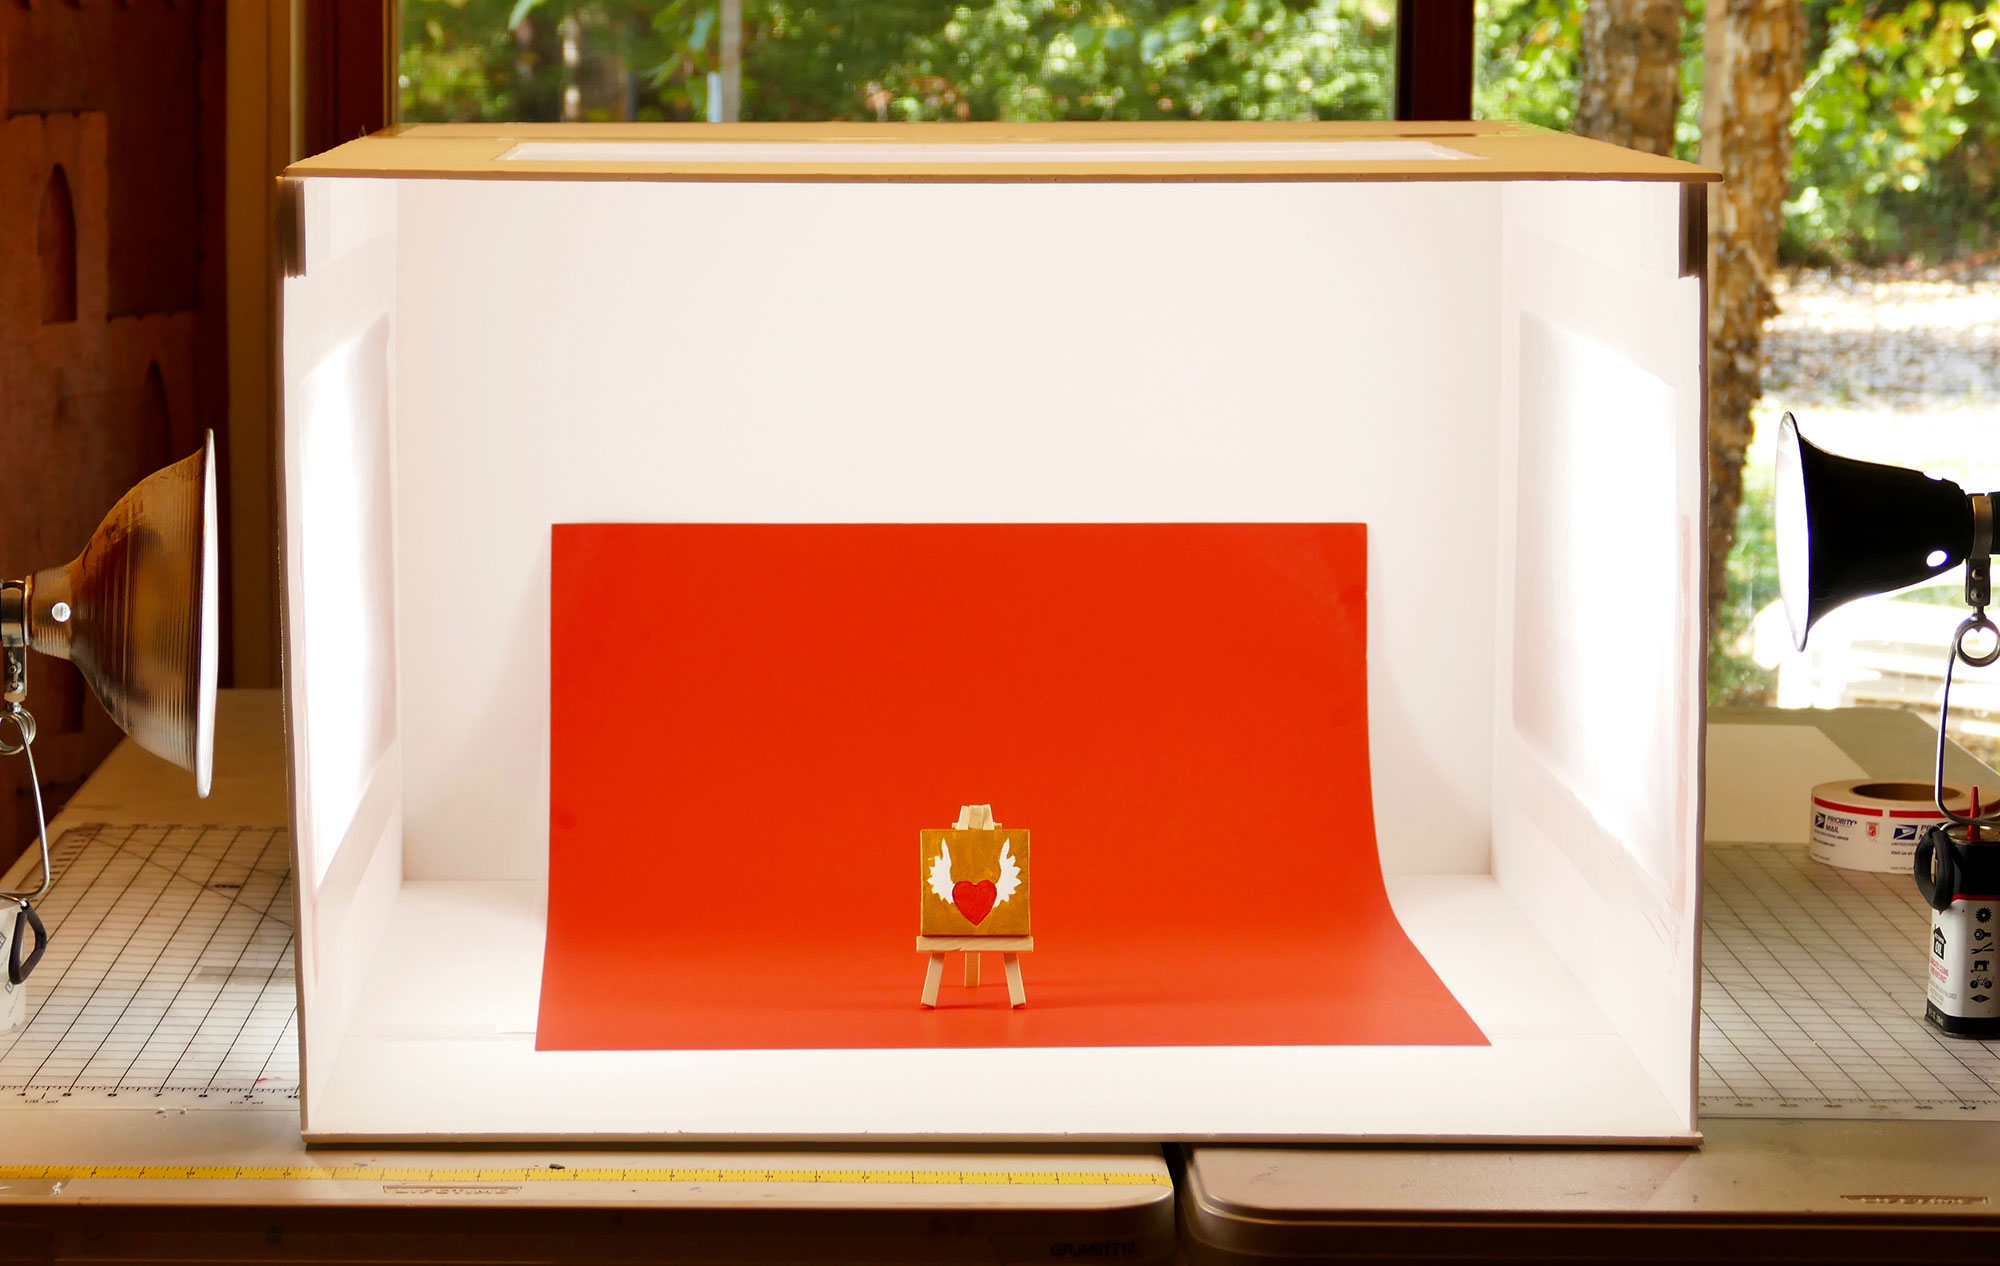
Step 8: Now just position two lights on either side of your lightbox, put in a large piece of paper to act as a backdrop, and snap away.
DIY Lightbox Lights
We re-used lights we already had in our workshop, and you probably have something that will work. The key is to keep the lights the same tone — you don’t want one bright white light and one soft white light. If you need to get lights, here’s what we have
Clamp Lamp Light w/ 5.5-Inch Reflector![]() – about $12 each
– about $12 each
Utilitech Daylight CFLs![]() – about $15 for a 4-pack
– about $15 for a 4-pack
We think the “Natural Daylight” tone works best for the lightbox, and it’s what we recommend. If you’re wondering about the wattage, the CFL light bulbs we linked only draw 23 watts, so they can be used in the portable work light.
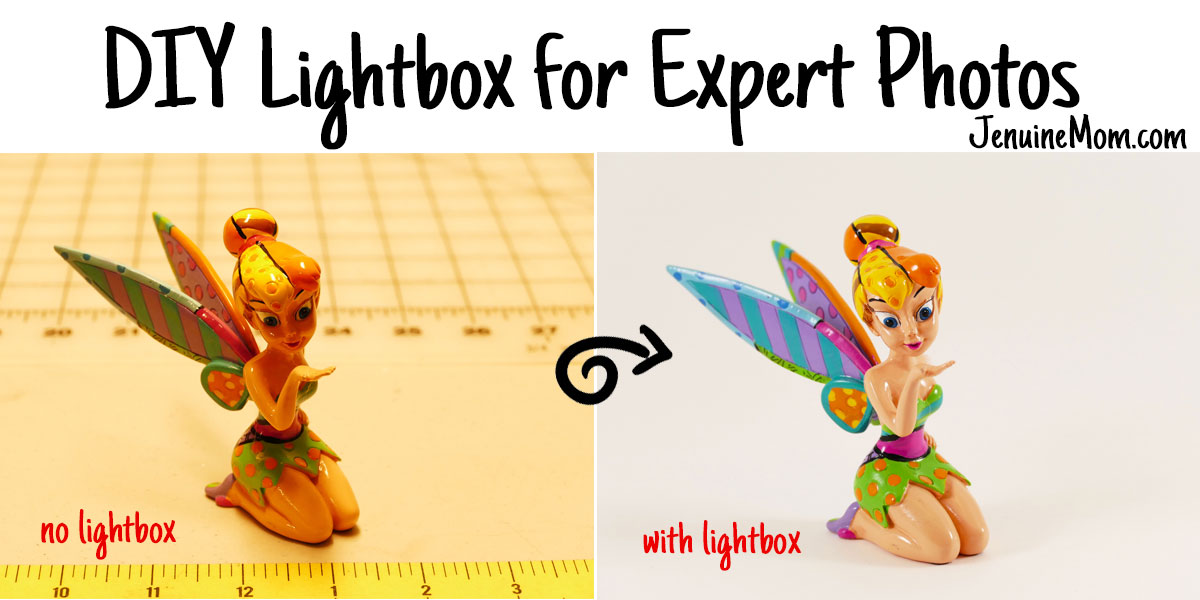
DIY Lightbox Results
Here are several images taken with and without the lightbox so you can see the huge difference it makes!
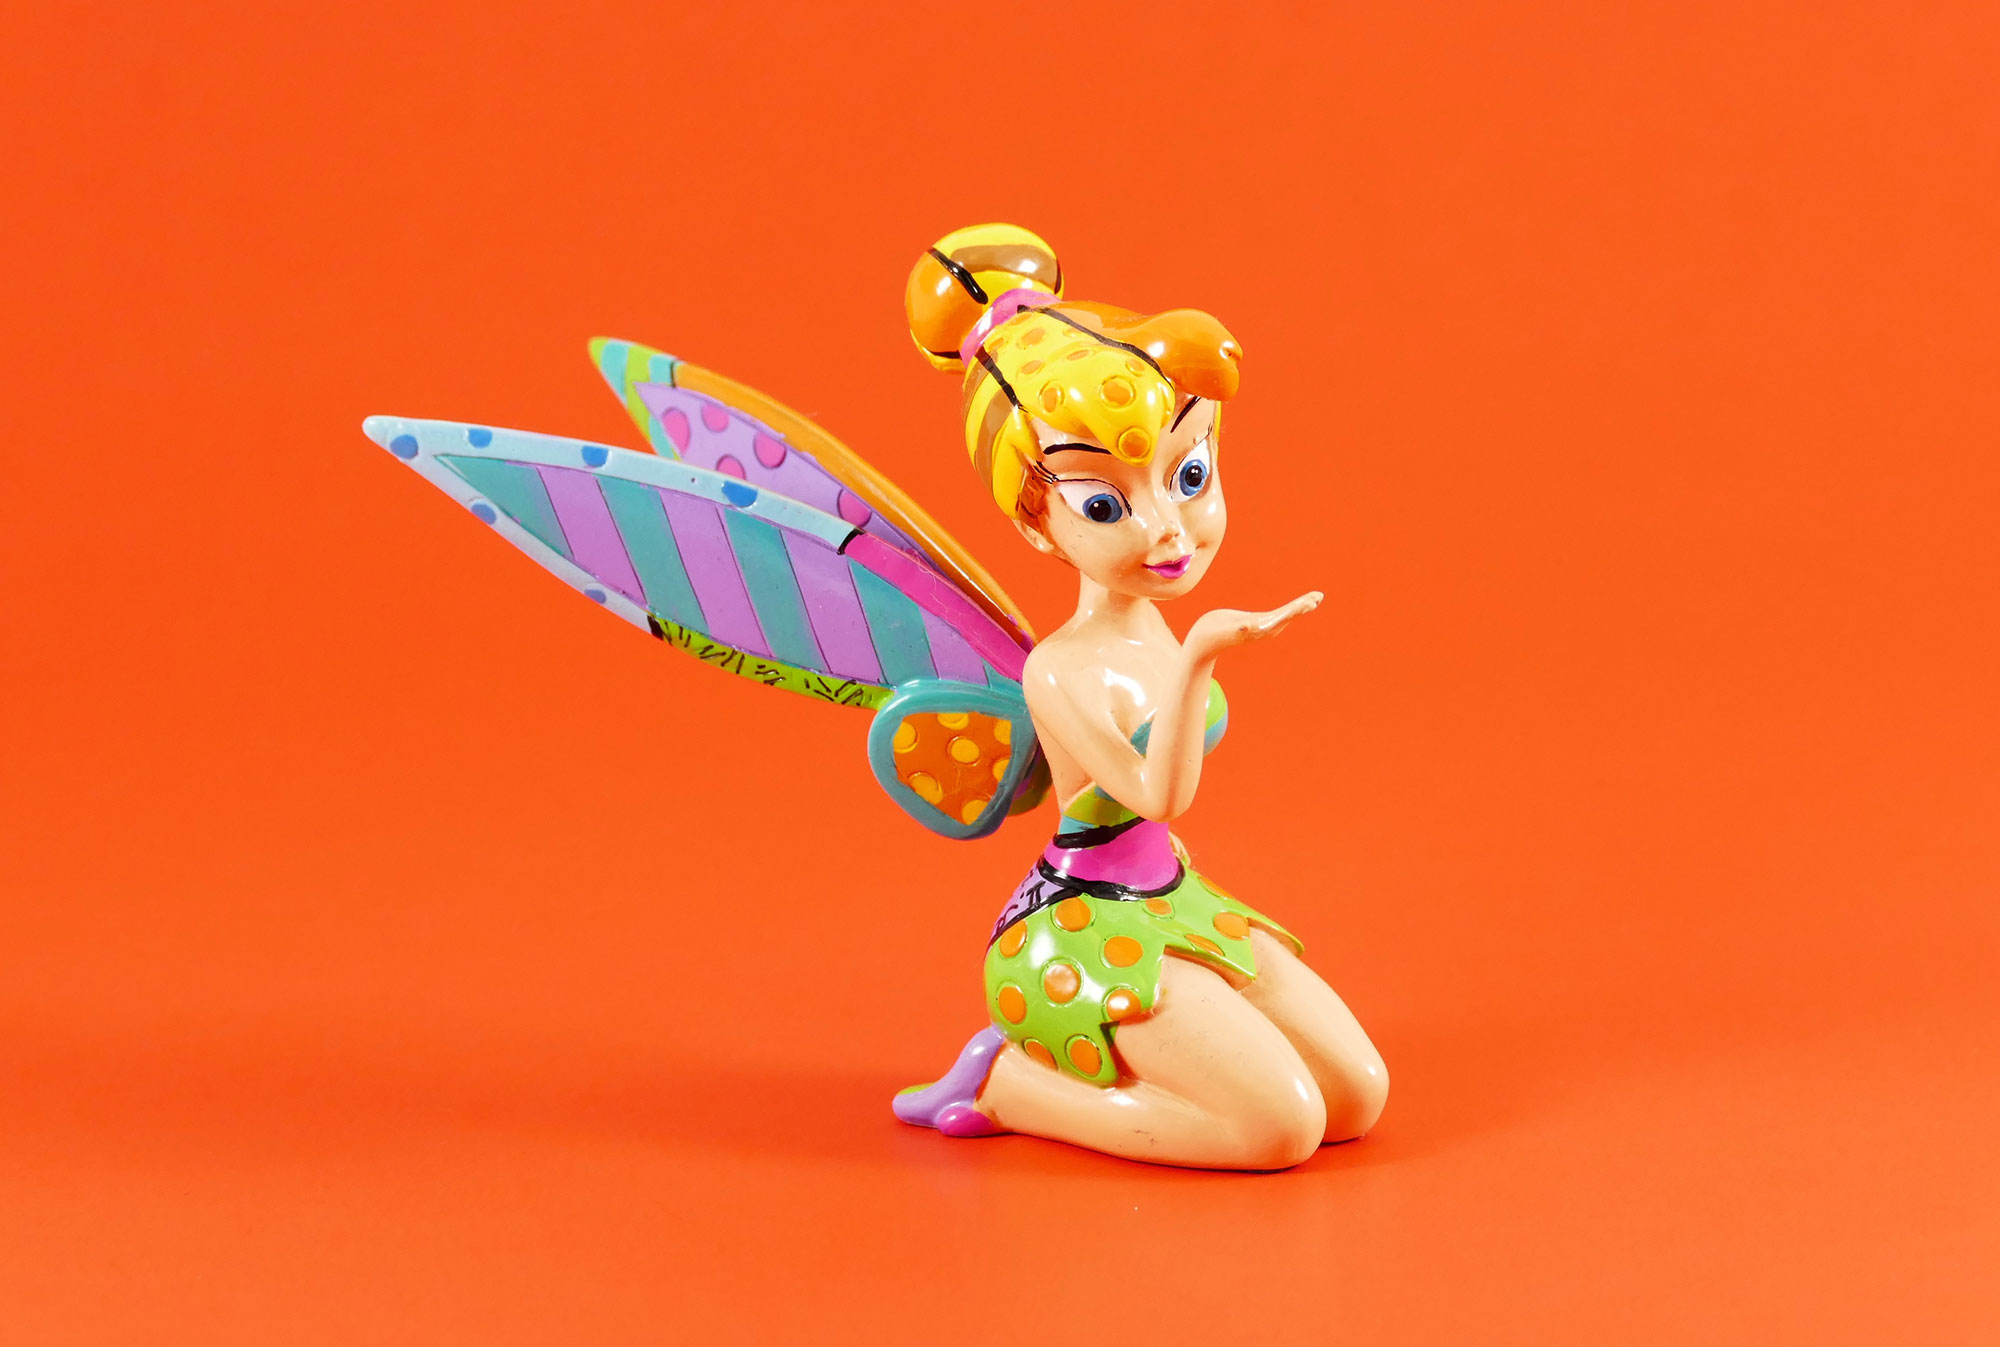
The background is just posterboard I picked up for 79 cents each. You could have an array of colors, or even create/paint your own backdrops.
My DIY Lightbox Works for Flat Lay Photography!
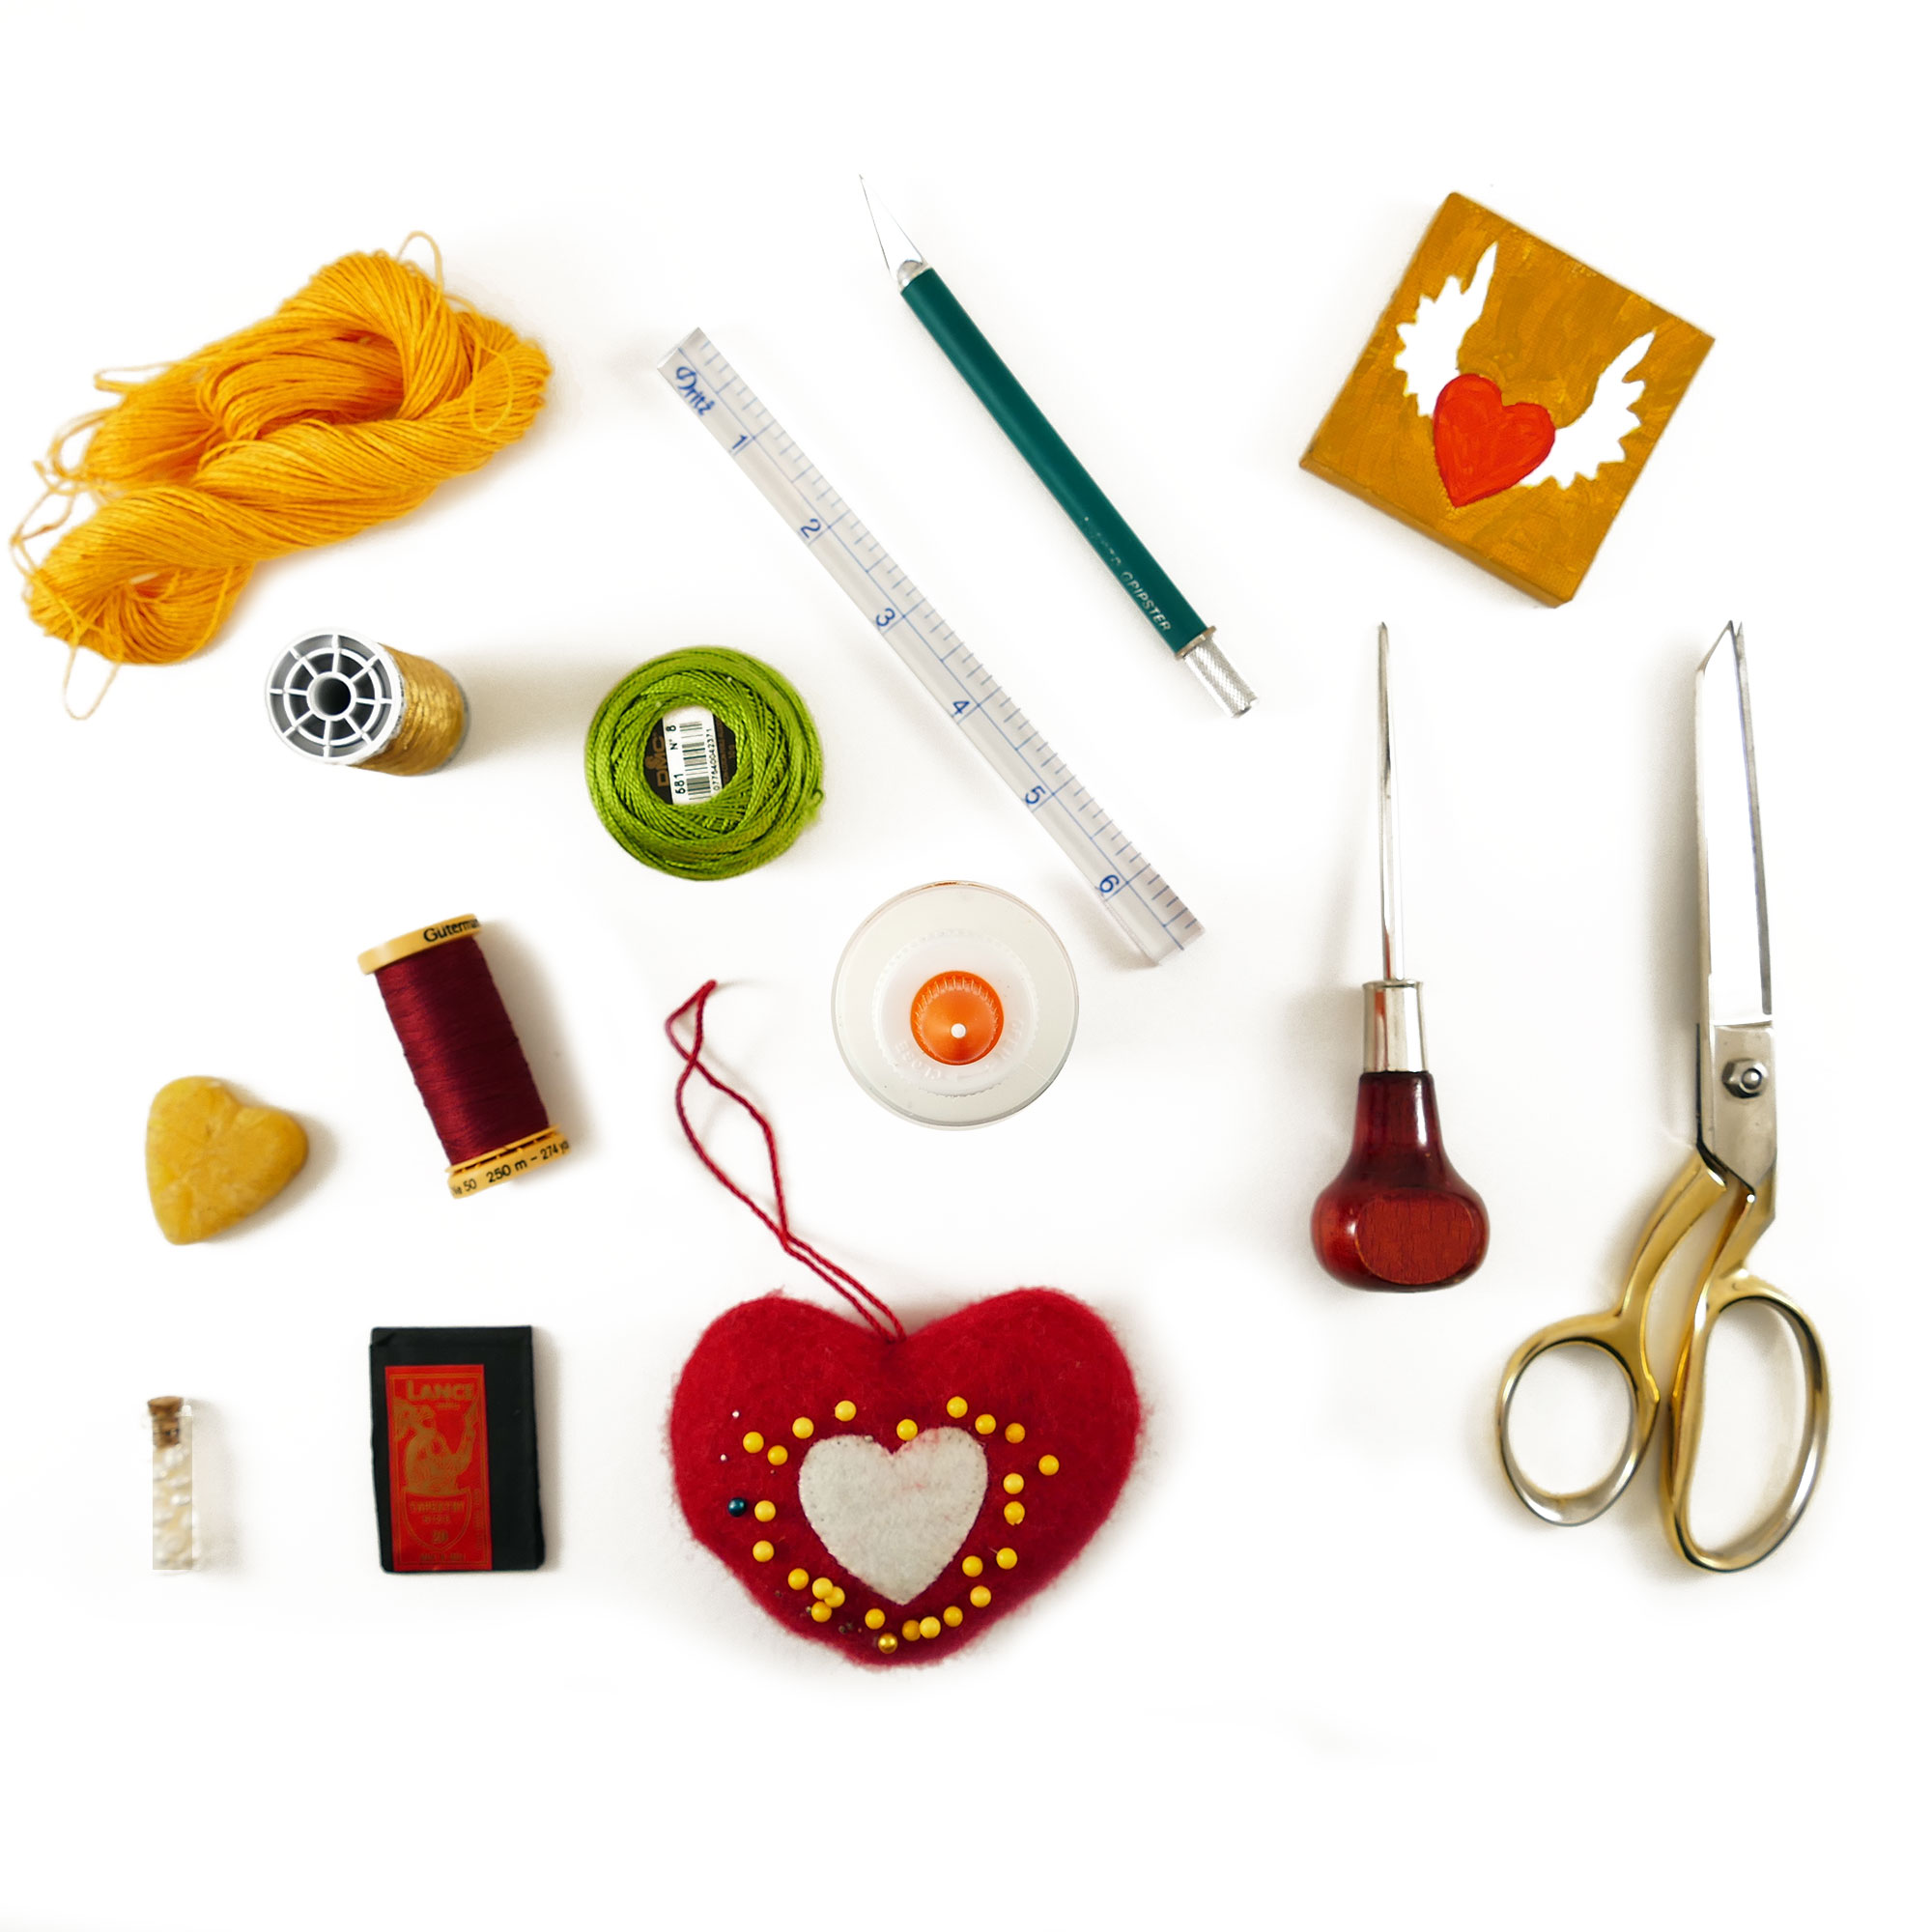
If you’ve been paying attention, you’ll note that there’s an extra piece of foam core we haven’t used yet. I used this extra piece to make a custom panel that holds my camera in place directly over the lightbox. I did this so I can start taking better quality flat lay photos. Flat lay is when you take the photo from directly overhead, and it’s a fun way to show off smaller items. Here’s an example of a flat lay photo I took in my new lightbox:
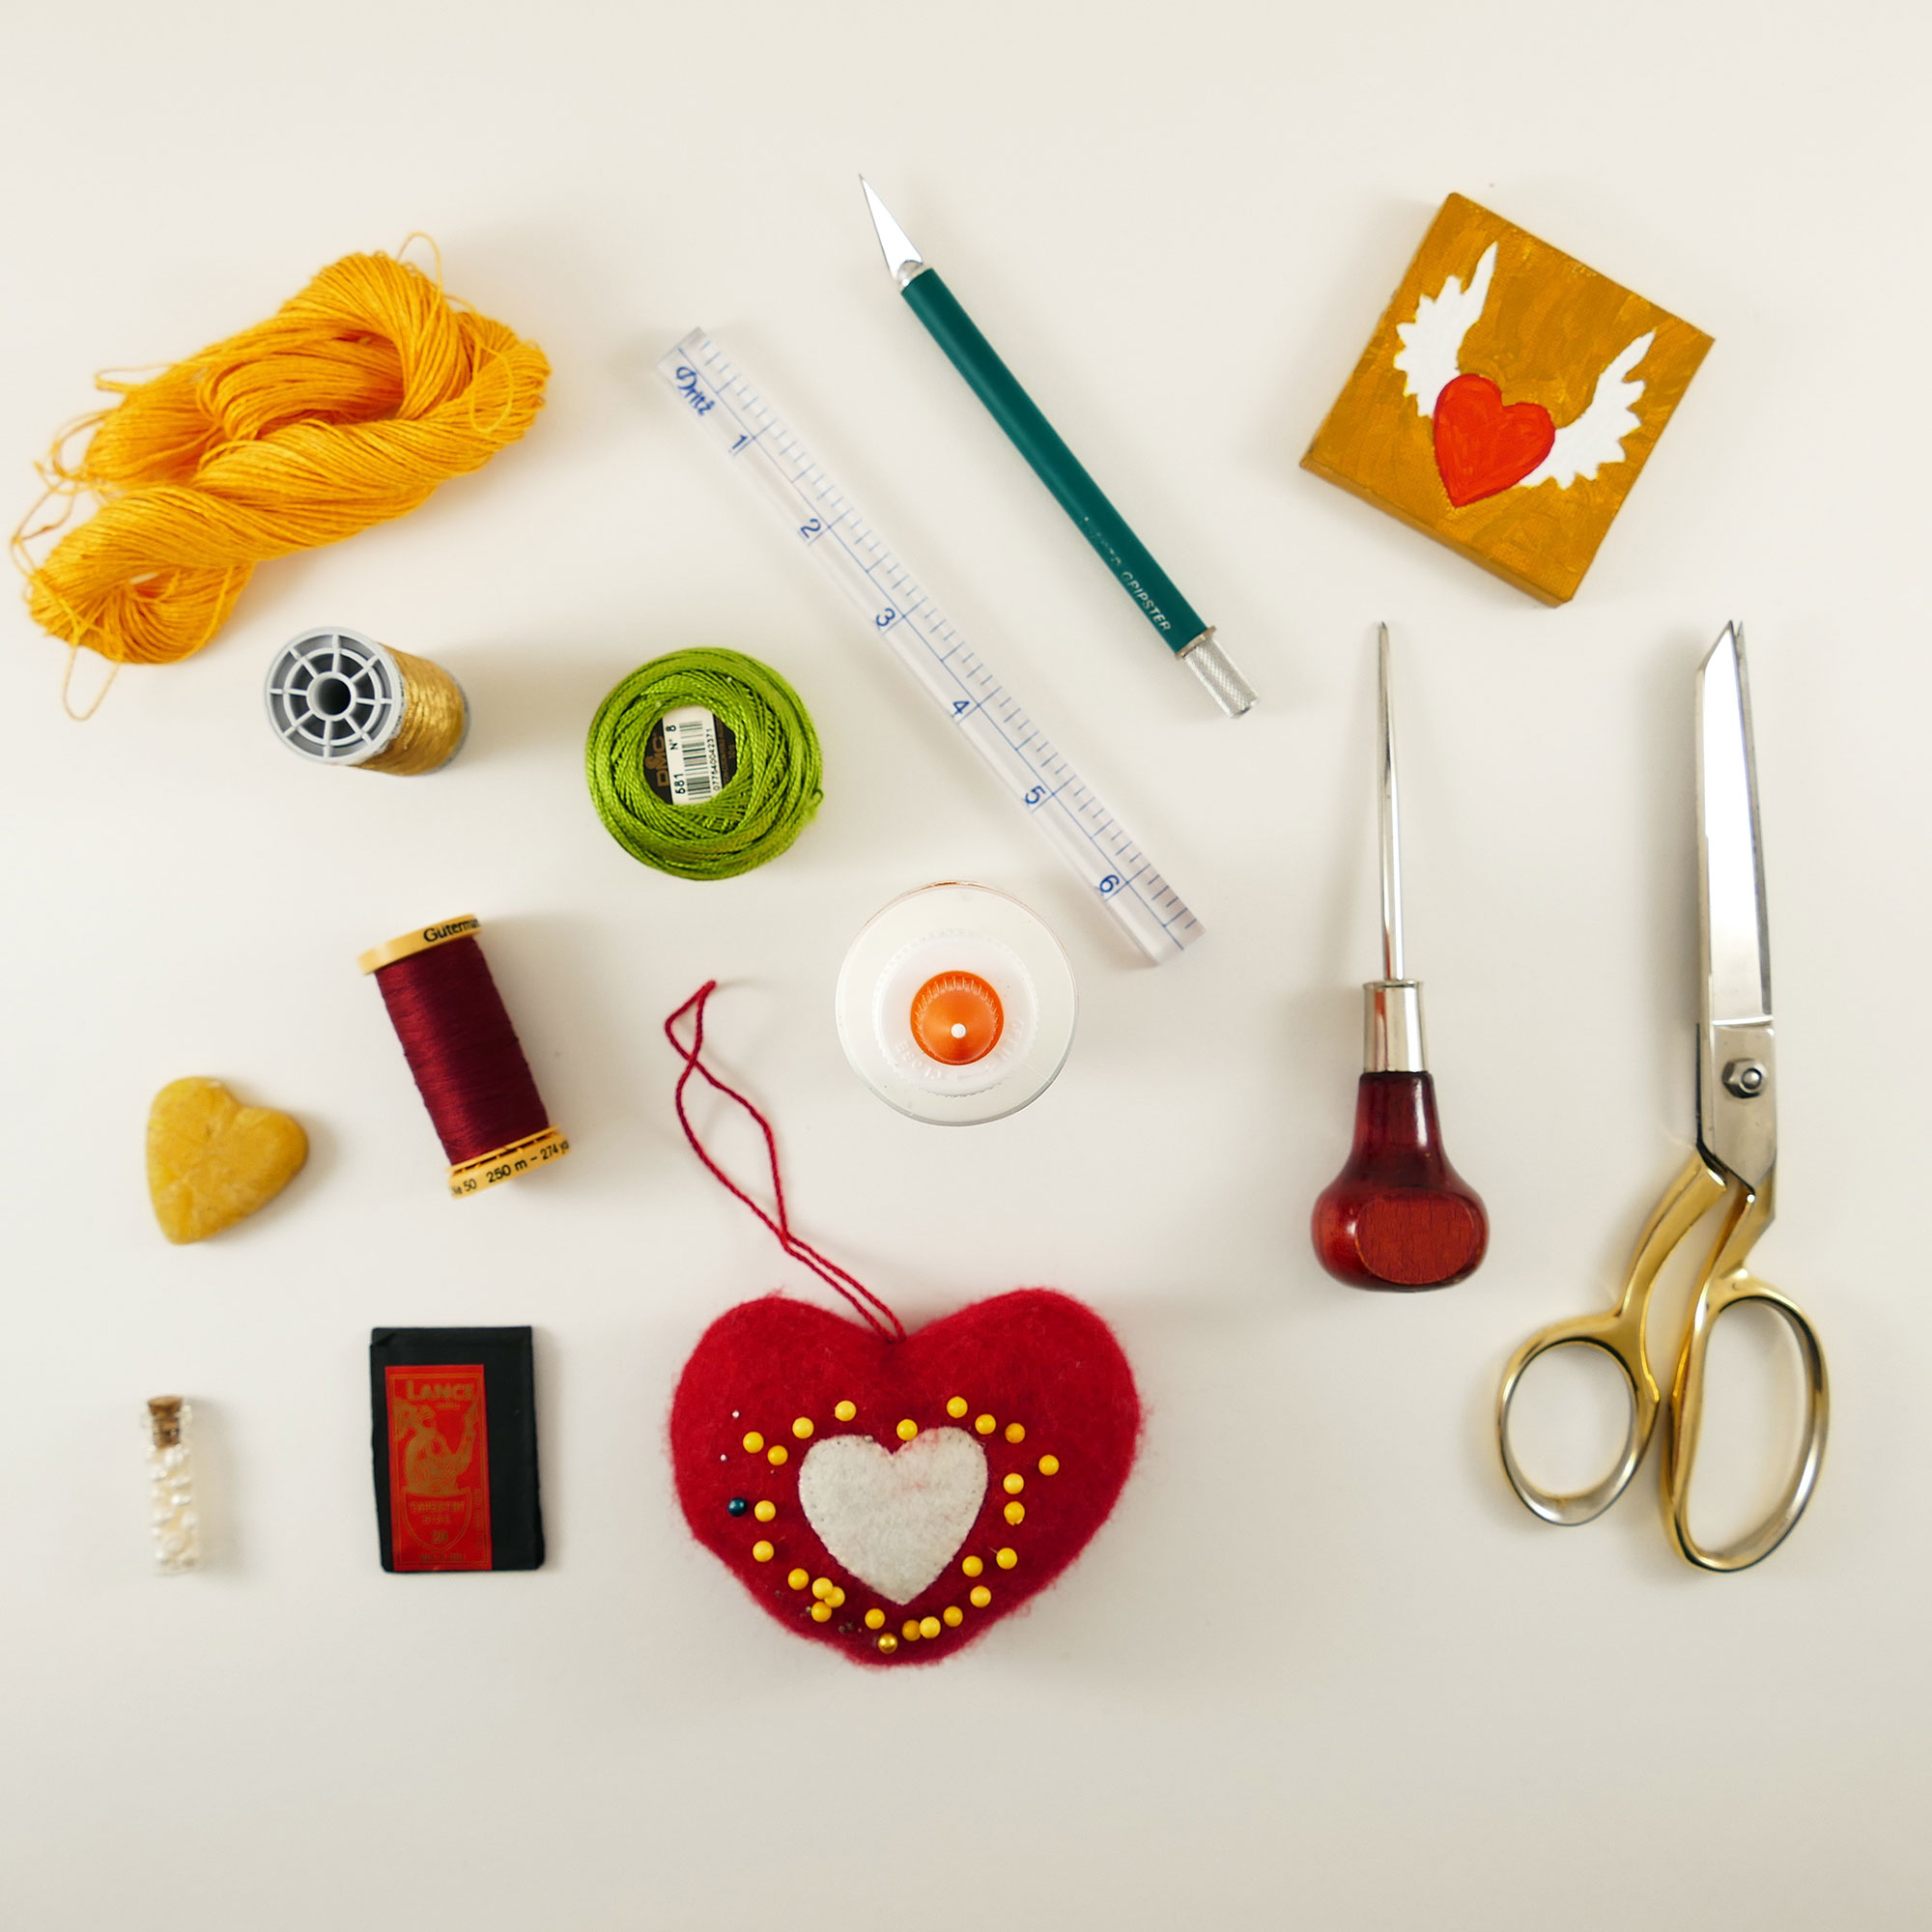
And with such a nice white background, I can even use Photoshop to make it perfectly white. I think I prefer the more natural look above, but now I have the choice.
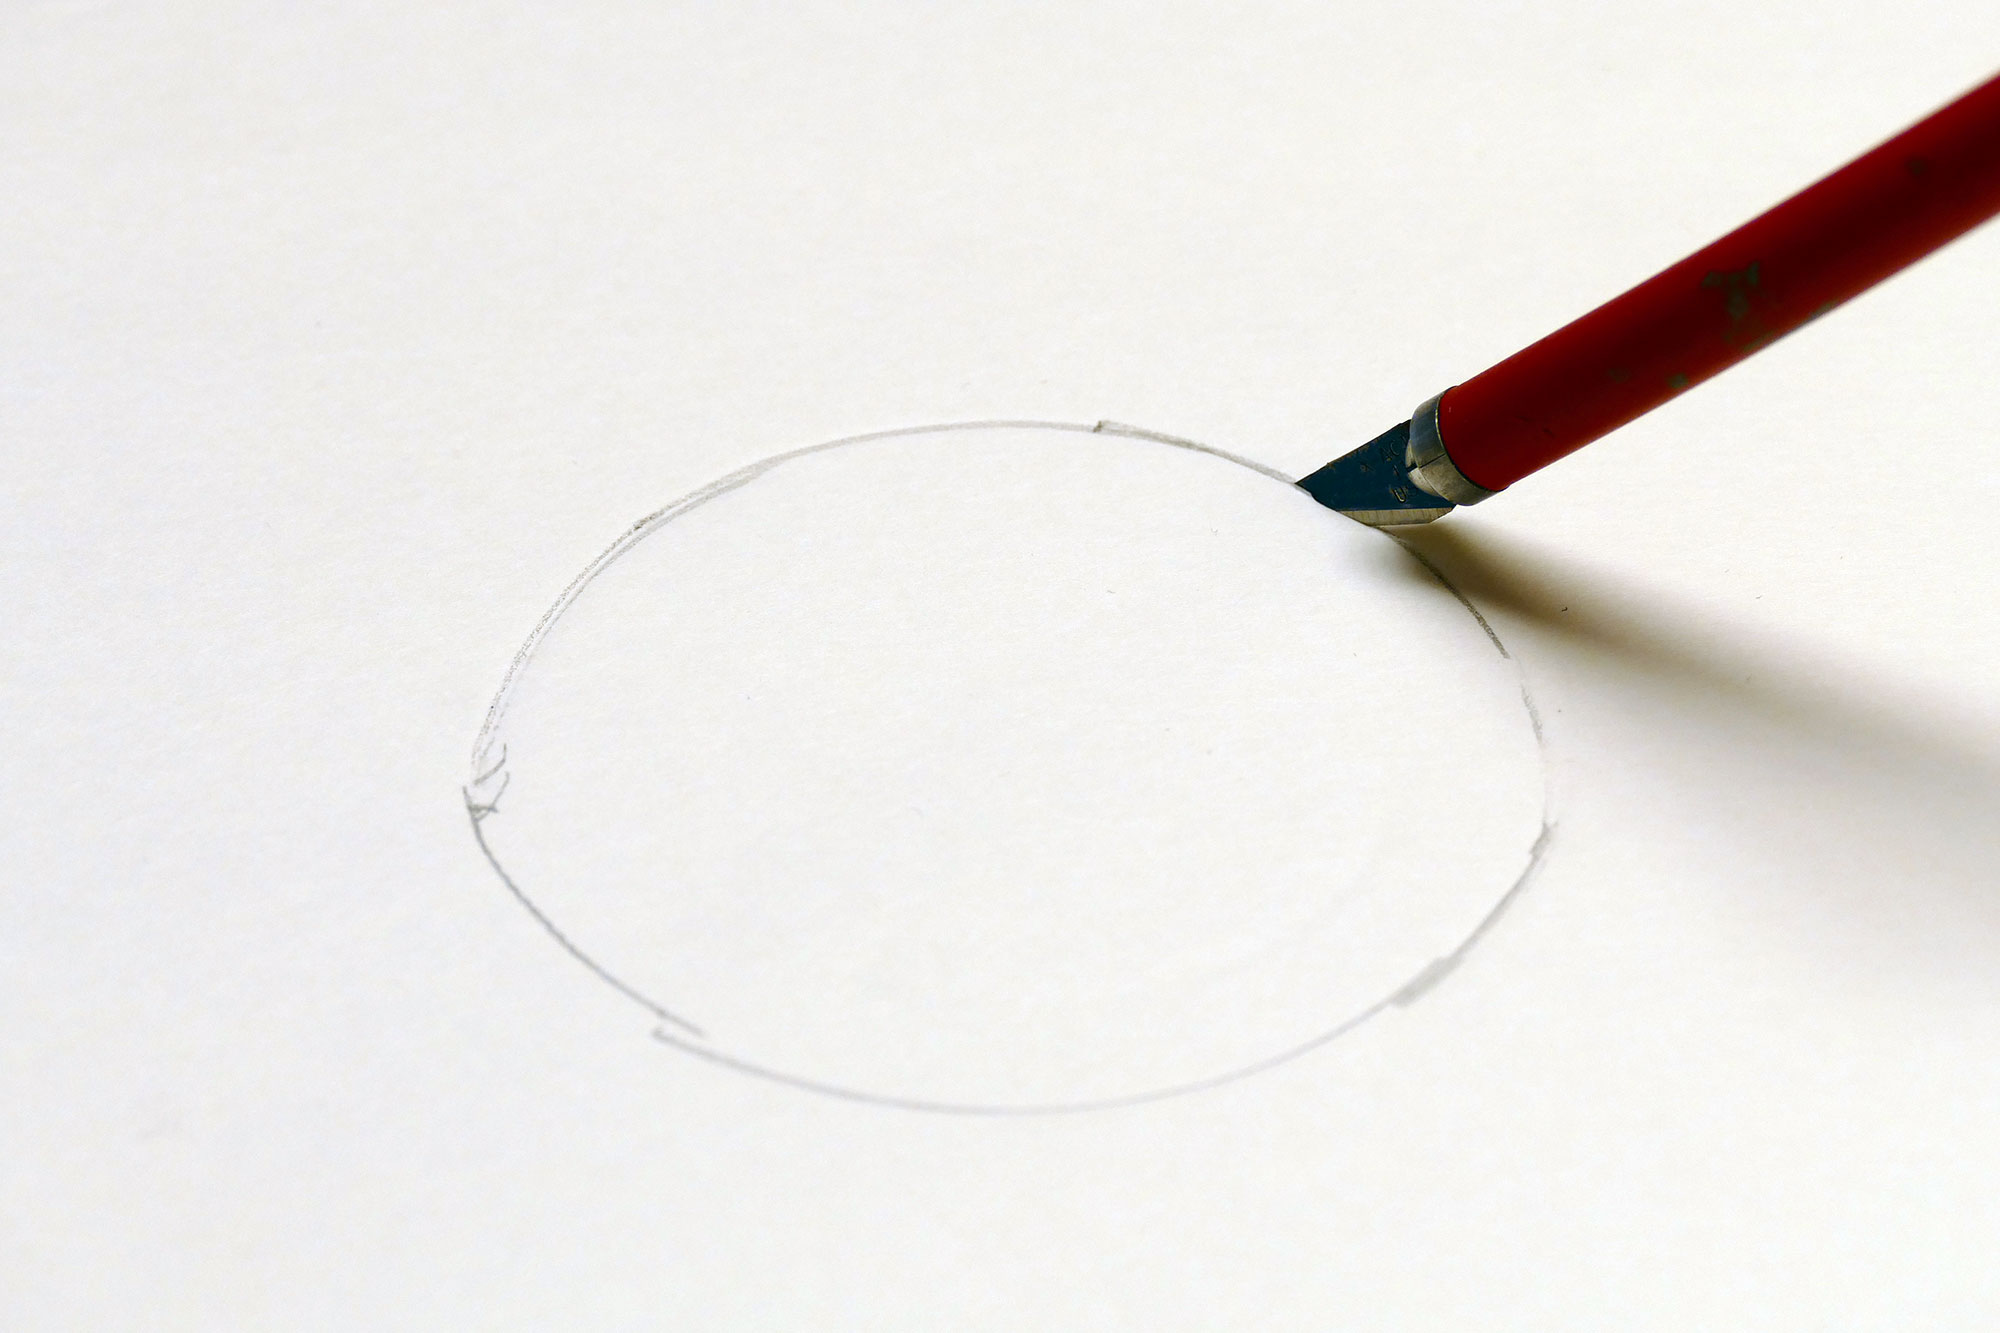
To make the custom mount over my lightbox, I used that extra piece of foam core and cut a hole for my lens to fit through.
Next I added two sides so it could fit right over my lightbox (with the top panel folded back), like this:
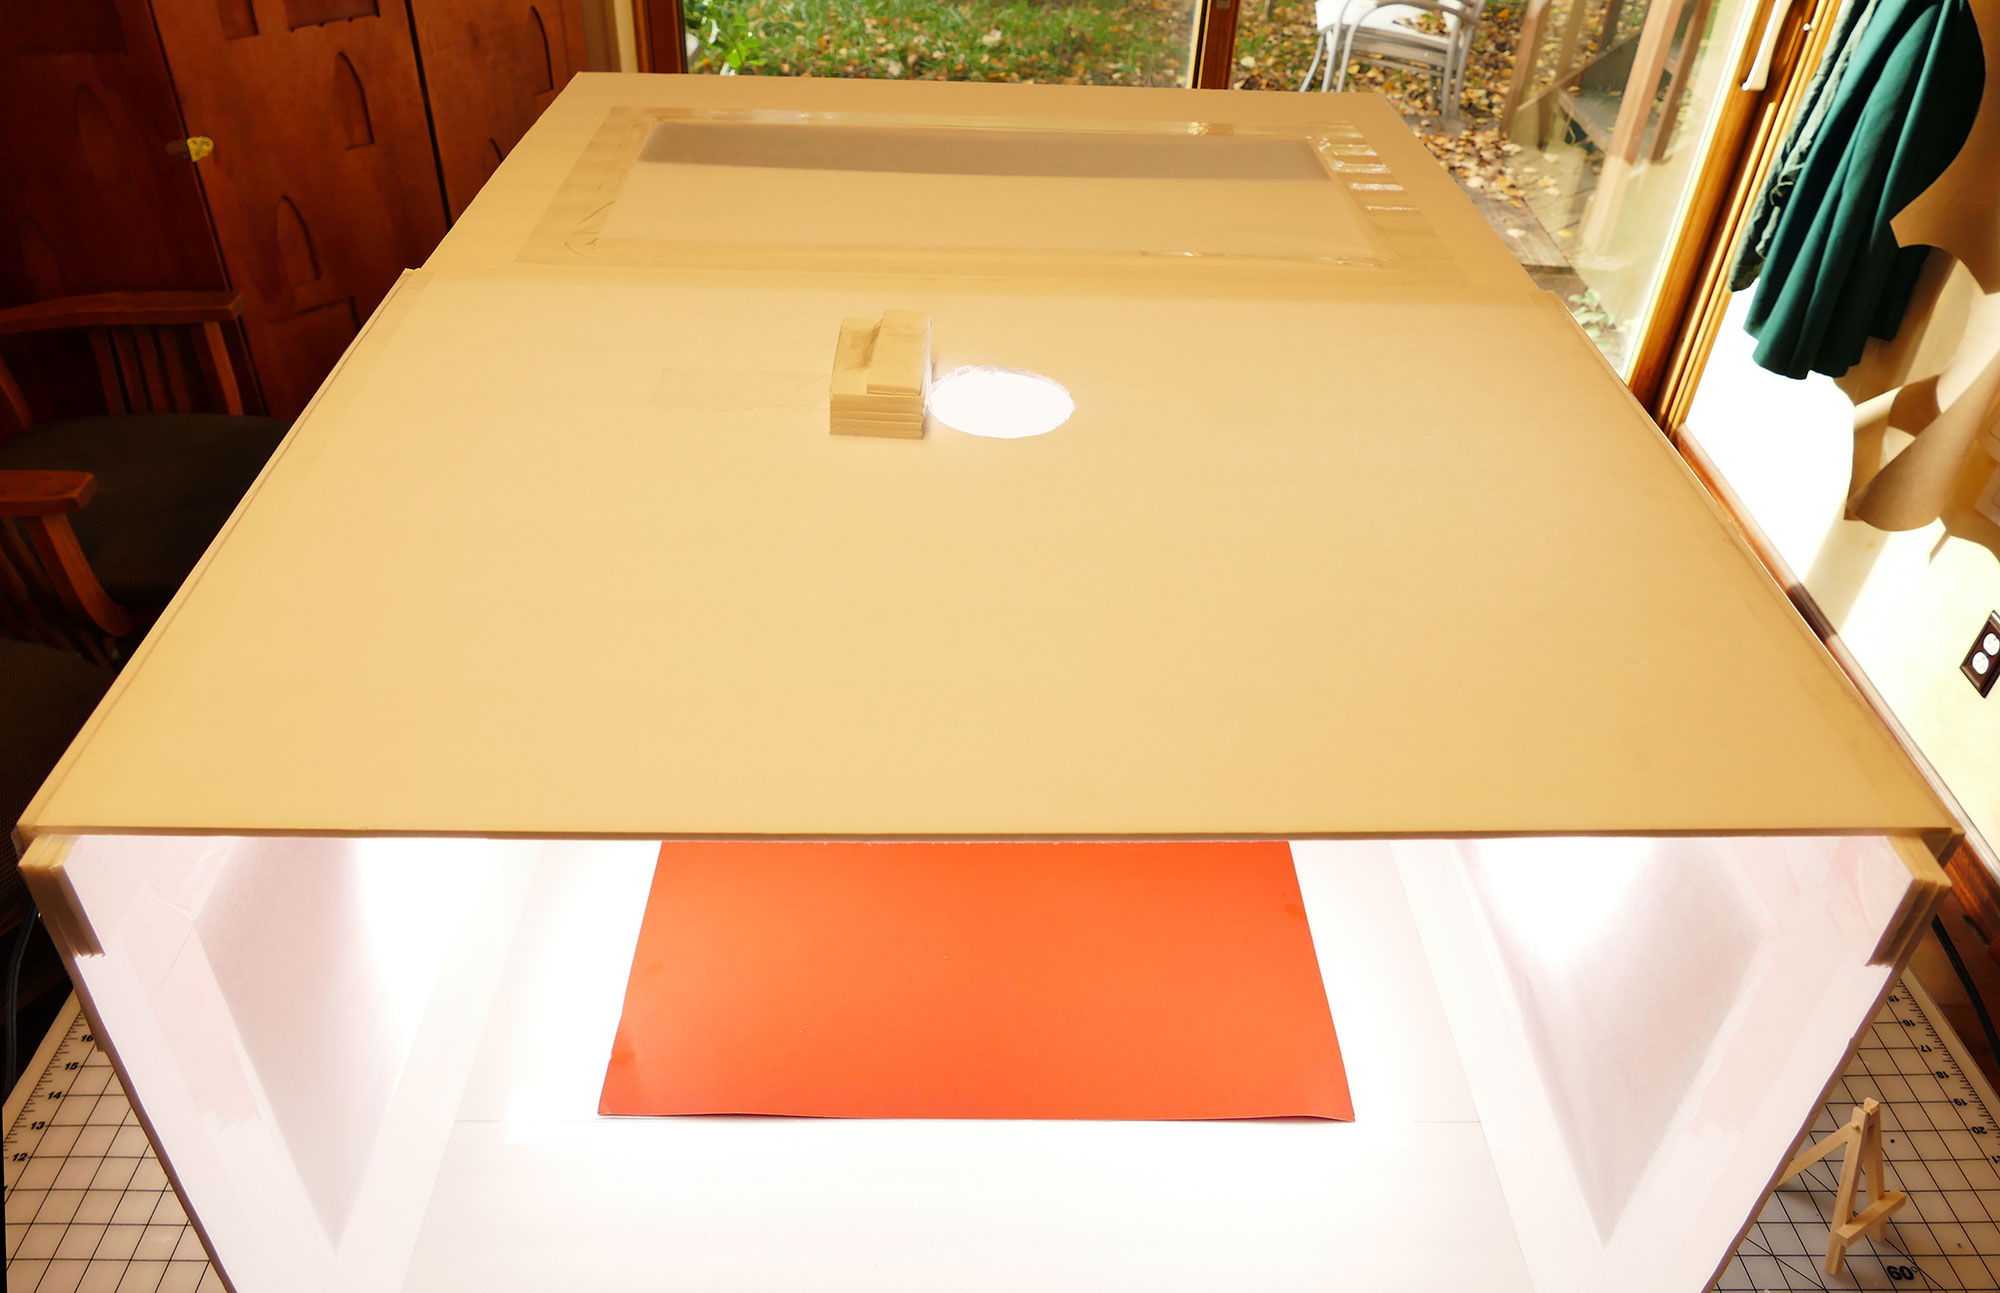
Tip: If your camera is heavy like mine, you may want to reinforce the corners of your lightbox. Just add a couple of extra squares of foam core to the inside corners and tape them down (see photo above).
Which Camera to Use With Your DIY Lightbox
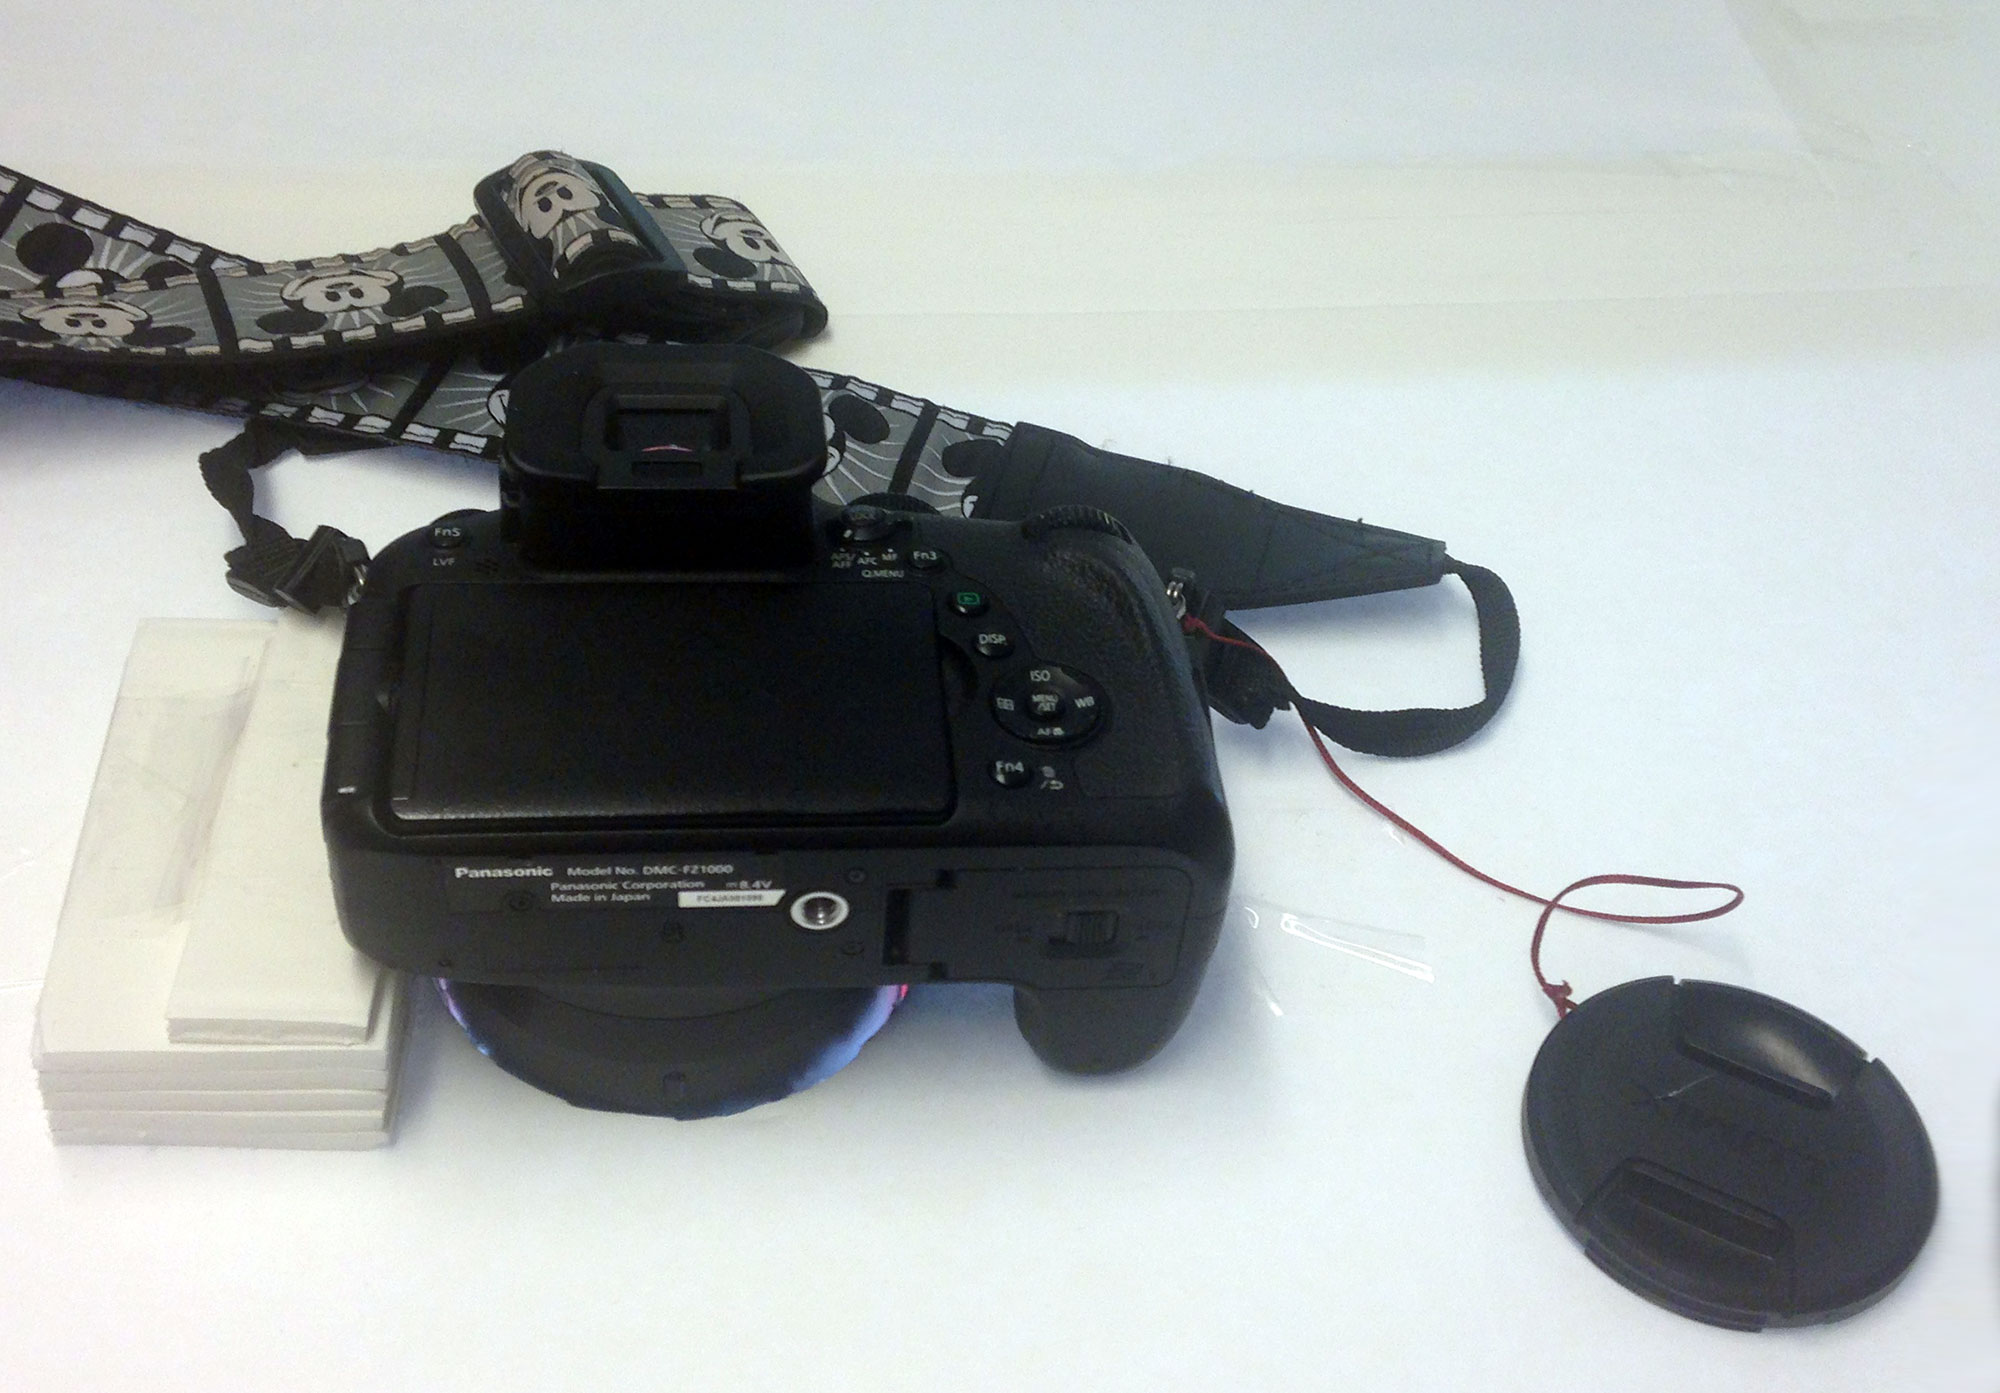
You may have noticed I have a good camera (I’m in love with my Panasonic LUMIX DMC-FZ1000![]() ), but this lightbox works with a smartphone cameras, too. Here’s a photo I took with my iPhone 5.
), but this lightbox works with a smartphone cameras, too. Here’s a photo I took with my iPhone 5.

I am thrilled with my DIY Lightbox, and I hope you make one, too! If you make one, I’d LOVE to see a photo of it (or a photo of something inside it). Please let me know if you have any questions!
Love,

Save the DIY Lightbox to Your Favorite Pinterest Board!


This was an EXCELLENT post…..and it’s just in time to save me that $40 bucks I was going to spend buying one!
Awesome! I’d love to see your lightbox or any photos you take with it. Let me know if you have questions!
I need to recreate this!! I’m always struggling to do flatlays and such!
Jenna from http://www.visionsofvogue.com
I was having a lot of problem with flatly, too, as I as always getting my shadow in the picture or it was just too dark in general. That was part of the inspiration behind this lightbox. I hope you’re able to make one, too!
Thank you for this post! I struggle so much with lighting for my product reviews, flatlays, etc. and am not quite ready to buy an expensive lightbox. I will have to give this DIY a try. Pinning for later. 🙂
My pleasure! I was really impressed at how much it helped for such little effort. Give it a try!
This is such an awesome ideas, and so useful for blogging!
Paige
http://thehappyflamily.com
Thank you, Paige! Glad you liked it!
What a great idea. Very simple and inexpensive, but practical at the same time. I like the ability to take a straight down photo as well.
Wow great post! Loved reading it as you explained all very well and made it looks easy.
Thank you!
Love this, I have to definitely try it 🙂
Cheers, Diana | http://www.footloosegirl.com
I built it! It was fun and I love how my test pictures turned out. I can’t wait to try it for my real photos! Thank you so much!
Oh my goodness! Thank you so much for sharing this! I will be making my light box soon and will post photos when I’m done. Sooo excited!!!!!!
Happy to help, Kaitlen!
I must have screwed up somewhere in my measurements because the hinge itself doesn’t really fit on the top – the box is as long as the top without the hinge. Oh well:) I can make this work! I’ll share pictures when completely finished – waiting on new bulbs!
Thank you for sharing this tutorial, it’s really helpful. I was wondering what your process is like for creating tutorials, do you need to make up a storyboard or something similar to plan out the photos you need to get at each step?
My process mostly lives in my head — if I write anything down, it’s in a blog post as I am preparing it. I do not plan out each step of my photos. These days I actually take a VIDEO of myself assembling something, then I just play the video back on my computer and take screen shots of exactly the step I need. So it makes it really easy!
I wish there was video of you putting this together!
I did it! I’ve been looking for a simple box and this is it. Thank you for the tutorial.
I posted my lightbox sometime ago. I am impressed how well it works. But now the exciting part, I finally purchased the two lights for the sides of the light box. It took several months but now I just need to set up. I will send a photo once I have the lights set up. I would like to do a video of how I made my project but I dont have a mic and only an iPhone 6. So I will have to wait a little longer. Thank you Jennifer. Every time I make a project that you have designed the product always ends up lovely.
Hooray, Vicki!
Just made this lightbox and I think it will work great once I get the proper lighting for it. I’m wondering though, what do you have your reflectors clamped to? And do you think it’s necessary to have an overhead light for the top window?
I was thinking of getting led strip light and attach it to the top on the inside. Would it work?
We haven’t tried that so don’t know, but it sure would be worth experimenting with, Christine! 😃