
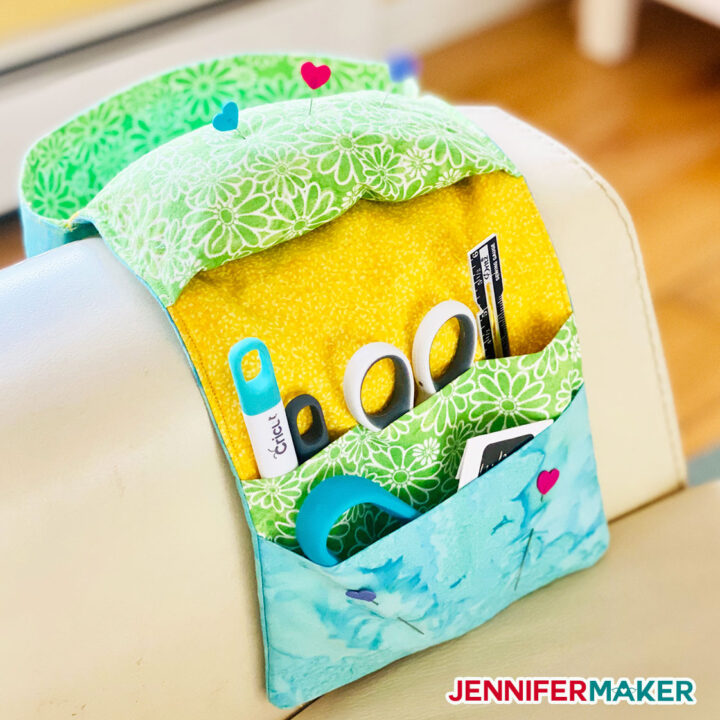
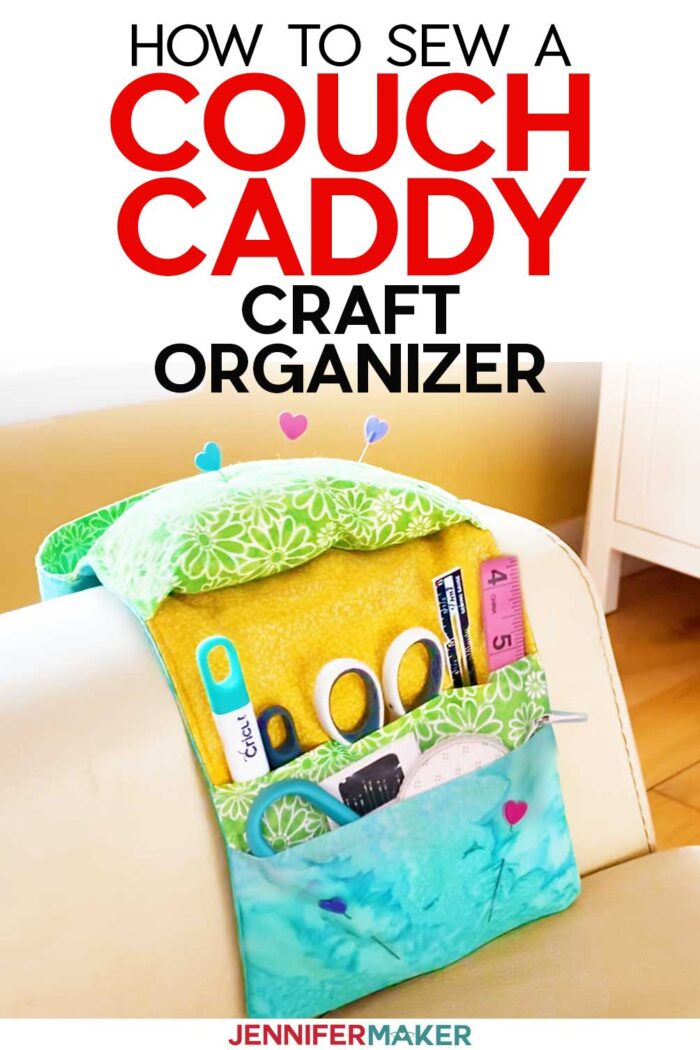
Learn how to sew a Couch Caddy to keep important things close at hand when you’re away from your normal craft space! This project organizer is perfect for when you’re relaxing in a chair while sewing or weeding vinyl.
I love to relax in the evenings and spend time with my family in our living room. I’m always happiest when I’m making something and my hands are busy, so I often take a project with me! In the past, this meant juggling everything in my lap or on the arm of my couch, and I can’t tell you how many times I’ve lost scissors between the couch cushions or accidentally left a pin stuck in my chair arm. But that’s a thing of the past with my Couch Caddy craft organizer, which holds my most-used crafting and sewing tools, pins, AND all the little bits of thread, vinyl, or whatever I create as I craft, weed vinyl, and sew fabric!
Watch my full-length video that shows you how to make the Couch Caddy craft organizer:
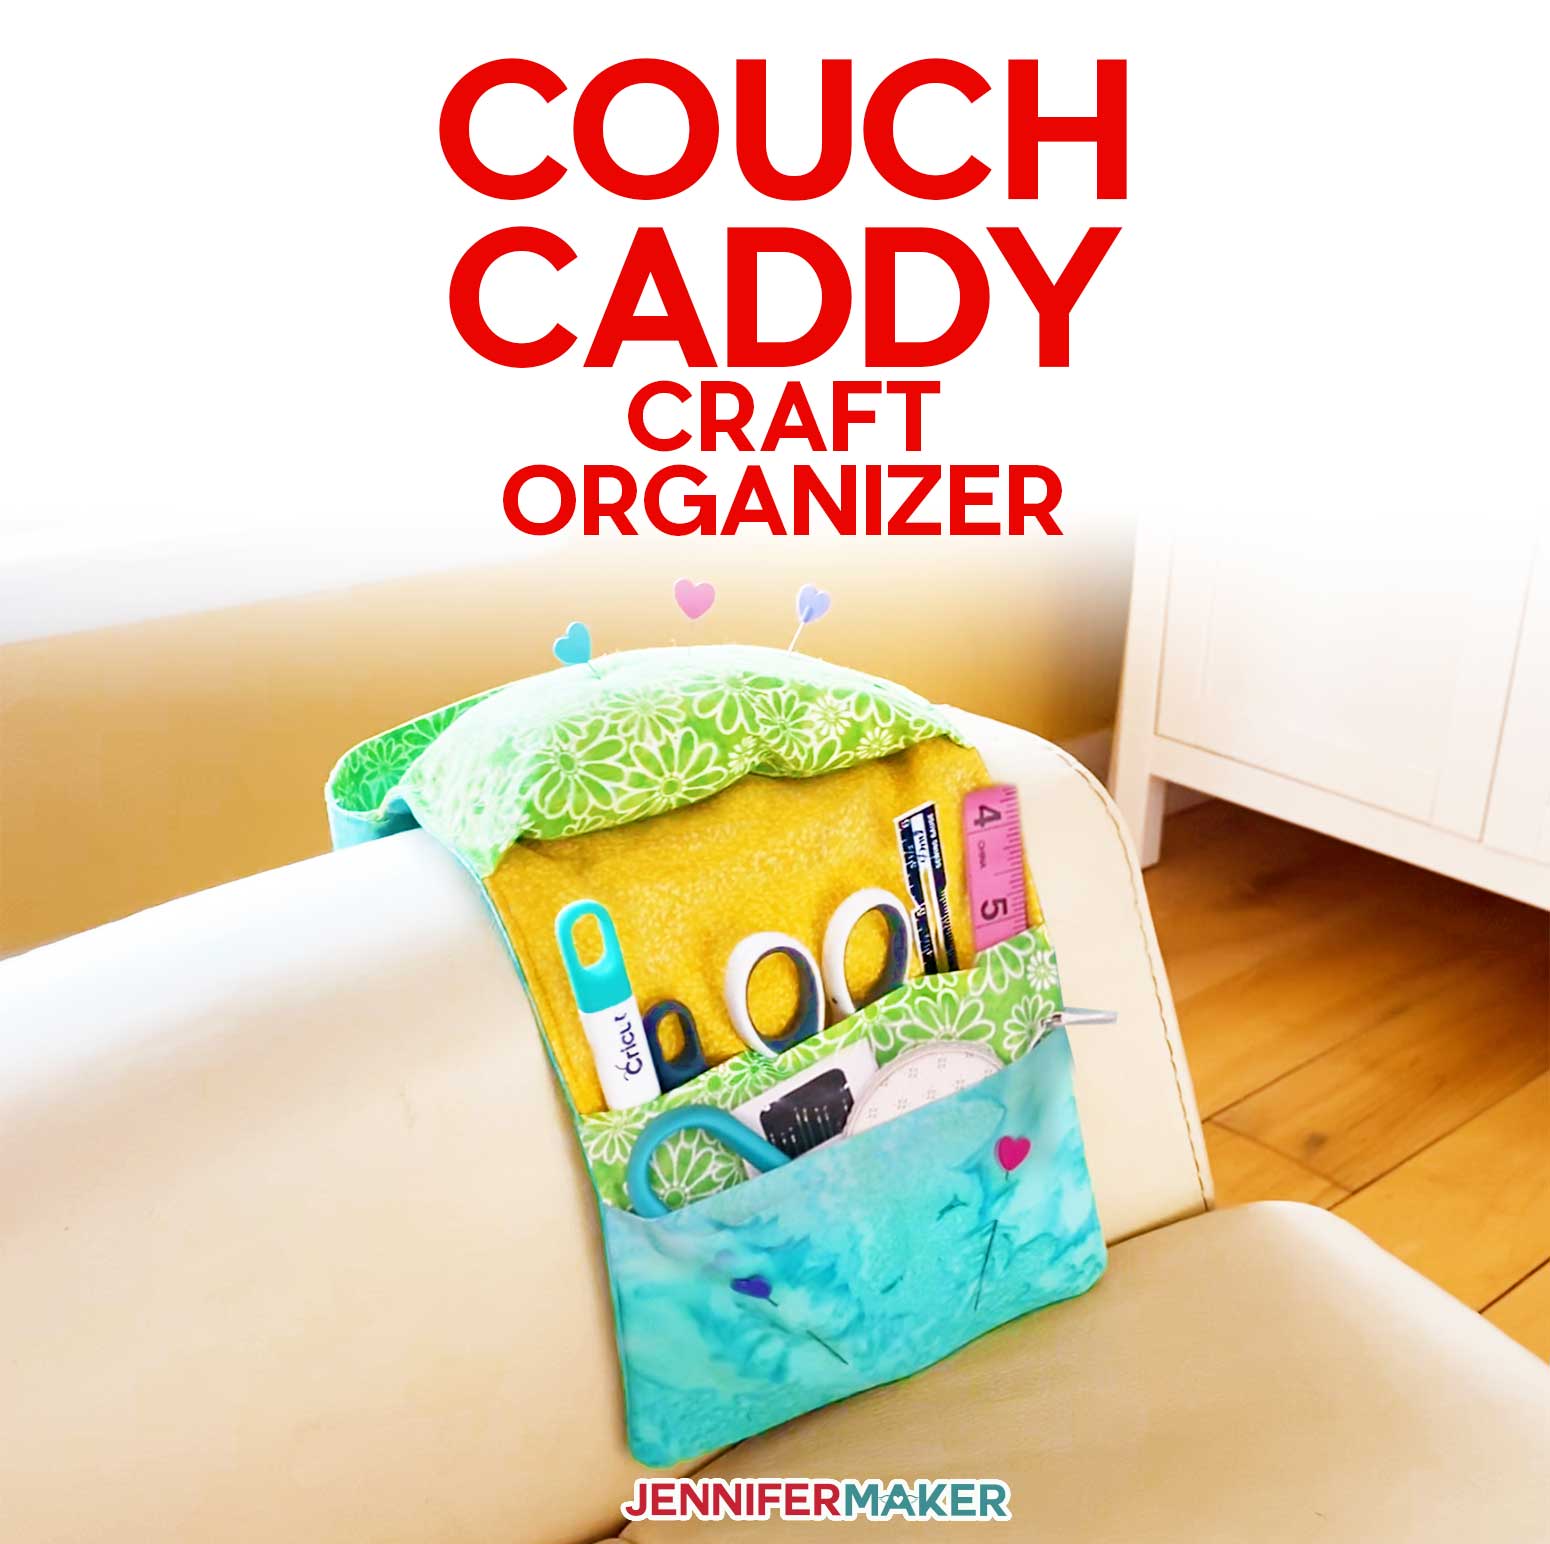
There are three really cool features of the Couch Caddy craft organizer that I just adore!
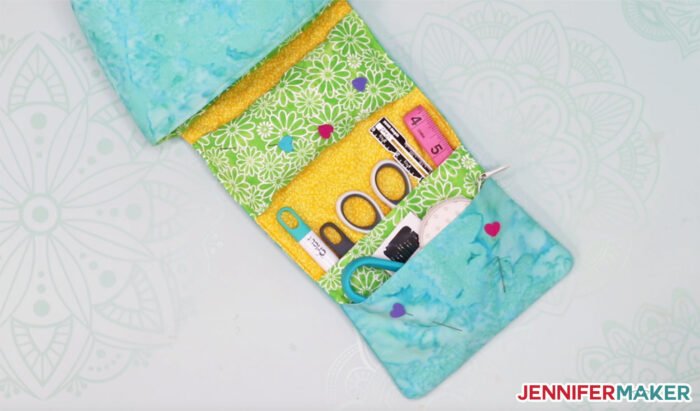
The first is the Tool Holder, which keeps tools close at hand — there’s a little pocket in front and a deeper one in the back with dividers. I keep my scissors, thread snips, weeding tool, sewing needles, tape measure, seam ripper, and a pen or pencil here.
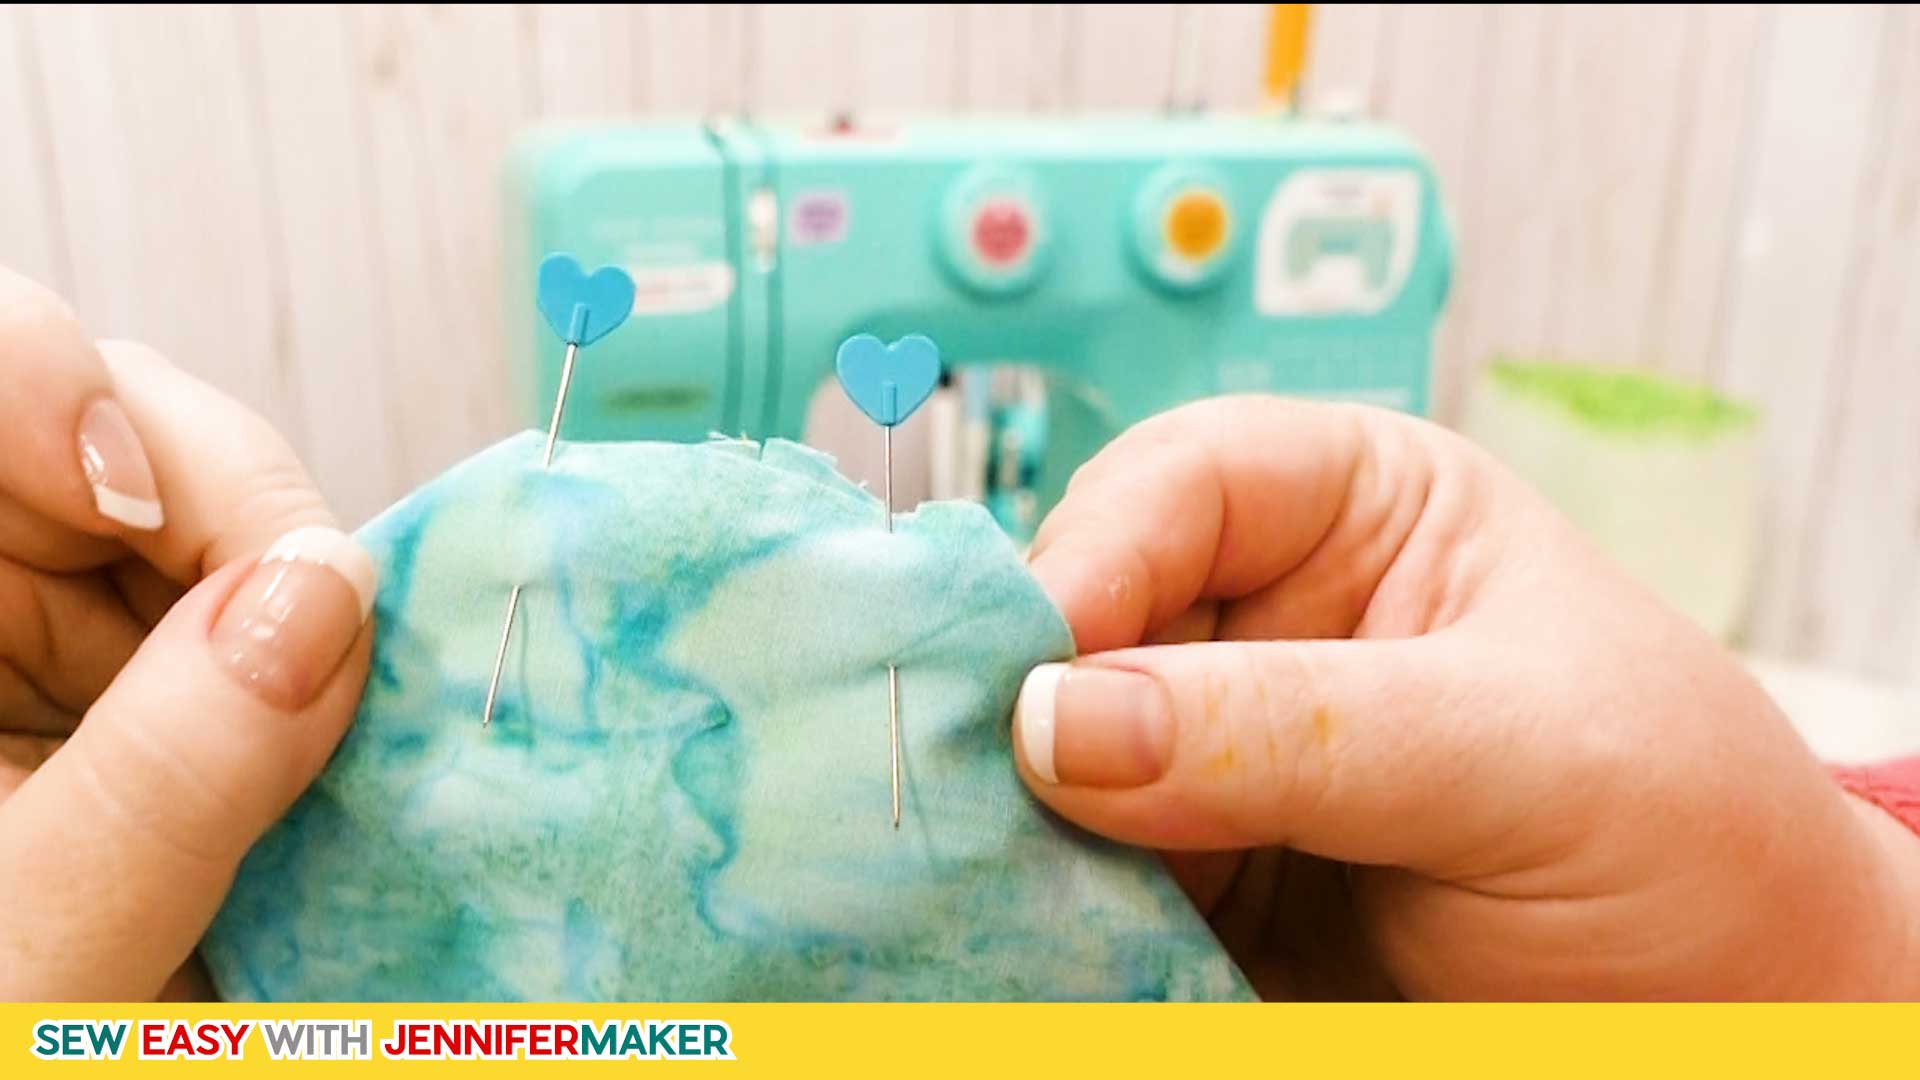
Second, the Pin Cushion on the top holds pins and needles so I stop poking them into the upholstery or pinning them to my shirt. (Oh, you know what I’m talking about!)
And third, the big bin in the back is for all my bits, whether that’s thread, fabric, vinyl, paper, or whatever. I call this the Bits Bin, but you may call it a Thread Catcher. I can now safely get up from a crafting session without stuff stuck to me or scattered around at my feet. And when you’re not using it, you can tuck the Tool Holder into the Bin to keep everything together. You can even use it at your sewing machine.
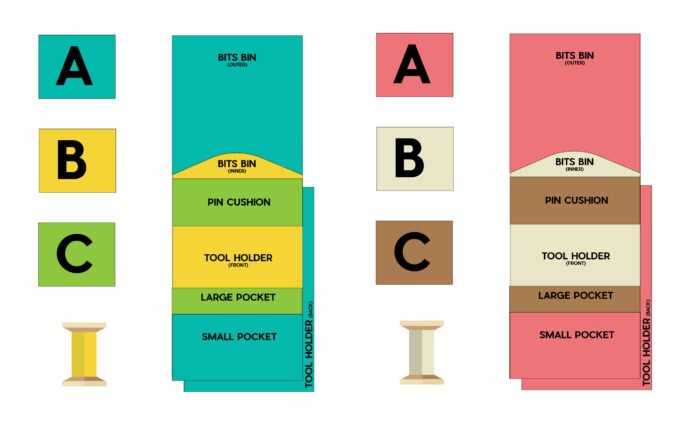
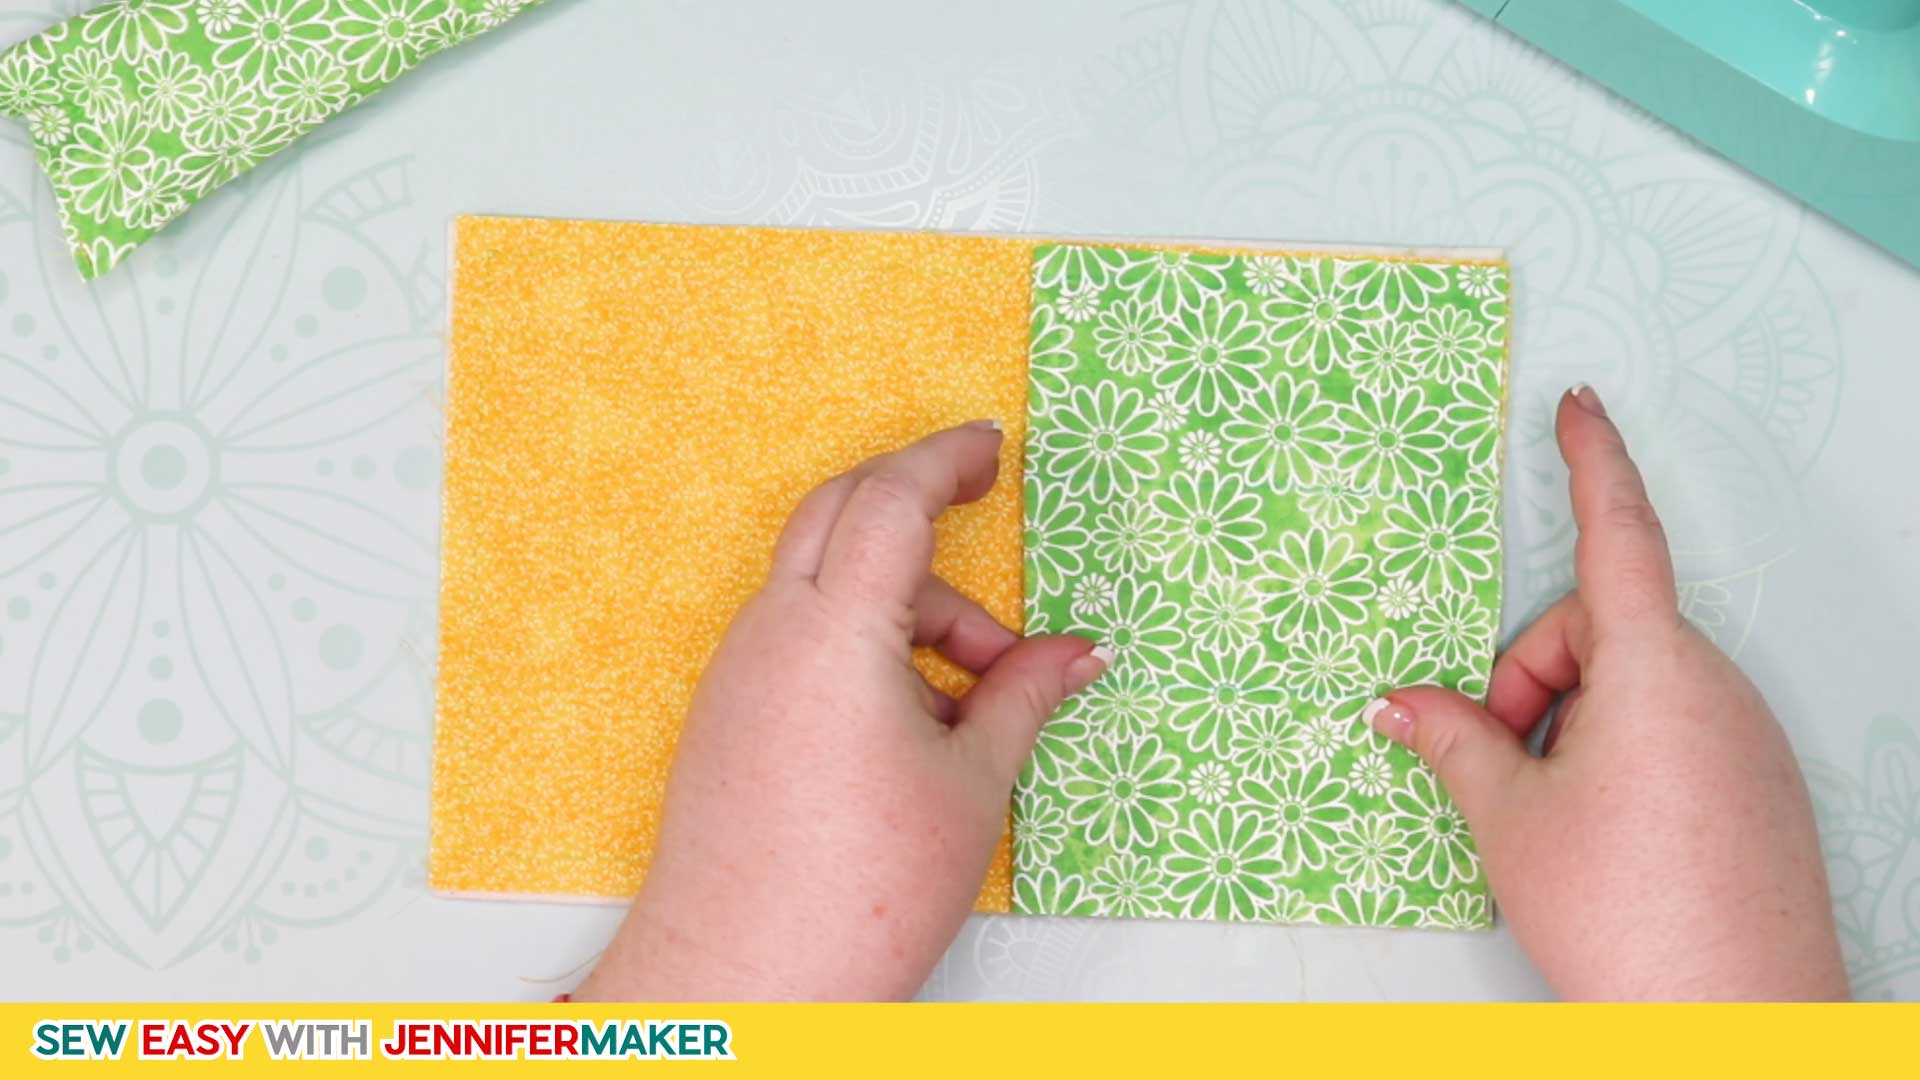
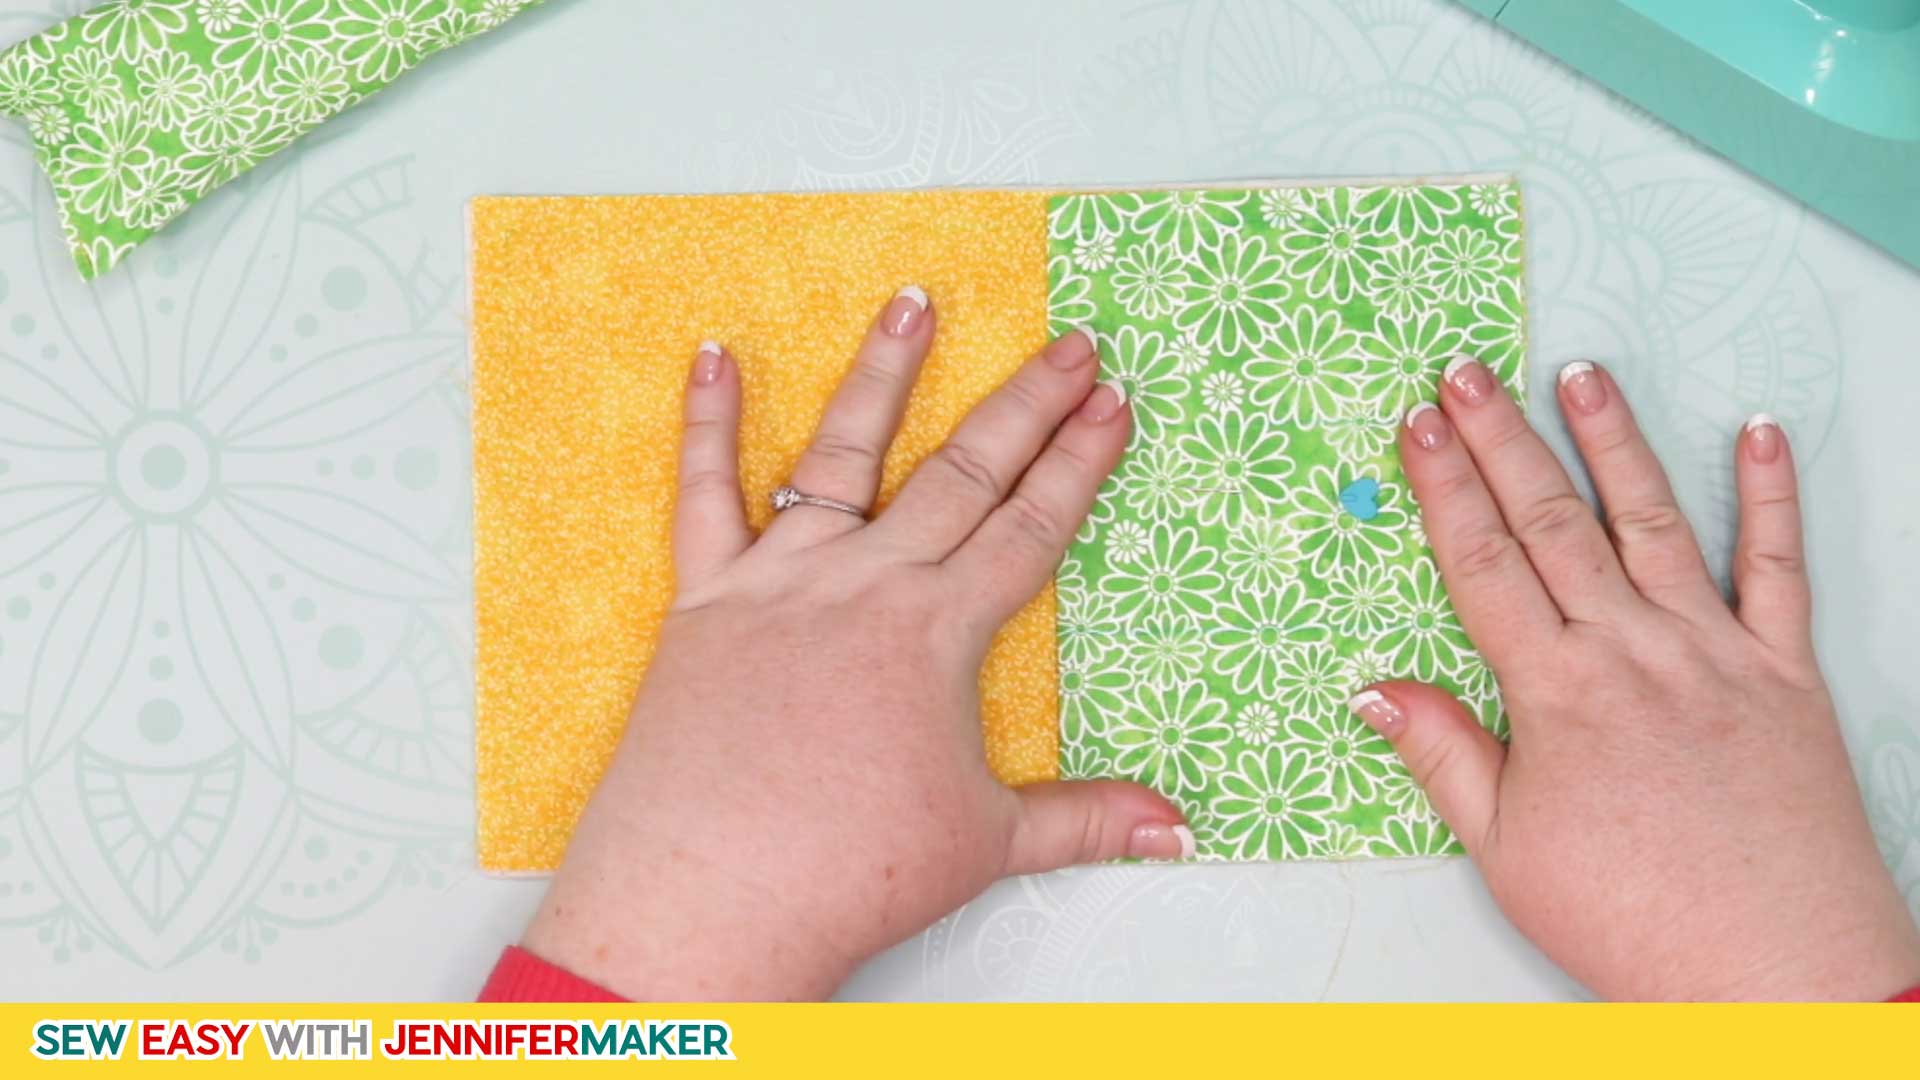
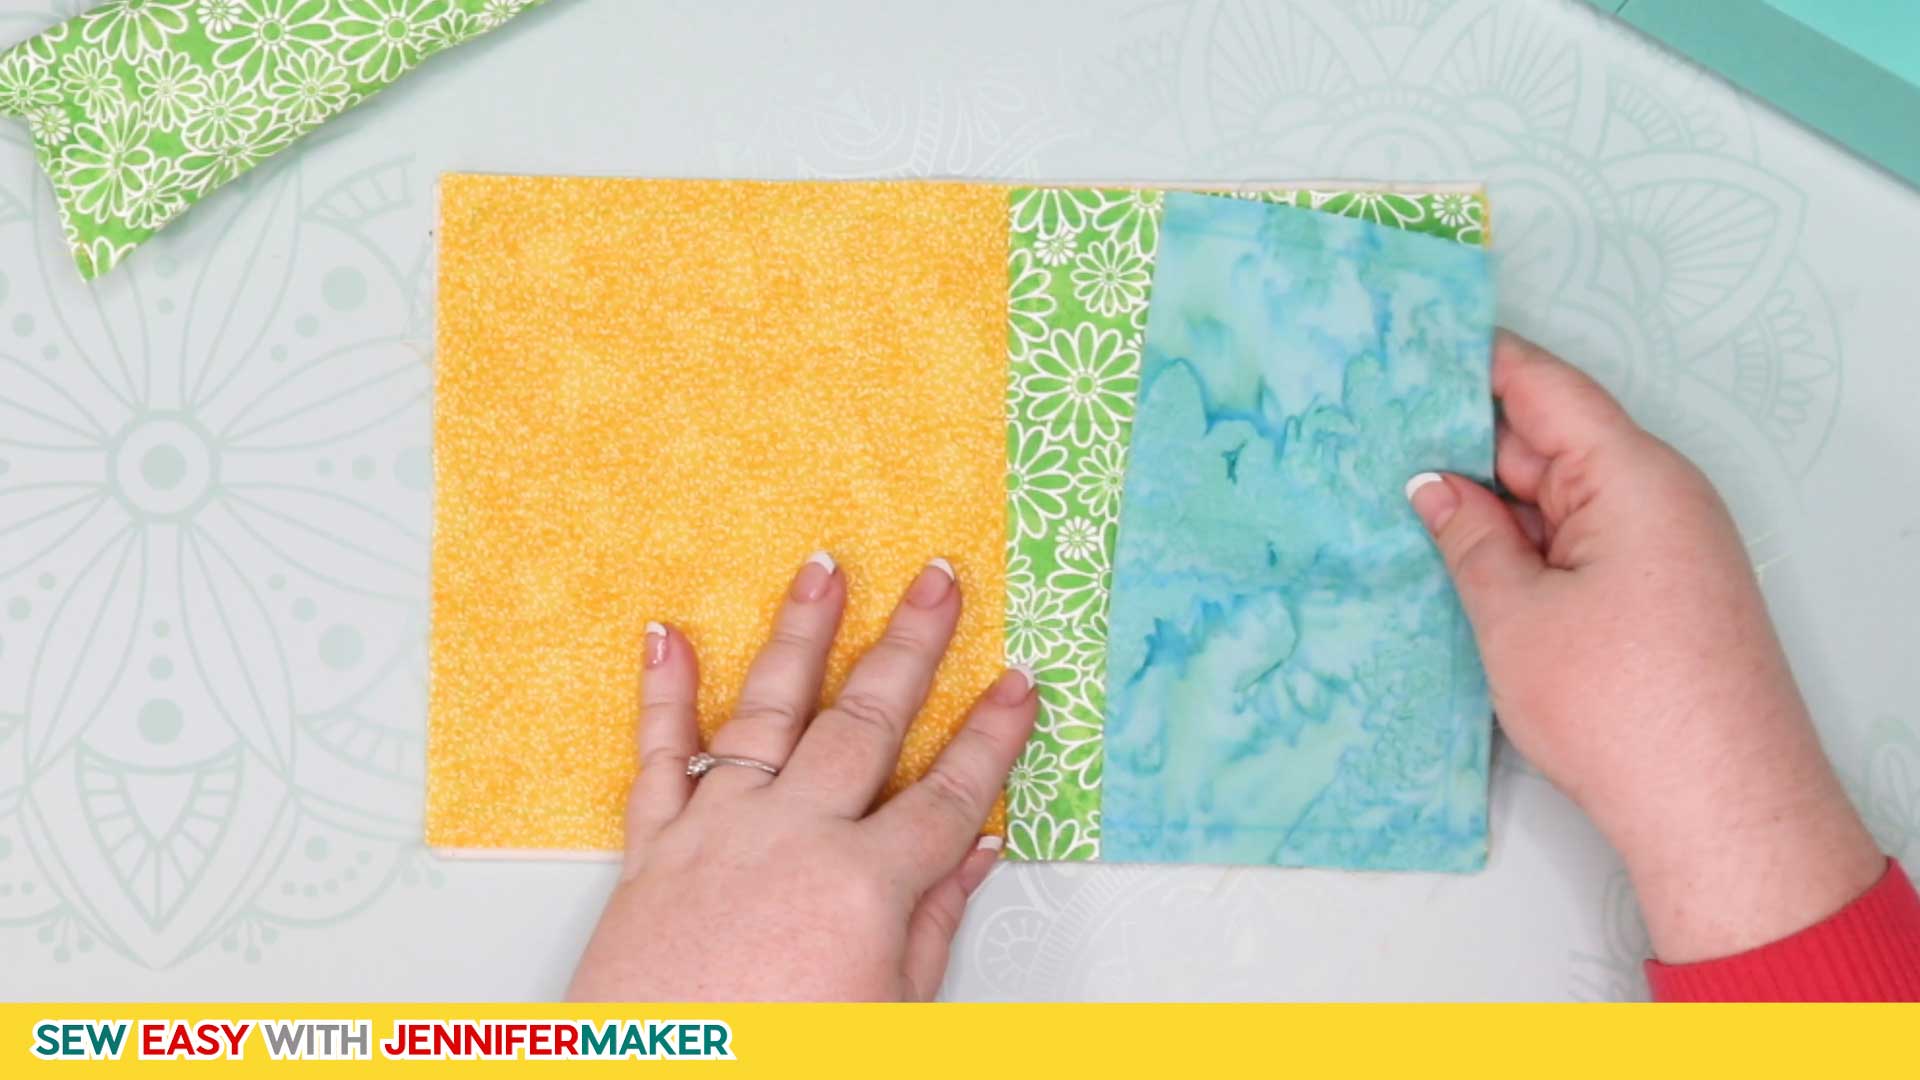
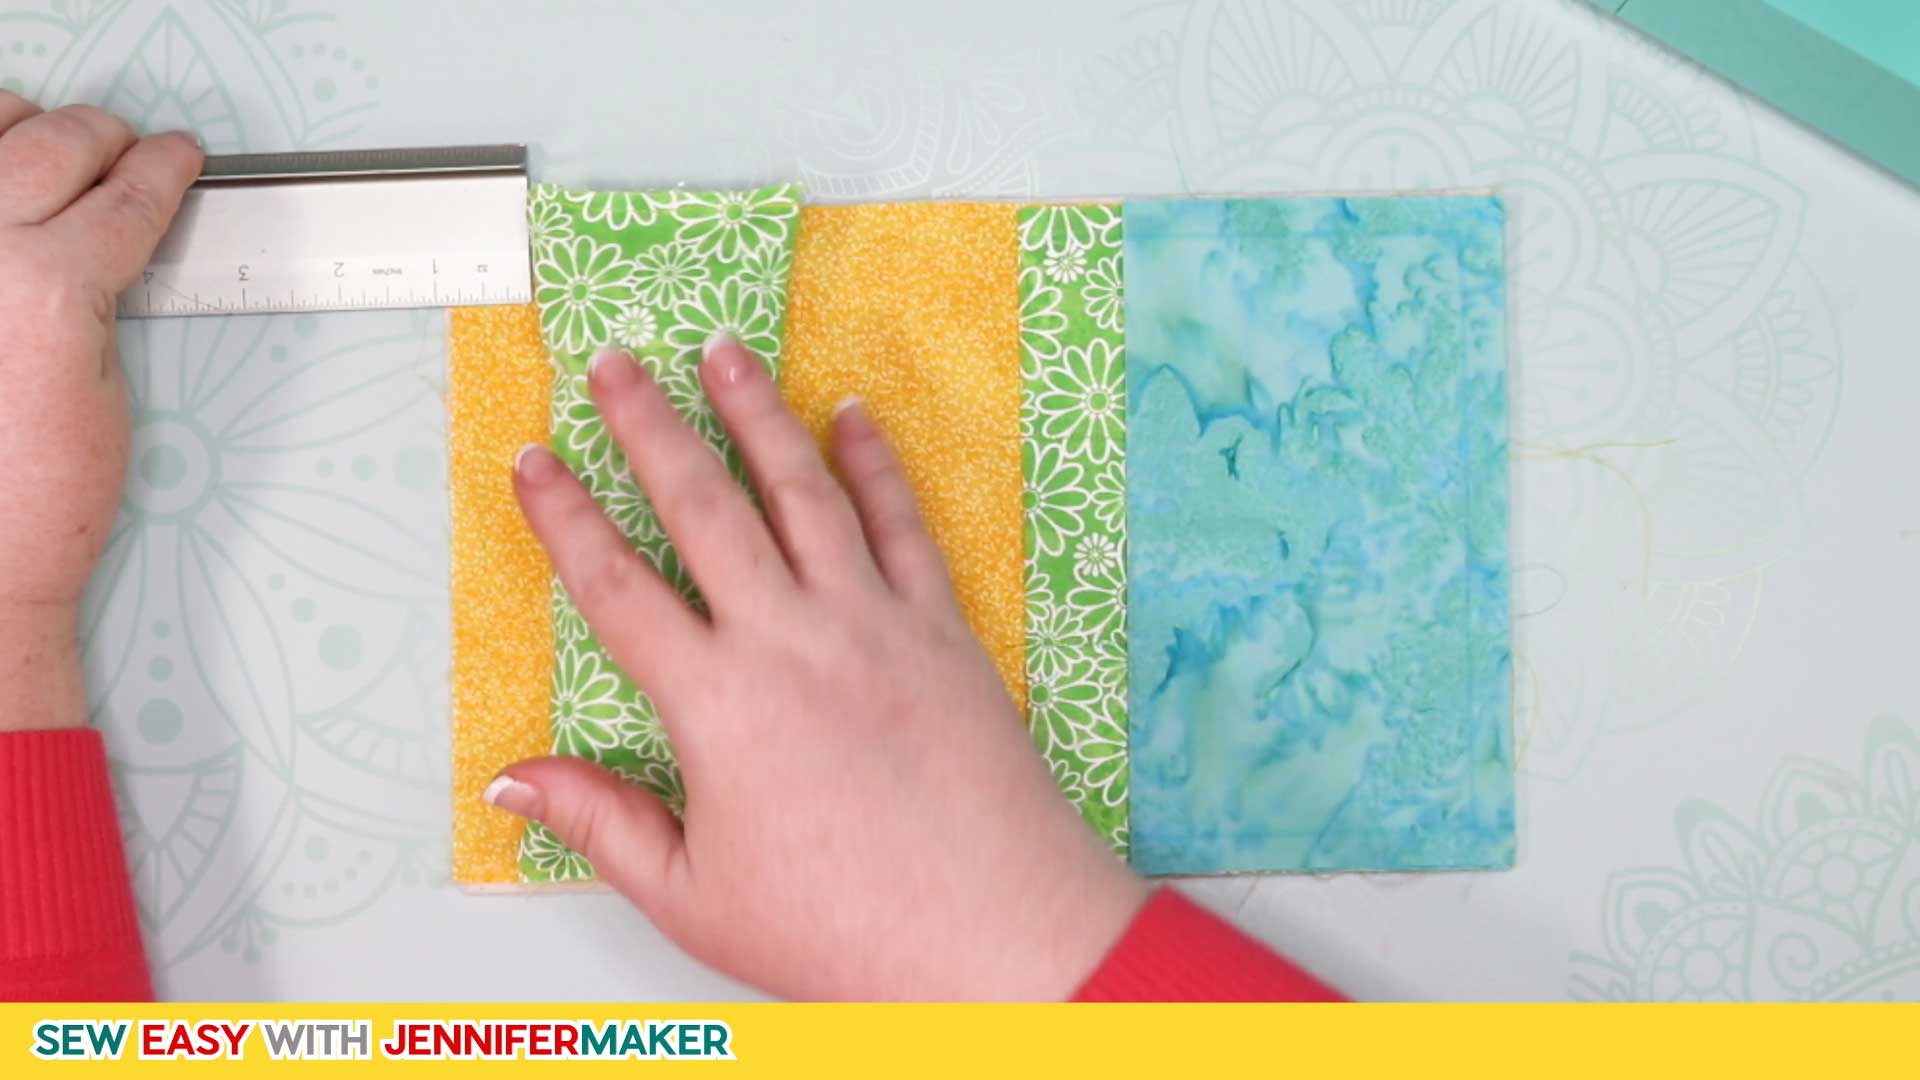
The Couch Caddy is a great beginner to intermediate sewing project and takes only an afternoon or an evening to put together. You can use 2-3 coordinating pieces of quilting cotton — fat quarters work great. If you use three colors, I recommend you put your colors in spots A, B, and C on this chart and use the same thread color as B. You don’t need much of any one piece of fabric, so you can just use scraps if you want!
This step-by-step tutorial shows you exactly how to sew a Couch Caddy. This post contains some affiliate links for your convenience (which means if you make a purchase after clicking a link I will earn a small commission but it won’t cost you a penny more)! Read my full disclosure policy.
Materials to Make a Couch Caddy Craft Organizer
To sew the Couch Caddy craft organizer, you’ll need these sewing tools and supplies:
- Three (3) cotton fat quarters or fabric at least 18″ x 22″ in 2-3 coordinating colors (option #1, option #2)
- Quilt batting cut to 7″ x 11″ (I used this exact brand)
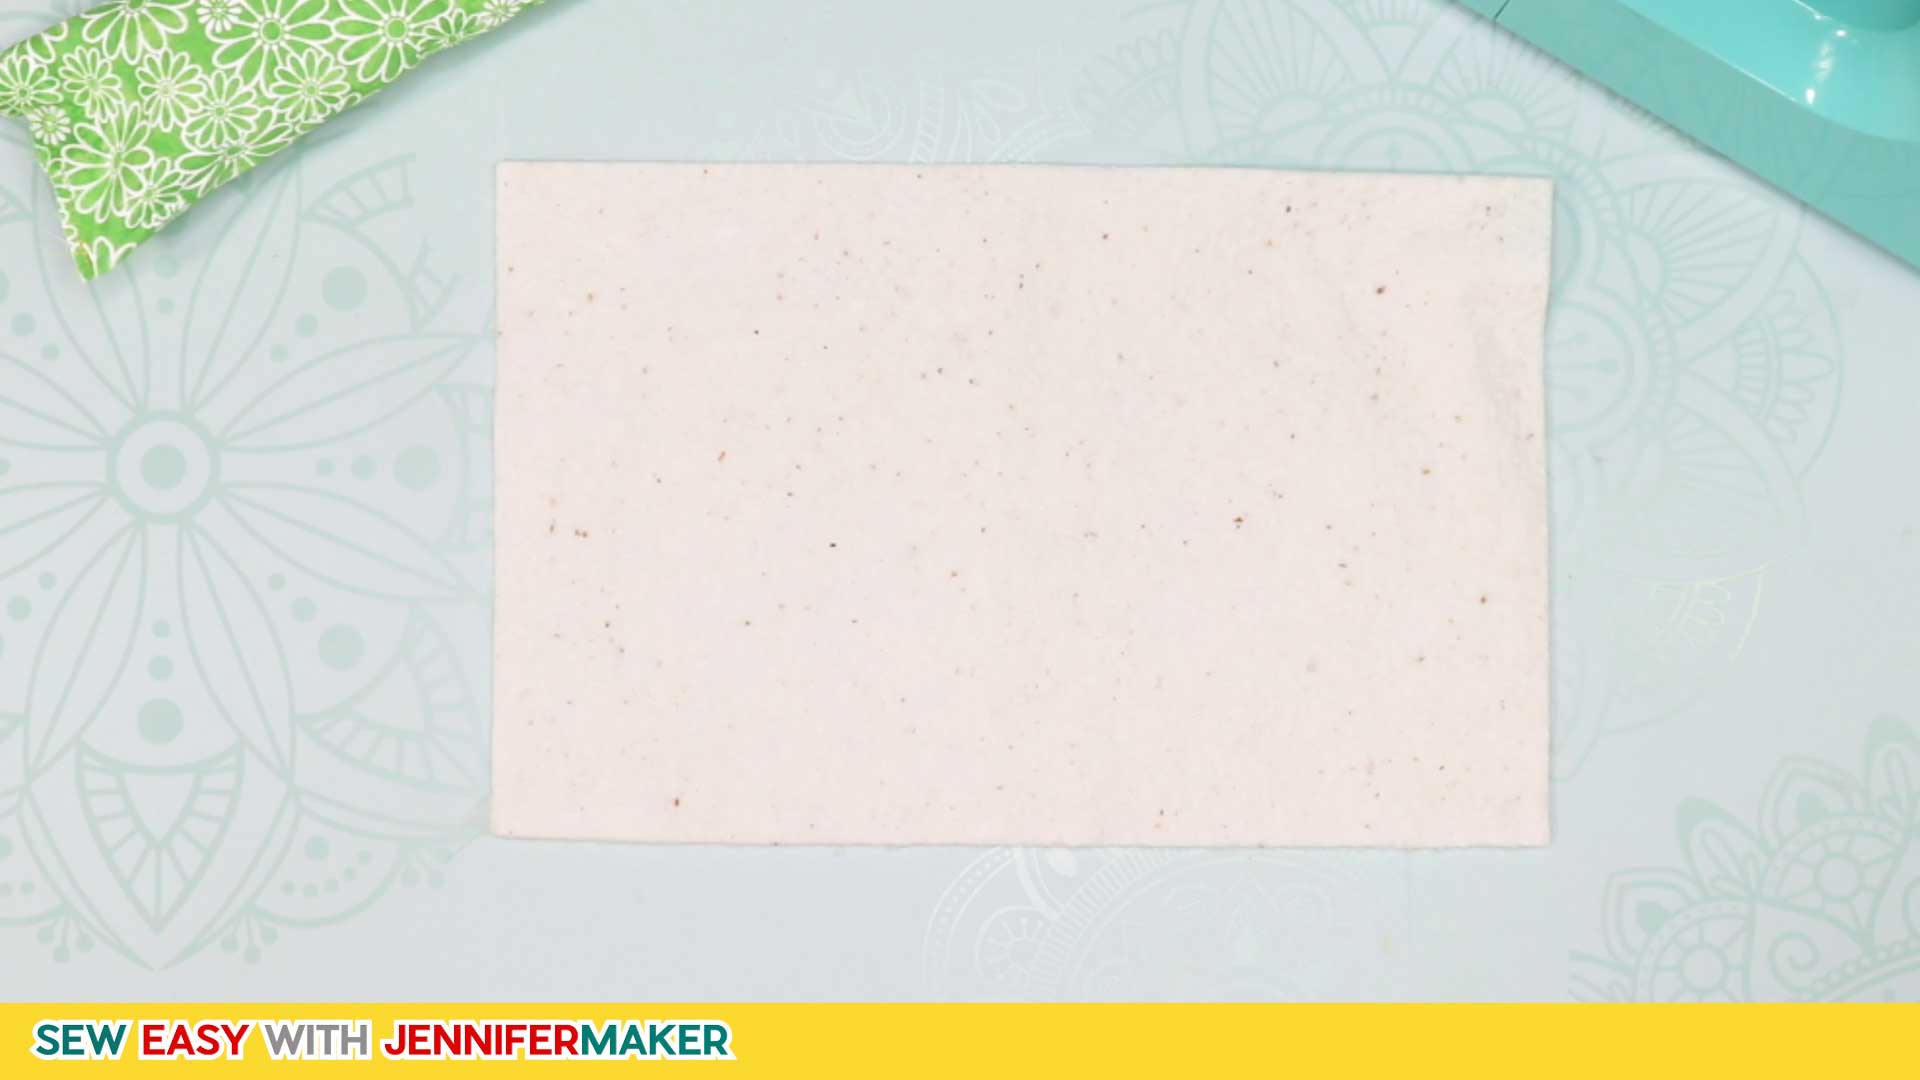
- Heavyweight fusible interfacing cut to 7.5″ x 18.5″ (I used this exact brand)
- Matching (or coordinating) thread (I used the yellow #855 thread from this box)
- Thread snips
- Pins
- Rotary cutter, cutting mat, and metal ruler
- Iron and pressing mat
- A way to cut your fabric and interfacing. I used the amazing Cricut Maker (learn more about how to cut fabric on the Cricut here) but you can use also use a rotary cutter or scissors)
- Cricut Pink FabricGrip Mat, 12″ x 24″ (alternative) (optional for those who use the Cricut Maker)
- Rotary Blade (optional for those who use the Cricut Maker)
- Washable Fabric Pen (optional)
- A way to sew your pieces together (I used this beginner sewing machine, but you could also just hand sew this organizer)
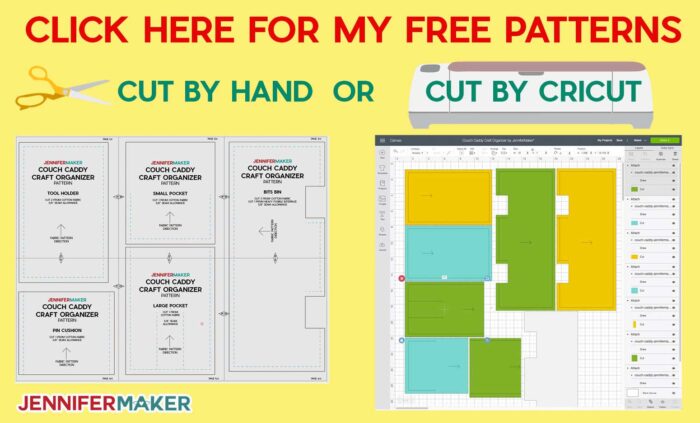
- Design #212 – My free Couch Caddy pattern and SVG cut file (click here to download it free!)
How to Sew a Couch Caddy Craft Organizer
Couch Caddy Craft Organizer
How to sew a Couch Caddy Craft Organizer so you can craft at your favorite armchair or sofa!
Materials
Tools
Instructions
Step 1: Get the Pattern and Cut Out Your Fabric
Download my free Couch Caddy pattern here!
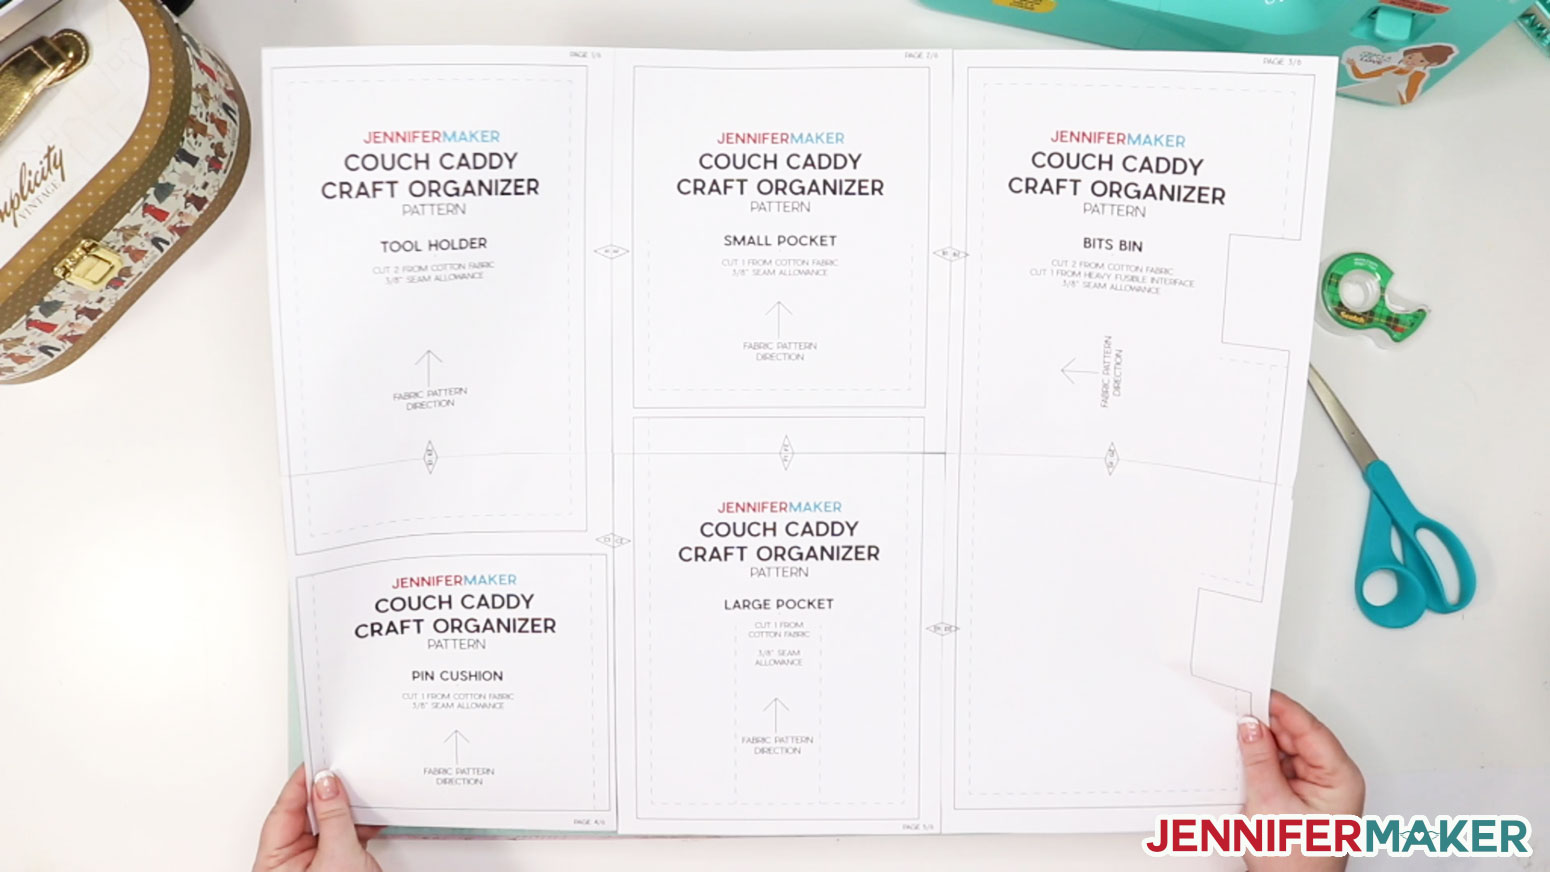
My Couch Caddy pattern comes in two different formats. You can get a printable PDF for cutting by hand or an SVG cut file for cutting with a cutting machine, like a Cricut Maker. Choose the one you want to download and be sure to unzip it to access the contents.
Here's what the printable PDF pattern looks like after you download and print it:
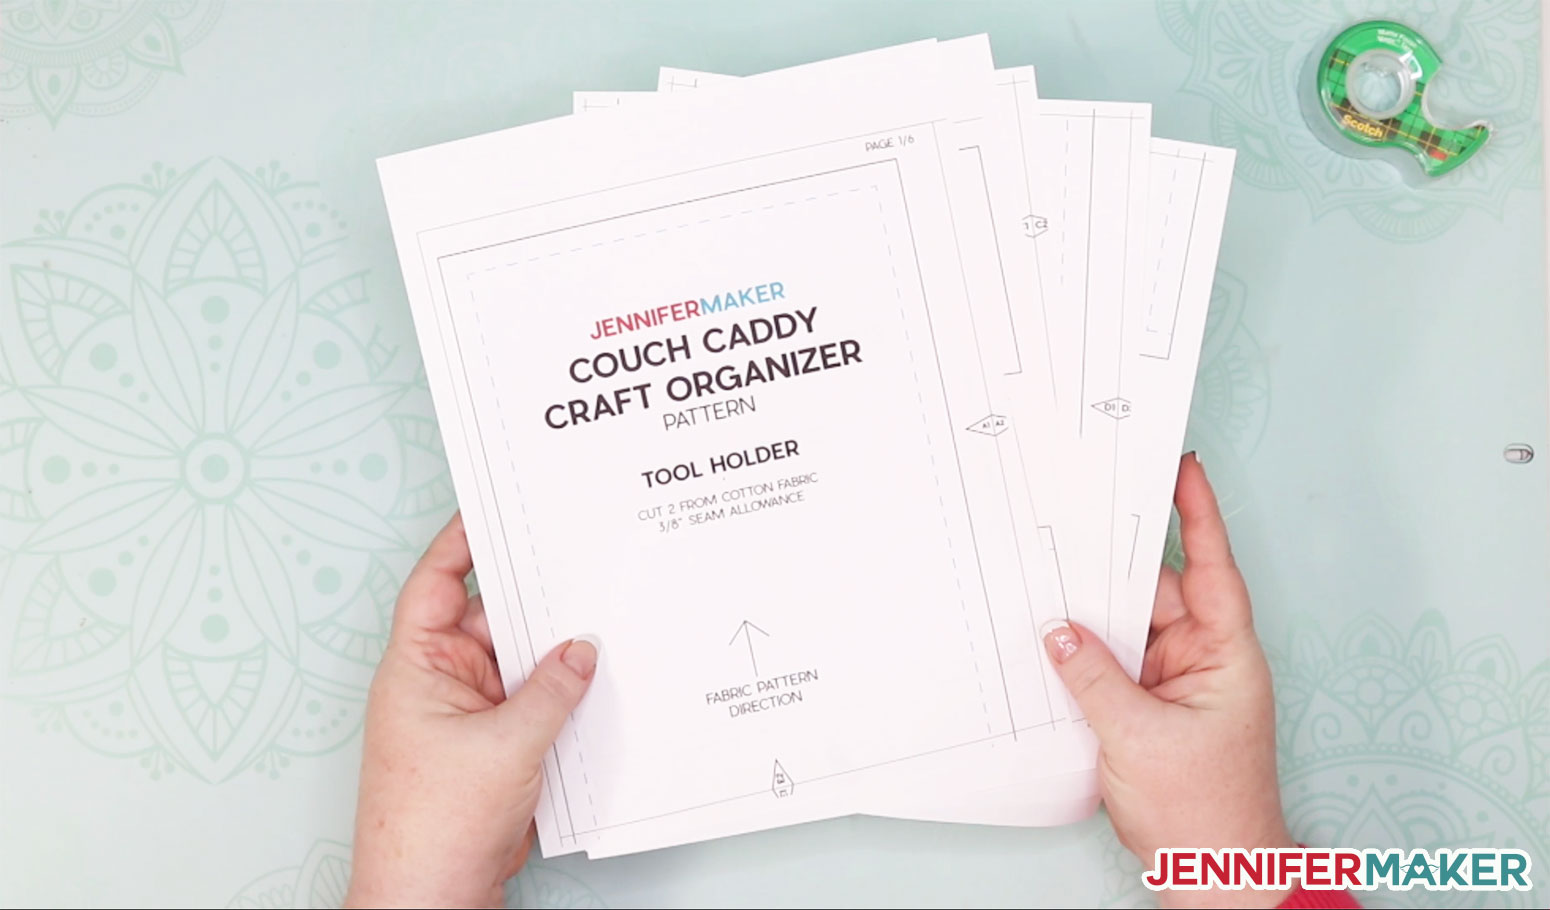
To piece the printed pattern together, trim and match up the letters along each side. For example, sheet A1 goes with sheet A2, B1 goes with B2, etc. Tape together then cut out each pattern piece along the solid line. Each pattern piece tells you how many pieces of fabric to cut, as well as which direction to put any pattern you may have on your fabric.
If you want to cut the fabric on your Cricut (Explore or Maker), check out my guide on how to cut fabric with Cricut!
Here’s what the SVG cut file for a cutting machine will look like once uploaded to Cricut Design Space:
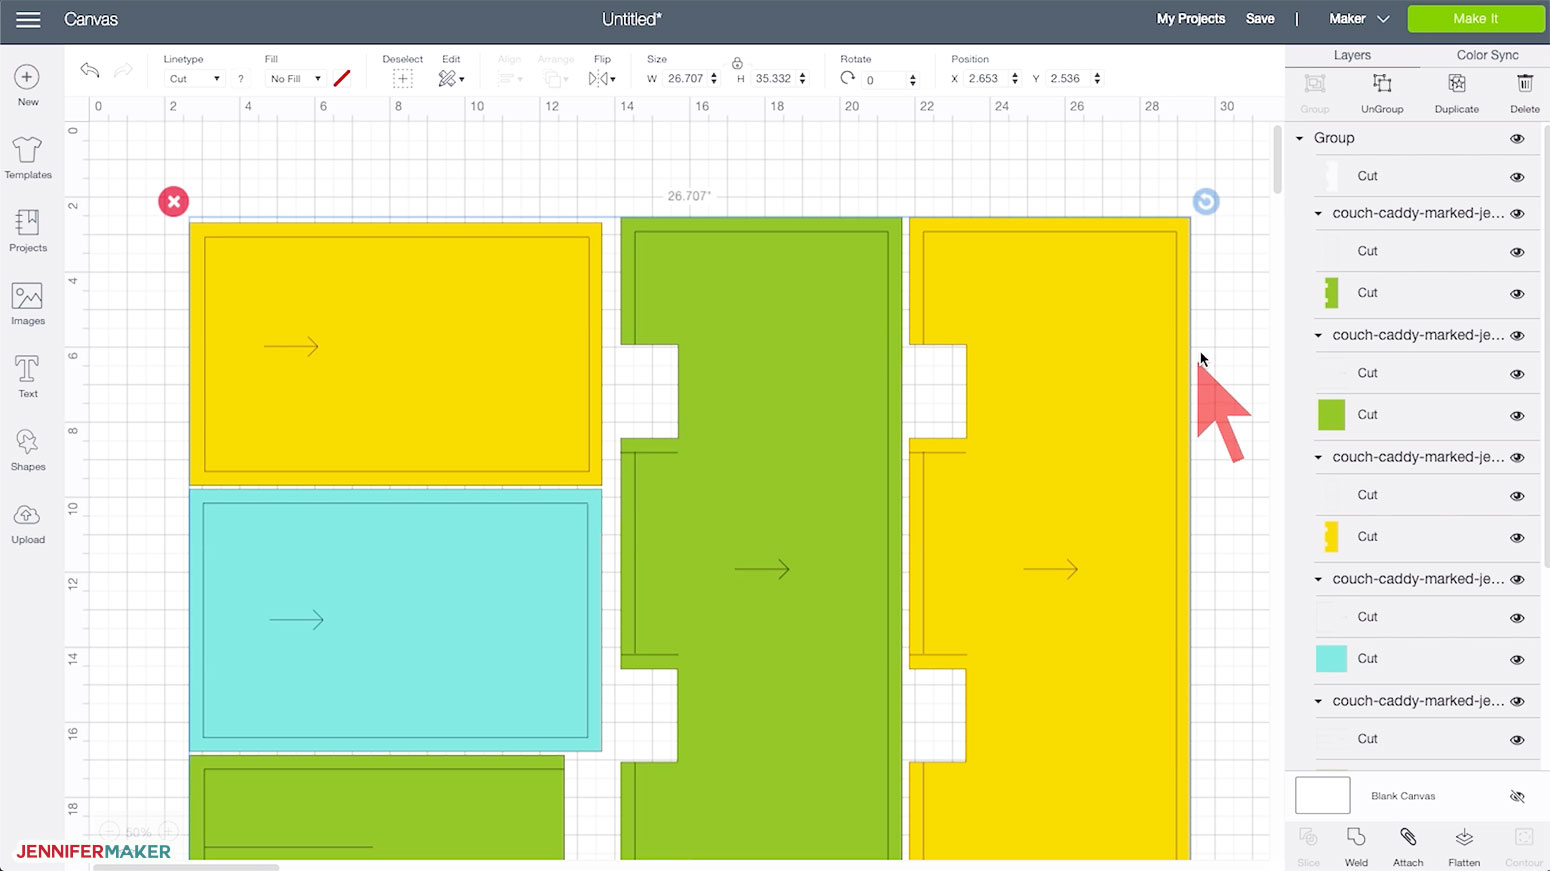
Tip: If you’re not sure how to upload an SVG cut file to Cricut Design Space, watch this helpful video training series I made.
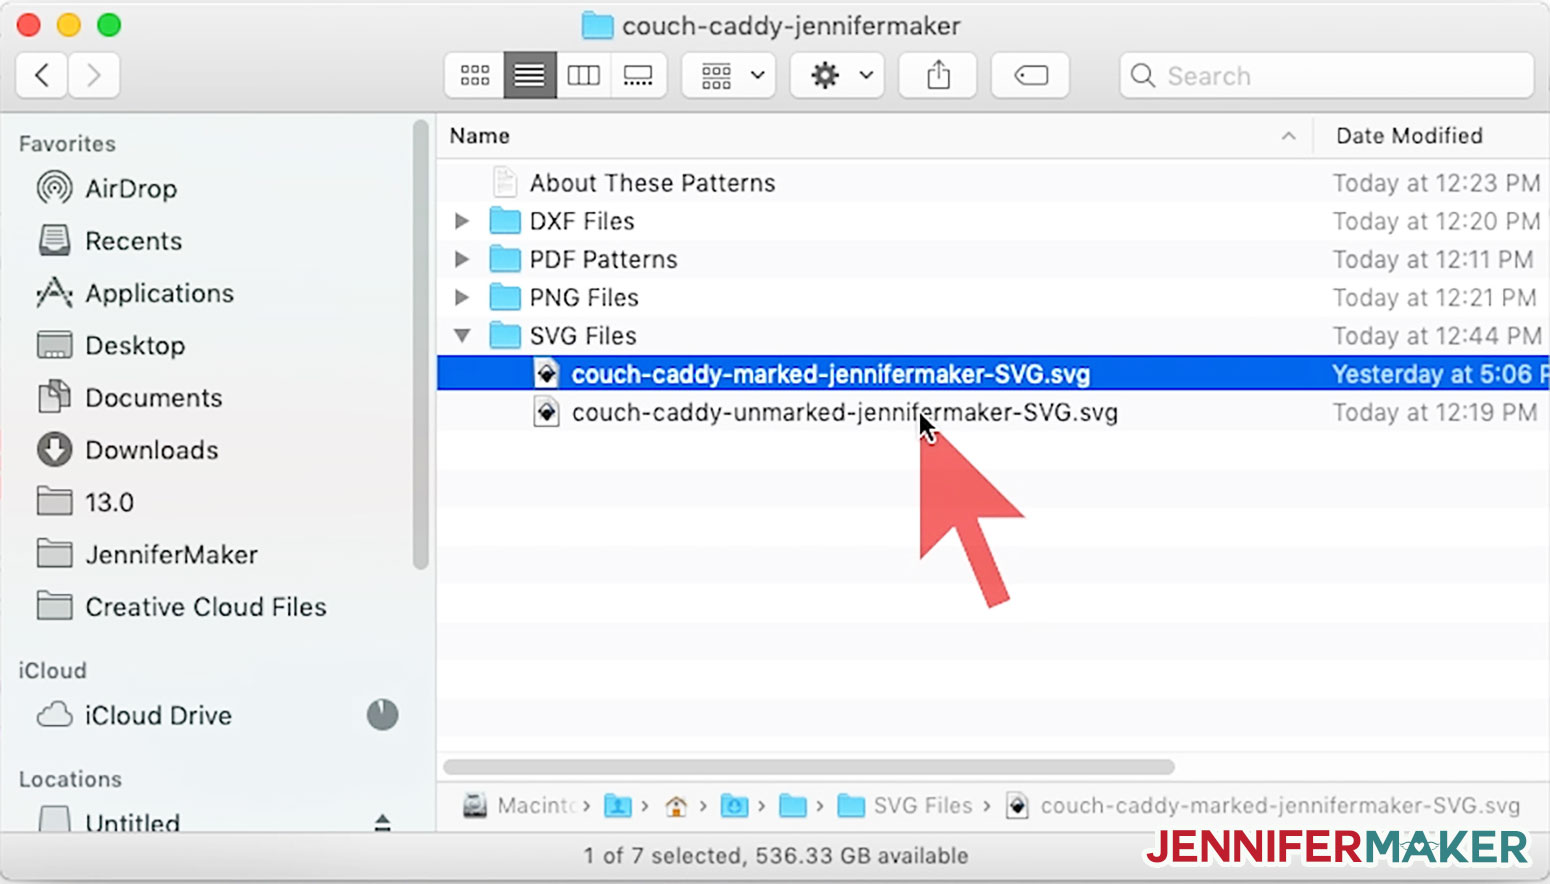
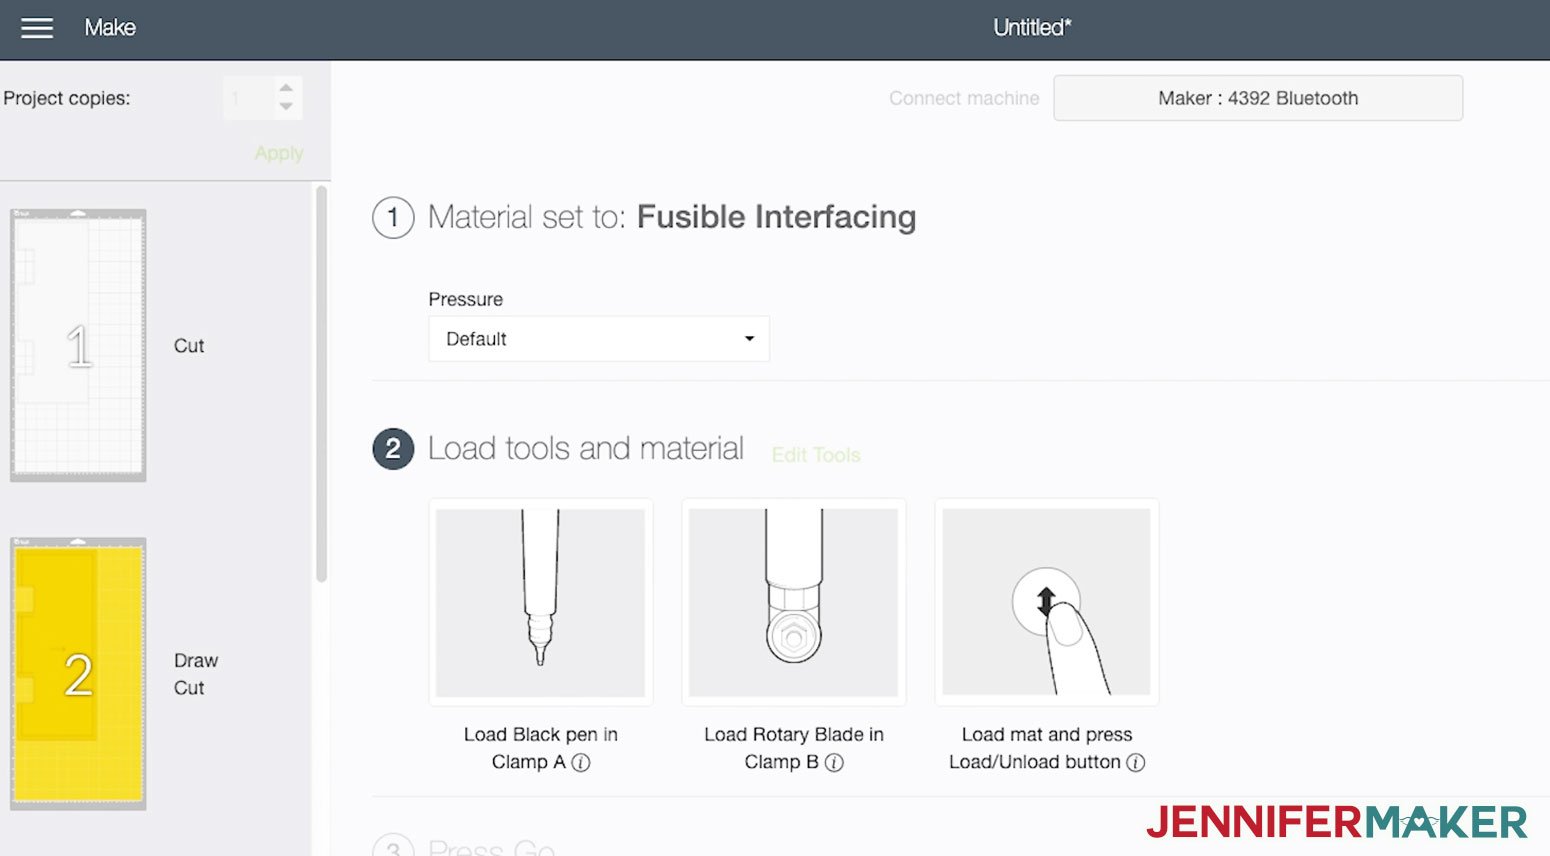
If you're going to put a washable fabric pen in your Cricut, upload the couch-caddy-marked-jennifermaker-SVG.svg file. If you're not using a pen, upload the couch-caddy-unmarked-jennifermaker-SVG.svg file.
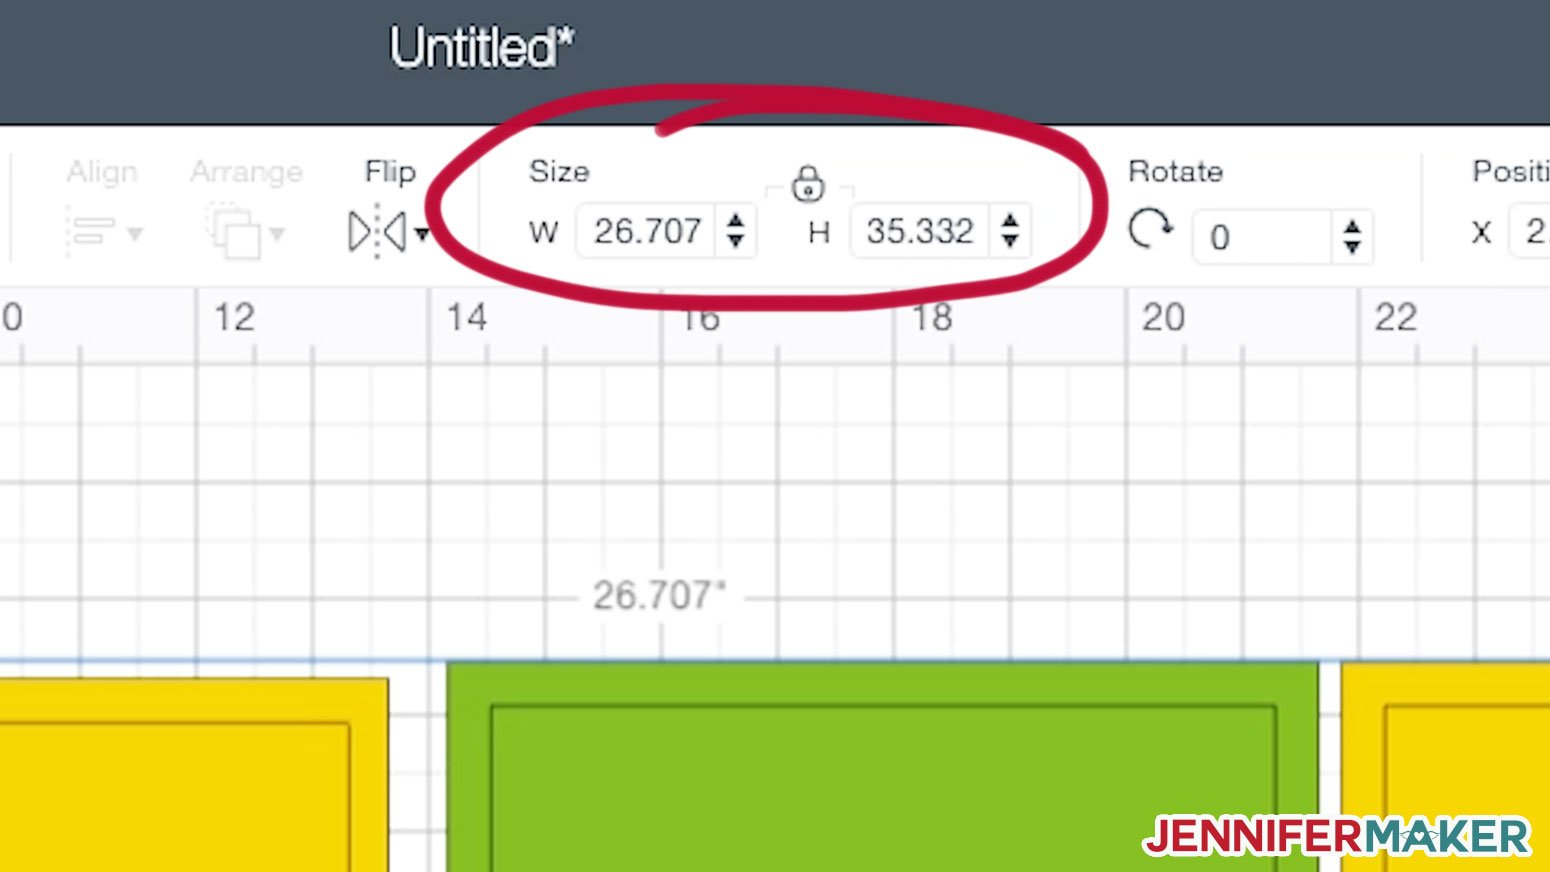
NOTE: When you insert the image in Design Space, please verify the design size before you ungroup. (If you are using an iOS device, you may need to edit the design size.) The correct size of the SVG pattern is 26.707" wide and 35.332" tall.
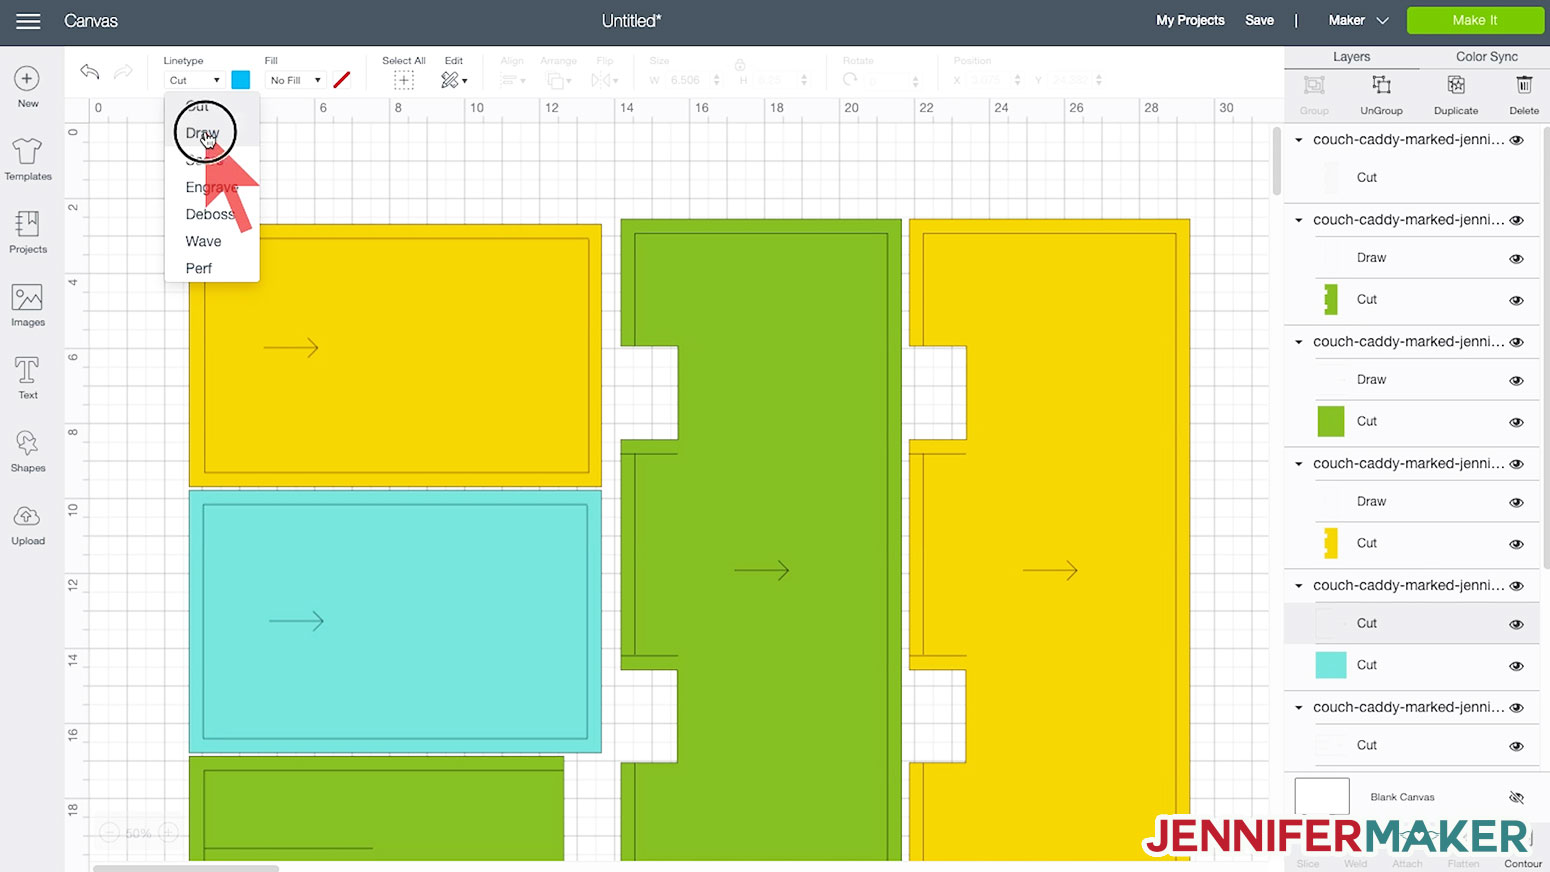
If you're using the marked file with a fabric pen, you'll need to prepare this SVG in Cricut Design Space a bit. First, Ungroup everything, change each line layer above each fabric cut layer to "Draw" in the Linetype menu, and attach each draw layer to the cut layer immediately below it. (Note: The interfacing layer does not have a draw layer.)
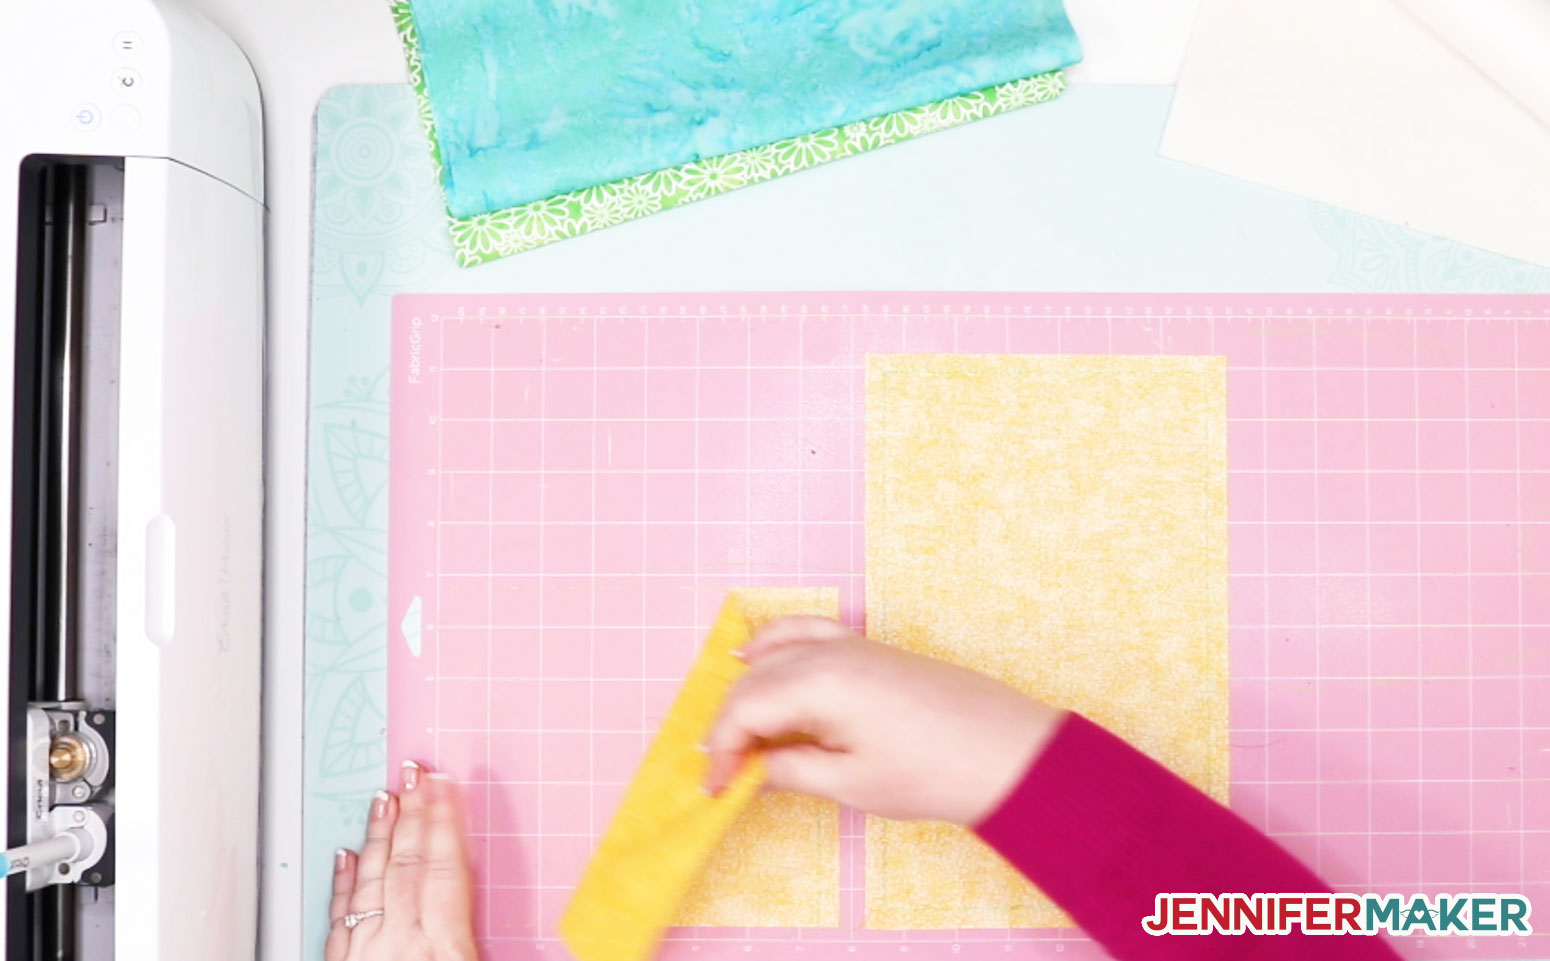
I cut my fabric on my Cricut Maker using the "Cotton" setting (and the "Fusible Interfacing" setting for the interfacing), both at "Normal" pressure.
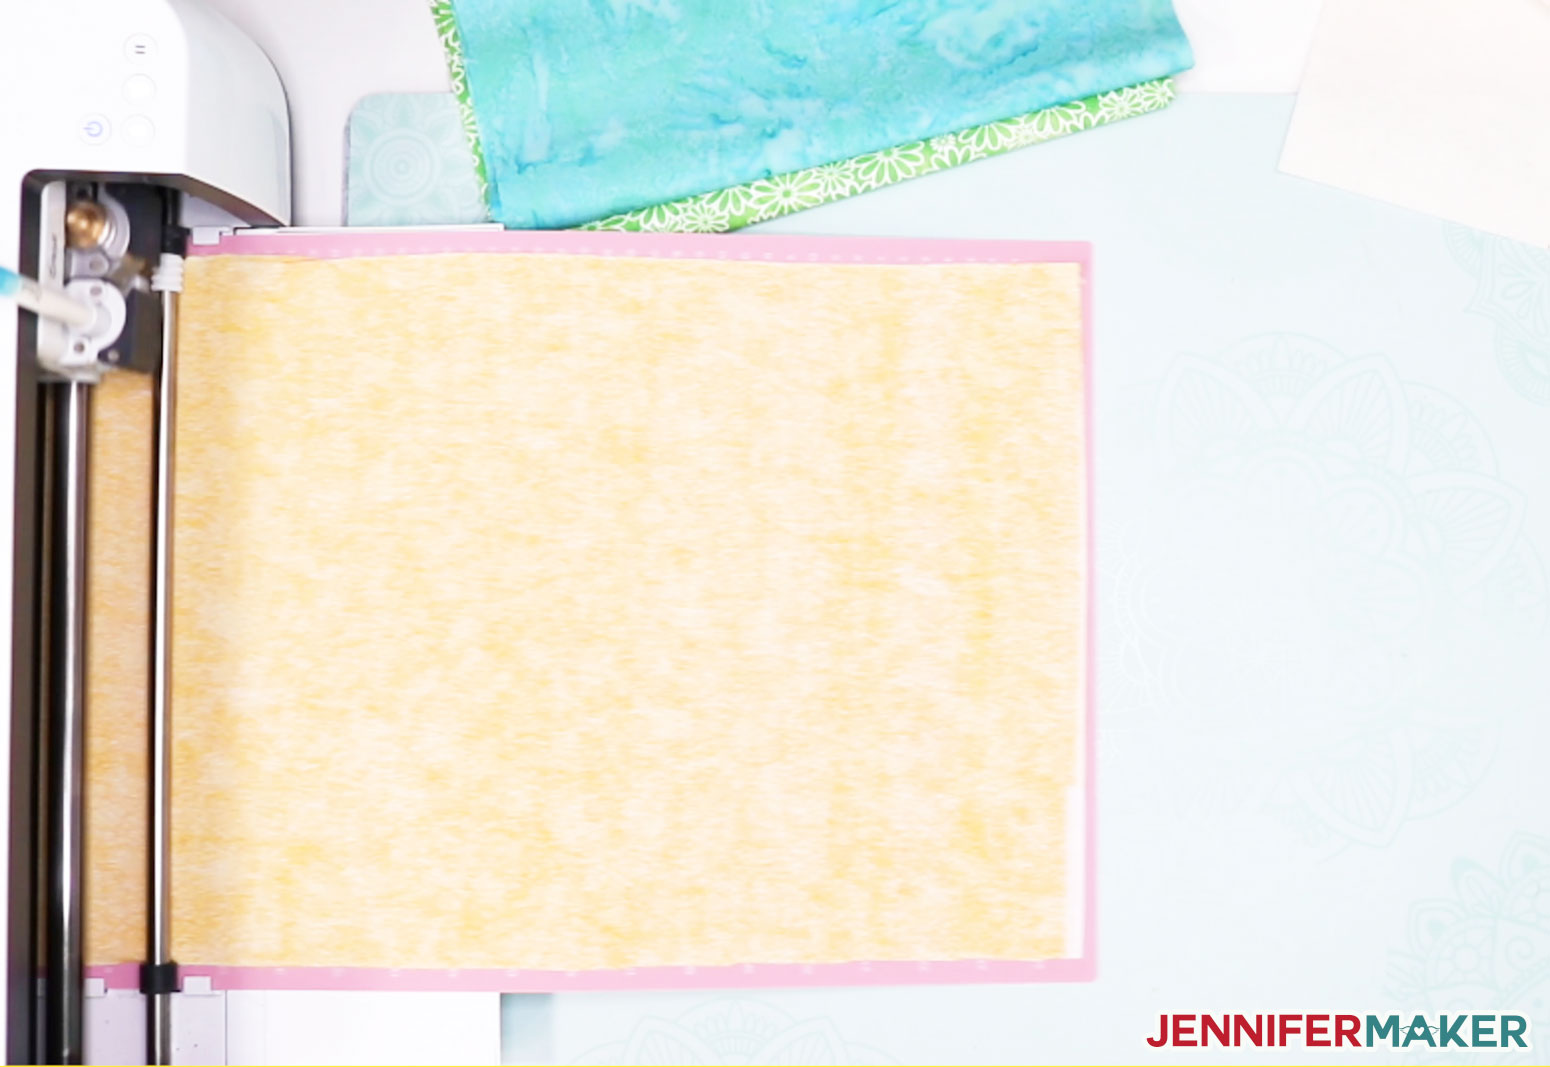
I cut my fabric on a pink 12" x 24" FabricGrip mat and it worked like a charm. I put my fabric on my mat right side down by habit, but it's not crucial that you do this. What matters is that any design or pattern on your fabric is all going in the same direction as the arrows marked on the SVG so that your finished project has the designs and patterns going in the same direction, too.
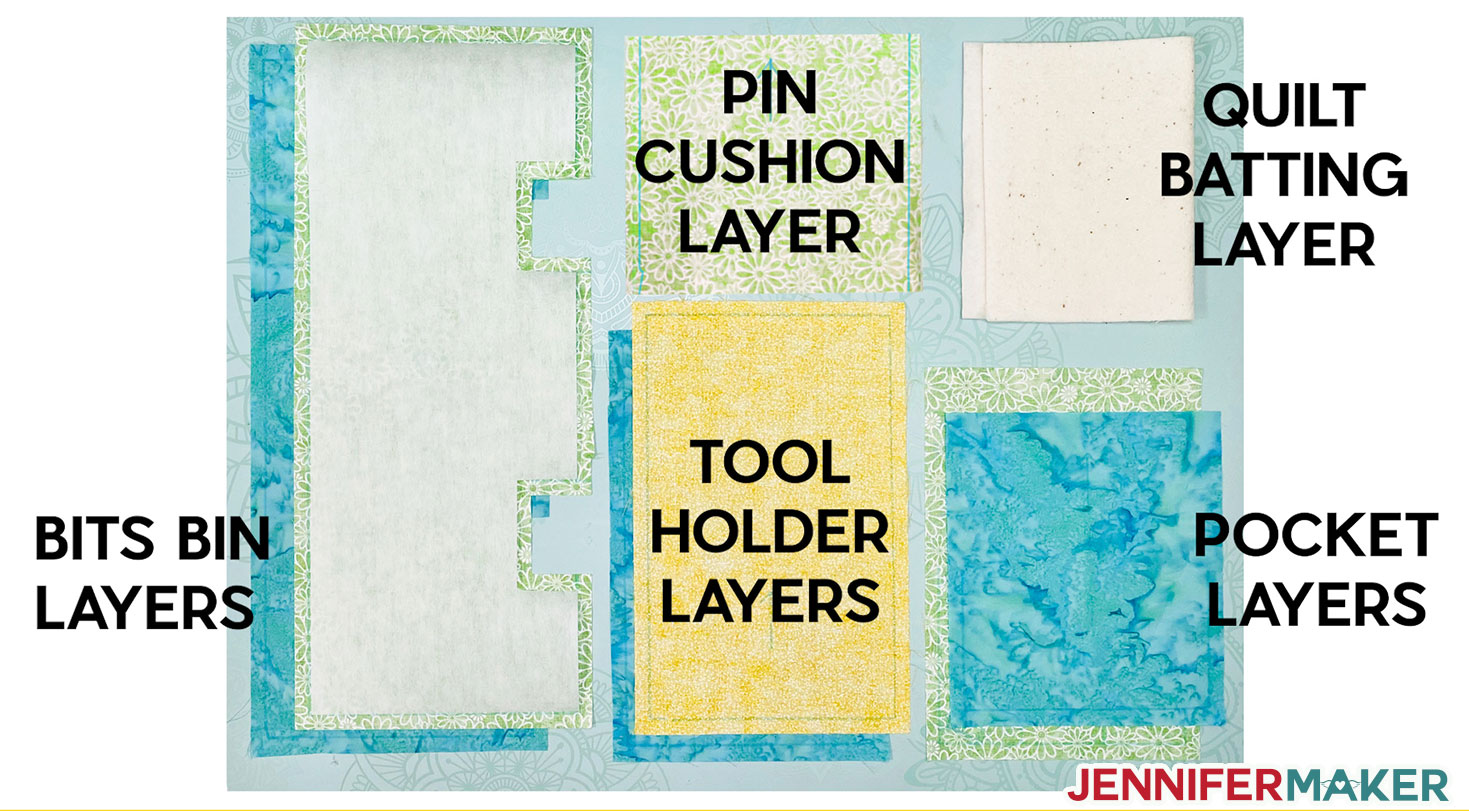
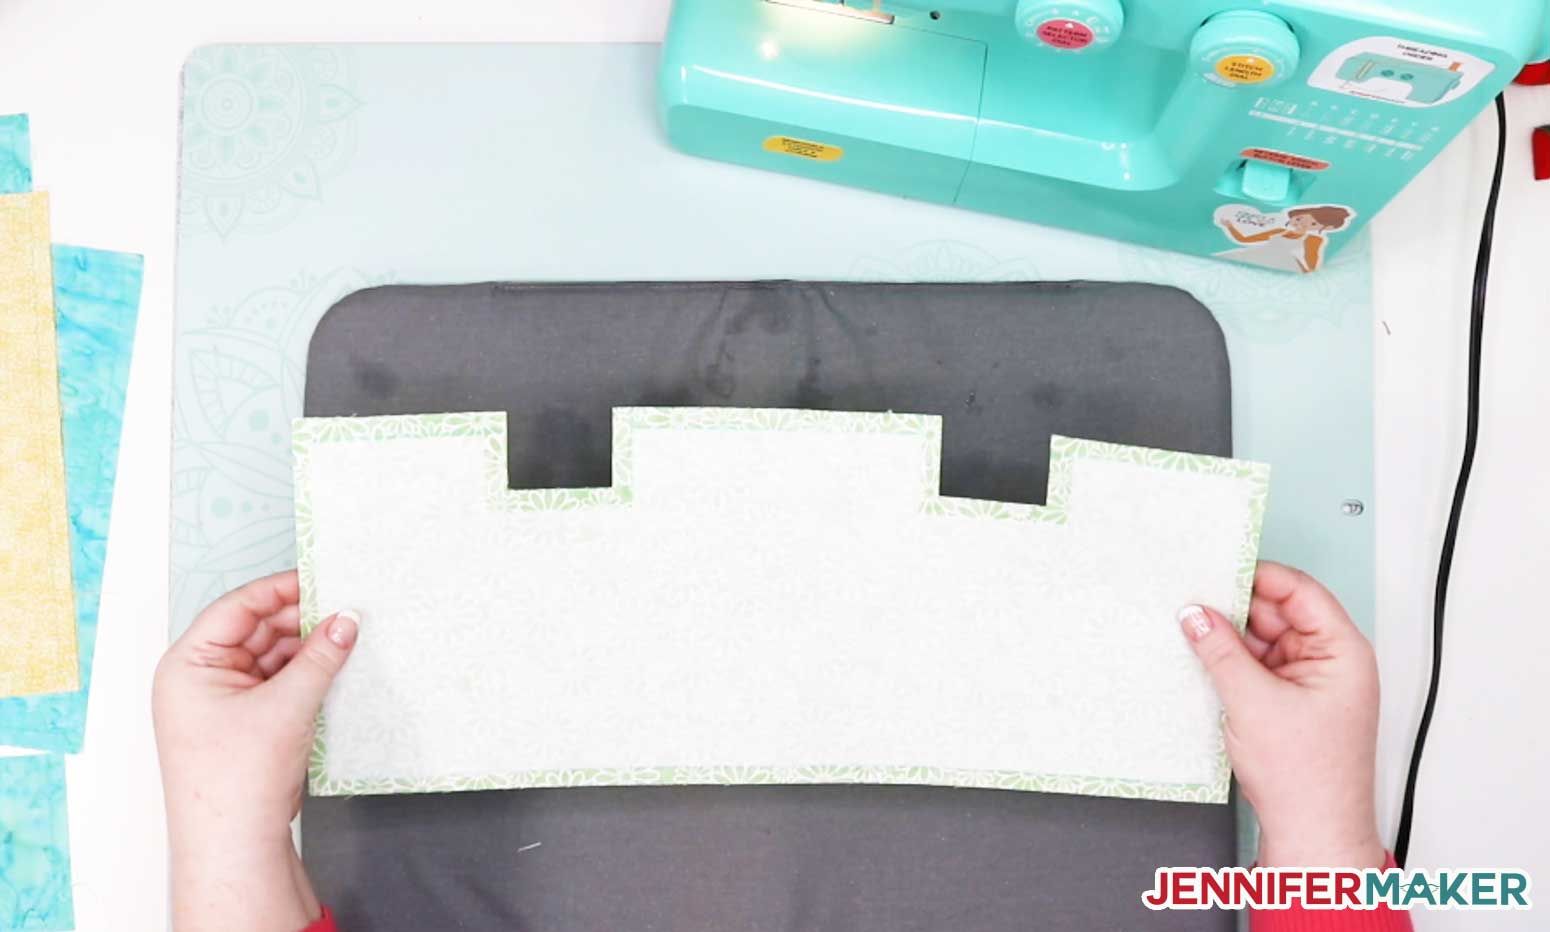
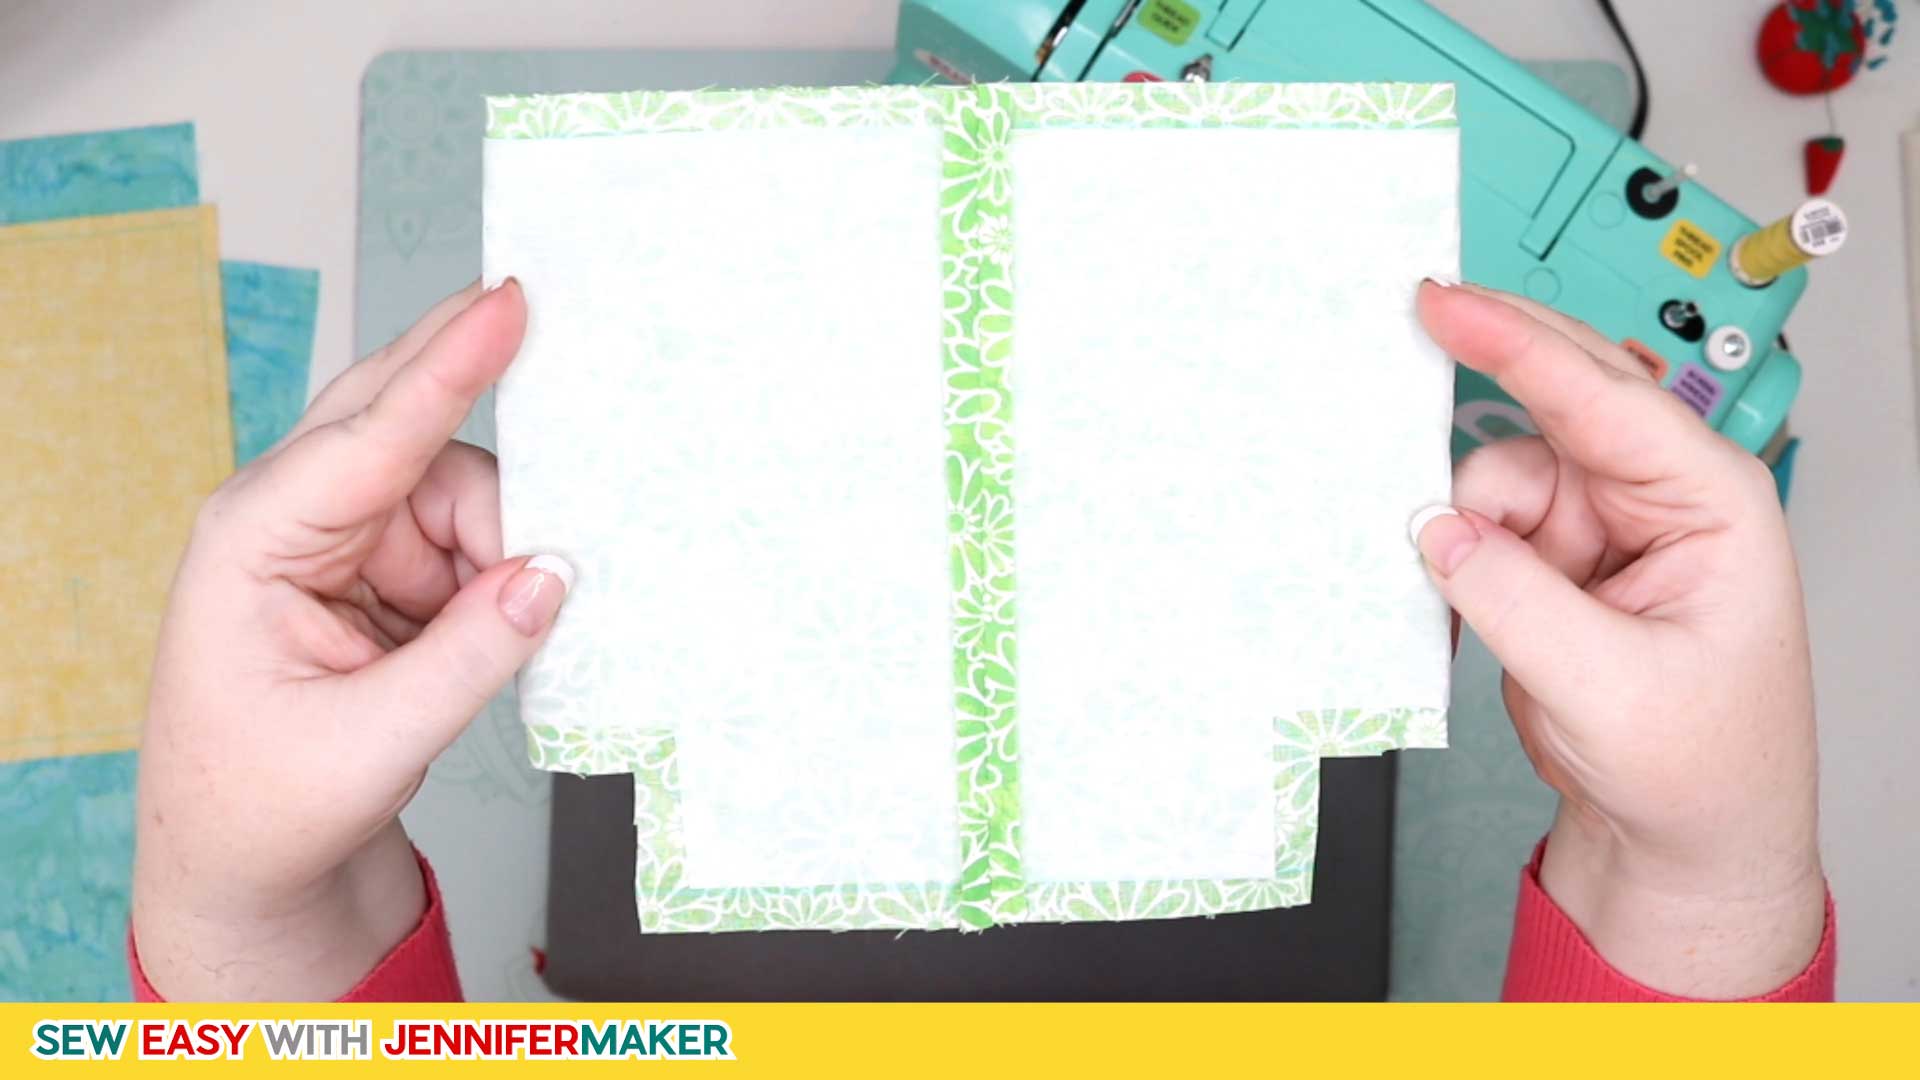
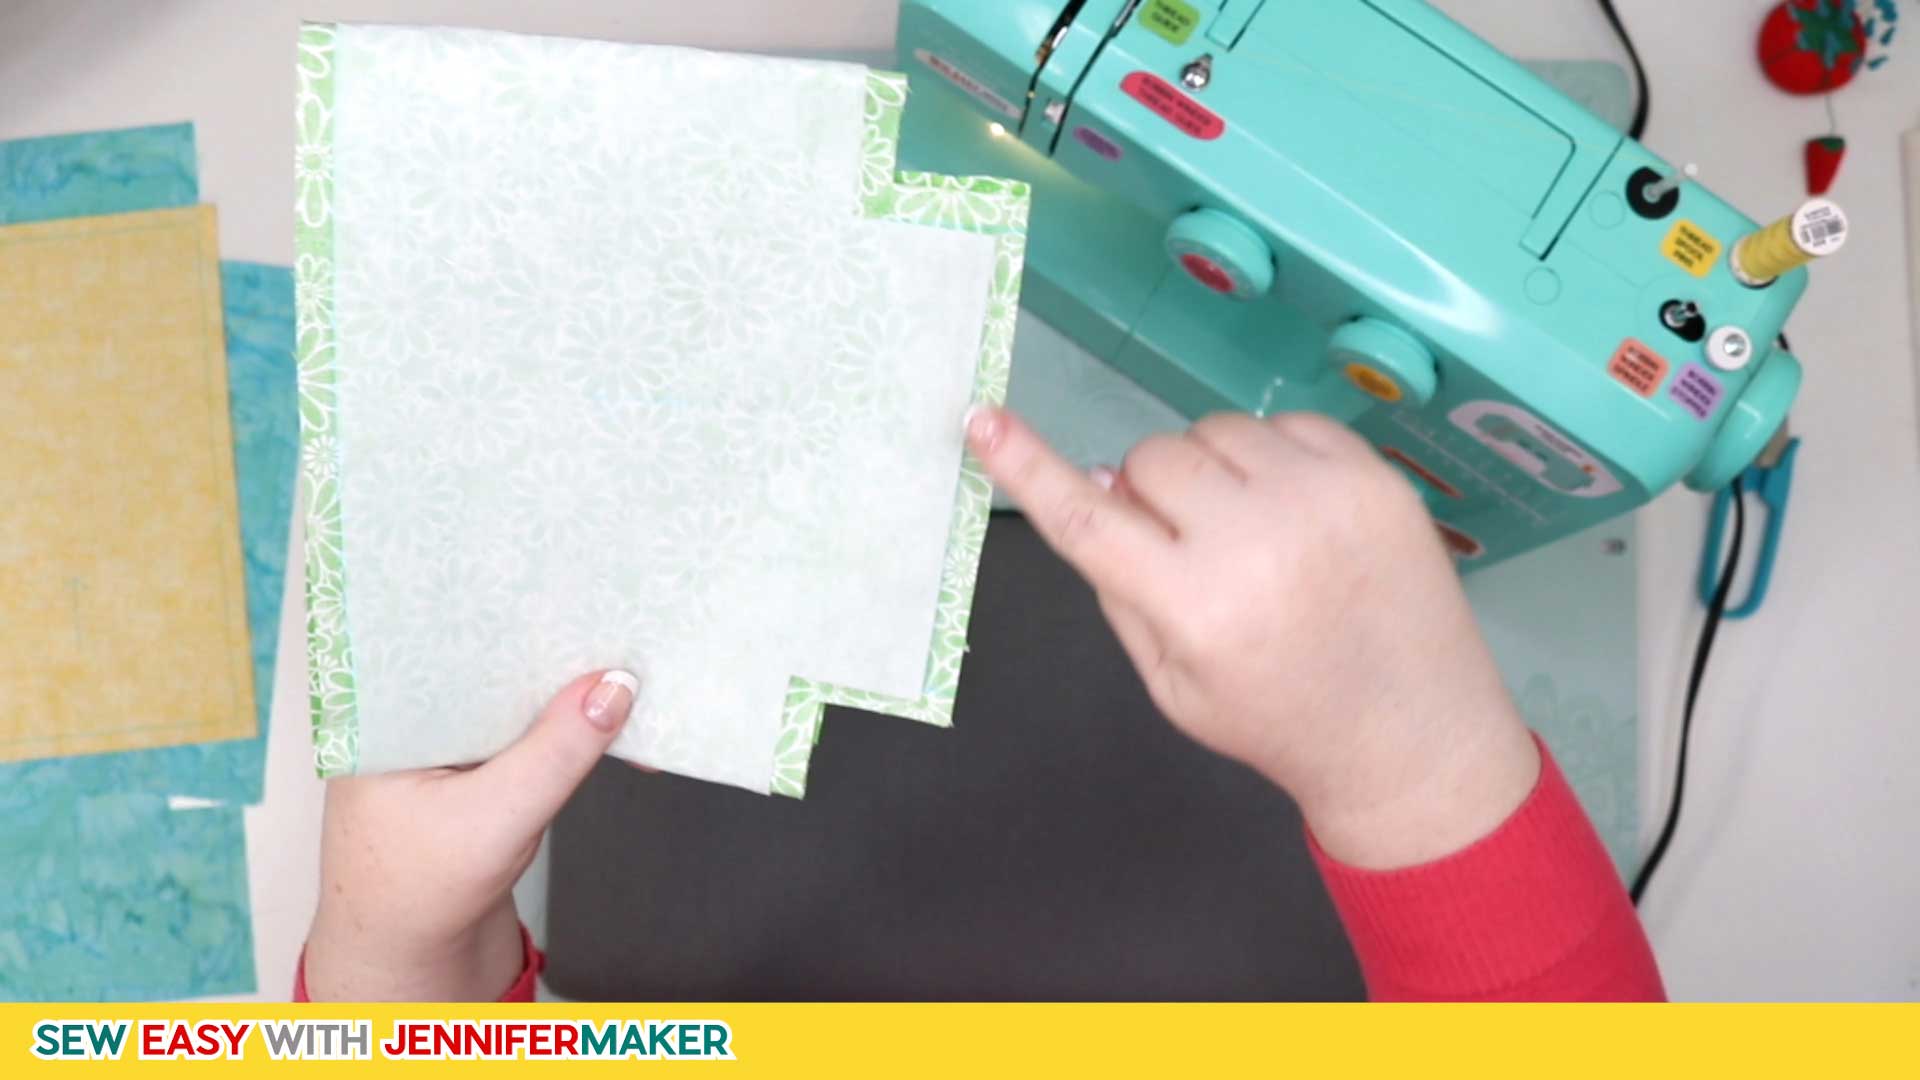
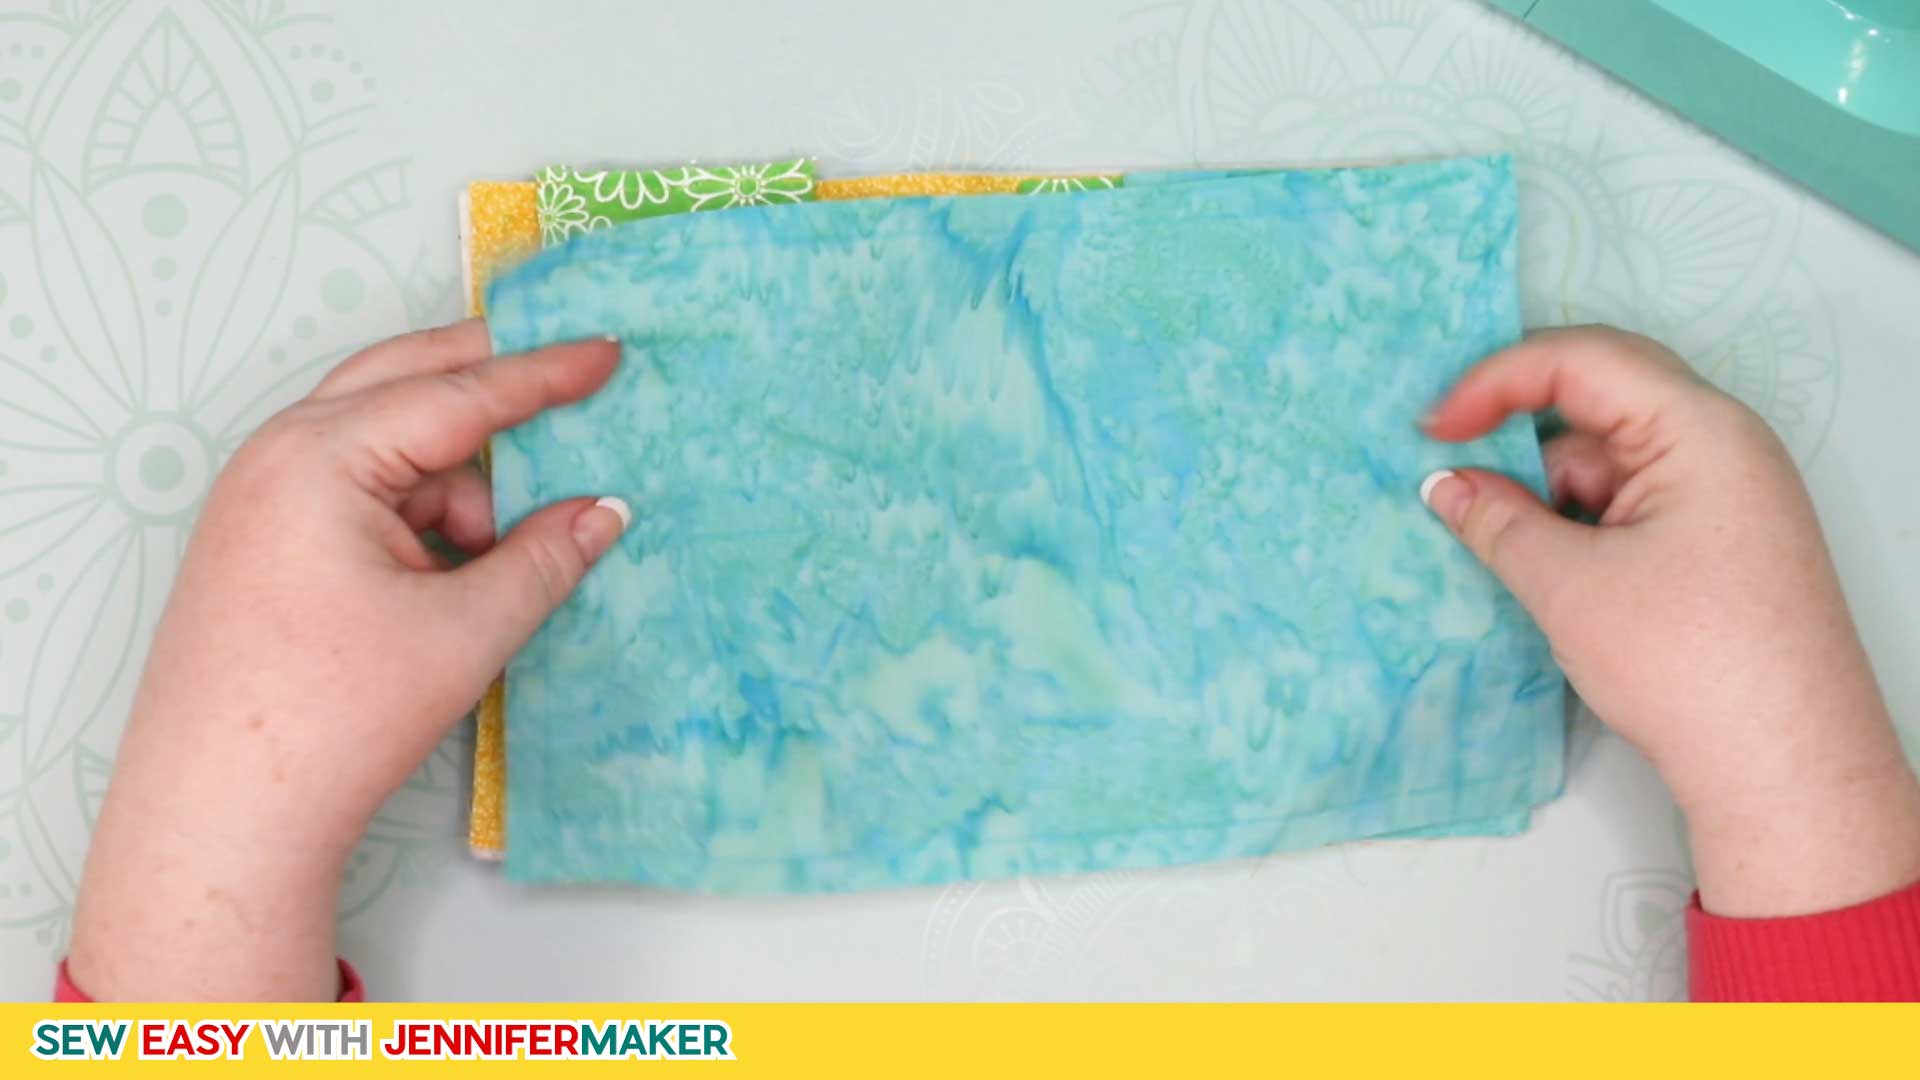
Here's what all the pattern pieces look like after you've cut them out. On the left you see the Bits Bin layers of two cotton layers and one interfacing layer. In the middle are two layers of the Tool Holder at the bottom, and the Pin Cushion layer at the top. And on the right are the two pockets, large and small, on the bottom, and a piece of quilt batting at the top.
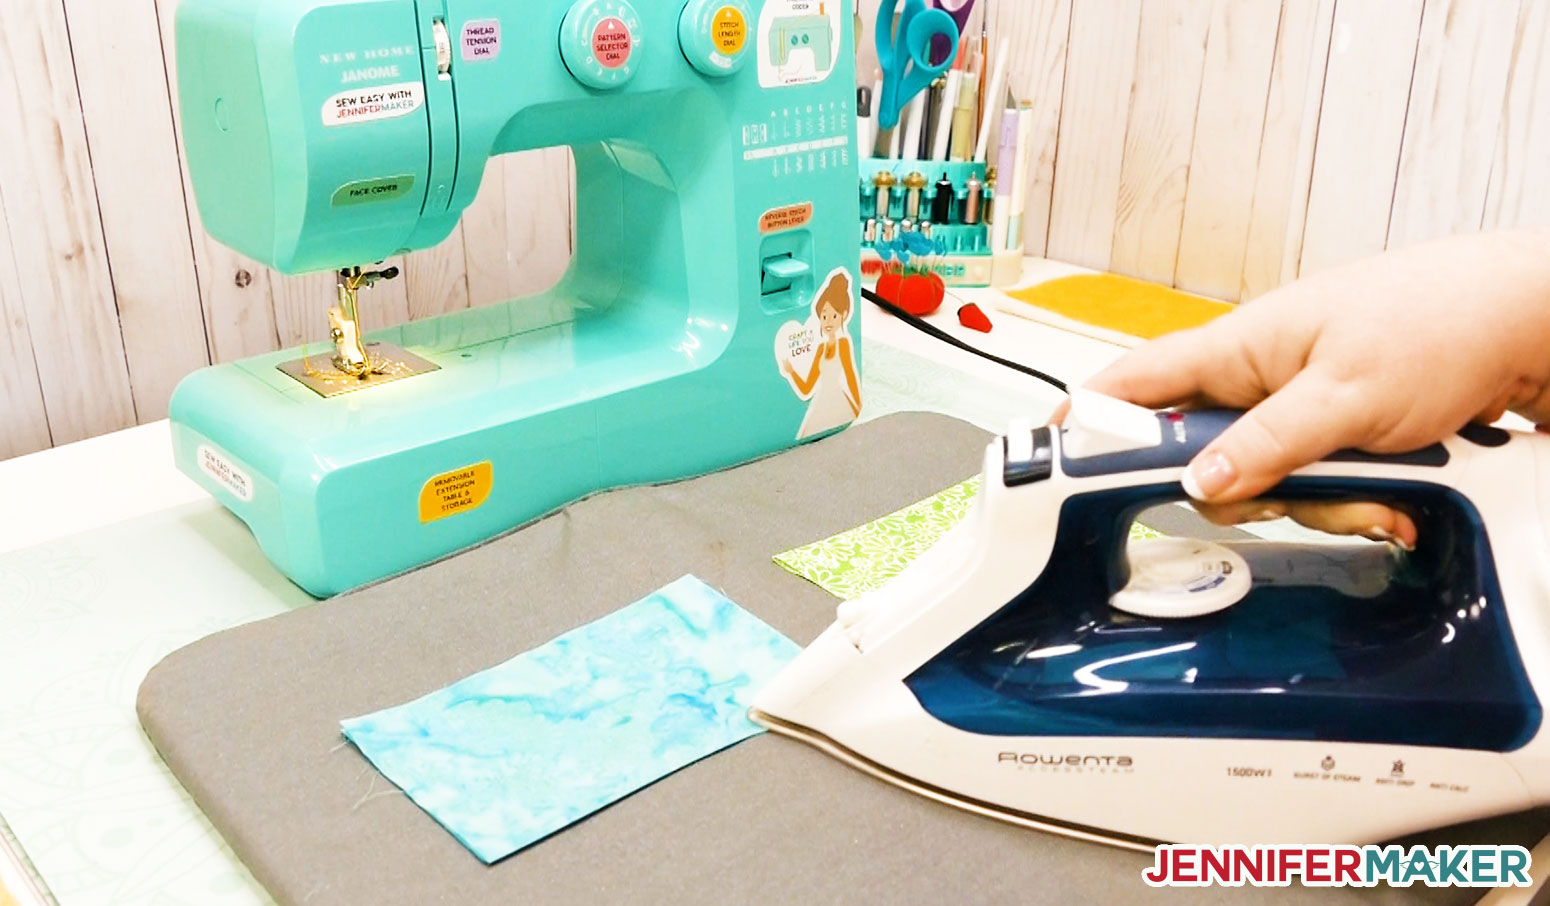
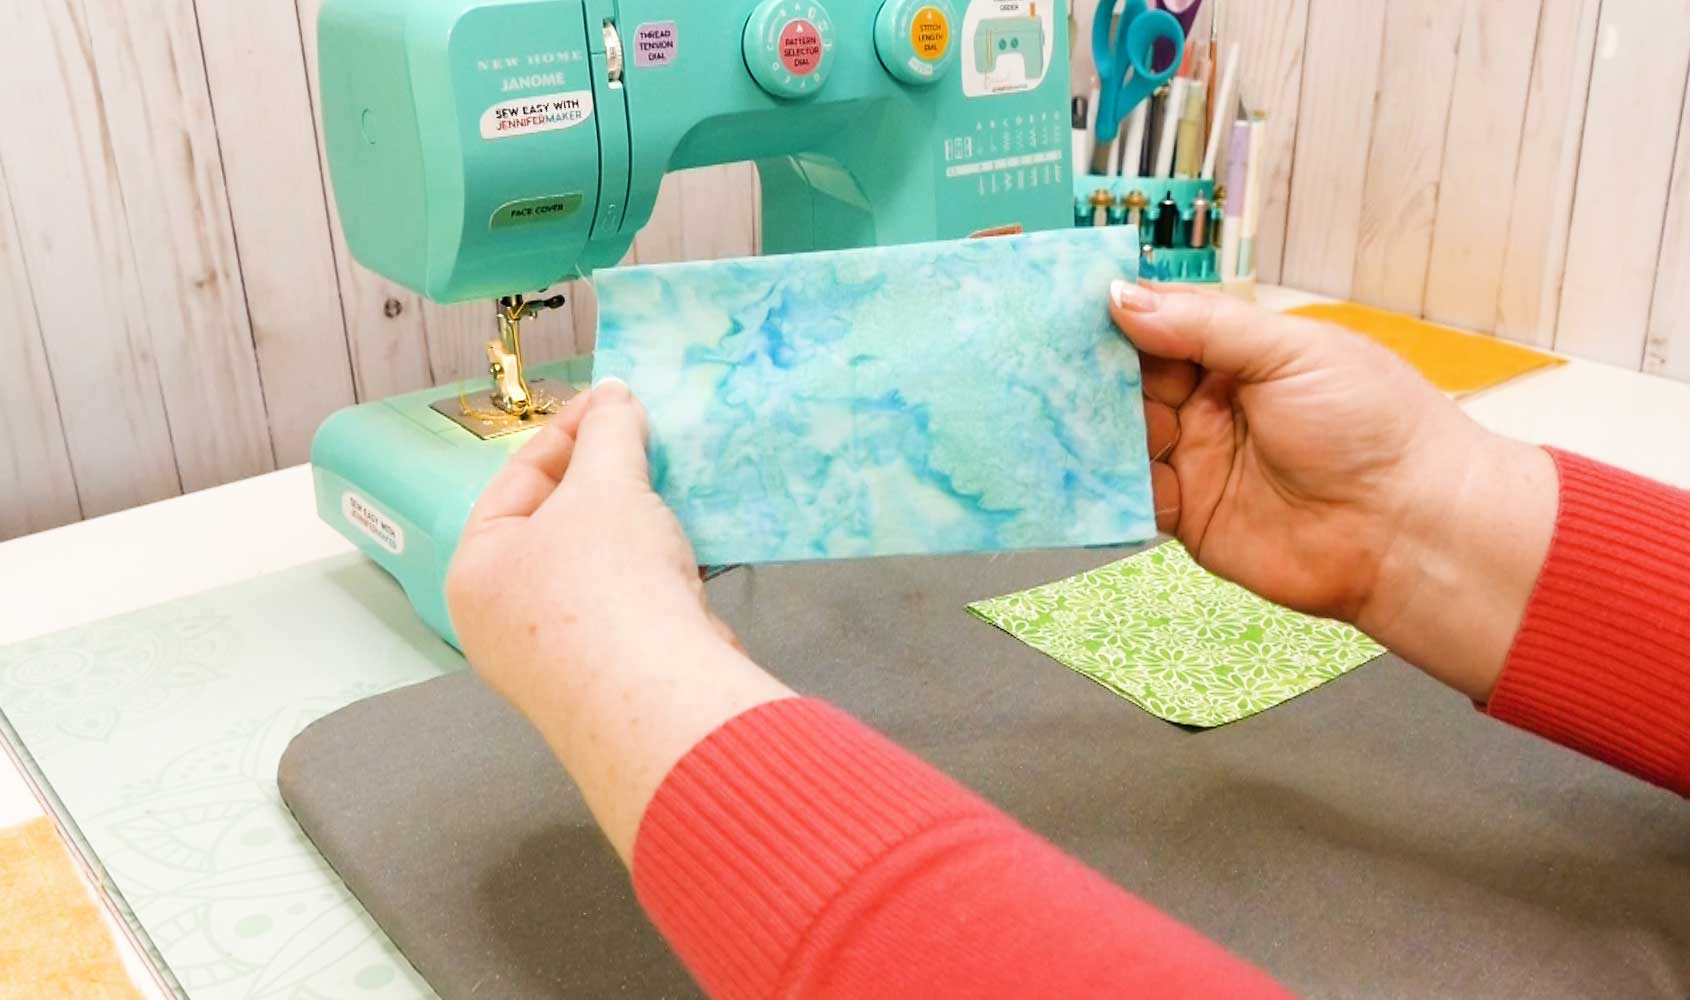
Step 2: Press Fabric and Fuse
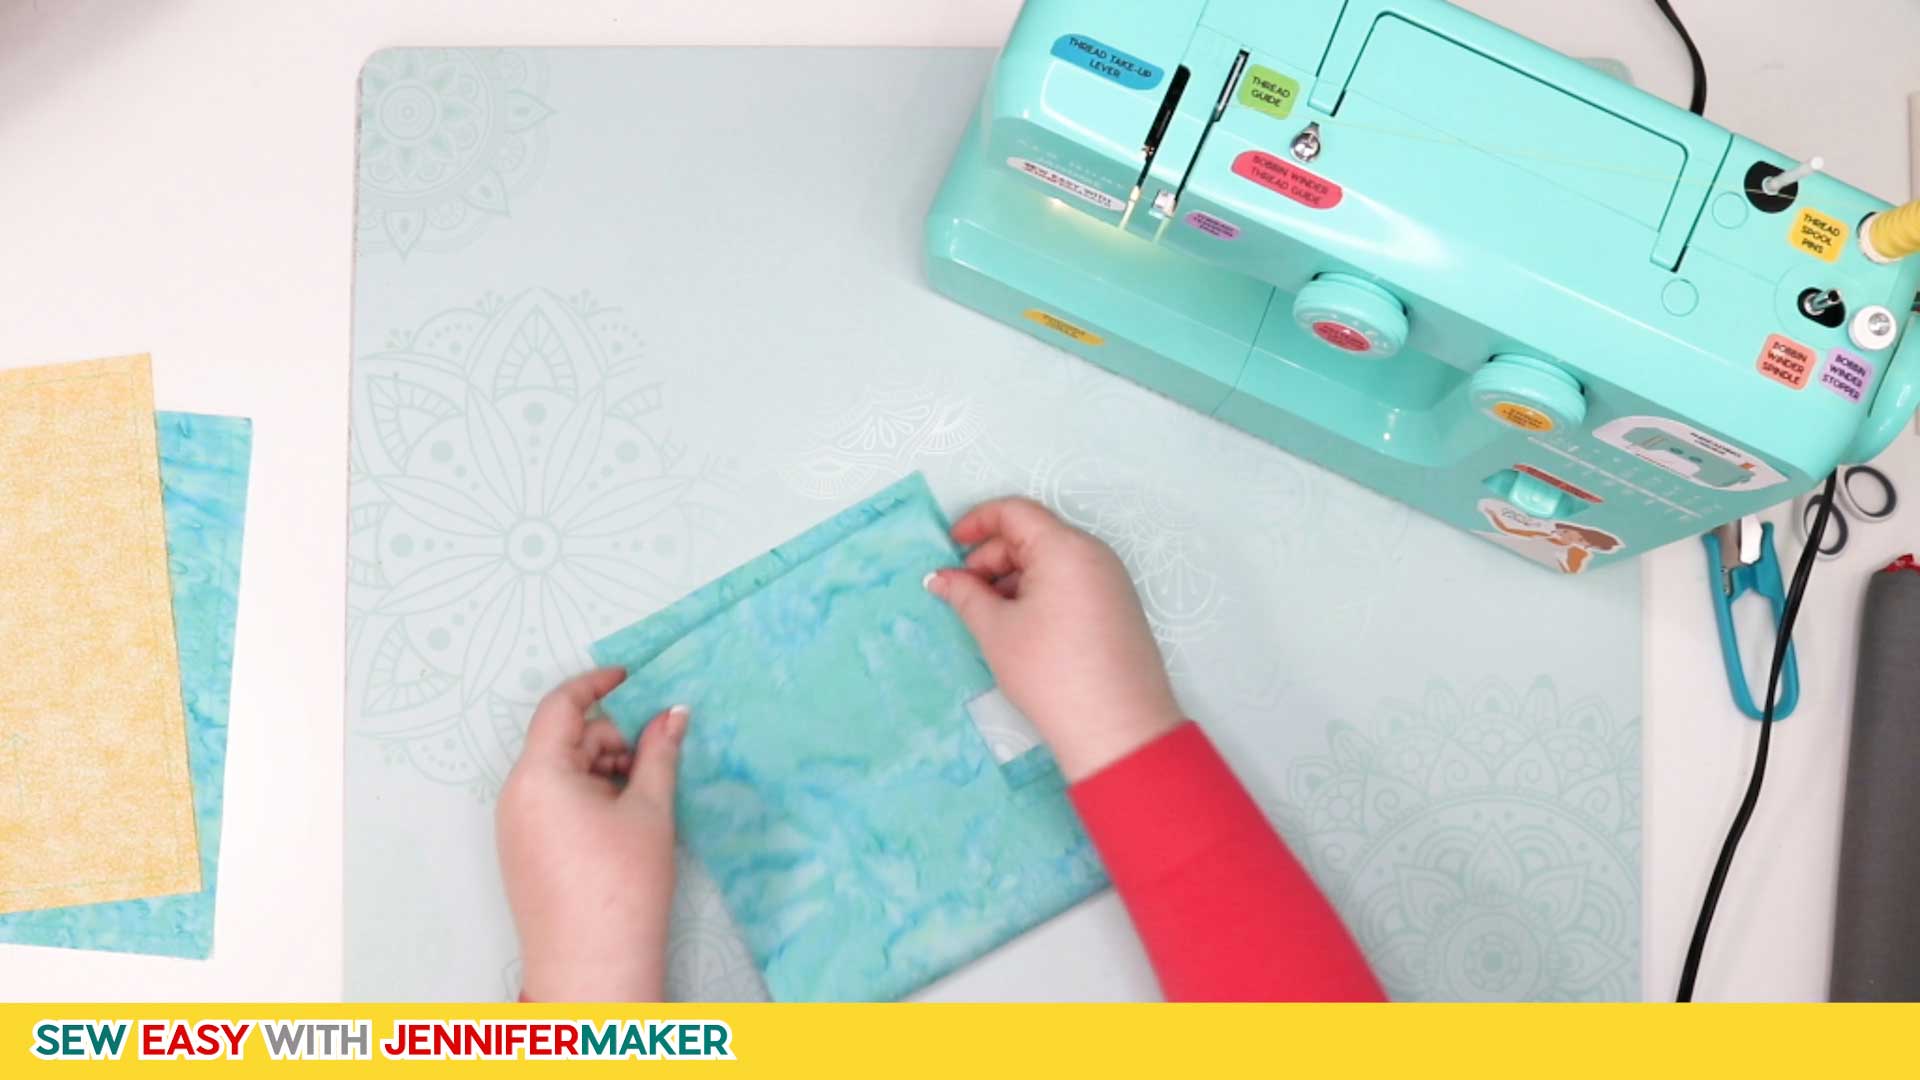
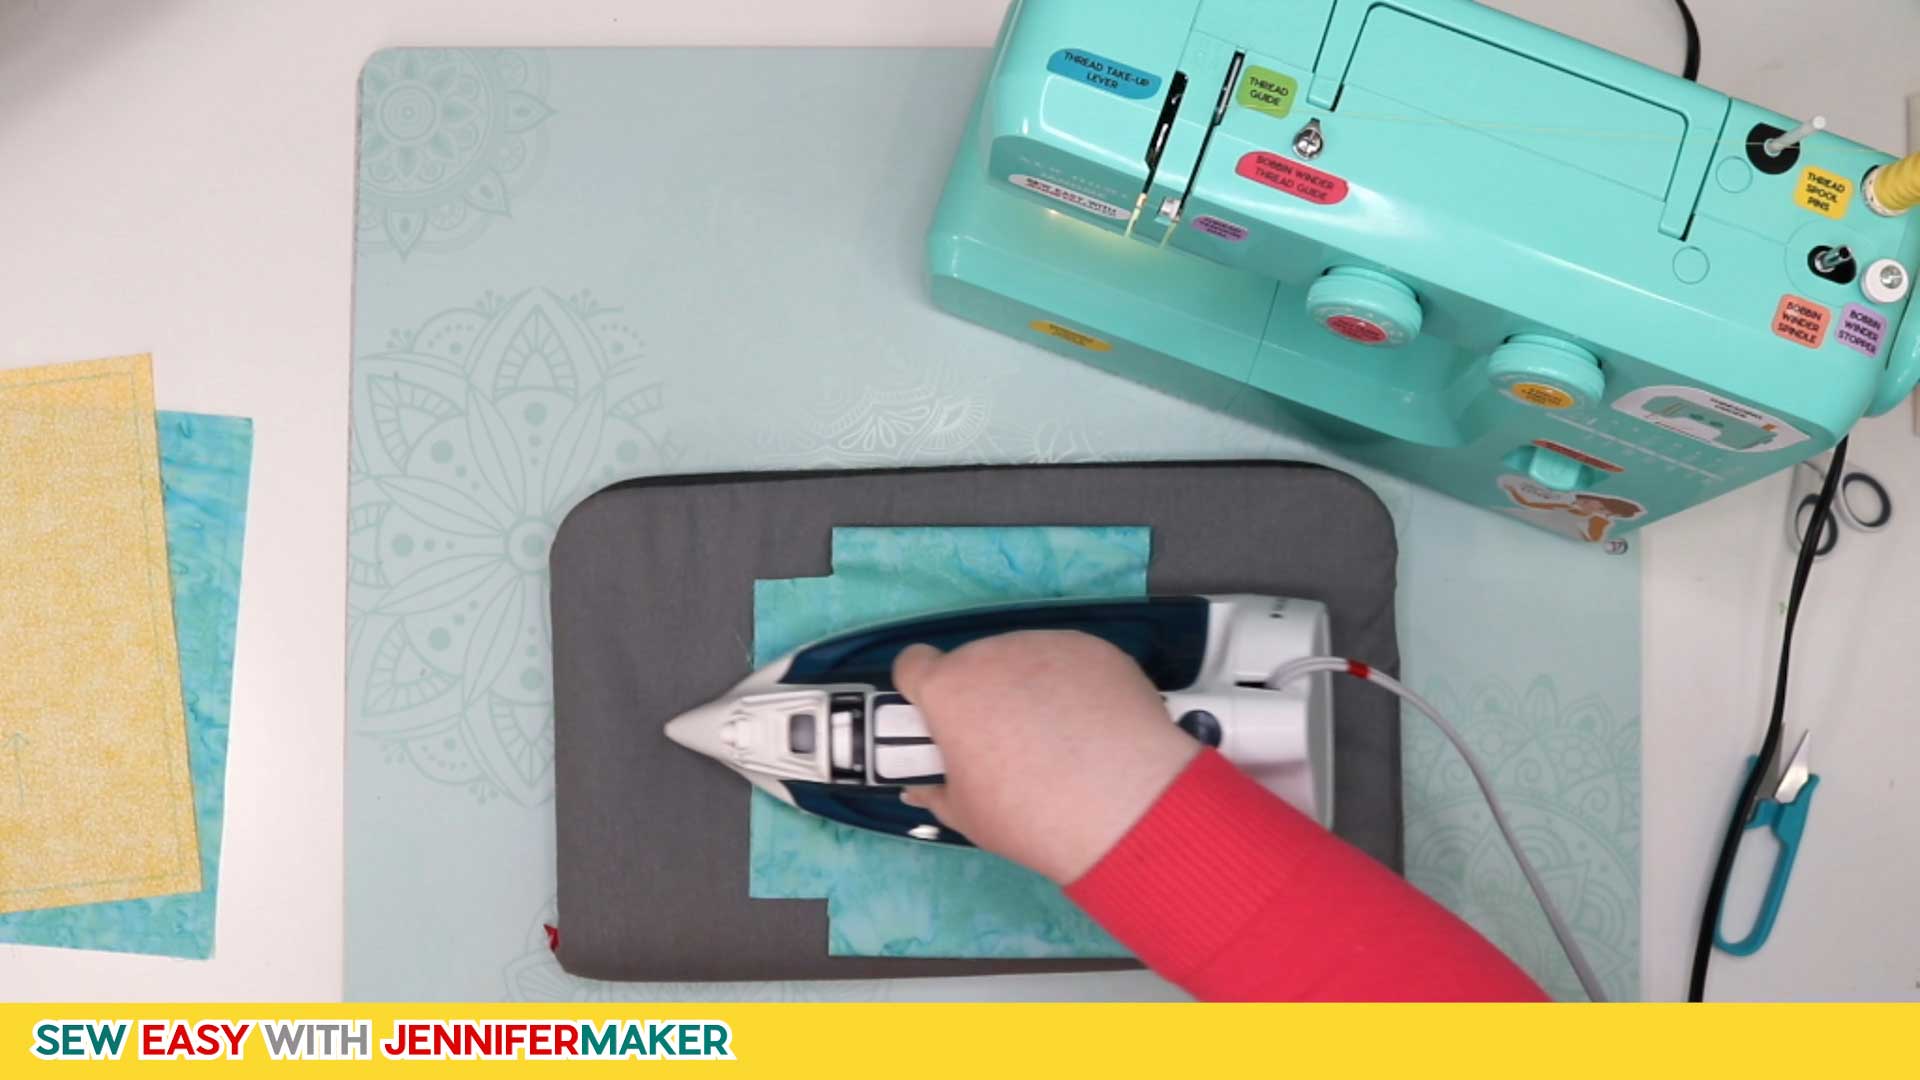
Take the two Tool Pockets (one is 7" x 8" and the other is 7" x 10") and fold them in half, wrong sides together with short edges meeting, and press flat. The pressed sizes will be 7" x 4" and 7" x 5". Set these aside until step 6.
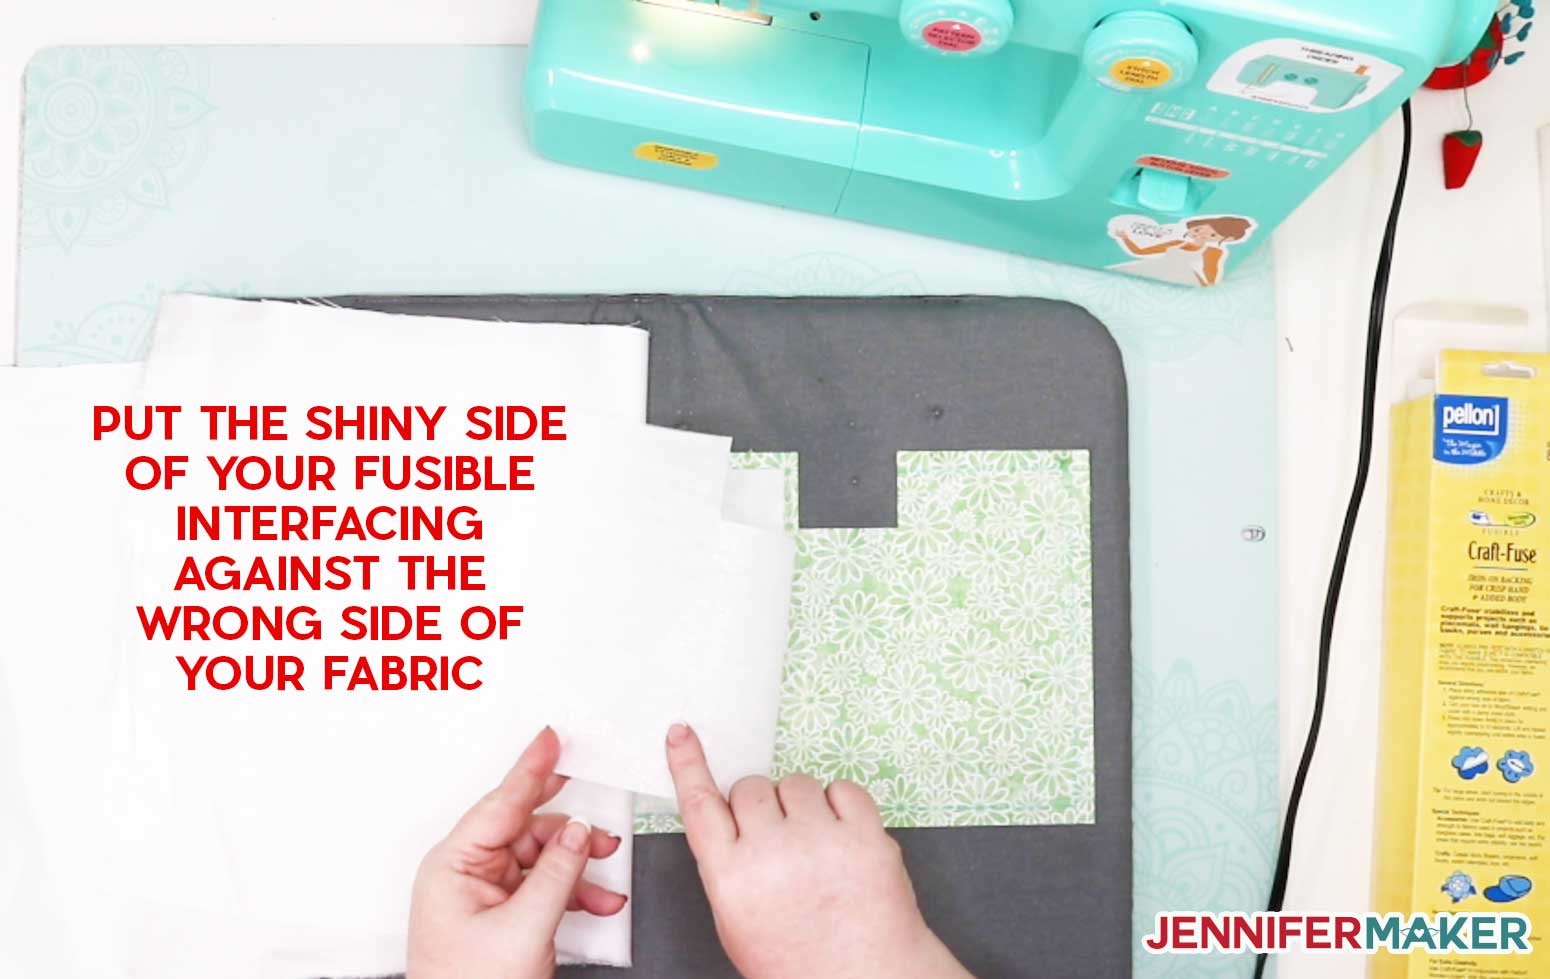
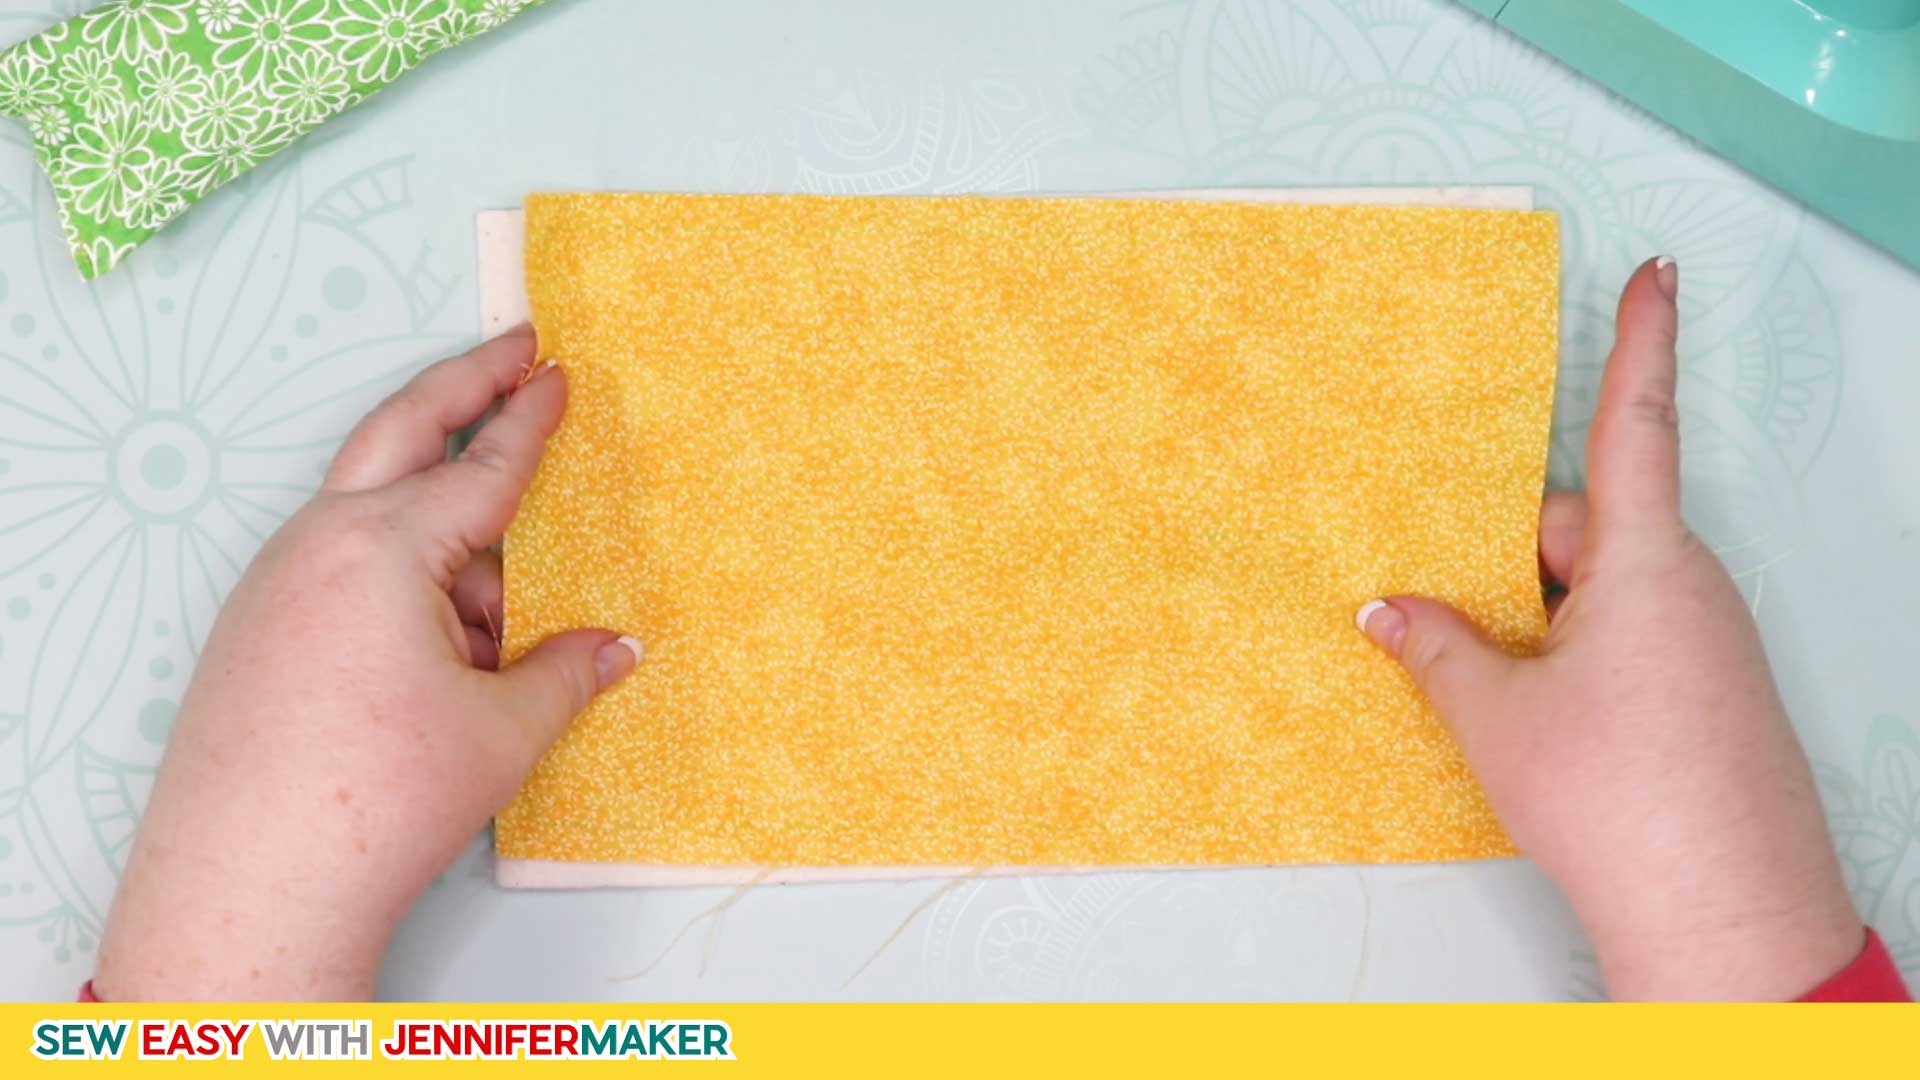
Now fuse the heavyweight interfacing to the Inside Layer of your Bits Bin (aka Thread Catcher, Weeding Waste, or whatever you want to call it). If you're using Craft Fuse as I did, be sure the shiny side is against the WRONG side of your fabric, then steam press to fuse it.
Step 3: Stitch the Inside Layer of the Bits Bin
Take the inside fabric layer of the Bits Bin that you just fused, fold it in half with the fused interfacing on the OUTSIDE and short edges meeting.
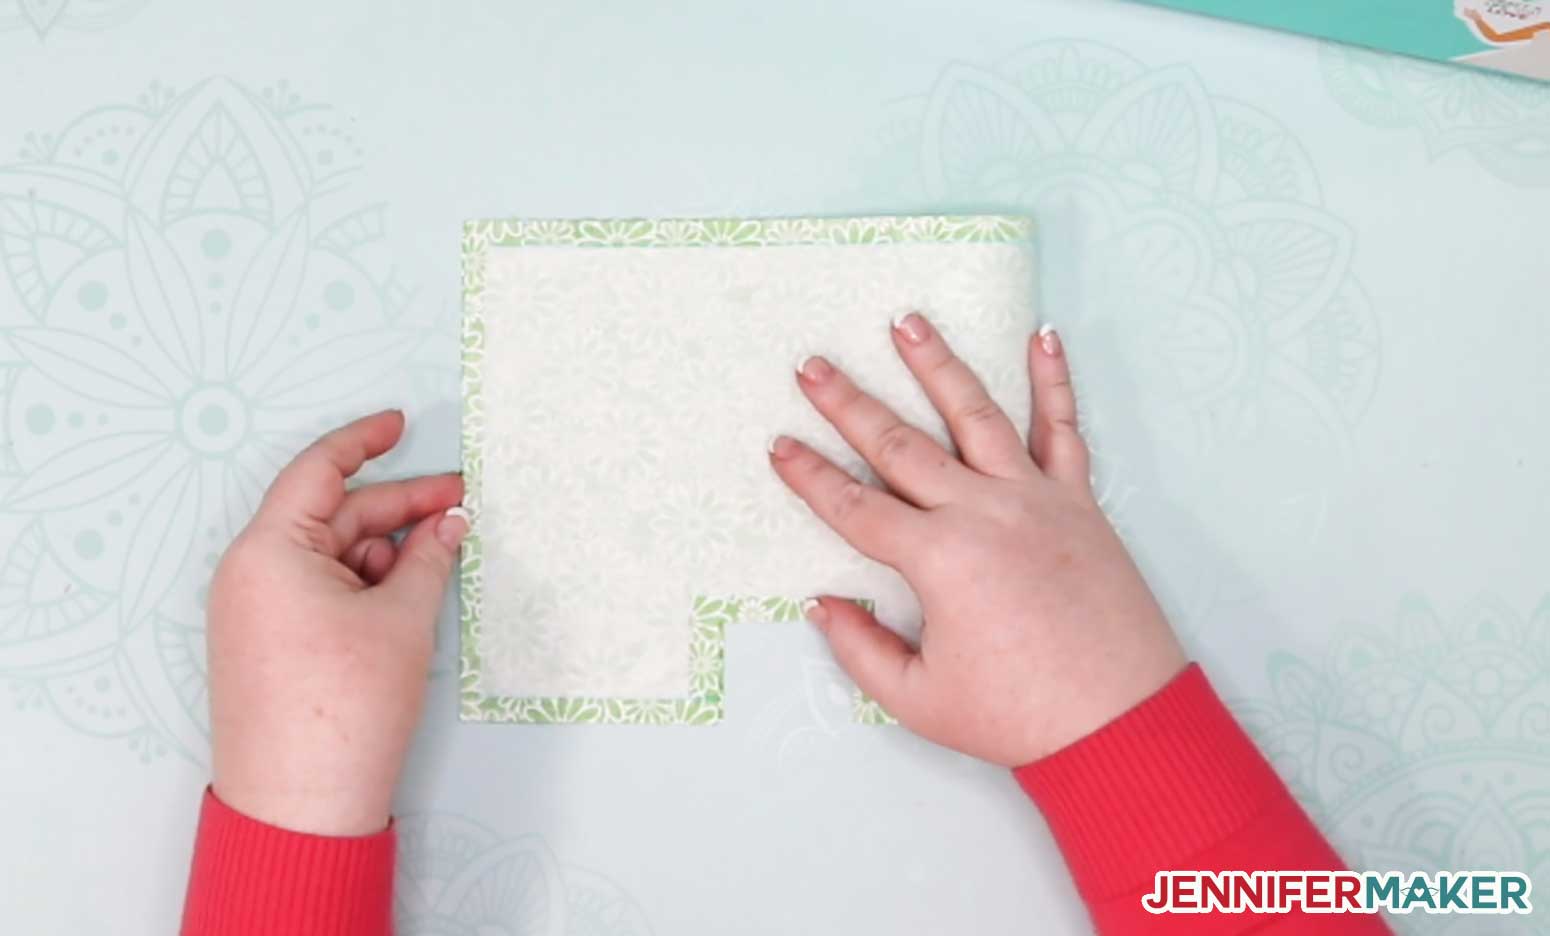
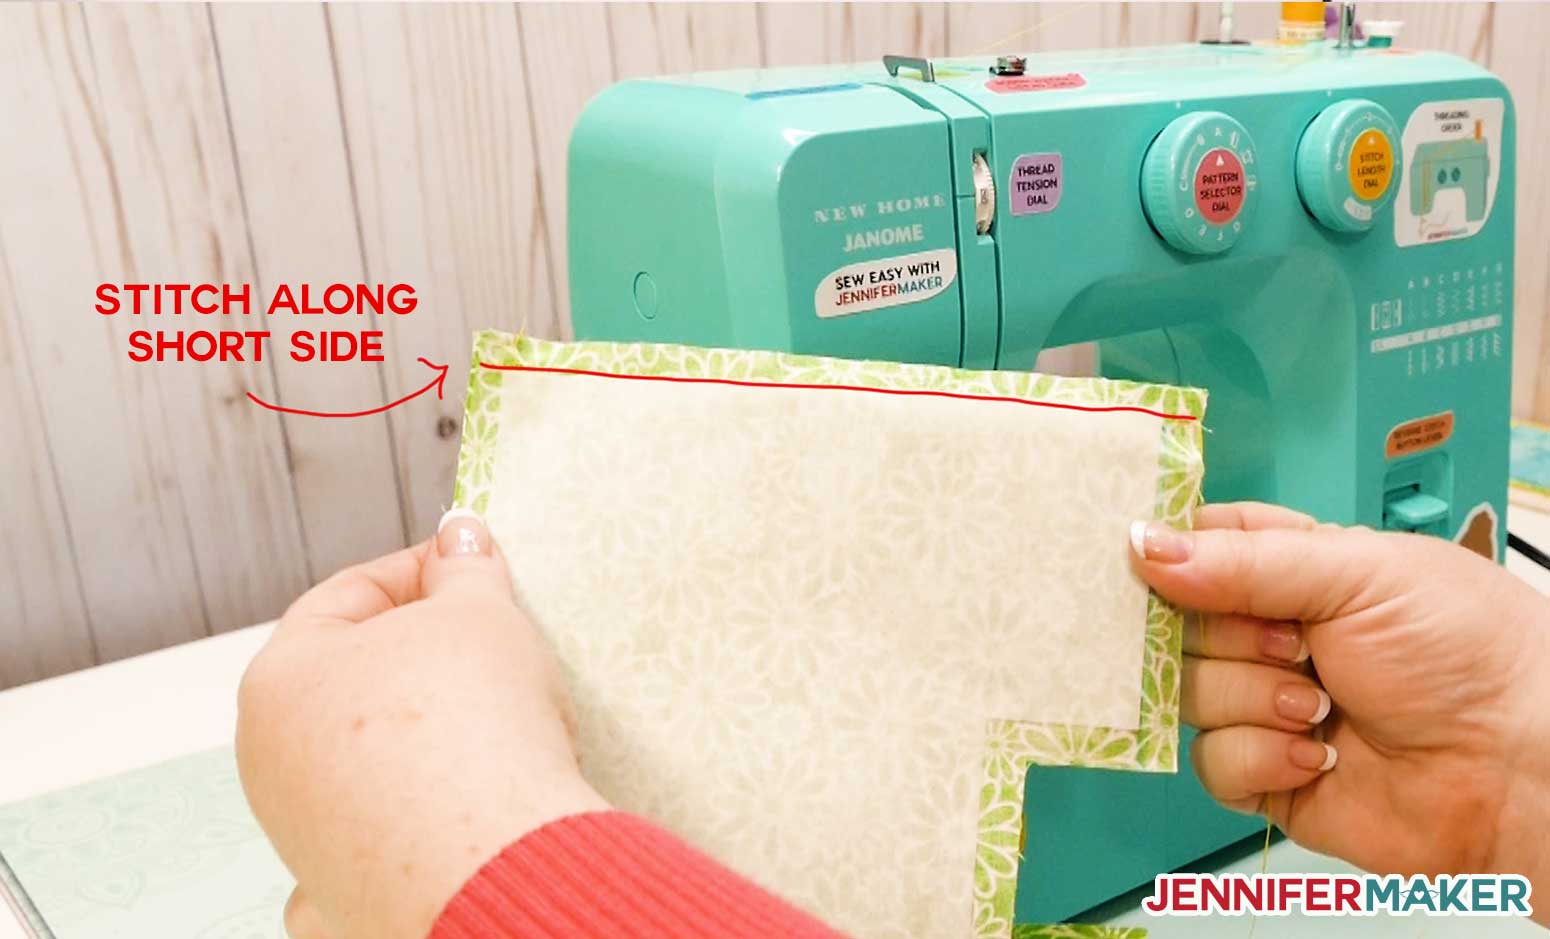
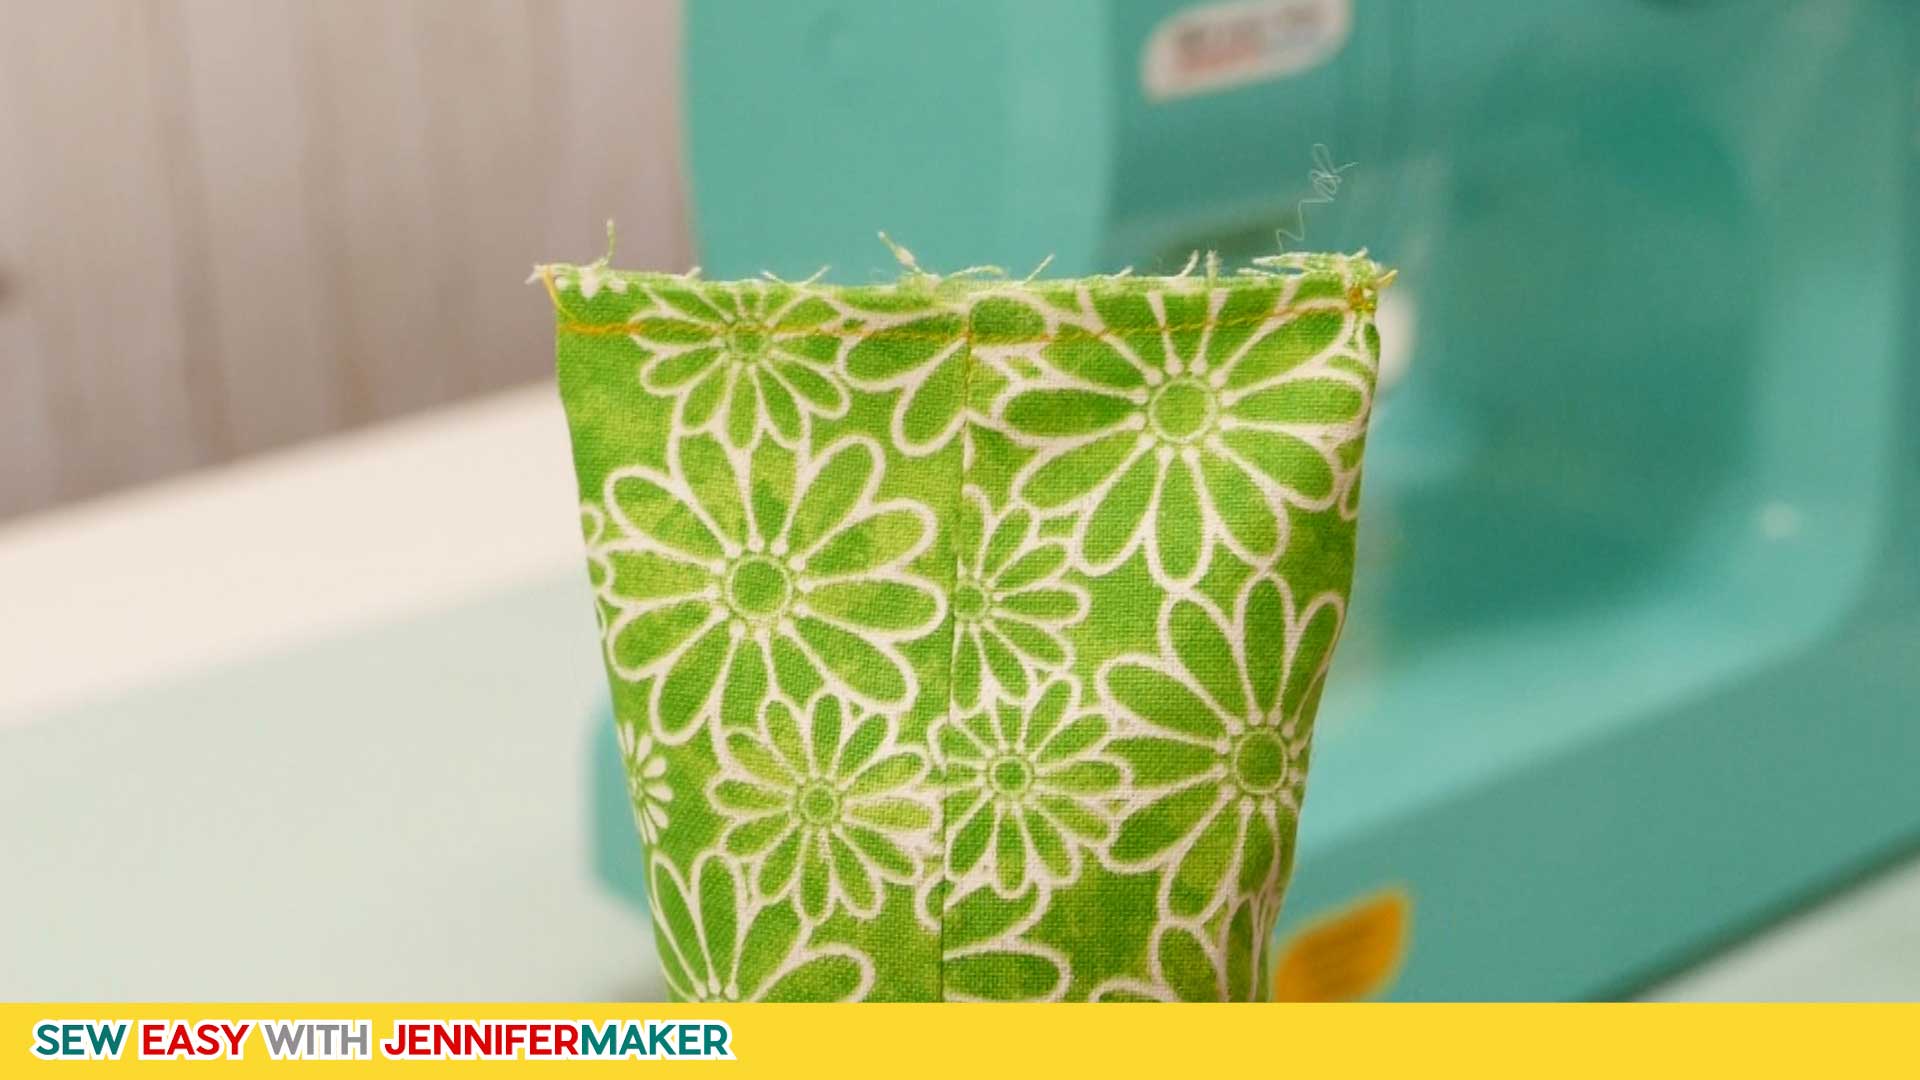
Now stitch together with a 3/8" seam allowance.
Press the seam flat.

Stitch along the bottom edge at a 3/8" seam allowance between the notched corners.
Press the seam flat.
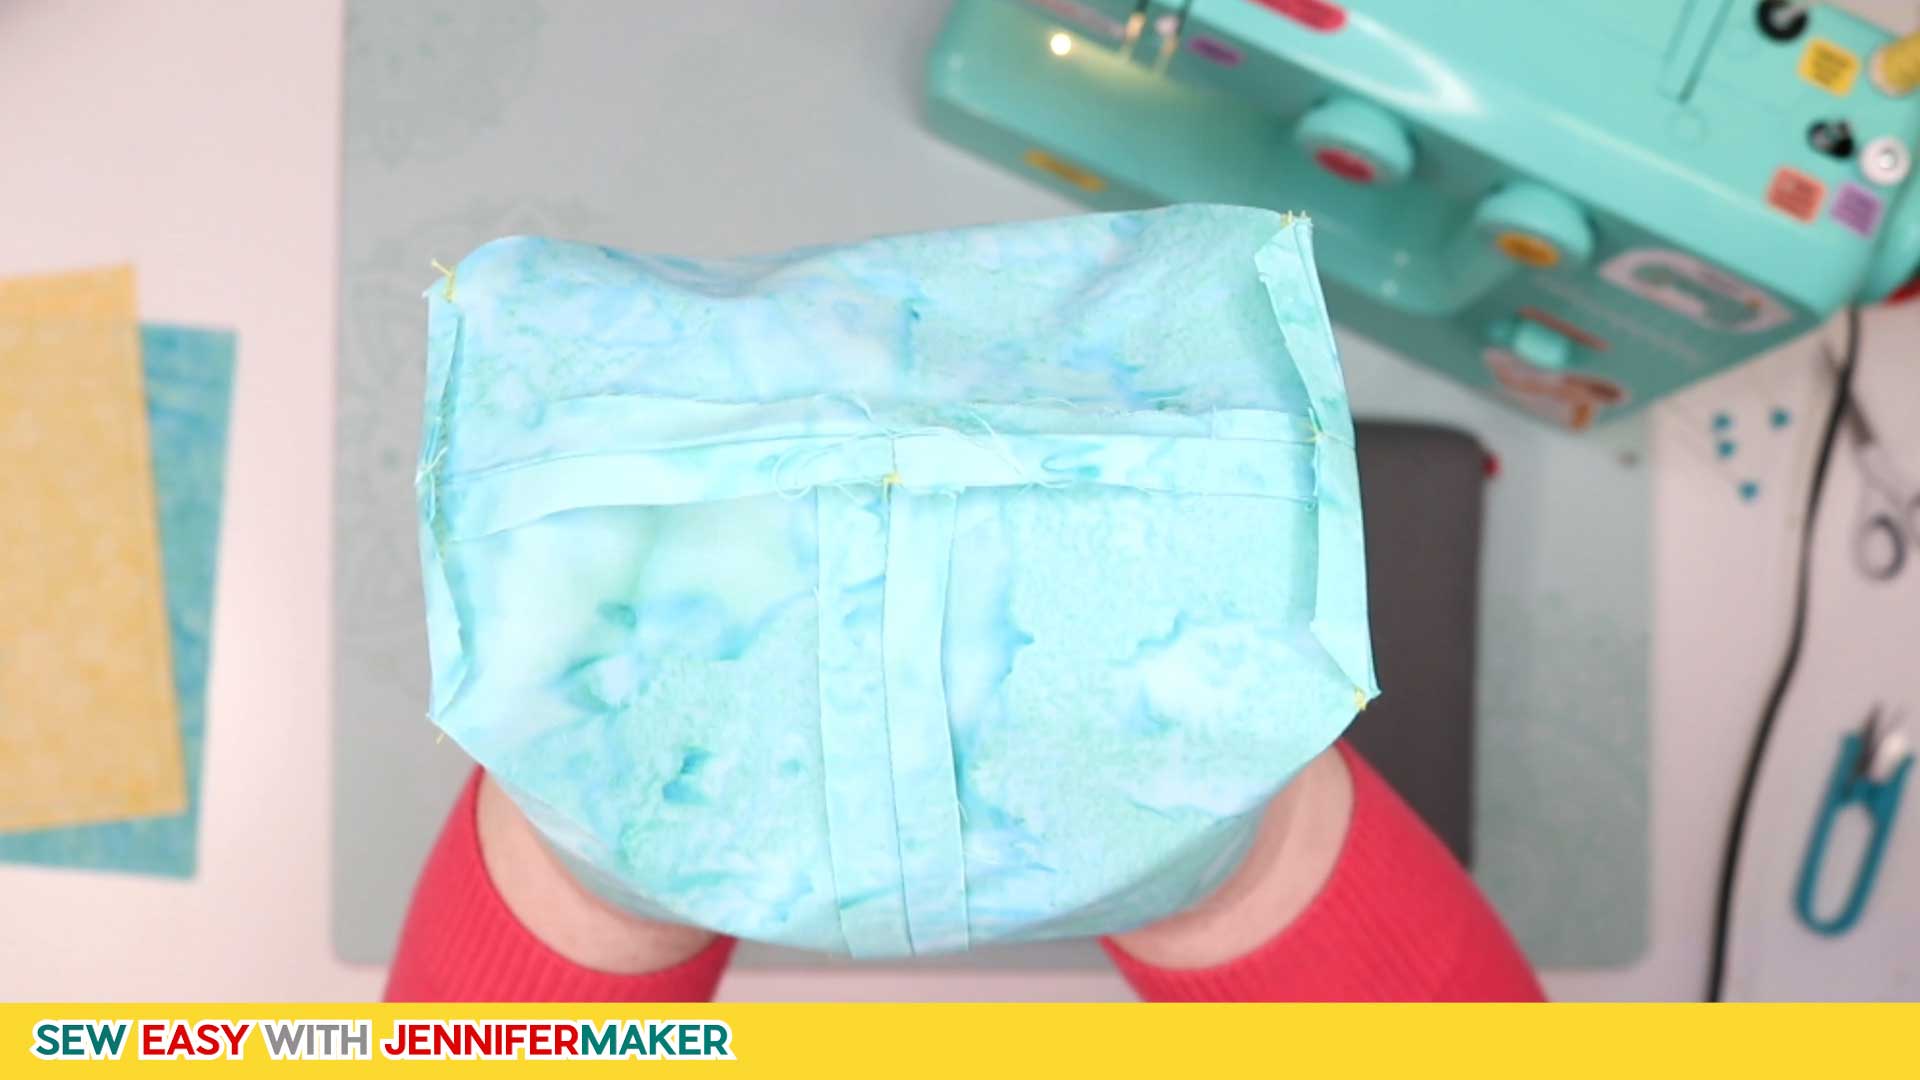
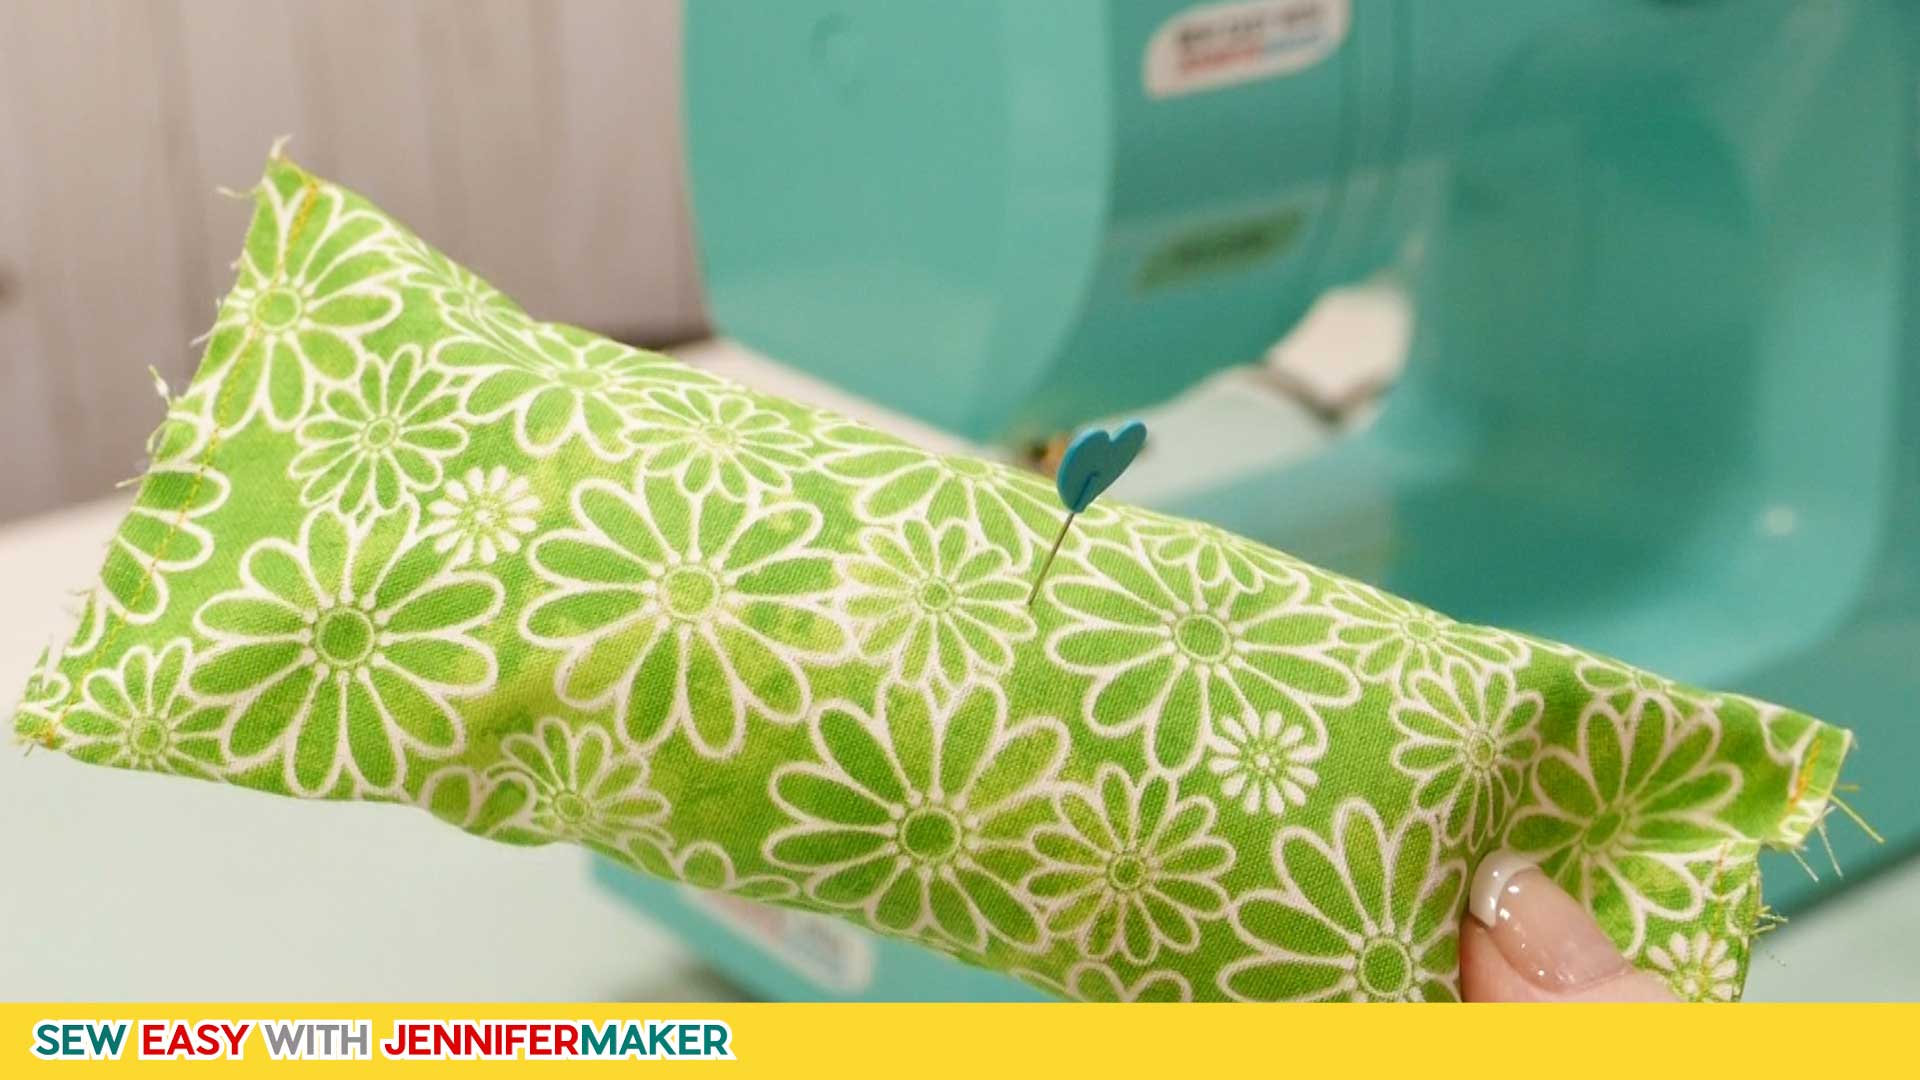
Open it up a bit and pin the openings together at each corner of the Bits Bin.
Stitch across at a 3/8" seam allowance.
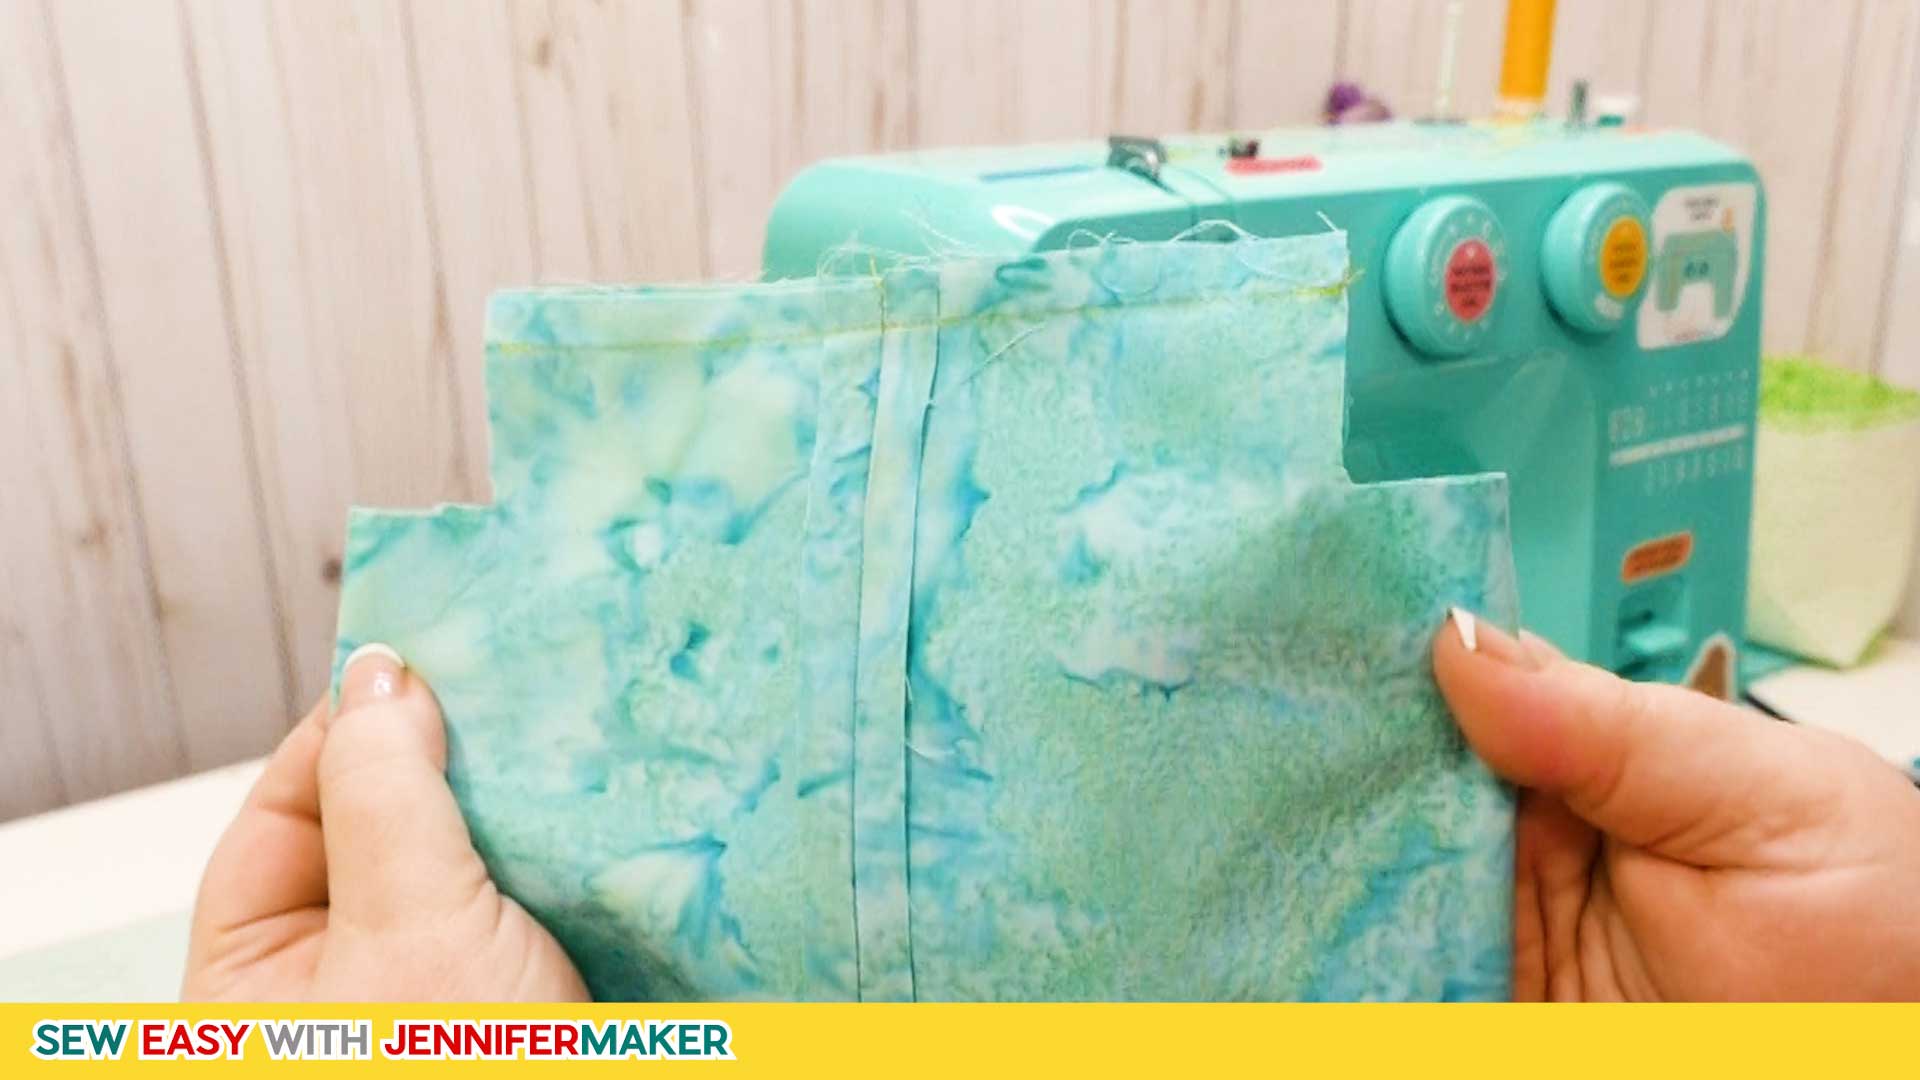
Press the seams UP toward the sides of the Bits Bin (you may need to snip the edges of your seam allowance to get the seam to turn up).
Set the stitched inside of your Bits Bin aside for step 7.
Step 4: Stitch the Outside Layer of the Bits Bin
This step is pretty much identical to Step 3, except you're doing it for the outside layer without the interfacing.
First, fold in half with the short edges meeting, then stitch together with a 3/8" seam allowance.
Press the seam flat.
Stitch along the bottom edge at 3/8" seam allowance between the notched corners.
Press the seam flat.
Open it up a bit and pin the bottom corner openings together at each side of the Bits Bin and stitch both across at a 3/8" seam allowance.
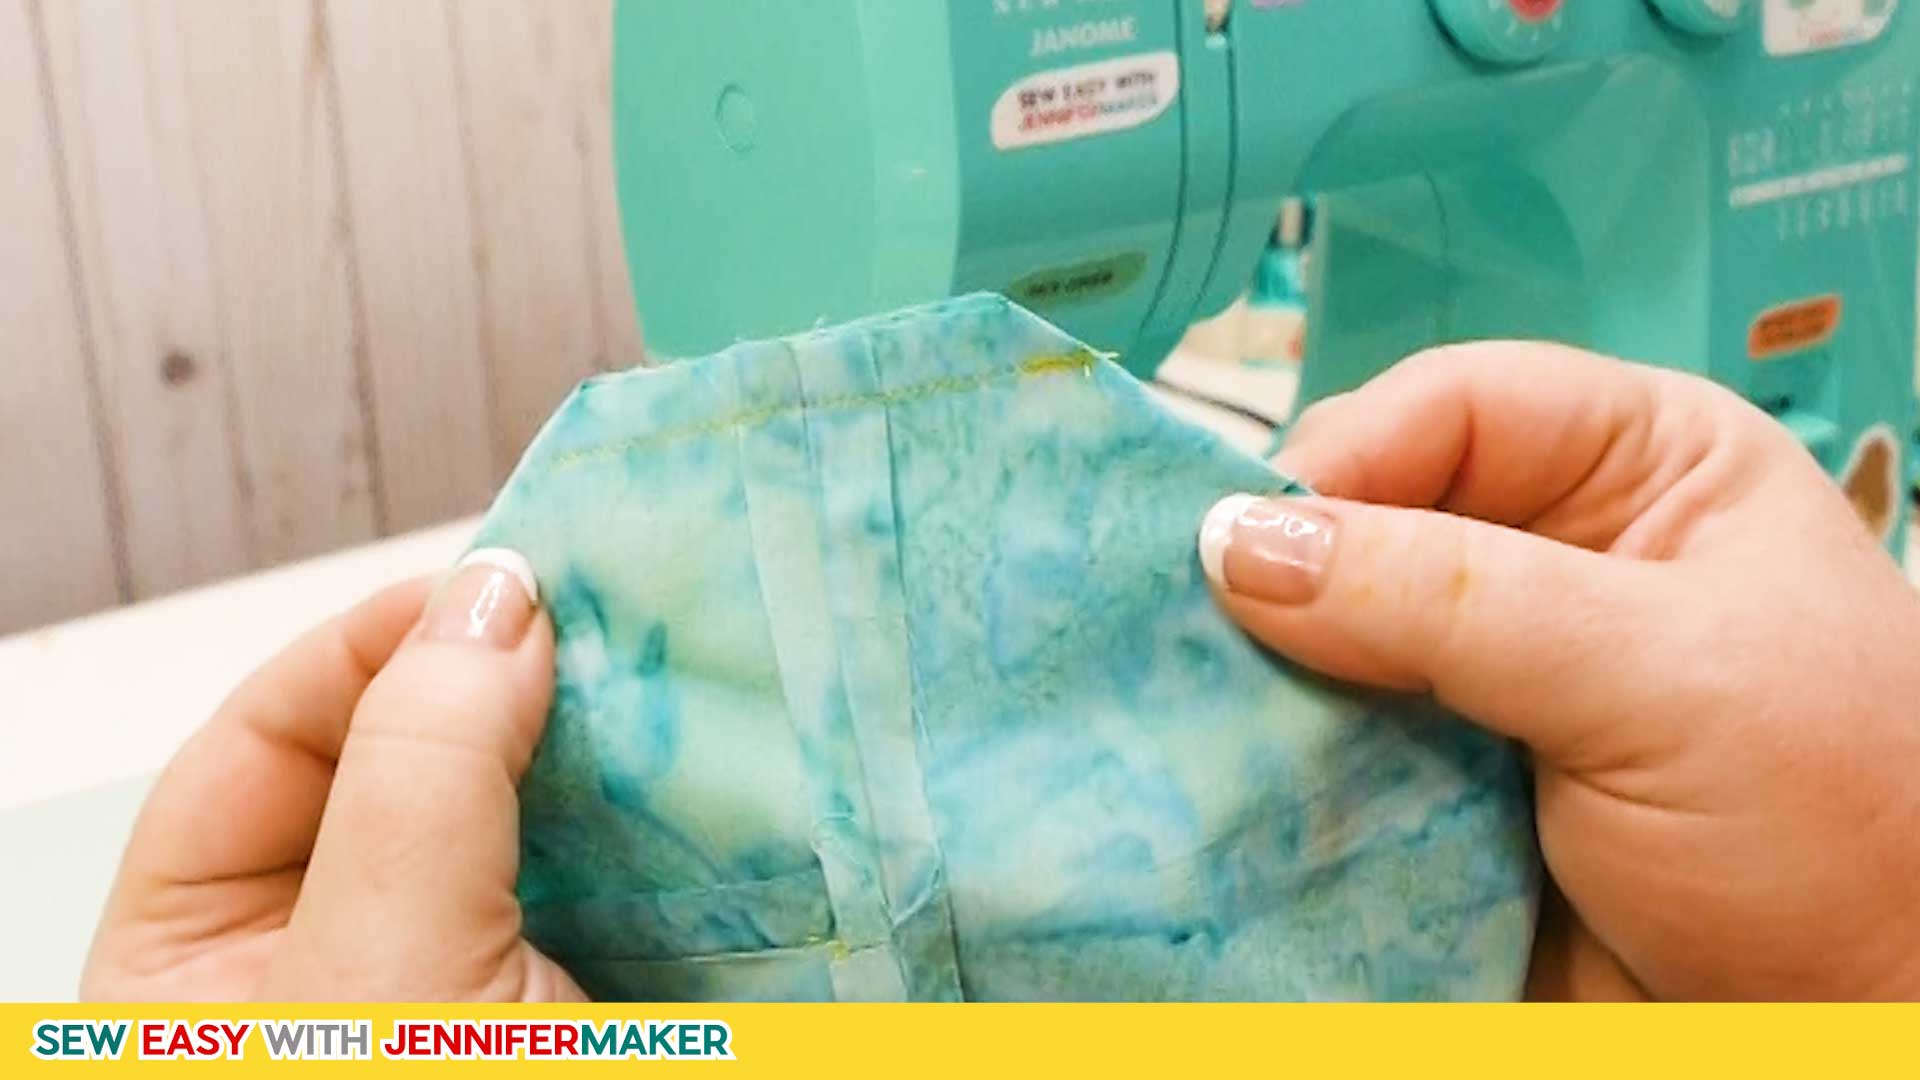
Press the seams UP toward the sides of the Bits Bin (you may need to snip the edges of your seam allowance to get the seam to turn up).
Set the stitched outside layer of your Bits Bin aside for step 7.
Note: Keep this layer turned inside out just as you see in the above photo.
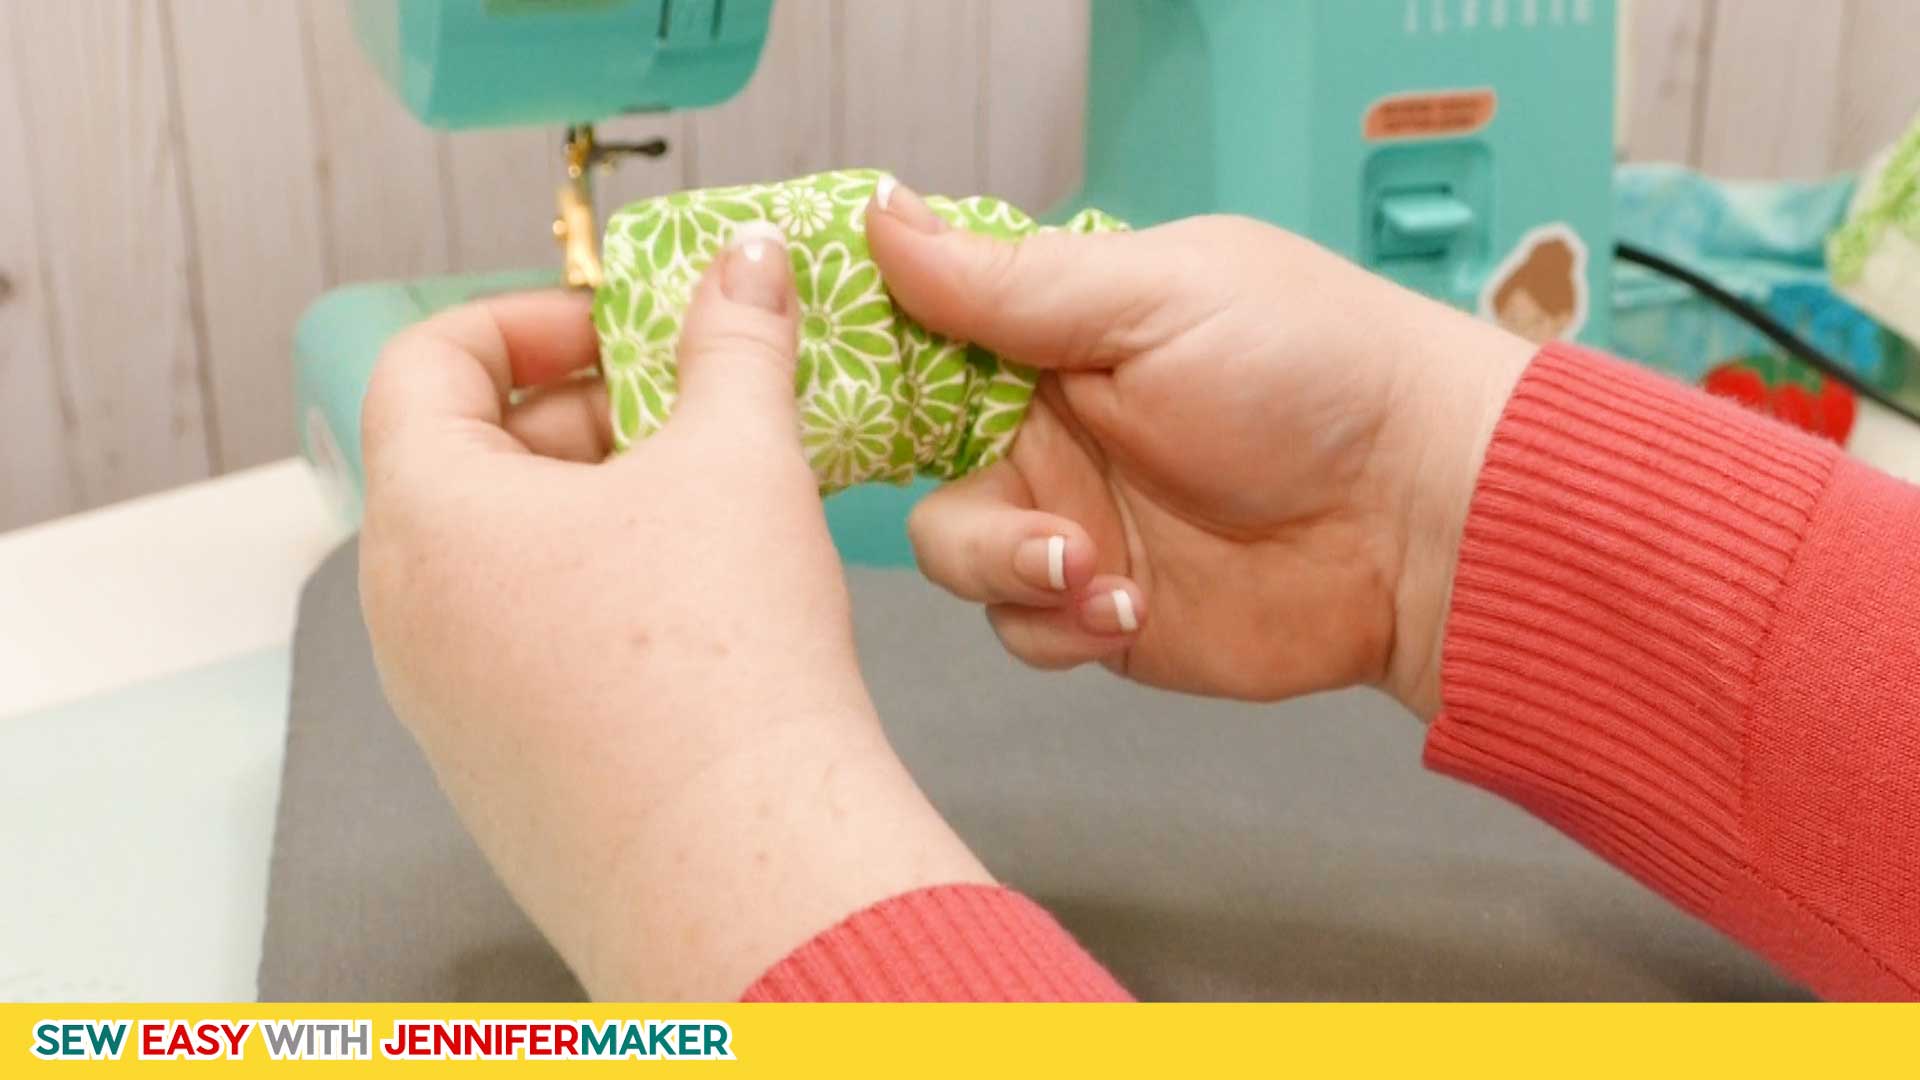
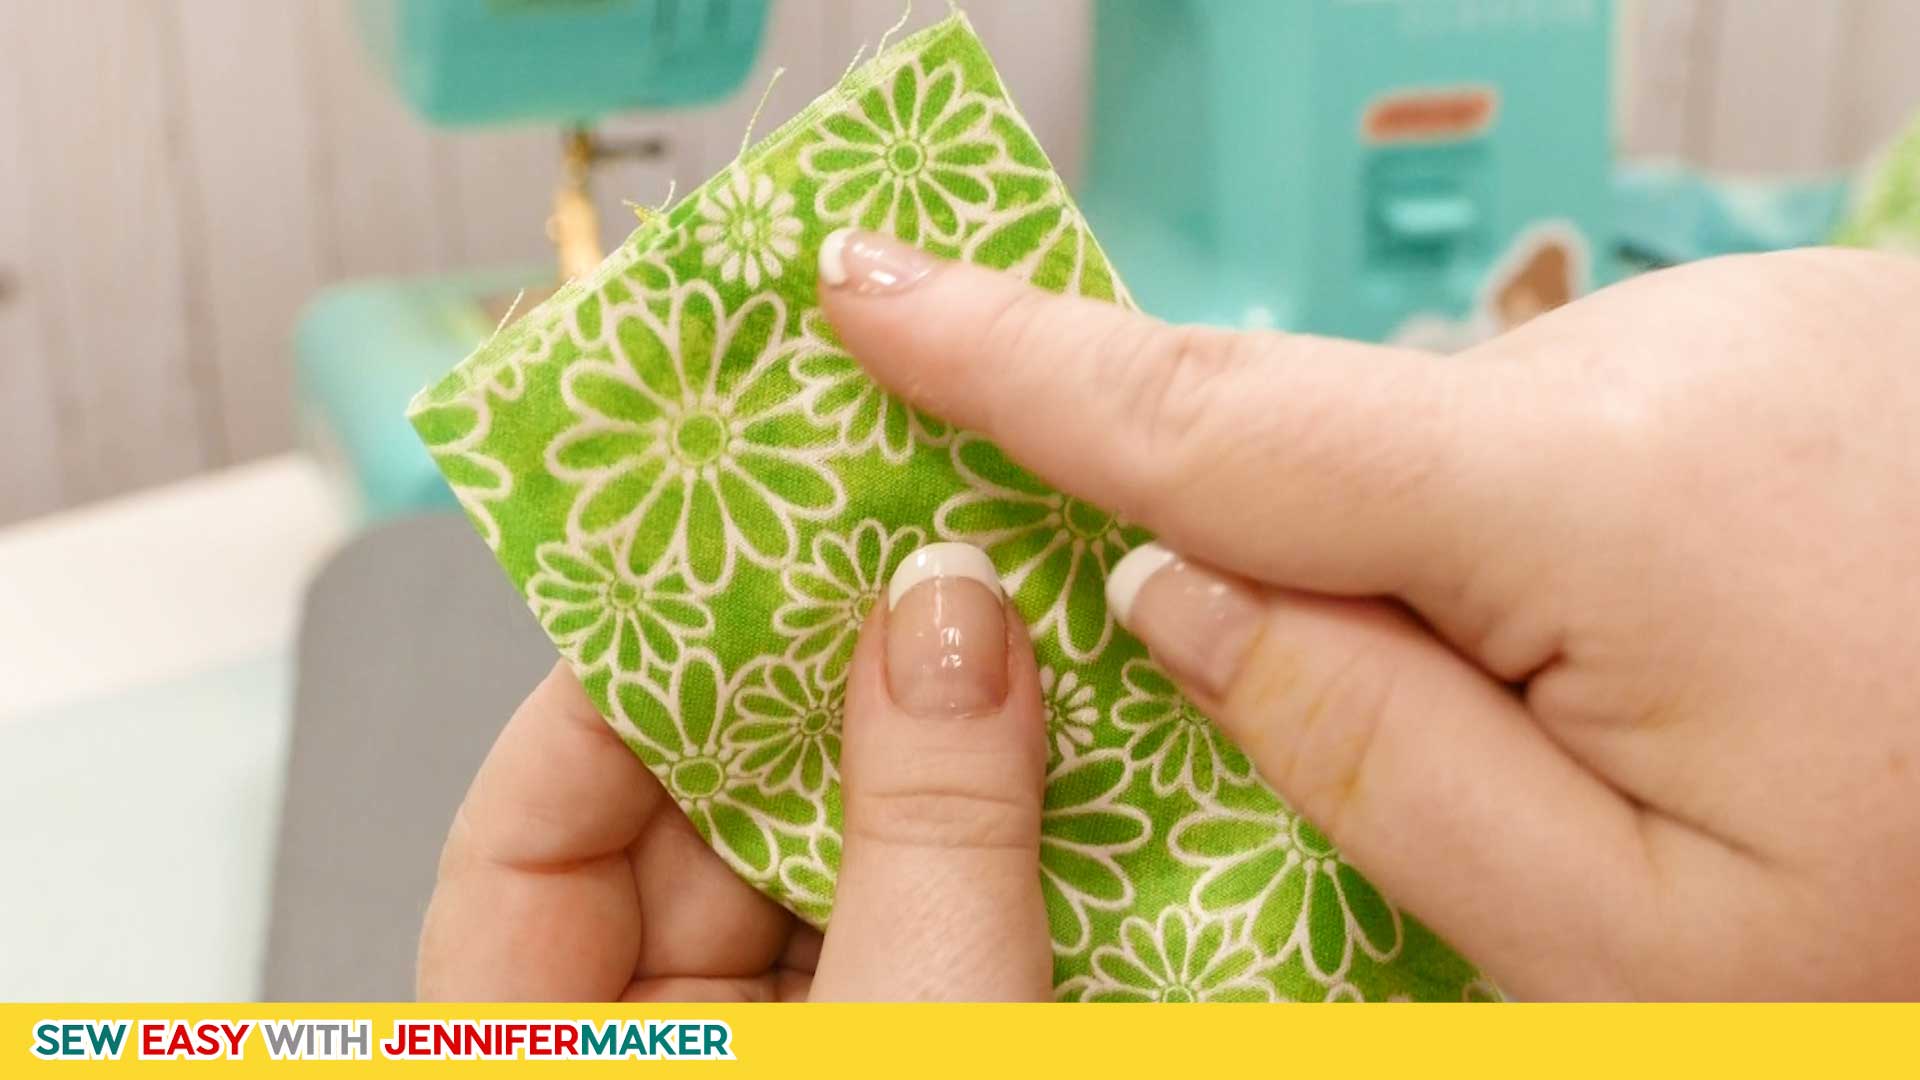
Step 5: Make the Pin Cushion (Optional)
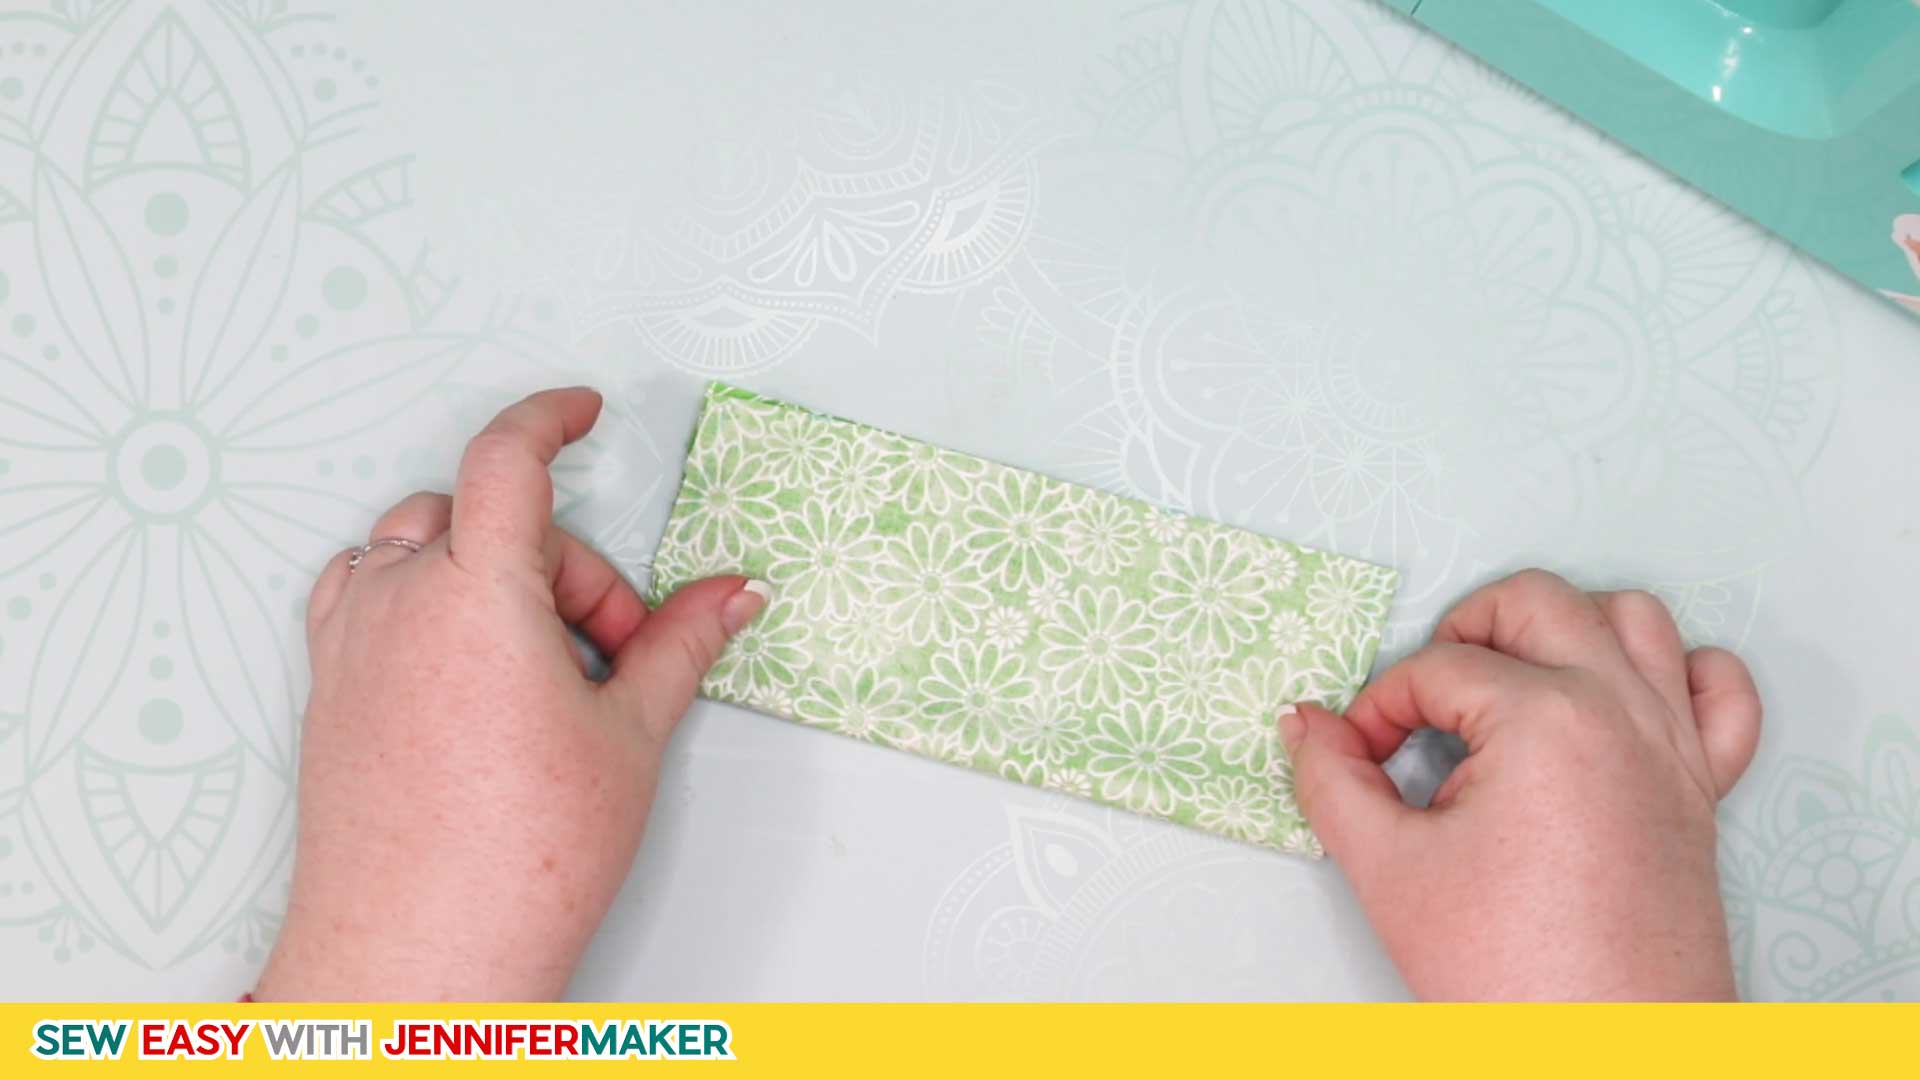
Fold your Pin Cushion fabric in half the long way, right sides together, and stitch at a 3/8" seam allowance. The fabric should measure 7.5" by 3.25" after you fold it. Be sure you fold it the long way or it won't fit properly.
Press the seam flat.
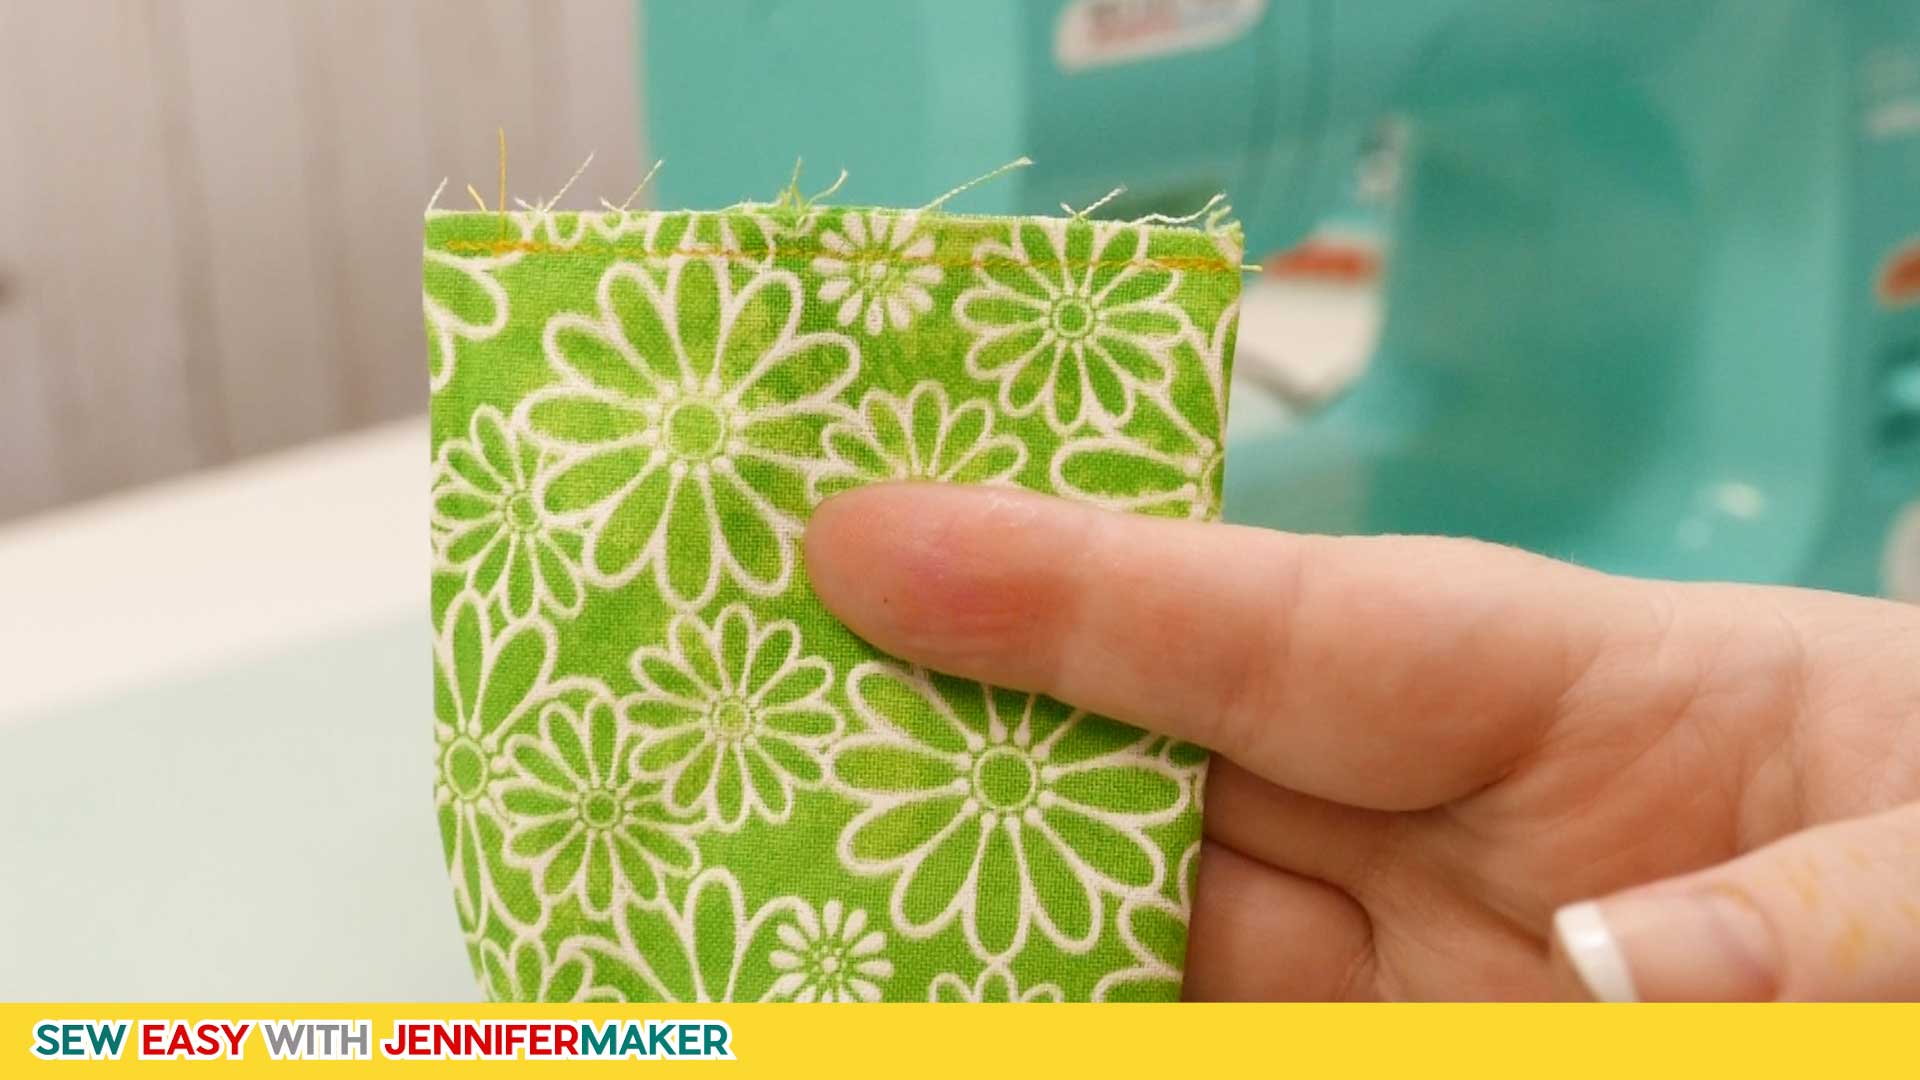
Turn your Pin Cushion fabric right side out, make note of where the seam is, then fold it flat so the seam is in the center.
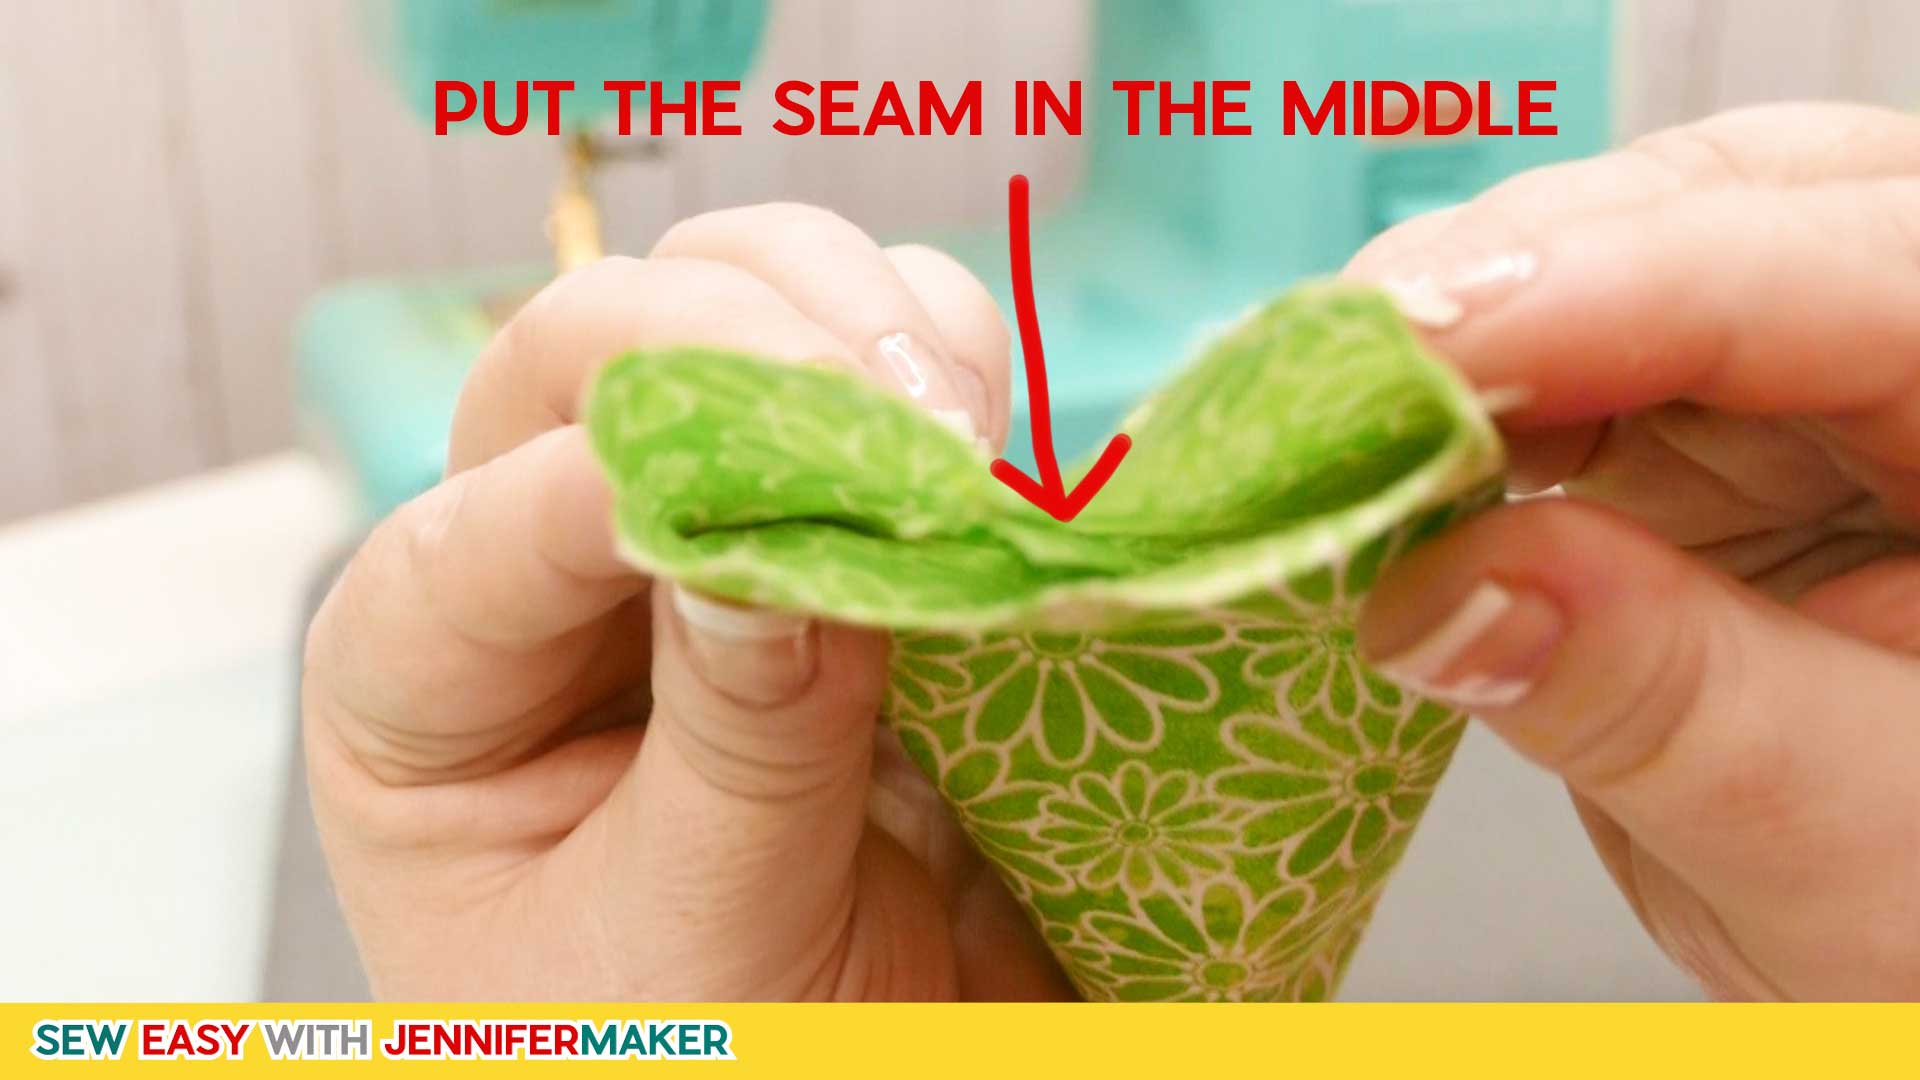
Sew one edge at a 1/4" seam allowance (yes, 1/4" inch).
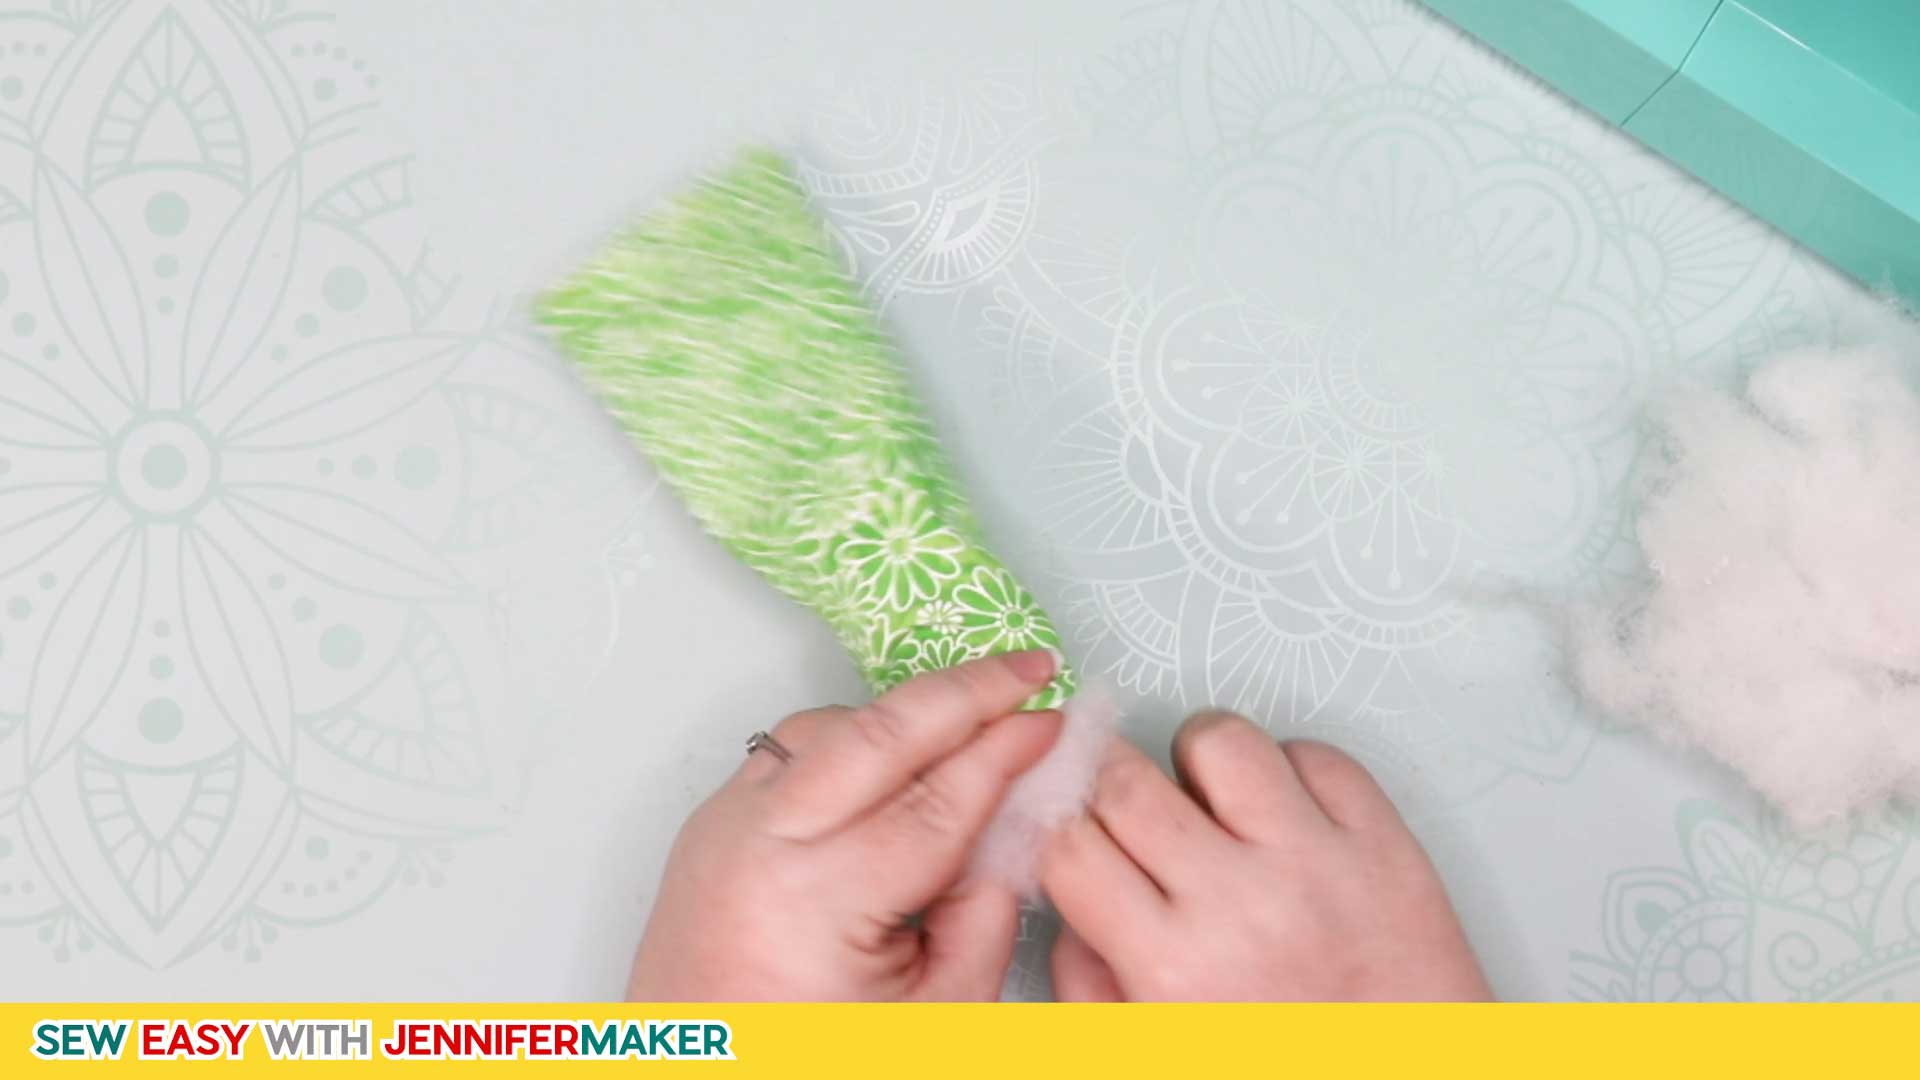
Stuff the Pin Cushion with fiberfill. Do not overstuff. Just enough that you can put a pin in and it stays upright.
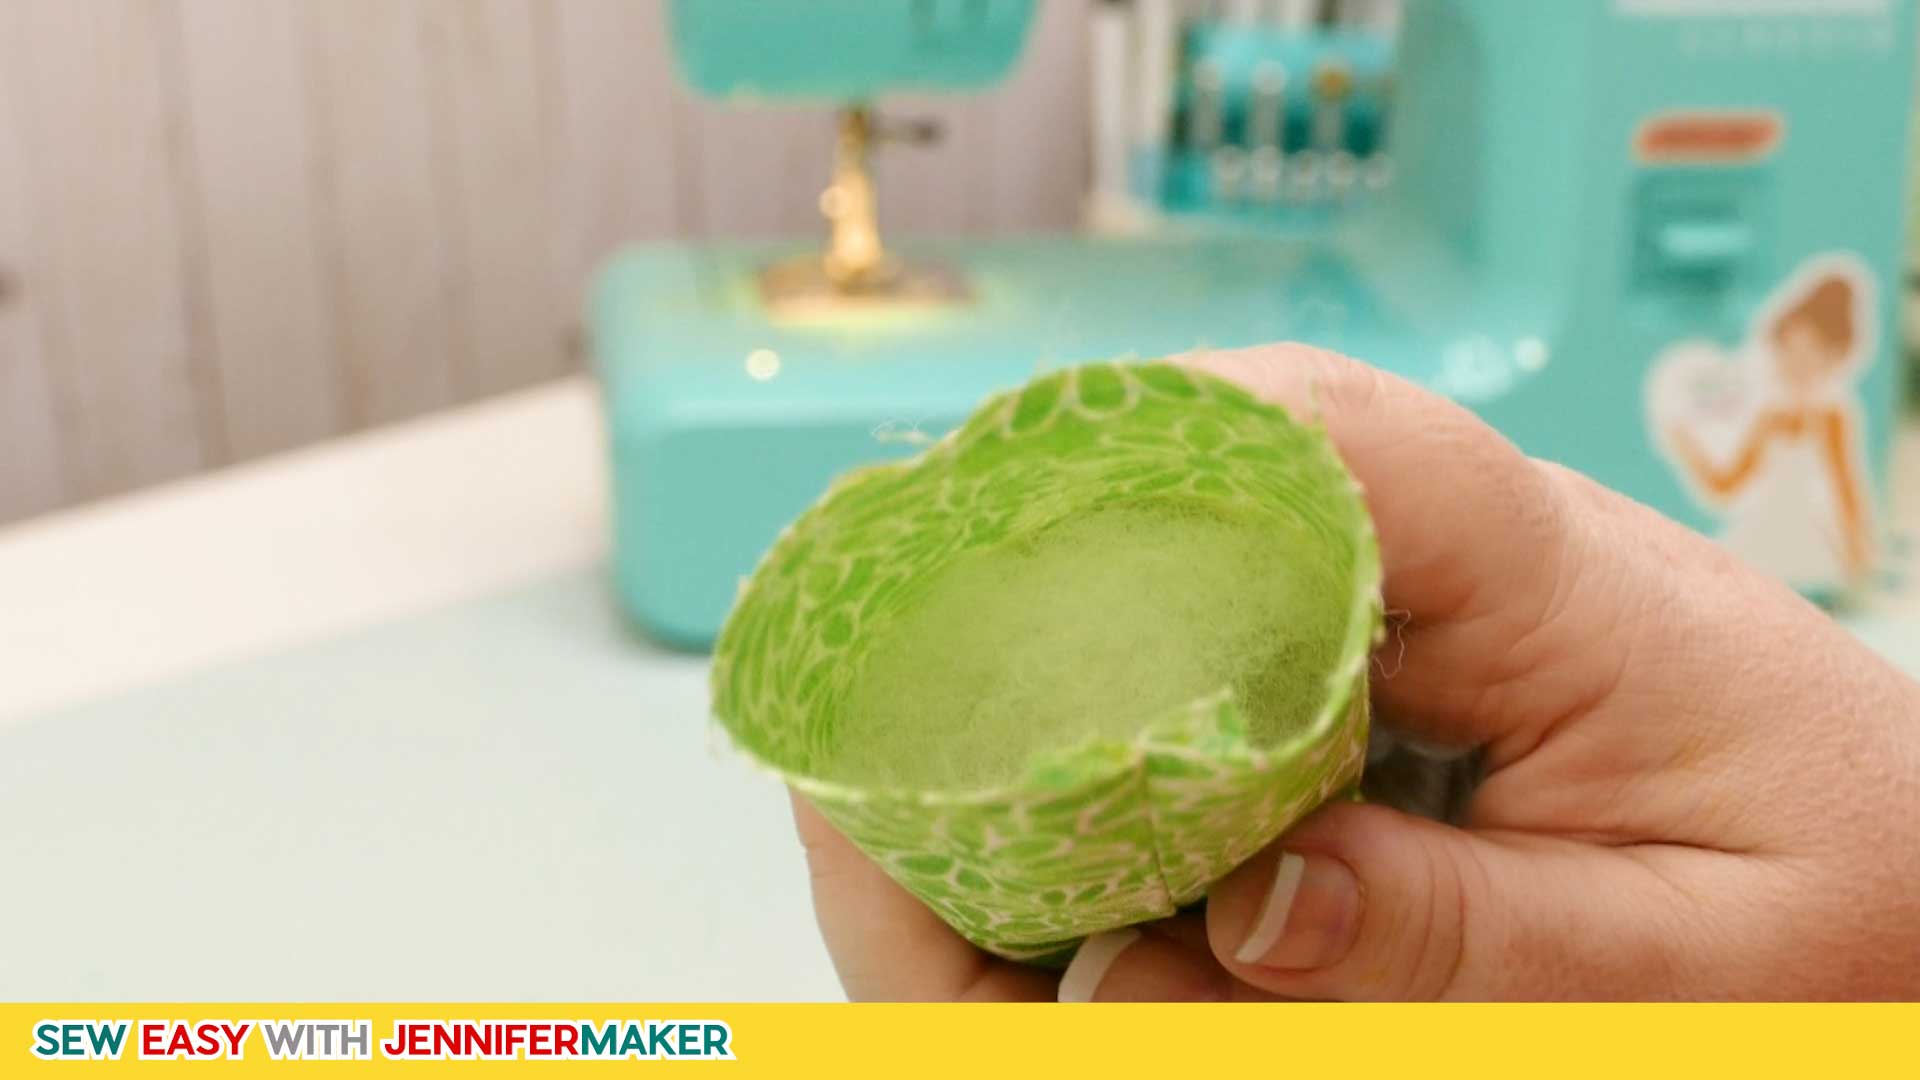
Sew the other edge of the Pin Cushion closed at a 1/4" seam allowance.
Set the Pin Cushion aside for later in Step 6.
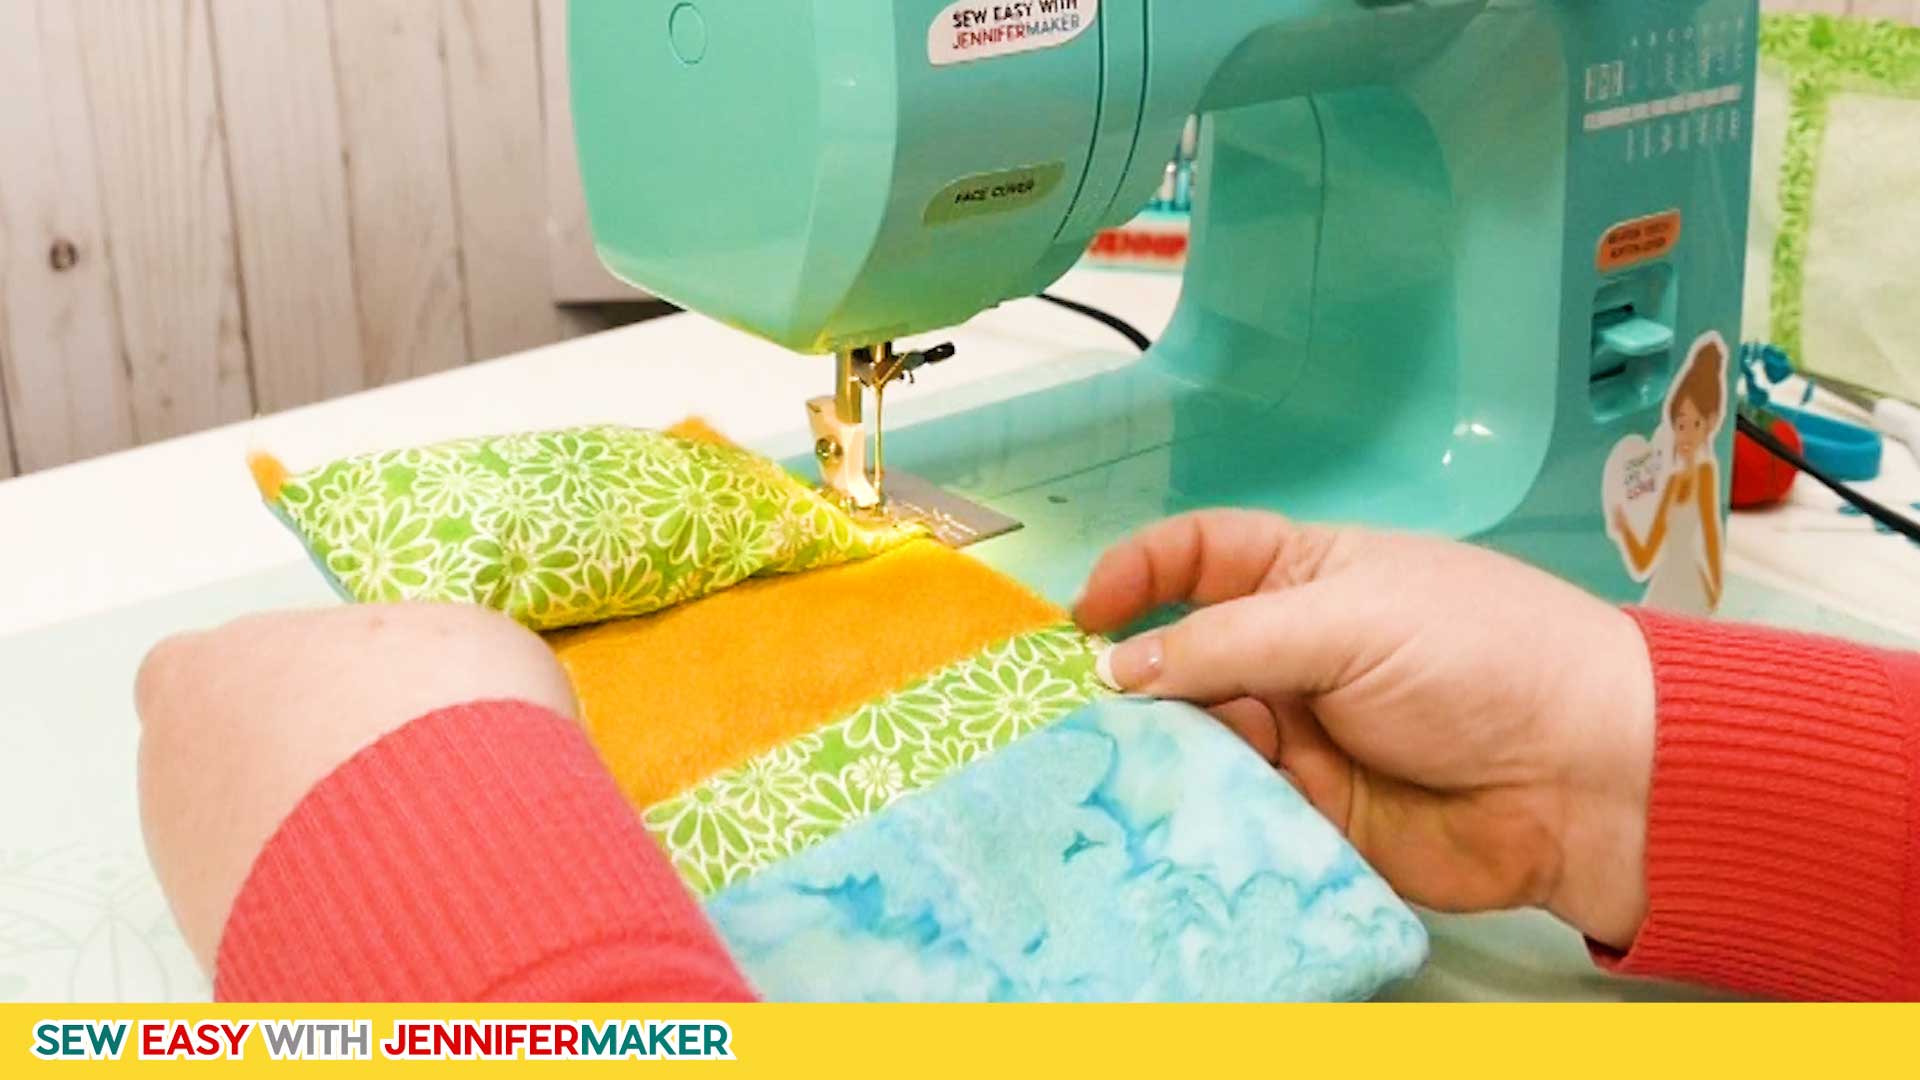
Step 6: Sew the Tool Holder
It's time to sew the Tool Holder together!
Start with the piece of batting.
Next, add the outside of the Tool Holder layer on top of the batting, right side up.
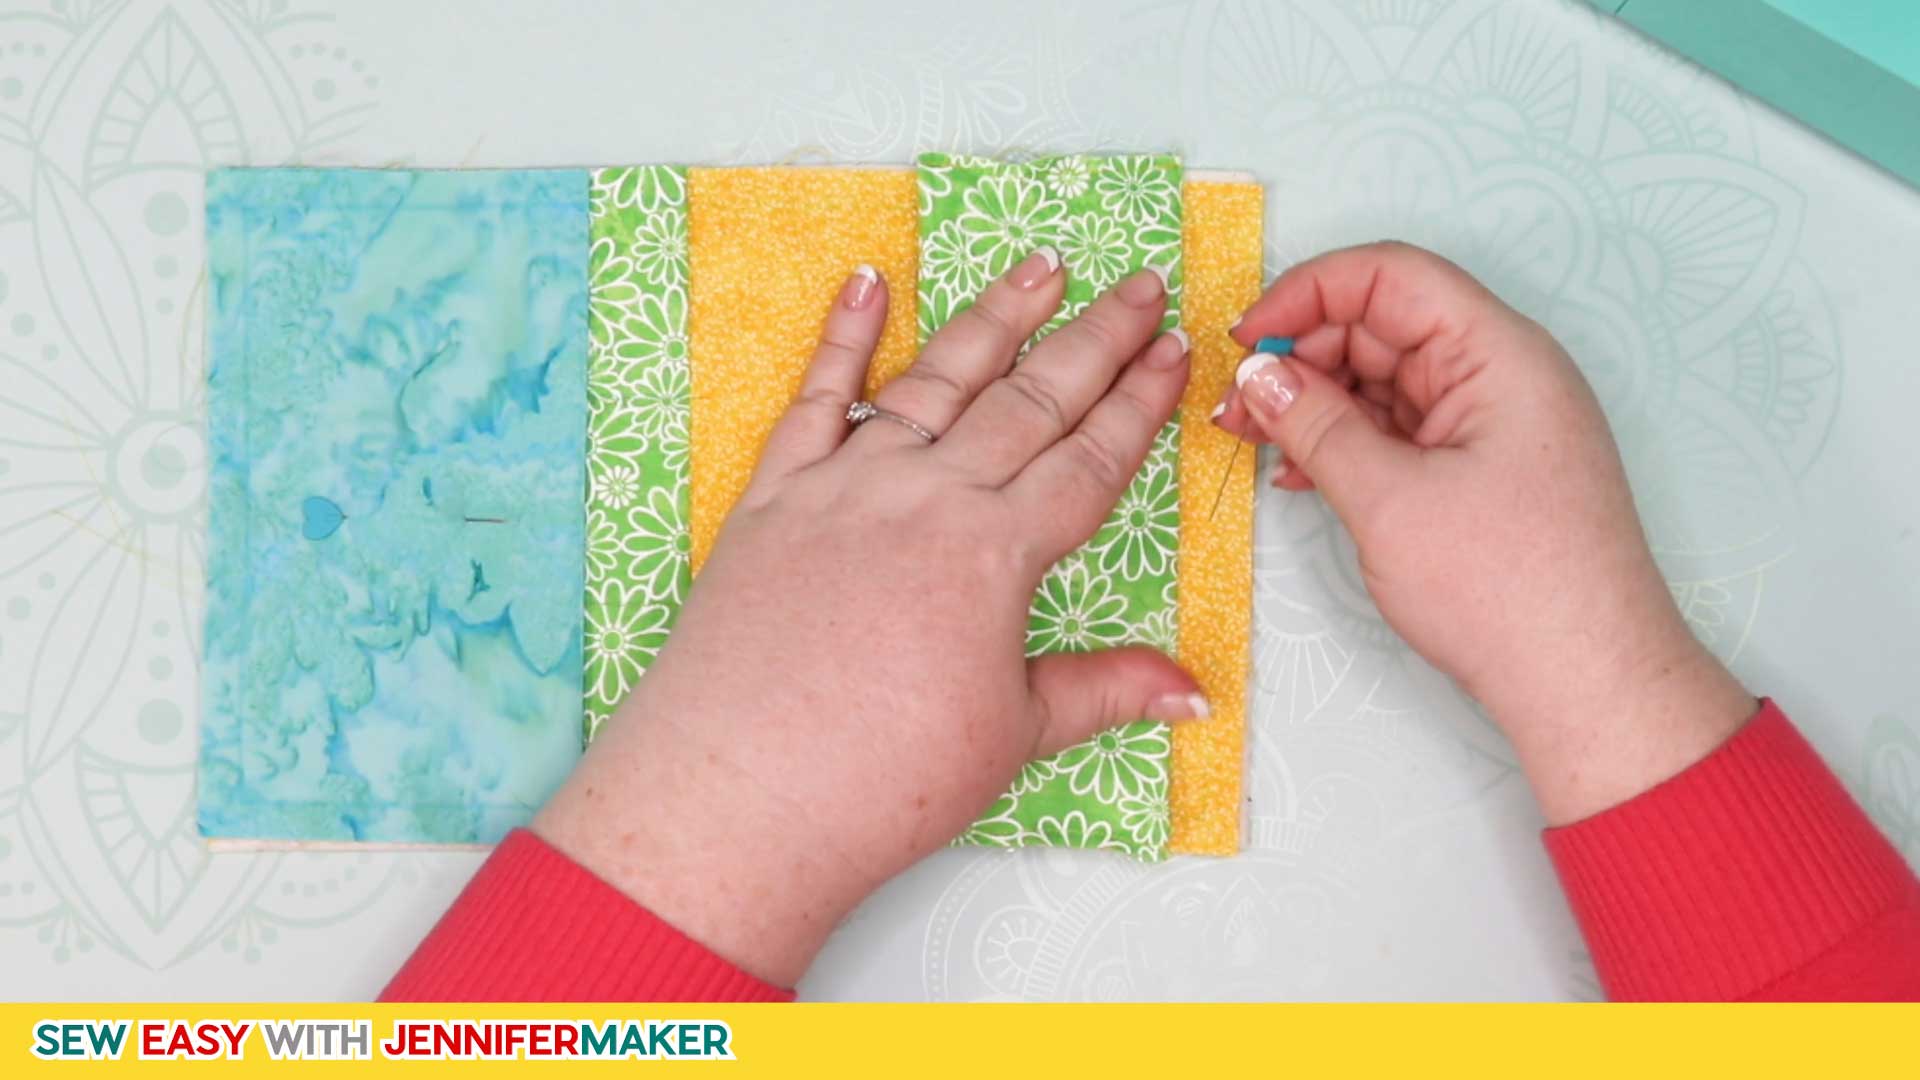
Then put the larger of the two folded pockets (the one that is 7" x 5" after folding) on top of all those layers, right side up, matching it up to one of the short edges. If your fabric has a pattern, pay attention to how it is positioned. The raw edges of the folded pocket should be at the edge of the Tool Holder layer. Pin everything in place.
Stitch down only the pocket dividers on the pocket. Be sure to backstitch at the top of each divider for security. I recommend you do the backstitch just beyond the folded edge for a cleaner look.
Here's what it looks like after stitching down:
Now put the small folded pocket (the one that is 7" x 4" after folding) on top of those layers, right side up, matching it up to the same short edge as the other pocket. Again, be mindful of patterns if you have them. The raw edges of the small folded pocket should meet the raw edges of the large pocket.
Then add the Pin Cushion 1" from the edge of the short edge (the one opposite from the pocket), again being mindful of fabric patterns, then pin everything in place.
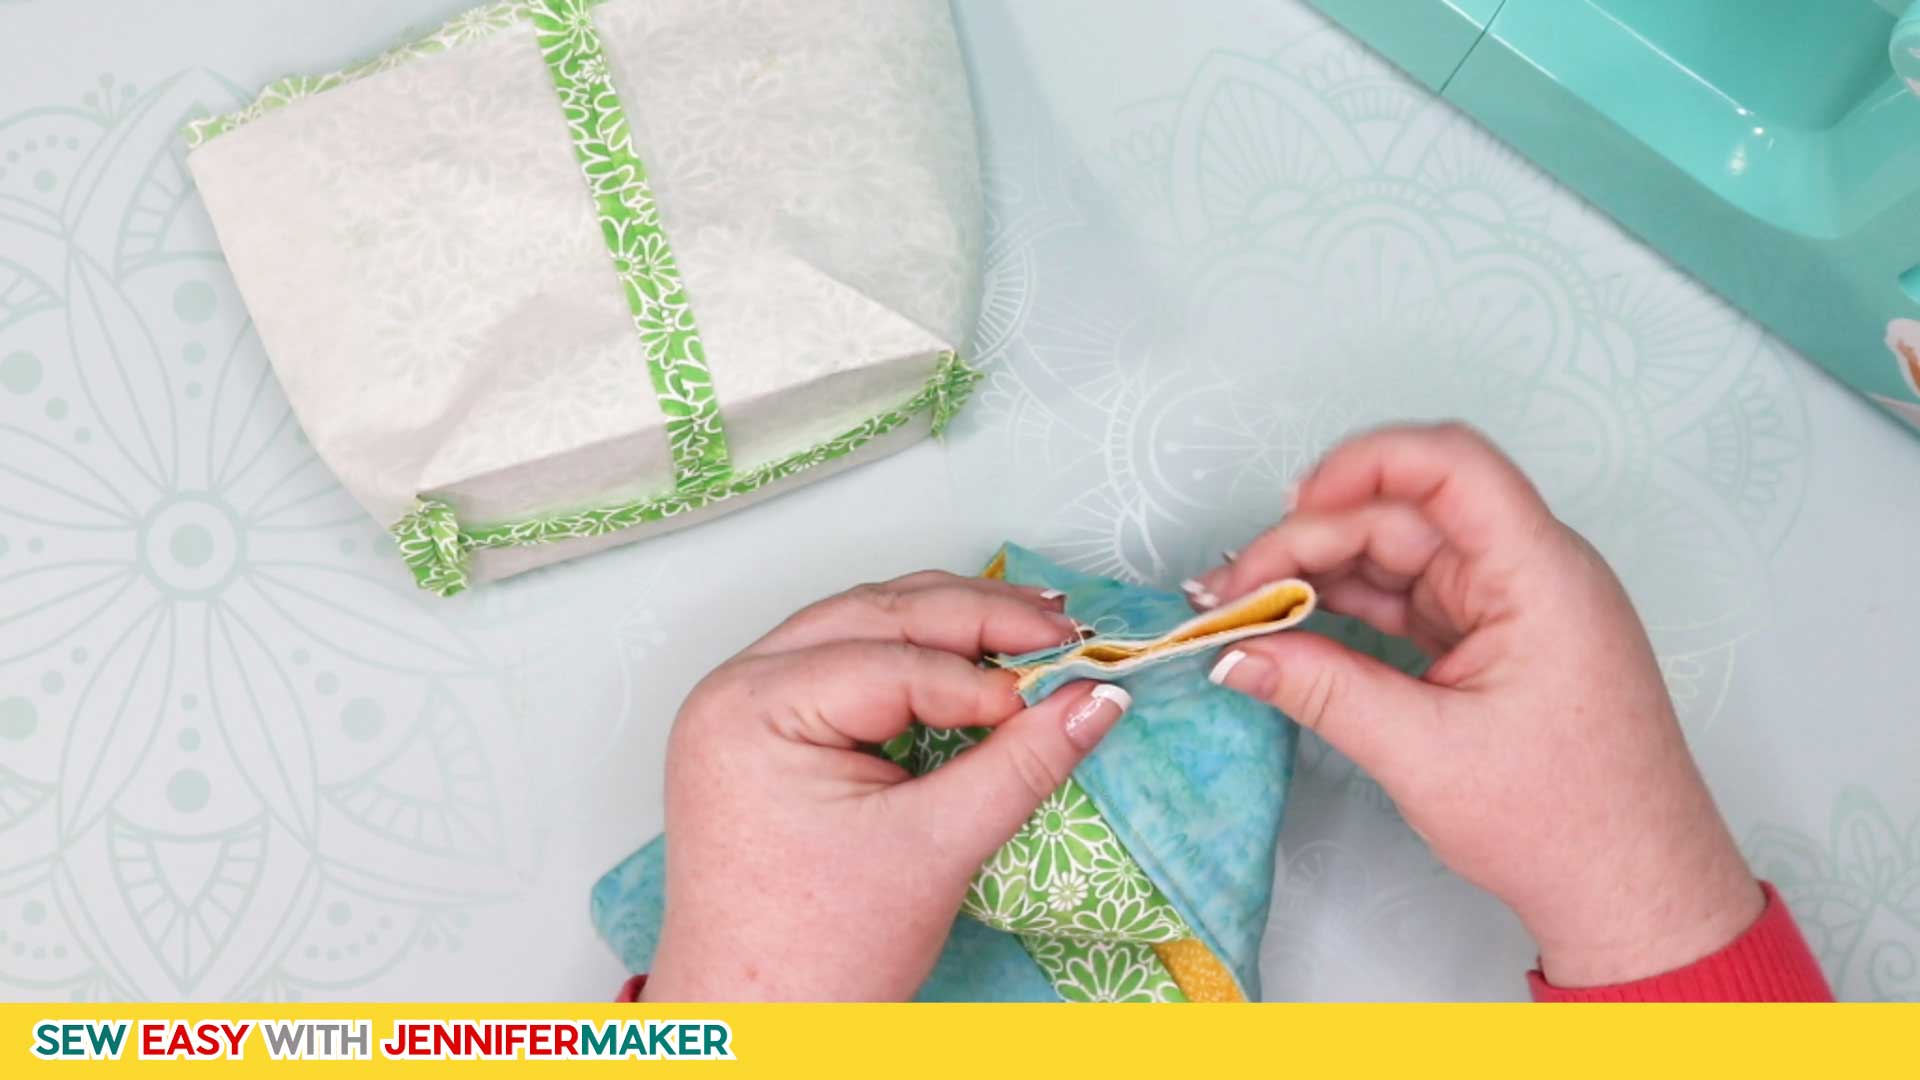
Finally, put the inside layer of your Tool Holder on top of everything, right side DOWN, and pin in place. You'll have to smush the pin cushion flat as best you can.
Now stitch around the two long edges plus the short edge with the pocket at a 3/8" seam allowance. Be sure to leave the end near the Pin Cushion open and unsewn so you can use it to turn everything right side out.
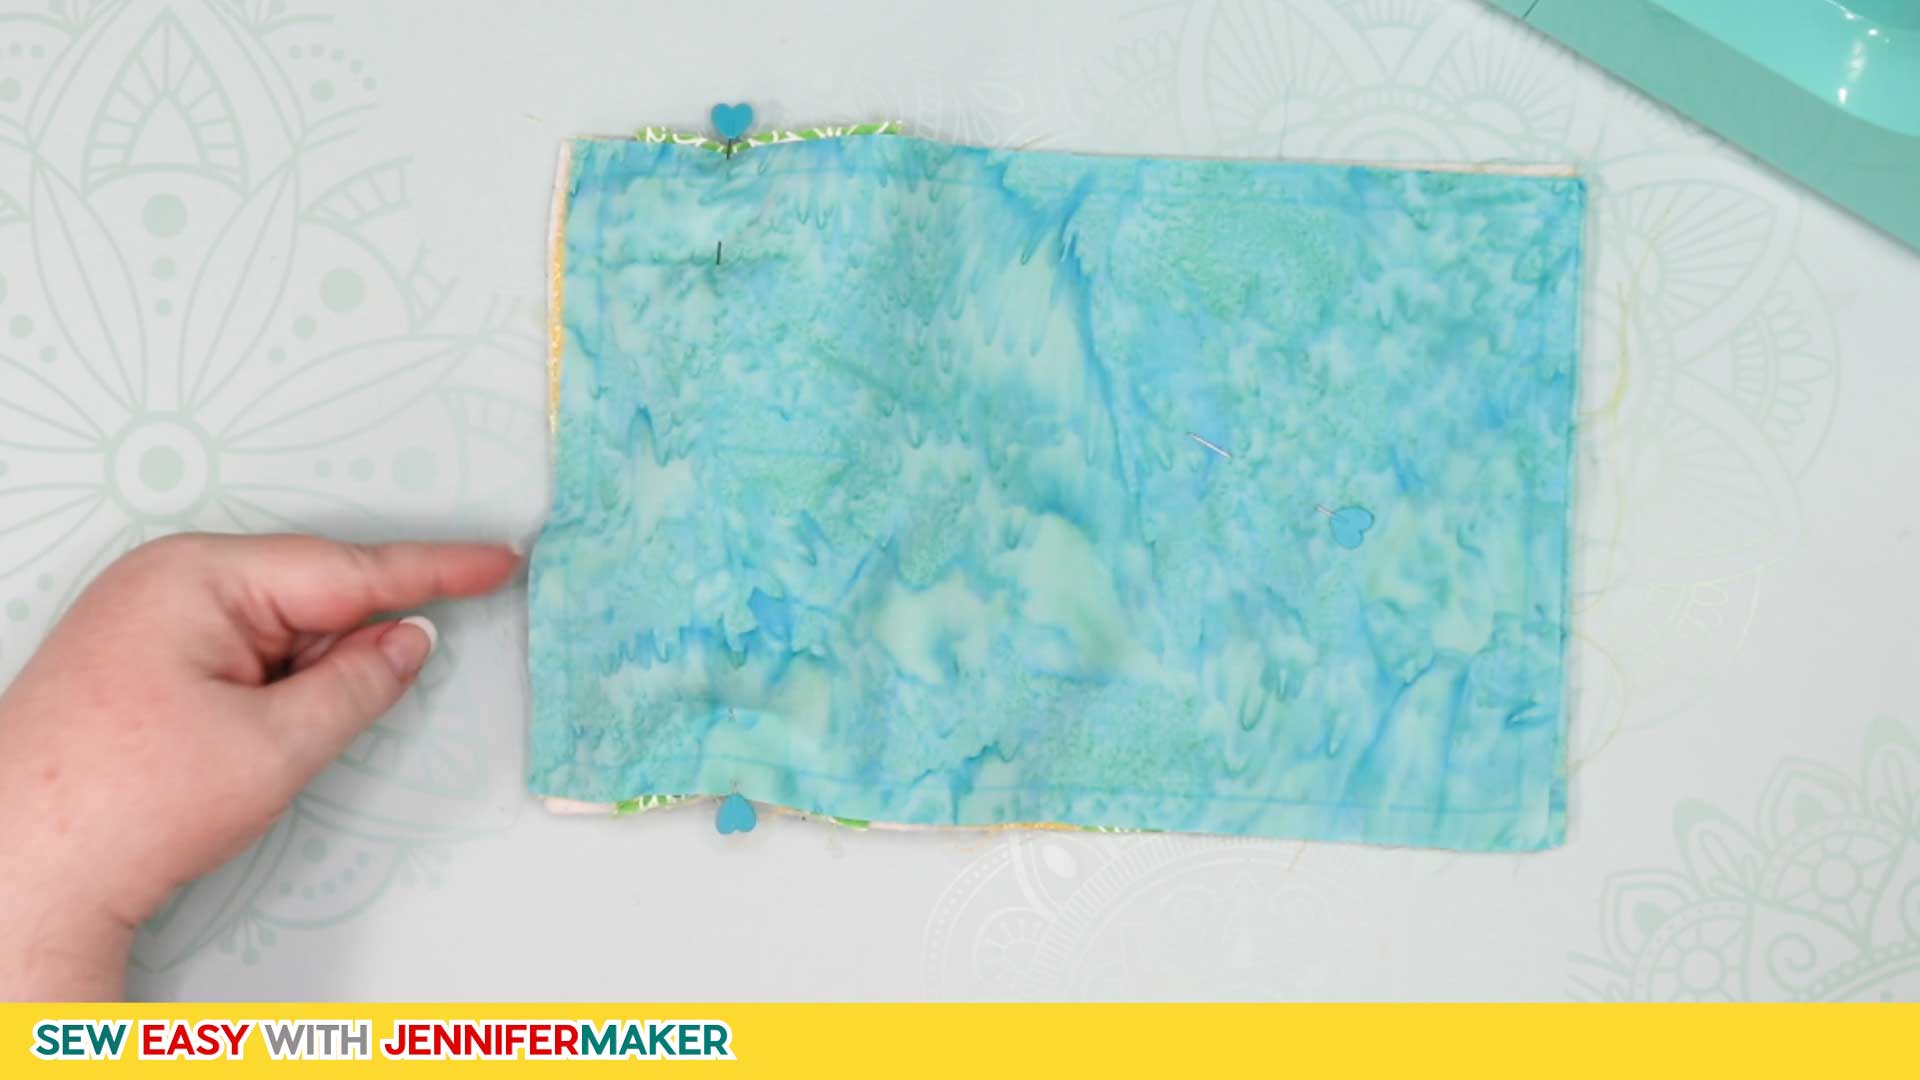
Tip: When stitching over the ends of the Pin Cushion and the pocket edges, be sure to go slowly — there are a lot of layers here.
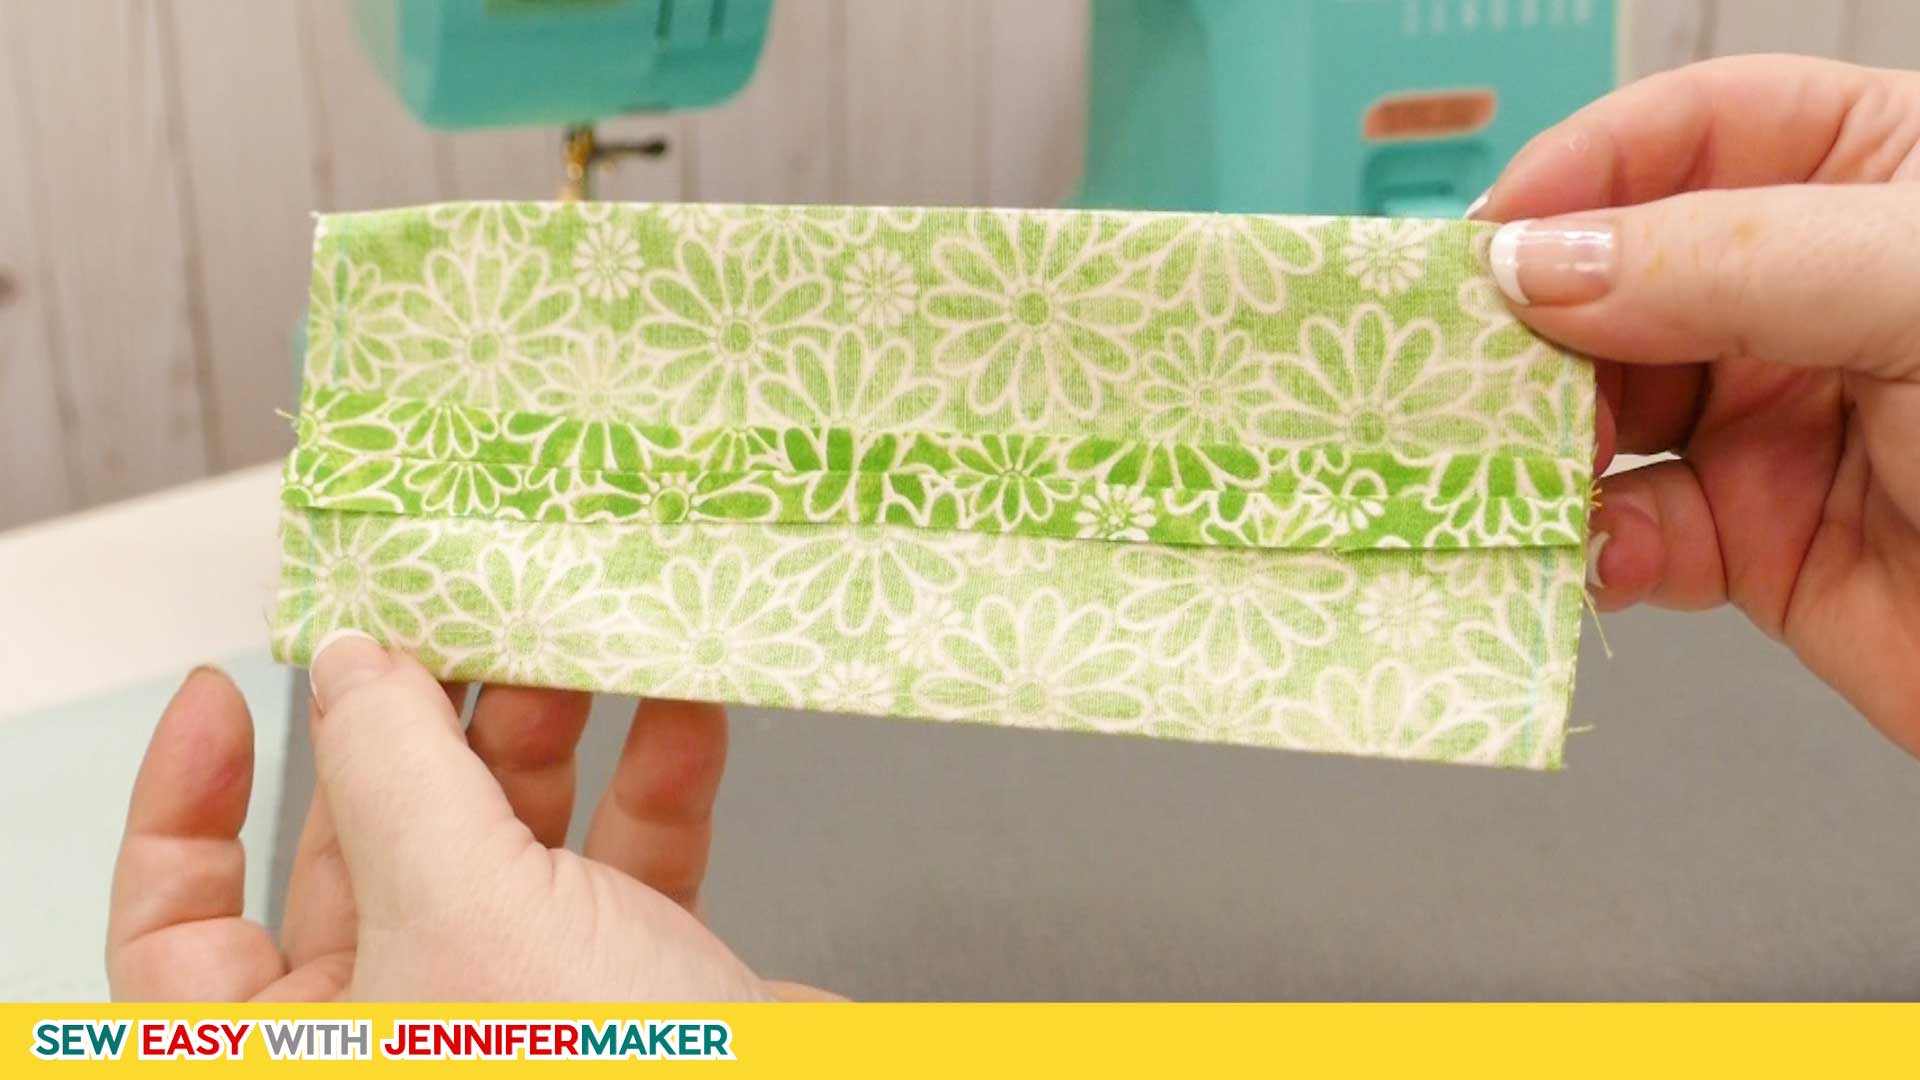
When done, clip the corners and turn the Tool Holder right side out, being careful to only turn the inside layer and not tool pockets. Use your fingernail, the tip of your scissors, or a chopstick to push the corners out.
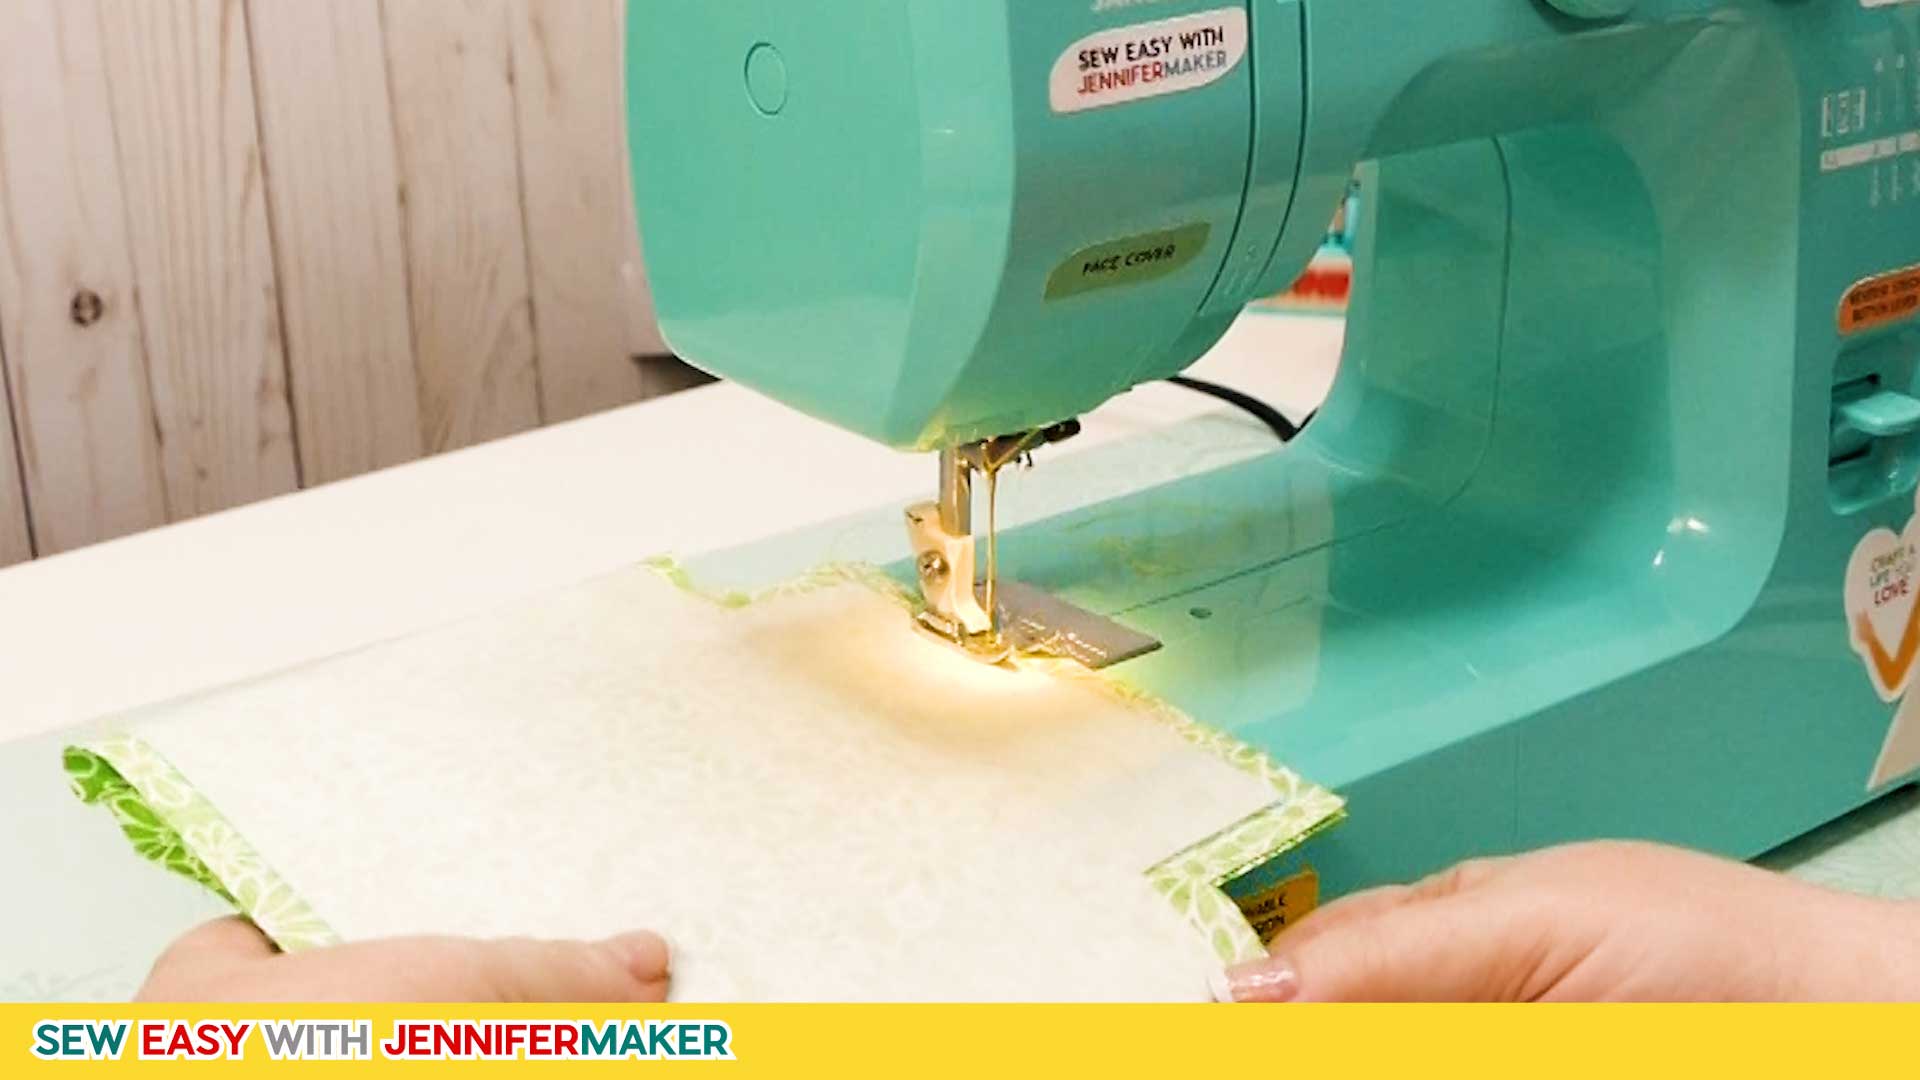
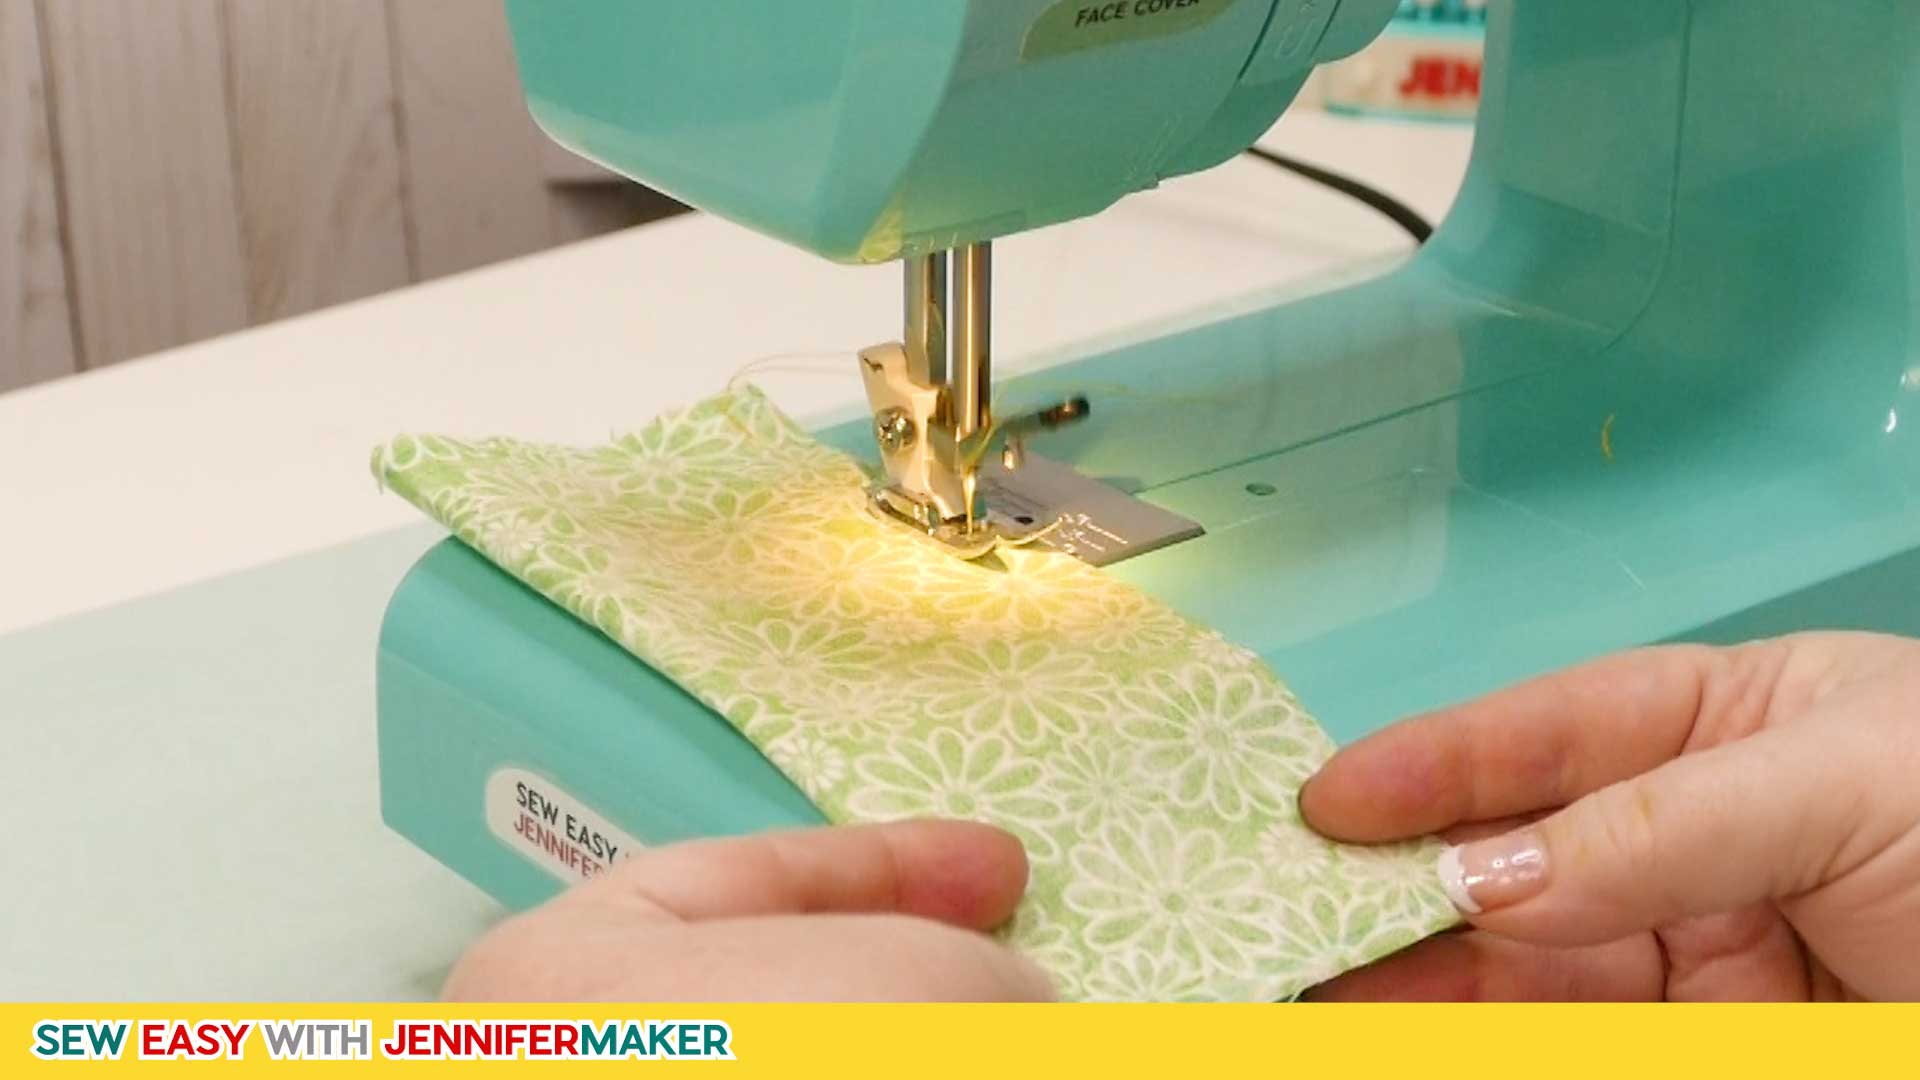
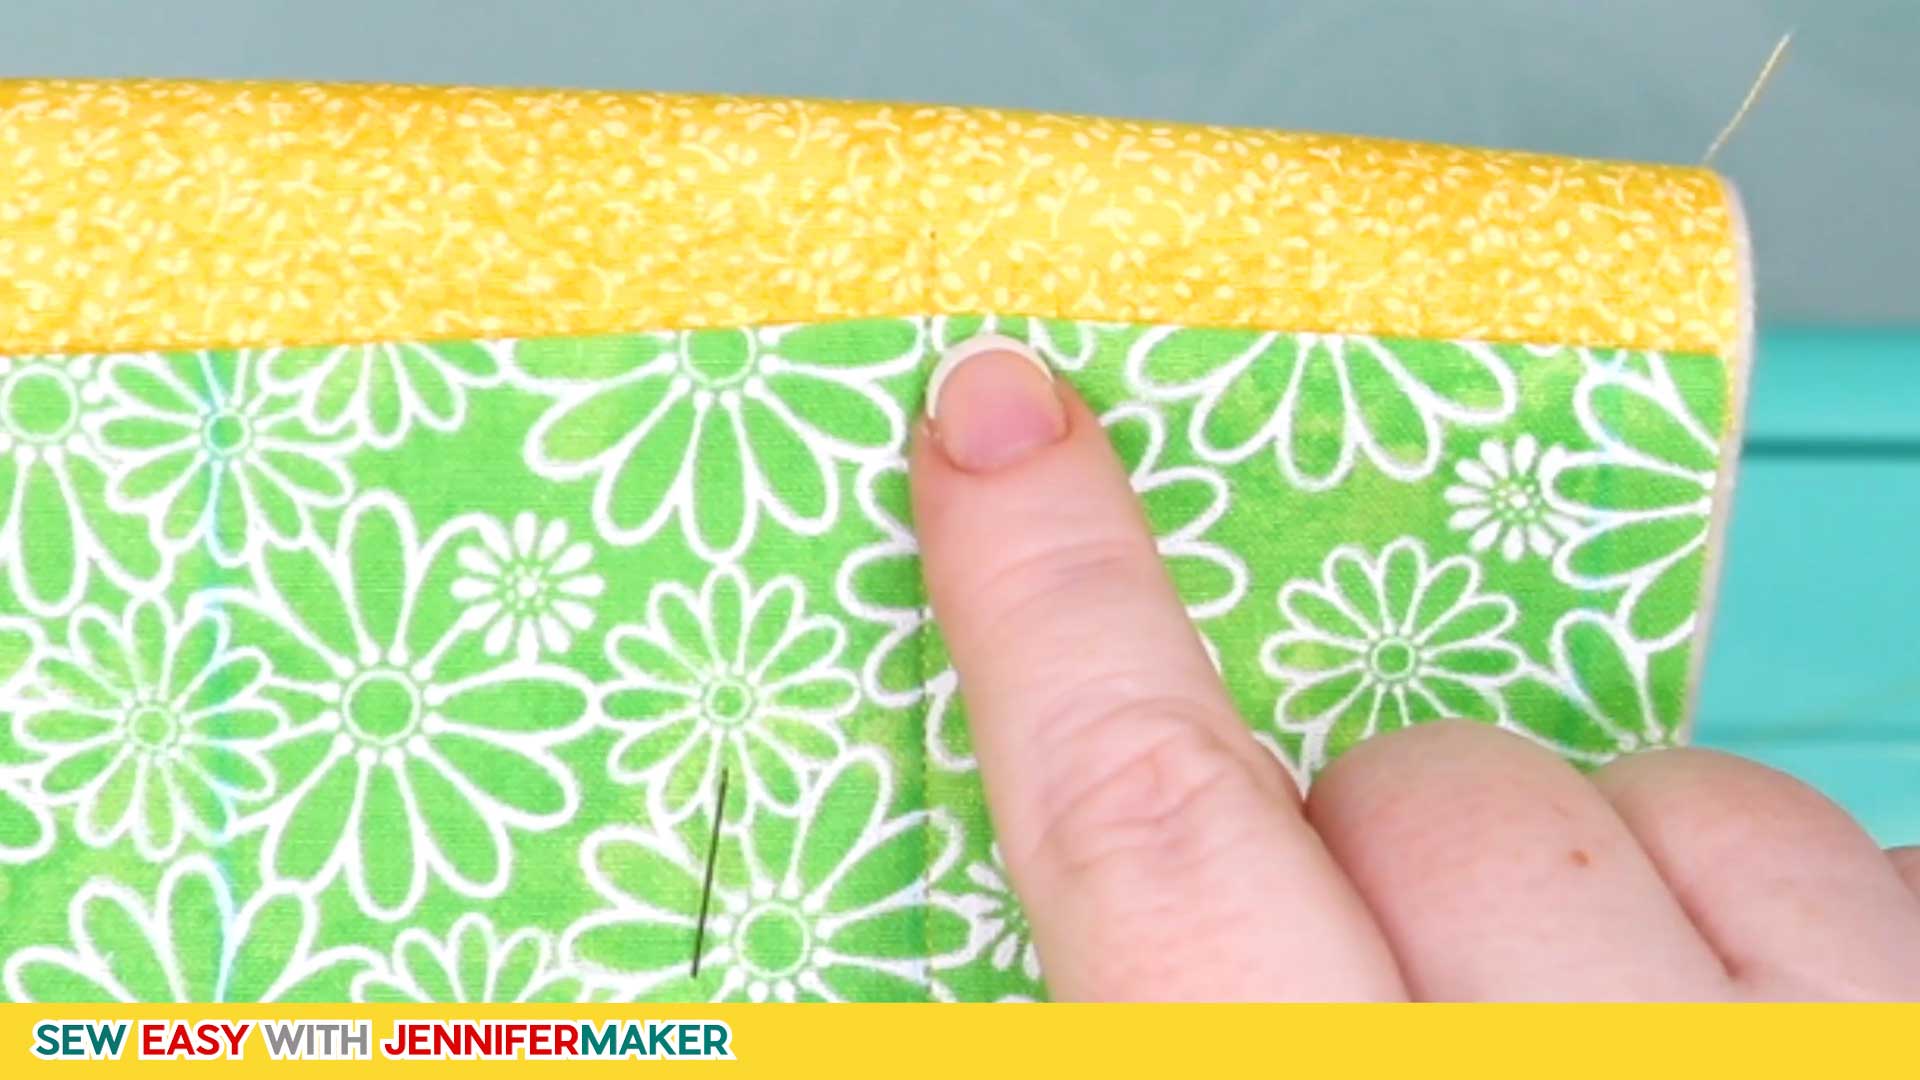
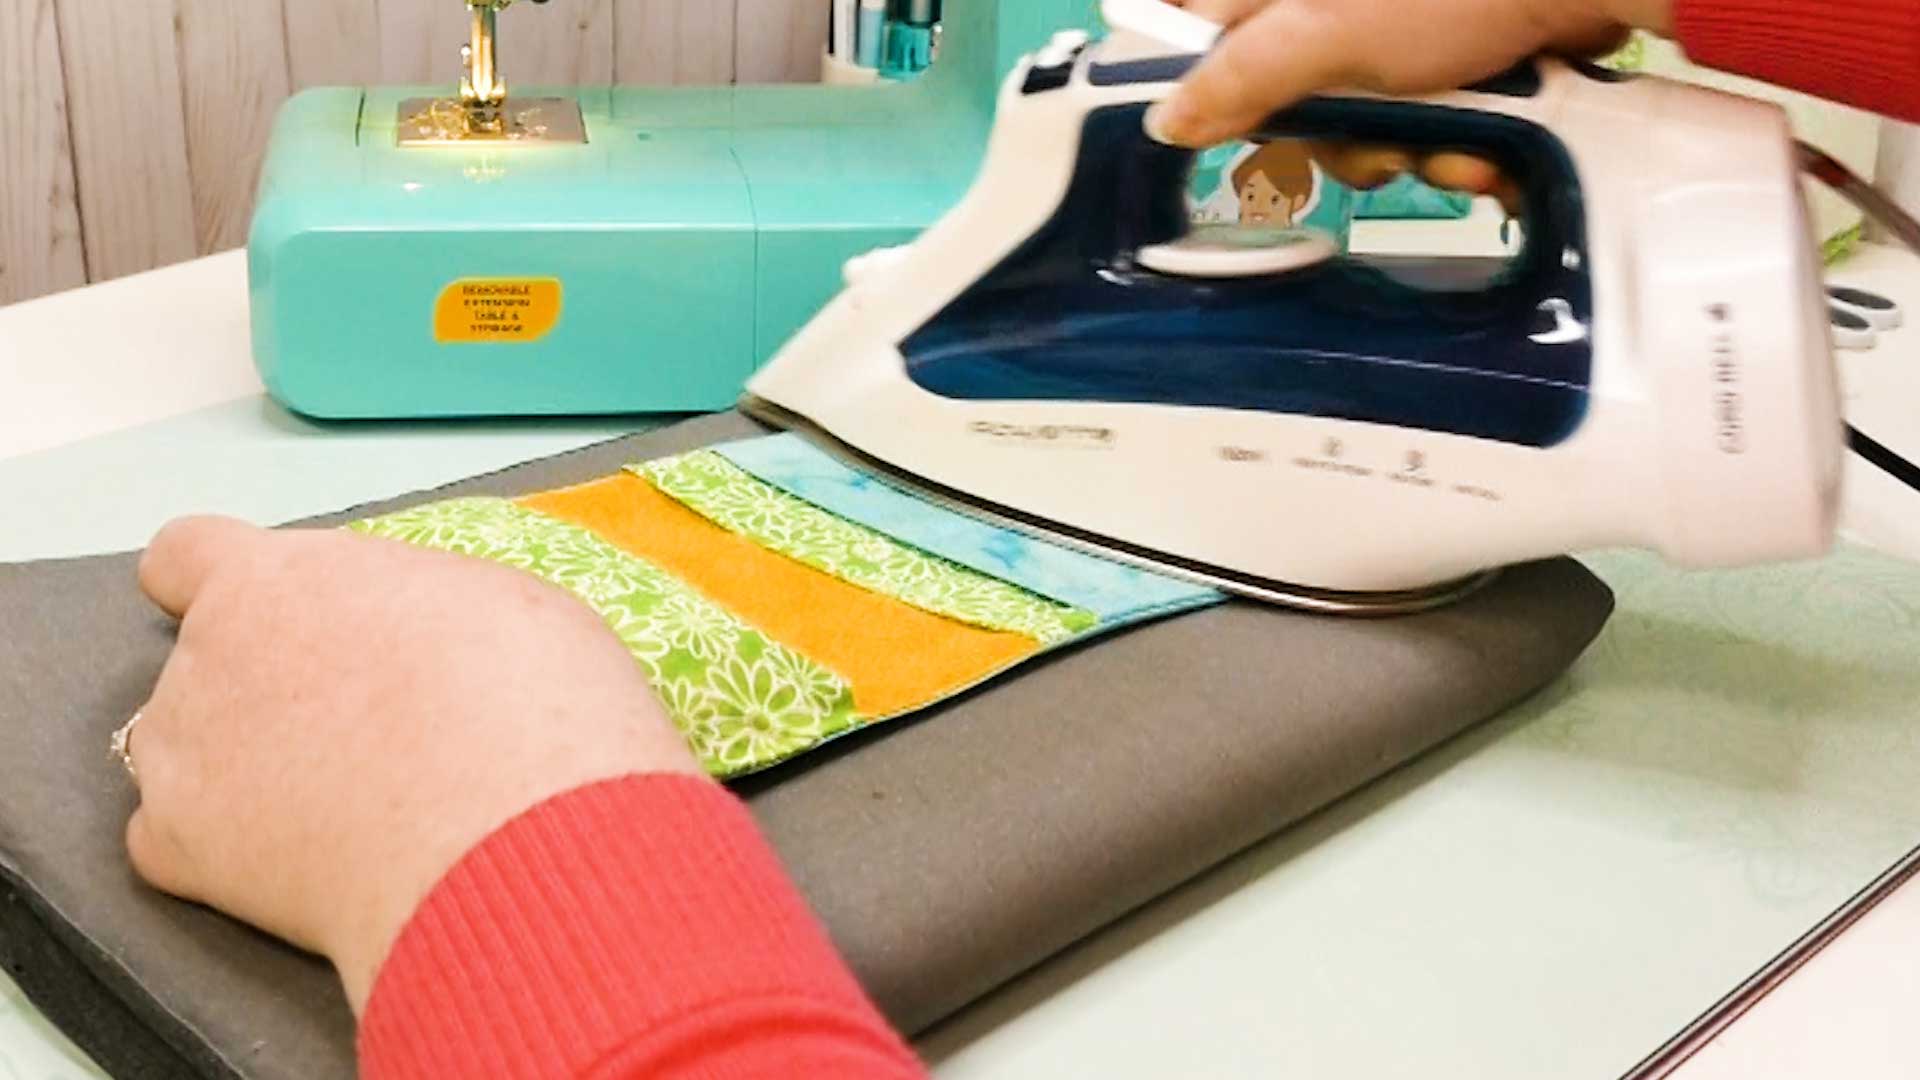
Once your Tool Holder is turned right side out, topstitch along each side of the Tool Holder starting just above the larger of the two pockets to keep it neat.
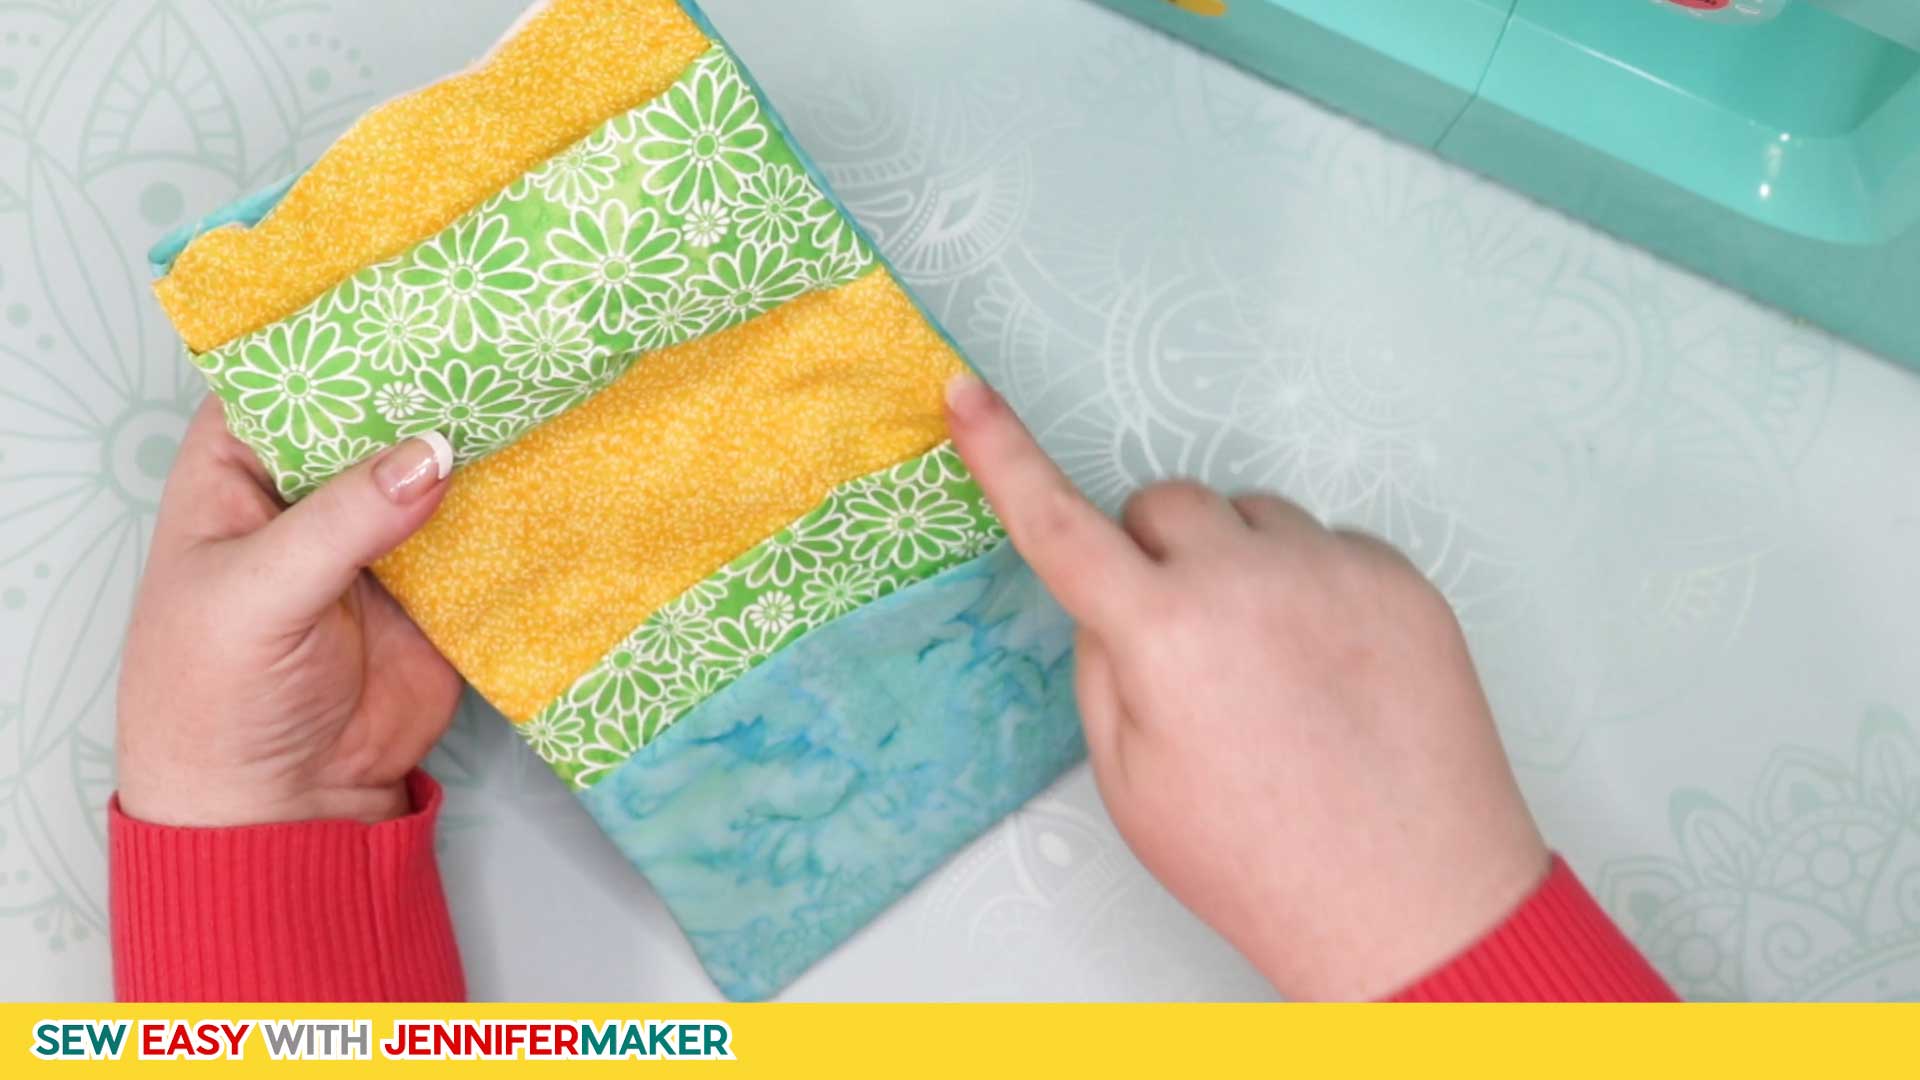
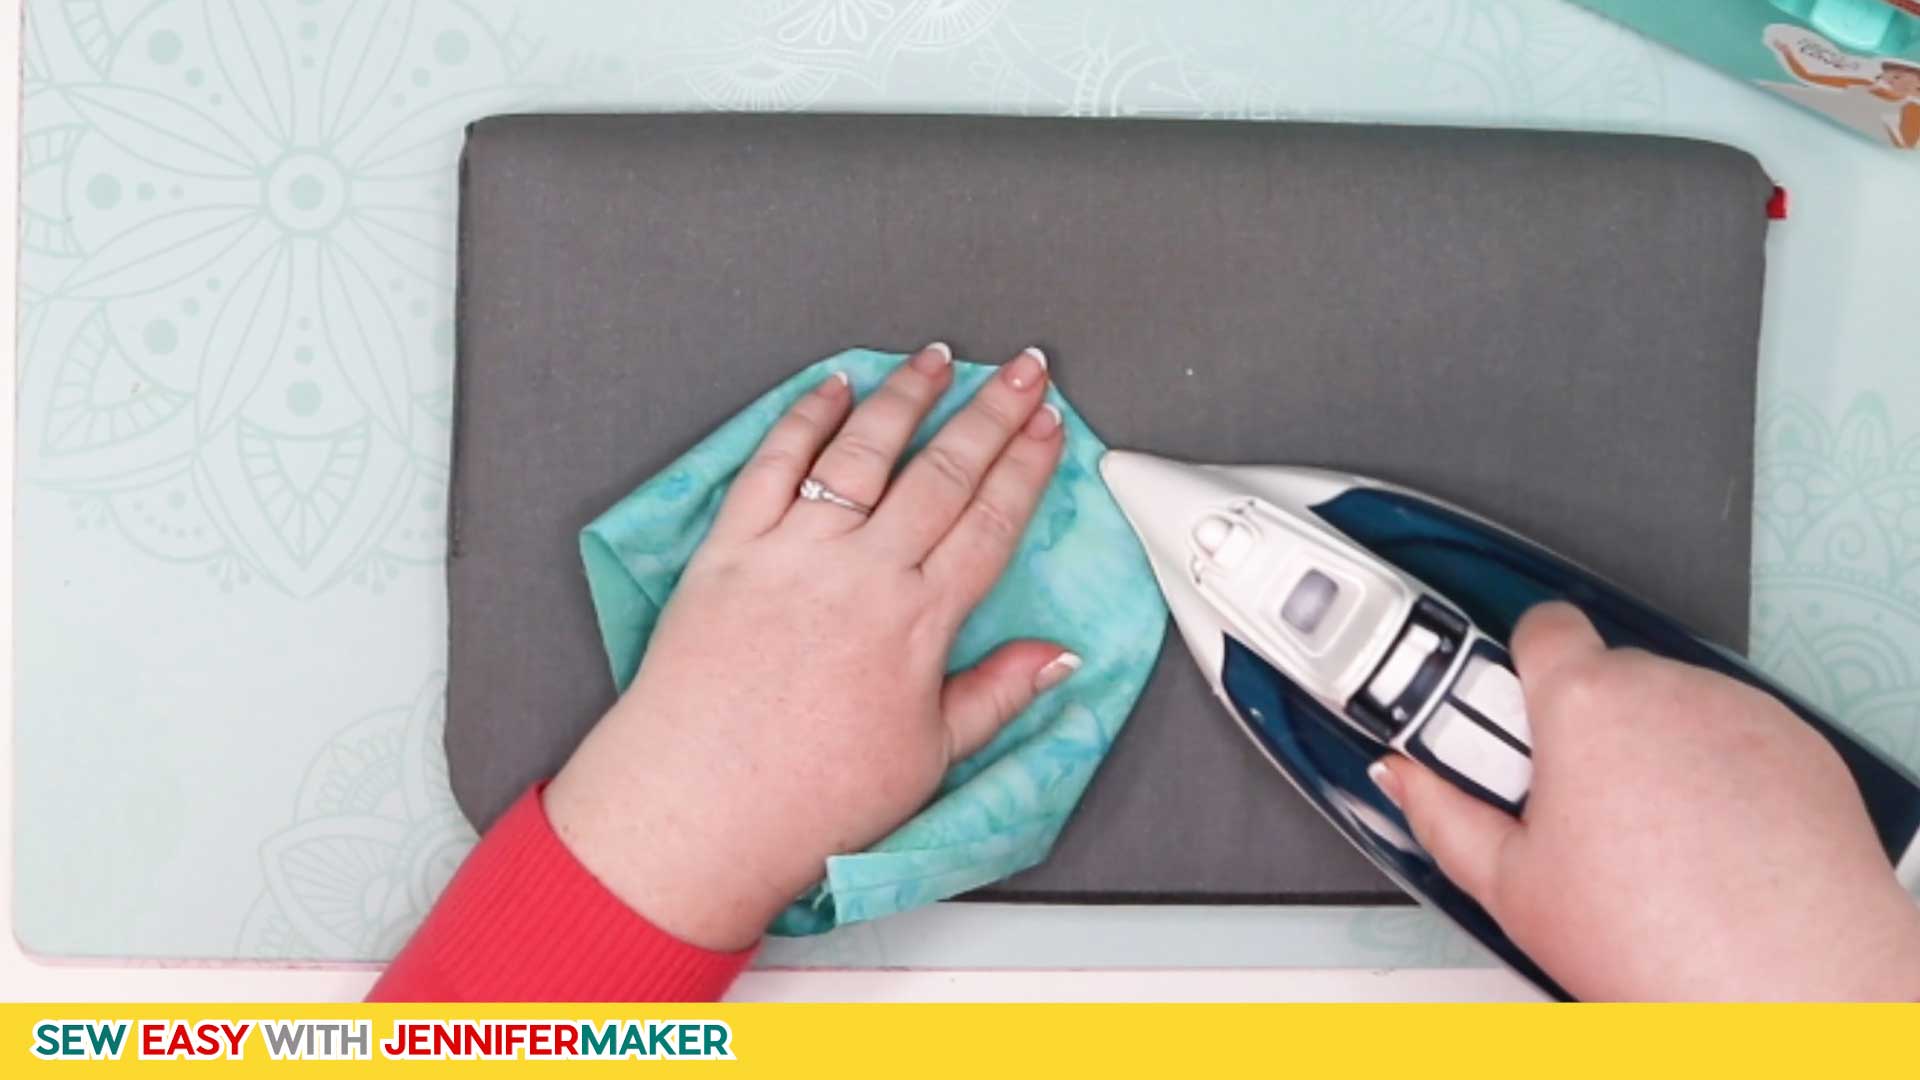
Press everything flat.
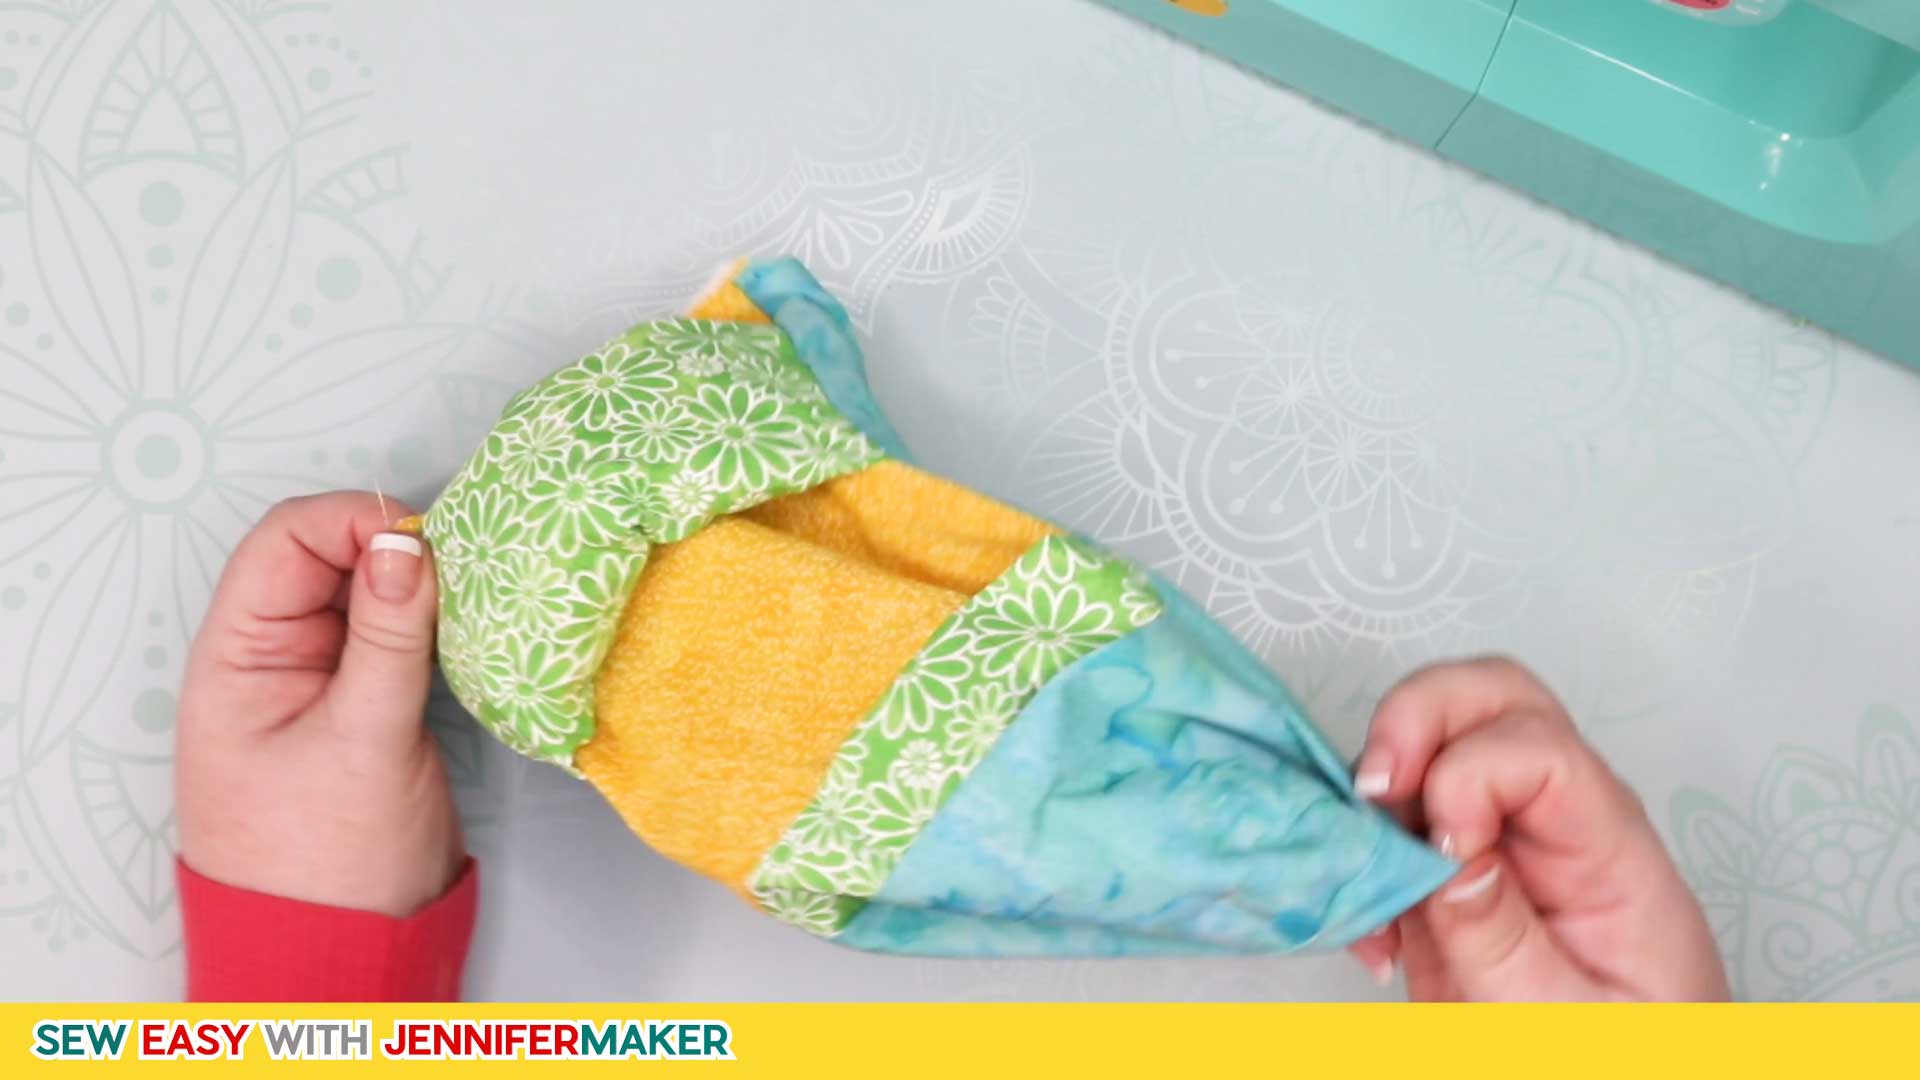
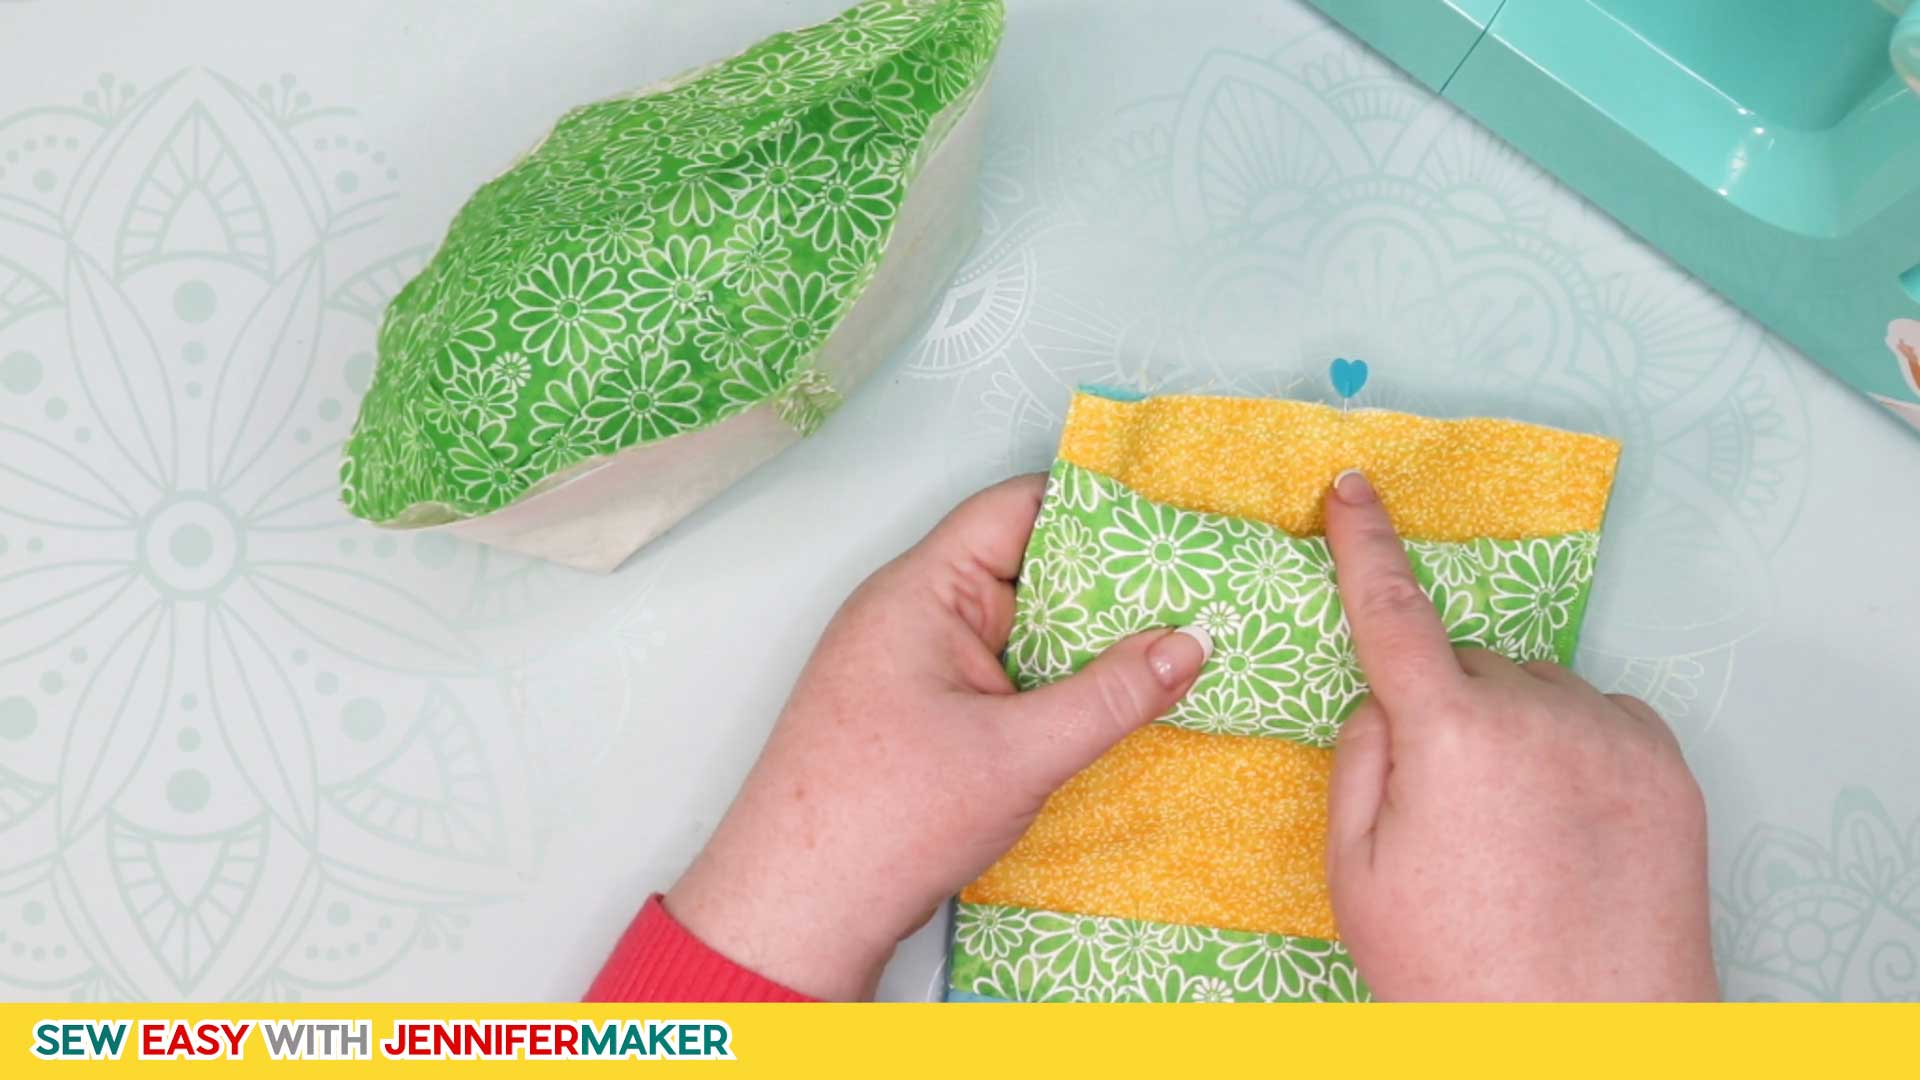
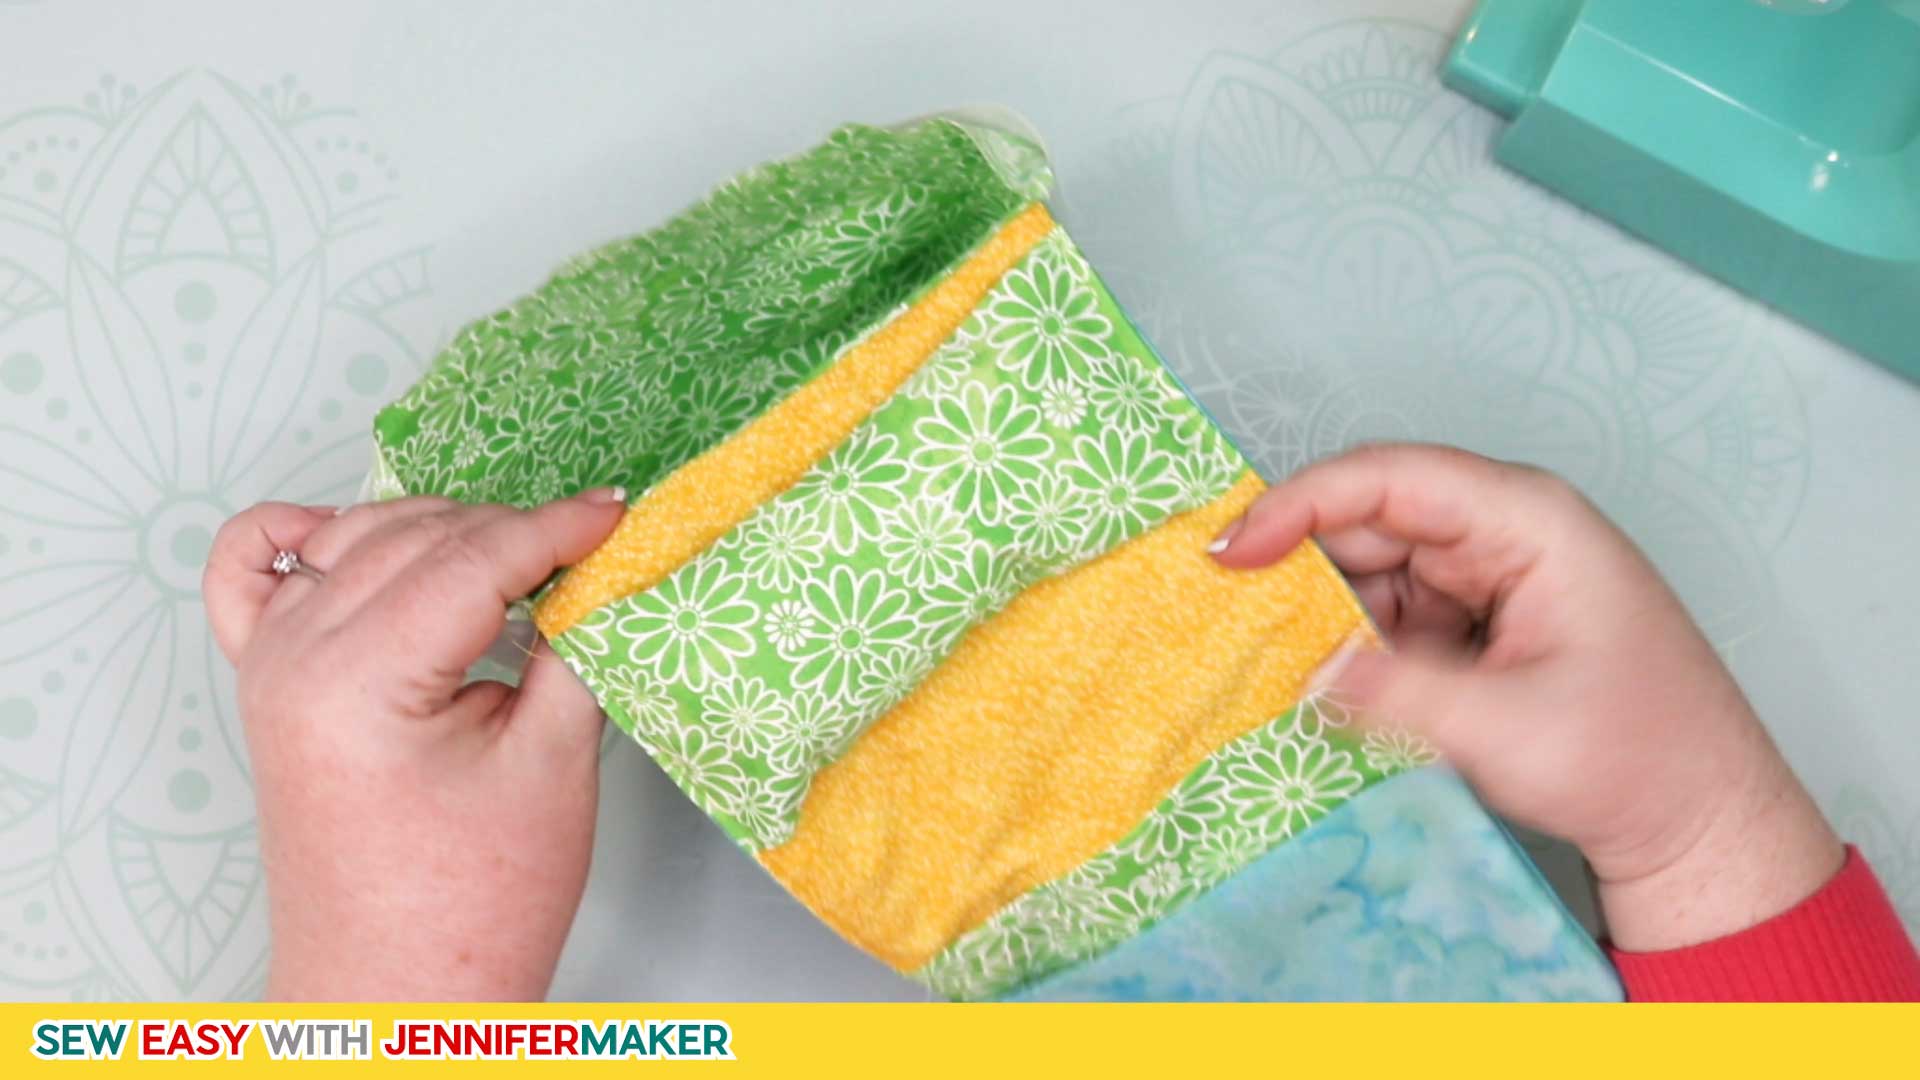
Step 7: Attach the Bits Bin to the Tool Holder.
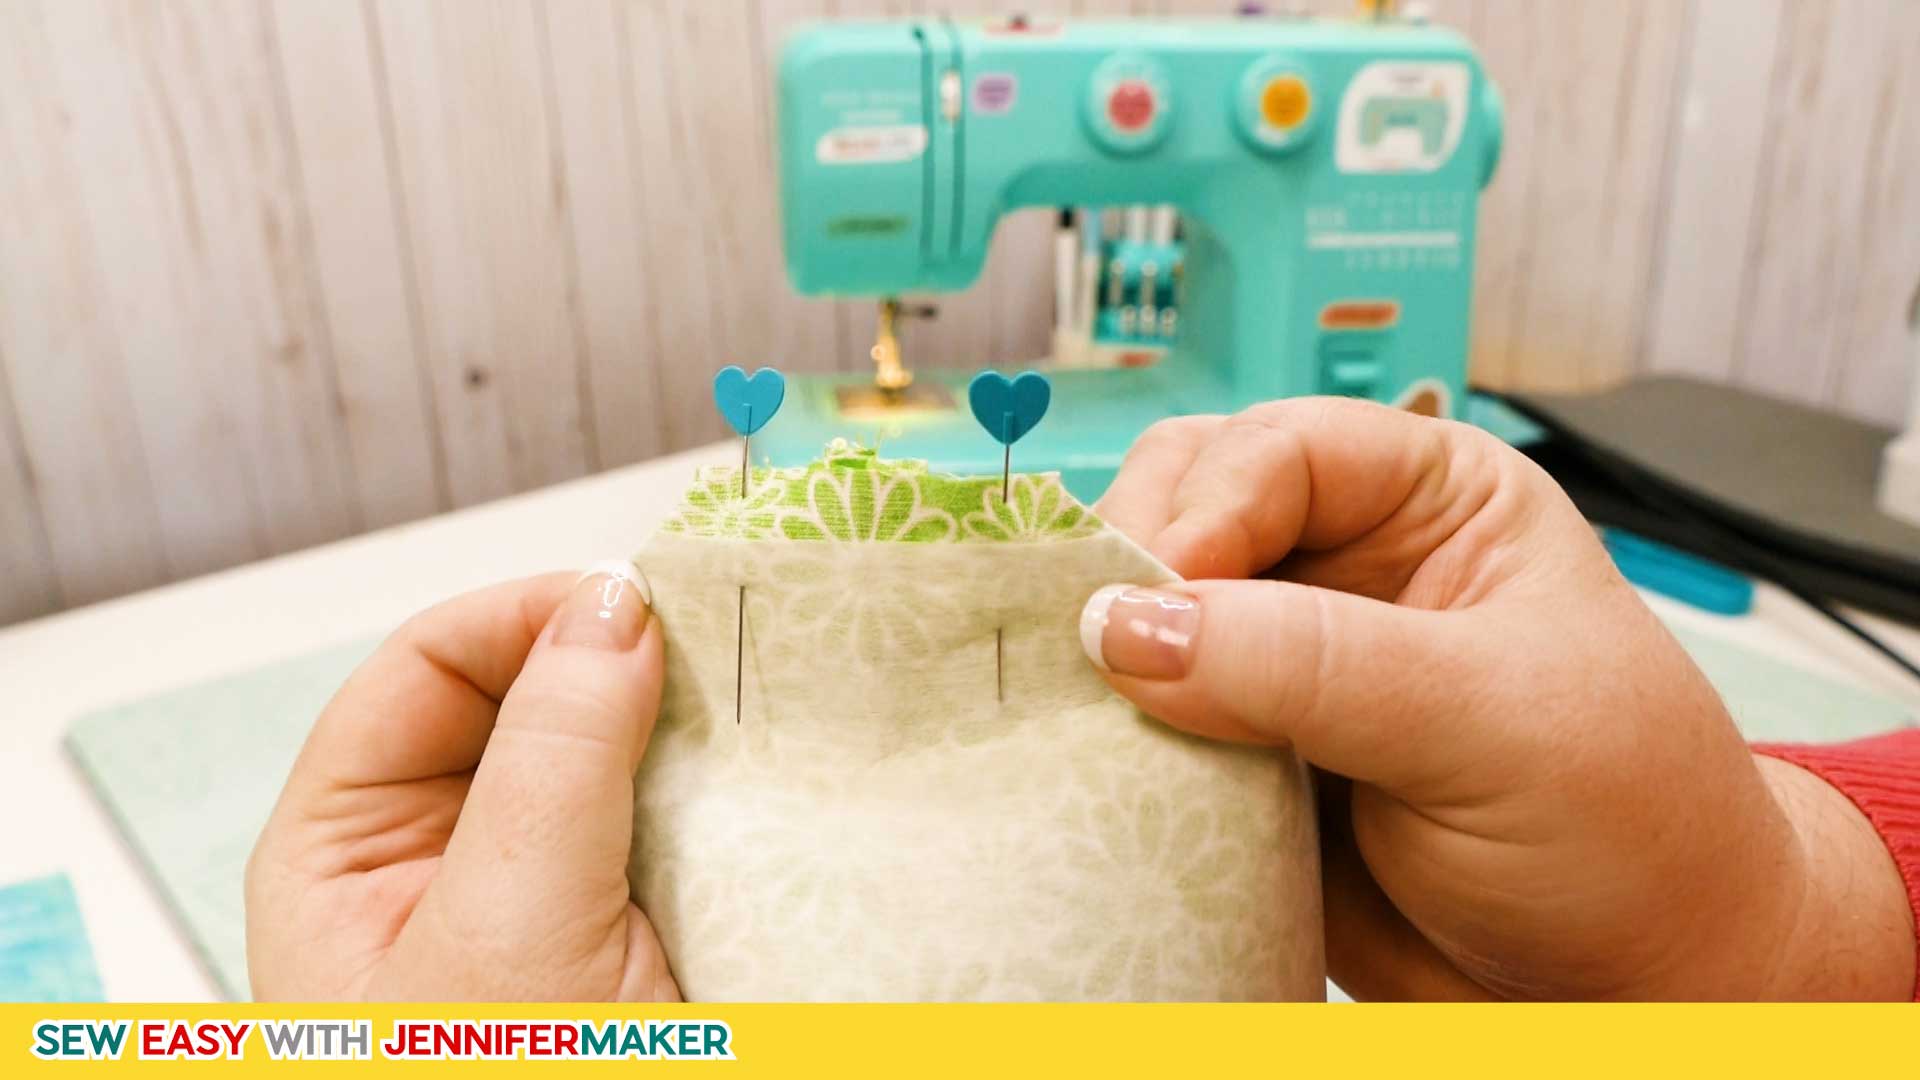
Now it's time to attach your Bits Bin to the Tool Holder. Start by locating the center top of the Tool Holder and place a pin there. To do this, just briefly fold the center top in half to find the right spot for the pin. Put the pin in from the top.
Fold the Tool Holder in half so the pin is facing you and is oriented up, put it into the inside layer of the Bits Bin so the pin is near the back center seam, then match the pin with the center seam of the Bits Bin and pin the raw edge of the Tool Holder to the back of the inside Bits Bin. Double check that you're pinning your layers together the same way I am — so you're putting the right side of the Tool Holder against the right side of the inside layer of the Bits Bin.
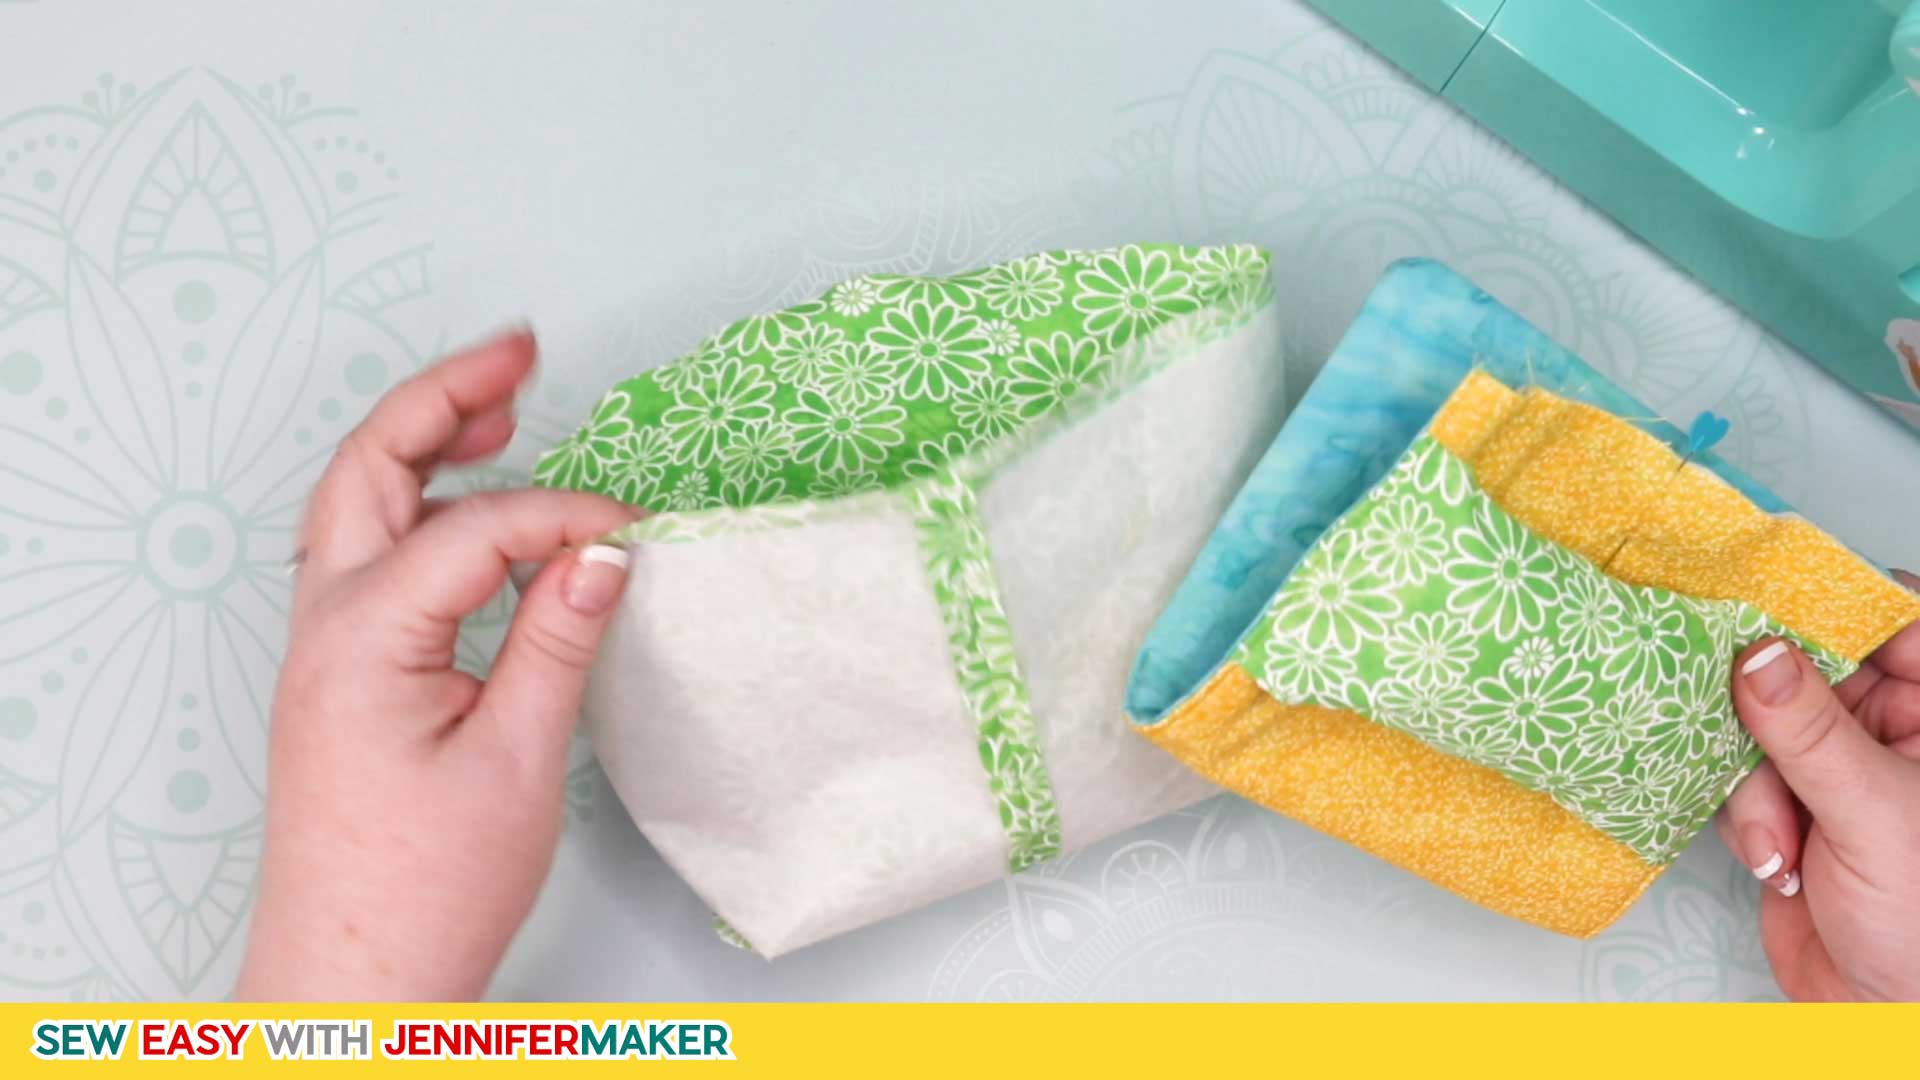
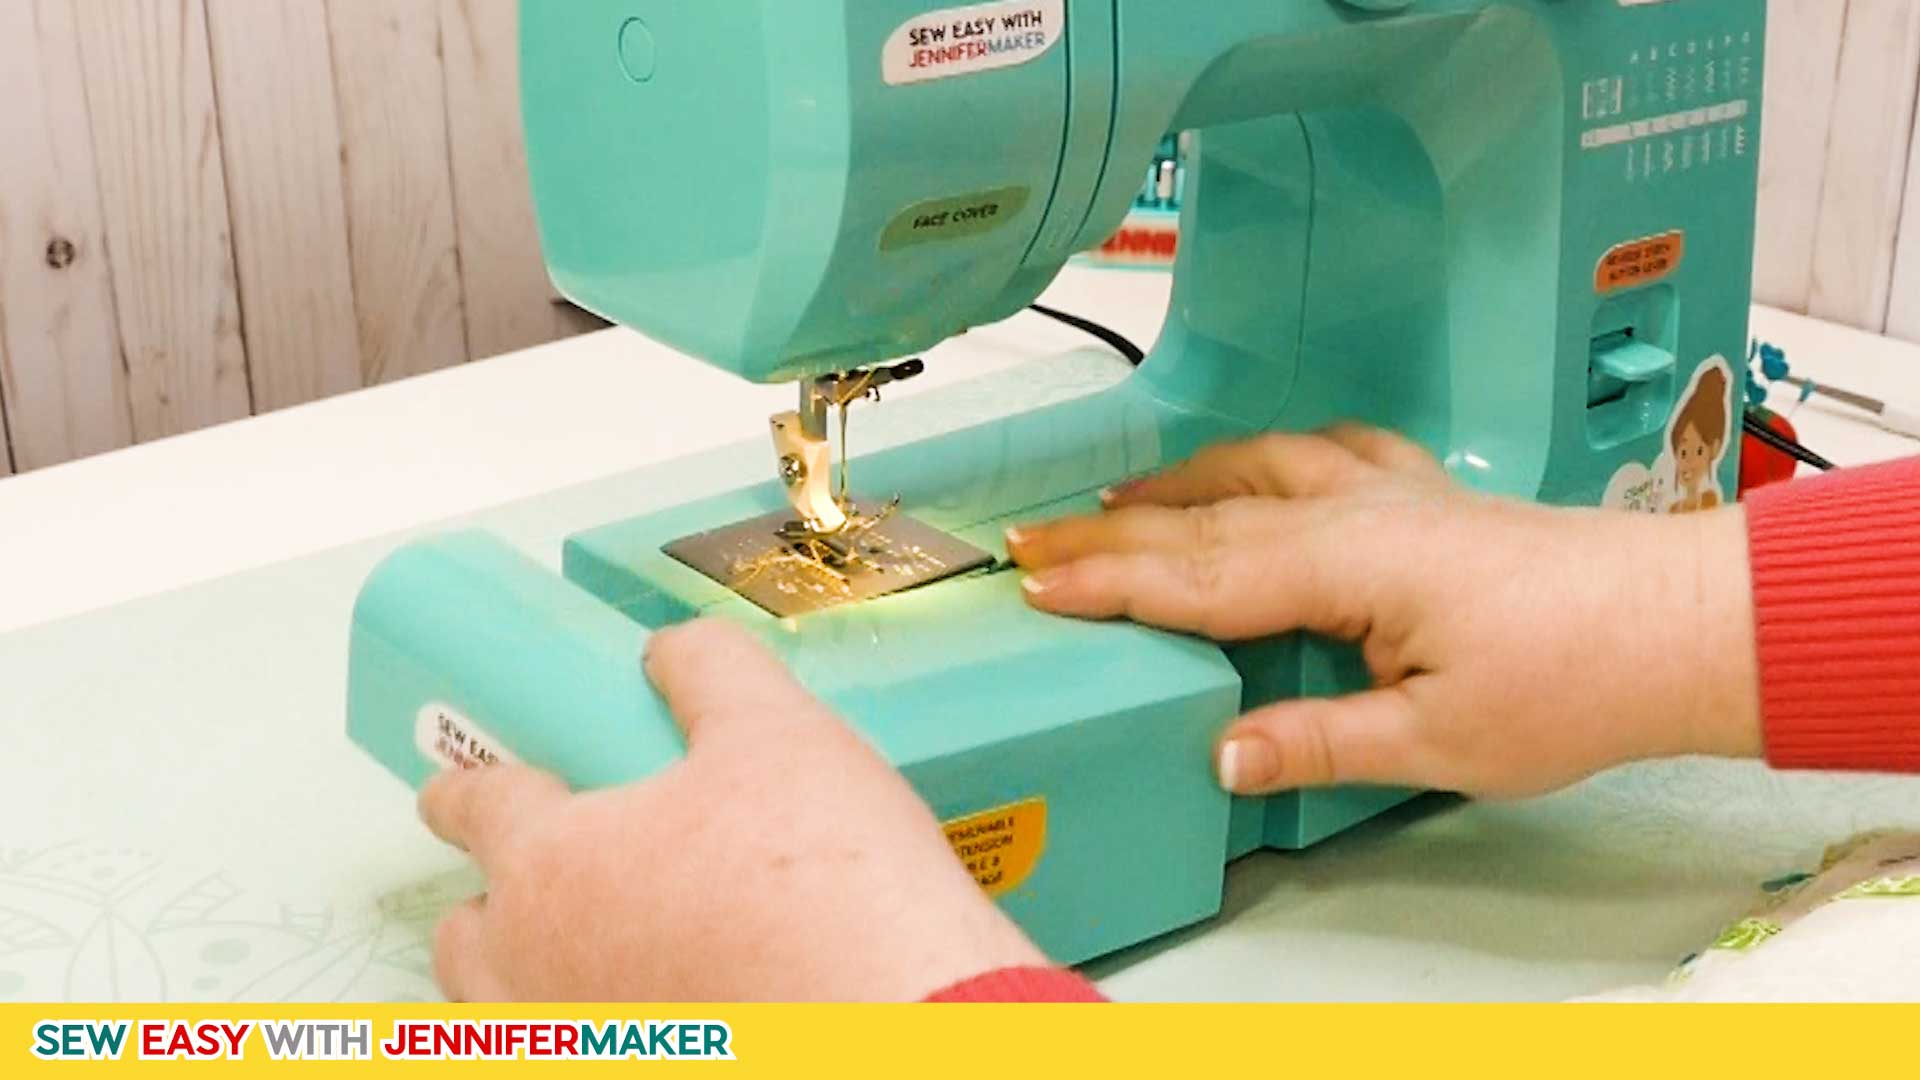
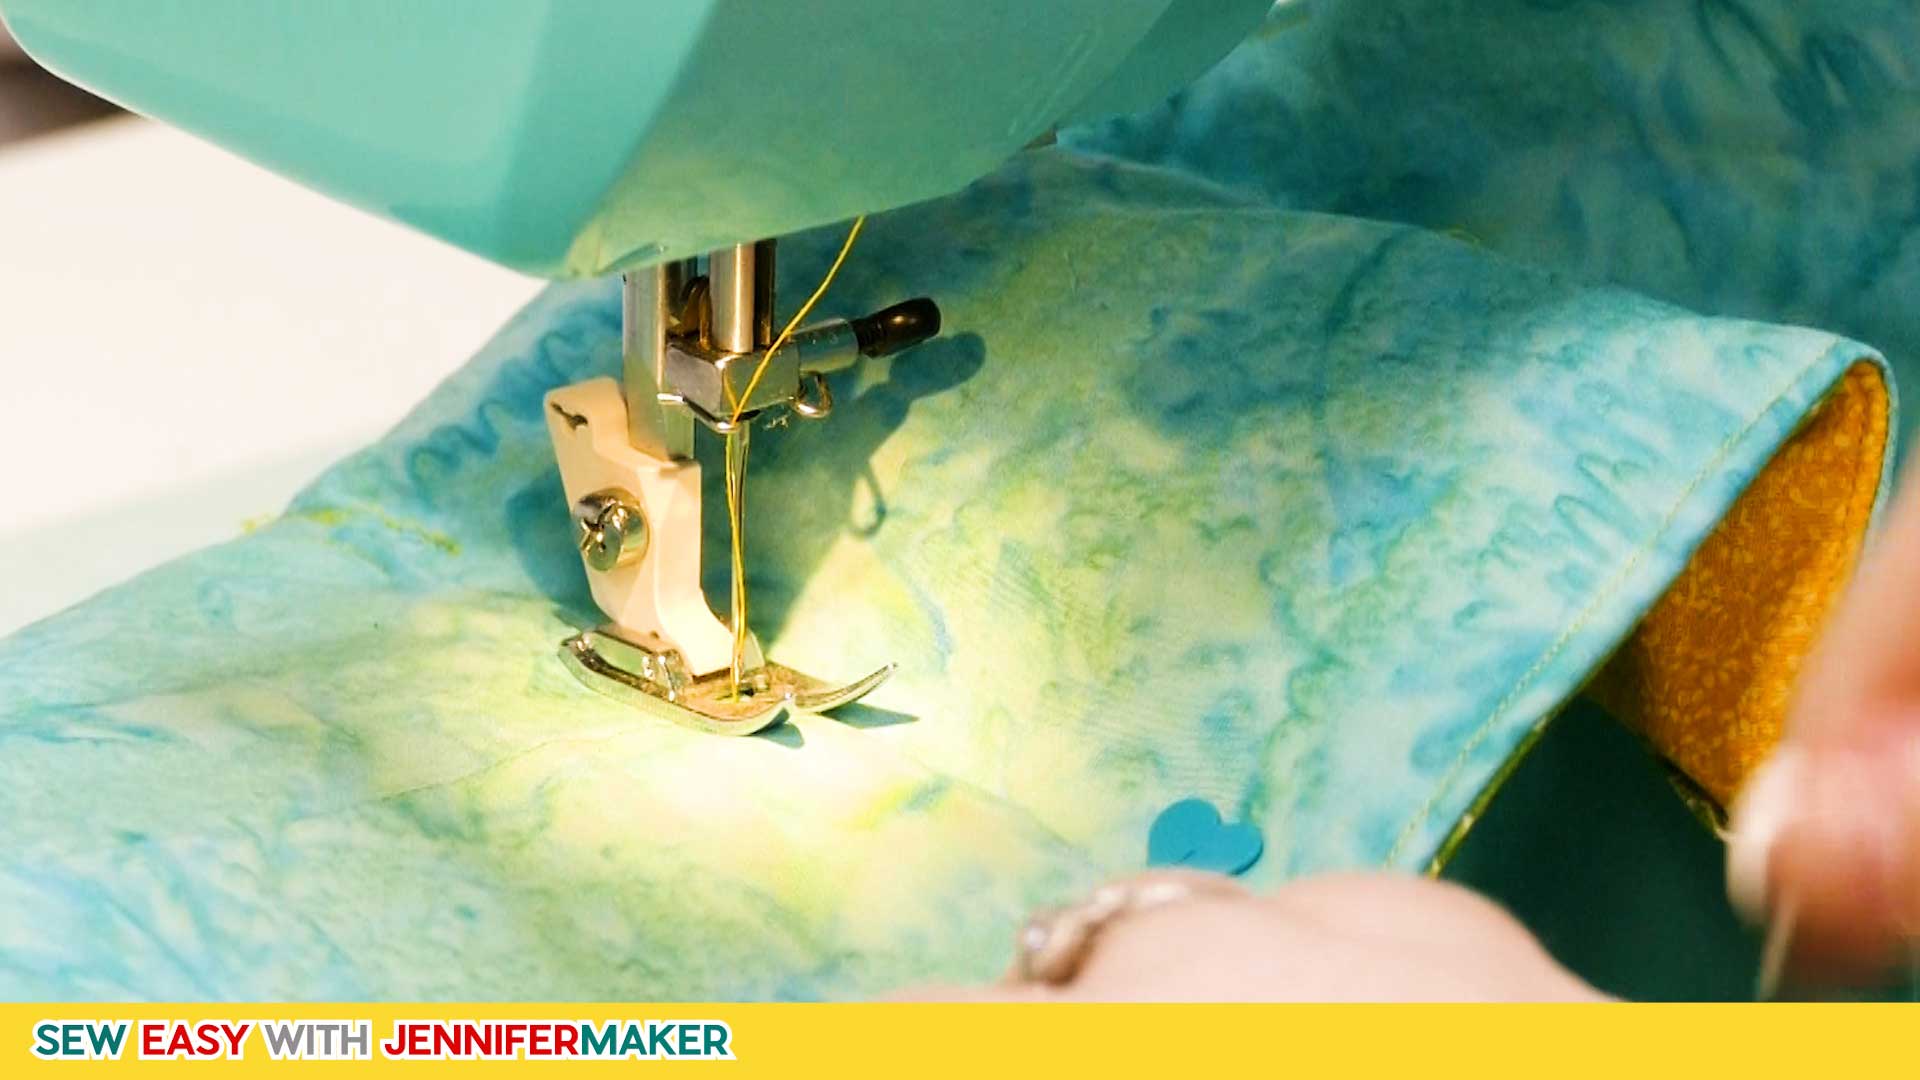
Now it's time to sew these together. To do this, first, remove your sewing machine's extension table to access the free-arm, then place the pinned layers over the free-arm and stitch just along the Tool Holder with a 1/4″ seam allowance. (Yes, the Pin Cushion will make it a little tricky to slide the fabric onto the free-arm, but entirely doable.)
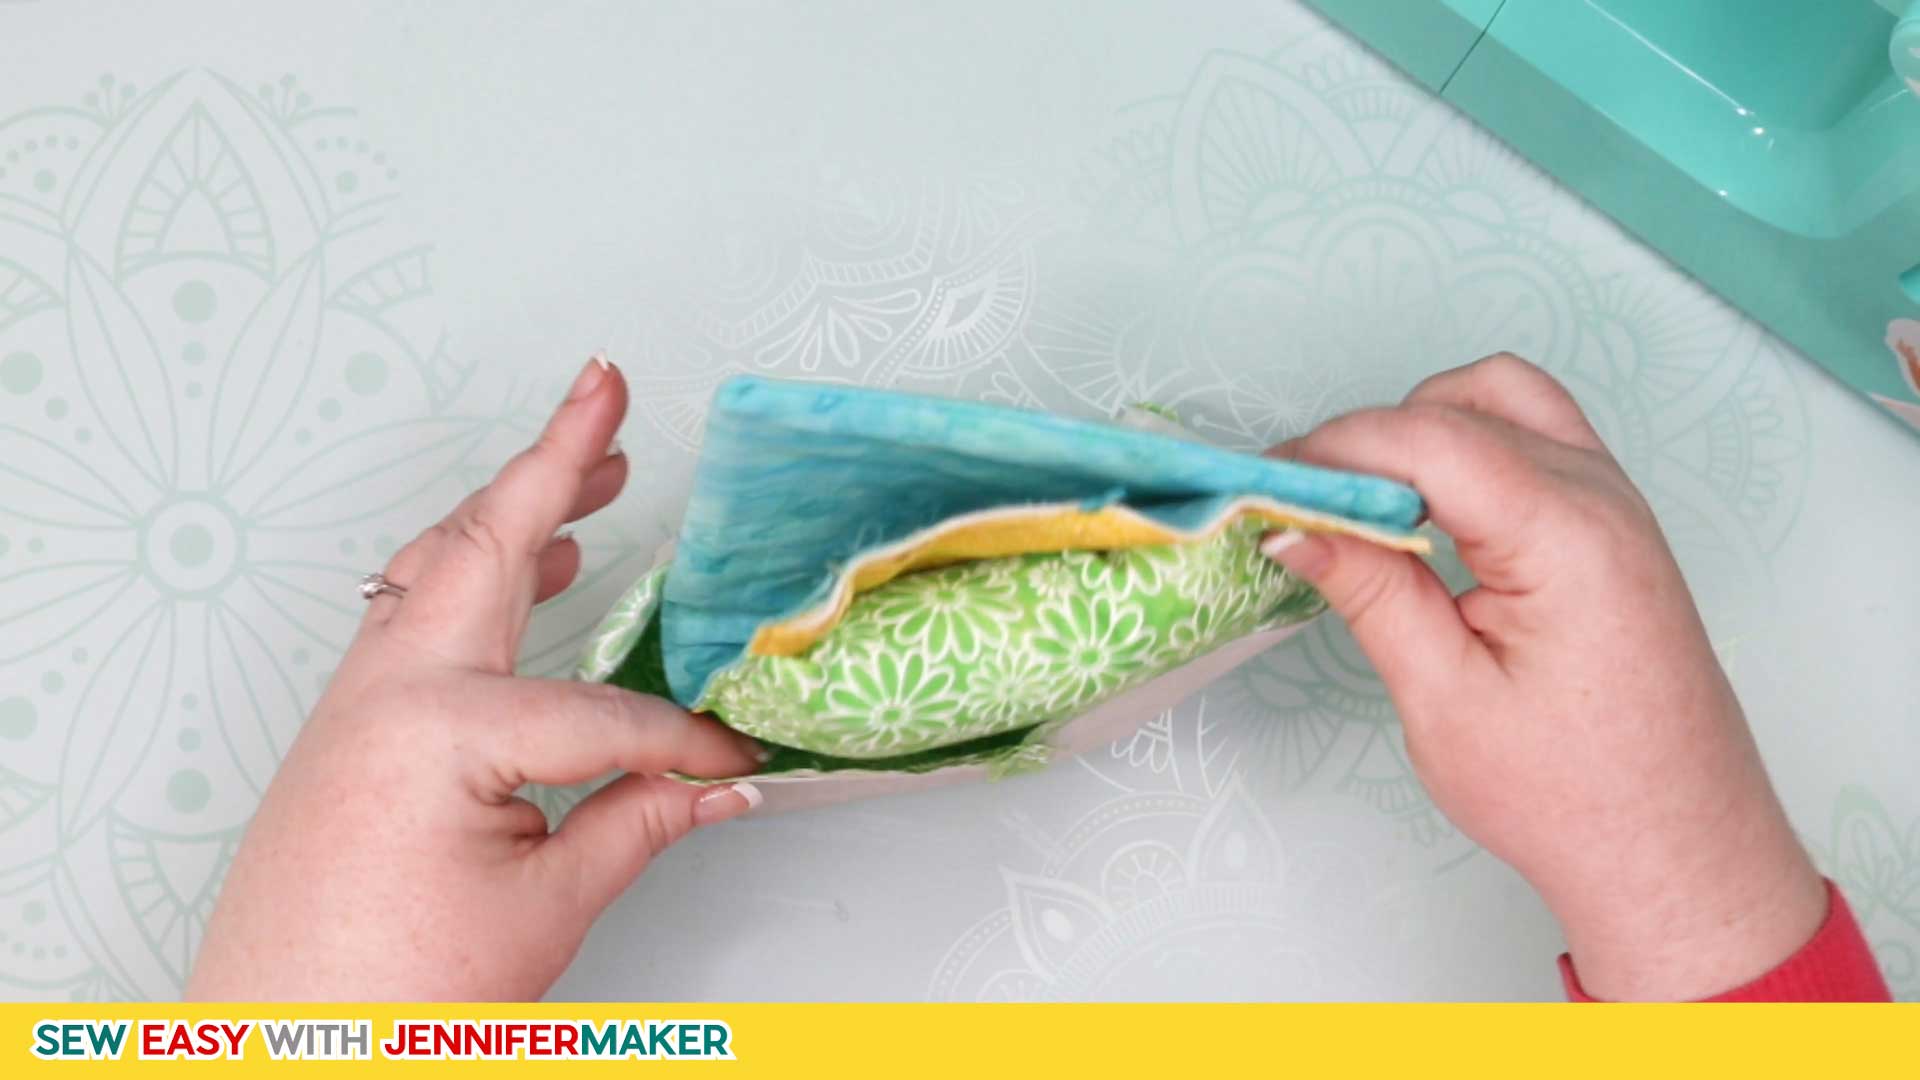
Once these two are sewn together, flip the inside Bits Bin lining layer so its fabric is right side out. Do not forget to do this step!

Put the inside lining layer of the Bits Bin into the outside layer of the Bits Bin, matching the seams. The outside layer should still be inside out. You want to put the right sides together here and make sure the seams match.

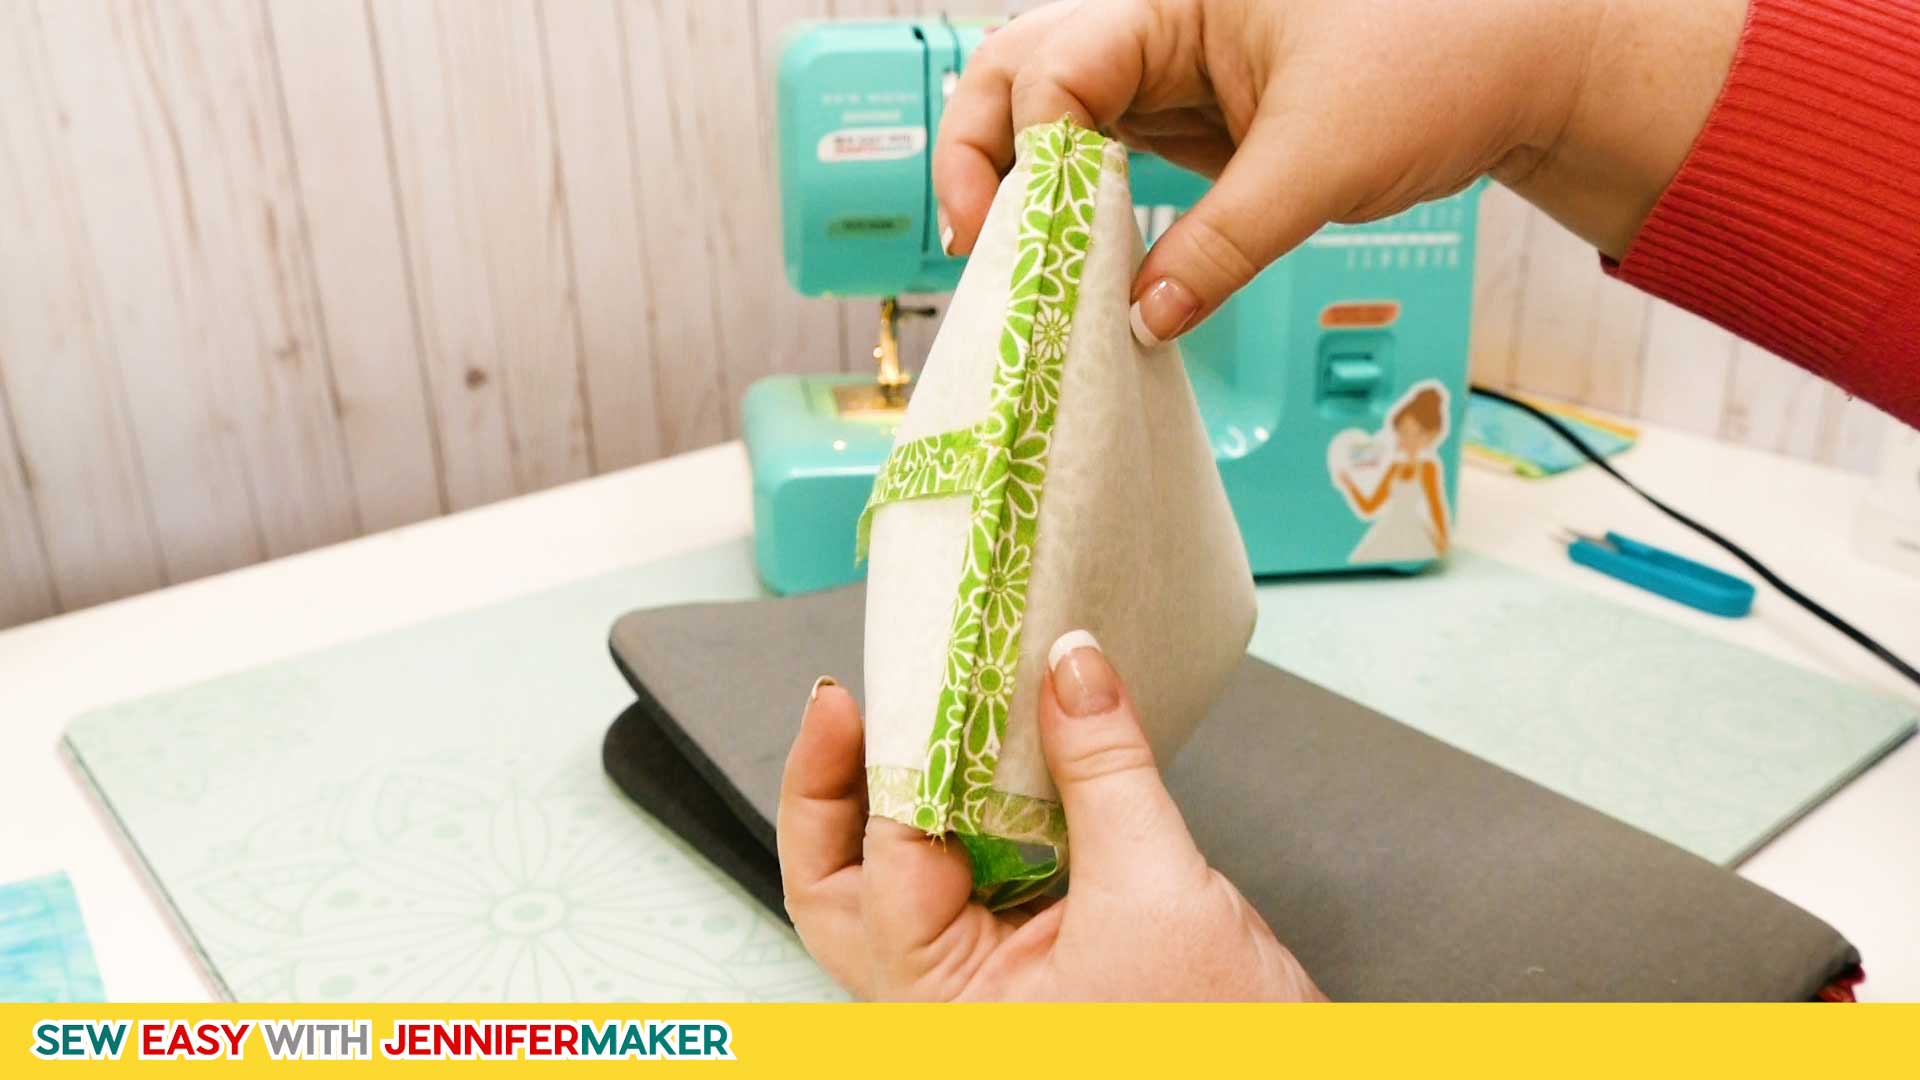
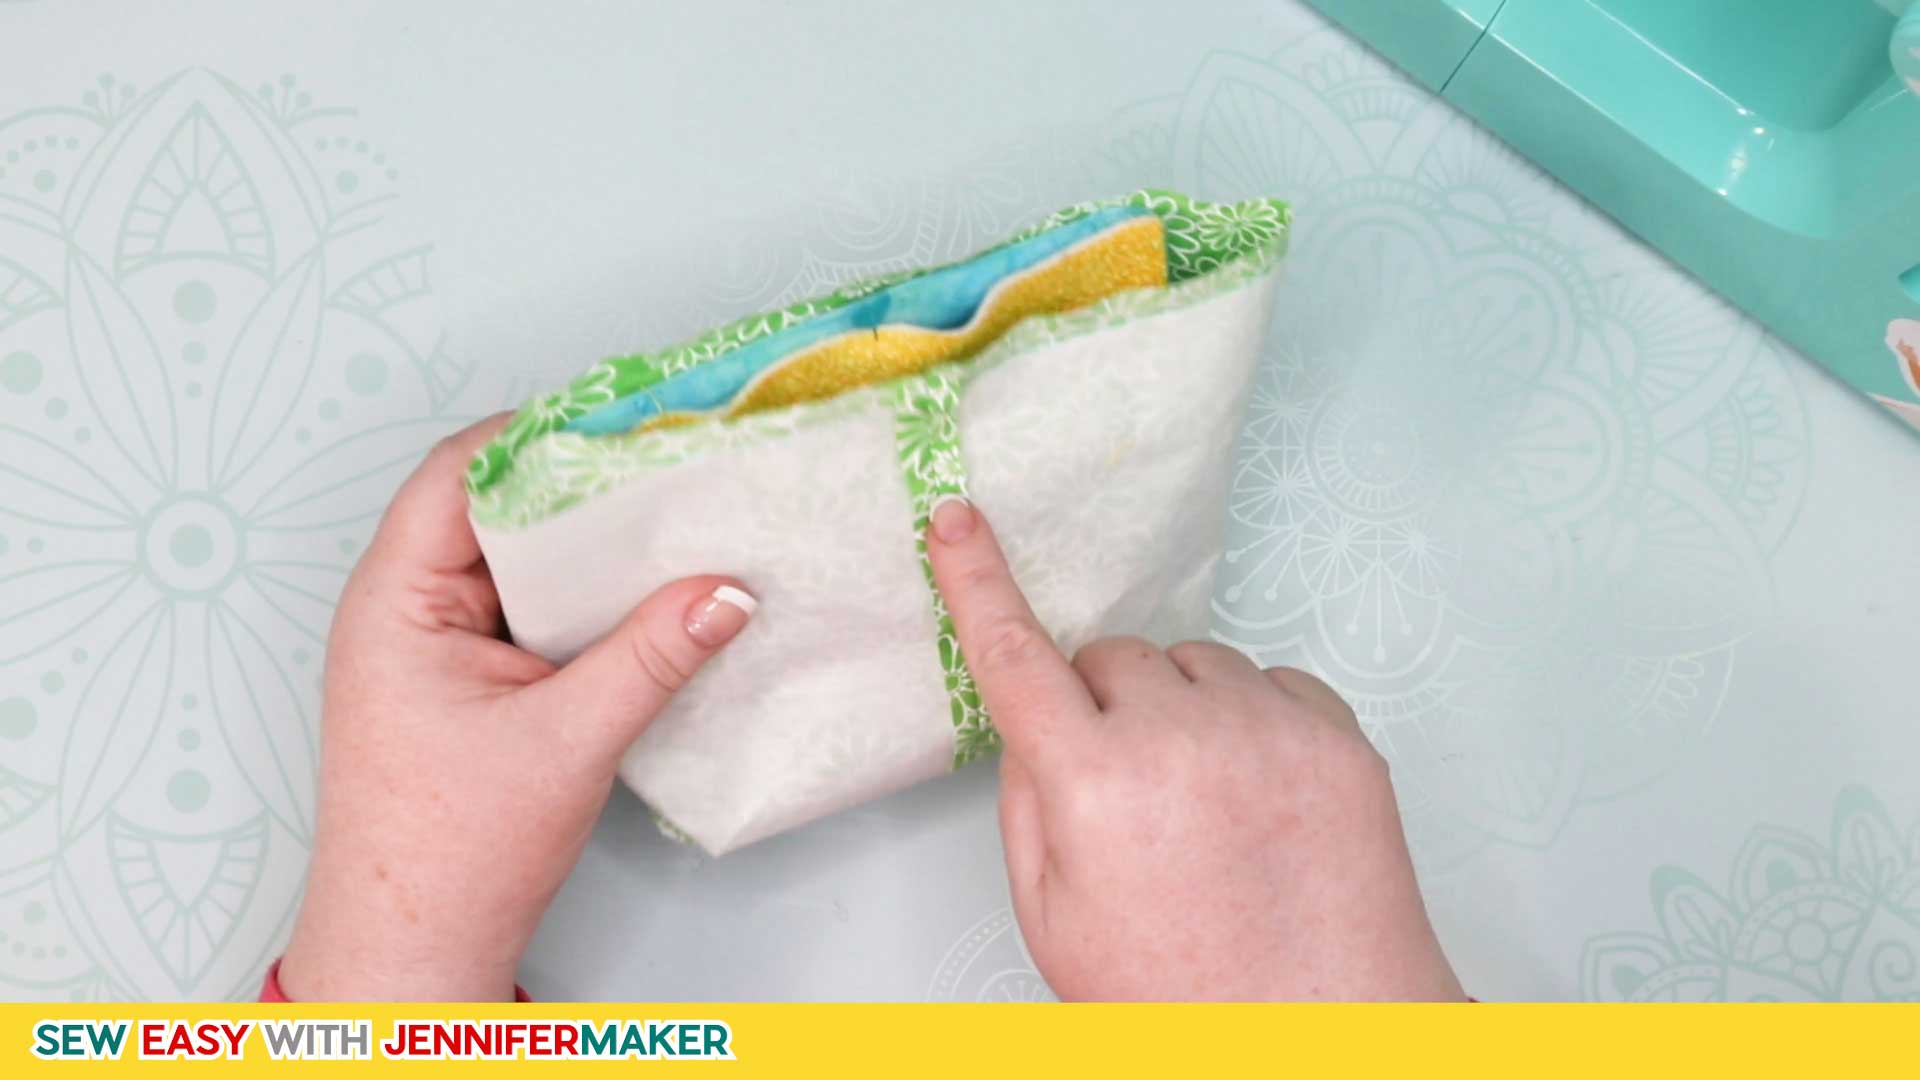
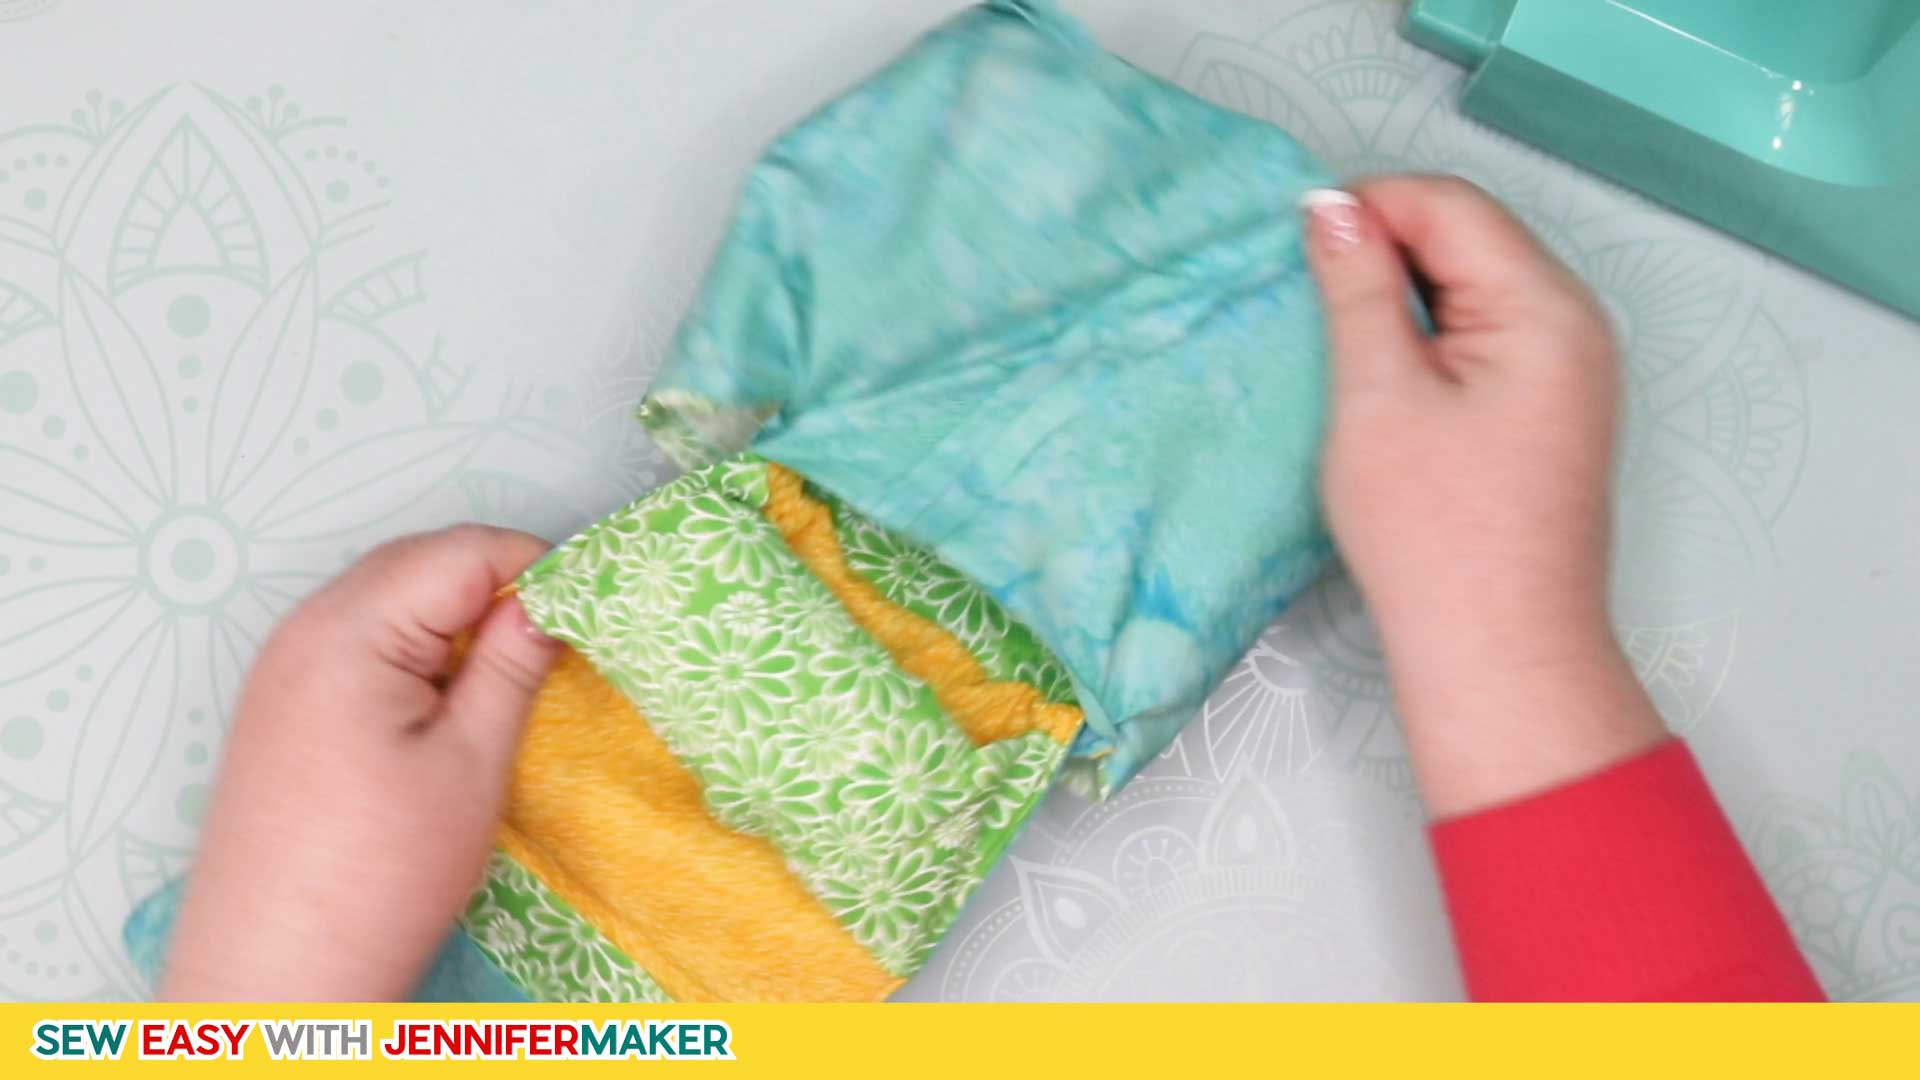
Now fold the Tool Holder all the way in BETWEEN THE LAYERS of the Bits Bin.
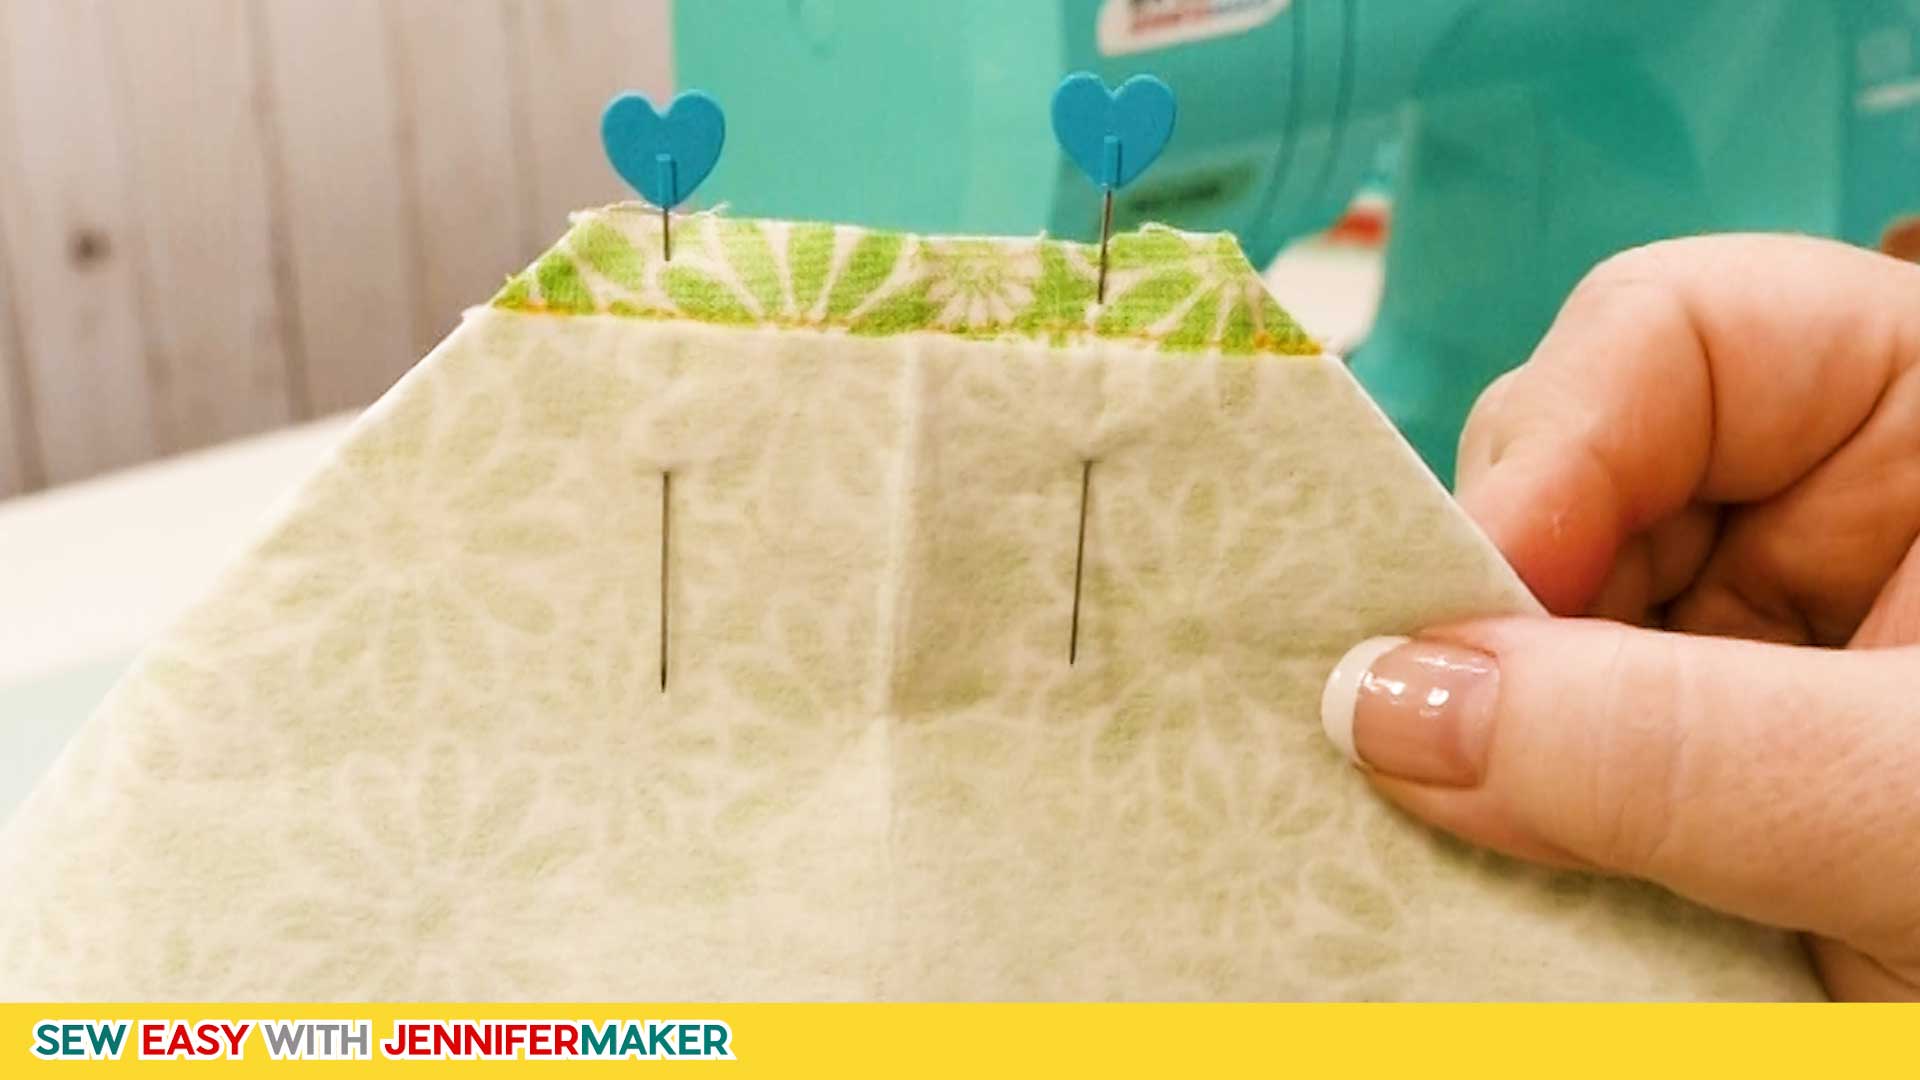
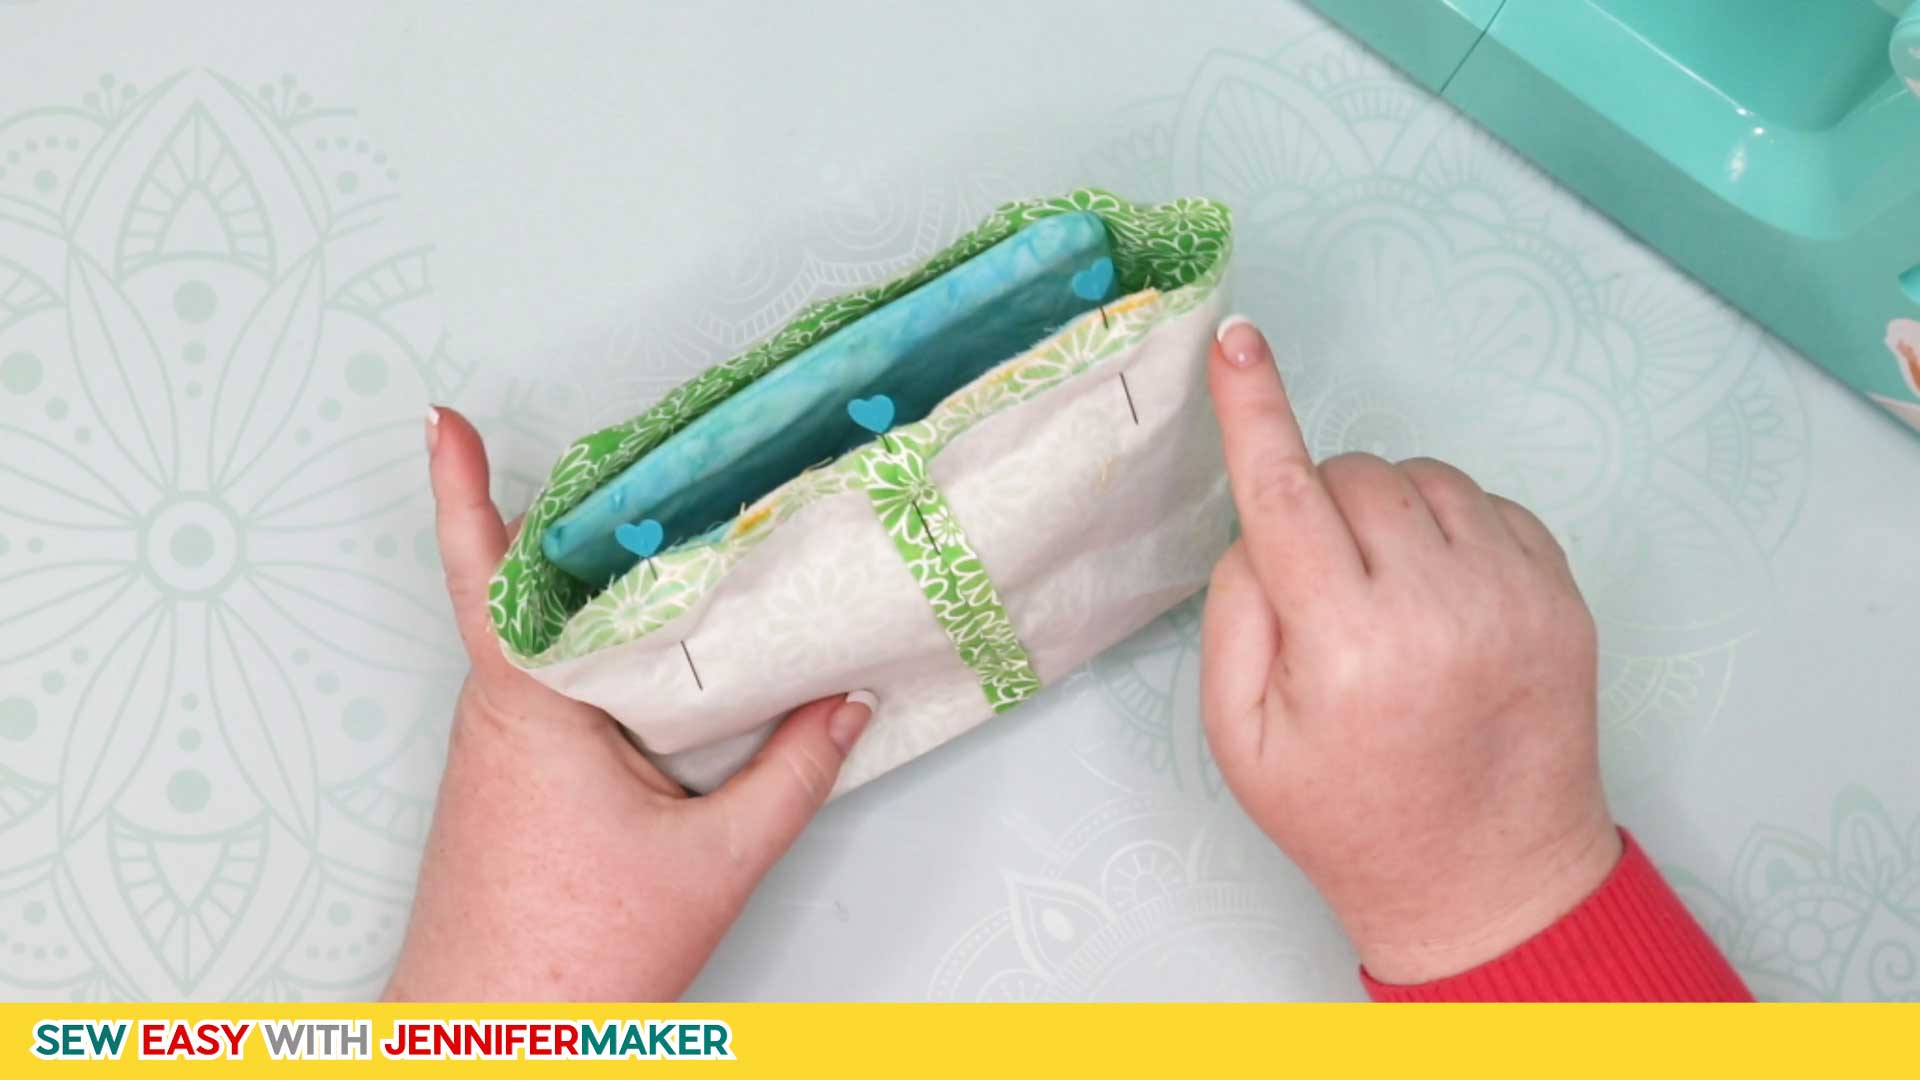
Pin everything together along the top edge of the Bits Bin. When you get to the section with the Tool Holder, put a pin in at 1" from the right edge (we'll call this Point A) and a pin in at 1" from the left edge (we'll call this Point Z), but do not pin between these two. This unpinned area needs to remain unsewn for now as you'll use it to turn everything right side out.
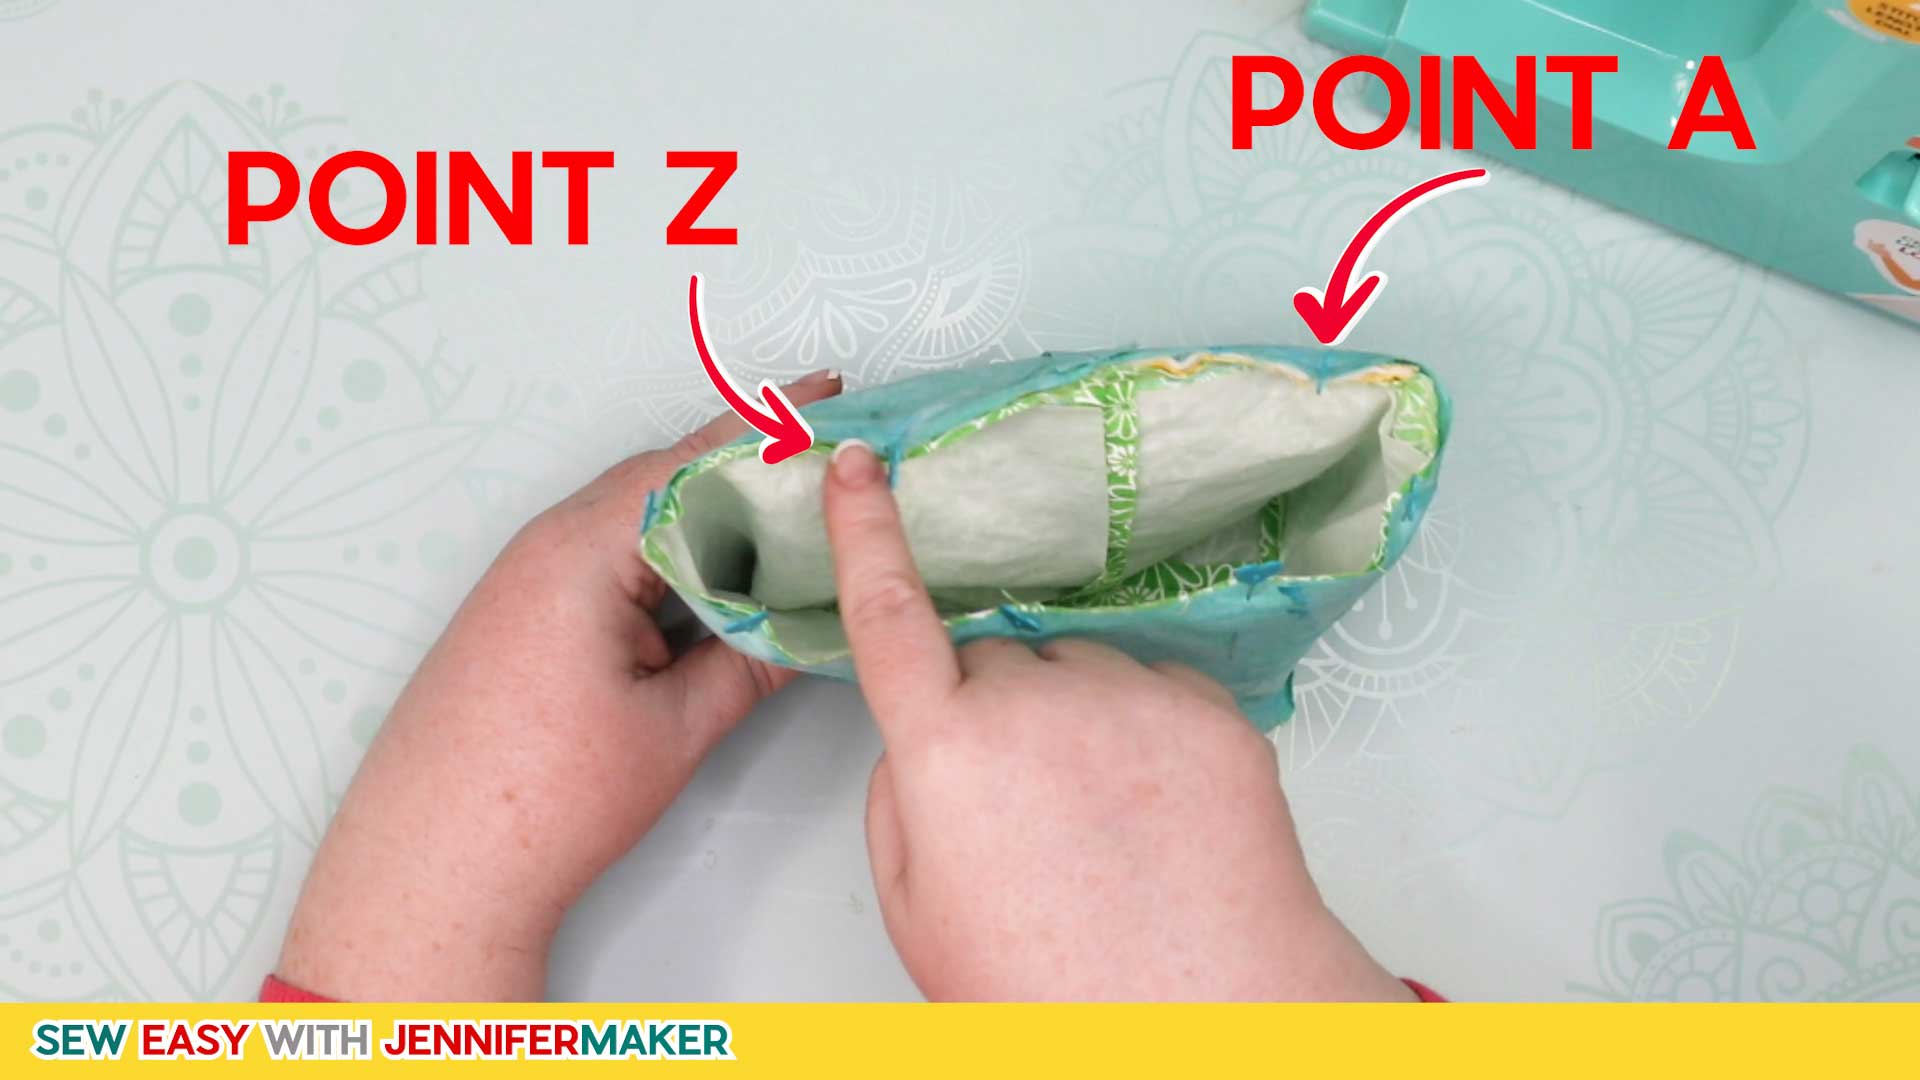
Slip the pinned layers over your free-arm and position it so the section with the Tool Holder is under your needle at Point A.
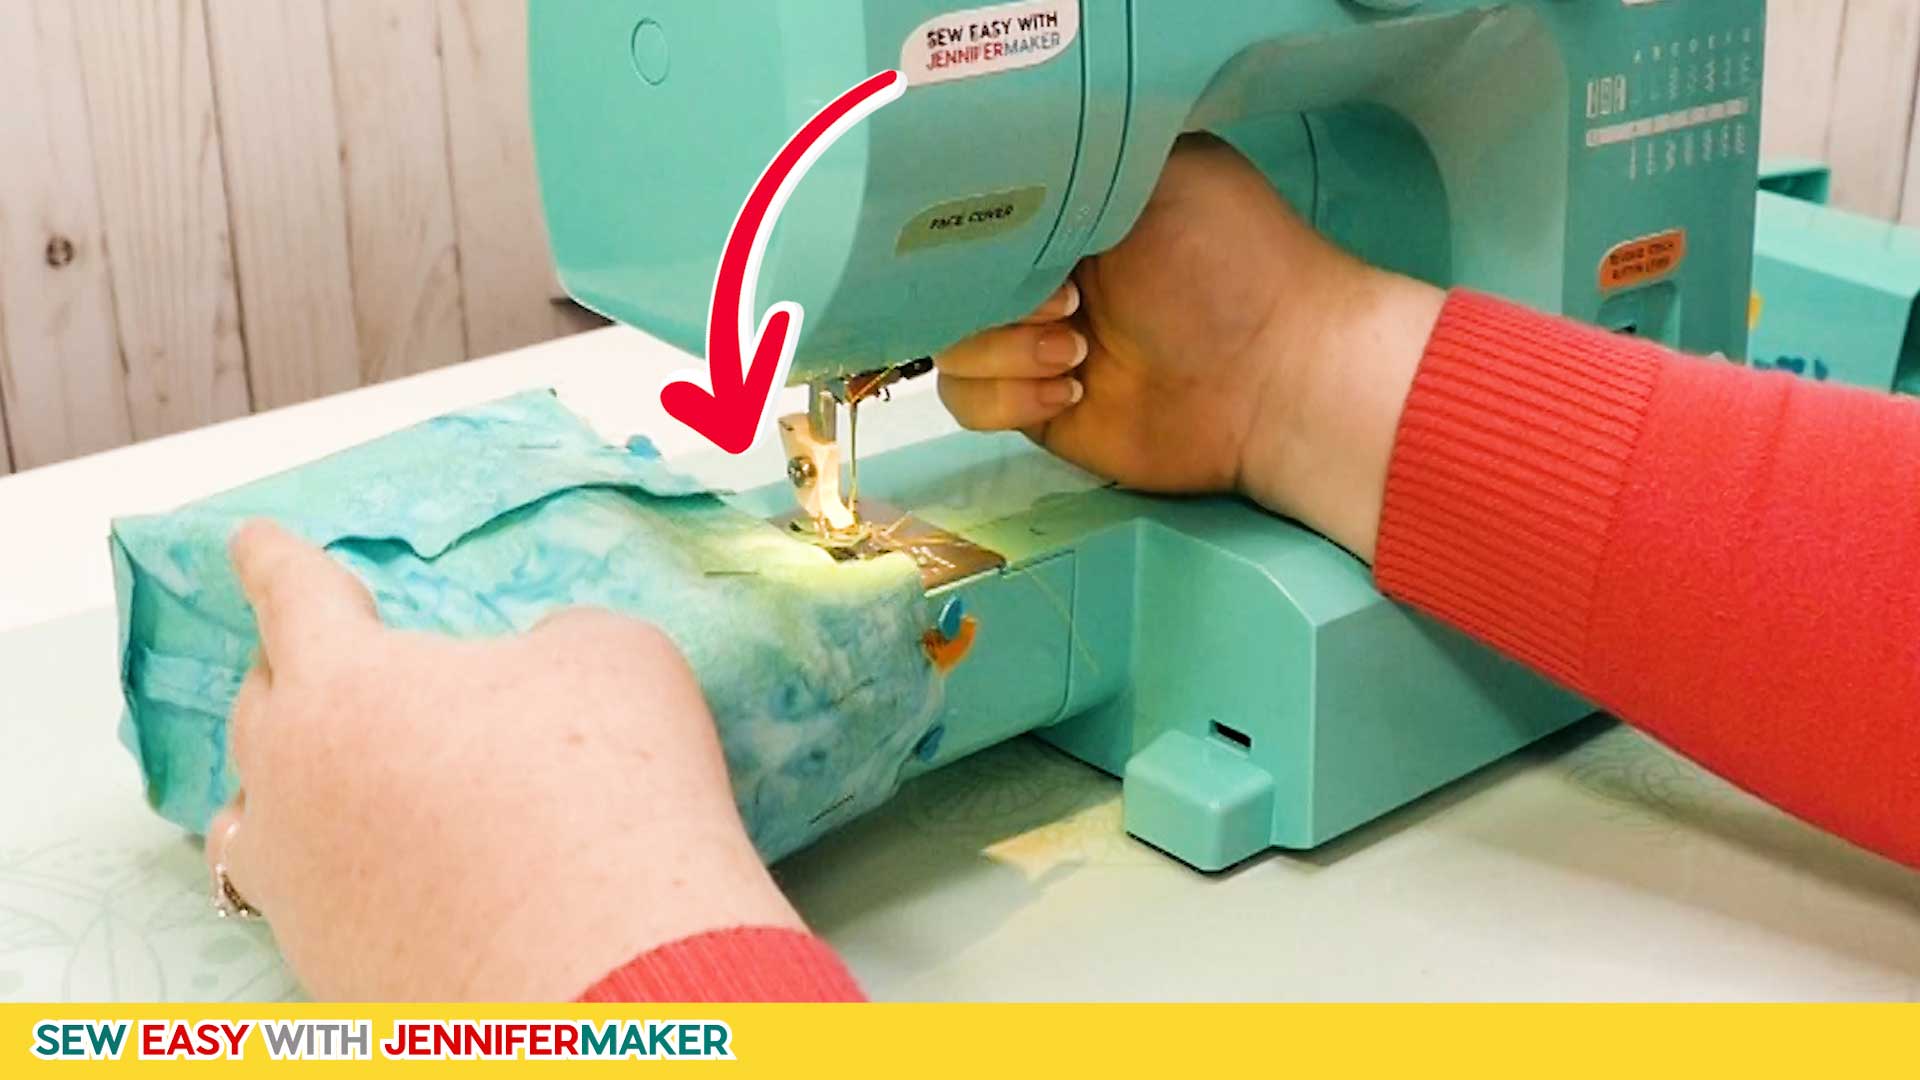
Stitch around the top of the Bits Bin from Point A all the way around to Point Z at 3/8", being careful not to stitch beyond Point Z.
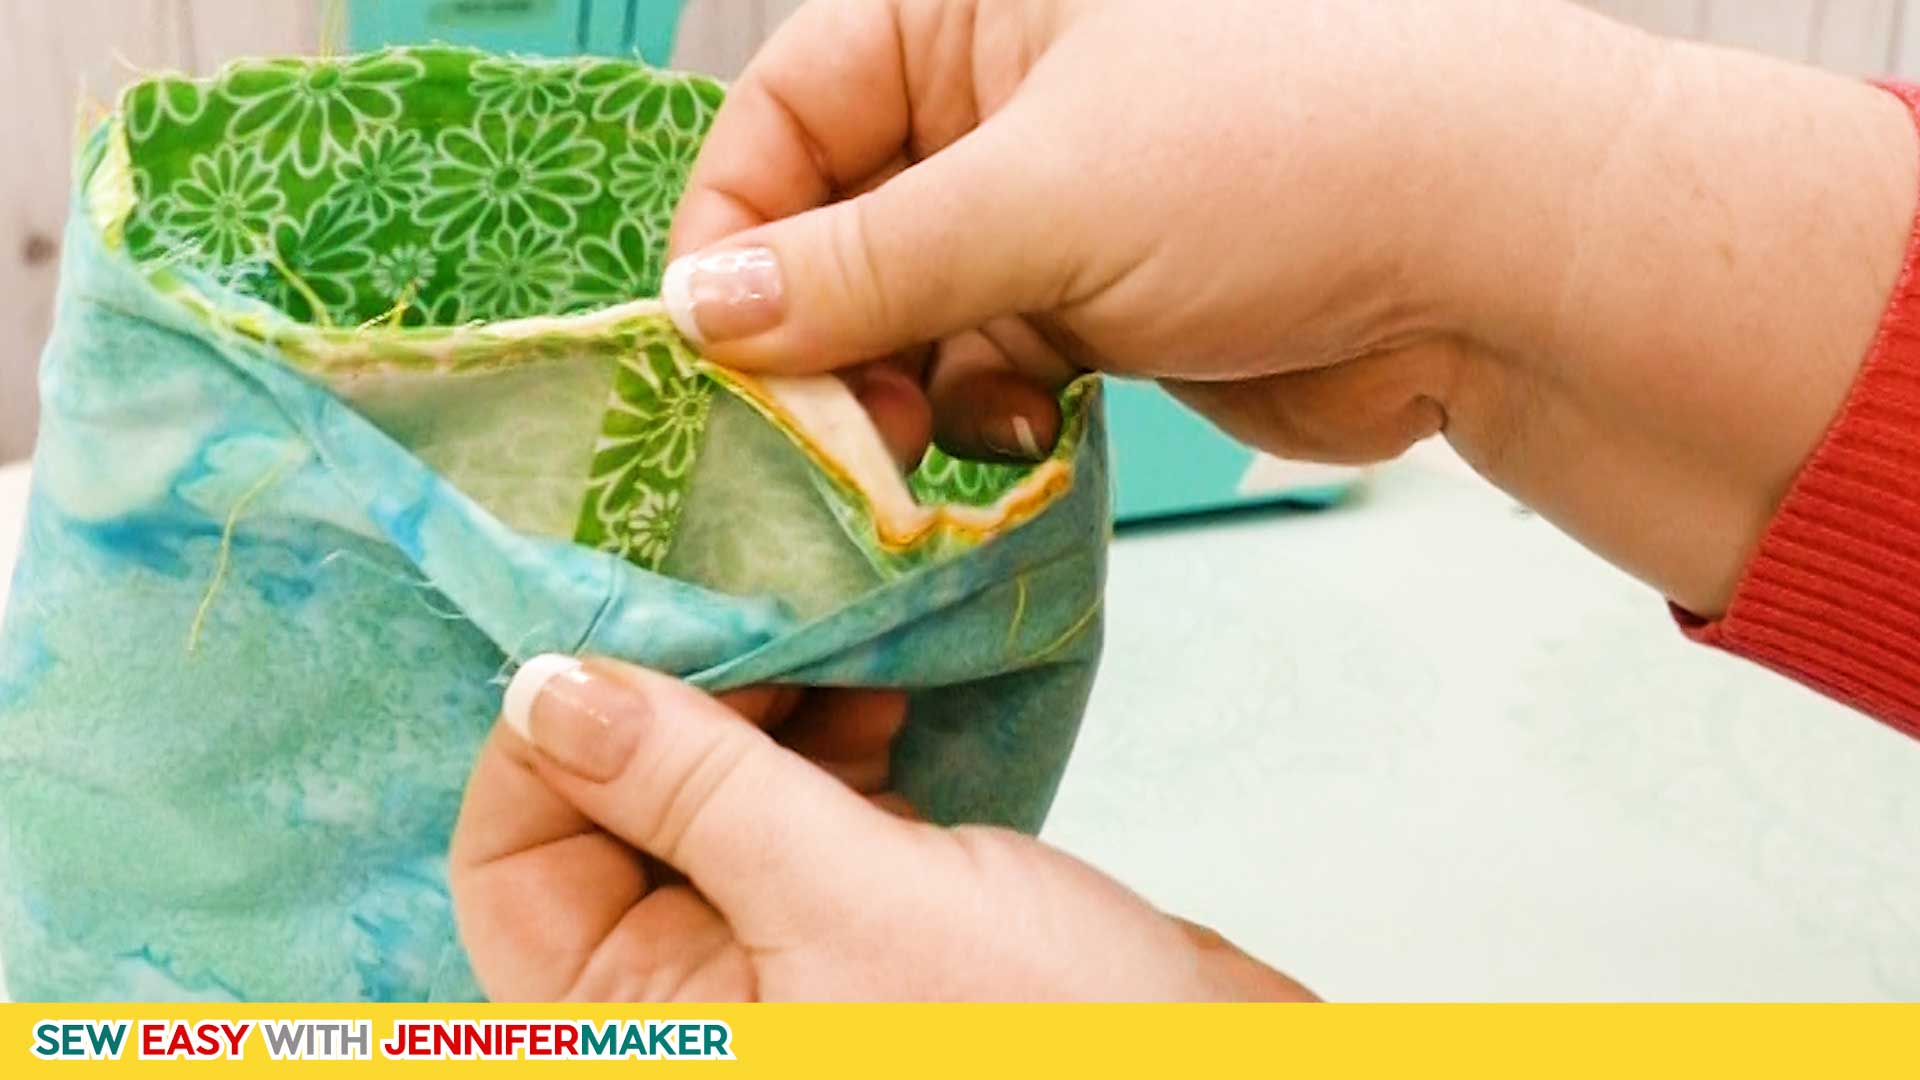
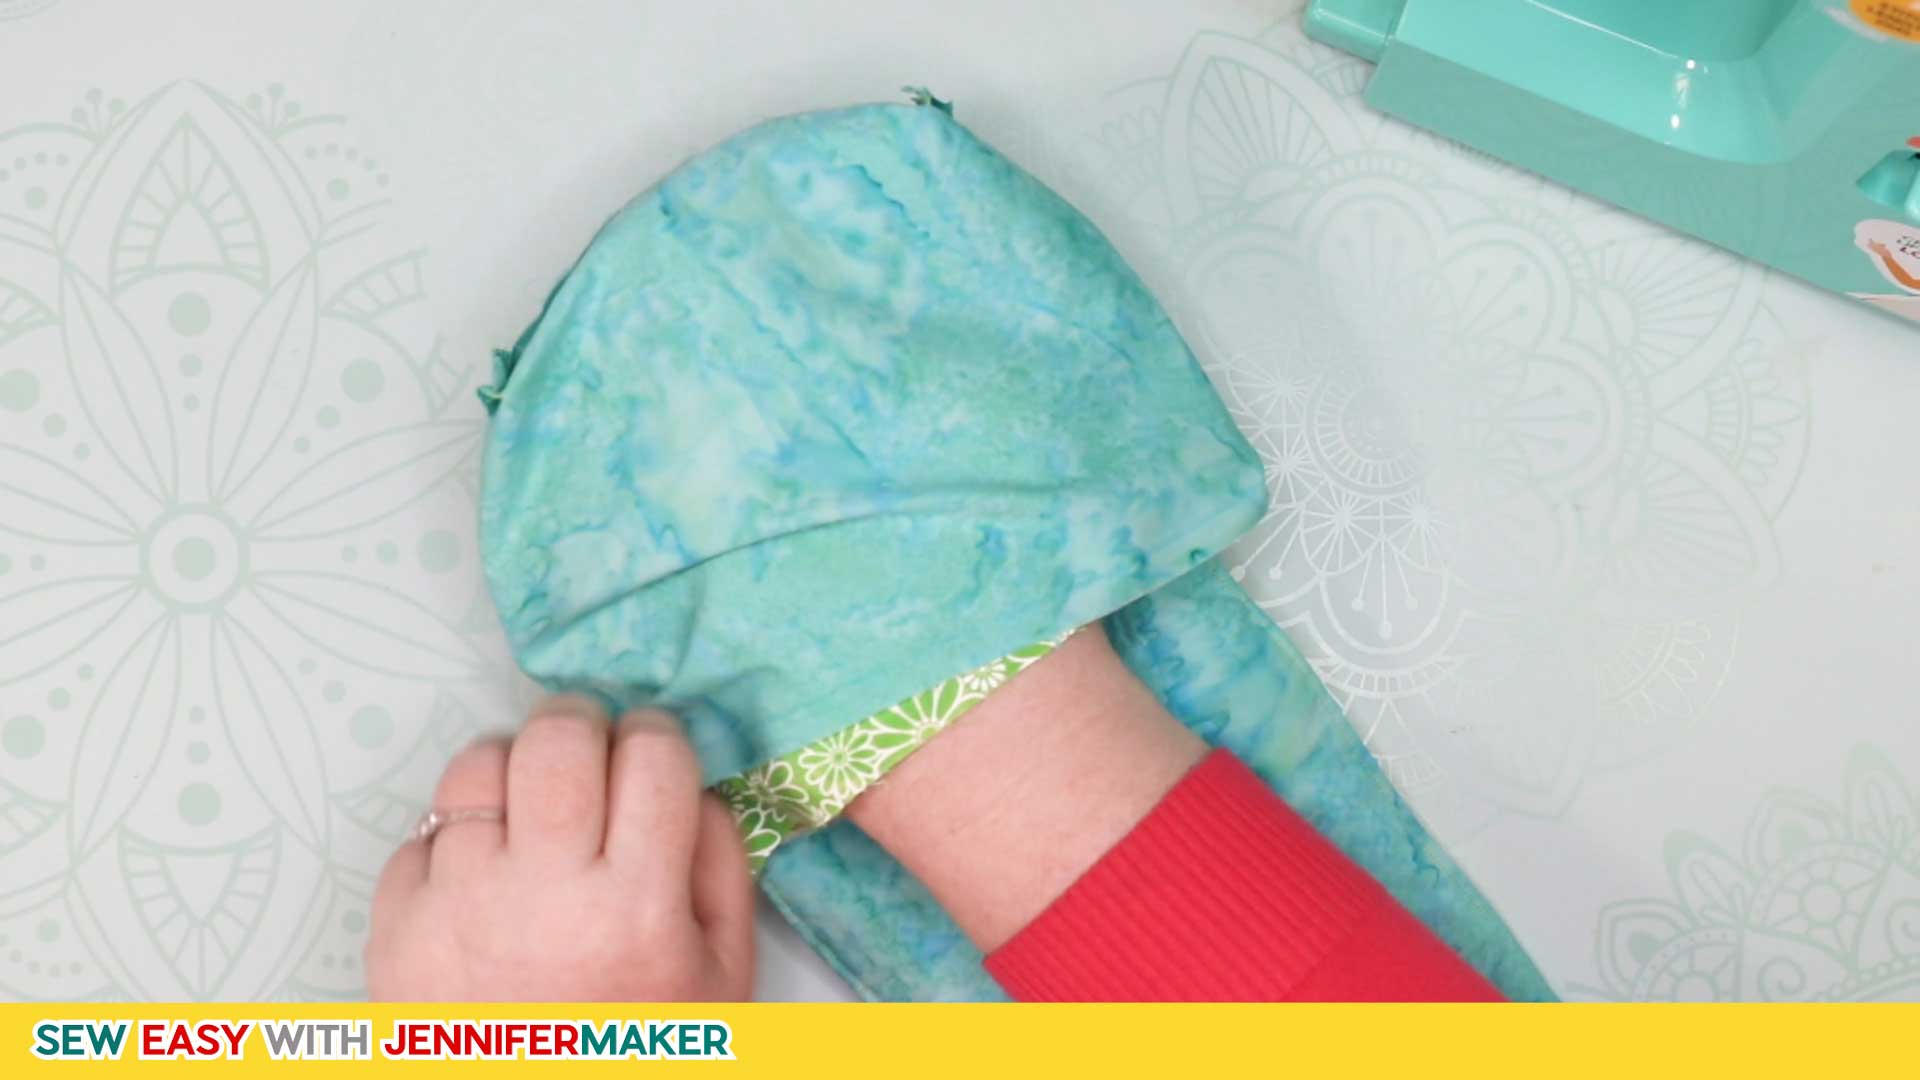
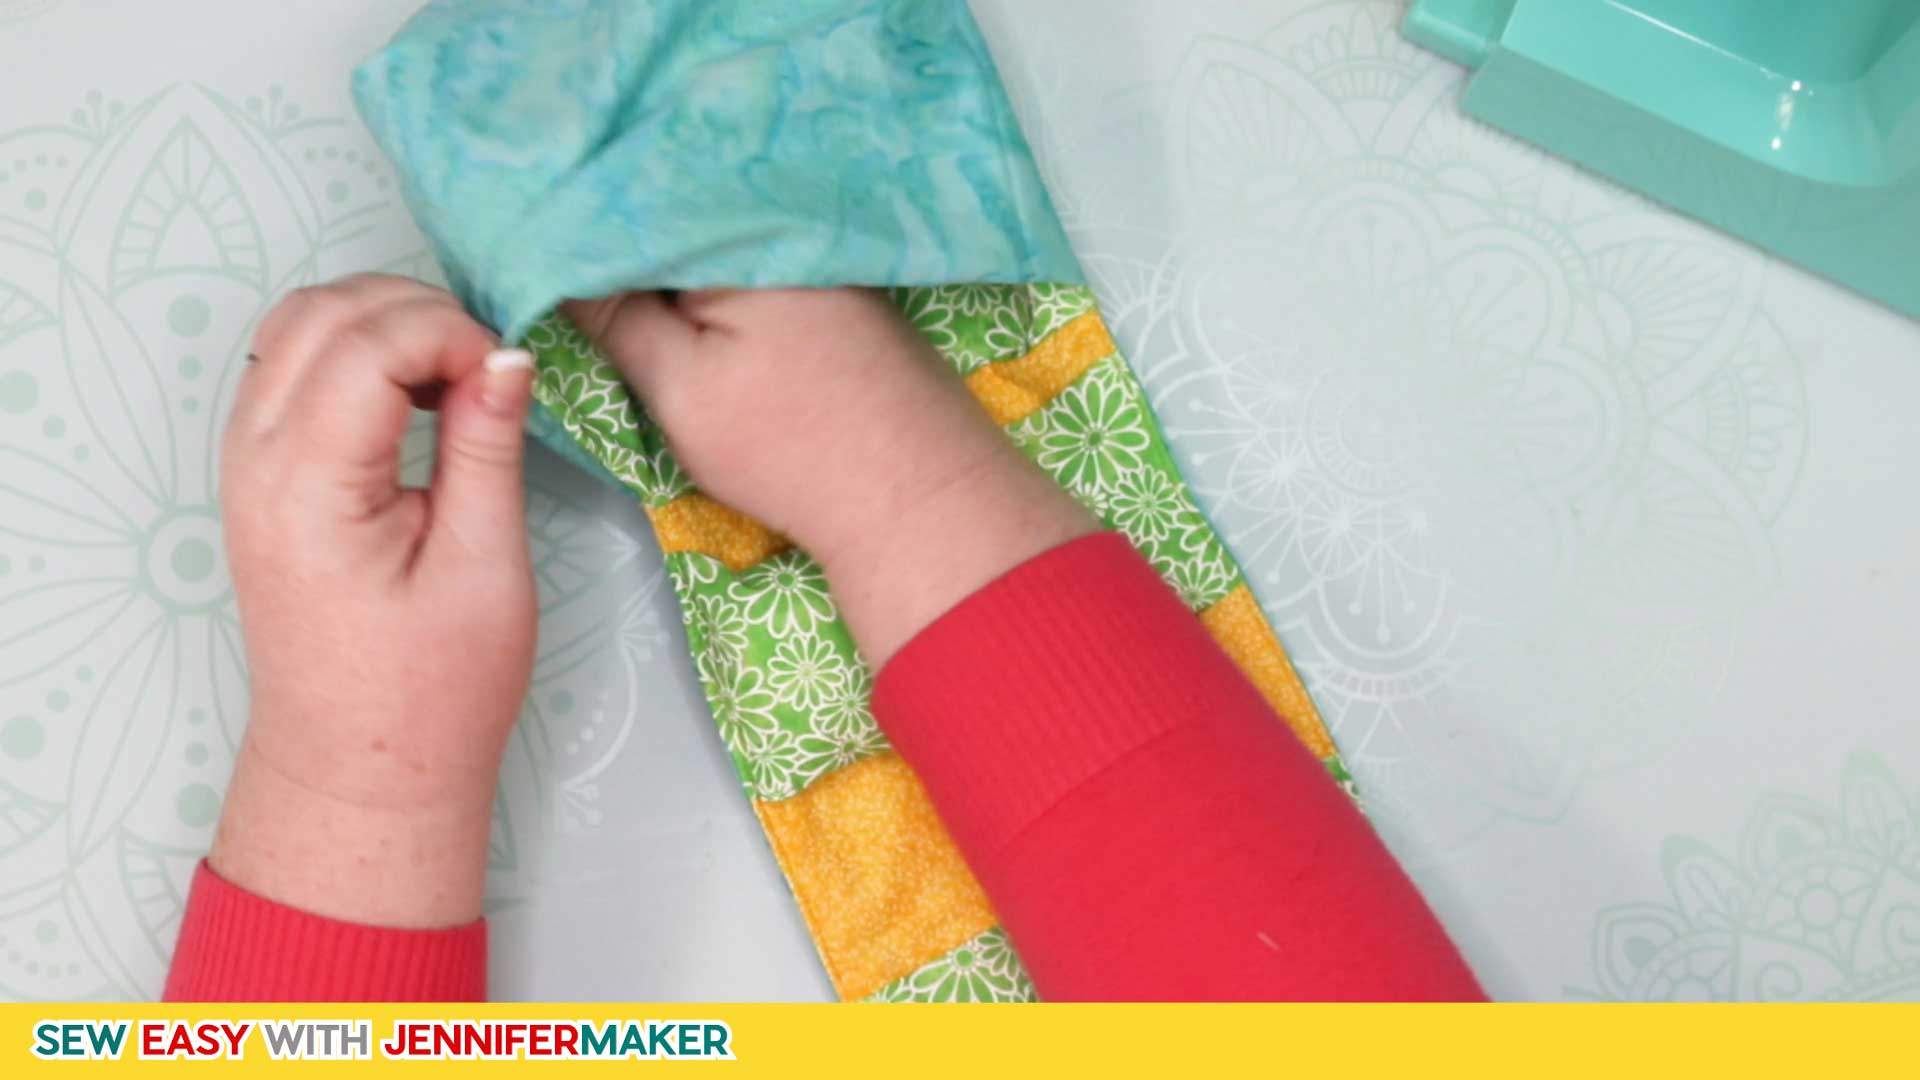
Now, pull your Tool Holder through the opening you left unsewn. Go slowly and gently so you don't stretch out your seams.
With the Tool Holder pulled out, pull the Bits Bin right side out.
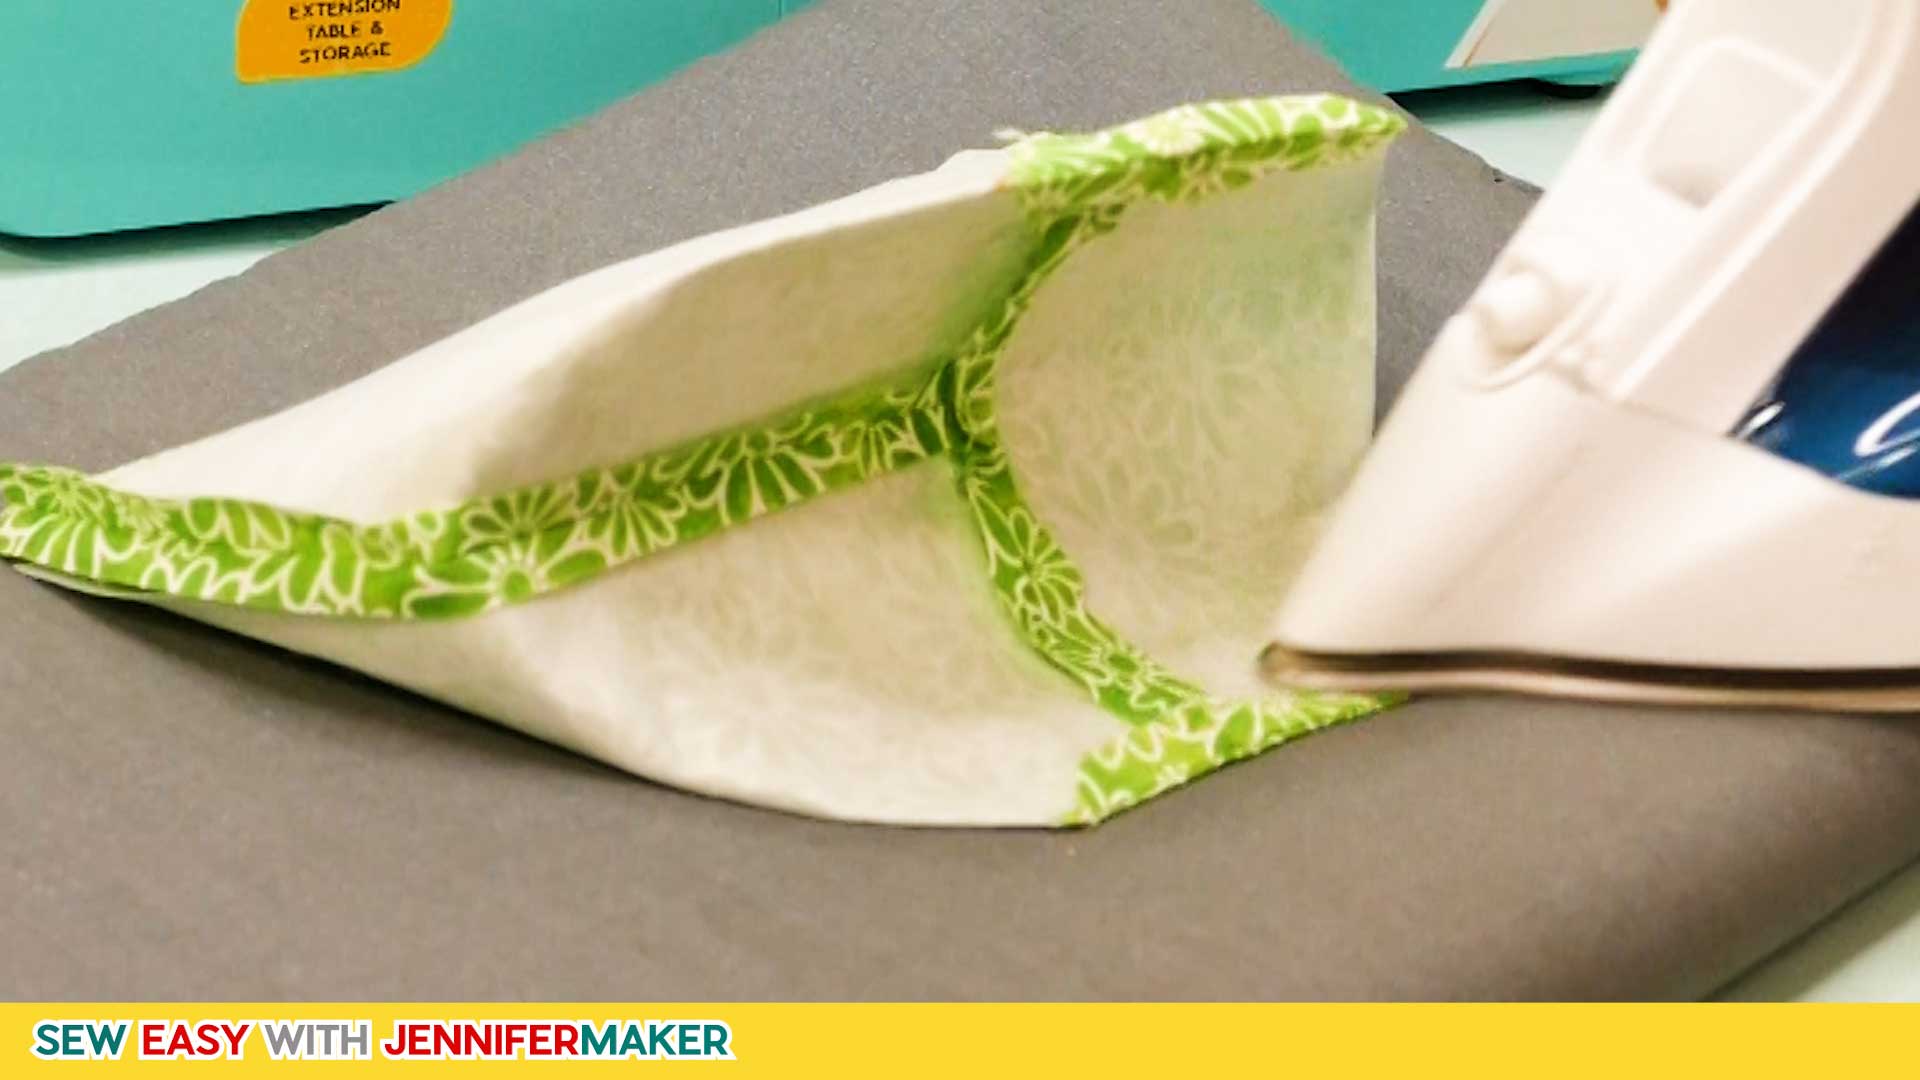
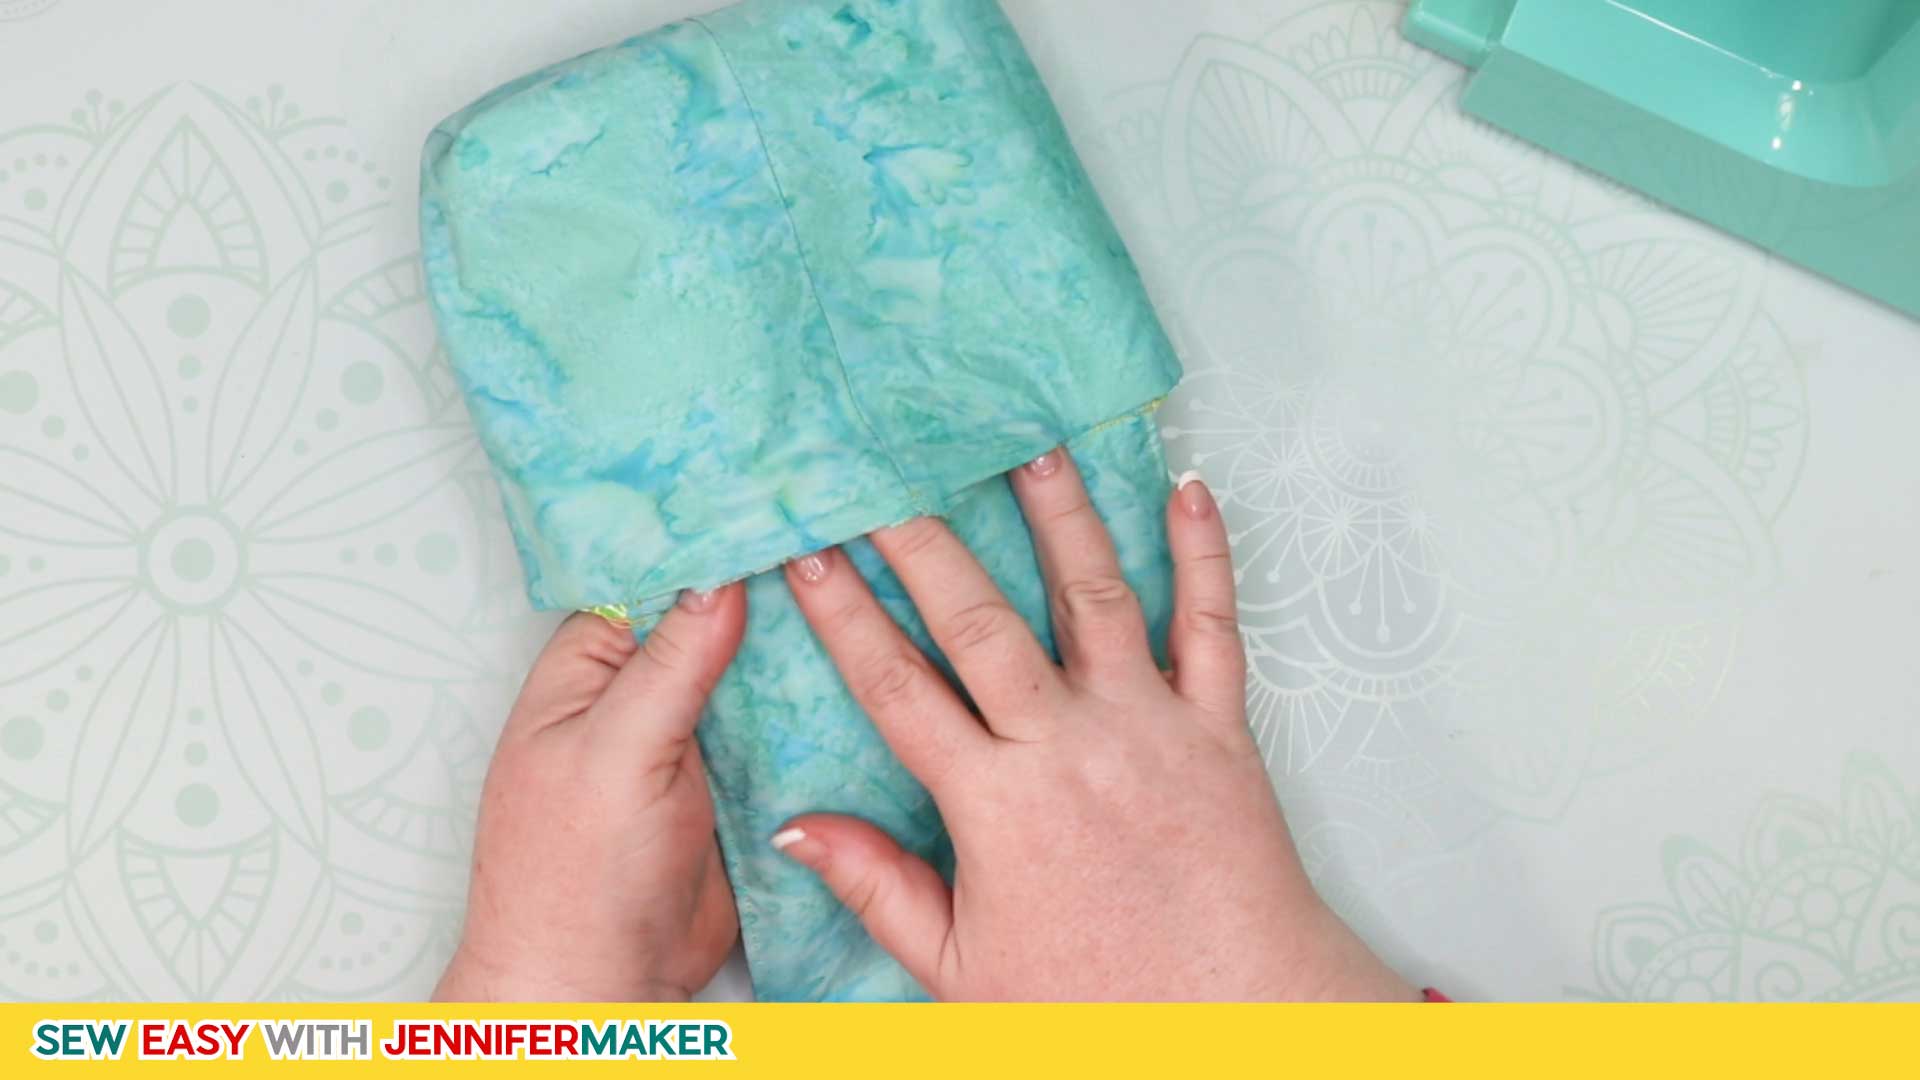
Now push the inside lining layer into the outer layer, being sure to push the corners out to match up with the outer layer.
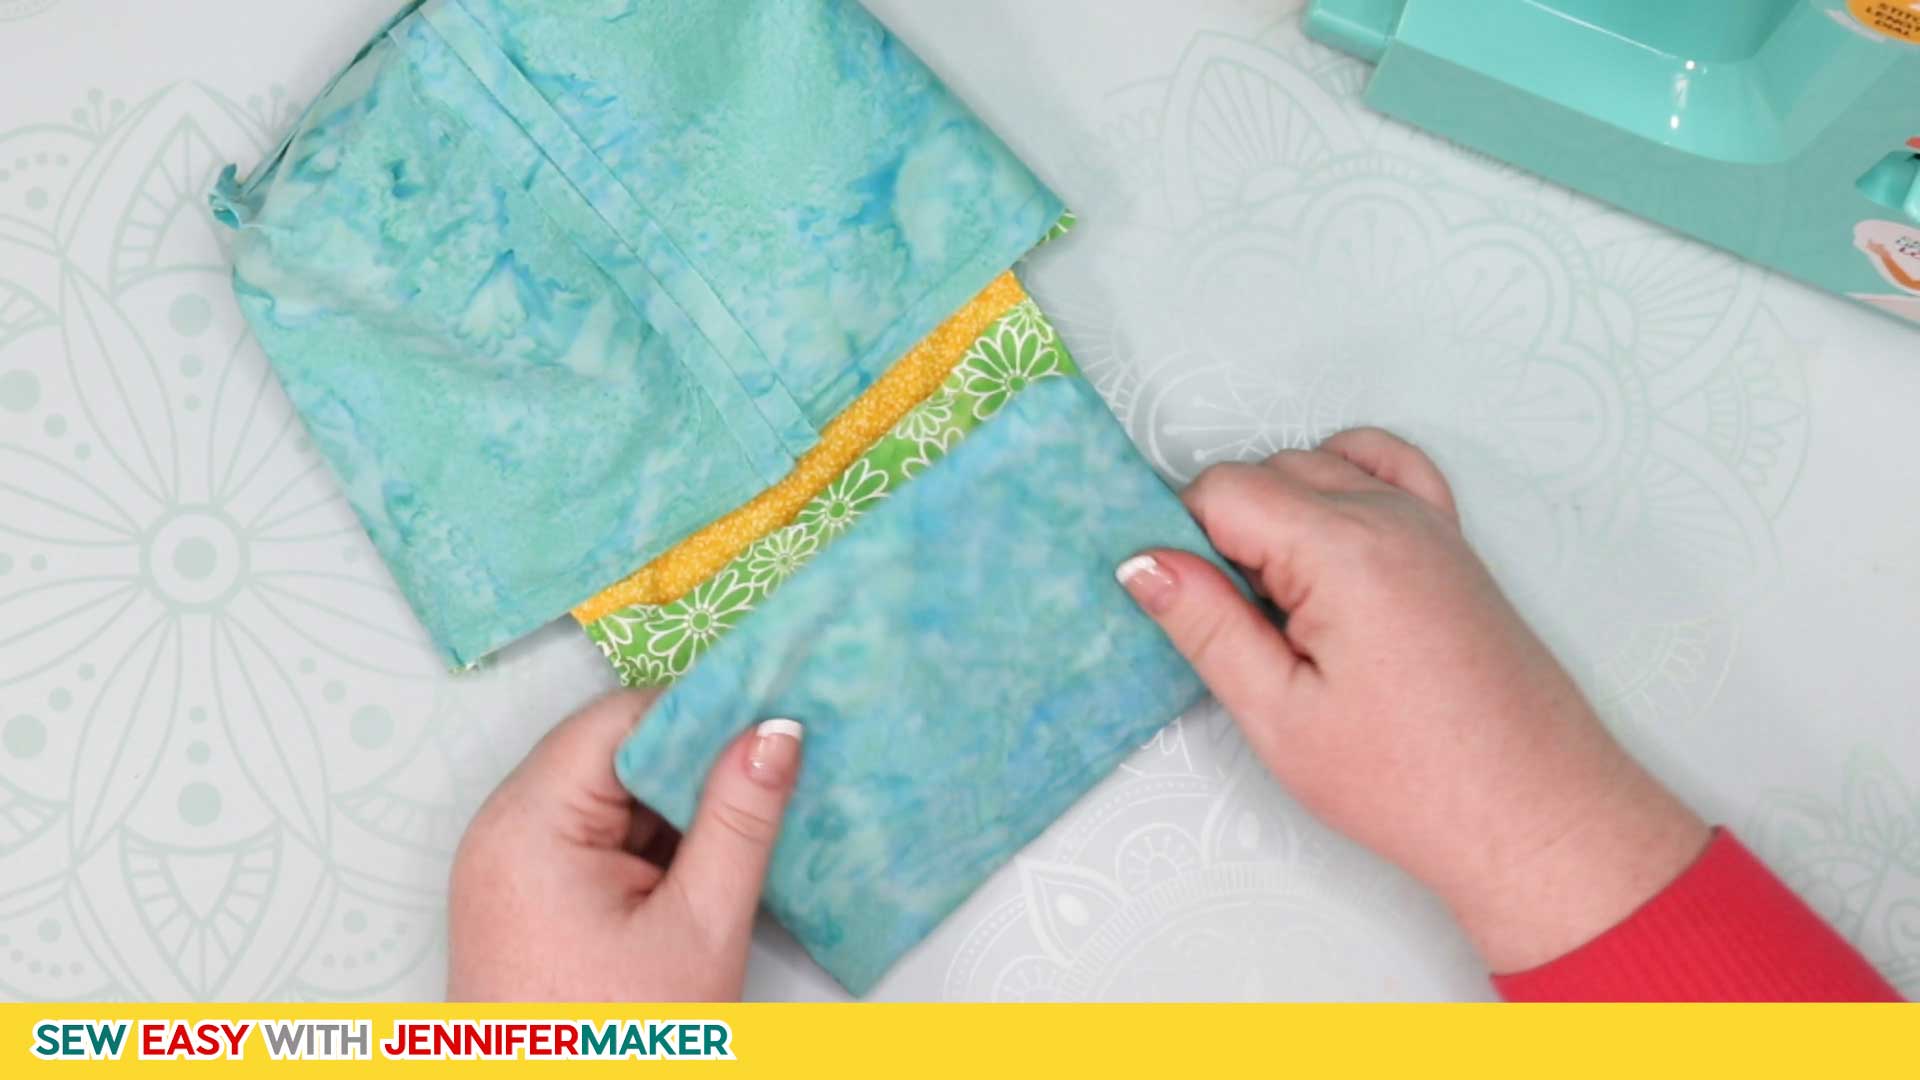
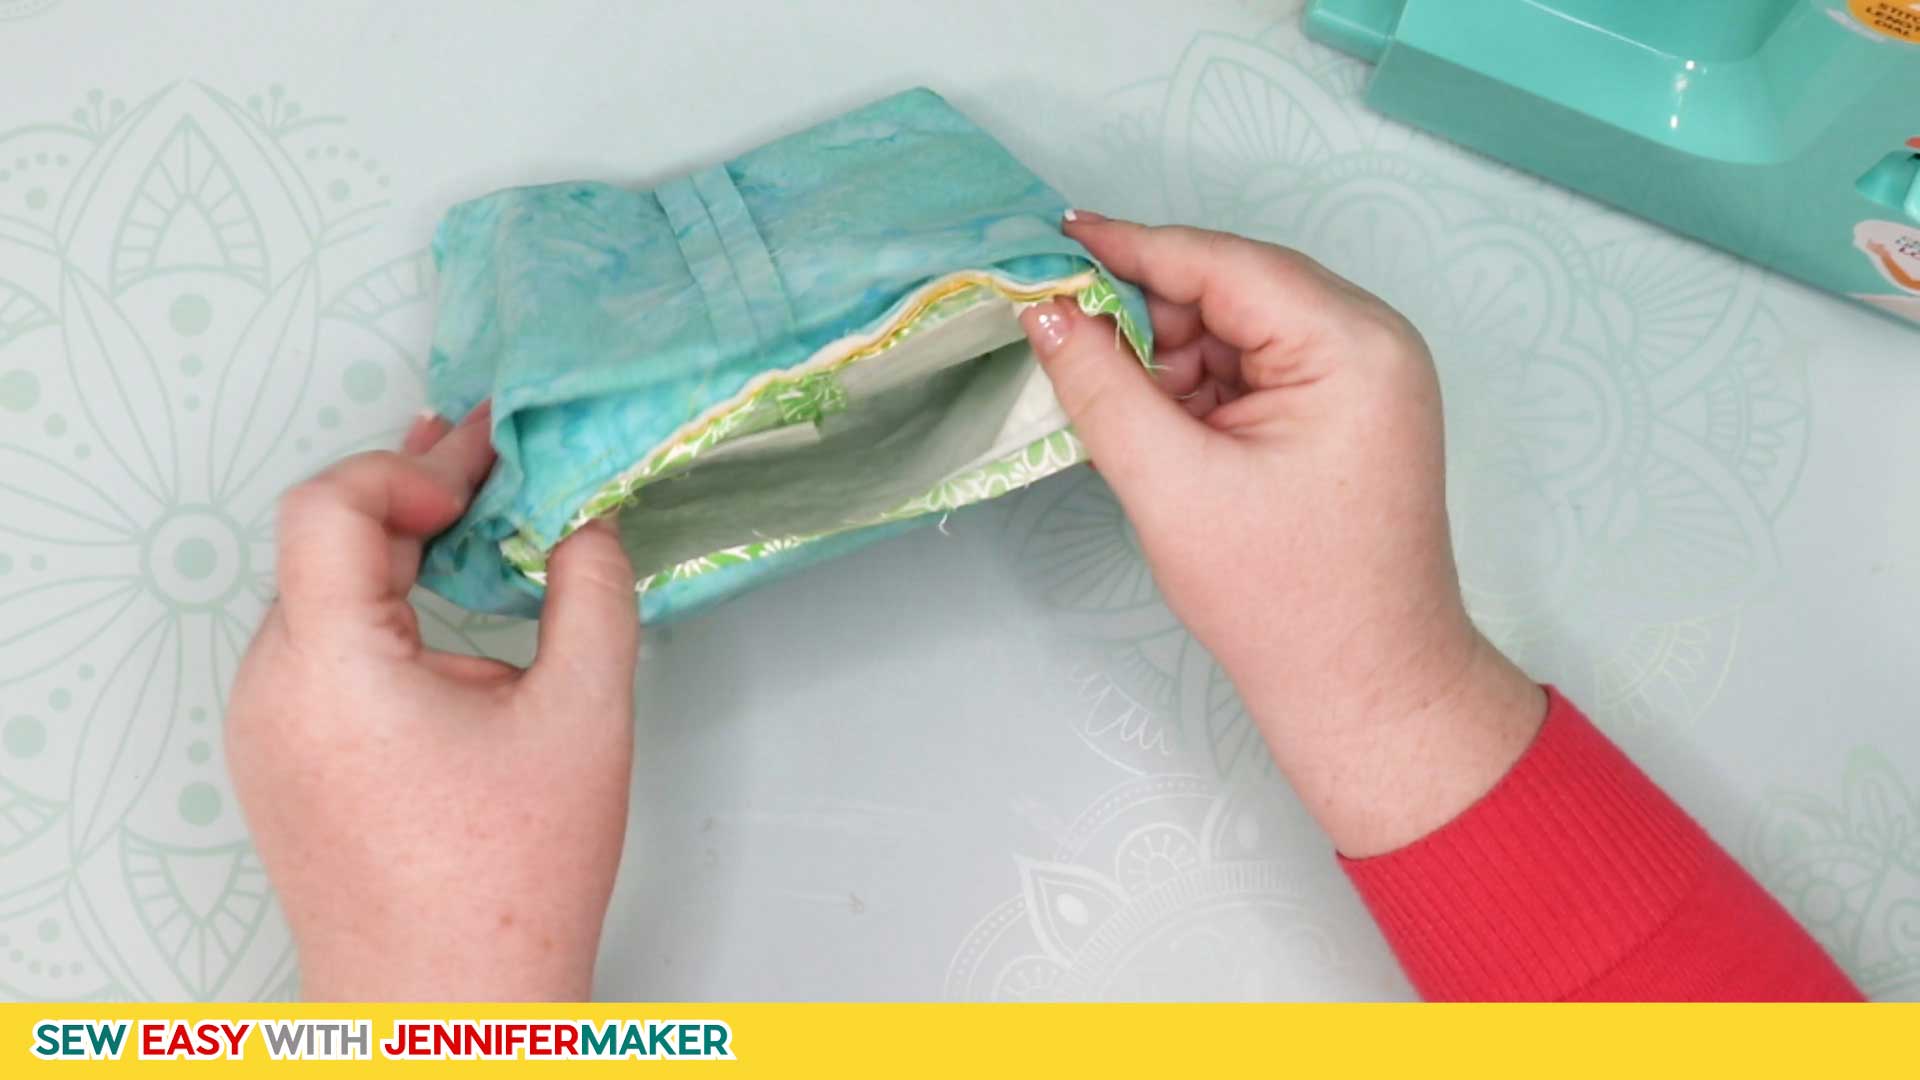
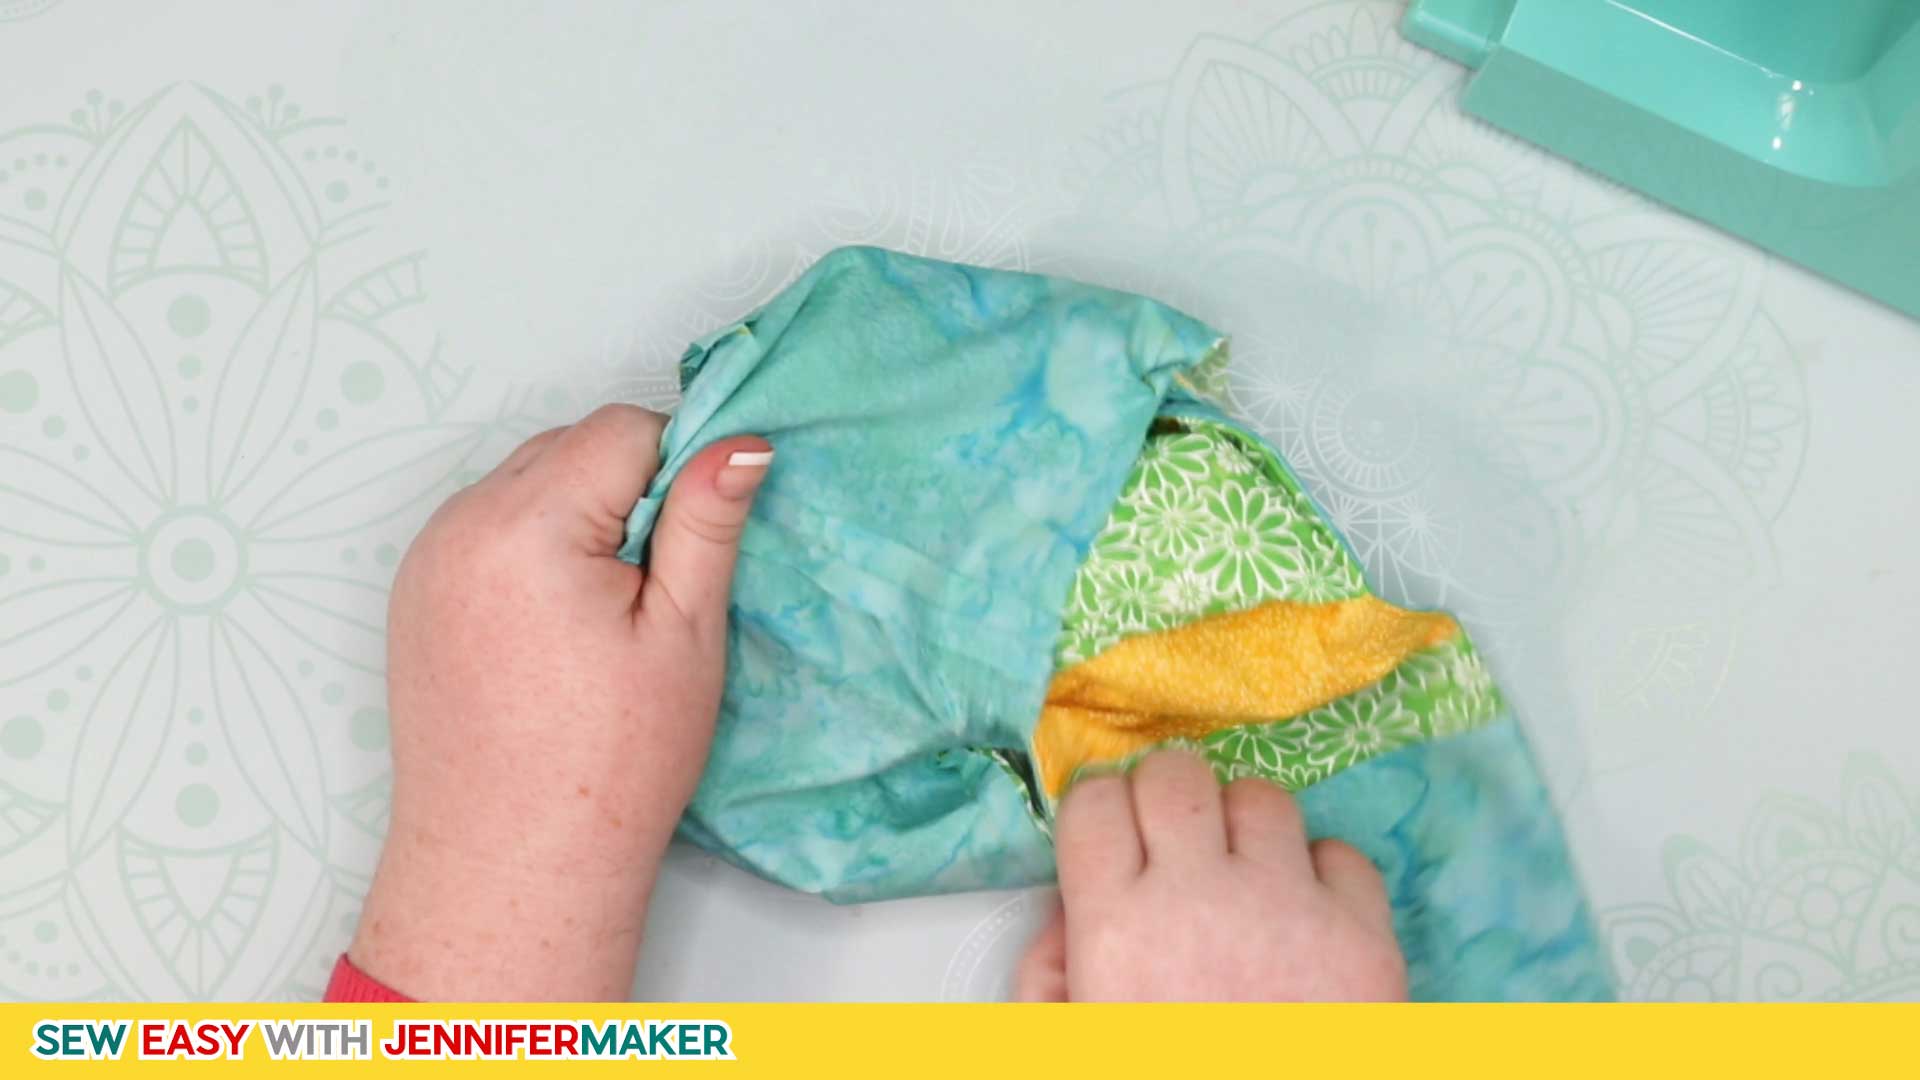
Flip everything over to reveal the unsewn opening. Fold the edge of the opening under and pin it in place.
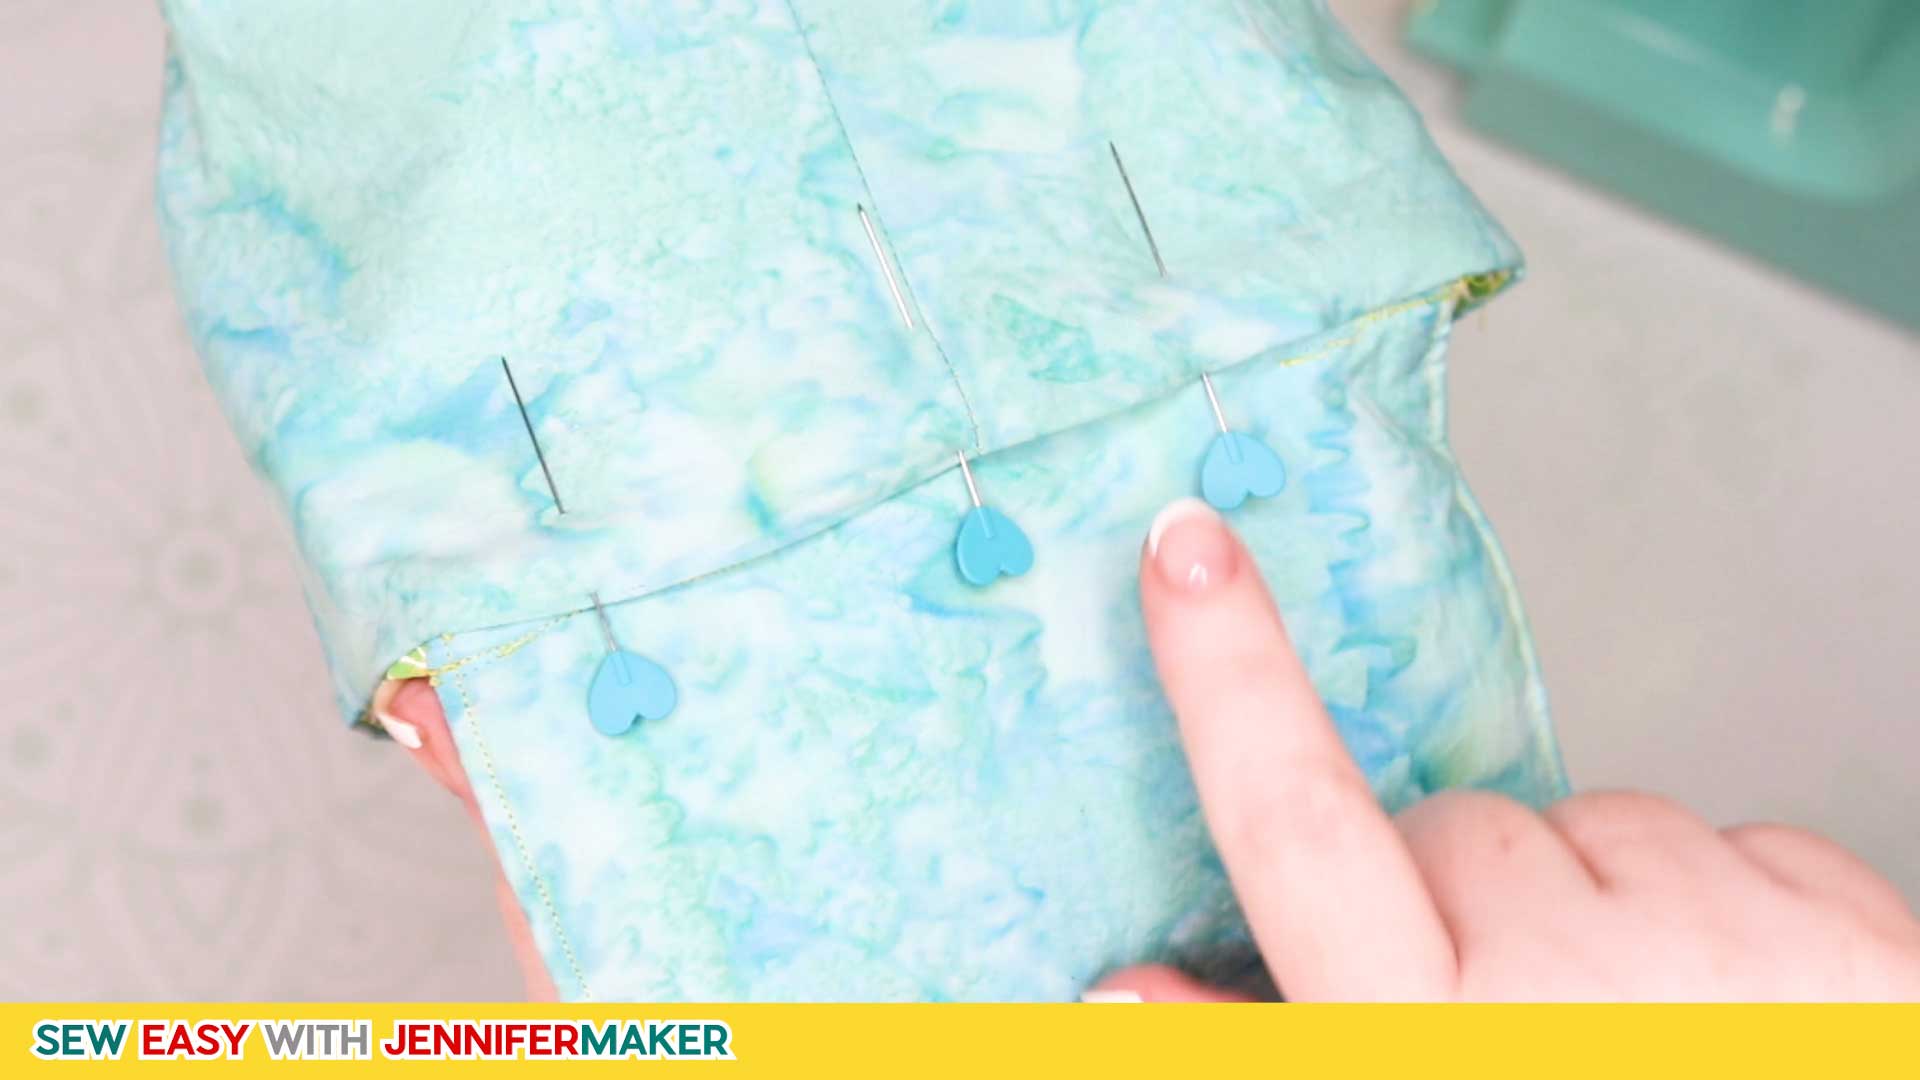
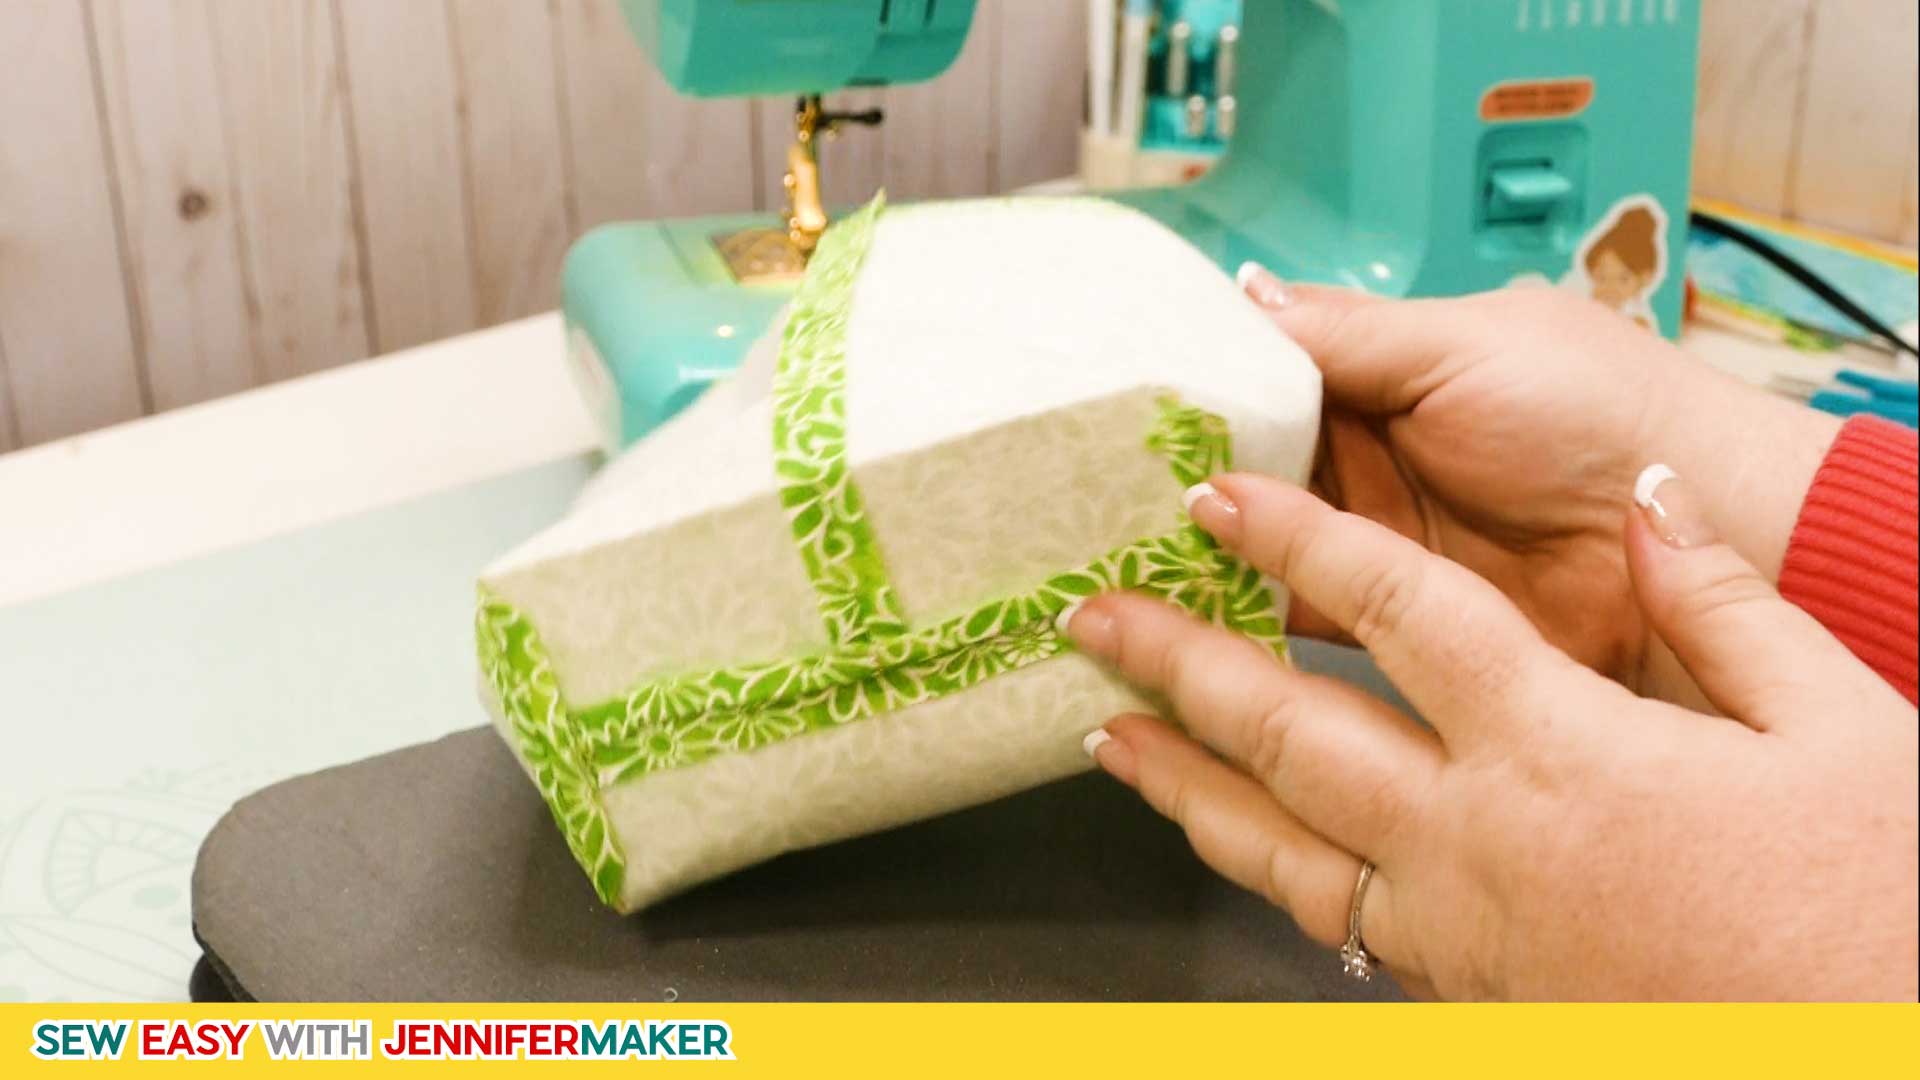
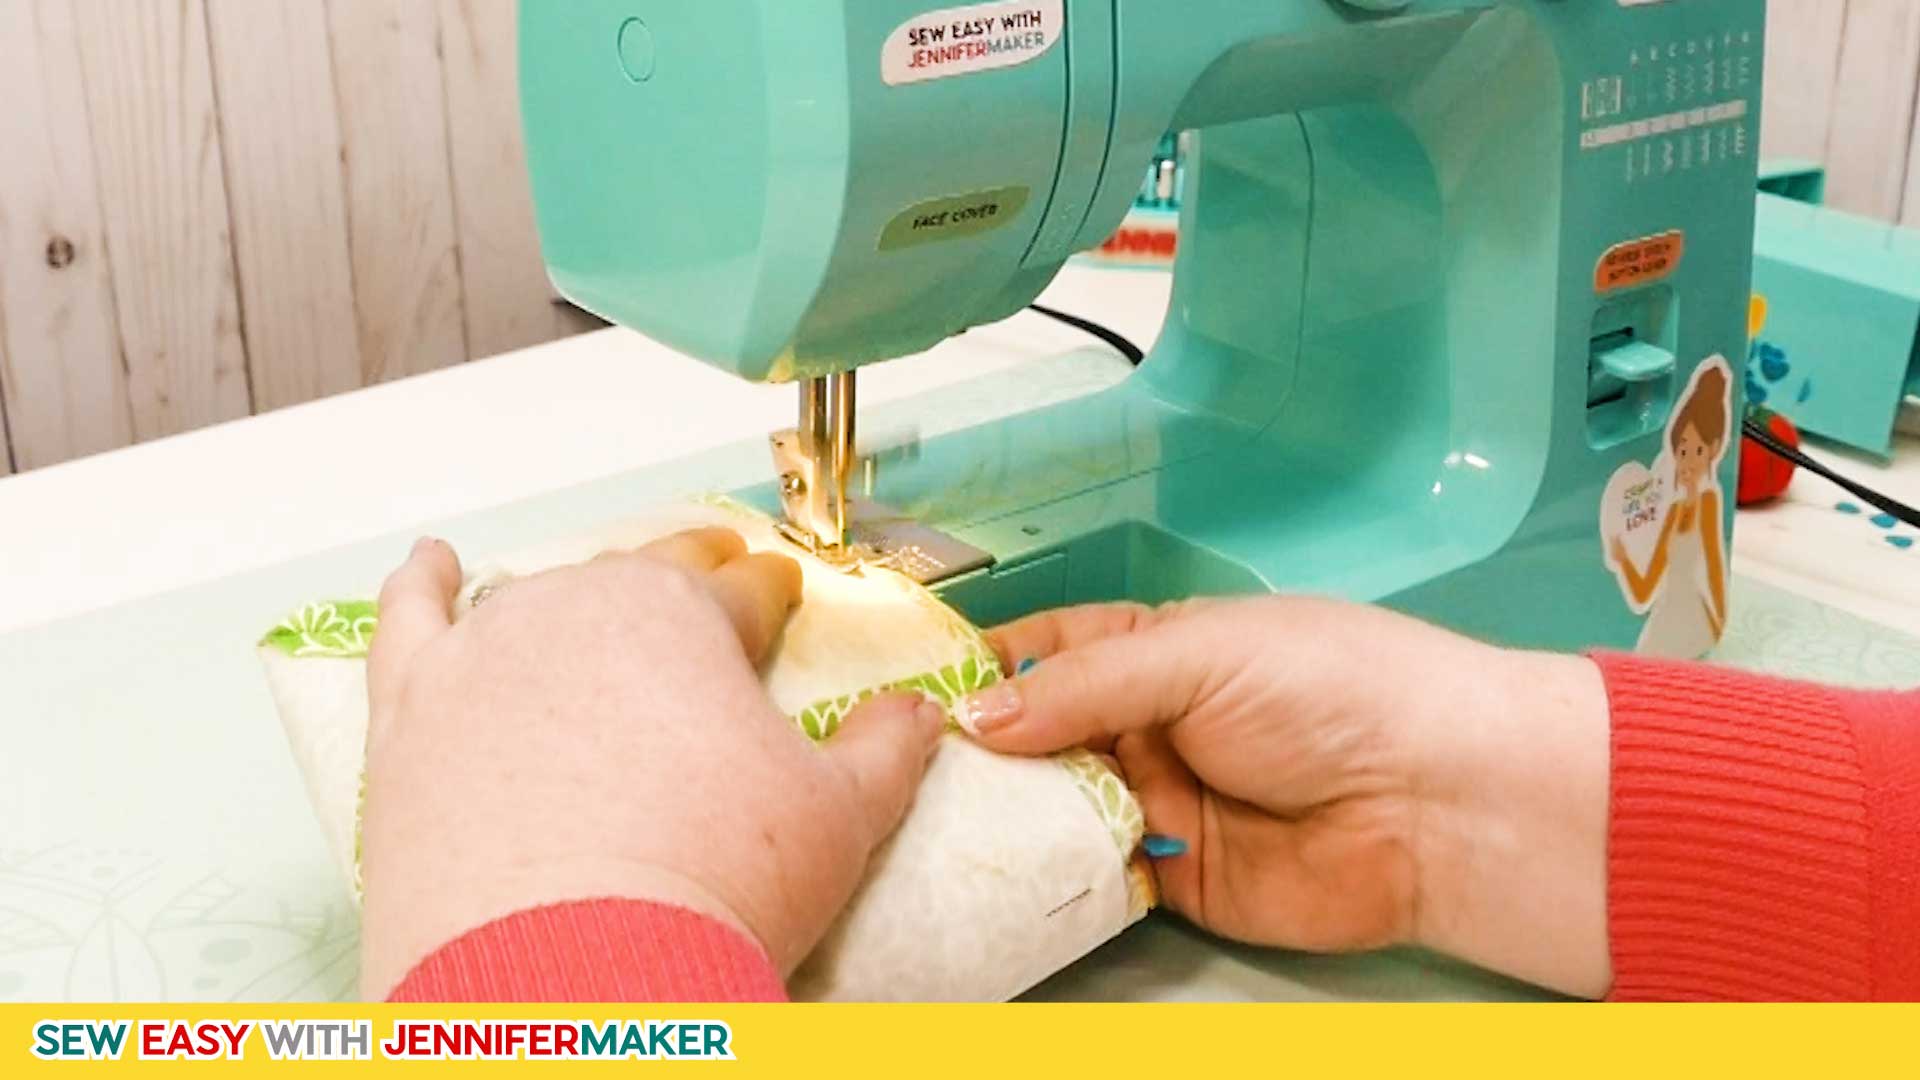
Topstitch along the upper edge of the Bits Bin, and when you get to the pinned opening, sew it closed too.
Give everything one more good pressing to make it look crisp... and you're done!!
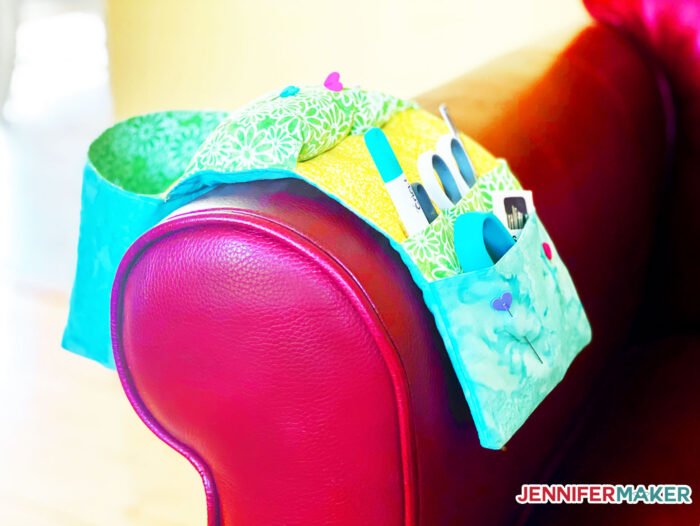
Fill your Couch Caddy craft organizer with your favorite tools, drape it over your favorite armchair or couch, and have fun! I love how easy it is to move from chair to sofa to couch as you move about!

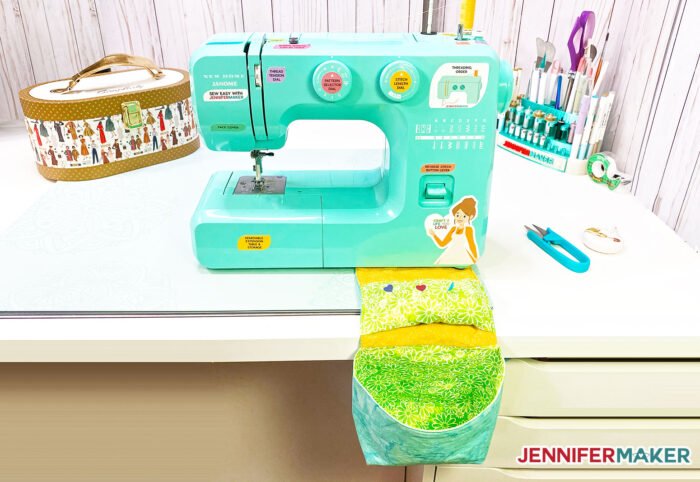
When you’re not using your Couch Caddy organizer in a chair, you can tuck the Tool Holder edge under the feet of your sewing machine and use it to catch threads and hold pins there, too!
Get my free pattern and SVG files to make your own Couch Caddy Craft Organizer
(If you do not see the signup form above, click here.)
I’m in LOVE with this Couch Caddy, and I hope this tutorial has inspired YOU to make one, too! You’ll feel so much more mobile once you have one. I’d love to see YOUR couch caddy organizers! Please share a photo in our Sew Easy Facebook group, our Cricut Crafters Facebook group, or tag me on social media with #jennifermaker.
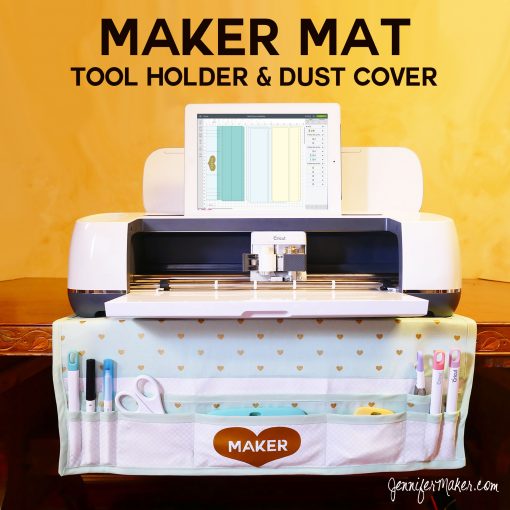
And if you liked the Couch Caddy, be sure to check out my Maker Mat for your Cricut or sewing machine — it slips right over either one to keep the dust off AND stores your favorite tools!
Like to sew? Here are more of our popular sewing projects:


Love,

Want to remember this? Save this Couch Caddy Craft Organizer pattern and tutorial to your favorite Pinterest Board


love this!! I am so guilty of working on projects on the couch and making a mess/losing my tools.
I would love to see you make a remote control holder similar to this for the couch if possible? This reminded me of it right away! I once made one: many, many years ago when I barely knew how to work my sewing machine and I just made it up on the fly. We still use it in our bedroom on a dresser, because it was a terrible terrible design: LOL! It requires something weighted to prevent the remotes from just pulling it all down on one side: which I didn’t design into it: so that’s why I have it on my dresser, I put my lamp and other things on to hold it down, but we can’t use it on the couch b/c of that. Also, just for a laugh: I was too lazy to measure how deep I’d need each compartment, and we have lots of remotes of various sizes: so to prevent the short ones from falling down too deep to grab, but still keeping the compartments deep enough for the long remotes: I just made 3 compartments: and used safety pins to pin a false bottom into 2 of them to make them more shallow: 1 for shorter remotes, and one for my chapstick, 😉 HAHA. Anyhow, it’s technically functional: but oh so terrible. If you ever had the time to made a design/pattern to handle the weight and multi depth issues for something like this, I would be so grateful, and I think it’s something almost everyone can use! Thank you for all of your brilliant stuff. I am going to make this, and also going to try the birdhouse luminary soon with my son!
Thank you, Melissa! Yes, designing projects sometimes require multiple versions to work out the kinks. I’m glad to hear you are able to use your design.
I am trying to download the pattern for cutting the couch caddy and there is no connection. Is there another way to get a copy of it?
I hope you’ve been able to download the file from my resource library. If not, please contact me and I’ll be happy to help!
I’ve made 3 of these so far. I love them. Next one I make, I’m going to Velcro the pin cushion to the base. I also want to make a wider base and put tools and the scrap bin on the same side to use under my sewing machine. I’m loving this site!
That’s wonderful to hear, Deborah! That sounds like a great version to put under your machine!
Hi there. I have just watched your video on the Sewing Summit and it was awesome. I appreciated the fact that you demonstrated everything instead of explaining “this is how you do it” and then the viewer finding the article already sewn/assembled without having seen how. I already have a bits bin but am sorely in need of this particular combination. Thank you.
Thank you, Maureen! I’m SO happy to hear that you enjoyed it. I hope you’ll share photos of your completed project!