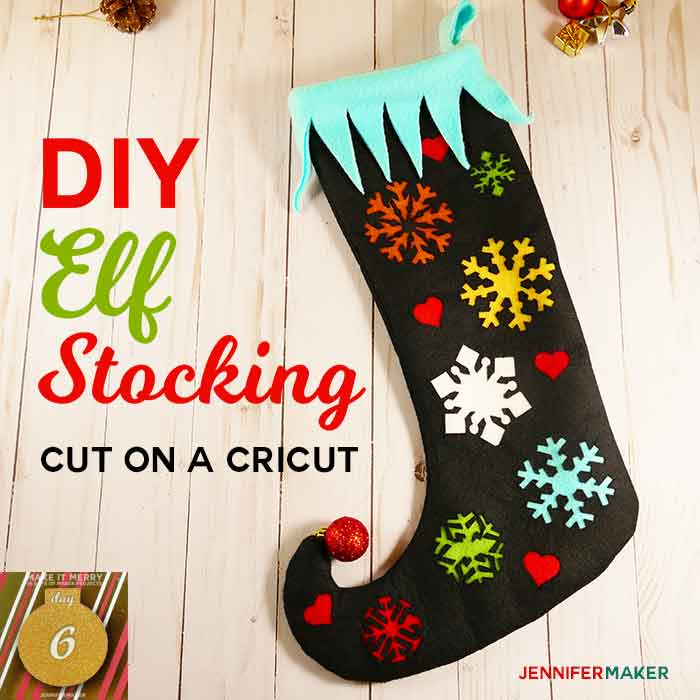
 The last five days in my MAKE IT MERRY: 25 Days of Maker Projects Christmas have been very festive and traditional. Today let’s get a little whimsical and make a DIY elf stocking with a cute little curly toe.
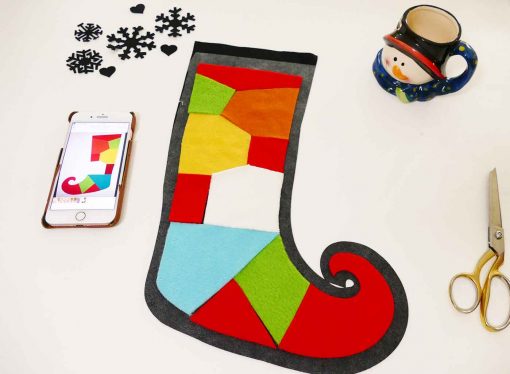
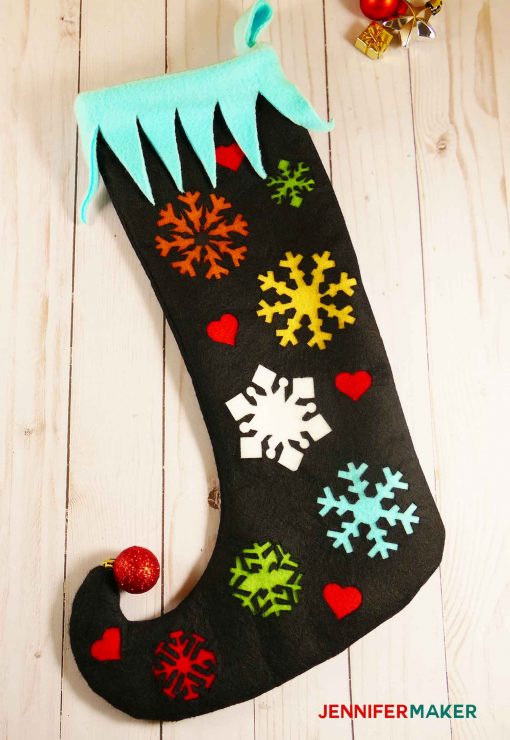
This stocking might look involved, but it was SO EASY to make. The Cricut Maker cut out all those intricate snowflakes perfectly, and then proceeded to cut out all the color blocks that go behind each cut out. All I had to do was iron it all together and sew it up. To underscore how simple this was to make, I got the idea to create this after picking up my daughter from school at 4:00 pm. I designed the entire stocking pattern, including snowflakes and hearts, cut it out, sewed it up, and was able to show my daughter the finished stocking by her bedtime at 9:00 pm.
This is a SUPER easy Christmas stocking, folks! And if you’re not into snowflakes and hearts, you can just cut out a solid stocking and have it finished even faster.
Don’t have a Cricut Maker? No problem! You can make this on a Cricut Explore if you put Wonder-Under under all of your fabric pieces (not just the one I mention in the tutorial). Or, if you prefer to cut it out by hand, I’ve included the PDF sewing pattern, too. The sewing is really minimal, as well—you could probably get away with liquid glue or even hot glue in a pinch.
Note: If you like this Christmas stocking, please let me know. While designing this, I came up with two other stocking ideas in different shapes that I’d love to do tutorials on, but only if you all like and want stocking ideas!
Let me show you how to make this adorable elf stocking. This post contains some affiliate links for your convenience (which means if you make a purchase after clicking a link I will earn a small commission but it won’t cost you a penny more)! Read my full disclosure policy.
Materials for the DIY Elf Stocking
- 1/2 yard of black felt (I used a wool felt blend because I think it looks nicer)
- 1/2 yard of Wonder-Under (Pellon 805 paper-backed fusible web)
- Felt or fleece, various colors (I used red, turquoise, green, yellow, orange, and white)
- Thread or some other way to attach your material, such as liquid glue
- A little red ornament to sew onto the toe
- An iron or EasyPress (to apply the Wonder-Under)
- A way to cut the tag (I used a Cricut Maker)
- 12″ x 24″ Fabric Cutting Mat (if you’re cutting this on your Cricut)
- Design #70 – My free pattern/SVG cut file (available in my free resource library—get the password at the bottom of this post)
How to Assemble the DIY Elf Stocking
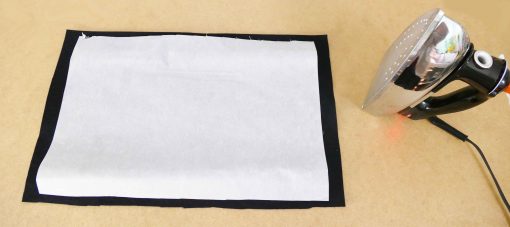
First, cut out an 18″ x 12″ piece of Wonder-Under fusible web and apply its rough side to the back of whatever material you will use for the front of your stocking. You will need to iron this on by following the directions that came with your Wonder-Under. This Wonder-Under needs to be in place before you cut it out.
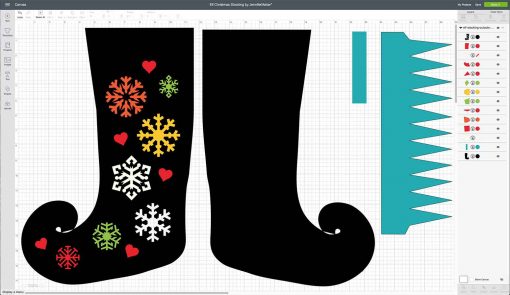
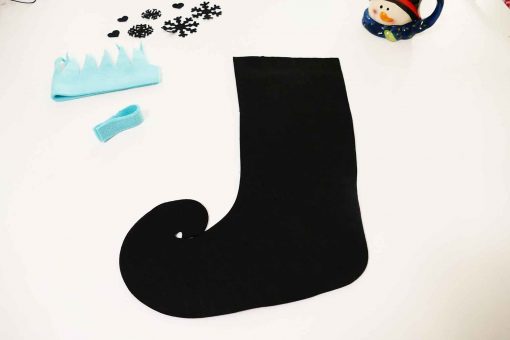
Now, cut out the material, either with scissors or with your Cricut. Use the piece of felt/fleece with the fusible web for cutting out the stocking front piece. Note that if you upload my SVG file (Design #70) to your Cricut, everything is good to go—there are no layers that you need to prep. Everything you need to cut this out on the Cricut is good to go! But if you prefer your stocking to be solid (no cut outs), just hide the right stocking and all of its colors, duplicate and flip the right stocking, and you’re good to go!
If you’re cutting out the stocking with the snowflakes and heart, turn over the cut-out stocking front and put it face down on a table. Remove the paper backing from your Wonder-Under.
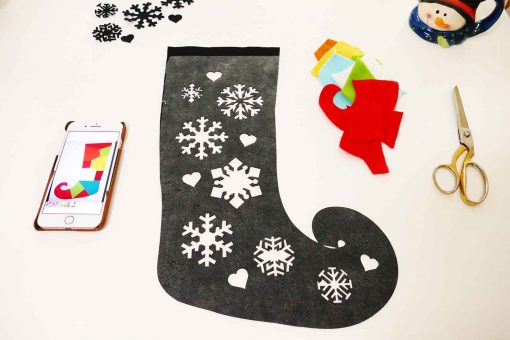
Position all of your color blocks that you cut out in the previous step onto the back of the stocking, making sure the edges just meet one another and do not overlap.
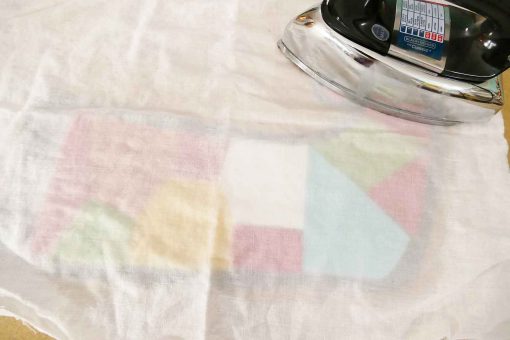
Iron your color blocks onto your stocking front following the directions on your Wonder-Under package. (Mine called for pressing 5-8 seconds with a damp cloth and the iron on the Wool setting.)
Position your stocking back on top of your stocking front, right sides together. You can pin them together, but I didn’t bother.
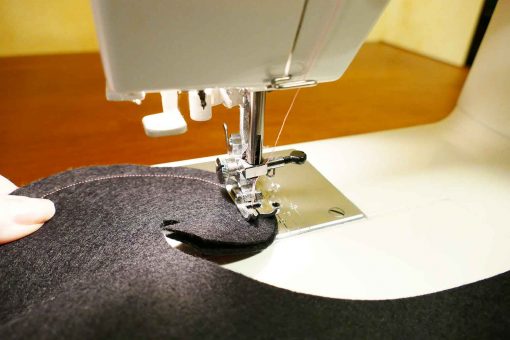
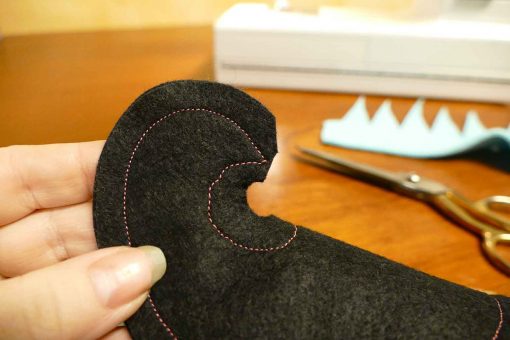
Sew around the perimeter (but not the top). Seam allowance (already built-in) is 1/2 inch. Note that I’m using pink thread here just so you can see the stitches, but normally you’d want to use a matching thread to avoid seeing the stitches.
Clip the corner of the curly toe as shown below, being careful not to cut into the stitching. This will help it form a point.
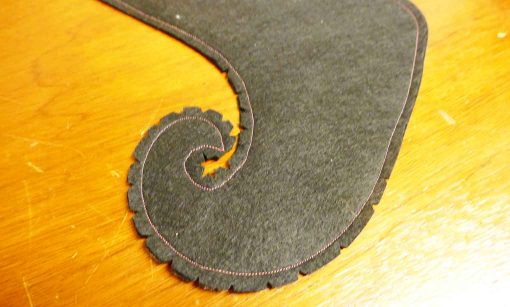
Clip the curves your stocking as shown below, being careful not to cut into the stitching. This will help your seams curve more fluidly.
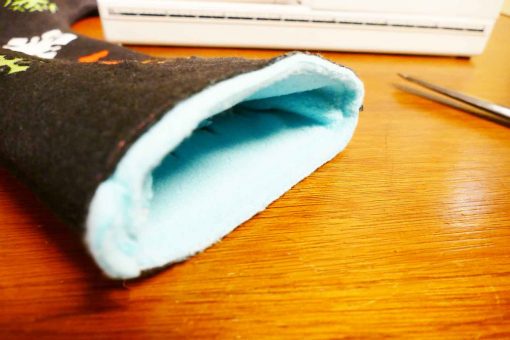
Turn your stocking right side out. It may take some time to get the curly toe out—just be patient.
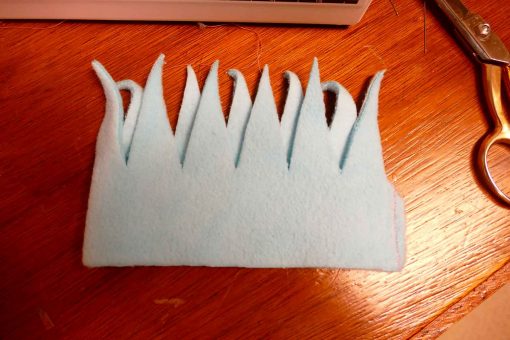
Sew the fringed top closed at the side, forming a tube. Again, there is a half-inch seam allowance.
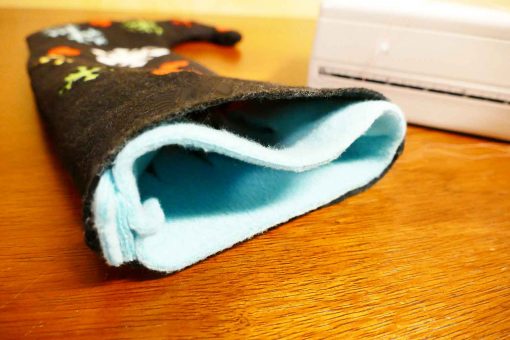
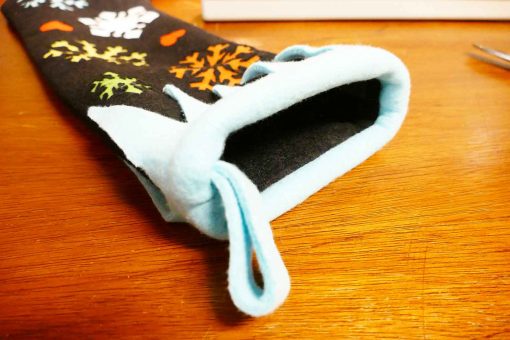
Position the top inside the stocking, fringe side down and wrong side against the inside the stocking. Don’t sew it yet.
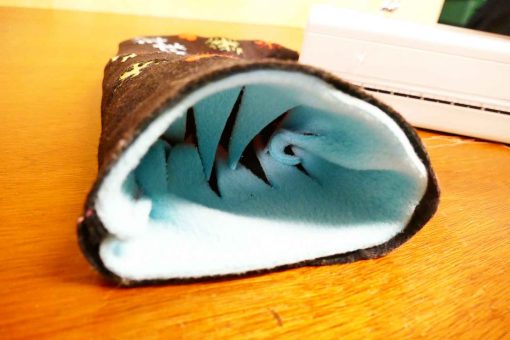
Fold the long rectangle piece in half (this becomes the hanging loop) and position it between the back seam of the stocking and the seam of the fringe top so that its edges are in line with the edges of the stocking top and fringe top.
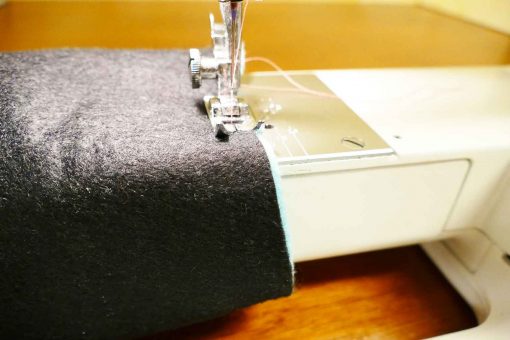
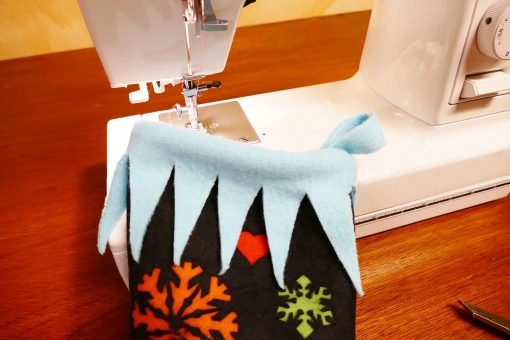
Now sew the fringe and loop onto the stocking with a simple stitch all around that top edge.
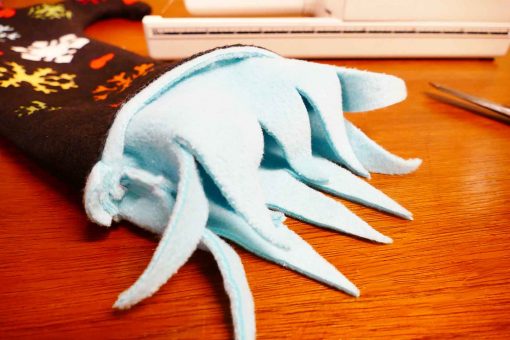
Flip the fringe up and over the edge of your stocking to form a perfect top!
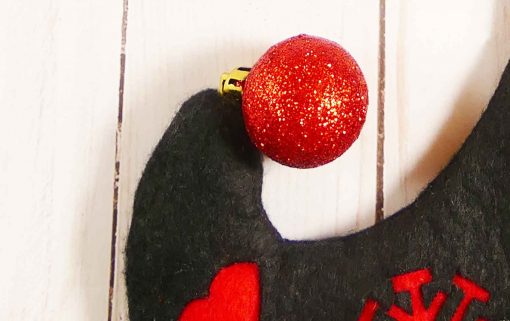
You’re almost done—just sew on the little ornament ball at the toe.
And that’s it! It only took me about 1 hour to cut and piece everything, and less than an hour to sew it all up and finish it. It was an easy, satisfying project. And it’s SO CUTE.
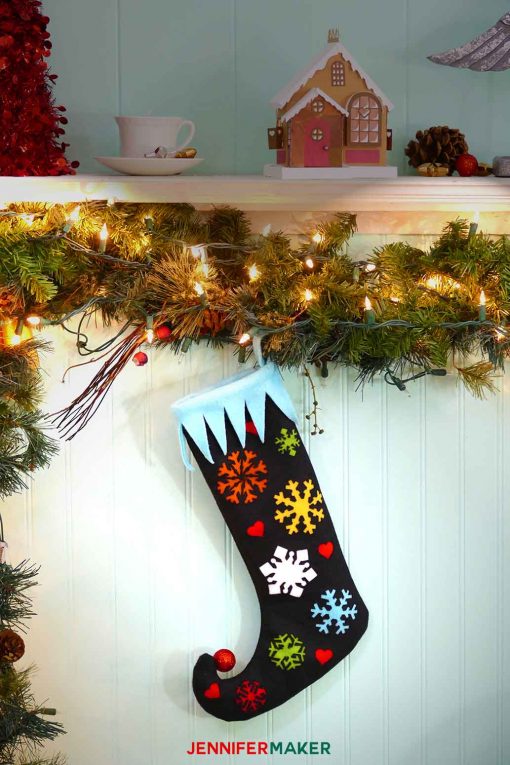
The finished size is about 11″ x 17″, and you can easily fit your whole arm inside (this is important for getting to all the goodies stuffed into the stocking!)
Get my free template and cut files for the DIY Elf Stocking
I hope you make this cute elf stocking! If you do, I’d love to see! Share a photo with me at [email protected] or tag me on social media with #jennifermaker.
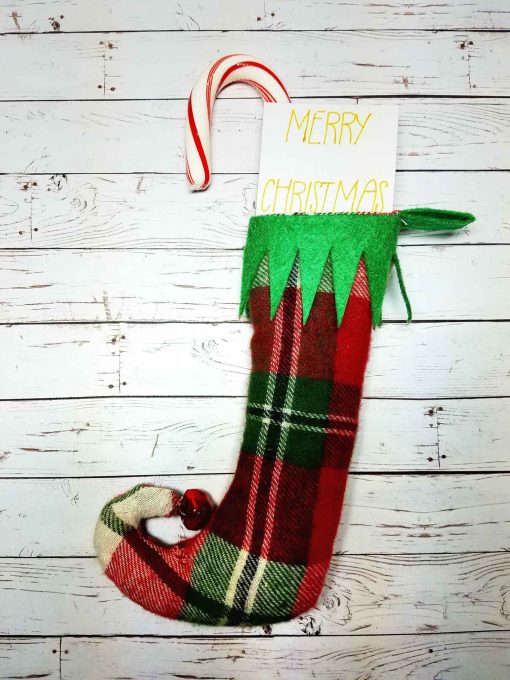
Here’s a mini version of this elf stocking made by Tonya Brooks — isn’t it adorable? She simply resized the plain version of this pattern in Design Space to make this mini stocking.
Take a look at the rest of the projects that are part of my MAKE IT MERRY: 25 Days of Maker Projects Christmas!
Love,

Want to remember this? Save the DIY Elf Stocking to your favorite Pinterest board!