
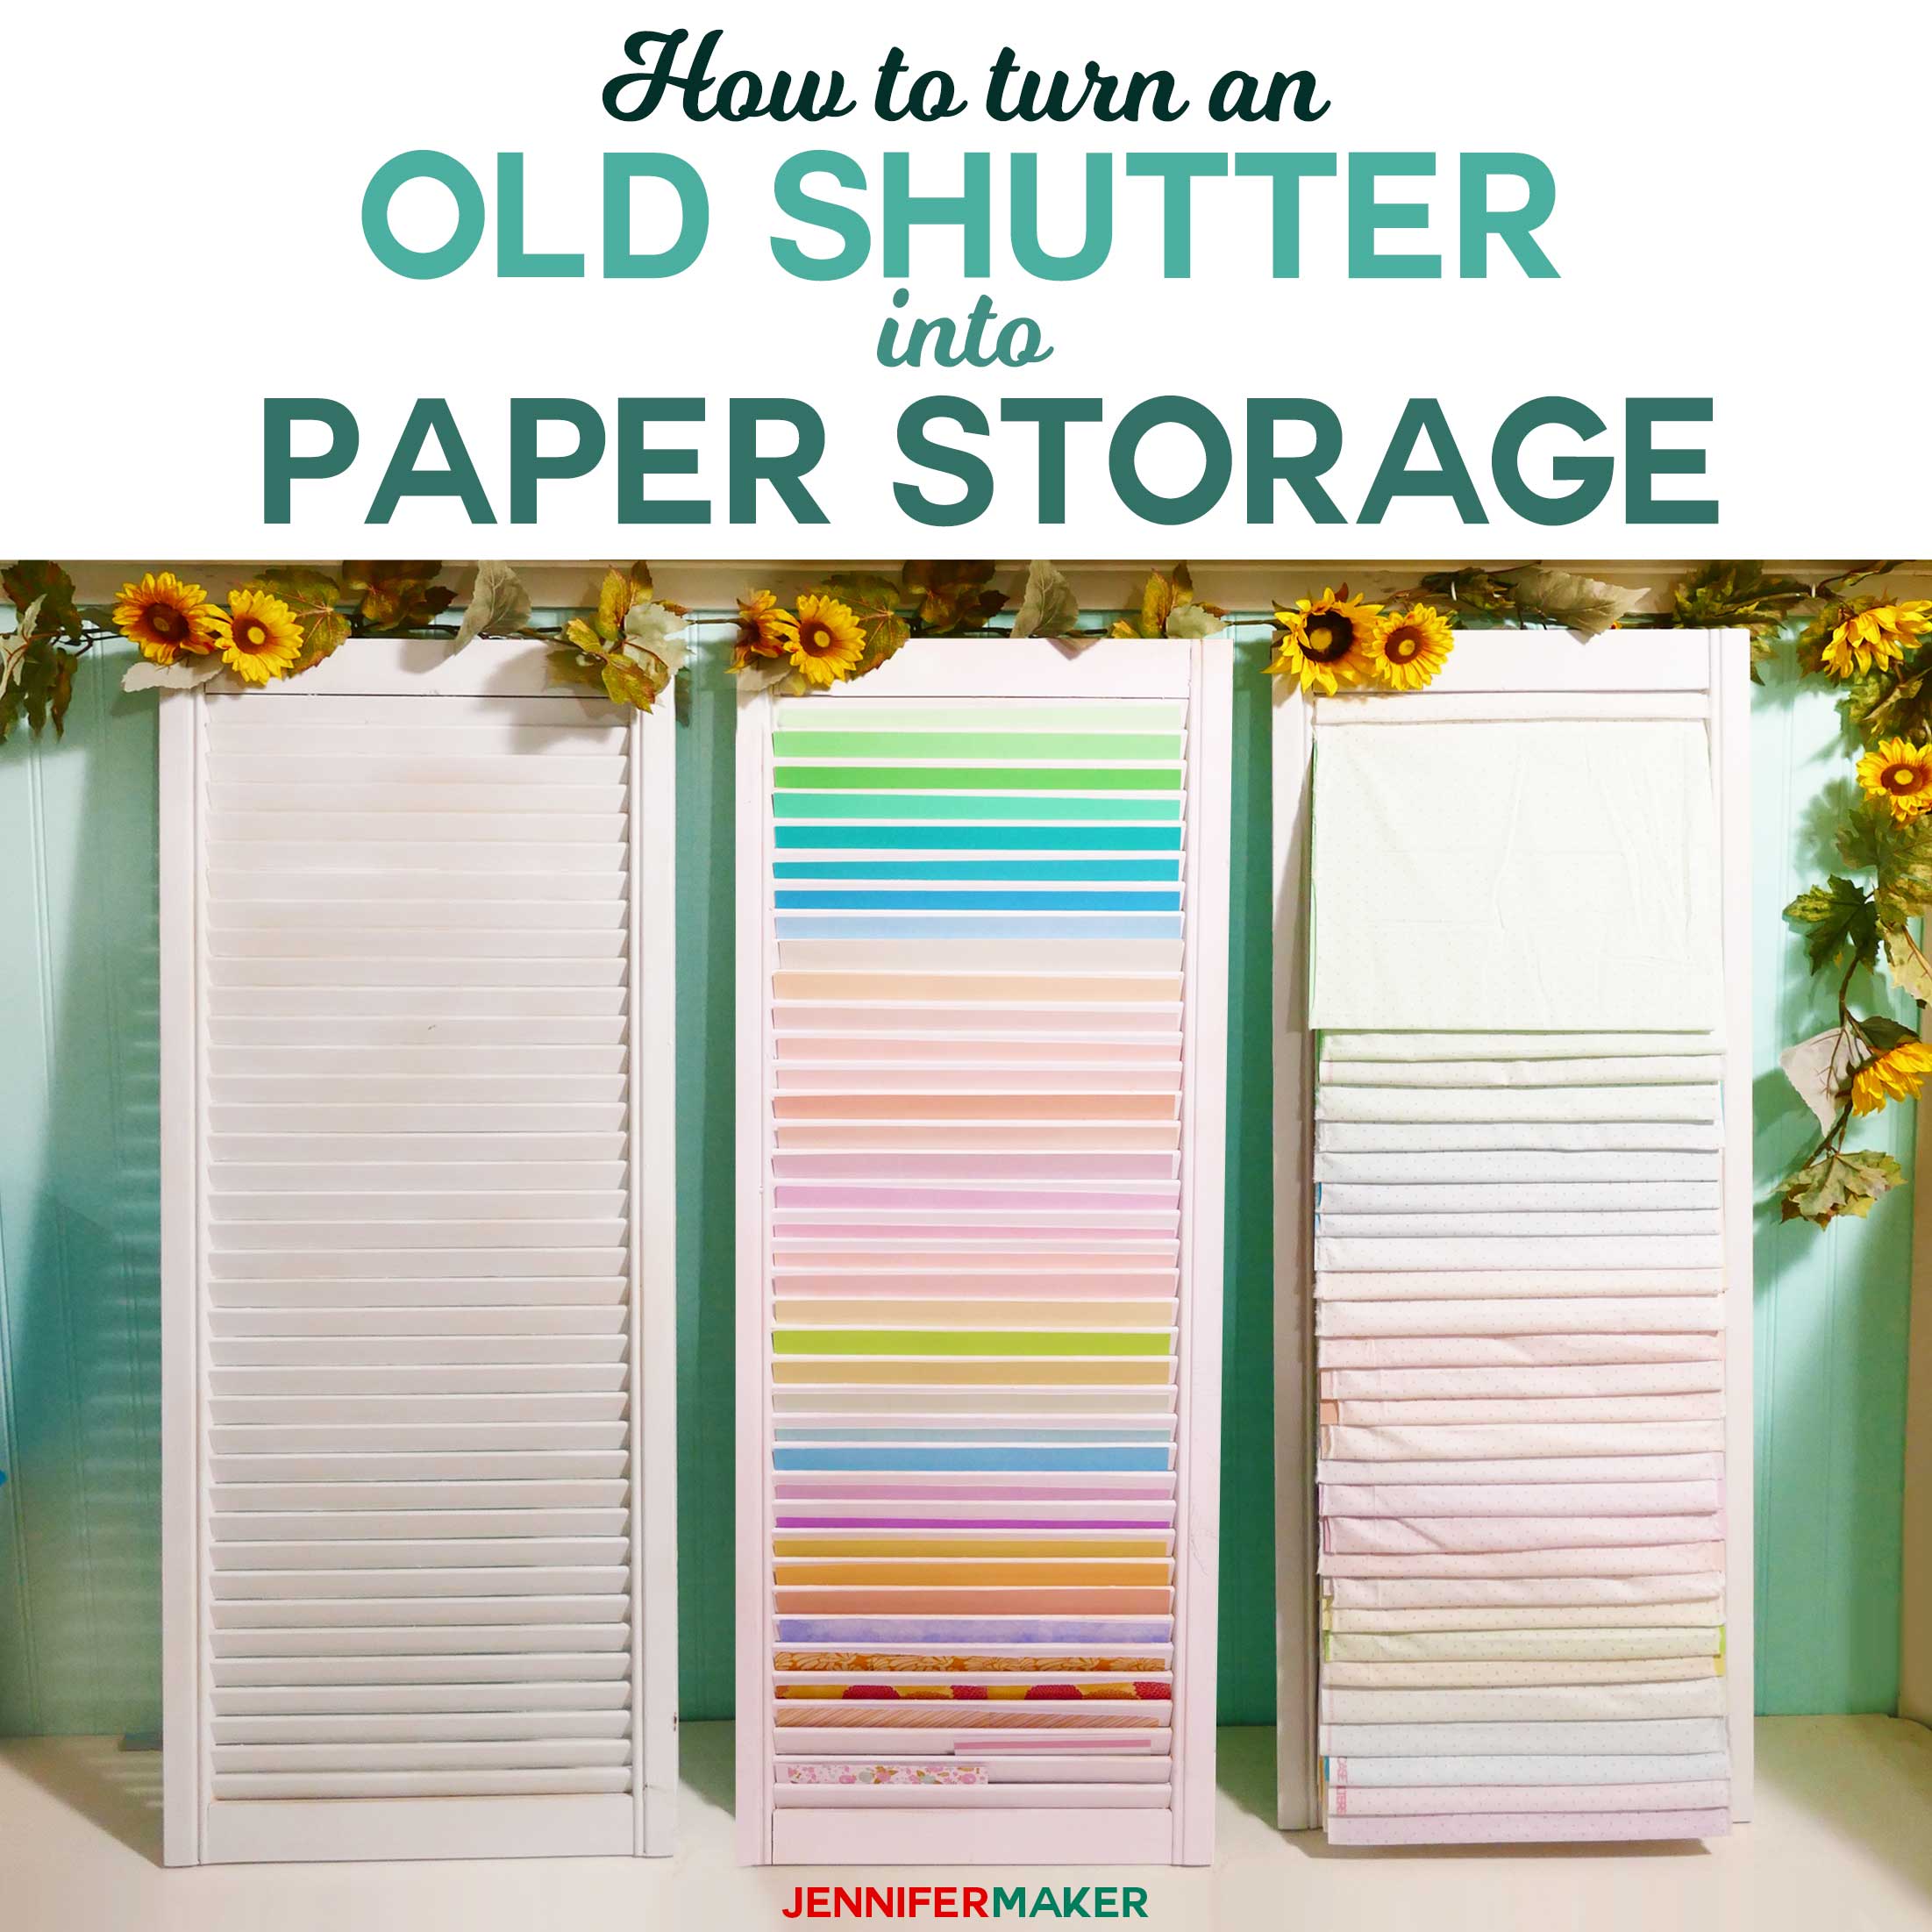
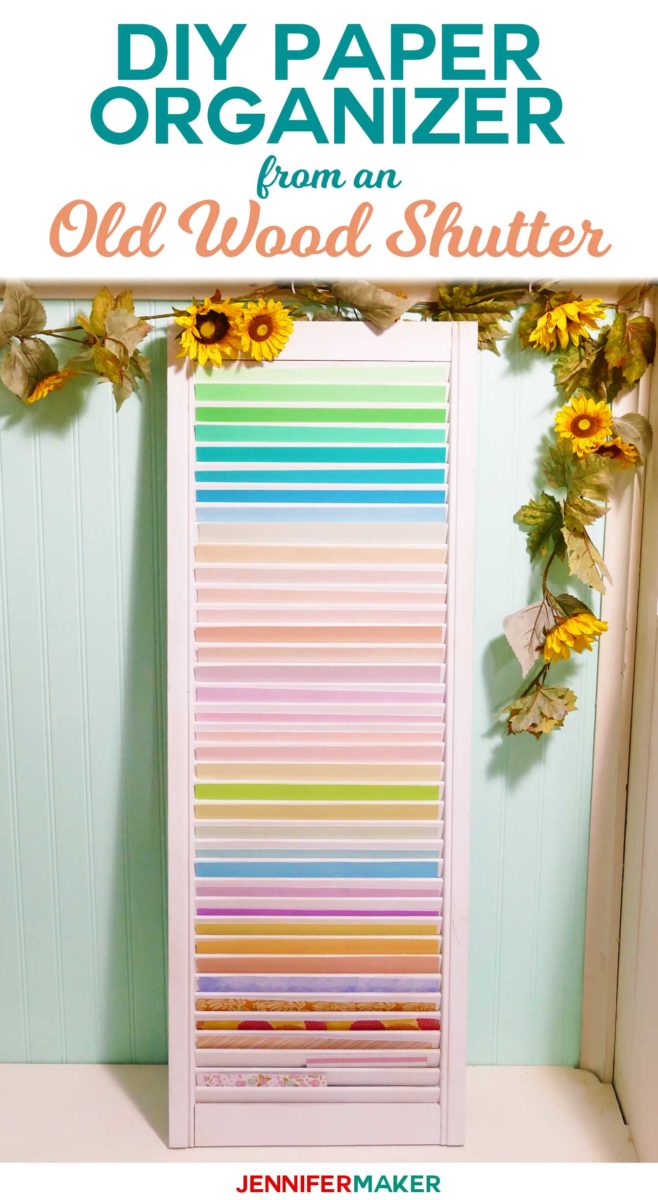
Looking for a unique and decorative way to organize your paper? Make a DIY Paper Organizer from old shutters!
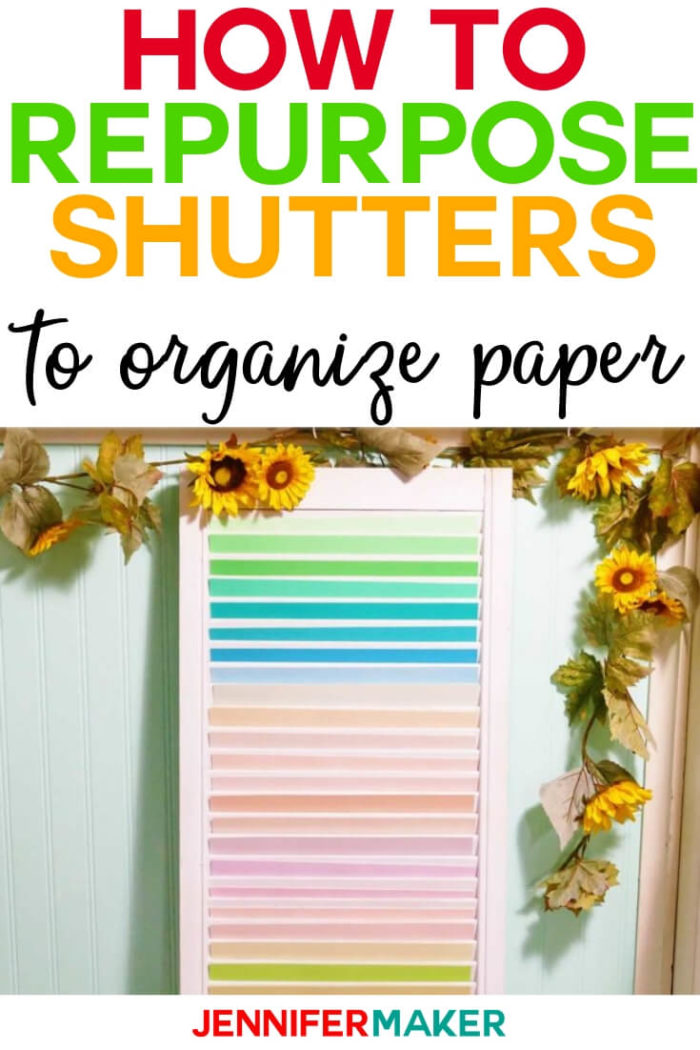
As a paper crafter, I have a LOT of paper. So I’m always looking for creative ways to store and organize it. Like the DIY Vertical Organizer for scrapbook size paper I made last summer. But recently I saw someone repurposing an old window shutter to hold cards and thought I could give that a try! As it turns out, old wooden shutters are just the right size for 12″ x 12″ paper to slip between the slats. So I made a DIY Paper Organizer from some old window shutters!
See exactly how to turn an old wood shutter into a paper organizer in my tutorial video (or keep scrolling if you prefer a step-by-step photo tutorial):
Now, before you rush out to the home improvement store to buy a window shutter, you need to know something very important. The shutters that most big box stores sell will NOT work for this project. Most modern shutters are made of plastic and are hollow on the reverse side. You need a solid wood shutter, the kind you’ll find at your local reuse center, thrift store, and antique stores … or maybe even in your attic.
It’s also important to note that the width between slats on the shutter matters. The closer and tighter your slats are spaced, the less paper your shutter will hold. If you used a louvered shutter window and remove the louver mechanism, you’ll likely have the most flexibility in what you can fit. My DIY paper organizer holds about 10 sheets per slat, but some repurposed shutters can accommodate an entire paper pad.
The hardest part of this project is probably finding the old shutter to repurpose. Other than that, it’s just stapling fabric — there’s no sewing involved!
I am excited to show you how to make my DIY paper organizer shutter, so let’s do this! This post contains some affiliate links for your convenience (which means if you make a purchase after clicking a link I will earn a small commission but it won’t cost you a penny more)! Read my full disclosure policy.
Materials Needed to Make My DIY Paper Organizer Shutter
- A wood shutter with slats at least 12.5″ wide. My shutter is 15″ wide by 42″ tall. Do not buy a plastic shutter from the home improvement store—it won’t work. I bought mine from the Ann Arbor ReUse Center for $3.
- About 7-8 yards of material at least 40″ wide. (I used 100% cotton I got at Joann’s with a coupon for just $2/yard. You don’t need special fabric — use something from your stash or something from the clearance bin at the fabric store. If you end up buying fabric, look for polka dots or stripes — it’ll make it easier for cutting and fitting!)
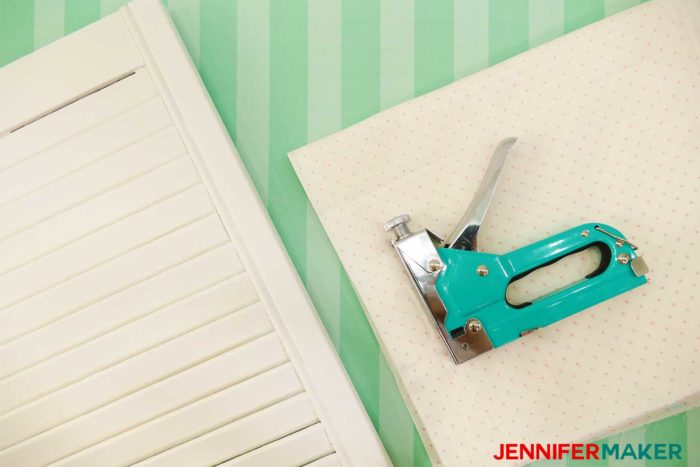
- A staple gun (manual or electric) and staples that aren’t too long (we used these exact staples)
- Fabric marking pen, ruler, scissors, and a piece of paper the size you want to store in your paper organizer
How to Make My DIY Paper Organizer Shutter
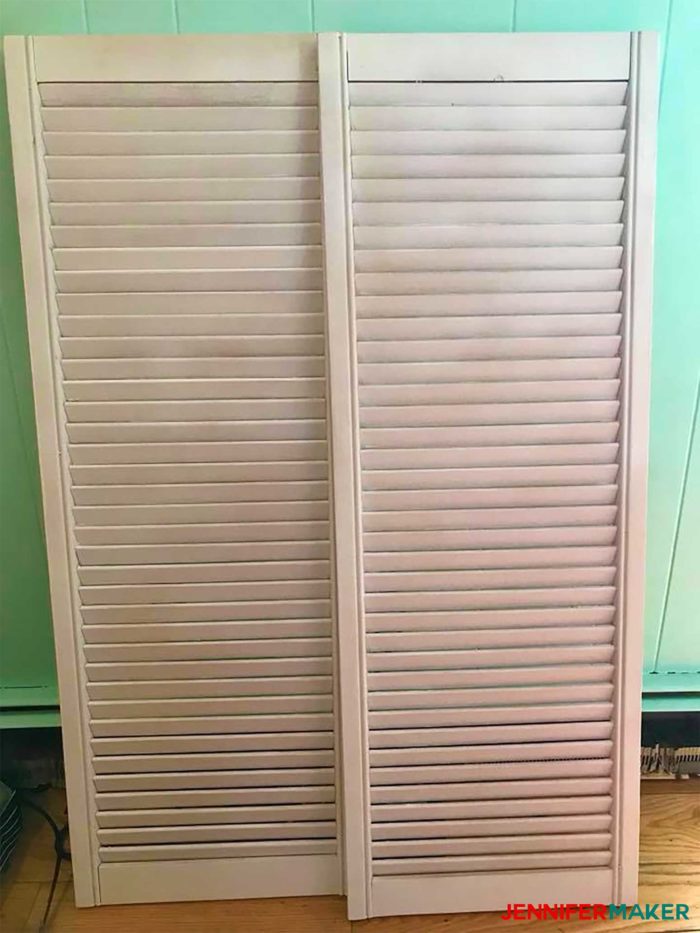
Look over your wood shutter carefully for broken slats and fix anything you need to. If you are using a louvered shutter, you’ll need to remove the louver mechanism so you have unrestricted access to the space between your slats. This is also a good opportunity to clean and paint your shutters, if you wish. We cleaned our shutters and repaired some slats. Here are my old shutters, ready to go!
Next you need to prepare your material, which will form the paper-holding pockets on the back of your shutter. Measure the width of each slat. Mine are just about 12.5″ wide. So I measured this width on my material and cut out (ripped) three long 8 yard strips of fabric. You now have 21 yards of fabric, which is what I needed for my shutter (25″ per slat x 39 slats – a yard or two because the bottom slats are a little shorter). If your shutter is a different size, you may need more or less fabric.

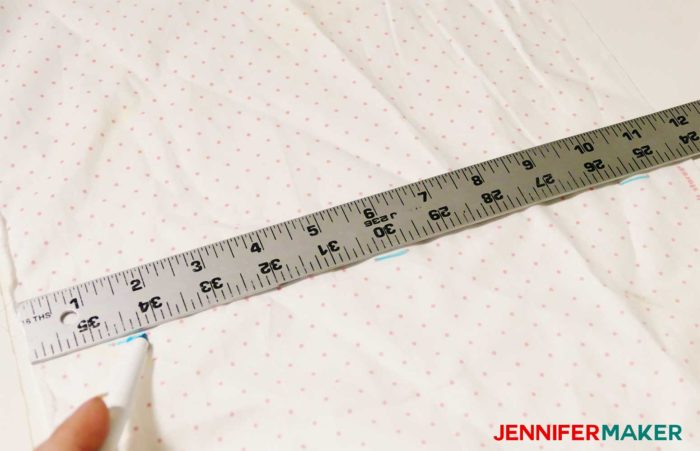
The next step is to determine the DEPTH of each paper pocket. I wanted this DIY paper organizer to hold 12″ x 12″ paper, so I made sure to make it just deep enough for that. To hold a 12″ x 12″ piece of paper, I had to mark my fabric in 22.5″ spacing with my fabric marking pen, based on the spacing of my slats. 22.5″ was just the right size once I’d attached the marked positions to the shutter. You don’t have to make yours fit 12″ paper — you can make it any size you want. Just wrap fabric around the paper you want to use, multiply it x 2, then subtract about 1.5″ (maybe a little more if you have really widely spaced slats).
Tip: If you’re not sure what size paper you plan to store in here, go for 12×12 and I’ll show you how to resize them easily later.
Once you know the size of your pockets, mark all of your fabric strips with the determined spacing using your fabric marking pen.
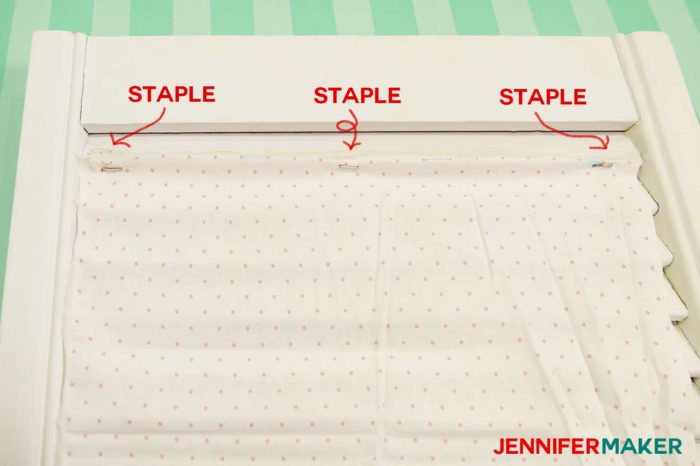
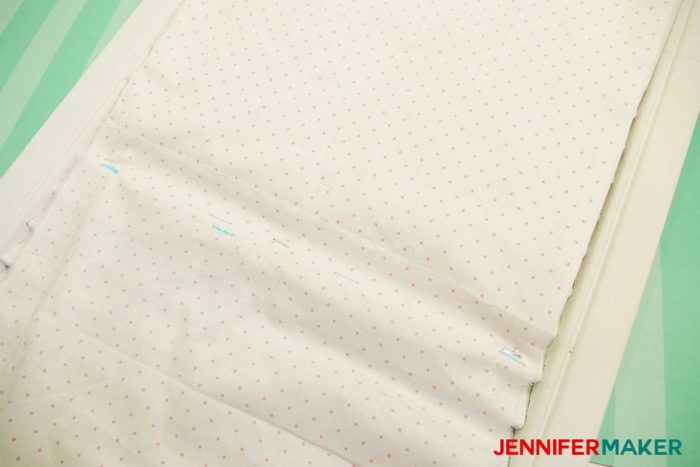
Start attaching the fabric by stapling one end to the bottom of the top slat in three spots. If possible, get the staple in the bottom of the slat, so it goes UP into the slat. This will prevent your paper from snagging on the staple when you slide it in. I also think this is stronger and you’re less likely to see any of the staple poke out on the other side this way.
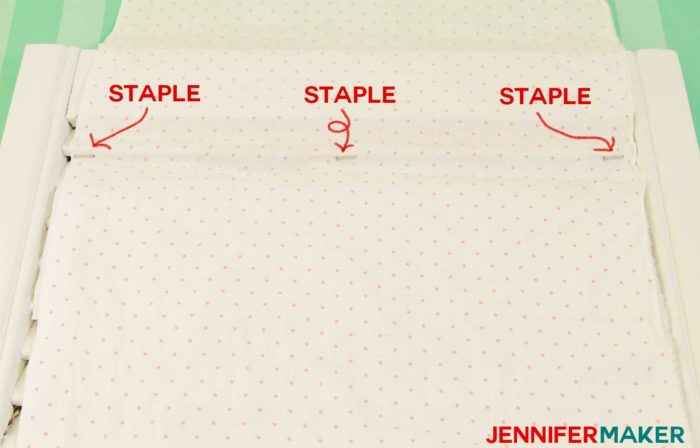
Slide the free end of the material upward until you see your marks. Staple in three spots to the NEXT slat down, as shown below.
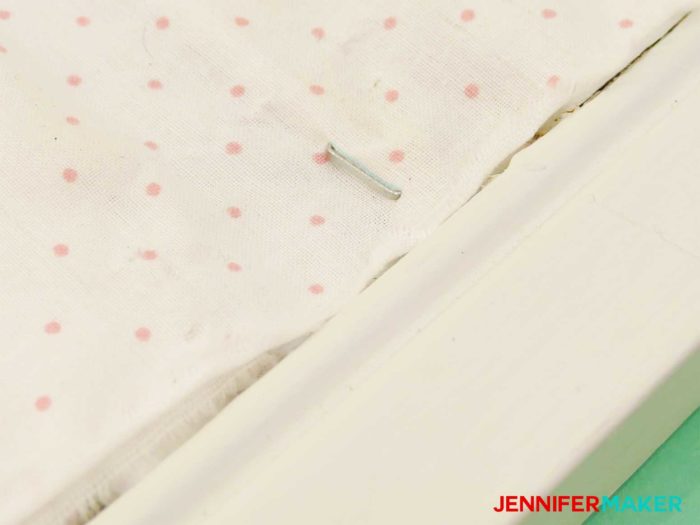
Here’s a closer look at a staple in case that helps you!
Continue sliding your fabric up and stapling each set of marks to the next slat. Stop when you get about 12″ from the bottom of your shutter.
Tip: When your material strip runs out, cut it off just after the last set of staples, as shown below.
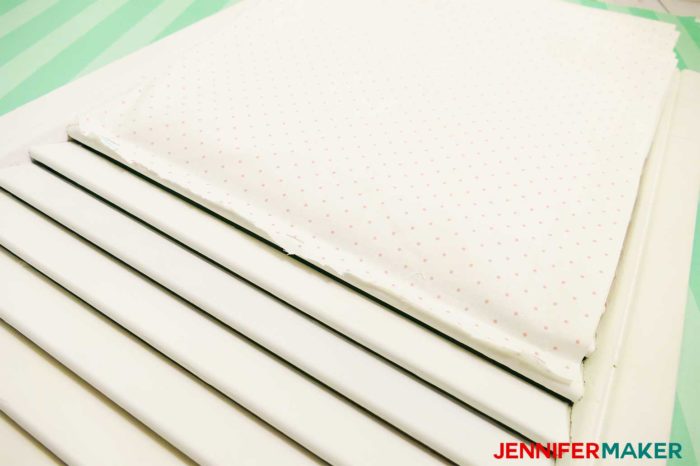
Now, just pick up your next strip of fabric that you premarked and staple it to the slat you ended at (being careful not to staple over the staples), then continue as before.
When you get to the last 12″ of your shutter, you need to decide if you want to continue making your fabric pockets the same size (they will hang below the bottom edge of the shutter) or smaller. I chose to make my fabric pockets smaller. So from this point on, I shortened each pocket by about 1.25″ or so (I mostly just eyeballed it) so the fabric would NOT hang below the bottom edge of the shutter. That means each pocket will hold smaller and smaller sized paper, but I was okay with that.
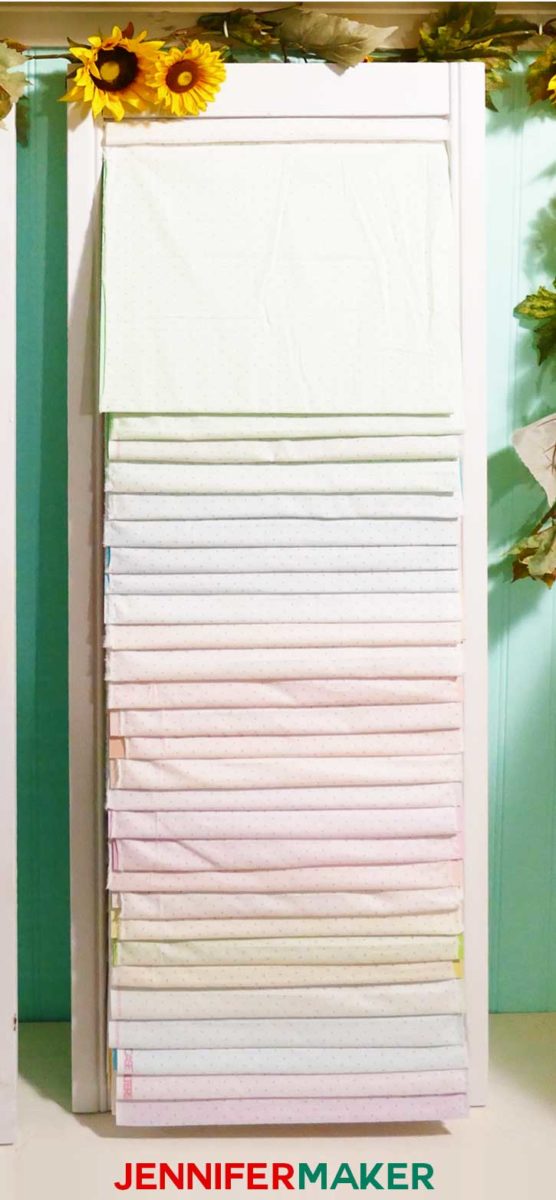
Here’s how the finished DIY paper organizer looks from the back with paper in all the fabric pockets:
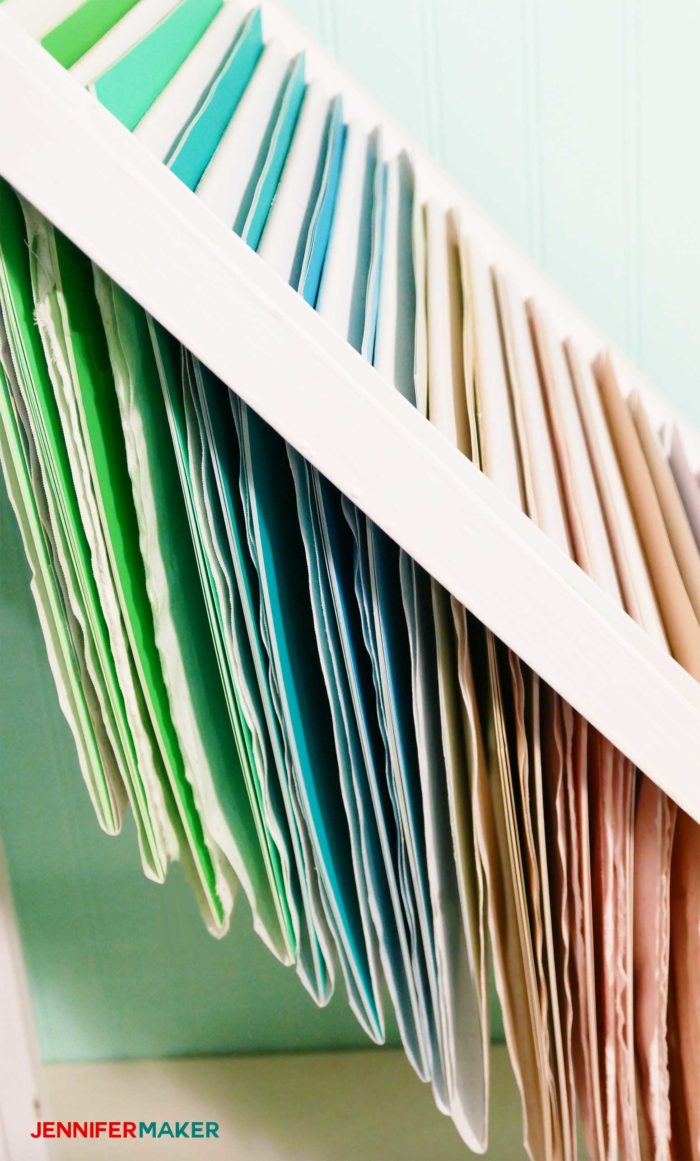
And here’s what the paper shutter looks like from the side when the shutter is tilted back — you can see each paper “pocket” clearly here.
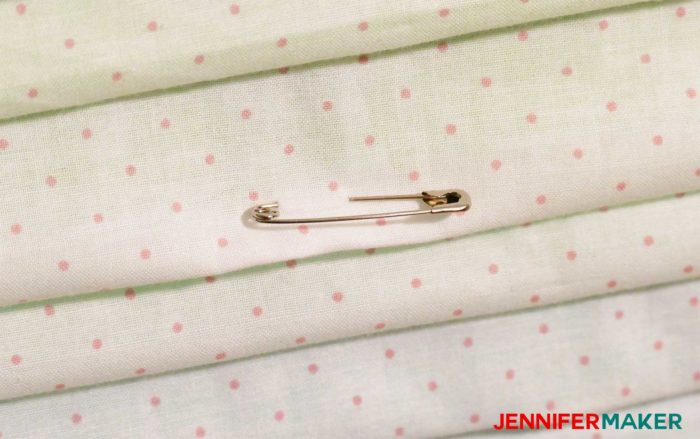
Tip: If you want to put smaller-sized paper in your DIY paper organizer after you make it, just use safety pins! You can resize any pockets with a few safety pins in the bottom to make it more shallow.
We’d love to see YOUR DIY Shutter Paper Holder! Please share a photo in our Facebook group (https://www.facebook.com/groups/cricutcraftersandmakers/) or tag me on social media with #jennifermaker.

Want to remember this? Save the DIY Paper Organizer Shutter to your favorite Pinterest board!


Love the shutter idea. Thx for sharing.
This is incredible, Jennifer! I need to try this! Thank youuu. : )
Very great idea to store papers . Thank you for sharing with us.
This is neat and space saver too. Now all I need is to find wood shutter.
Love this idea. Think I may try it with my louvered closet door in my craft room because I have no more wall space for a shutter. The door is twice as long so I might get twice the space out of it!! Thank you for the idea
Hi Jennifer,
I have been saving your emails until I had a moment to look at them! I just looked at your shutters for storing your scrapbook papers! What a wonderful idea!!!! And so in style on top of it all!!!! Now… where to find some old shutters!!!!!
How much fun did you have ripping the fabric? lol I believe it can be therapeutic. As you’re creating your back panel you can take out your frustrations! Love this!
Yeah, I LOVE ripping fabric like that actually. It’s always so straight and it amazes me!