
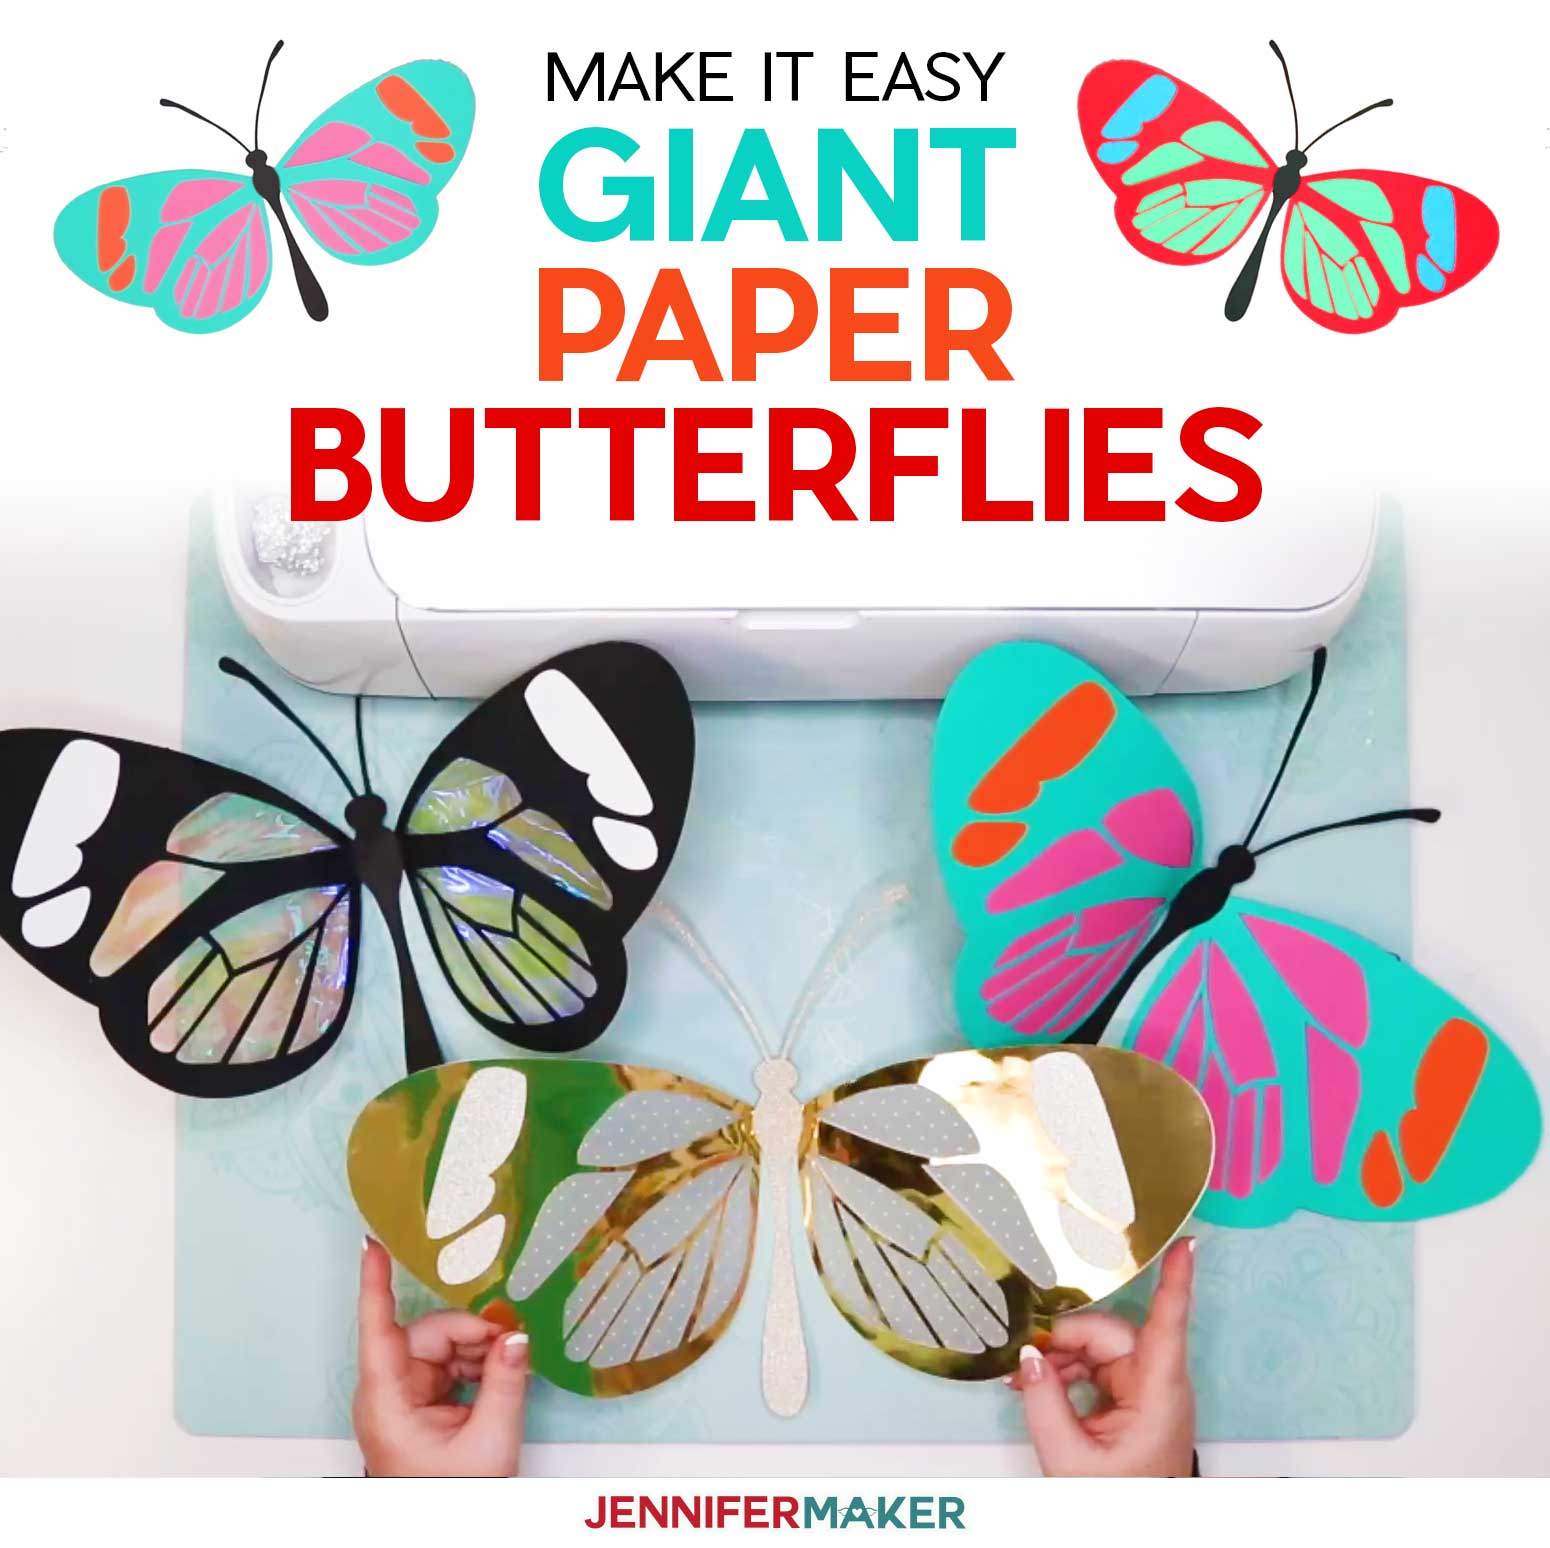
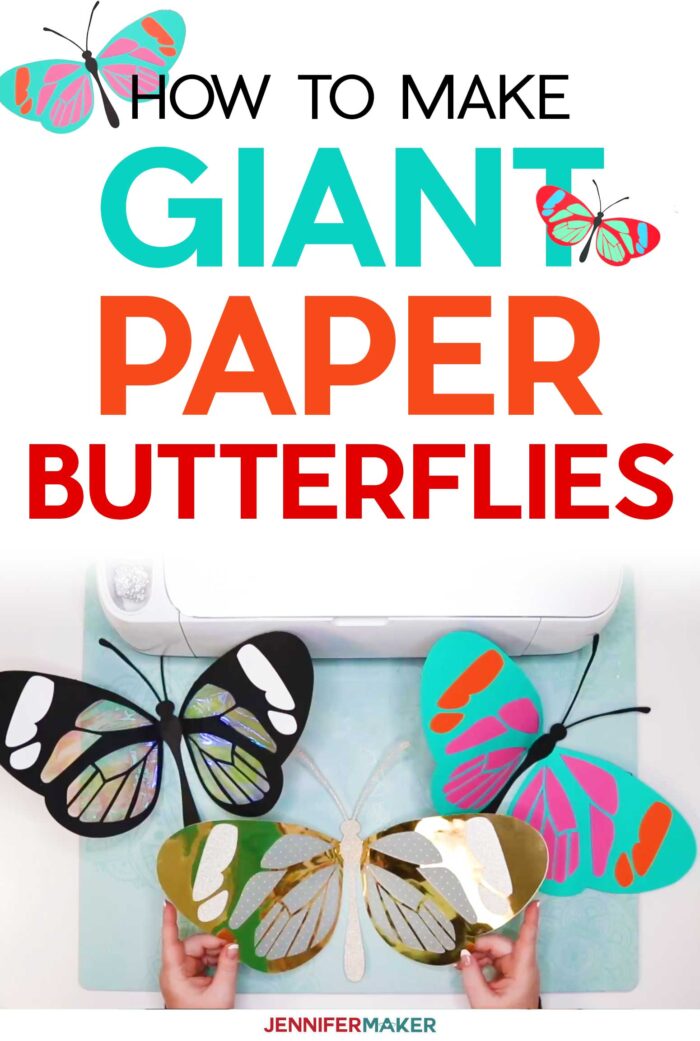
Learn how to make a giant paper butterfly to decorate your walls and photo backdrops!
Now I have to admit I’m not a big fan of bugs. Yes, butterflies ARE bugs! But I think butterflies are in a class by themselves… they are graceful and beautiful, and show us that we can change and grow into something magnificent! So today, I want to make a butterfly from paper, but not just any butterfly … a GIANT paper butterfly! 
I have a whole video on the assembly of the giant paper butterfly, which you can watch here:
This post contains some affiliate links for your convenience (which means if you make a purchase after clicking a link I will earn a small commission but it won’t cost you a penny more)! Read my full disclosure policy.
What You Need to Make the Giant Paper Butterfly
See the Amazon shopping list for this project here!
- 65 lb. 8.5″ X 11″ cardstock in complementary/contrasting colors (4 sheets for outside of wings, 1 sheet for inside tips) — I used regular cardstock (alternative) and this foil cardstock for the three different butterflies
- (Optional) 12″ X 12″ sheet of Kraft Board or heavy cardstock (used for when you want to use fancy paper that would not normally be stiff enough)
- (Optional) Transparent paper such as vellum, iridescent cellophane, or transparency paper
- Permanent spray adhesive
- Tacky glue
- Hot glue and glue gun
- 20g floral/beading wire, 3 cuts: 2 at 12″ and 1 at 6″
- A way to cut your giant butterfly (such as a Cricut cutting machine)
- Design #213 – My free butterfly design (available in my free resource library—get the password at the bottom of this post)
How to Assemble the Giant Paper Butterfly
Giant Paper Butterfly
Materials
- 65 lb. 8.5" X 11" cardstock in complementary/contrasting colors (4 sheets for outside of wings, 1 sheet for inside tips)
- (Optional) 12" X 12" sheet of Kraft Board or heavy cardstock (used for when you want to use fancy paper that would not normally be stiff enough)
- (Optional) Transparent paper such as vellum, cellophane, or transparency paper
- 20g floral/beading wire, 3 cuts: 2 at 12" and 1 at 6"
- Permanent spray adhesive
- Tacky glue
- Design #123 - The Giant Paper Butterfly SVG available for free in my free resource library
Instructions
Step 1: Get the Free Giant Paper Butterfly Pattern
You'll find the free Giant Paper Butterfly pattern (Design #213) in my resource library at JenniferMaker.com (you can get a password at the bottom of this post). Note that this pattern is available in SVG, DXF, and PDF formats.
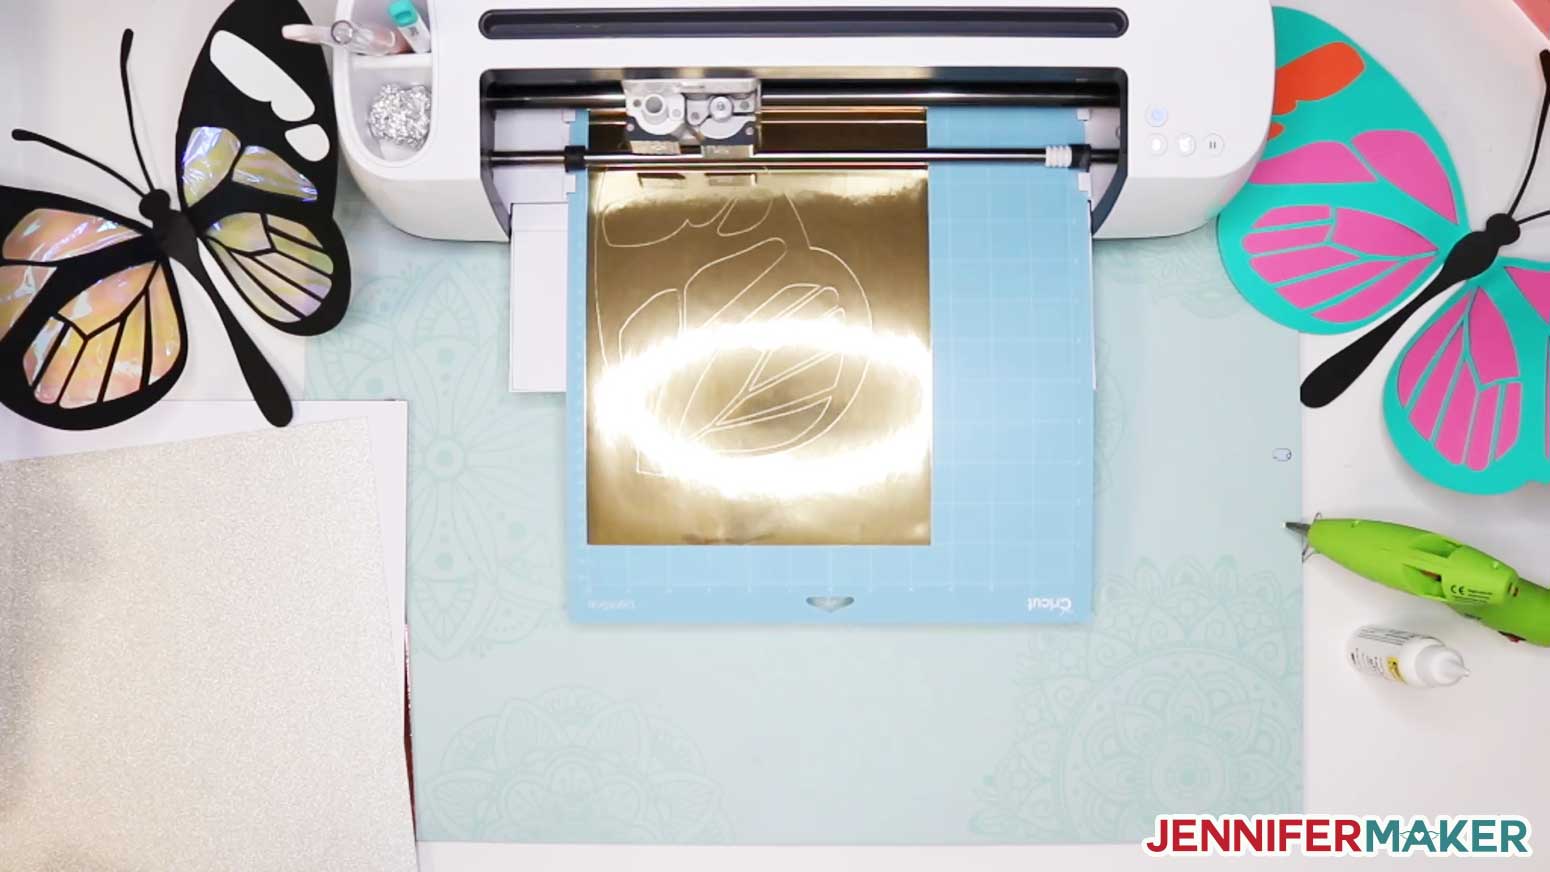
Step 2: Cut Out Your Giant Paper Butterfly Pieces
You can cut this giant paper butterfly out by hand with the PDF file or with a cutting machine like a Cricut. If you're going to cut this giant butterfly on your cutting machine, upload the file to your design software. If you're not sure how to download and upload an SVG cut file to Cricut Design Space, watch this helpful video training series I made. If you're on an iPhone or iPad, here's how to download and upload SVG files to the Cricut Design Space app.
Attention Cricut Design Space Users: If you upload the SVG file and it appears too small, use the “stacked” version of the SVG to retain the proper sizing. Here's what that will look like when you first upload it to Design Space:
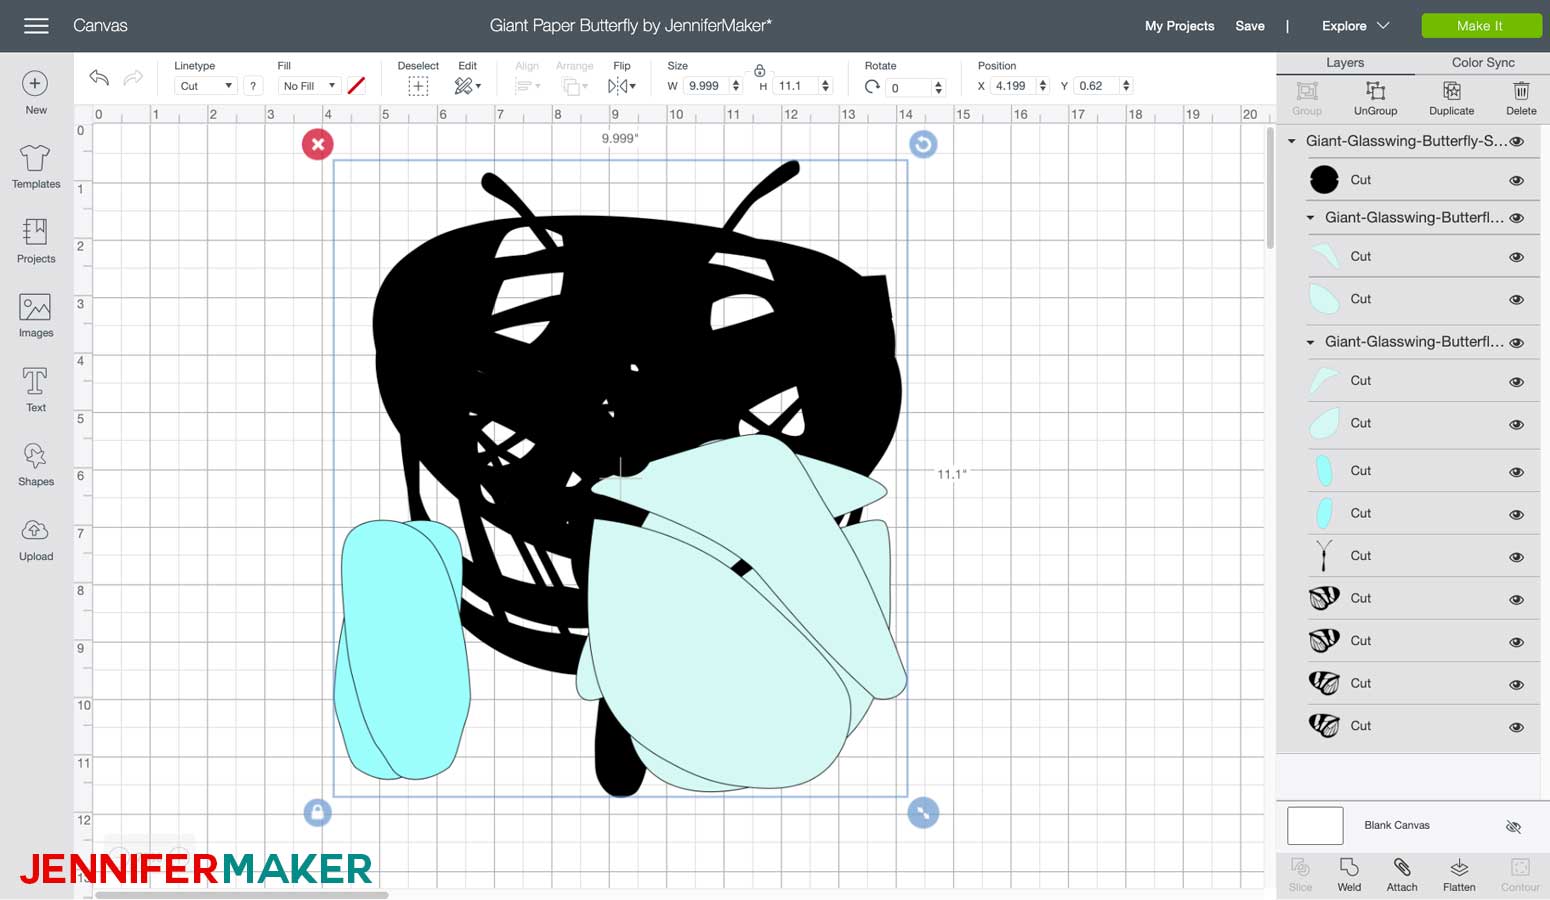
Cut out the elements from your cardstock and Kraft board. Note that the butterfly body, head, and attenae are cut from the Kraft board and heavy cardstock — if you are using a fancy paper for your butterfly, you can always cut the body twice and cover the Kraft board with the fancy paper for a uniform look. It's your choice!
Flip your cutting mat over and gently remove your cut cardstock to avoid bending or curling it.
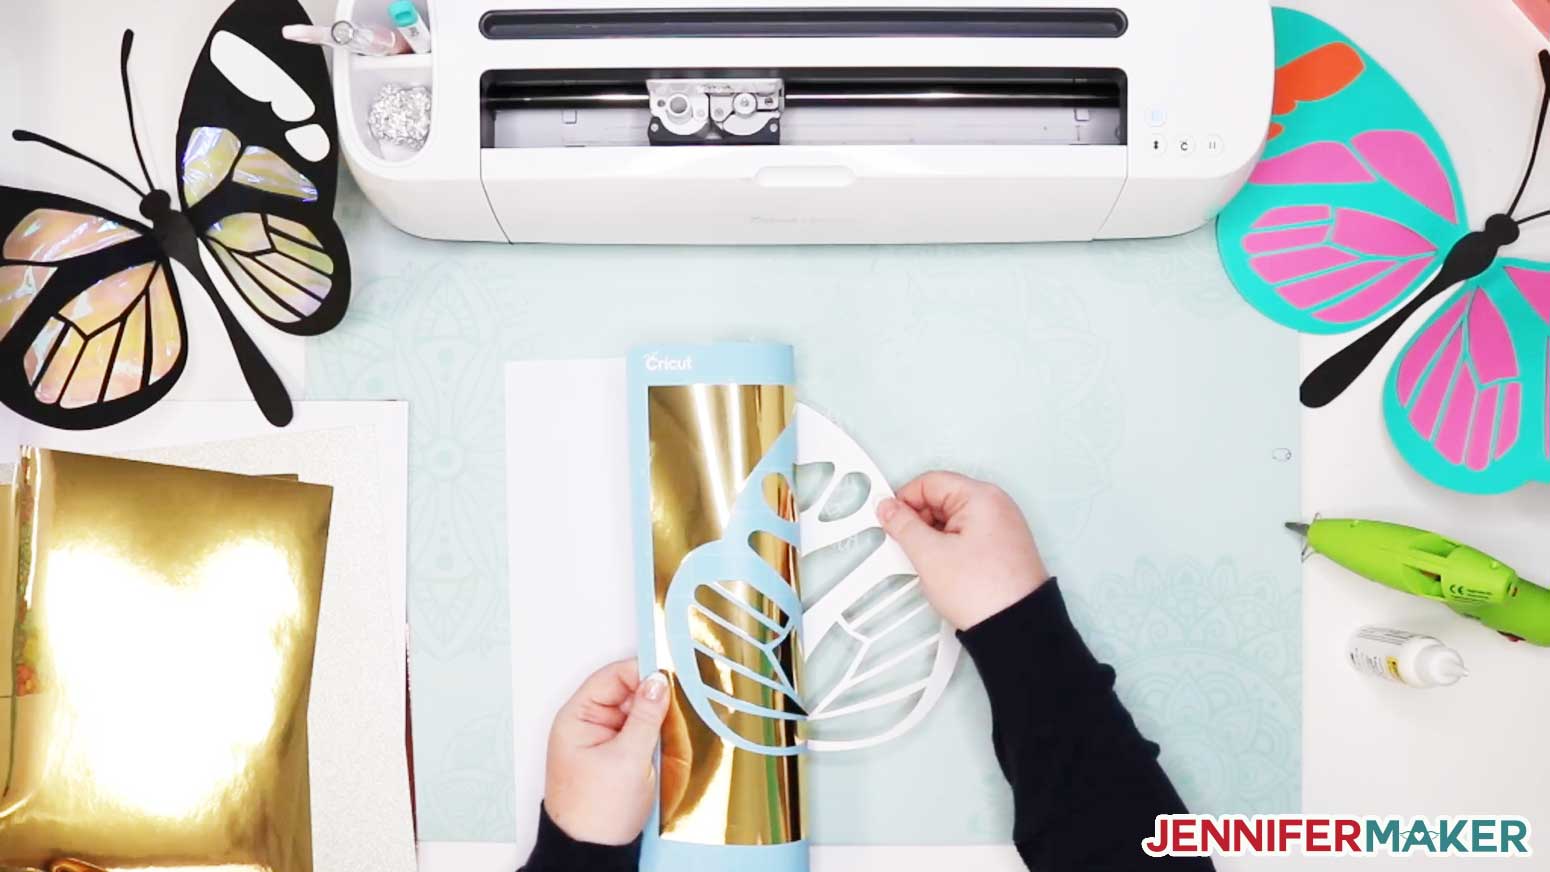
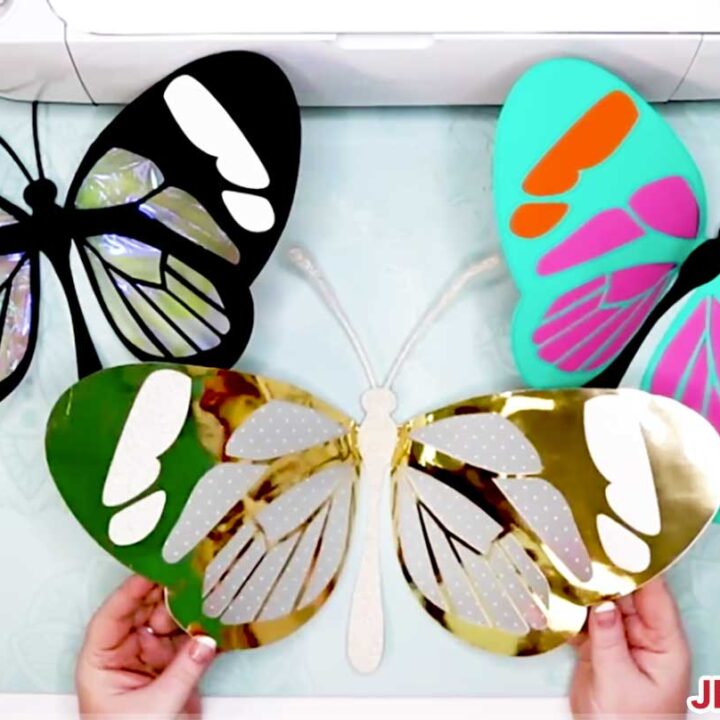
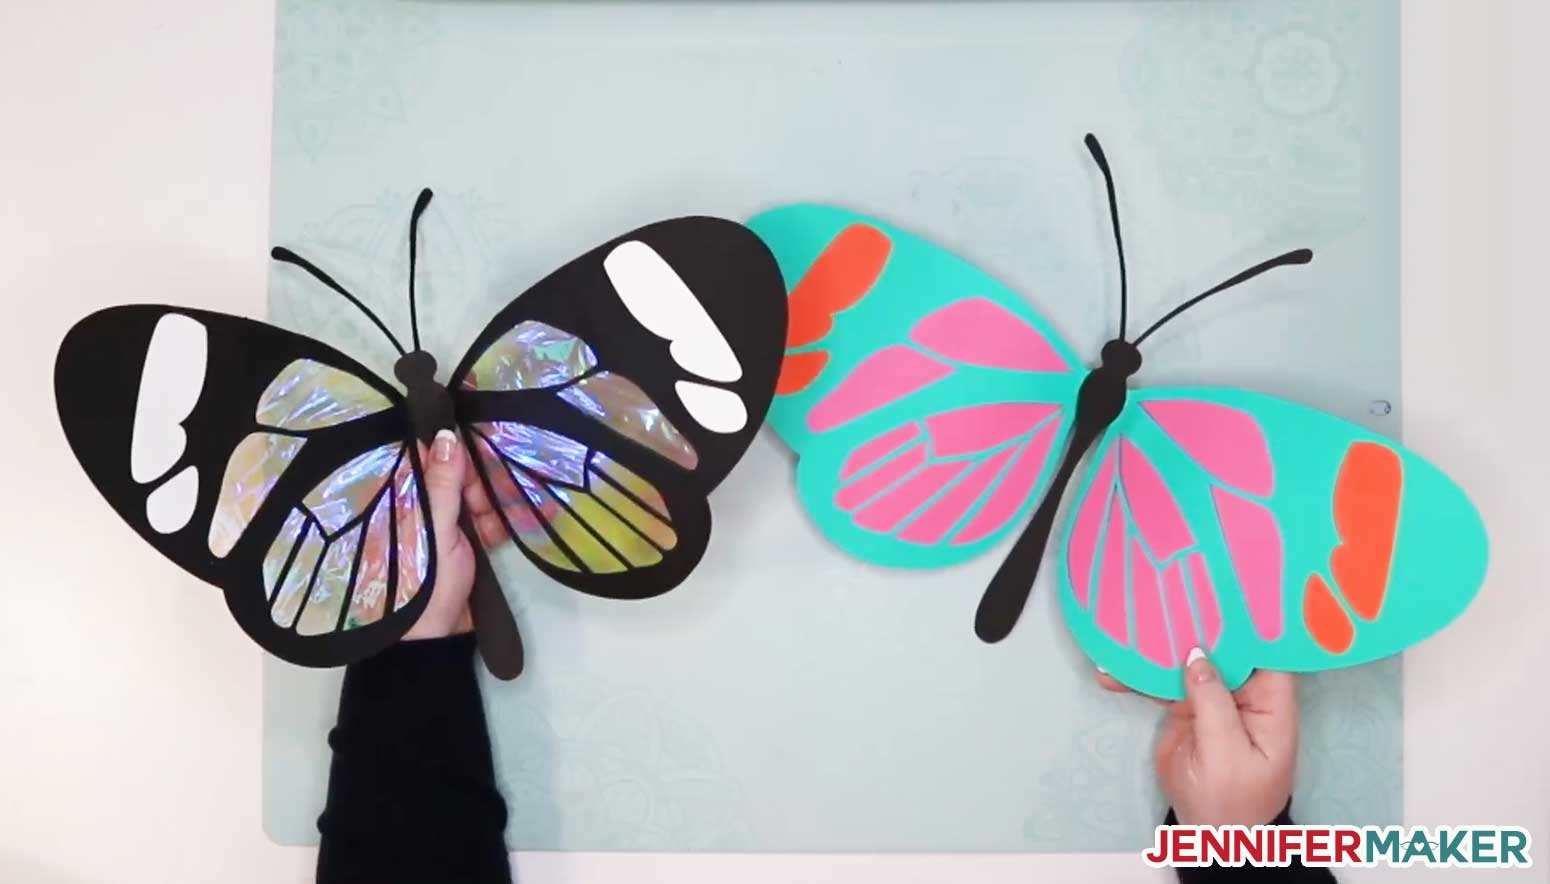
You can choose whether you want your wings single-sided or double-sided — it'll depend on if this is a decoration that goes against the wall (so no one will see the back side) or something you'll give to another person (in which case the back will be seen). I cut just one set of wings for my golden butterfly because I plan to put it with my giant paper flowers on the wall:
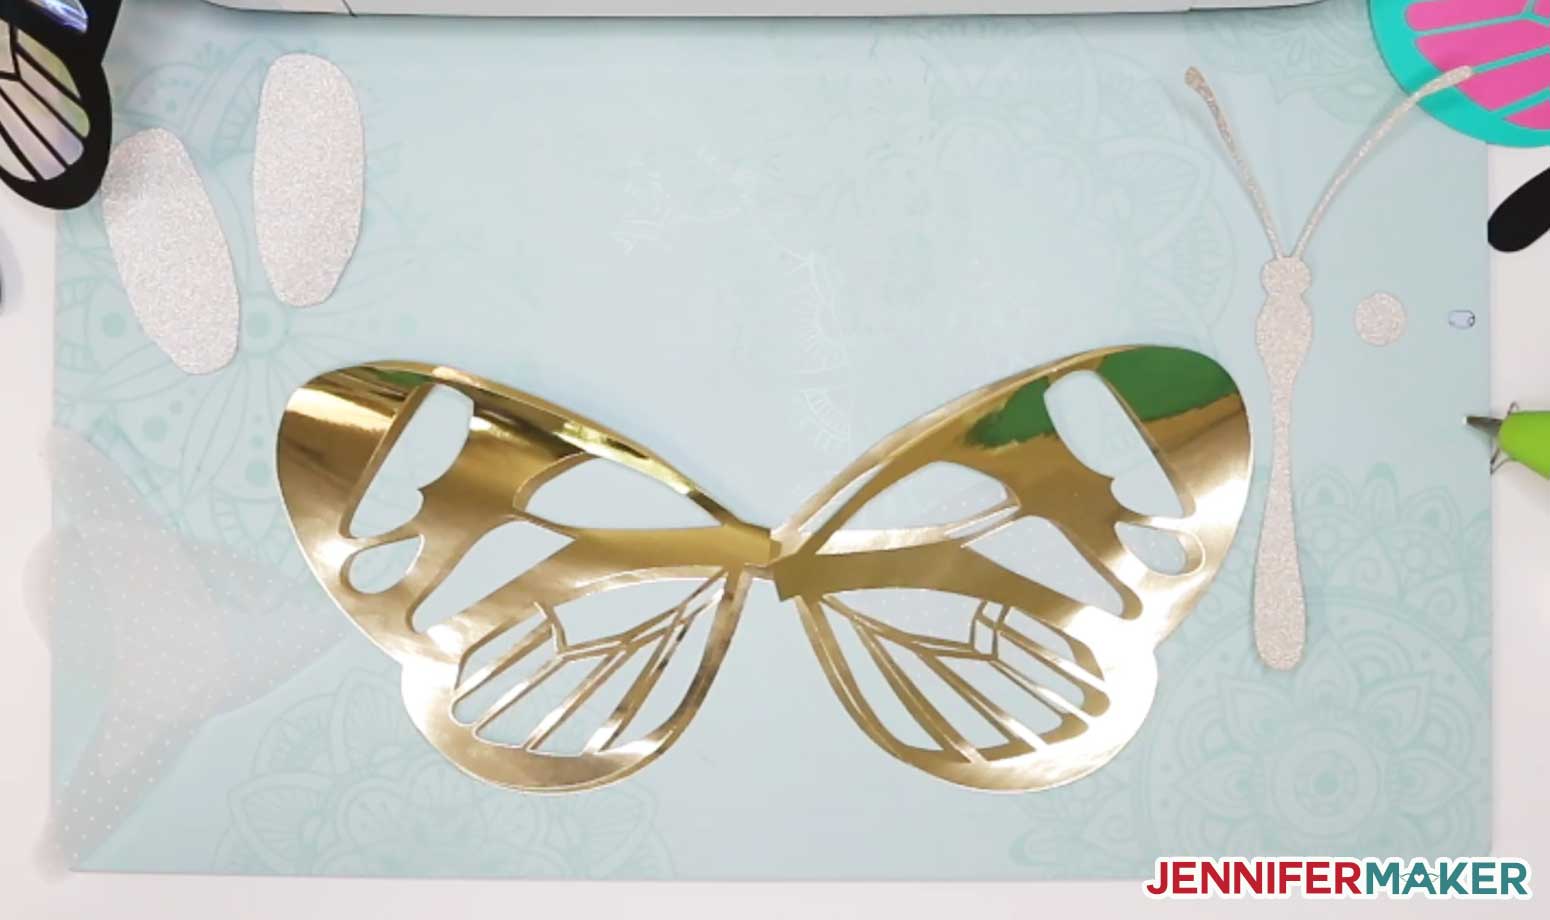
But I cut two sets of wings for the colorful butterfly because I intend for it to be held and touched!
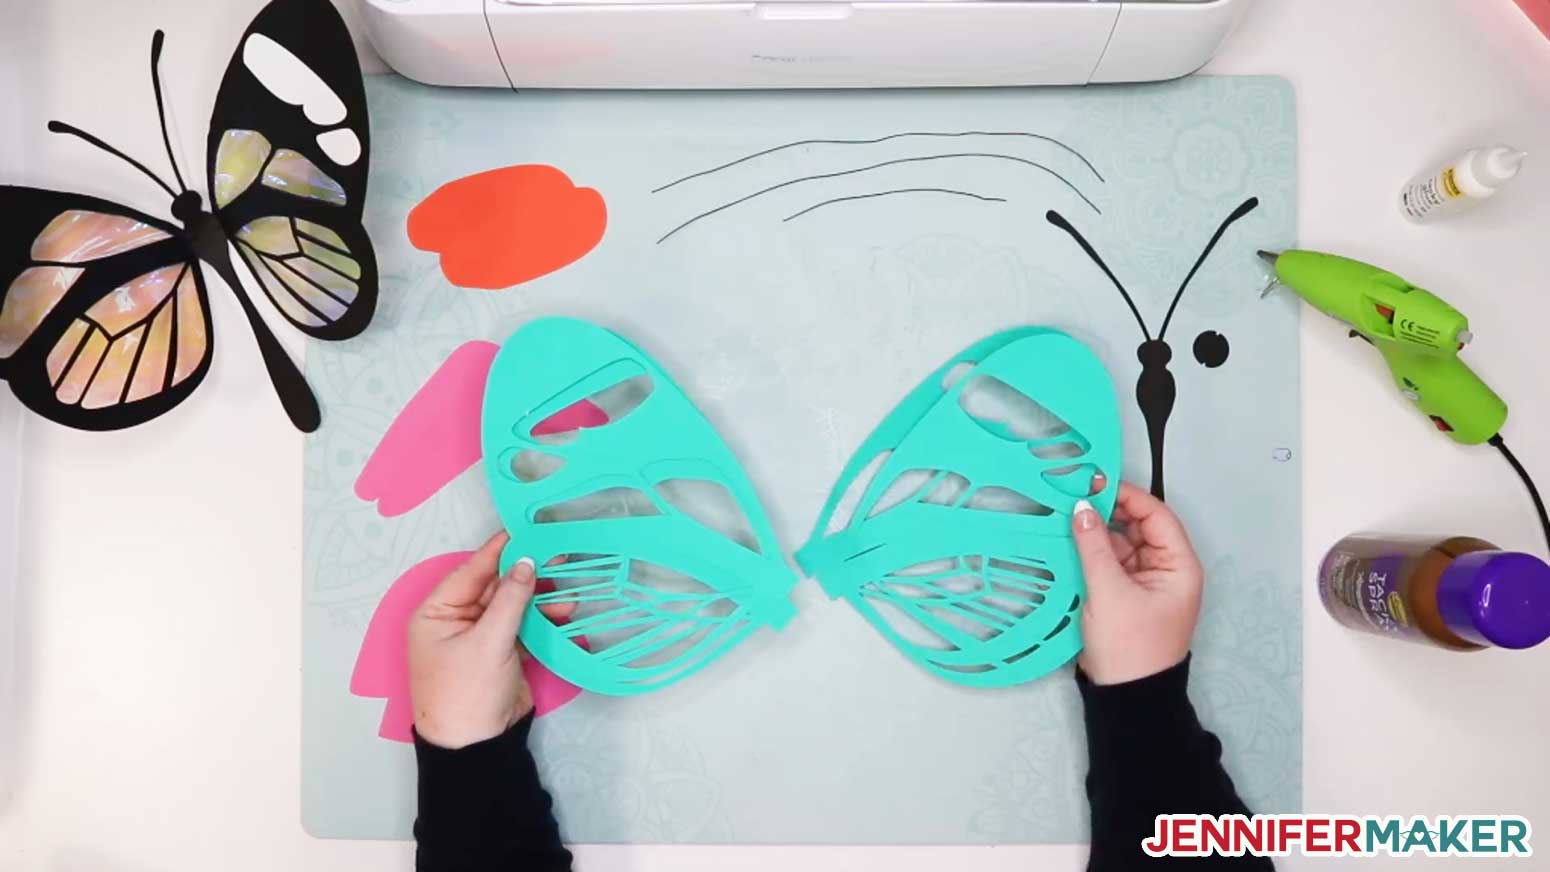
I will show you how to assemble this giant paper butterfly using these brightly colored pieces because it's much easier for you to see in the photos, but you can watch the video to see how the version with the gold foil and translucent wings goes together!
Step 3: Glue Your Giant Paper Butterfly Pieces
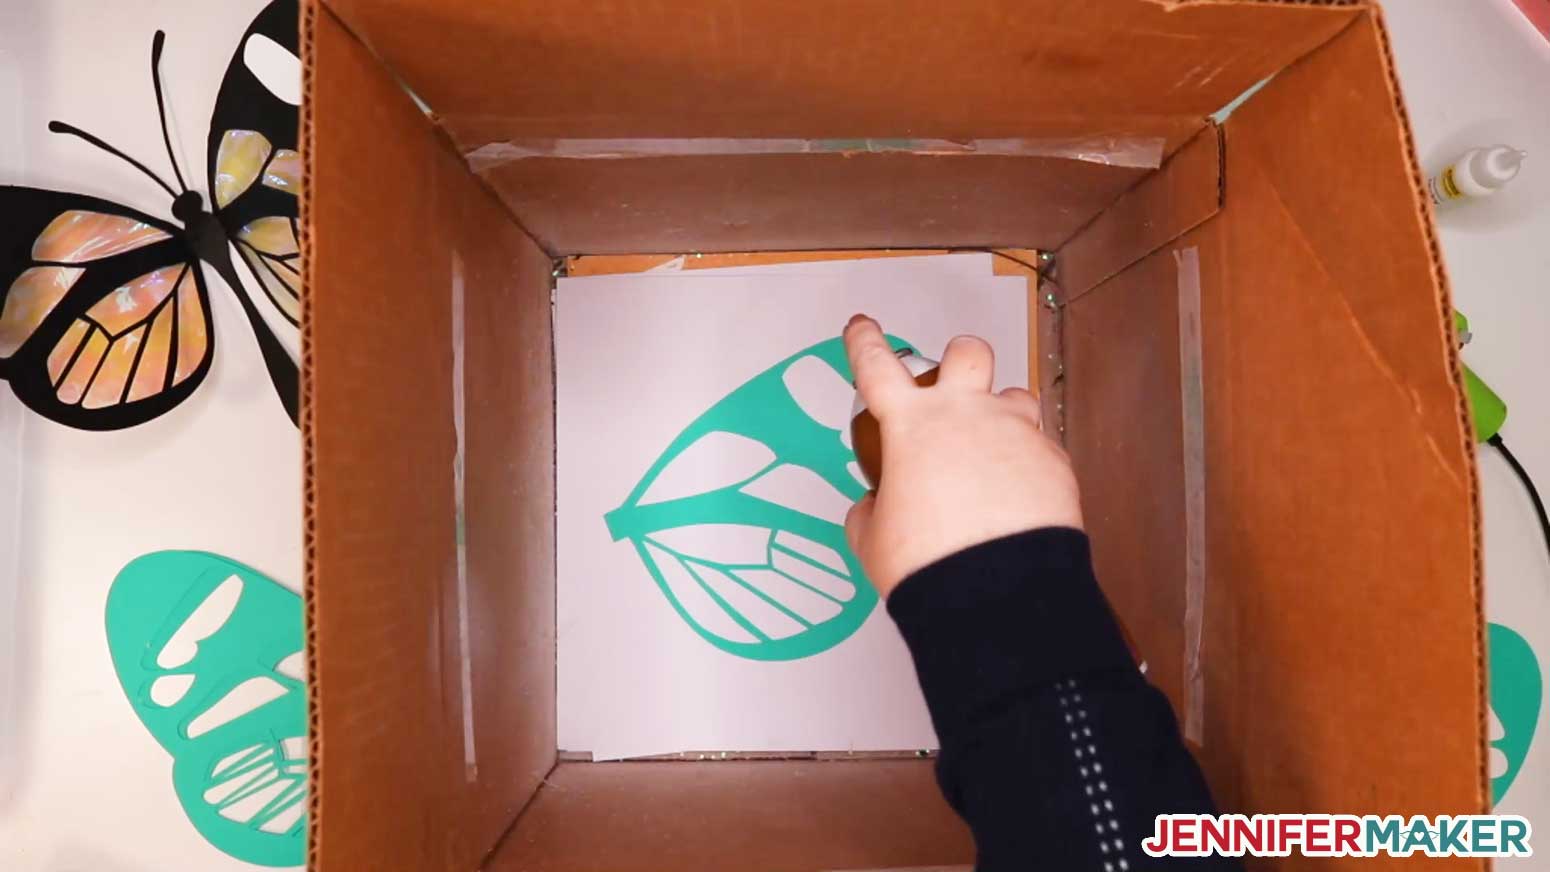
Begin by coating two of the butterfly wings with permanent spray adhesive. Pay attention to what side of the butterfly wings you spray -- you need to spray one wing on one side and another wing on the reverse side.
Now place the wing pieces on one of the wings itself and press down to adhere them. Do this for the other wing as well. Do not put the backs of the wings on yet.
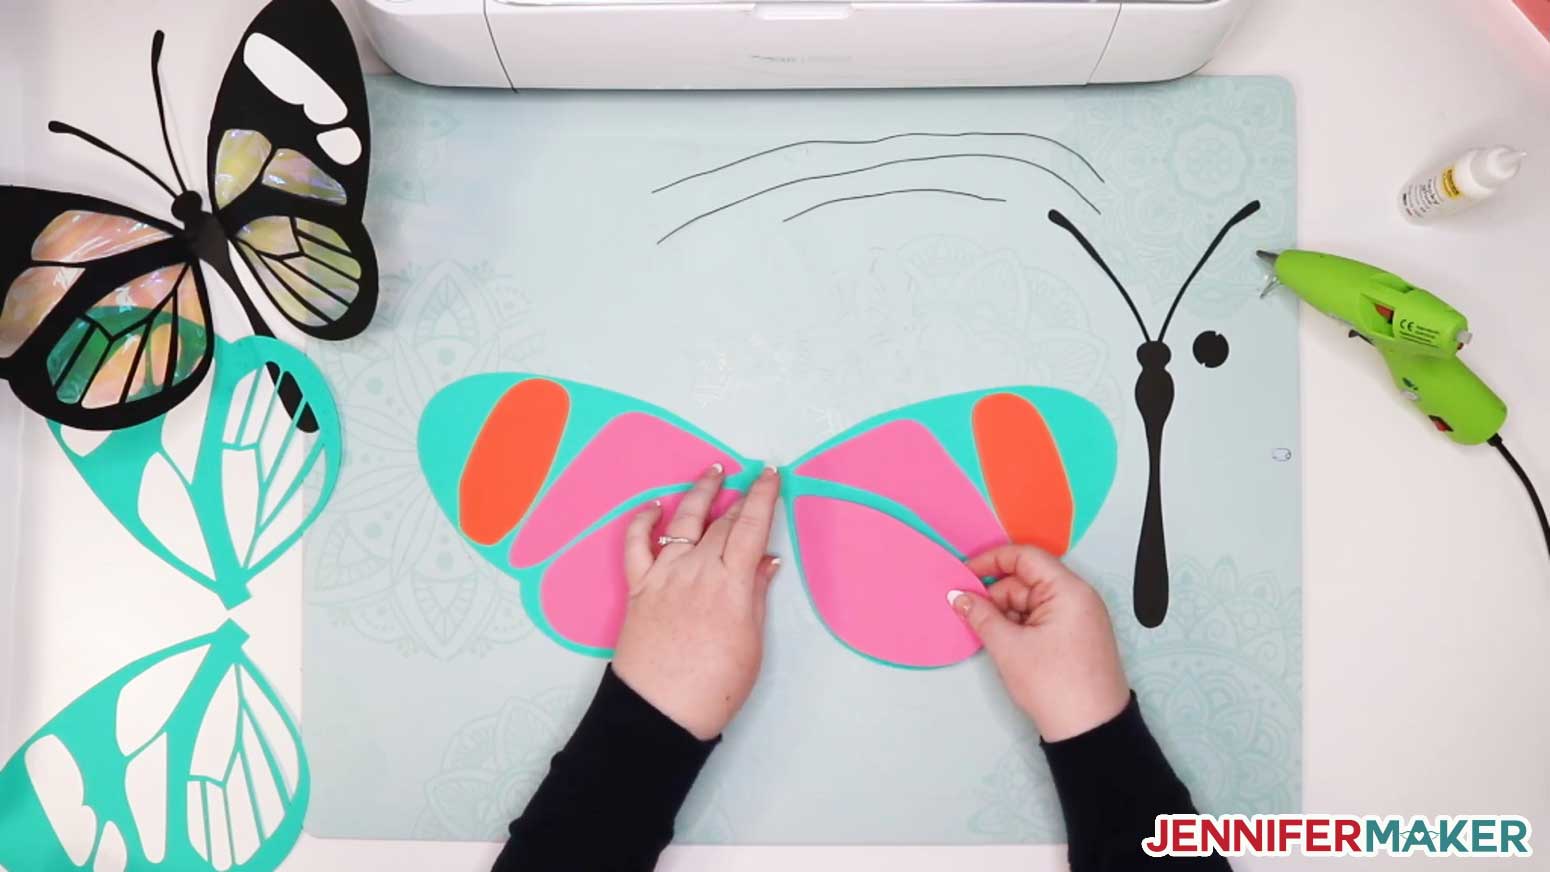
Once the wings are done, you can glue them to the body! Place tacky glue just to either side of butterfly body and align the wings on each side, then press in place until the glue has set.
Step 4: Add Wire to Your Giant Butterfly
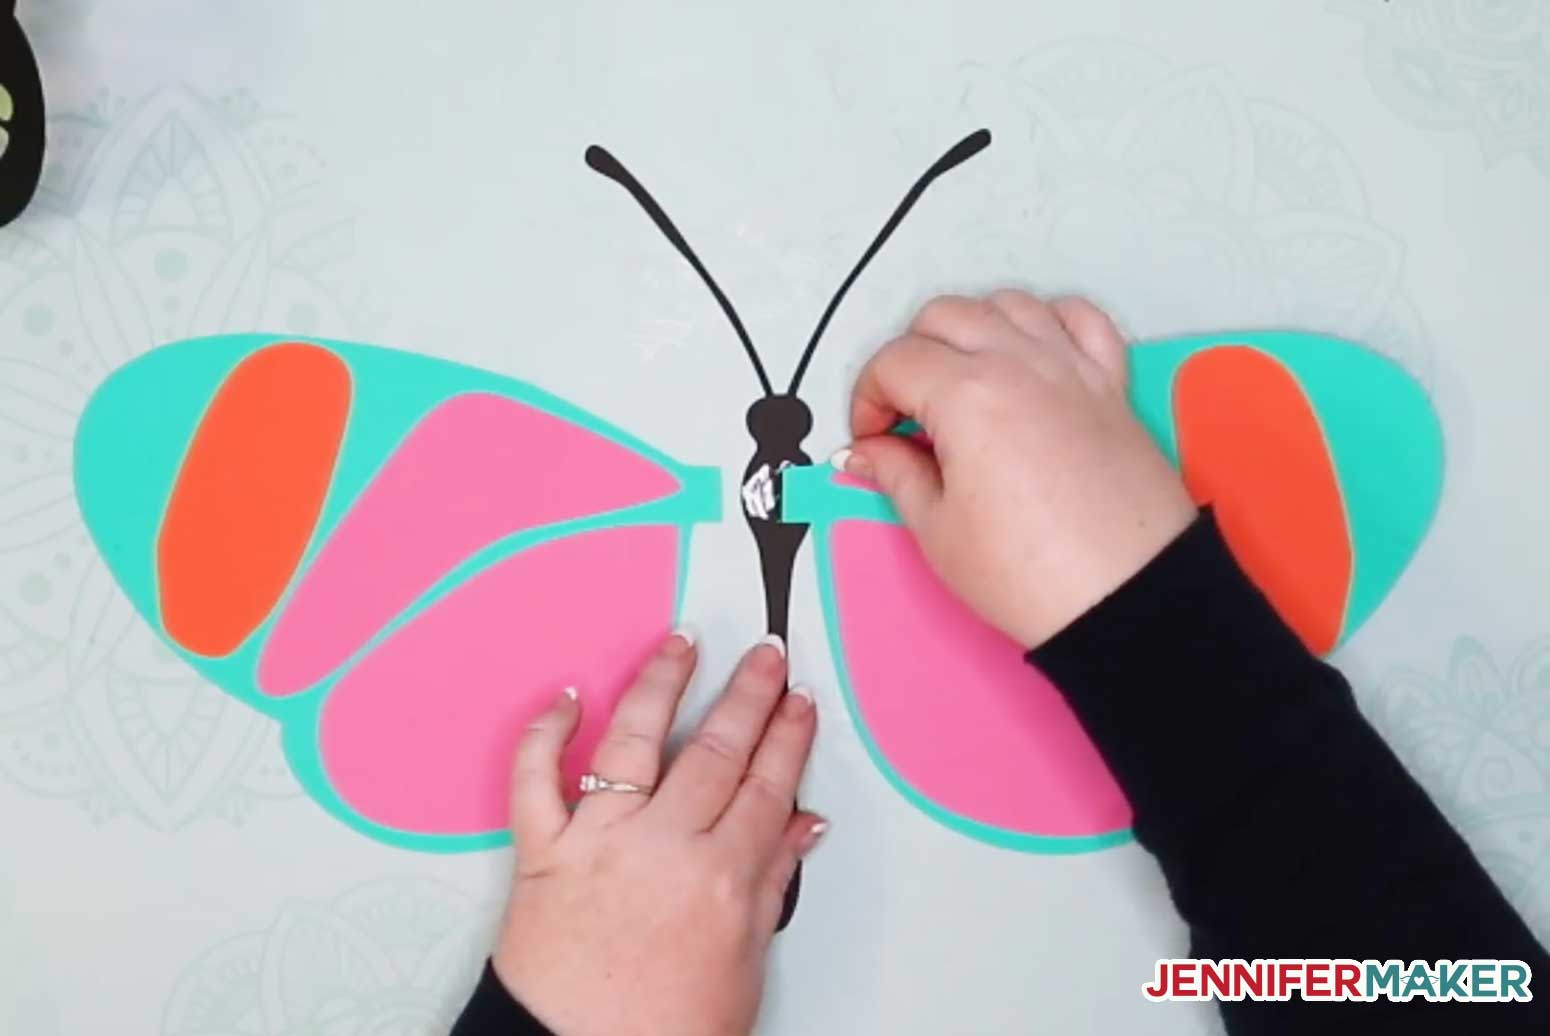
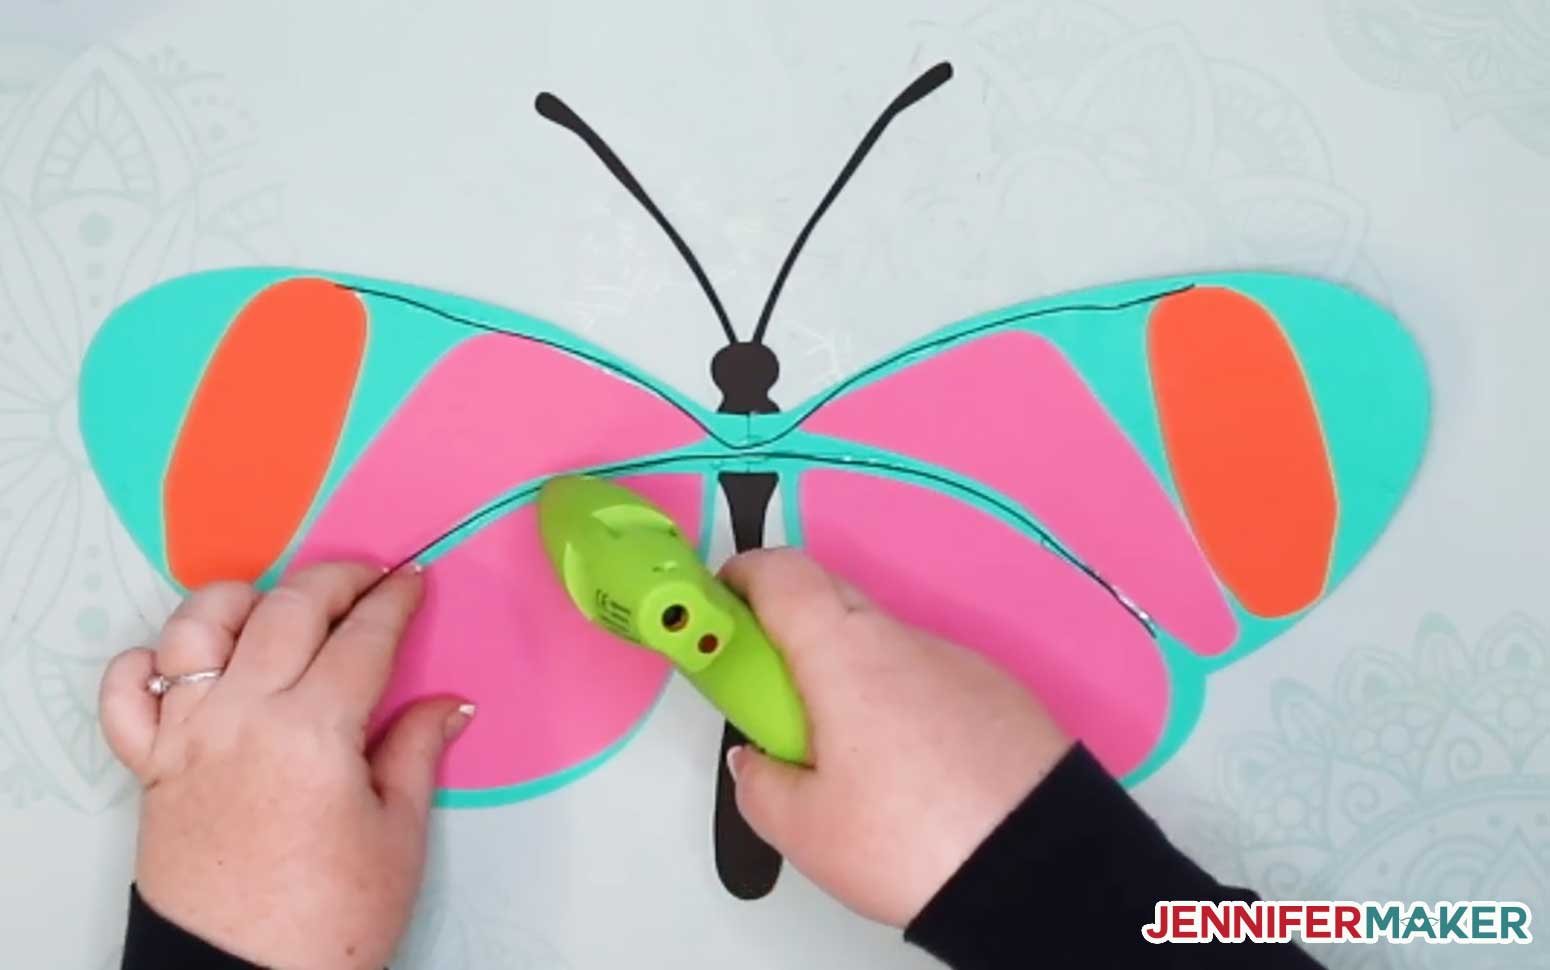
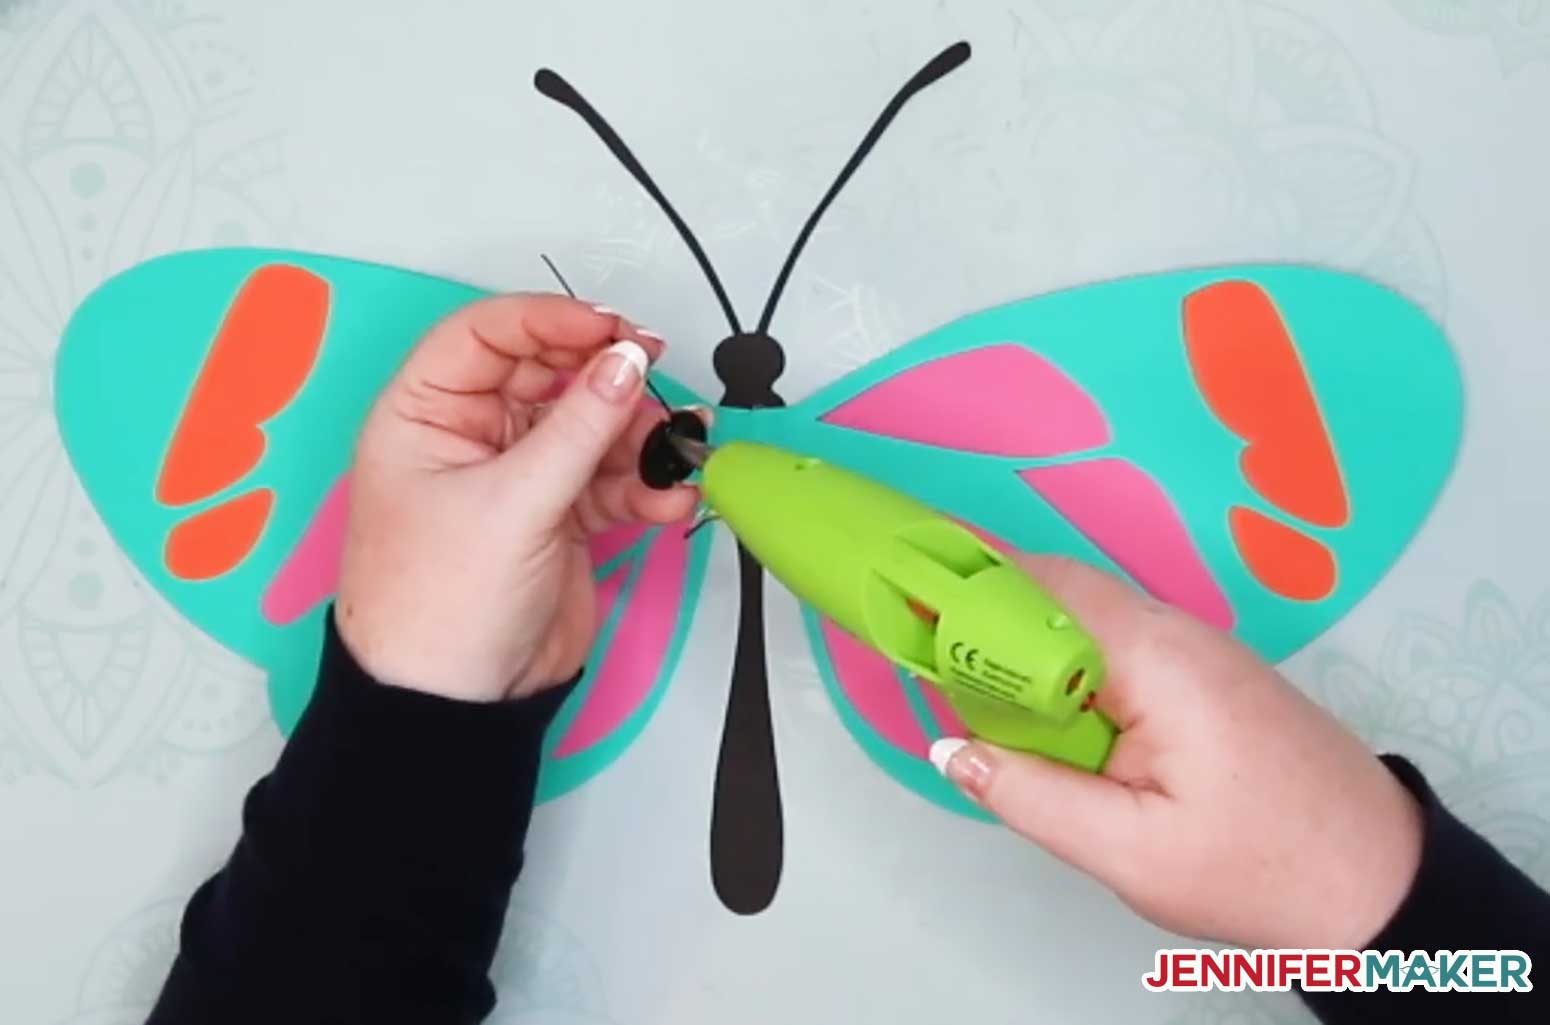
First, center and glue a piece of wire 12" long to the top of the butterfly body. I recommend you do this with hot glue starting in the middle of the butterfly.
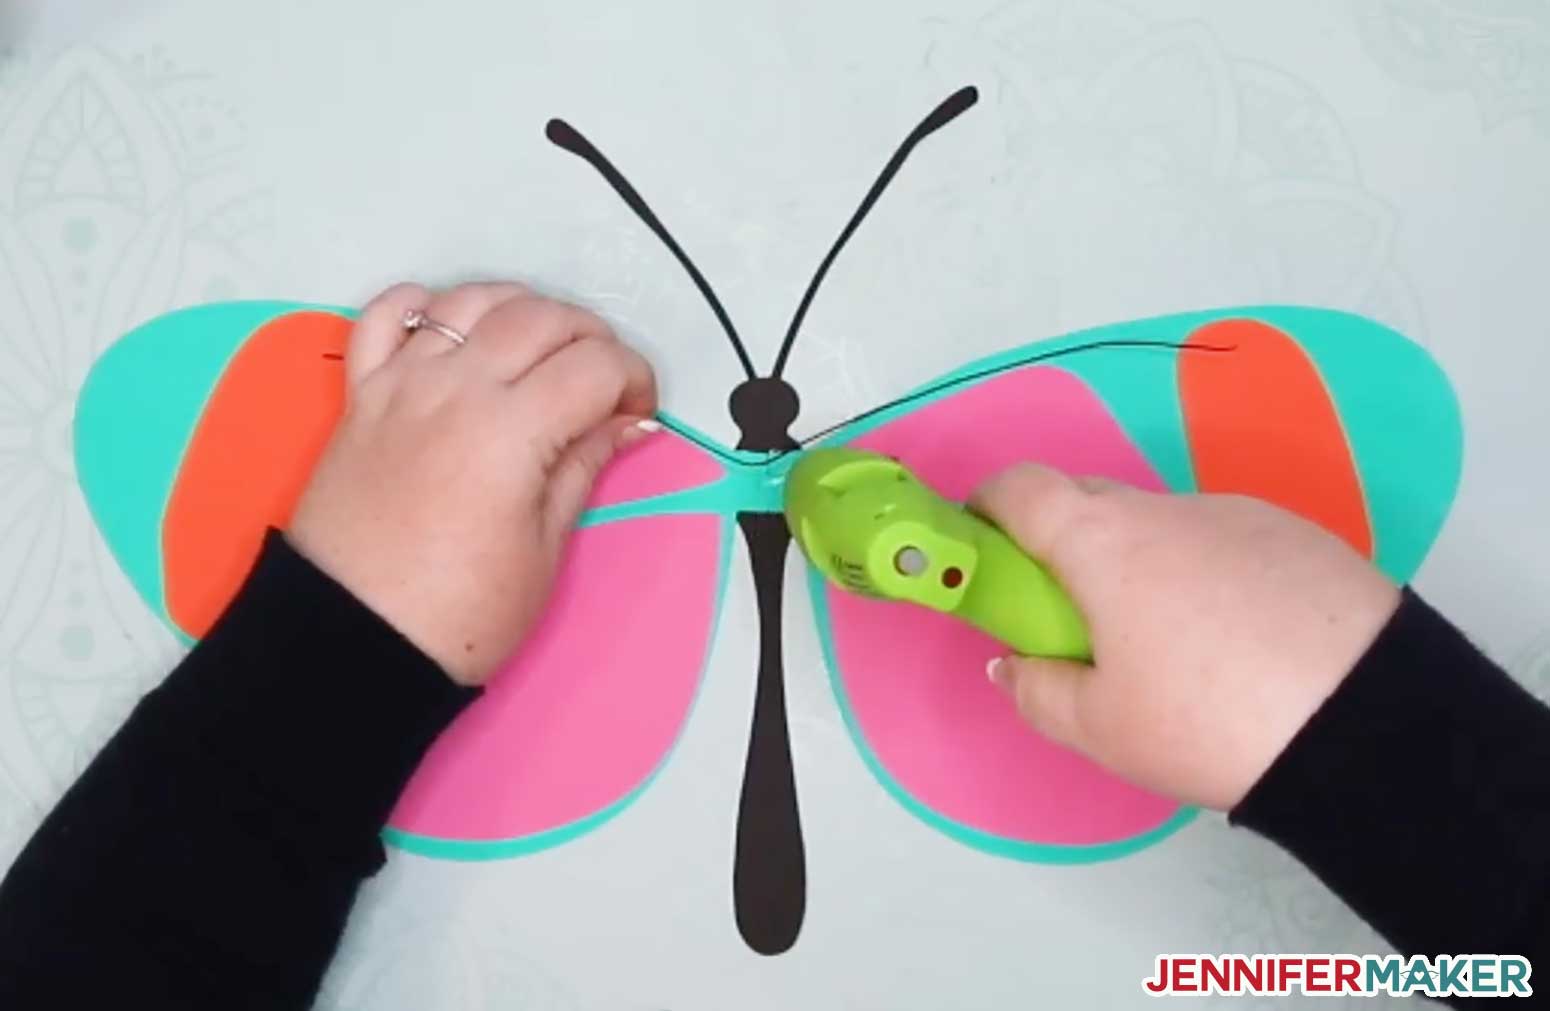
Continue hot gluing this center wire intermittently until it extends outward on either wing.
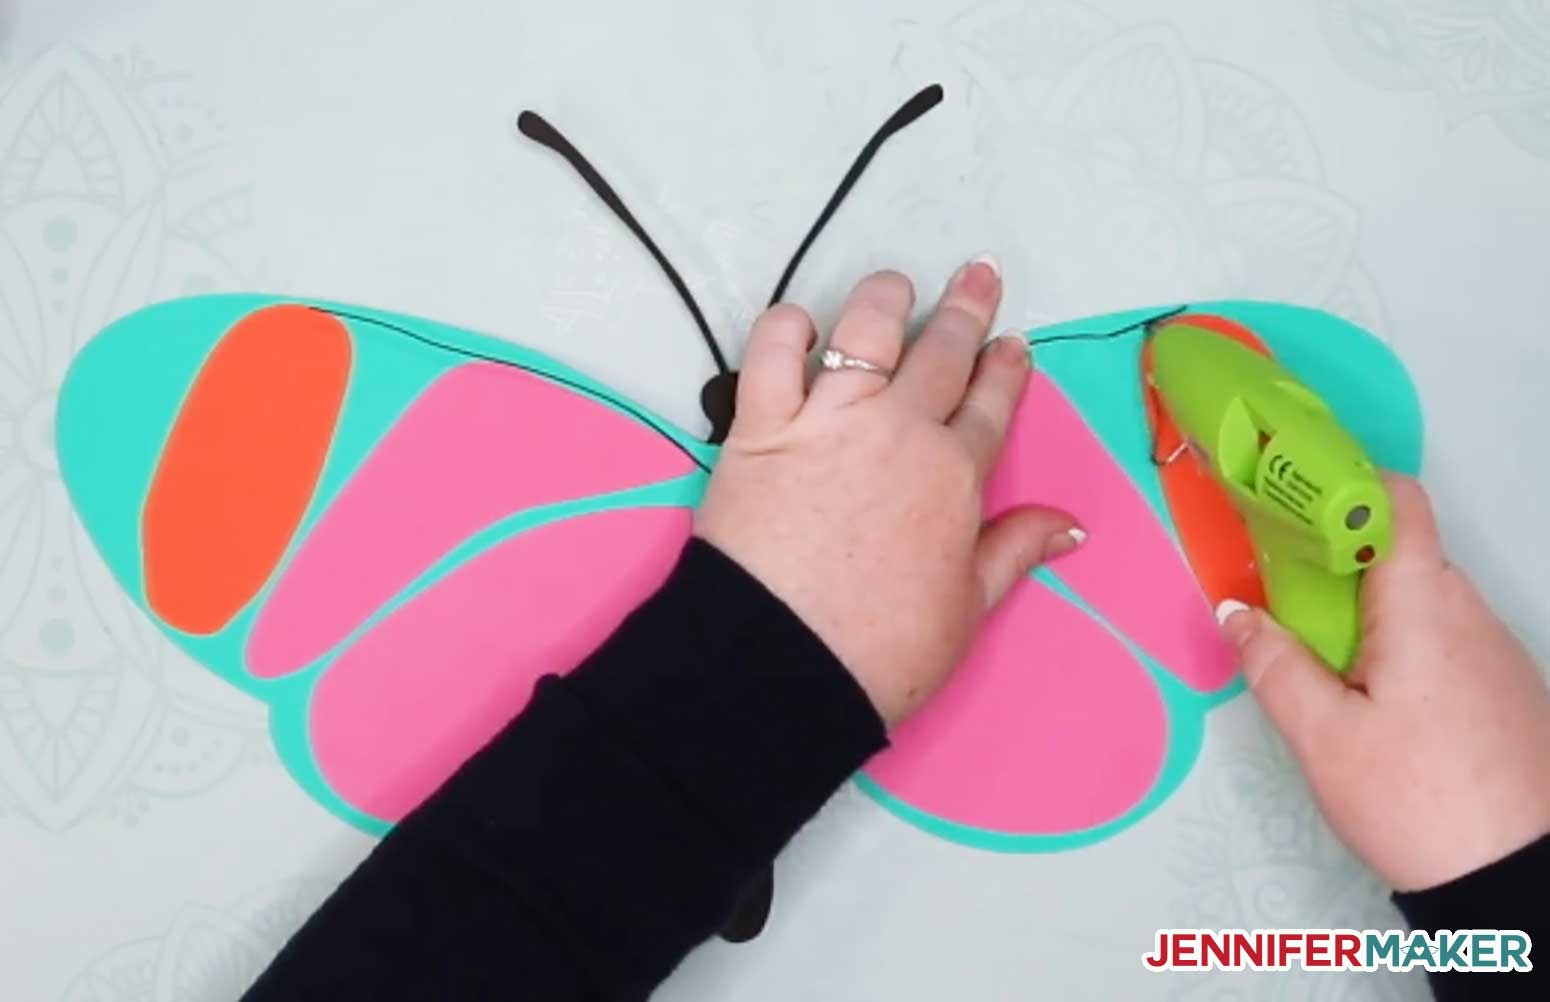
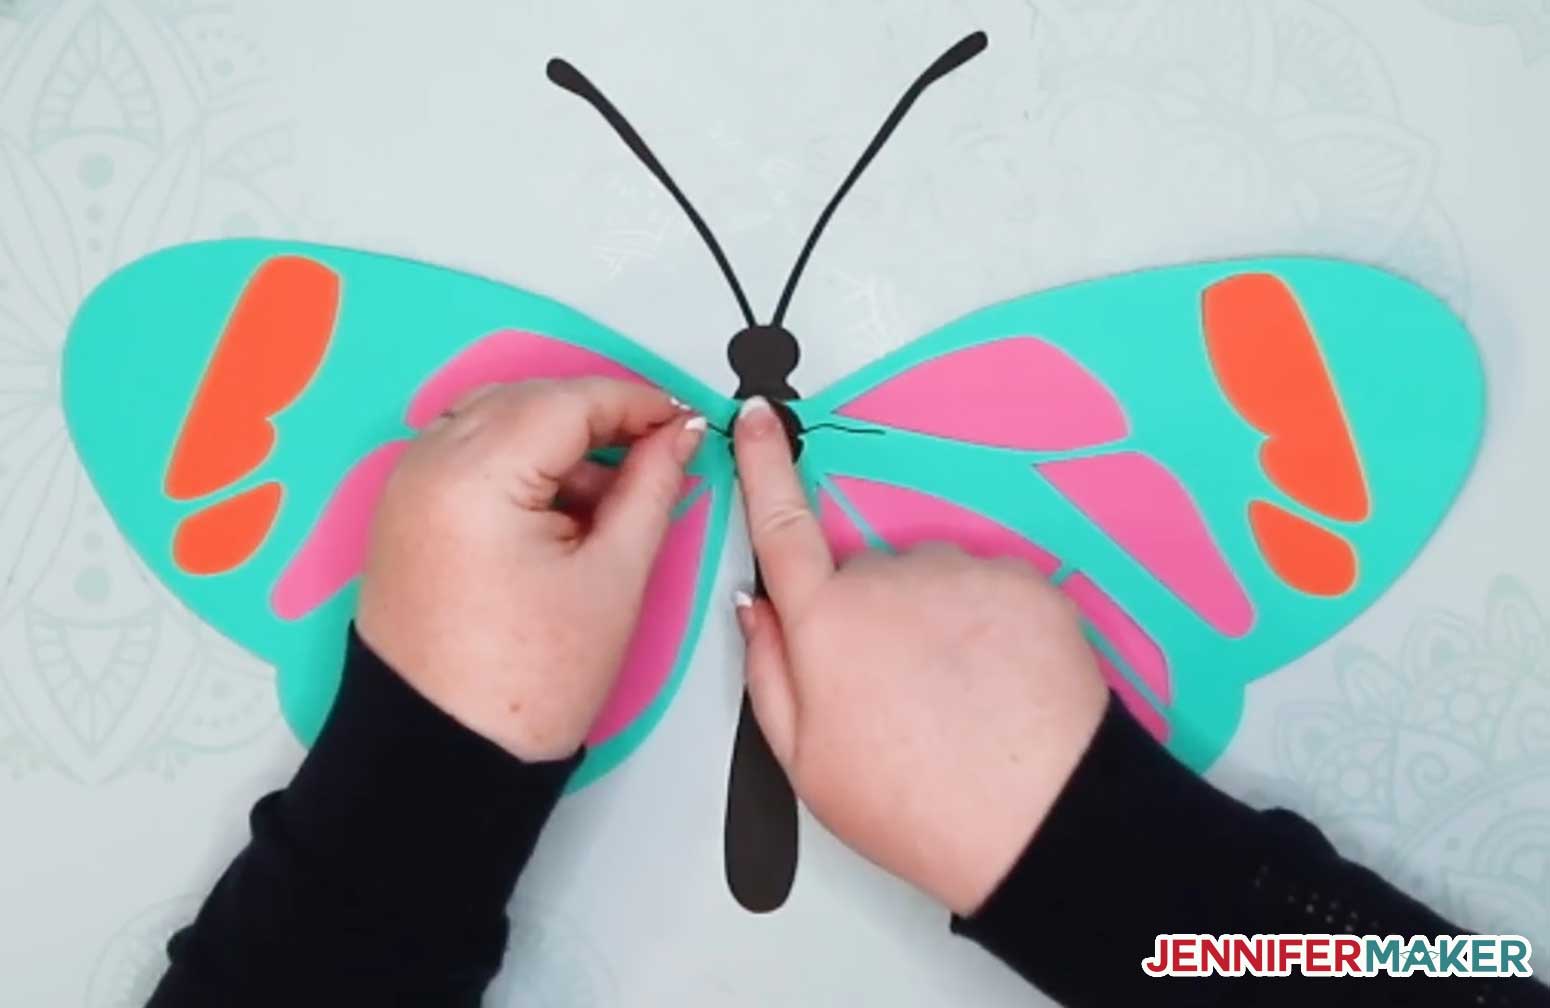
Now hot glue another piece of 12" wire on the body again, but this time glue it along the center of each wing.
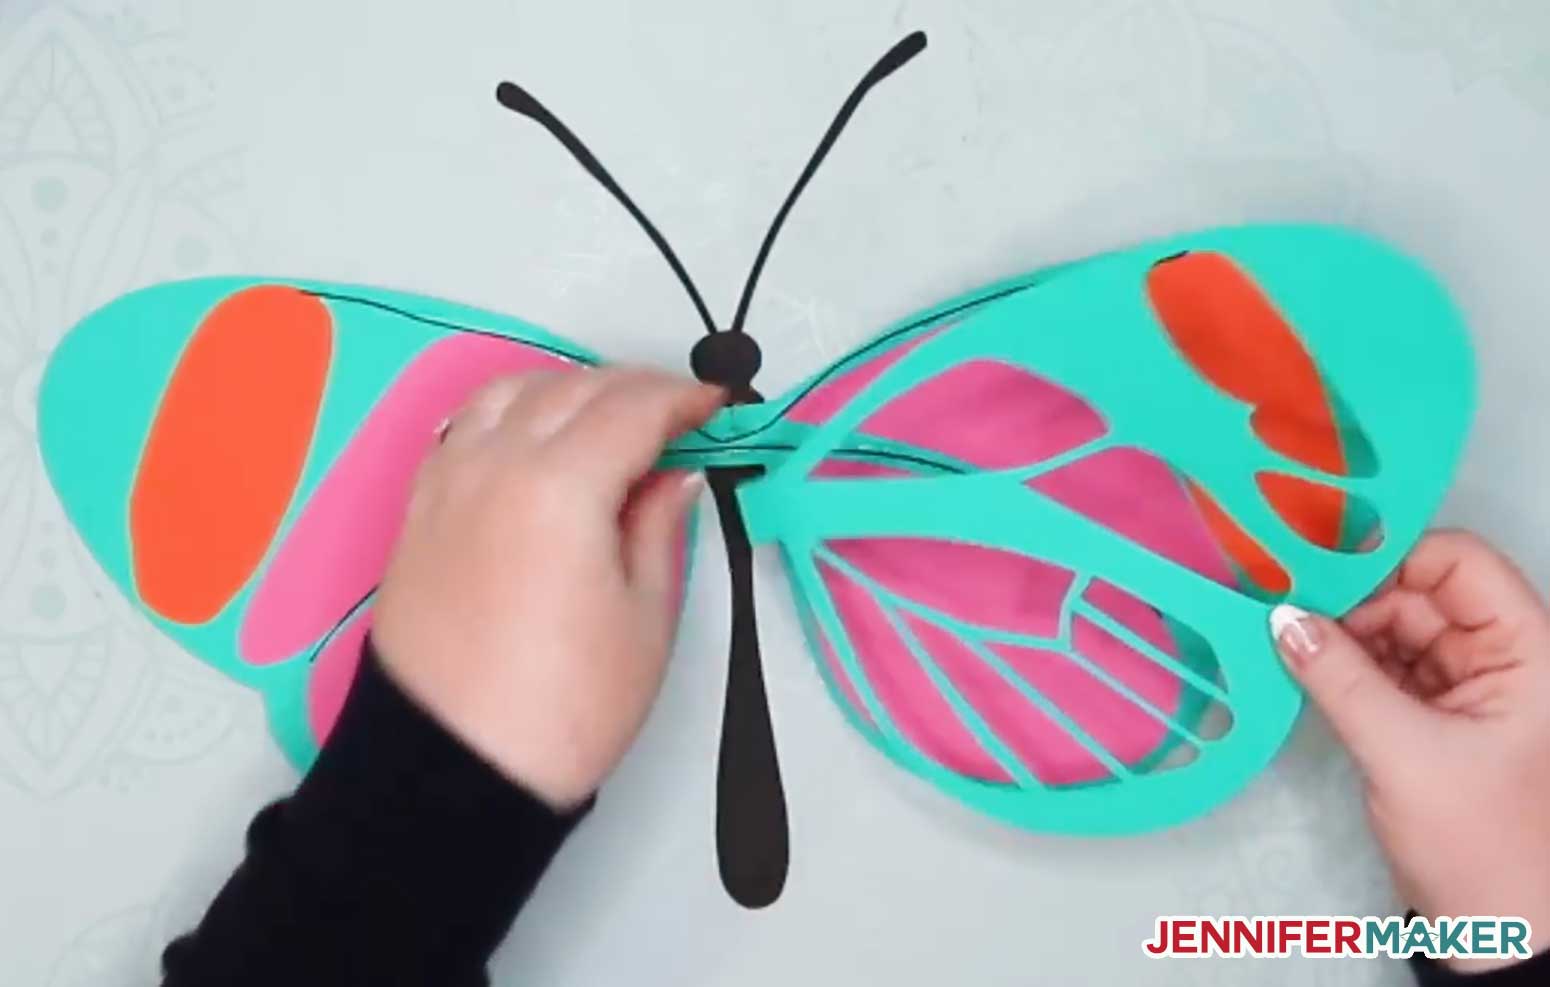
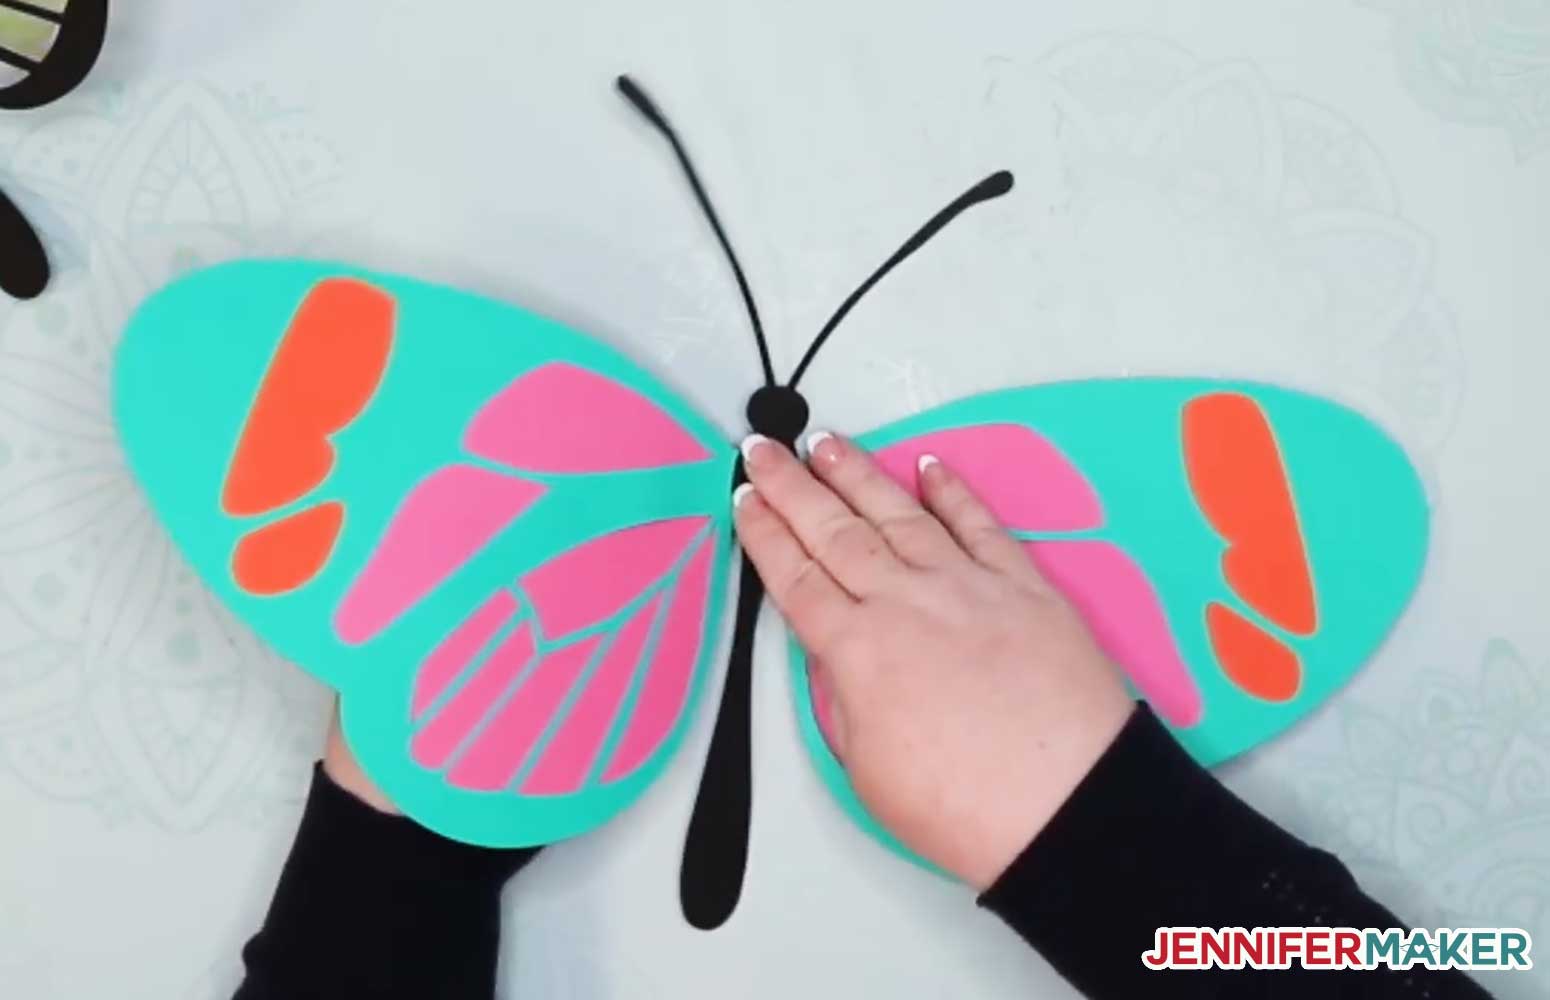
Use spray adhesive to coat the other side of your wing pieces, being careful to spray one wing on one side and the other wing on the other side. Place these wings over your butterfly's wings, covering the wire.
Now hot glue a piece of wire 6" wire long to the circle piece and bend the wire over notches.
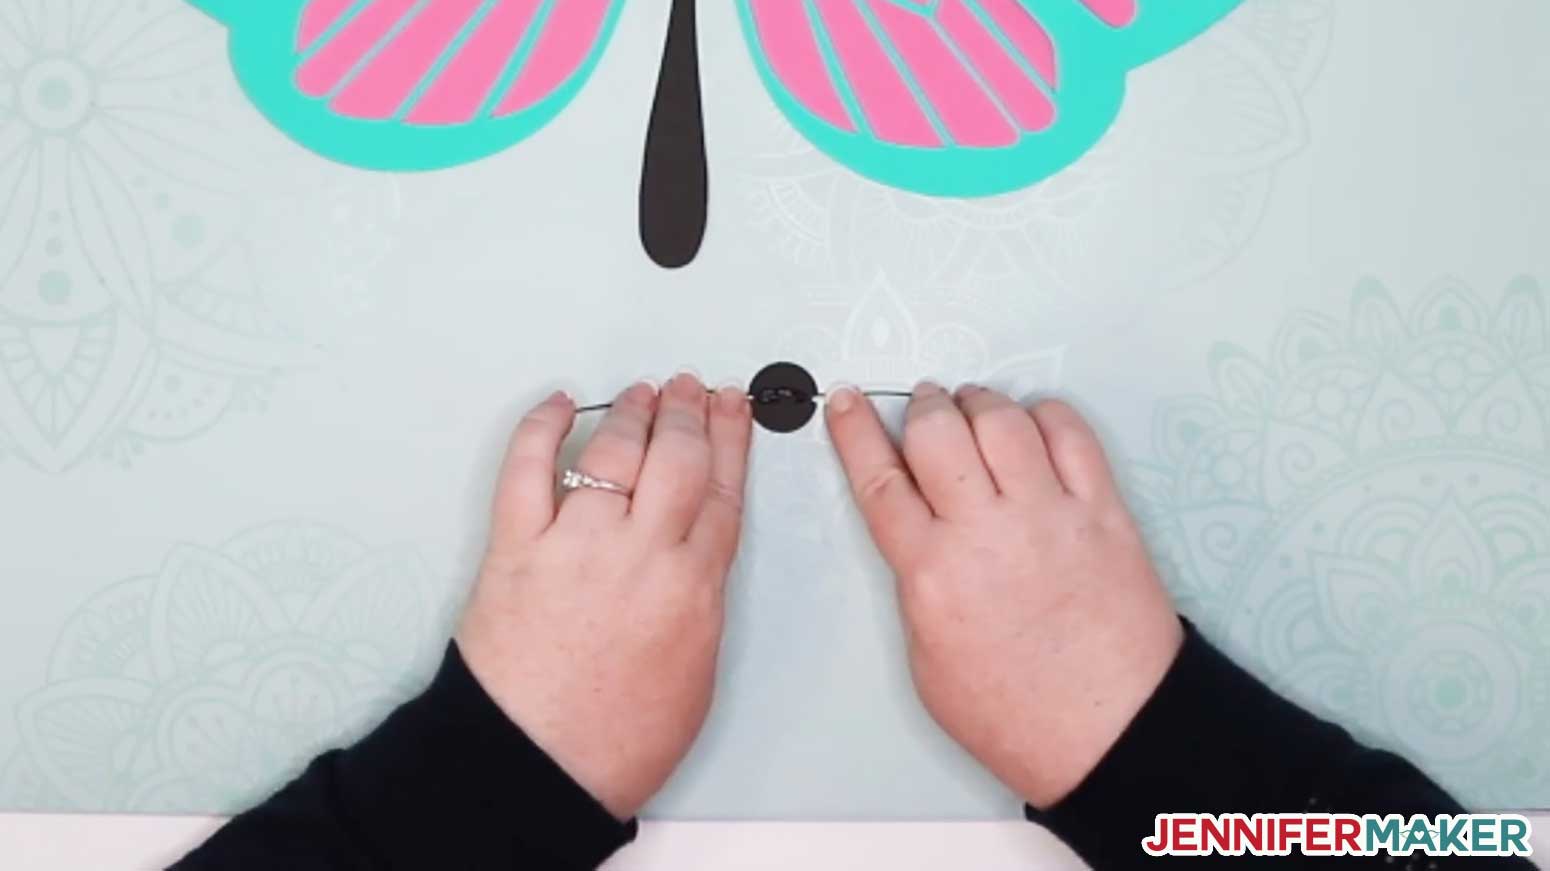

To finish, glue the wired circle over the wing seams to cover it and provide more body.
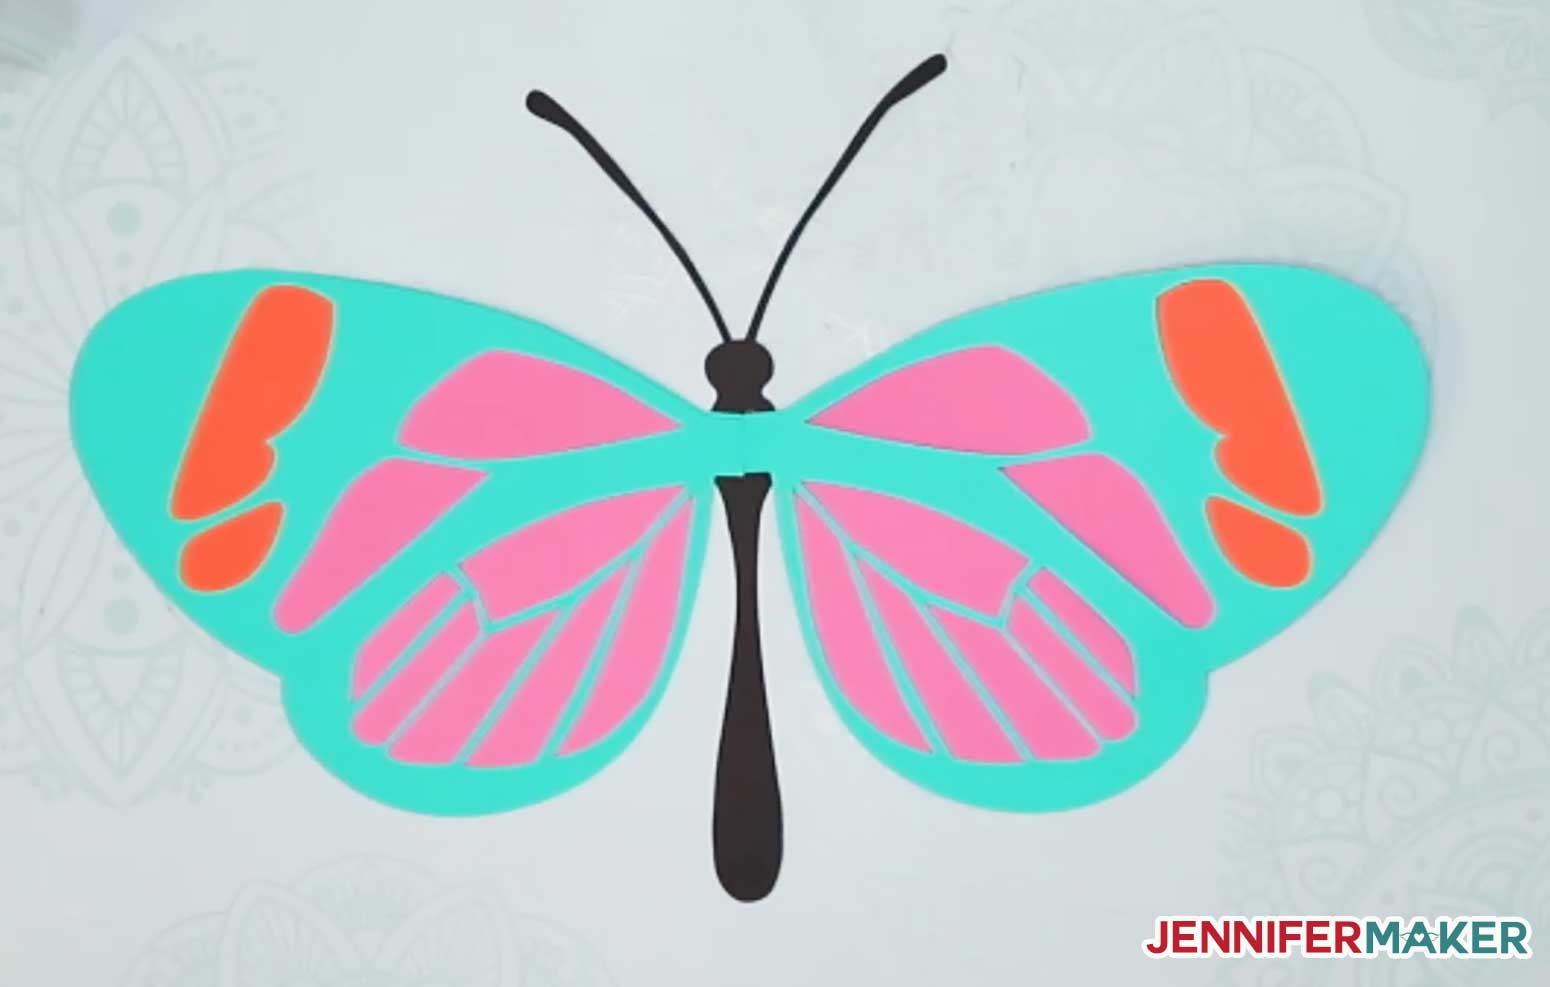
Now just gently curve the antennae and bend your wings slightly for a more natural look.
And there you go -- a beautiful giant paper butterfly all ready to display.
Notes
Special thanks to the JenniferMaker Design Fairy Team for helping me design and assemble these beautiful giant paper butterflies.
Get my free SVG files to make Your Own Giant Paper Butterfly
Please let me know if you have any questions!
Love,

Like this tutorial? Please pin the Giant Paper Butterfly Tutorial to your favorite Pinterest craft board!

This looks like so much fun! I’m thinking of making these for a kids room, and the antennae seem to be the most vulnerable part. Is there a way to reinforce the antennae so that they are more sturdy?
Hi Barbara, using heavy cardstock or kraft board are both good options to provide a little more stability to your antennae. You could also use a piece of wire like we used in the wing section. I hope you’ll share photos of your finished butterflies!
I’m lost at the very last step. The last wire do you glue it down or leave it up?
The last wire is glued to the circle and then glued to the butterfly wing seam to cover that area.
Absolutely love your work, and my granddaughter is going to love this butterfly. Thankyou very much
could not find the password for the giant butterfly download
Hi Stacy, you can sign up to receive the password by filling out the form at https://jennifermaker.com/giant-paper-butterfly/#get_my_free_svg_files_to_make_your_own_giant_paper_butterfly. You’ll receive an email right away that contains the password!
I just recently discovered you. I think if we met irl we would great friends, and make some crazy crafts together. Thanks for all you share!
What a fun project. These would look perfect in a child’s room on the wall. Love the tutorial Jennifer!
Thank you, Terrie!
I can never find your password for your resource library. All your instructions say to find it at the bottom of your posts. What am I missing???
At the bottom of the post is the signup box to receive the password via email. The password is also at the bottom of almost every crafting newsletter I send.
Thank you for the file on butterfly!! Looking forward in making a few for my home.
You’re welcome, I’m so happy you will be making this butterfly!