
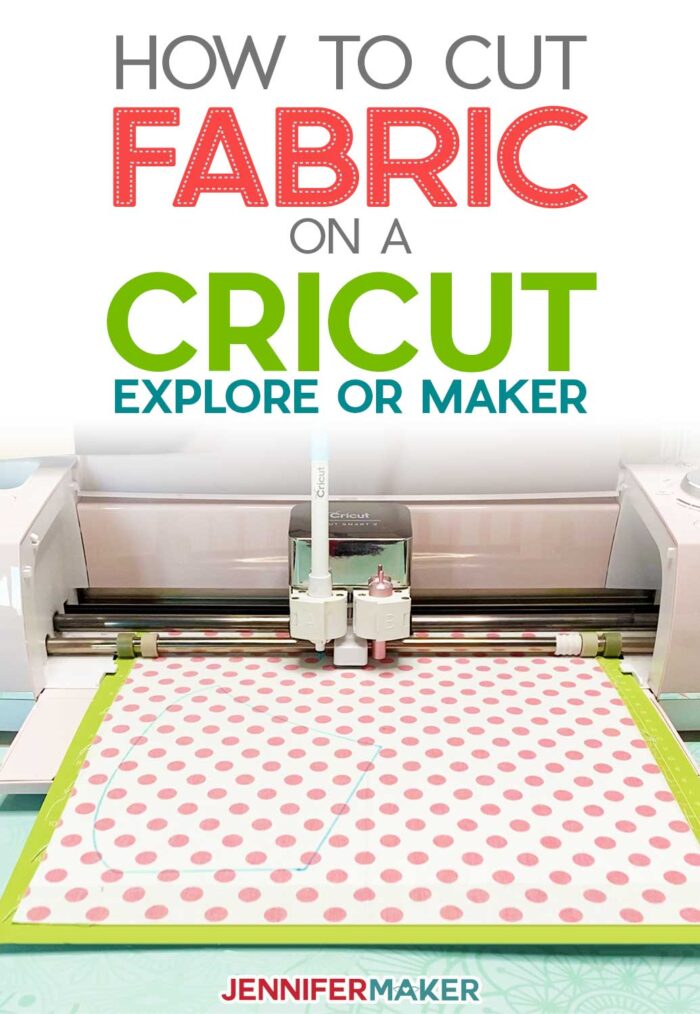
Learn how to cut fabric precisely with a Cricut cutting machine! This tutorial shows you how to cut fabric on a Cricut Explore, Explore Air, or Cricut Maker!
I love to sew, but I’ve never loved cutting the fabric to sew with. I’ve always found cutting fabric tedious and awkward, and it’s definitely got in my way of making and sewing more things. So when I got my very first Cricut Explore in 2017 and learned it would cut fabric, I was all over that and one of my early projects was to cut wool on it. I was amazed at how intricately the Cricut cut the fabric, and I’ve been hooked ever since then. And when the Cricut Maker came along with its rotary blade, which makes it even easier to cut fabric, I was sold. You can cut fabric on BOTH a Cricut Explore and a Cricut Maker, and this tutorial will show you how to cut fabric with Cricut, along with the tips and tricks I’ve learned along the way!
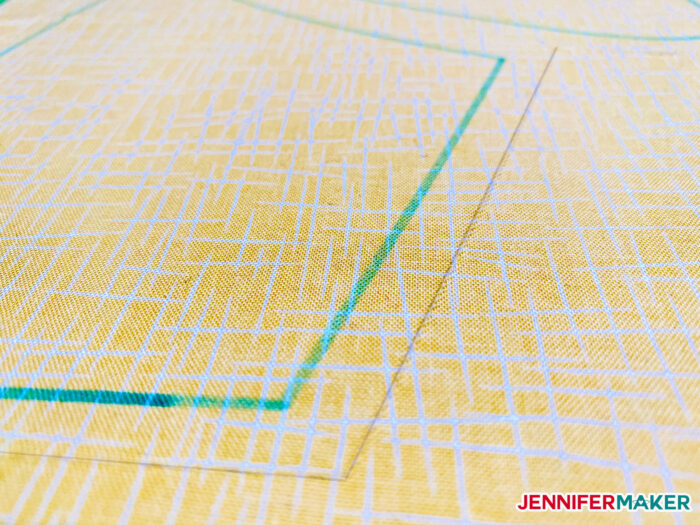
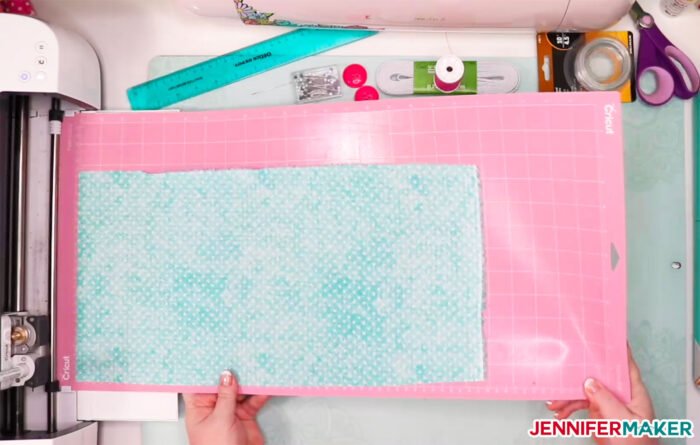
The fabric you see above was cut on my Cricut Explore — look at that beautiful sharp cut line and the perfectly straight marking line. Sublime!
If you’re ready to just start cutting fabric on your Cricut, scroll down for the step-by-step directions. Otherwise, let’s first talk about the whats, whys, and hows of cutting fabric on a Cricut!
Can you really use Cricut for fabric?
I get this question ALL the time, and the quick answer is YES! I’ve cut fabric on all of my Cricut Explores and Makers. The little Cricut Joy is a little trickier, and fabric is not one of the materials listed on Cricut’s official list of things it can cut. But if you use light cotton and bond it well, you should be able to do it.
Which Cricut is best for fabric?
The Cricut maker is, hands down, the best for fabric because you don’t have to bond your fabric before cutting. The rotary blade, which works only on the Cricut Maker, can cut unbonded fabric like buttah!
Why cut fabric on a Cricut?
Let’s talk about why you’d want to use a Cricut cutting machine to cut fabric … and the times you might want to forgo it! Here are the reasons I cut on my Cricut:
- Precise, super accurate cuts (critical with certain designs, like appliqué shapes and things like quilting)
- Perfect straight lines, curves, and circles (you can ditch the protractor)
- Easy inside and awkward cuts (no more poking the fabric to get that inside cut)
- Tedious cuts (like lots of the same thing over and over—great for letters!)
- Marks sewing lines (the Cricut can mark where to sew, or whatever, just as precisely as it cuts)
- Cuts 2-3 layers at a time (this is on the Maker only and you need an adhesive spray, but still!)
- Tricky to cut fabrics (such as slippery silks, rolling knit jerseys, and nappy velvets)
- Paper piecing (it’s like the Cricut was made for this type of quilting)
- Stitching lines (you can mark them precisely, which is SO helpful, especially for topstitching)
So when would you want to skip the Cricut and use your rotary cutter or trusty scissors instead?
- Large cuts (anything over 11.5″ x 23.5″ in size can’t be cut on a Cricut)
- Simple cuts of multiple layers (If you’re cutting a LOT of something, and it’s not crazy intricate, it’ll be faster to just do it with a rotary cutter — save for Cricut for precise cuts)
- Valuable or priceless fabrics (Grandma’s heirloom linen tablecloth and the $75/yard damask silk deserve to be cut very carefully by hand, because you wouldn’t want to accidentally cut the wrong mat on your Cricut with those)
- Clothing patterns (unless they’re doll clothes, you probably won’t be able to fit them)
I always turn to my Cricut to cut intricate shapes, small project patterns, and anything where consistency and precision is paramount. Quilters and fabric crafters LOVE the Cricut!
Which fabric can a Cricut cut?
According to Cricut, we can cut all of these fabrics (this list is going to blow your mind). I added a few more (the ones in italics because I know it can be cut, too).
- Acrylic Felt
- Bamboo Fabric
- Batik
- Bengaline
- Boucle
- Broadcloth
- Burlap
- Burn-out velvet
- Calico
- Cambric
- Canvas
- Cashmere
- Challis
- Chambray
- Chantilly Lace
- Charmeuse Satin
- Chiffon
- Chintz
- Corduroy
- Cotton
- Cotton Silk Satin
- Crepe Charmeuse
- Crepe de Chine
- Crepe-back Satin
- Damask
- Delicate fabrics (like Tulle)
- Denim
- Dotted Swiss
- Double Cloth
- Double Knit
- Duck Cloth
- Dupioni Silk
- Extra Heavy Weight Fabrics
- Eyelet
- Faille
- Faux Leather
- Faux Suede
- Faux Suede
- Felt
- Flannel
- Fleece
- Foulard
- Gabardine
- Gaia Eco Woven
- Gauze
- Georgette
- Gossamer
- Grois Point
- Grosgrain
- Habutai
- Half Panama Cotton
- Heather
- Heavy Fabrics (like Denim)
- Homespun Fabric
- Interlock Knit
- Jacquard
- Jersey
- Jute
- Kevlar
- Khaki
- La Coste Cotton
- Lace
- Lame
- Leather (genuine, suede, or faux)
- Light Cotton
- Light Fabrics (like Silk)
- Linen
- Lycra
- Matelasse
- Medium Fabrics
- Melton Wool
- Mesh
- Microfiber
- Moiree
- Moleskin
- Monk’s Cloth
- Muslin
- Neoprene – 2.4 mm or less
- Nylon
- Oilcloth
- Organza
- Ottoman
- Oxford
- Panne Velvet
- Peau de Soie
- Pima Cotton
- Pique Cotton
- Plisse
- Plush
- Polyester
- Poplin
- Printable Fabric
- Quilting Cotton
- Ramie
- Raschel Knit
- Rayon Lyocell
- Rib Knit
- Rip-Stop Nylon
- Sailcloth
- Santeen- Shantung
- Satin Silk
- Seersucker
- Sequined
- Shantung
- Shimmer Leather – 1 mm
- Silk China
- Silk
- Slinky Knit
- Spandex
- Suede
- Taffeta
- Terry Cloth
- Tulle
- Tweed
- Velour
- Velvet Upholstery
- Velveteen
- Viscose
- Voile
- Waffle Cloth
- Wool Crepe
- Wool Fabric
- Wool Felt
- Ziberline
Can you think of a fabric that is NOT on the list? This step-by-step tutorial shows you exactly how to cut fabric with Cricut Explore and Maker. This post contains some affiliate links for your convenience (which means if you make a purchase after clicking a link I will earn a small commission but it won’t cost you a penny more)! Read my full disclosure policy.
Things You Need to Cut Fabric on a Cricut Explore or Maker
-
- A Cricut cutting machine — you can cut fabric on a Cricut Explore, a Cricut Explore Air, or a Cricut Maker (but the Maker does the best job)
- A Cricut cutting mat — you can a pink FabricGrip Mat (my personal preference), but you can ALSO use a green StandardGrip mat (what matters most is that your mat is clean enough for your fabric to stick to it when cutting) — I recommend the 12″ x 24″ size mat for cutting fabric
- A Bonded Fabric Blade, Premium Fine Point blade, or Deep Point blade (for the Cricut Explore) or the Rotary Blade (for the Maker)
- (Explore Only) Something to bond your fabric, such as freezer paper (NOT wax paper, parchment paper, or butcher paper), Wonder Under, Heat and Bond, or another fusible paper-backed tear-away or cut-away stabilizer
- (Explore Only) An iron or EasyPress for binding your fabric
- (Optional) A Washable Fabric Pen for marking your fabric with your Cricut (nice to have when you have patterns with marking lines)
- Something to cut your fabric to size to fit on your mat, such as a rotary cutter or pair of scissors
- The fabric itself (see the list of fabrics you can cut above). The Cricut fabrics work great, but you can use so many more!
- A Cricut-compatible cutting file/pattern (I have many in my free resource library or make your own in my CUT ABOVE SVG Design Course
How to Cut Fabric On Your Cricut Explore
Step 1: Bond Your Fabric
Pre-wash and iron any fabric you will want to wash later, or may go against the skin or find its way into little mouths.
Cut your fabric to fit your Cricut cutting mat. You can use a rotary cutter, scissors, or even just rip it along the grain (works great for quilting cottons and other light woven fabrics).
Cut a piece of stabilizer the same size (or slightly smaller) as your material.
Tip: You can cut the stabilizer on your Cricut, too — just be sure to put it paper side down on your mat and use “cardstock” as your material setting.
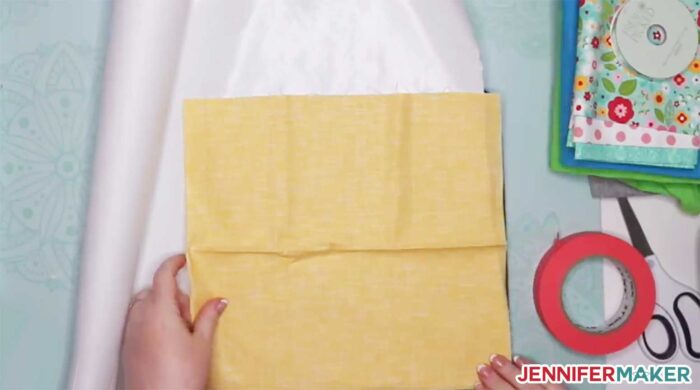
Place the shiny adhesive side of the stabilizer on the wrong side of your fabric. If you’re using Wonder Under, the side with the adhesive will feel a little rough. If you’re using freezer paper, the shiny side has a plastic coating that you can fuse to your fabric, so place that side against your fabric.
Press the stabilizer to the fabric with an EasyPress or iron. (You may also need to put a damp pressing cloth over it—check your stabilizer directions.) The temperature and length of time to press varies based on your stabilizer material. If you use freezer paper (my preference), you can press for 30 seconds at 350–385°F.
Once your fabric is bonded, place the bonded fabric stabilizer side DOWN on your clean cutting mat (you can use the pink FabricGrip Mat or a green StandardGrip mat) and smooth it out. You may find it useful to roll the Cricut Applicator on your fabric make sure it is well adhered to your cutting mat.
Note: Be careful that your fabric does not overlap the marked grid on your cutting mat, as it may get tugged under the Cricut’s wheels or even jam the Cricut.
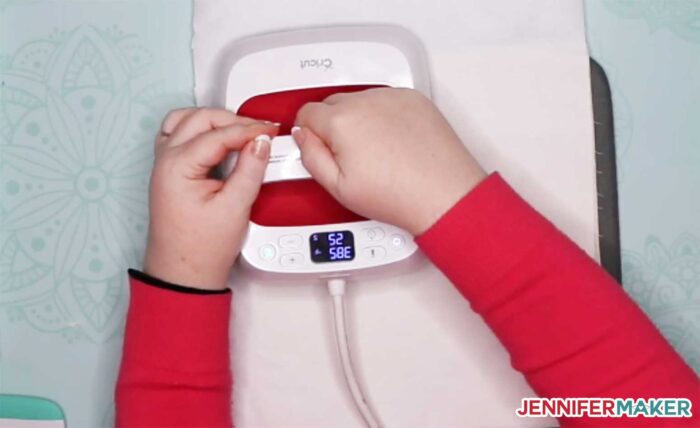
Load your Premium Fine Point blade or Bonded Fabric Blade in (yes, both will work) into your Cricut Explore cutting machine. (Heavyweight fabrics may cut best with the Deep Point blade.)
Put your Cricut Washable Fabric Pen (optional) into clamp A if you have any marking lines.
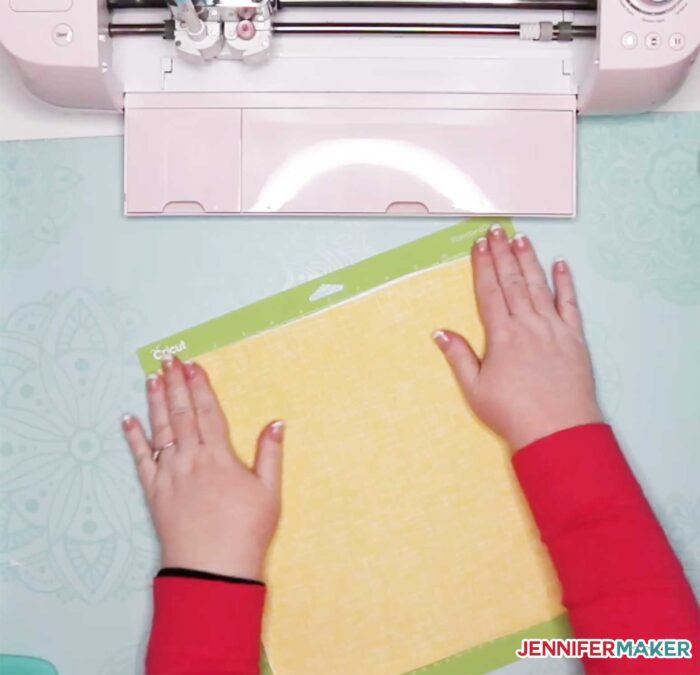
Load your mat into your Cricut Explore.
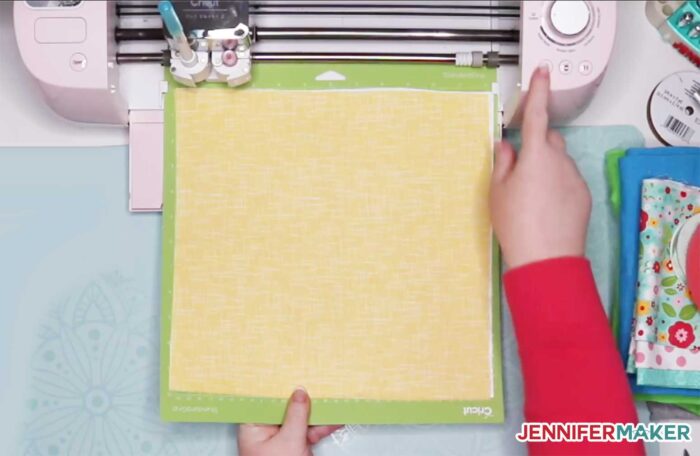
Choose the right material setting for your fabric. On my Cricut Explore, I typically go with Bonded Fabric or Bonded Cotton and “Default” pressure.
Press the flashing button to begin your cut. Keep an eye on it as it cuts.
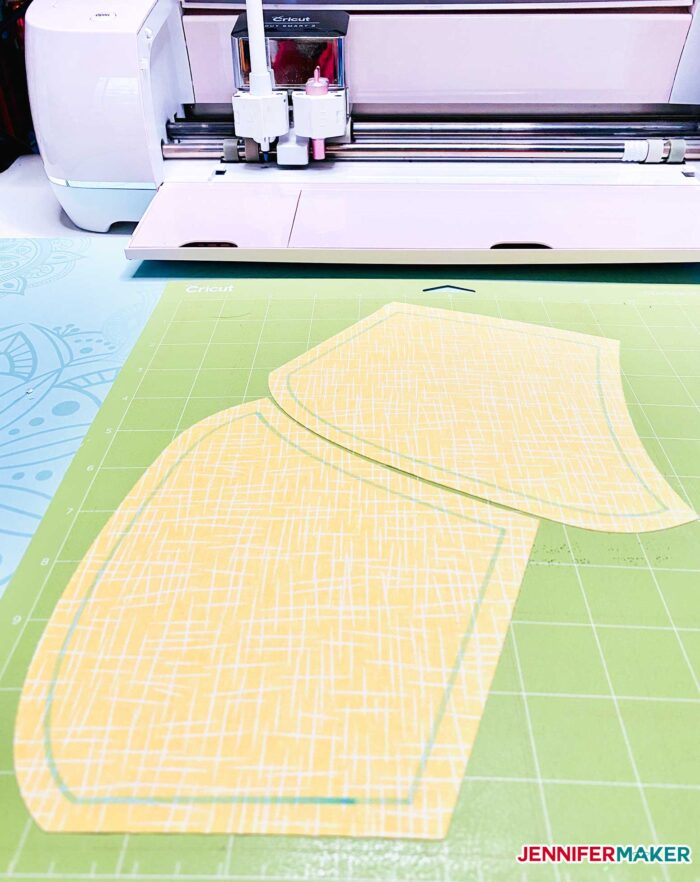
When you’re done cutting the fabric on your Cricut, press the Unload button to eject the mat and remove the cut pieces from the mat. If you used freezer paper, you will also want to peel that off now (Wonder Under and Heat ‘n’ Bond should not peel off).
Here is the cut quilting cotton fabric cut with Cricut Explore:
 knit fabric And here is knit fabric (like T-shirt material) I cut on my Cricut Explore:
That’s it!
How to Cut Fabric On your Cricut Maker
Place your fabric right side down on a pink FabricGrip Mat or green StandardGrip mat and smooth it out. (You can also put your fabric wrong side down—it really only matters if you mark lines honestly.) No stabilizer is necessary with the Maker.
Note: Be careful that your fabric does not overlap the marked grid on your cutting mat, as it may get tugged under the Cricut’s wheels or even jam the Cricut.
Load your Rotary Blade into your Cricut Maker.
Put your Cricut Washable Fabric Pen (optional) into clamp A if you have any marking lines.
Load your mat into your Cricut Maker.
Choose the right material setting for your fabric. On my Cricut Maker, I search on the material I am using (there are SO many presets in there) and use “Default” pressure.
Press the flashing button to begin your cut
When you’re done cutting the fabric on your Cricut, remove the cut pieces from the mat.

That’s it!
Frequently Asked Questions About How to Cut Fabric with Cricut
Q: Do I have to prewash my fabric before I cut it on my Cricut?
A: Yes, if it has sizing and/or you plan to wash it after you cut it. If not, then no. If you pre-wash it, be sure to iron it flat before cutting it on your Cricut.
Q: Do I have to bond all of my fabric before cutting on my Cricut?
A: If you’re using a Cricut Explore, then yes. If you’re using a Cricut Maker, no.
The Cricut Explore needs a paper-backed stabilizer fused to the back of the fabric in order to cut, because it can only cut by dragging its blade across the fabric and no mat will ever be sticky enough to keep that fabric in place. You can use stabilizers like Wonder Under and Heat ‘n’ Bond to bond your fabric before cutting. If you’re cutting a material that you don’t want to permanently fuse something onto, bond the shiny side of freezer paper instead — it’ll peel right off when you’re done cutting!
Q: My fabric tears off my freezer paper as it’s cut on my Explore. What did I do wrong?
A: This means the freezer paper wasn’t really fused well to your fabric. Press again for longer, or even a little hotter. If that still doesn’t work, you’ll need to move up to something like Wonder Under or Heat ‘n’ Bond.
Q: My fabric is moving on my mat as I cut. What do I do?
A: First, make sure your mat is clean and sticky enough for your fabric (or stabilizer) to grip to. Second, reduce your pressure a bit, especially if you’re using the washable fabric marker. Third, if the issue is at the edges only, tape the edges down with masking tape, being careful not to wrap the tape around the edge of the mat.
Q: How do I keep my pink FabricGrip mat clean?
Get my free patterns and SVG files to cut fabric on your Cricut
Cutting fabric on your Cricut opens up a world of possibilities, especially when you need really precise or intricate cuts! I hope this tutorials helps you cut whatever you need on your Cricut. If you make something with fabric you cut on your Cricut, please share a photo in our Sew Easy Facebook group, our Cricut Crafters Facebook group, or tag me on social media with #jennifermaker.
Be sure to check out my Couch Caddy and Maker Mat projects for your Cricut cutting machines or sewing machines — both are super useful for organizing your tools!


Love,

Want to remember this? Save this How to Cut Fabric On Your Cricut to your favorite Pinterest Board

This didn’t even come close to working!!!! I’m so frustrated!!!! I thought I could use the freezer paper for cutting mask pieces put on my explore air 2. NOPE. Brand new box, brand new fabric may, brand new fabric blade: EPIC FAIL! I don’t understand what I did wrong. Only thing different was I used an iron on the hottest cotton setting because I don’t have (& can’t afford) an easy press. PLEASE HELP ME! I need to !make masks for my family!!!! 🥺😓
I’m sorry it didn’t work out. What step was the fail? Was it adhering the freezer paper to the fabric to bond it? Was it cutting? What type of fabric are you using? Have you tried other types of stabilizers? I’m happy to try to help you troubleshoot if I could find out a little bit more about what you’re using and what happened.
Can I use the sticky backed “steam-A-Seam 2” with my maker on material for Iron on designs or will it gum up the wheel.? Should I cut the steam a seam separately or stick it to the back of the material and cut all at once?
Hi Evelyn! I don’t believe you can use it, I have not tried. I would contact Cricut regarding this, https://help.cricut.com/hc/en-us/articles/360020316674-Cricut-Contact-Information
Thank you! I got a maker for Christmas and my 9 year old wants to make doll clothes. Thank you for the tutorial for the fabric. Any chance you would release some doll clothes patterns?
That’s a great idea! Would you suggest it for me so I can remember? You can request it here: https://jennifermaker.com/projectrequests/
Do you peel off the paper of the paper-backed fusible such as Heat ‘n’ Bond or Wonder Under before placing on the mat?
No, I did not, Feryall!