
Learn how to use our free face mask patterns and make your own masks with the help of a Cricut Explore or Cricut Maker … or just cut these by hand!
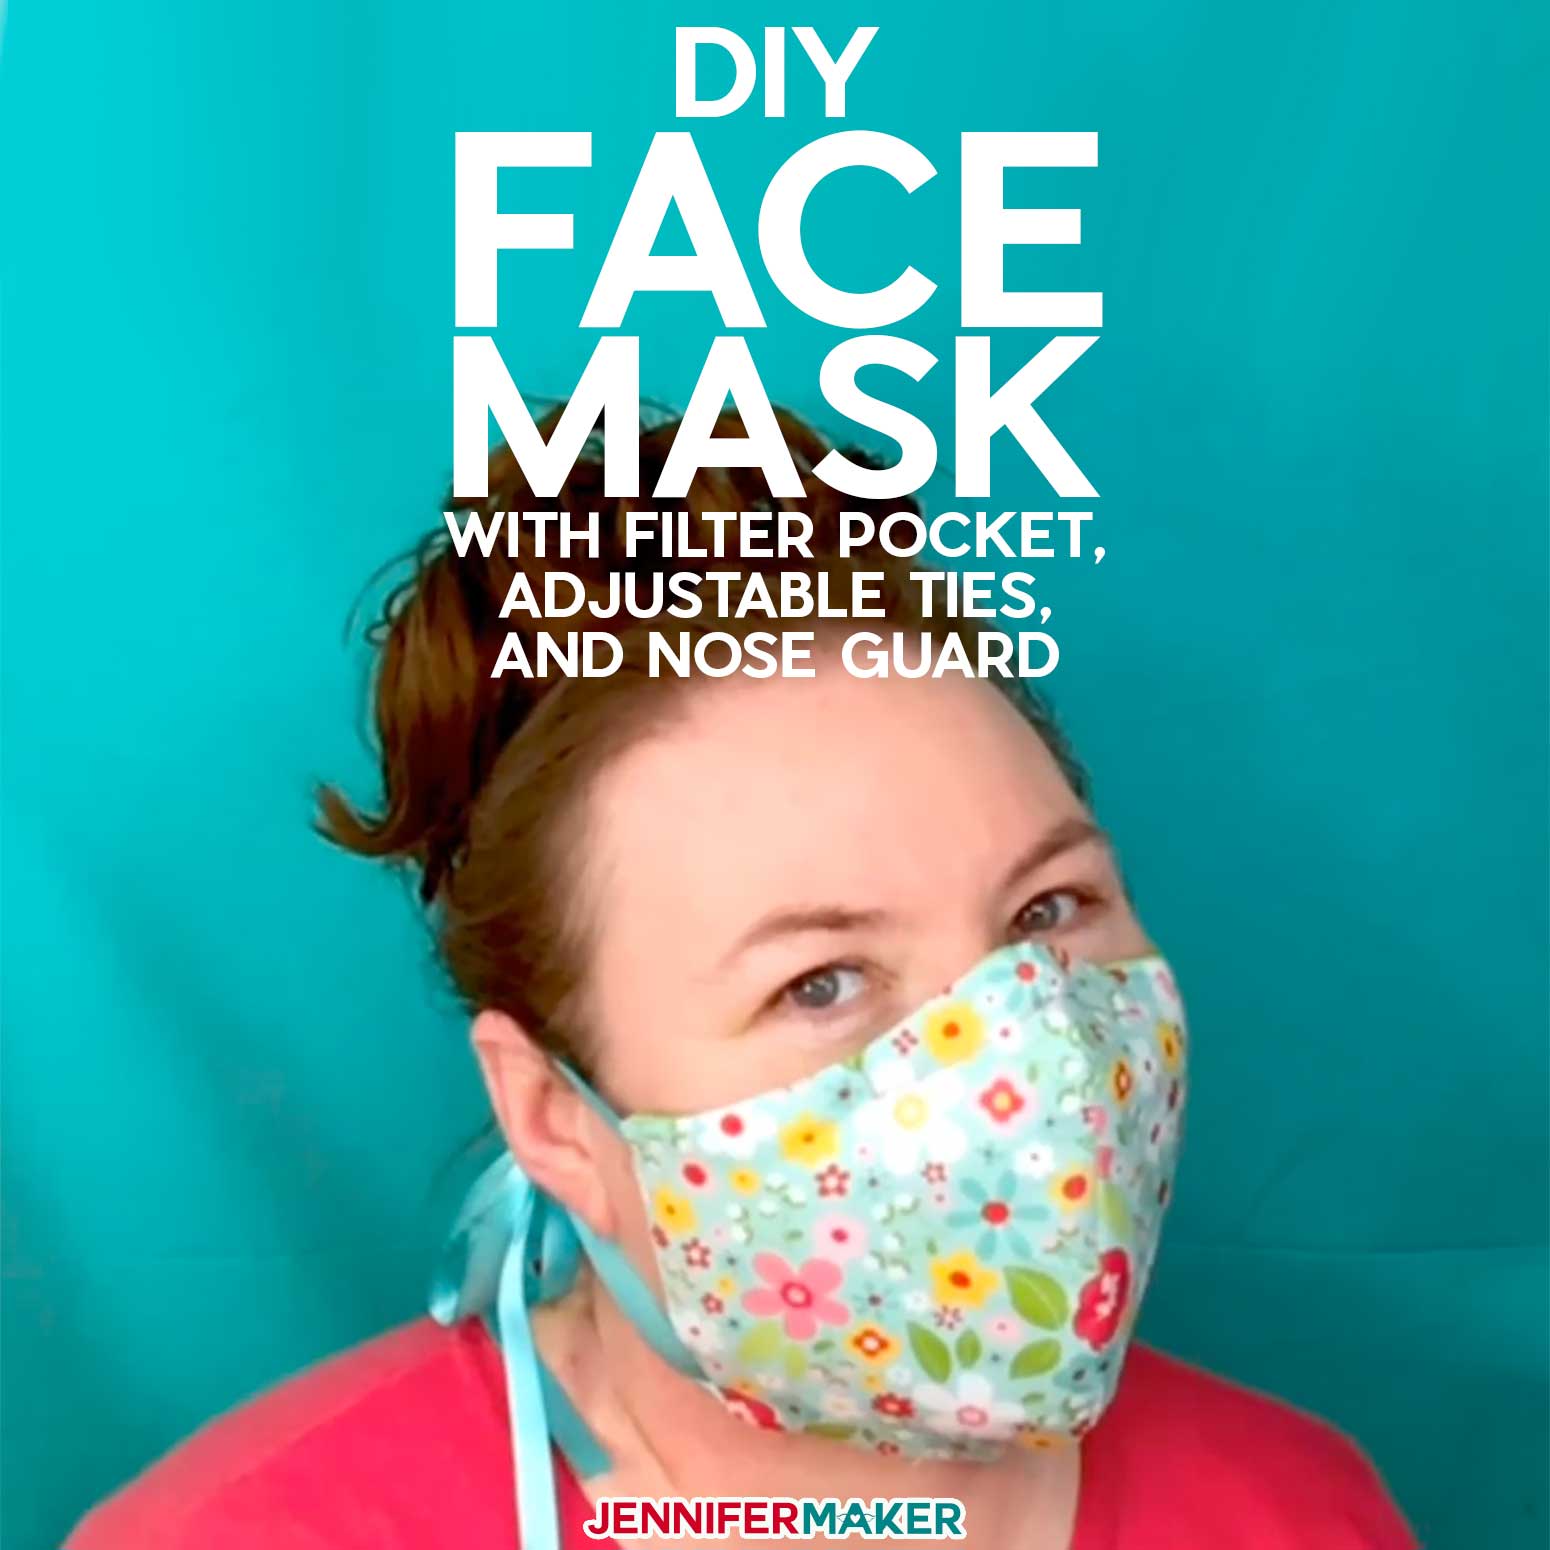
Calling all sewists! My brother-in-law Chad (who is a respiratory therapist at the hospital I was born at) just called me about making face masks because they are running out at the hospital. He made it very clear that some sort of mask is better than no mask. So I’ve researched the best materials to use per the CDC guidelines and the Cambridge University study and created a free face mask sewing pattern that can be cut by hand with my free printable PDF or on a Cricut Explore or Maker with my free SVG cut file. These Cricut face mask patterns use common household materials you probably already have and can be made with slots for filters, adjustable ties, and a wire to fit snugly around your nose. Help me sew DIY face masks for our essential hospital workers on the front line!

Watch the full step-by-step video on how to make the DIY Face Masks on a Cricut or by hand here!
Important: These DIY face masks do not replace the need for N95 masks, but by making and wearing DIY face masks, we’re able to reserve the N95 masks for frontline healthcare workers. DIY face masks are a last resort when no N95 masks are available. Some mask is better than no mask at all. Healthcare workers: if you have an N95 mask, this DIY mask WILL fit right over an N95 without modification, if you’d like to use it to extend the life of your N95.
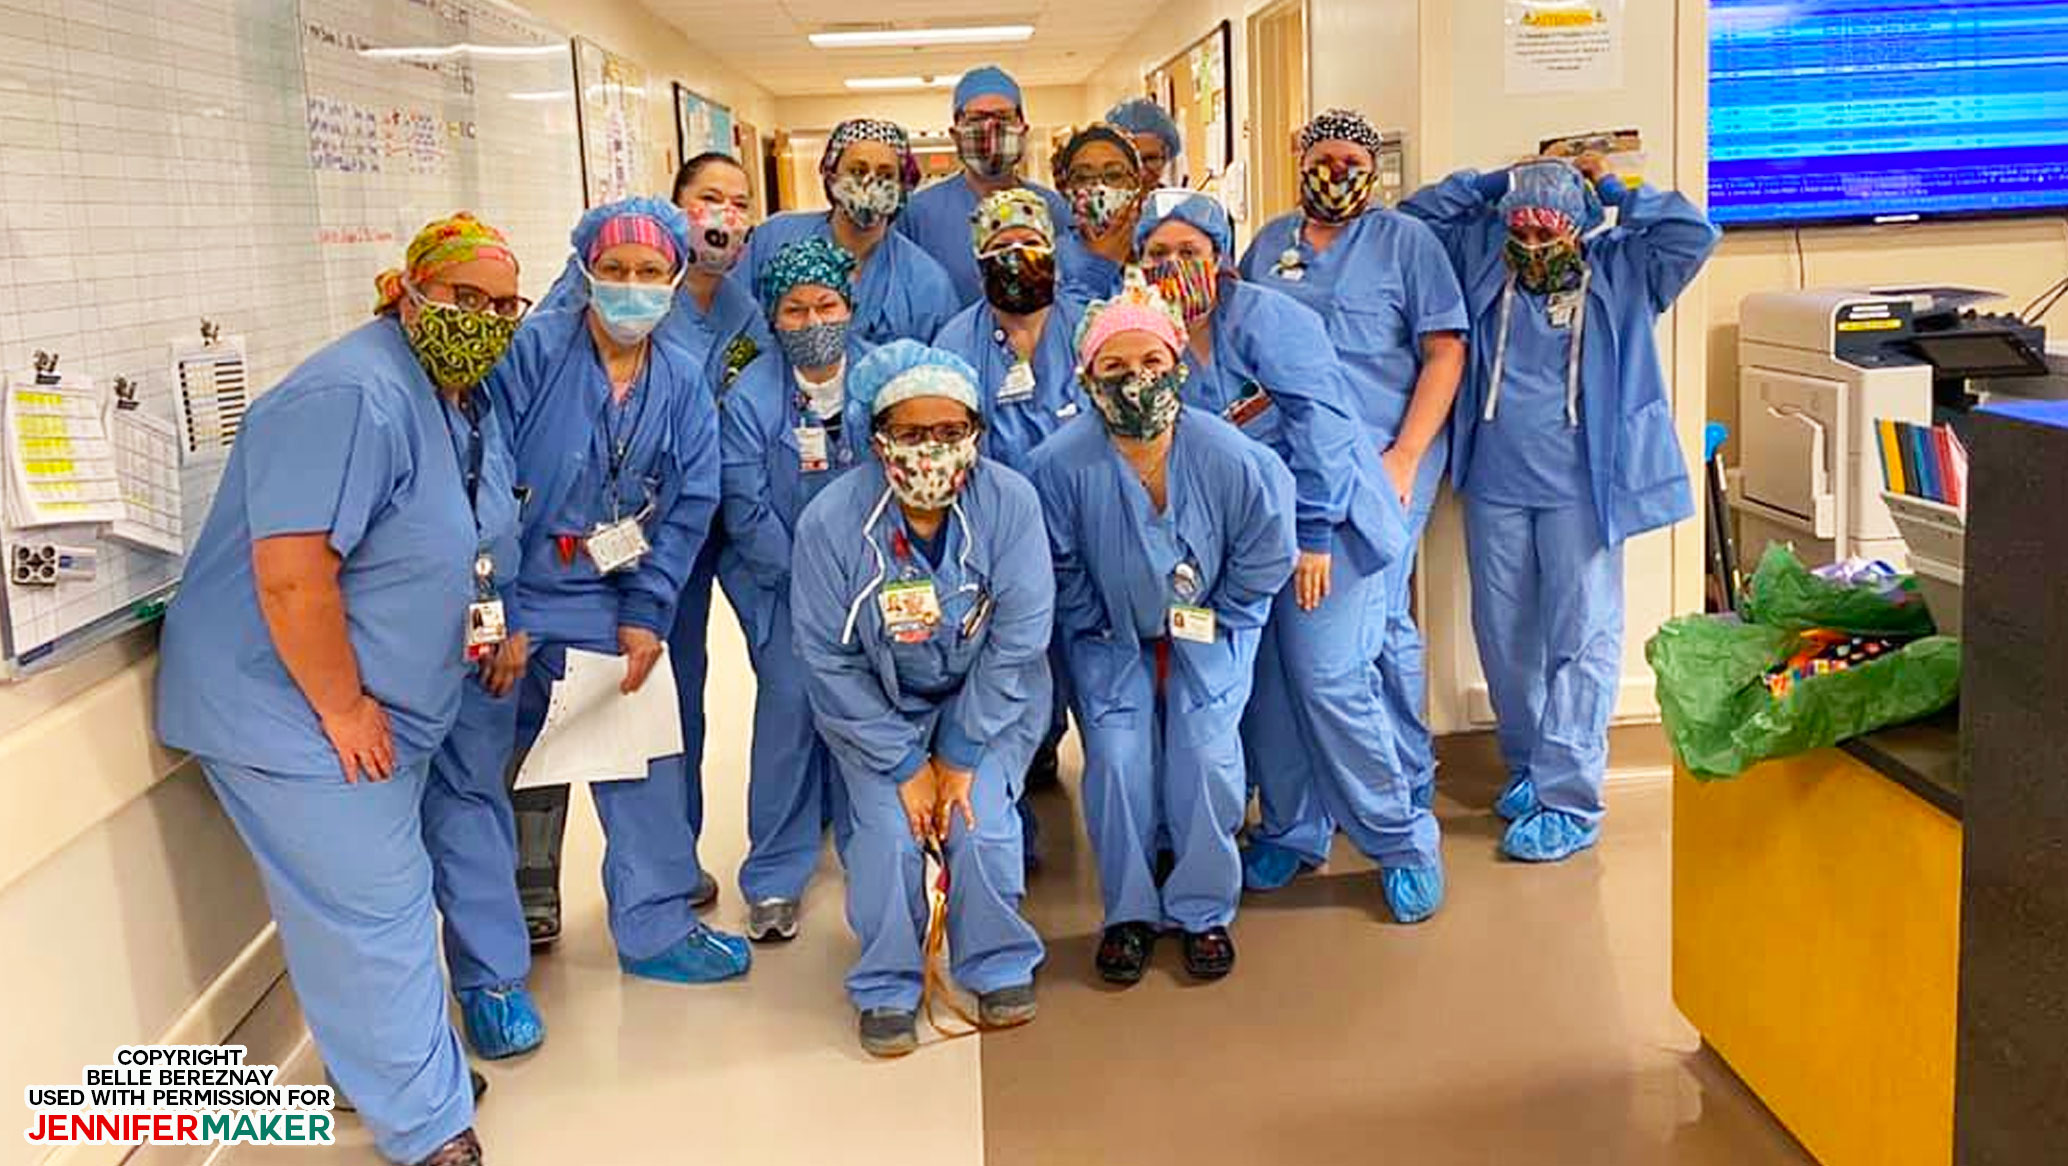
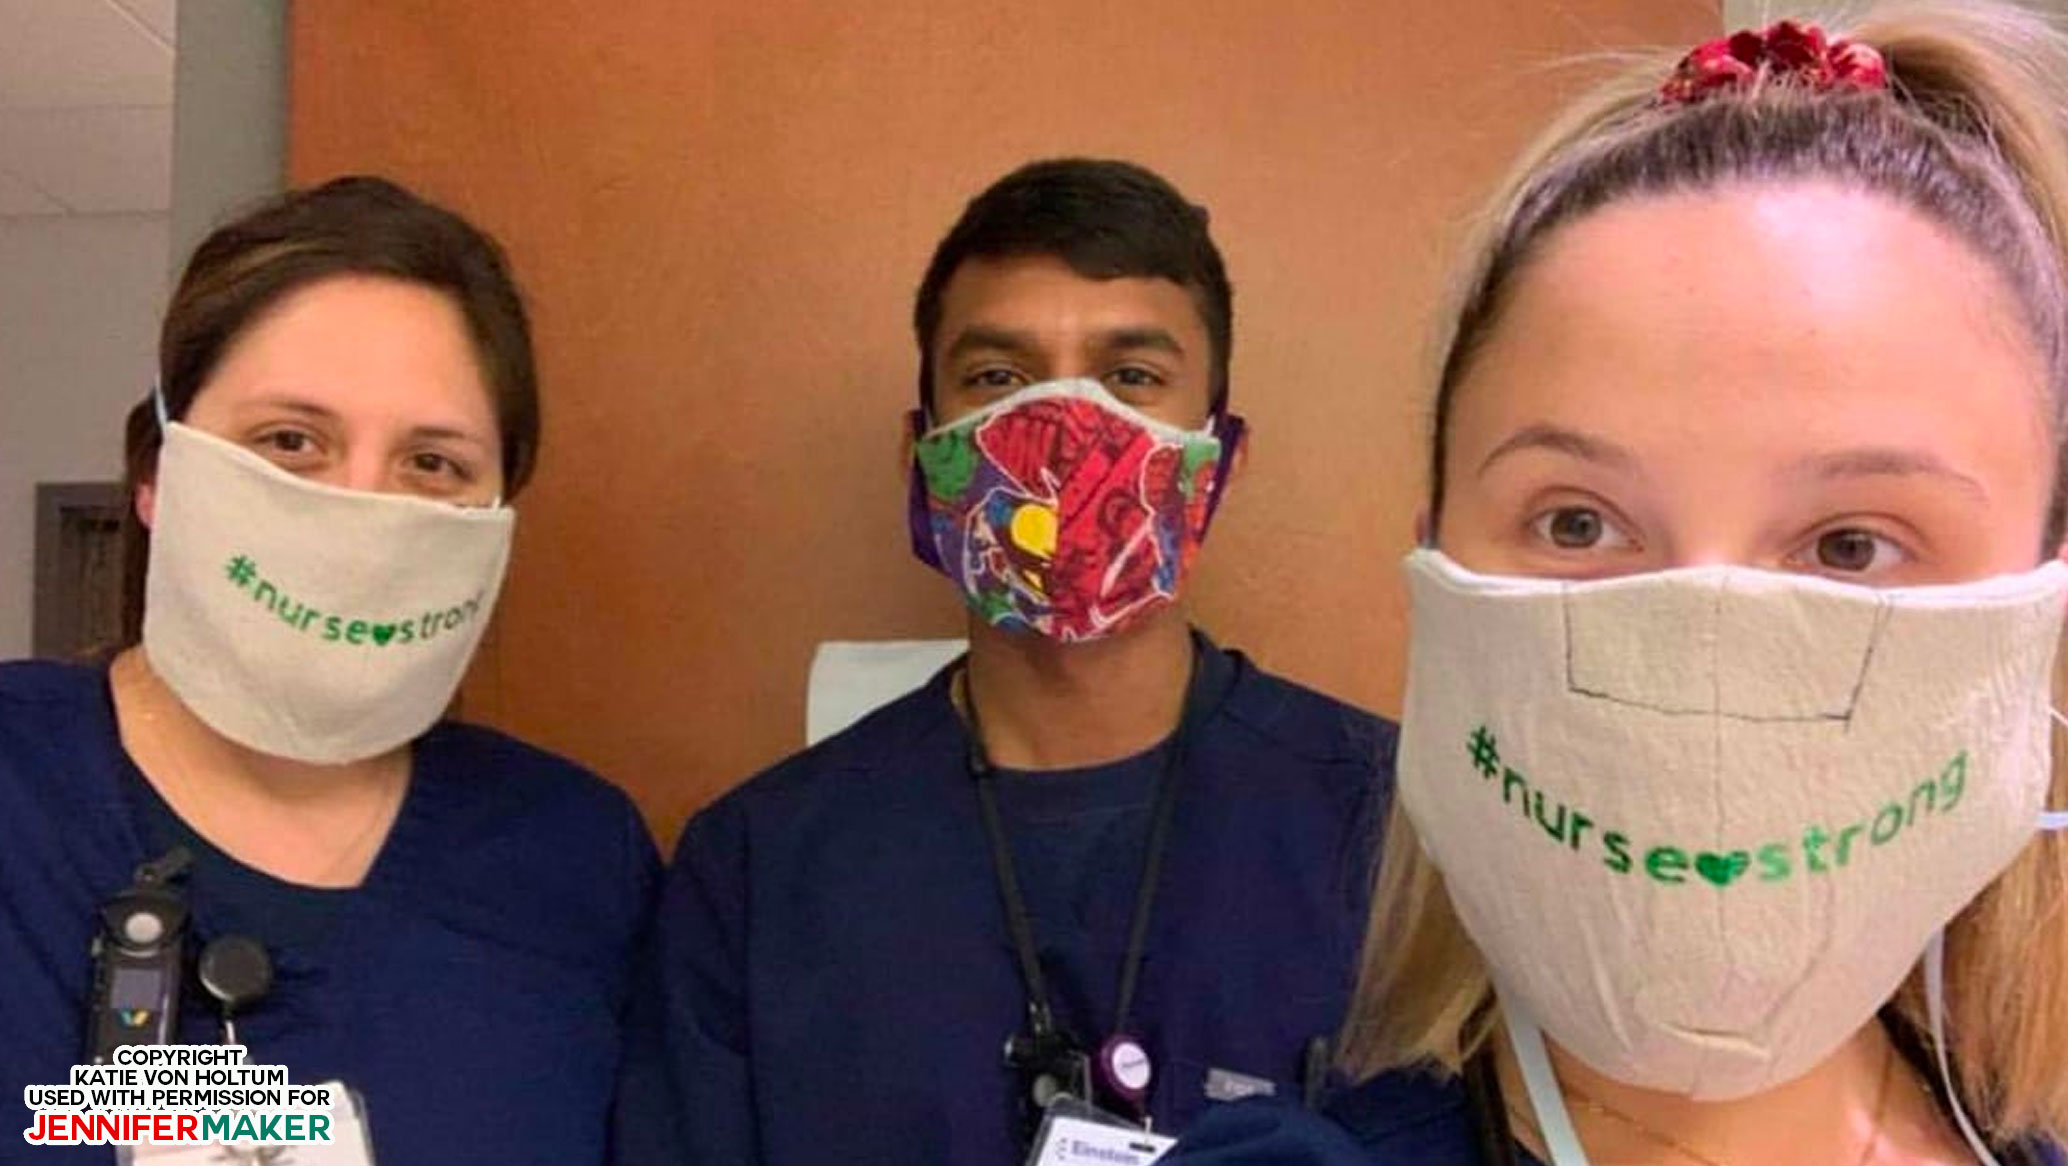
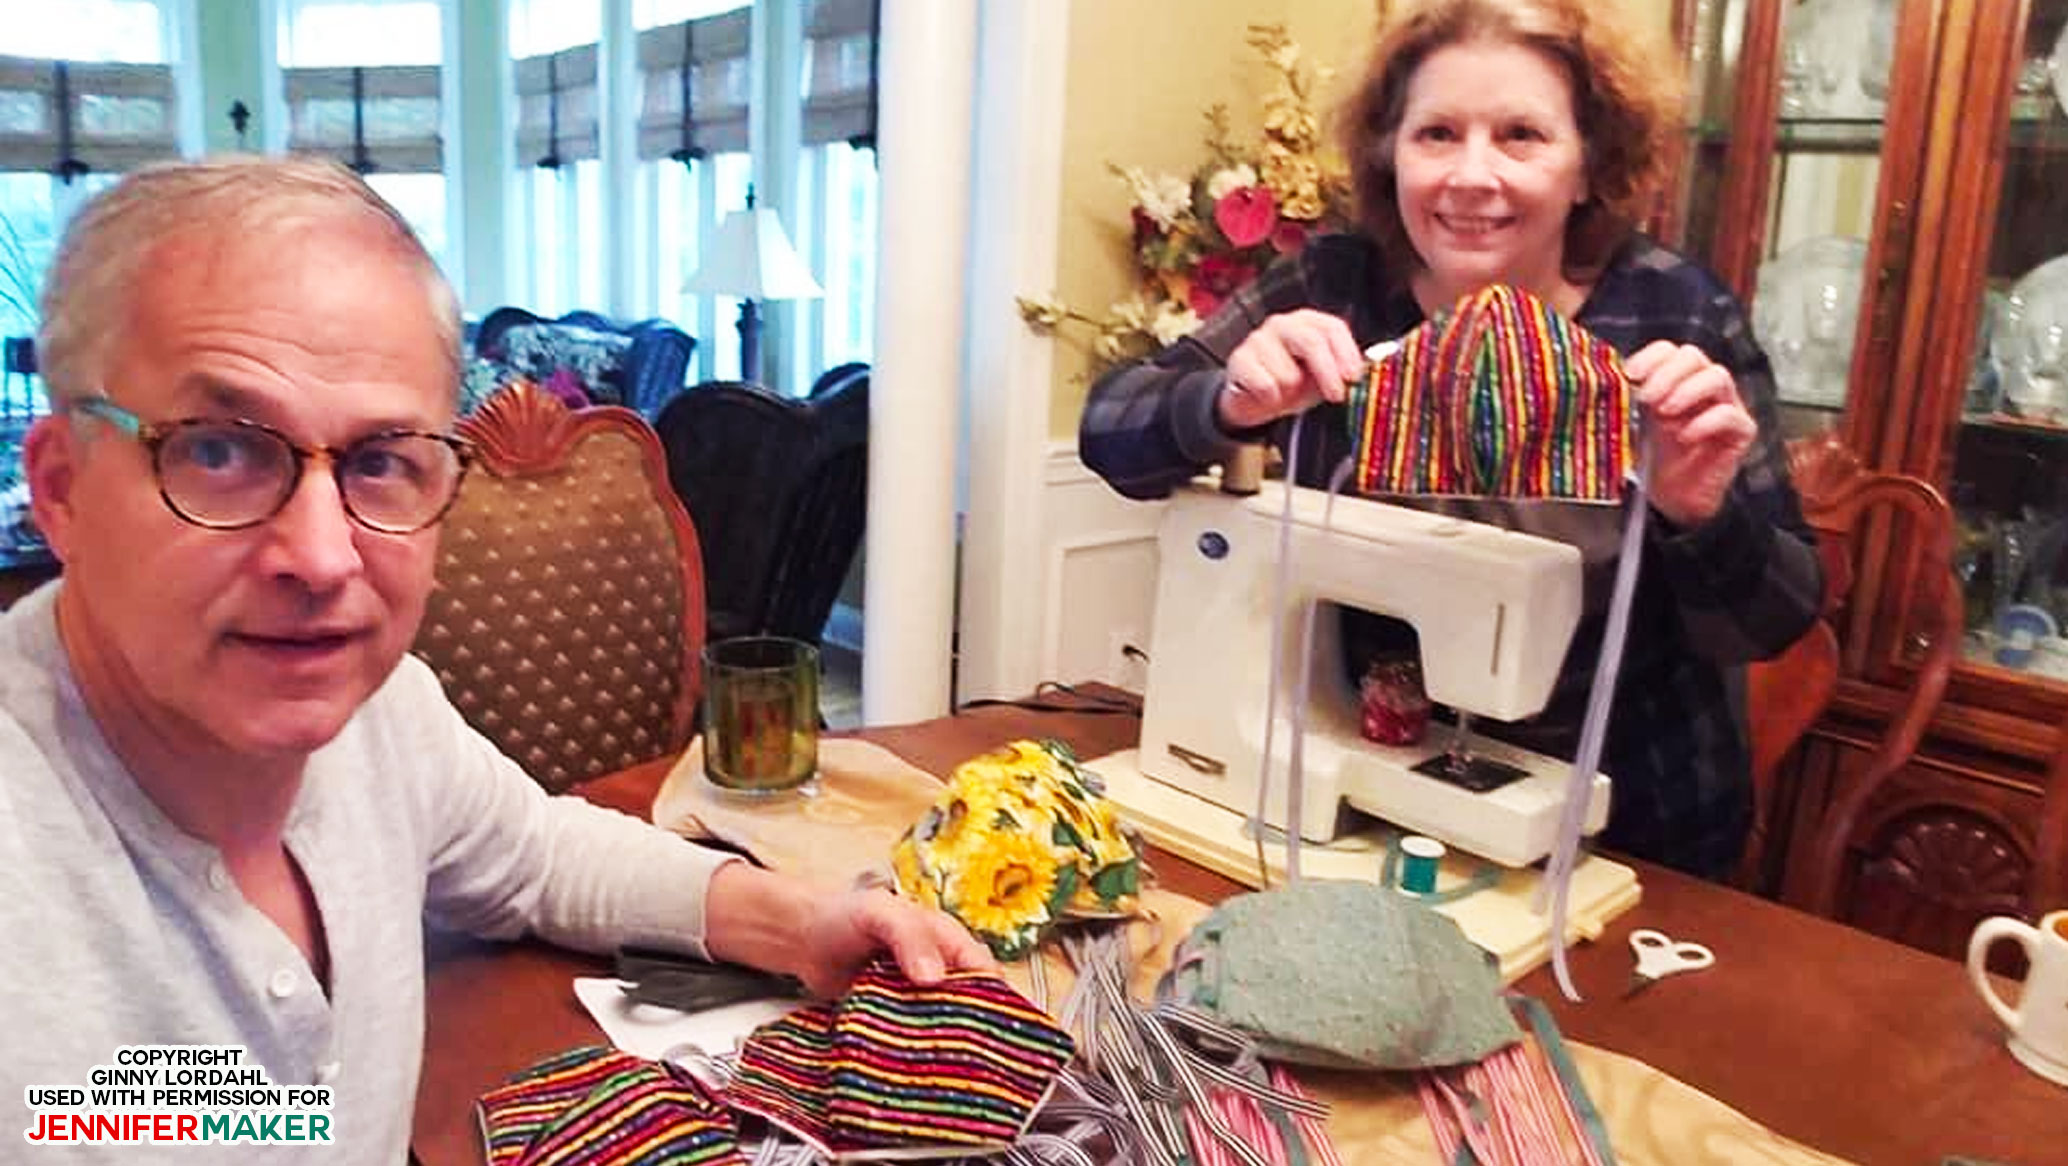
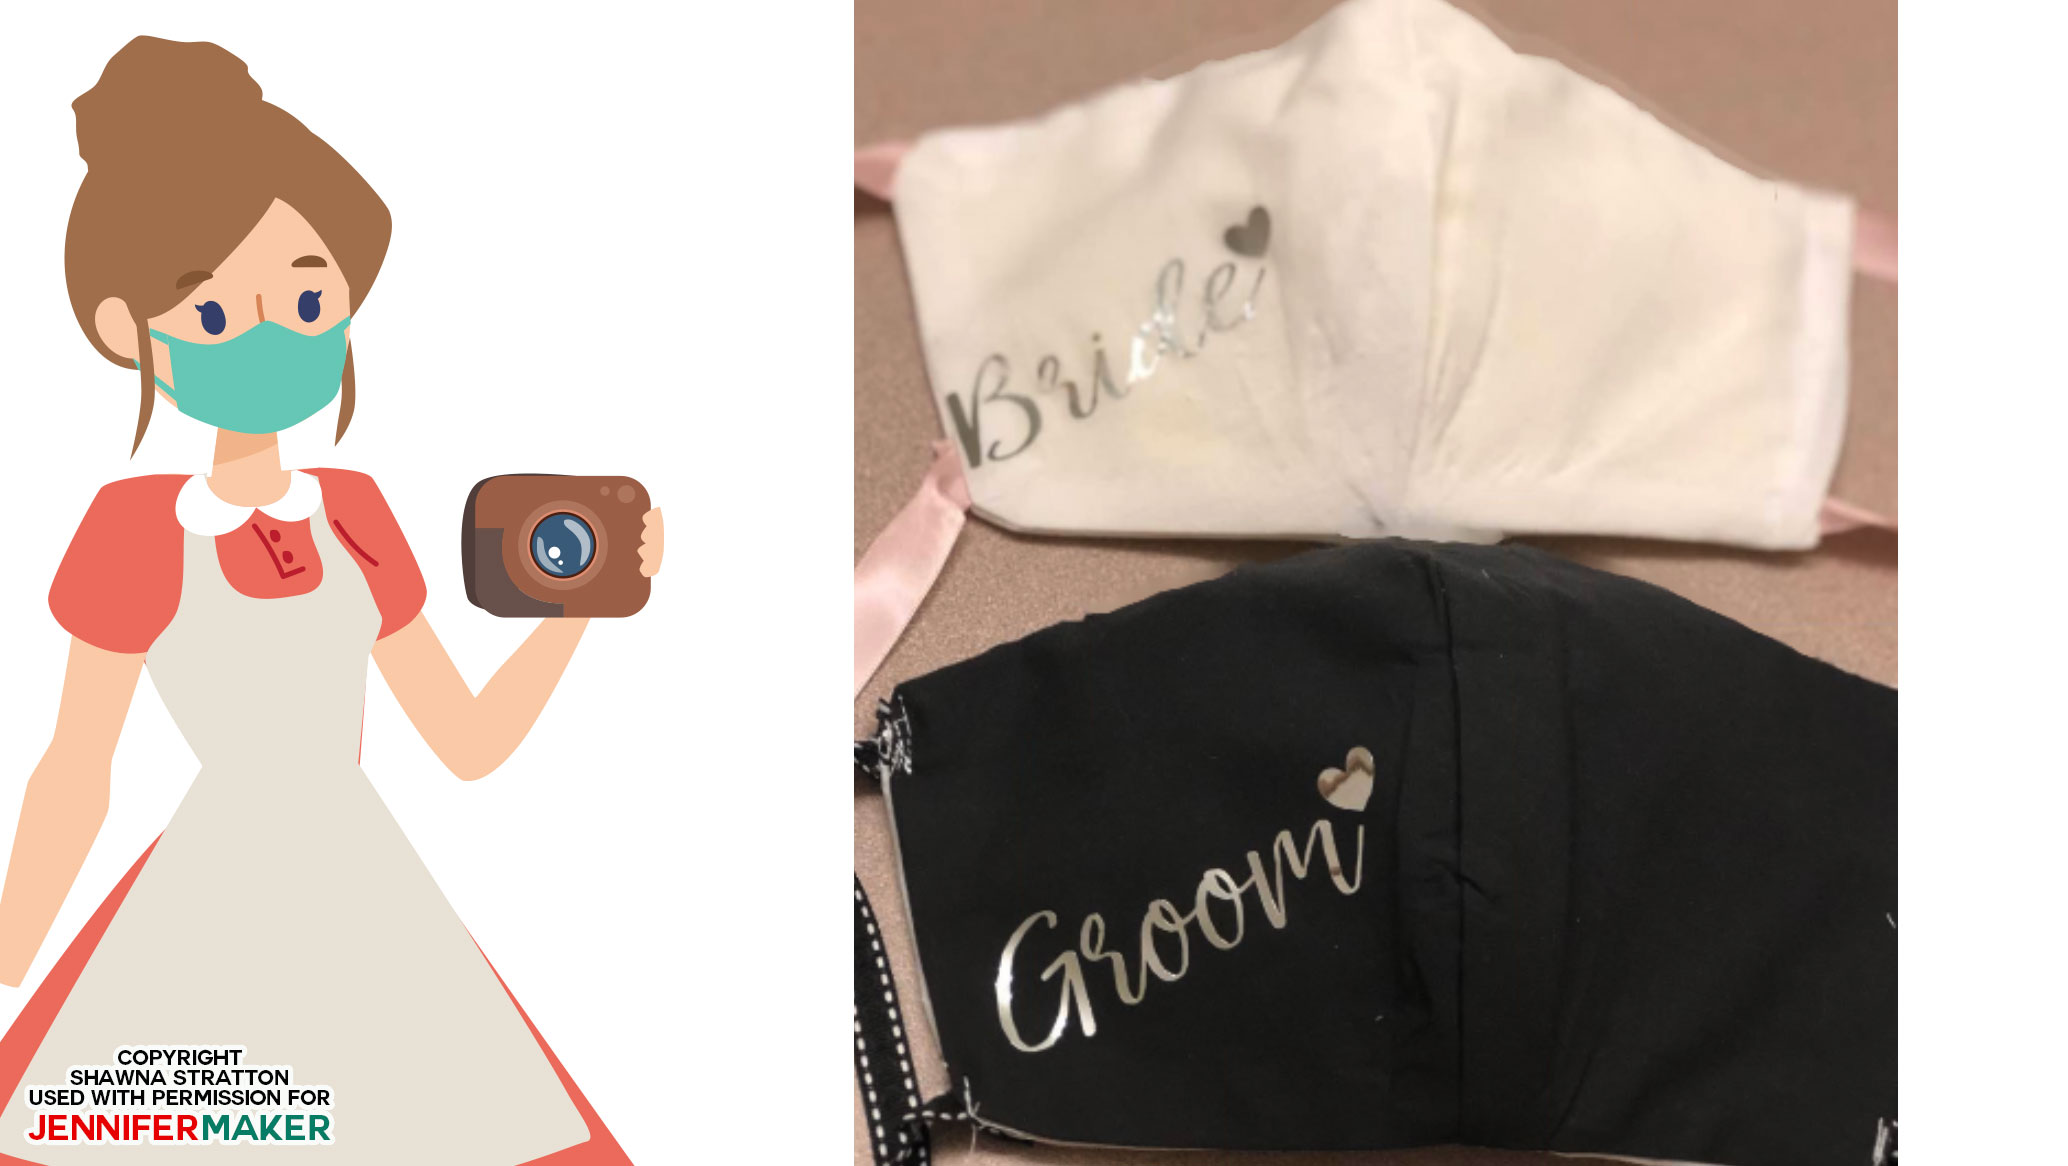
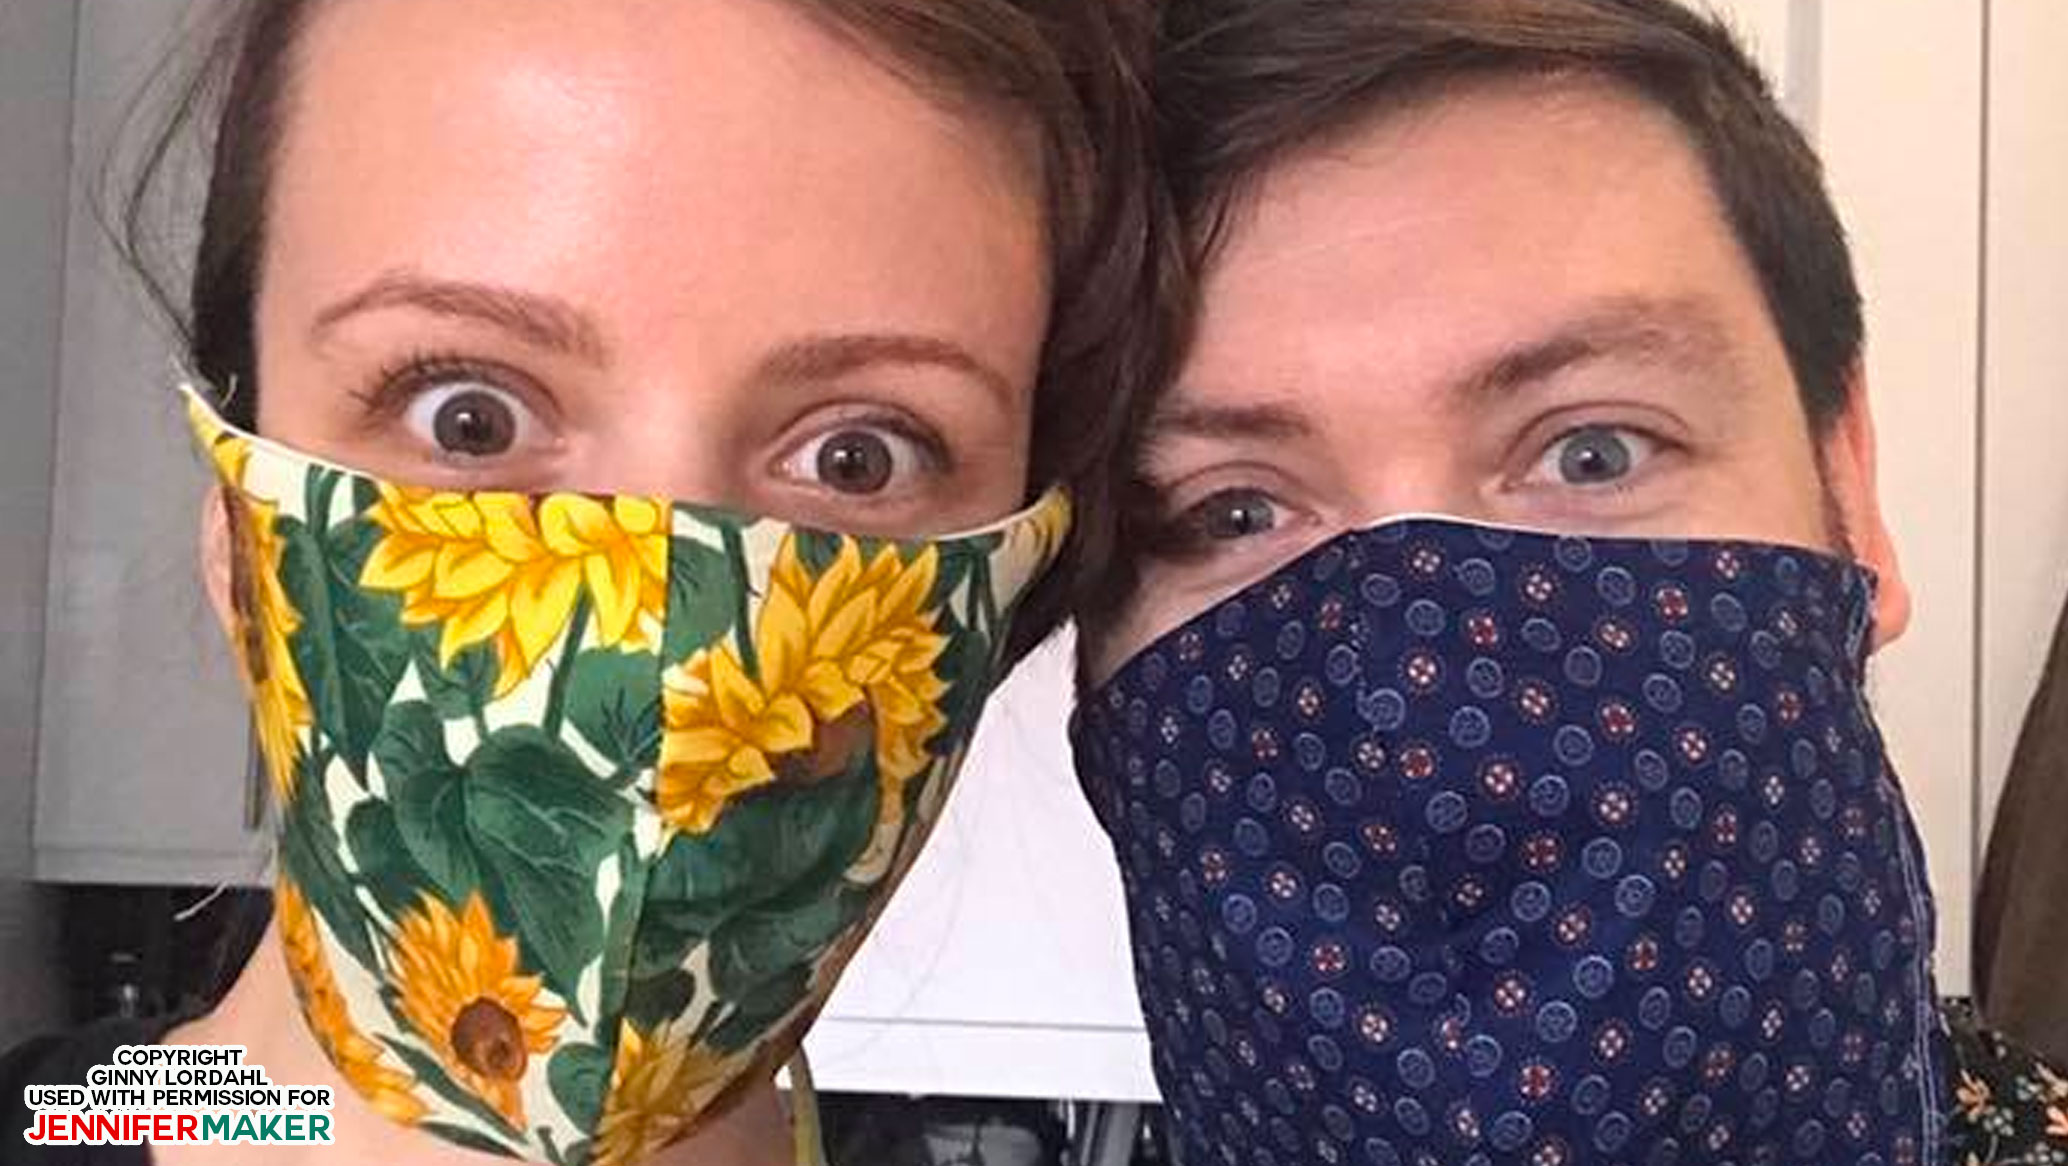
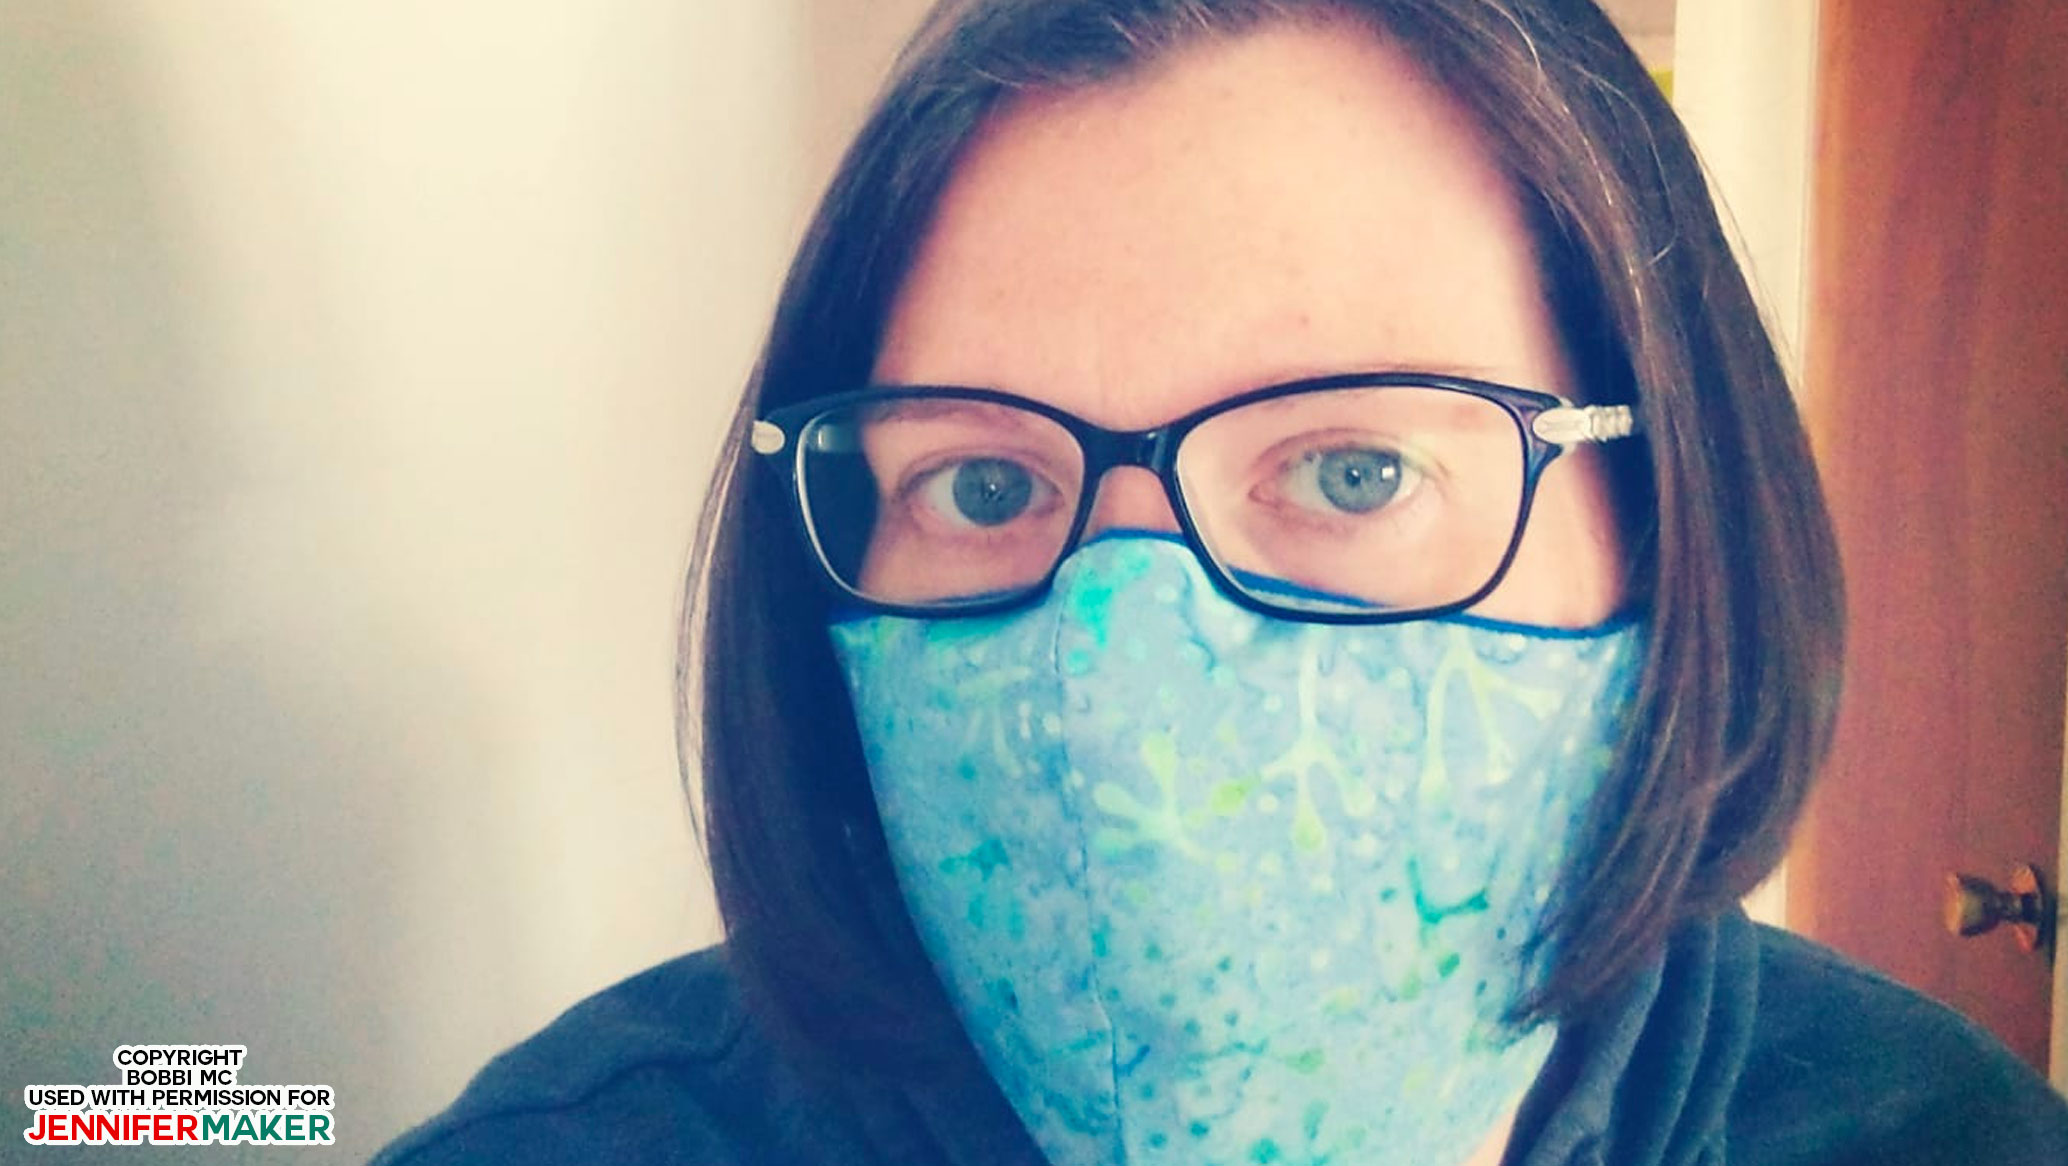
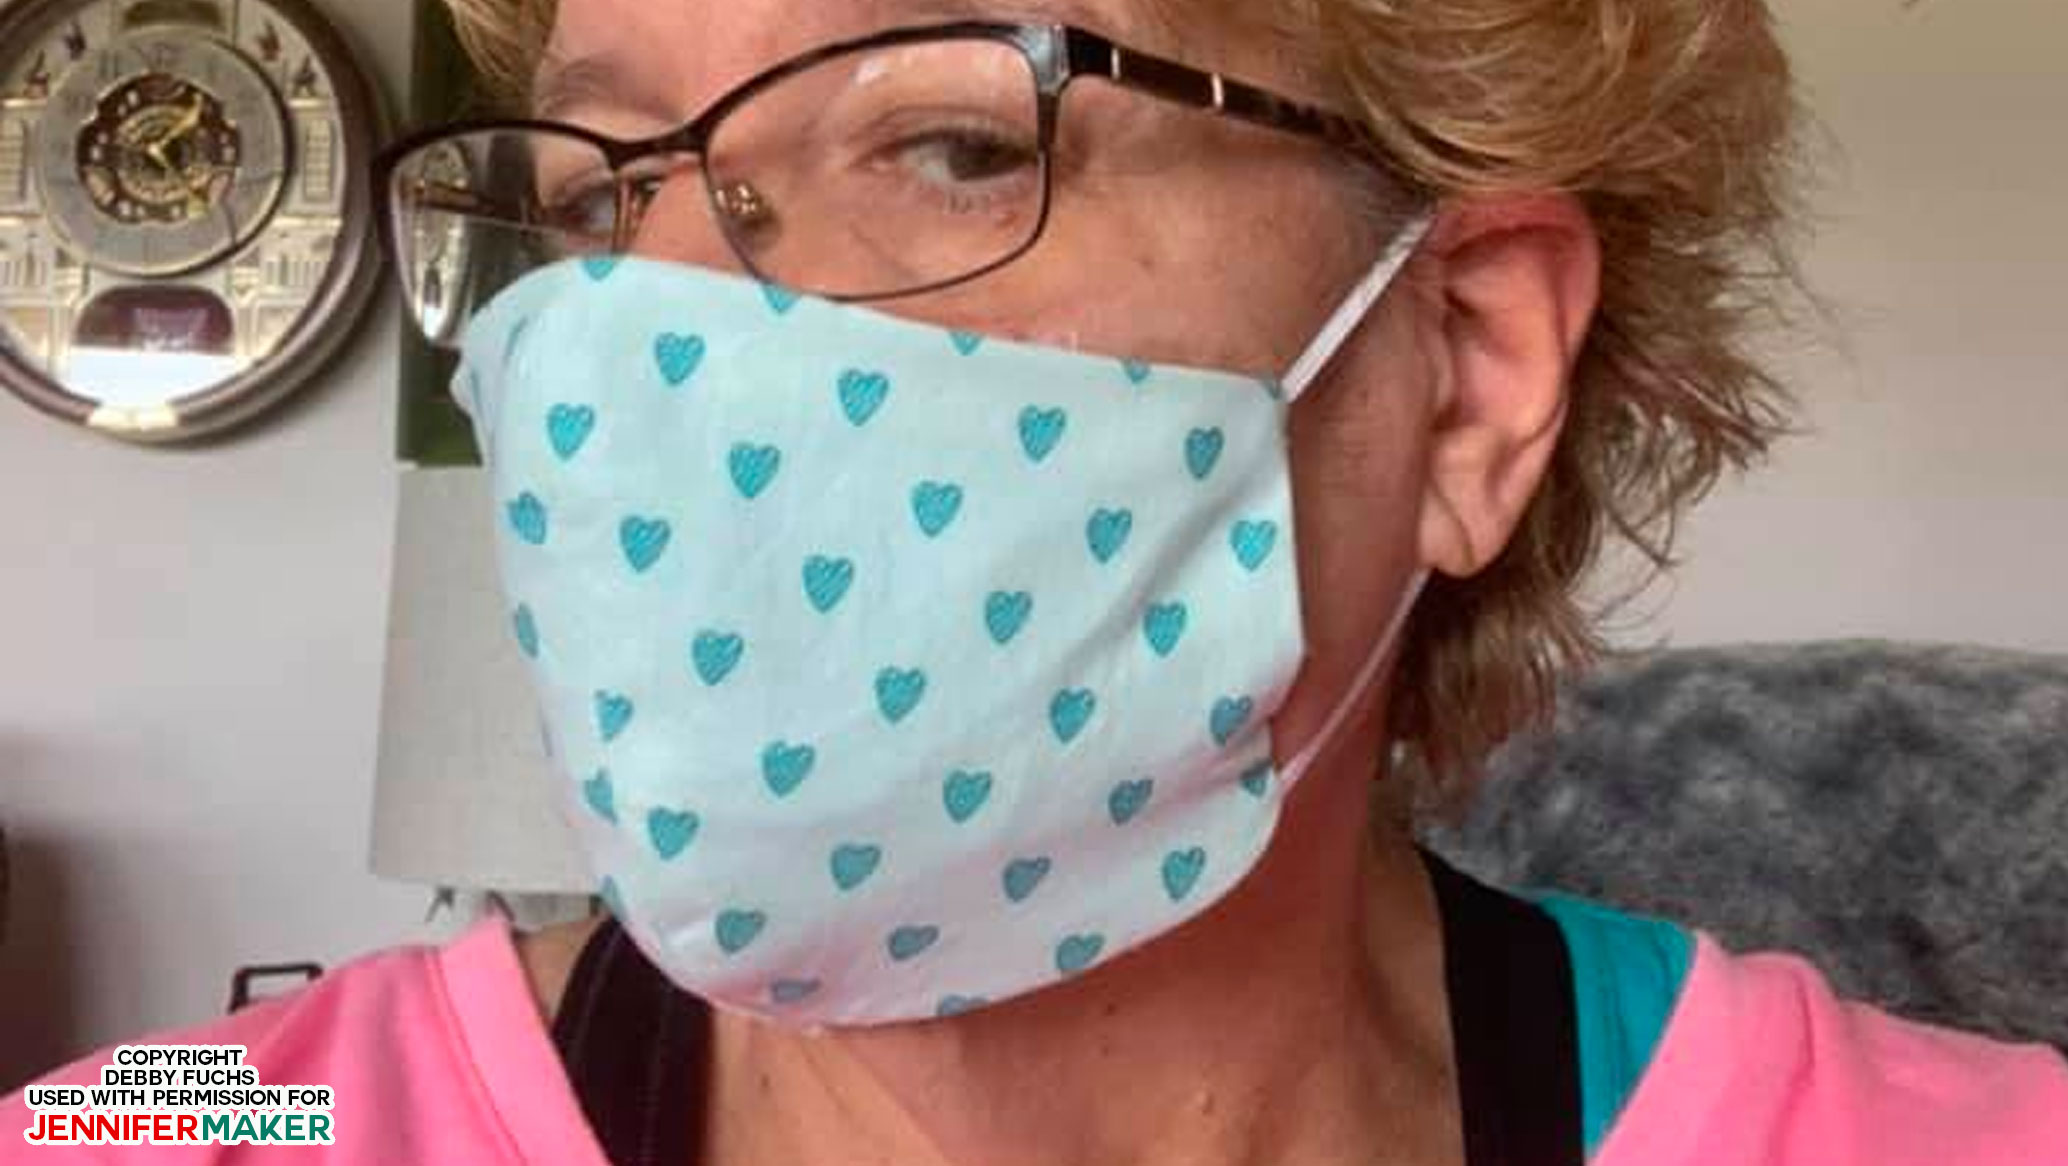
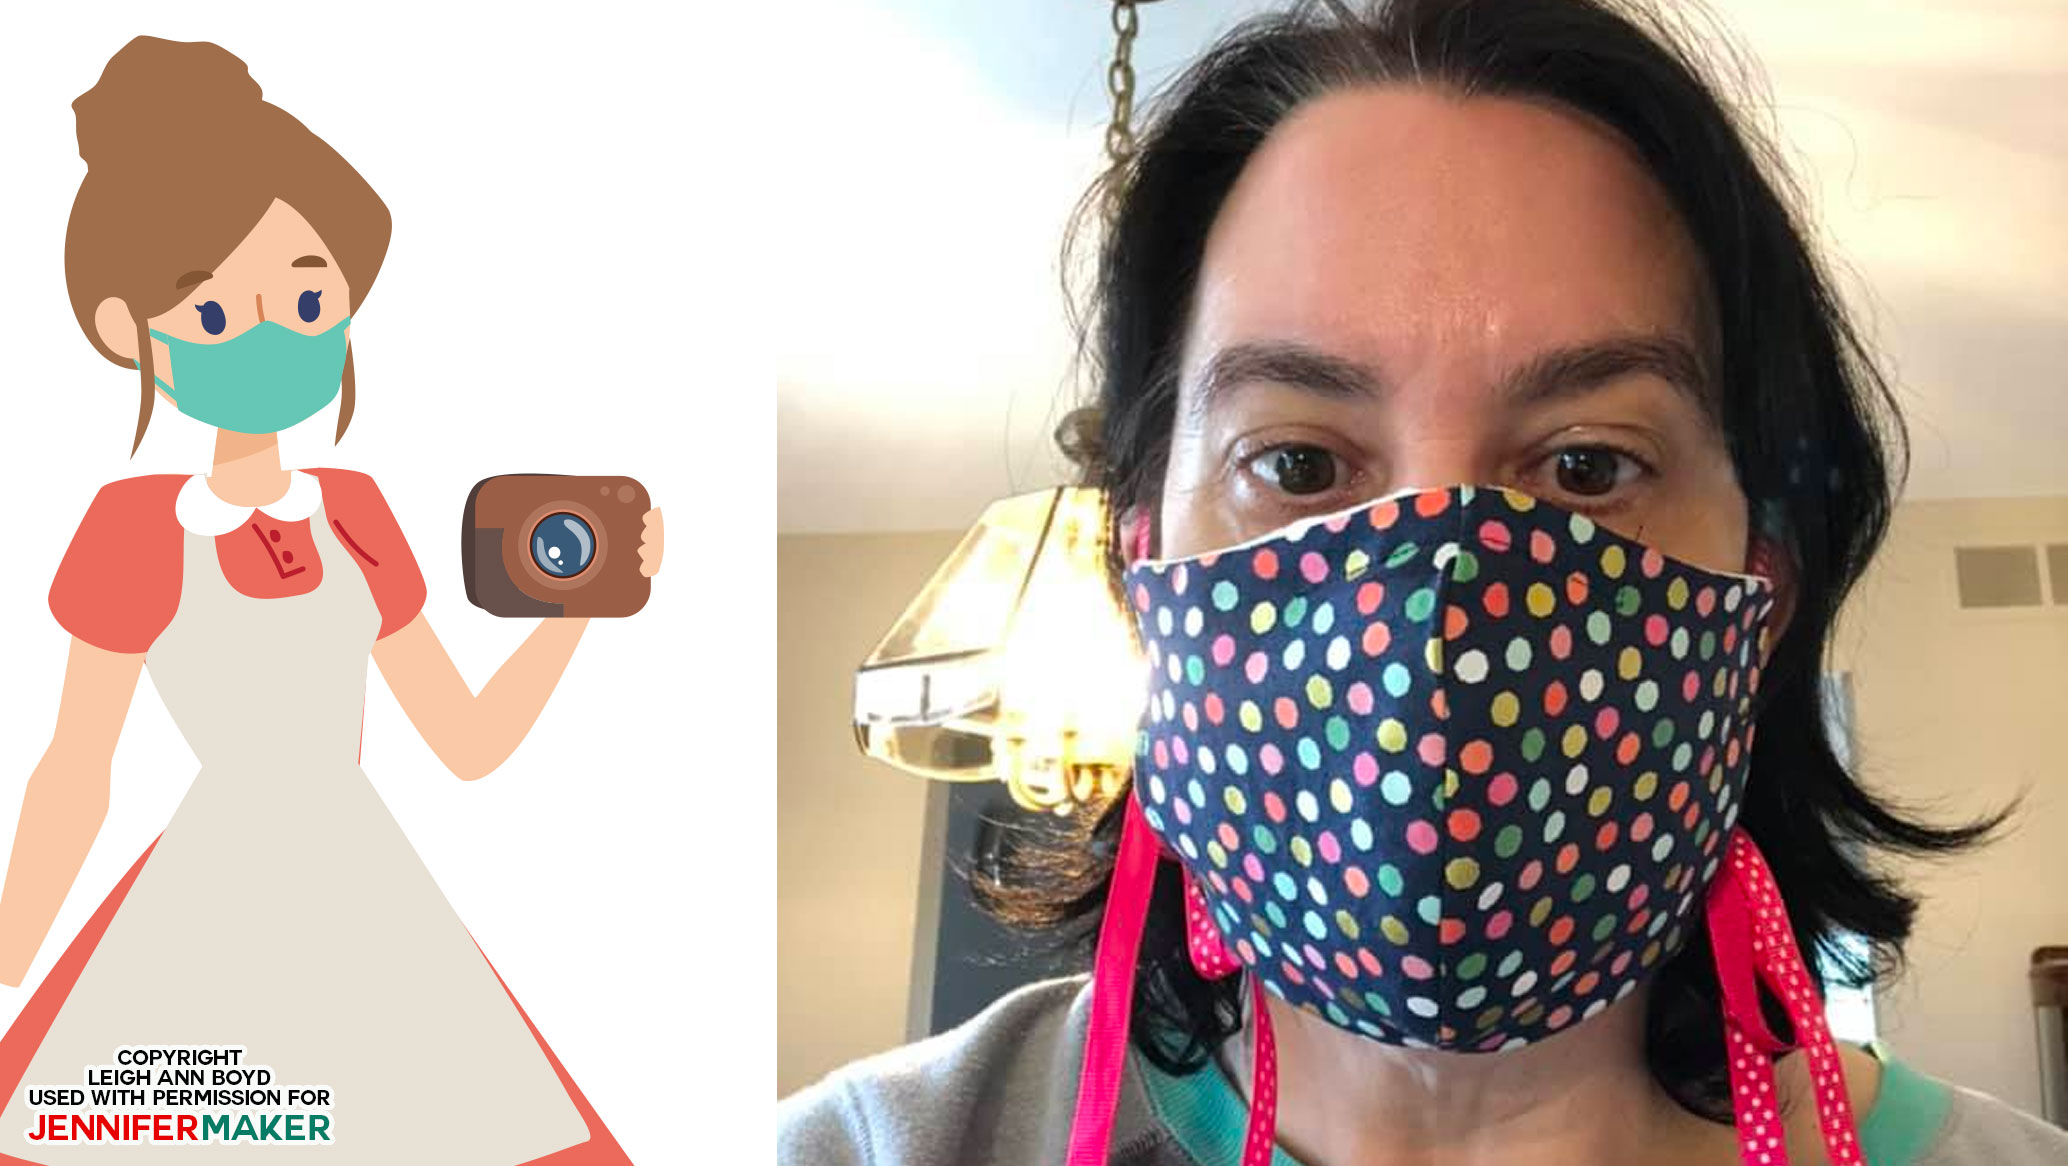
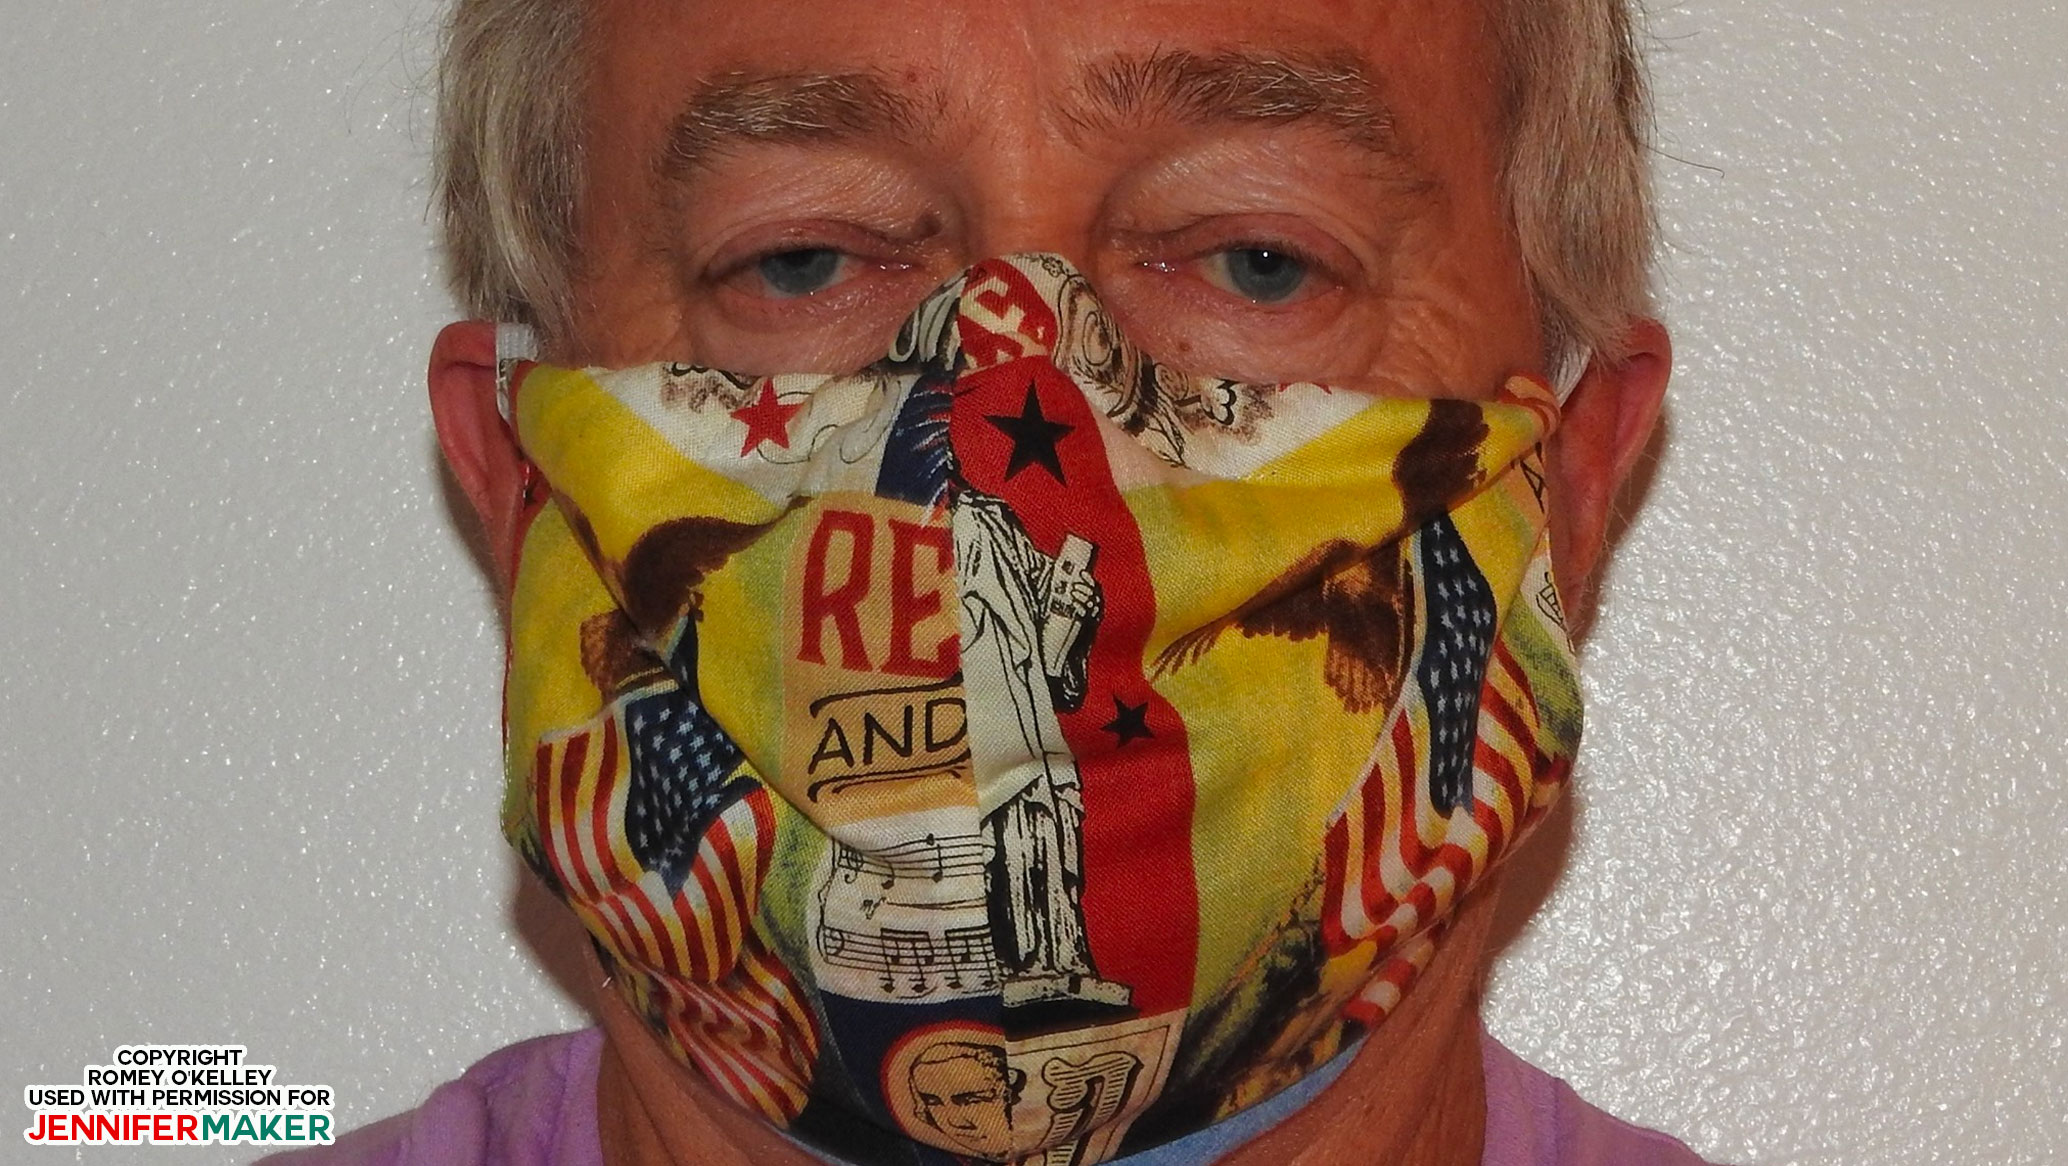
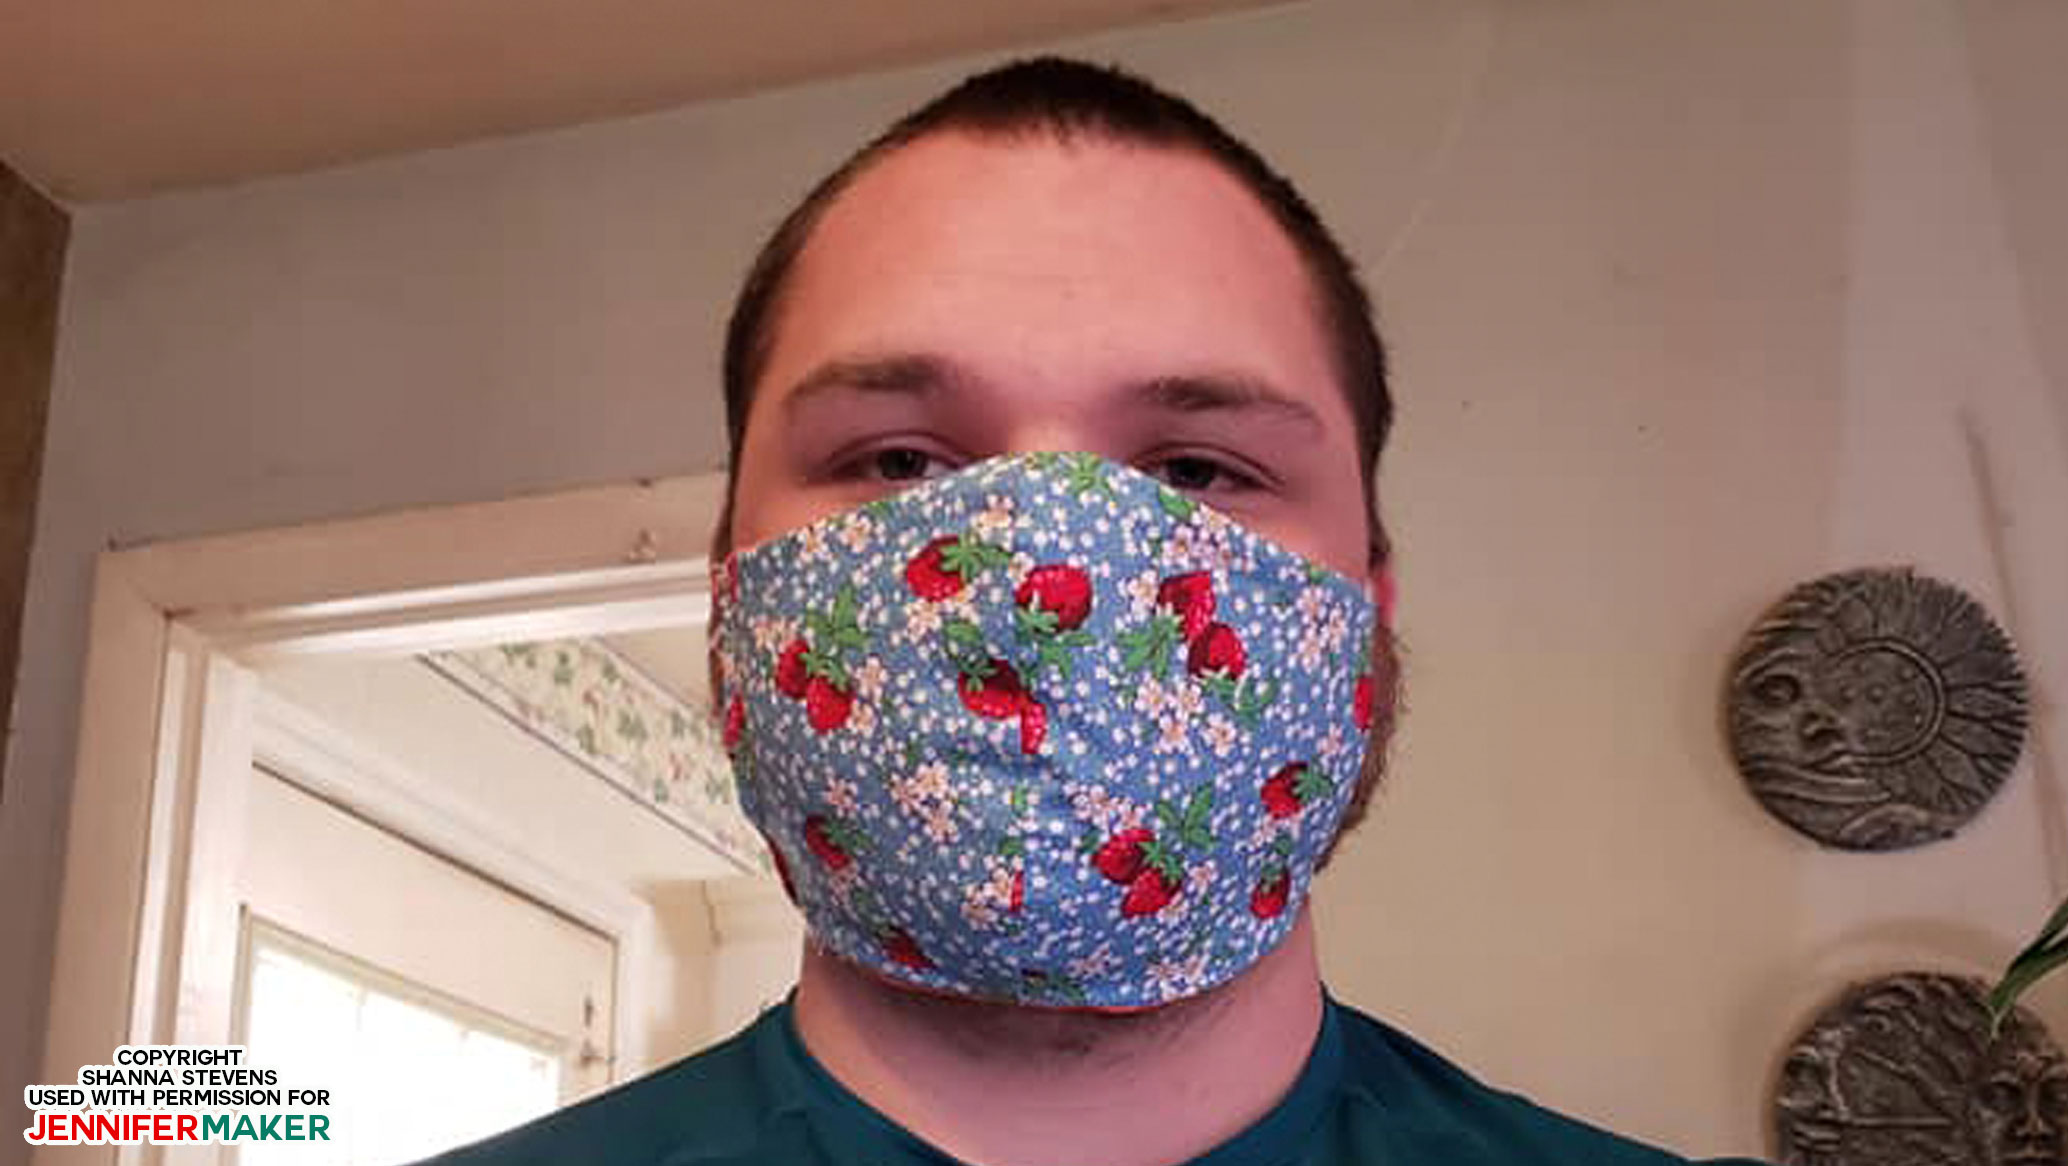
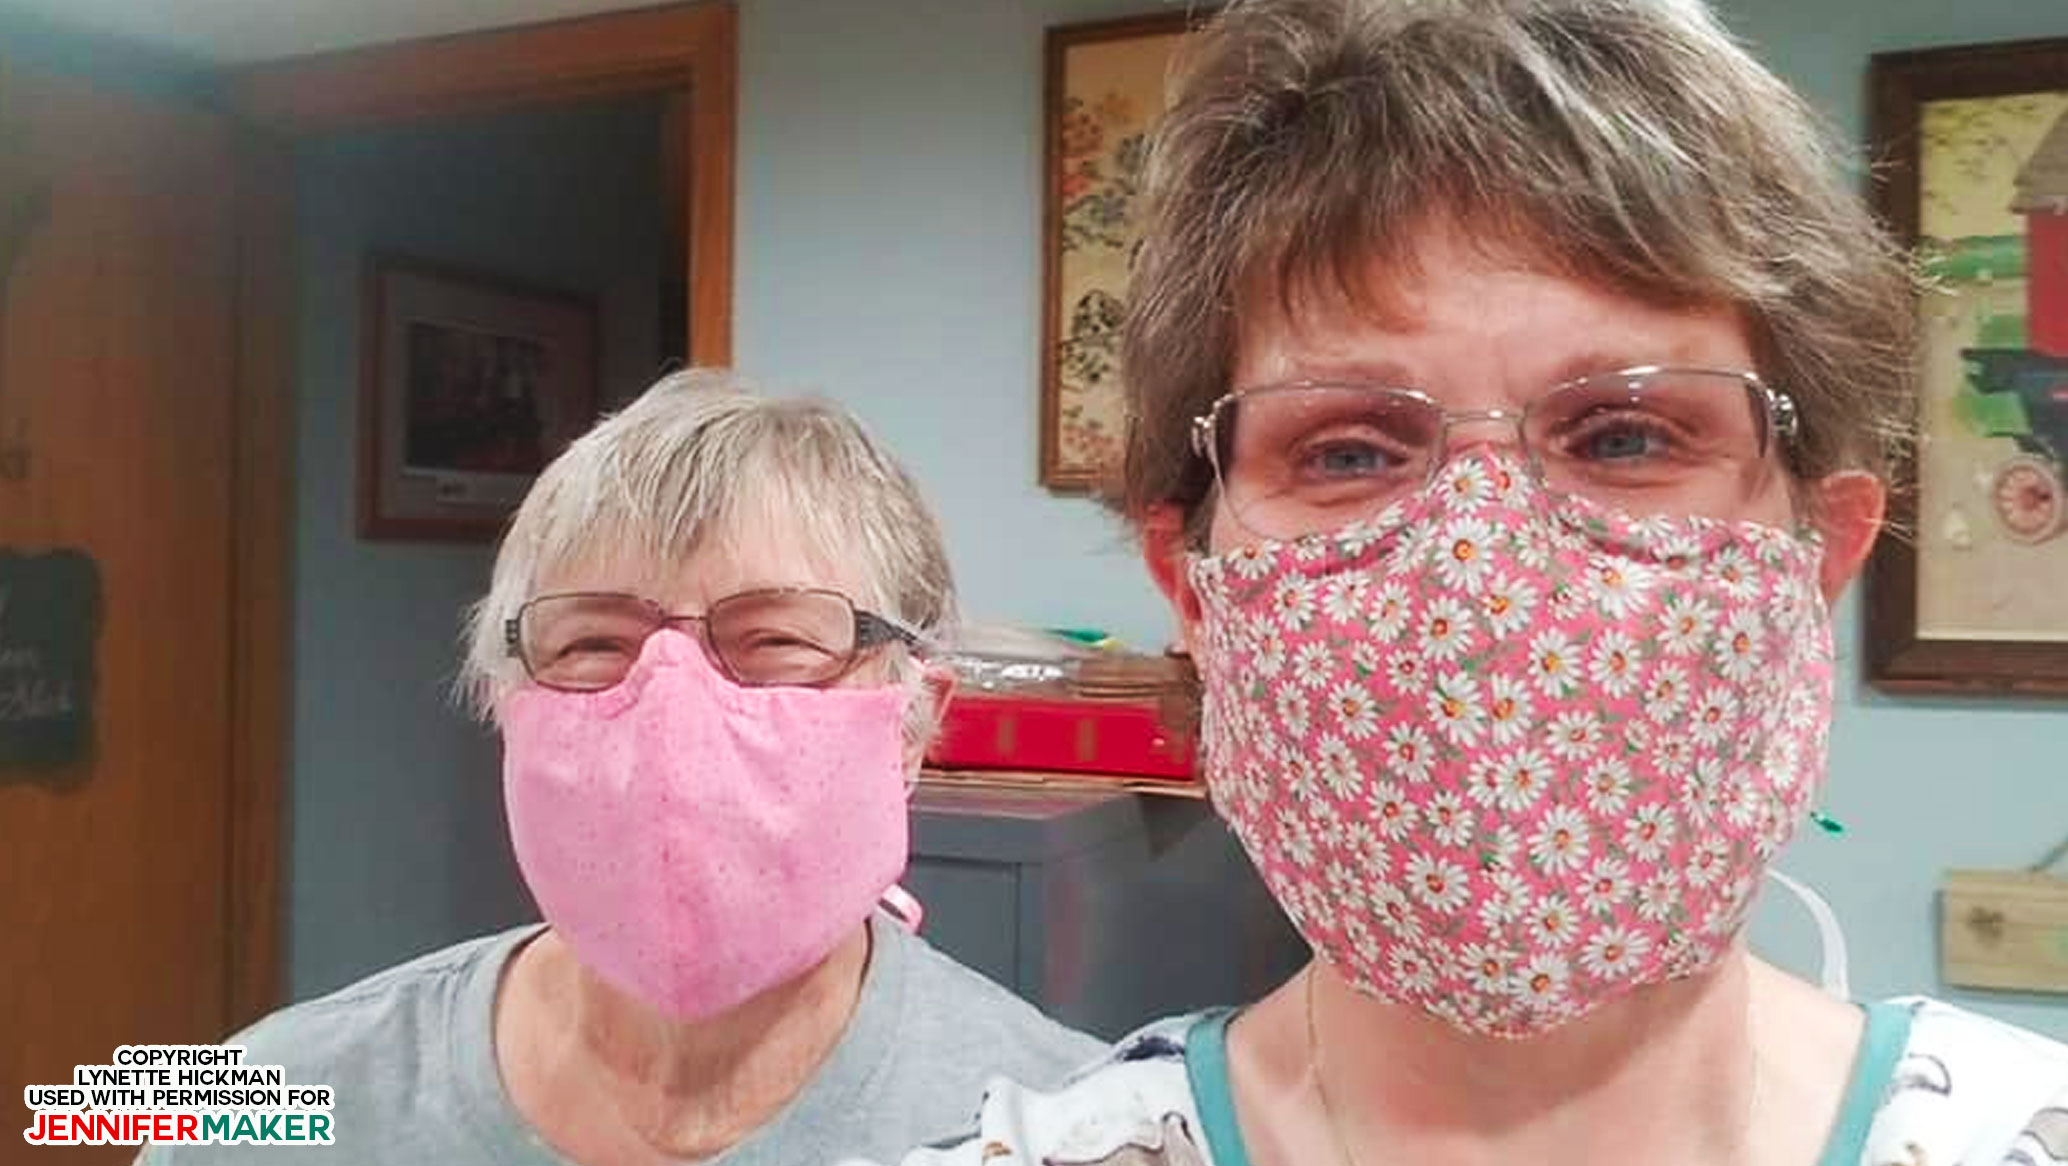
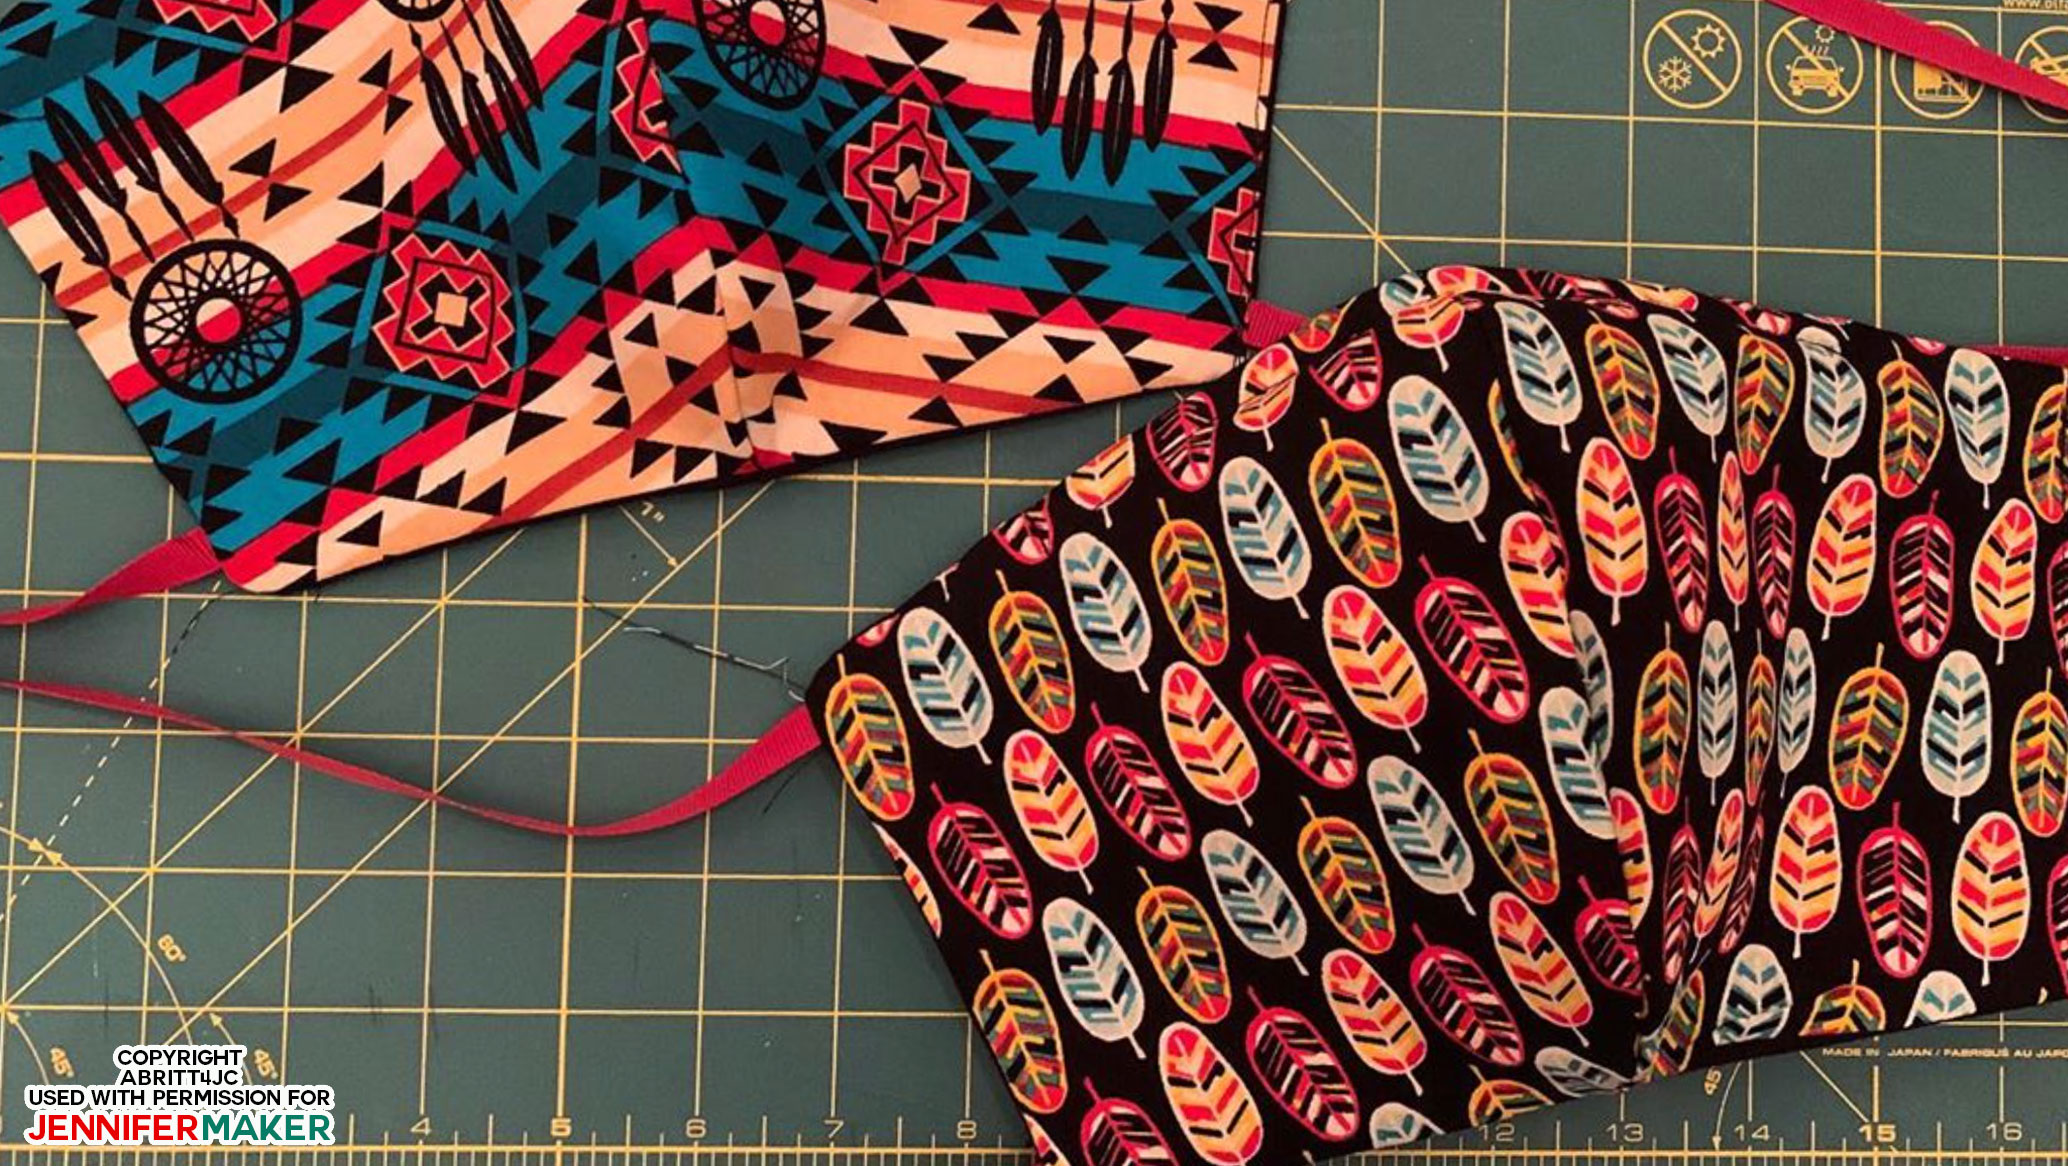
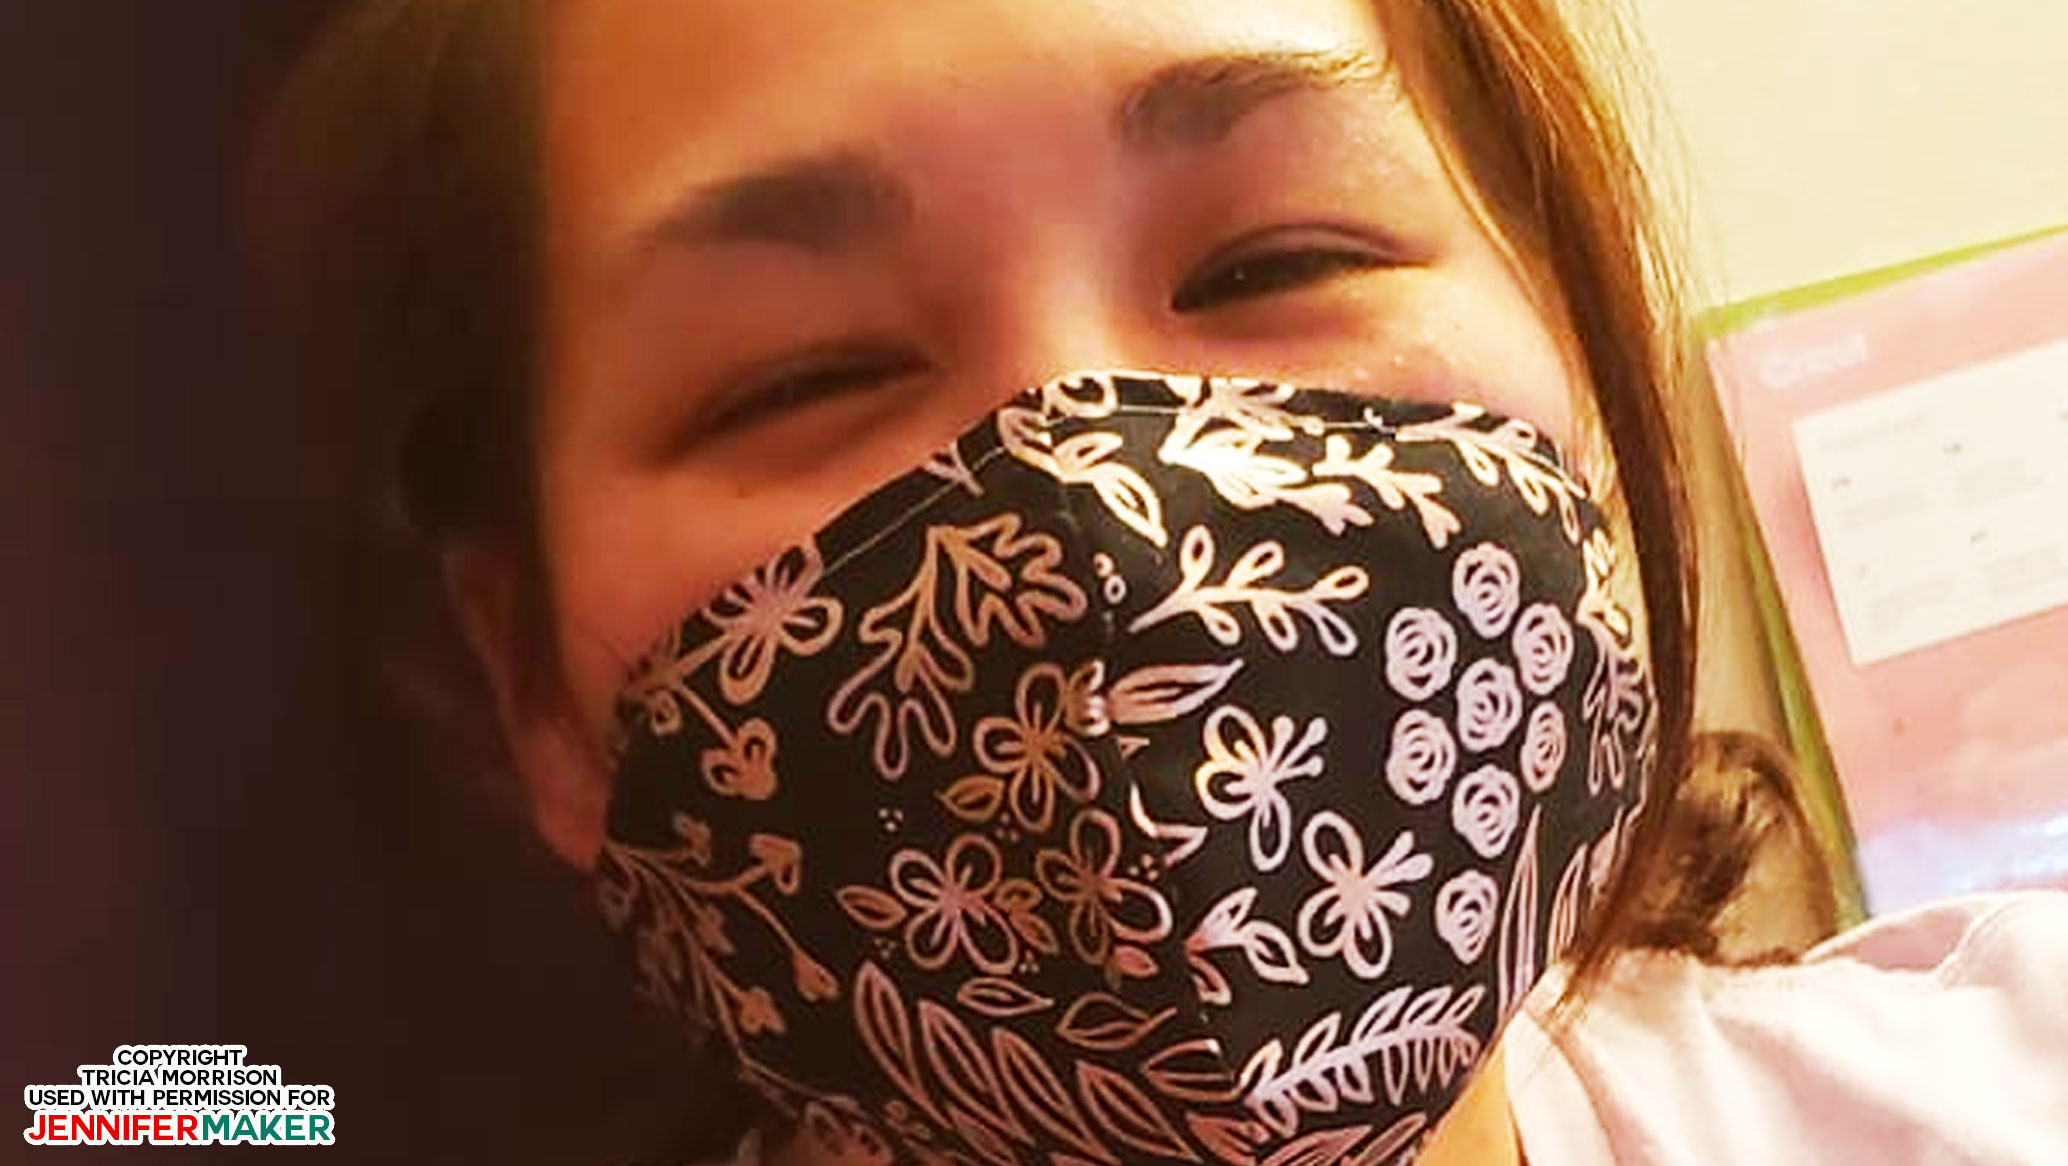
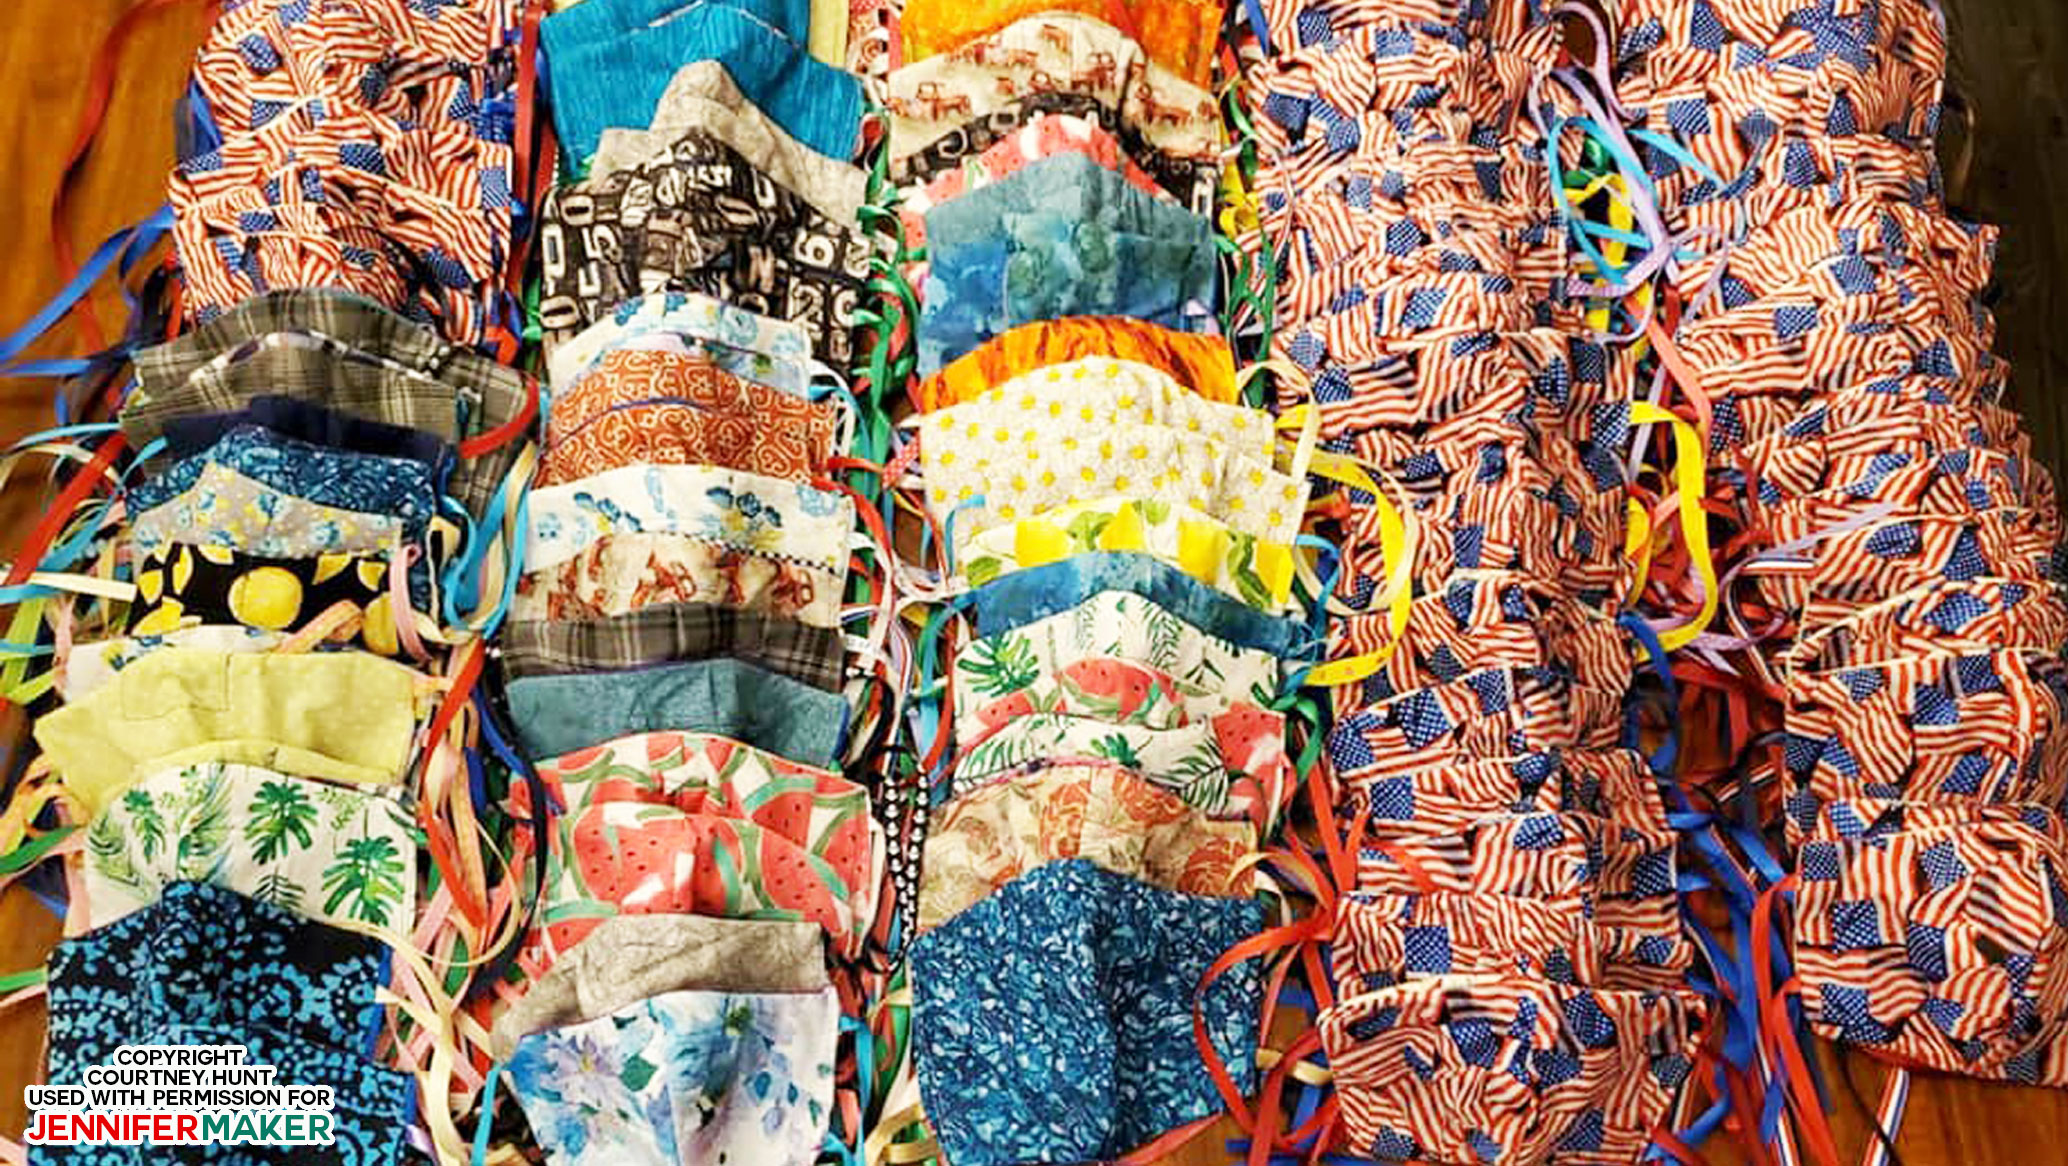
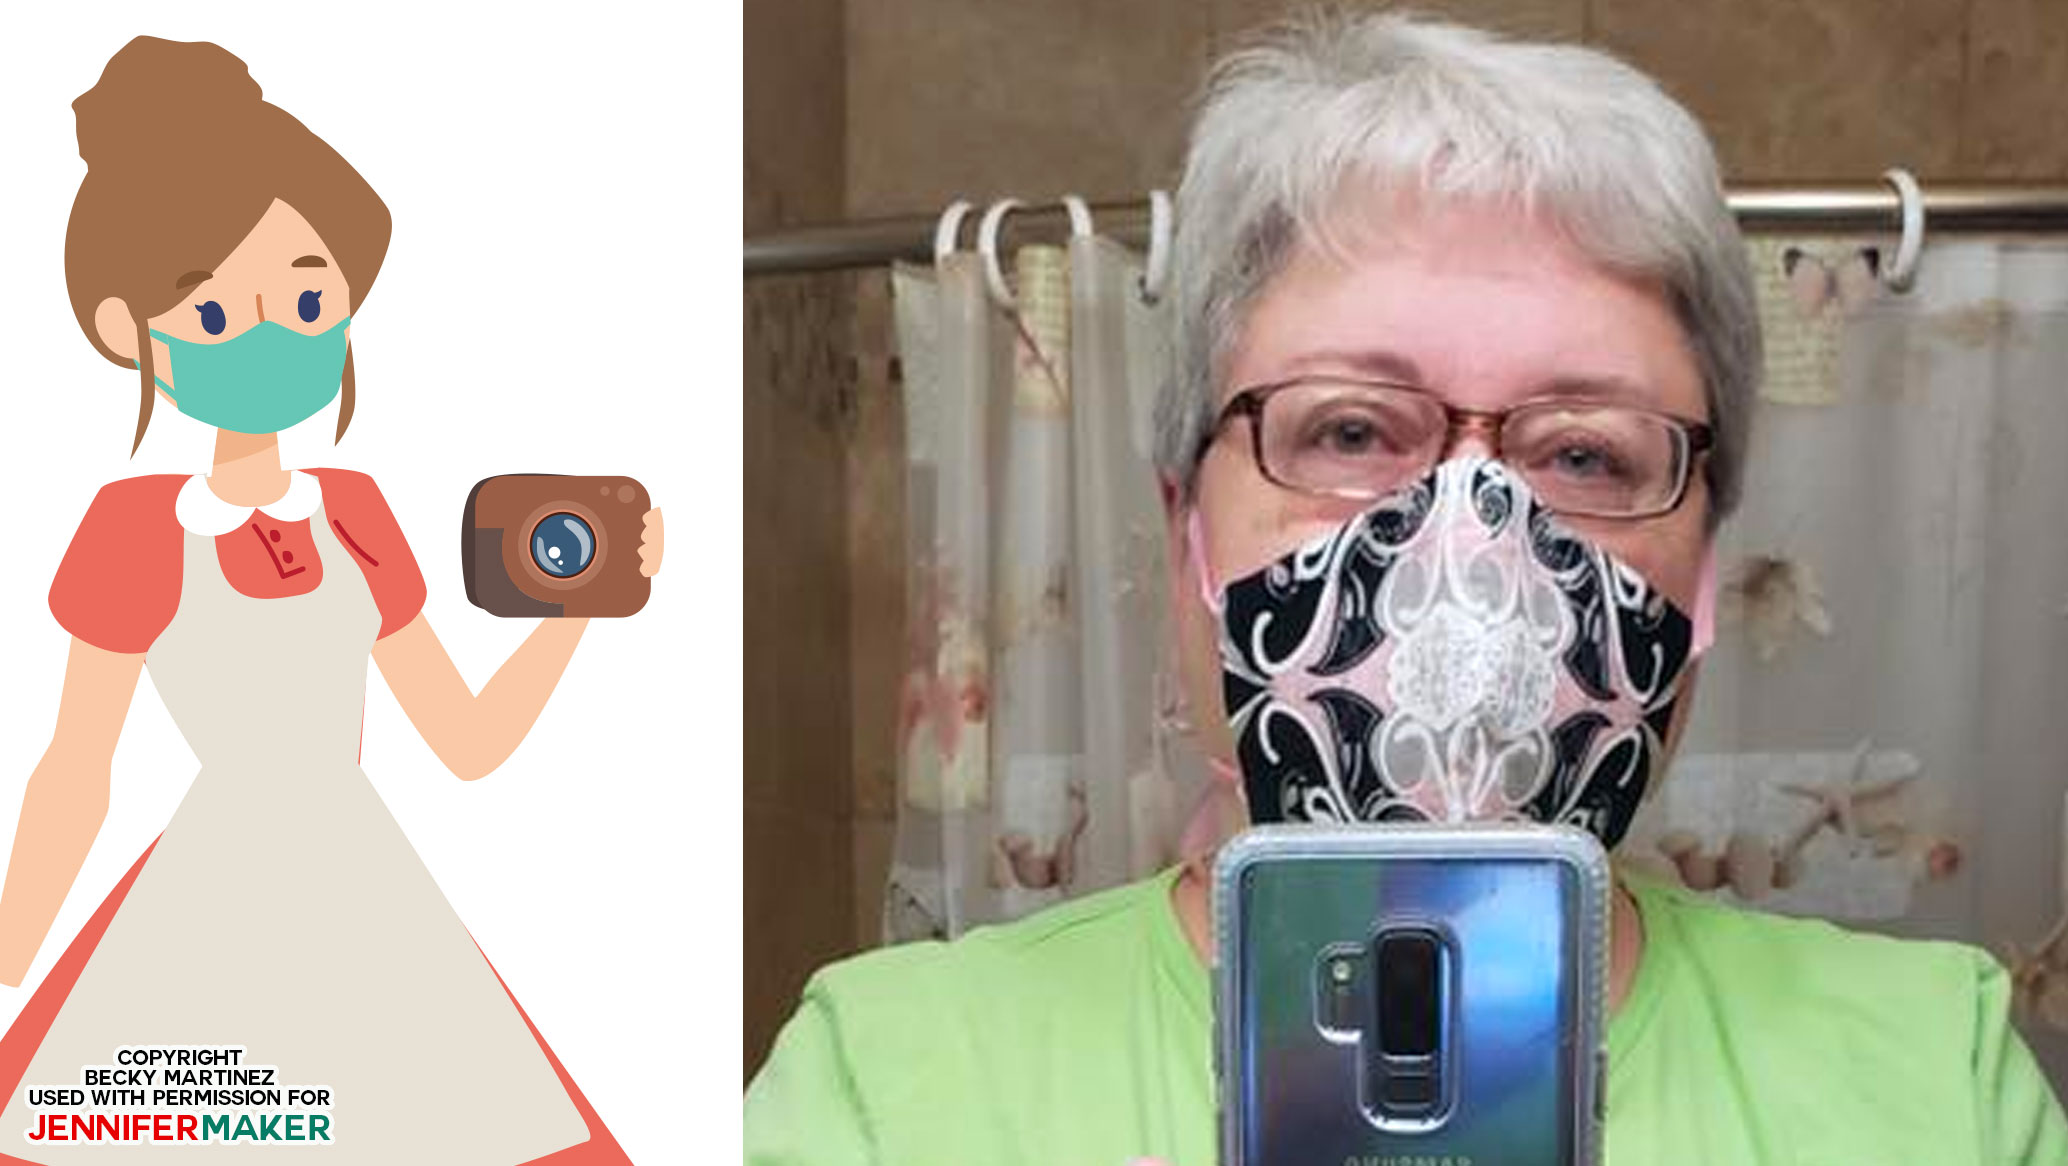
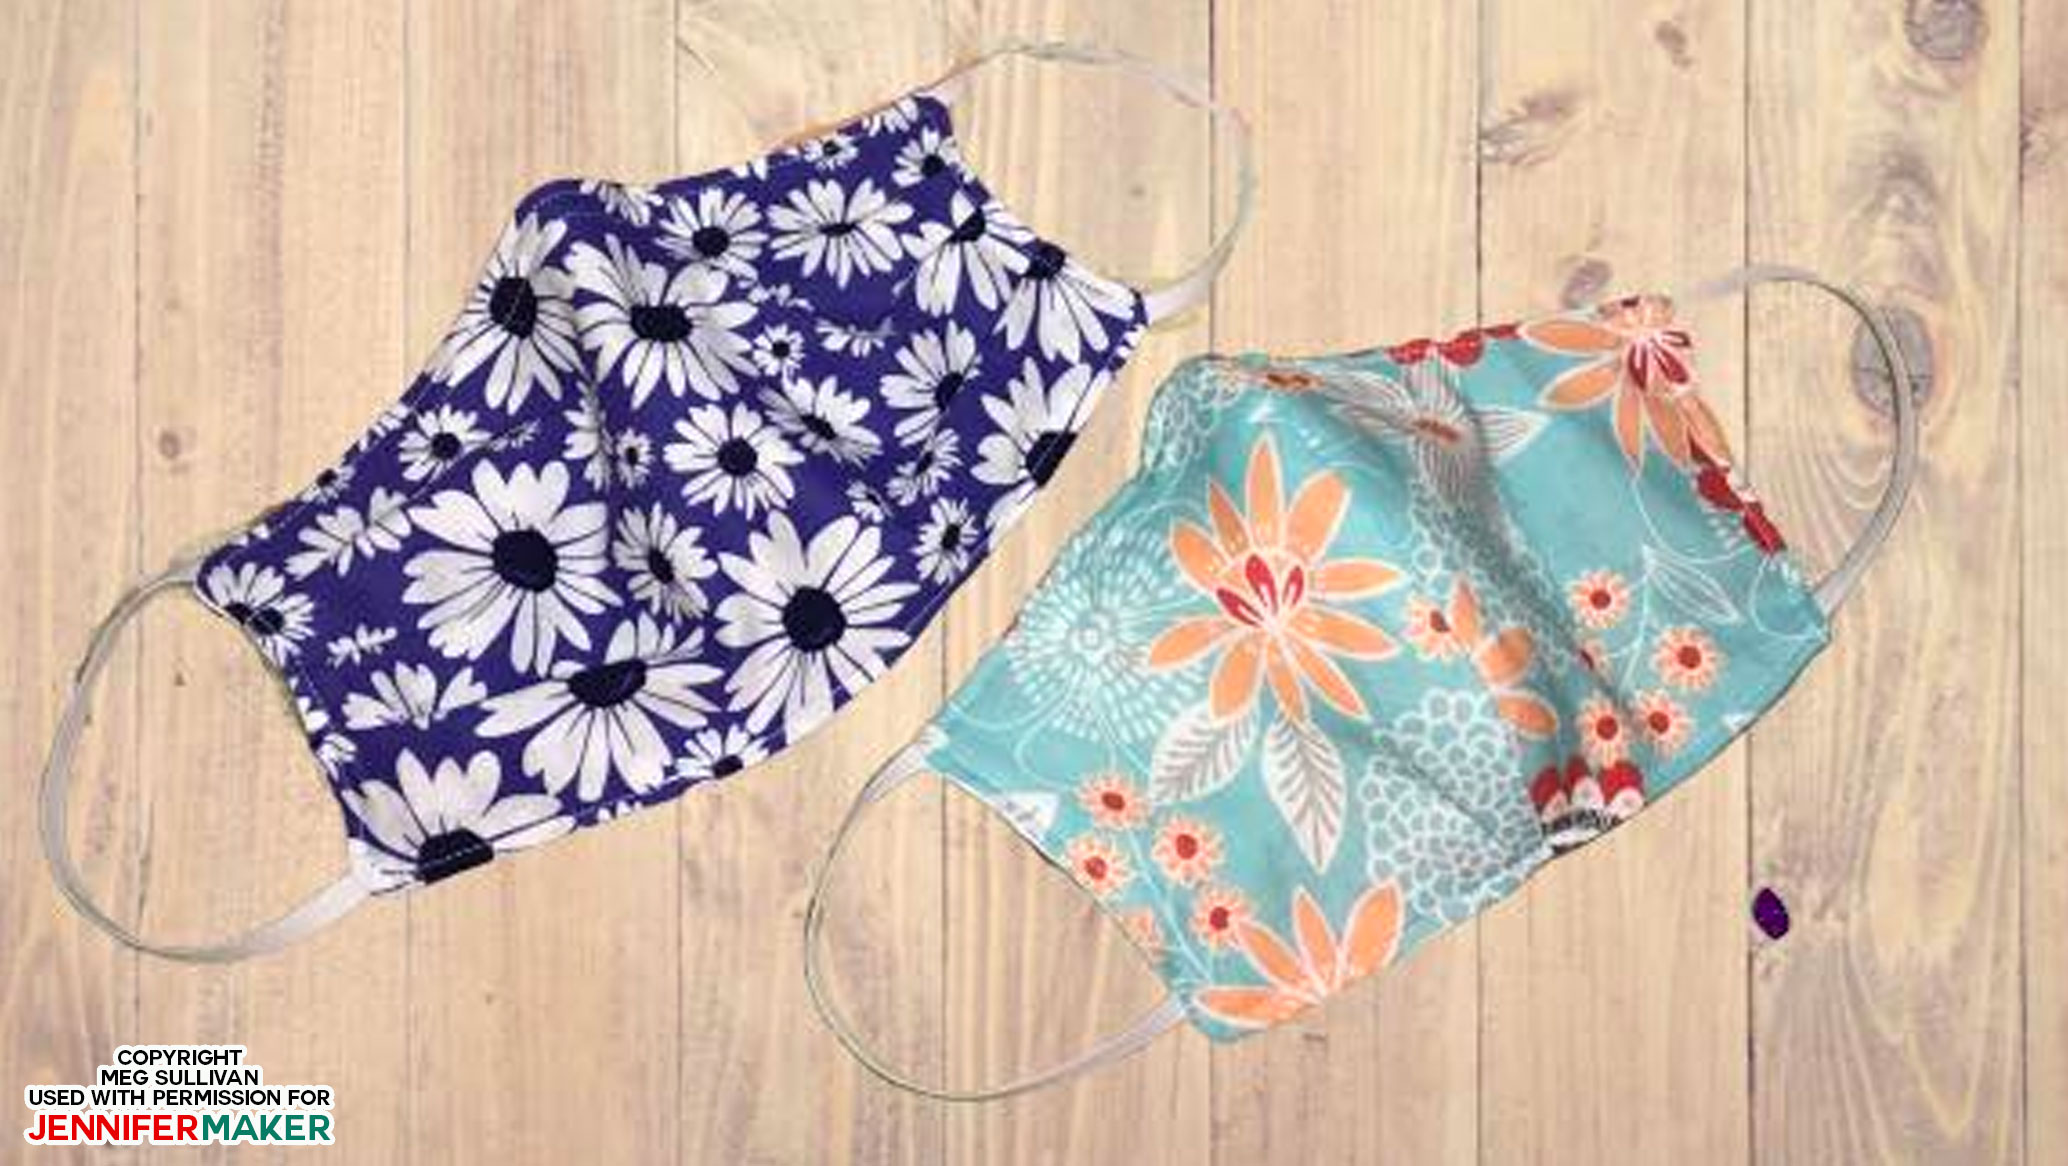
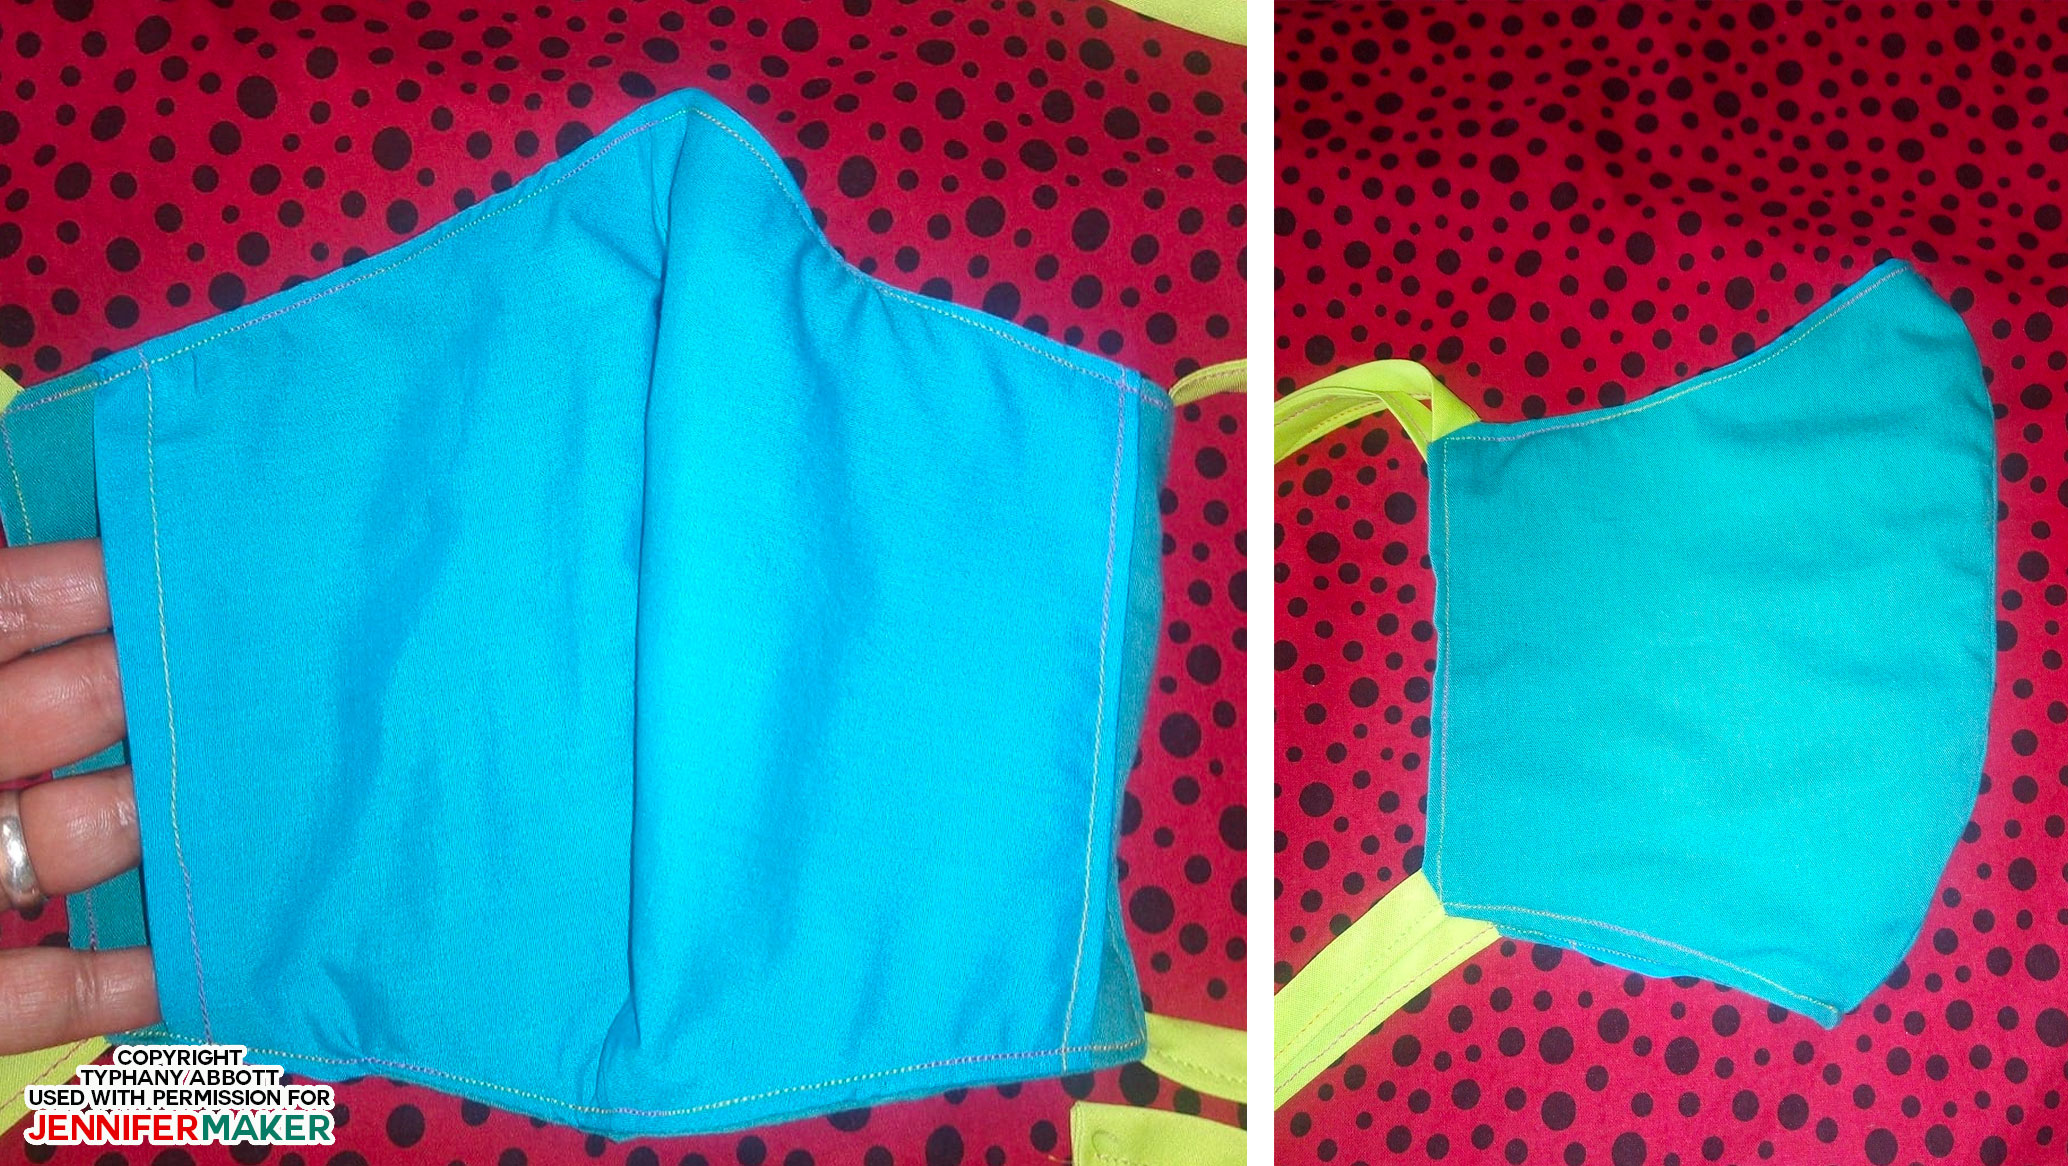
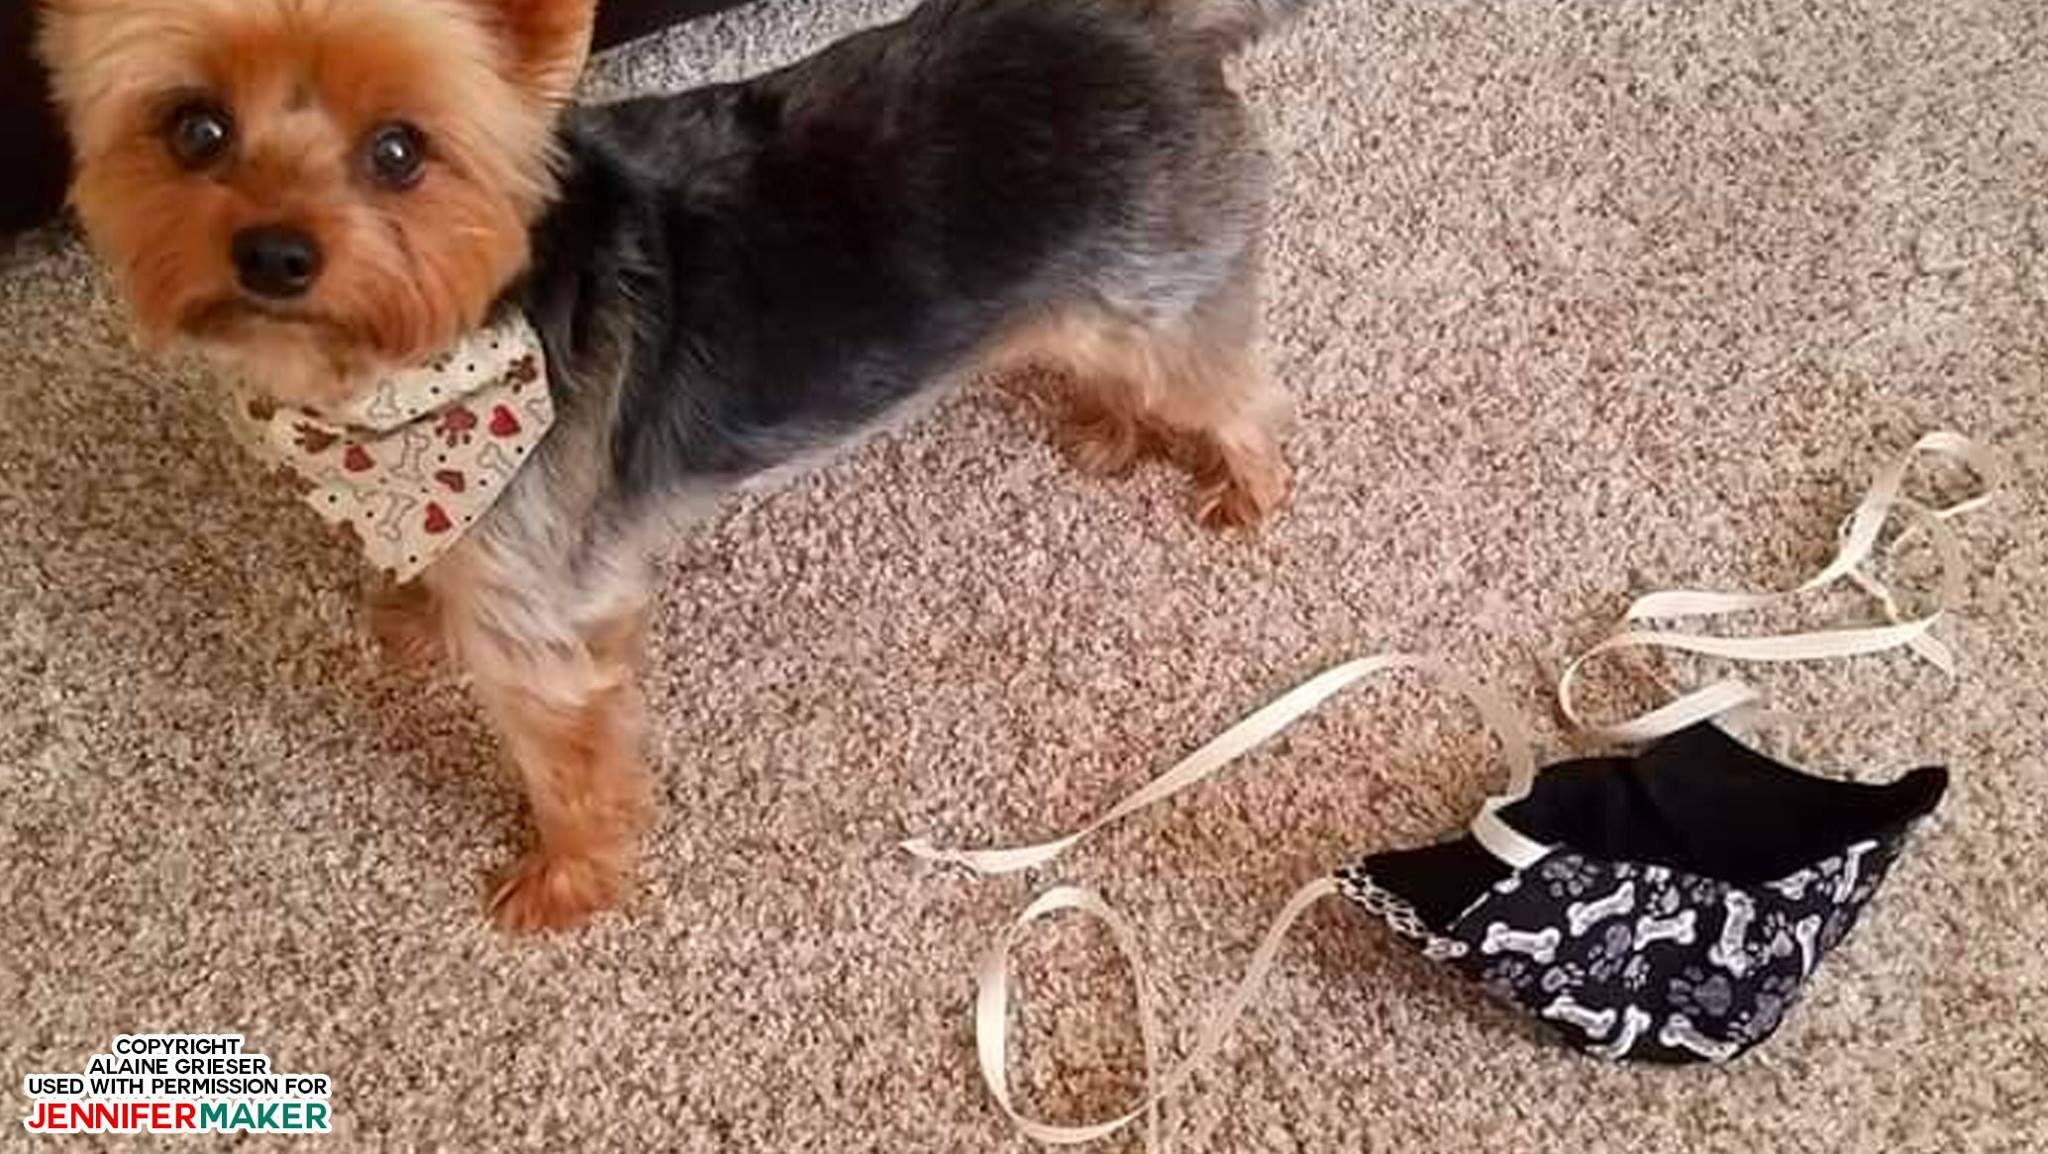
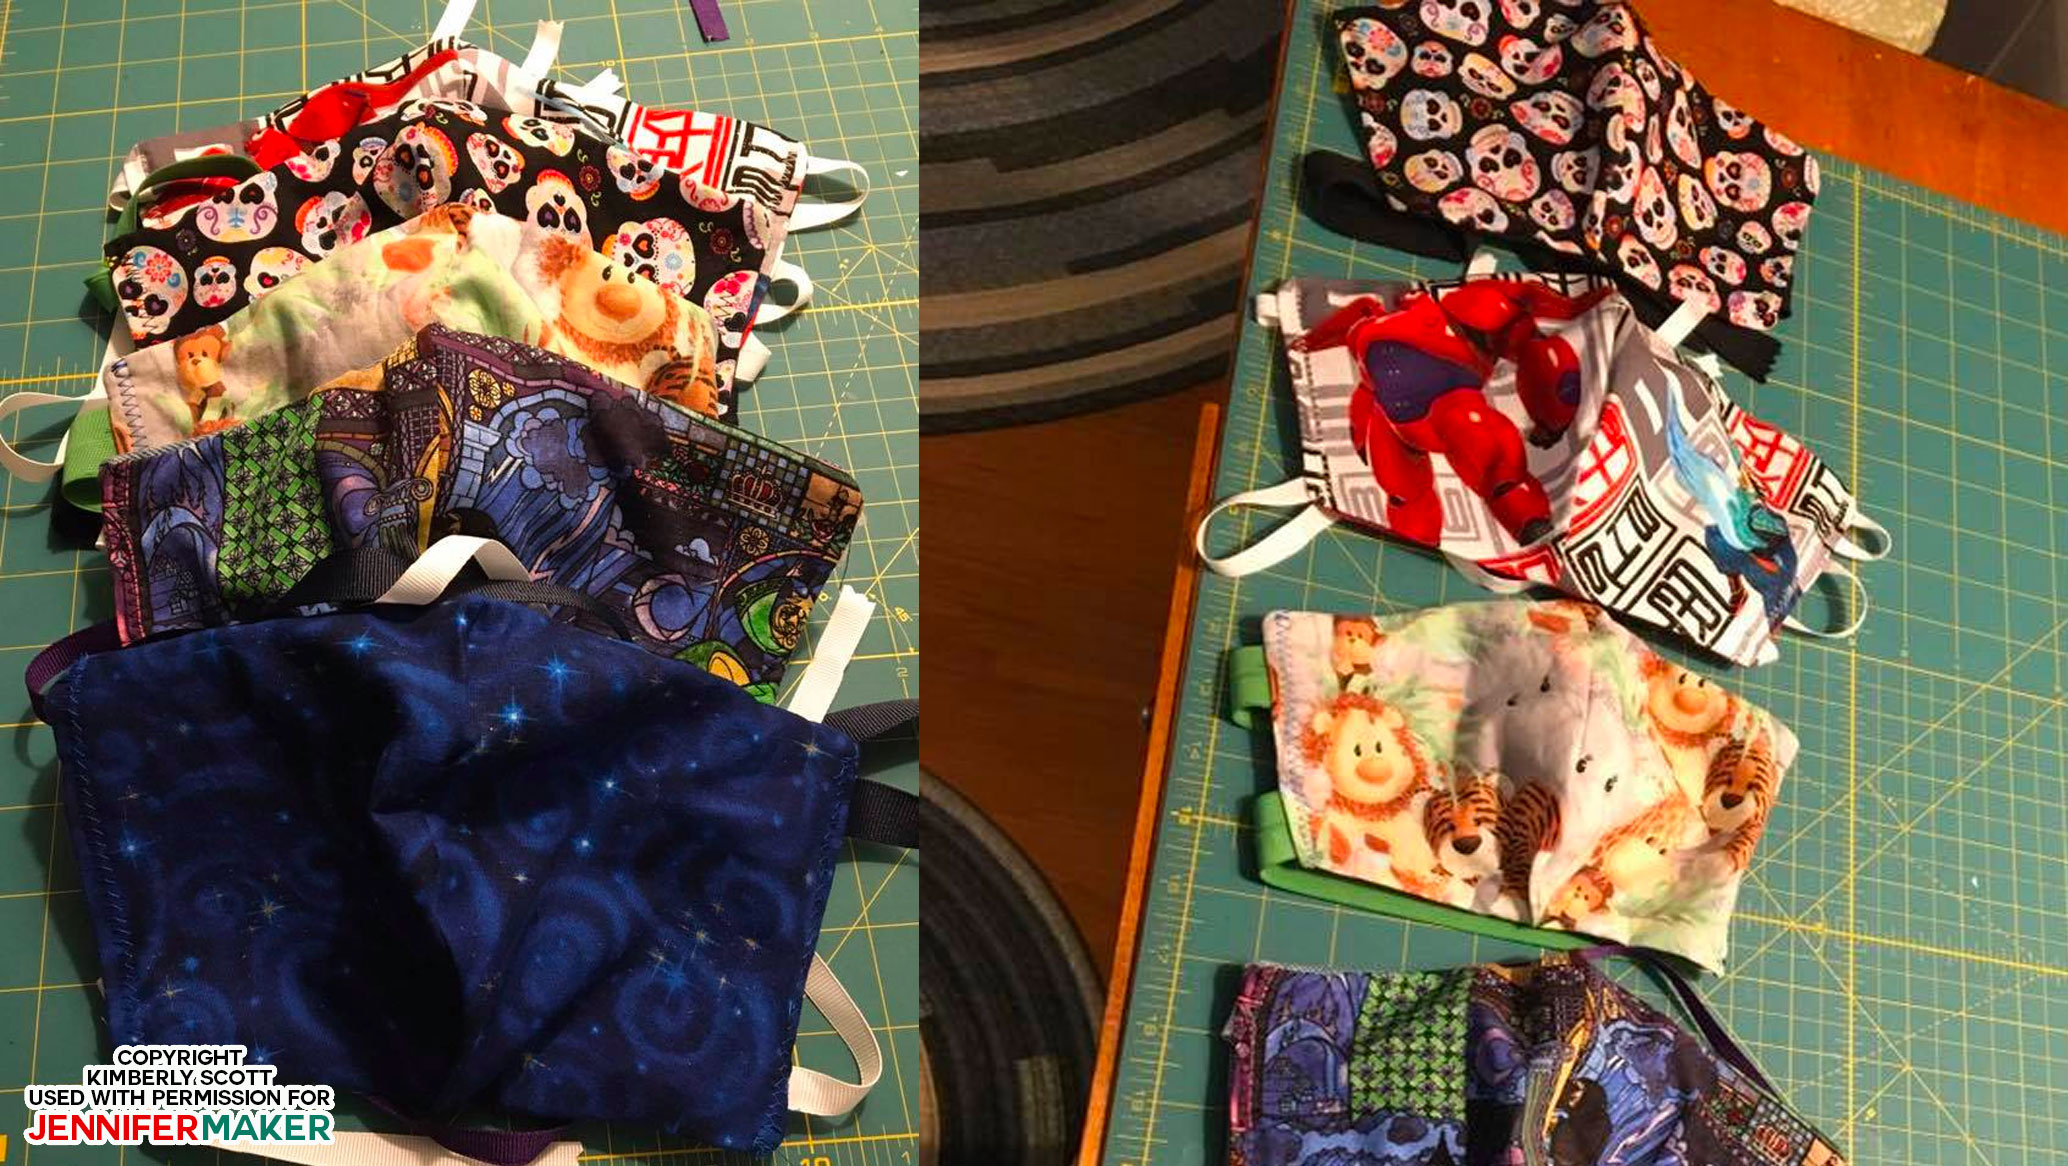
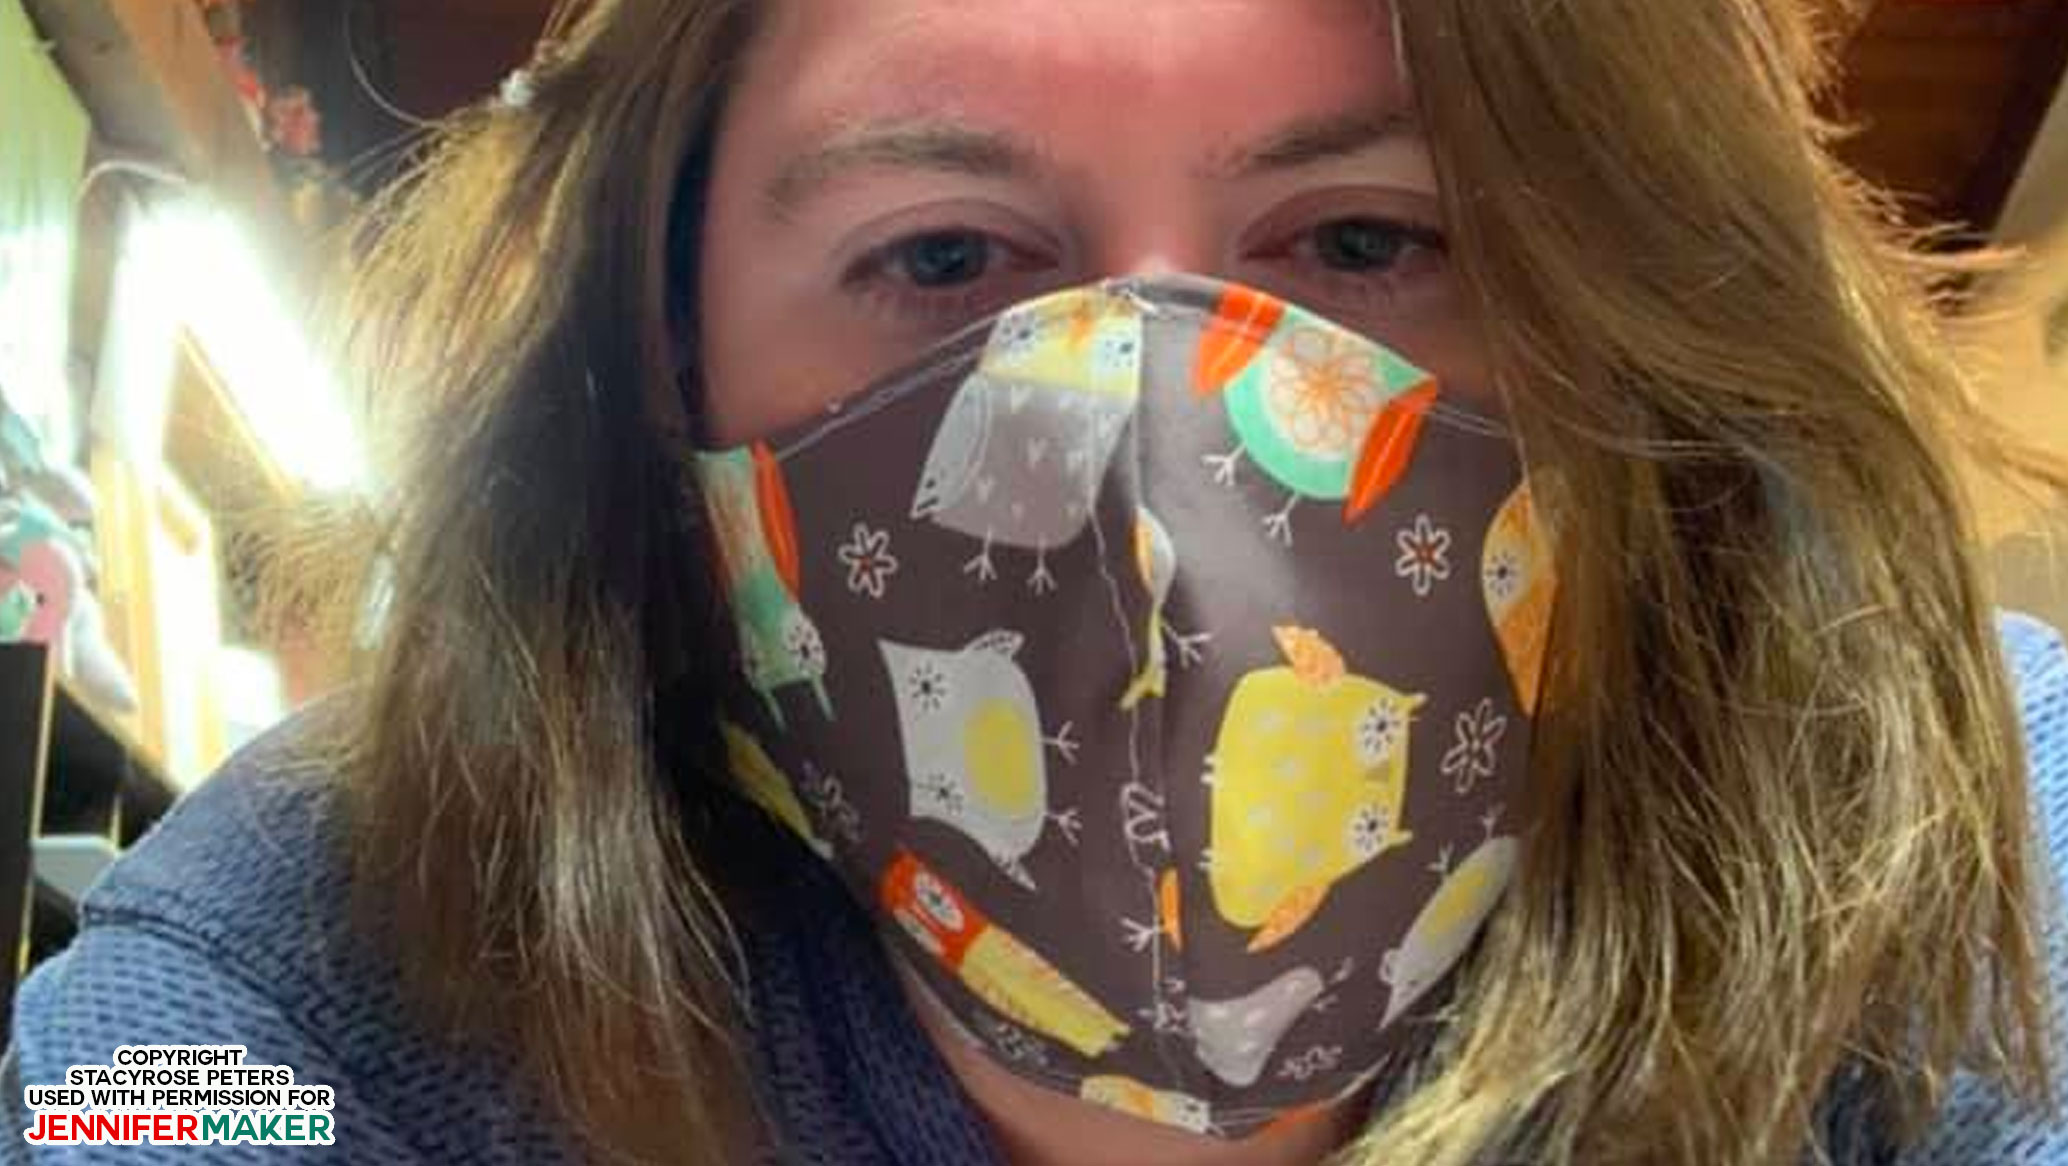
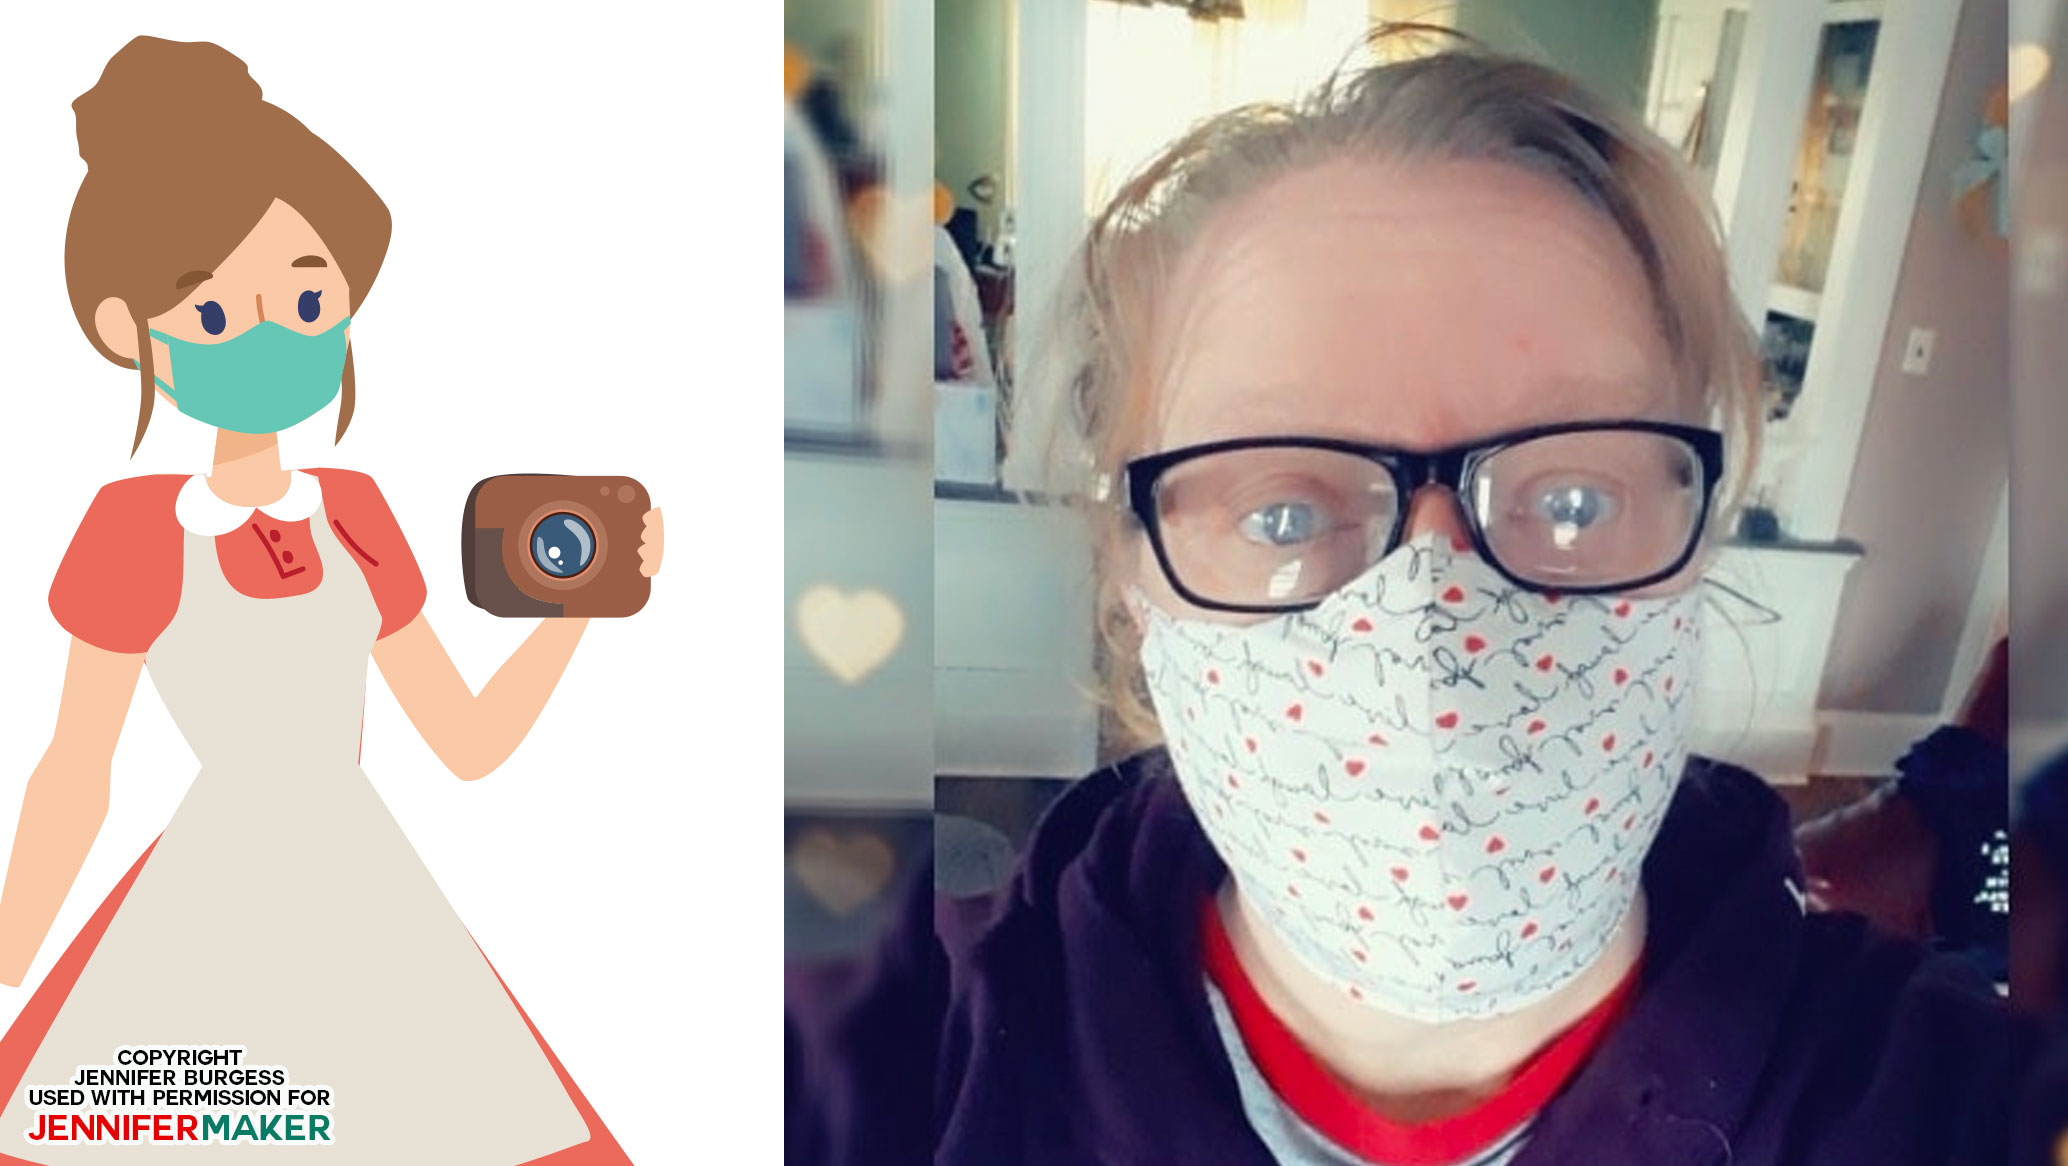
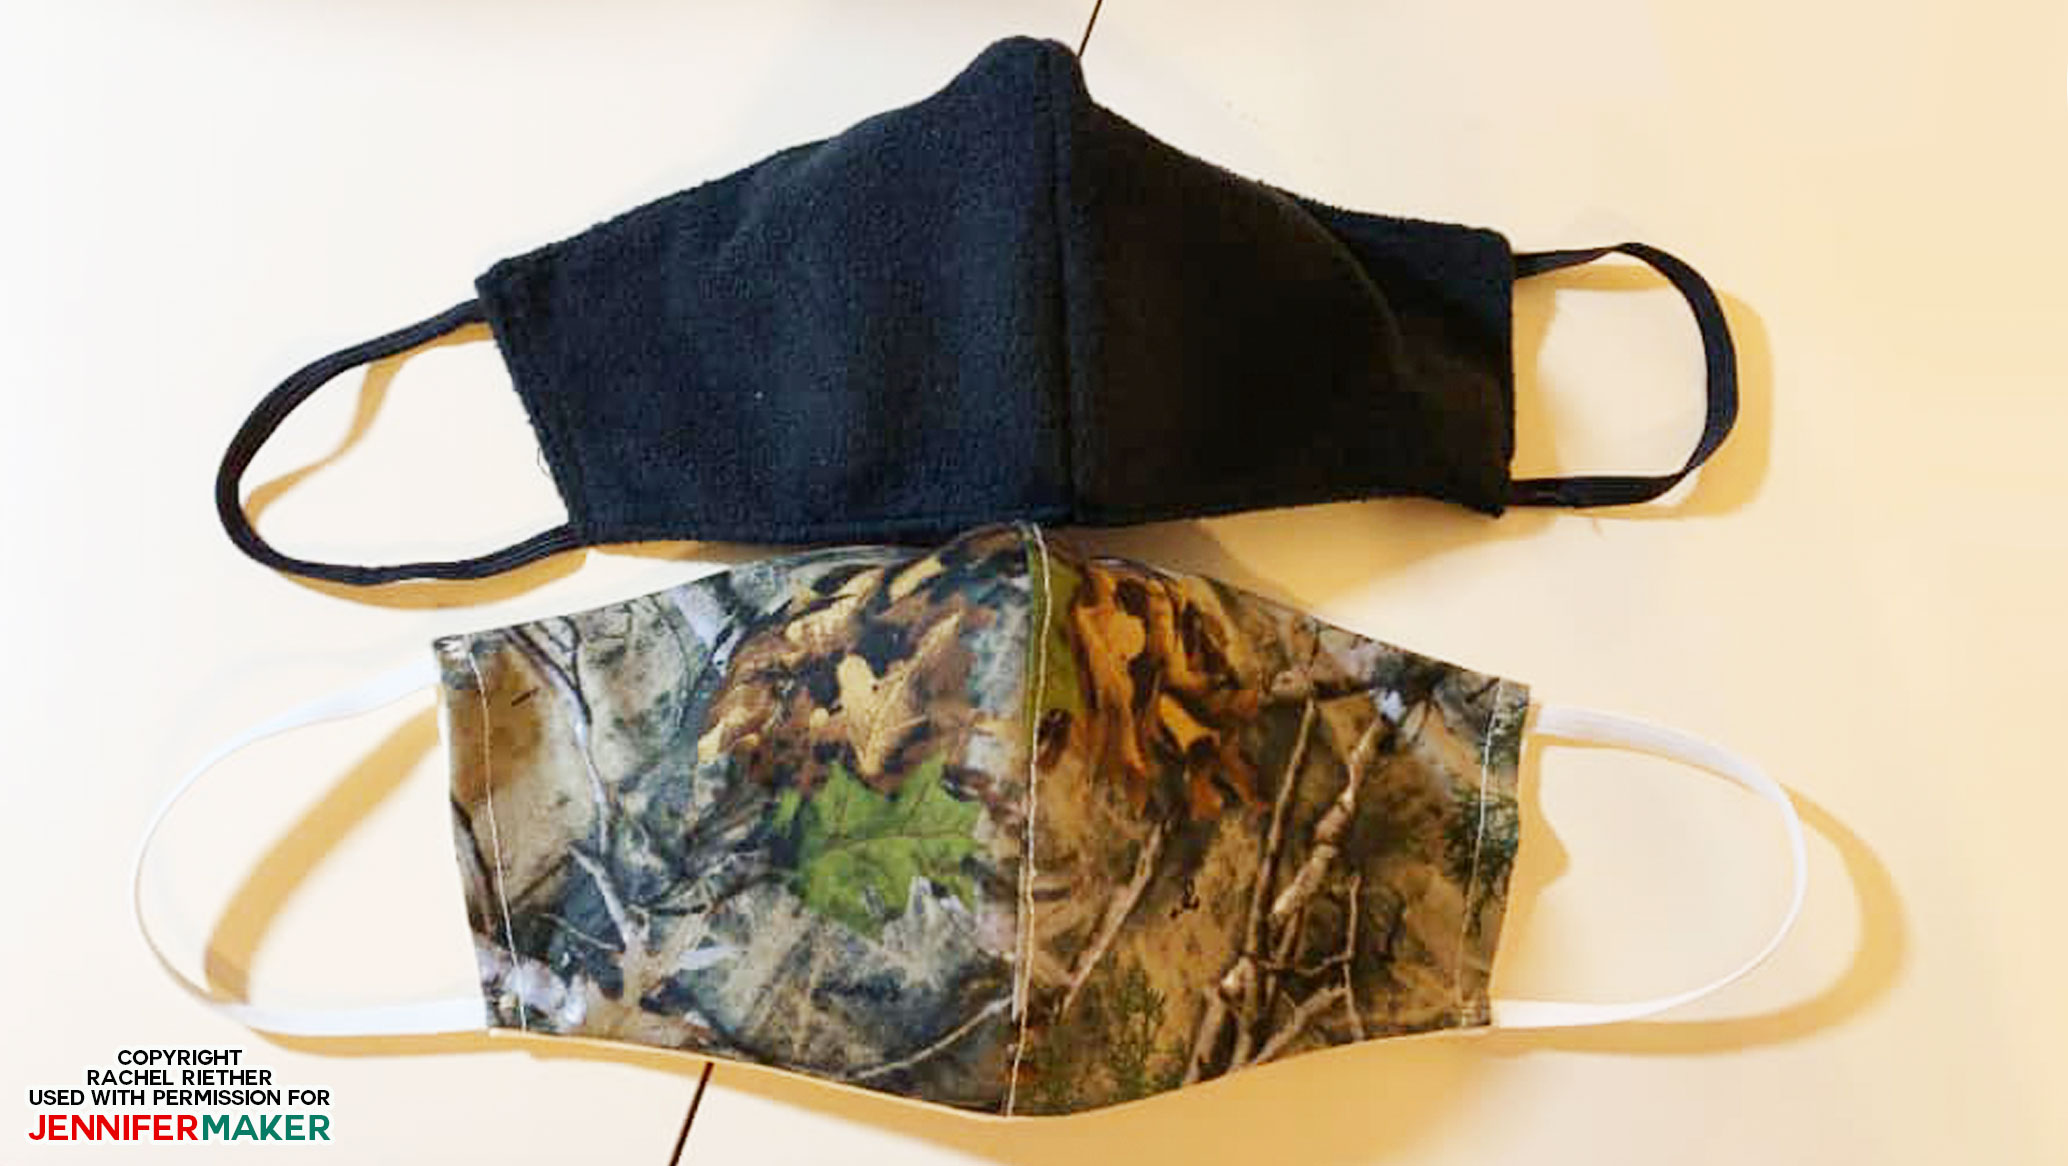
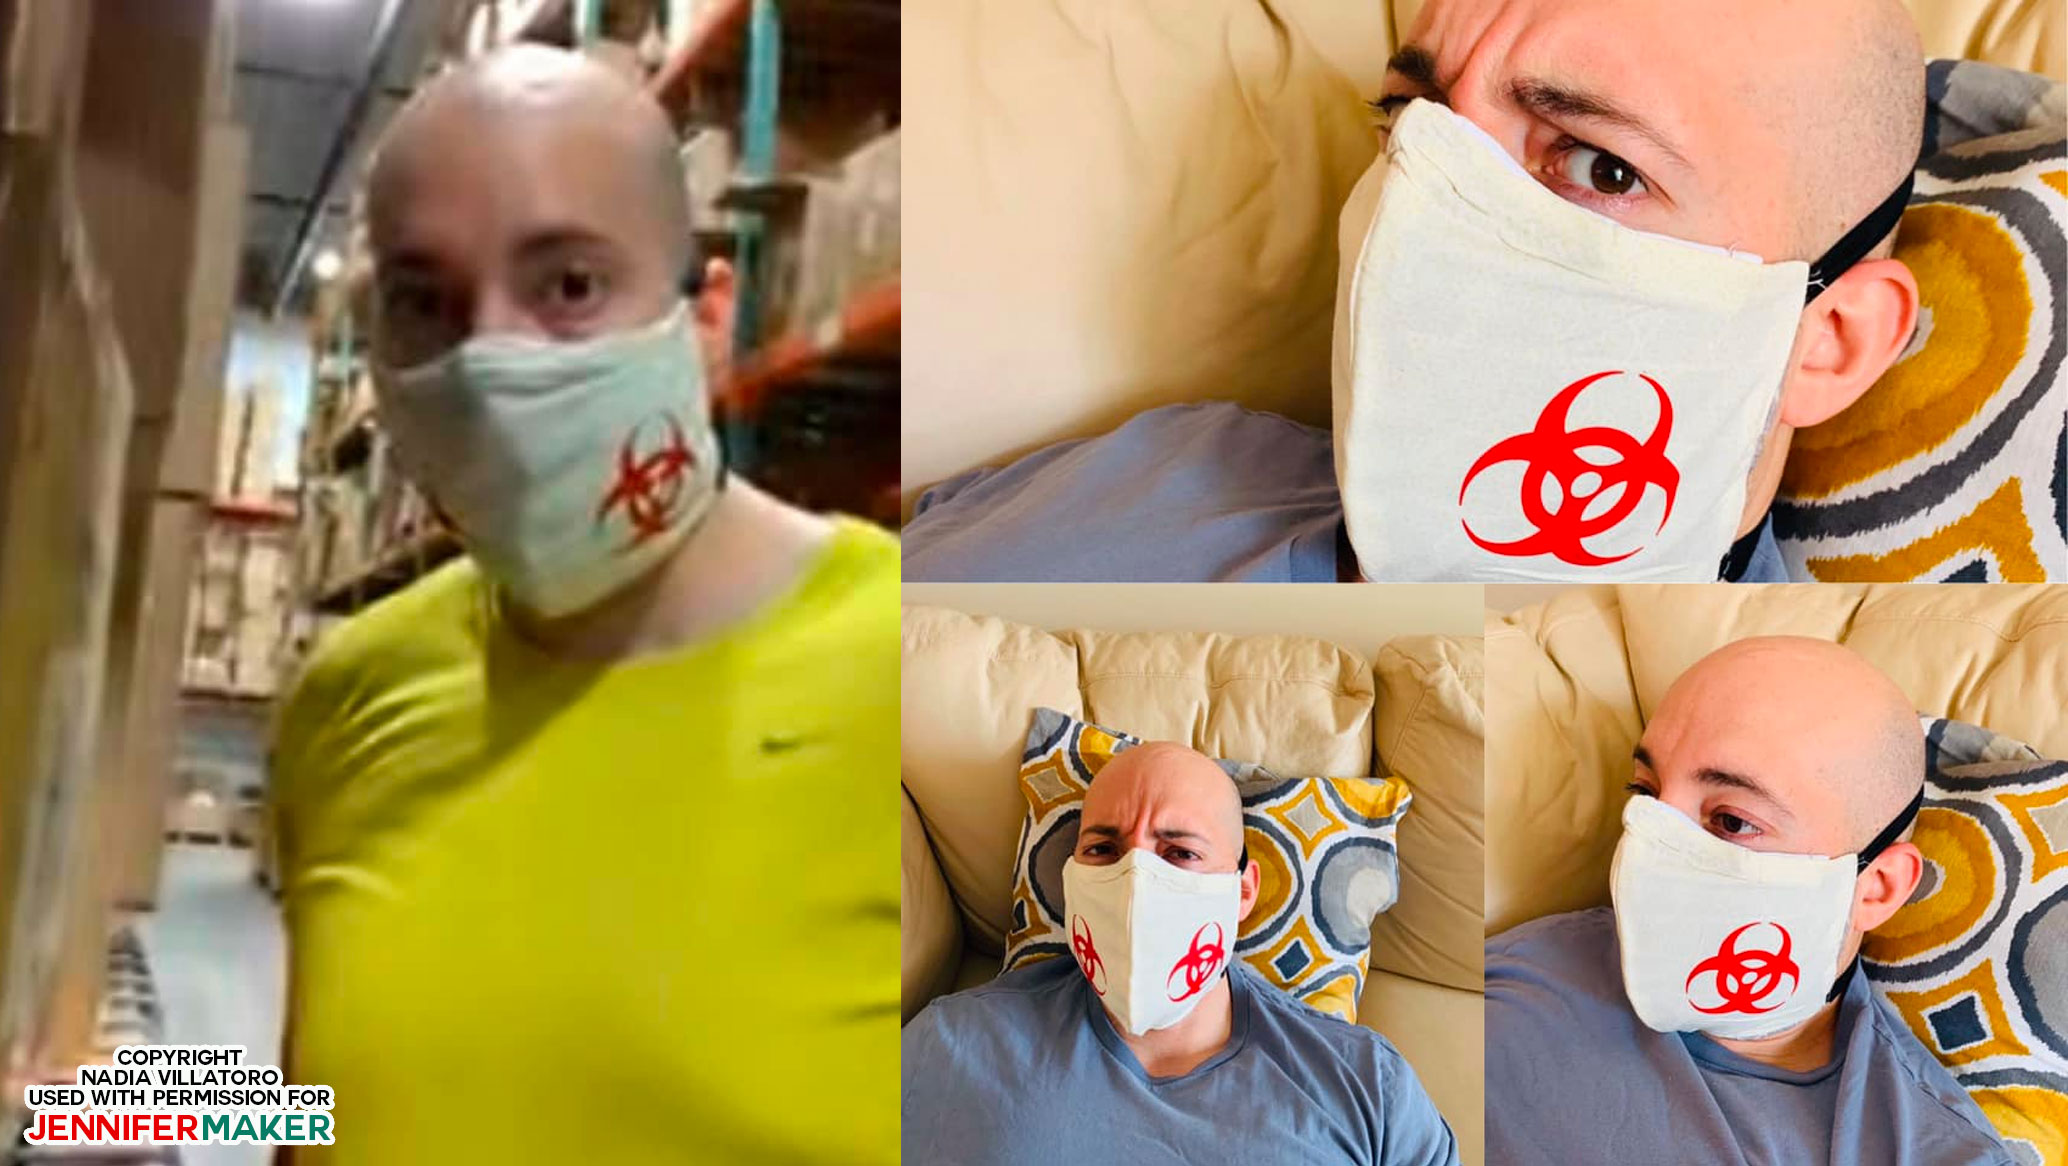
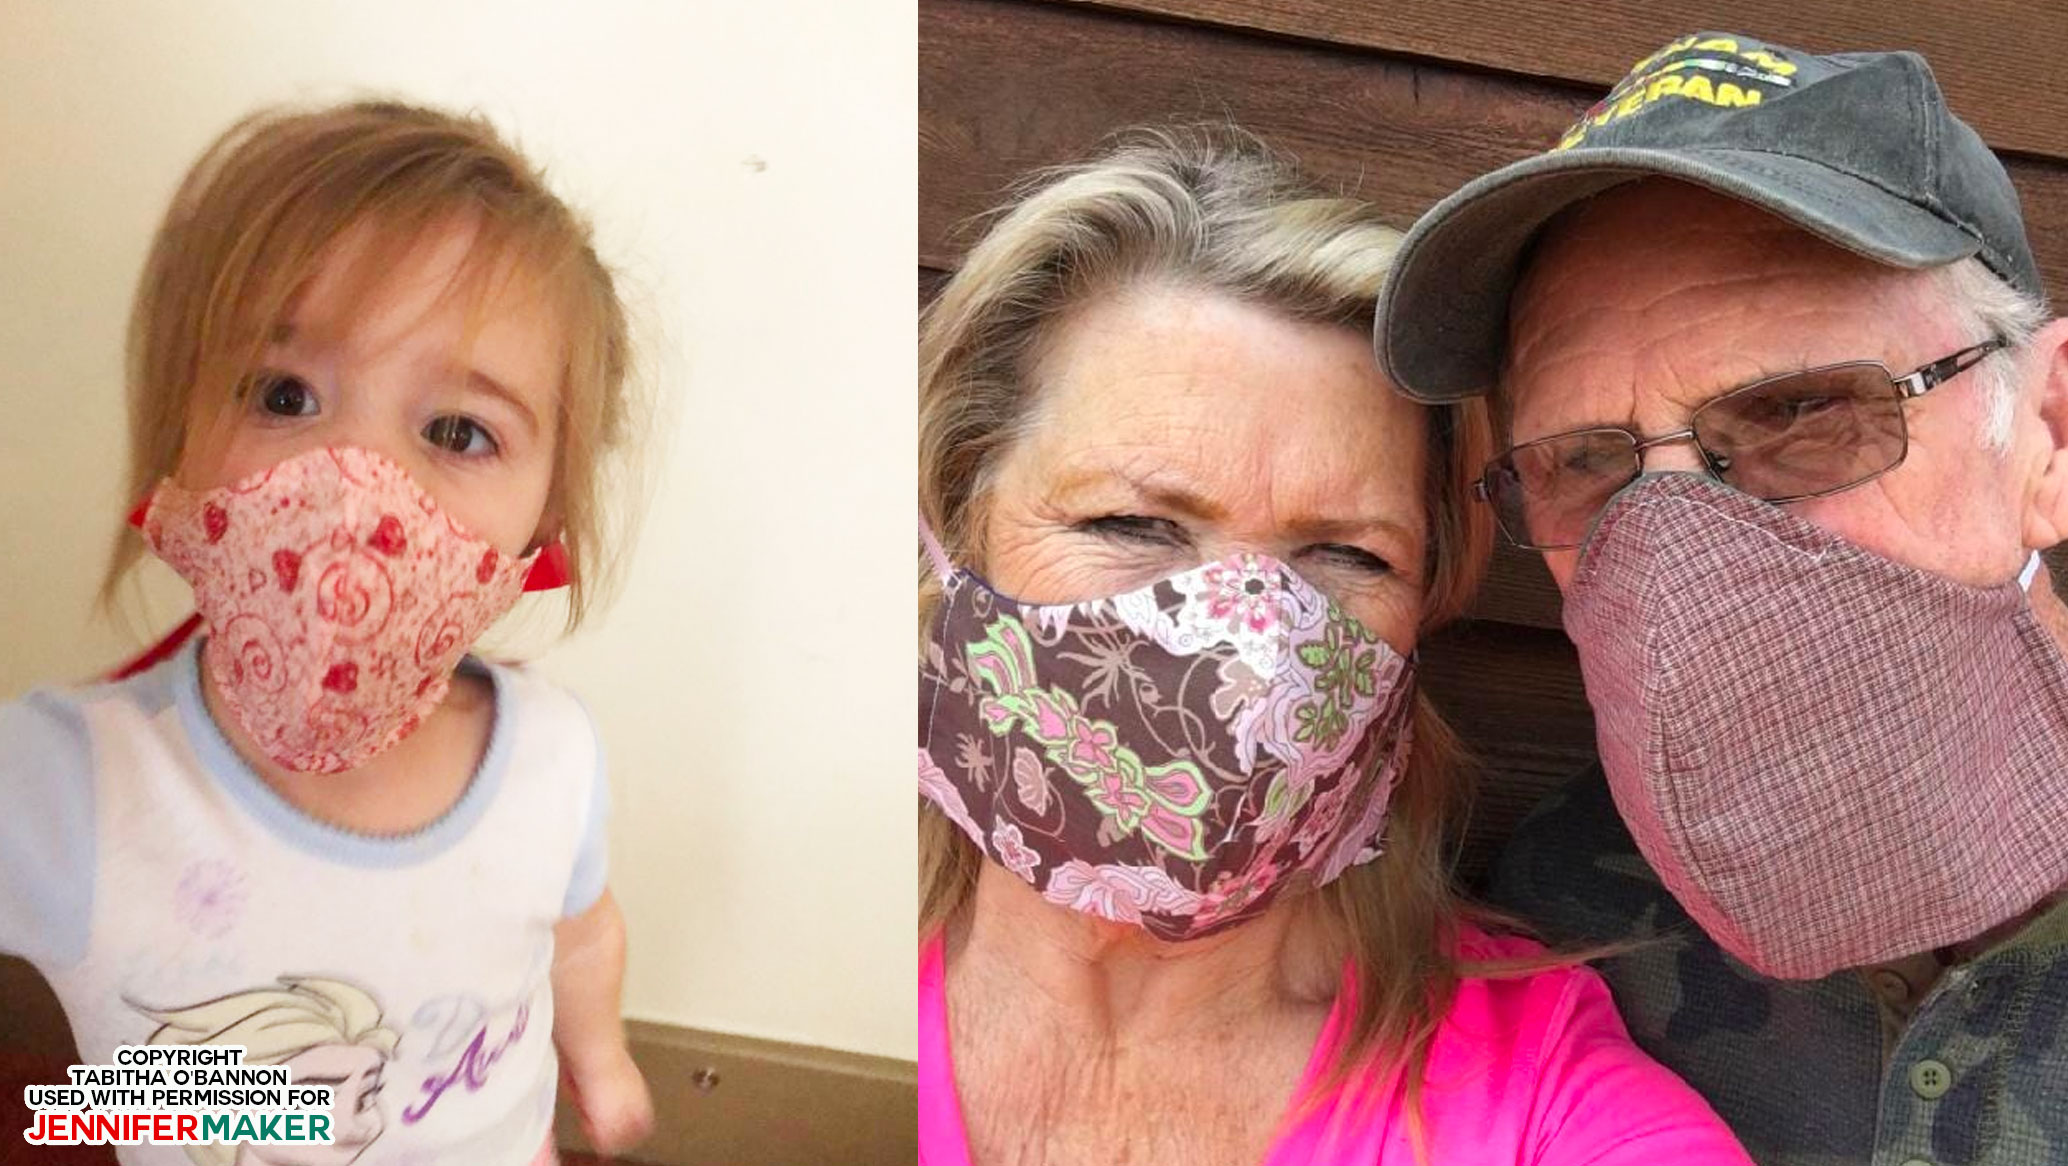
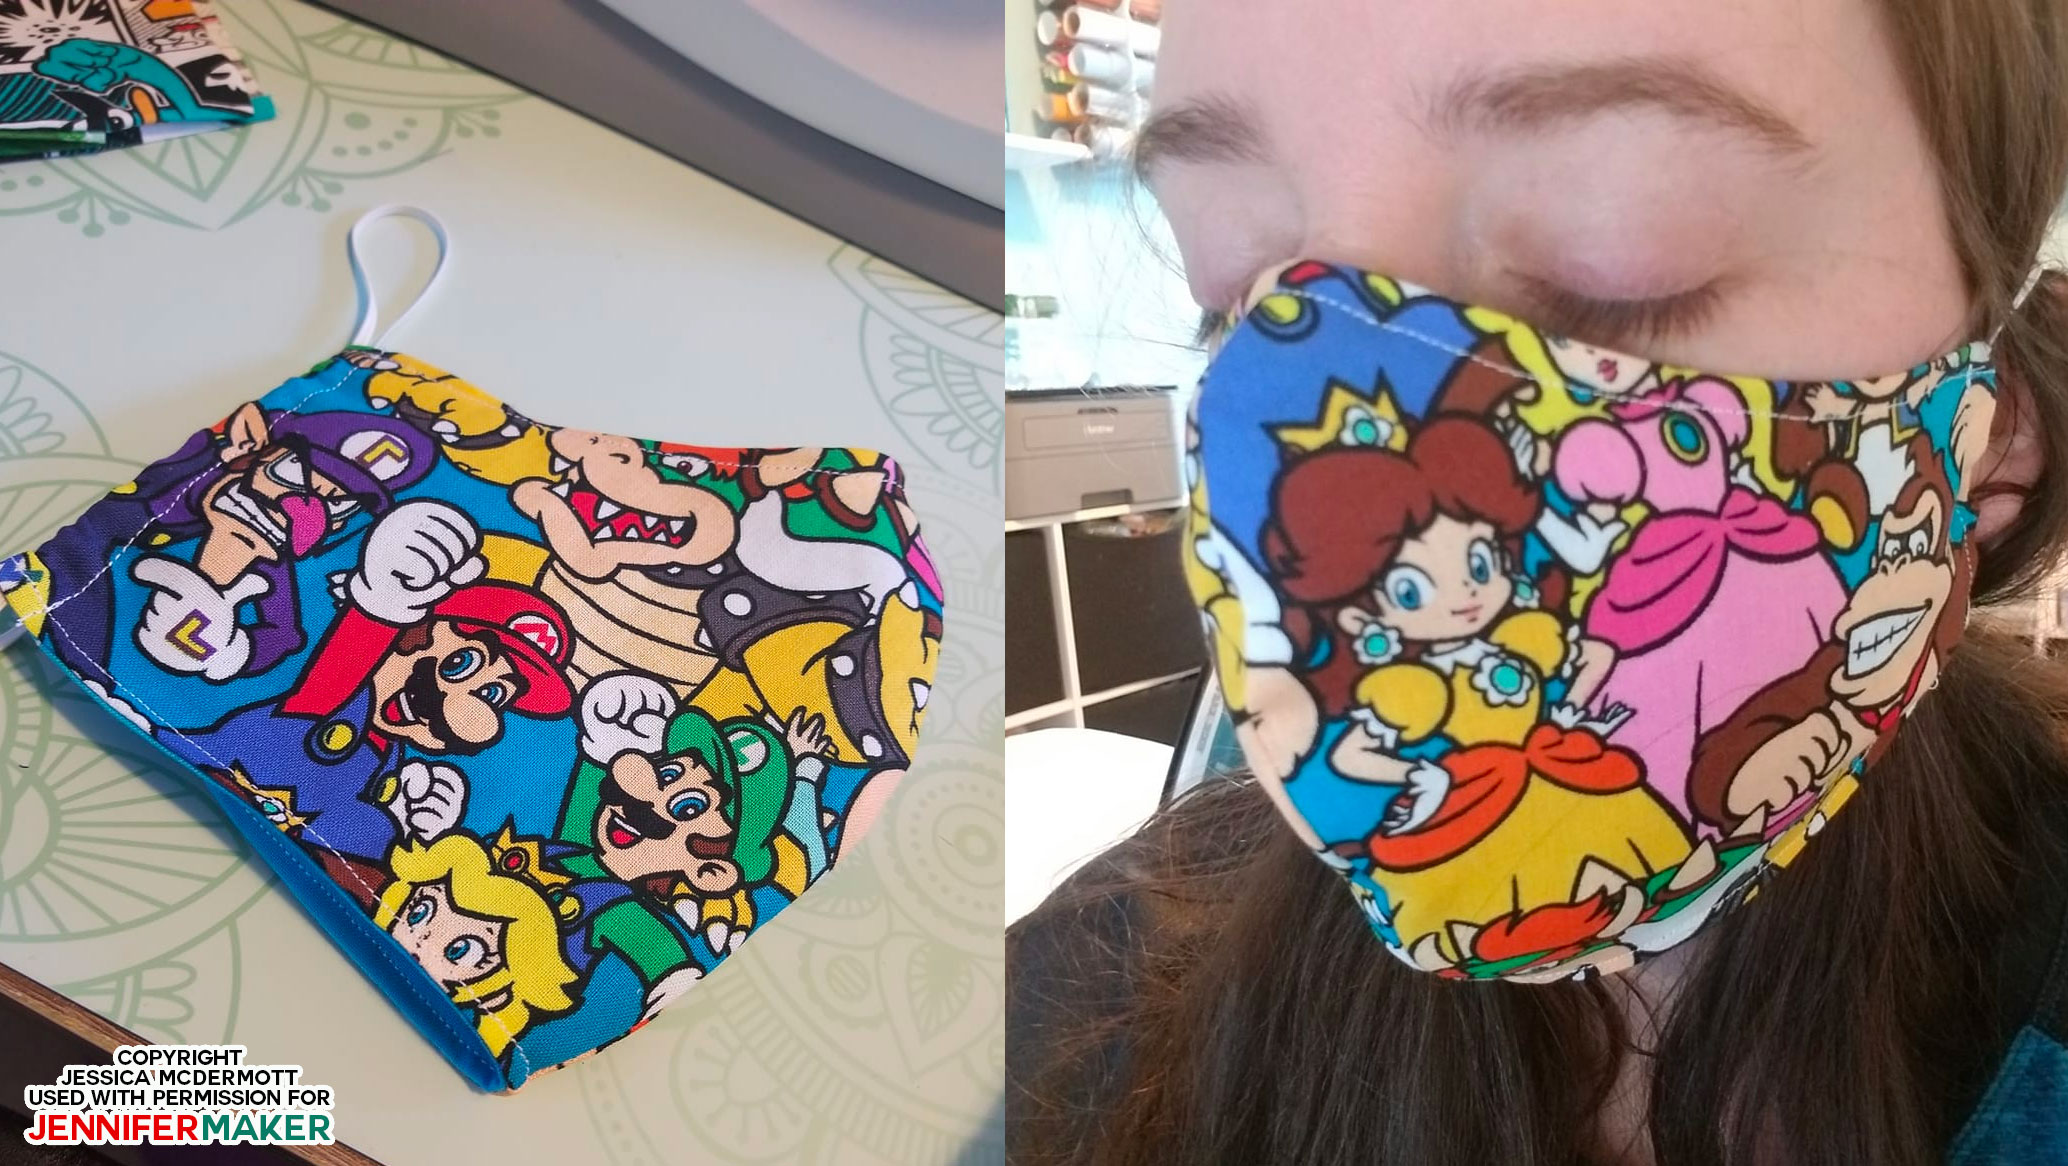
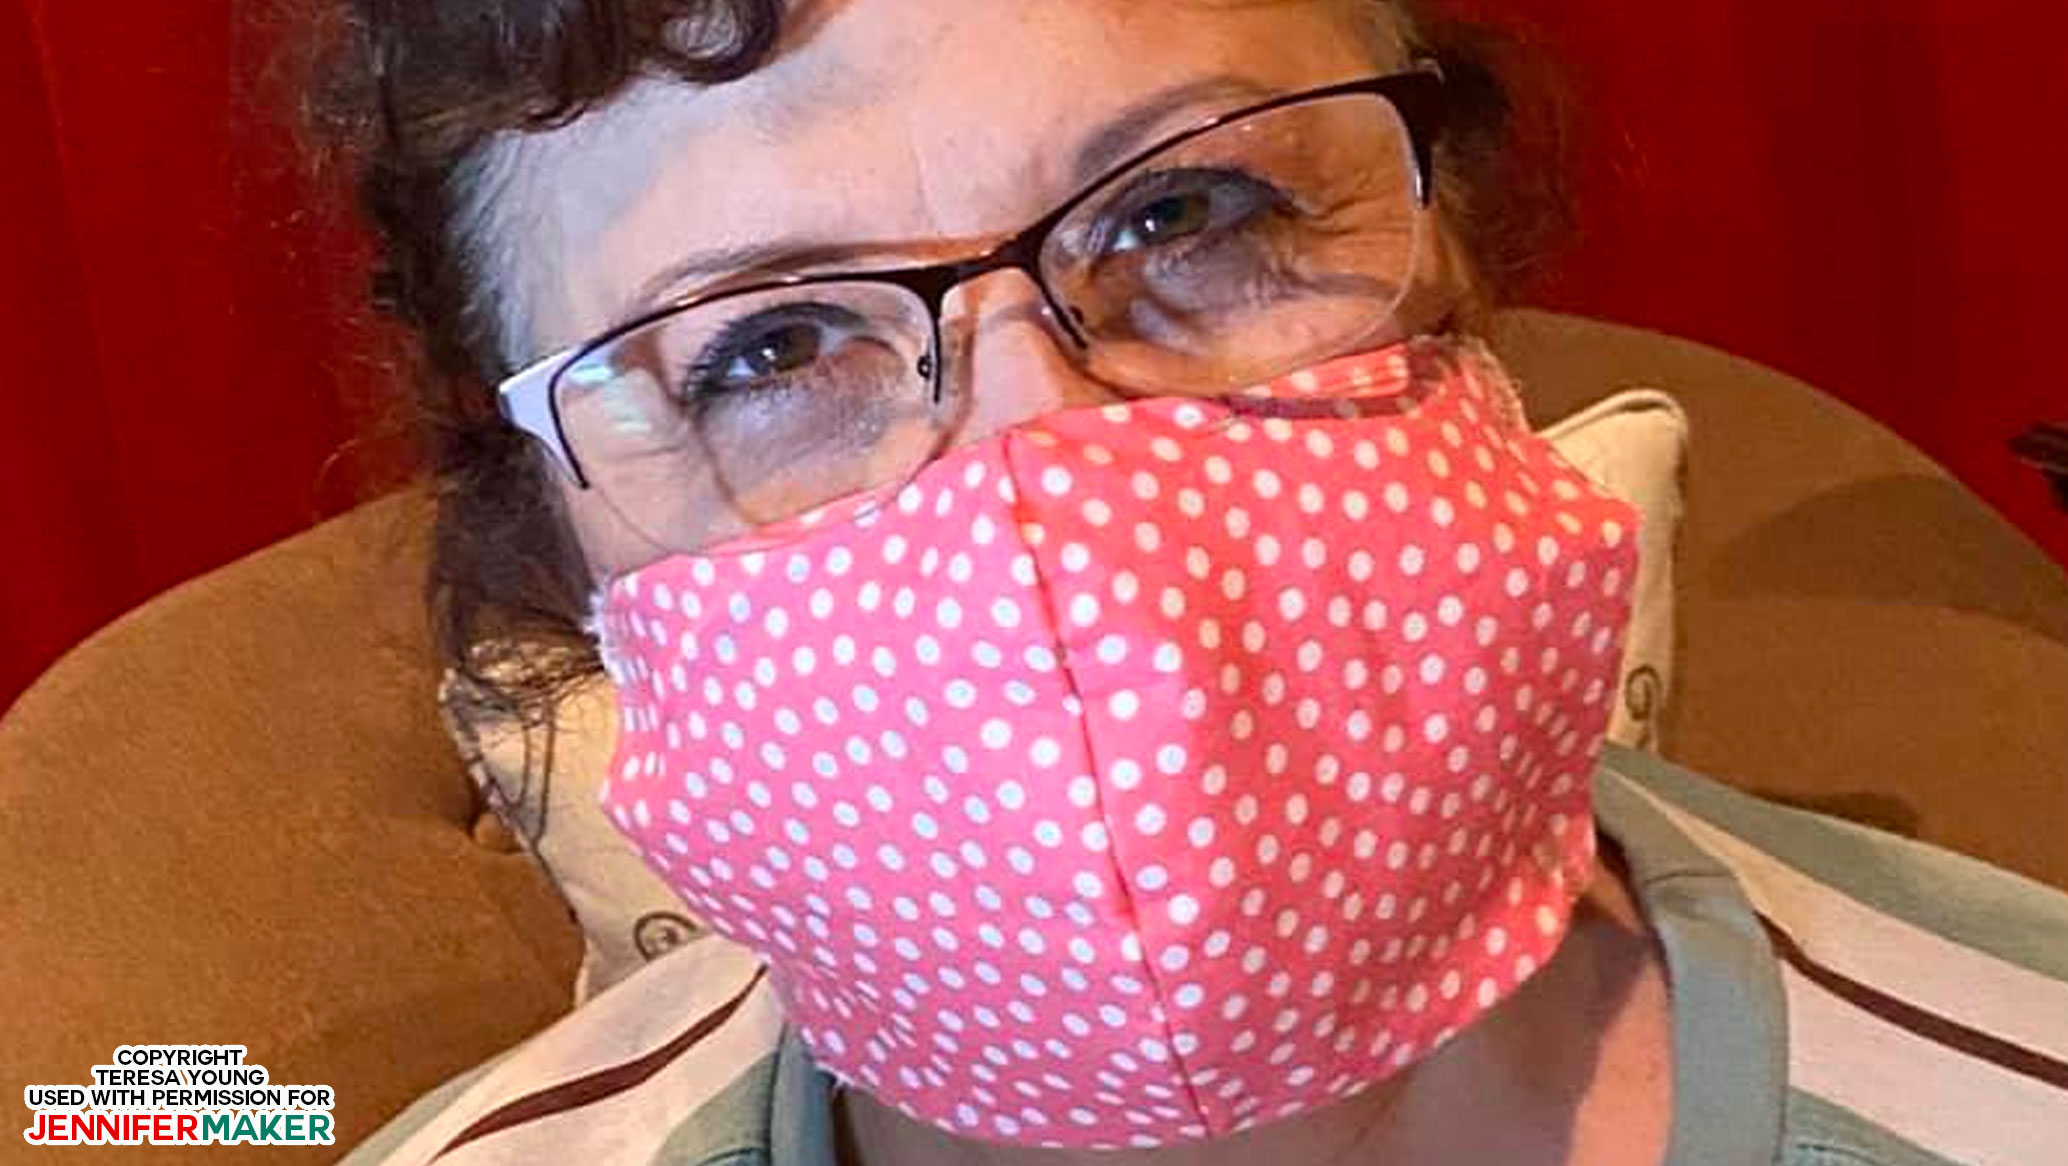
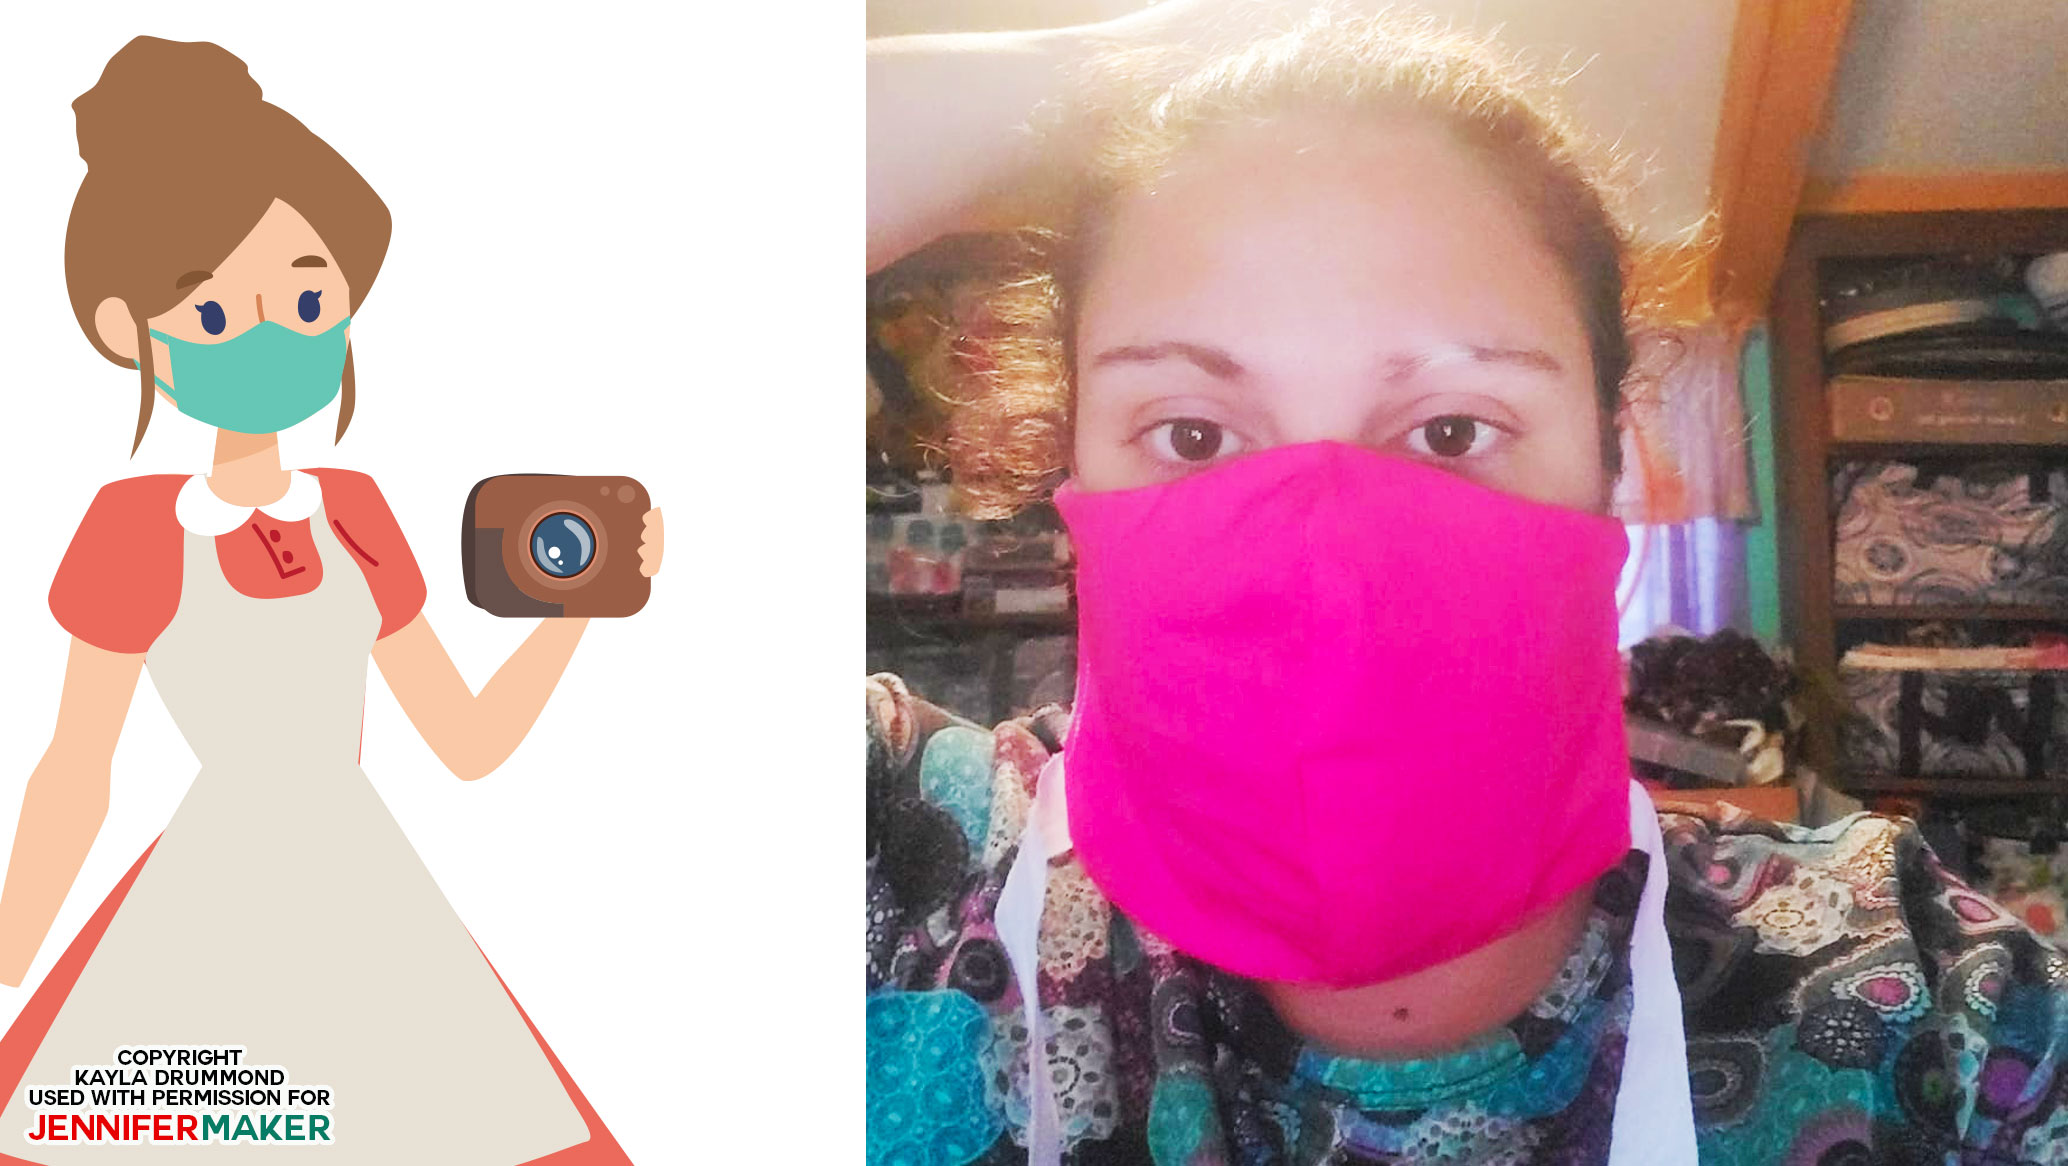
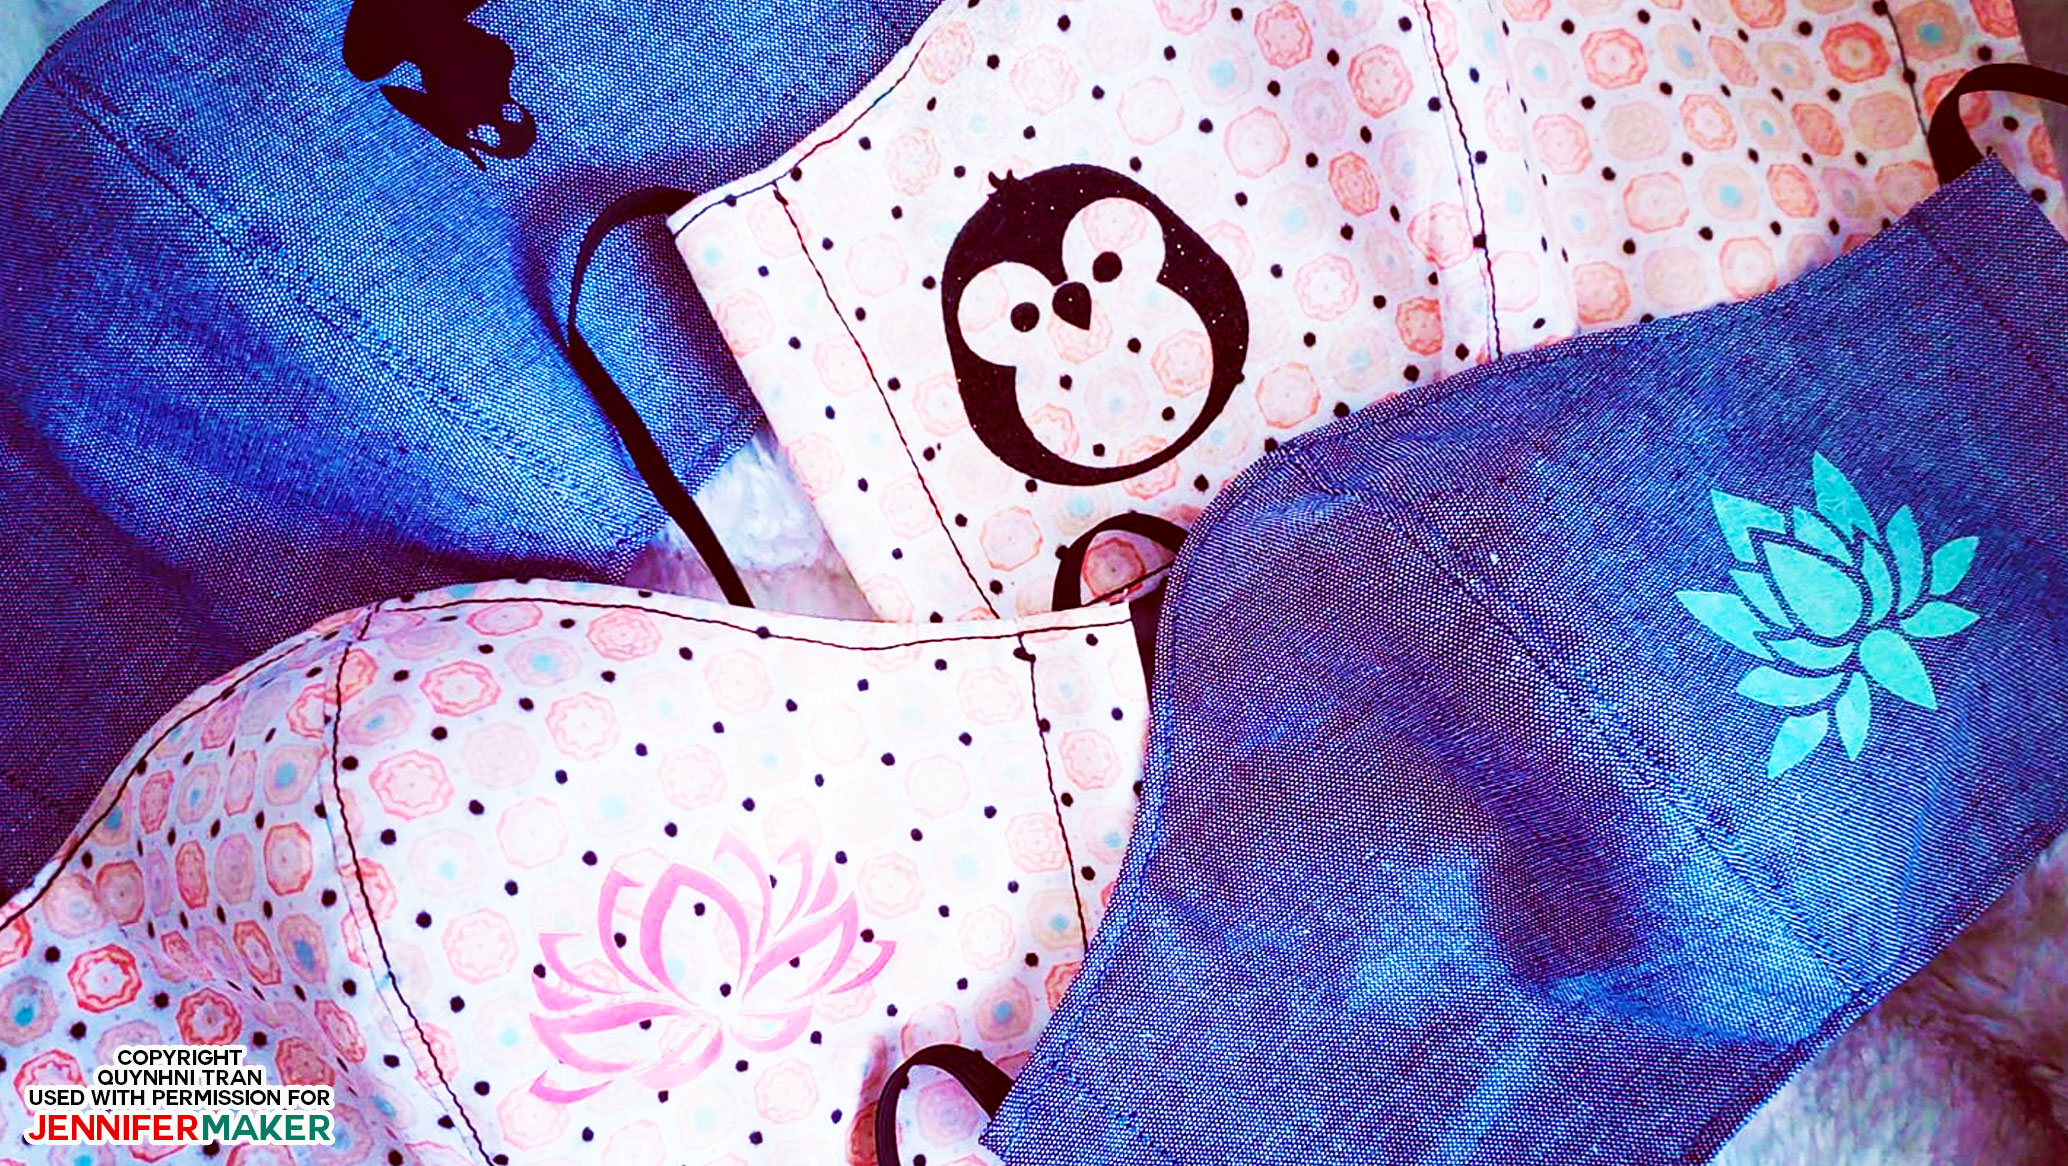
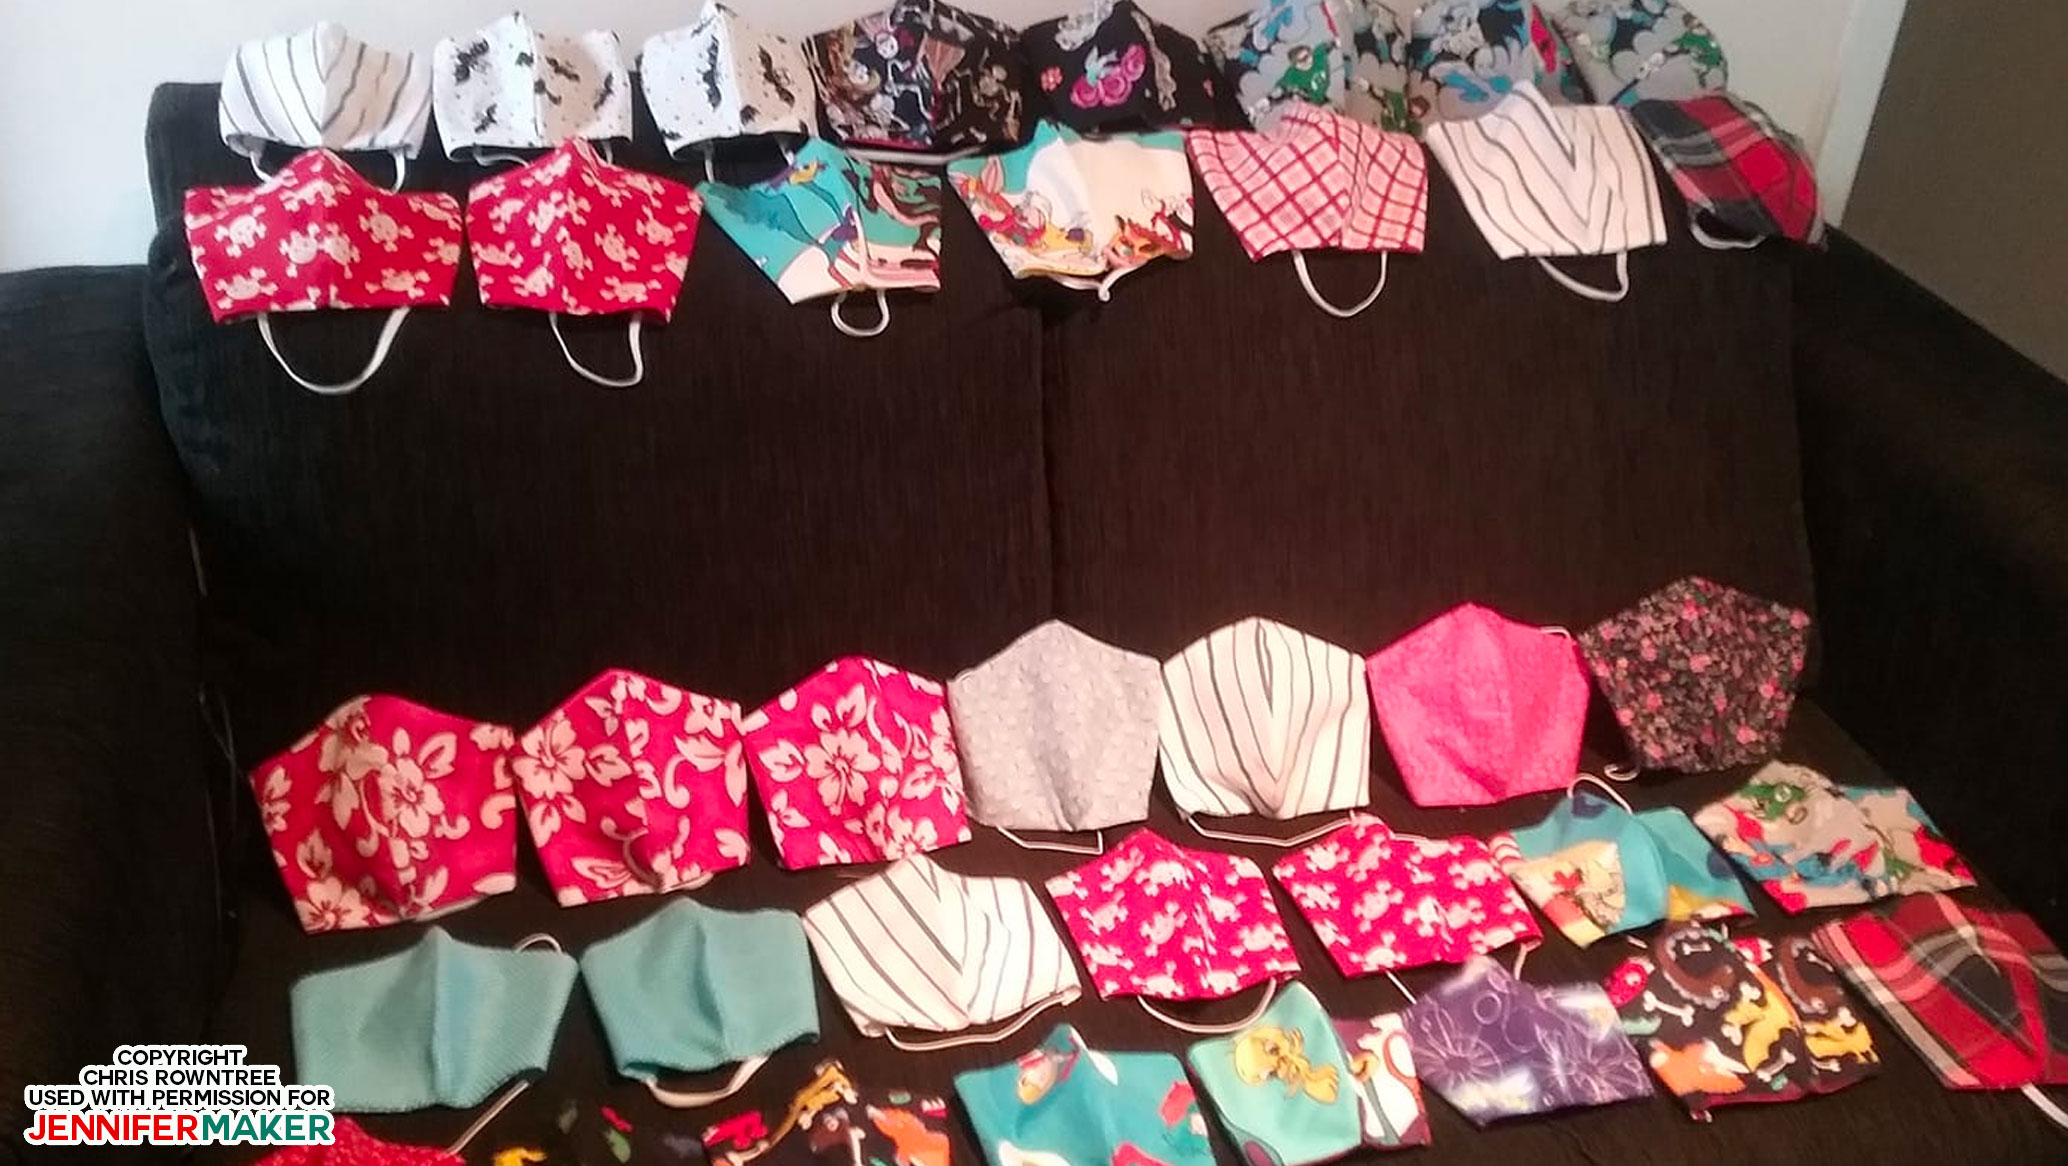
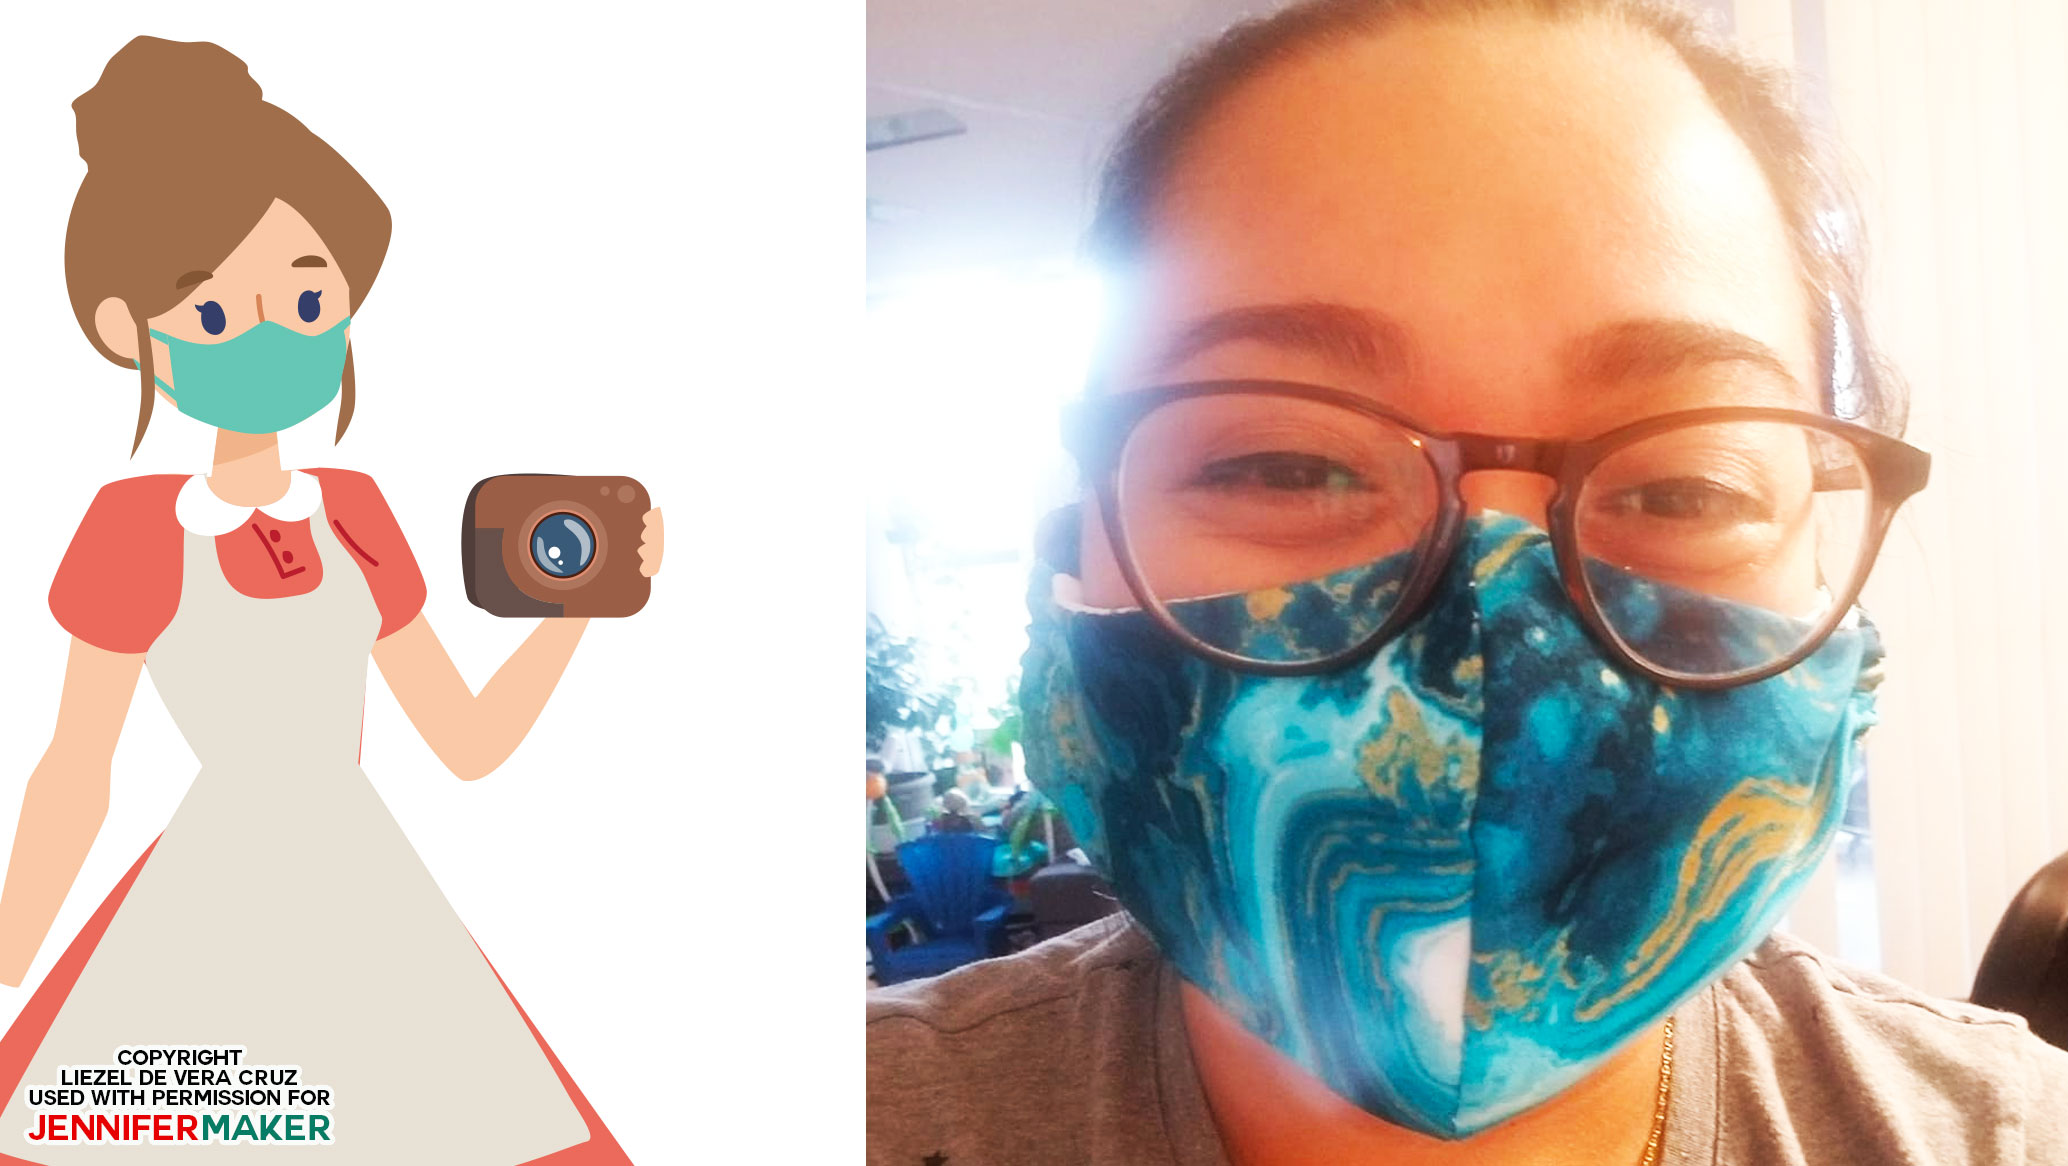
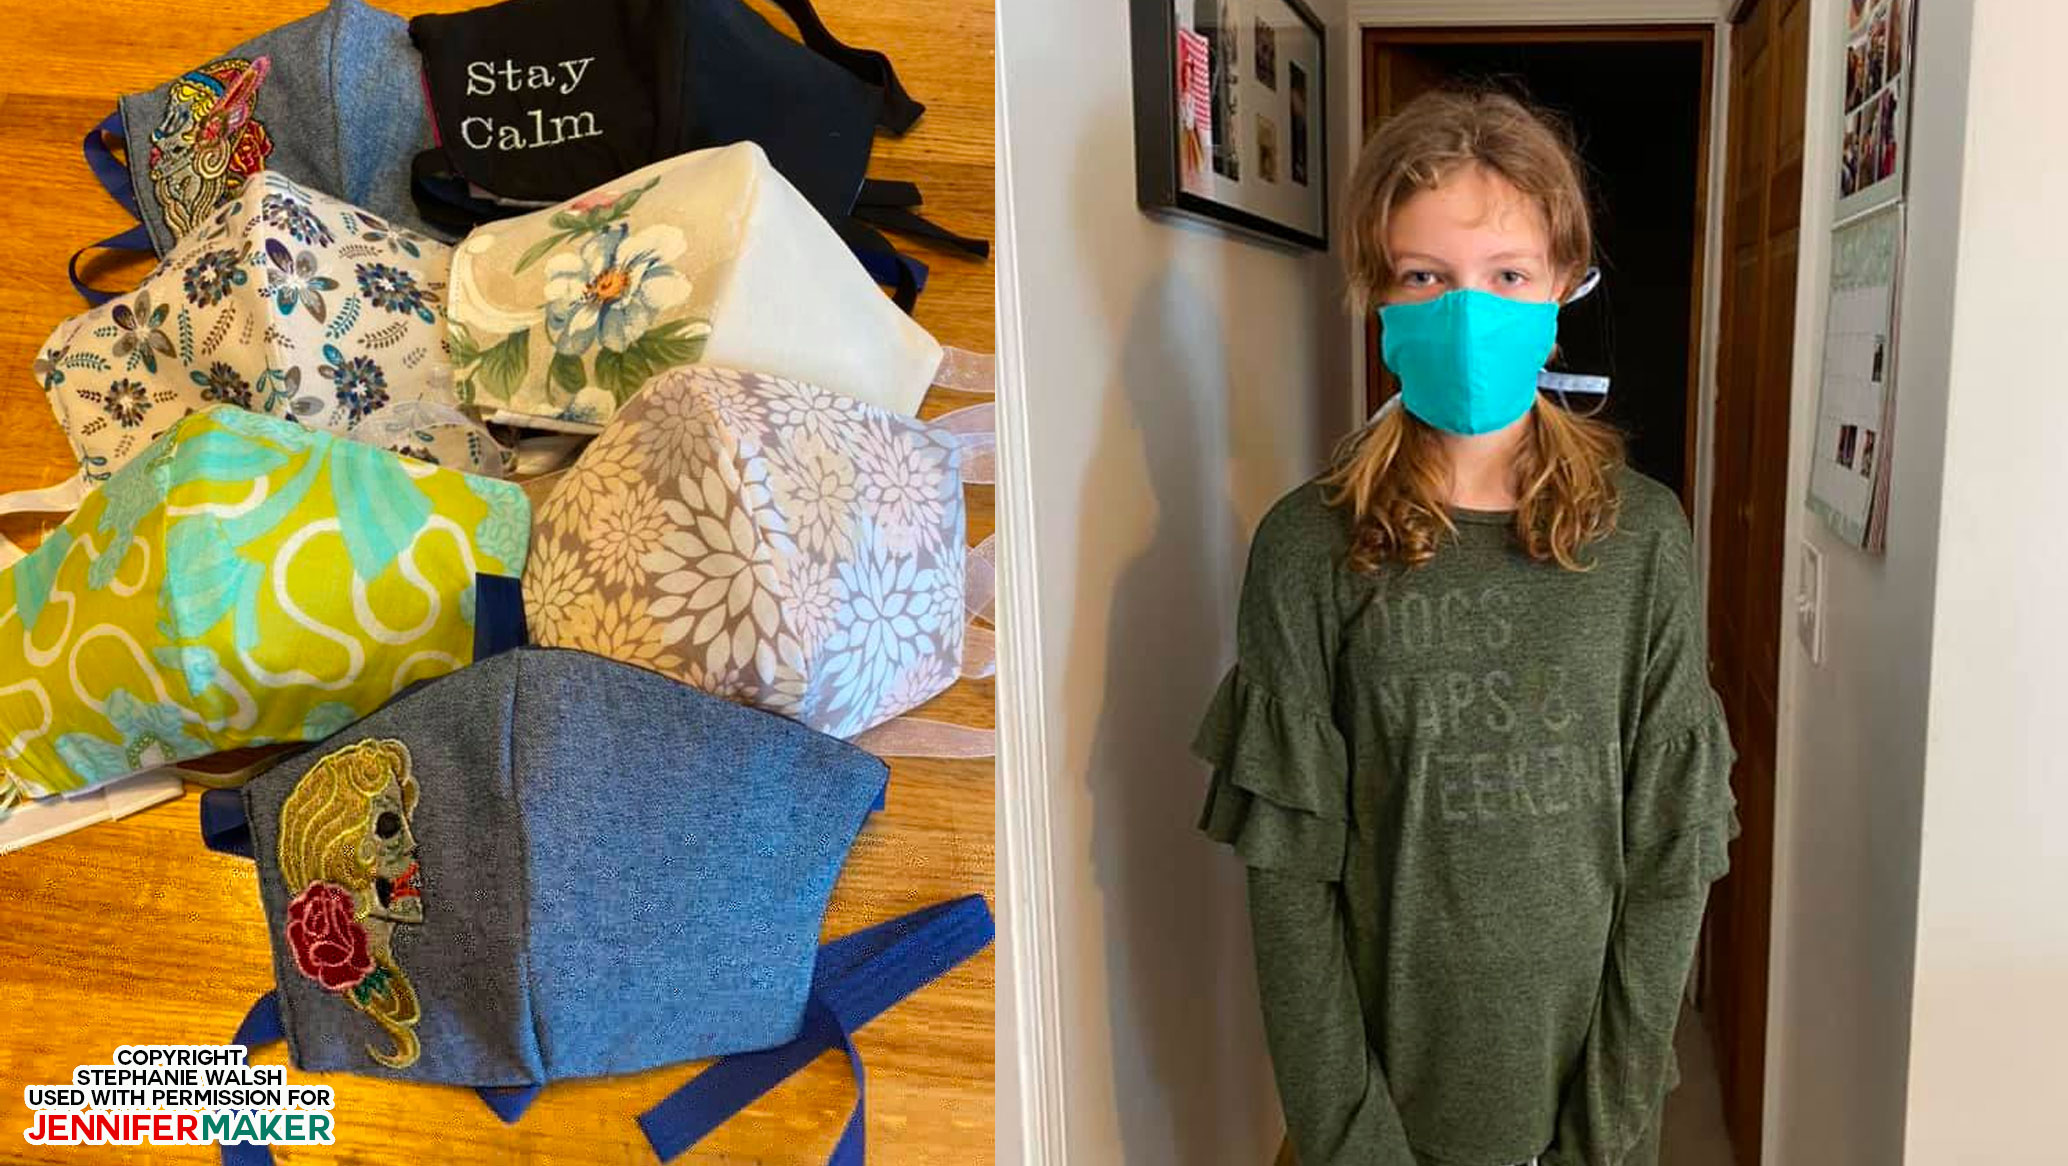
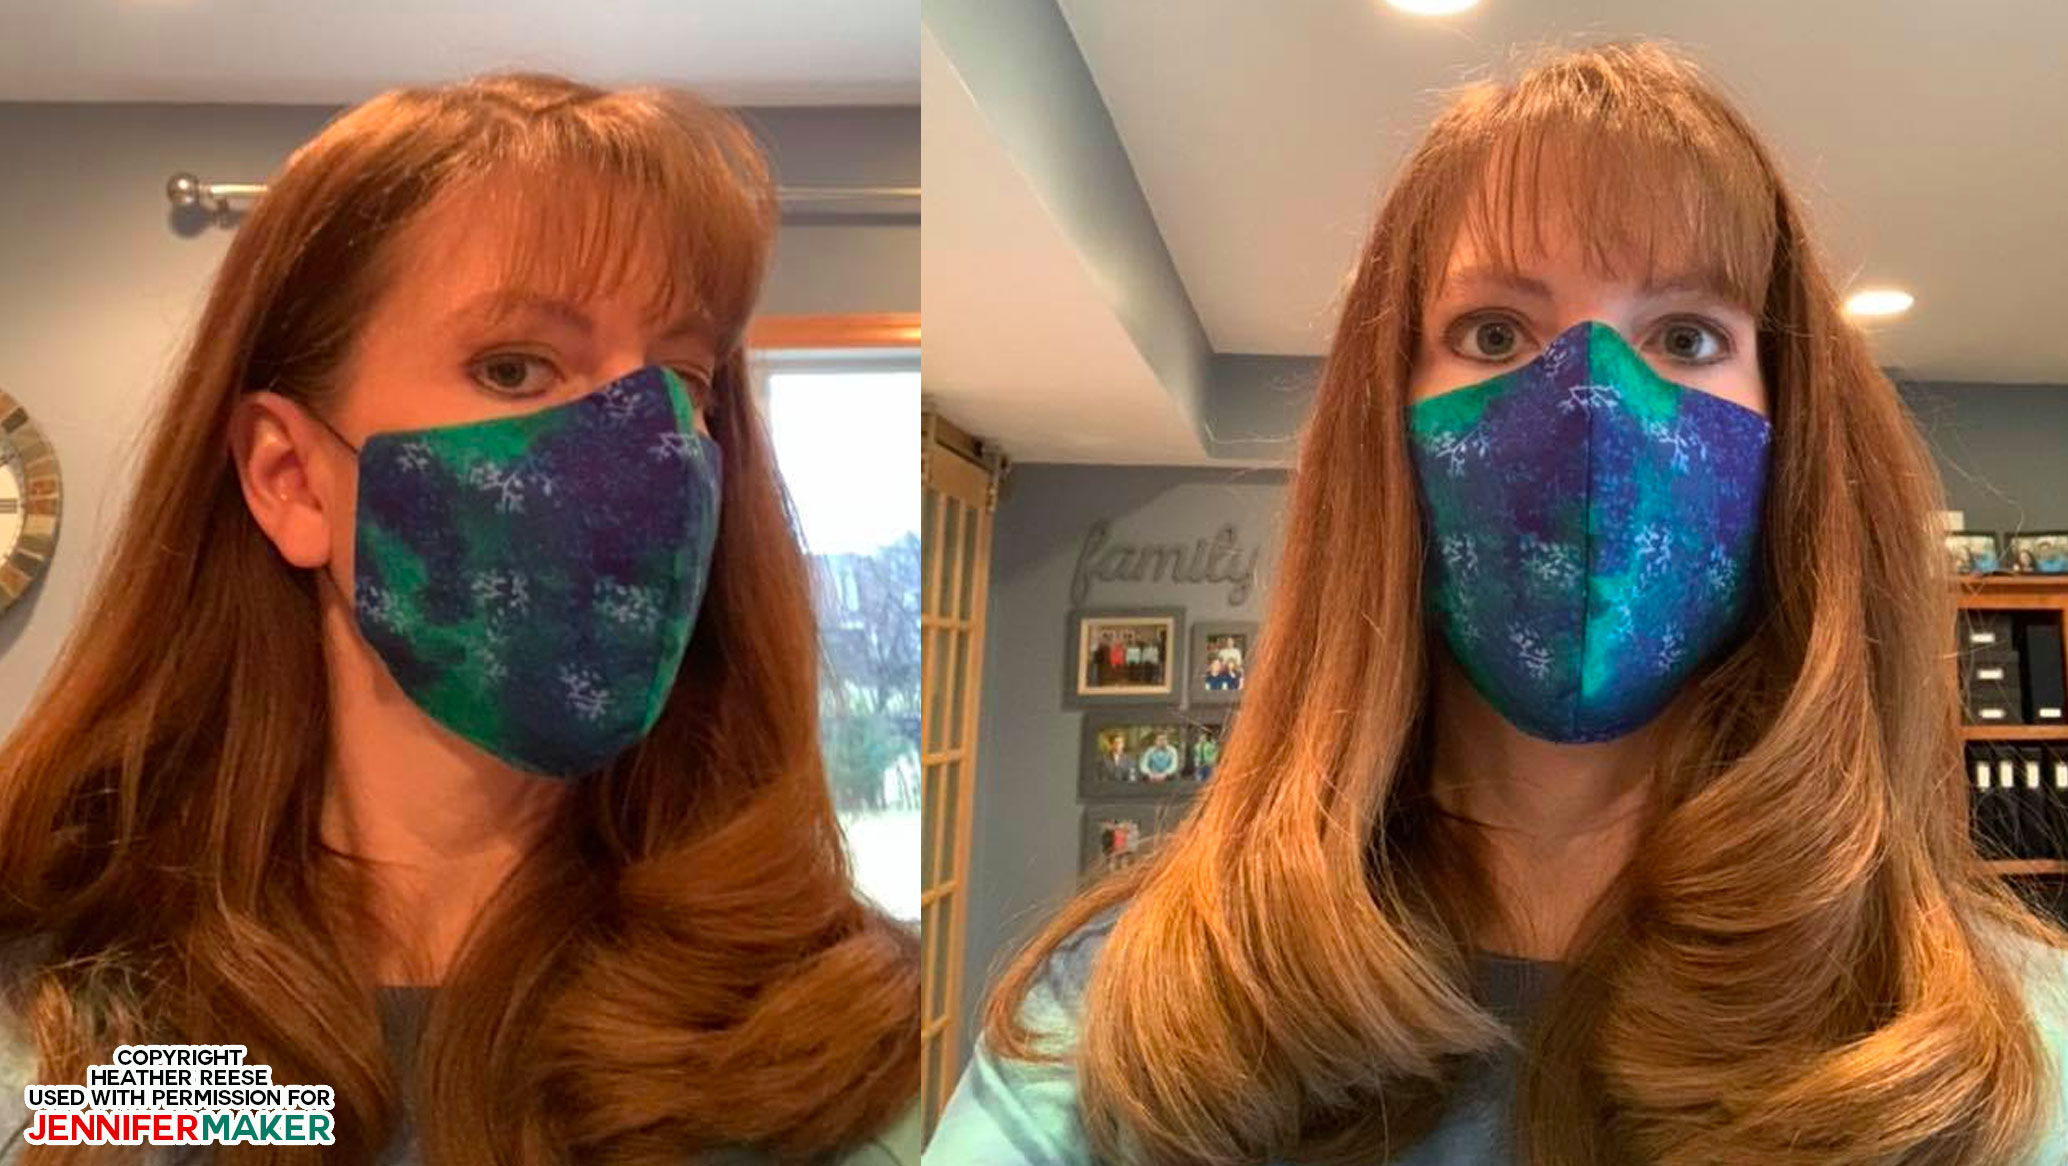
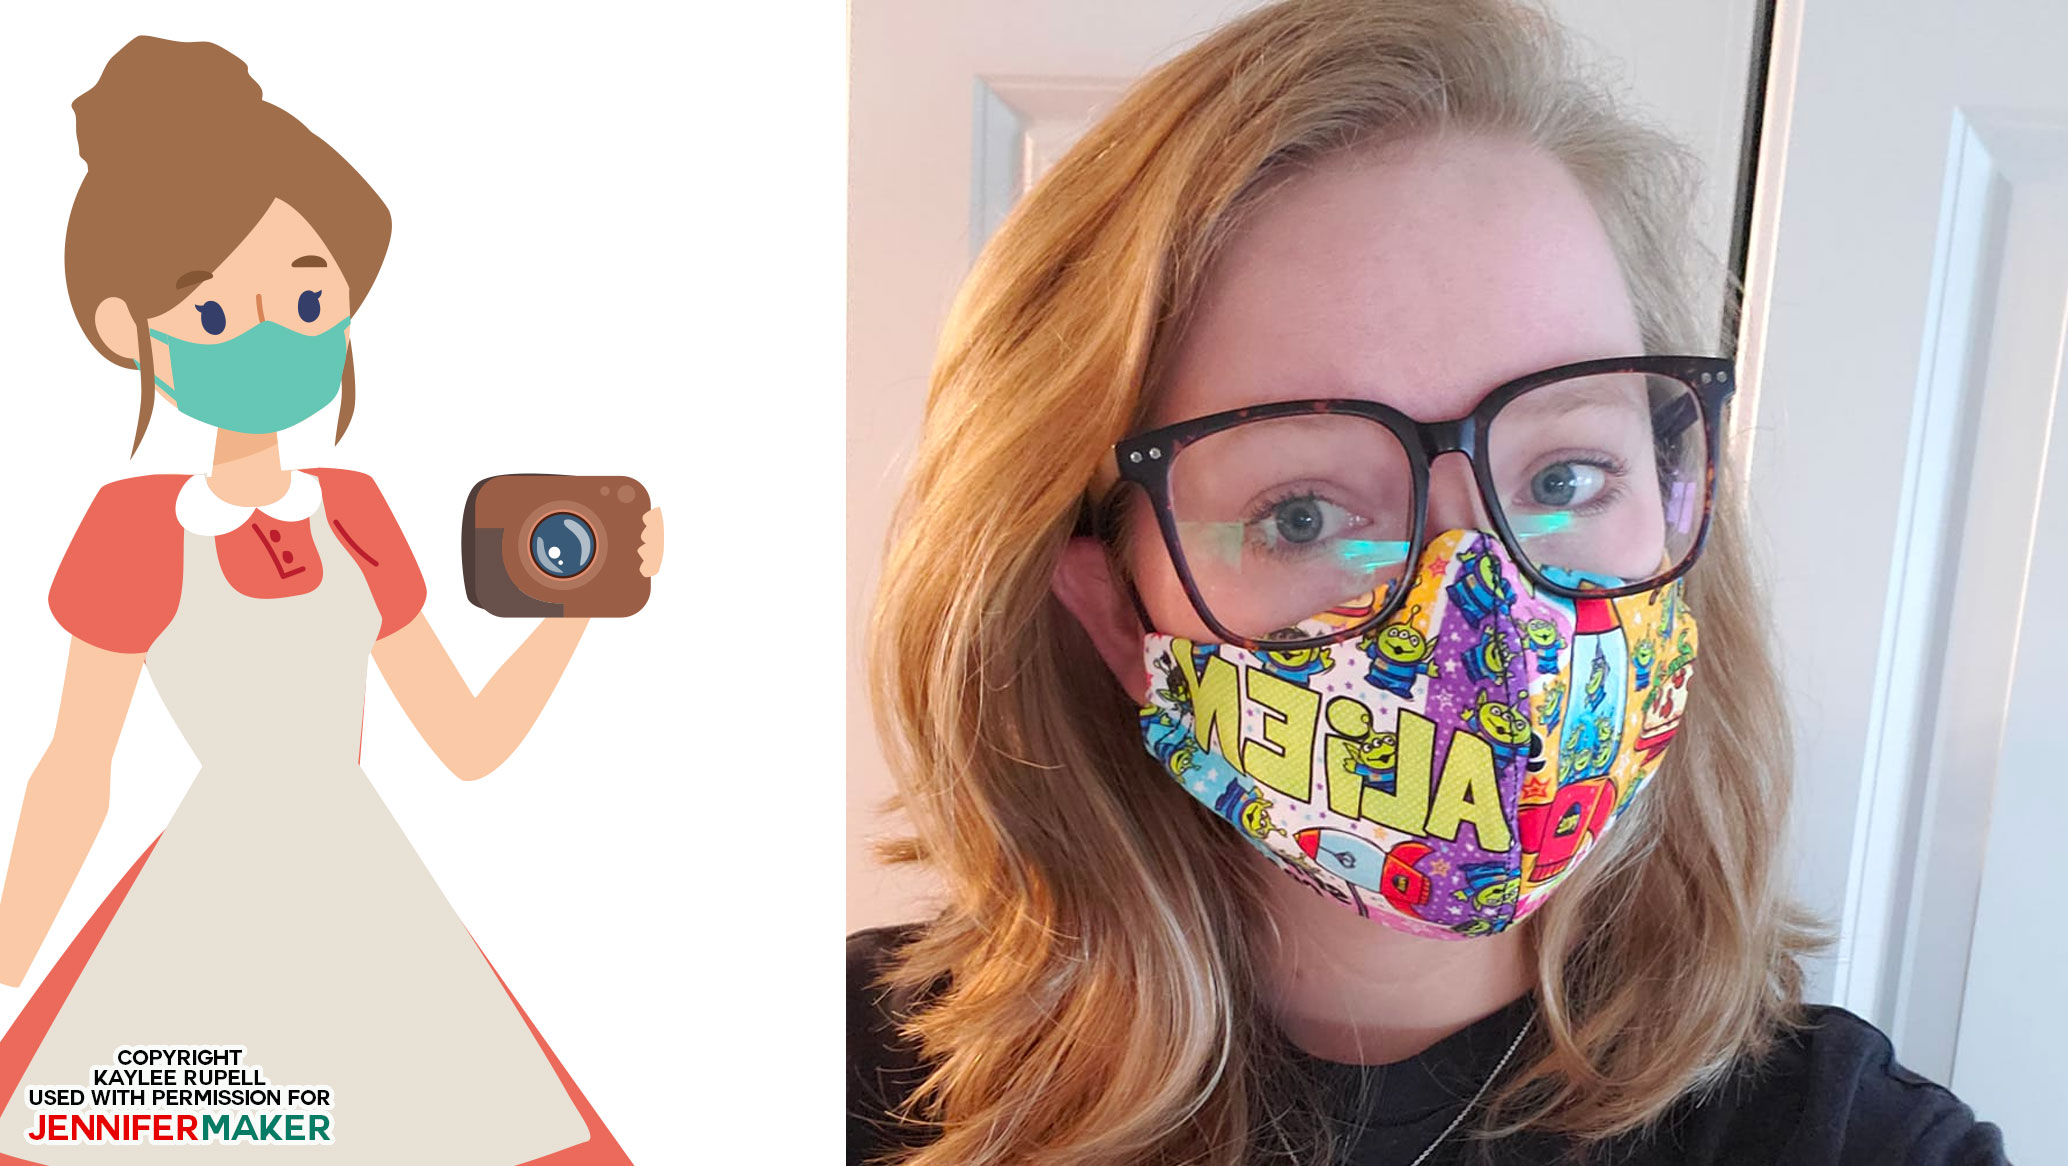
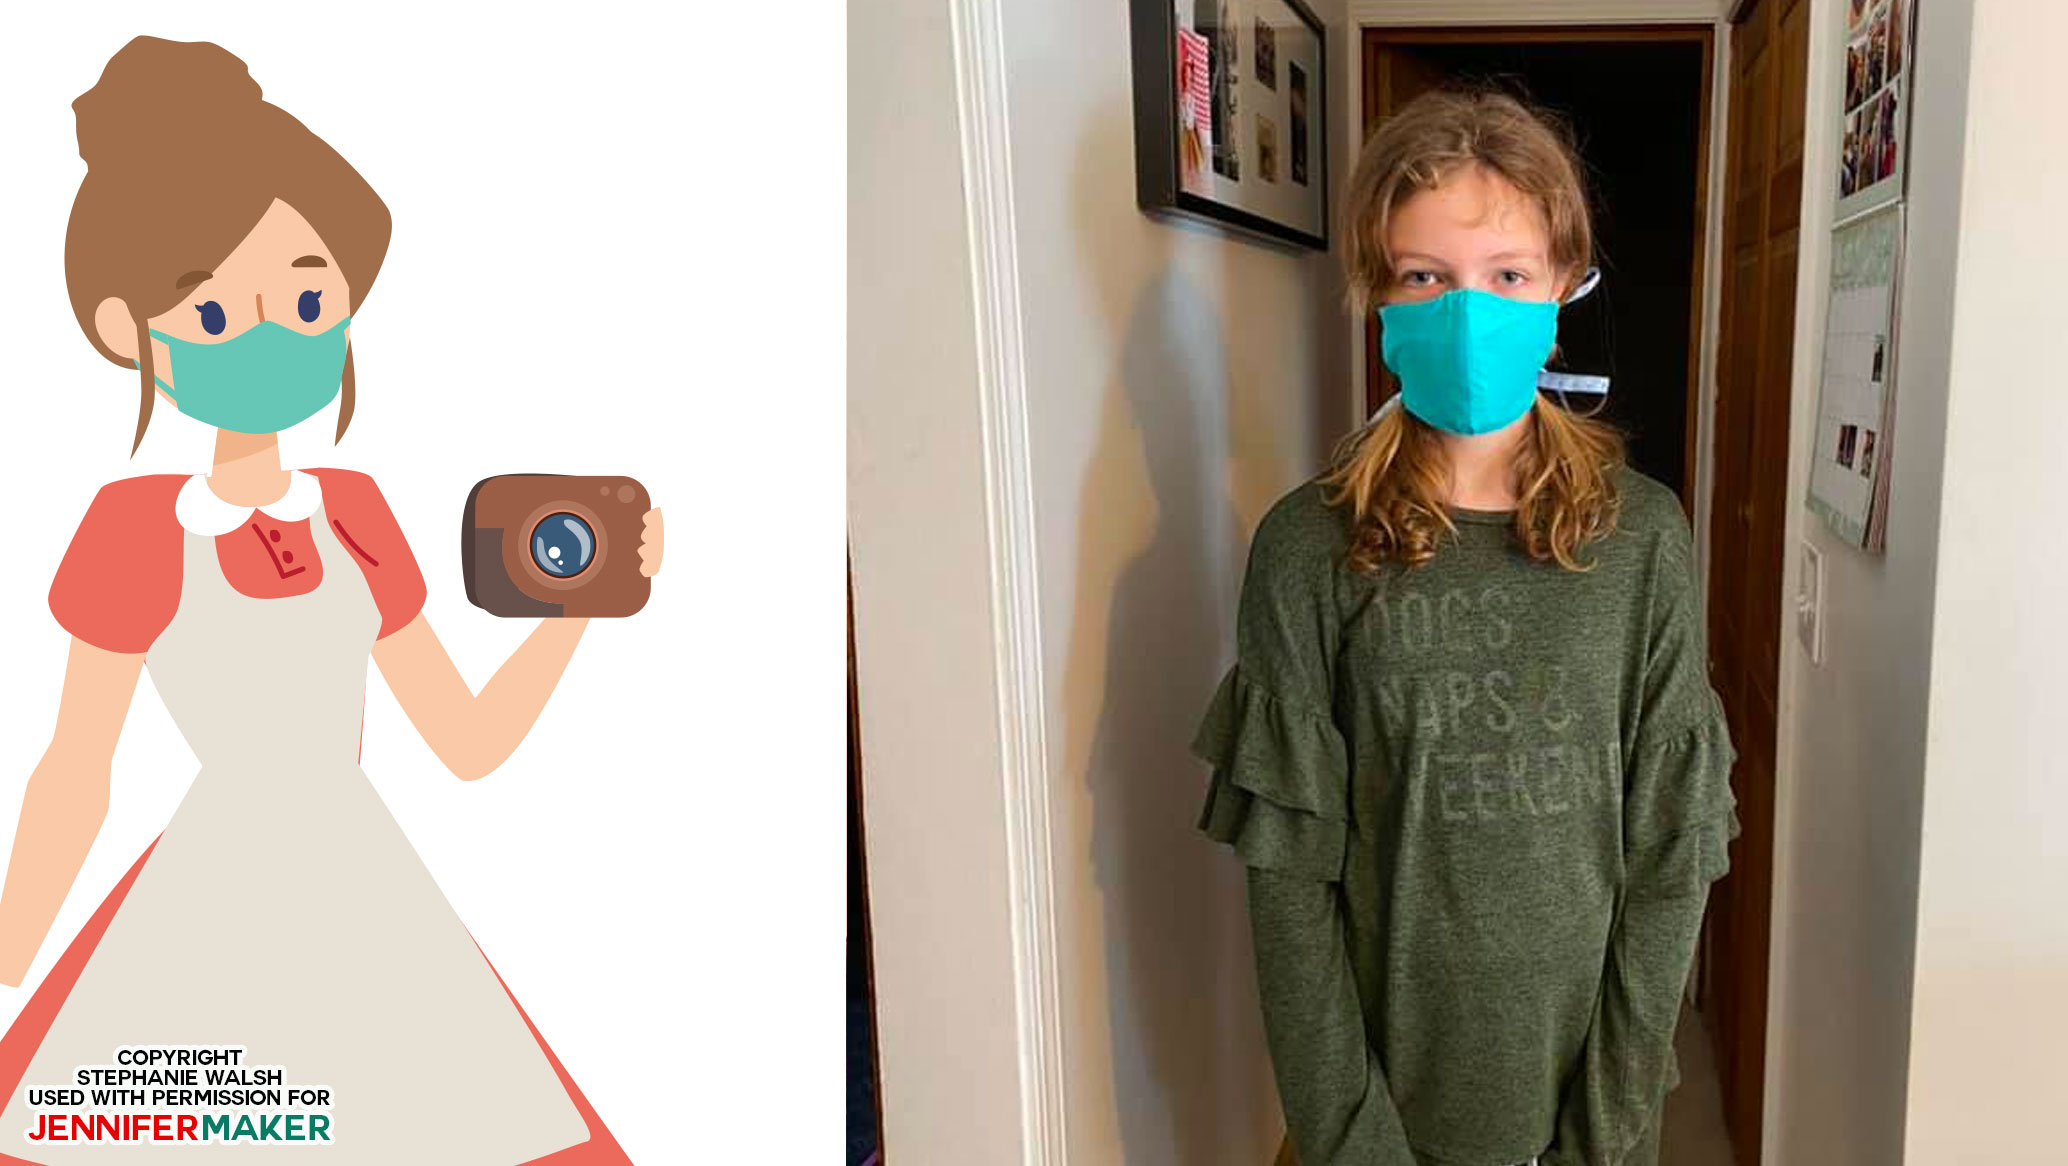
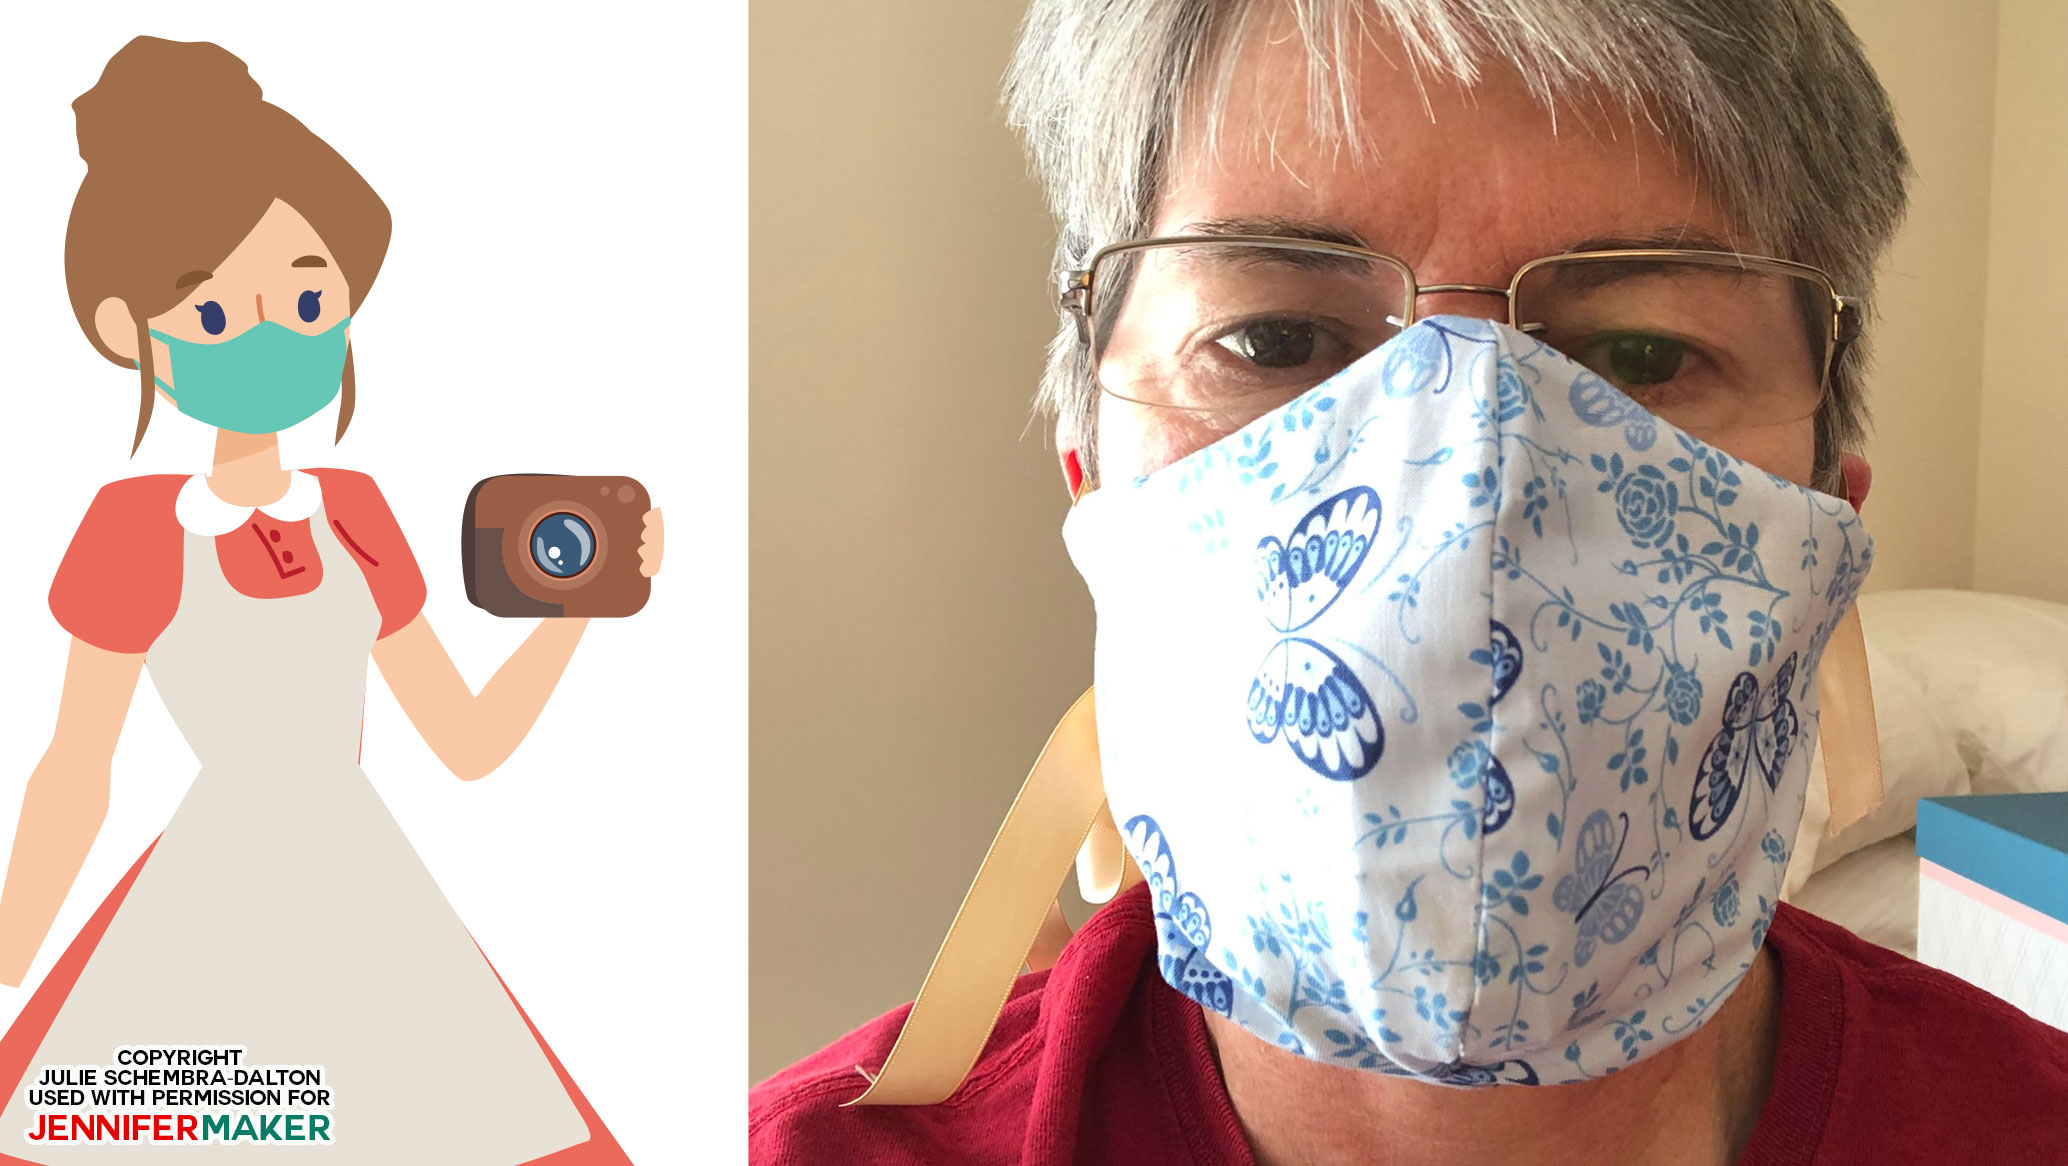
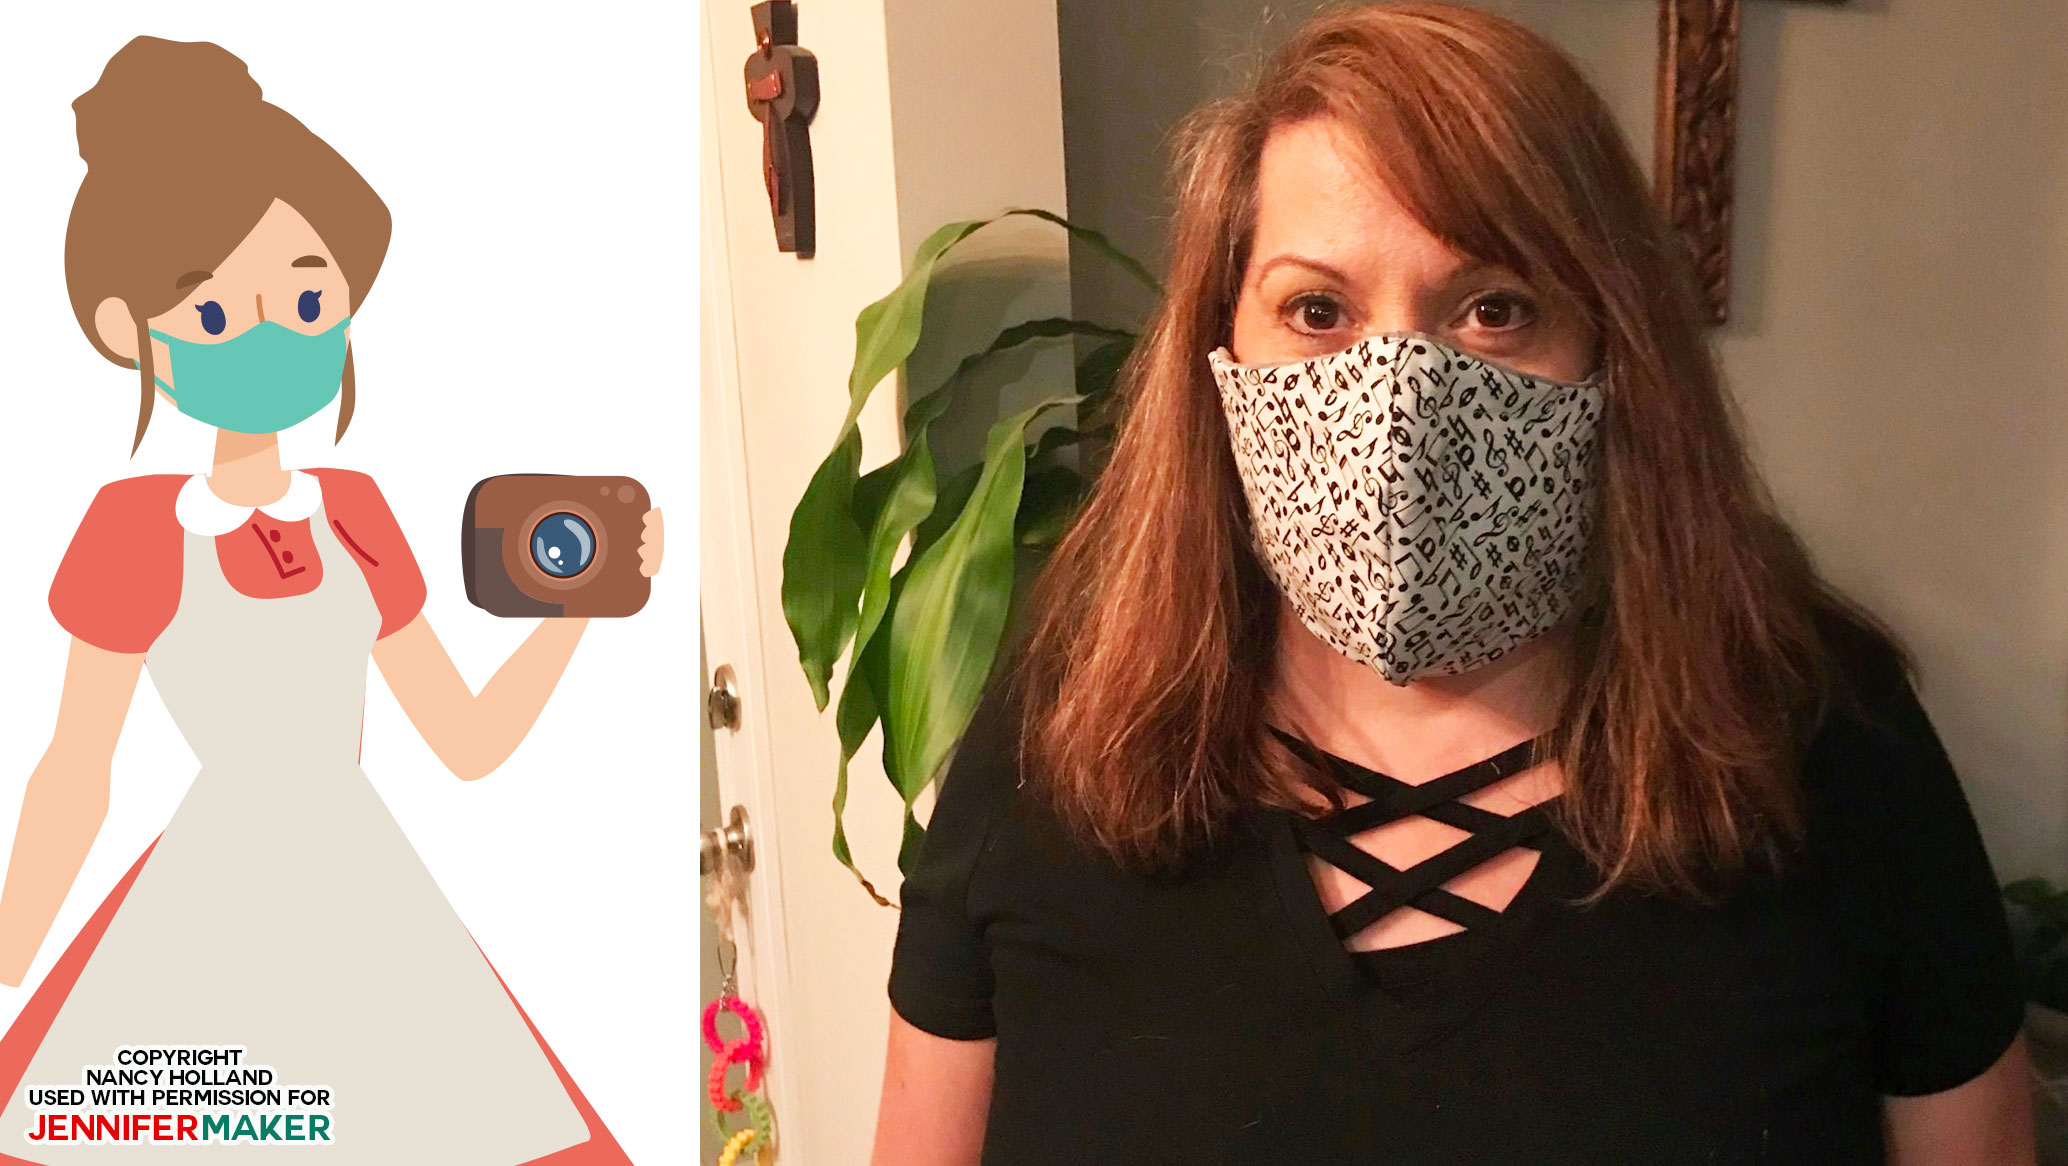
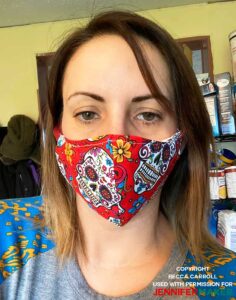
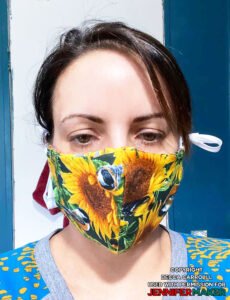
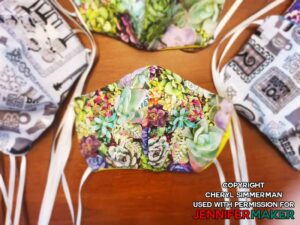
Look at all of these amazing people who have made masks from my DIY face mask pattern — so inspiring!
DIY Face Masks Made by JenniferMaker Crafters!
See the tutorial, pattern, and step-by-step video at https://jennifermaker.com/face-mask-patterns-cricut/


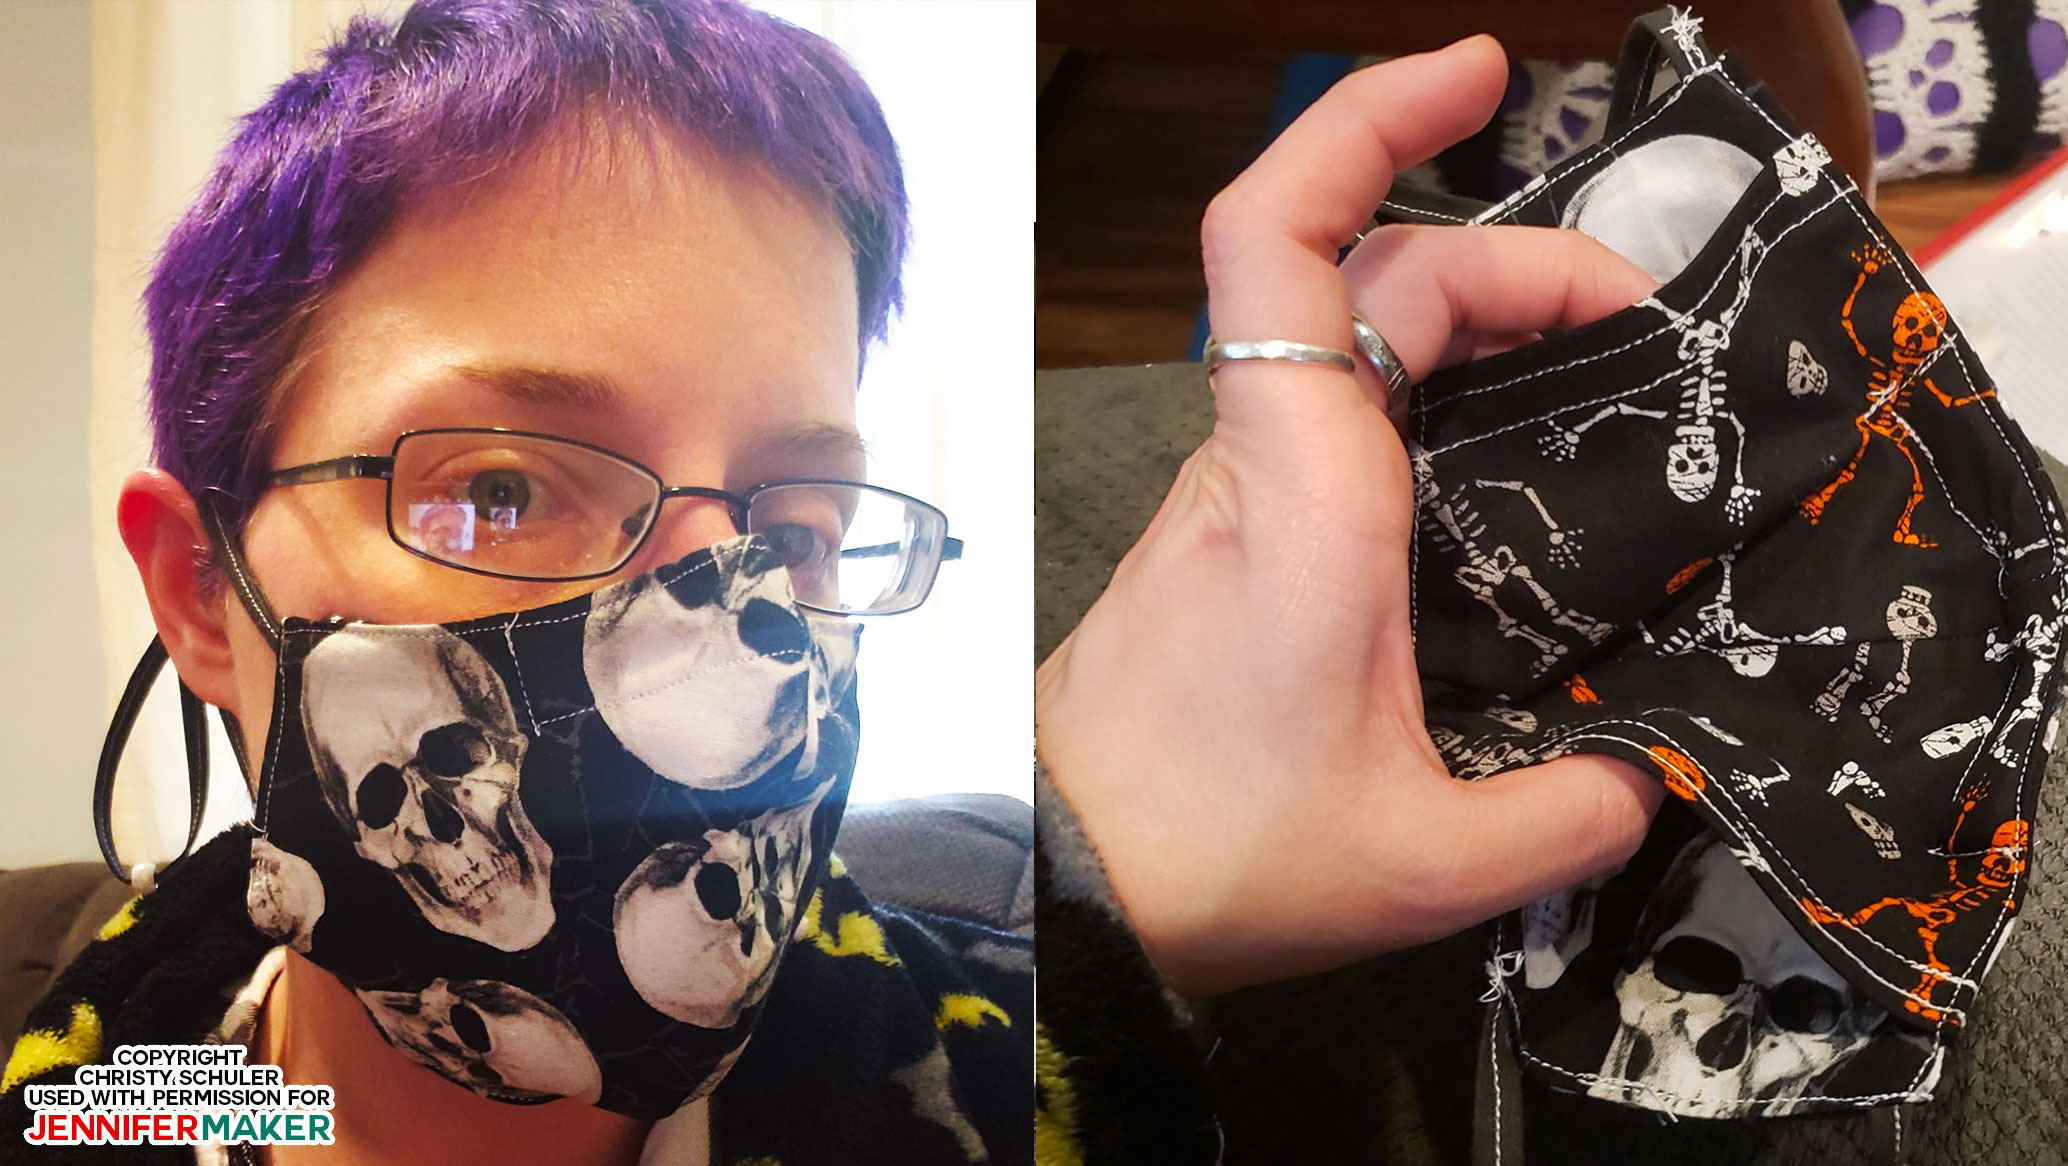


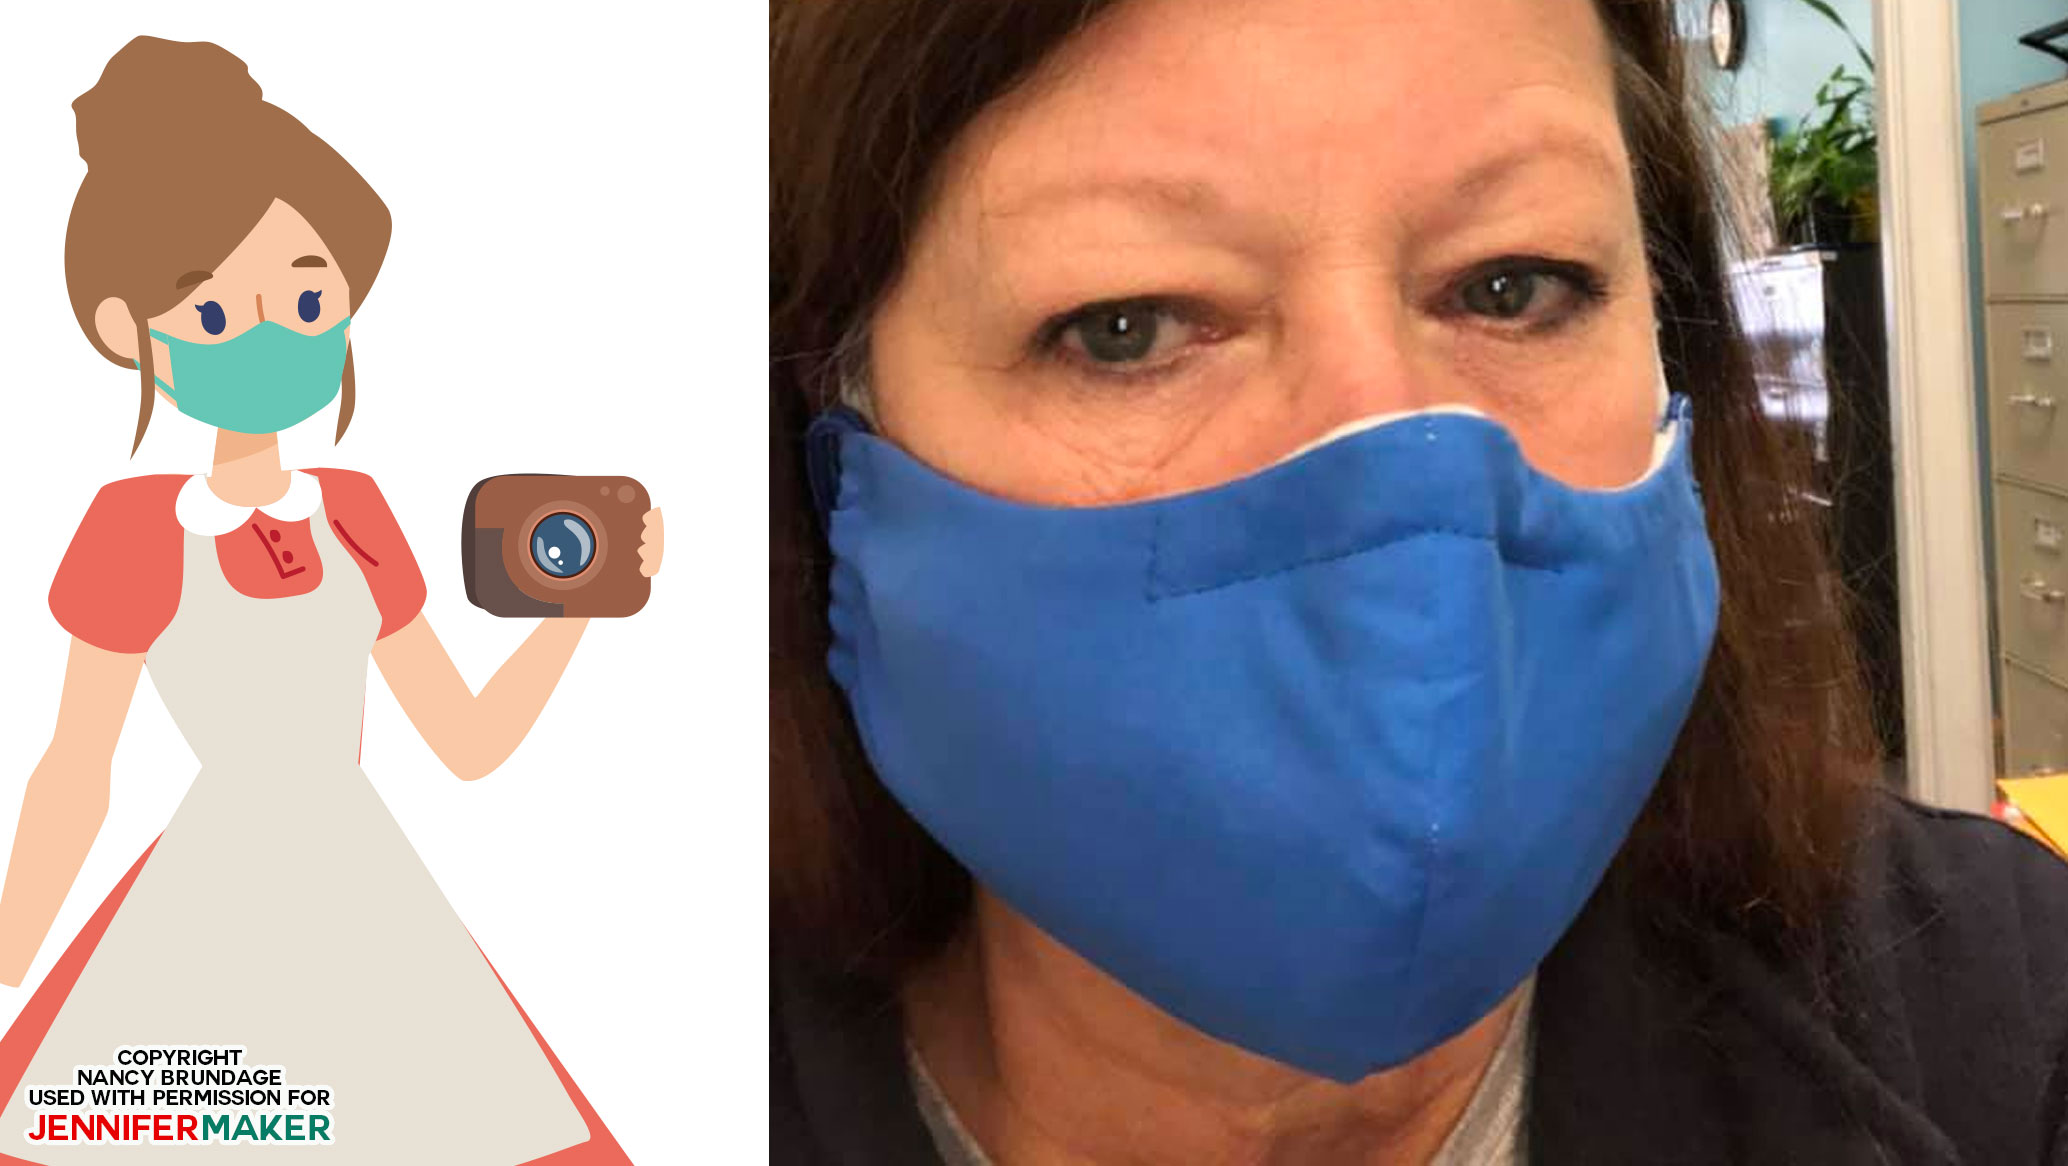

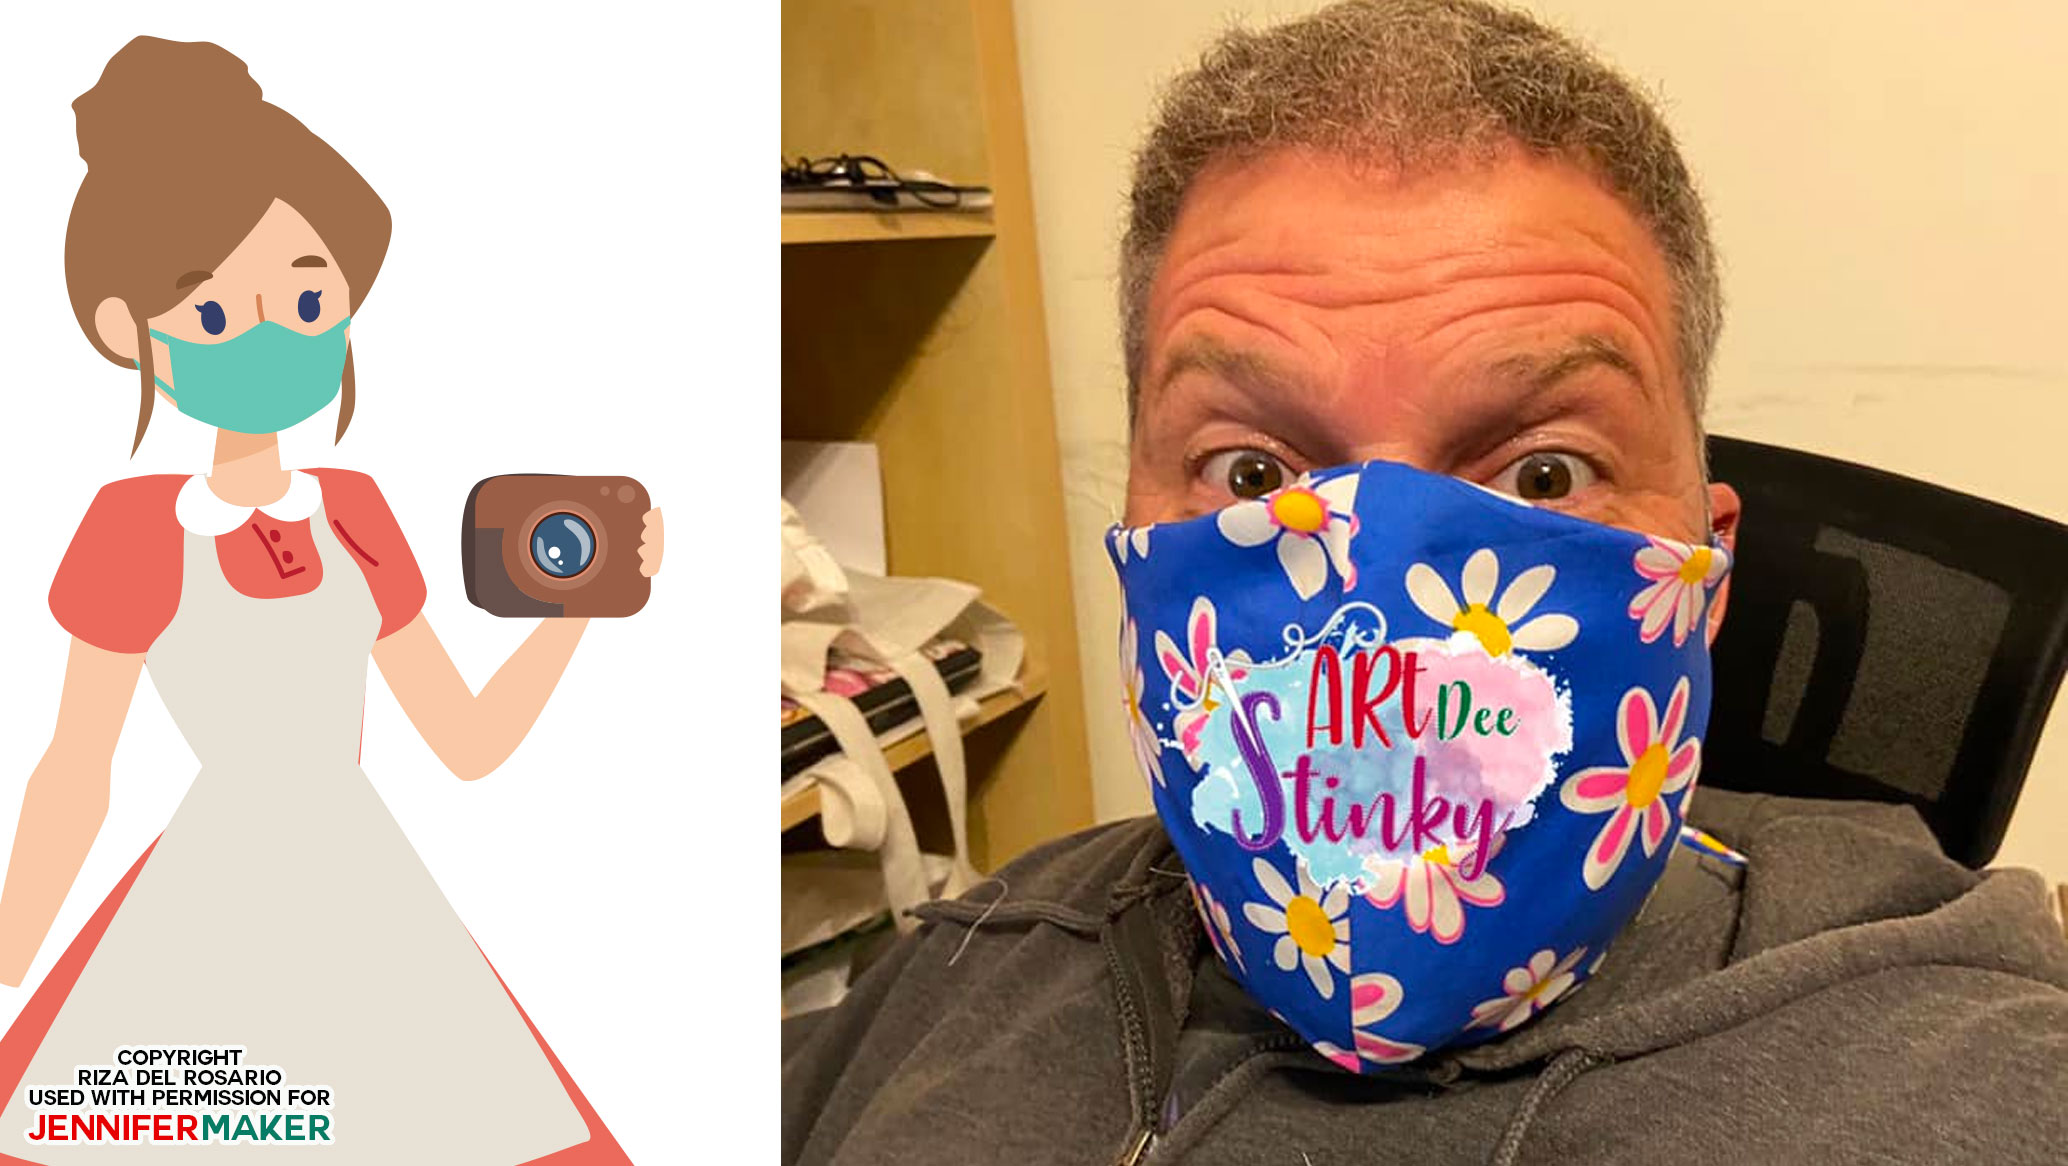


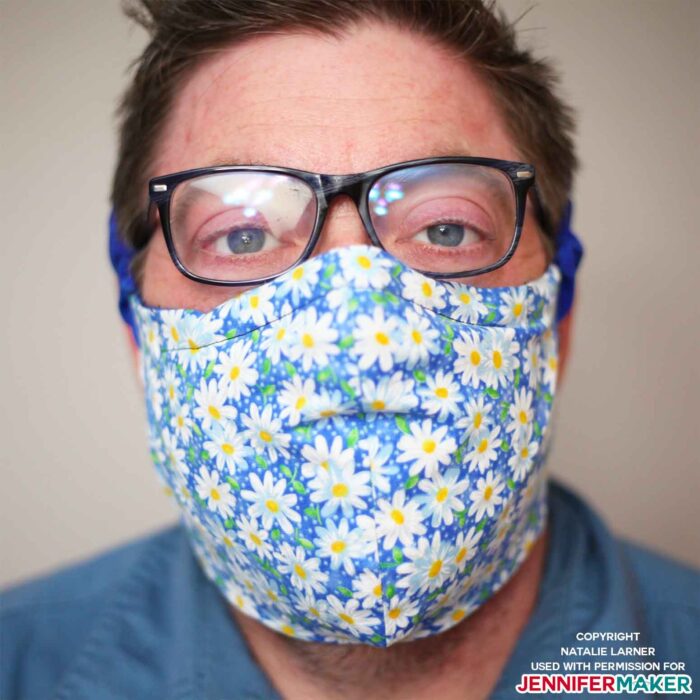
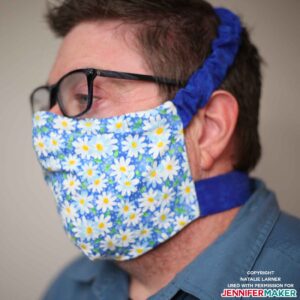
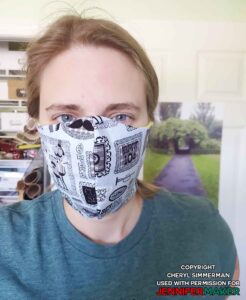
Here’s a photo of my brother-in-law Chad wearing his new face mask made from this pattern by his daughter Natalie! He says he loves it! I feel much better knowing he’ll have this when he needs it at his hospital.
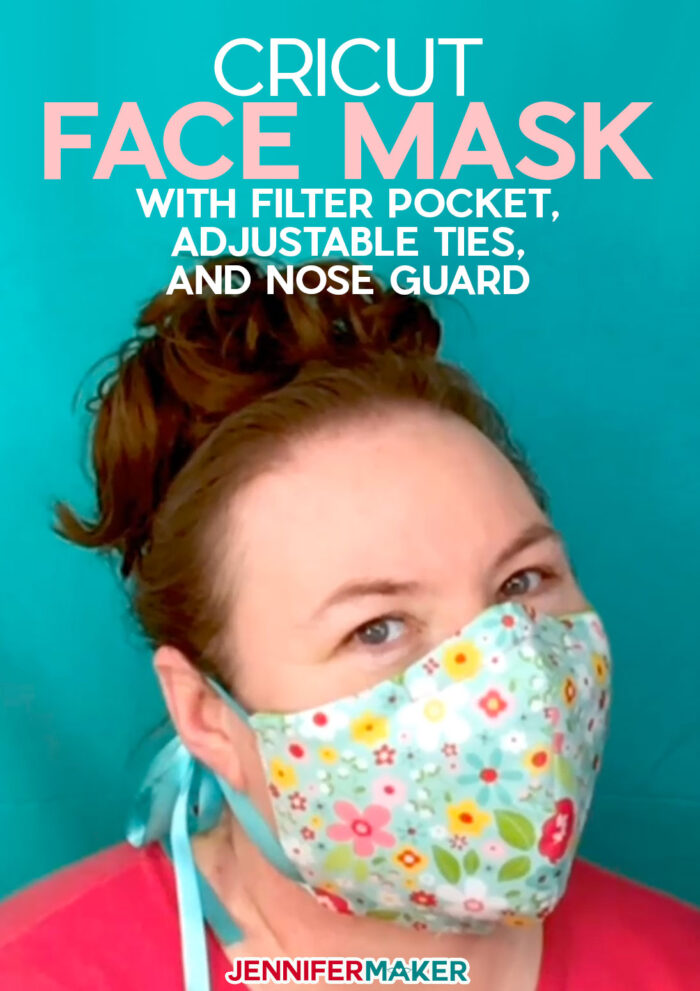
This DIY face mask pattern has several important features, all requested by my favorite respiratory therapist. Most of the features are optional, so you can keep it simple with just two layers and some ties, or go for full-featured version with three layers, a filter, and an adjustable nose guard. Your choice!
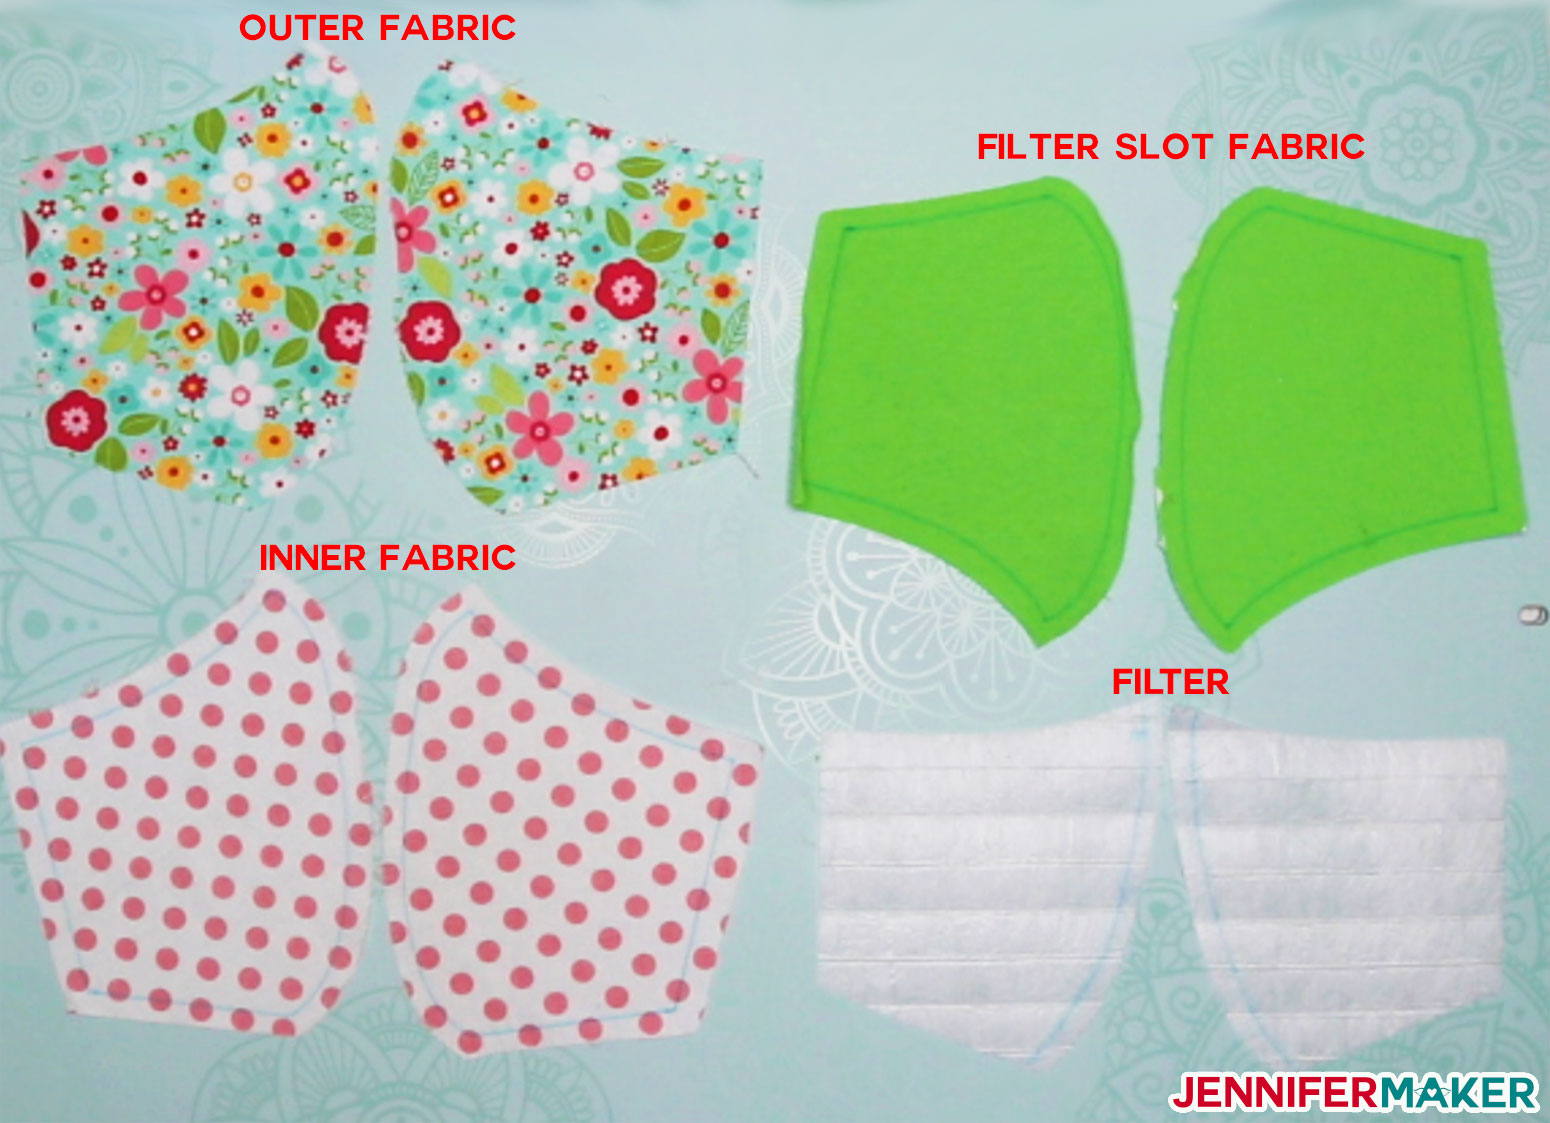
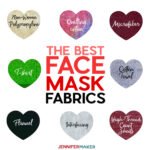
First, this DIY face mask is made from two layers of tightly woven cotton and a layer of 100% heavyweight T-shirt cotton. Not only are these two materials the same material combination recommended by the Cambridge University research study, but they are things you probably already have at home. See my Best Fabrics for Face Mask List for a list of materials and their effectiveness + breathability.
My homemade face mask has a removable filter pocket so you can change the filter daily AND wash the face mask daily. The optional filter slips right into the pocket on the side. See my Face Mask Filter Materials List for a list of filter materials commonly used and any research I’ve gathered on their safety, effectiveness, and breathability. (Note: In the video tutorial, I made a filter from a HEPA air filter at the respiratory therapist’s request (see material safety data sheet), but since that time 3M Filtrete has issued a statement on their web site that says, “Our filters are designed to be used in HVAC systems, and the filter media has not been tested to be used as a face mask for respiratory protection.”)
The ties on my DIY face mask are adjustable, which means you can get a better fit than elastic. (Besides, elastic can be harder to find.) Just put on the face mask, find the right fit (close and tight is best), then knot the ribbons/ties in place so there’s no slipping. The ties are long enough that you can tie it either in the back of your head or behind your ears (I think it’s easier to get on and off if you tie it behind your ears—your choice!). I’m wearing the medium size face mask here:

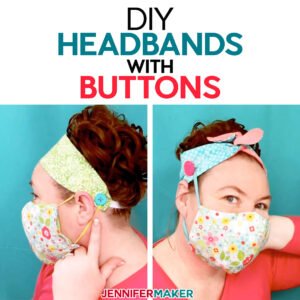
Need a headband to keep face masks on without hurting ears? Check out our DIY Headband with Buttons tutorial!
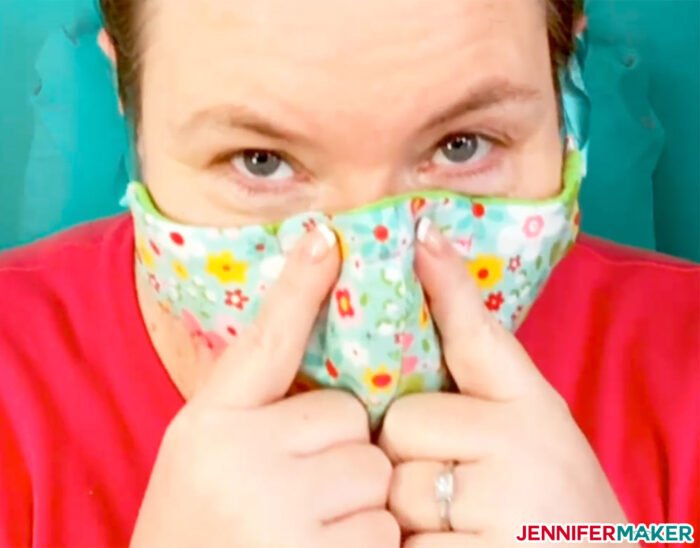
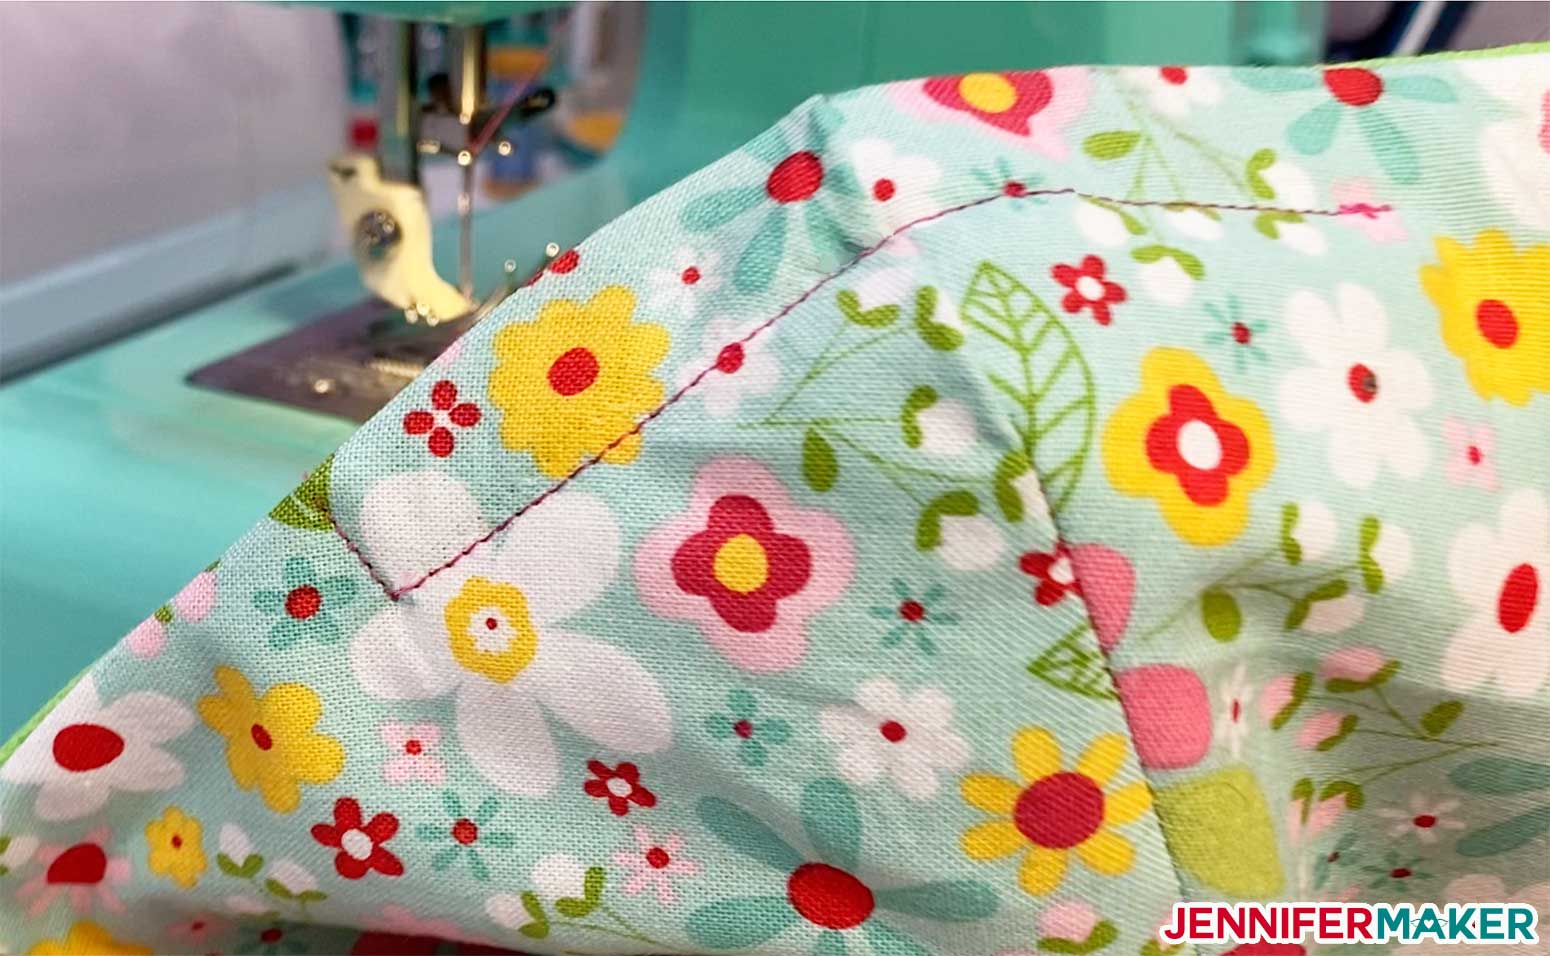
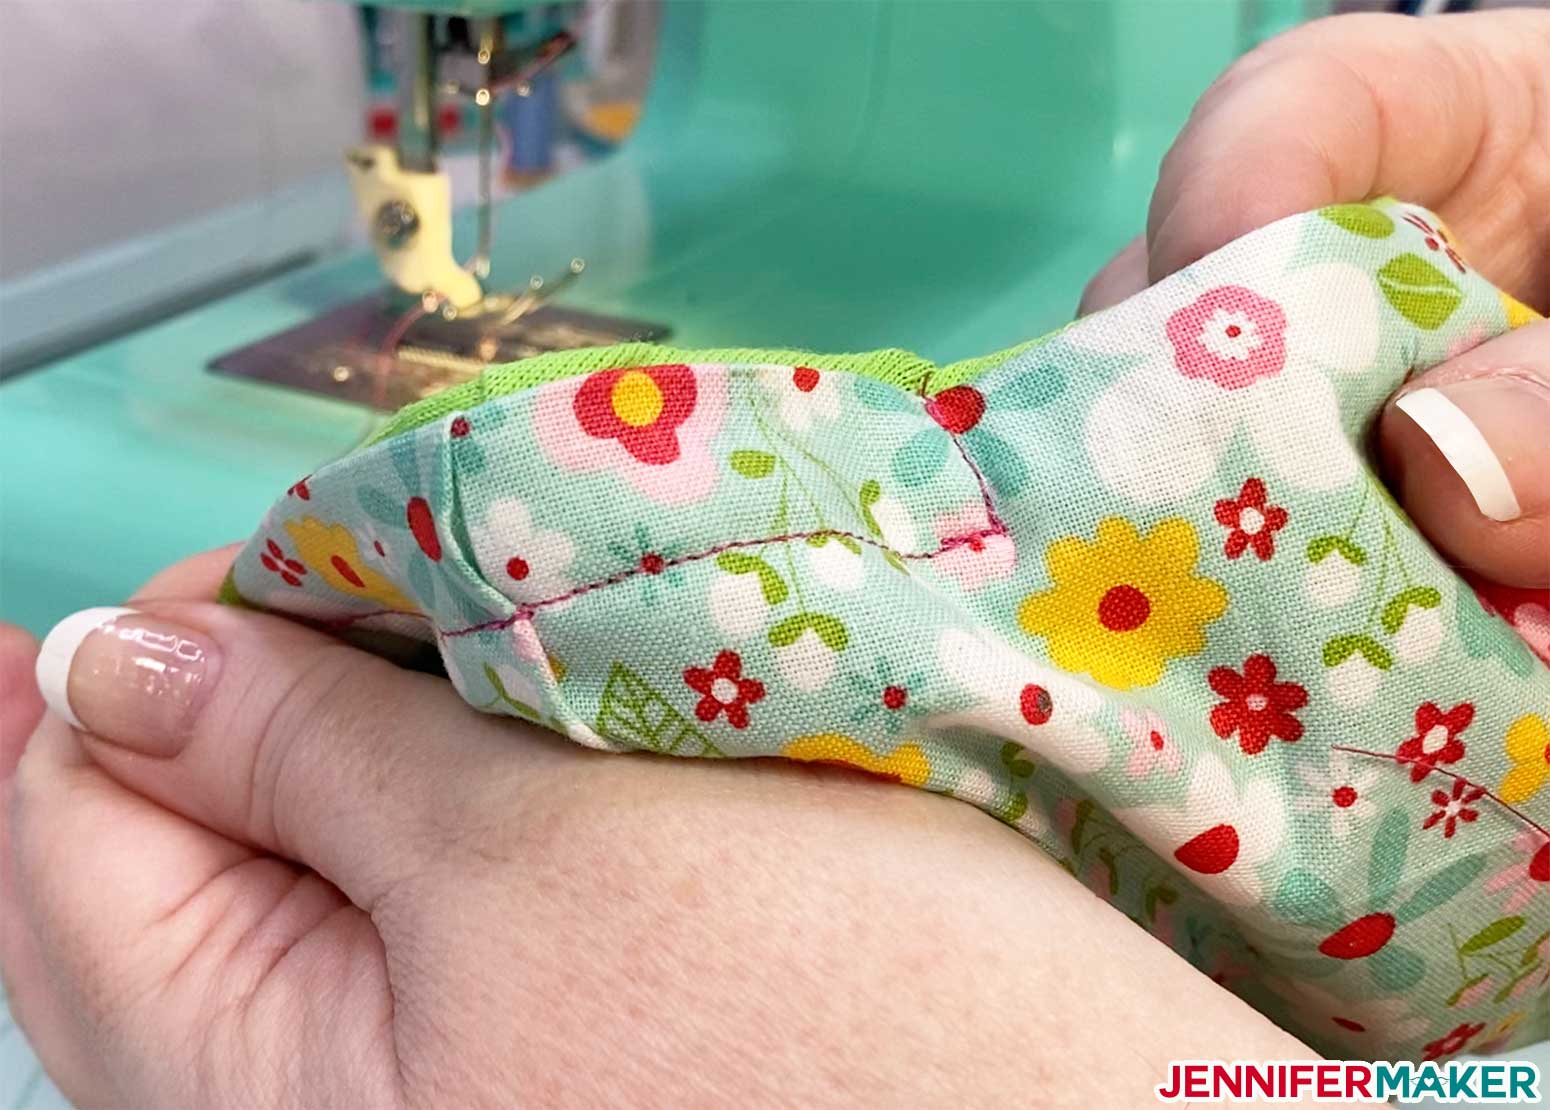
Finally, you can put a wire inside a channel at the top of the DIY face mask to create a nose guard for a better fit.
Our face mask pattern is really very comfortable to wear and easy to breathe in, which is good because you’re more likely to wear it and keep it on.
The DIY face mask pattern comes in three sizes — we recommend size small for kids and adults with small heads (I fit in the small), medium for women or kids with large heads, and large for men. But your mileage may vary, of course!
Remember, this DIY face mask is a last resort when no other masks are available. I strongly believe in mask wearing when it is warranted, and I urge you to wear this mask when you’re out, as it may prevent spreading germs to others who may be more vulnerable. The CDC agrees with me, and issued a statement recommending everyone wear cloth face coverings in public settings (e.g., grocery stores and pharmacies).
Learn more about face masks and get more answers to your questions in my DIY Face Mask Guide:

Ready to make your own DIY face masks? This step-by-step tutorial shows you how to do it. This post contains some affiliate links for your convenience (which means if you make a purchase after clicking a link I will earn a small commission but it won’t cost you a penny more)! Read my full disclosure policy.
Materials to Make DIY Face Masks with a Filter Pocket, Adjustable Ties, and Nose Guard
View my Amazon shopping list with the exact items we used to make this project!
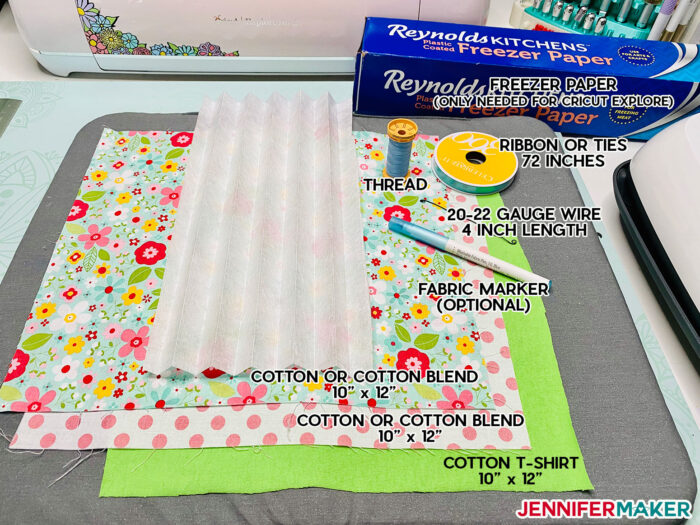
- One piece of 100% cotton heavyweight T-shirt, about 10″ x 12″ — can be new or old, but should be clean (you can sterilize it by boiling it, drying it at least 104°F, or using a hot iron) — click here to see research study that shows this is the best household item to use for a DIY face mask
- Two pieces of 100% cotton or cotton blend closely and TIGHTLY woven fabric, like that on a hypoallergenic pillowcase, about 10″ x 12″ (Tip: Use a fat quarter or one of the Cricut fabric samplers, these can be the same pattern or different) — see my list of Best Fabrics for Face Masks
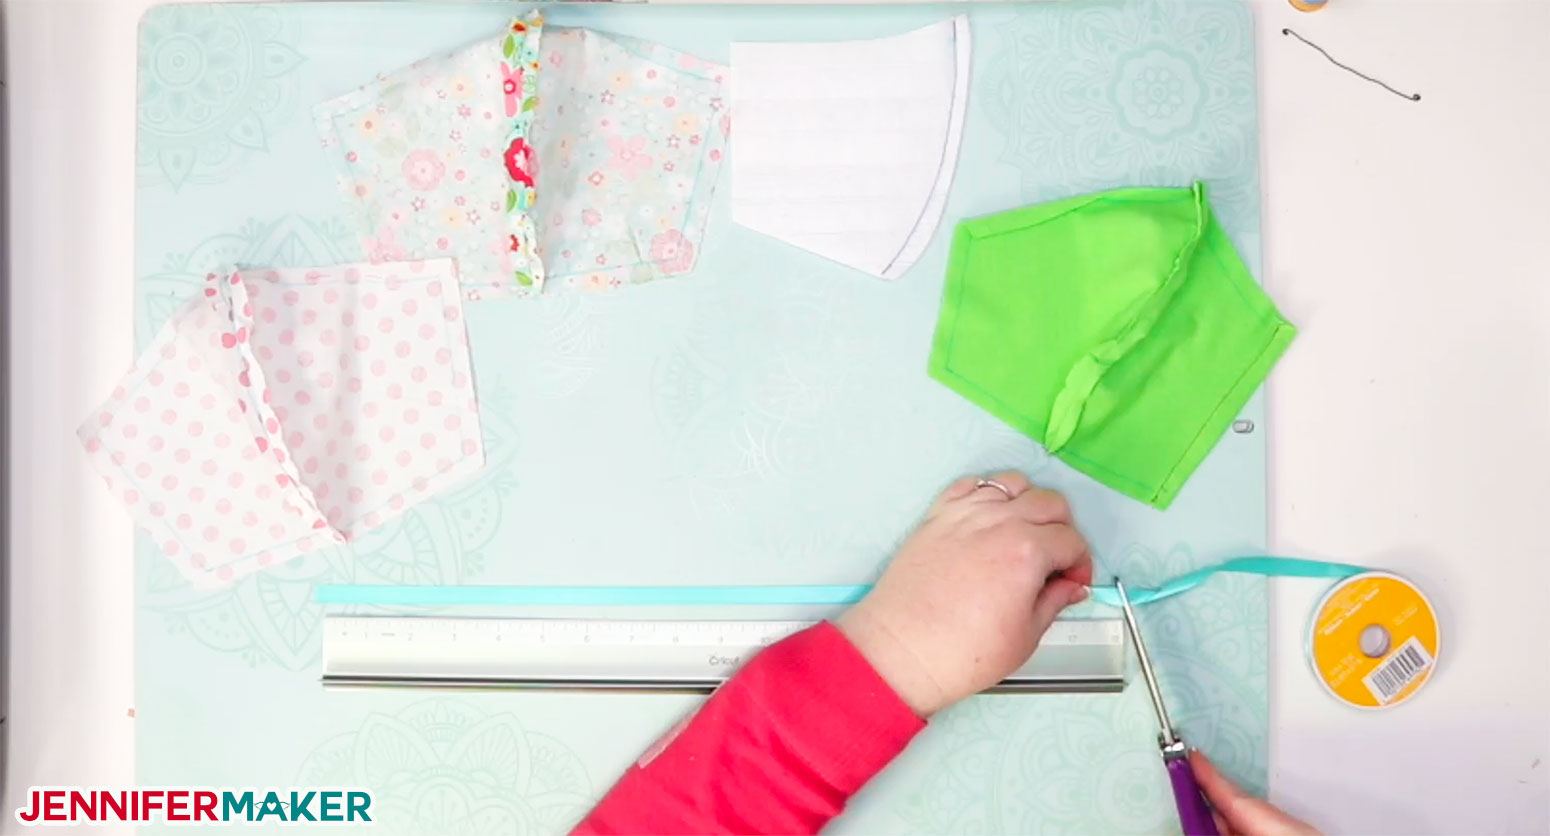
- 1/4″-3/8″ wide ribbons or ties, at least 72″ (six feet) to make four 18″ ties — ribbons/ties make it adjustable and fit better (you can also use elastic if you prefer)
- Thread
- (Optional) Something you can use as a filter — see my Face Mask Materials List for notes, effectiveness, and breathability so you can make an informed decision
- (Optional) 20-22-gauge wire or floral wire, 4″ long (to make a fitted top to go over the bridge of your nose)
- (Optional) Fabric marker (good if you want to mark the seam allowance)
- (Optional) Freezer paper (for bonding your fabric when cutting on a Cricut Explore — not needed with a Maker or hand cutting)
- (Optional) Elastic (1/8″ – 1/4″ and length of 6″ to 9″)
- Scissors
- Ruler
- Iron or Cricut EasyPress
- Pink FabricGrip mat (if you’re cutting this on your Cricut Maker, you can use the green StandardGrip mat if you’re cutting on your Cricut Explore)
- Sewing machine as shown in the video or this sewing machine as another option (or needle and thread for hand sewing — raid your travel mending kit if you have to)
- Pins (for keeping fabric attached while sewing)
- A way to cut your material (this tutorial covers using the Cricut Explore cutting machine and the Cricut Maker cutting machine, but you can also use scissors or a rotary blade with my printable PDF pattern)
- Design #198 – My free face mask pattern which comes as an SVG cut file or printable PDF pattern ( available here and in my free resource library—get the password by filling out the form at the bottom of this page)
How to Cut and Sew the DIY Face Mask
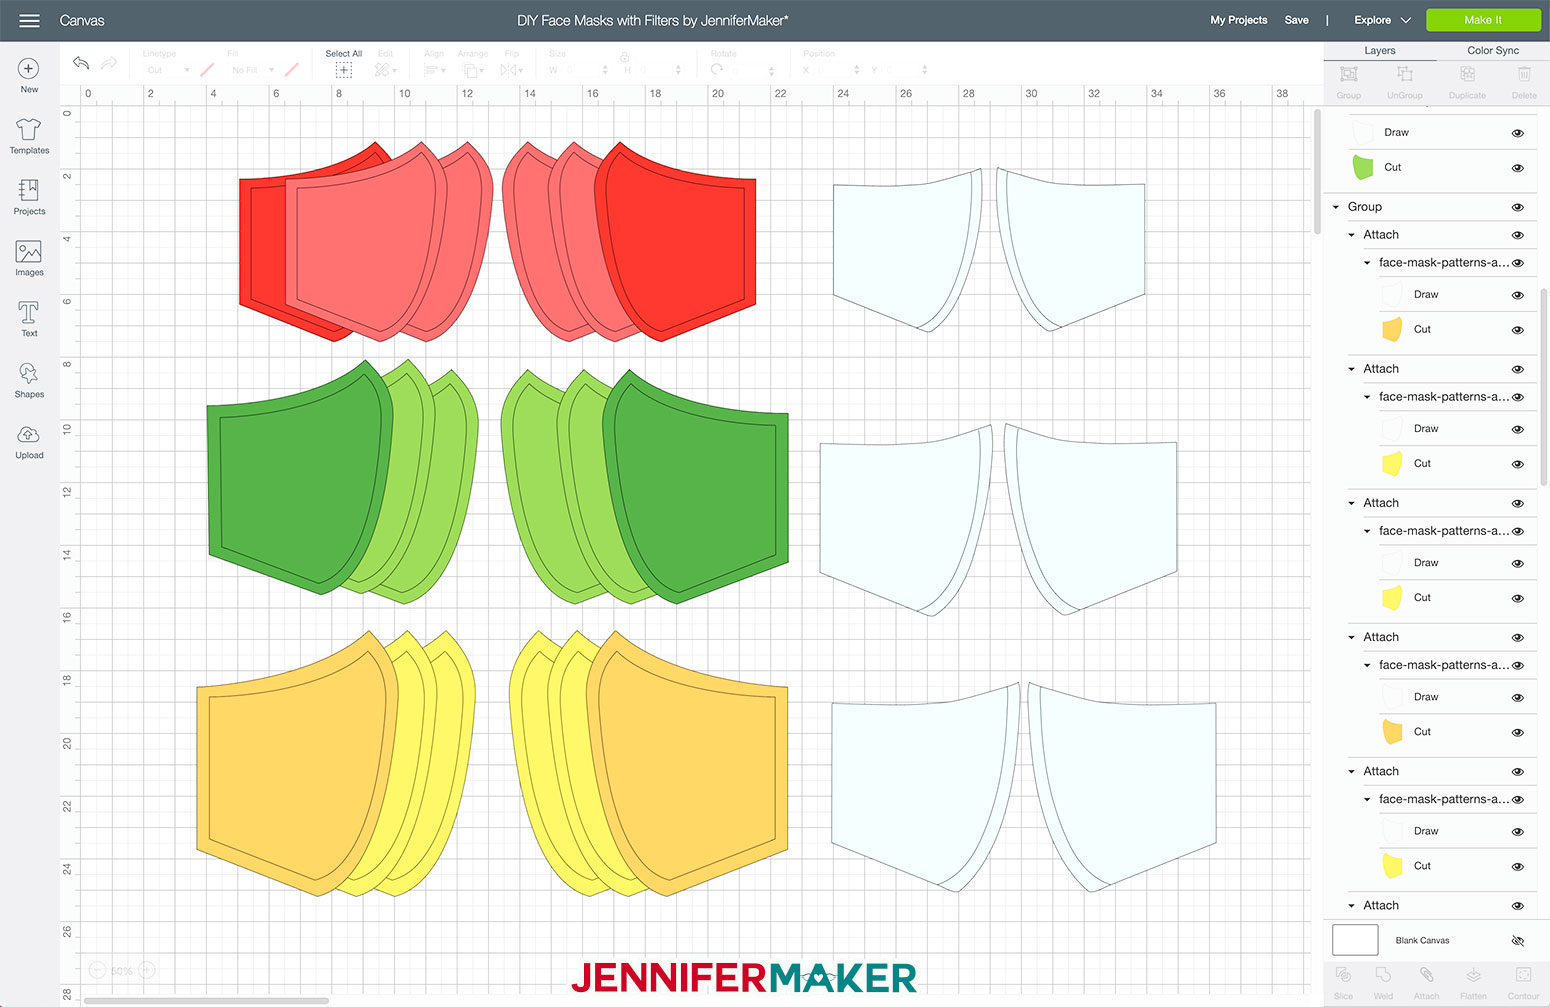
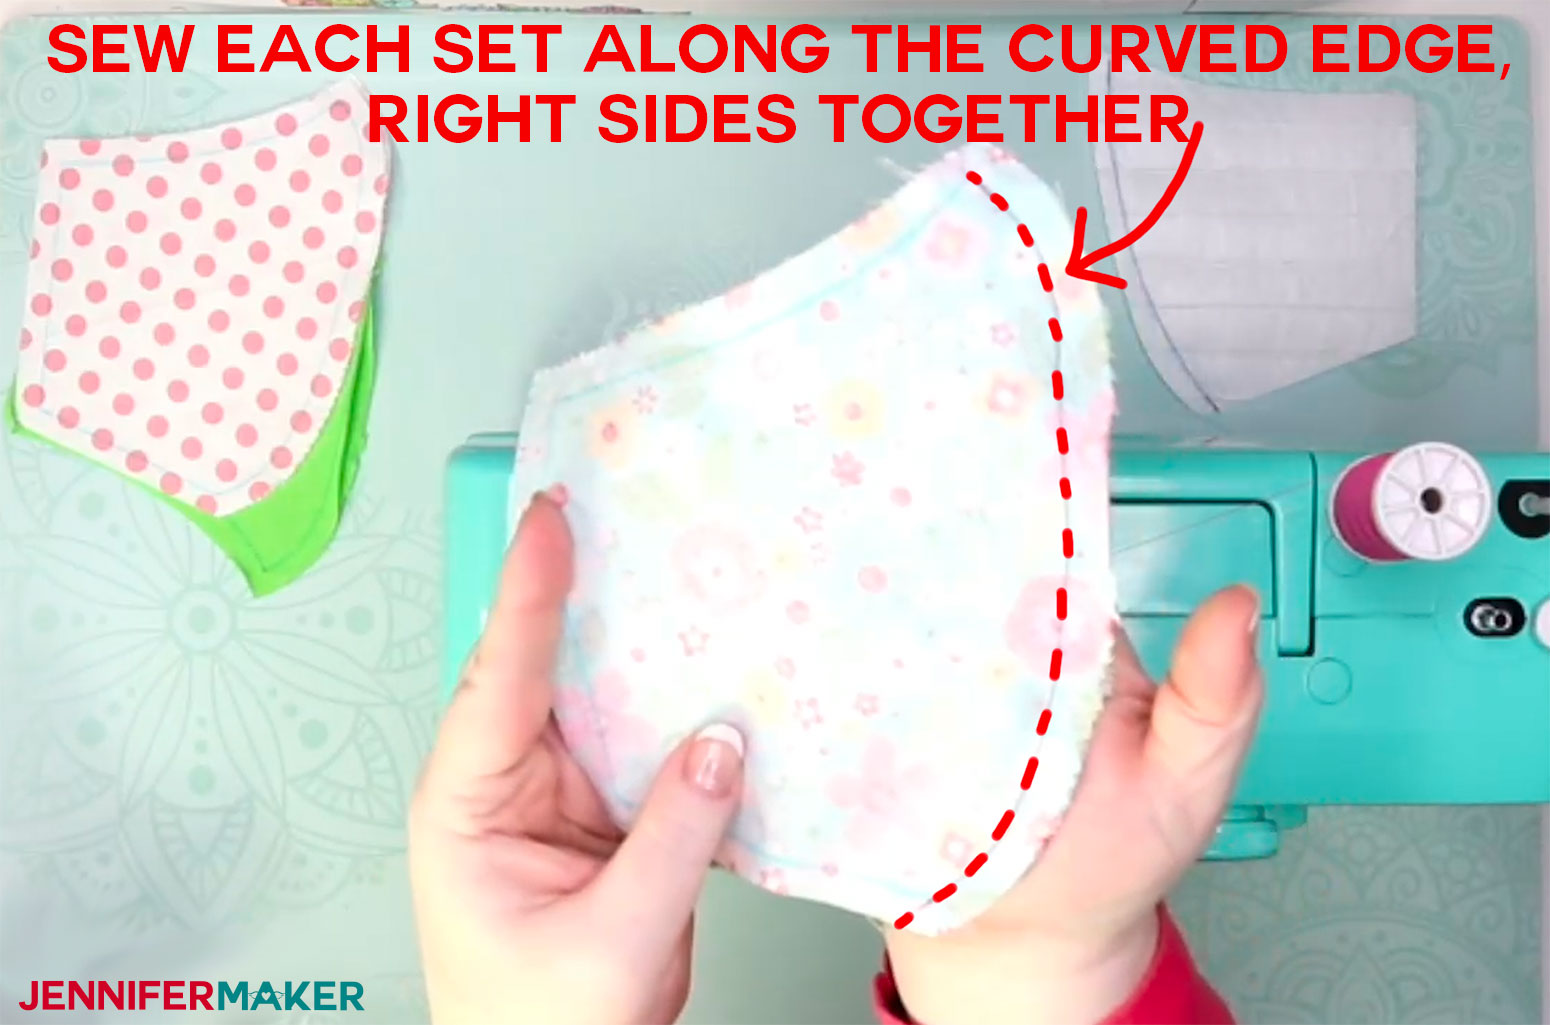
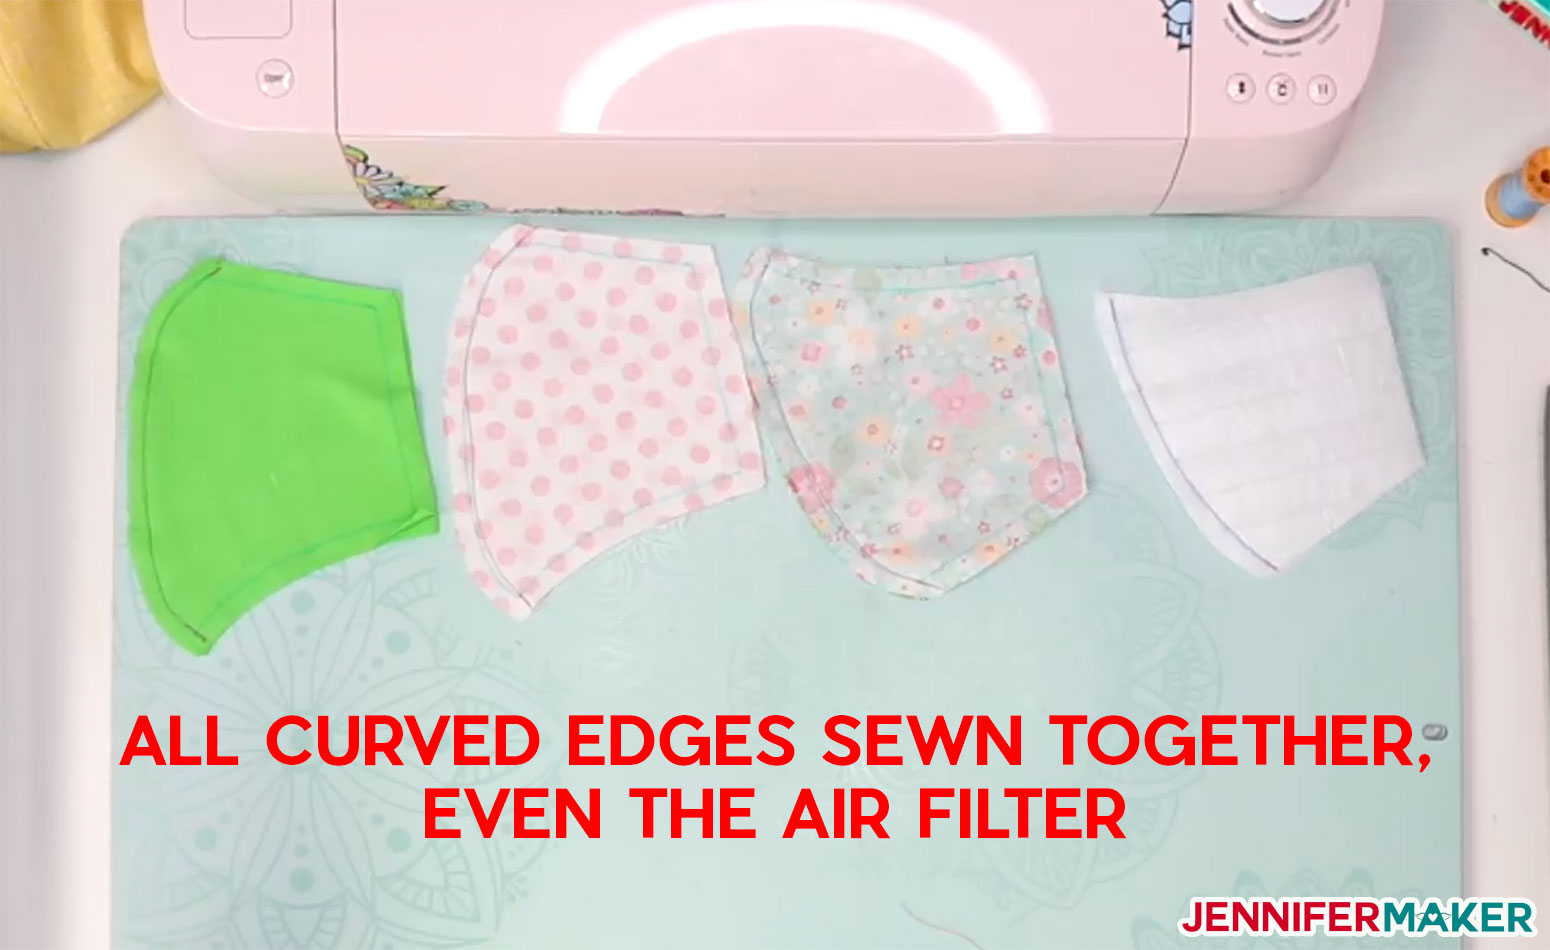
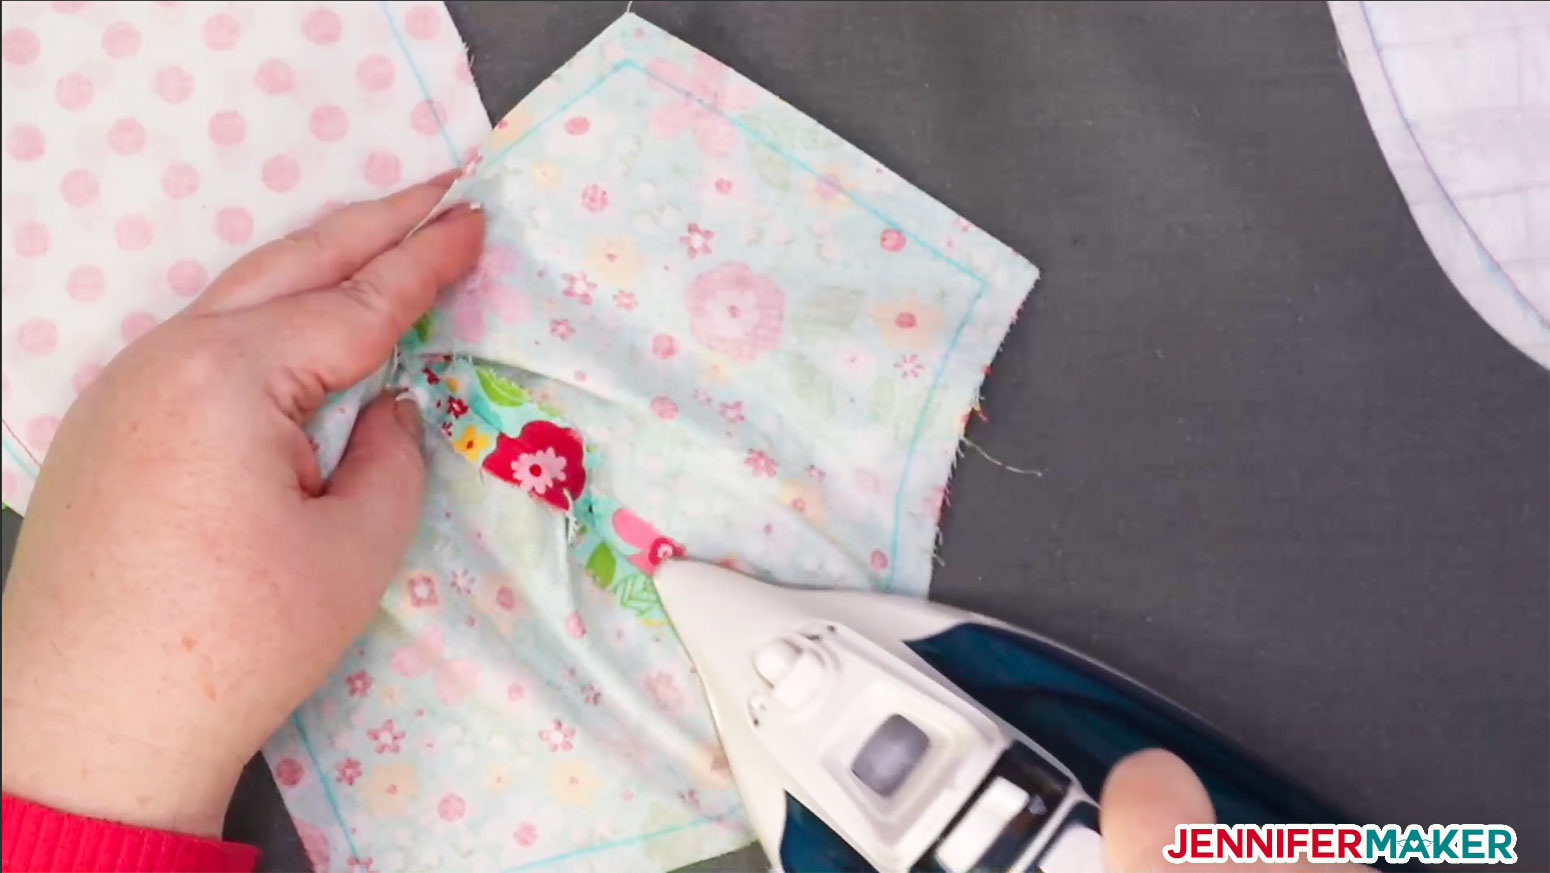
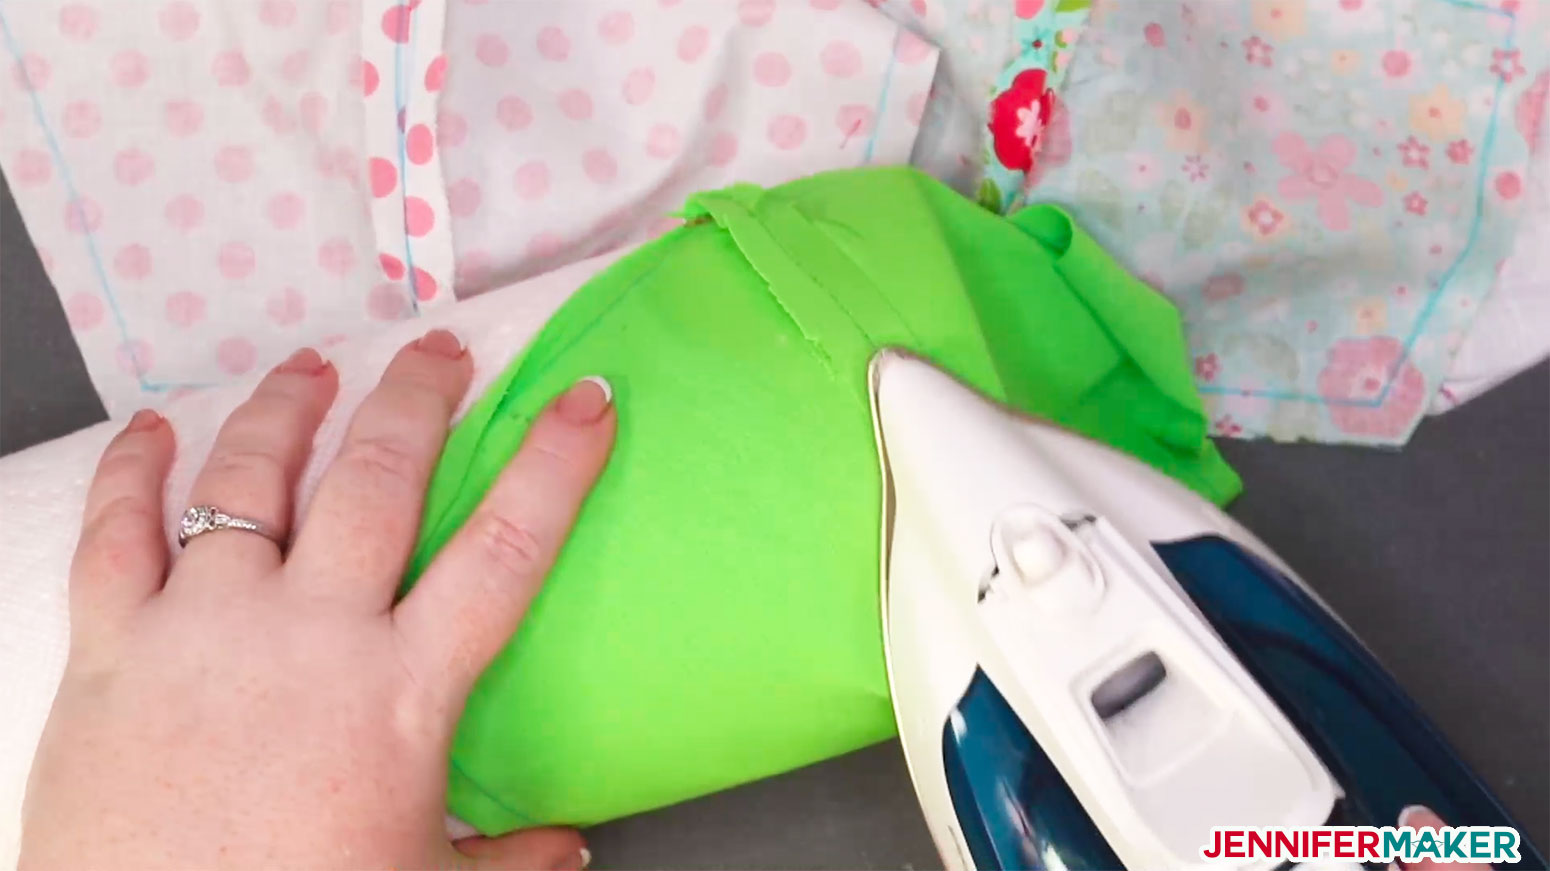
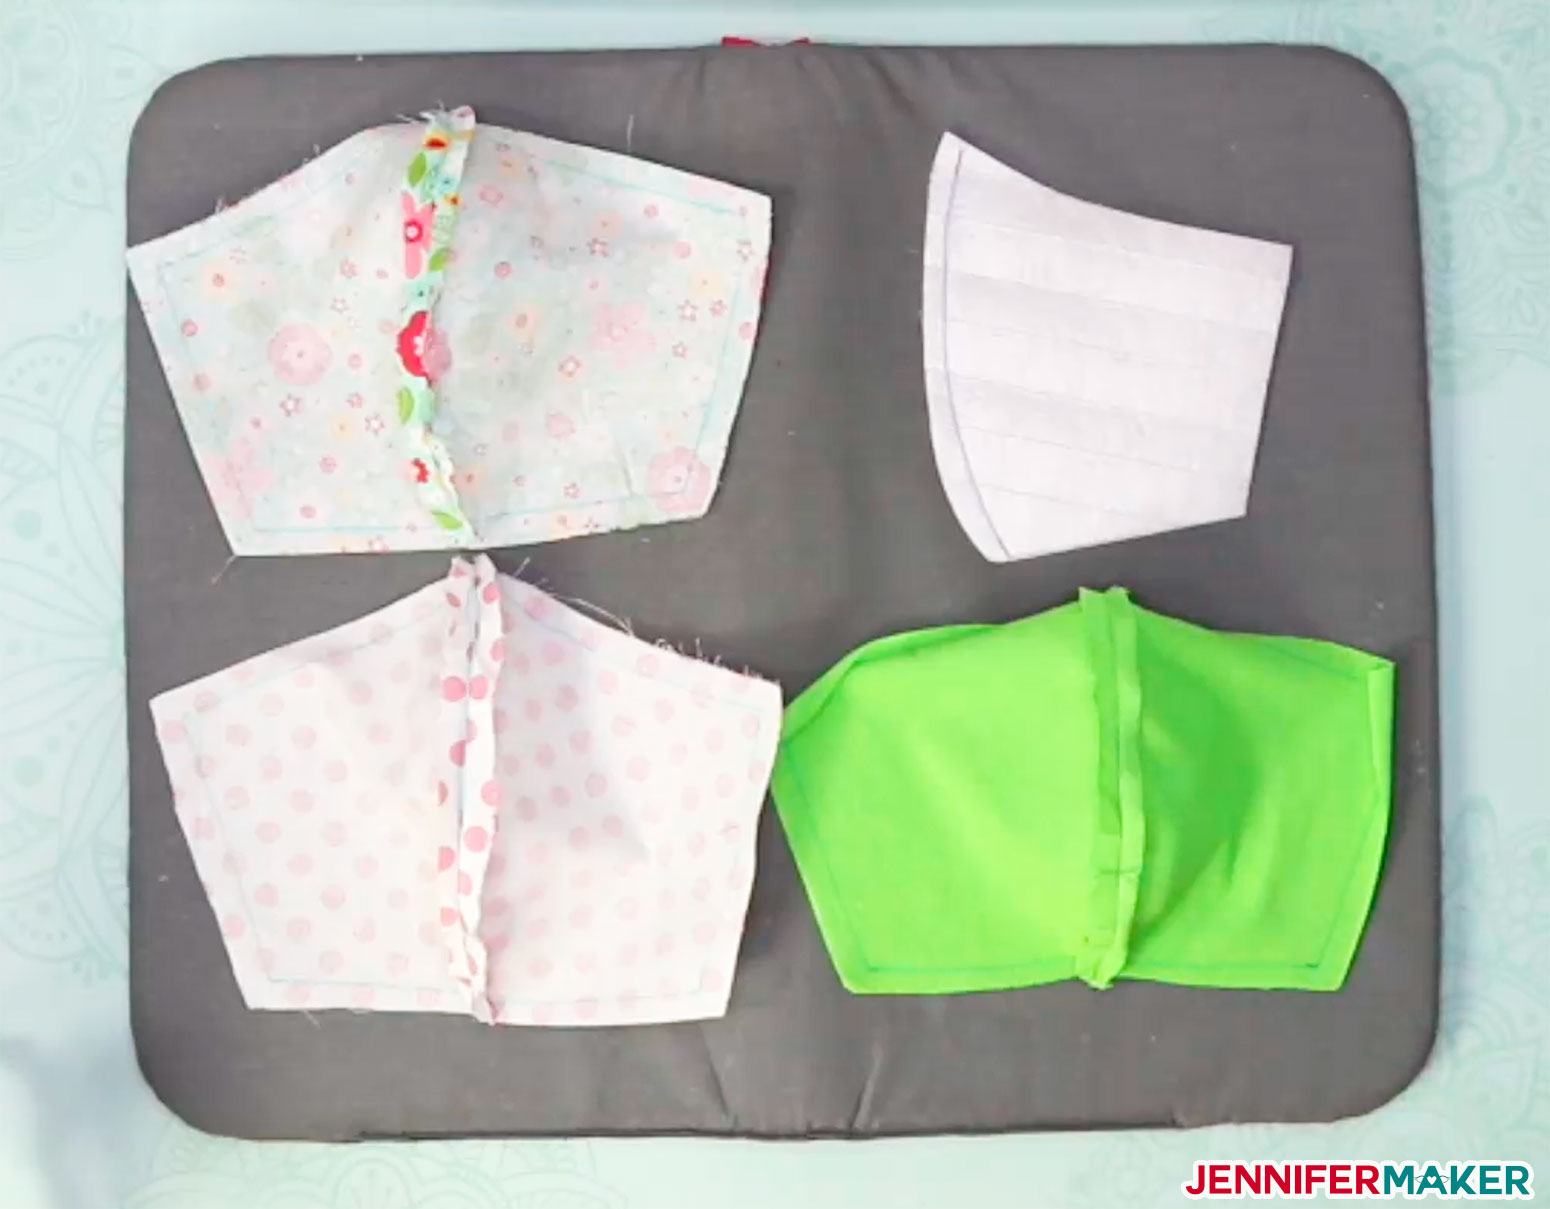
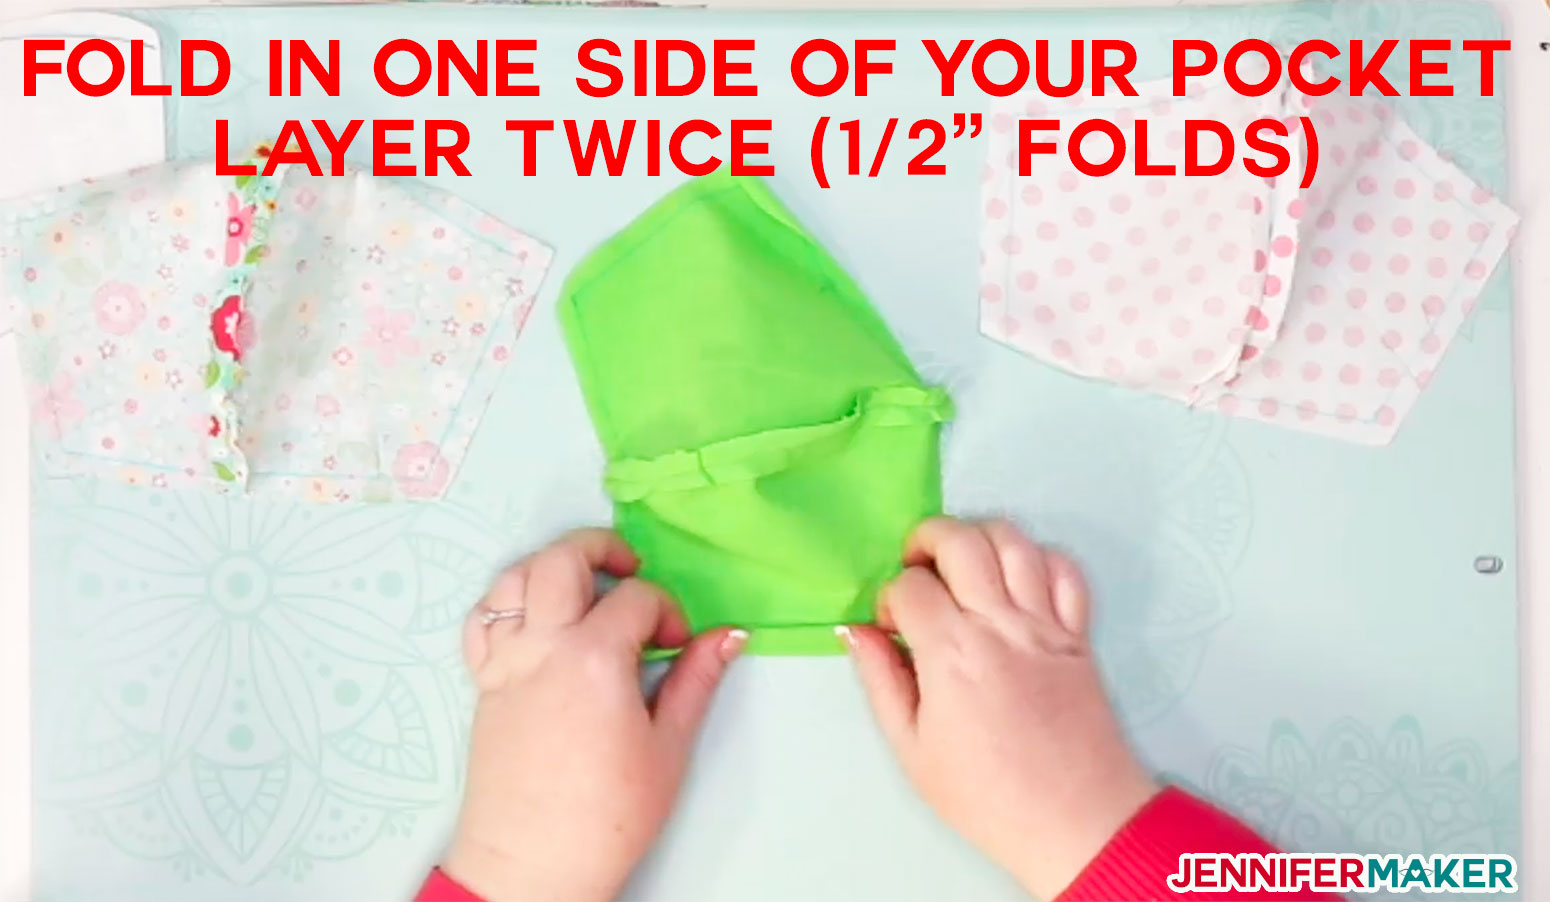
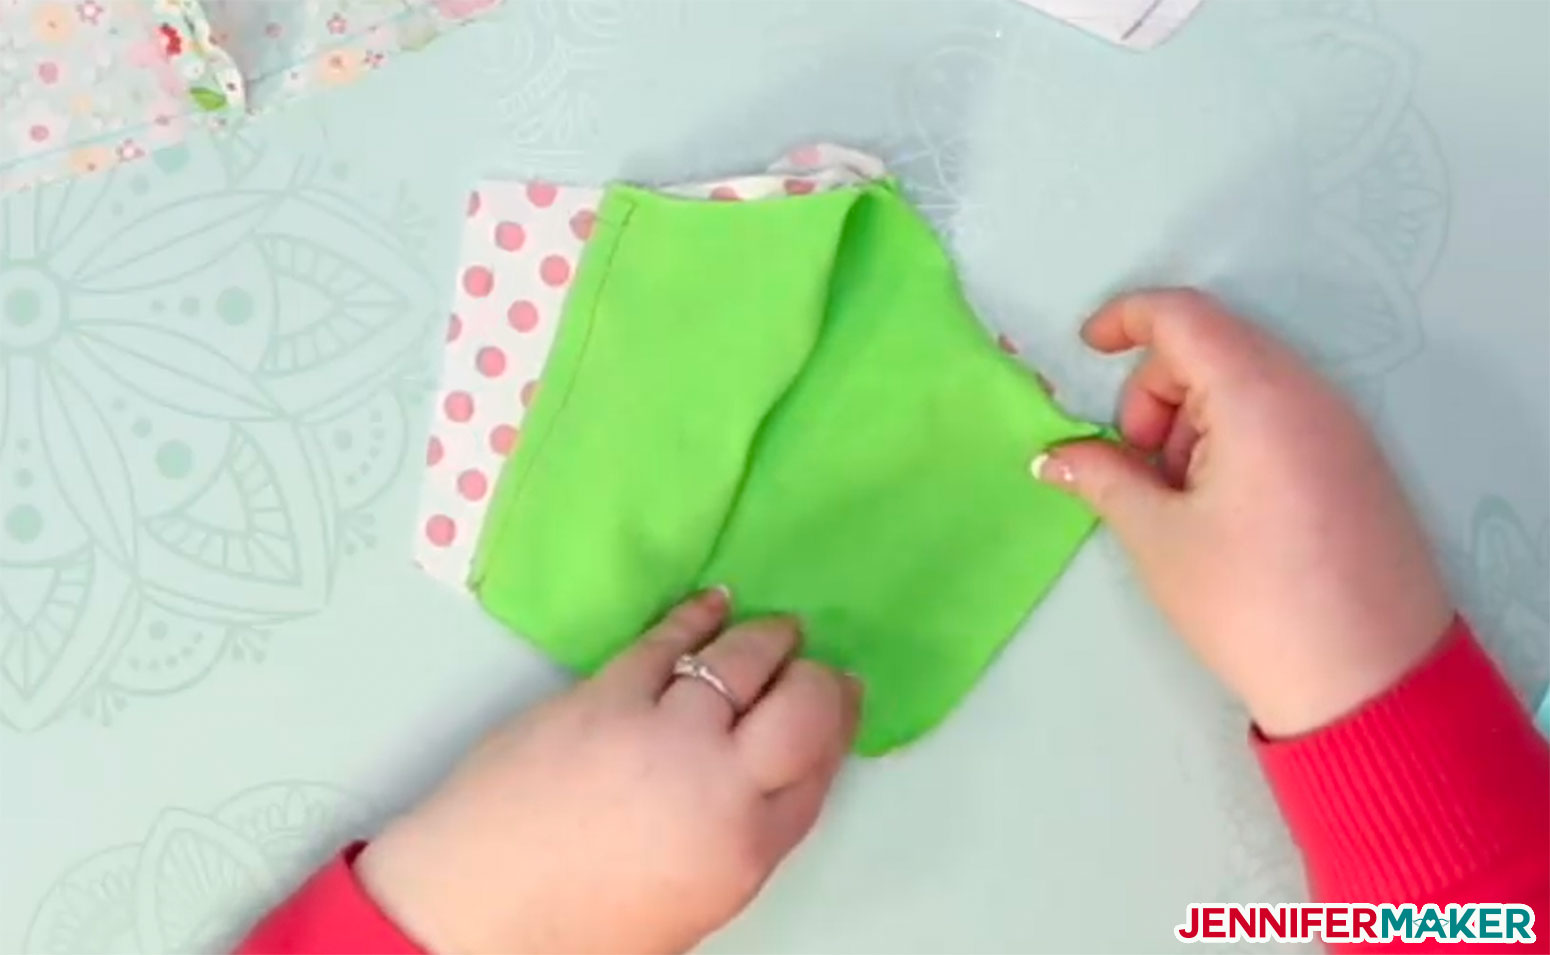
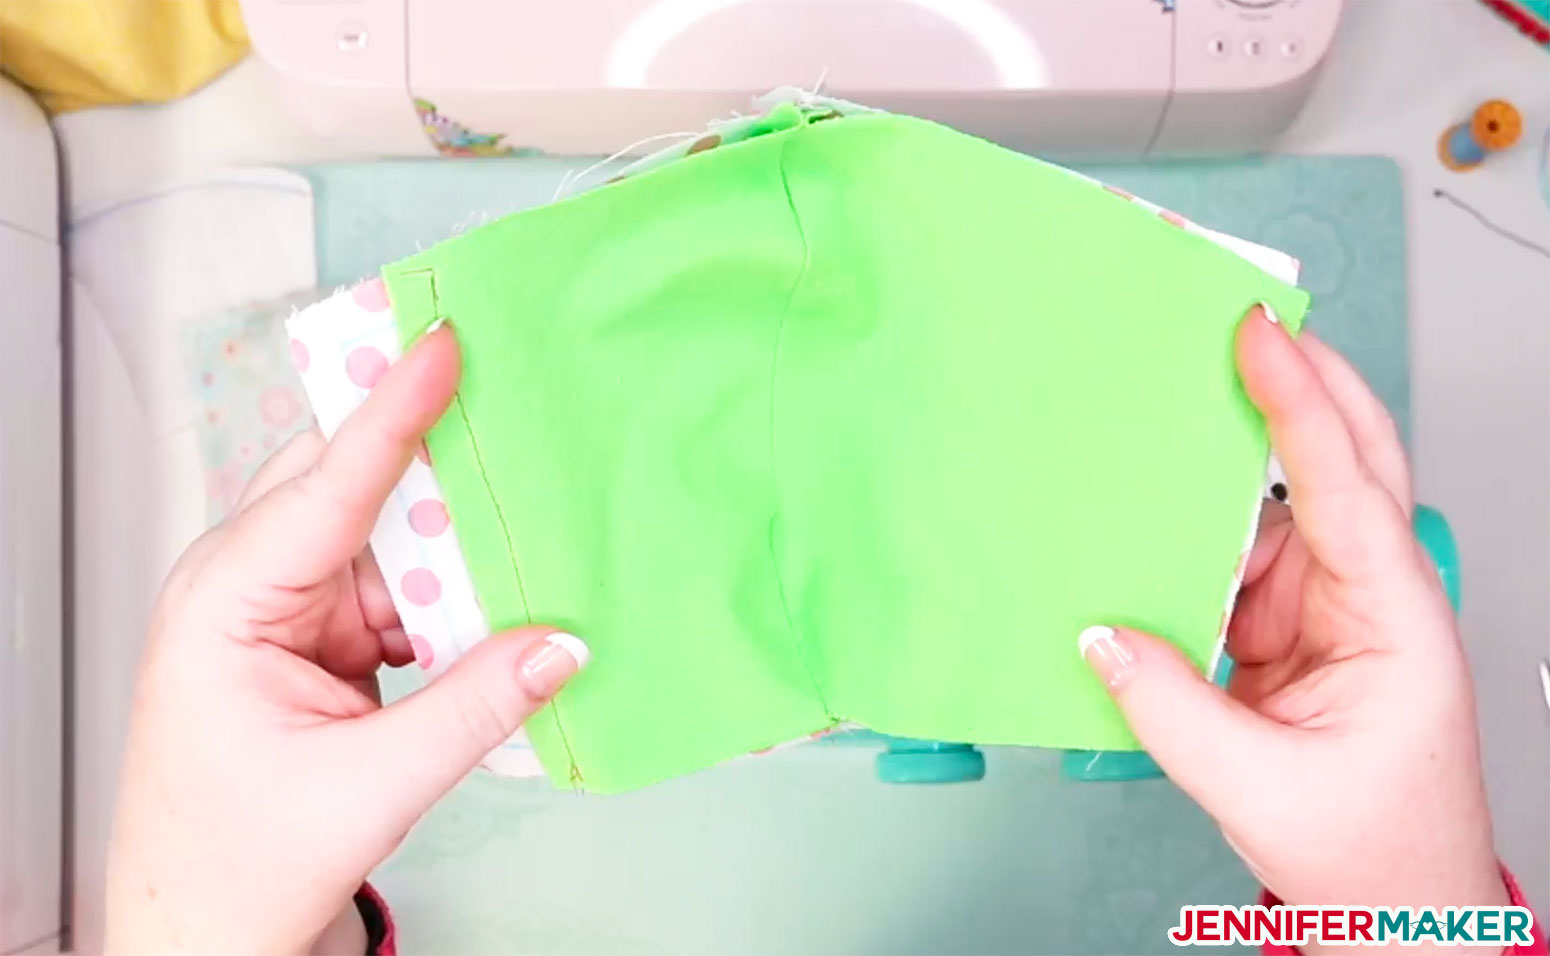
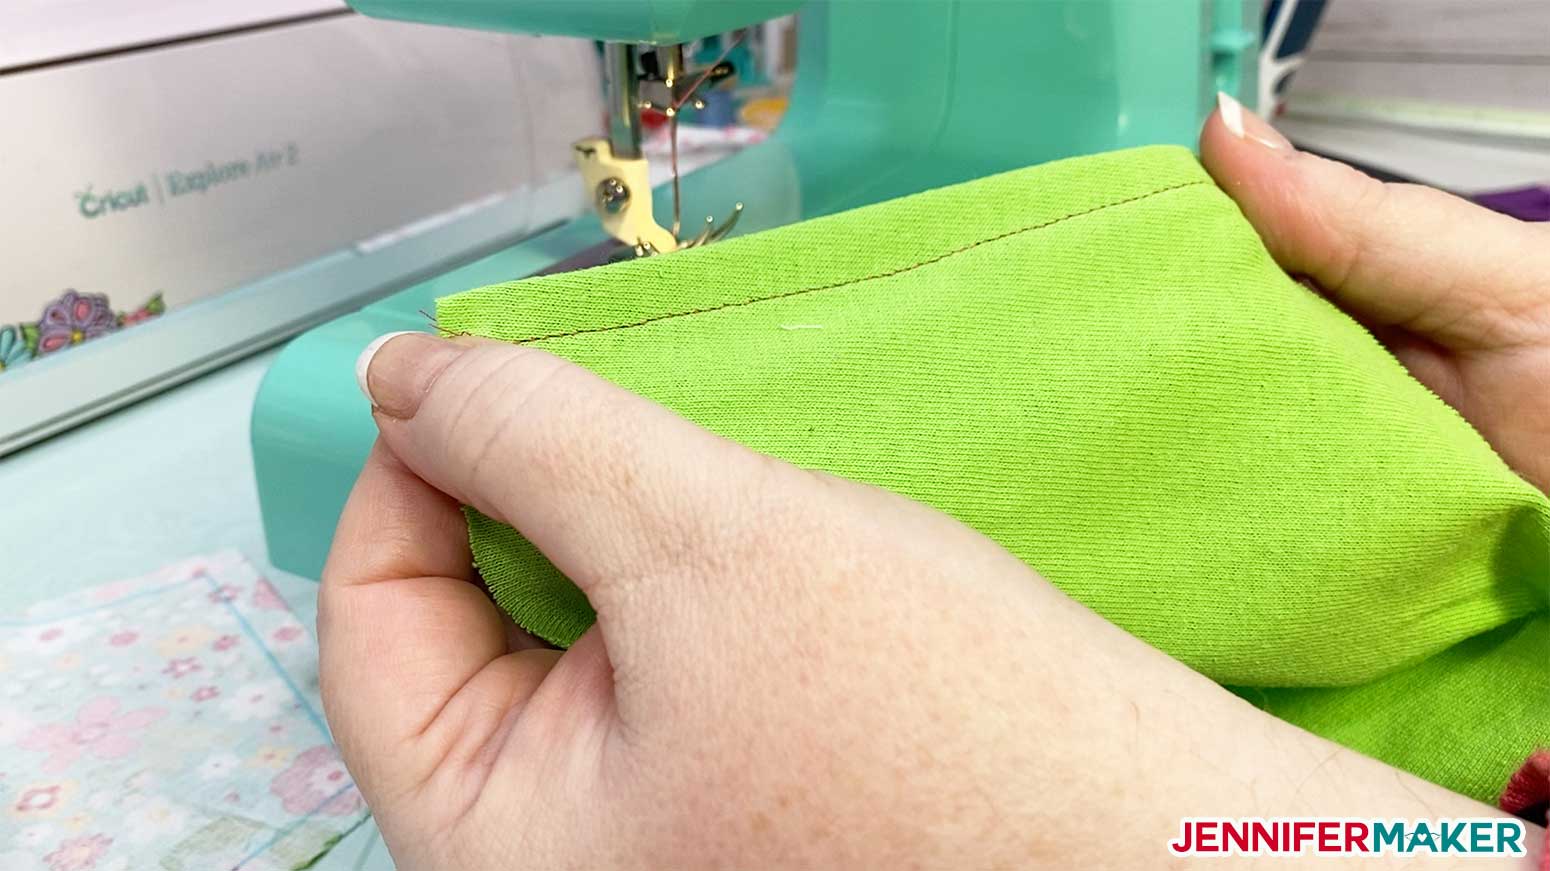
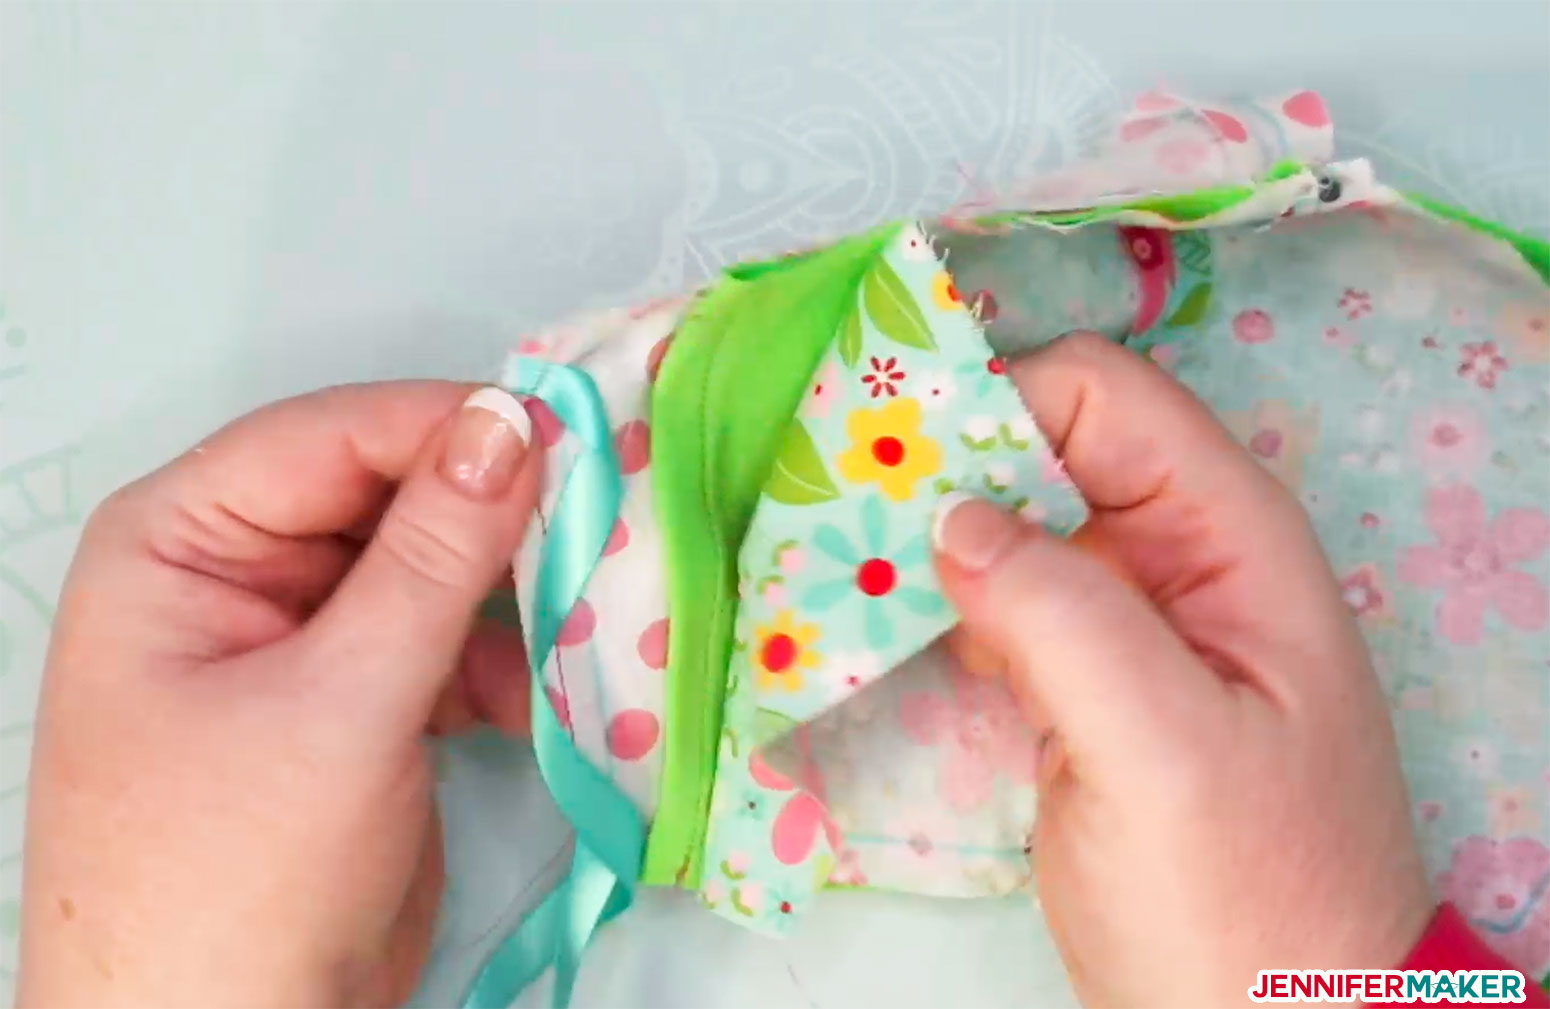
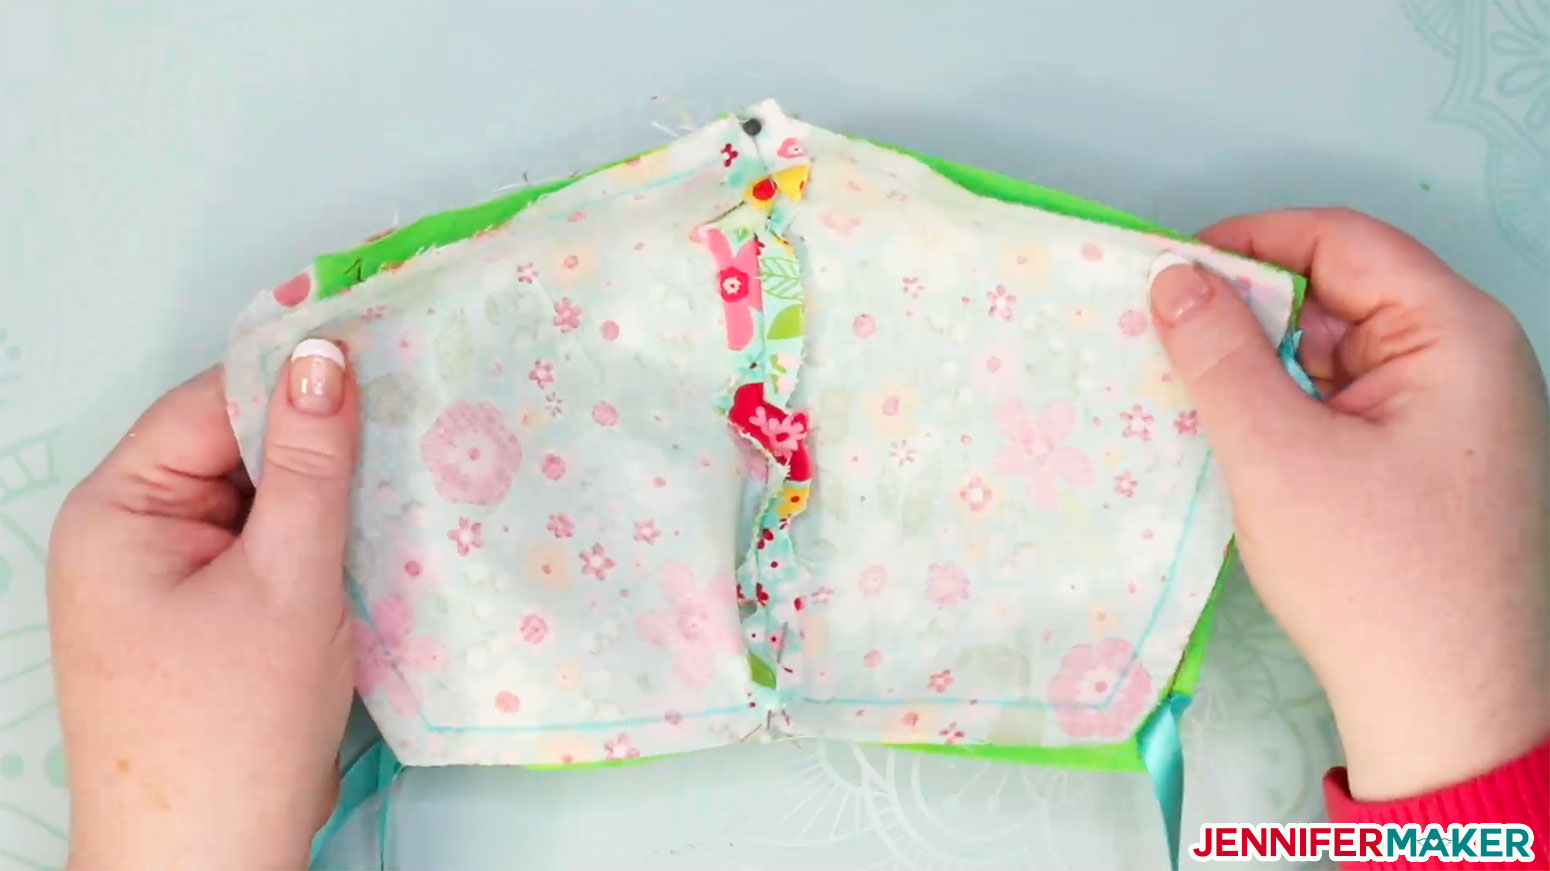
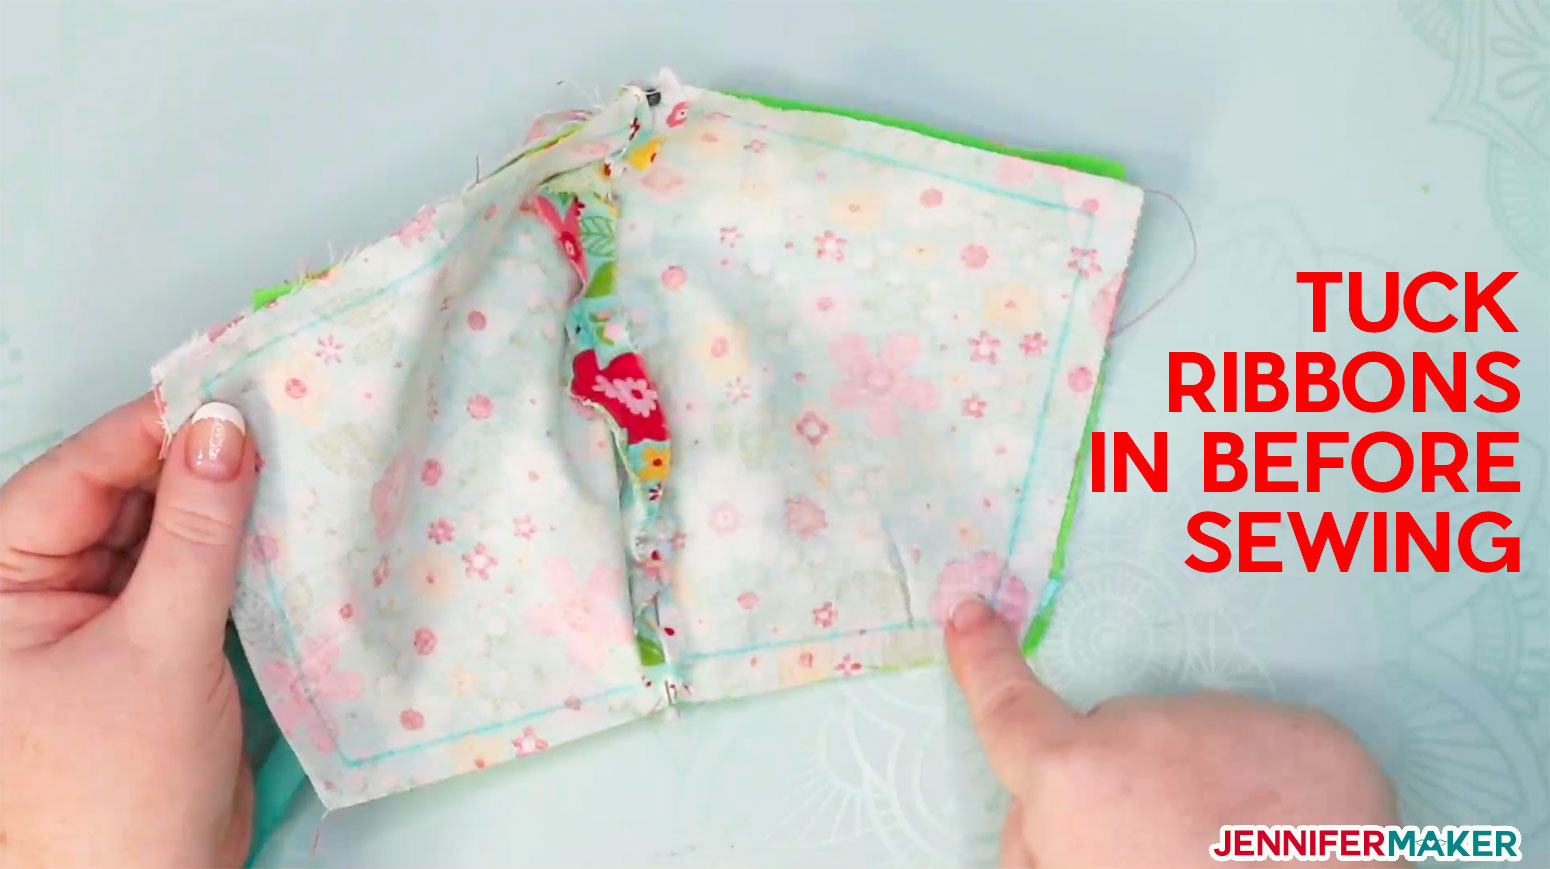
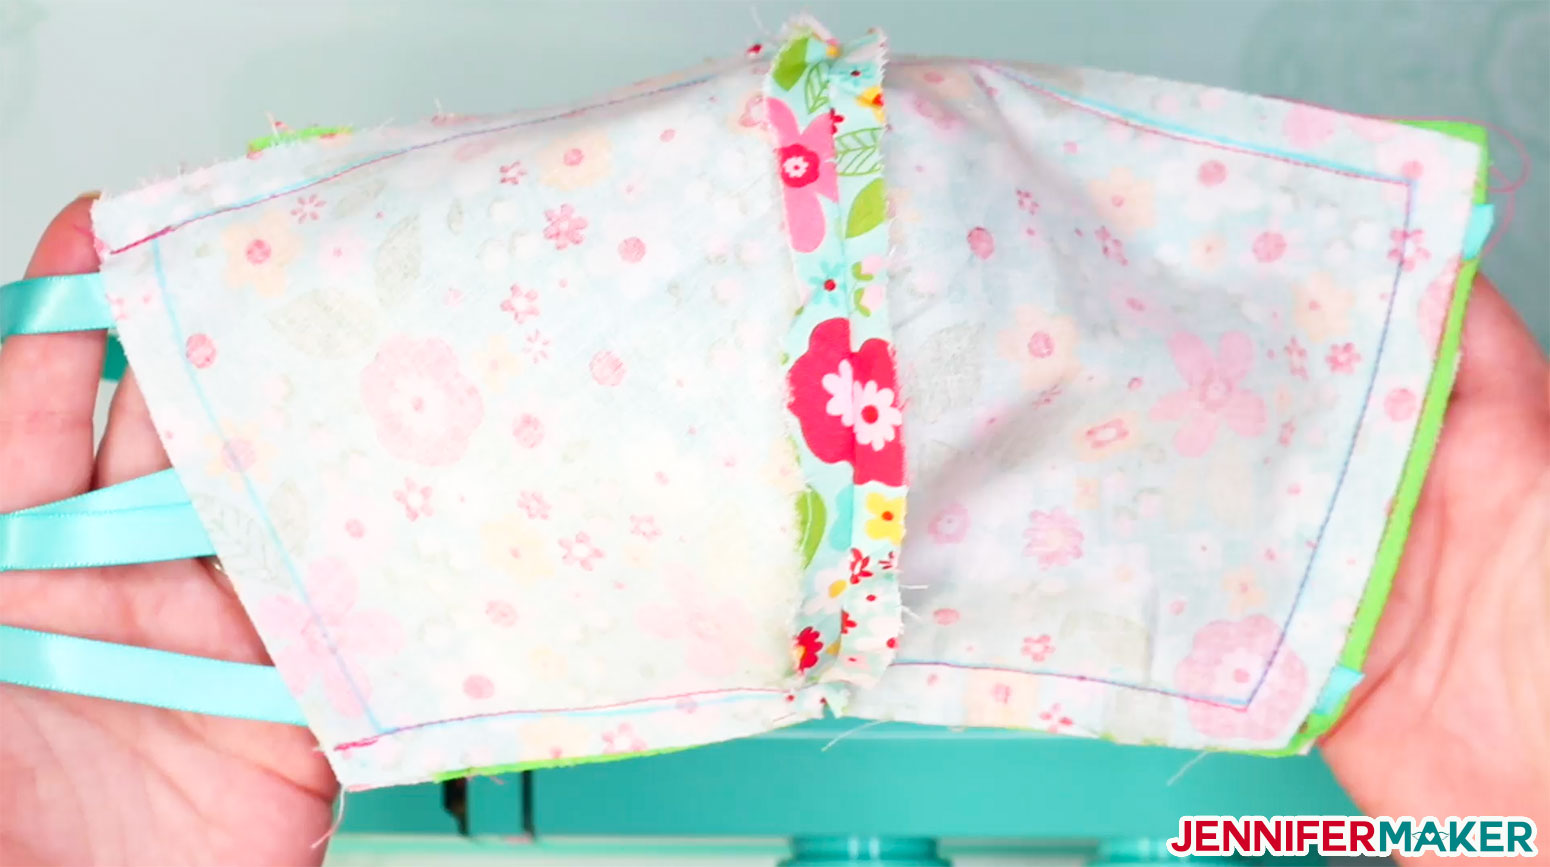
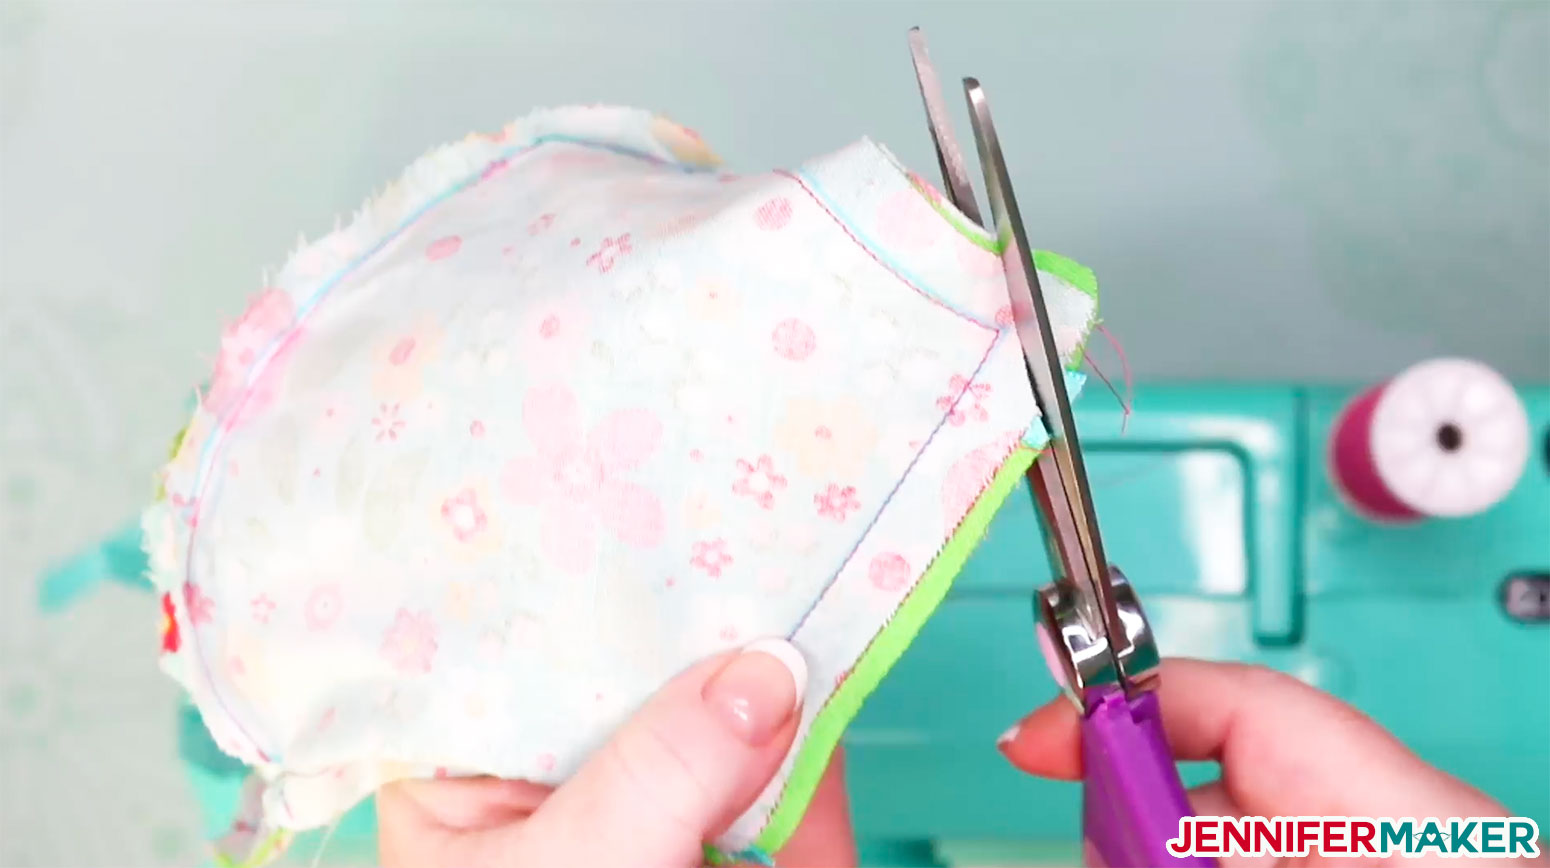
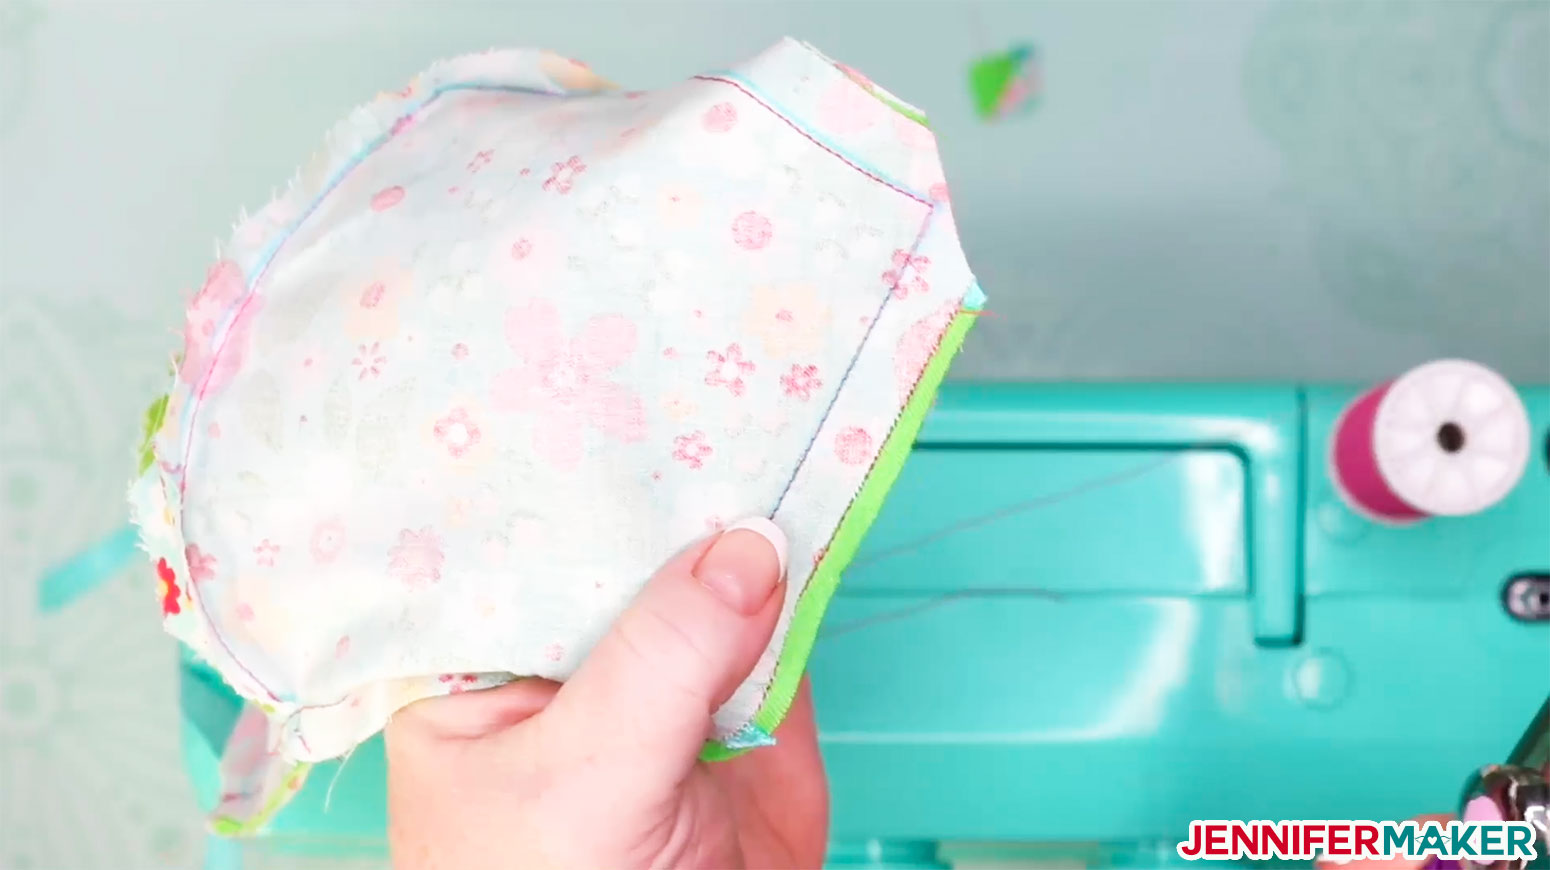
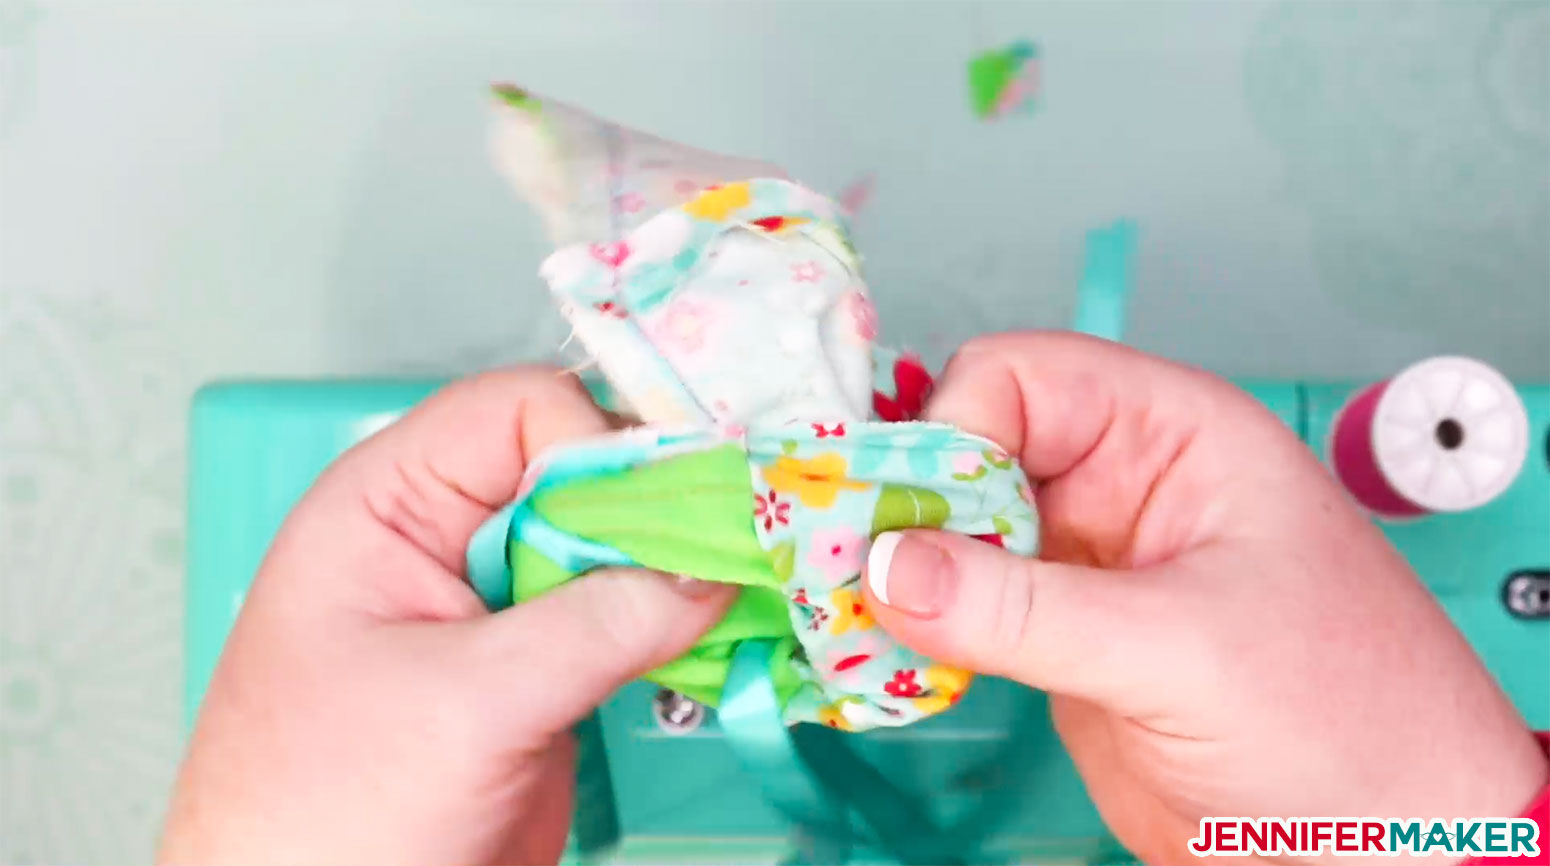
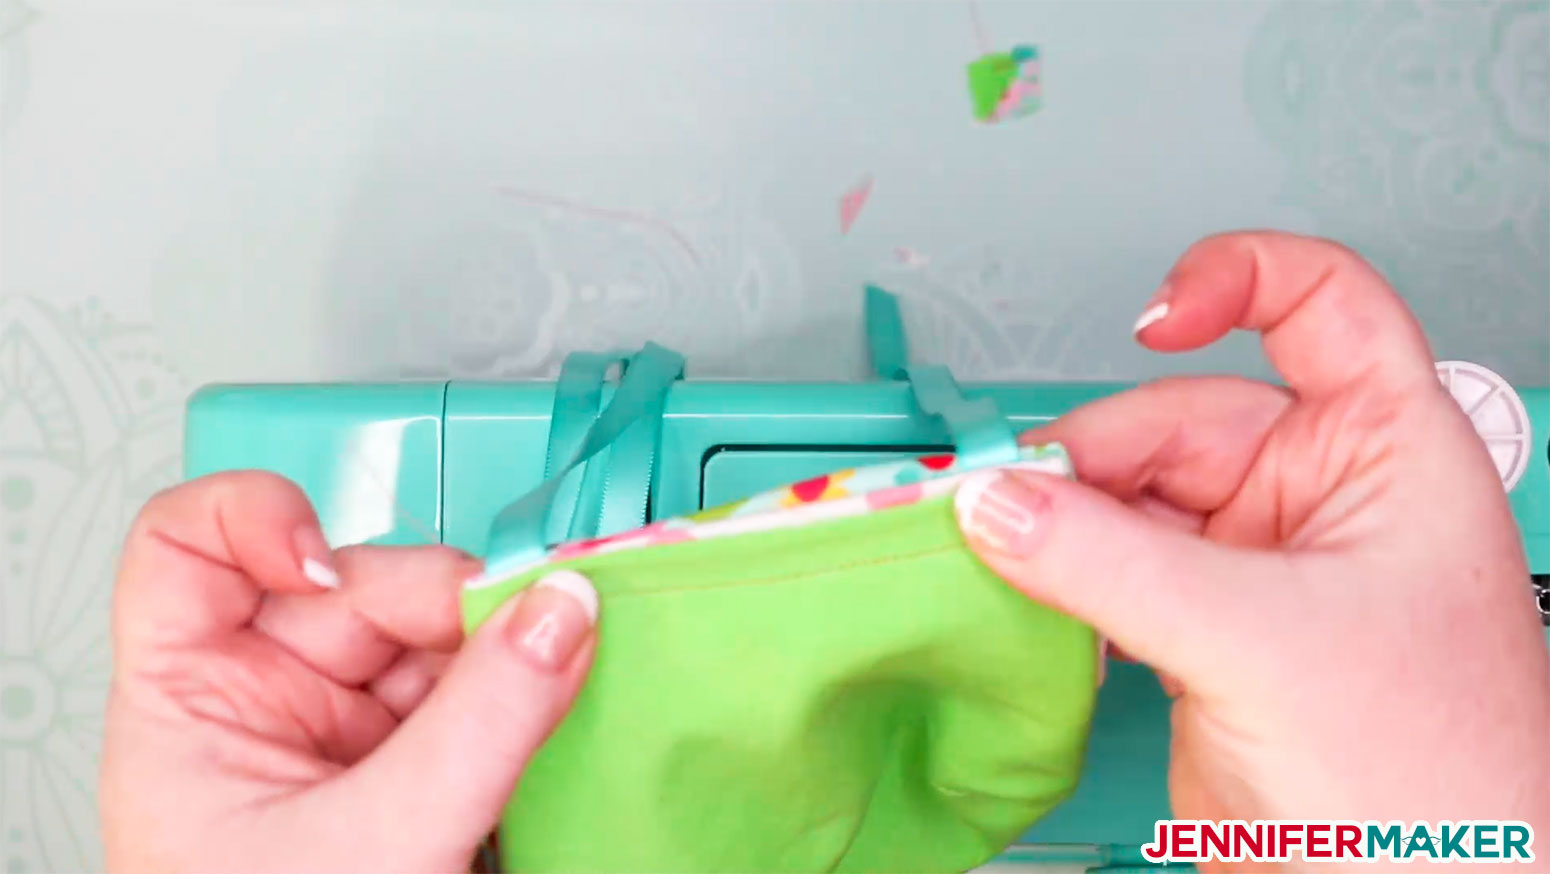
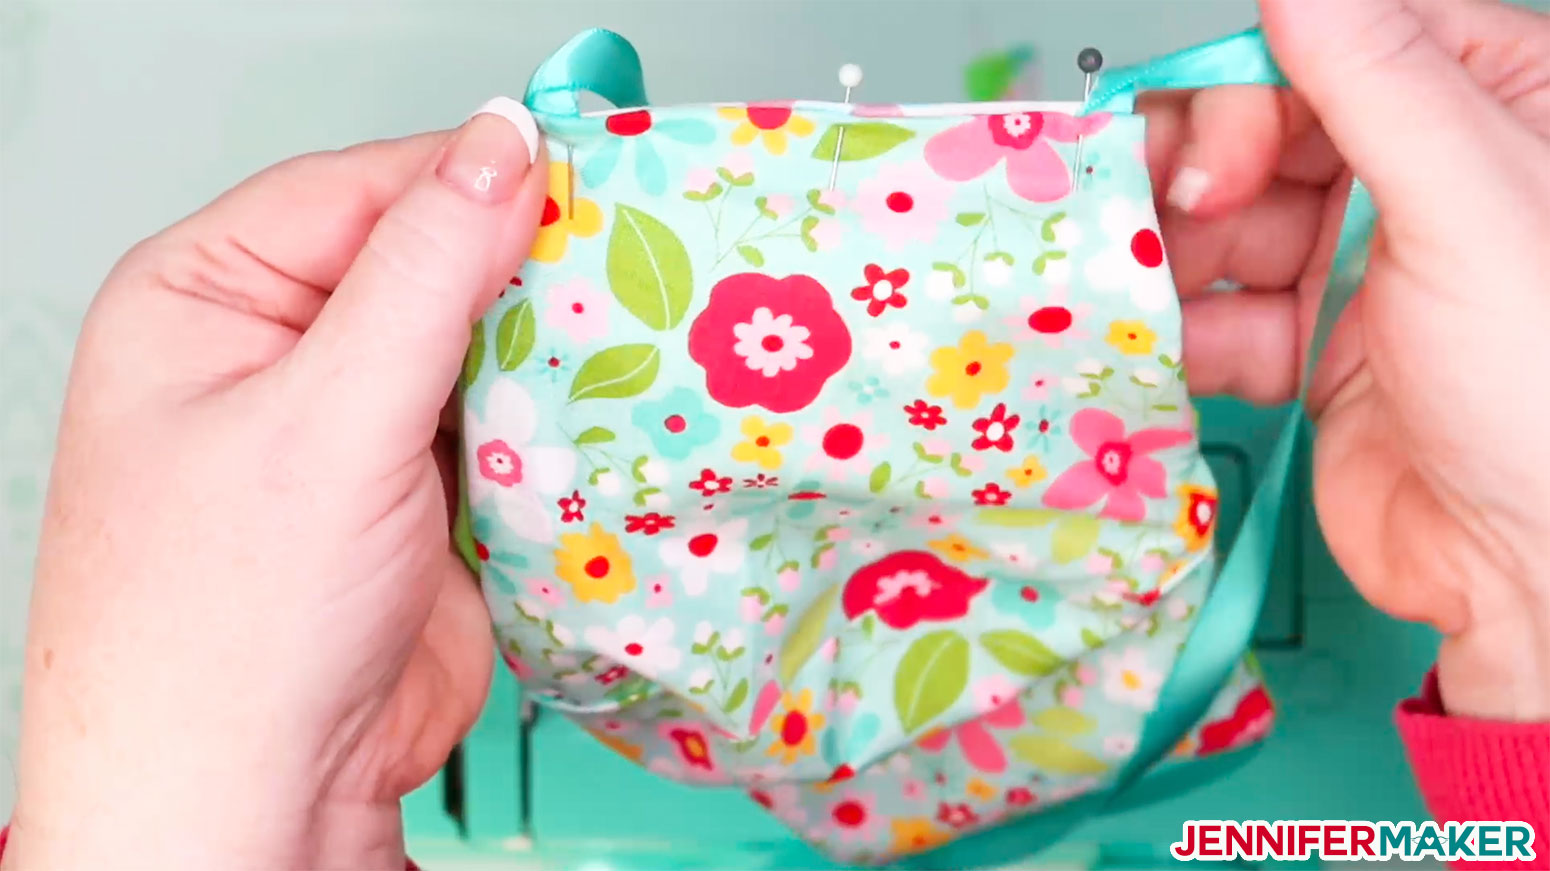
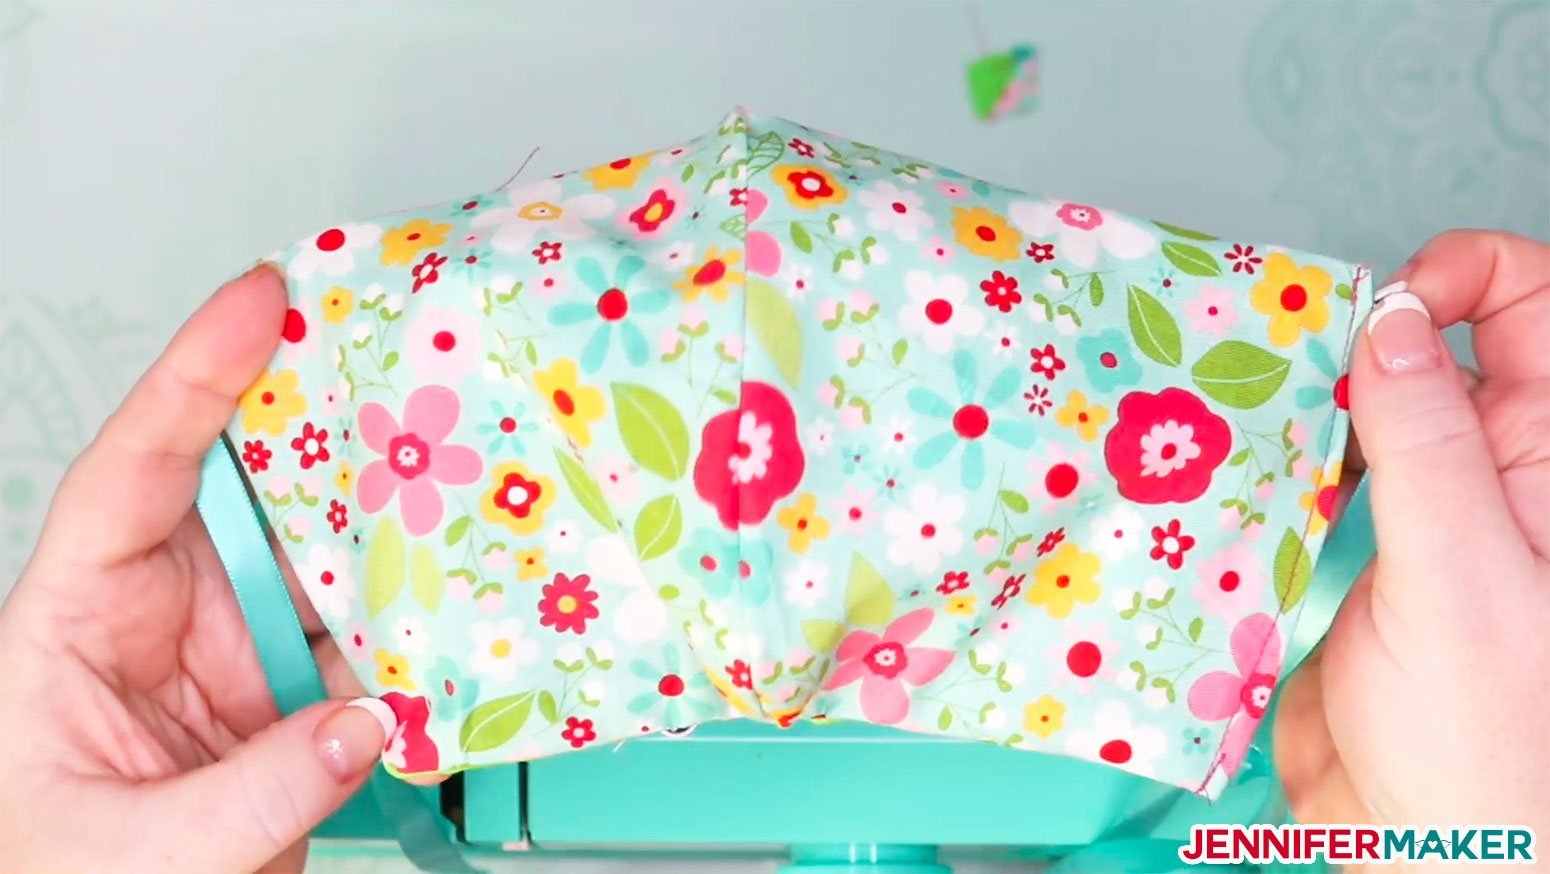
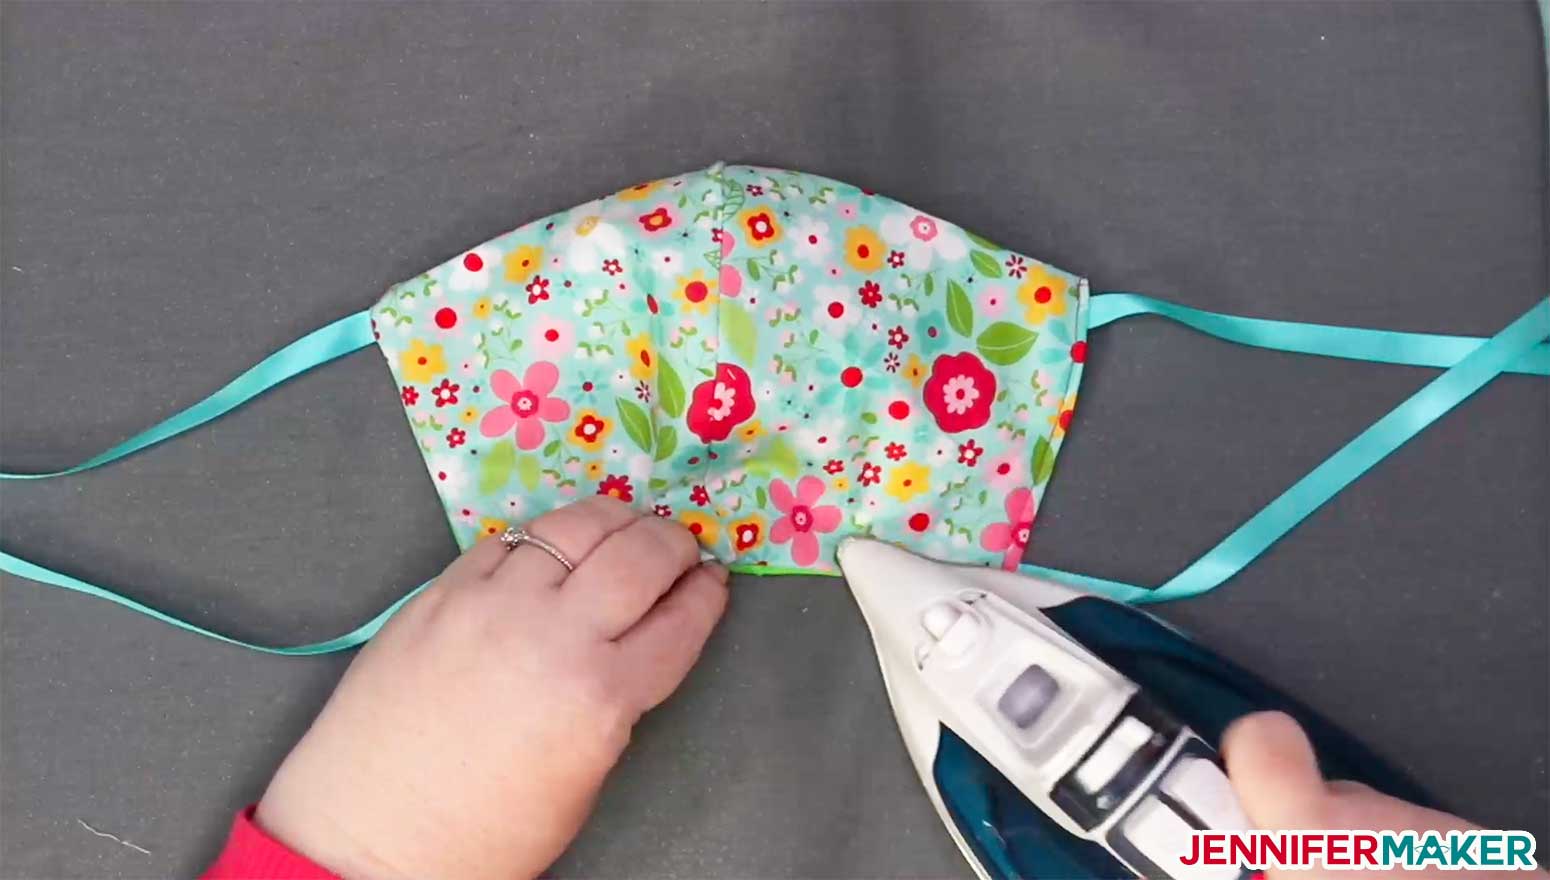
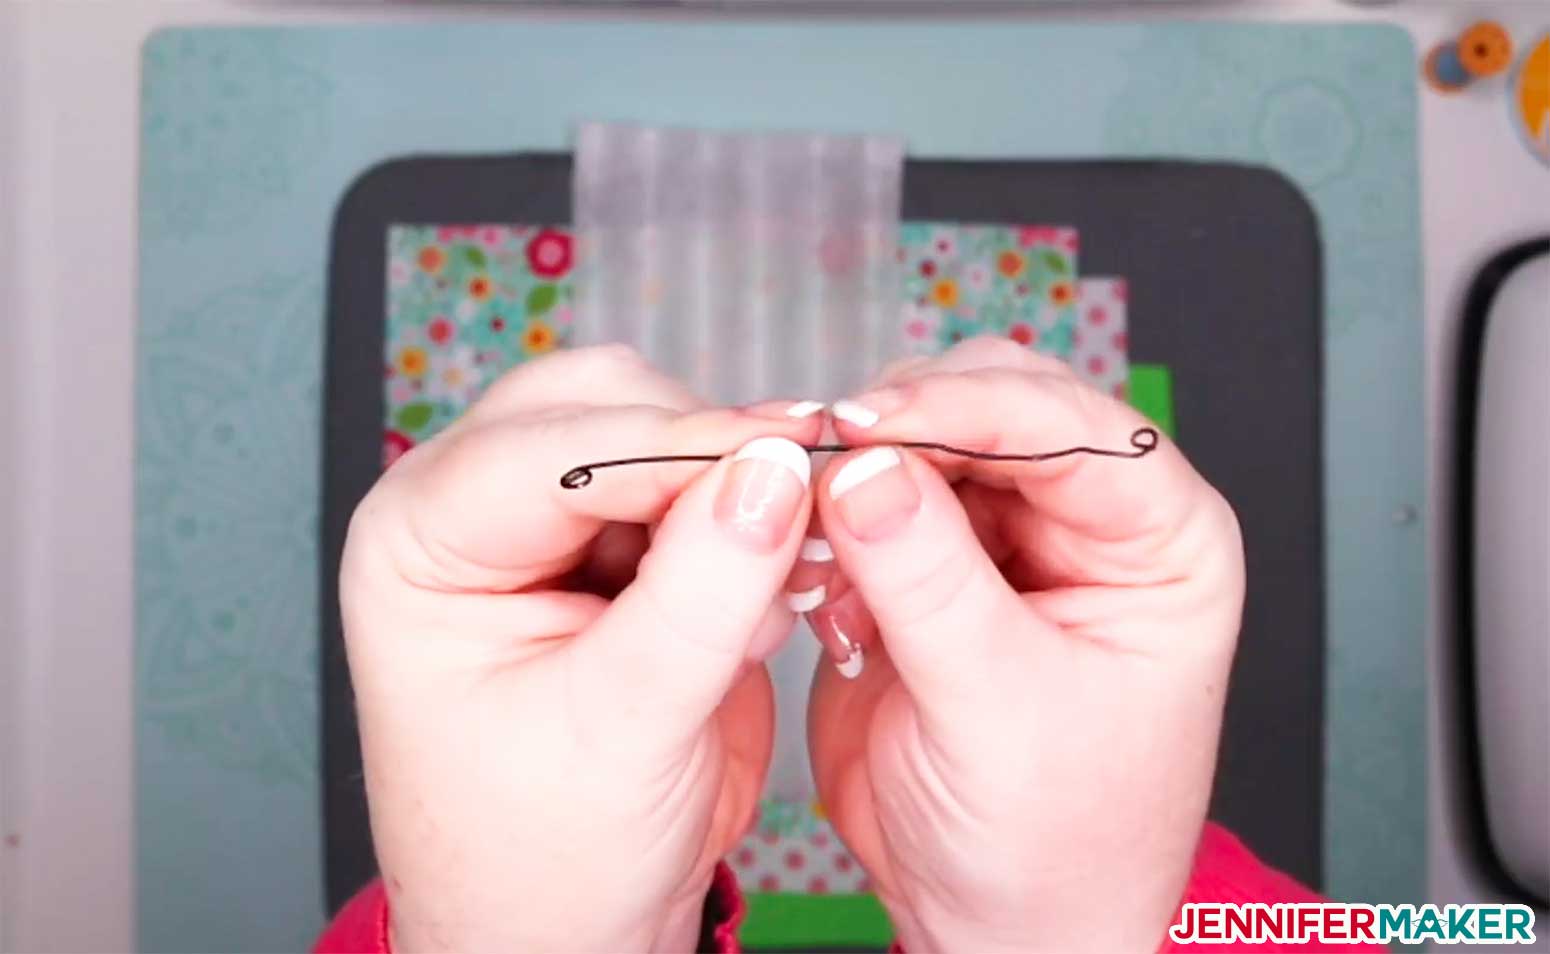
Help curb the spread of infection in your community by using this PDF and Cricut face mask pattern to make a DIY face mask! My free DIY Face Mask Pattern (Design #198) comes in several formats. You can get a printable PDF for cutting by hand, or an SVG cut file for cutting with a Cricut. My pattern collection has everything you need to make your own personal face mask. Download the DIY Face Mask pattern collection from my free resource library (get the password to the library in the form at the bottom of this post), or click here! Here's what the printable pattern looks like after you download and print it: And here’s what the uploaded SVG cut file will look like once uploaded to Cricut Design Space: Tip: If you’re not sure how to upload an SVG cut file to Cricut Design Space, watch this helpful video training series I made. If you’re on an iPhone or iPad, here’s how to download and upload SVG files to the Cricut Design Space app. NOTE: When you insert the image in Design Space, please verify the design size before you ungroup. (If you are using an iOS device, you may need to edit the design size.) And here are the individual dimensions of each piece in each size mask: If you need help with how to upload and prepare the Face Mask pattern for cutting and fabric pen marking in Cricut Design Space, I have a video that you can watch: https://www.facebook.com/jennifer.anderson.marx/videos/10163276139275254/ Important Note: You'll also want to make sure to change the inner line of each face mask piece to "Draw" in the Linetype menu and attach it to the outer portion. See me complete Step 1: Watch the video! I also recommend you check out my guide on how to cut fabric on Cricut Explore or Maker if you're new to that! There are three different sizes to choose from - small, medium, and large. I am wearing a medium in my photo, and I have to snug it pretty tight. If you're cutting this face mask by hand, just print out the printable PDF, cut out each piece as directed, and use it to trace the patterns onto your fabric. Once you've traced the shapes, measure in 3/8" on all sides and mark (for seam allowance) and cut out your fabric. Tip: If you plan to make a LOT of these, print out your patterns on card stock for tracing! Note: This pattern can be made without the filter pocket -- just don't cut or sew one of the layers. If you're cutting this face mask on a Cricut Maker: Place your fabric right side down on a pink FabricGrip cutting mat. Load your rotary blade and fabric marker into your Cricut machine, load your mat, and press the flashing button to begin your cut. Tip: If you use a filter material, you may be able to use "Fusible Fabric" to cut filter material. If you're cutting on a Cricut Explore, you must first bond your fabric first. To bond your fabric, cut a piece of freezer paper the same size as your material and attach to the wrong side of your fabric by pressing with an EasyPress or iron for 30 seconds at 350°F. Once your fabric is bonded, place the bonded fabric freezer paper side DOWN on your cutting mat (you can use the pink mat or a green mat), load your regular fine point or bonded fabric blade in (both will work), put in your Cricut fabric marker (optional), load your mat, and press the flashing button to begin your cut. When done with your cut, remove the cut pieces from the mat and peel off the freezer paper. After you've finished cutting out your face mask pieces, take your fabric pieces and line up the two halves of each set, right sides together, and sew along the curved outer edge, attaching the two pieces together. Do the same thing for all matching sets until they are all attached along the curved edge. Set your iron to the cotton setting and press your seams open and flat on all pieces except the filter piece. Tip: Have problems getting those seams to lay flat because of the face masks' curve? Put something curved underneath it and then press it! I used a roll of paper towels to press the seams open on and it worked great. Here's what the face mask pieces look like with the seams all pressed open EXCEPT for the filter (which you do not need to press open): See me complete Step 3: Watch the video! If you're putting the optional filter pocket layer in your DIY face mask, fold over one end of the pocket layer TWICE about 1/2" with each fold, like this: The purpose of this fold is to give you a clean edge for your pocket so you don't have threads unraveling or edges curling that could make it difficult to put your filter in and out. Now place your filter pocket fabric layer inside your inner fabric layer, right side of the inner layer against the wrong side of the pocket layer (so you can see both right sides at the same time), like this: Tip: Feel free to pin it in place (I didn't bother). Now sew your folded edge to keep it folded: See me complete Step 4: Watch the video! Cut four 18" pieces of ribbon or string or whatever you have that is strong and NOT stretchy. Pin one ribbon to each corner of your inner fabric layer about 3/8" down, like this: Baste each ribbon in place with a sewing machine or needle & thread. See me complete Step 5: Watch the video! Place your outer fabric layer on top of your inner fabric layer, right sides together, like this: Tuck your ribbons inside to make sure you don't "catch" them while sewing your pieces together. I just pulled one set all the way through to the other side to make sure they were free and clear. Sew around the top, edge, and bottom of the face mask layers, 3/8" from the edge, leaving one side open. Clip each corner to reduce bulk. Carefully turn your DIY face mask right side out and poke out each corner. Tip: Having problems getting the corners straight? Poke them from inside with the end of your scissors. Turn in and enclose the side that is not sewn. I found it helpful to pin it in place: Carefully sew around the side closed, being sure to do a backstitch at the start and end to keep it secure. Once it's all sewn up, iron the edges for a nice, crisp appearance and better fit. See me complete Step 6: Watch the video! If you'd like a better fitting mask, you can add a nose guard with a piece of flexible 20-22 gauge wire. Cut off a piece about four inches long and curl each end in so it doesn't poke out of your mask: Place the wire along the top middle edge of your face mask and mark its position at either end with pins. Now sew a channel about 3/8" to 1/2" down from the top edge of the face mask starting at the first pin and sew across parallel to the top of the mask to the second pin, but do not sew up to the edge. Put your wire into the channel you sewed. Now just sew up the channel to keep the wire in place! See me complete Step 7: Watch the video! If you created the filter pocket, you can now put your filter in! I found it easiest to grab the left corner and put it in all the way to the inside left corner of the face mask, then smooth it out. And here we go — the filter is in our DIY face mask See me complete Step 8: Watch the video! Congratulations! You made a DIY face mask! Be sure to keep track of which side you wear outside, and always keep that side to the outside. That's why I used different colors and patterns of fabric. If you end up using the same fabric for the inside and outside of the mask, be sure to indicate which is the front and back for safety—write on it with a big Sharpie if you have to.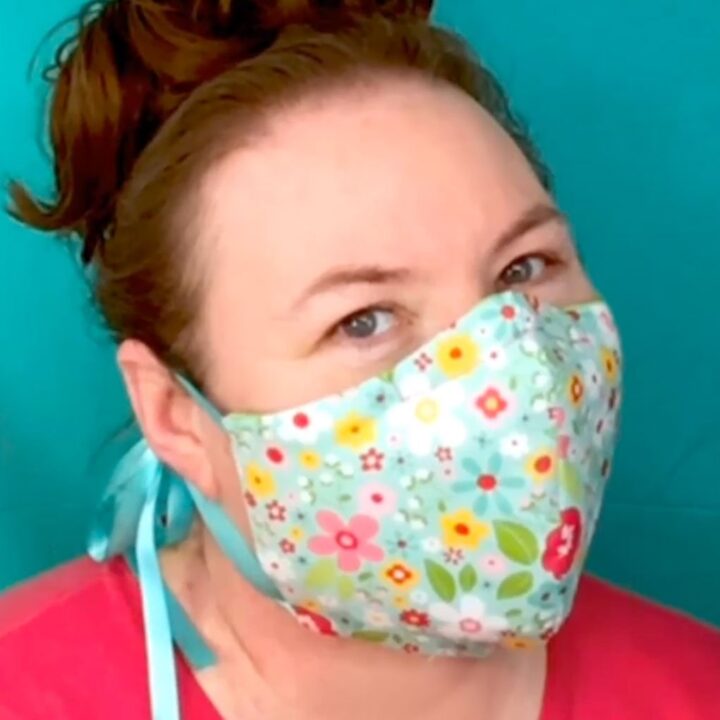
DIY Face Mask Pattern (Cut by Hand or on a Cricut)
Materials
Tools
Instructions
Step 1: Get my free DIY face mask pattern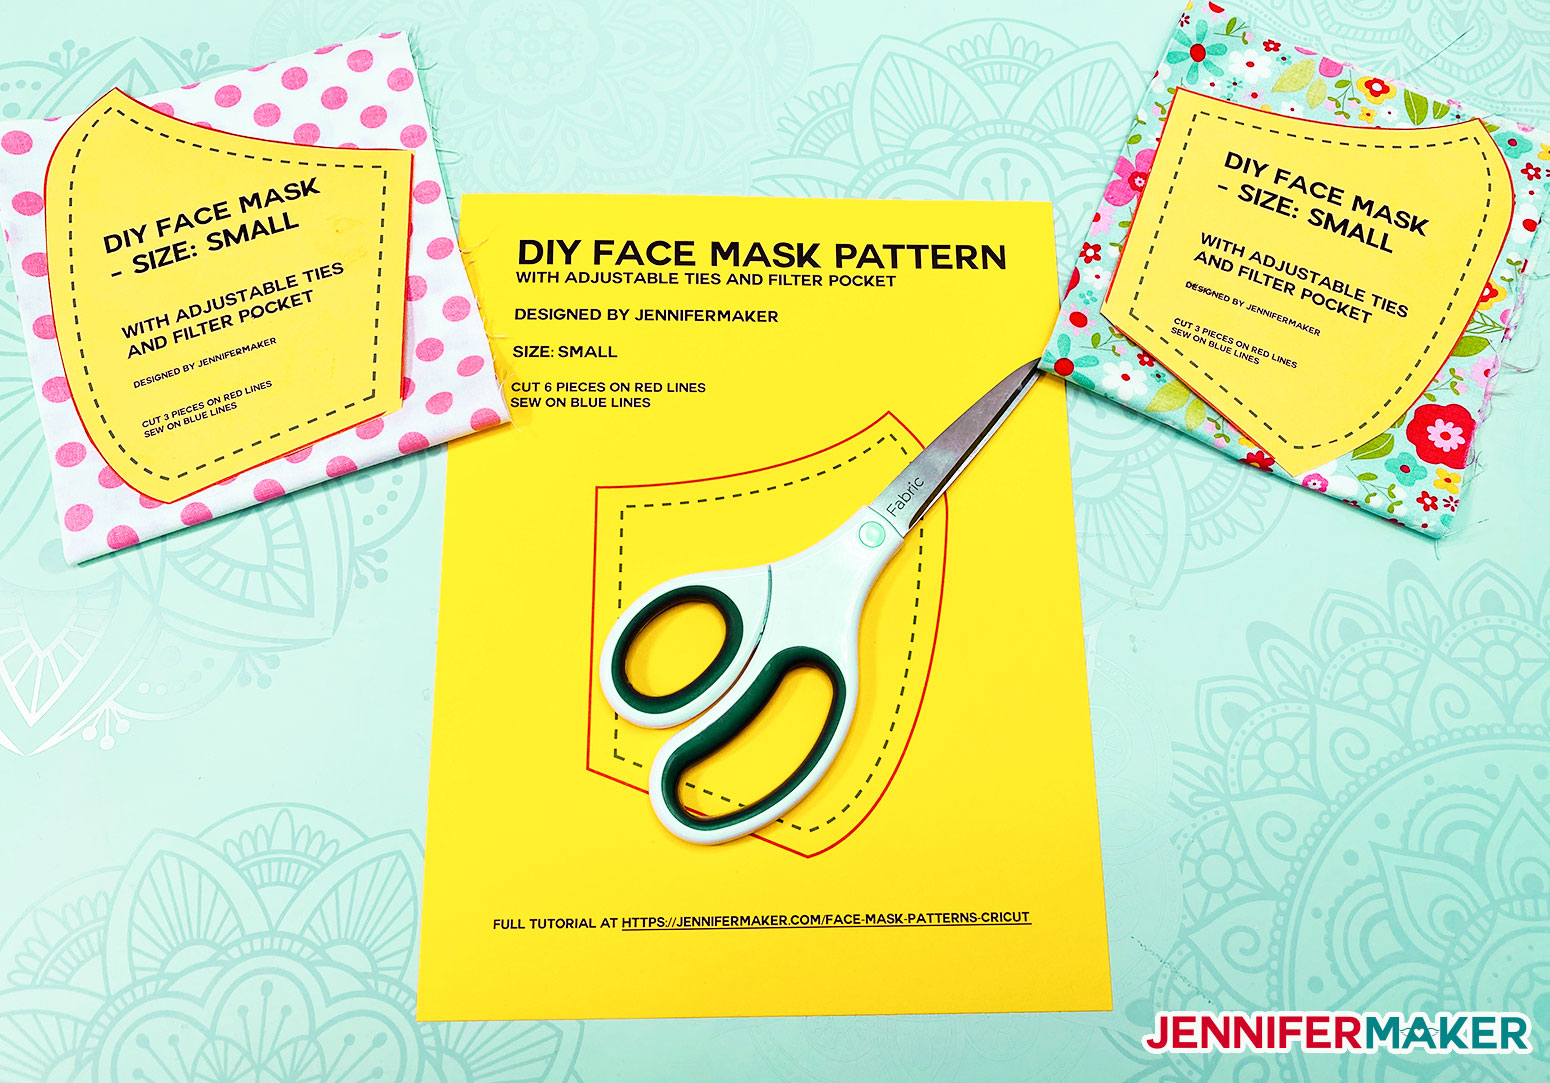
Face Mask Patterns All Sizes: 32.556" W x 23.418" H
Face Mask Patterns all Sizes with Filters: 32.556" W x 23.418" H
Face Mask Patterns All Sizes Two Layers: 16.247" W x 23.418" H
Small Face Mask: 5.15" W x 6.4" H
Medium Face Mask: 6" W x 7.5" H
Large Face Mask: 6.4" W x 8.5" H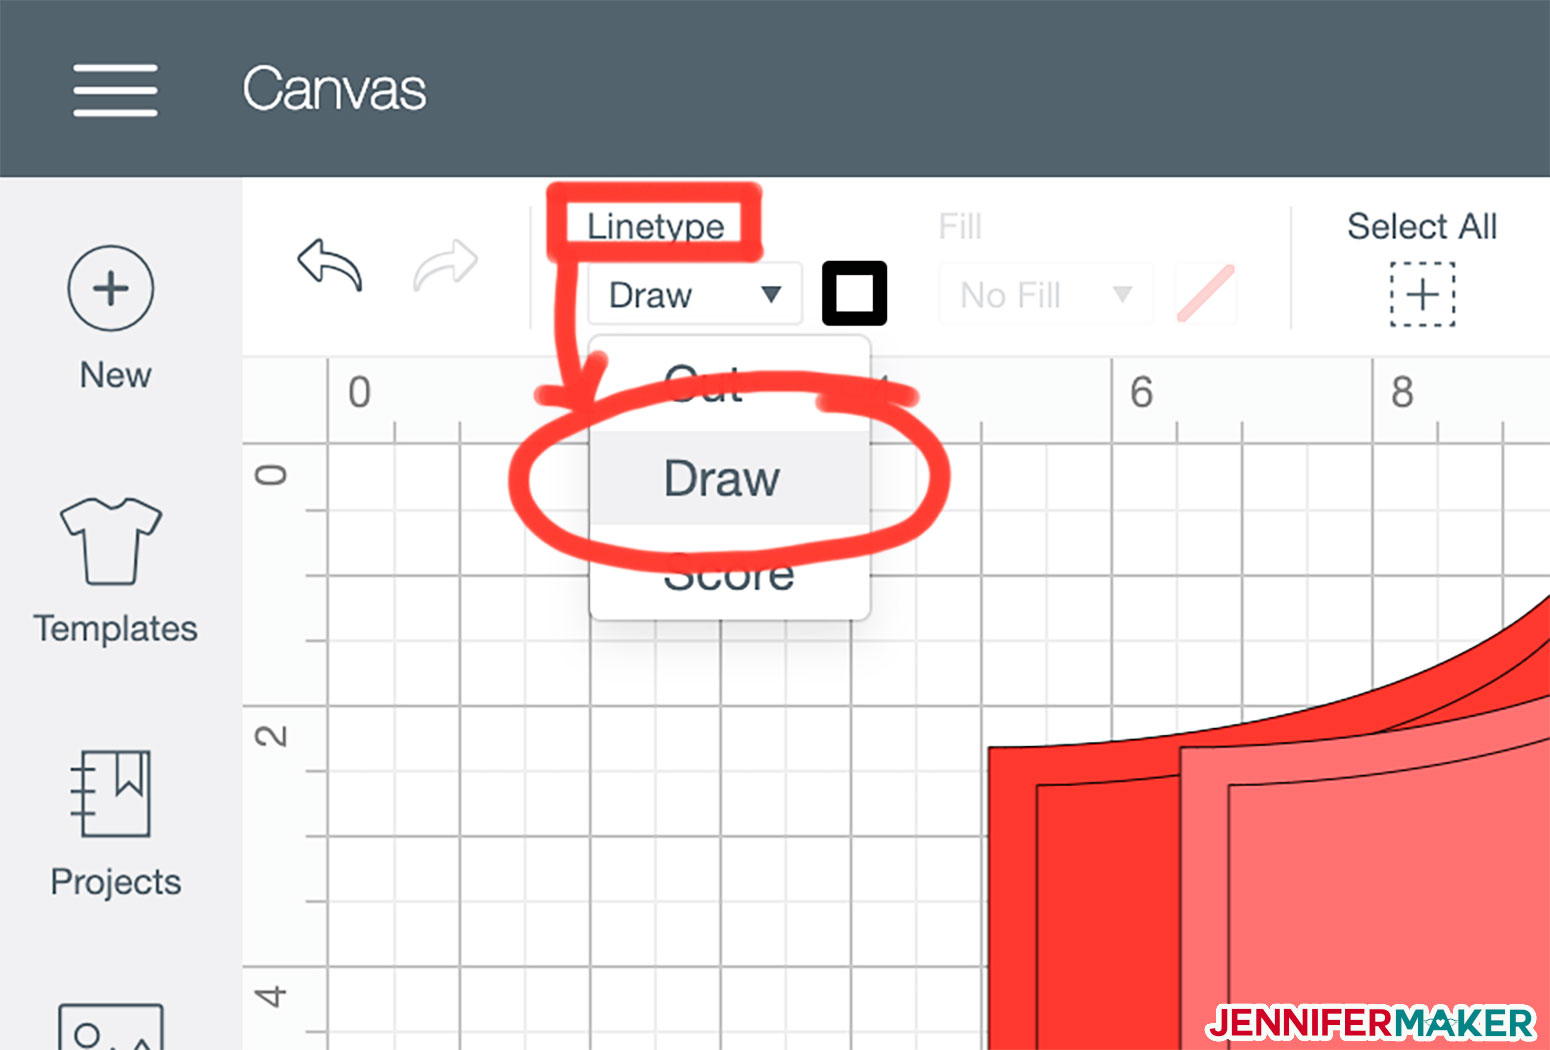
Step 2: Cut out your DIY face mask pattern pieces from fabric
See me complete Step 2: Watch the video!Step 3: Sew your DIY face mask halves together
Step 4 (Optional): Prepare your filter pocket layer
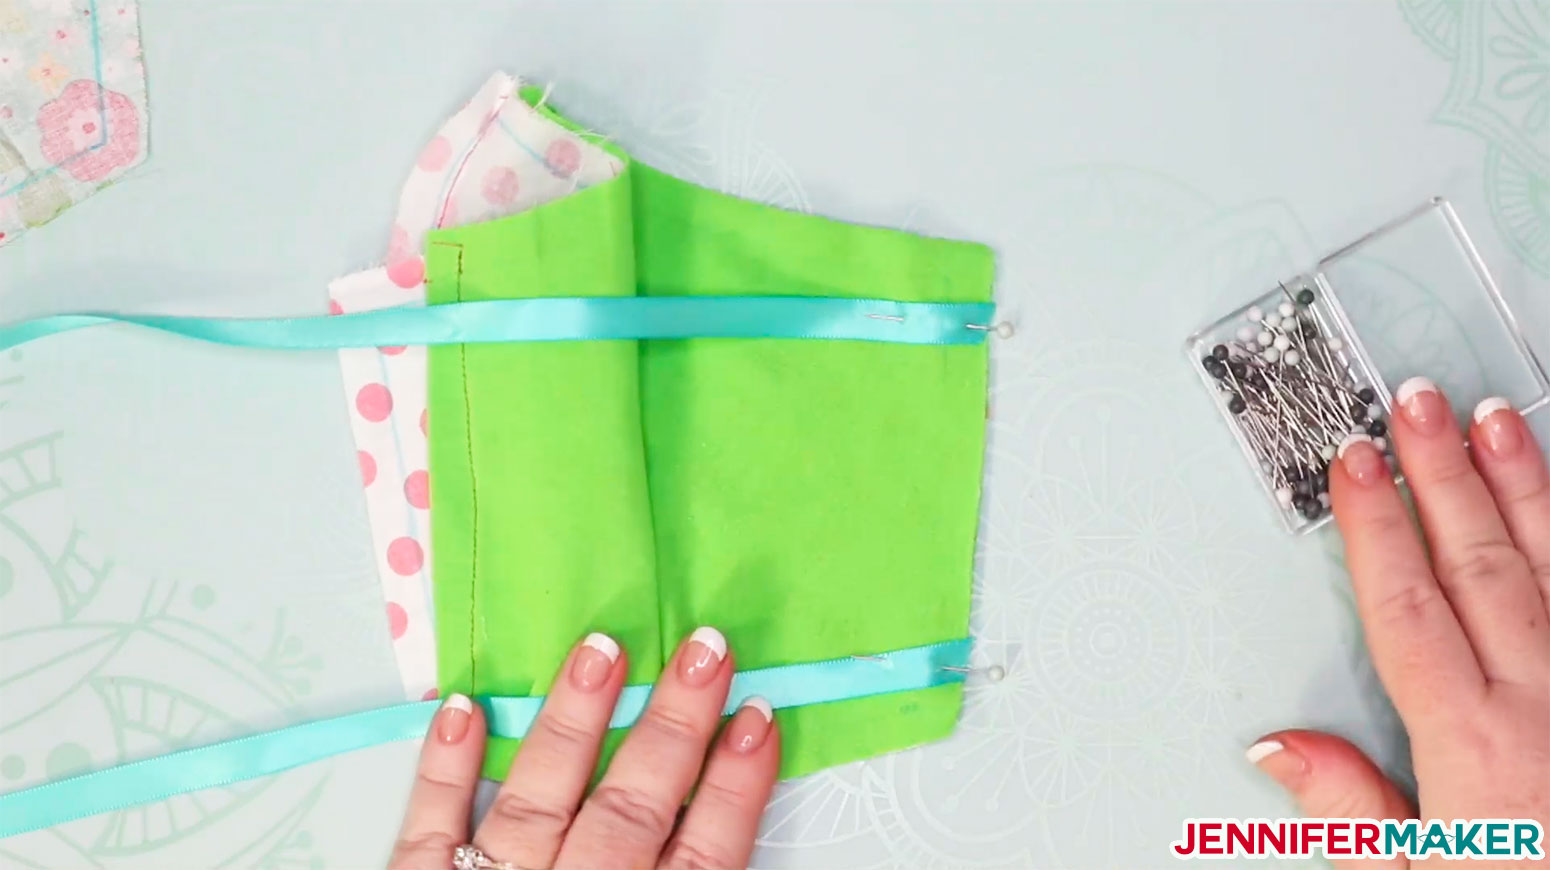
Step 5: Pin and baste your ribbon/tie to each corner of your DIY face mask
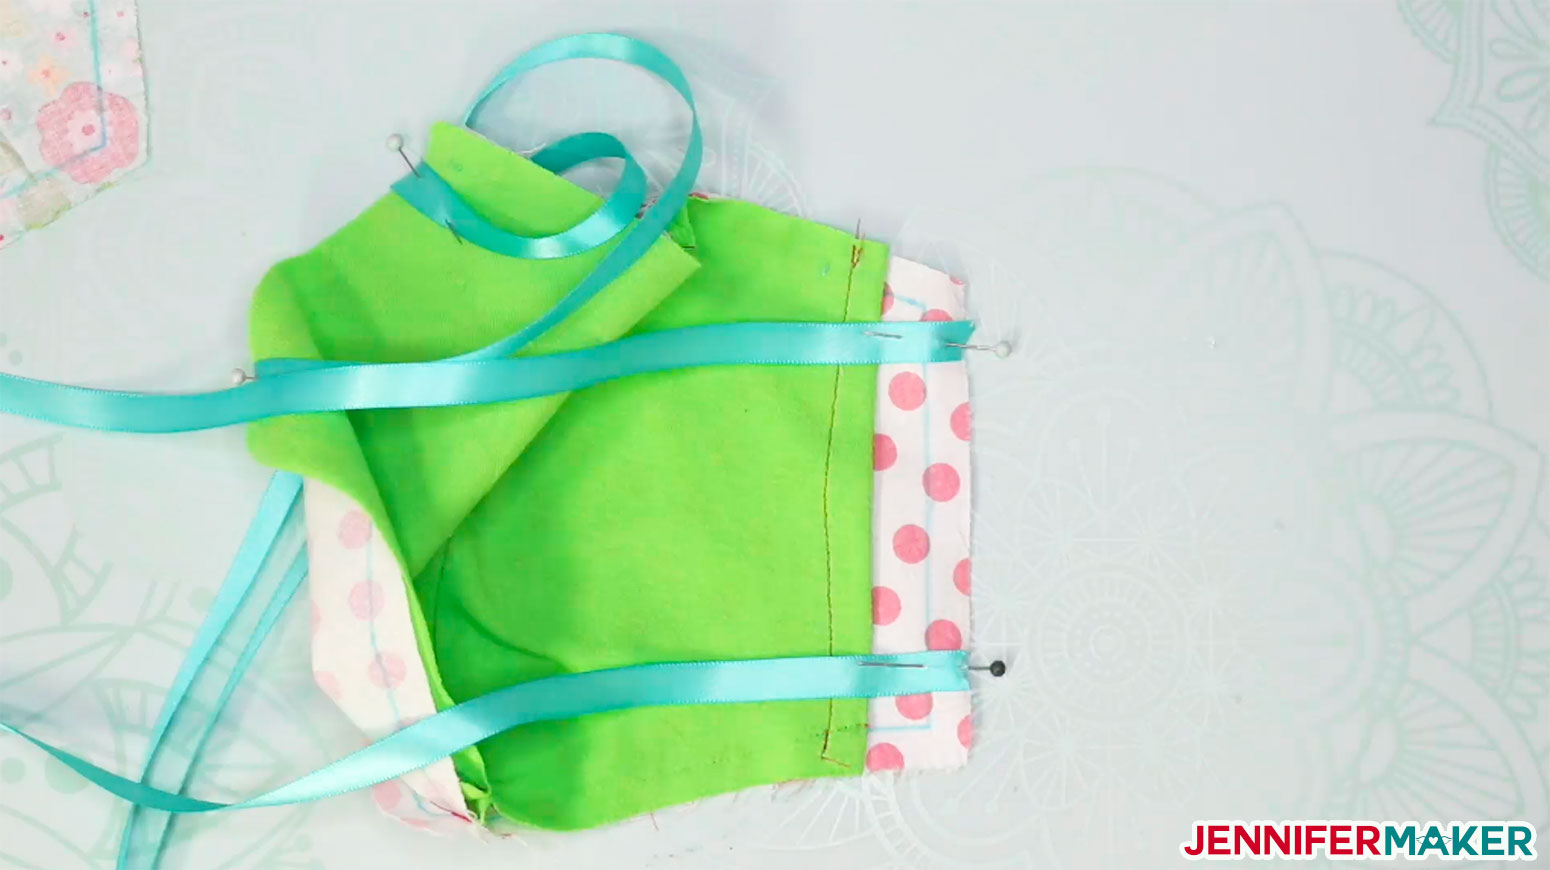
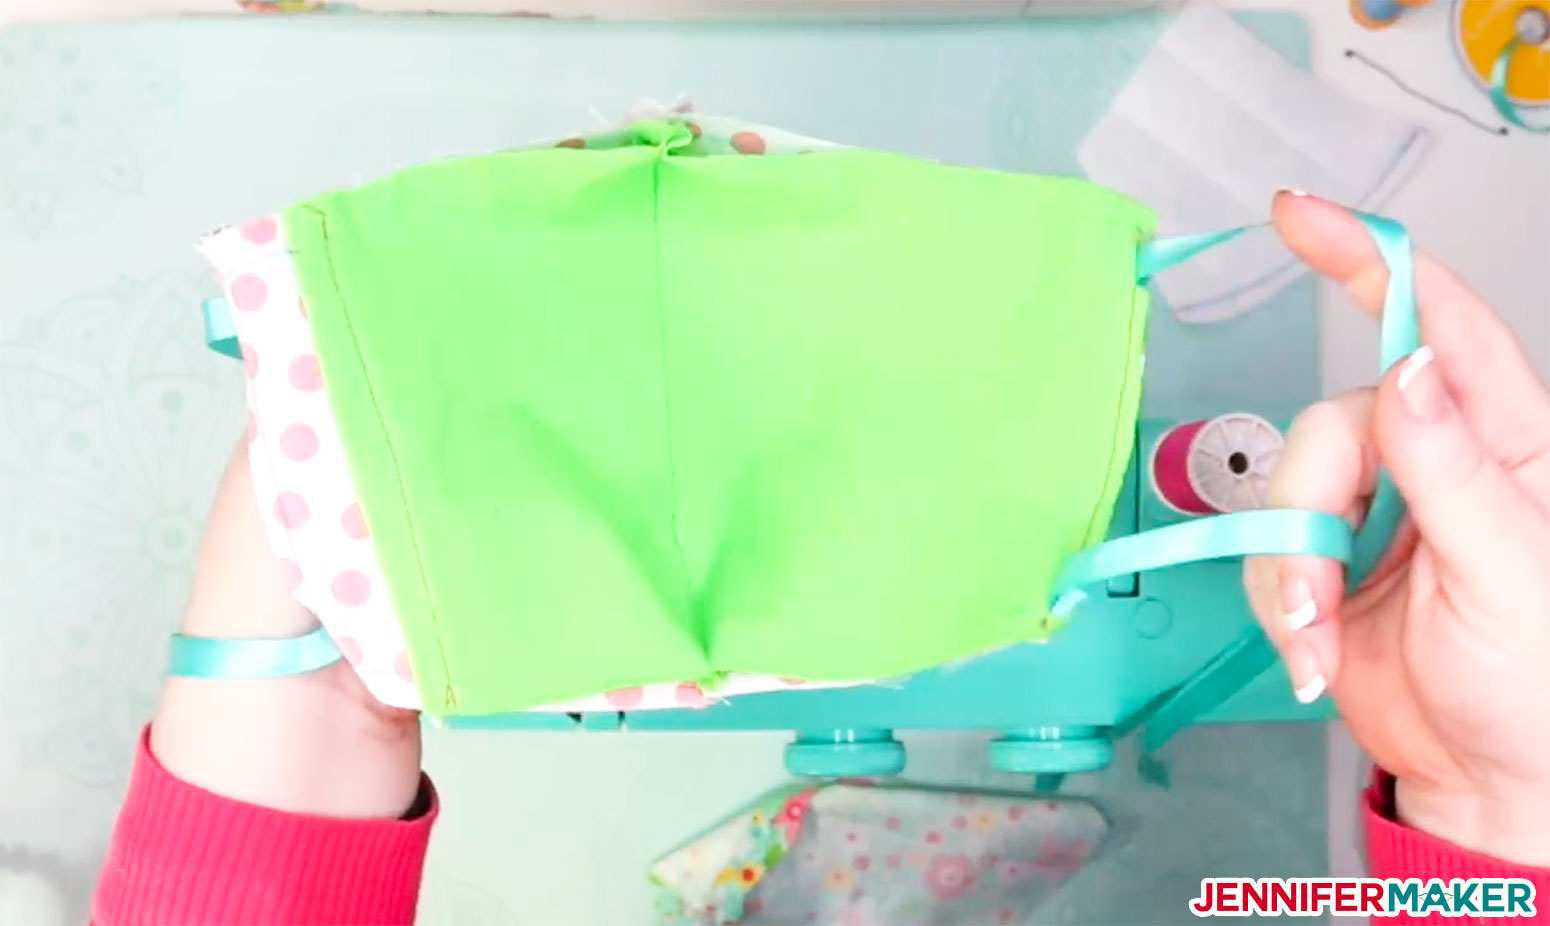
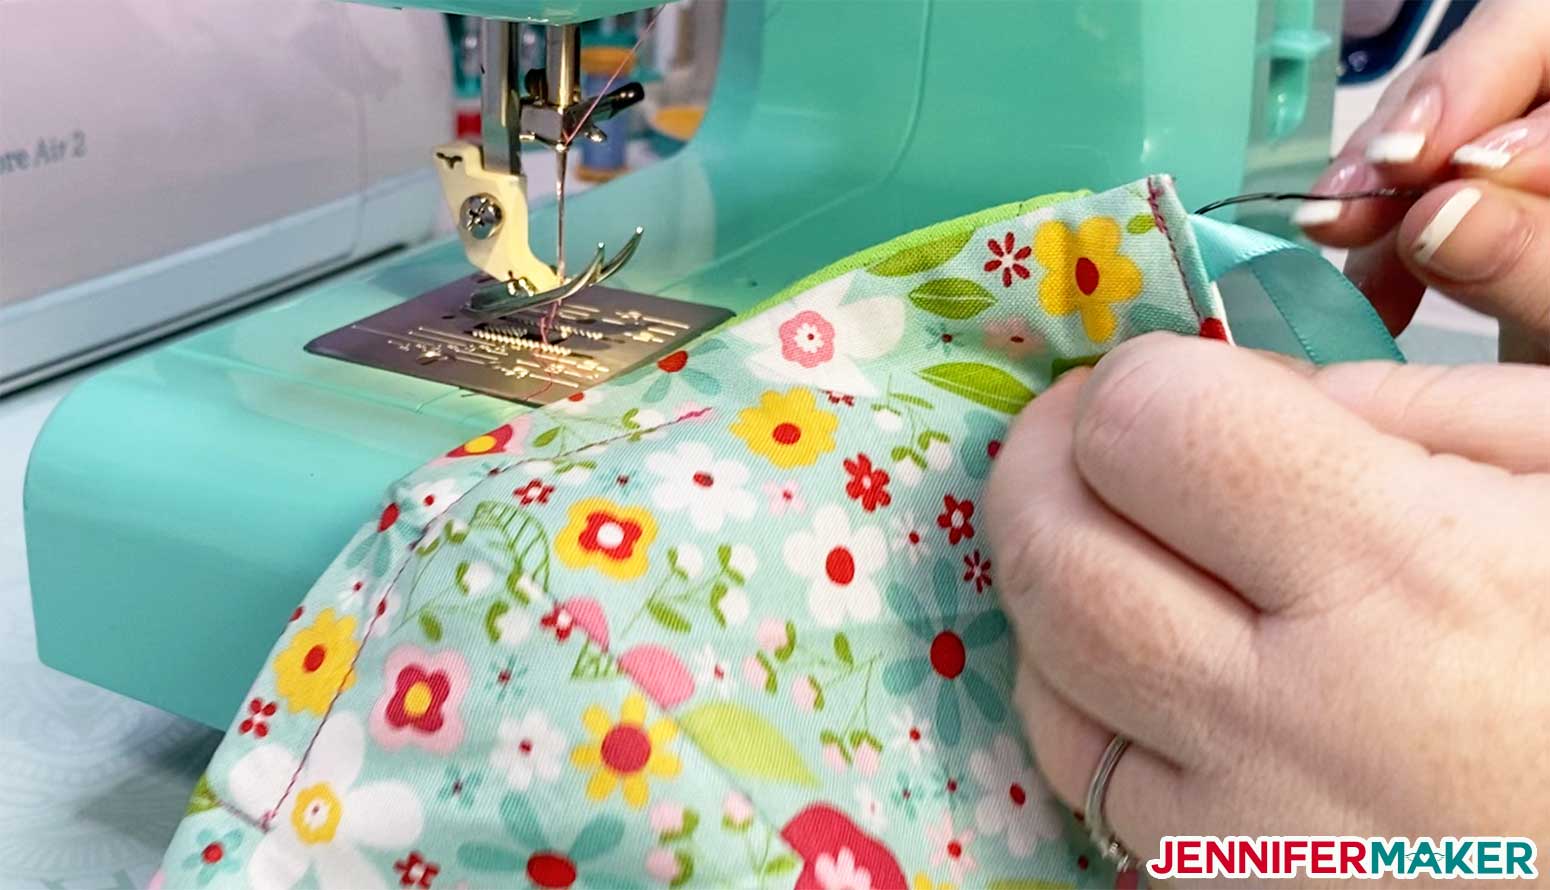
Step 6: Sew up your DIY face mask!
Step 7: (Optional) Add a wire to make a nose guard

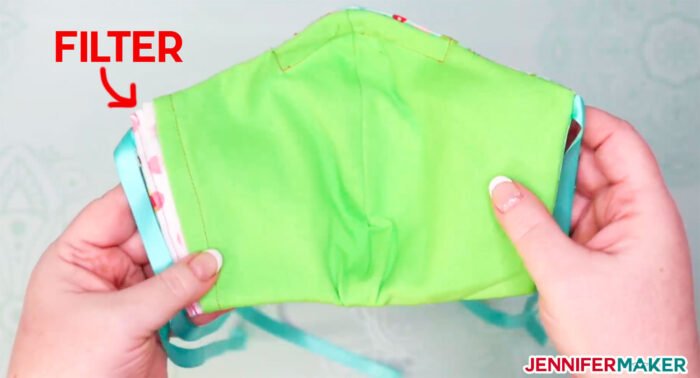
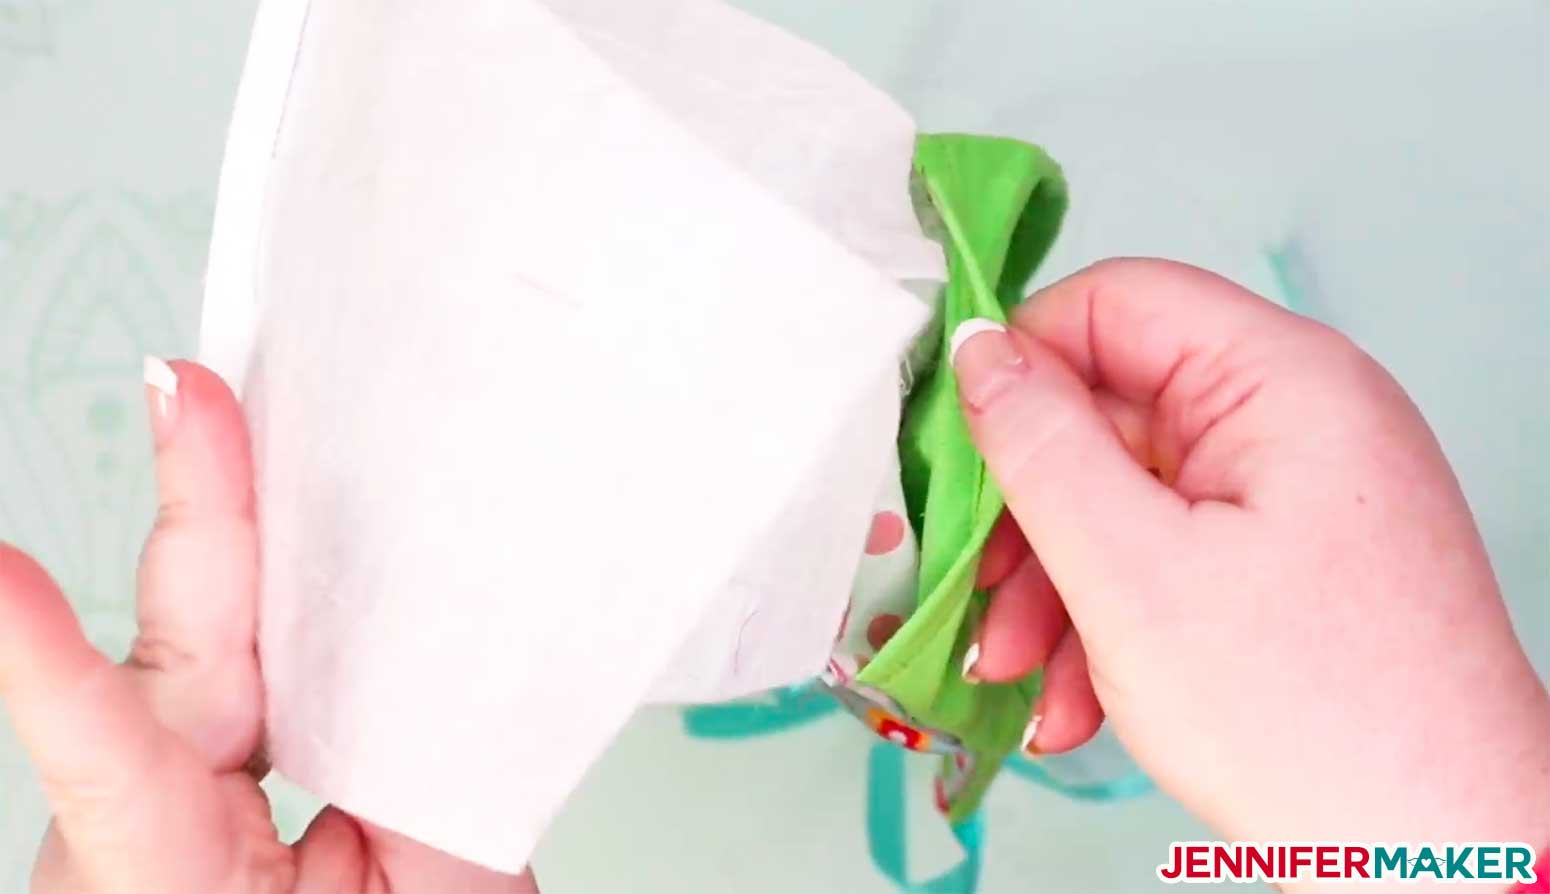
Step 8: (Optional) Put or Replace Your Filter

Notes
Alternate Straps with Elastic and Velcro
My niece Natalie had lots of elastic and velcro, so she used those to make her straps instead of ribbons. Here’s a photo of what that looks like:
To make the Velcro strap, cut two pieces of cotton 8 ½” long x 2 ¾“ wide. Fold cotton strips in half, long ways with right sides together; iron flat. Sew down the side of the strip opposite to the fold to create a tube. Flip tube right sides out (A chopstick, a pair of really long tweezers, or a safety pin can help with this) and iron. Turn edges of one end of the tube in to create a clean seam; sew closed. Next, cut 2 pieces of ⅝” wide, sew-on velcro that are 5 ½” long. Sew these pieces onto the straps, closest to the finished edge. The straps can now be used in replacement of ribbon at the bottom of the face mask.
To make the elastic strap, cut two pieces of cotton 26” long x 2 ¾” wide. Fold cotton strips in half, long ways with right sides together; iron flat. Sew down the side of the strip opposite to the fold to create a tube. Flip tube right sides out (A chopstick, a pair of really long tweezers, or a safety pin can help with this) and iron. Now, cut a piece of ¾” wide elastic that is 12 ½” long. Feed the elastic through the tube until the end on the elastic is flush with the end of the tube and sew closed. Using a pair of really long tweezers or a safety pin, firmly hold the elastic in place as you move the fabric towards the secured side and sew the unsecured side. This strap can now be used in replacement of the ribbon at the top of the face mask.
Answers to Your Questions about Making DIY Face Masks
Q: Do both sides of the face mask to be different fabrics, or can I use the same fabric?
A: I recommend they be different colors or patterns so the wearer can tell which is outside and which is inside. We don’t want them to accidentally put the side they’d be wearing on the outside against their face.
Q: I don’t have cute cotton fabric. Can I use an old pair of jeans or a T-shirt?
A: Totally! See my list of Best Fabrics for Face Masks. Your goal is to find and use closely knit cotton. You can tell how close it is by holding it up to a bright light — if not too much light is visible between the threads, it’s probably good.
Q: What kind of sewing machine do you recommend? I am new to sewing and want to make these headbands!
A: I am a big fan of Janome sewing machines, and that is the brand I am using in this tutorial. I think they are simple to use, affordable, and long-lasting. This is a good beginner sewing machine and the same one I use in this tutorial.
Q: I don’t have elastic. Can I still make these masks?
A: Yes! Use ribbon or bias tape instead. You can even make your own ties by cutting a long length of fabric, folding it in thirds lengthwise, ironing flat, and sewing it shut! If you really need underwear, some people like to use hair ties, elastic gathered from other places (old fitted sheets, underwwar, etc.).
Q: I have elastic and I want to use it instead so it loops around the ear. How do I do that?
A: Cut two 7″ pieces of 1/4″ braided elastic (or 6″ if the mask is for a kid) and sew each end of the elastic to each corner of the mask. Basically, you sew the one piece of elastic in the same places you sew two lengths of ribbon, one on each side of the mask.
Q: I need to make a mask for a school-age child. Do you have a pattern?
A: If you’re cutting this by hand, reduce the size of our small pattern by 85% when you go to print it out. If you’re cutting this on your Cricut, simply upload our mask patterns and change the size the small pattern (the red one) so that each half of the pattern is 4.35″ wide by 5.394″ tall.
Please note, the CDC advises that children under the age of 2 should not wear a face covering.
Q: I don’t have 20-22 gauge wire. Can I use a more flexible wire (like 24 or 26)? Or can I use pipe cleaners?
A: Probably, yes. Many of our readers have reported success with this.
Q: Do I have to cut these on my Cricut?
A: Nope! If you’re only cutting out one face mask, you’ll probably like using a Cricut (if you have one). If you are making more than one face mask, you’ll find it faster to print out the printable PDF pattern from cardstock and cut out multiple layers of fabric using a rotary cutter.
Q: I don’t have freezer paper, but I really want to cut fabric on my Cricut Explore. Can I use wax paper or parchment paper instead?
A: No. Using wax paper will leave a waxy residue on your fabric that will be hard to get out. And using parchment paper will do nothing—it will not stick to your fabric. You need to either use freezer paper or another bonding material, such as Wonder Under. (Tip: In the UK, freezer paper is known as grease proof paper).
Q: You go over the Design Space directions too quickly in your video. Can you slow down please?
A: The video was made for a more general audience, not just Cricut owners, so I couldn’t spend too much time in Design Space. But I made a follow-up video that goes into depth on how to upload and prepare the file for cutting in Design Space in my Facebook group here. (If this link just takes you to information about the group, and not the group itself, be aware that you’ll need to join my group and then click that link once we have approved your request.
Q: What settings do I use when I cut the fabric on my Cricut Explore?
A: I used “Fusible Fabric” with my regular fine point blade.
Q: How do I wash my mask?
A: The CDC advises routinely washing your mask in a washing machine. The frequency of washing depends on your frequency of use. We will be washing our masks daily after we’ve worn it.
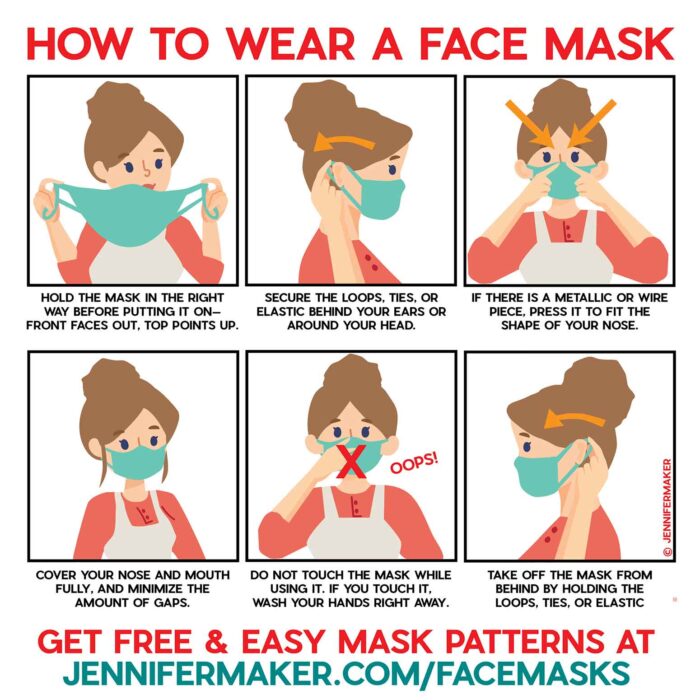
Q: How do I wear properly a face mask?
A: Check out this handy graphic we made to help you:
Q: I can’t sew. Do you have a no-sew pattern?
A: Yes, we have a super easy no-sew face mask pattern here!
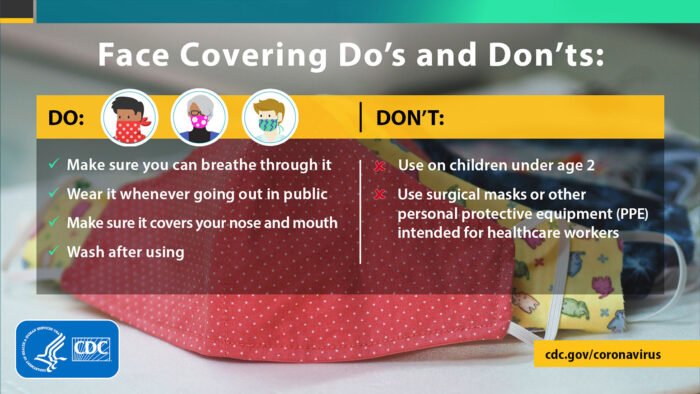
Read more about the CDC’s Cloth Face Mask Recommendations.
Get my free printable PDF and SVG files to make your own Cricut DIY face mask!
Here are more wonderful homemade face masks made by our readers — aren’t they awesome?
Have questions? Come on over and ask in our Facebook group — everyone is welcome! We’d love to see your Cricut face masks, too! Please share them in the group or email us at [email protected].
Need a headband to keep face masks on without hurting ears? Check out our DIY Headband with Buttons tutorial!
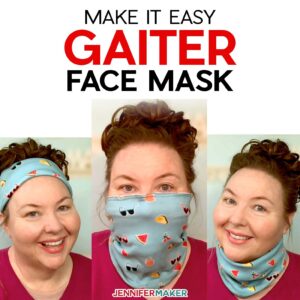
Looking to make a different style of face mask? Check out the easy Gaiter Face Mask, also with a filter pocket and nose wire!
Love,

Take a Look at My Other Face Mask Patterns and Learn More About Face Masks


Want to remember this? Save this DIY Face Mask with Adjustable Ties tutorial to your favorite Pinterest Board


your’s is the best idea for a DIY mask I’ve seen.
This was great! I deffo need a video though as my filter layer “turned out” inside out, I can’t figure out the nose piece, and I can’t seem to get my ribbons right. That’s all me, though – as I am a much better moving pictures kind of visual learner rather than a still picture one.
She has one if you go on her youtube page 🙂
This is AWESOME!!! Can you please make it a video. I am not very good at sewing but could follow a video easier. I am also a Respiratory Therapist and yes we don’t have any n95 mask or any other ones either. Please and Thank you.
Thank you for this project. I contacted my local hospital and learned that they did in fact want these masks. I am getting a group of crafters together to start making them. It feels good to be proactive and productive.
Thank you for the mask pattern. and YES! We are very interested in a pattern to prolong the life of the N95 masks.
Dear Jennifer,
Thank you so much! I went online and ordered the list of things from Amazon last night and as soon as everything arrives I will begin making masks until I run out of supplies. Stay safe and healthy my friend from the online universe!! Pam
Thank you again Jennifer. Again you have come up with a wonderful idea to help people. Am making 10 for my family. Had everything in my stash except the filter.
Thanks for posting these instructions.
Can’t wait to start making masks.
Hi Jennifer I have made several of these type of masks with your pattern and others. What I have found is they are nice and snug but as soon as you try and move your mouth to talk they pull down off of the nose. Have you found this to be the case? Any suggestions? I am trying to make these to donate but don’t feel comfortable giving them out if they don’t fit correctly. Any help or advice would be appreciated.
We haven’t had that happen with our design and hopefully it’ll work out well for you, too.
not sure if I commented or not my phone died. but your design is the preferred design of A.I Dupont hospital for children in Wilmington Delaware and their other hospital in Orlando Florida.
A little tip. Before ironing that first seam open, I suggest clipping at the curves (not the seam itself, just the fabric) it will lay flatter.
Thank you so much for sharing your design. I love it and the wire really helps get a good seal.
Great, step-by-step video!
I’m going to try to make some of these this weekend! Thank you so much… your tutorials are always so clear and easy to follow!
I just wanted to say you should feel honored. My children’s hospital that I take my kids to has referenced your site as their preferred design. AI Dupont hospital for children also known as Nemours in Delaware and Orlando Florida.
I will make for my family, thanks
I gave this pattern a try last night, and it turned out so well. Thank you for the clear tutorial and pictures! Do you have recommendations for adding wire along the bridge of the nose, or a child-size option?
Can I use one the whole day with out washing it each time I leave the house, or do I need to make a whole bunch? Thanks
Hi Reba, I would suggest doing what feels most comfortable for you. Personally, I plan to have a few on hand so I am sure to always have a clean one ready to go when I head out of the house.
Thank you so much!! I love that the mask covers under the chin slightly too!
I can NOT fine the patterns for the Face Masks —what am I doing wrong?????? I want to print them out & cut them out with scissors….Thanks for help.
Hi Shirl, we just sent you an email to follow up. Please let me know if there’s anything else I can do to help!
Thank you so much for the free pattern and taking the time to put up such an easy to follow tutorial ?
My sister in law is a nurse and just called me last night asking if I could sew some masks for her. I’m glad I found you and your free pattern.
Can you quickly explain why tying around the ears is preferred to tying around the head?
I tied mine behind my ears because it was easier for me to reach back and tie it myself, behind the head was a longer reach and a little more difficult for me to tie it tight enough.
I have a question: your instructions say to cut 18″ pieces of ribbon, but in the video it looks like you are cutting 12 inch pieces— which is correct?
Thank you,
Liberty
I cut 18″ ribbon in the video (my ruler is 18″ not the standard 12″). However, you can feel free to cut your ribbon to the length that works best for you. Some people might prefer their ribbon shorter.
Do you think you can make a toddler size? My 3yo does not fit the small and I LOVE this pattern
I’m SO happy to hear you like the pattern, Sarah. I don’t have a toddler size; however, I know that for a school-age child readers have reduced the size of our small pattern by 85% when printing the pdf for hand cutting. If you’re cutting this on your Cricut, simply upload our mask patterns and change the size the small pattern (the red one) so that each half of the pattern is 4.35″ wide by 5.394″ tall. For a toddler, you can try reducing it even further.
Does anybody have any tips for putting a filter into a small mask? My hand won’t fit inside and I can’t get the filter all the way in or to lay flat!
I would just suggesting using something like a pencil or a chopstick to help get the filter in place.
Is the idea to wash the mask after each use, and replace the filter, so that one needs to keep a stash of filters cut and sewn and ready to go?
Yes, I would suggest washing the mask after every use. In regards to filters, see my Face Mask Filter Materials List for a list of filter materials commonly used and any research I’ve gathered on their safety, effectiveness, and breathability
Hi Jennifer! I’m wondering if you’d be able to develop a tutorial of masks for those of us who don’t know how to sew or who don’t have a sewing machine. Thank you!
I have a No-Sew Face Mask pattern available now.
Hi Jennifer, I attempted my first mask today and I am really happy with how it turned out. I did have to cut it by hand because I could not figure out how you attached the middle and front pieces together to cut it out on the Cricut. It didn’t take me long to hand cut them, so I am ok with that. Thank you for sharing your files and for everything you do. <3.
Cathy I cut them by hand also. I have an Explore Air 2 and I put the fabric squares on the green mat and drew both lines, then cut each one out with scissors. So much easier for me than tracing and marking off the sew lines by hand.
Jennifer I am making lots of your masks. The only filer I could get my hands on is Filtrete by 3 M Calked Healthy Living with MPR 1500/MERV 12. Is this safe to use. Seeing lots of different opinions. Thank you for your time.
I am no longer recommending an air filter. I think most people would be okay using two layers of cotton. See my Face Mask Filter Materials List for a list of filter materials commonly used and any research I’ve gathered.
This mask looks great – but I cannot figure out how you get the wire into the channel you made. Where is the opening to insert the wire into the channel? I cannot see an opening in the video or the photos.
Hi Vivien, the wire goes between the back side of the mask (the polka dot layer in my tutorial) and the filter pocket (the green fabric). When I created the channel I first sewed the opposite end and the bottom. Then once the wire was in place, I sewed up the side to close the channel.
Thank you so much for your pattern and the instructional video! I made two masks today to try the pattern. What an excellent pattern! I’m so pleased with it! Both sizes made fit so well! Thank you! We also have a doctor in our family, our daughter-in-law. With the conversations we had about face masks, I decided I would put the wire the full length (as close to that length as you can) at the top of the mask to keep the mask as sealed as possible. She said this is an important factor in masks. I also sewed a percale lining from a pillow case we weren’t using right into the middle of the mask (because of the very close weave), the reason being, our daughter-in-law told us that if it’s time to change the lining, it’s also time to change the mask. I’ve read some people reverse their masks to get more use out of them before they wash them. I don’t think I’ve heard that from you. Please tell the people out there that’s a really bad idea. If you reverse it, you’re putting the germy side you just wore right up against your face. The whole idea is to get the germs as far away from your face as possible. I so very, very much appreciate your creativity and your generosity in sharing it with others! Thanks so much! You’re a blessing!
What can be used instead of freezer paper. I have a Cricut explorer 2 Thank you
To bond your fabric, you need to either use freezer paper or another bonding material, such as Wonder Under. If you don’t have a way to bond your fabric, I suggest cutting the pattern by hand using my pdf version of the pattern and either scissors or a rotary cutter.
Do I pin/baste the ribbon inside of the lines or on the edge of the fabric?? Thanks!
You can see at this point in the video where I basted the ribbon to the green fabric layer https://youtu.be/rD6bnzKTkcc?t=718. I hope that helps.
What setting should I use on the Cricut Explore Air? Fabric or a custom setting? Thank you.
I used “Fusible Fabric” with my regular fine point blade.
Is there a pattern/video for how to make the mask with elastic bands that go around the ears? I’m making some masks for military members and trying to make the best use of my elastic and fabric because it is limited.
To use elastic behind the ears, cut two 7″ pieces of 1/4″ braided elastic (or 6″ if the mask is for a kid) and sew each end of the elastic to each corner of the mask. Basically, you sew the one piece of elastic in the same places you sew two lengths of ribbon, one on each side of the mask.
I’m trying to follow your video on how to make a mask. But when you get to the bit about uploading the files to design space (I watched your other 2 videos) that’s all good… but then with lightening speed you click lots of buttons, select stuff, delete stuff and it all goes pear shaped. I have tried playing it in slow motion and then slide by slide but I simply cannot work out what you are doing. Your doing something with a pull down menu at the top right hand of your screen which I don’t even have on my circut app. I’m desperate to make the kids masks but after 3 days of watching and rewatching the video (between 4-5 minutes in) I simply cannot work out what you are doing. Can you clarify step by step what exactly you are doing? I’ve asked a couple of people to review this section of the video to see if they could help but we just can’t understand. I hope you can help as time is of the essence and I feel I have invested so much time trying to get this I don’t want to give up and start researching other mask patterns.
Sorry to hear you’re having trouble! Earlier, I created a live video that shows step-by-step how to upload and prepare the masks in Design Space, how to prepare the pattern for cutting, fabric pen marking and how to reposition the pattern pieces on your cutting mat to maximize fabric. You can watch it here: https://www.facebook.com/jennifer.anderson.marx/videos/10163276139275254 There are also written instructions on the post above that might help walk you through it as well. I also have a no-sew mask pattern available. As always, I am HAPPY to try and answer any questions you have, so please let me know how I can help!
Hi Jennifer,
Thank you for your pattern. I have made 3 masks so far. I am wondering if I wanted to use elastic to fit around head how much would I use and would I attach it the same way as the ties?
Hi Theresa,
I’m happy to hear you’re making the masks. If you wanted to add elastic to go all the way around the head, I have those steps in the tutorial. Here’s a link to go straight to the Elastic Straps steps.
Do you use T-shirt material on the inside of the mask or for the middle layer. I am making some for a lab here in town. I had made one for my sister with your pattern and her boss loved it. Said he would pay me but are you serious. Not in this time. Some of her coworkers have sensitive skin on their face. Any suggestions
I used the t-shirt material for the layer that will be in contact with your face. You could make it without the pocket if they’d prefer the woven cotten. I also have a no-sew mask and prefer two layers of t-shirt material for that project. I’d suggest asking your sister’s coworkers which fabric they’d prefer to have in contact with their skin.
Just finished my first face mask.
Thank you Jennifer for your detailed instructions. I will attempt to put a photo on fb.
Just have one to make for my Husband now. Thank you from Australia
I’m so happy to know that you’re making masks for yourself and your husband! I look forward to seeing your photos!
Is there any reason not to cut the fabric on the fold? Seems like there would be fewer steps. Guess I’ll find out as that’s what I’m about to do.
Hi Beth, as the center of the mask design is a curved line, you’ll still need to sew down the center. So, having that edge on the fold wouldn’t save steps. I do hope you’ll share photos of your completed masks!
Thank you for a great pattern and tutorial! I don’t have a Cricut yet so I cut them out the old fashioned way but I really appreciate the details, very easy to follow and the masks fit well.
A while back I had figured this pattern wasn’t going to work for me. Well, I was wrong!
After trying other patterns and finding them running too small, I came back to this one. I made it with casings for elastics, and got the seal of approval from a dear friend going through chemo treatment. The nose peak made her feel more comfortable.
I am hoping to get 3 to each person on my list – one to wear, one to wash, and one spare.
Thank you, Jennifer!!
Would it be OK to use the same fabric for the outside & middle piece or is there a purpose that I don’t see yet for having those pieces different? I can only see a sliver of the middle piece (white with pink polka dots) exposed on your finished product. I understand having the inside different but not the middle. Thank you!
Yes, Heather, you can definitely use the same outside and middle piece fabric if you’re creating it with the filter pocket (three layers).
Hi Jennifer: I’ve made 5 of these masks so far for family and friends and working on numbers 6 through 10. Great tutorial. Love the Cricut info too but even though I love using my Cricut, cutting out with a rotary cutter has been faster for me. Question on the filter – I purchased a filter from local home improvement store like what was mentioned in the video. I can’t get it to lay flat. Has that created a problem for anyone? If so, how can I get it to lay flat? I have been using a dry iron on medium with a pressing cloth. I have to say it is flatter than when I started but as flat as I would like it to be. Suggestions?
I’ve discontinued my use of the filter, as noted in the tutorial. Now I’m just using multiple layers of cotton fabric.
Hello Jennifer. I’ve been making your awesome masks for several weeks and I can almost sew them in my sleep! I finally got some elastic but am not sure what length to use for each size mask. I tried 5 and 1/2 inches and tested it on my hubby using a large mask. At first he said it was ok but now he wants it tighter. I have a lot more to make so I really need some help. I have made up a bunch without ties and simply stitched the top and bottom of them, turned them right side out while I have been trying to figure out how to finish them. I can turn in both mask ends and stitch in the elastic on either end. I have made everything by hand as I do not have a Cricut machine. I have also shared the link to your site as many have asked me where I got the pattern. Please give me some idea what to do next! Thank you so much!
That’s wonderful to hear that you’re making masks. You can use elastic instead of the ribbon. The size would vary depending on the elastic you have and how much stretch it has. The best way to find what works is through trial and error. I’d suggest pinning the elastic in place so you can try different lengths that work for your husband. When you find a length that works, you can go ahead and sew it in place of the ribbon. If the elastic gets too loose with wear, the user can try knotting the elastic to make it shorter.
I really like your pattern. FYI : Recent article out of Uni. of Illinois : As more states are requiring people to wear face masks in public to prevent the spread of COVID-19, researchers investigate the best materials people can use to create their masks at home. A single layer of T-shirt fabric is 40% effective at higher droplet blocking. When layers are doubled, the fabric is 98% effective, exceeding the effectiveness of a clinical medical mask.
Source: University of Illinois
Your video tutorial was extremely helpful. I am a newbie with my Cricut and only a fair seamstress. Your video explained everything very clearly. I had a lot of trepidation in making this style mask and now I not only feel confident but excited. Thank you so much!
Thanks so much for this free mask Jennifer! It worked great for my husband and I, and I think I’ll just size down the small for my young kids. It’s hard to stay safe and feel safe in a time like this, but having a mask helps for peace of mind. I believe God will walk with us through these challenges! Blessings!
Thank you for that very clear sewing video tutorial. I was looking for a face mask video tutorial that was easy to understand and explained step by step. You nailed it!
Can you make a pattern for a garter style face mask? My husband has a long beard and it looks funny sticking out of his masks so if I could make him a longer mask to cover the beard it would be cool. Thank you
We do have a gaiter-style mask in the works!
The neck gaiter-style face mask pattern will not open.
I have a video that shows you how to download and open my files at https://jennifermaker.lpages.co/the-joy-of-svgs-all-access-pass/. If you’re still having trouble, please send me an email at [email protected] and I’ll be happy to help you!
You are a genius to me! I also feel you should be proud of yourself in creating these patterns, that are outlined so well. I can’t thank you enough.
I’m just pleased they work for you, Erika! Thank you for the kind words. 🙂
That’s so amazing information. Thanks for sharing
You’re welcome, Diya!
Helpful in this covid