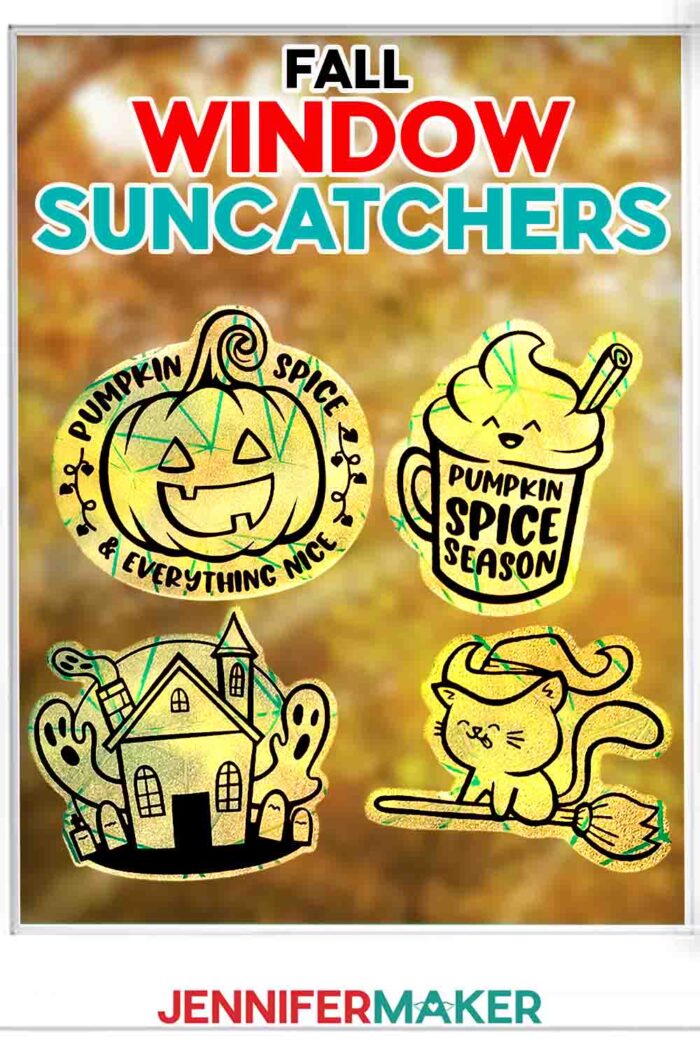
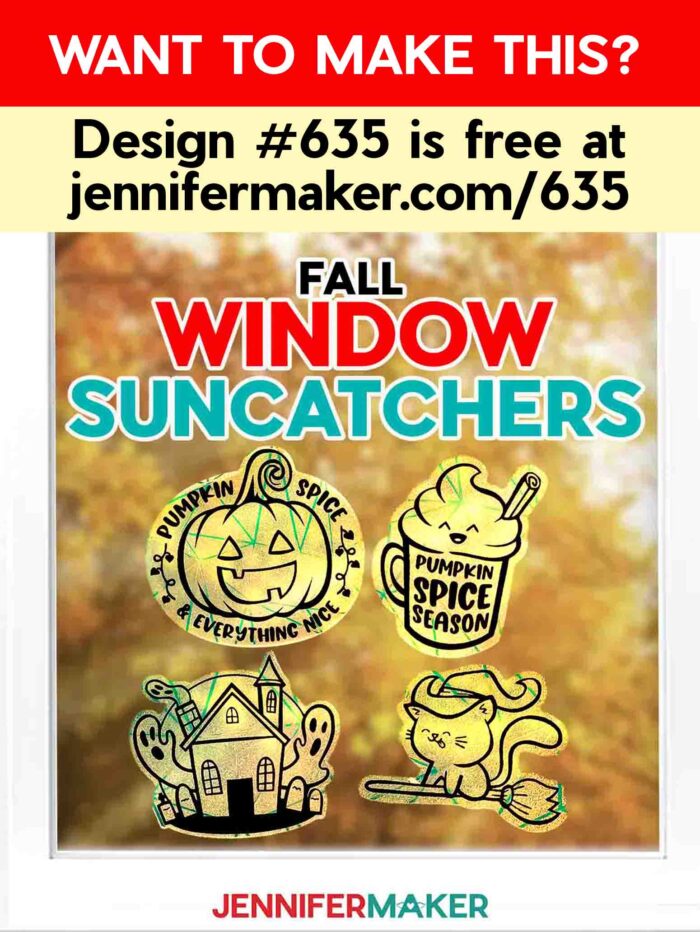
Learn how to create suncatcher window clings for fall!
I think we can all agree: Life’s just better with rainbows. I love using rainbows in my crafts, because they just make me so happy! Have you seen the internet-viral privacy film that turns a sunny window into a full-on rainbow-maker? It’s just so magical that when I saw it, I immediately wondered if my Cricut could cut it into fun (and more manageable) shapes. And as I showed you in my suncatcher window cling tutorial this summer, the answer is a very happy yes! Now I’m back with four new designs ready to rainbow-ify your fall!
Want to save this project? Enter your email below and we’ll send the project straight to your inbox.
Watch the full step-by-step suncatcher window cling tutorial to make items from either design collection:

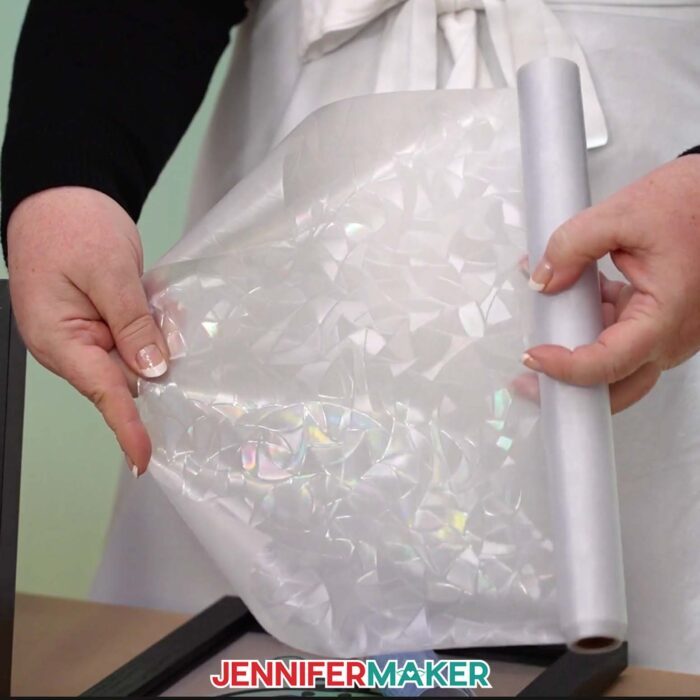
When I was researching privacy films for my first window cling tutorial, I realized just how many window film materials are available on the market. I ended up doing a lot of testing to find out which ones cut best and looked best as suncatchers, and my favorites were always the rainbow film. It’s tougher to see through because of the geometric design and the almost-opaque material — but when the light hits it just right, it casts bright, colorful rainbows into your space! It’s really quite amazing.
Unlike other easy DIY suncatcher crafts, you won’t need a paint brush to make these — but you WILL get to enjoy seeing your new suncatcher paint rainbows on your wall!
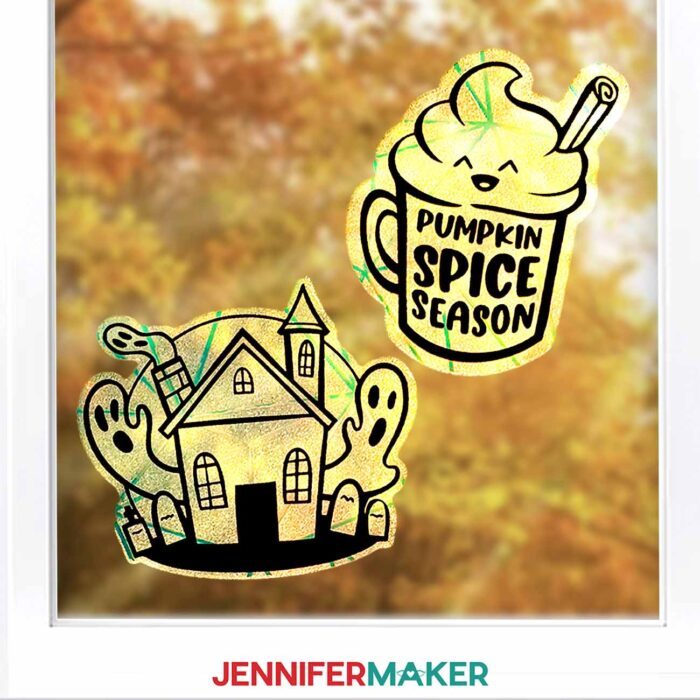
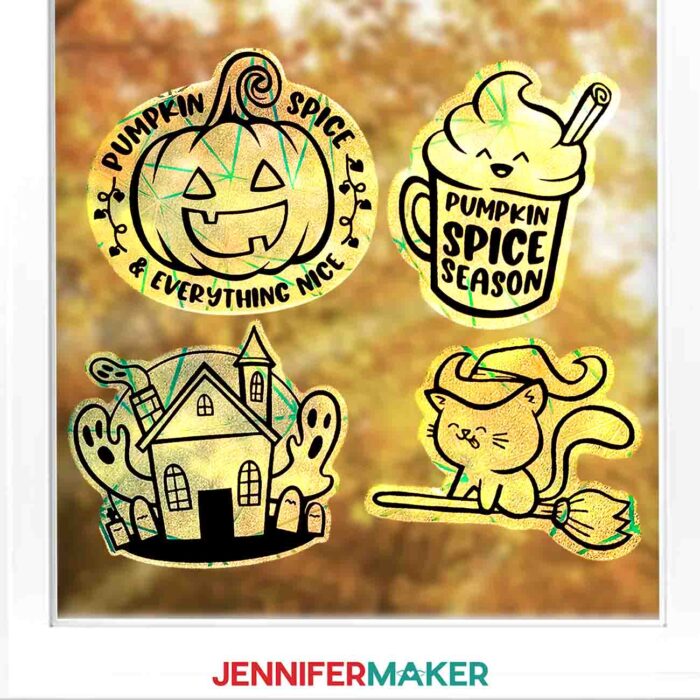
While the rainbow window film is pretty awesome on its own, I wanted to make it a little more interesting — especially for those times when the sun isn’t hitting your window just right. To bring the window clings up a notch, I designed and added cute details with adhesive vinyl to make a fun fall craft that’ll give you a whole new window look!
I found that the permanent vinyl held up best over time in a sunny window, but wanted to try a few other kinds, too.
In the original tutorial, I tried holographic vinyl because it’s so pretty! It looked really cool, but it’s important to note that the holographic vinyl needs to be burnished very well to the cling material to stay put, and humidity and temperature changes can affect how well it stays adhered.
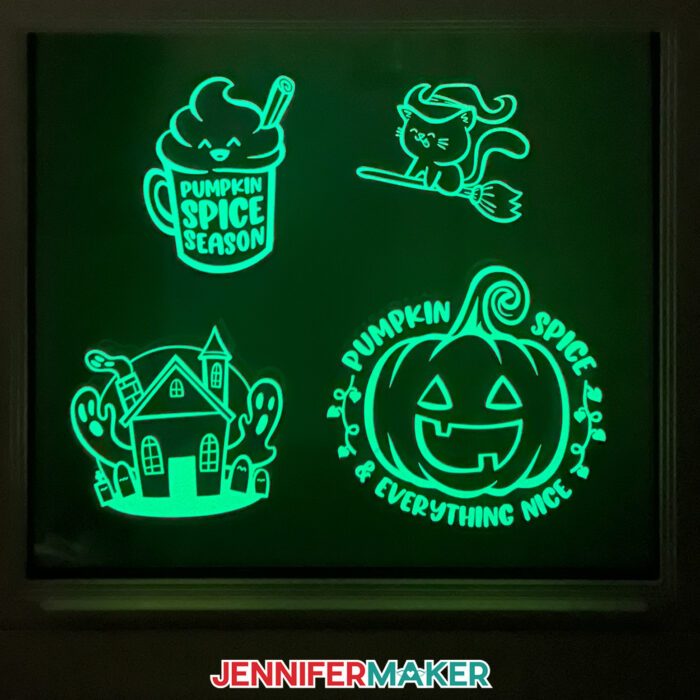
Another type of vinyl I wanted to try was glow-in-the-dark vinyl. I thought it would look awesome with the spooky but cute Halloween designs — and I was right! Just make sure to peel the film off of the front of the vinyl before cutting. These glowy fall window suncatchers turned out so well, and they’re a fun way to decorate your windows at night, too!
I ended up using the glow-in-the-dark and black permanent vinyl this time around, but you can experiment with other colors for different looks. In the tutorial, I have some helpful tips to help you apply the vinyl design to the suncatcher film so the shapes are aligned just right.
These beautiful autumn suncatchers are super easy, and only require a few materials and tools to make. First, I’ll show you how to prepare the SVG files in Cricut Design Space so you can make the right size suncatcher for your window.
Then, I’ll demonstrate how to cut it using a Cricut Maker 3 and a Premium Fine-Point blade. No need to wield your scissor skills with this project! You can use any Cricut Maker or Explore series machine, as well as the Venture or Joy Xtra to cut this window film. My fall suncatcher designs are little too detailed to resize for a Cricut Joy, but once you get the hang of it, you can design your own Joy-friendly permanent vinyl designs!
When cutting your window film, remember to follow the tutorial and use my recommended cut settings. This may come as a surprise, but you don’t actually want to use the “window cling” cut setting in Cricut Design Space for these! Why? Because they’re not made out of Cricut brand window cling material, which is what that cut setting was designed to cut. The privacy film is thicker, and when testing I found that the “window cling” setting did NOT work well at all!

I recommend using rolls of window film that are less than 11.5″ wide, because they’re much easier to work with — plus they’ll fit on a standard 12 x 12″ machine mat. If you can’t find it, though — don’t worry! You can just use scissors or a paper trimmer to cut larger pieces to size.
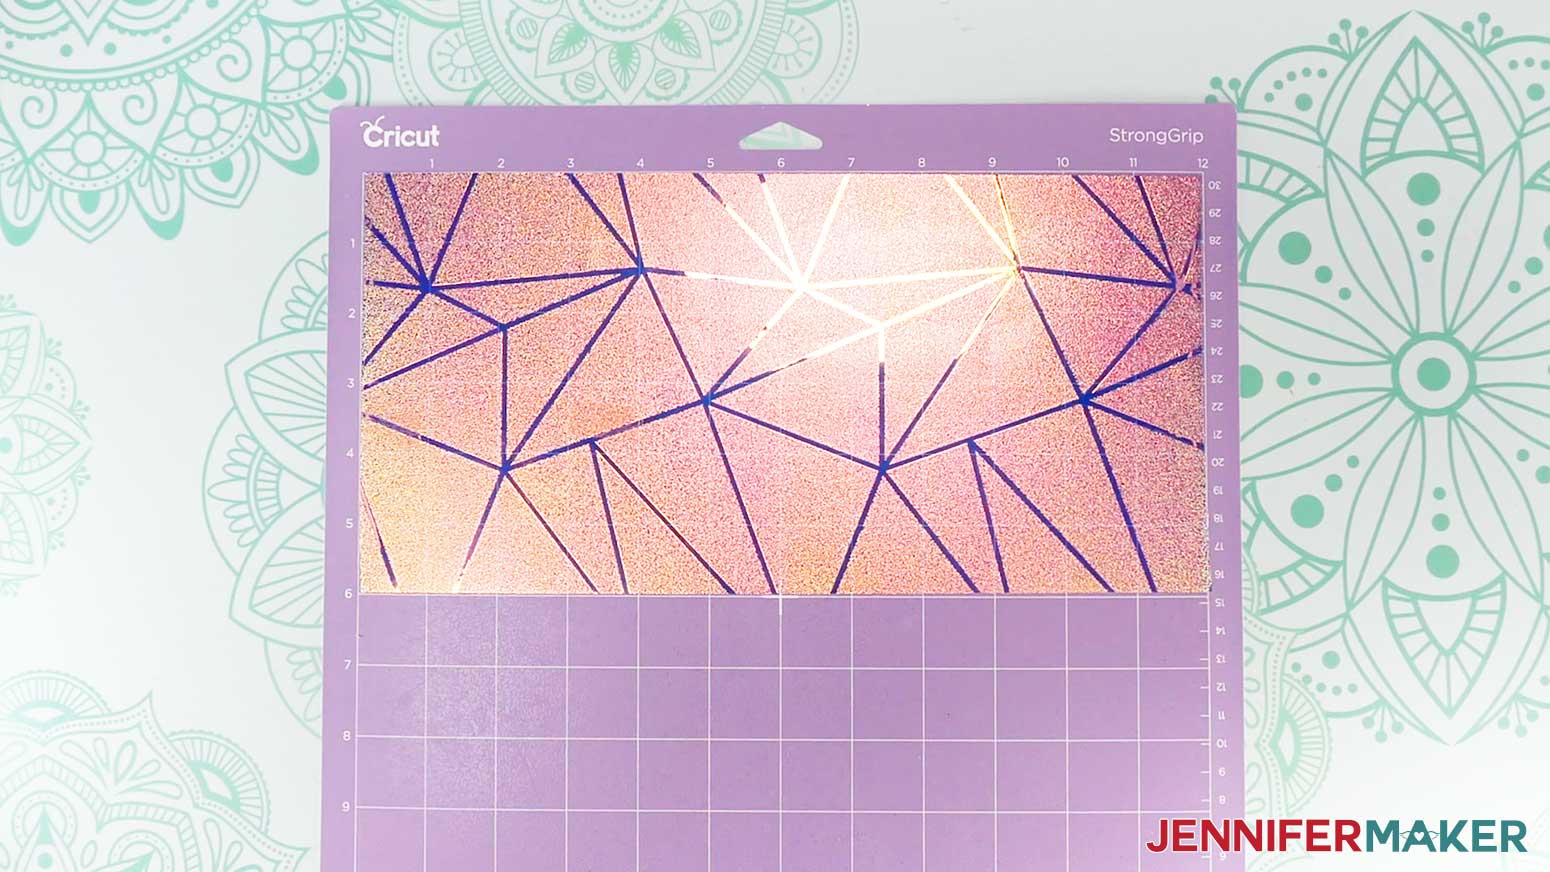
Speaking of machine mats, you’ll want to use a purple StrongGrip mat for the window film, as the material isn’t sticky on its own, and a stickier mat can really help get nice, clean cuts. A green StandardGrip mat will work best for your adhesive vinyl, though.
Once your suncatchers are cut, assembled, and ready to stick to a window, I’ll show you my best tested methods for getting a nice stick every time. Hint: Clean your window first, and make sure you check out the tutorial for the full details.
I love having a different window decoration theme for each season! Once you know how to make this beautiful craft, you can make even more designs, like fall leaf suncatchers, holiday themed ones, and other customized shapes.
These fall window suncatchers have been so much fun to make, and I can’t wait to see you fill your rooms with rainbows, too. You can adhere them to different sections of your kitchen window panes, or even stick some to a sky light. One of my favorite things is to place one in a window that gets morning light, then wake up to rainbows all fall long!
Let me show you how to make fall window suncatchers! This post contains some affiliate links for your convenience (which means if you make a purchase after clicking a link I will earn a small commission but it won’t cost you a penny more, there is no additional cost)! Read my full disclosure policy.
Materials to Make Fall Window Suncatchers
View my Amazon shopping list for the exact items I used!
-
- Rainbow Window Privacy Film (I used part of a 17.5″ x 78.7″ roll) -OR-
- Holographic Window Privacy Cling (I used part of a 17.5″ x 78.7″ roll)
- Cricut Permanent Vinyl – I used Black -OR-
- Glow-In-The-Dark Vinyl -OR-
- Cricut Holographic Vinyl – I used Blue
- A way to cut your materials – I’m using the Cricut Maker 3 but you could also use the Cricut Maker, an Explore Series machine, a Venture, or even a Cricut Joy Xtra.
- Cricut Green StandardGrip Machine Mat 12” x 12”
- Cricut Purple StrongGrip Machine Mat 12″ x 12″ (for window cling and holographic vinyl)
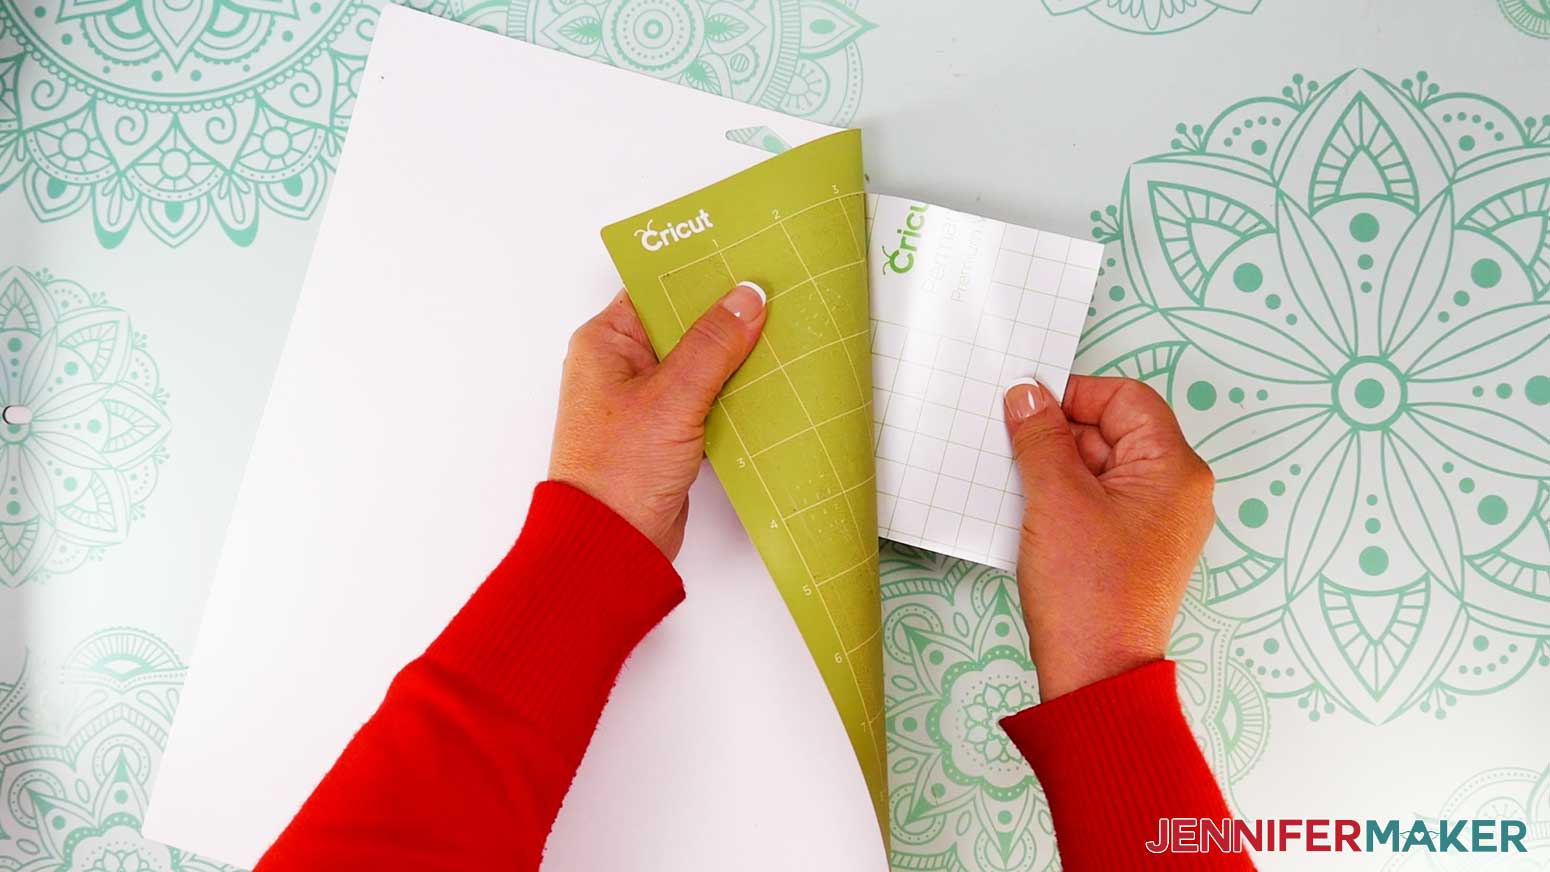
- Cricut StandardGrip Transfer Tape
- Brayer
- Spatula
- Scraper
- Weeding Tool
- Scissors
- Cricut Portable Trimmer (especially helpful if you need to use a material that doesn’t fit on your mat)
- Painter’s Tape (optional)
- Isopropyl Alcohol (or a spray bottle of your favorite glass cleaner) -AND-
- Lint-Free Cloth
How to Make Fall Window Suncatchers!
Suncatcher Window Clings
Learn how to make suncatcher window clings with adhesive vinyl details!
Materials
- Cricut Holographic Vinyl - Blue
- Cricut Permanent Vinyl - Black
- Rainbow Window Cling -OR-
- Geometric Window Cling
- Cricut StandardGrip Transfer Tape
- Design #620 (My free SVG/PDF/DXF design files are available in my free resource library - get the password by filling out the form at the bottom of this page)]
Tools
- A way to cut your materials - I’m using the Cricut Maker 3, but you can also use the Cricut Maker, a Cricut Explore Series machine, the Cricut Venture, or even the Cricut Joy Xtra
- Cricut Green StandardGrip Machine Mat 12" x 12”
- Cricut Purple StrongGrip Machine Mat 12" x 12” (for window cling and holographic vinyl)
- Brayer
- Weeding Tool
- Scissors
- Scraper
- Cricut Portable Trimmer
- Painter's Tape (optional)
Instructions
STEP 1: GET MY FREE SUNCATCHER WINDOW CLING DESIGNS
First, download my Suncatcher Window Clings designs from my free library – look for Design #620. Alternatively, you can use the Save This Project form near the top of this post and the design link will be emailed to you.
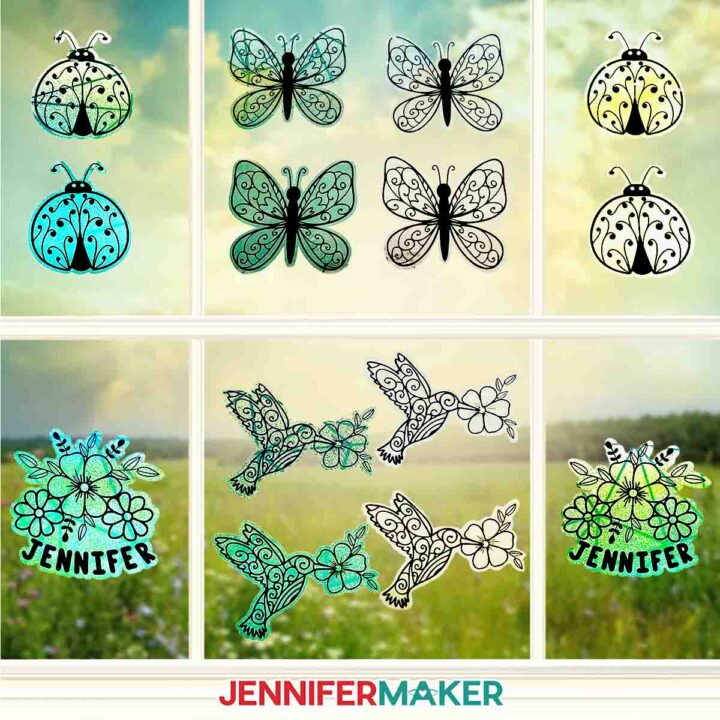
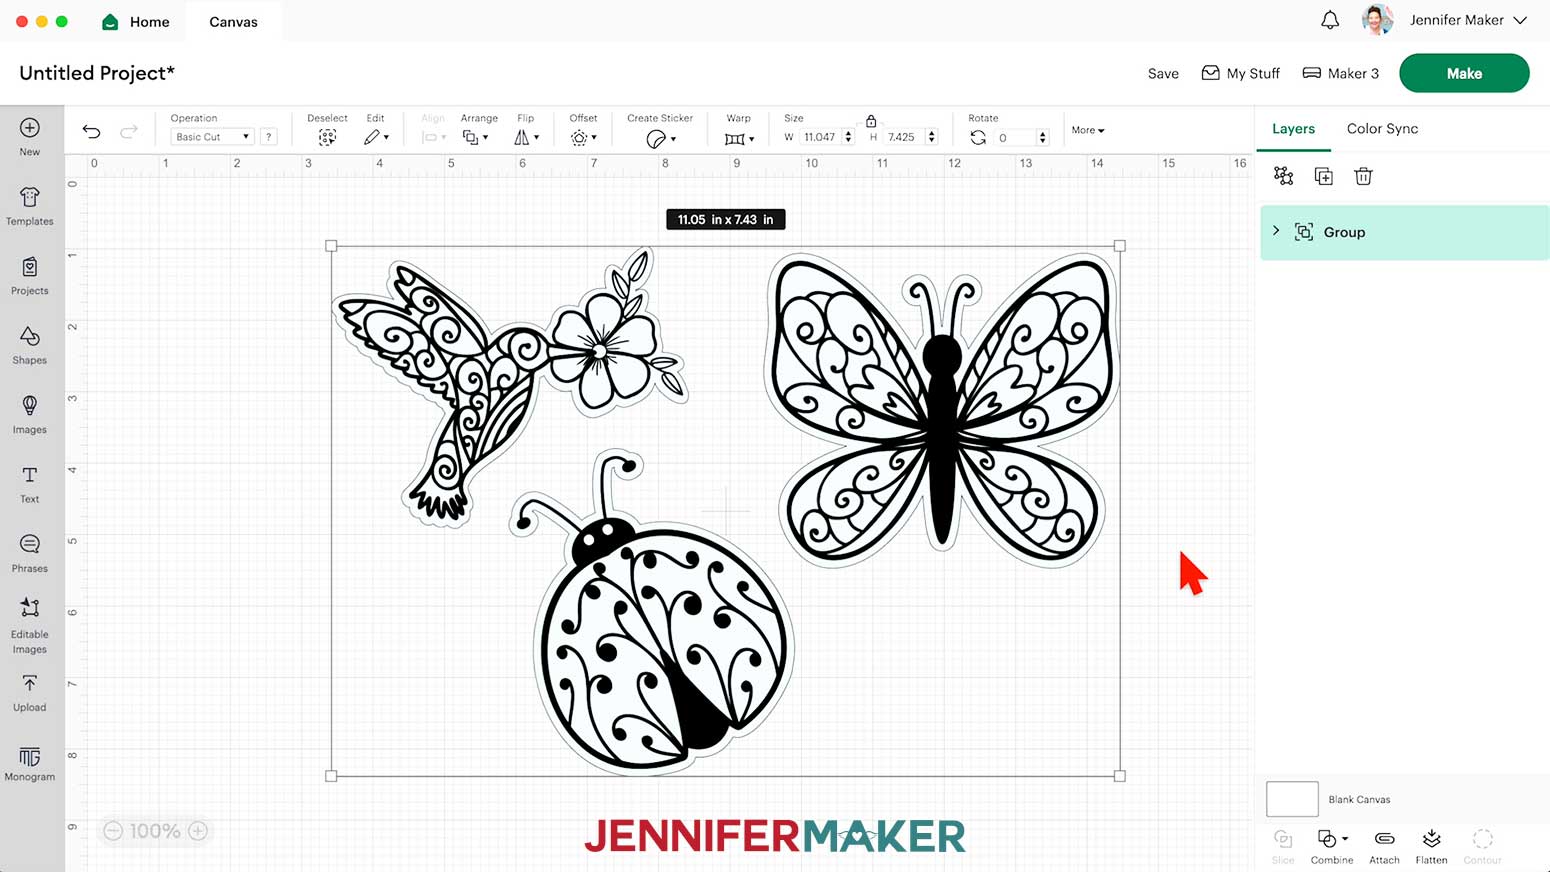
In the SVG folder, you’ll find a file with three suncatcher window cling options: a hummingbird, a butterfly, and a ladybug.
There is also a DXF folder with cut files, and a PDF folder with versions you can print and cut by hand.
Upload the files you need to Design Space to get started.
TIP: If you’re not sure how to upload, go to jennifermaker.com/svgs to learn how to unzip and upload SVG files.
STEP 2: PREPARE AND CUT YOUR SUNCATCHERS
CRICUT DESIGN SPACE
- Open Cricut Design Space and click “New Project.”
- Click “Upload” and then “Upload Image.”
- Click “Browse.”
- Select the “suncatcher” SVG file.
- Click “Continue.”
- Click “Upload” to add the design to your Canvas.
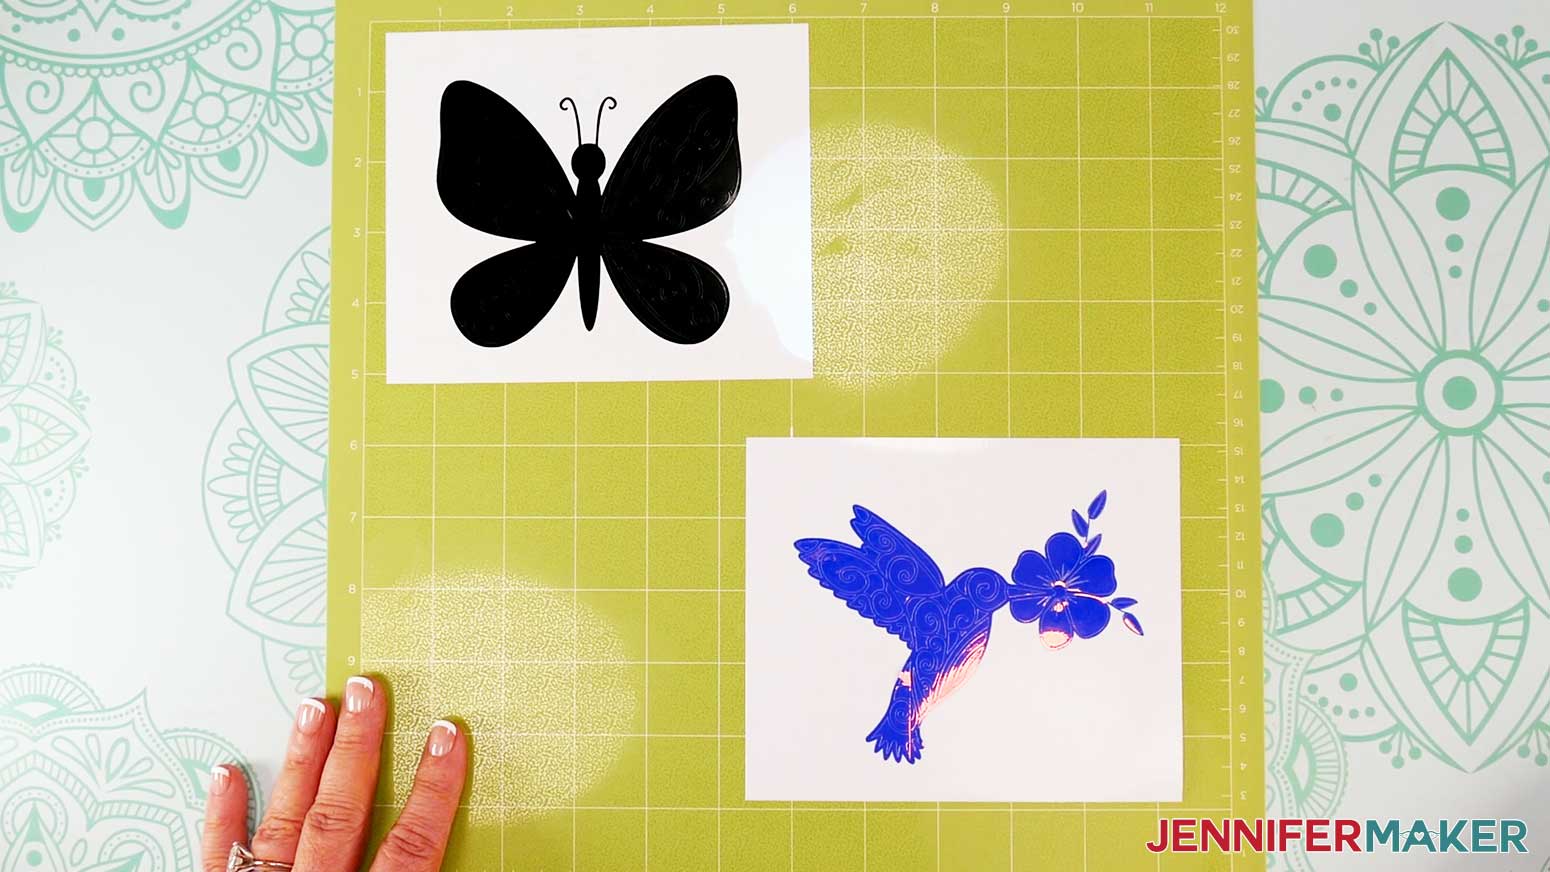
NOTE: Inside you will find three designs: a hummingbird, a butterfly, and a ladybug. Each design has an offset layer on the bottom for the window cling and a details layer on top for the vinyl.
- Click “Save” and give your project a name.
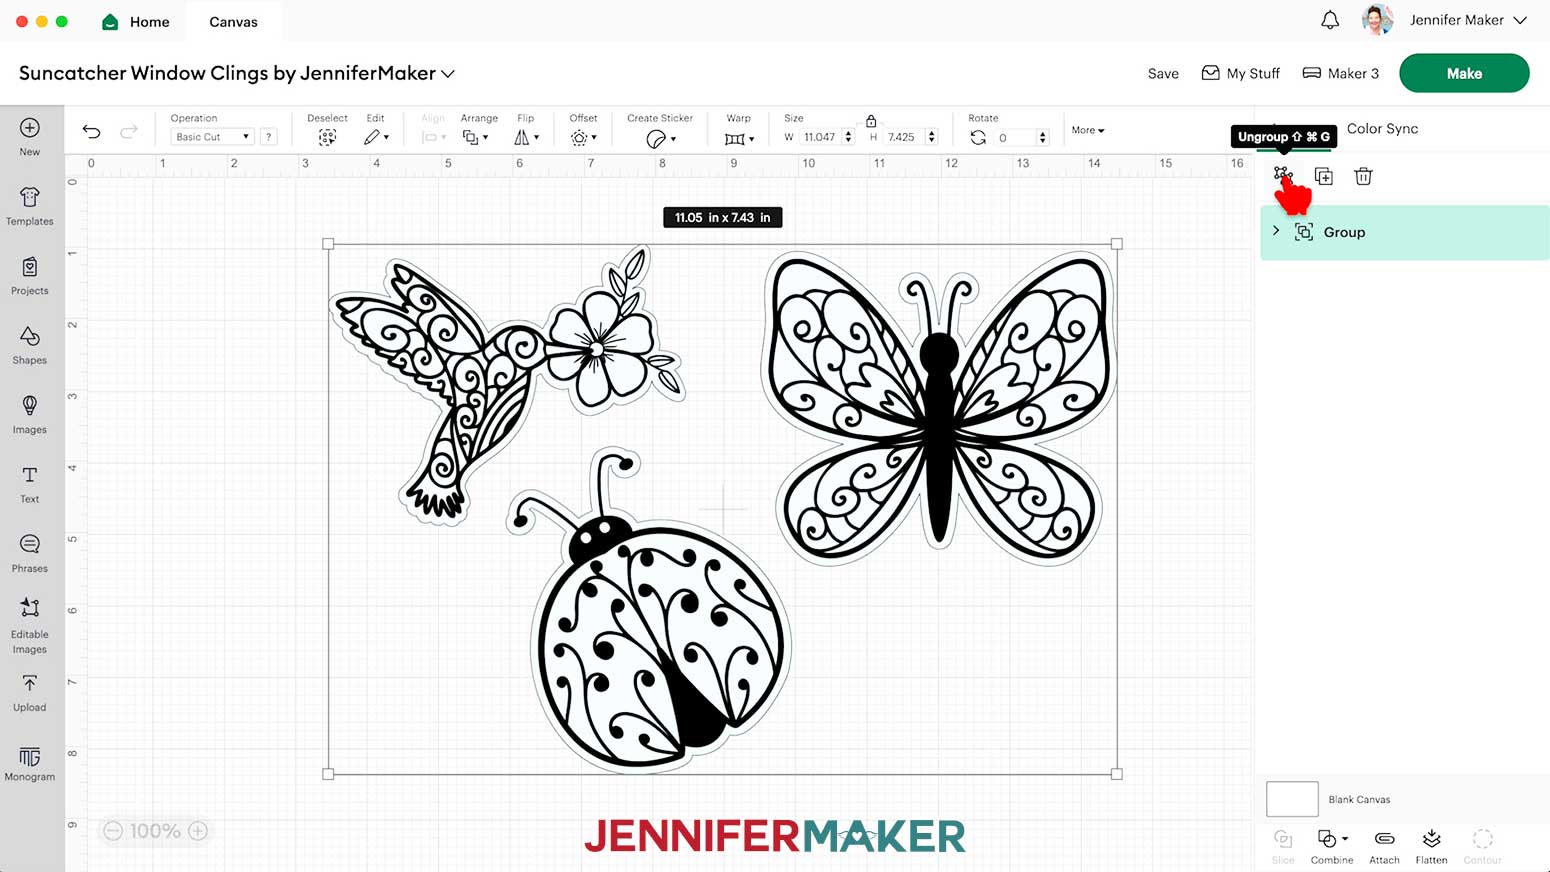
- Ungroup the design.
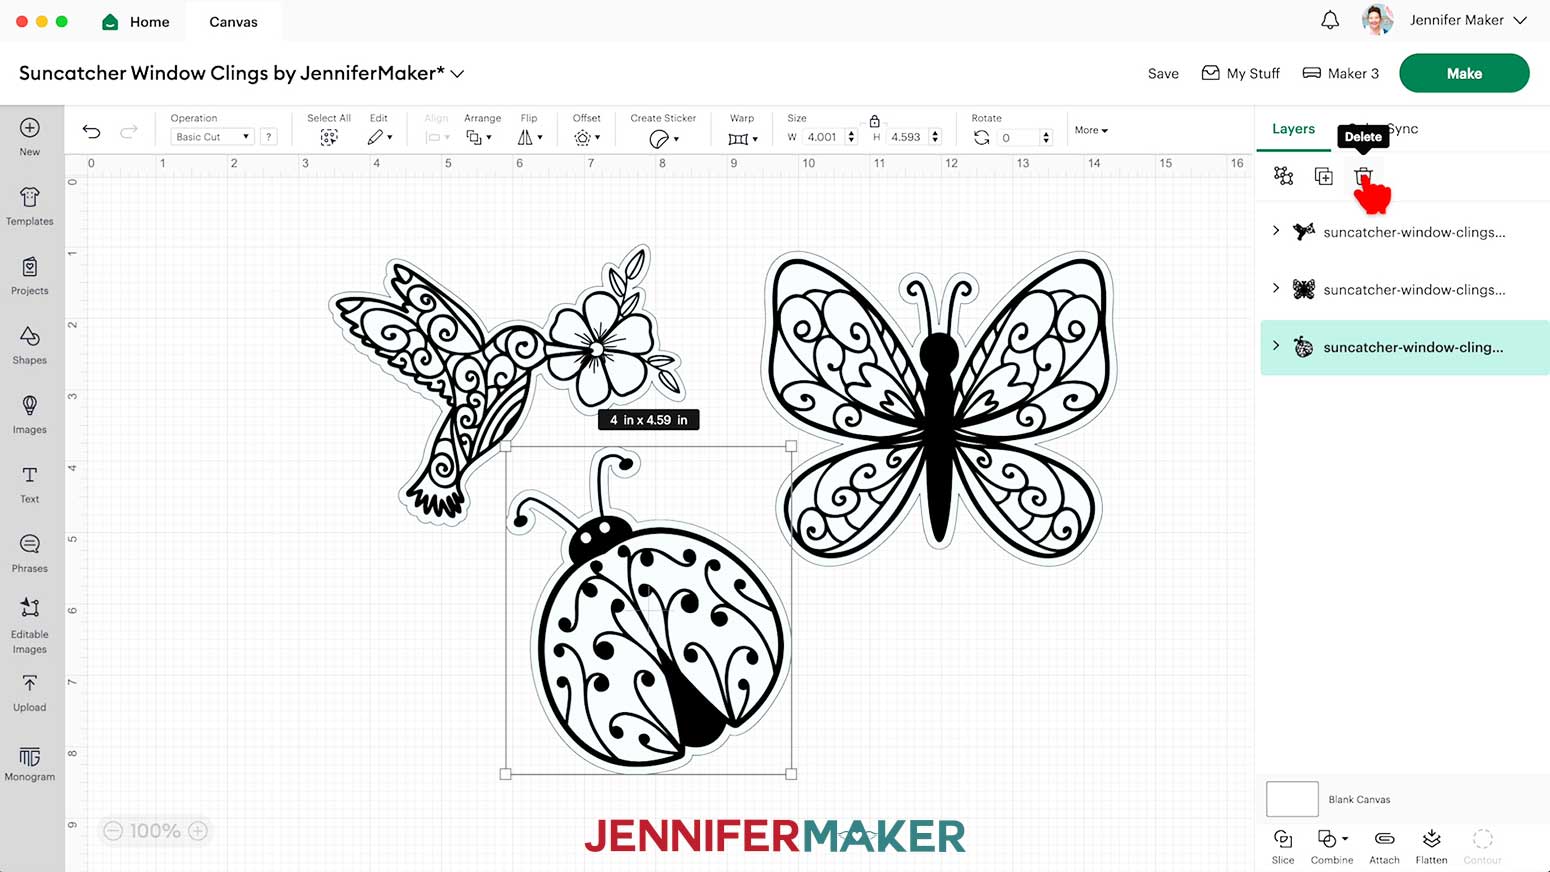
- Delete any designs you don’t want to use.
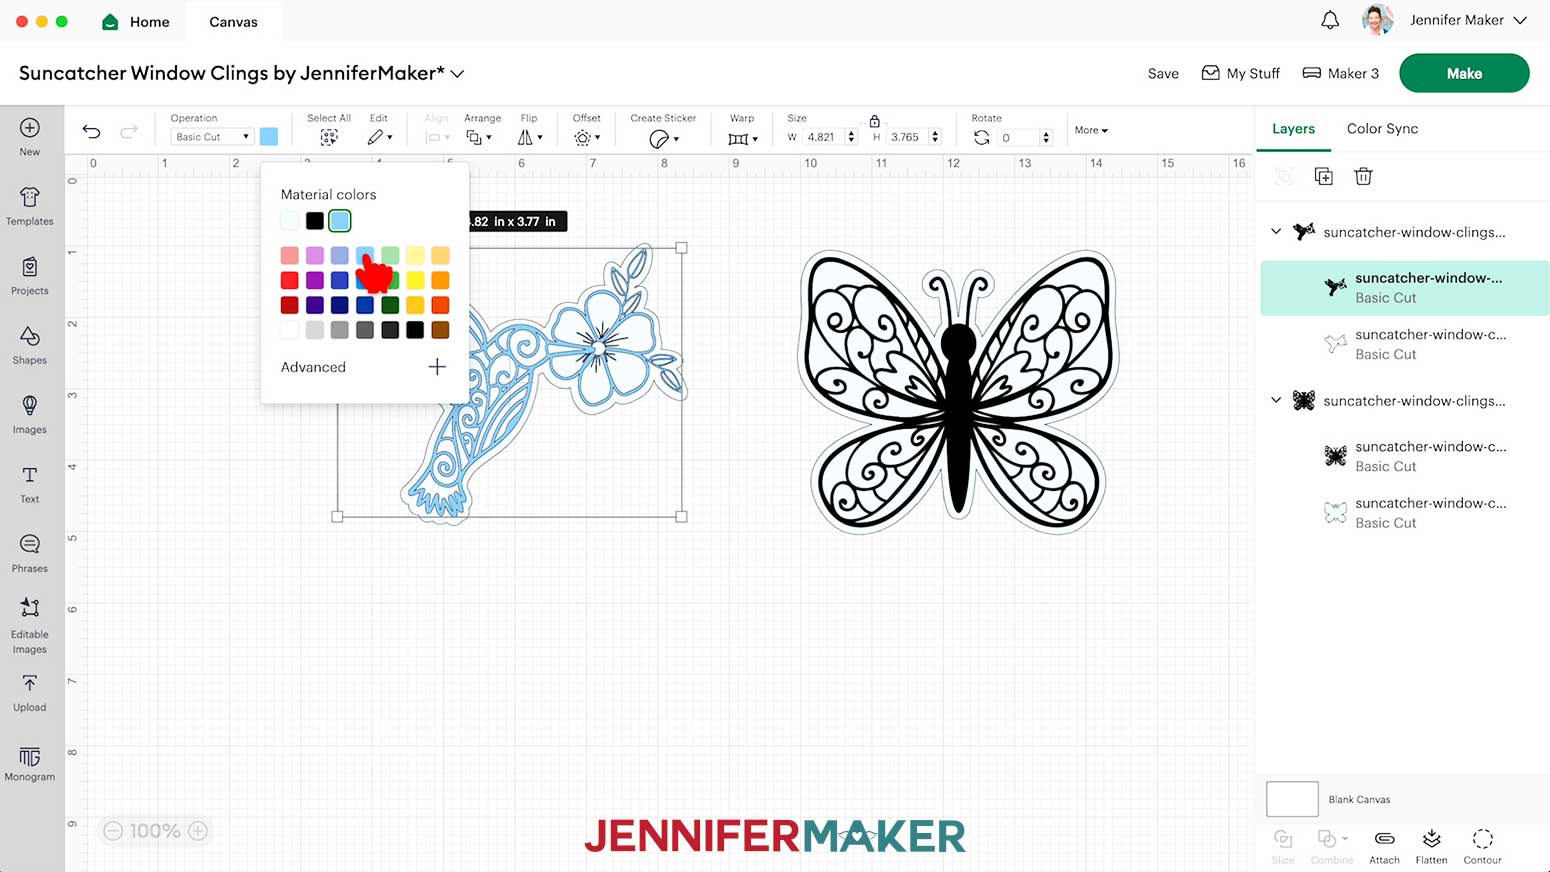
NOTE: I’ll keep the hummingbird and butterfly, and delete the ladybug. - If you want to use different window cling or vinyl for the designs, select the appropriate layer in the Layers Panel and use the Color Box to adjust it.
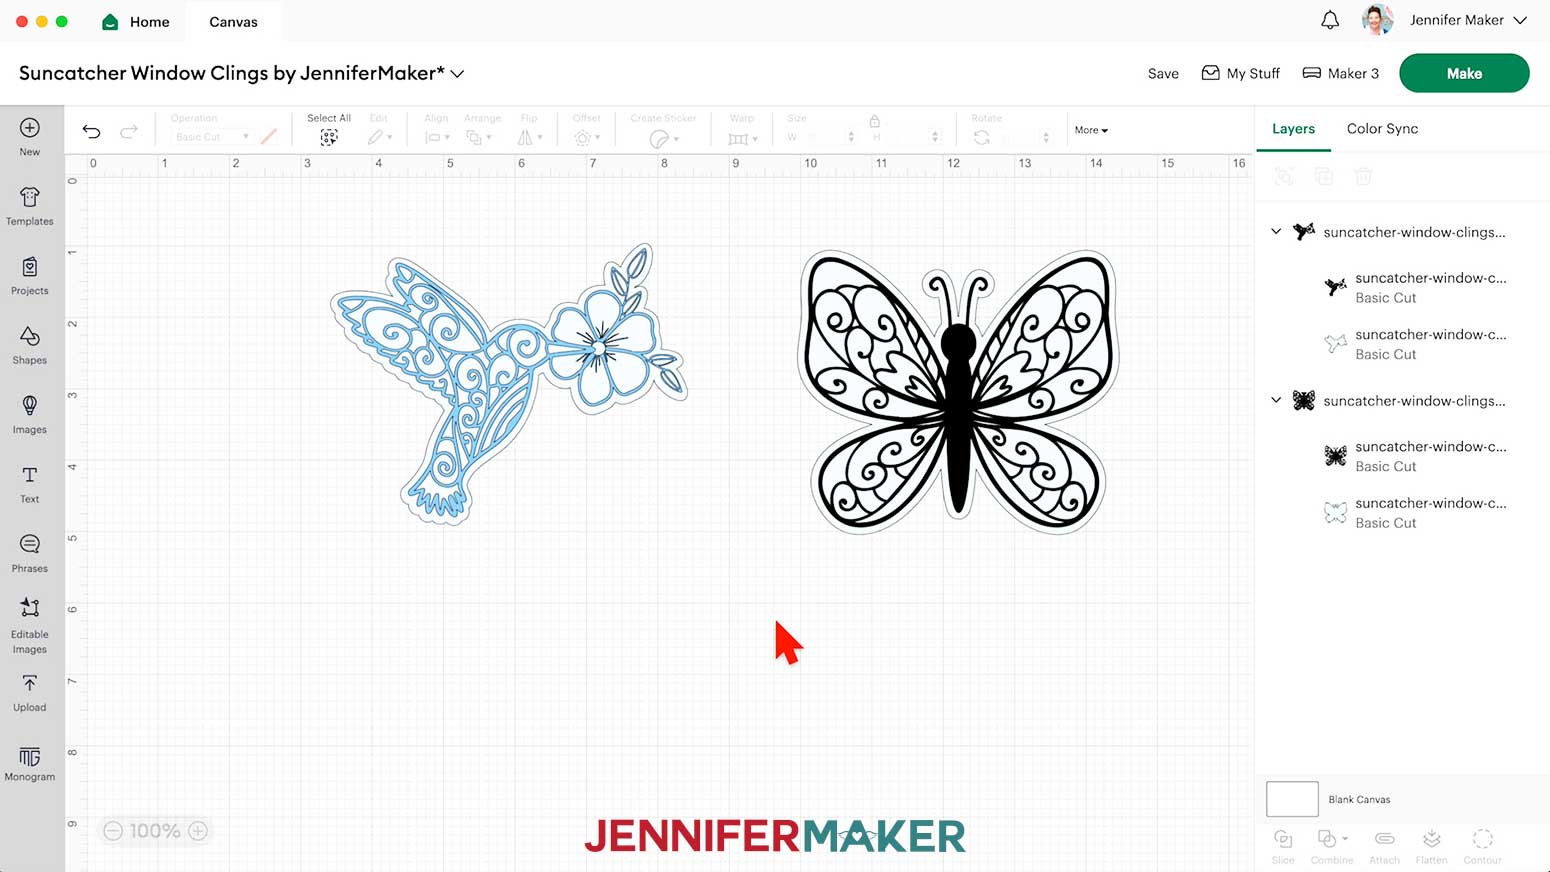
NOTE: I used different vinyl for the two detail layers. - Your window clings are ready to cut!
CUTTING
- Make sure the correct machine is selected in the top right.
- Click “Make.”
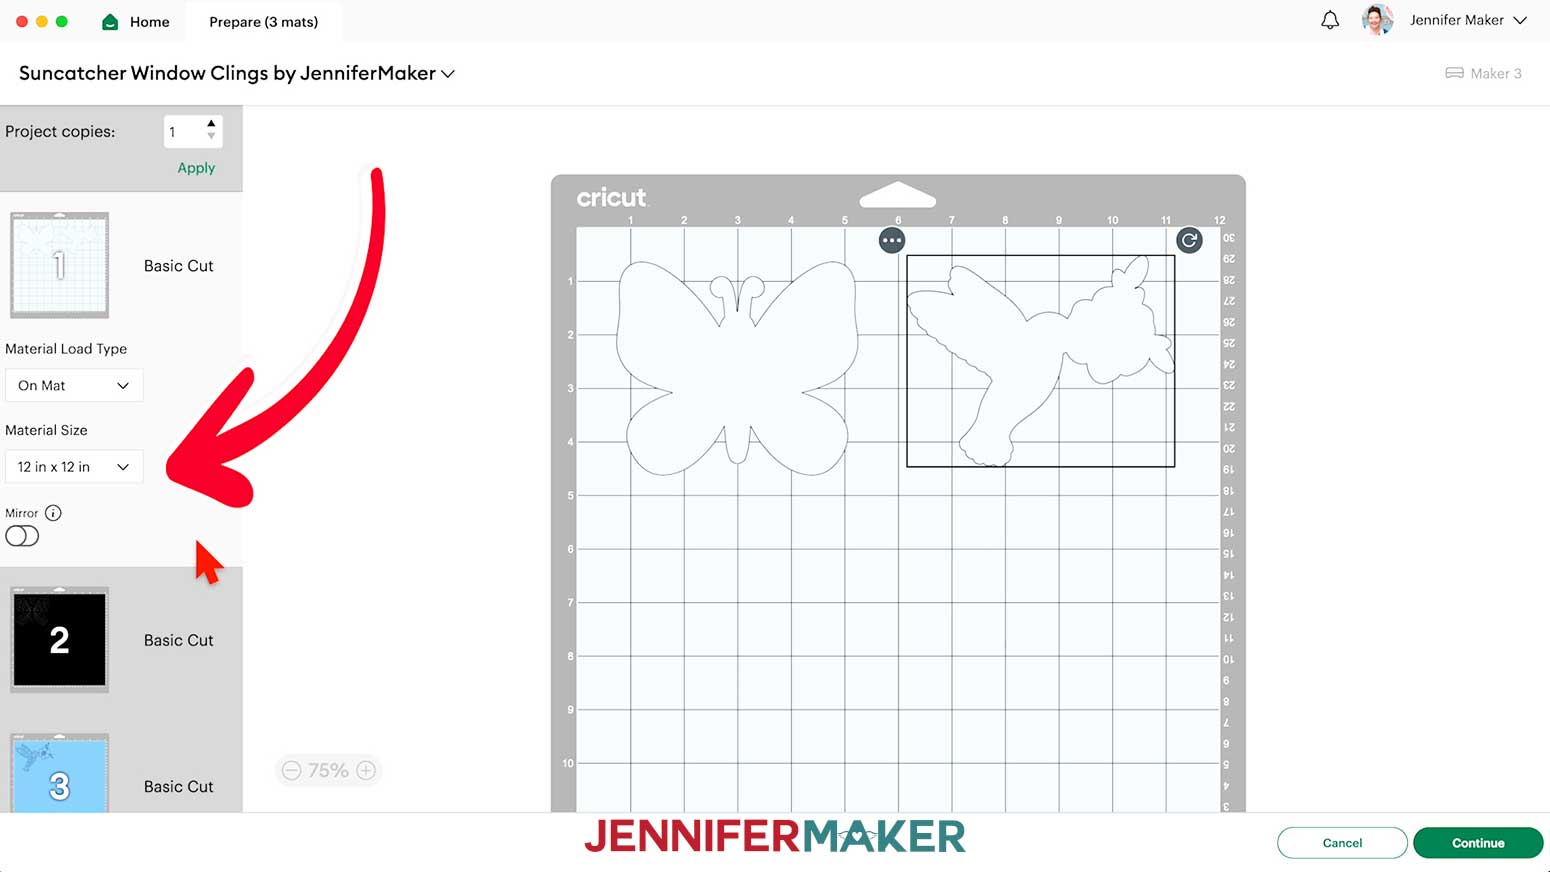
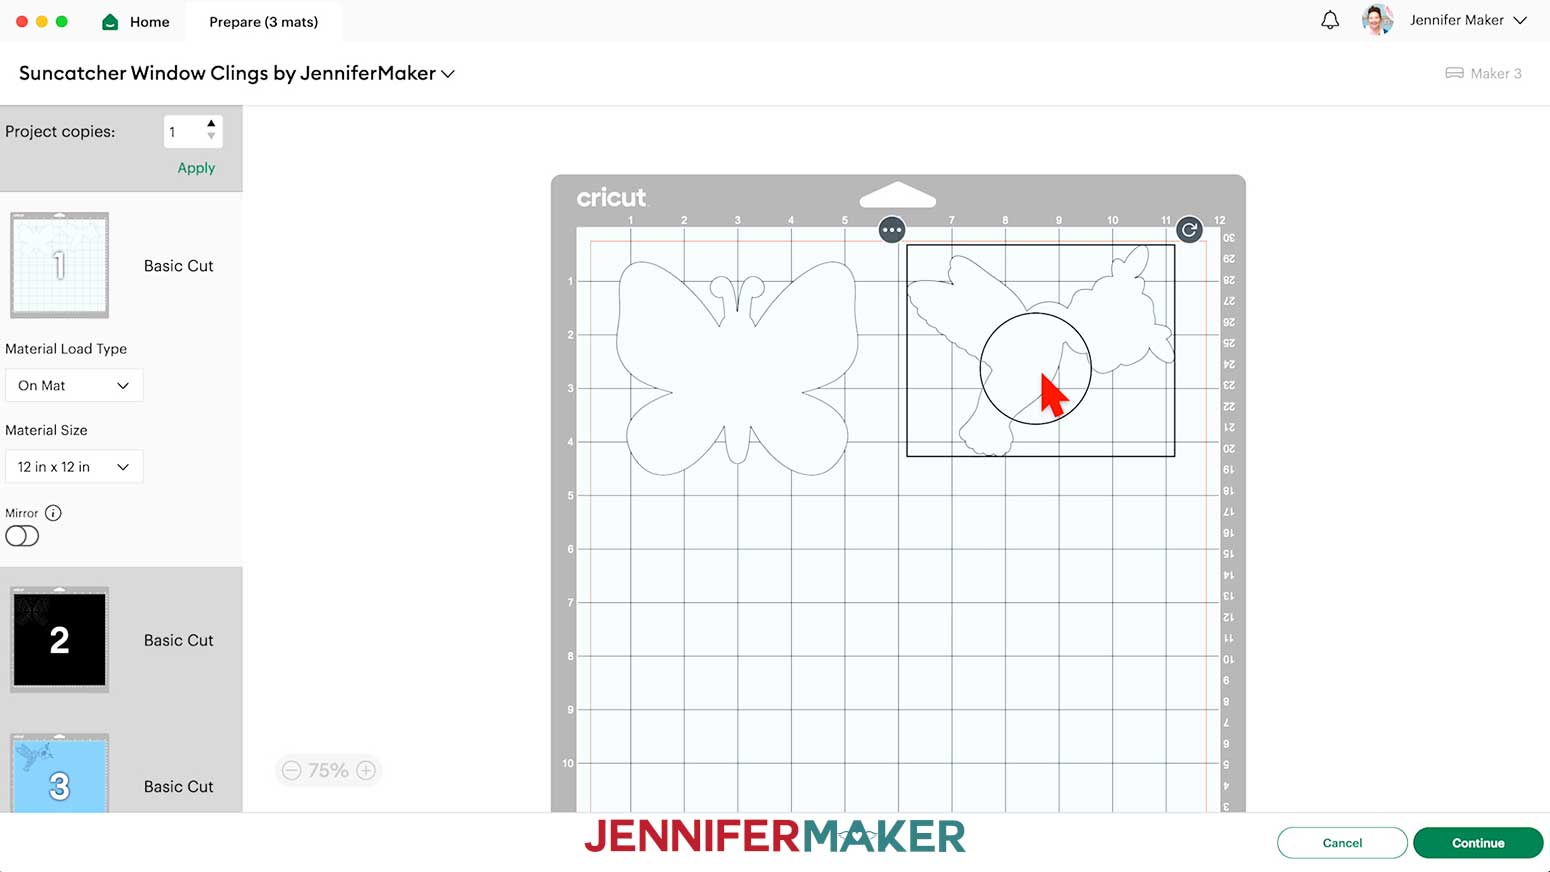
- On the Prepare screen, make sure the correct Material Size is selected for your mats. I’m going to trim my materials to fit the designs, so I’ll keep the 12” x 12” setting to use the whole mat.
TIP: If you want to combine mats to save time and materials, follow the instructions in my Easter Egg Lantern tutorial. - On the window cling mat, move the designs so there will be some excess material on each side and you’ll be able to cut between them easily. This will be helpful later on.
- Adjust any other mats as necessary.
- Select the first mat again and click “Continue.”
- On the Make screen, set the Base Material for your mats. I used these settings, but since all machines are different, making some test cuts is a good idea:
For the Window Cling I used the “Stencil Film - 0.4 mm” setting with “More” pressure
For the Solid Vinyl, I used the “Premium Vinyl - Permanent Glossy” setting with “More” pressure
For the Holographic Vinyl, I used the “Holographic Vinyl” setting with “More” pressure
TIP: Changing the Pressure to “More” results in a cleaner cut. - For the window cling mat, check the screen to see how large the piece needs to be to cover the designs plus an inch or so around them.
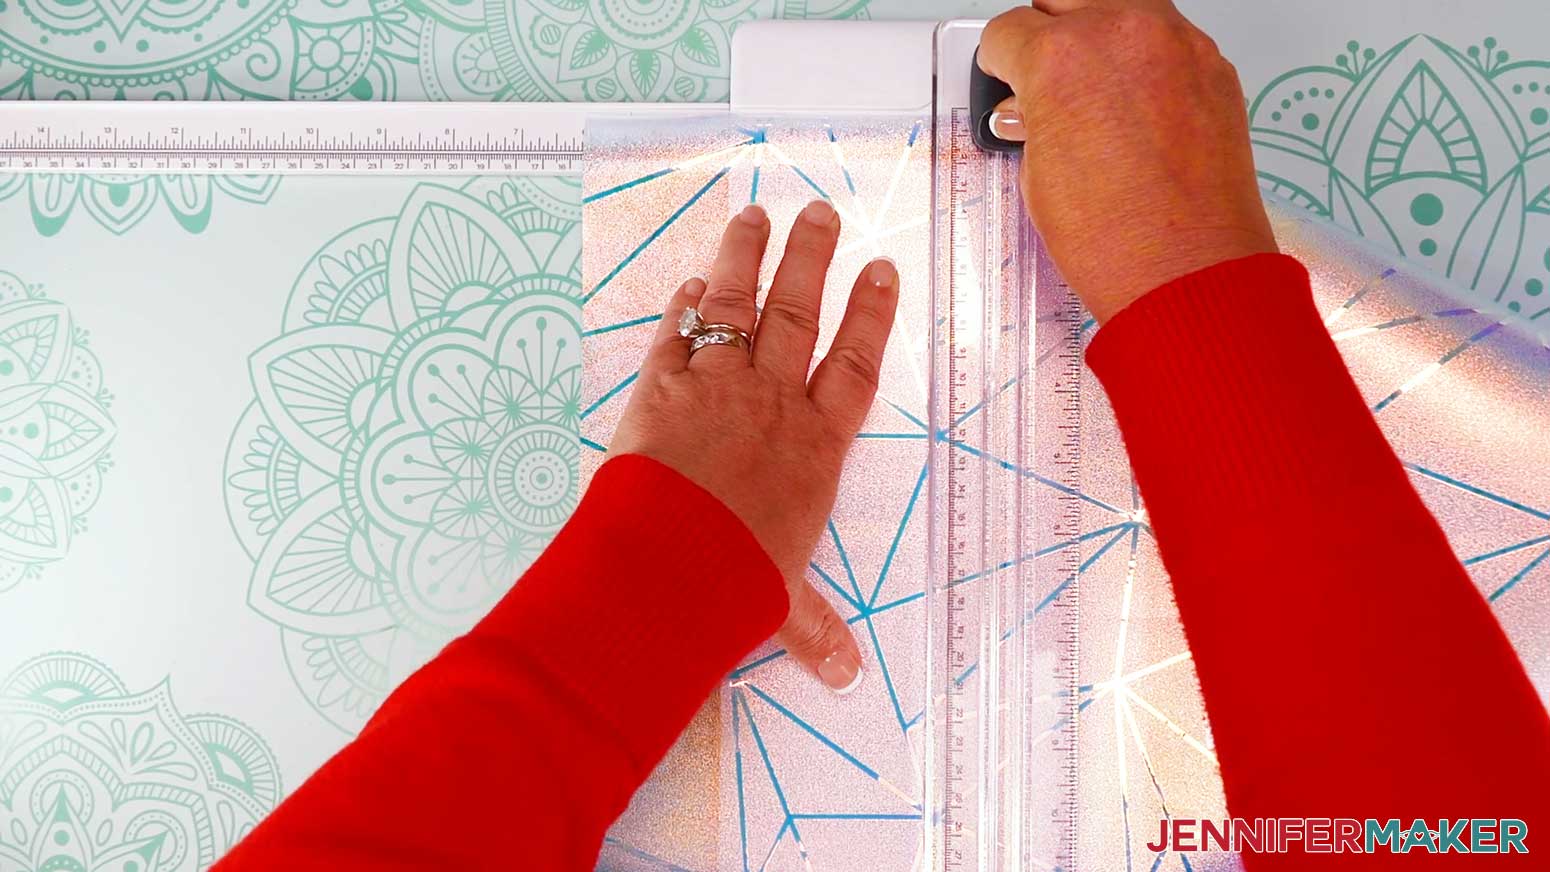
NOTE: Each grid box is one inch. My piece needs to be about 12” wide and 6” tall to cover both designs. - If your cling is under 12” wide, I recommend trimming the length you need right off the roll.
- Set up your Cricut Portable Trimmer with the extension pulled out.
- Align one straight edge of the cling with the guide so the left edge is the correct length or width.
- Lower the cutting ruler in place to keep the cling from rolling up, and pull the blade down to make a straight cut.
- Depending on the dimensions you need, you can rotate the cling to make another straight cut.
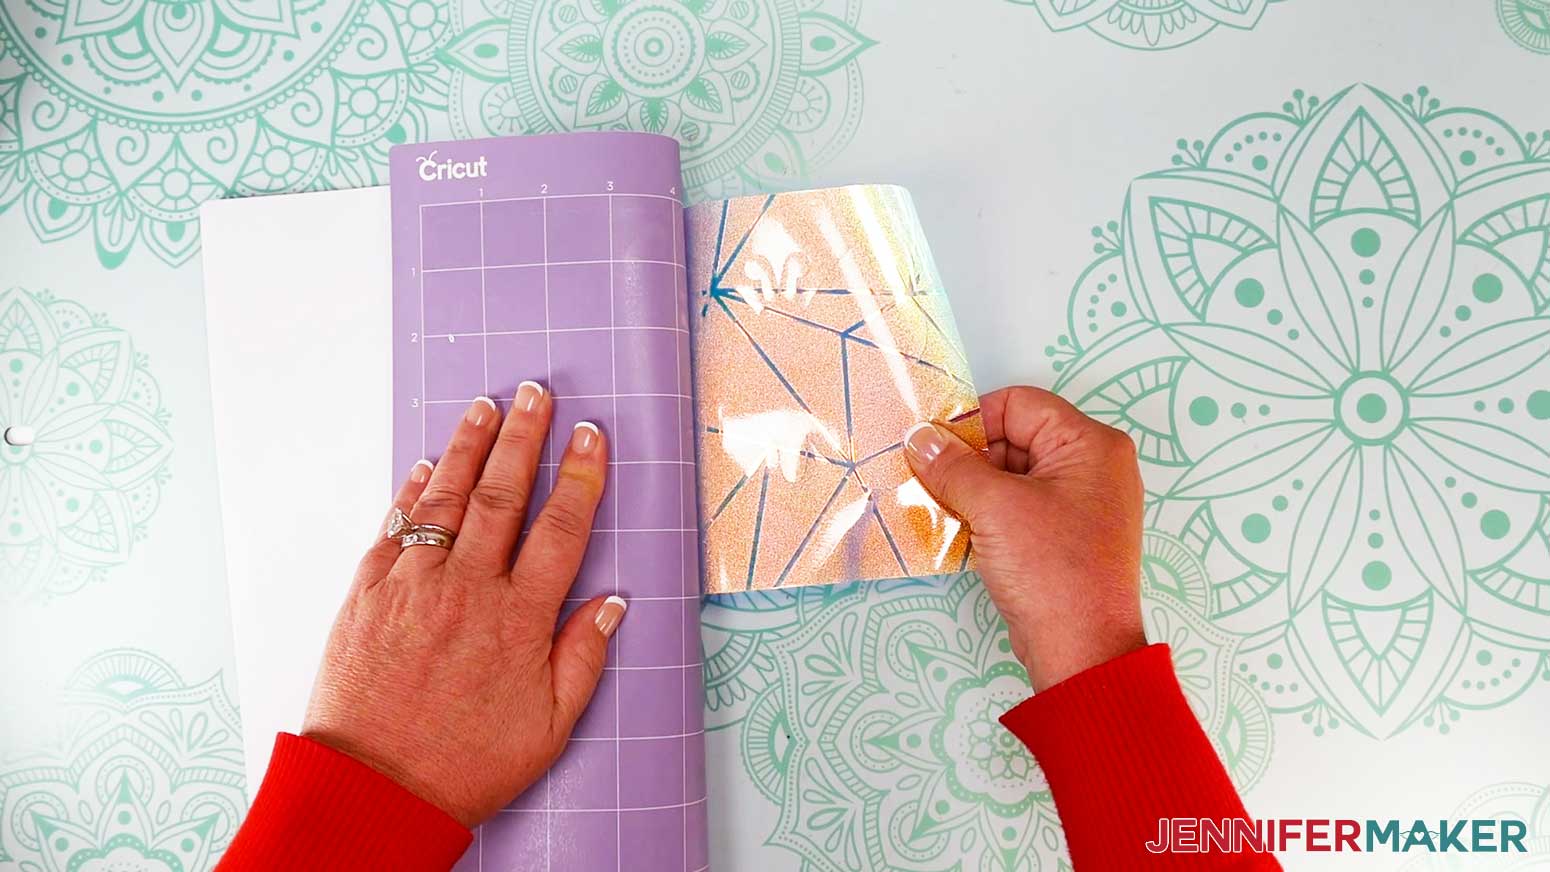
- If you don’t have a paper trimmer, or your window cling is really wide, you can use scissors.
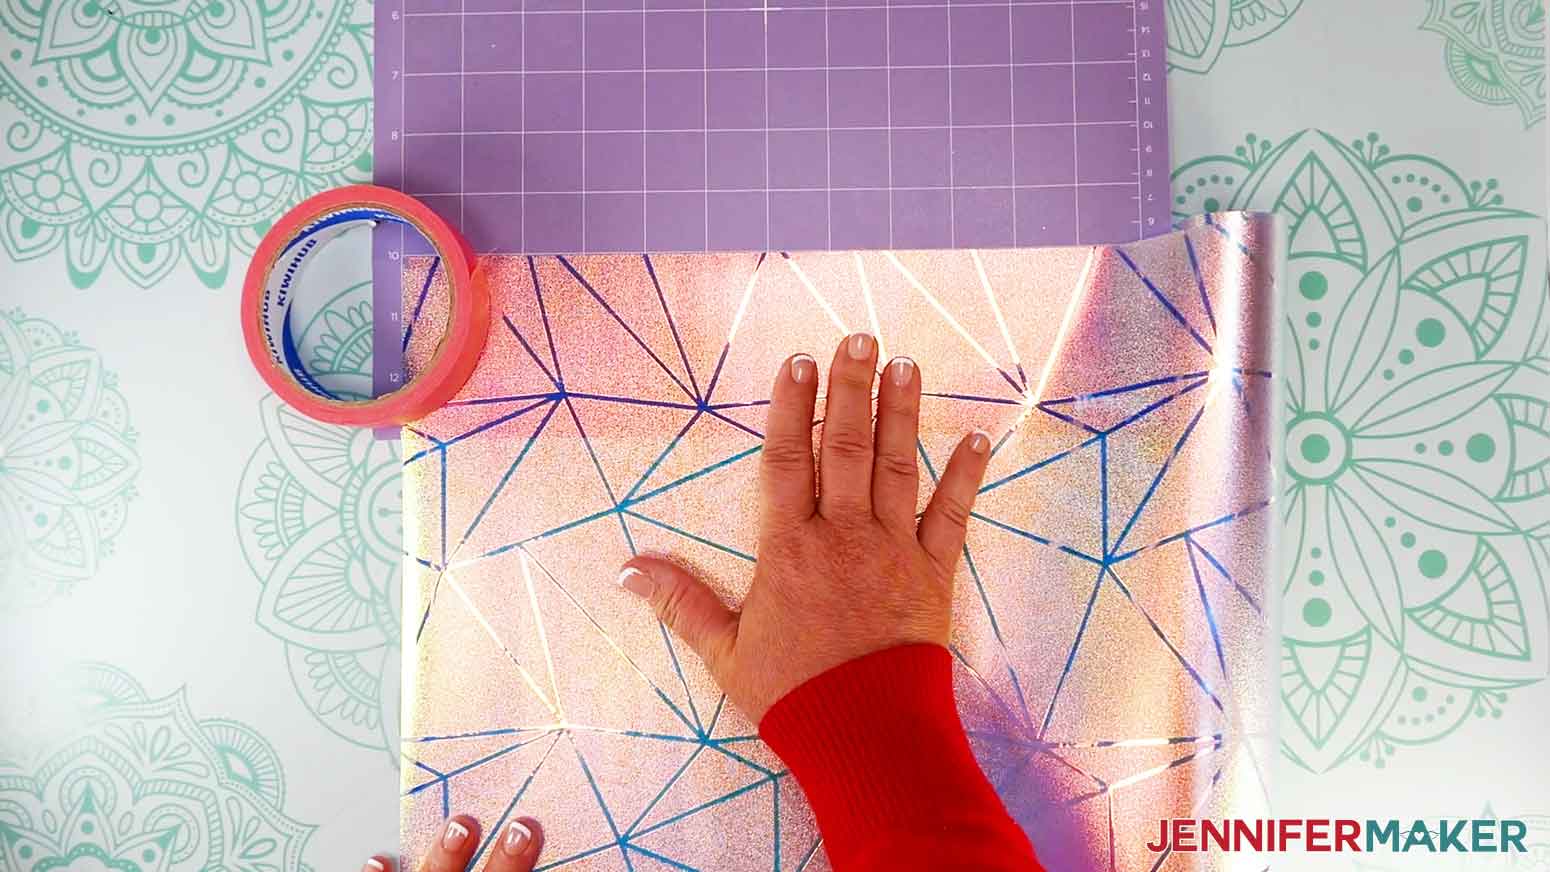
- Place a purple StrongGrip machine mat on your work surface.
- Unroll some of the window cling with its carrier sheet in place.
- Line up a corner of the free end of the roll with the corner of the mat’s grid and press it in place.
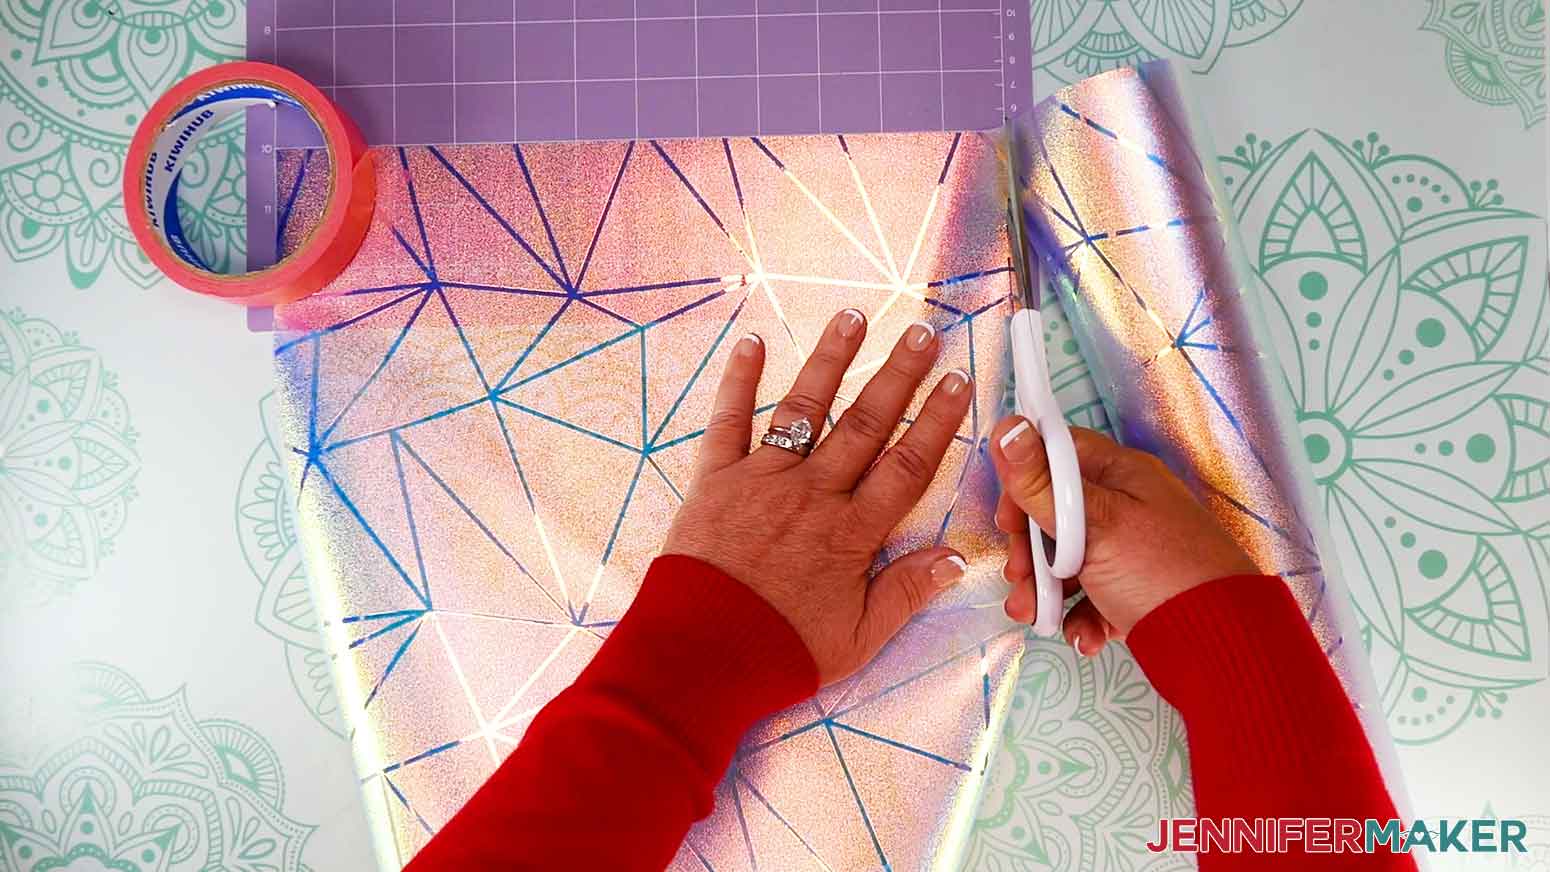
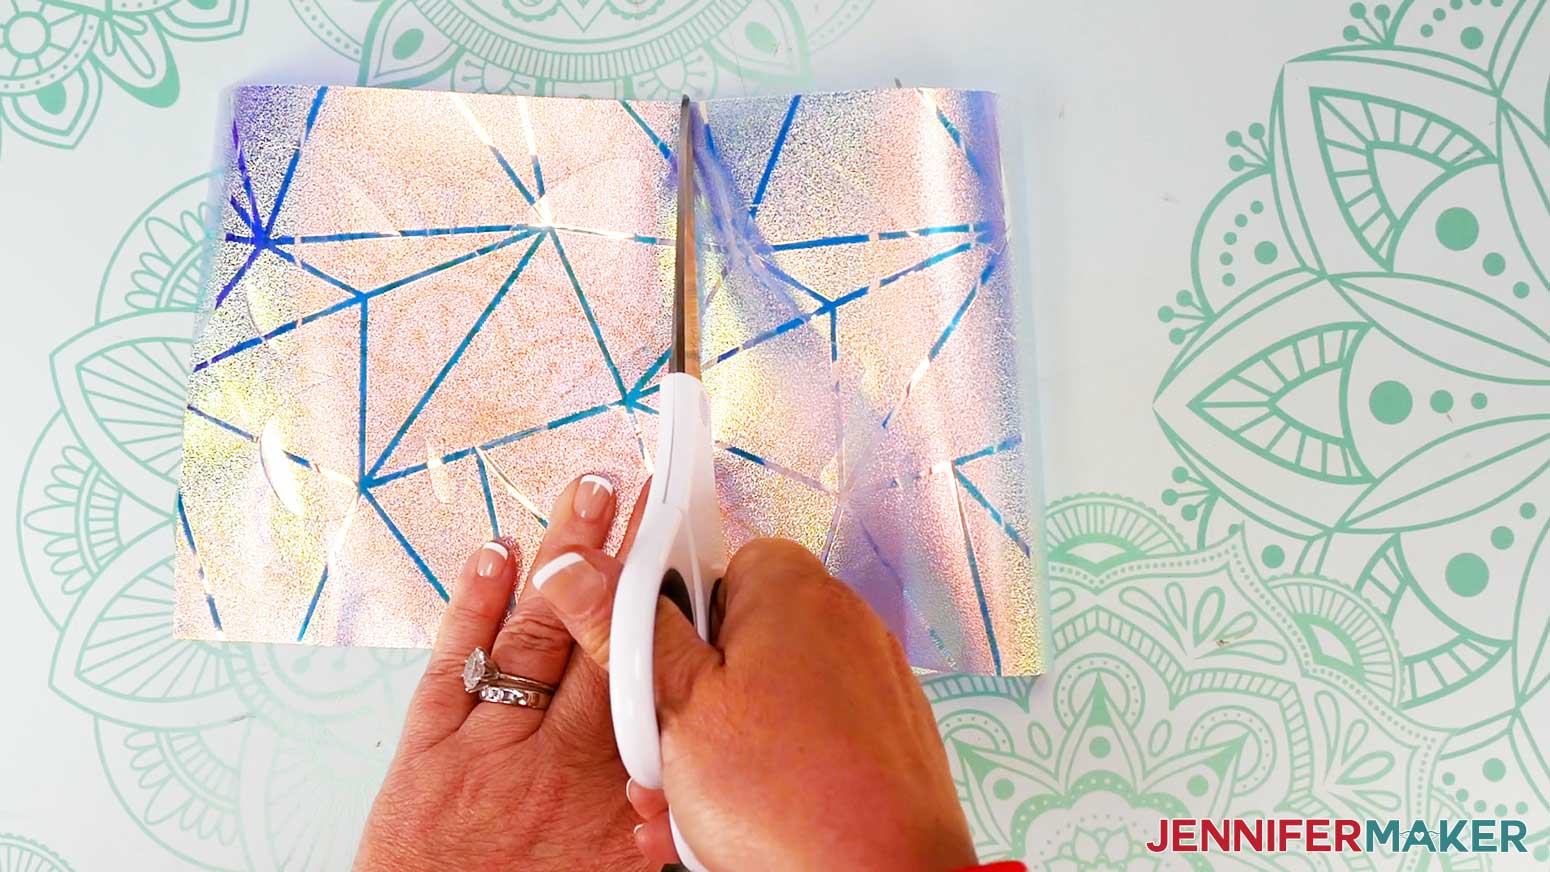
TIP: I placed my roll of painters tape on the unrolled end of the window cling to keep it from rolling back up. - Use the mat’s grid to find the vertical grid line that matches the measure of length you need.
NOTE: Remember that each grid box is one inch. - Cut along that line with scissors.
- Find the correct horizontal grid line for your other measurement and cut along it the same way.
TIP: If you have trouble getting a straight cut, it’s better to cut the piece a little larger than you need to make sure the design area is covered. - Place the cut cling carrier sheet down on the purple StrongGrip machine mat so it covers the design area.
- Use a brayer to make sure it’s fully adhered.
- Check that your Premium Fine-Point Blade is clean and in the clamp.
- Press the flashing “Load/Unload” button to load the prepared mat into your Cricut.
- Press the flashing “Go” button to begin cutting.
- When it has finished cutting, don’t unload the mat right away. Gently lift a corner of the material to make sure the cut went through the film. If it didn’t, press the "Go" button again to make a second pass in the same place.
NOTE: Cuts should go through the material, but not the carrier sheet. - When the cuts are complete, unload the mat, flip it over onto your work surface, and roll it back to release the window cling and its carrier sheet.
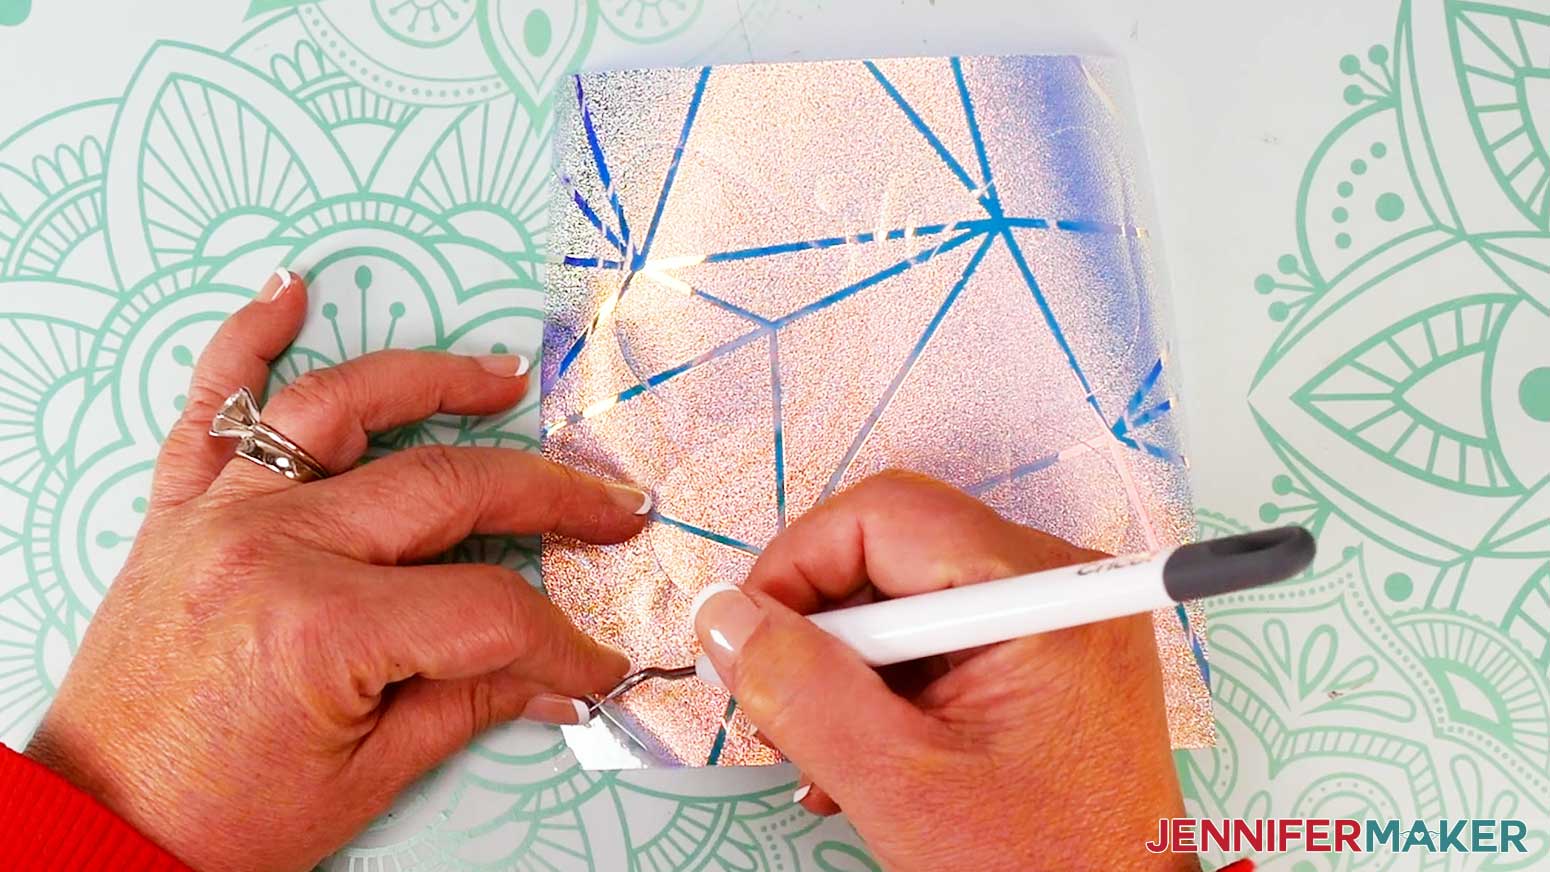
- Use scissors to cut the window cling designs apart, leaving a roughly even amount of material on either decal.
- Then use your weeding tool to remove the excess window cling from around each design, leaving the carrier sheet intact. The material might curl, it’s ok!
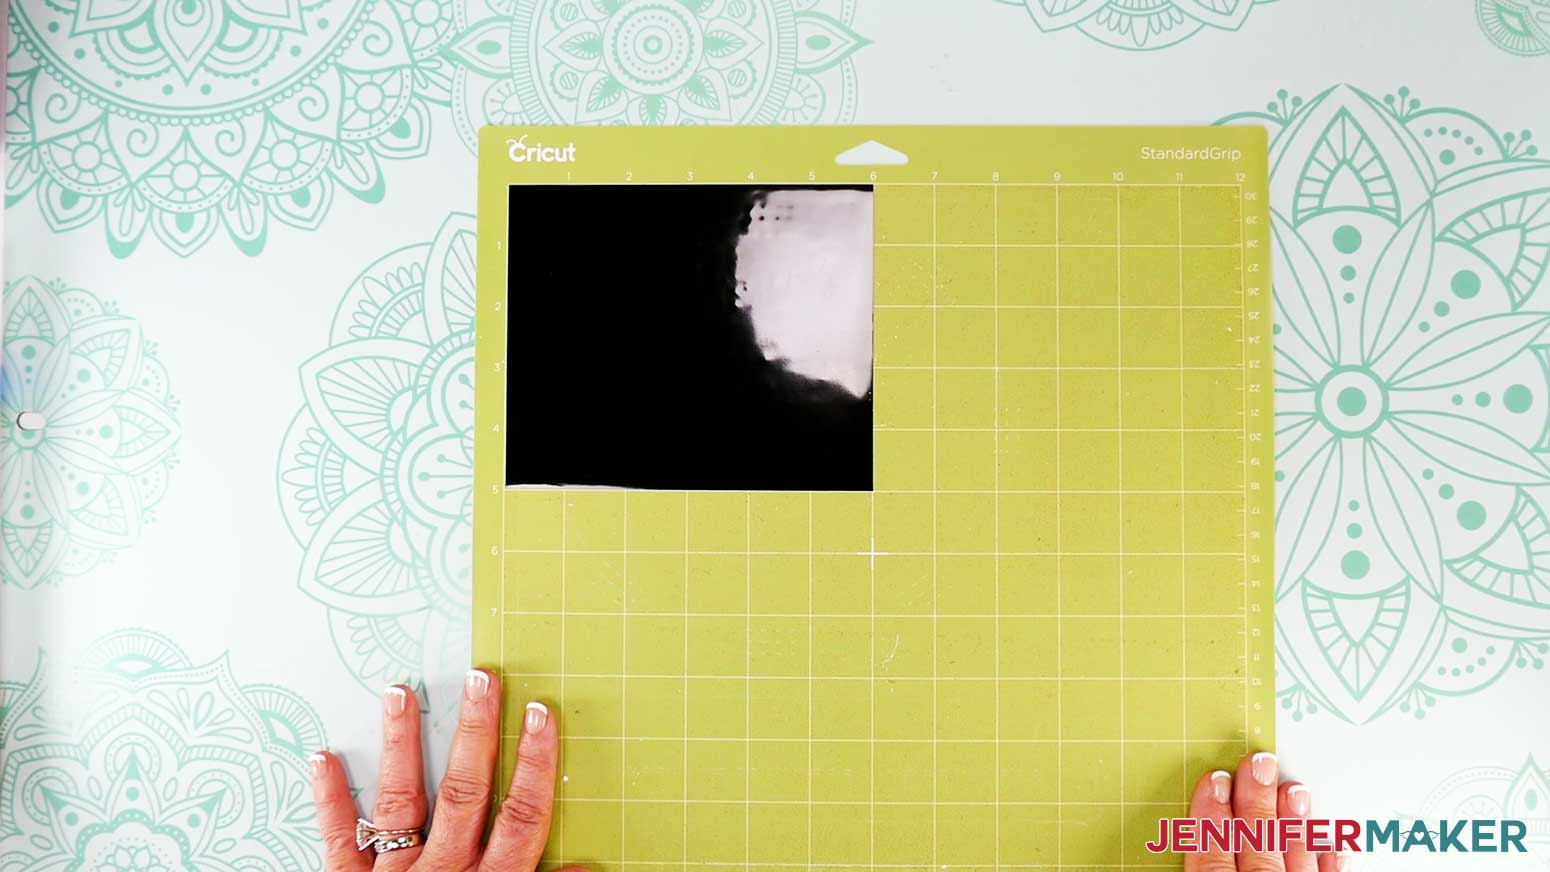
- For your plain vinyl mat, remember to change your material to the “Premium Vinyl - Permanent Glossy” setting with “More” pressure.
- Use your trimmer or scissors to cut a piece of vinyl slightly larger than your design so you can save the rest for a future project.
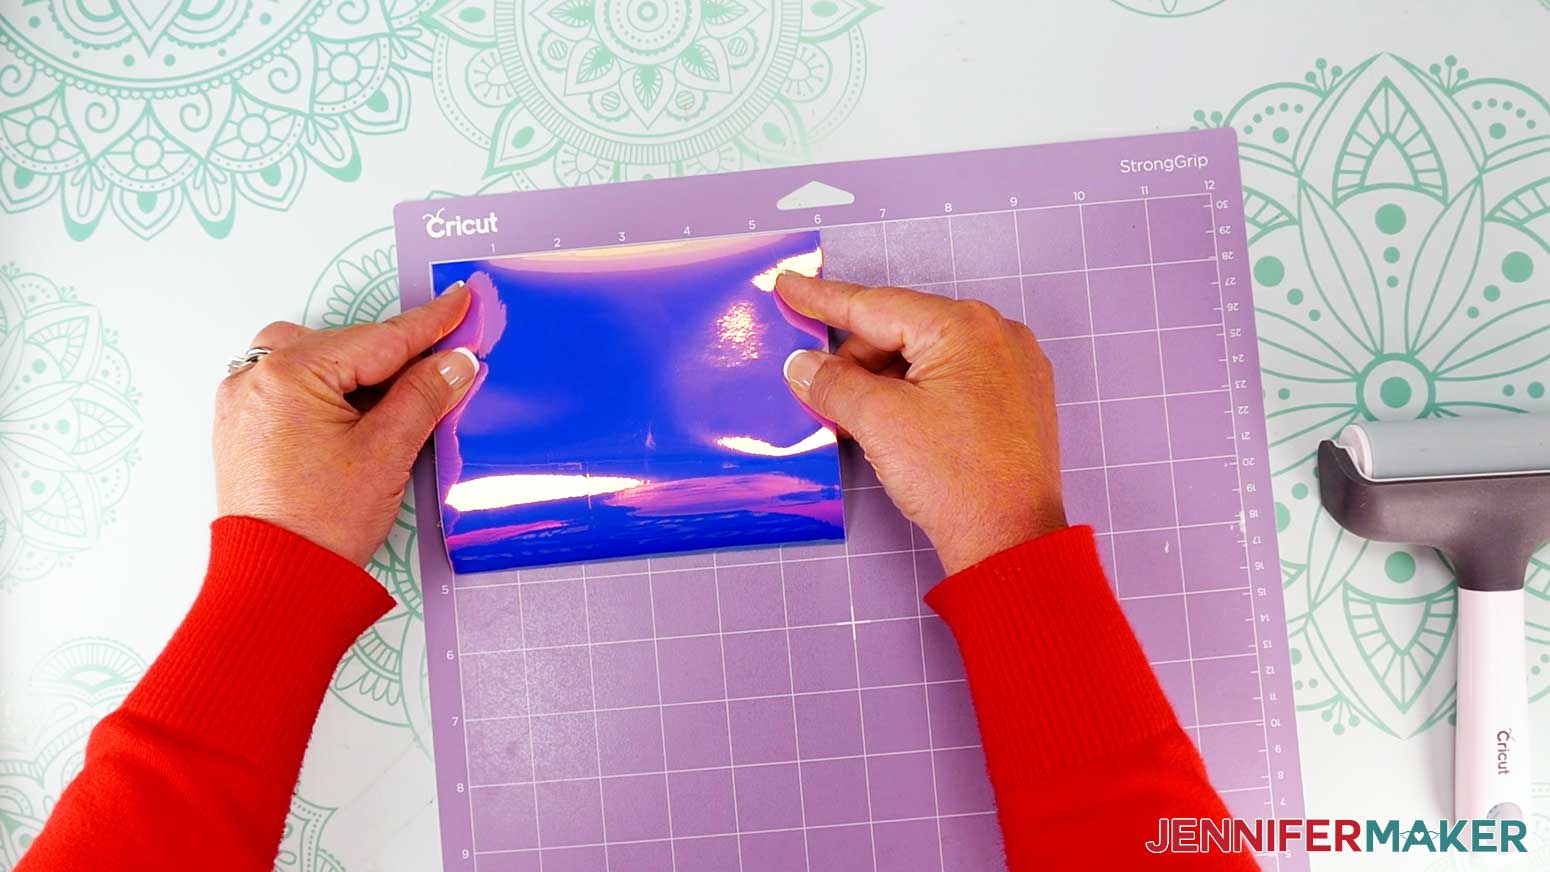
NOTE: I’ll make mine 5” x 6” so the design will fit completely and still have extra space around it. - Place your vinyl shiny side up on a green StandardGrip machine mat so it covers the design area on your screen.
- Use a brayer to make sure it’s fully adhered.
- Press the flashing “Load/Unload” button to load the prepared mat into your Cricut.
- Press the flashing “Go” button to begin cutting.
- When it has finished cutting, check the cuts and make a second pass if needed by pressing the "Go" button again.
- When the cuts are complete, unload the mat. Flip it over onto your work surface, and roll it back to release the vinyl.
- For holographic vinyl, follow the same process using the “Holographic Vinyl” setting with “More” pressure.
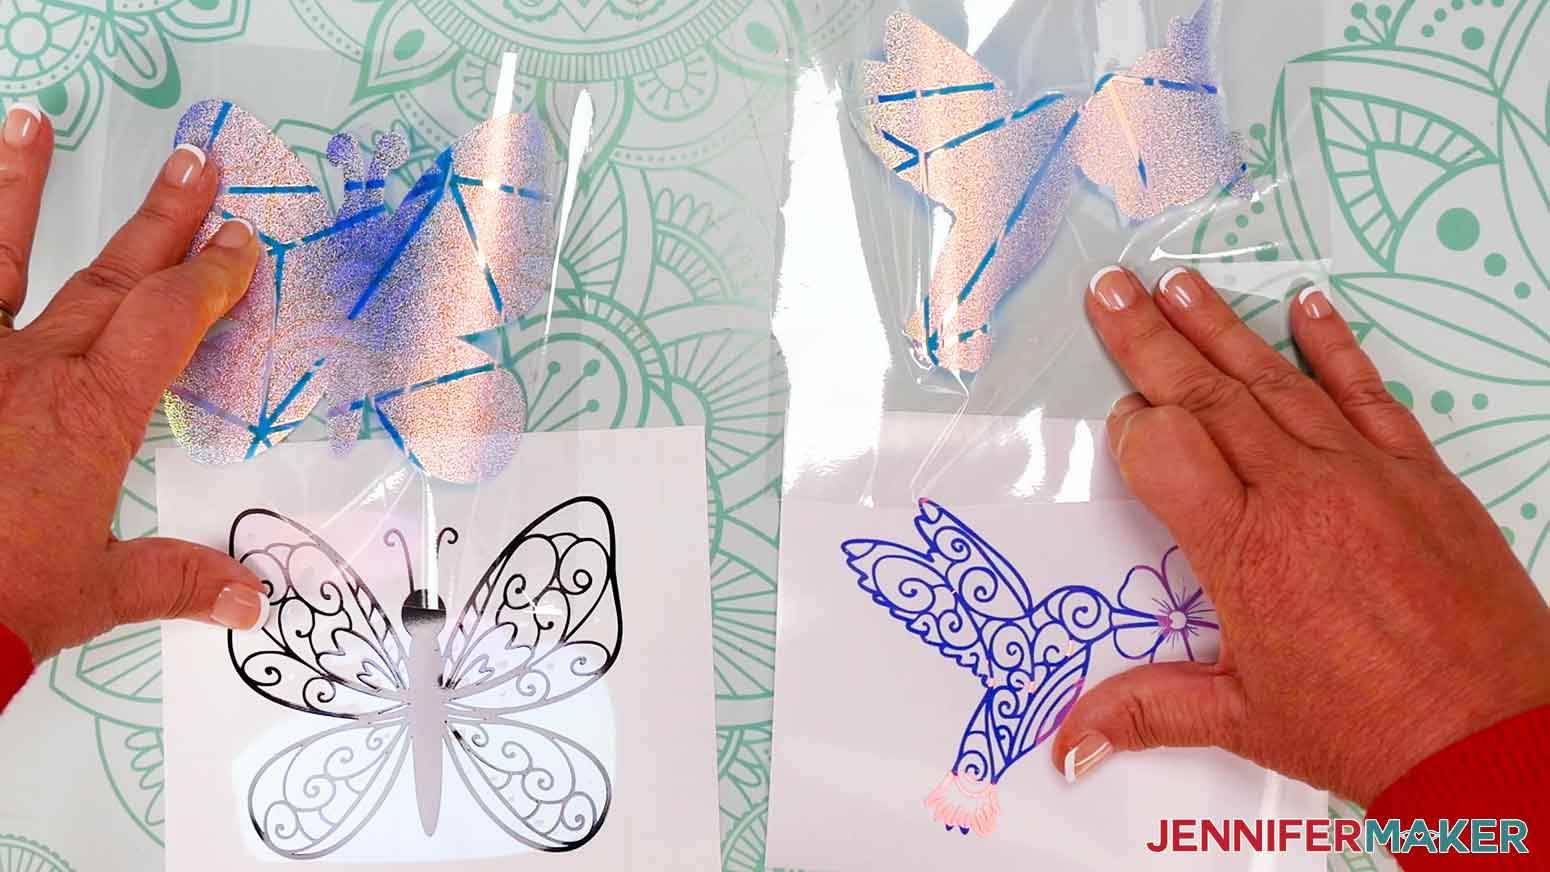
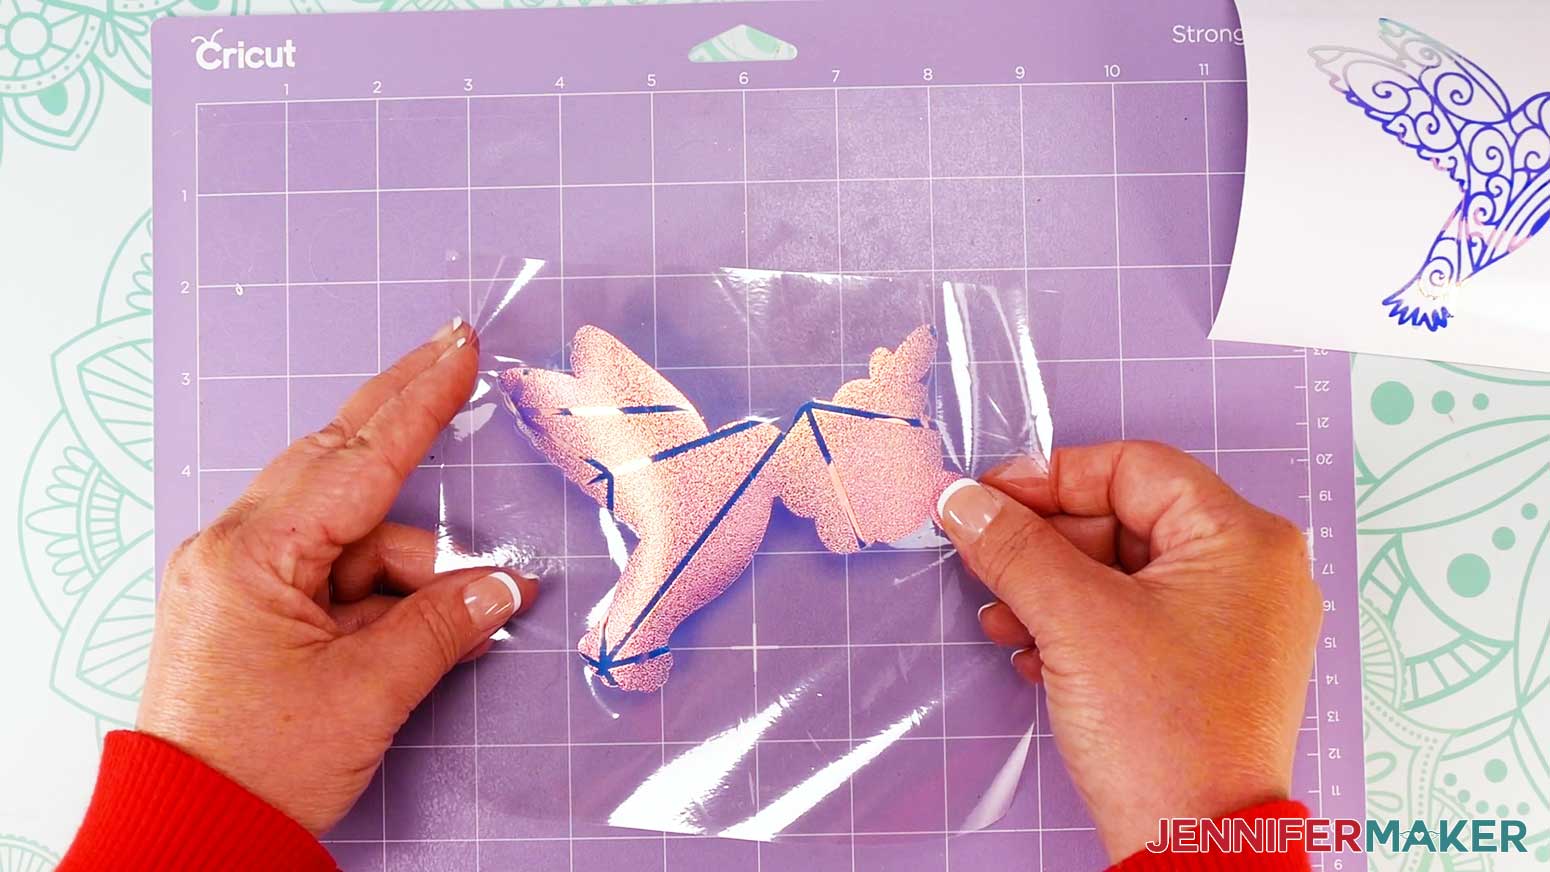
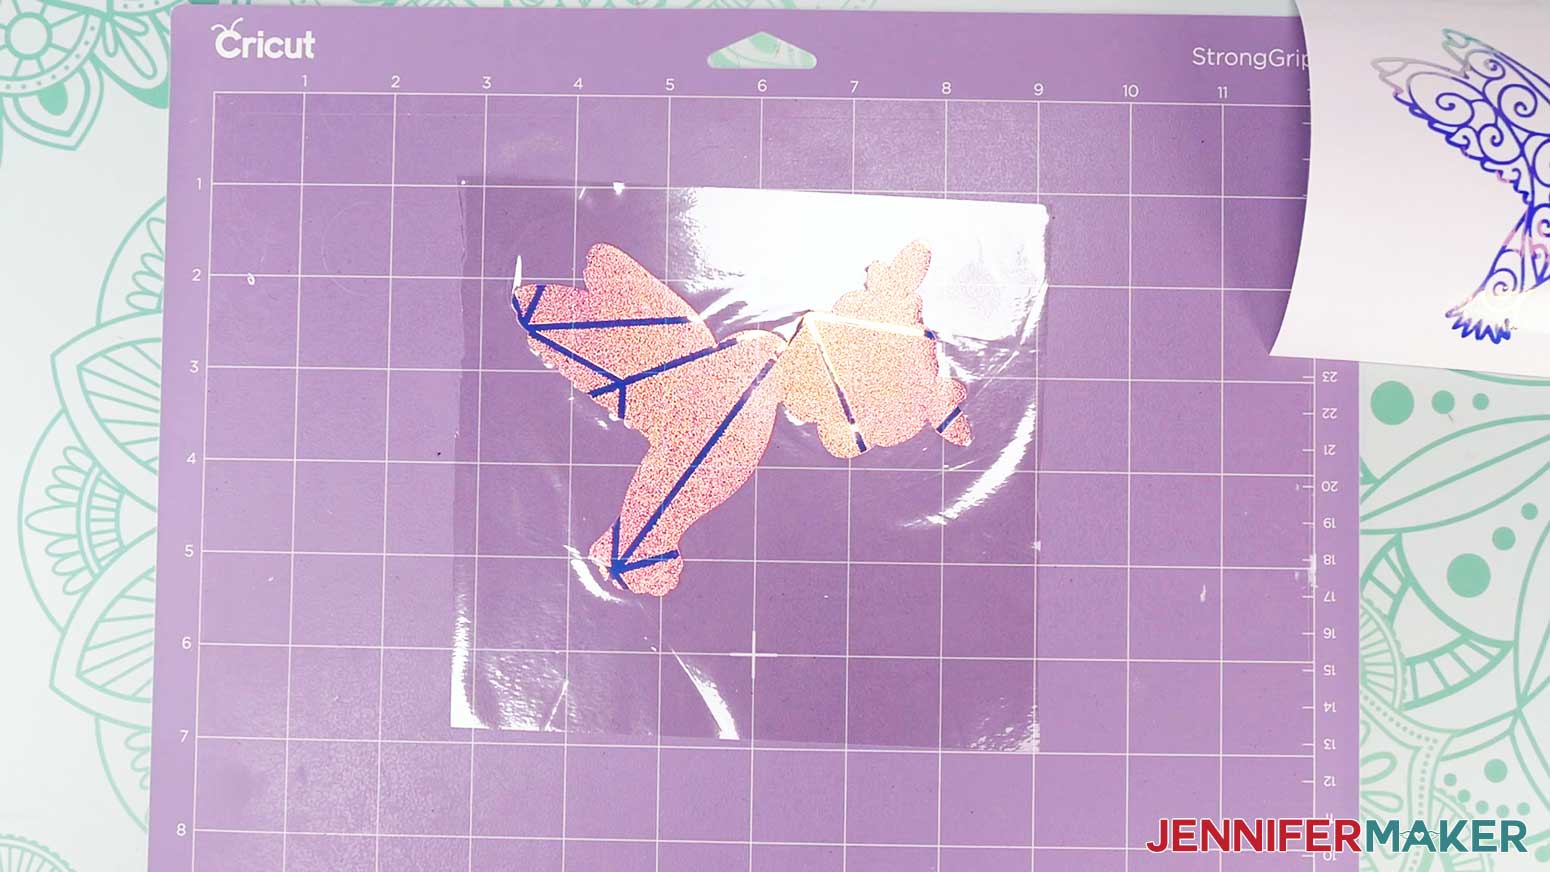
NOTE: I used a purple StrongGrip machine mat for the holographic vinyl, but a very sticky green mat might work, too. - For each cut decal, use a weeding tool to carefully peel away the extra background vinyl. I like to work from larger to smaller sections during weeding.
TIP: It can be easier to weed vinyl, especially small, detailed designs, while it is adhered to the machine mat. - Poke your weeding tool into each section of the design you want to remove. Gently lift it away from the design.
TIP: Make sure you do not pull up any pieces you want to keep! If they come up, gently pat them back in place and try again. - After you’ve finished weeding, pair the matching window cling and vinyl decals and place them face up.

STEP 3: ASSEMBLE YOUR SUNCATCHER WINDOW CLINGS
- Decide which design you want to work with first, then place the window cling offset layer and the vinyl decal in your work area.
NOTE: I’ll start with the hummingbird. - Place your window cling on a machine mat carrier sheet down to keep it in place and flat.
TIP: You can also use painter’s tape to secure it to your work surface. - Make sure your vinyl cutout is face up on your work surface.
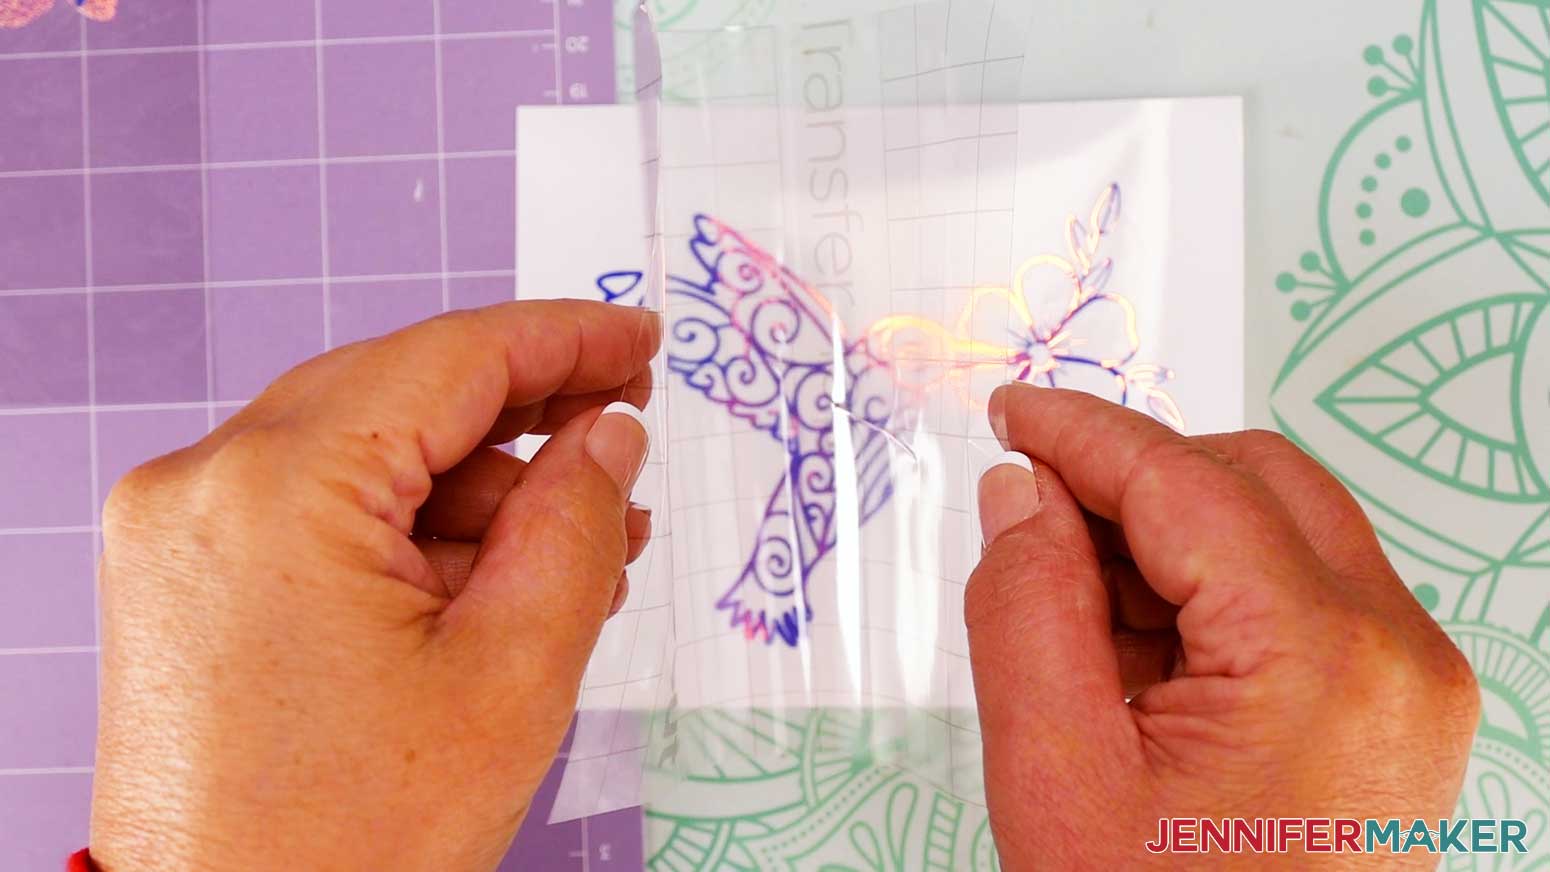
- Cut a piece of StandardGrip transfer tape that is slightly larger than your vinyl decal.
- Remove the backing from the transfer tape.
- Hold your transfer tape in the shape of a “taco” sticky side down, then put the bottom of the “taco” onto the middle of your decal.
- Smooth the transfer tape over the decal from the center outward and burnish it down using the Scraper Tool.
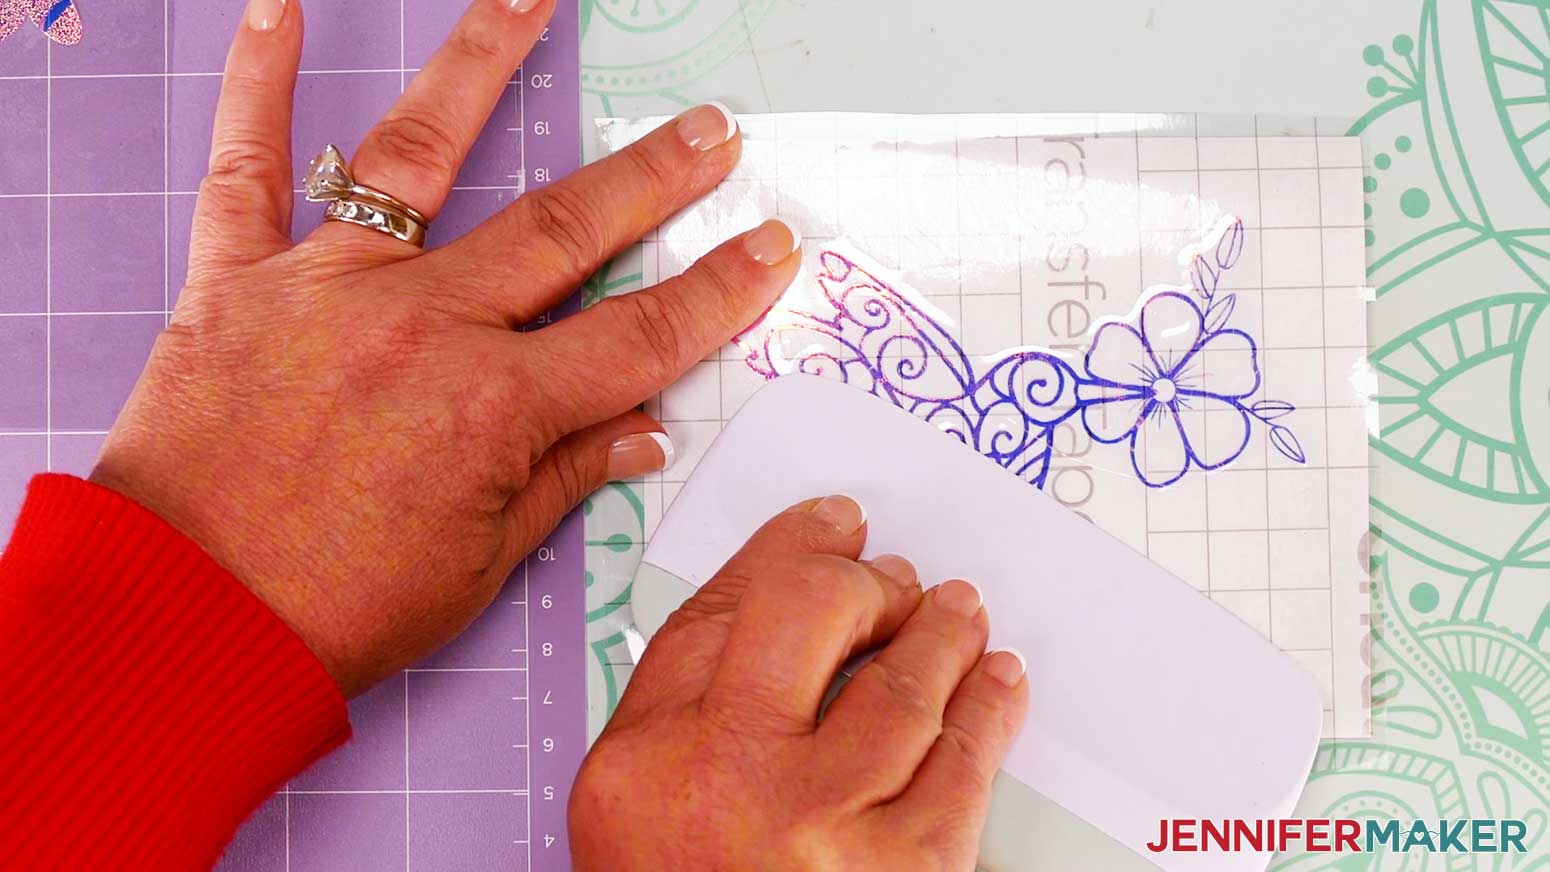
- Flip the design over and gently peel off the backing from the vinyl.
- Use the taco method to place the center of your decal onto the window cling layer.
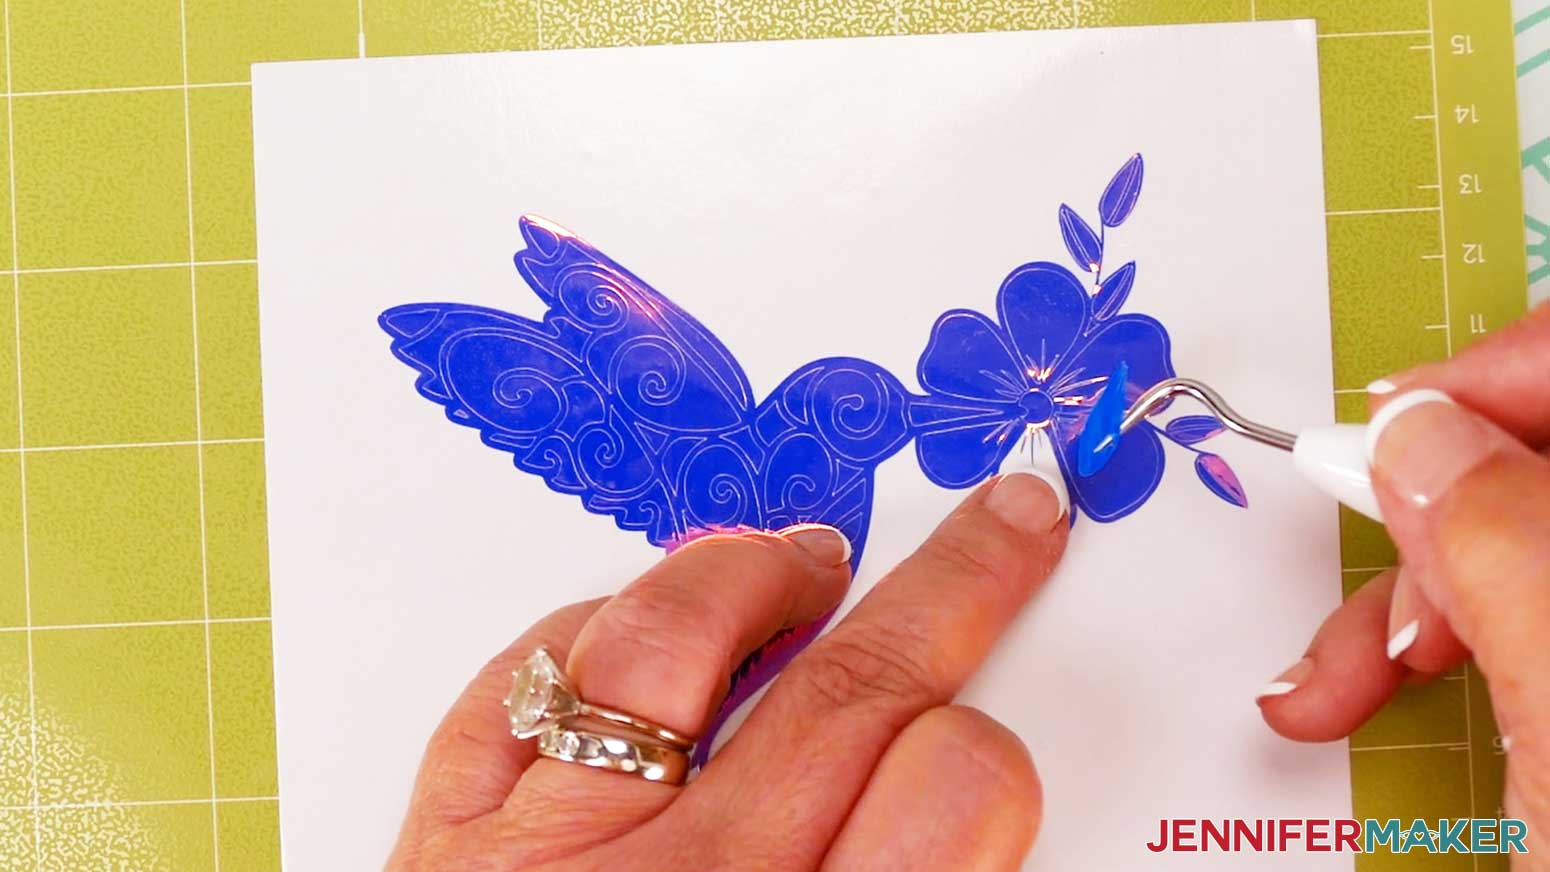
TIP: Gently lift the decal to try again if the vinyl isn’t aligned the way you want it. - Using your finger, rub from the center of the vinyl outward, tacking the vinyl into place on the window cling.
- Take your time and use a scraper to press out as many bubbles as possible.
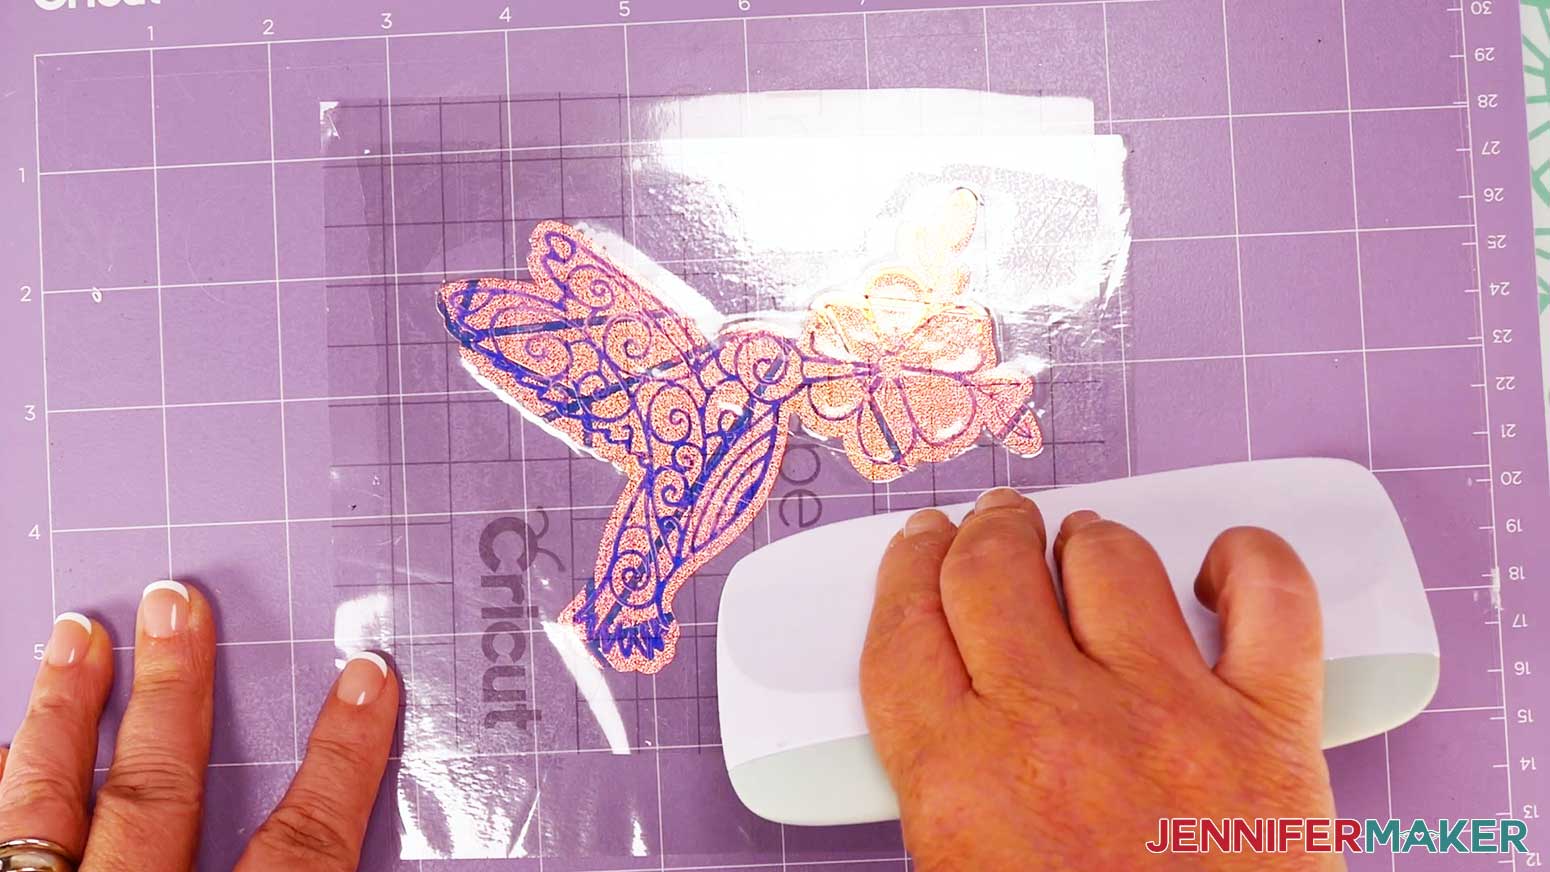
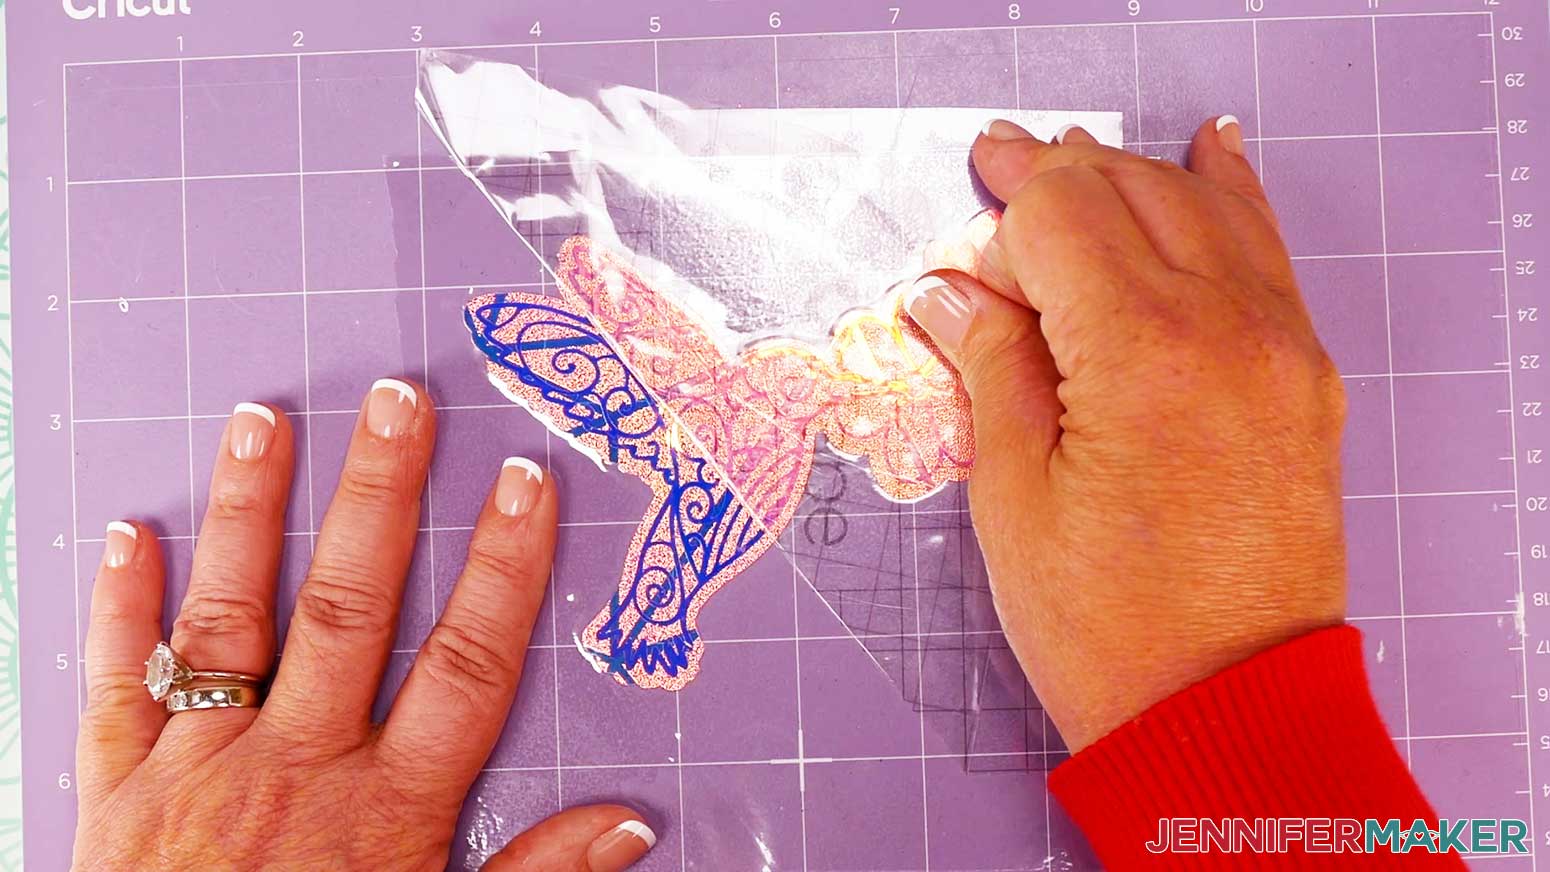
- Once the vinyl is well-burnished, hold the cling down and gently remove the transfer tape, leaving the vinyl on the window cling.
- Repeat steps 1-12 to apply your other vinyl decals to their matching window clings.
STEP 4: SHOW IT OFF!
When you’re ready to use your suncatcher window clings, clean your window for the best adehesion. Then, peel off the backing and stick the clings to your desired location.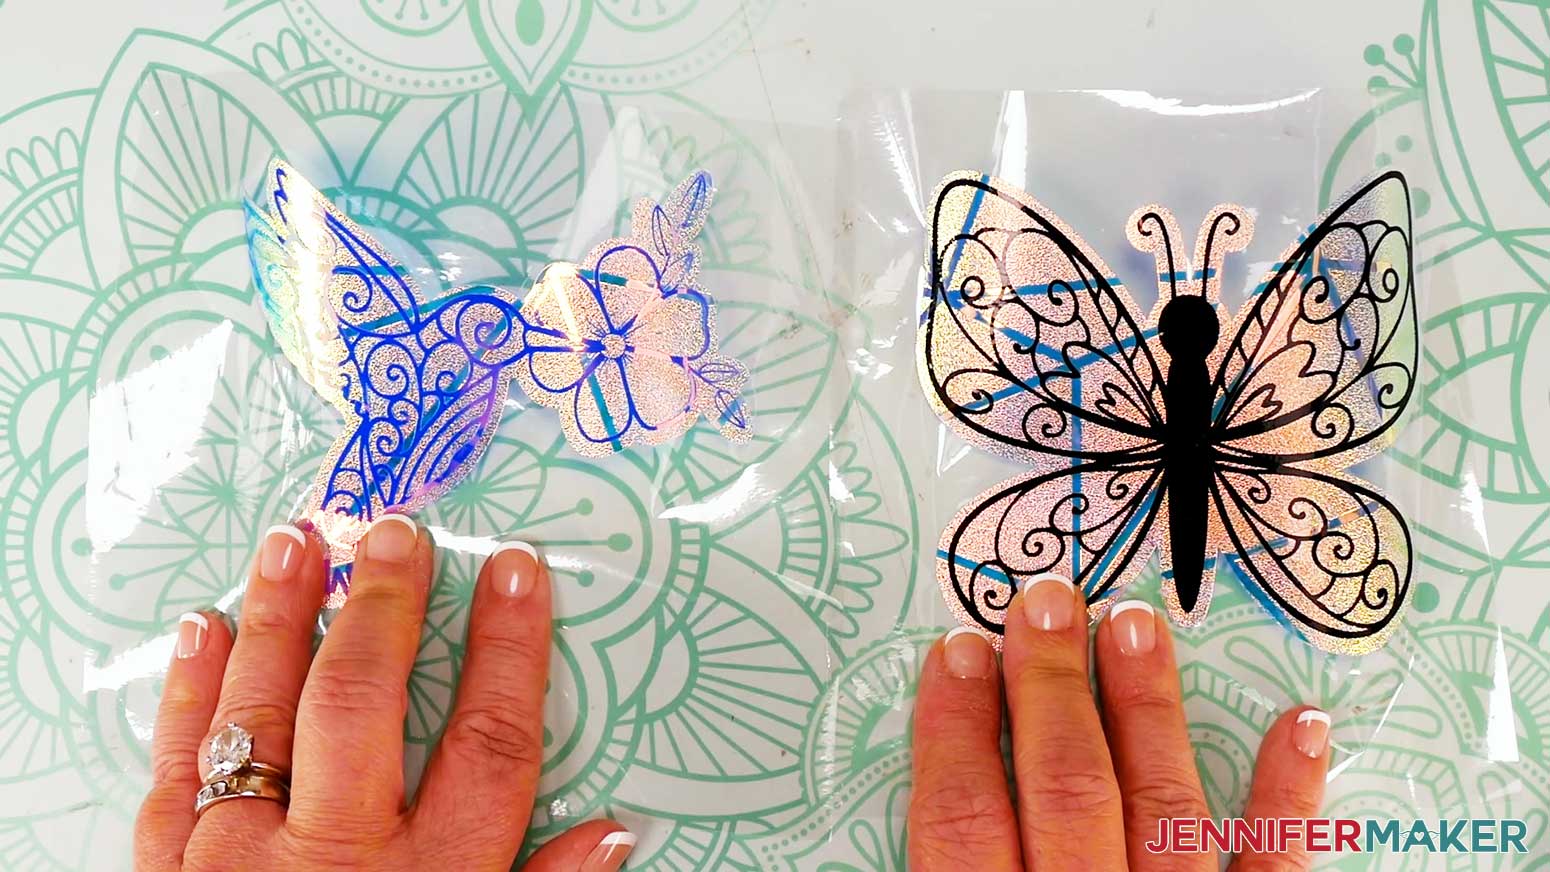
Notes
Finished sizes are 4-5" W x 4-5" H.
Answers to Your Questions About Making Fall window suncatchers
Q: I want a different design. How do I design my own suncatcher window cling?
A: You can learn how to design your own suncatcher window clings or how to add a name to a design in my ADVANCE program. Learn more about ADVANCE here!
Q: Can I use the “Window Cling” setting to make my suncatcher designs?
A: The “Window Cling” setting is meant for Cricut Window Cling material, which is thinner than the privacy film I recommend for suncatchers. That setting won’t cut with enough pressure and may damage your material, so only use the settings from my tutorial.
Q: Are fall window suncatchers easy to make?
A: With the right materials and tools, my fall window suncatchers are easy to cut and assemble. They’re even easier to hang in windows, making it a great activity for the family — younger kids, older children, and crafters of all skill levels will have fun with this simple craft. What a great way to spend a fall day, creating rainbows around your home!
Q: What can I use to make suncatcher window stickers?
A: The materials and tools you’ll need for your beautiful suncatcher window cling projects are listed above, with links where to find them.
Q: How do I attach a suncatcher to a window?
A: If you use window cling like I did in my tutorial, you don’t need anything special to secure a suncatcher to your window like a suction cup or glue — even though the film doesn’t have a sticky side! Instead, the film uses static to stick to the window’s inner surface, so clean the glass well to make it smooth, then place the layered design right on! Remember to smooth out any air bubbles, because they interfere with static cling and will make the rainbow maker more likely to fall off.
Q: What is the difference between a window decal and a window cling?
A: Window decals use adhesive to stick to the glass, while a cling like these suncatchers uses static and surface tension. You may see non-adhesive items referred to as suncatcher decals, so it’s always good to check the application instructions just in case.
Q: Where do you put the suncatcher sticker?
A: The best spot for a removable suncatcher decal made with privacy film is a clean window that gets direct sunlight. Do not put these on your car windows, because they can be distracting to you or other drivers. Shiny decorations are the perfect addition to many areas, but use care when placing them!
Q: What kind of glue do you use on window film?
A: You don’t need any glue to secure the window film I used when making suncatcher window clings. If you’re not sure which kind of film you have, check the application instruction card before using it.
Q: Can light shine through window film? Or through vinyl?
A: Yes, light will shine through the film, though it might not be quite as bright. Holographic vinyl is very slightly translucent so a tiny bit of light might come through, while permanent plain vinyl is opaque.
Q: Which side of the window should I put the suncatcher on?
A: Place the suncatcher on the inside surface of the window so you can enjoy the design and the rainbows it casts indoors. If you put it on the outside, the sun’s rays won’t create the same effect.
Q: Where can I display my suncatcher window clings?
A: If you don’t have a fitting window, you can also place suncatcher window stickers on a floating picture frame or a mirror! You can also add one to an indoor window or glass door to make it easier to see. The special diffraction film won’t create the prism of rainbow hues without light shining through it, but the decorations are still fun to enjoy on any piece of glass!
Q: Do you have any other pretty fall projects?
A: I have lots of beautiful autumn craft projects for you to try! Bring beautiful fall colors into your space with these fun tutorials, and search my blog for even more:
- Layered Paper Pumpkins
- Fall Sublimation Coasters
- Halloween Paper Lanterns
- Autumn Shadow Box
- Sweater Pumpkins
- Paper Stained Glass Nature Designs for Fall
- Halloween Watercolor Cards
- 3D Paper Pumpkin Lantern
- Dollar Tree Light-Up Scarecrow
- Halloween Countdown Calendar
Get my free SVG files to create fall window suncatchers!
(If you do not see the signup form above, click here.)
I love seeing what you make with my designs and how you use them! Please share a photo of your fall suncatcher window clings in our Facebook group or tag me on social media with #jennifermaker.
Love,

Want to remember this? Save this Fall Window Suncatchers Tutorial to your favorite Pinterest Board!