
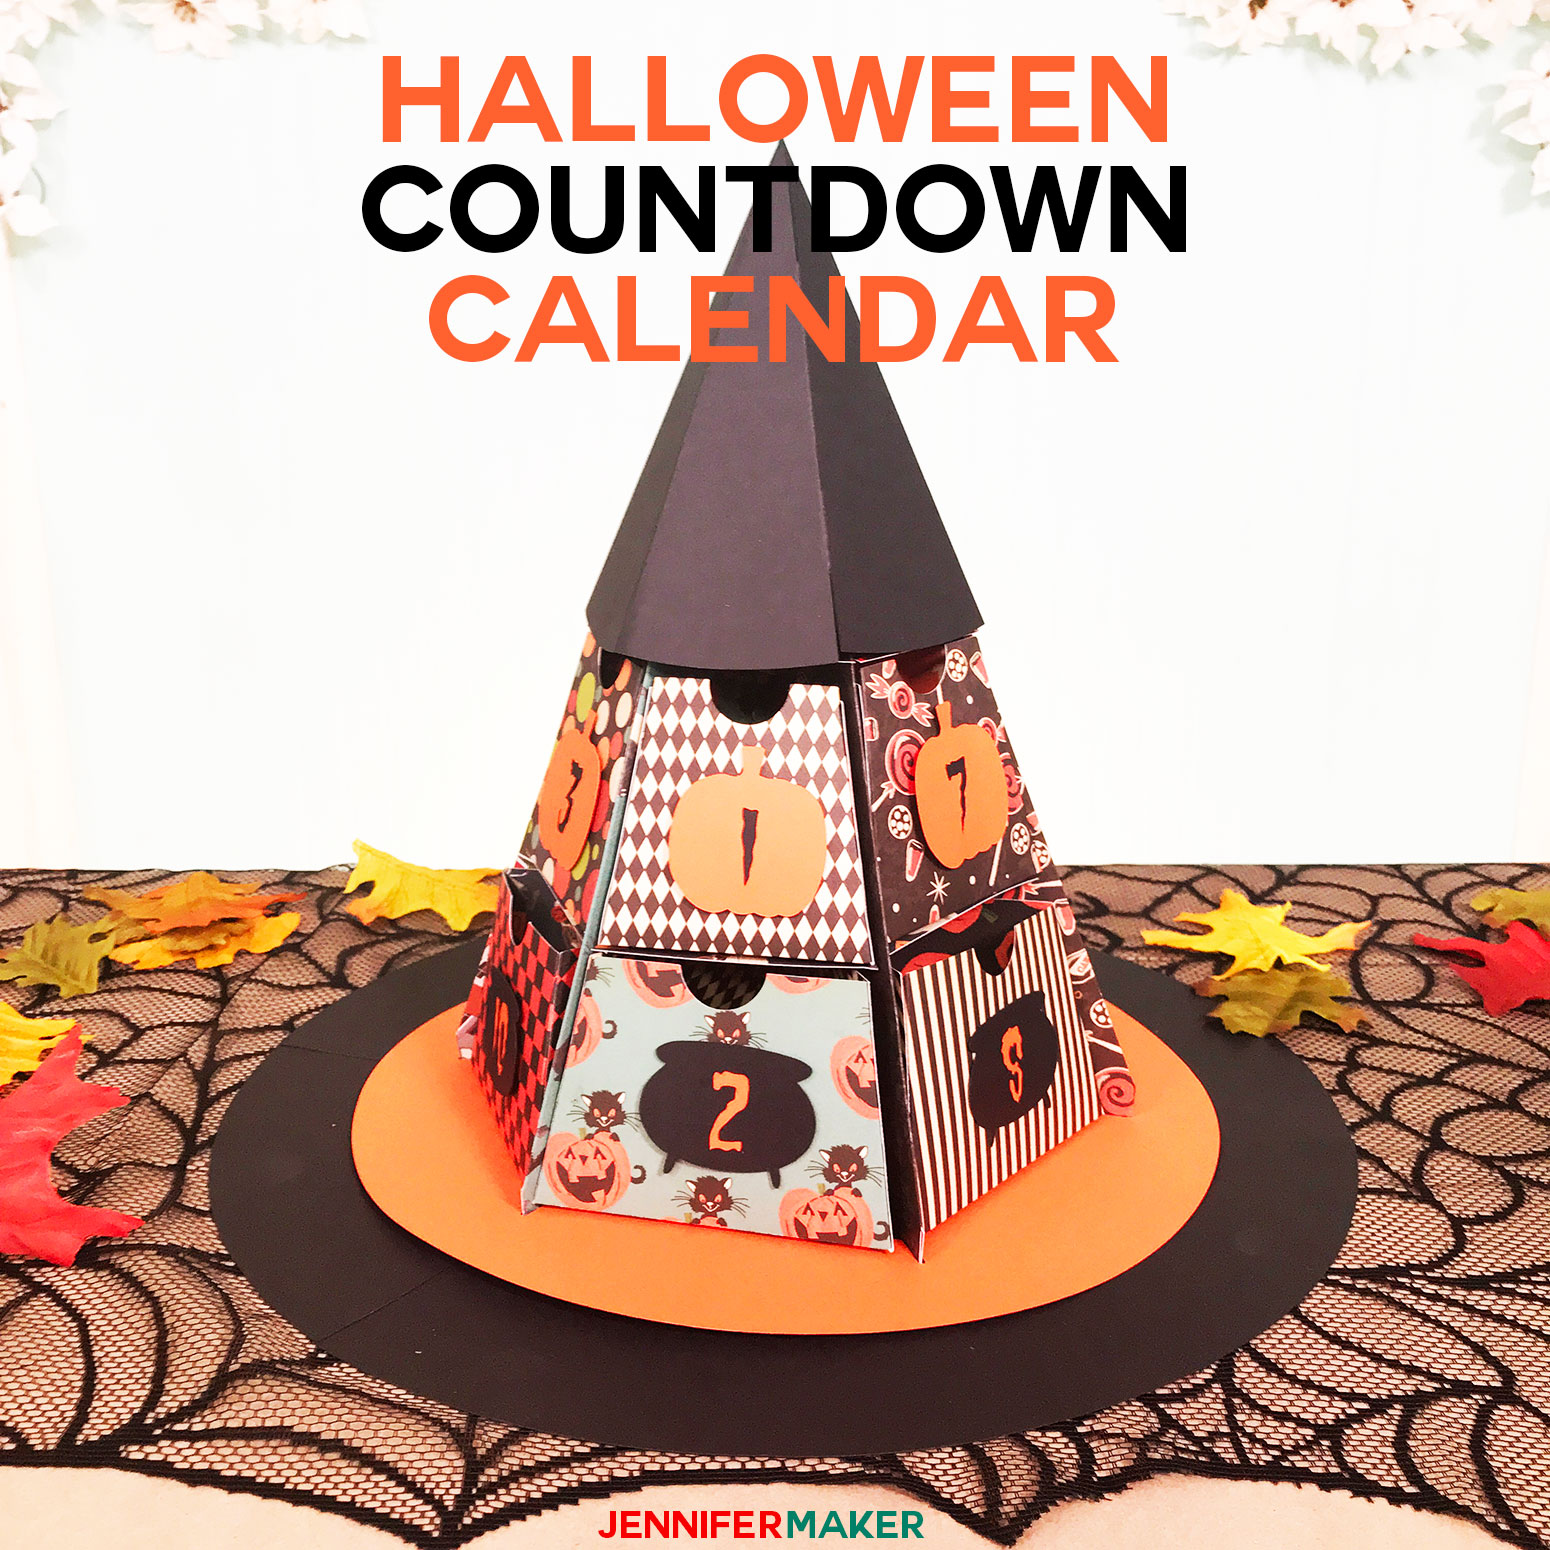
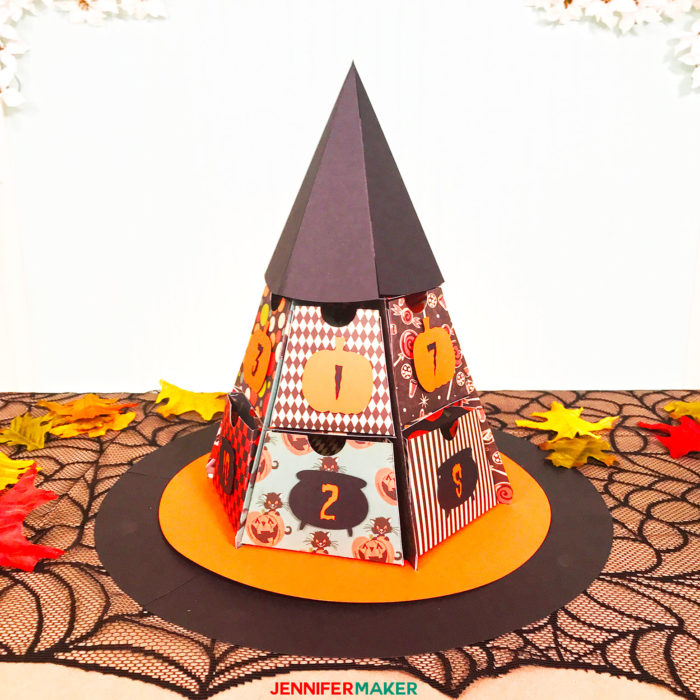
Hide 13 treats in this fun Halloween Countdown Calendar shaped like a witch hat!
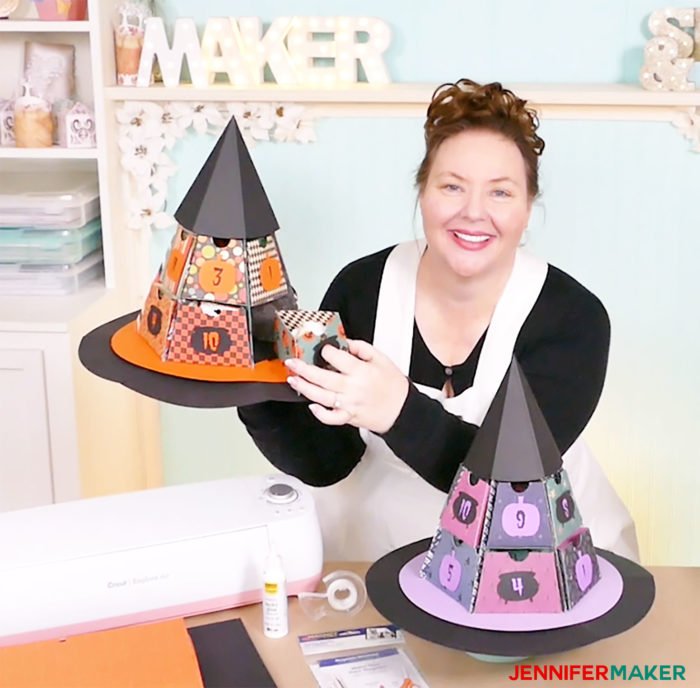
I LOVE Halloween! It is my second-favorite holiday, eclipsed only by Christmas. Now I’ve already made a countdown calendar for Christmas, so it’s time to make one for Halloween, too! The inspiration for this calendar came from my friend Kimberlie, who asked if I’d ever made a Halloween countdown. And the design for Halloween countdown calendar itself is based off our popular Christmas Tree Advent Calendar — we modified it to have 13 places for treats instead of 25 and added a big hat brim to make it look like a witch hat! SO fun!
All you need to make this Halloween Countdown Calendar is some 12″ x 12″ cardstock or Kraft board — about 18 sheets. I recommend you use a themed paper stack, which you can for specific holidays, as you can then trust that all the colors will go together. But you can also just use solid cardstock … or mix and match. Your choice! Beyond the paper, you’ll want some tacky glue and tape to keep it all together. I also recommend a magnet sheet, which you can use to keep your treat boxes from falling out.
Watch my full, step-by-step video that shows how to make the Halloween Countdown Calendar here:
Last but not least, you need a way to cut and score your countdown calendar. You can, of course, cut it all out by hand, but I think it’s way faster and easier to use a cutting machine like a Cricut. And with a Cricut, you can cut and score it using either a scoring stylus or a scoring wheel if you have a Cricut Maker.
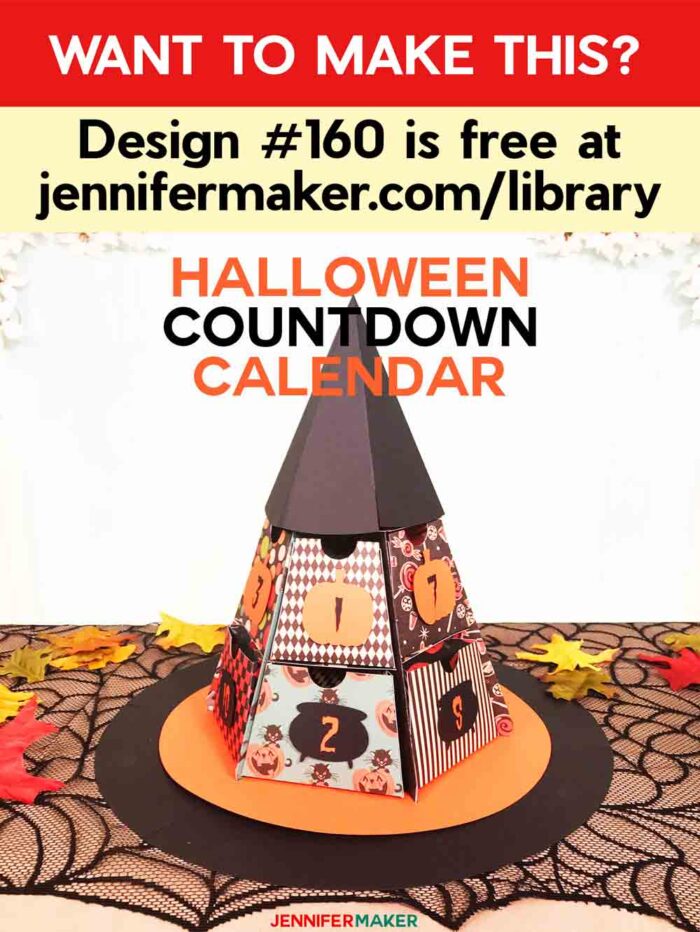
The free pattern for this Countdown Calendar is in my free resource library (design 160) and it’s available in SVG and DXF for those with cutting machines, and PDF for those who want to cut it out by hand. Get the password to my resource library by filling out the form at the bottom of this post!
I’m so excited to show this fun countdown calendar to youThis post contains some affiliate links for your convenience (which means if you make a purchase after clicking a link I will earn a small commission but it won’t cost you a penny more)! Read my full disclosure policy.
Halloween Countdown Calendar Materials
- 13 sheets of 12″ x 12″ patterned cardstock or Kraft board (I recommend a Halloween-themed stack of cardstock)
- 5 sheets of 12″ x 12″ black cardstock or Kraft board
- (Optional) 1 self-adhesive magnetic sheet (about 4″ x 6″, no more than 5mm thick)
- Tacky glue or precision art glue
- Tape
- Things to put in the treat boxes, like candy or little toys
- A way to cut out your pieces (I used the Cricut!)
- A way to score your paper, such as the scoring stylus or scoring wheel.
- Design #160 – My free pattern/files (available in my free resource library—get the password by filling out the form at the bottom of this page)
How to Assemble the Halloween Countdown Calendar
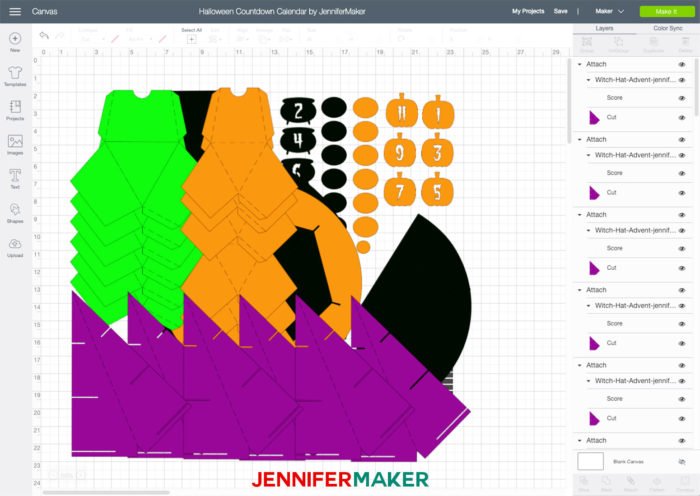
First, cut out all your pieces using the countdown calendar file (Design #160) from my free resource library (get the password to it in the form at the bottom of this post). If you use a Cricut cutting machine, you’ll need to do some special things after you upload it to Design Space. There are a lot of layers that are just score lines—you can tell that they are score lines because they have no colors assigned to them. You need to change every score line layer from “Cut” (the default) to “Score,” and then you need to attach each score line layer to its respective cut layer. (Tip: You will need to ungroup everything before you can attach anything—there are multiple layers of groups.)
Need help with the scoring lines? Check out my tutorial on Cricut Scoring, Grouping, and Attaching!
Tip: When you cut these on a cutting machine, put your holiday themed paper FACE DOWN—this way your paper will get scored on the back, making it easier to fold in the proper way with your holiday paper face out.
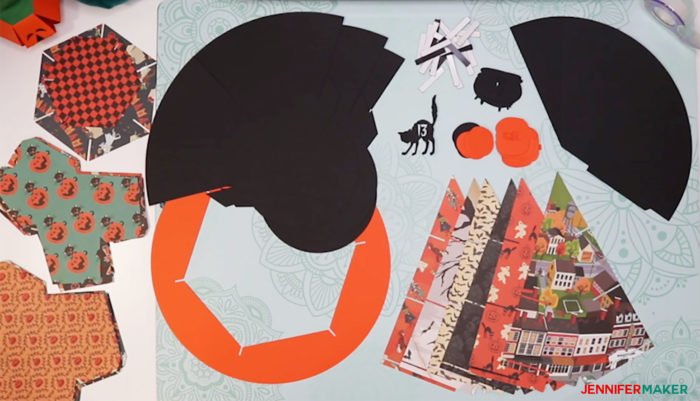
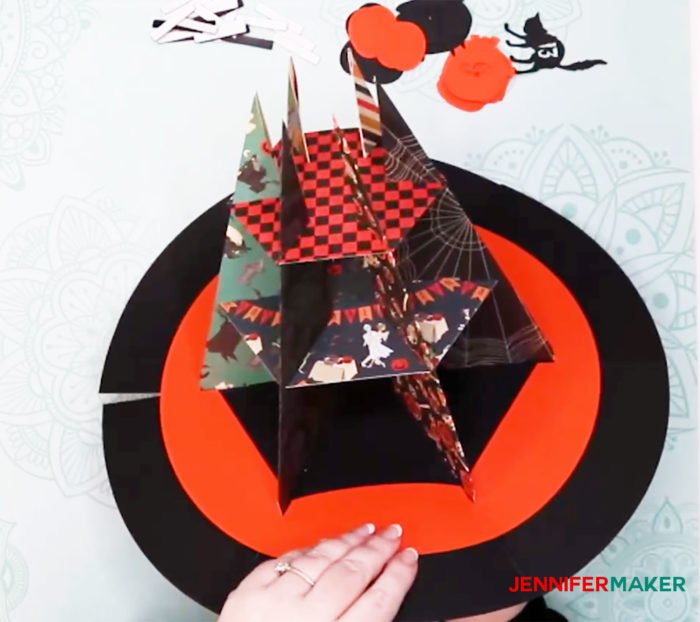
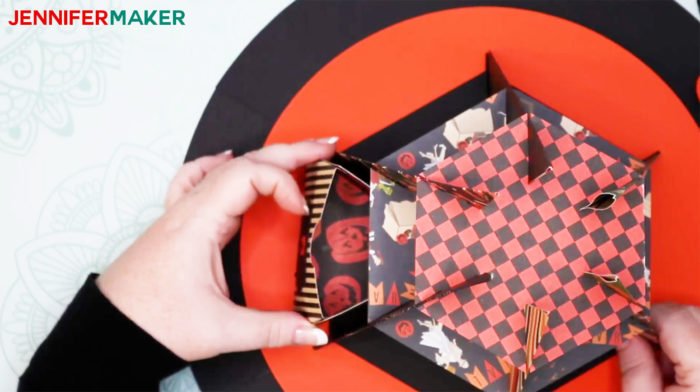
When finished cutting, you’ll have 55 pieces: eight vertical supports, two hexagonal horizontal supports, 6 medium box pieces, 6 large box pieces, the hat top piece, three hat brim pieces, a hat brim trim piece, 13 number fronts, and 13 number backs. All but the hexagonal supports, the brim pieces and numbers will require folding.
Begin by glueing the three pieces of the big round brim together, make sure they meet at the front edge and retain the void area for the supports.
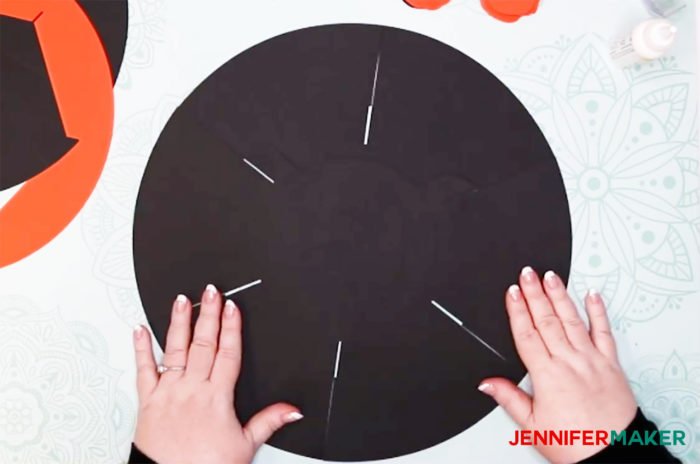
Now fold the six vertical supports. Just fold them in half along the score line. You want to line up the three slots along the side as best you can. If you are off a bit and the slots overlap, just trim them a bit so there’s a clear slot—you’ll need this to create a stable structure.

Keep the supports folded and closed with a line of glue along the edge.
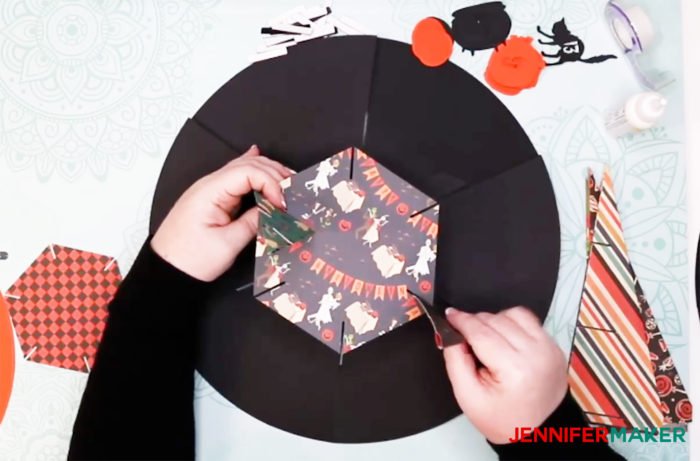
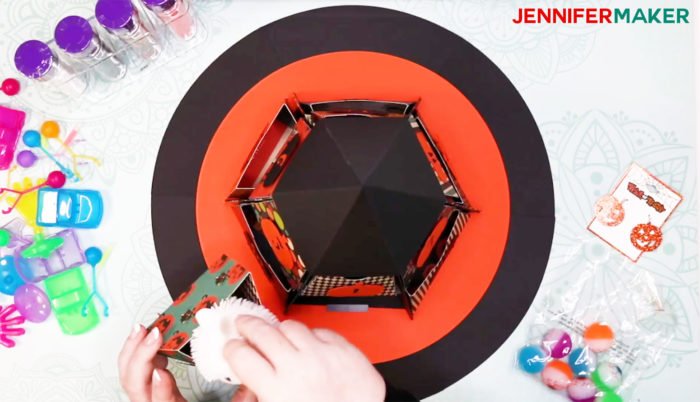
Now begin sliding each vertical support into the hat brim (keep the notches toward the center of the hat). I found it easiest to slide in the hexagonal supports at the same time I slide in the vertical supports. Make sure everything is slid in all the way.

The round piece with the hexagon center slides down over the whole structure to give it more stability — it also serves as a decorative band around the brim!
Here’s what the Halloween countdown calendar looks like with the supports all in place:
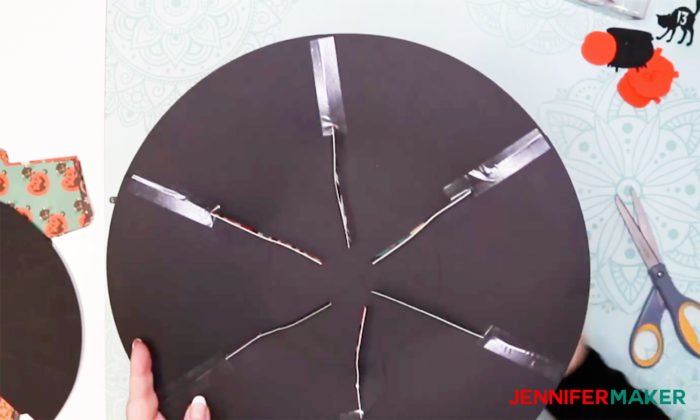
Once the supports are all in place, flip the hat over gently and tape the slots closed on the underside. This will give your hat a bit more stability and make it look better.
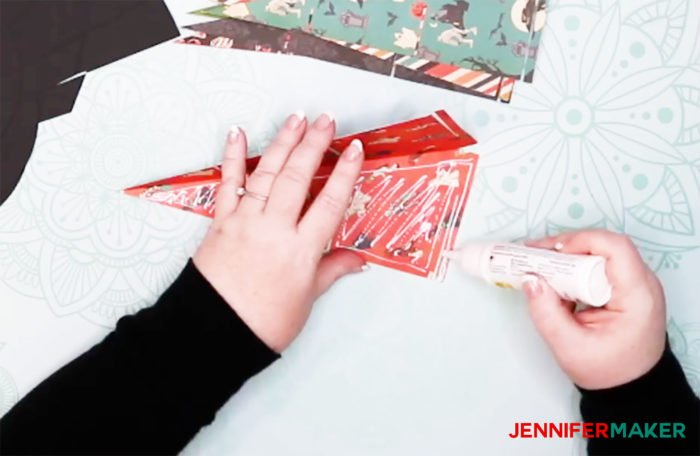
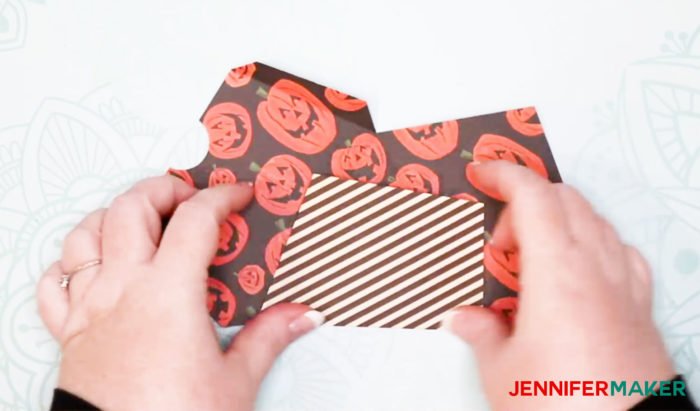
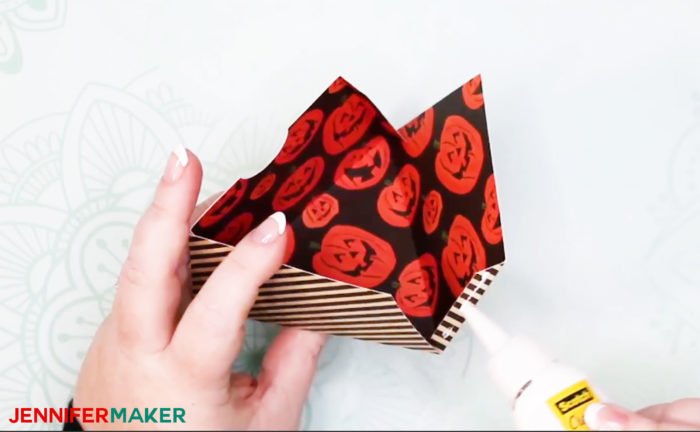
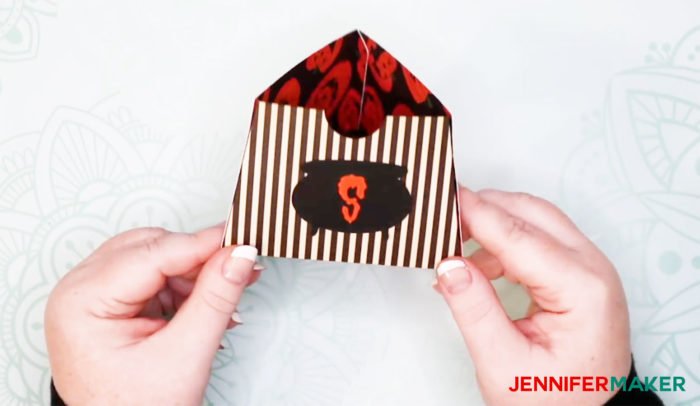
Now fold up each of the countdown calendar’s 12 box drawers by first folding along all the score lines, then gluing the tabs to the sides. I found it easiest to glue the front two tabs, then glue the back tab.
You can attach the numbers as you please, but I chose to simply use masking tape so I could remove them or switch them up later. Sometimes you have larger gifts for a certain day that may need a larger drawer!
If you got the magnetic sheet, you can cut out the rectangles in the pattern using your Cricut and a deep-cut blade. To use them, peel off the backing and place it on the bottom front edge of the box, as shown here:
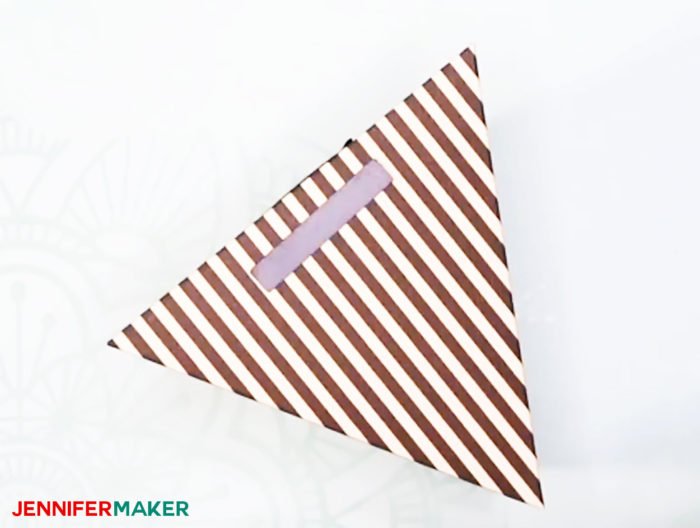
Now take another strip, peel off its paper backing, and place it MAGNET side down on the magnet you stuck to the bottom of your box. Pay attention to whether it attracts or repels itself. If it seems to repel, or not want to go on straight, turn it around 180°.
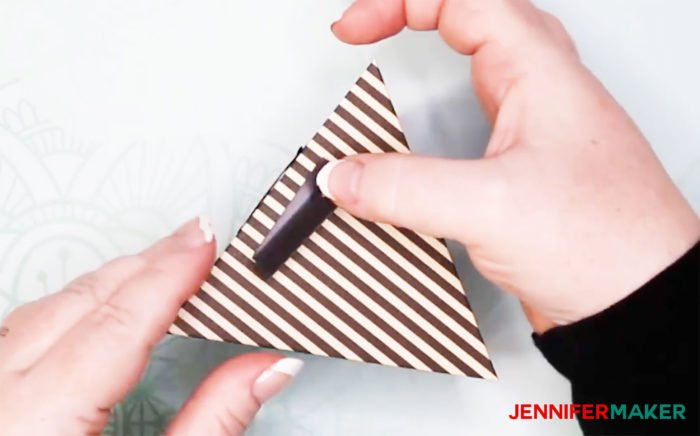
Now gently slide the box into the Halloween Countdown Calendar without letting the bottom touch until it’s in place, then press down gently. The adhesive on the second magnet should adhere to the cardstock of your calendar and remain there. If it does not, use a tool to press down on the box while you press up on the underside. This magnet will allow you boxes to stay in place even when they are not full.
Just repeat with the other 11 treat boxes!
To assemble the hat top, just fold along all score lines and glue the tab to the other side to create a cone. The assembled hat top just rests on top of your countdown calendar. And it is the secret hiding spot of day 13’s gift—just lift off the top to see the gift!


And here is the finished Halloween Countdown Calendar!
I love it! Fill it up with candy or treats.. or whatever you want!
Get my free template and cut files for the Halloween Countdown Calendar
I want to see your countdown calendars! Please share a photo in our Facebook group, email it to me at [email protected], or tag me on social media with #jennifermaker.
Love,

Want to remember this? Save theHalloween Countdown Calendar to your favorite Pinterest board!


One Comment