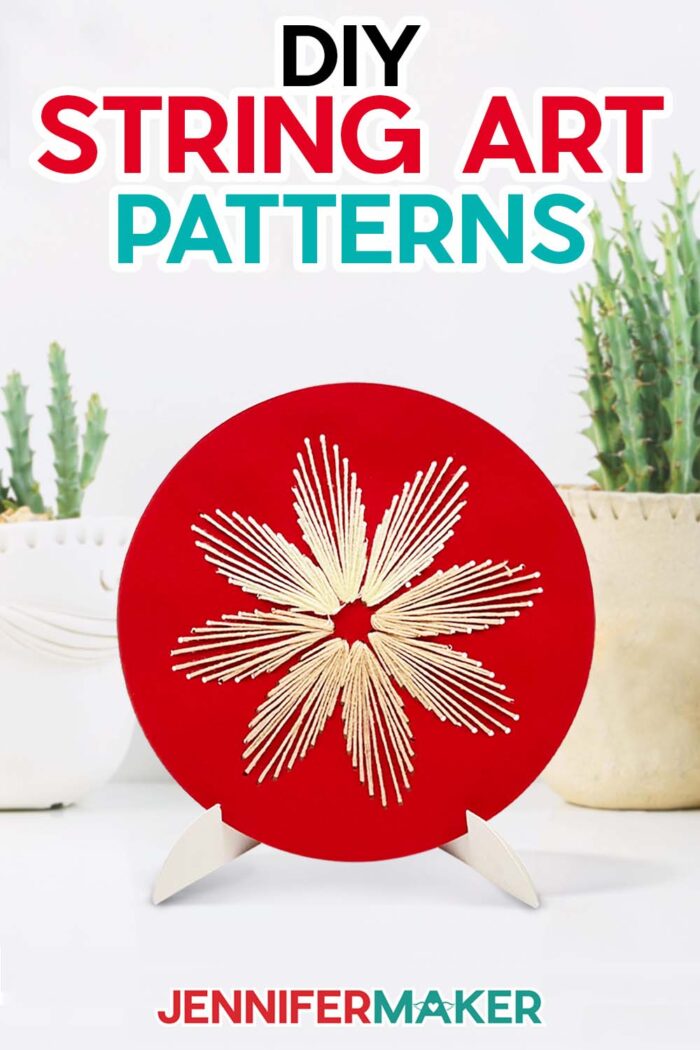
Make classic string art patterns designed just for beginners!
I really love how string art patterns gradually emerge from overlapping, criss-crossing threads. But, I really DON’T love the process of hammering dozens of nails in an intricate pattern. I like woodworking, but that’s a lot of nails! So I’m sharing string art crafts that use carefully cut holes to create the same effect! They’re super fast to prepare and threading the pattern is relaxing once you get the hang of it!
Want to save this project? Enter your email below and we’ll send the project straight to your inbox.

Watch my complete step-by-step tutorial on making basic string art patterns:

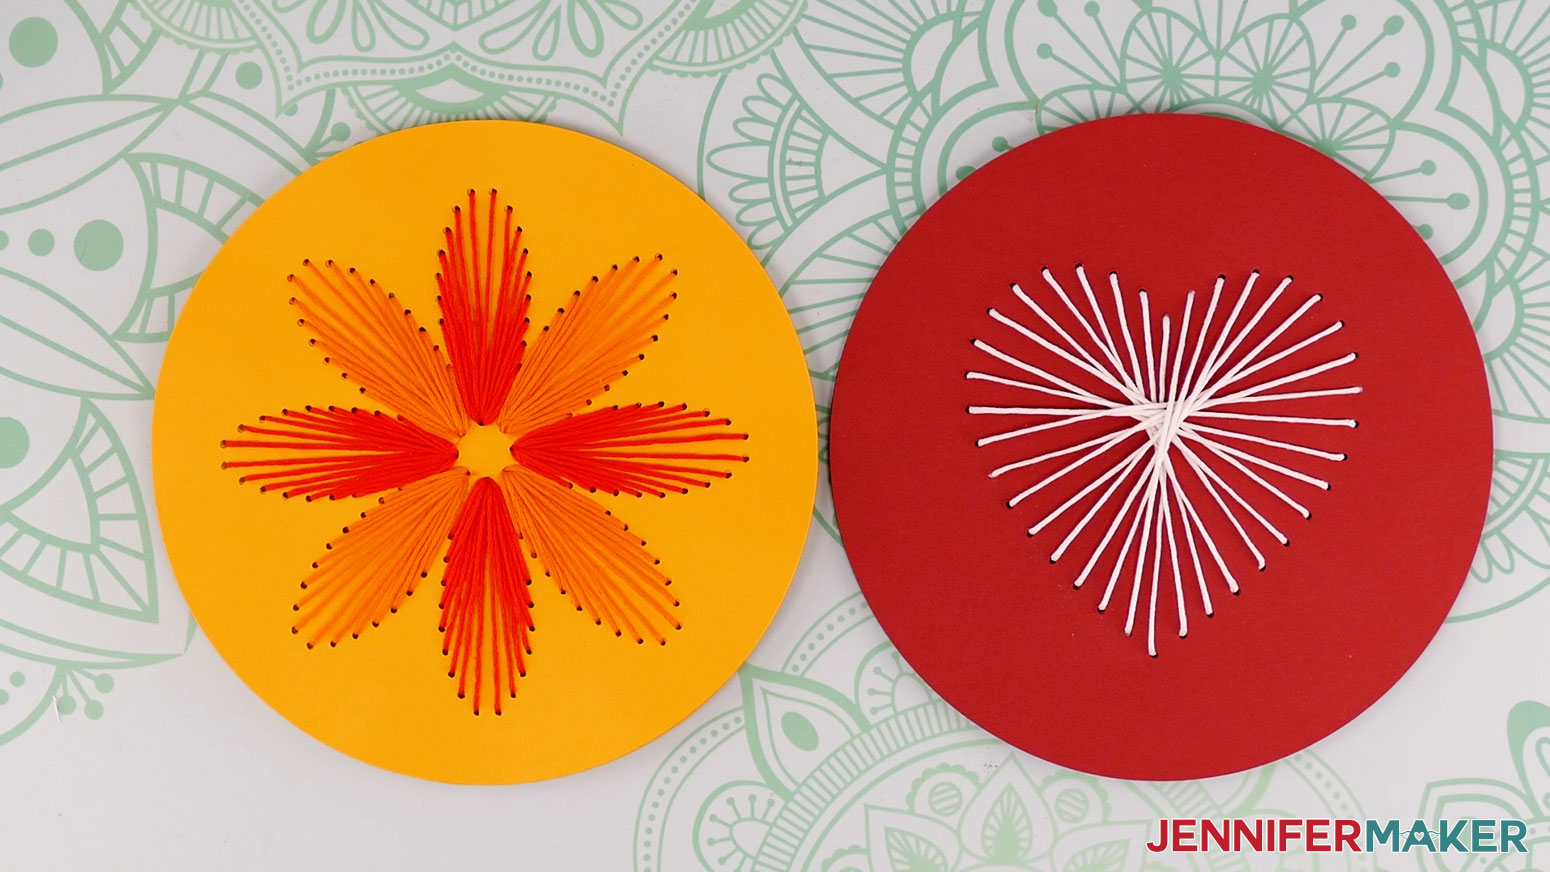
Both of my easy string art patterns have very small holes along the outline of the image. They’re the perfect size to connect using embroidery floss or thin macrame cord with the right size needle!
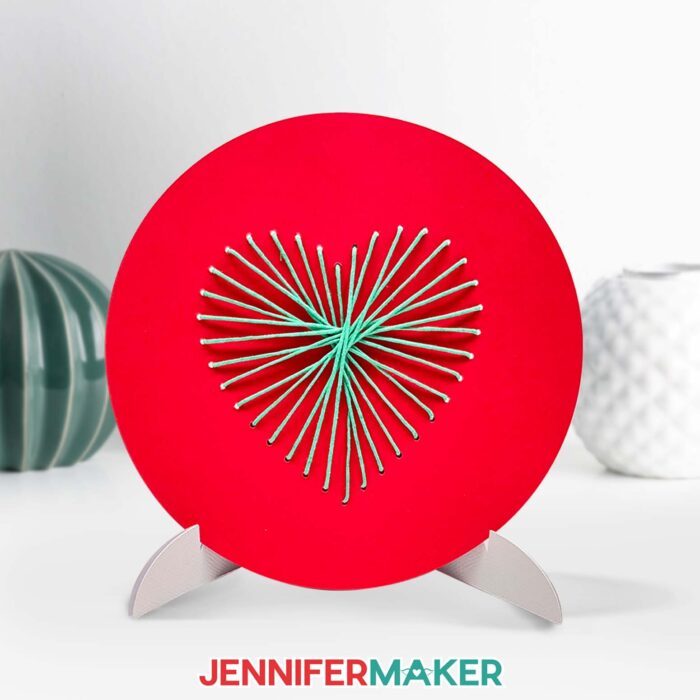
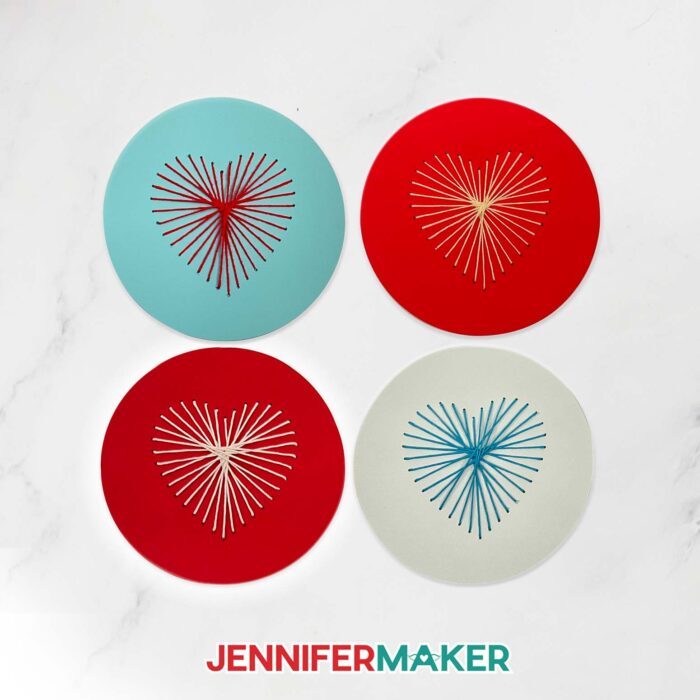
If you need a simple Valentine’s Day gift, my heart string art is an easy pattern to make. It uses a single color of string, so you don’t have to deal with knots. You could even glue them to a card as fun gifts for family members!
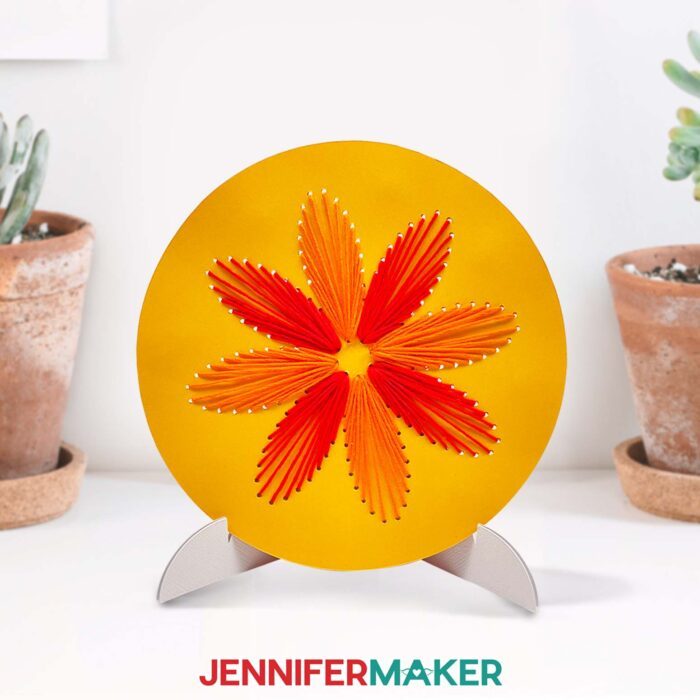
The flower is more detailed and requires more thread. I have some fun tips about using different colors for the petals in my video tutorial!
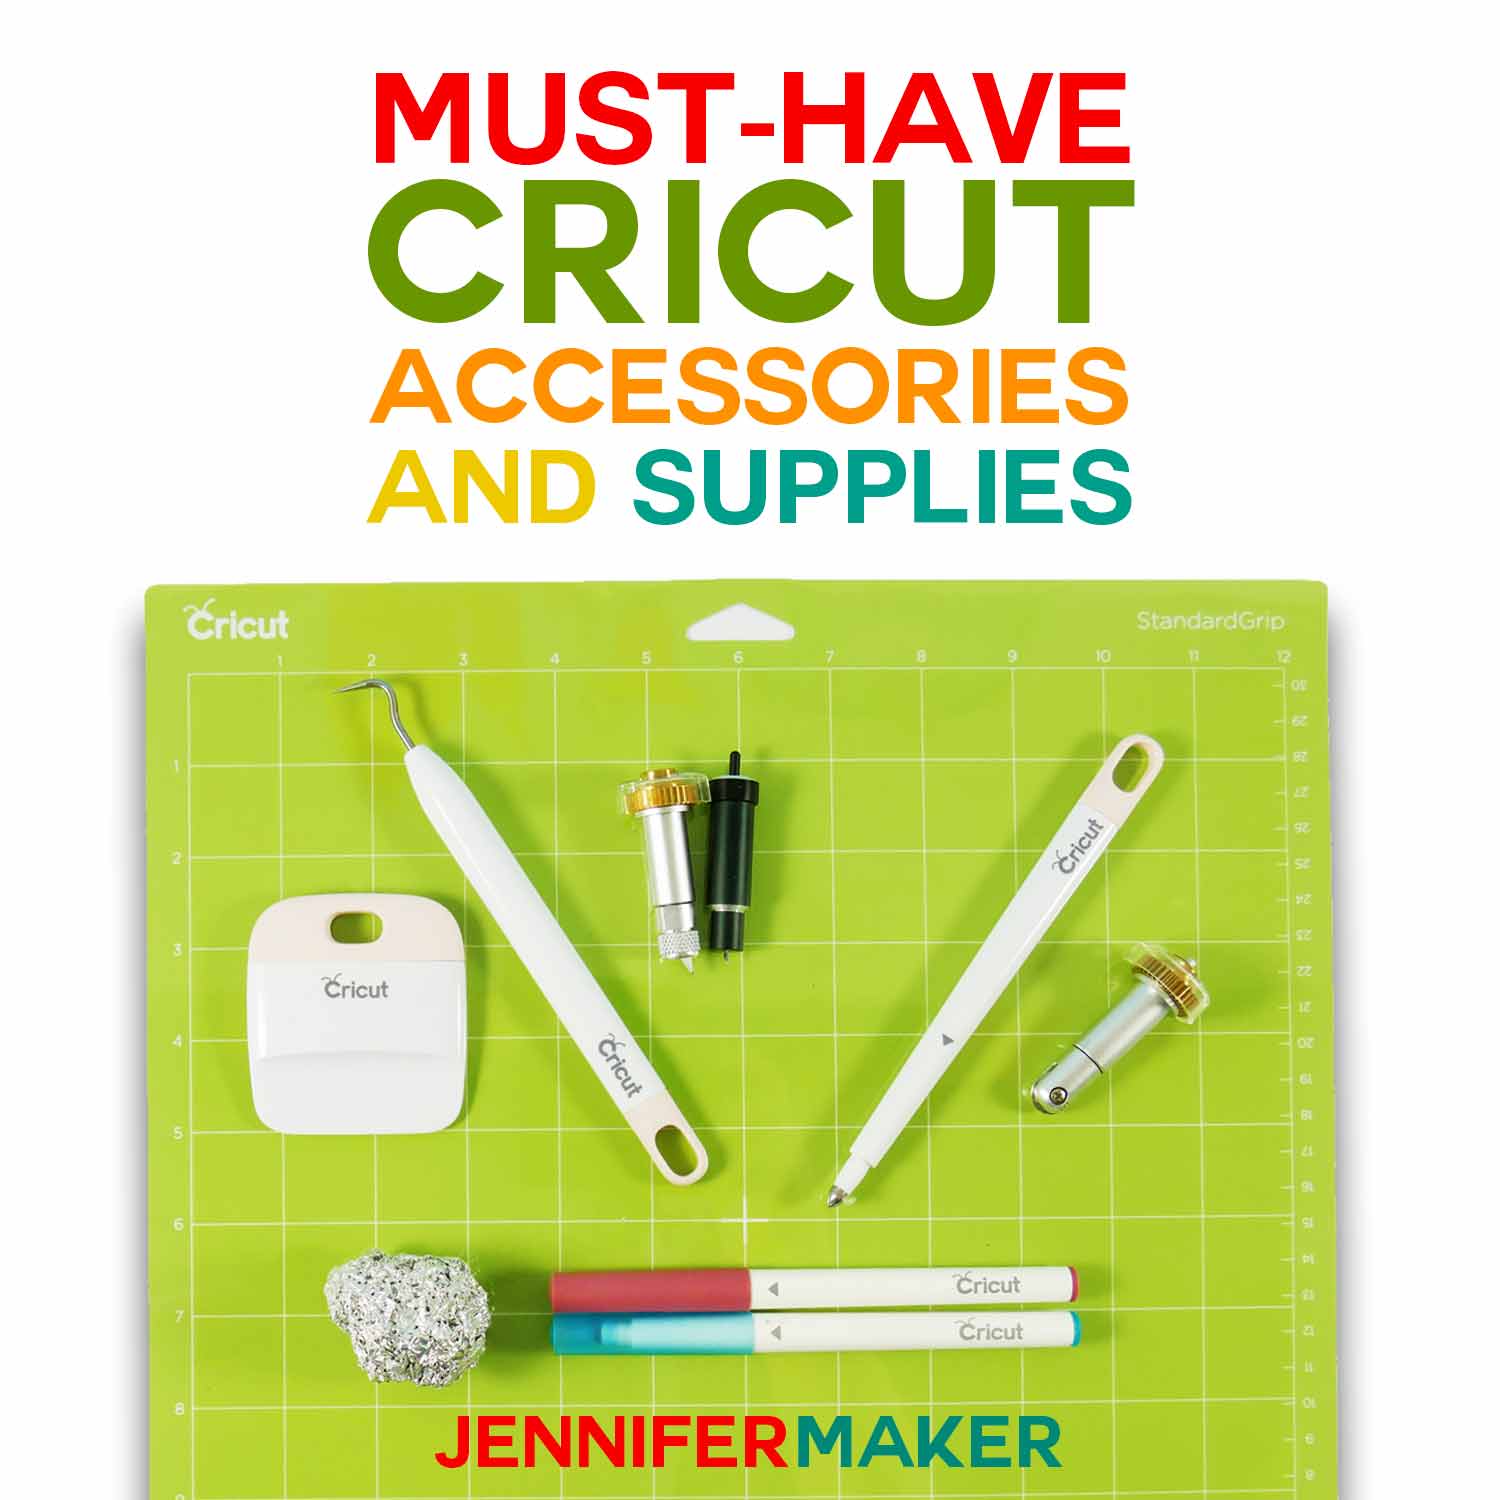
While you can use the printable PDF to cut the string art patterns by hand, a cutting machine will save a lot of time! I used my Cricut Maker 3, but any Maker or Explore machine will work. Depending on your mat’s stickiness, either a green StandardGrip or blue LightGrip mat will hold the cardstock in place. The tiny holes will likely stick to the mat, so remember to remove them with a scraper before laying down your next piece of 65 lb 12″ x 12″ cardstock! If you have trouble, you can find many tips in my tutorial on How to Get Cleaner Cuts.
I used 3D Adhesive foam dots to connect the two layers of my cardstock. I tried a few methods, but this was the best way to keep the layers sturdy.
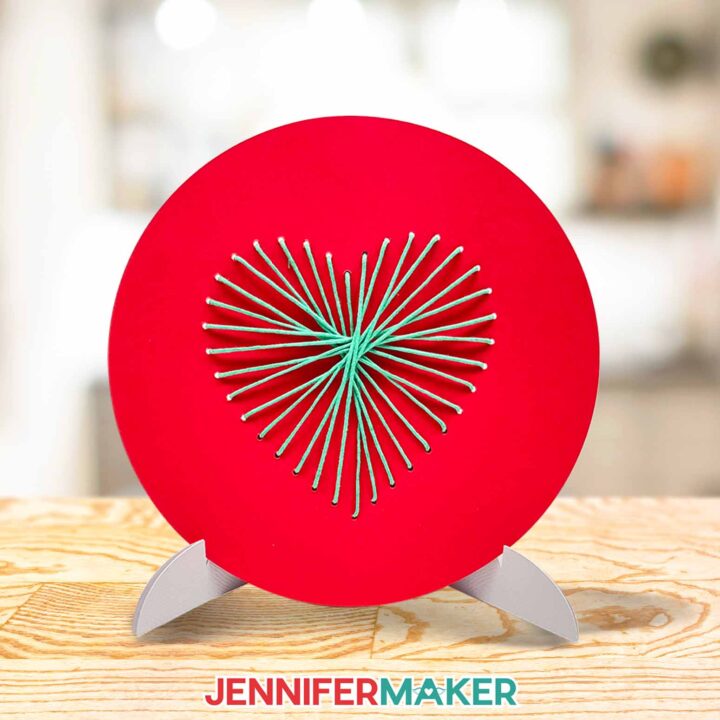
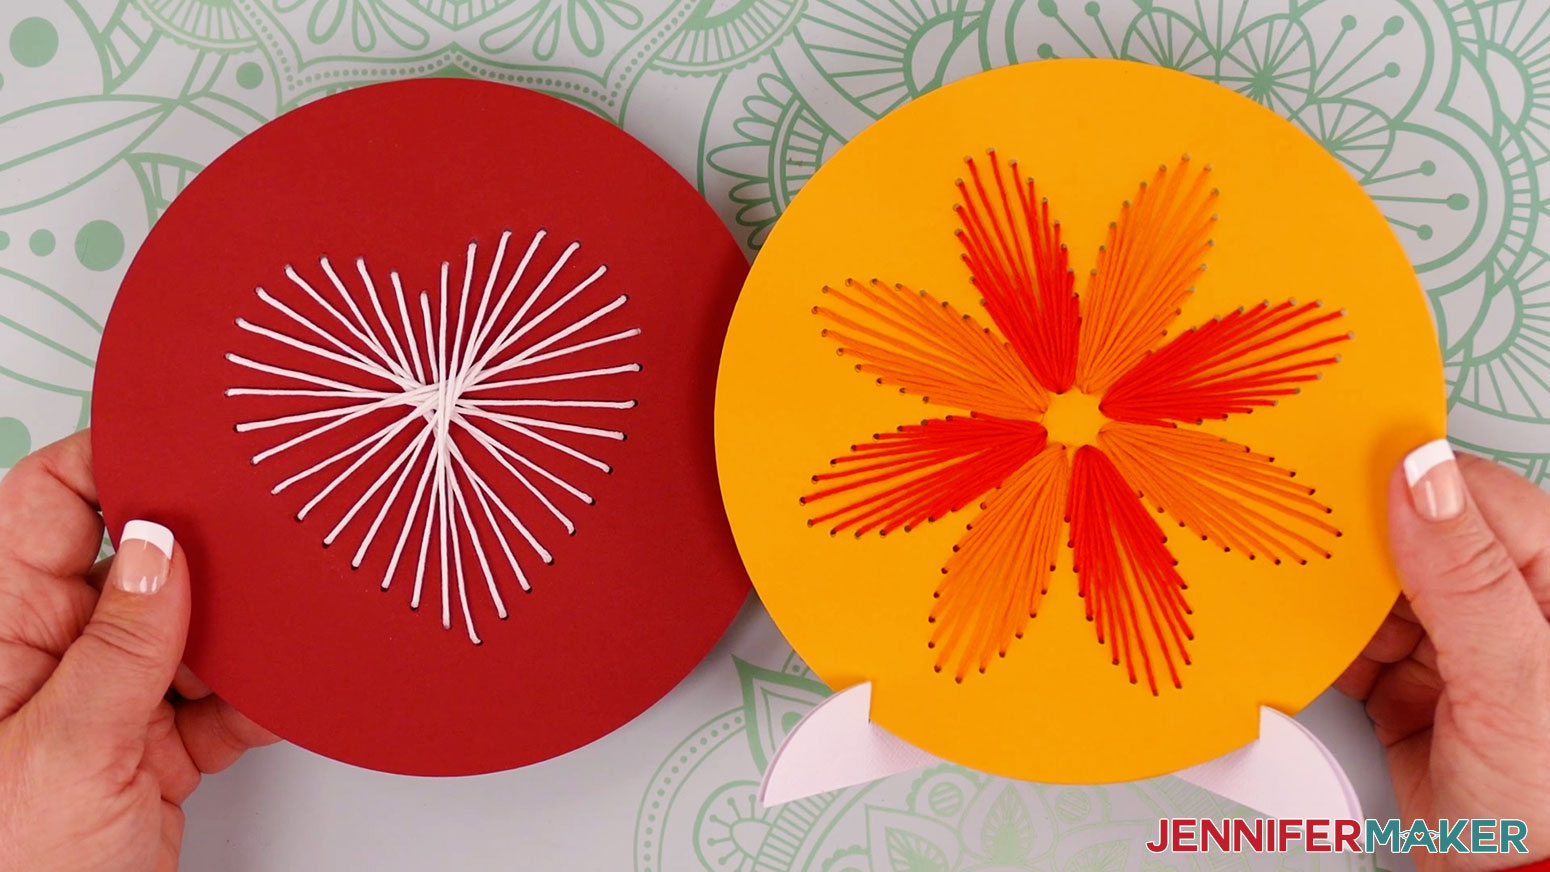
I’ve included a simple stand, which is a great way to display the finished string art patterns. Or, you could mount them in frames as string art wall pieces!
Ready to make string art patterns? I’m super excited to show you how to make these fun craft projects! This post contains some affiliate links for your convenience (which means if you make a purchase after clicking a link I will earn a small commission but it won’t cost you a penny more)! Read my full disclosure policy.
Materials to Make String Art Patterns
View my Amazon shopping list with the exact items we used to make this project!
- 65 lb Cardstock, 12″ x 12″ – 1 sheet each for the paper pattern and stand
- Embroidery Floss or Macrame Cord, 1 mm – I used different string colors, but white threads really pop!
- Embroidery Needle – make sure the eye has enough space for your string choice
- A method to cut your cardstock — I used the amazing Cricut Maker 3, with the Fine-Point Blade but you can use any Maker or Explore machine
- Cricut Green StandardGrip Mat, 12″ x 12″ -OR- Cricut Blue LightGrip Mat, 12″ x 12″
- 3D Adhesive Foam Dots
- Brayer
- Scissors – to trim your string
- Scraper
- Spatula
- Design #472 – My free SVG/PDF/DXF design files are available in my free resource library – get the password by filling out the form at the bottom of this page
String Art
Learn to make string art patterns without nails!
Materials
- 1 piece of 65 lb Cardstock, 12" x 12" - I used dark red for the heart design
- Embroidery Floss - I used white for the heart design
- Embroidery Needle
- Adhesive Foam Dots
- Macrame Cord 1mm - I used white for the heart design
- Design #472 (My free SVG/PDF/DXF design files are available in my free resource library - get the password by filling out the form at the bottom of this page)
Tools
Instructions
STEP 1: GET MY FREE String Art DESIGN FILES
First, download my free String Art SVG/PDF/DXF collection from my resource library -- it's Design #472.
The download folder includes PDFs to cut by hand, and DXF or SVG files for use with a cutting machine. I'll show you how to use the SVGs with a Cricut.
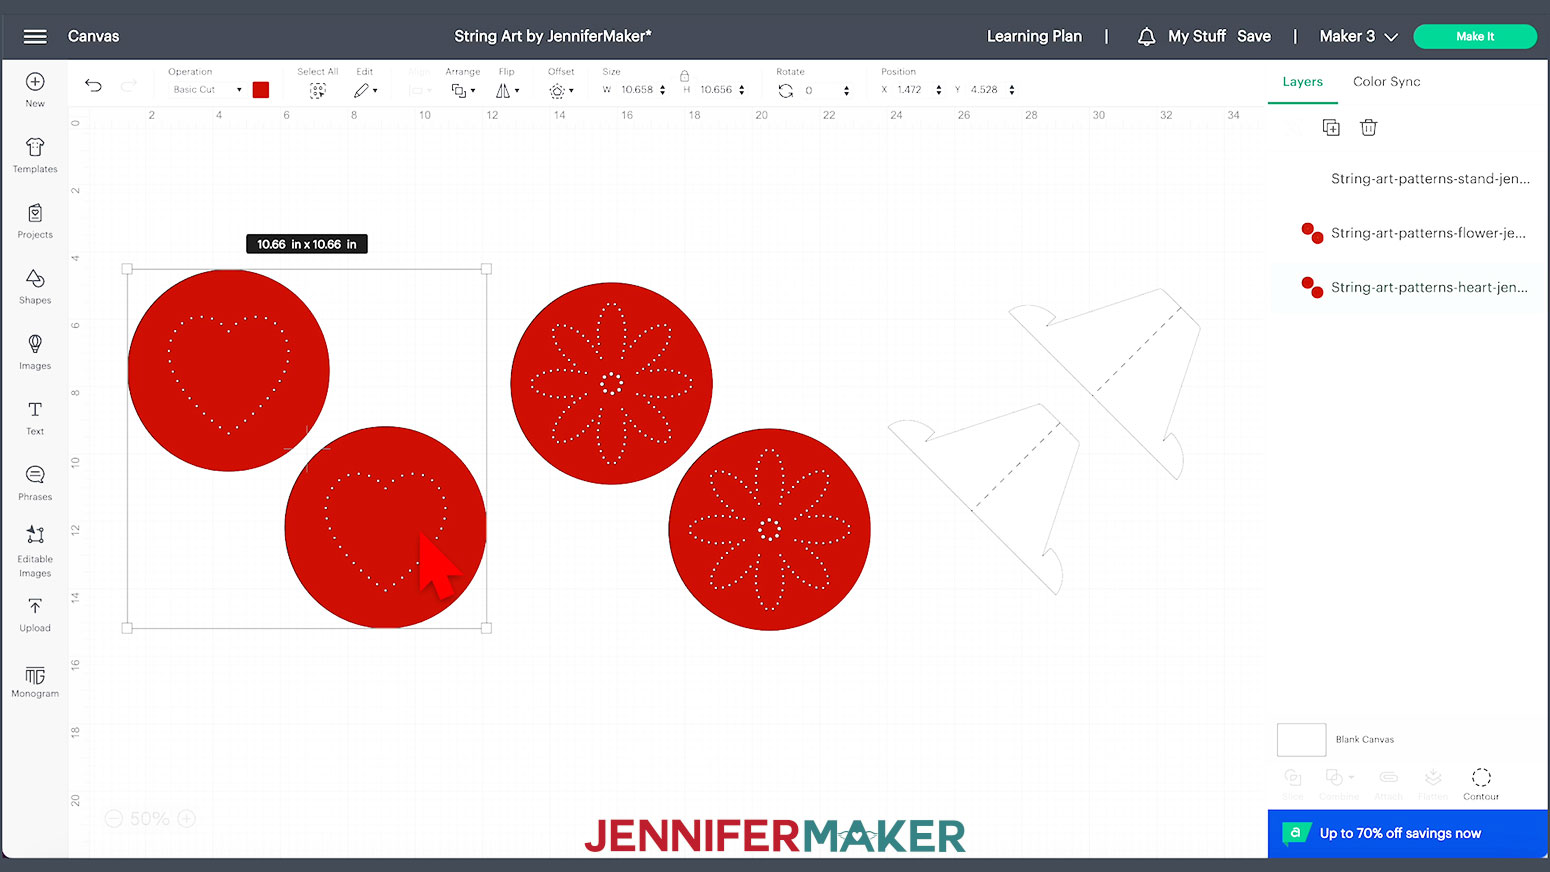
Upload the SVG file to Cricut Design Space and add it to your Canvas. There are two larger circles, both with hearts with smaller holes around their perimeters.
Since both pieces are identical, one will be used for the front and the other for the back, and foam dotted together for strength.
TIP: If you are not sure how to upload an SVG cut file to Cricut Design Space, watch this helpful video training series I made. If you are on an iPad or iPhone, here is how to download and upload SVG files to the Cricut Design Space app.
STEP 2: PREPARE THE DESIGN FILE
This is what my String Art Heart SVG file looks like on my Canvas. You can zoom out to see all of the design by clicking on the minus (-) sign on the lower left. There is also a file for a Flower design. Today we are making the Heart design.
I'm making my design in dark red cardstock. You can choose whatever colors you like and change the necessary layers using the color box at the top.
That's it! The design is ready to cut!
There is also a file for a paper stand that works great to set this on your desk at work, or at home. You can change the operation of the center line to Score and keep the other layer Basic Cut. Select them both and then click Attach. Make two for a really sturdy stand.
STEP 3: CUT YOUR DESIGN
Make sure you have the right machine selected and click "Make It."
If prompted, click "On Mat," "12 in x 12 in," and "Confirm."
If you're using the same cardstock as I am, make sure the Material Size is "12 in x 12 in" for everything.
Click back on the first mat and click "Continue."
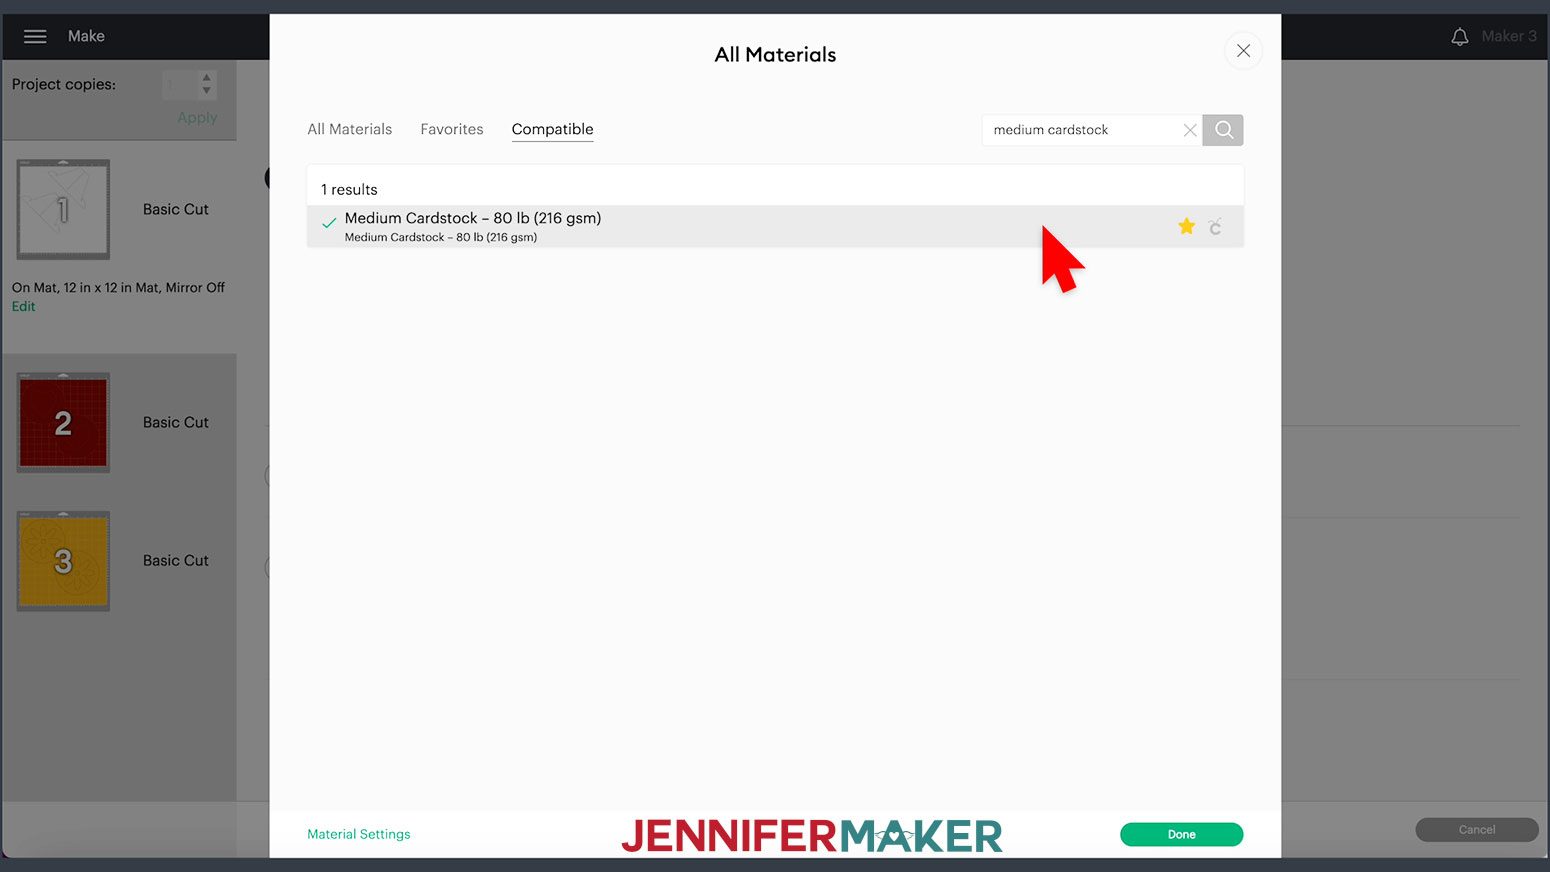
On the Make screen, I used the "Medium Cardstock" setting for all my mats.
To find it, click "Browse All Materials" and type "Medium Cardstock" in the search bar. Then select the result, click "Apply."
Change the Pressure at "More."
My layers cut well on a green StandardGrip machine mat, but if you have trouble getting clean cuts try the blue LightGrip mat. Place your cardstock face up on the mat and use a brayer to make sure it's fully adhered.
Check that your Fine-Point Blade is clean and in Clamp B. Then, load the mat into the machine and press "Go."
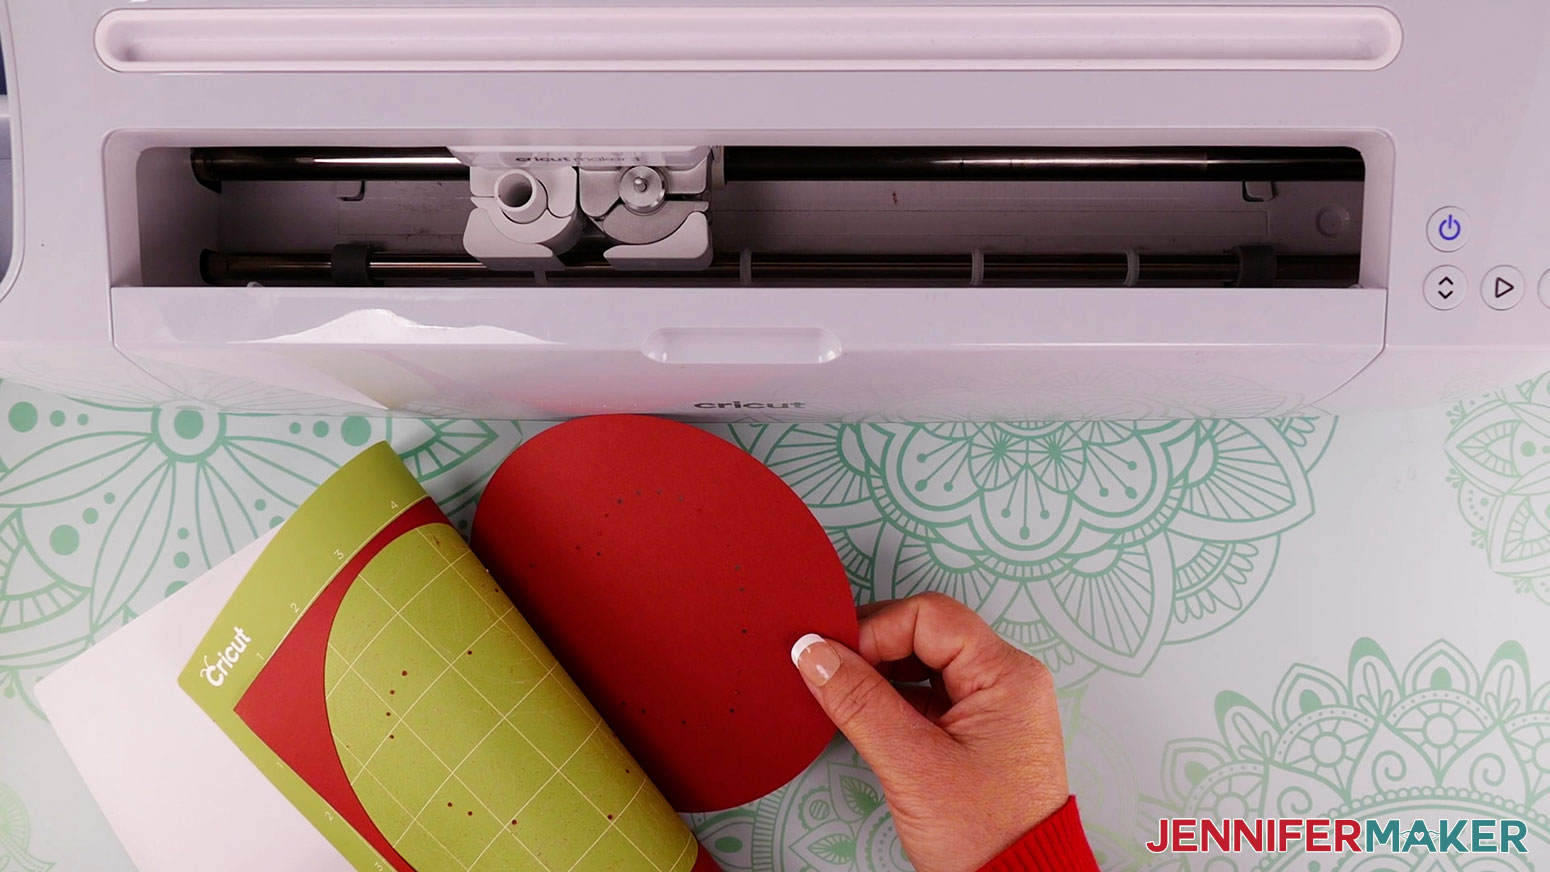
When the cut is finished, unload the mat, flip it over, and roll it back to release the cardstock. This helps prevent the material from curling and ripping.
The front and backs of the cardstock are the same, choose a side that looks best.
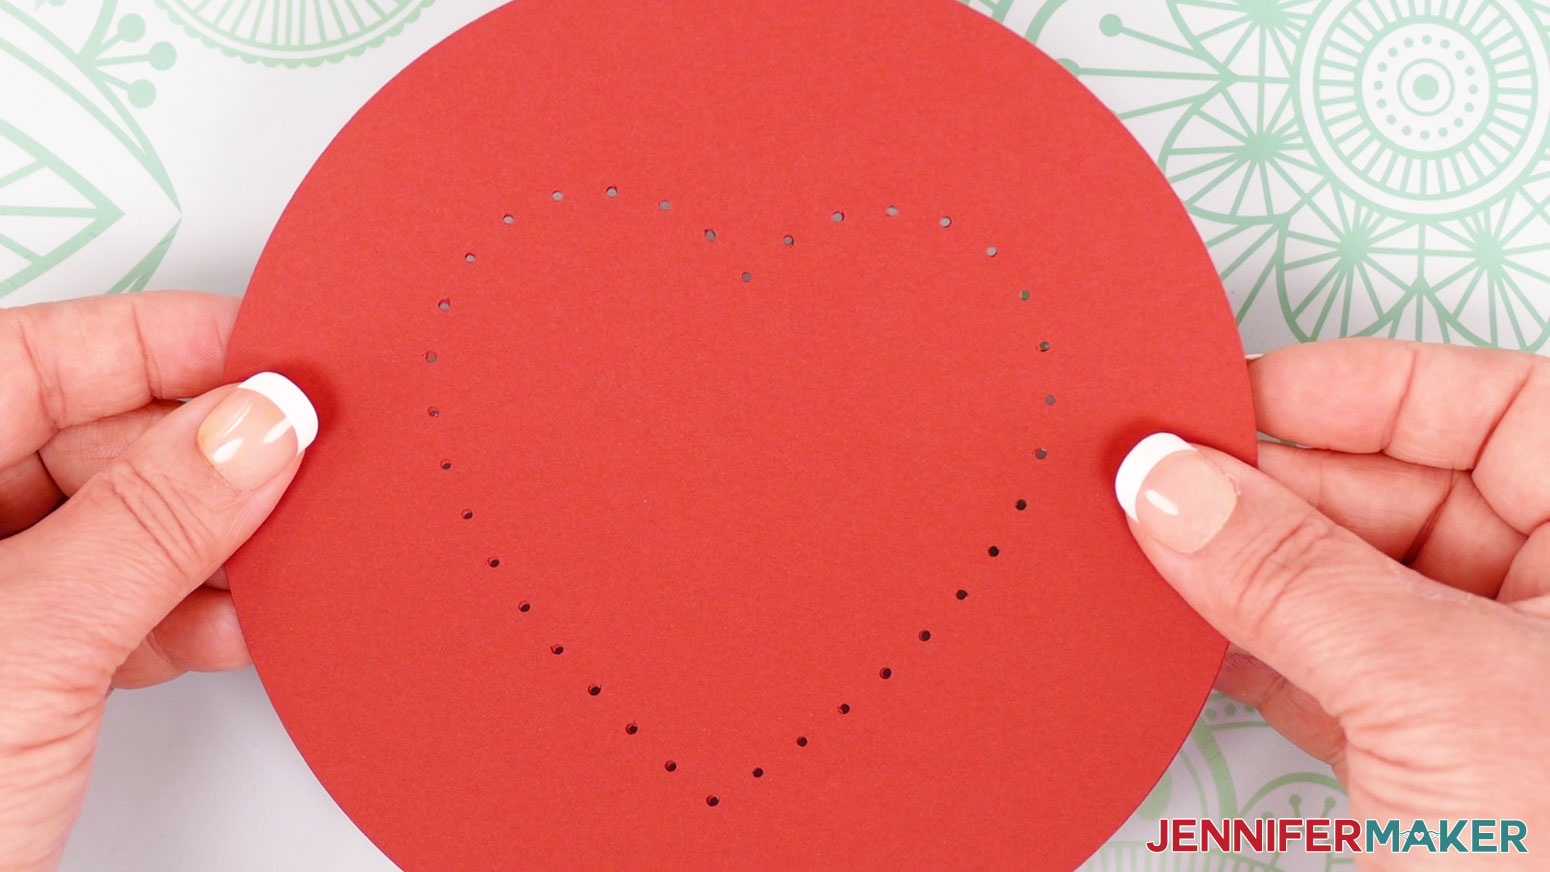
Now take your weeding tool and poke out any of the holes that did not come out all the way. Make sure no stray cutouts are on either piece.

You can use the stand file to cut a simple stand for your String Art. You can change the operation of the center line to Score and keep the other layer Basic Cut. Select them both and then click Attach. Make two for a really sturdy stand.
STEP 4: ASSEMBLE THE LAYERS
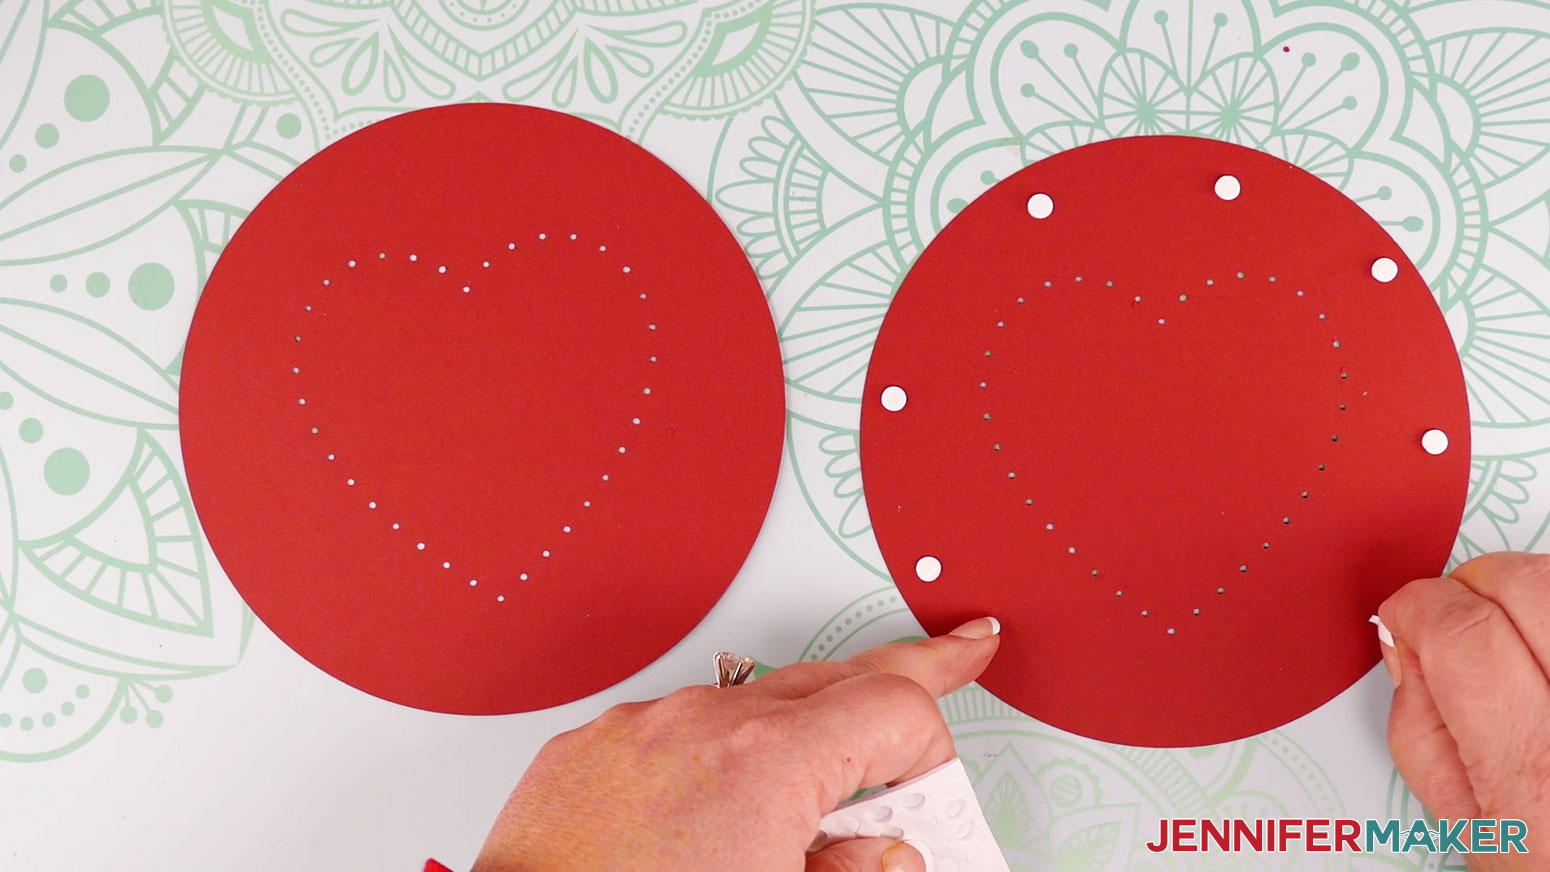
Here's what my cut pieces for the String Art design look like.
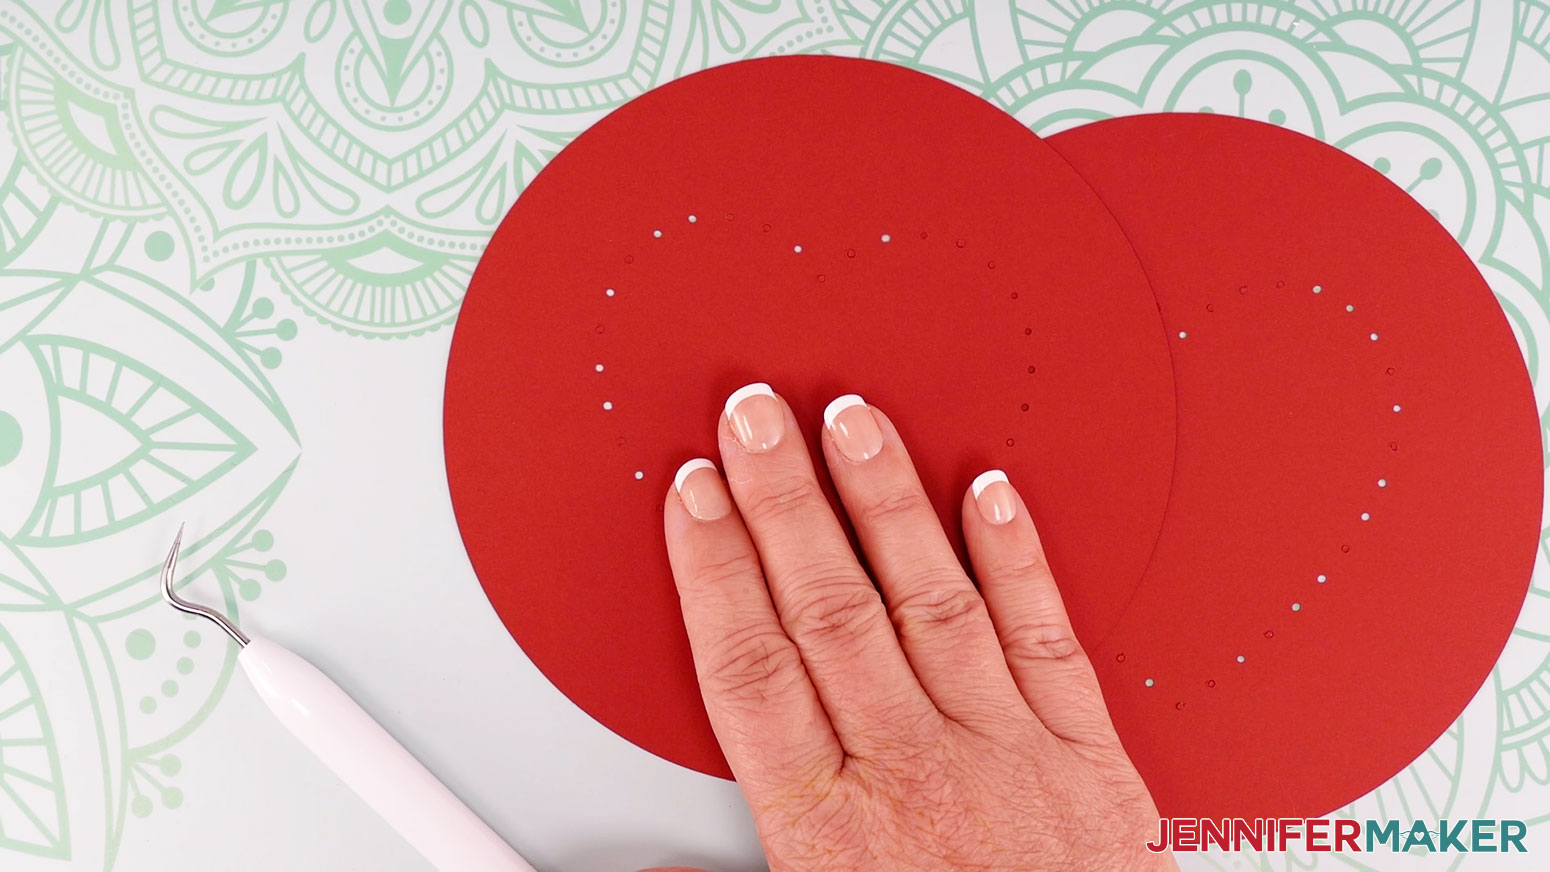
Stack the circles on top of each other. Confirm the small holes line up. Place circle one (front) down, and apply small adhesive foam dots to it. 6-12 work great in this 6" circle. Now take circle one and place it on top of circle two (back) continuing to confirm all the small holes stay aligned. Gently press the back with your hand to assure the foam dots have been applied with enough pressure for secure adhesion.
This double sided circle offers much more strength for our embroidery floss or macrame chord. You can use craft glue, but I find that adhesive dots make the cardstock more rigid.
Now we are ready for string art!
I'm sure you've seen string art before done with nails, or even a paper punch-card style like the ones I will create today.
I used a simple heart shape with holes going around. Today I will show you this Valentine's Day heart motif.
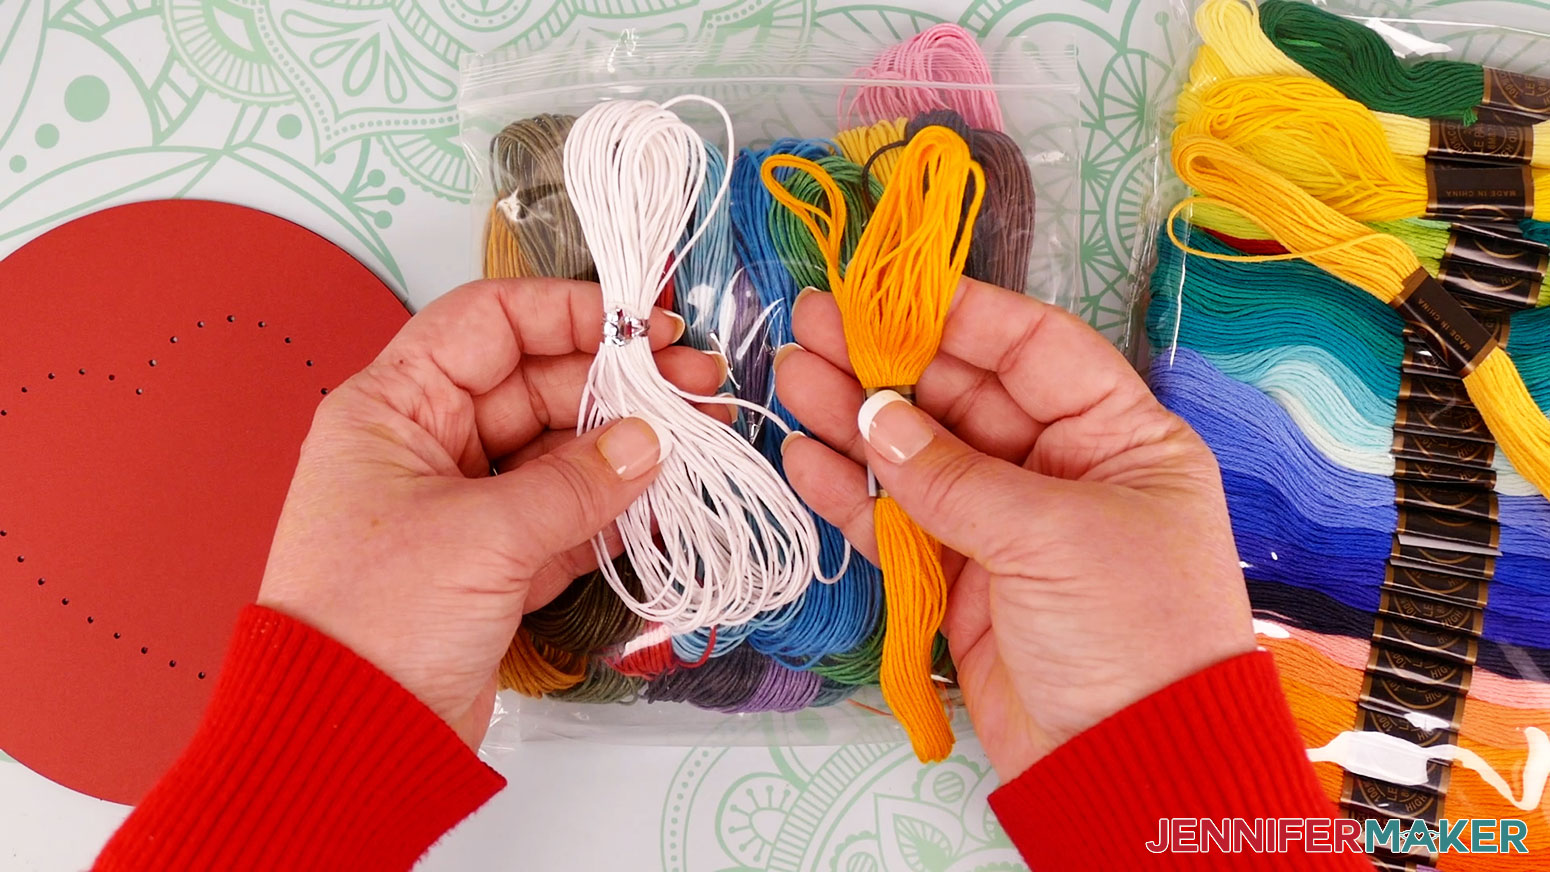
I've found that macrame chord works slightly better than embroidery floss. Floss is easier to find and works OK, but does tend to get tangled, and isn't quit as finished looking as the waxed, 1mm macrame cord.
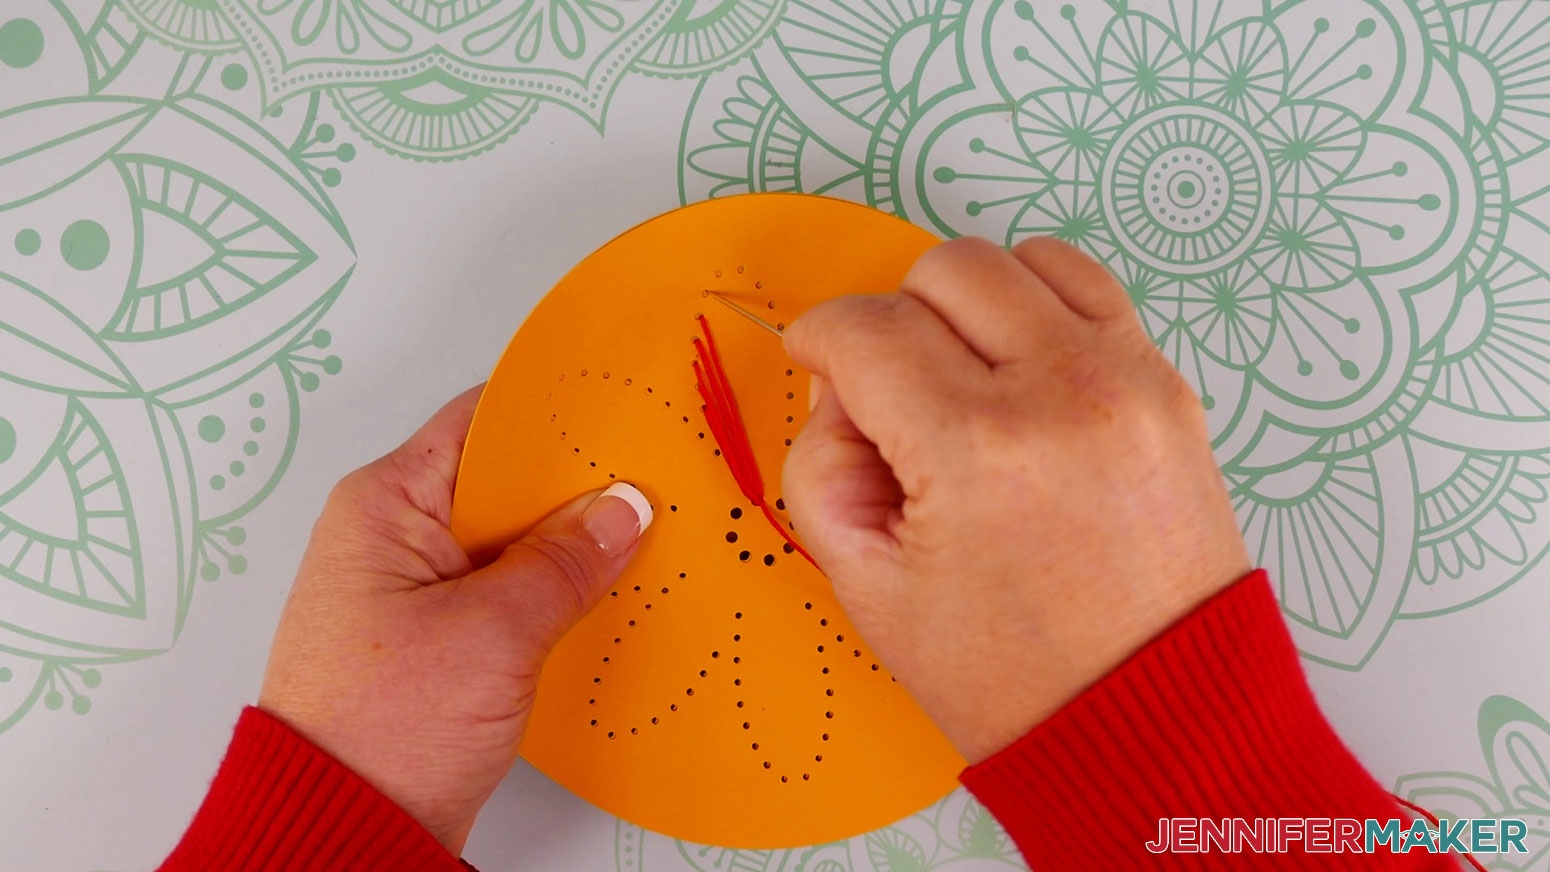
Thread a few feet of macrame chord (1mm) on an embroidery needle small enough to fit into the holes, but with an eye large enough to thread the 1mm macrame chord.

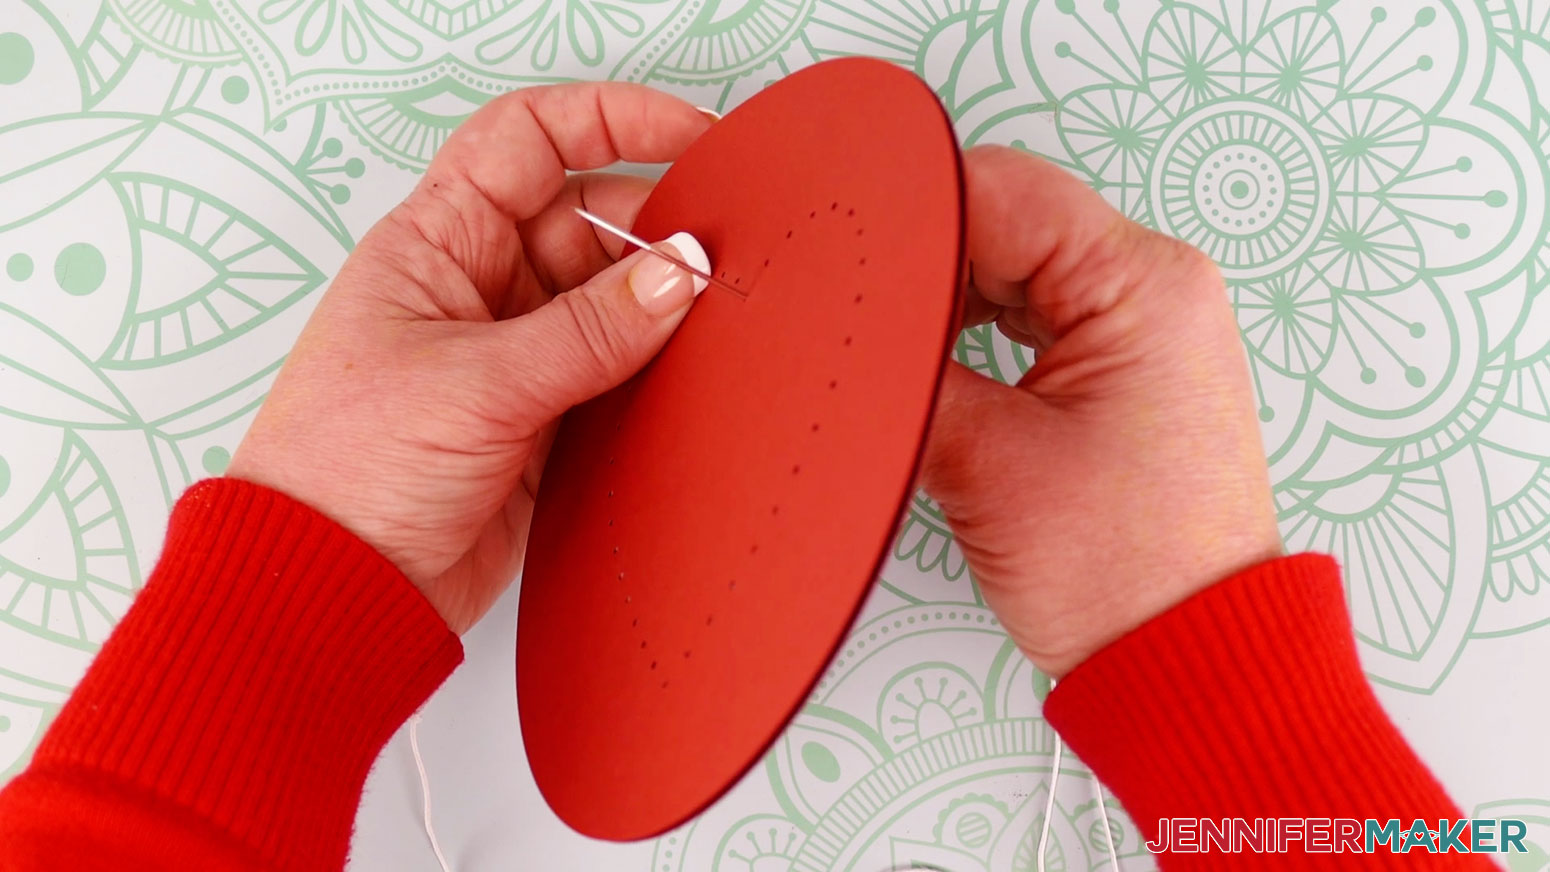
Tie a knot on one end. Thread the needle through the back circle's top hole and make sure the knot catches and is larger than the hole. Take the needle and thread across the heart into the bottom hole directly below the top hole on the front side.
Pull to make sure the cord stays taut but not too much as the cardstock can curl with too much force. You can also feed the length through your other hand keeping tension as to limit knots when feeding. I flip mine over each time so threading is consistent.
Now insert the needle into the previous hole creating an overlap across the heart. Continue this simple pattern all the way around the heart until you reach the last hole. Tie off at the back and you are done. If you started with the top and bottom holes, you should have equal matching holes and there should be no empty holes, or you started in the wrong place. You could start diagonally, but symmetry is needed to finish with no empty holes.
The heart design should be able to be completed with a few feet of length, but if you run short, simply tie off at the back, and knot another length and start where you left off to complete the heart.
The flower design is very similar to the heart, but has eight sides, with eight larger holes for each petal. The larger holes will get strung through repeatedly, one for each hole on the petal. String back to front, just like the heart. The flower requires much more length than the heart. The heart can be strung with a few feet of length and tying off is not necessary. But I was successful stringing each petal and tying each one off. You can string two petals at a time, but any more adds too much length and the project becomes cumbersome.
If you cut the optional stand, fold each one along the score line, then simply foam dot the two stands together for rigidity. Crease the stands enough for the string art to fit perfectly without touching the bottom surface.
STEP 6: SHOW THEM OFF!
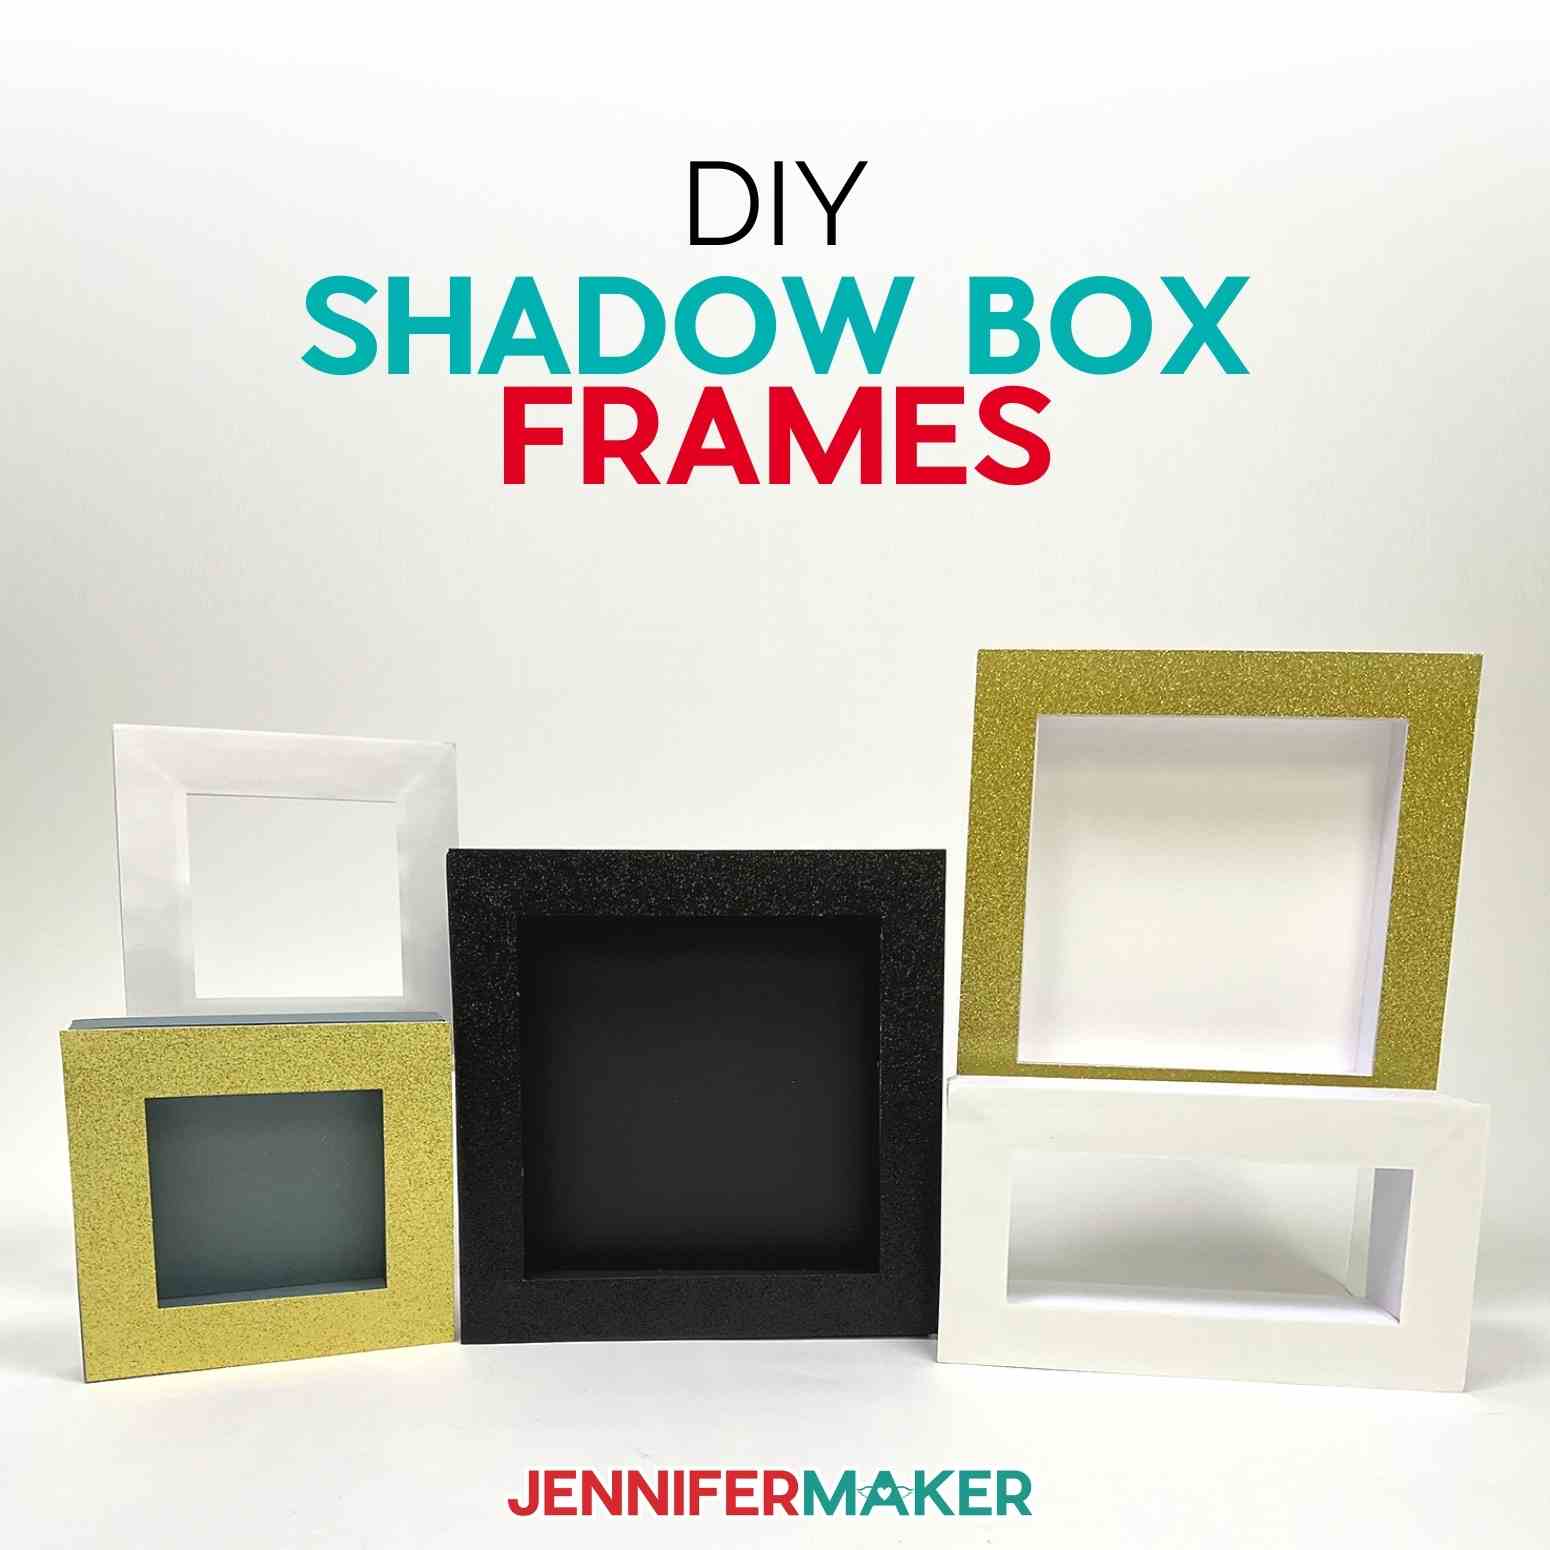
You could mount these on the wall, give then away as a gift, use our desk stand SVG, or even place into a lighted shadowbox like our December 2022 tutorial.
Enjoy your String Art year-round and think of the possible patterns and shapes achievable! With this universal symbol of love, you can't go wrong giving it to that special someone on Valentine's Day.
Answers to Your Questions About Printable String Art Patterns
Q: How do you make a string art pattern?
A: There are many string art kits available that use different techniques. Some use a piece of wood with nails to guide the string, but I prefer the paper method. If you’d like to make your own, my free heart pattern is a good starting point. It’s cuttable and printable, making it an easier string art pattern!
Q: What strings do you use for string art?
A: I found embroidery thread and 1 mm macrame cord best for my free string art patterns. Both come is so many colors, it’s easy to make a custom DIY project!
Q: What is the best nail to use for string art?
A: If you prefer to use a wooden board for your string art design, using a small nails distracts less from the final result than big nails. Just make sure the string stays close to the wood board so it doesn’t pop off the small nail head!
Q: What is geometric string art?
A: Geometric patterns are often based on a simple shape or combination of them, like triangles, squares, or circles.
Q: How do you protect string art from dust?
A: You can mount your string art patterns in a shadow box to keep them safe and clean.
Q: My cardstock keeps ripping on the intricate cuts. What can I do?
A: Be sure you’re using a clean and sticky machine mat, good quality cardstock, and a clean blade. See my Cricut Cutting Problems post for all the tips I use to get clean cuts every time.
Q. Do I have to use a Cricut machine?
A: We always include several versions of each digital item in the ZIP file. If you have a Silhouette Cameo, which uses Silhouette Studio, you can use the DXF file in Silhouette Basic Edition. If you have upgraded to Silhouette Designer Edition, Designer Edition Plus, or Business, you can use the SVG format with your Silhouette machine. If you don’t have a cutting machine, you can print and then cut out my digital download PDF files, too! The ZIP archive in my resource library includes these file types and more!
Q. Are your free SVGs just for personal use or do you offer a commercial license?
A: Yes, you can sell the physical item you make, we ask that you give credit to JenniferMaker.com for the original designs and do not sell the digital files. If you use them, please share photos with us! We love supporting small businesses!
Q: Can I make this with a Cricut Joy?
A: No, these files are too large for a Cricut Joy, but you can use this technique to create a smaller string art idea to fit your mat!
Get my free download of the Printable String Art Patterns SVG cut files here:
If you make a project with my cuttable or printable string art patterns, I’d love to see it! Please share your results in my Cricut Crafters & Makers Facebook group where you’ll find hundreds of thousands of crafters like you, sharing their tips, projects, and inspiration.
Love,

Want to remember this? Save this String Art Patterns Tutorial to your favorite Pinterest Board!