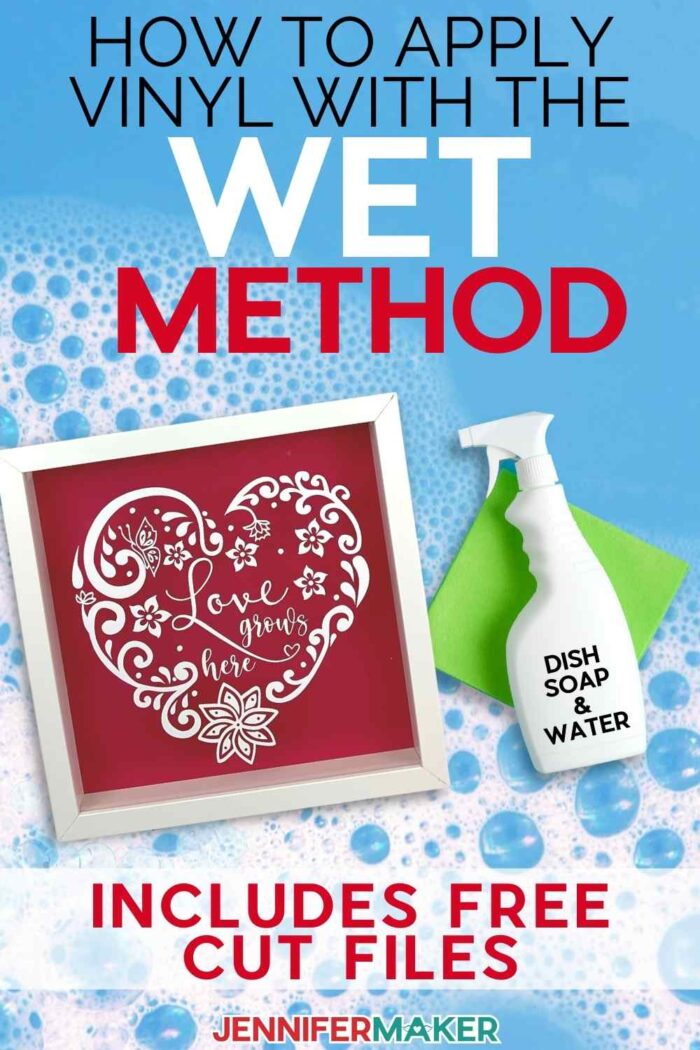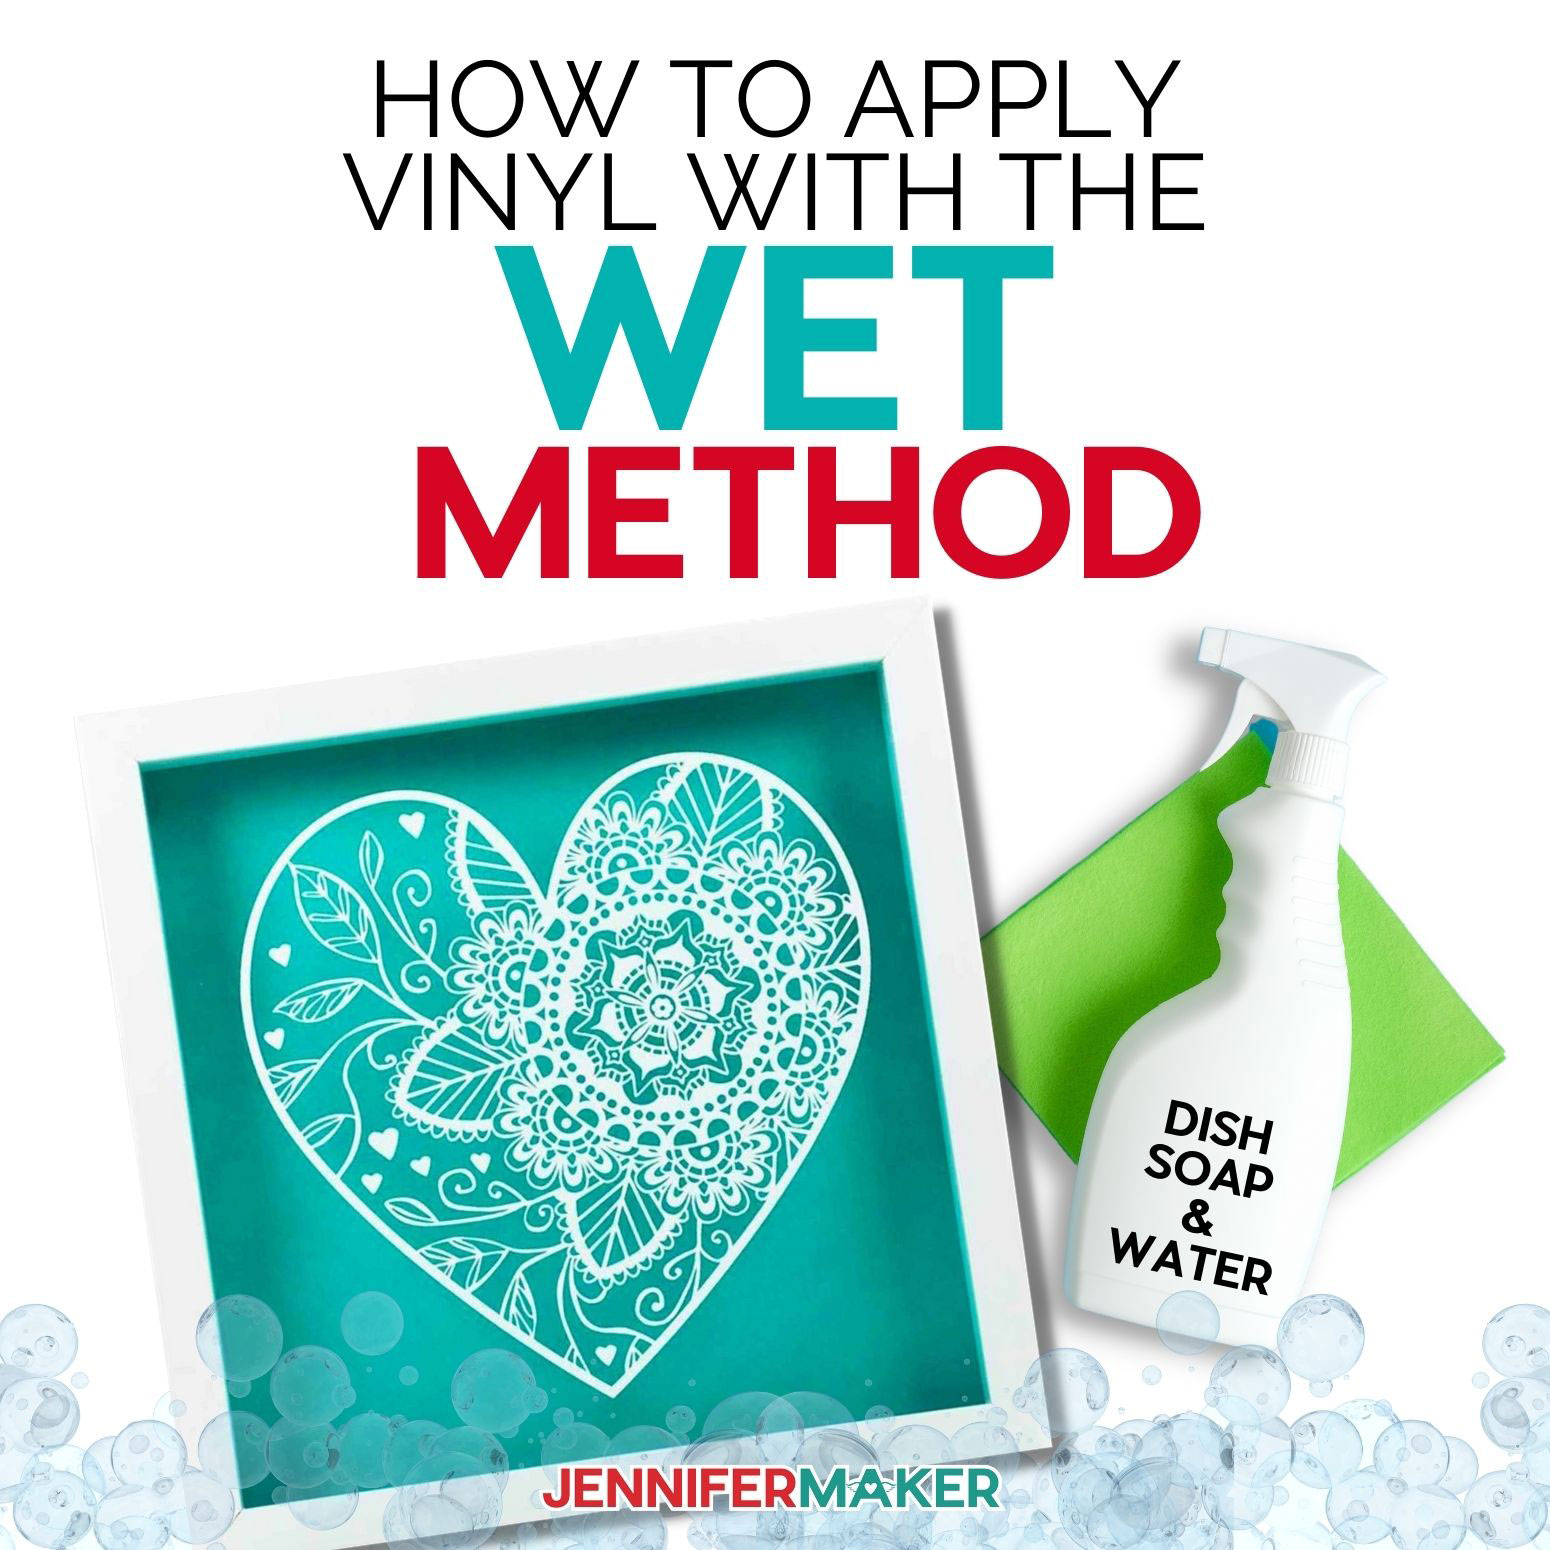
Learn how to apply vinyl with the wet method to get perfect placement every time!
Whether you are new to the Cricut crafting world or a seasoned professional, you know that one of the most popular materials to make crafts with is adhesive vinyl. You can use vinyl to make all sorts of things from coffee mugs to decals for your wall! But if you’ve been working with adhesive vinyl for any length of time, you also know it can be tricky. It can be hard to weed, position, and lay flat without bubbles or creases because it’s just so sticky. So today I’m going to teach you an amazing technique that will take the sticky hassle out of vinyl: the wet method. This trick will help you make a stunning shadow box with beautiful, intricate vinyl heart decals! Watch the full step-by-step tutorial video on how to apply vinyl with the wet method: Depending on how familiar you are with vinyl, you may or may not know that placing adhesive vinyl on anything can be tricky. The vinyl immediately wants to stick, making it really hard to put it exactly where you want it. And when you do get it into place, it can be tough to push out all the bubbles and avoid creases. But there is an easier way … and all it takes is a little soapy water.
This soapy water trick is a game-changer for vinyl projects and I’m going to show you exactly how it works to make a beautiful shadowbox.
Depending on how familiar you are with vinyl, you may or may not know that placing adhesive vinyl on anything can be tricky. The vinyl immediately wants to stick, making it really hard to put it exactly where you want it. And when you do get it into place, it can be tough to push out all the bubbles and avoid creases. But there is an easier way … and all it takes is a little soapy water.
This soapy water trick is a game-changer for vinyl projects and I’m going to show you exactly how it works to make a beautiful shadowbox.
 To use the wet vinyl transfer method, you’ll need some permanent vinyl; any color is fine. If you want to make a shadowbox like mine, choose contrasting colors for you vinyl and background.
For your transfer material, you can use either regular standard grip transfer tape OR transfer paper. I will compare how both options to help you decide which is best for you!
And to make the magic happen you’re going to need a spray bottle filled with water and some Dawn dish soap. I’ll explain exactly how much soap to put in the bottle in this tutorial.
To use the wet vinyl transfer method, you’ll need some permanent vinyl; any color is fine. If you want to make a shadowbox like mine, choose contrasting colors for you vinyl and background.
For your transfer material, you can use either regular standard grip transfer tape OR transfer paper. I will compare how both options to help you decide which is best for you!
And to make the magic happen you’re going to need a spray bottle filled with water and some Dawn dish soap. I’ll explain exactly how much soap to put in the bottle in this tutorial.
 If you also want to make the intricate heart shadow box shown in this tutorial, you’ll need a shadow box. I used a 10-inch shadowbox, but you can use any size you like. The wet vinyl transfer method works on any smooth, non-porous surface. “Non-porous” means there are no ‘pores’ in the surface that can trap air or water. SO it works on glass, hard plastic, or anything else really smooth that air and water can’t travel through.
 To cut the vinyl for our project, a Cricut cutting machine does a great job! You can use any Cricut that uses Design Space for this project! If you do use a Cricut, you’ll also want a green machine mat, brayer, scraper, measuring tape, a weeding tool, and some scissors.
Since I chose to use white vinyl for my shadow box, I’m going to use my Cricut BrightPad to help during weeding. It’s hard to see cuts on white vinyl, so this will help me see them better, but it’s completely optional.
You’ll also want isopropyl rubbing alcohol and a lint-free cloth to clean the glass of the shadowbox.
My gorgeously intricate heart designs are perfect for the wet vinyl method, and I’m sharing these SVG cut files for free! See the material list below for links to everything you need to craft along with me!
Ready to make these gorgeous and intricate hearts with the wet vinyl method? I’m super excited to show you how! This post contains some affiliate links for your convenience (which means if you make a purchase after clicking a link I will earn a small commission but it won’t cost you a penny more)! Read my full disclosure policy.
To cut the vinyl for our project, a Cricut cutting machine does a great job! You can use any Cricut that uses Design Space for this project! If you do use a Cricut, you’ll also want a green machine mat, brayer, scraper, measuring tape, a weeding tool, and some scissors.
Since I chose to use white vinyl for my shadow box, I’m going to use my Cricut BrightPad to help during weeding. It’s hard to see cuts on white vinyl, so this will help me see them better, but it’s completely optional.
You’ll also want isopropyl rubbing alcohol and a lint-free cloth to clean the glass of the shadowbox.
My gorgeously intricate heart designs are perfect for the wet vinyl method, and I’m sharing these SVG cut files for free! See the material list below for links to everything you need to craft along with me!
Ready to make these gorgeous and intricate hearts with the wet vinyl method? I’m super excited to show you how! This post contains some affiliate links for your convenience (which means if you make a purchase after clicking a link I will earn a small commission but it won’t cost you a penny more)! Read my full disclosure policy.
Materials to Apply Vinyl with the Wet Method
- Permanent Adhesive Vinyl — I used Cricut Premium Vinyl – Permanent in red (one 9″ x 9″ piece)
- Transfer Paper (one 9″ x 9″ piece) OR Transfer Tape — I used Cricut Vinyl Transfer Tape (one 9″ x 9″ piece)
- Dawn Dish Soap (or any general-purpose liquid dish soap)
- Water (tap is fine)
- Spray Bottle
- One (1) Shadowbox Frame — I used a 10″ x 10″ frame, but you can use a different size
- One (1) 12″ x 12″ 65 lb Cardstock Sheet for your background
- A method to cut your vinyl decals — I used the amazing Cricut Maker 3, but you can also use the Cricut Maker, Cricut Explore 3, the Cricut Explore, or the Cricut Joy — you can use the standard fine-point blade for this project
- Cricut Green StandardGrip Machine Mat, 12″ x 12″
- Cricut XL Scraper
- Cricut Weeding Tool
- Isopropyl Rubbing Alcohol, 90% or higher
- Coffee Filters or Lint-Free Towel
- Cricut Trimmer (or Scissors)
- Measuring Tape
- Cricut BrightPad Go (Optional)
- Painter’s Tape (Optional)
- Towel larger than your project to protect your working surface (Optional)
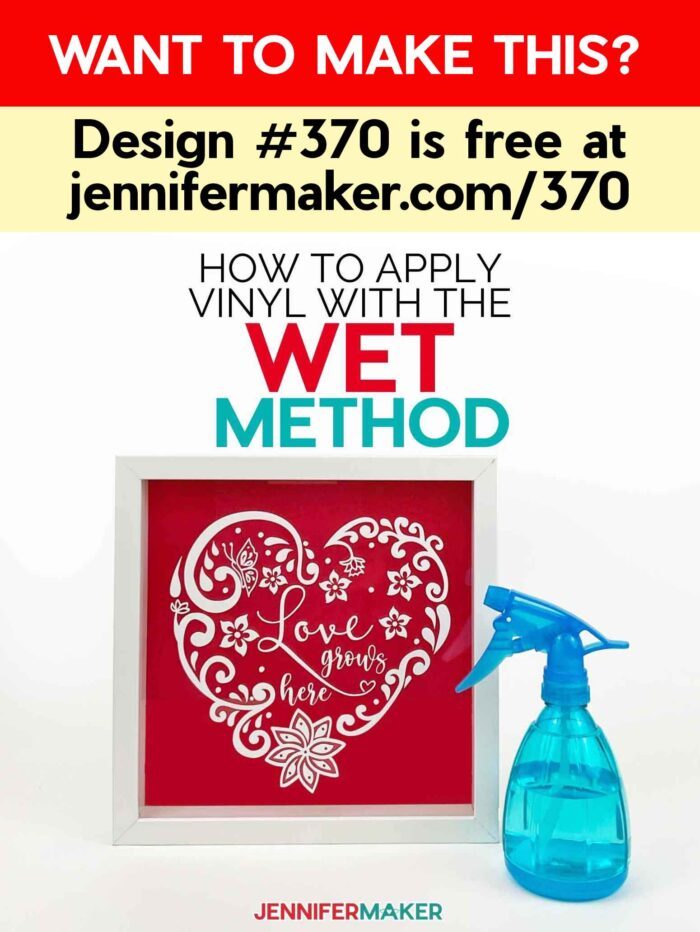
- Design #370 – My free SVG design files (available in my free resource library — get the password by filling out the form at the bottom of this page)
How to Make an Intricate Heart Shadowbox with the Wet Vinyl Transfer Method
Intricate Hearts - Wet Vinyl Technique
Learn how to use the wet vinyl method to easily place detailed vinyl designs like my Intricate Hearts on glass with no bubbles!
Materials
- Permanent Adhesive Vinyl — I used Cricut Premium Vinyl - Permanent in red (one 9" x 9" piece)
- Transfer Paper (one 9" x 9" piece)
- Transfer Tape — I used Cricut Vinyl Transfer Tape (one 9" x 9" piece)
- One (1) 10" x 10" Shadowbox Frame
- One (1) 12" x 12" Cardstock Sheet
- Design #370 — My free SVG files (available in my free resource library — get the password at the bottom of this post
Tools
- A method to cut your vinyl decals — I used the amazing Cricut Maker 3 but you can also use the Cricut Maker, Cricut Explore 3, the Cricut Explore, or the Cricut Joy — you can use the standard fine-point blade for this project
- Dawn Dish Soap
- Spray Bottle
- Water
- Cricut Green StandardGrip Machine Mat, 12" x 12"
- Cricut XL Scraper
- Cricut Weeding Tool
- Isopropyl Rubbing Alcohol, 90% or higher
- Coffee Filters or Lint-Free Towel
- Cricut Trimmer (or Scissors)
- Measuring Tape
- Cricut BrightPad Go (Optional)
- Painter's Tape (Optional)
- Towel larger than your shadow box
Instructions
If you have any experience with adhesive vinyl, you know that placing a large piece of it on anything can be tricky. The vinyl immediately wants to stick, making it really hard to position correctly, push out all the bubbles, and avoid creases. But there is an easier way! Let me show you how to apply vinyl with the wet method. A little soapy water is all you need.
You can use this technique with both transfer TAPE and transfer PAPER. I’m going to go over both techniques and share which method I like best at the very end.
NOTE: You won't need any fonts to make these shadow boxes, but I listed all of the fonts I used to design the SVG decals in the Notes section below.
STEP 1: GET MY FREE INTRICATE HEARTS SVG FILES
The first step is to download my Intricate Hearts designs from my free resource library — it's design #370. You can get the password by filling out the form at the bottom of this page!
TIP: If you are not sure how to upload an SVG cut file to Cricut Design Space, watch this helpful video training series I made. If you are on an iPad or iPhone, here is how to download and upload SVG files to the Cricut Design Space app.
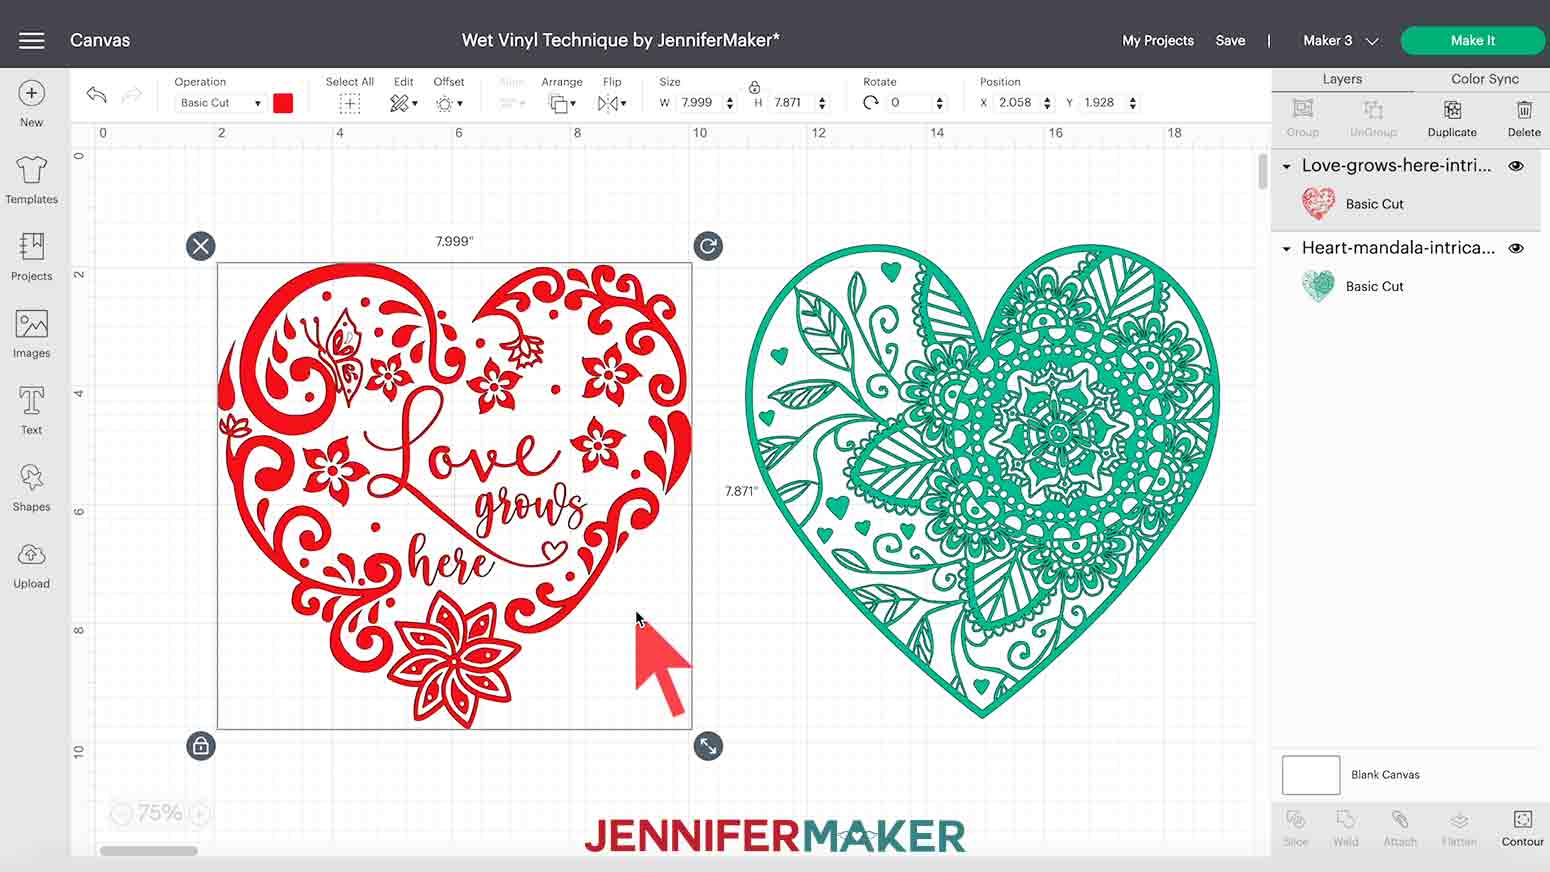
This is what my two intricate hearts SVG files look like when they are uploaded to Cricut Design Space.

STEP 2: Prepare decal in Design Space
Determine where on the frame’s glass you’d like to place your decal and measure the space you’d like to fill. I’m using a 10" x 10" shadow box and want the decal to span nearly the width of the glass, so I want my decal to measure 8" wide. To change the size of any design to fit your space, click and drag the resize handle on the bottom right corner of the decal box on the Canvas.
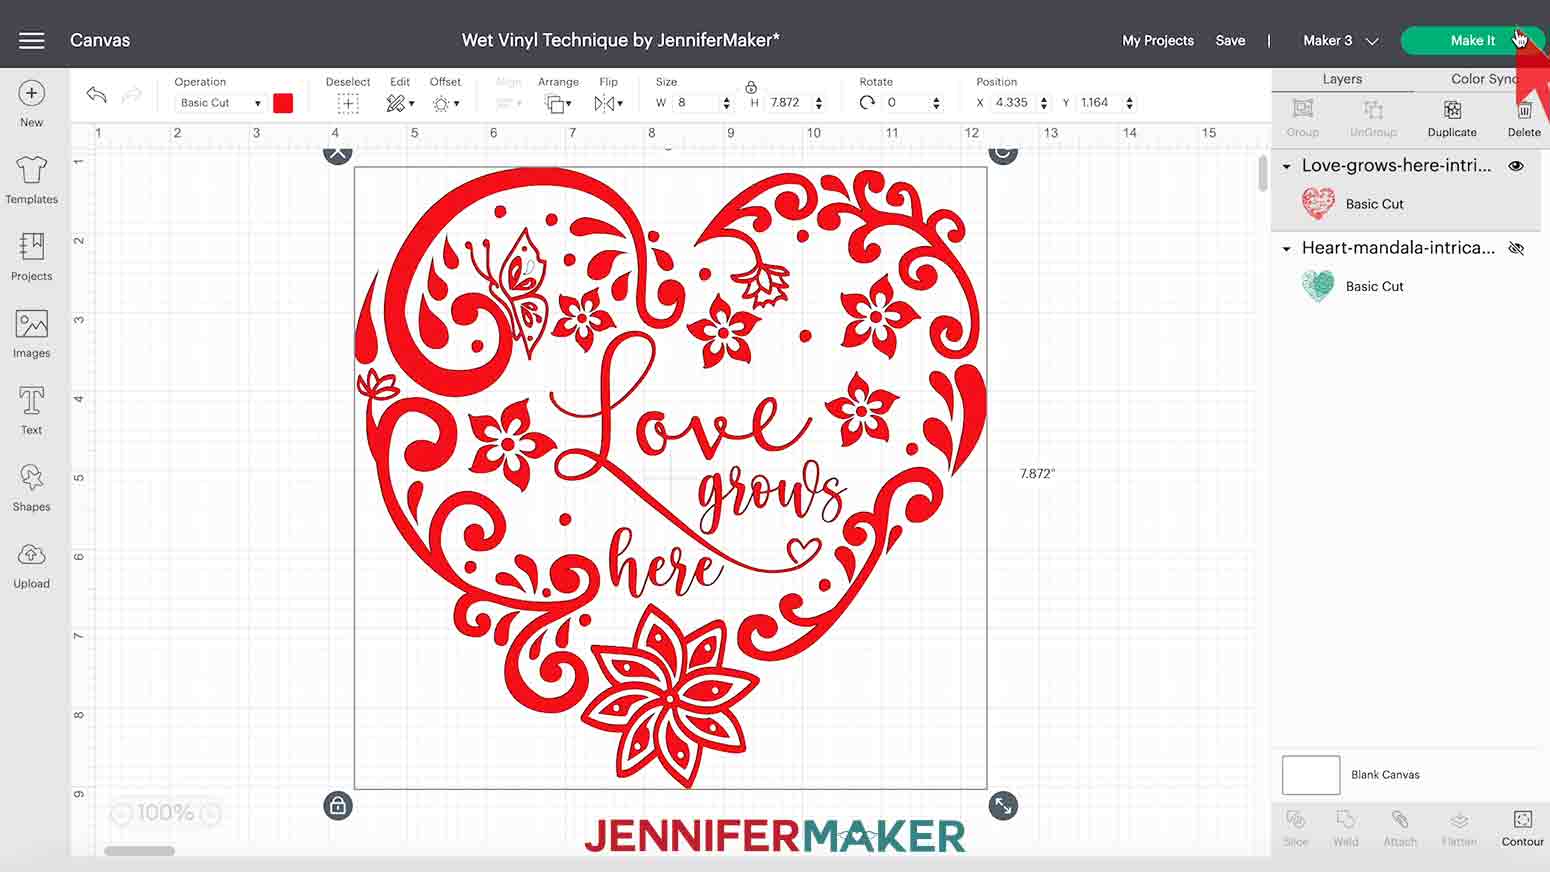
TIP: You can also resize your decal by entering the needed dimensions in the fields under "Size" in the top menu. For this decal, you would enter "8" under Width ("W") and keep the padlock locked to maintain the proportions. 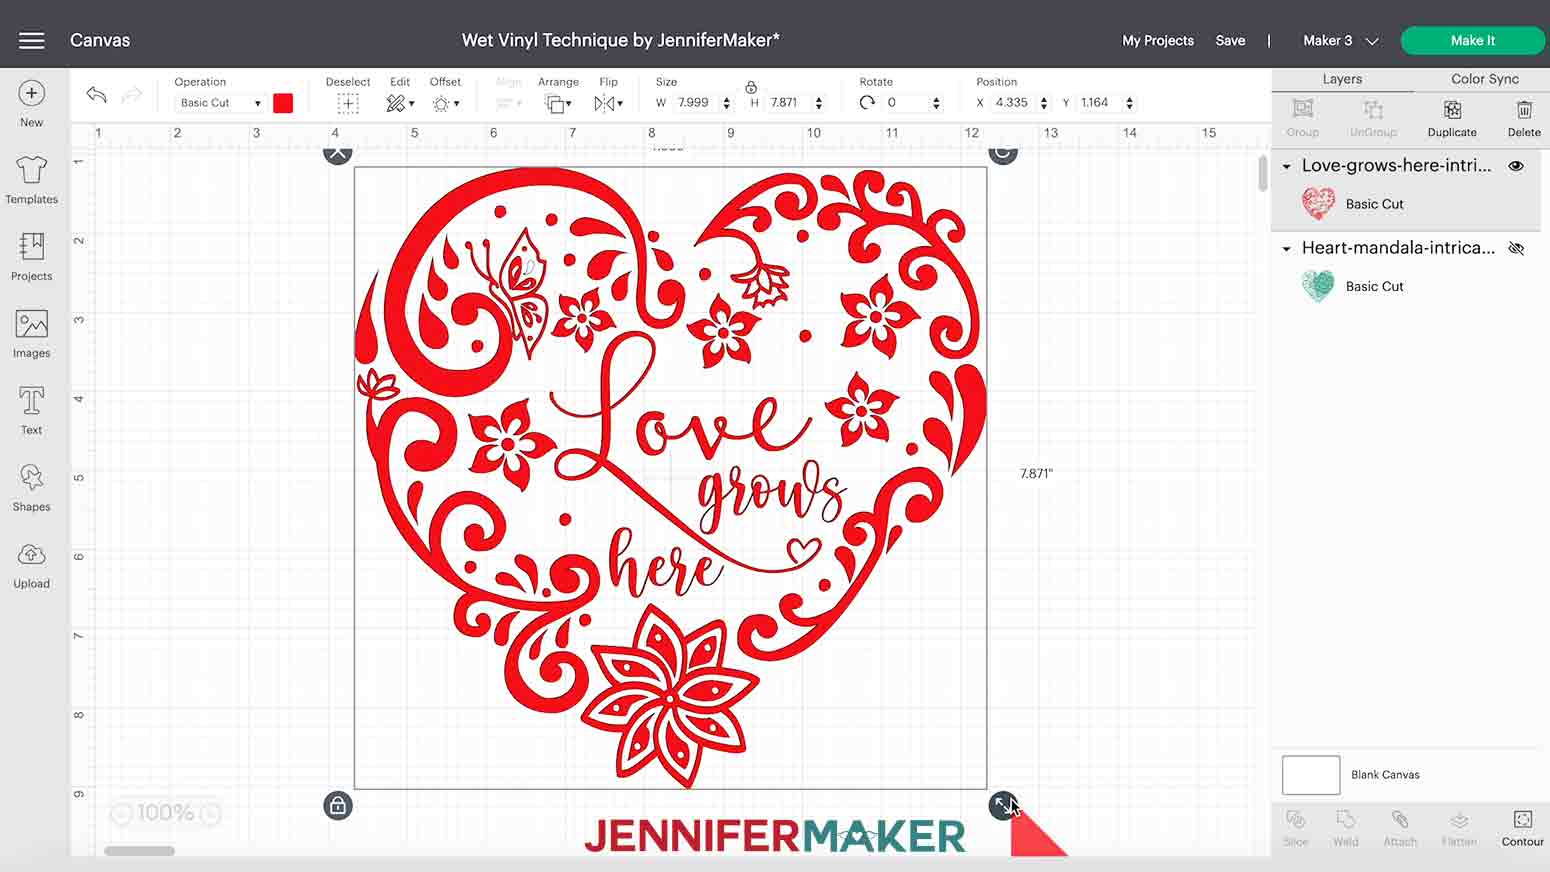
That's all we have to do! Now, select your machine on the top menu bar and then click “Make It.”
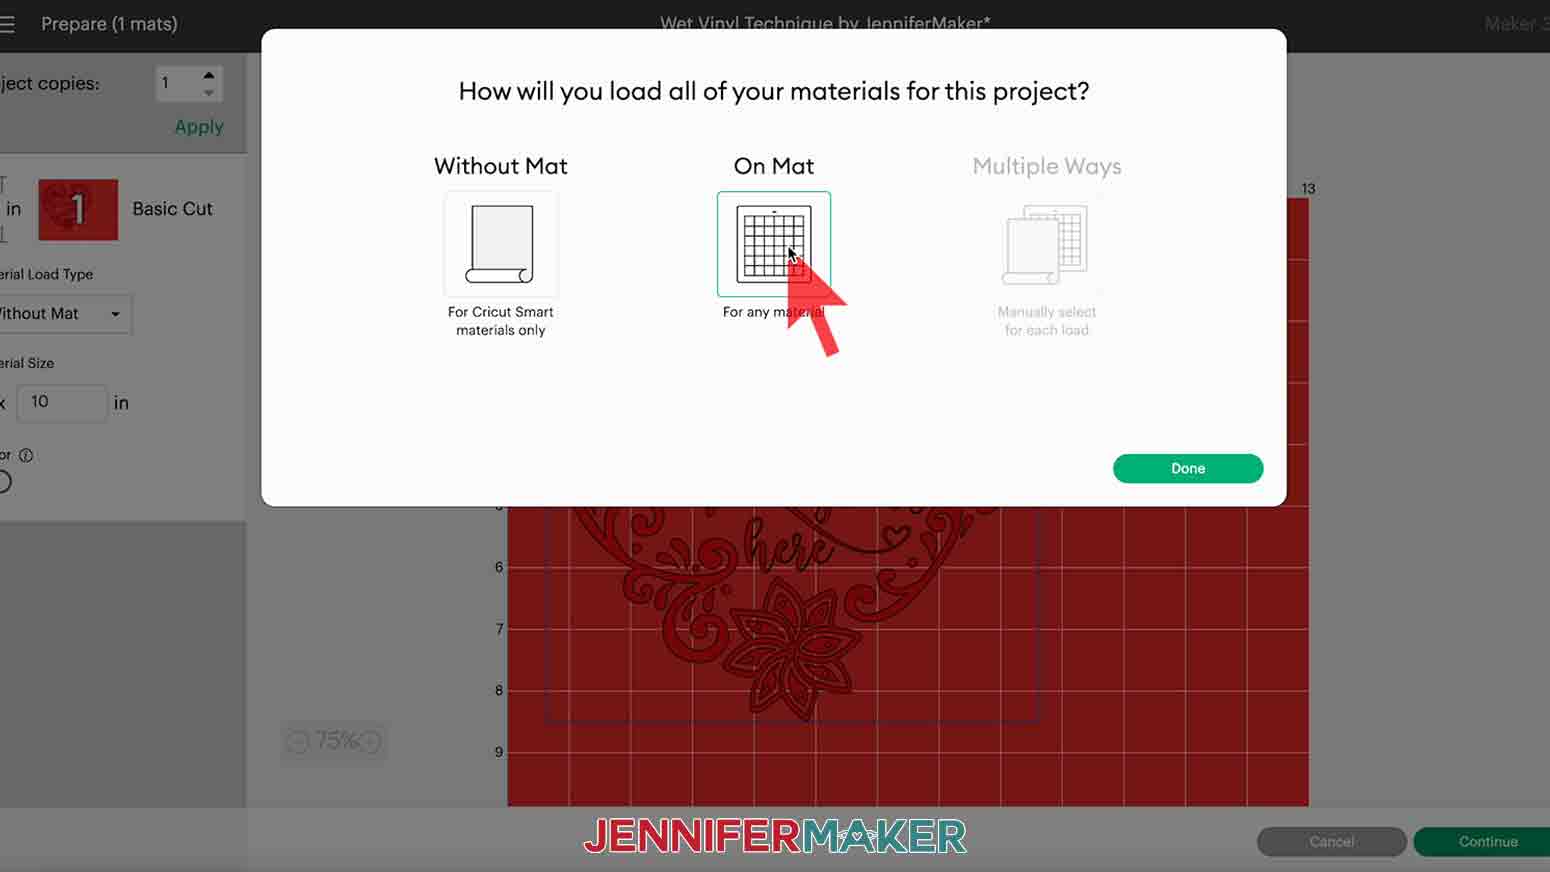
The Prepare screen will load with a popup asking how you want to load your materials. Unless you’re using Smart Vinyl on a Cricut Maker 3, Explore 3 or Joy, select “On Mat” and click “Done.” If you are not using Smart Vinyl, select "Without Mat" and click "Done." If you don't se this selection window, don't worry about it. The Prepare screen will then be fully visible.
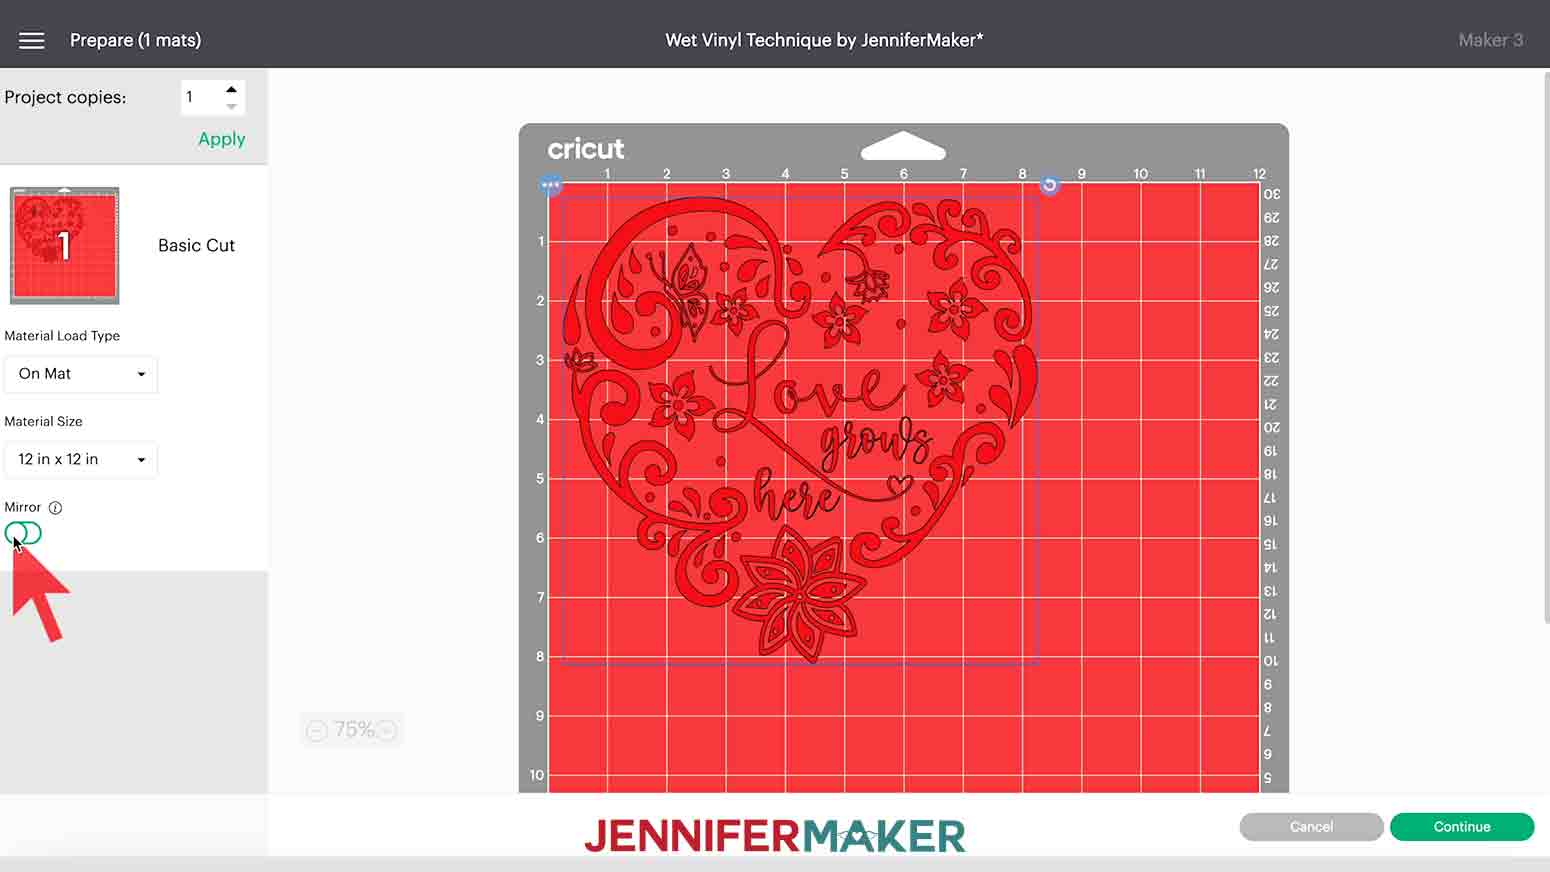
As long as your vinyl is the same color or pattern on both sides, you can apply the decal on the inside surface of the shadow box glass or the outside. If you want to put your decal on the inside, you will cut it in reverse. To do this, click the toggle under "Mirror" to activate that setting. If you plan to put it on the outside of the glass, you can skip this step. Then click "Continue."
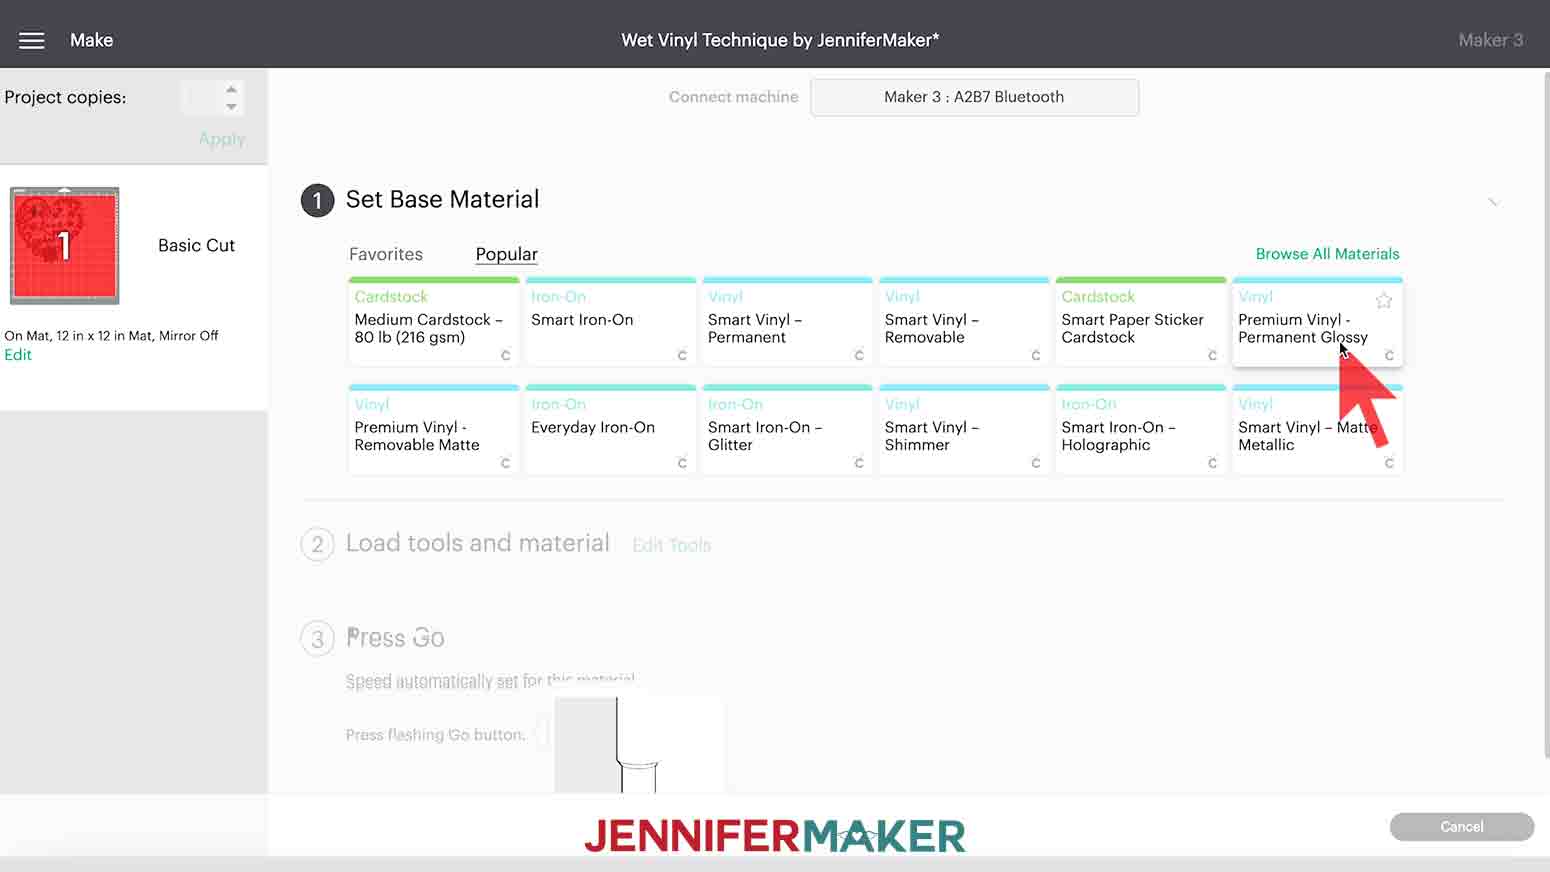
Once the Make screen loads, select your machine connection method at the top. Set your Base Material when prompted. I selected "Premium Vinyl - Permanent Glossy" in red. If you don't see the material you are looking for under "Favorites" or "Popular," click "Browse All Materials" to search for it. And I always recommend using “More” pressure to ensure the best cut. Make sure the correct tool is listed and set in the indicated clamp.
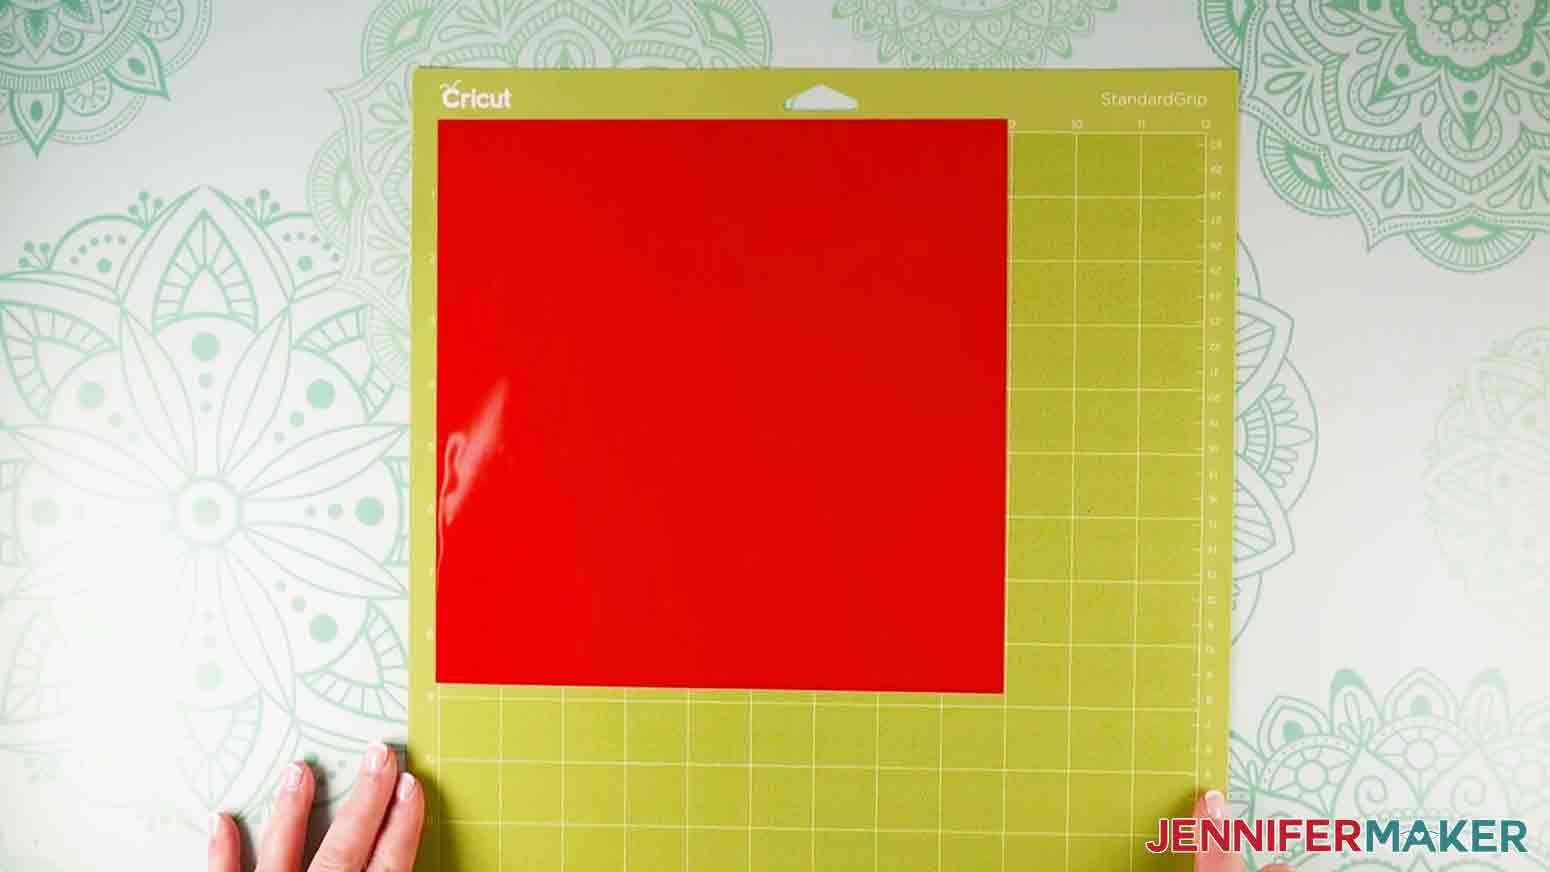
If you’re using a mat as I did, place your vinyl on a Green StandardGrip Cutting Mat. Place the vinyl shiny side up in the upper left-hand corner of the mat grid, whether or not you are cutting normally or in reverse.
STEP 3: CUT AND WEED YOUR VINYL
When you’re all set up, load the mat and press your machine's "Go" button.
Once the cut is finished, unload the mat, flip it over and gently peel the mat off of the vinyl. Keep your design as flat as possible to avoid creases.
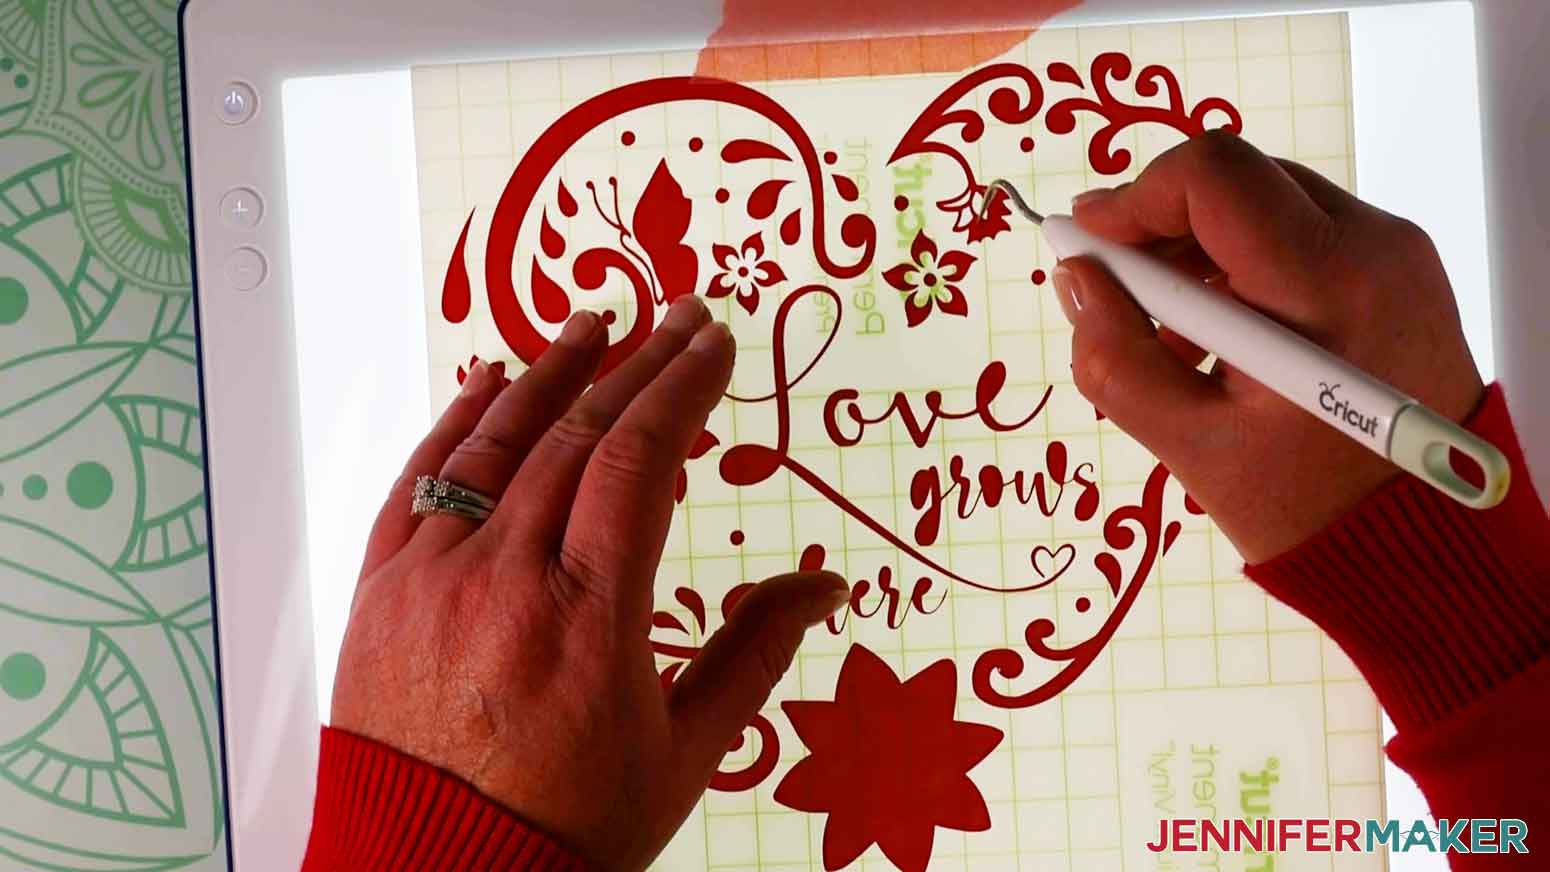
Weed your design carefully, removing all of the excess vinyl. Be sure that all the dots and small pieces stay on the carrier sheet, while removing all the small centers of your letters.
Sometimes, I tape my decal to a Cricut BrightPad Go to help me see better while weeding.
TIP: If you ever struggle with weeding, you are not alone! I have lots of super helpful weeding tips on my Cricut Best Tips and Tricks post.
STEP 4: APPLY TRANSFER TAPE OR TRANSFER PAPER
Since I'm comparing transfer TAPE and transfer PAPER, I cut two copies of the same design to test one with each. We'll start with the transfer tape.
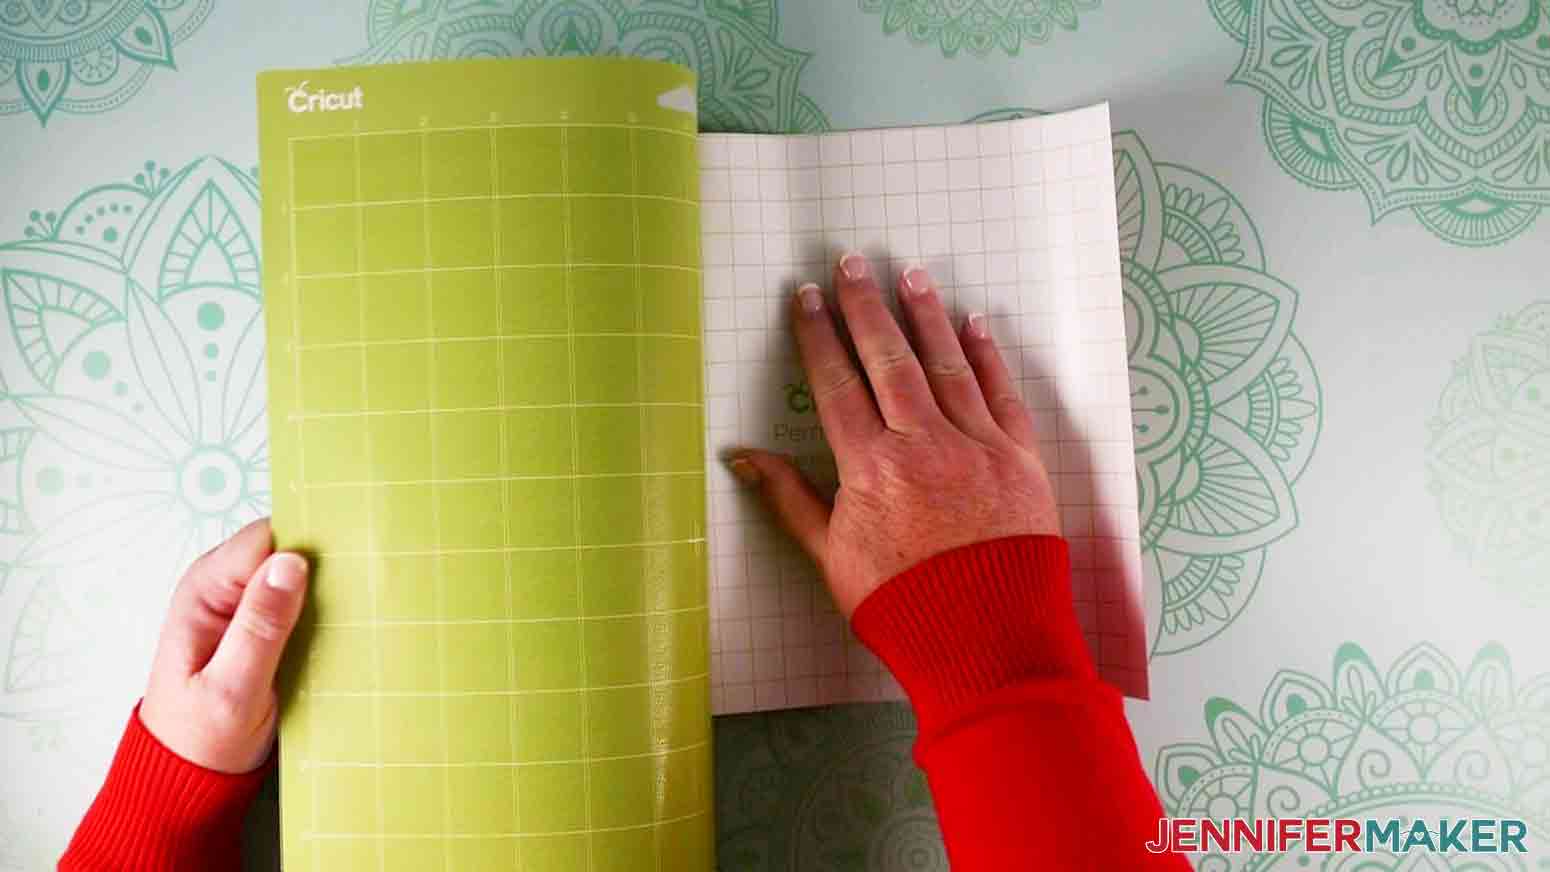
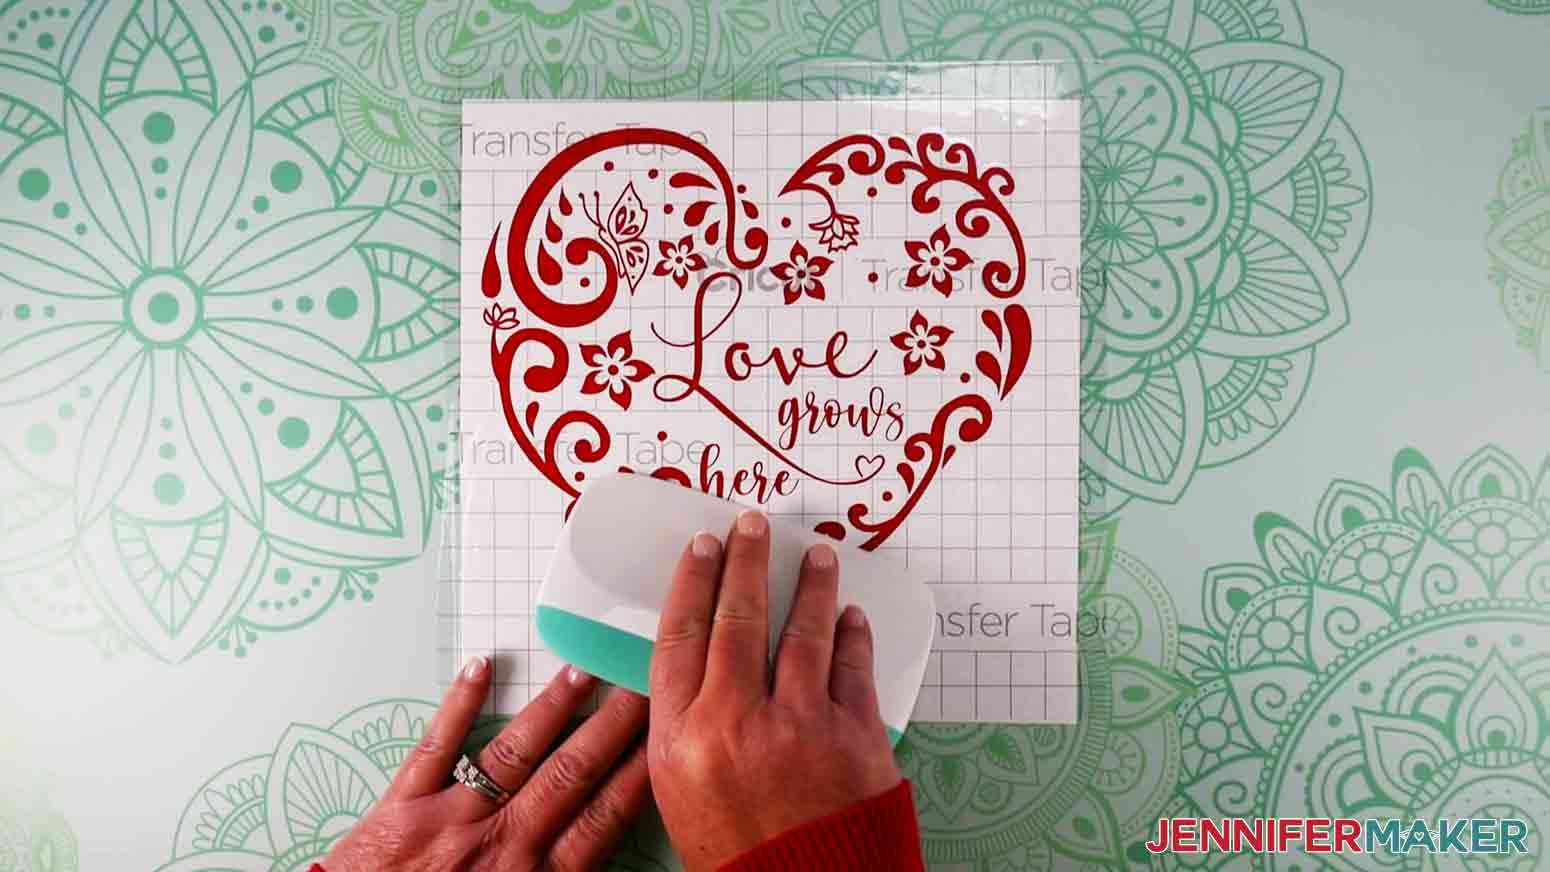
First, cut a piece of transfer tape a size just larger than your vinyl decal. Remove the backing from the transfer tape. Apply the material to your vinyl decal by holding the transfer tape in the shape of a taco or “U” shape. Then, put the bottom of your “taco” onto the middle of your design.
TIP: Try to line up the lines on the transfer tape with the edge of your vinyl's carrier sheet. The straighter your transfer tape is, the easier it is to align your decal on your frame.

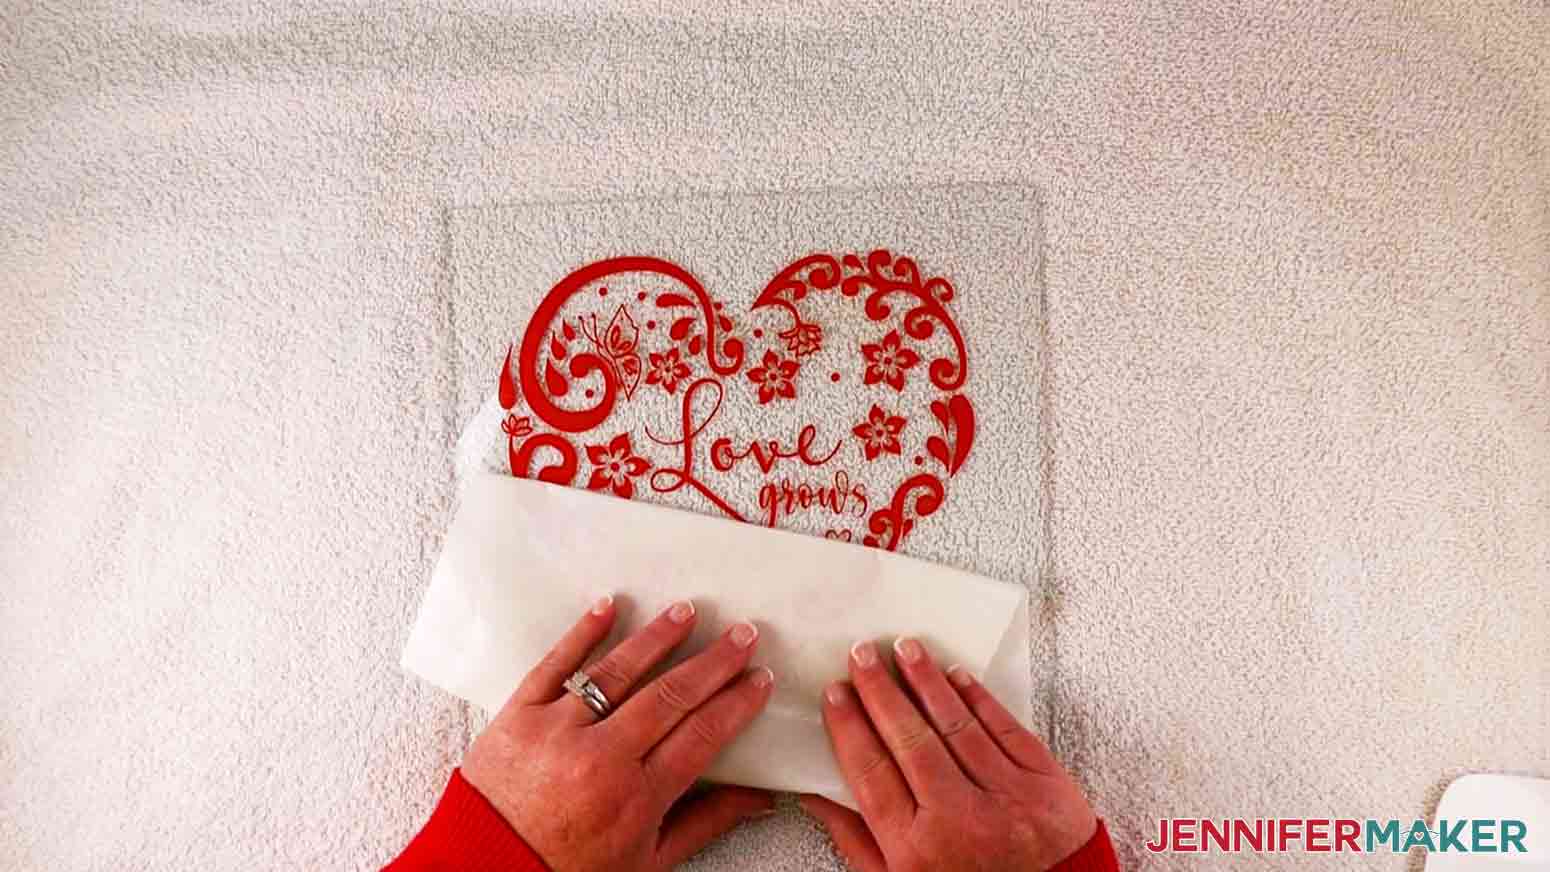
Smooth the tape over the decal from the center outward, making sure to press out and remove any bubbles. When the transfer tape is in place, use a scraper tool or other hard, flat-edged item (like a store loyalty card) to transfer the vinyl decal design to the transfer tape. It’s important to scrape it well to fully transfer the vinyl decal. Scraping the project from both the transfer tape side AND the carrier sheet side will help.
Since I want to compare transfer tape and transfer paper, I followed the same steps to apply my transfer paper to the second copy of my design. I hope you'll try the experiment, too!
STEP 5: PREPARE THE FRAME
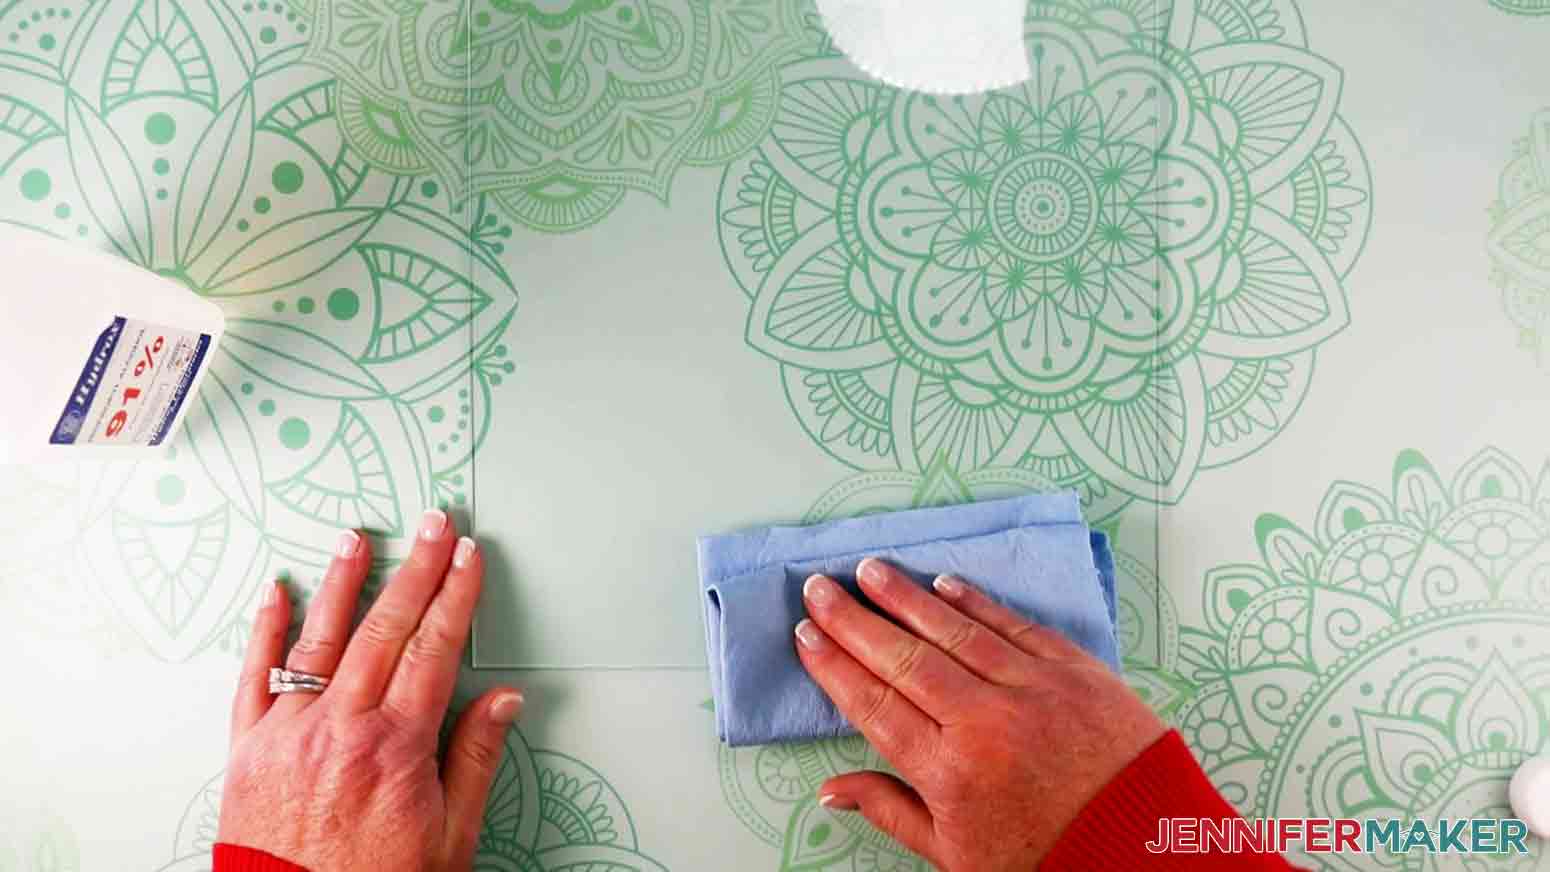
Now let's prepare our shadow box. Remove the back of the frame and then the glass. If your frame's glass has protective plastic on it, remove and discard it. Thoroughly clean both sides of the glass with isopropyl rubbing alcohol using a lint-free cloth or coffee filter.
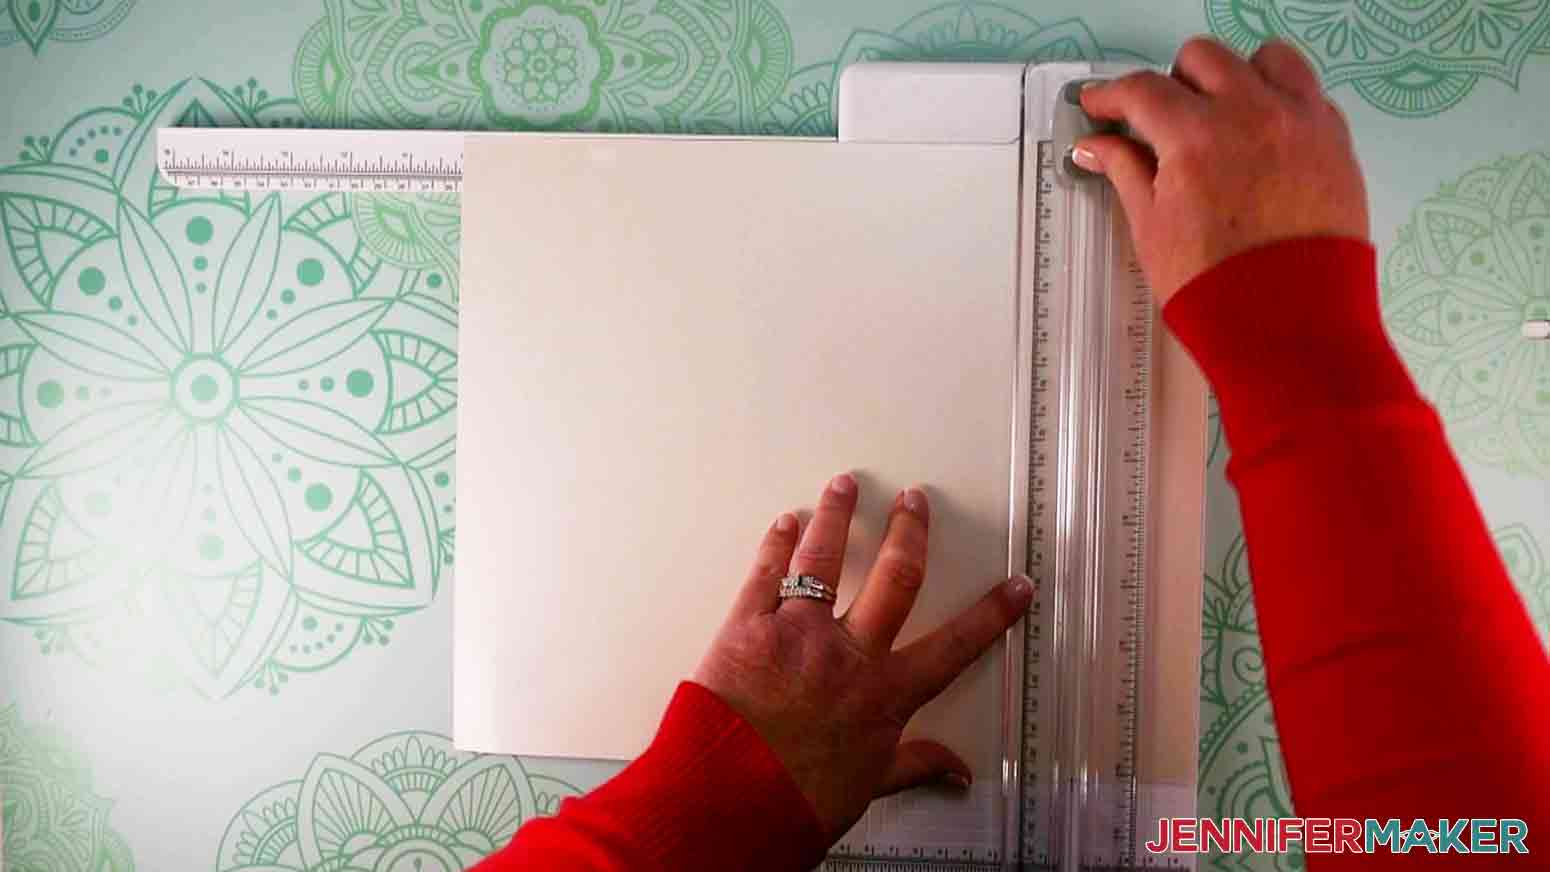
I used cardstock as my background inside the shadow boxes and suggest you do, too. Measure the size of the inner backer board to see what size cardstock you need. Use a Cricut Trimmer or pair of scissors to cut your cardstock down to size if necessary. For my Intricate Hearts frame, I cut a piece of 12" x 12" cardstock cut down to 10" x 10" to fit my 10" x 10" shadow box.
STEP 6: APPLY THE DECAL USING THE WET VINYL METHOD
Now, let’s apply the decal to the glass of the shadow box using the transfer tape and soapy water method.
Carefully peel the vinyl's carrier sheet off of the decal. TIP: If little bits don’t want to transfer to your tape, replace the carrier sheet and scrape it again, paying careful attention to those problem areas.
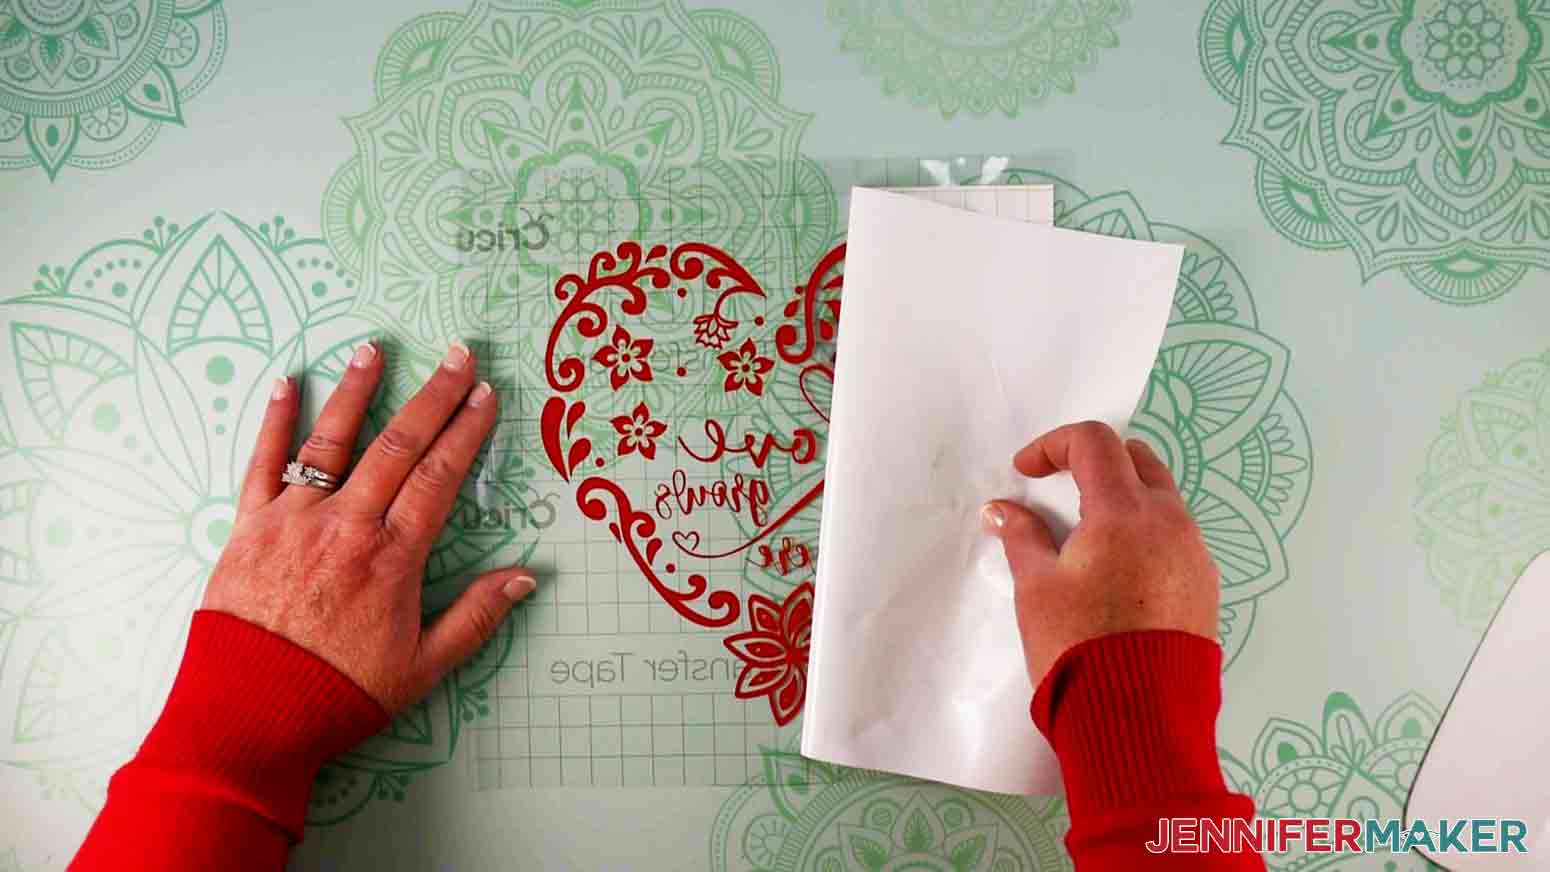
Place your decal to the side.
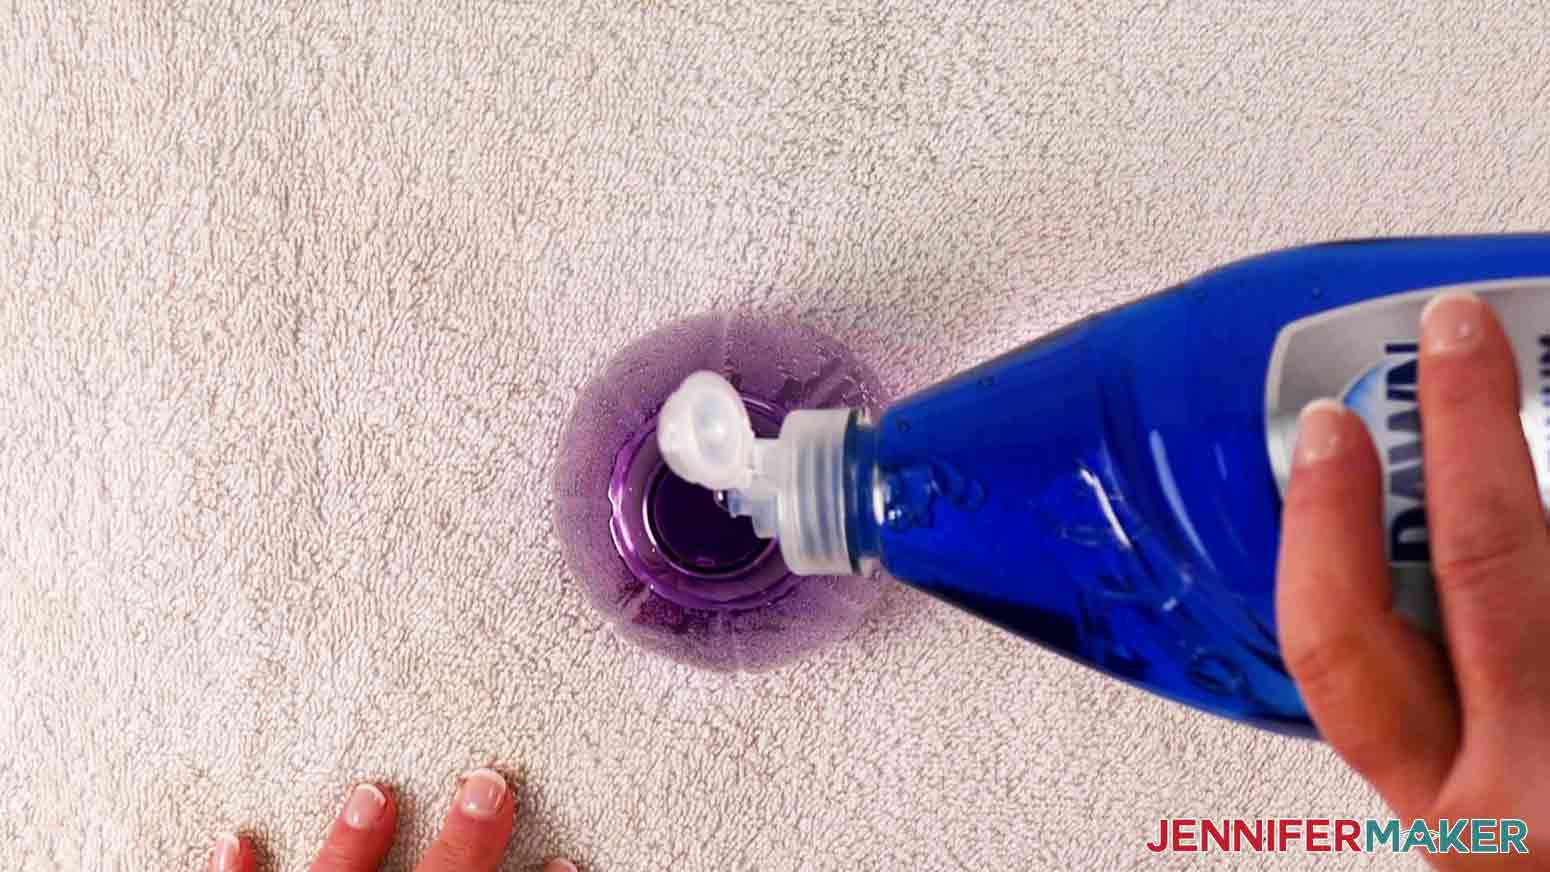
Next, grab your spray bottle and remove the top. Fill it most of the way with lukewarm water. Add ONE drop of Dawn dish soap per 16 oz water. Replace the cover and gently shake it to mix well.
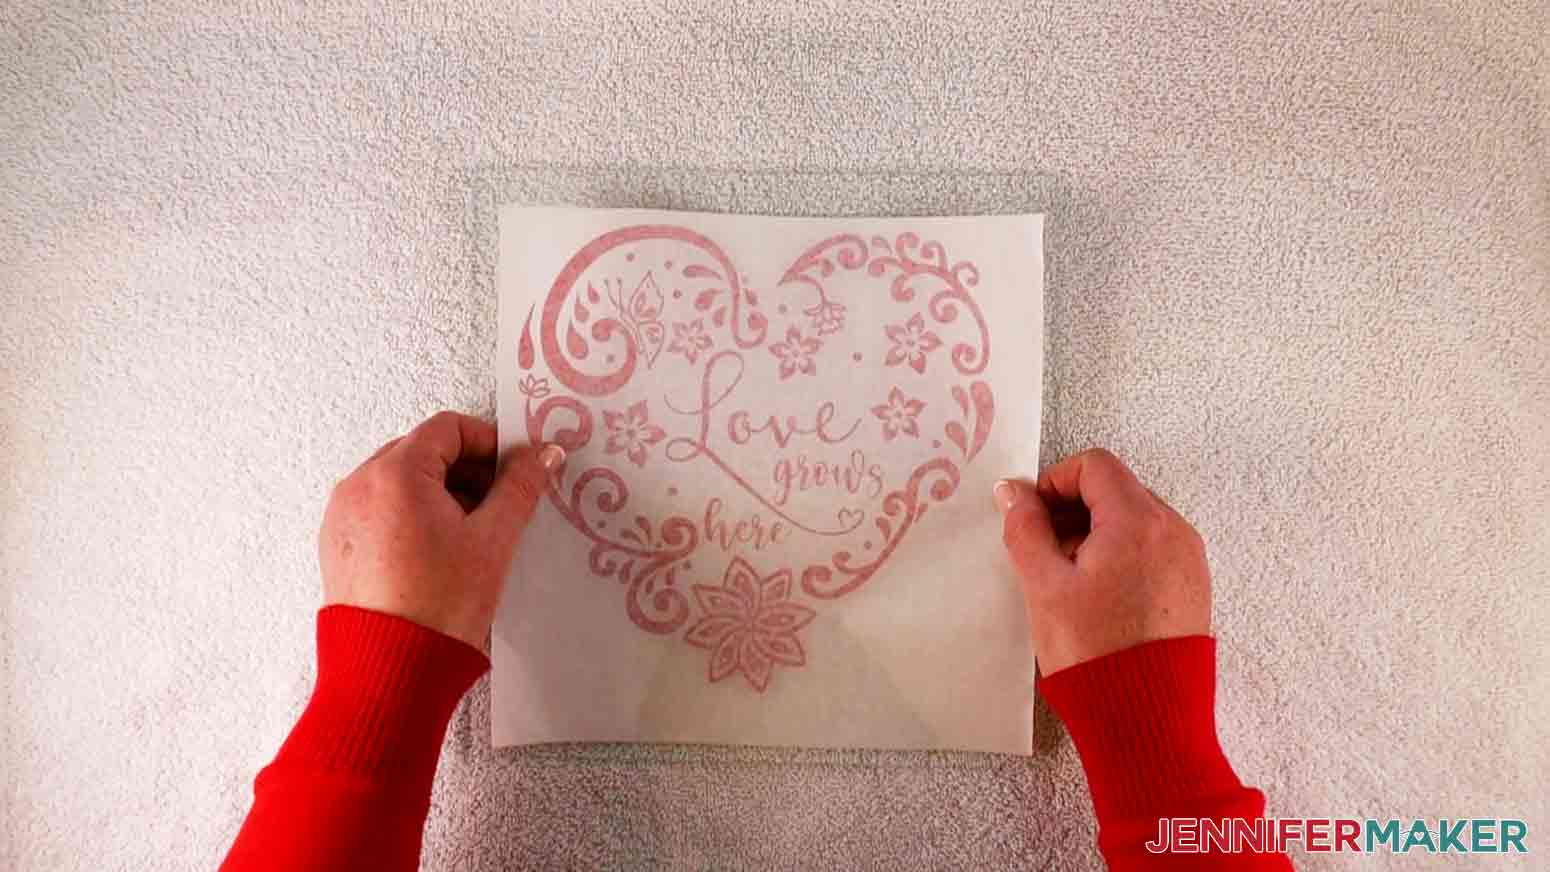
Lay down your towel to protect your work surface. Set the spray bottle nozzle to a fine mist and SPARINGLY mist the adhesive side of the decal and the glass surface. TIP: Too much water will prevent your decal from adhering well to the glass. Spray the minimum amount of water on both surfaces until they are just moistened.
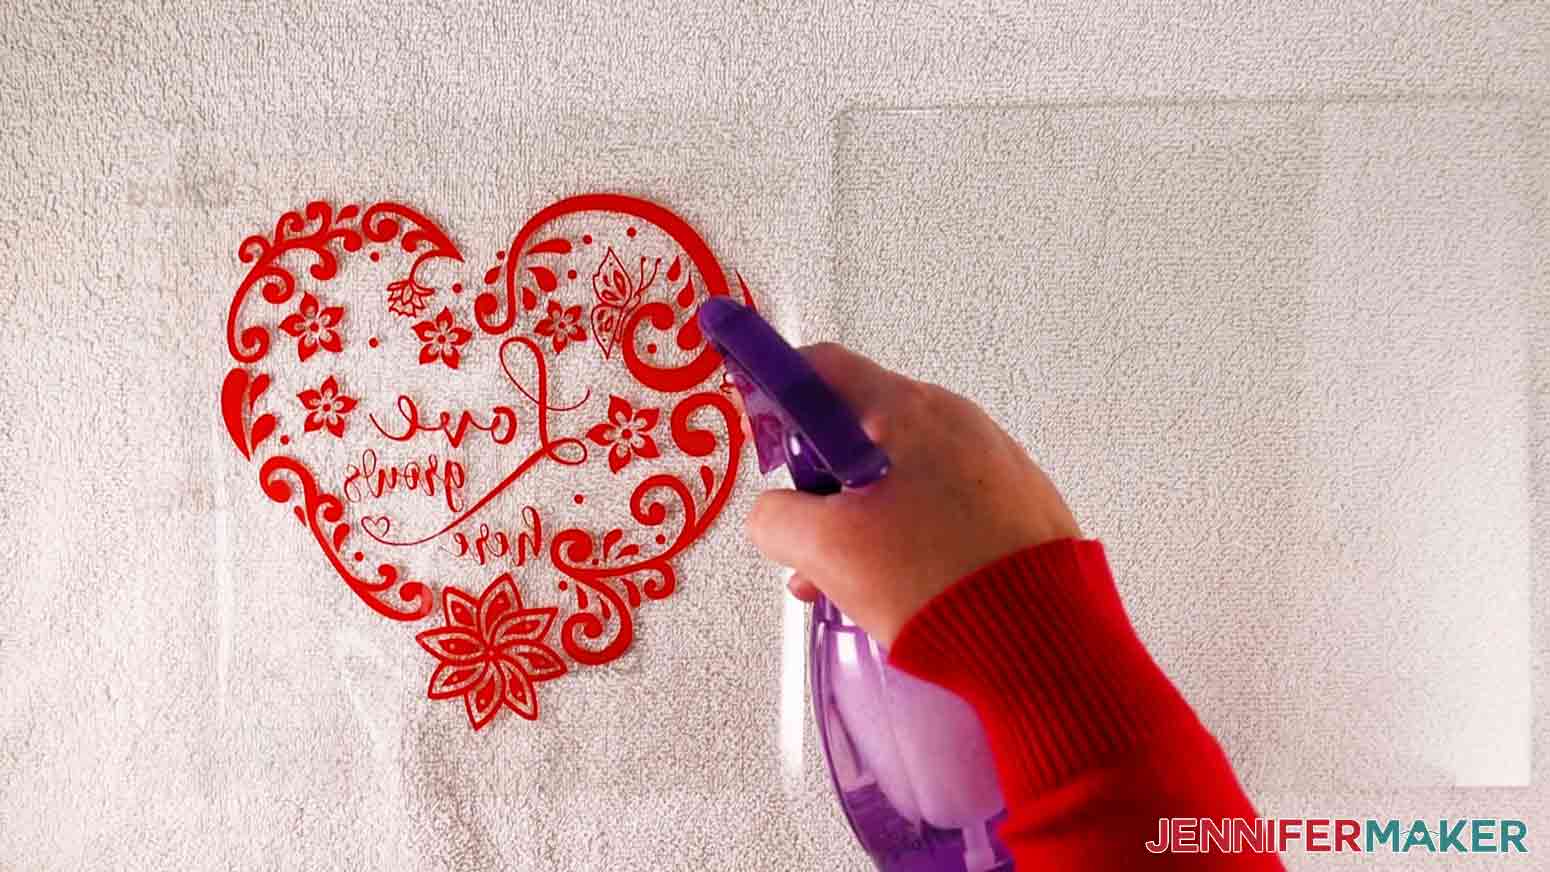
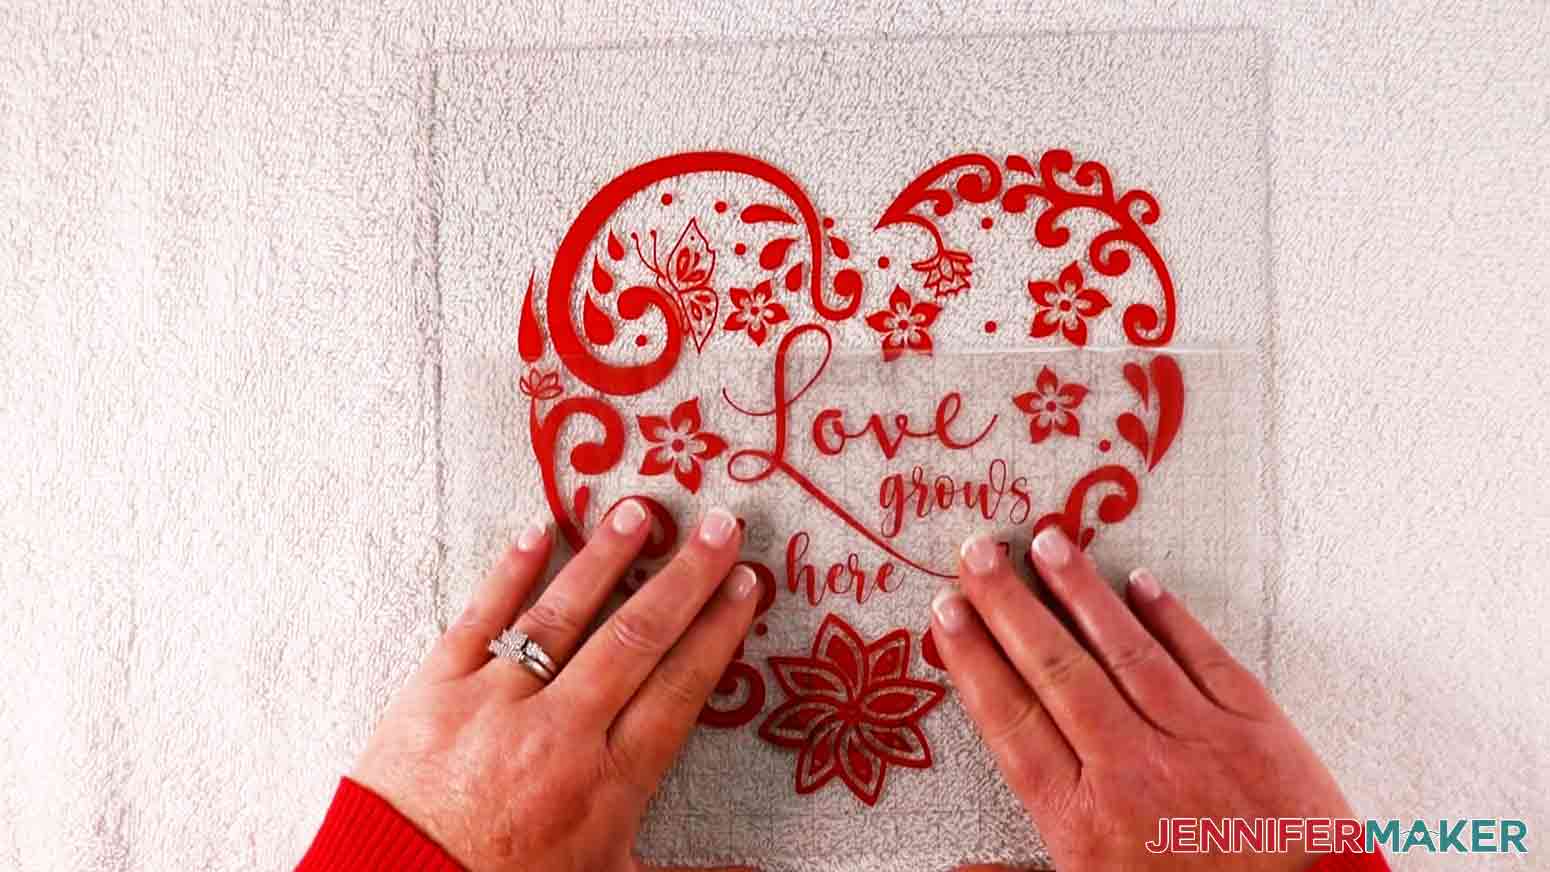
Now, lightly place your decal on your glass. The soapy water will give you a little flexibility to move the decal around a bit to get it perfectly aligned.
Once your decal is straight and centered on the glass, use a scraper tool to carefully push out the water outwards from the center. You want to remove as much water as possible. You’ll notice that as you push out the water, any bubbles or creases will smooth out! Keep a rag or paper towel handy to help mop up the liquid.
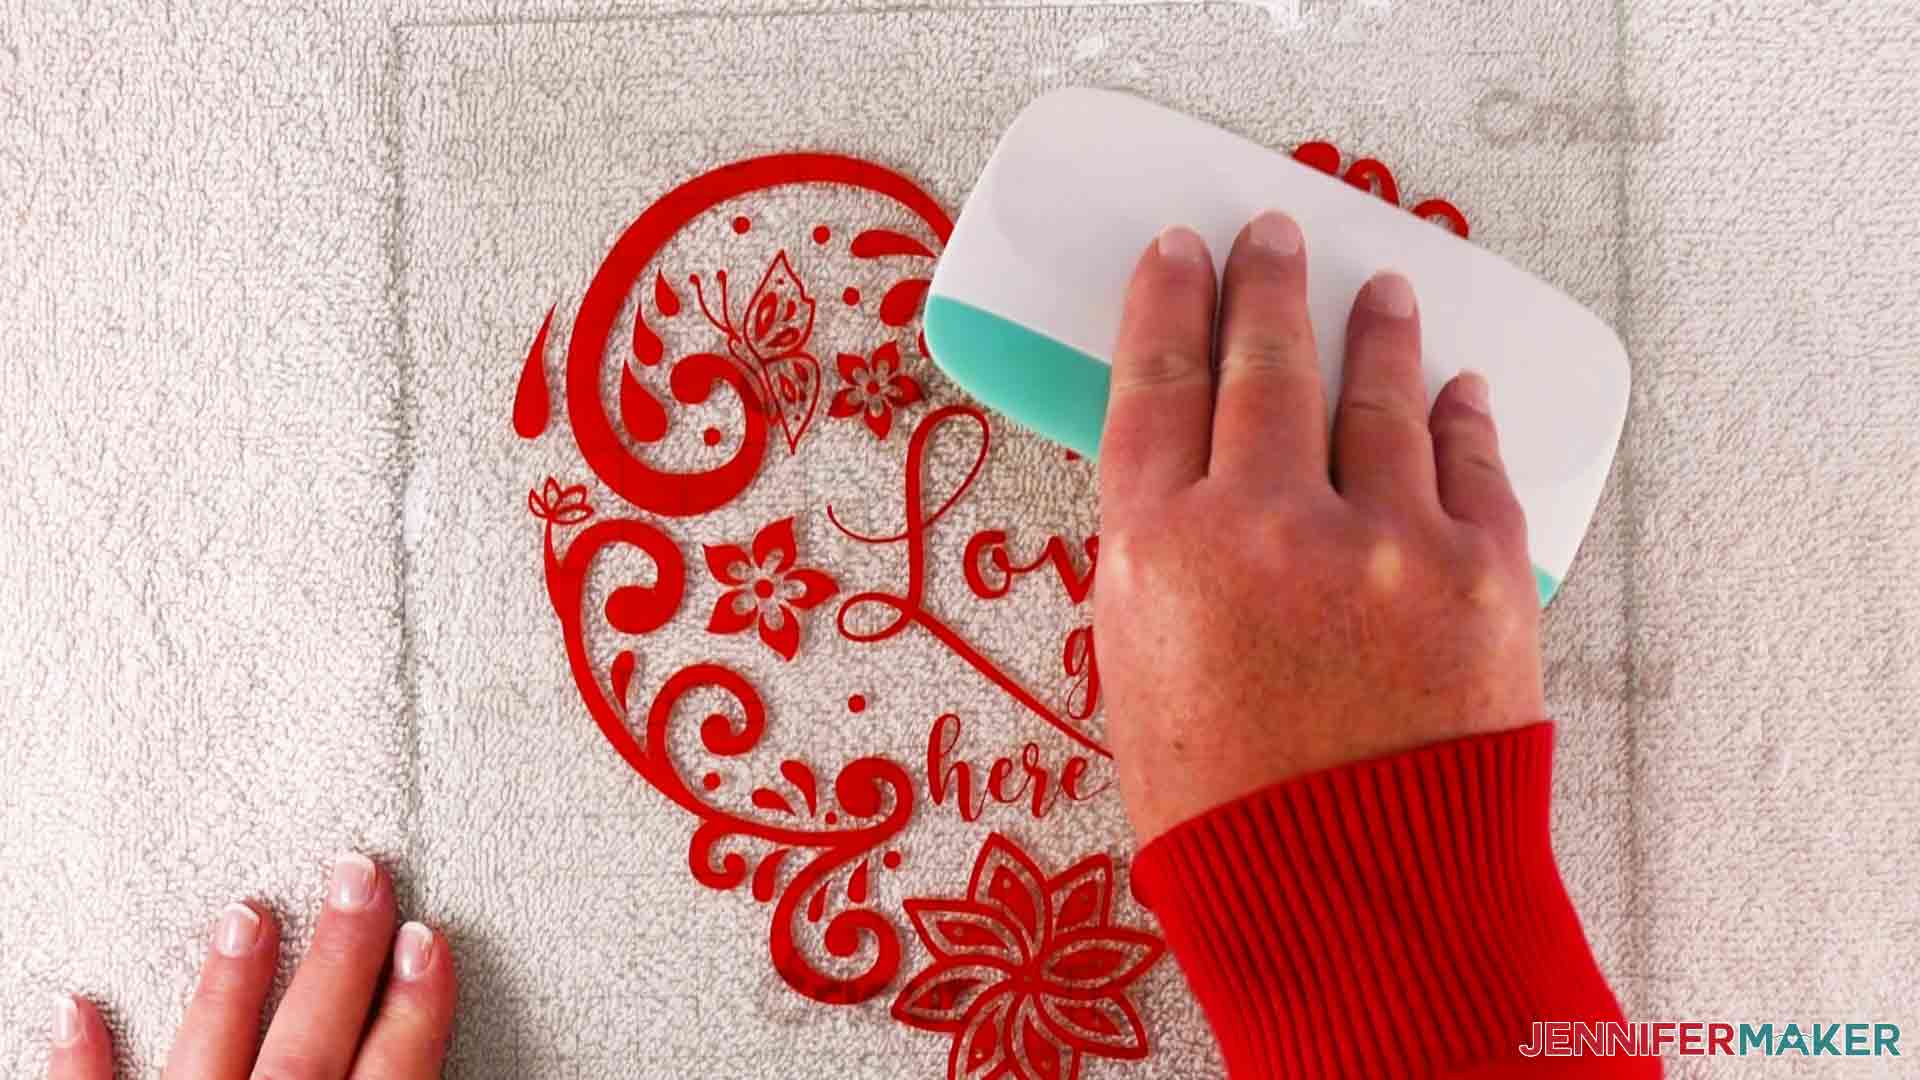
Let your decal dry on the glass for a few hours. The exact time will depend on your local climate. Squeegeeing your decal every so often with the scraper tool while it dries will help quicken the process.
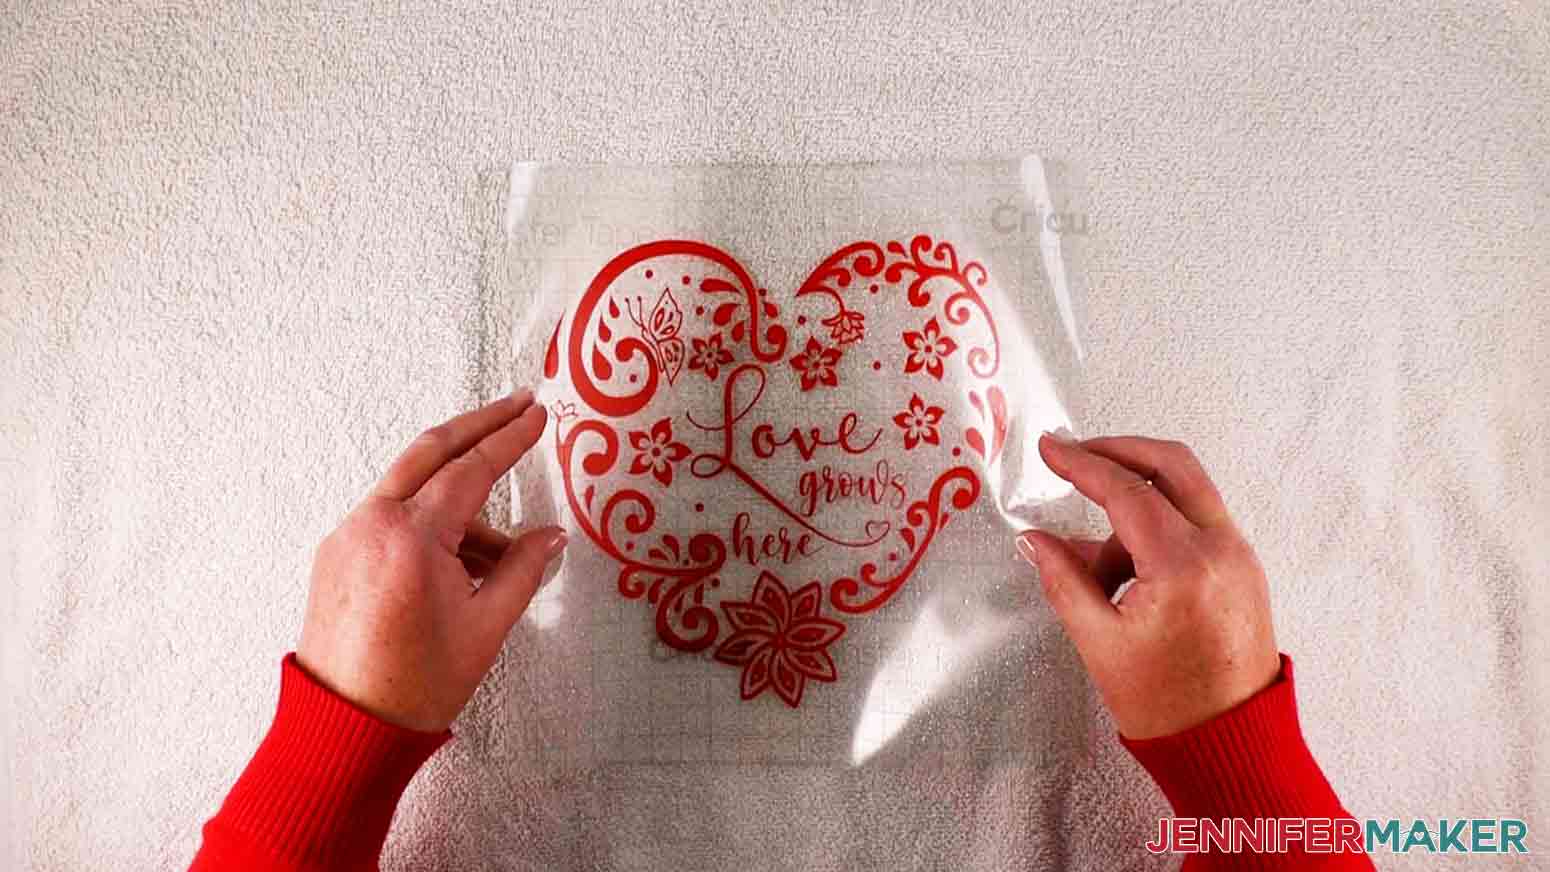
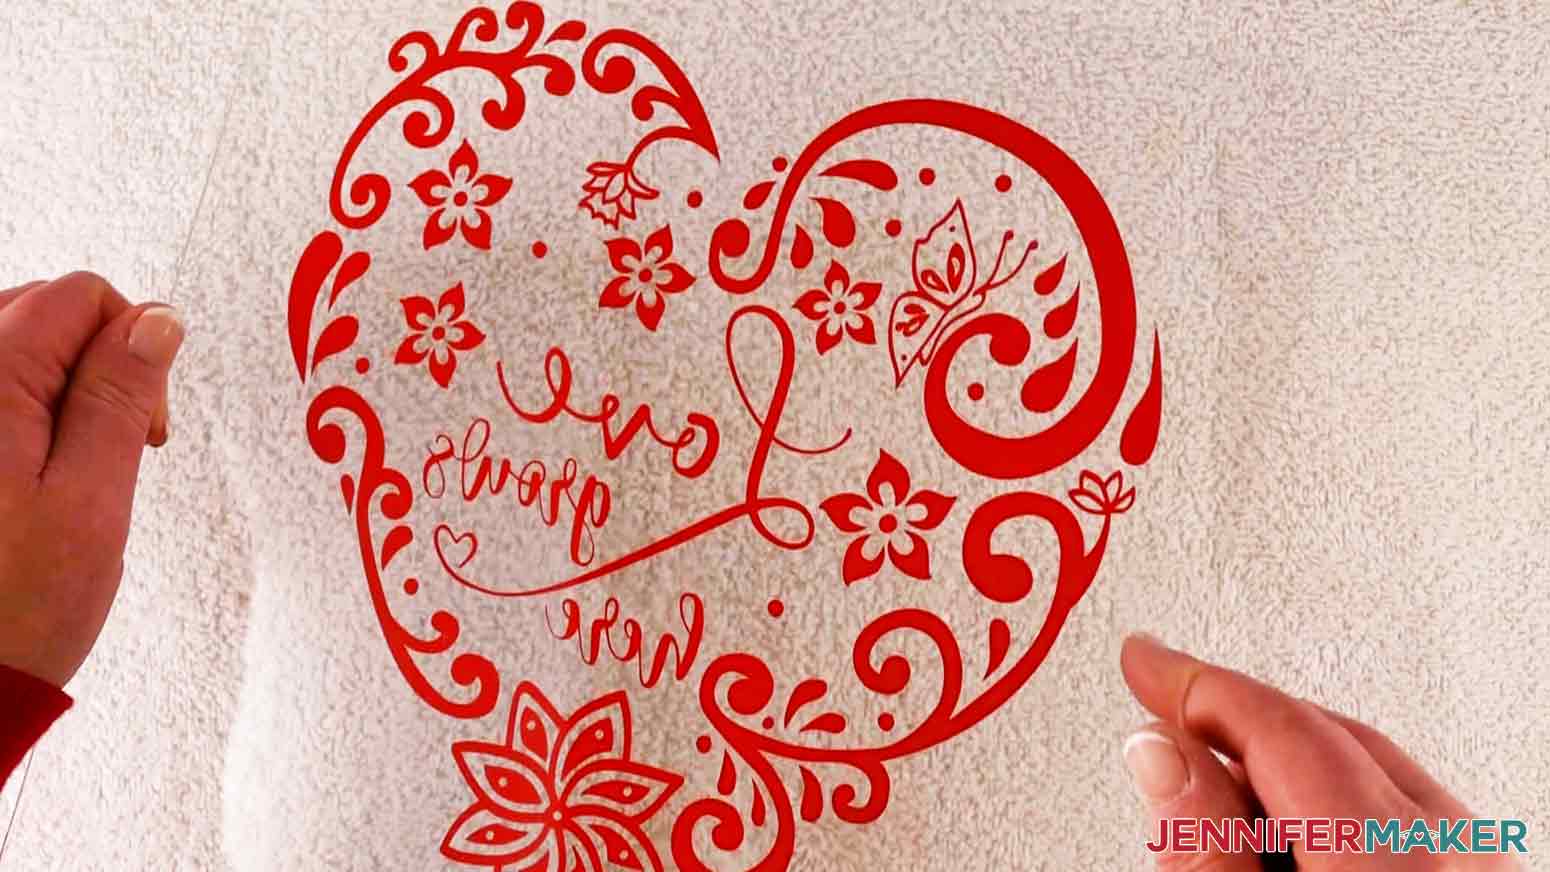
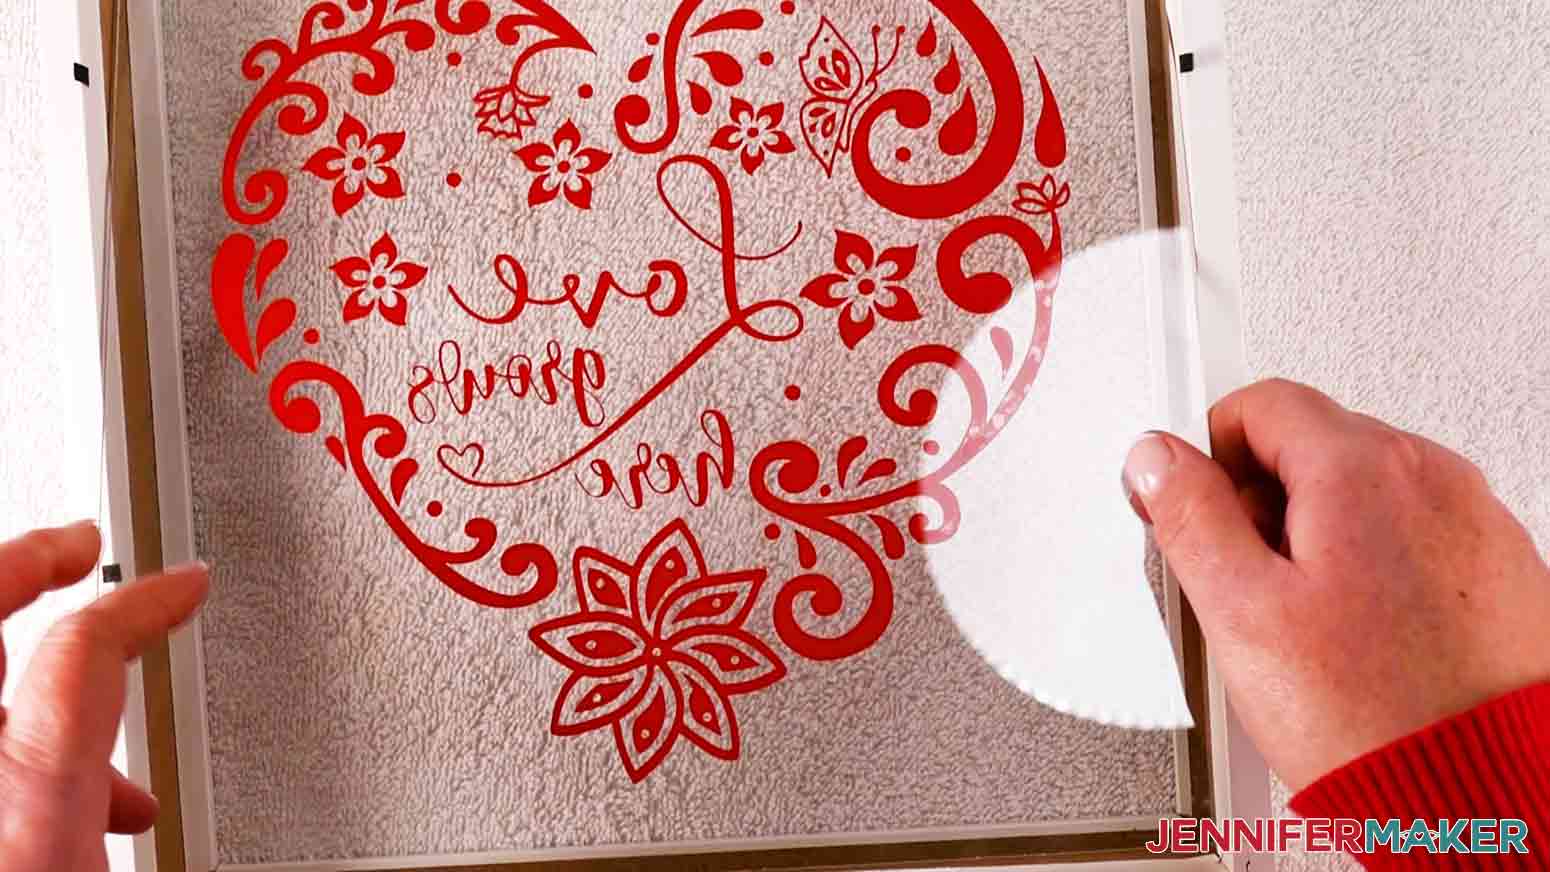
Once your decal seems dry, carefully peel up a corner of the transfer tape and make sure the decal is adhered. If the vinyl is secure, peel back the transfer tape against itself to remove it completely.
You can see from the underside of the glass that there are no bubbles in the vinyl!
To complete our comparison, I'll follow all the same steps for my second decal but using the transfer paper instead of the transfer tape. You can do the same to test them out yourself!
STEP 7: WHAT WORKED BETTER?
While I found BOTH transfer tape and paper worked, the transfer paper was a little easier to work with.
The transfer tape slides around a little more freely at the start. But since the tape grabs the glass fairly quickly when compared with the paper, I had less time to get the decal in place.
The transfer paper doesn't glide quite as freely but allows more adjustment time. I could even lift it completely off of the glass without the vinyl grabbing too much.
The transfer tape required about two hours of drying time until the decal was dry enough to peel off the tape without lifting the vinyl off of the glass. With the paper, I could peel it off a little earlier — after about 45 minutes — while it was still wet. Your wait time may be even shorter if you live in a drier climate. NOTE: With other vinyl brands, I can sometimes remove the paper right away!
Overall, it was just easier to place the decal on the glass using the paper, the wait time was shorter, and the paper released from the vinyl VERY easily. But either way, both transfer materials — tape or paper — work!
STEP 8: SHOW IT OFF
Now, place the glass in your frame. If you mirrored your image before cutting it, just make sure the decal is on the inside.
Layer your piece of cardstock and backer piece in the frame and then close it all up. TIP: My frame sandwiched together very easily, so I didn’t glue or tape my cardstock down. Depending on your frame, you may want to secure your cardstock to the backer piece using glue or tape.
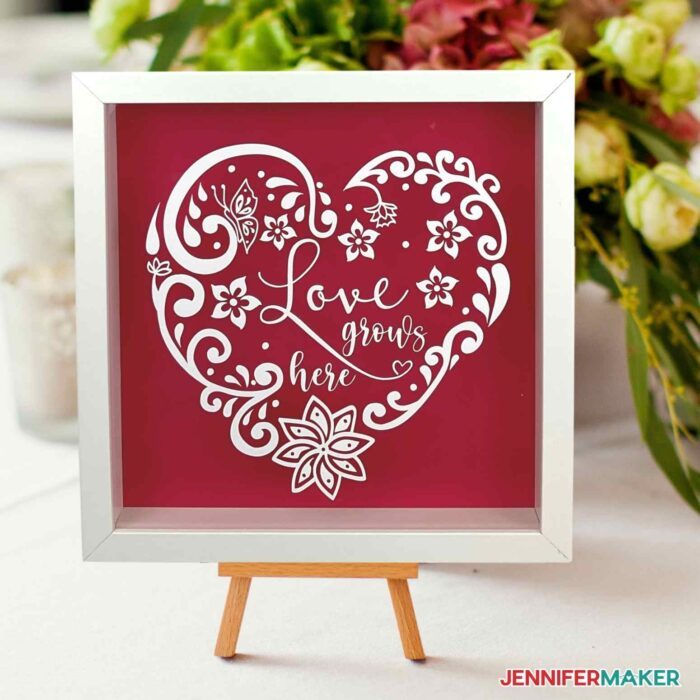
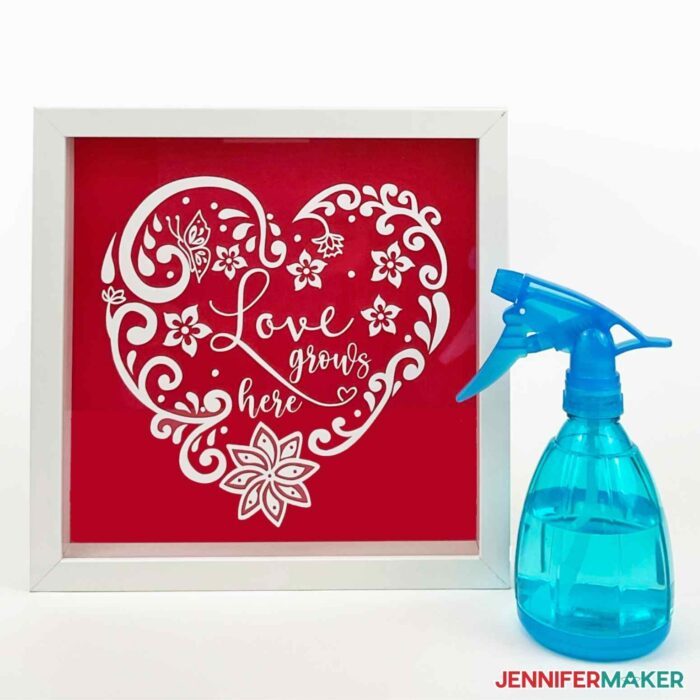
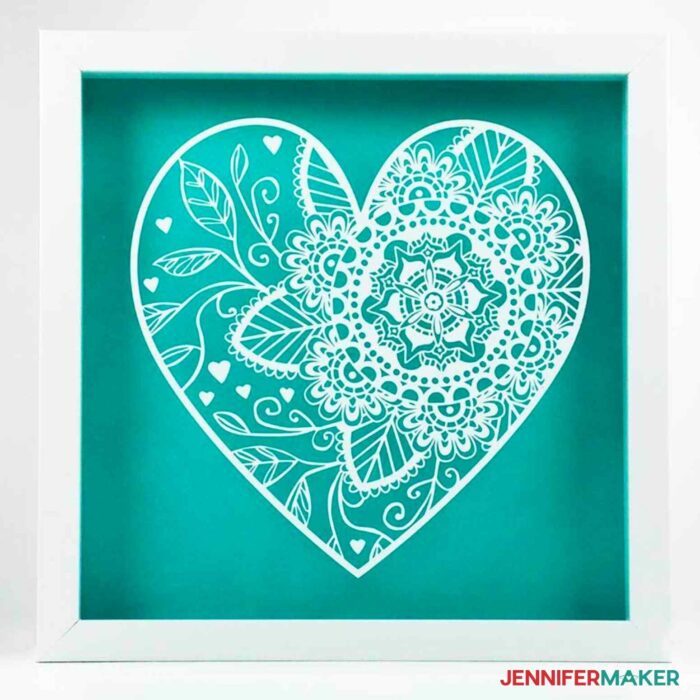
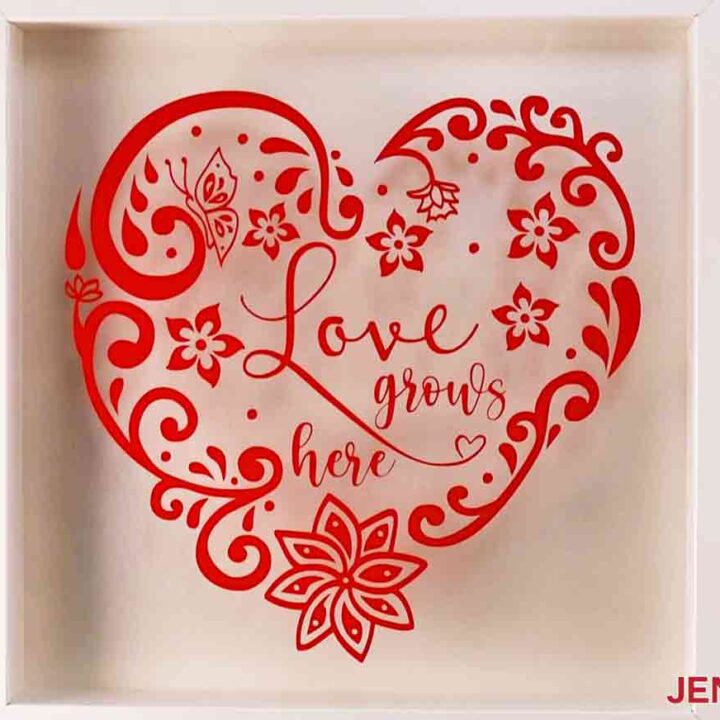
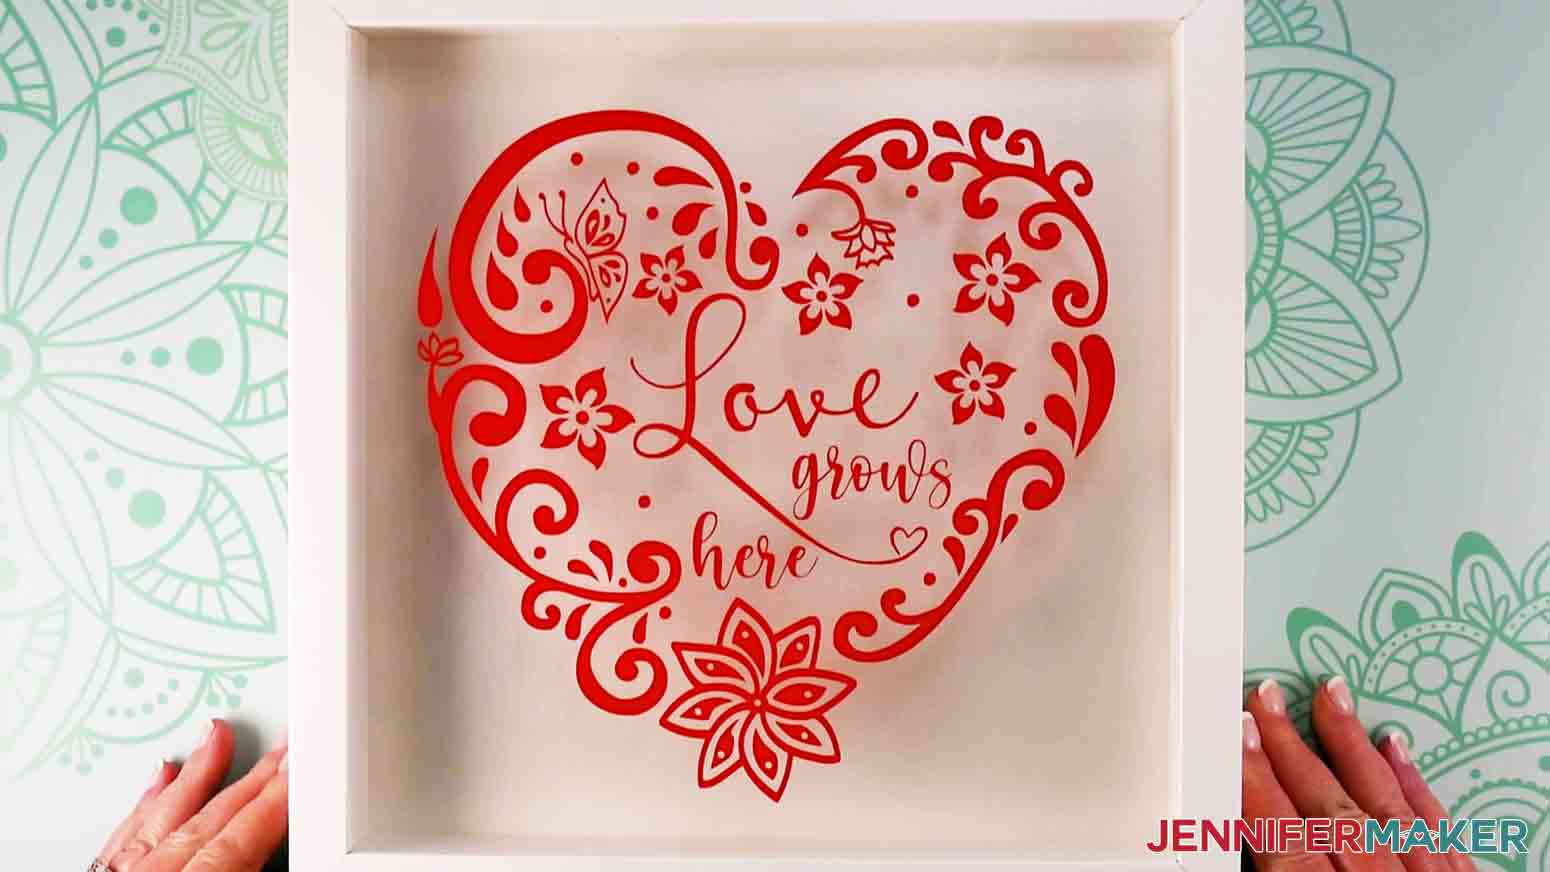
This is what my finished Intricate Hearts frame looks like when you apply vinyl with the wet method.
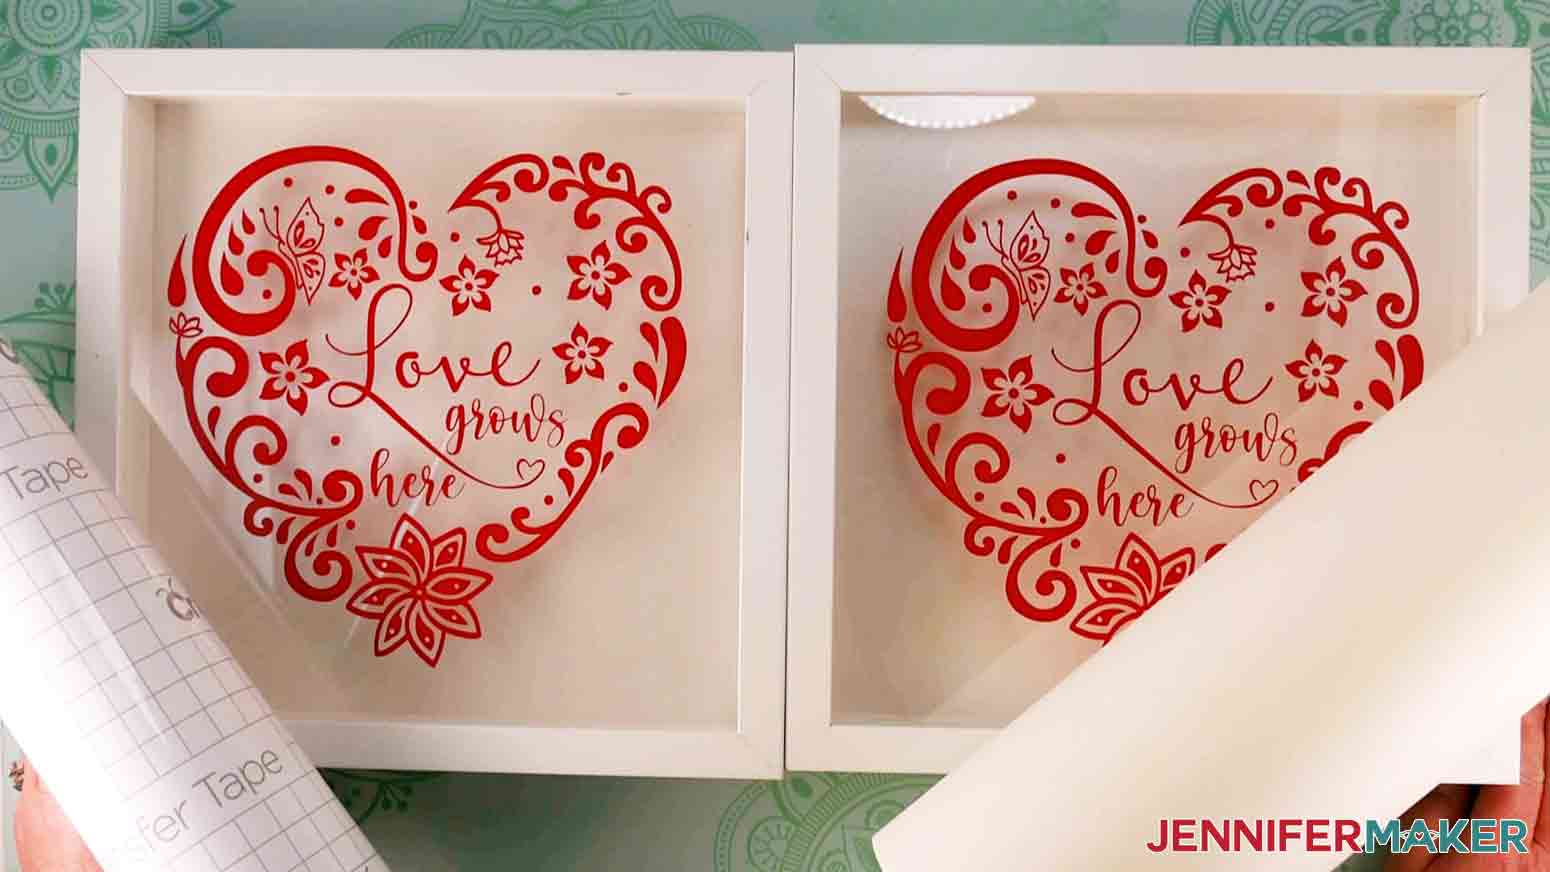
And this is a comparison between the two wet vinyl methods using transfer tape (left) and paper (right). You’ll notice they both turned out perfectly!
Notes
Fonts used to design the "Love Grows Here" decal:
Featherly in the Heart Swash Font Bundle
Recommended Products
As an Amazon Associate and member of other affiliate programs, I earn from qualifying purchases.

Questions About Using the Wet Method for Applying Vinyl
What vinyl doesn’t work with soap and water wet application? Iron-on vinyl (aka heat transfer vinyl or HTV) doesn’t work with the wet transfer method. Also, some vinyls use water-based adhesives, and if the vinyl you have is like that, it will not work with a wet application. Cricut vinyl adhesive is NOT water-based. If you do have a vinyl with a water-based adhesive, you can use a product like RapidTac to apply it in a similar way.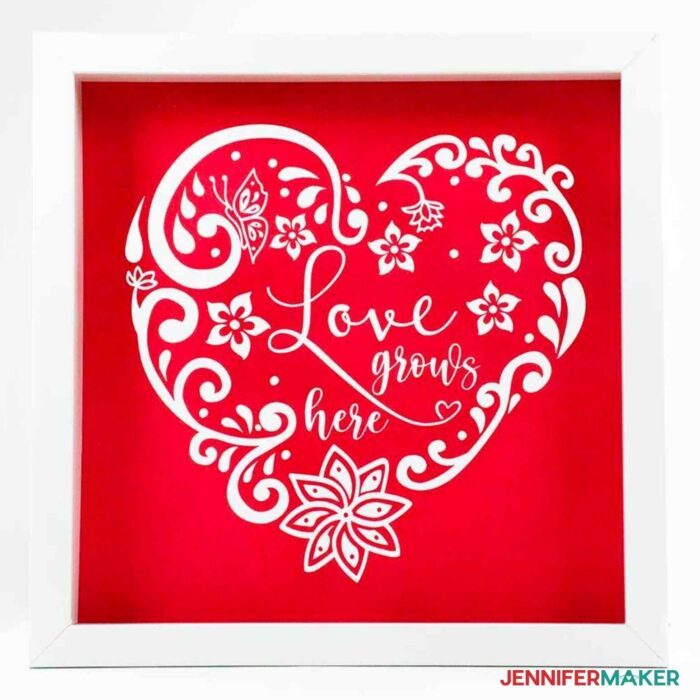 Can I use the wet method to apply vinyl to the inside of glass?
Yes! In fact, it’s perfect for that because the wet vinyl transfer method eliminates bubbles, which are more of an issue when you apply vinyl to the inside of glass.
Where do I find Transfer Paper?
We got our transfer paper from Amazon and it worked great!
Do I have to use Dawn brand dish soap?
No, that’s just what we used. We also tried a generic dish soap from Aldi and that worked fine. Any general-purpose dish soap should do the trick, as well as baby shampoo. Remember that if you use Dawn, use just one drop per 16 oz of water. And I recommend using other soaps sparingly at first as you just don’t want your mix too sudsy.
What surfaces can I use the wet vinyl transfer method on?
The wet vinyl transfer method works on any non-porous, smooth surface. “Non-porous” means there are no ‘pores’ on the surface that can trap air or water. SO it works on glass, plastic, or anything else really smooth and that doesn’t let air or water pass through it. You can use this method on glass, hard plastic (like stiff acrylic), stainless steel, sealed (and smooth) wood, painted walls, sealed tiles, and porcelain.
Can I use the wet method to apply vinyl to the inside of glass?
Yes! In fact, it’s perfect for that because the wet vinyl transfer method eliminates bubbles, which are more of an issue when you apply vinyl to the inside of glass.
Where do I find Transfer Paper?
We got our transfer paper from Amazon and it worked great!
Do I have to use Dawn brand dish soap?
No, that’s just what we used. We also tried a generic dish soap from Aldi and that worked fine. Any general-purpose dish soap should do the trick, as well as baby shampoo. Remember that if you use Dawn, use just one drop per 16 oz of water. And I recommend using other soaps sparingly at first as you just don’t want your mix too sudsy.
What surfaces can I use the wet vinyl transfer method on?
The wet vinyl transfer method works on any non-porous, smooth surface. “Non-porous” means there are no ‘pores’ on the surface that can trap air or water. SO it works on glass, plastic, or anything else really smooth and that doesn’t let air or water pass through it. You can use this method on glass, hard plastic (like stiff acrylic), stainless steel, sealed (and smooth) wood, painted walls, sealed tiles, and porcelain.
Get my free SVG files for the Intricate Heart Designs!
I’d love to see your vinyl projects using the wet vinyl method! If you make a shadow box or anything else with this method, please share a photo in our Facebook group, email it to me at [email protected], or tag me on social media with #jennifermaker. Love,
Want to remember this? Save the How to Apply Vinyl with the Wet Method Tutorial to your favorite Pinterest Board