
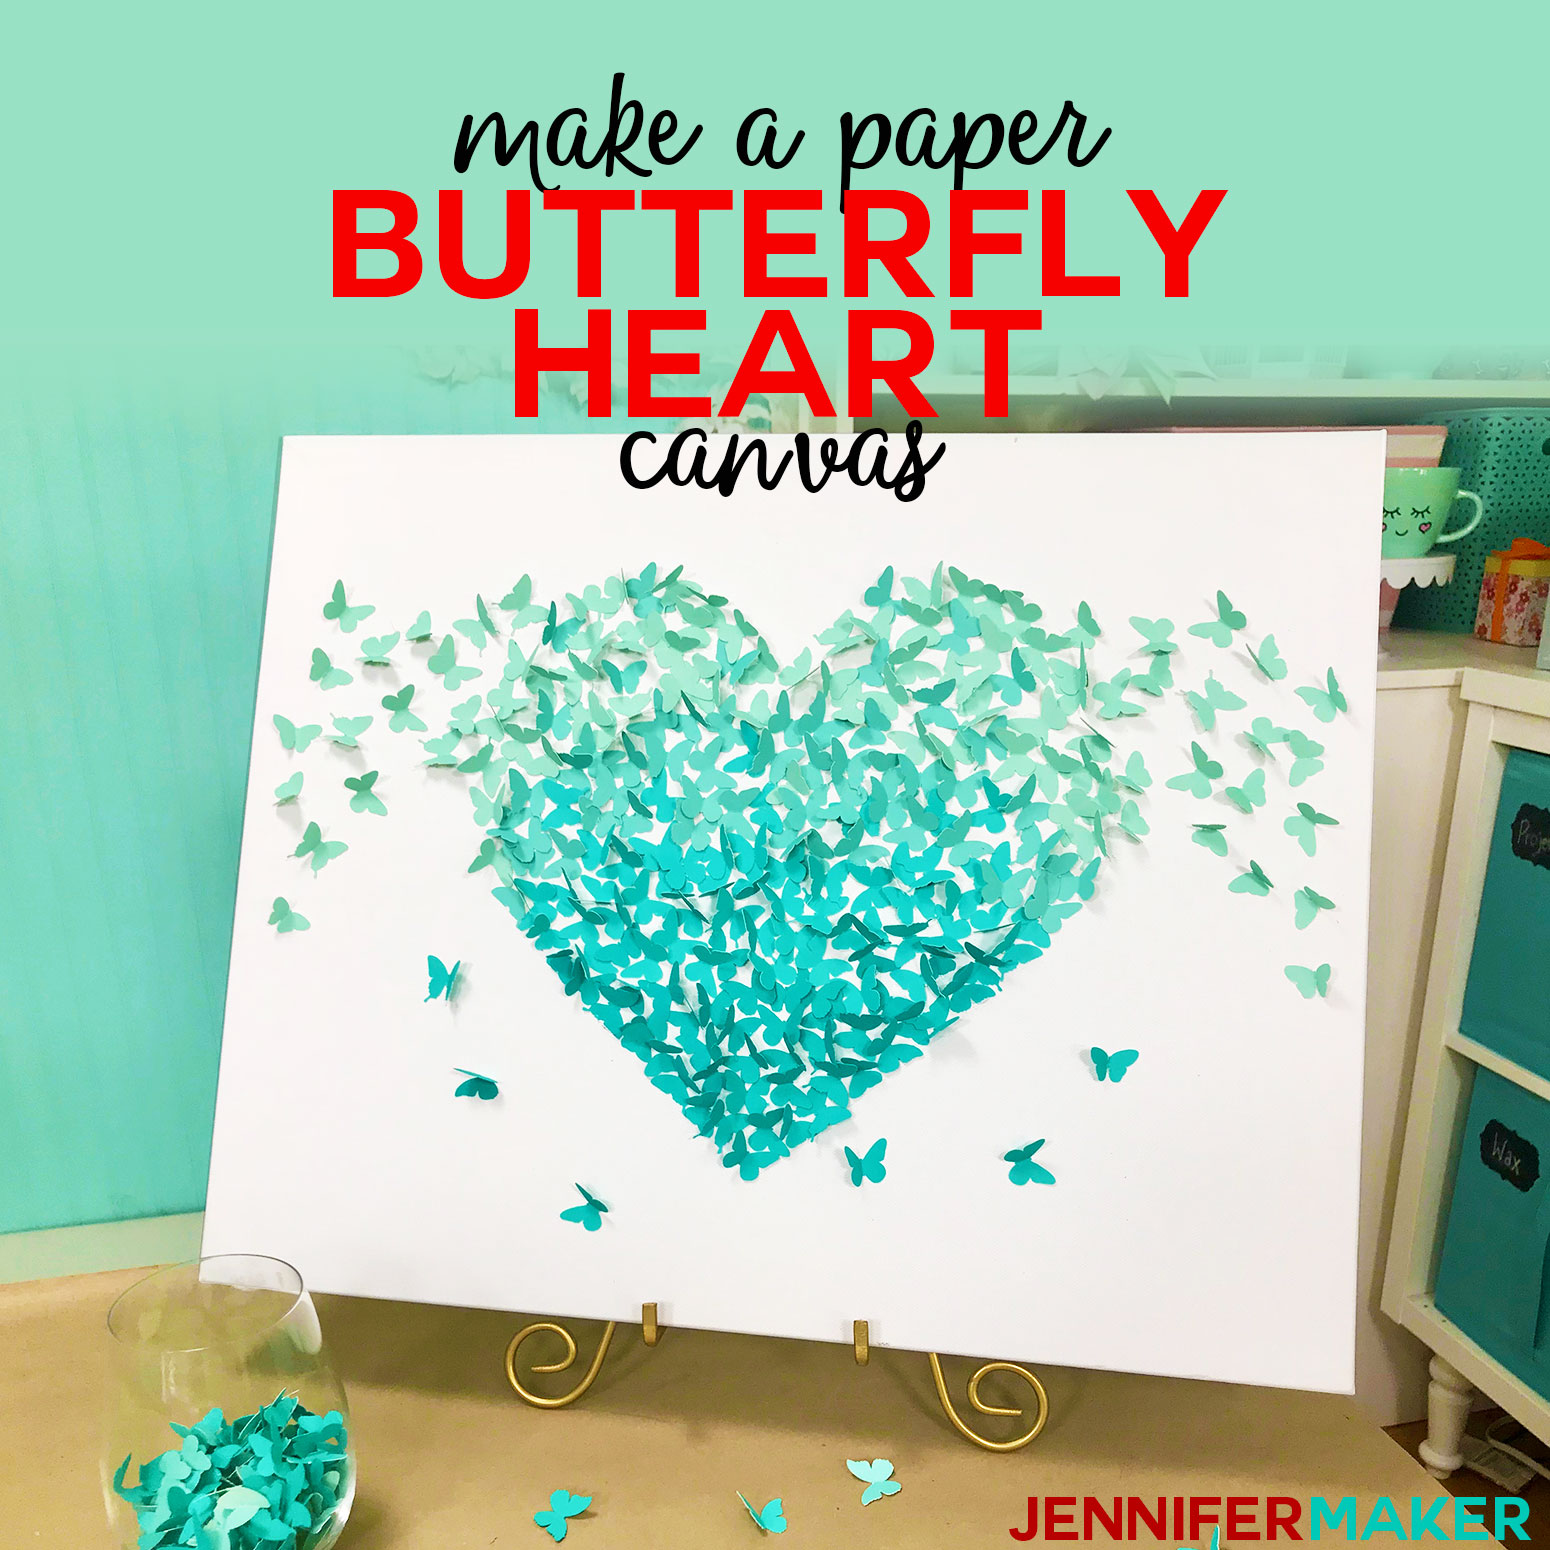
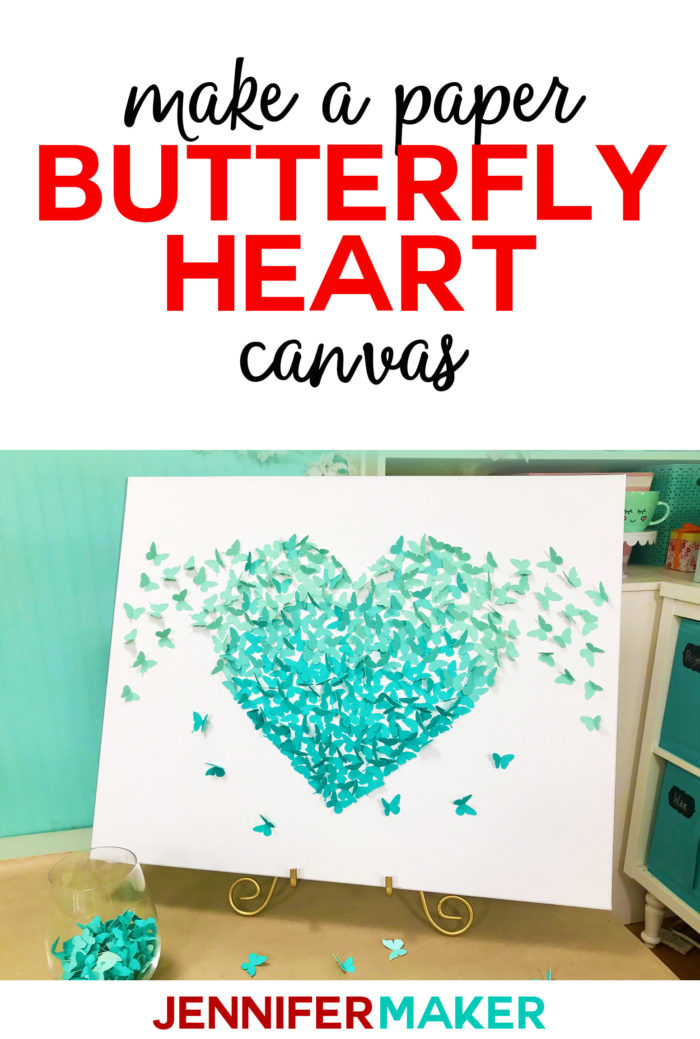
How to make an EASY paper butterfly heart canvas or wall art, complete with four free butterfly patterns for you to use!
Valentine’s Day is fast approaching and I thought it would be lovely to create a pretty heart …. from PAPER BUTTERFLIES! I have a particular fondness for butterflies — one of my first projects was a pop-up butterfly card, and later I made this paper butterfly birdhouse. So I think it’s time to make a paper butterfly canvas for my wall! This wall art will look perfect with my paper flower dress and my paper heart tree canvas as well!
Want to save this project? Enter your email below and we’ll send the project straight to your inbox.
This step-by-step video tutorial shows you how to create your own paper butterfly heart canvas or wall art!
There’s just something about butterflies I love. They spend most of their time being ordinary caterpillars, crawling about, chained to the ground like most of us. Then something amazing happens. They undergo the most startling transformation from a creepy crawly into a glorious explosion of flying color, spreading their wings and soaring high. It’s really something special and underscores the miraculous power of CHANGE for all of us.

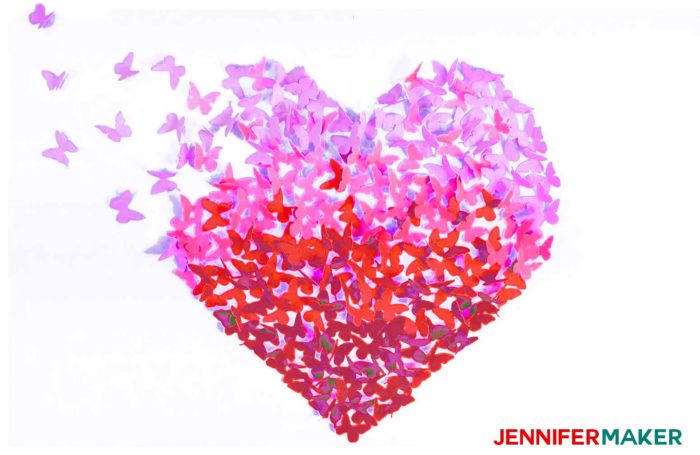
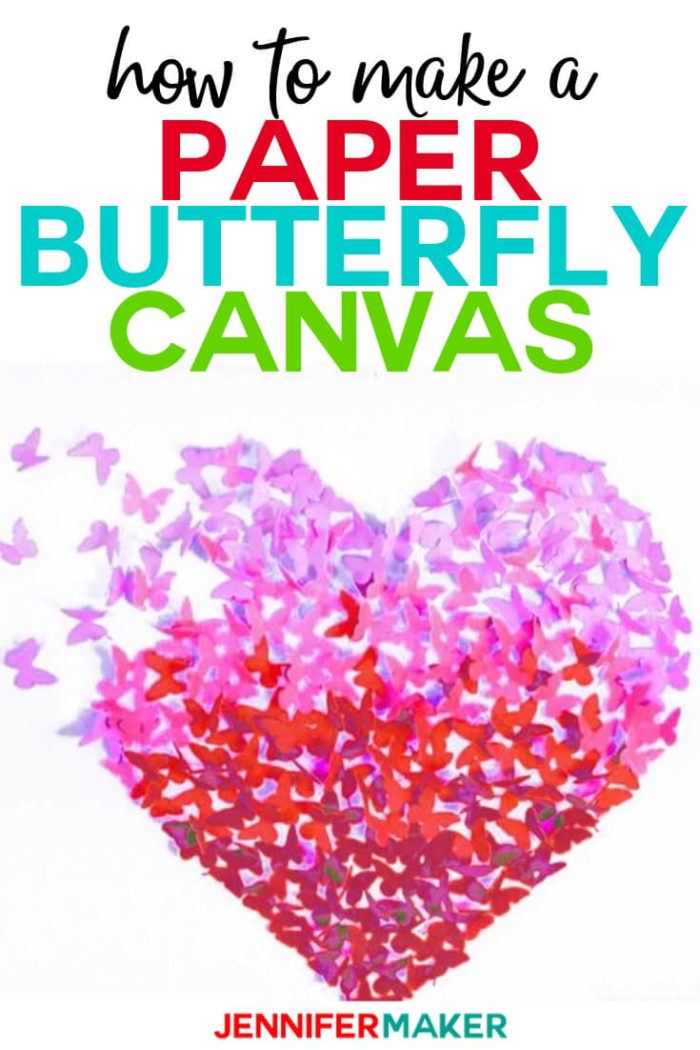
So rather than have my butterflies form a complete heart, I put some littler paper butterflies on the edges to create wings so my heart can SOAR! And that’s one of the best things about this simple and fun project because there’s no specific way you need to arrange your butterflies. Other than the heart shape, I put these butterflies on in random directions and distances apart. There are other ways to arrange these butterflies, of course, and I’ll show you some ideas in this tutorial.
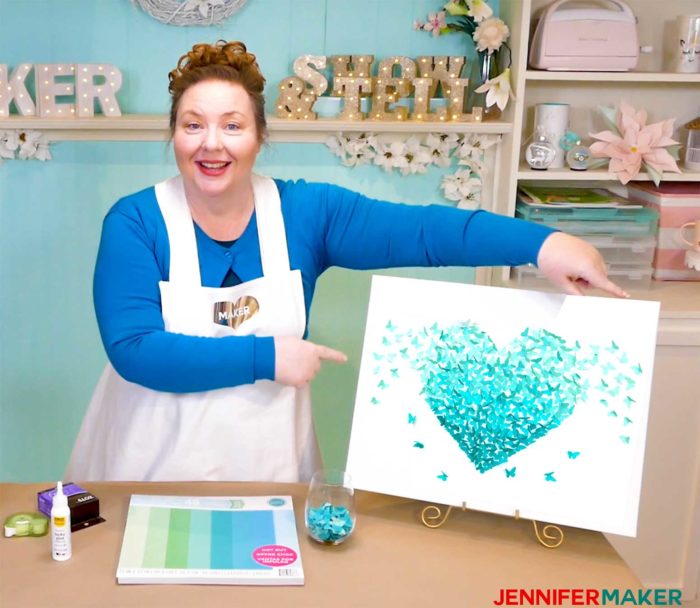
The real beauty of this paper butterfly heart is you don’t actually need a lot to make it. All you really need are about 4-5 sheets of paper — I’m using several sheets of paper from this Seafoam Green pack I got at Michaels. I cut out my butterflies — there are about 250–300 of them — using my Cricut cutting machine, but you could also use scissors of course (though it might take a while). There are actually four different kinds of butterflies in this heart — blue morphos, emerald swallowtails, monarchs, and scarlet peacocks. All of the butterfly designs are free here on my blog for you to use!
You’ll also need a canvas, board, or sign to attach your butterflies to. I’m using a 16″ x 20″ stretched canvas — I’ve not painted or prepared it in any way. I simply took it out of its packaging and went to town!
And finally, you’ll need a way to attach your butterflies to your canvas. You all had several different ideas on how you might attach them, so I experimented with three different methods — glue dots, raised zots, and glue. I’ll show you which method turned out to be both the fastest and most reliable in this tutorial!
I’m excited to show you how to create a paper butterfly heart canvas! This post contains some affiliate links for your convenience (which means if you make a purchase after clicking a link I will earn a small commission but it won’t cost you a penny more)! Read my full disclosure policy.
Materials for Paper Butterfly Heart Canvas
- Four sheets of 8.5″ x 11″ 65-80 lb. cardstock (I used four sheets of this Seafoam Green cardstock)
- (Optional) 1 sheet of 12″ x 12″ 65-80 cardstock, any color, to create the heart template
- A canvas, board, or sign (I used a 16″ x 20″ stretched canvas on a frame)
- Tacky glue
- A way to cut your paper (I used the amazing Cricut)
- Design #139 – My free SVG/DXF/PDF cut files/patterns (available in my free resource library—get the password at the bottom of this post)

How to Create a Paper Butterfly Heart Canvas or Wall Art
Step 1: Get the butterfly designs
Download my free butterfly files (Design #139) from my free resource library (you can get a password for it by signing up at the bottom of this page). I recommend you cut these butterflies with a cutting machine like a Cricut. Upload the file to your design software.
If you’re not sure how to upload an SVG cut file to Cricut Design Space, watch this helpful video training series I made. If you’re on an iPhone or iPad, here’s how to download and upload SVG files to the Cricut Design Space app.
Watch our video to see this step in detail.
Step 2: Prepare and cut your butterflies
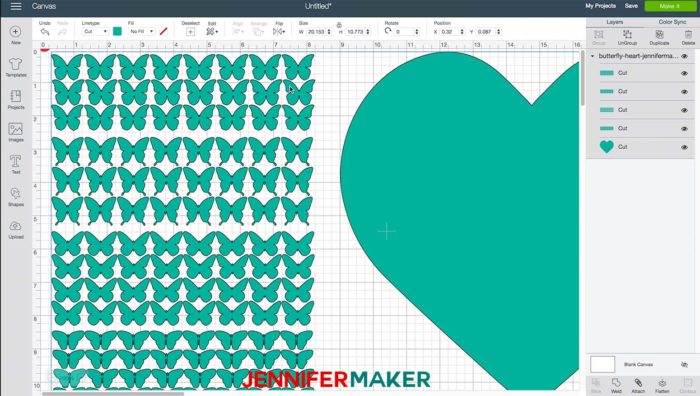
This design is all ready to go once you upload it to Design Space. You can click Make It if you are ready to cut. If you want to customize, you can ungroup and access each layer individually. There are four different styles of butterflies so you can cut all four or duplicate specific layers of butterflies that you want to cut.
The first mat is the large 12″ x 12″ heart. The second mat which has the butterflies defaults to the 12″ x 12″ size; however, you can change it to an 8.5″ x 11″ size material and it will fit. You will want to repeat the butterfly cut as many times as you want. I cut four sheets of butterflies for my 16″ x 21″ canvas and I still had extra butterflies.
I used Medium Cardstock, More Pressure. Put the cardstock on a StandardGrip green mat and use the fine-point blade.
If you are cutting these by hand you may want to choose the simpler butterfly shape to cut out.
Watch my step-by-step video for more directions!
Step 3: Fold your butterfly wings
I removed all of my butterflies from the mats and then folded all of the butterfly wings by pinching them between my fingers.
Watch my step-by-step video for directions!
Step 4: Trace a heart (or another shape) on your canvas with a pencil
Using a ruler, measure your canvas width and height and mark the center. Place your heart template so it is centered with the mark you made. Use a pencil and the stencil to lightly draw the heart shape.
Watch my step-by-step video for directions!
Step 5: Glue your paper butterflies on however you wish!
Here are two alternate ways of attaching your paper butterflies to your canvas:
Purple butterflies in a complete heart…
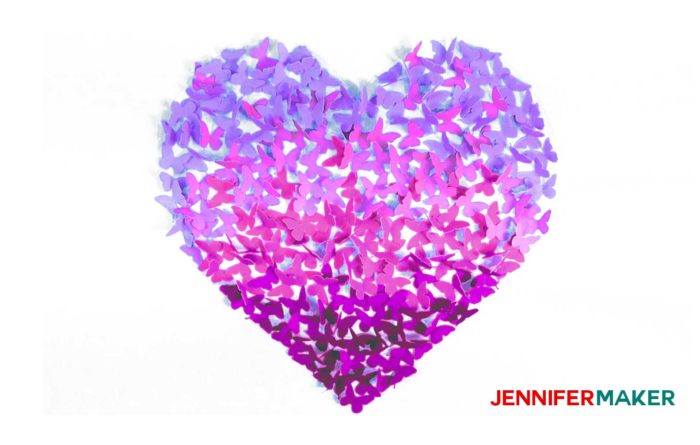
And pink butterflies in a fly away heart…
Starting at the bottom, follow the pencil lines with the wings. Place the butterflies in random directions allowing them to overlap as you choose. I put adhesive on one wing and adhered that wing to the sheet.
For the ombre effect, place a few of the first color into space where you will put the second color so the two colors blend into each other without a distinct line.
Watch my step-by-step video to see how I made both of these alternate butterfly canvas designs!
Step 6: Erase the pencil lines
Erase any lines that you can see. You may have to lift the wings up to erase underneath.
Watch my step-by-step video for directions!
Notes about Paper Butterfly Heart Canvas Design
The cutting took around 30 to 40 minutes. Adhering the butterflies took about 1 hour.
Download my four butterfly cut files by subscribing (free) below to get the password to my resource library.
If you make butterfly canvas wall art using this tutorial, please share a photo in our amazing Cricut Facebook group, or tag me on social media with #makershowandtell or #jennifermaker.
Love,

Want to remember this? Save the Paper Butterfly Canvas Wall Art Tutorial to Your Favorite DIY Pinterest Board!
 t
t
This is simply GORGEOUS, Jennifer!!! You did a MAGNIFICENT job designing this!! In this one BEAUTIFUL canvas, you embodied the whole process of change in a butterfly!!! ABSOLUTELY FANTA-BULOUS (fantastically fabulous)!!!!!!!
This is beautiful Jennifer. Thank you so much for sharing it. Another awesome design with great video presentation.
I cant find the link for the butterfly files for the canvas
The butterflies are in my free resource library at https://jennifermaker.com/library
Love it!
Just beautiful! Jennifer, you are such an inspiration – thank you for sharing your gifts and talents with us!
I am in the process of making my Butterfly. I did not have a 16×20 inch canvass, however I did have a pack of 8×10 inch canvasses so I hot glued 4 of them together to make the 16×20 inches which I needed, It seems to be holding up ok and this project cost me nothing because I had everything else in stock.
Thank you Jennifer so much you have been such a big help. BTW my butterfly is looking great.
Sounds wonderful, Carlee!
I made my version today (1 Jul 2020) and was hoping to upload it but no facility. I loved making it and have created a blue and silver version for my friend’s birthday next week. Thank you for the inspiration.
Cheers
Sally
I am jumping up and down and running up and down the stairs. I am so excited! I did it! My first project and I chose this gorgeous project. I may go slow but I am getting there! I still have to go tomorrow to buy a canvas but it is all finished cutting and tomorrow I will finish it. Thank you Jennifer! I love this! And I love my Cricut Maker!
Thank you so much for this! I have had too many losses this year to mention, so I made this as a remembrance piece. I don’t know how to include the picture of it on here, but I am super happy with how it turned out. Thank you, thank you, thank you!
Sharon
Oh, I am so happy to hear that! I hope you have joined my Cricut Crafters & Makers group and that’s where you can share your projects! I am in there always looking at finished projects!
Thank you Jennifer – think I might make this for my nanna who is in her 80’s and loves butterflies now just to decide if I do on a canvas or shadow box – absolutely beautiful thank you for sharing and the tutorial spot on
I bet she would love it, Rachelle!
I’m dying to try this project but when I upload the file to design space and tap make it, it’s telling me a larger mat is required tans the dimensions are too large… I didn’t change anything when I uploaded the file (I wouldn’t even know how!) what am I doing wrong??
Hi Jenn! It is asking most likely for the 12″x24″ mat. You can just say ok and use your larger mat or if you don’t have one you can put two 12″x12″ mats against each other and place some painter’s tape on the backside to create a larger mat.