
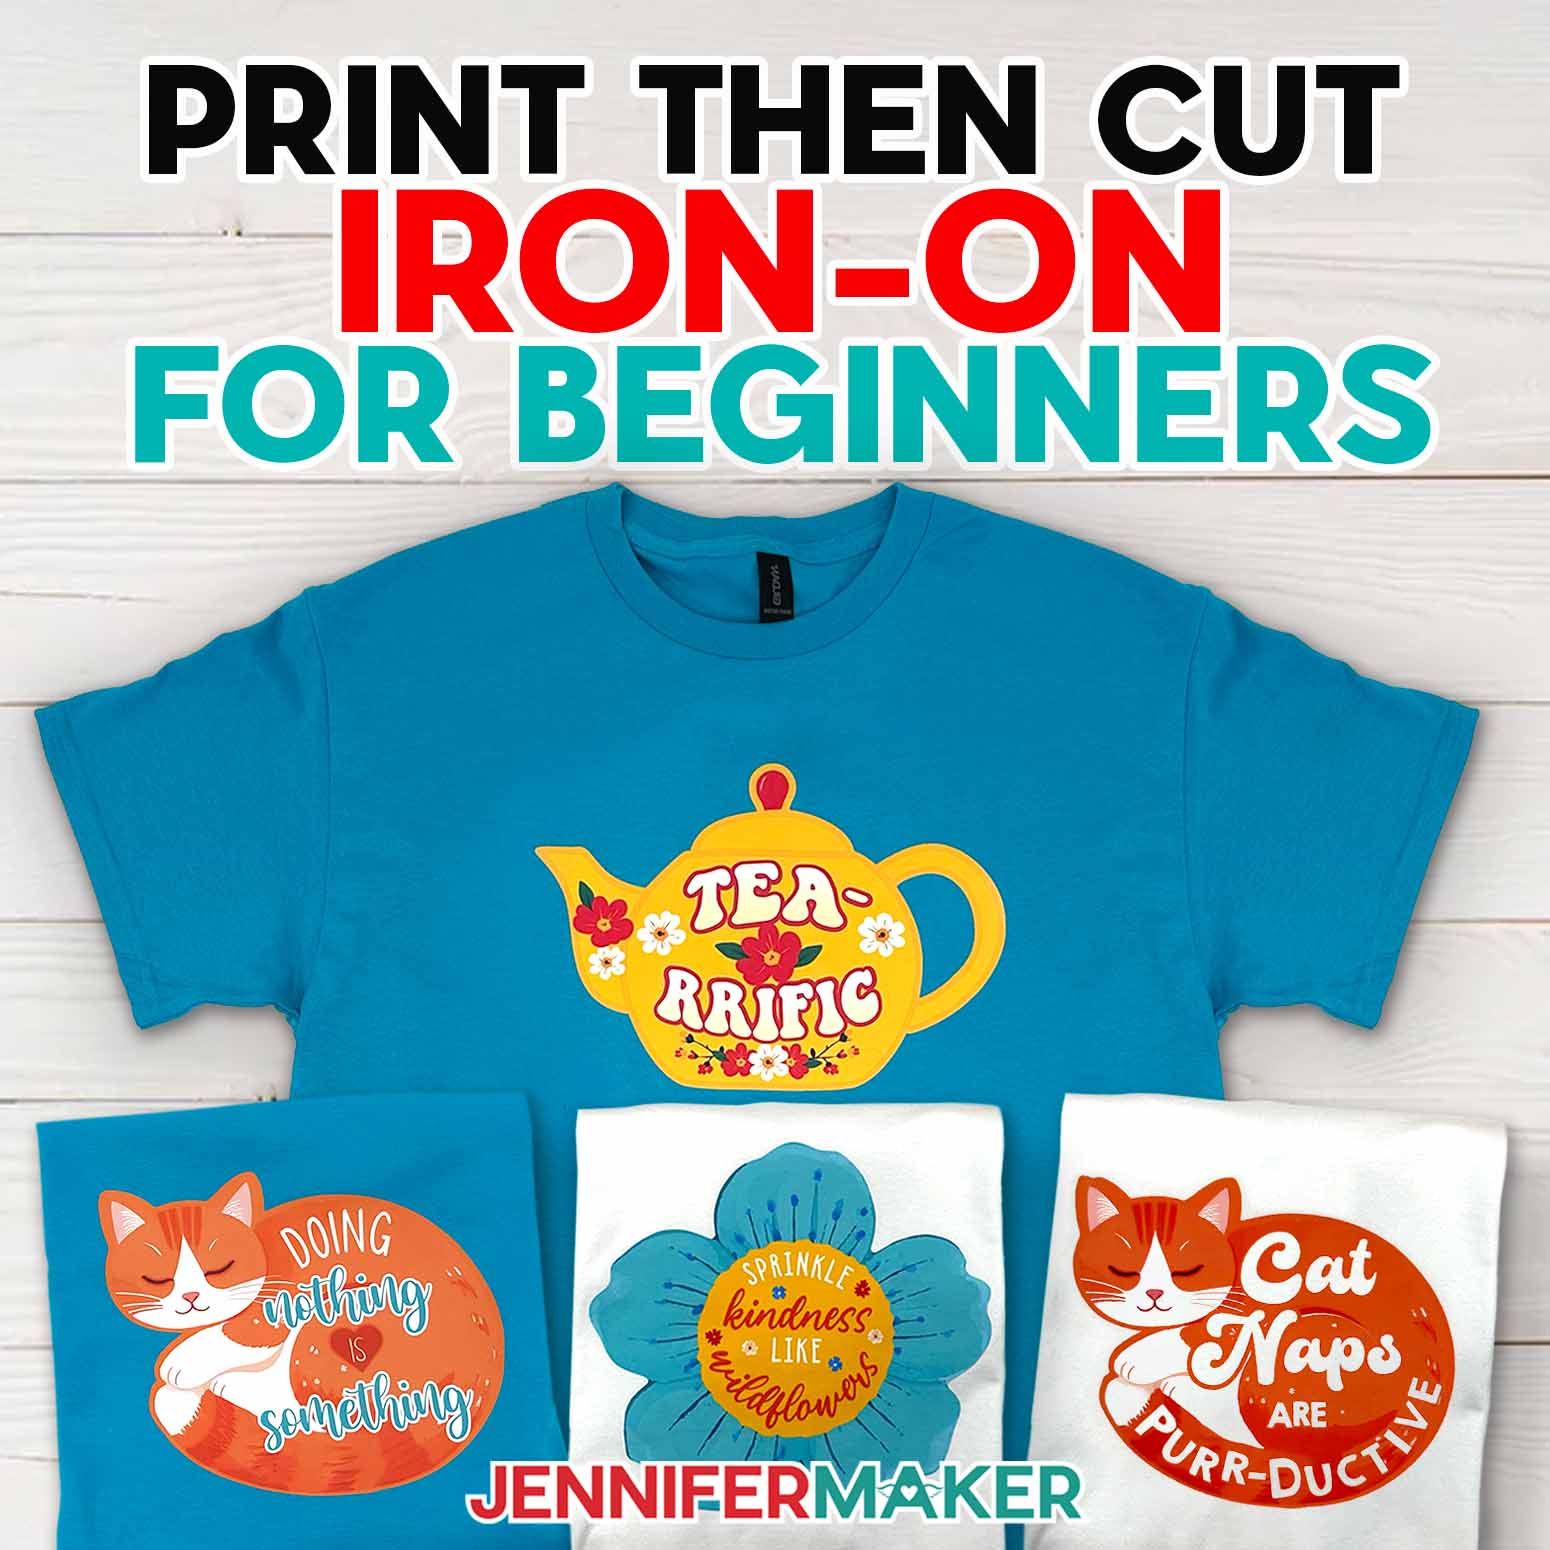
Learn how to make easy stickers you can print then cut on a Cricut!
When I was a child, I adored stickers. If I could have, I’d have had a giant collection of stickers! The only thing holding me back from my dreams of stickers everywhere was the price. Stickers were (and are!) so expensive. But these days we can make our own stickers, and they can be just as cute — if not cuter — than the ones you can buy in the store. To show you how easy it is to make your own stickers, I’ve designed a whole free collection to get you started, filled with many of my favorite things. I’m going to show you how to print and cut stickers from these icons (or any other images) using an inkjet printer and a Cricut cutting machine.

Watch the full step-by-step video on how to make the Easy Print and Cut Stickers here!
Want to make your own print then cut stickers? I’m happy to show you how! This post contains some affiliate links for your convenience (which means if you make a purchase after clicking a link I will earn a small commission but it won’t cost you a penny more)! Read my full disclosure policy.
Why Cricut Stickers?
Cricut stickers offer a personalized touch to your crafts. Whether it’s for business branding or personal use, Cricut Print Then Cut stickers stand out in quality and versatility and are SO easy to make at home.
Materials You’ll Need
- Cricut Machine: The heart of our sticker-making process.
- Sticker Paper: Opt for high-quality, adhesive-backed paper.
- Printer: A high-resolution color printer will give vibrant results.
- Design Software: Tools like Cricut Design Space or Adobe Illustrator can be used.
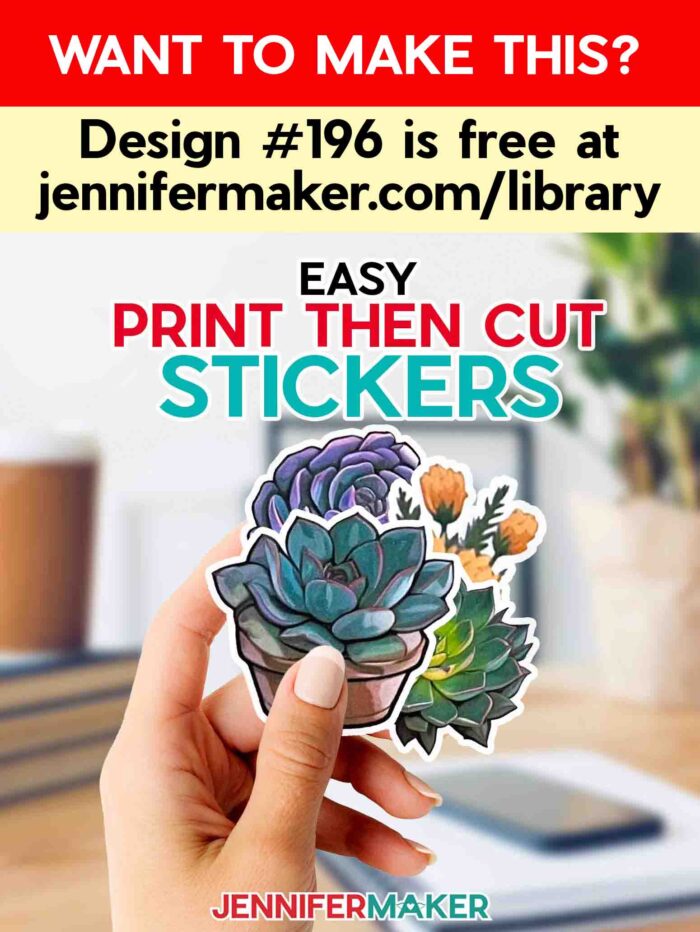
- Sticker sheet image file(s): You can use my free collection in design #196 in my library!
Choosing the Perfect Design for Your Sticker
Use My Pre-Made Sticker Designs
I love stickers and I’ve made many designs over the years, all of which you’re welcome to download and print for free! In addition to the ones in this tutorial, you’ll find free sticker designs here, here, and here.

Exploring Stickers in Cricut Design Space
Cricut Design Space’s own library is a treasure trove of designs. From intricate patterns to bold statements, there’s something for every project.
Creating Your Own Design
Harness your creativity! Using design tools like Adobe Illustrator or Procreate, you can bring your unique visions to life. No art skills? No worries — you can easily design stickers using an AI art generator. Learn how easy it is to do in my AI Art Design Workshop!
Simple Overview to Making Your Cricut Stickers
1. Setting Up Your Design in Cricut Design Space
Upload your design. Ensure it fits the dimensions of your sticker paper and adjust its size as needed.
2. Printing Your Design
- Prepare your printer: Load it with sticker paper with the printable side in the right orientation.
- Select ‘Print’ in Cricut Design Space: Make sure to choose the best quality setting for the most vibrant stickers.
- Inspect your print: Look for any smudges or inconsistencies.
3. Preparing Your Cricut Machine
- Load the Fine-Point Blade: This blade ensures precision in cutting.
- Adjust the lighting: Make sure the lighting in your room is good and consistent so your Cricut reads your registration marks properly.
4. Cutting Your Stickers
Place your printed sticker paper onto the Cricut machine mat, aligning it with the grid in the top left. Load the mat into the Cricut machine and start the cutting process.
5. Weeding and Transferring Your Stickers
Remove excess paper around your stickers — you can use a weeding tool if that is helpful. Then just peel and stick — there’s no need to use transfer tape with stickers.
Tips to Enhance Your Sticker’s Lifespan
- Laminating: Protects against moisture and wear. Here’s a tutorial on how to laminate your stickers!
- Storage: Keep in a cool, dry place.
- Application: Apply on clean, smooth surfaces for maximum stickiness
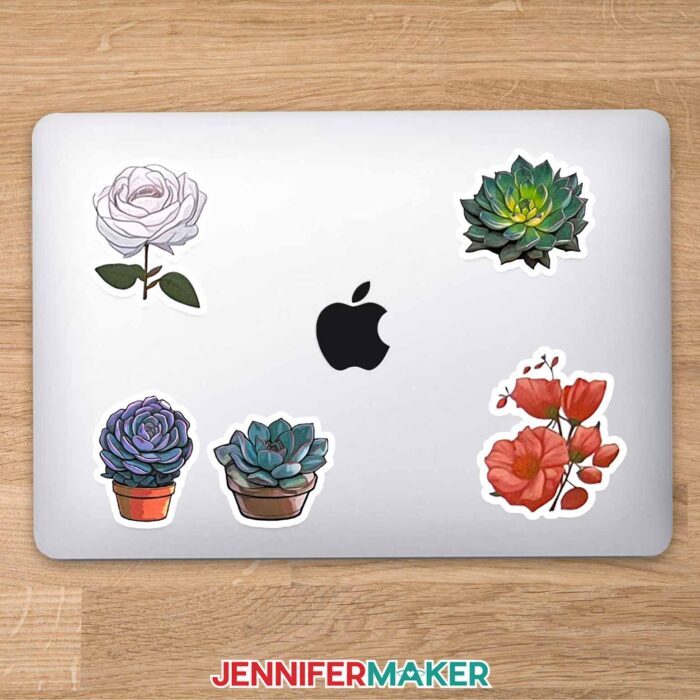
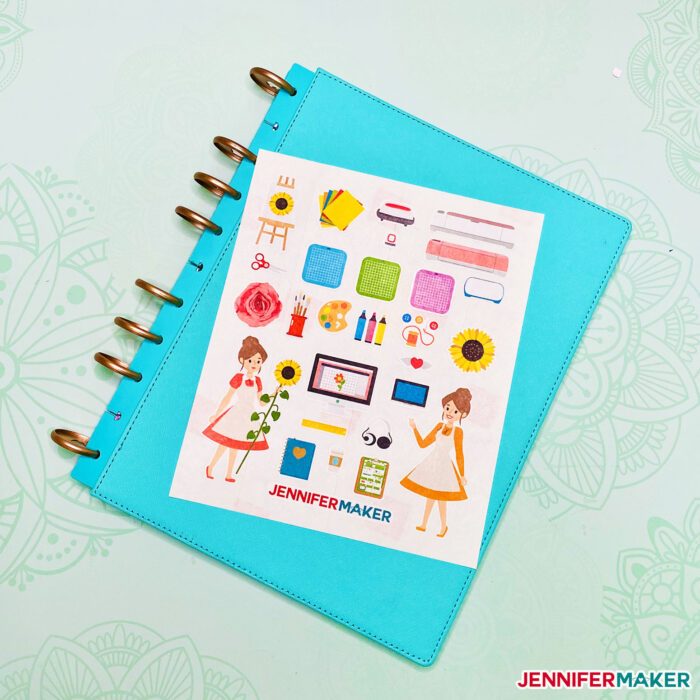
You can make easy print and cut stickers to decorate nearly any surface! They’re a fun way to add your personal touch to notebooks, laptops, a phone, or any other item you want to personalize.
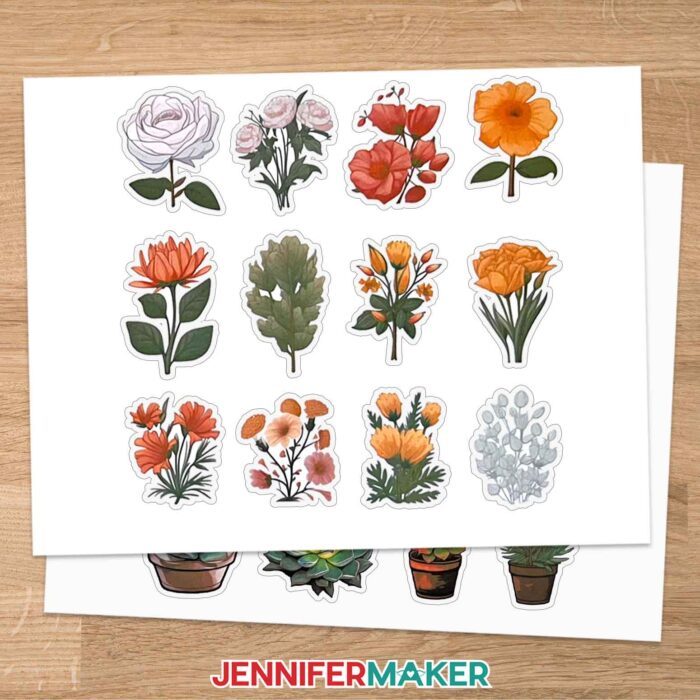
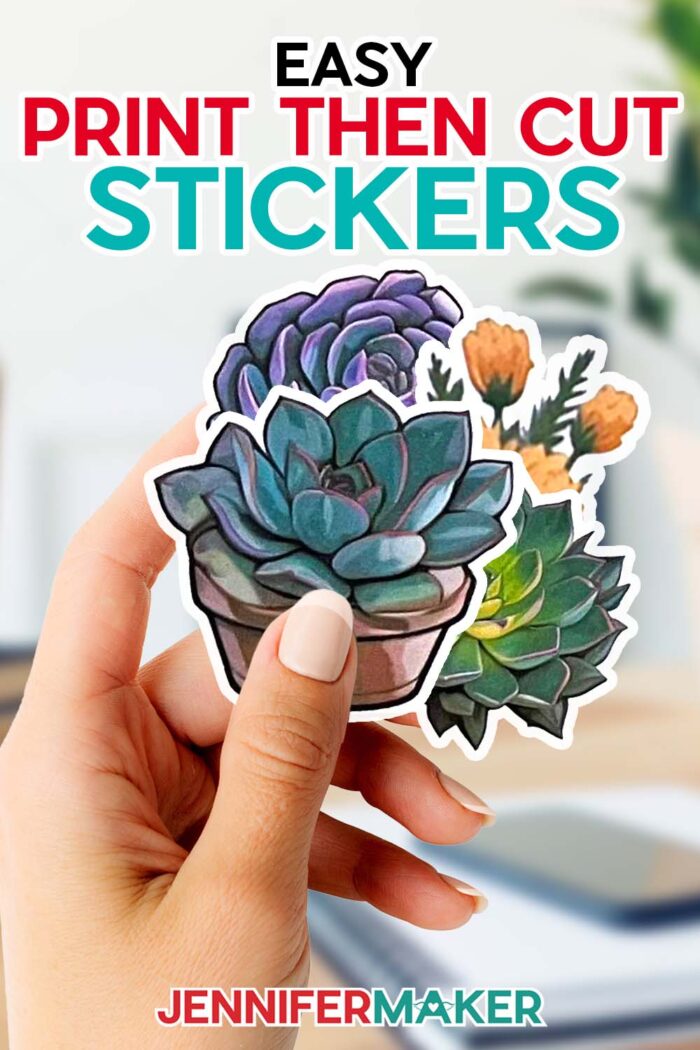
August 2023 Update: I’ve added a set of AI-generated succulent and floral stickers to the collection in the free download!
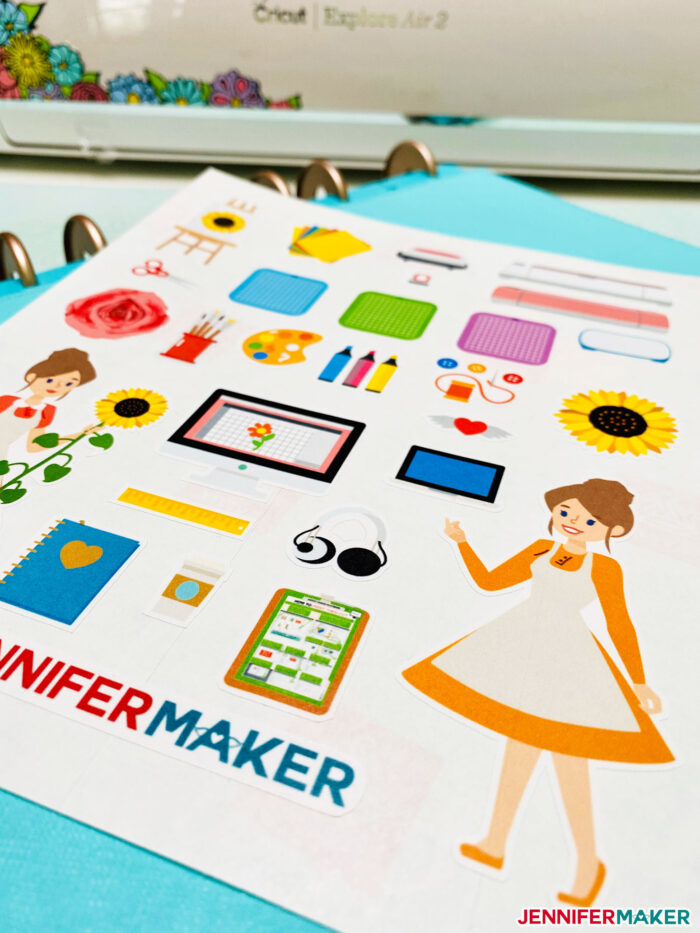
Here are some of the favorite stickers I’ve ever made, my own personal JenniferMaker stickers, all drawn in Adobe Illustrator — these are free for you to use, too!
My daughter Alexa also contributed some sticker designs to this collection, some cute bees she designed herself in Blender:

And, rounding out the collection, we have some cute planner stickers!

All of these sticker designs are available as a free download for you to use, all ready to go in full resolution! You’ll find them in design #196 in my library!
Materials to Make Easy Print and Cut Stickers
View my Amazon shopping list with the exact items we used to make this project!
- Printable sticker paper (I recommend Cricut and Avery brands)
- A color printer (I use the Epson EcoTank ET-2800)
- (Optional) Acrylic sealer, gloss or matte
- A way to cut your paper stickers – I used the Cricut Explore series cutting machine, but you can also use a Cricut Maker series, Cricut Joy 2, Cricut Joy Xtra, or Cricut Venture, scissors, or a craft knife — you cannot use an original Cricut Joy for this project as it doesn’t do Print then Cut
- Design #196 – My free SVG/PNG sticker design files (available in my free resource library—get the password by filling out the form at the bottom of this page)
How to Make Print Then Cut Stickers
Here are the easy steps for print and cut stickers! You can get sticker designs in several way -- you can make them or find them! To make them, look for images online (that are in the public domain) and you save/upload those. If they have a white background, you can remove it during the upload process. I'll show you how to do this with my sunflower image. Another way to make your own stickers is to draw your own and upload them! I'll show you how to do this with the cute bees designed by my daughter Alexa. Or you can use specifically designed sticker files! I designed some special "JenniferMaker" favorite thing icons that you can use for this project! You can use my free sticker designs (Design #196) from my free resource library (get the password at the bottom of this post). When you upload sticker designs, be sure to choose "Complex" image and feel free to remove the background so your Cricut cuts all around your sticker. Tip: If you’re not sure how to upload a PNG file to Cricut Design Space, watch this helpful video training series I made. If you’re on an iPhone or iPad, here’s how to download and upload SVG files to the Cricut Design Space app . Note: Save the sticker files as Print and Cut images, not Cut images. Click "Make It", click the green "Send to Printer" button, make sure "Bleed" is on, then send your stickers to the printer. I recommend you print on Normal or Best setting if you have that option. Your sticker sheet will print with a black rectangle around them -- this is your Cricut's registration mark and it needs to be there. Tip: If you want to protect your printed stickers, you can spray them with clear sealer before you move on to the next step. I recommend three coats about 15 minutes apart. The best material setting for cutting your print and cut stickers in Cricut Design Space is "Sticky Note" (Explore users: be sure to set your dial to Custom to see this option). If you have issues with the Cricut cutting all the way through your sticker paper, try the "Washi" setting instead. Once your printed sheet is dry, put it on your mat (be sure it's in the upper left corner), load your mat in, and press the flashing button. Note: If you have issues getting Print Then Cut to work, please check out Cricut's Print Then Cut Troubleshooting Page. You can "weed" the unneeded part of the paper so all you have left are your stickers, ready to pick up and stick somewhere!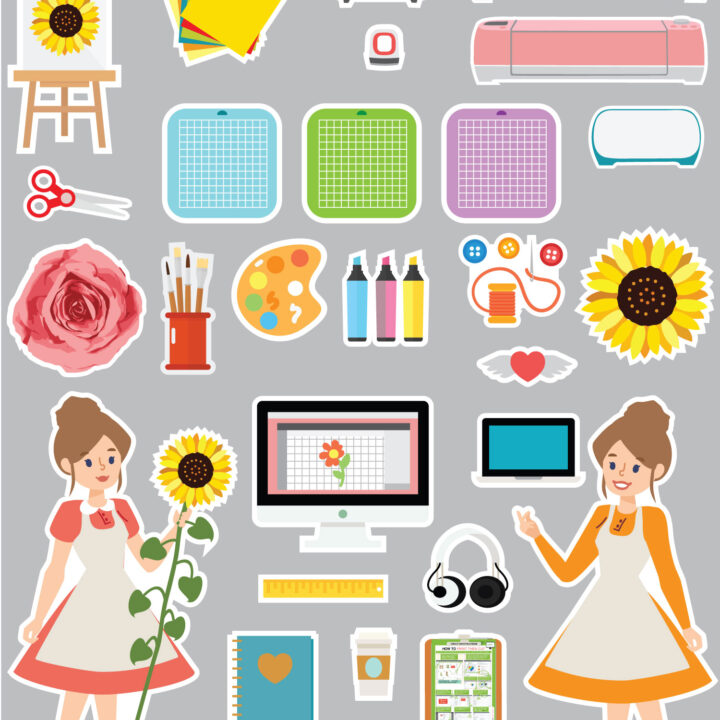
Print & Cut Stickers
Materials
Instructions
STEP 1: Get Sticker Designs
STEP 2: Print Your Stickers
STEP 3: Cut Your Stickers
STEP 4: Show Off Your Stickers
Beyond Stickers: Other Cricut Projects to Explore
Stickers are just the beginning! Dive into the world of card-making, apparel design, and home decor with your Cricut machine. Here are some fun projects I think you’ll love:
-
-
- DIY Pantry Labels on a Cricut Joy, Explore, or Maker!
- Minnie Mouse Nail Tips
- How to Make Vinyl Decals
- Make Picture Puzzles on Cricut
- 3D Layered Mandalas
- Customized Serving Tray with Vinyl
- How to Put Vinyl on Mugs
- Make Knockout Designs in Cricut Design Space!
- Label Templates to Organize Your Craft Room
-
Get my free SVG and PNG files to make your own easy print and cut stickers!
Did you make some print and cut stickers? Which ones? We want to see! Please share a photo in our Facebook group or tag me on social media with #jennifermaker.
Love,

Want to remember this? Save this Easy Print and Cut Stickers tutorial to your favorite Pinterest Board


Now I know what print and cut is. Love the stickers Jennifer.
Hi Jennifer!! Could I seal the stickers with the same one you recommended for waterslide decals? It’s the Krylon Crystal Clear Acrylic Coating 1303A.
Yes, you could seal the stickers. I’d suggest doing a test to see if you like the finished product.
Is this the same process with the Cricut Joy?
No, the Cricut Joy doesn’t do Print then Cut. You can only do print then cut on the Explore and Maker machines.
which other printers can I use to print the stickers first?
You can use a color printer. I use the HP Envy 7155.
I don’t understand why my print then cut images don’t work as stickers. I have flattened them but it still wants to cut out every single shape inside the image instead of cutting around it like a sticker should. Why doesn’t online tutorial cover this issue about stickers? I shouldn’t have to duplicate every image and make a white version to attach it to. That creates many steps that seem totally unnecessary. Why isn’t there an option to “cut around image” or something similar?
Hi there! The idea behind your machine just cutting around your design is because you have flattened it to a shape. Flattening requires you to flatten your design to a base layer, like a square or circle. Once you do that, your machine will know what to cut out.
Can I seal them after I cut them on the cricut?
Hi Dalis, there really is no reason to seal them based on the sticker paper you will be using.
is the process the same on the maker, because I don’t see the “fill” option… I don’t want to mess up my project.
Rachelle, if you don’t see the fill option, you might have a newer version of Design Space. If so, you should see the operation menu, click there and go down to print then cut.
Hi, I love your pages and sites, so many great crafts and content. I’ve been torn on buying a cricut for about 5 months now…. the cost, the supplies etc. But I really want to be able to make stickers and nail decal stickers especially. I keep reading from other places how difficult and poor quality their Print and Cut images are turning out which is depressing. Is there some printers that just shouldn’t be used, or ones that are much better(other than the envy)? How can you ensure you get good resolution images?
Hi Michelle! I love my hP Envy 7155. There could be lots of factors from those who talk about poor quality. It could be they have their settings set on draft instead of “best”, could be their ink levels, or it could be the quality of the image they are using.
Hi, I don’t have a Fill option when I upload an image. What am I missing??
Hi Jamie! If you saved your image as a print then cut, you should be good to go but click on the operation menu to check.